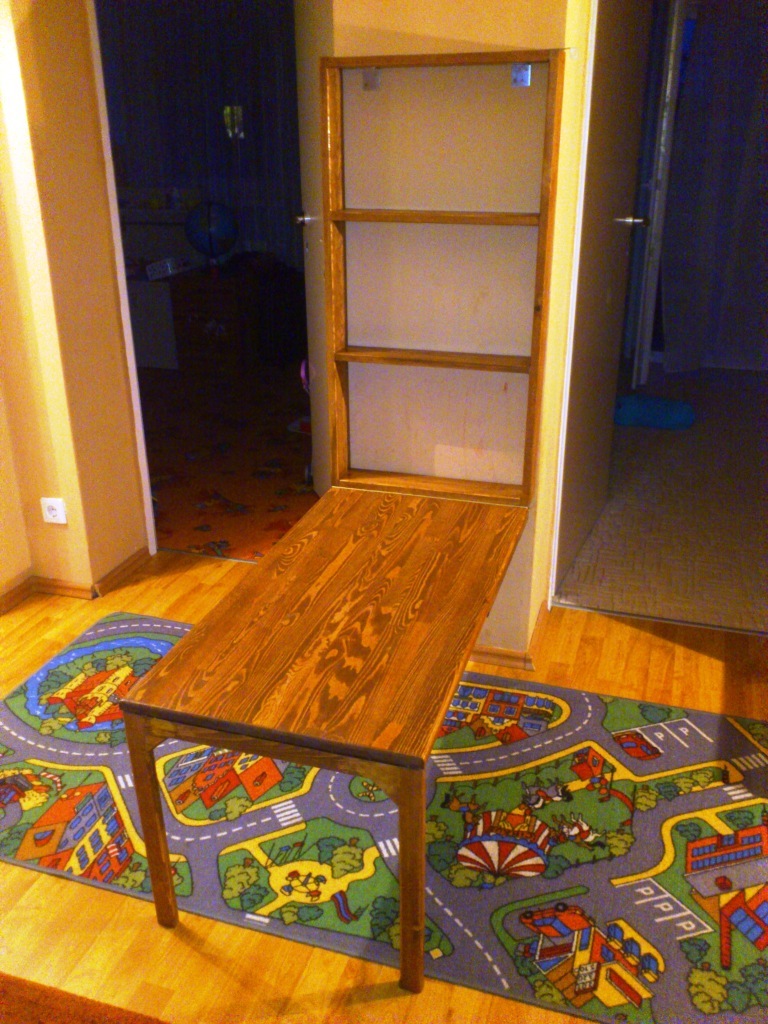
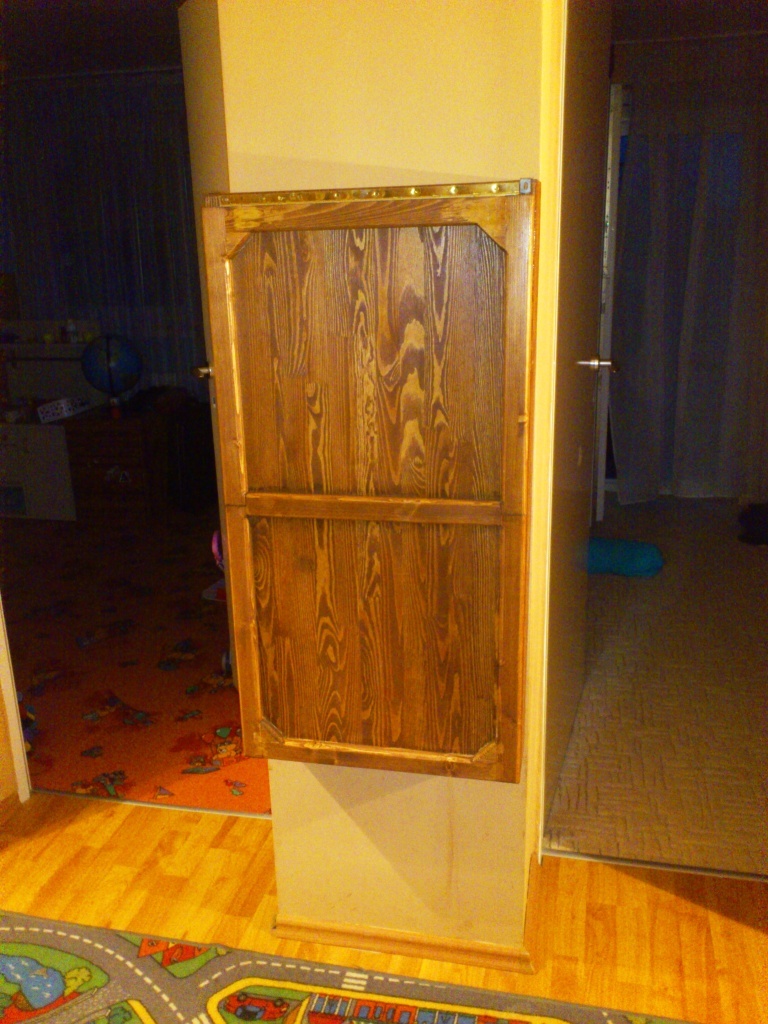
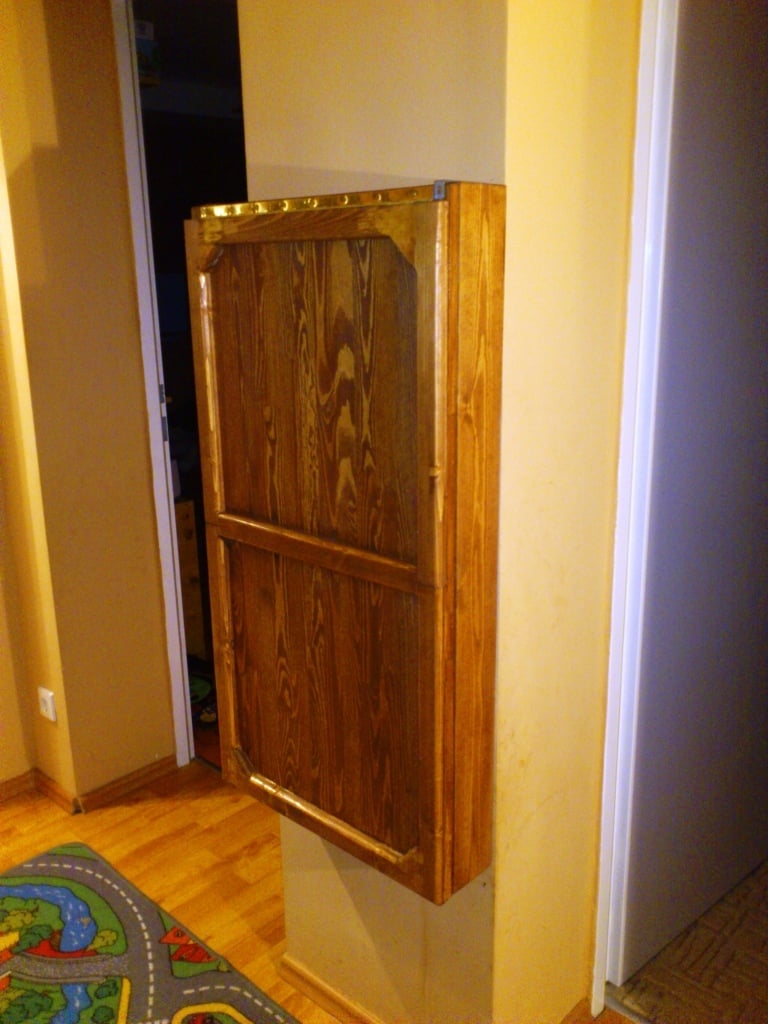
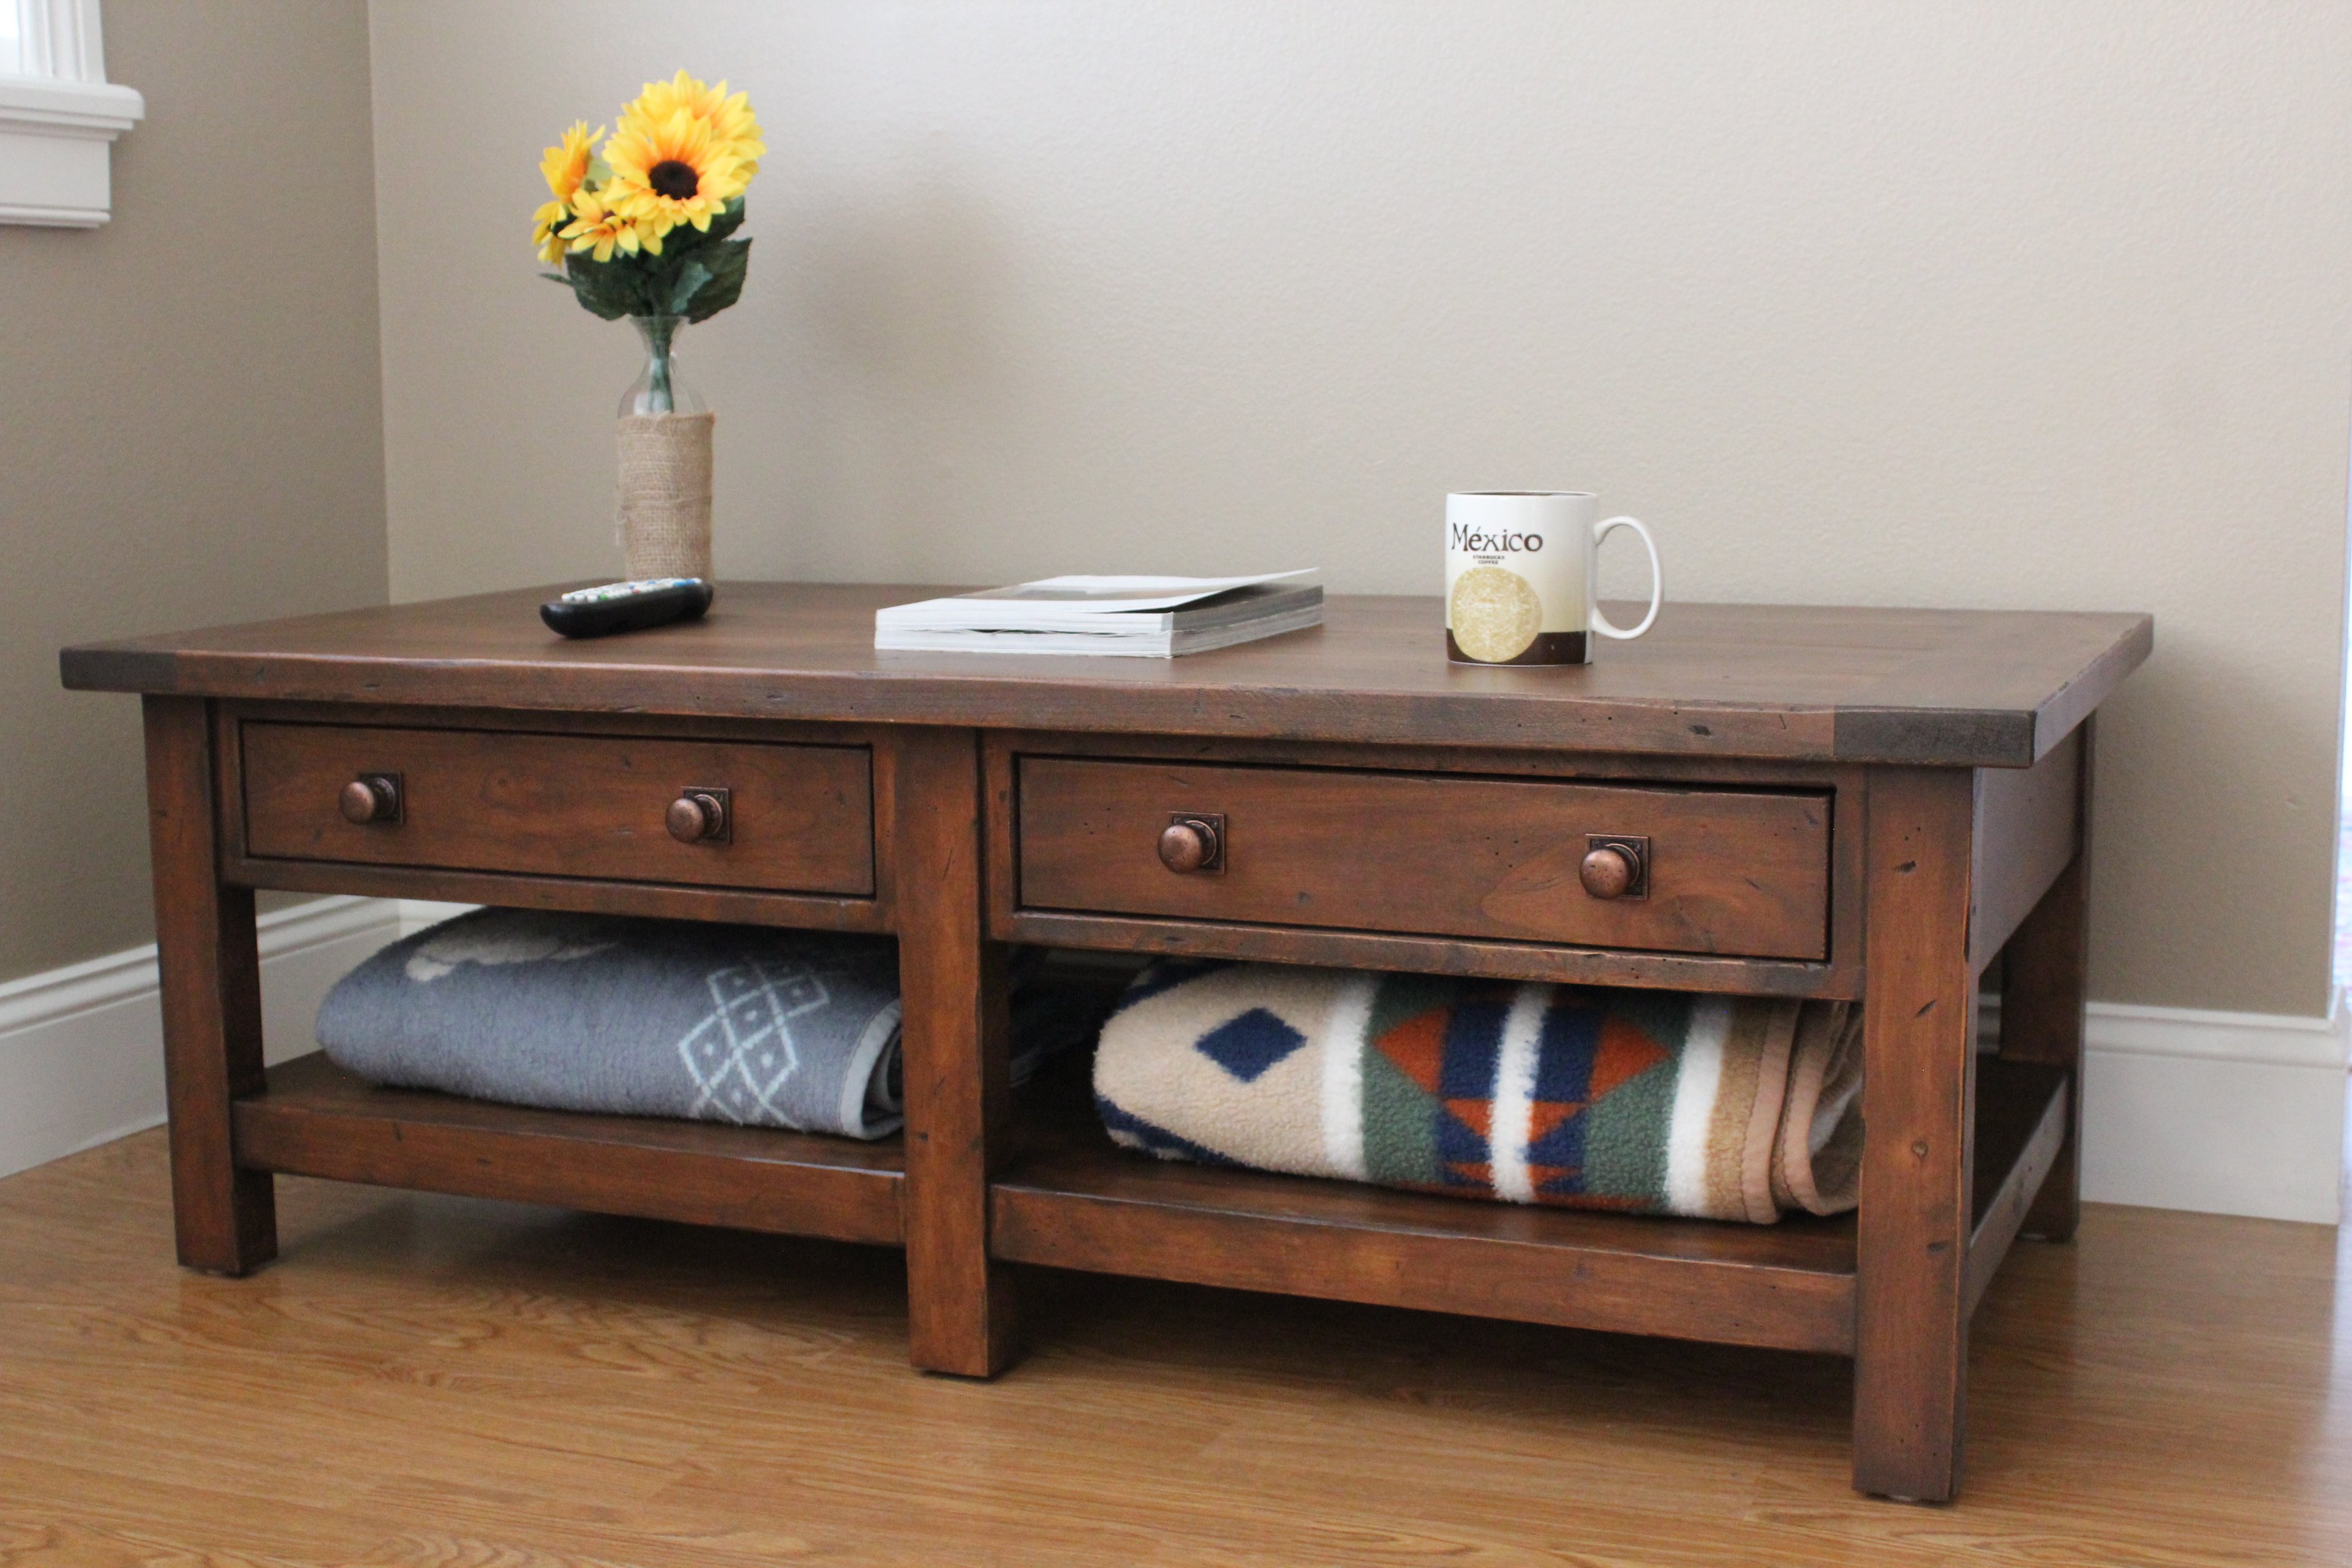
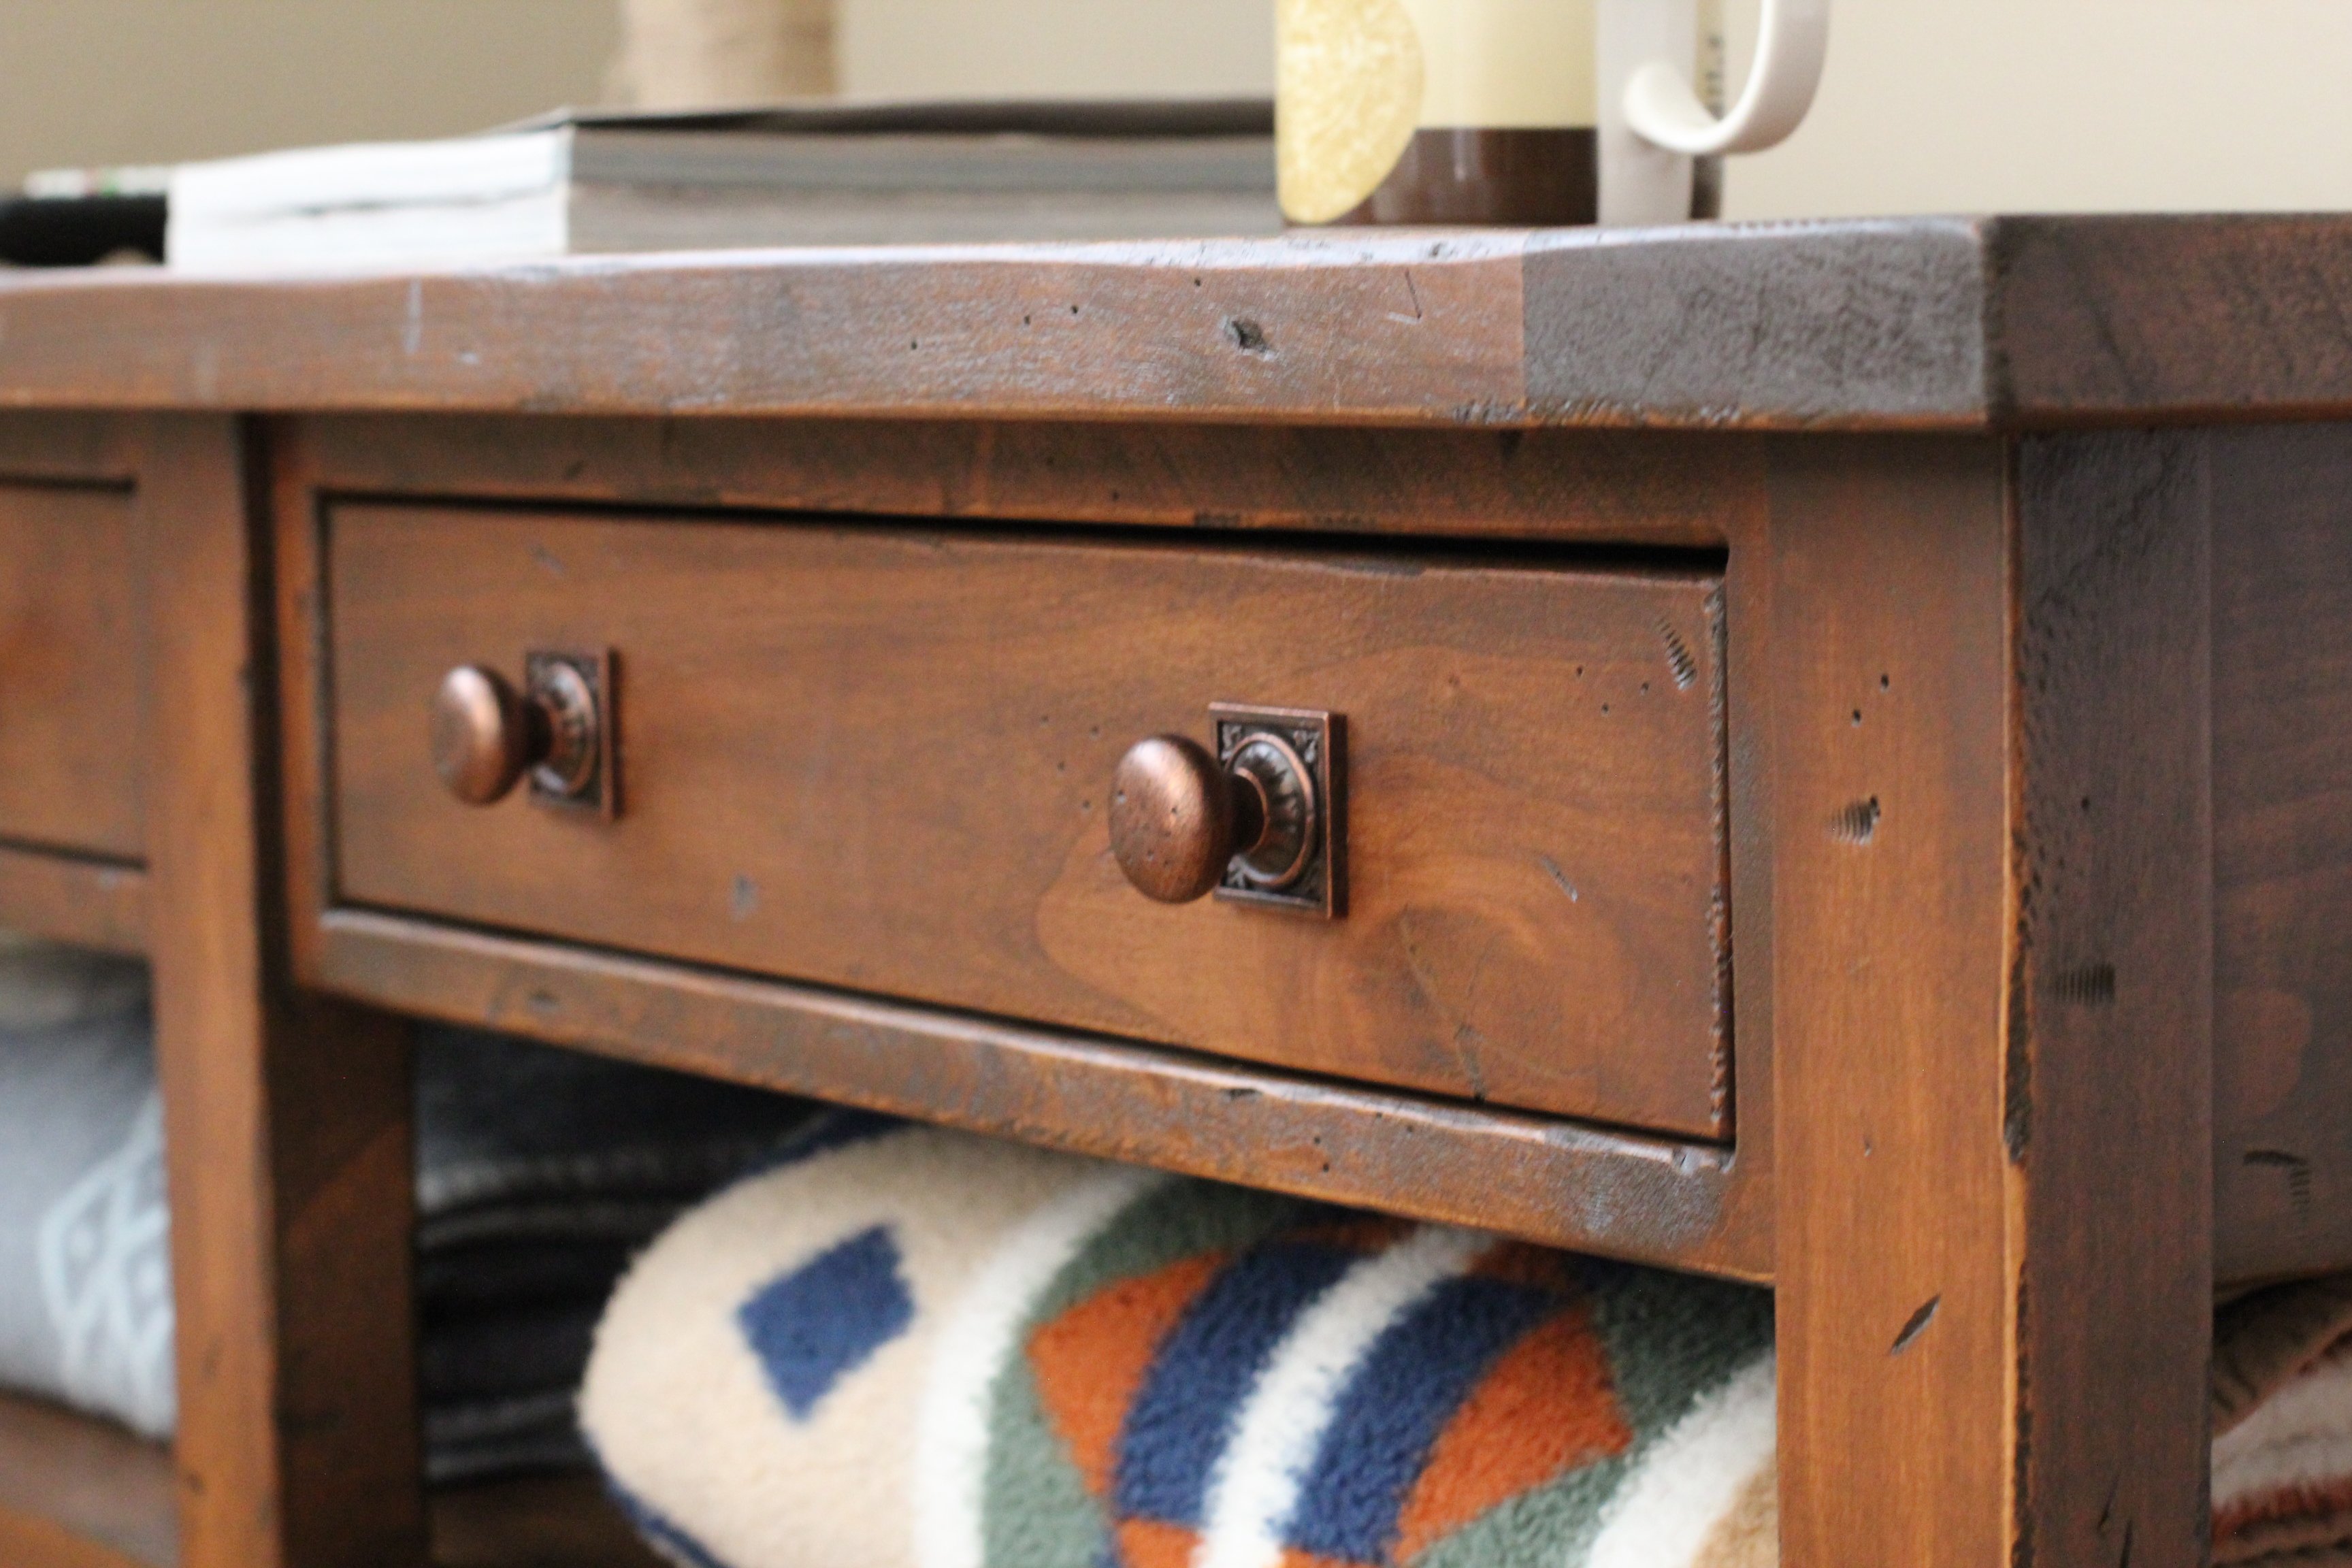
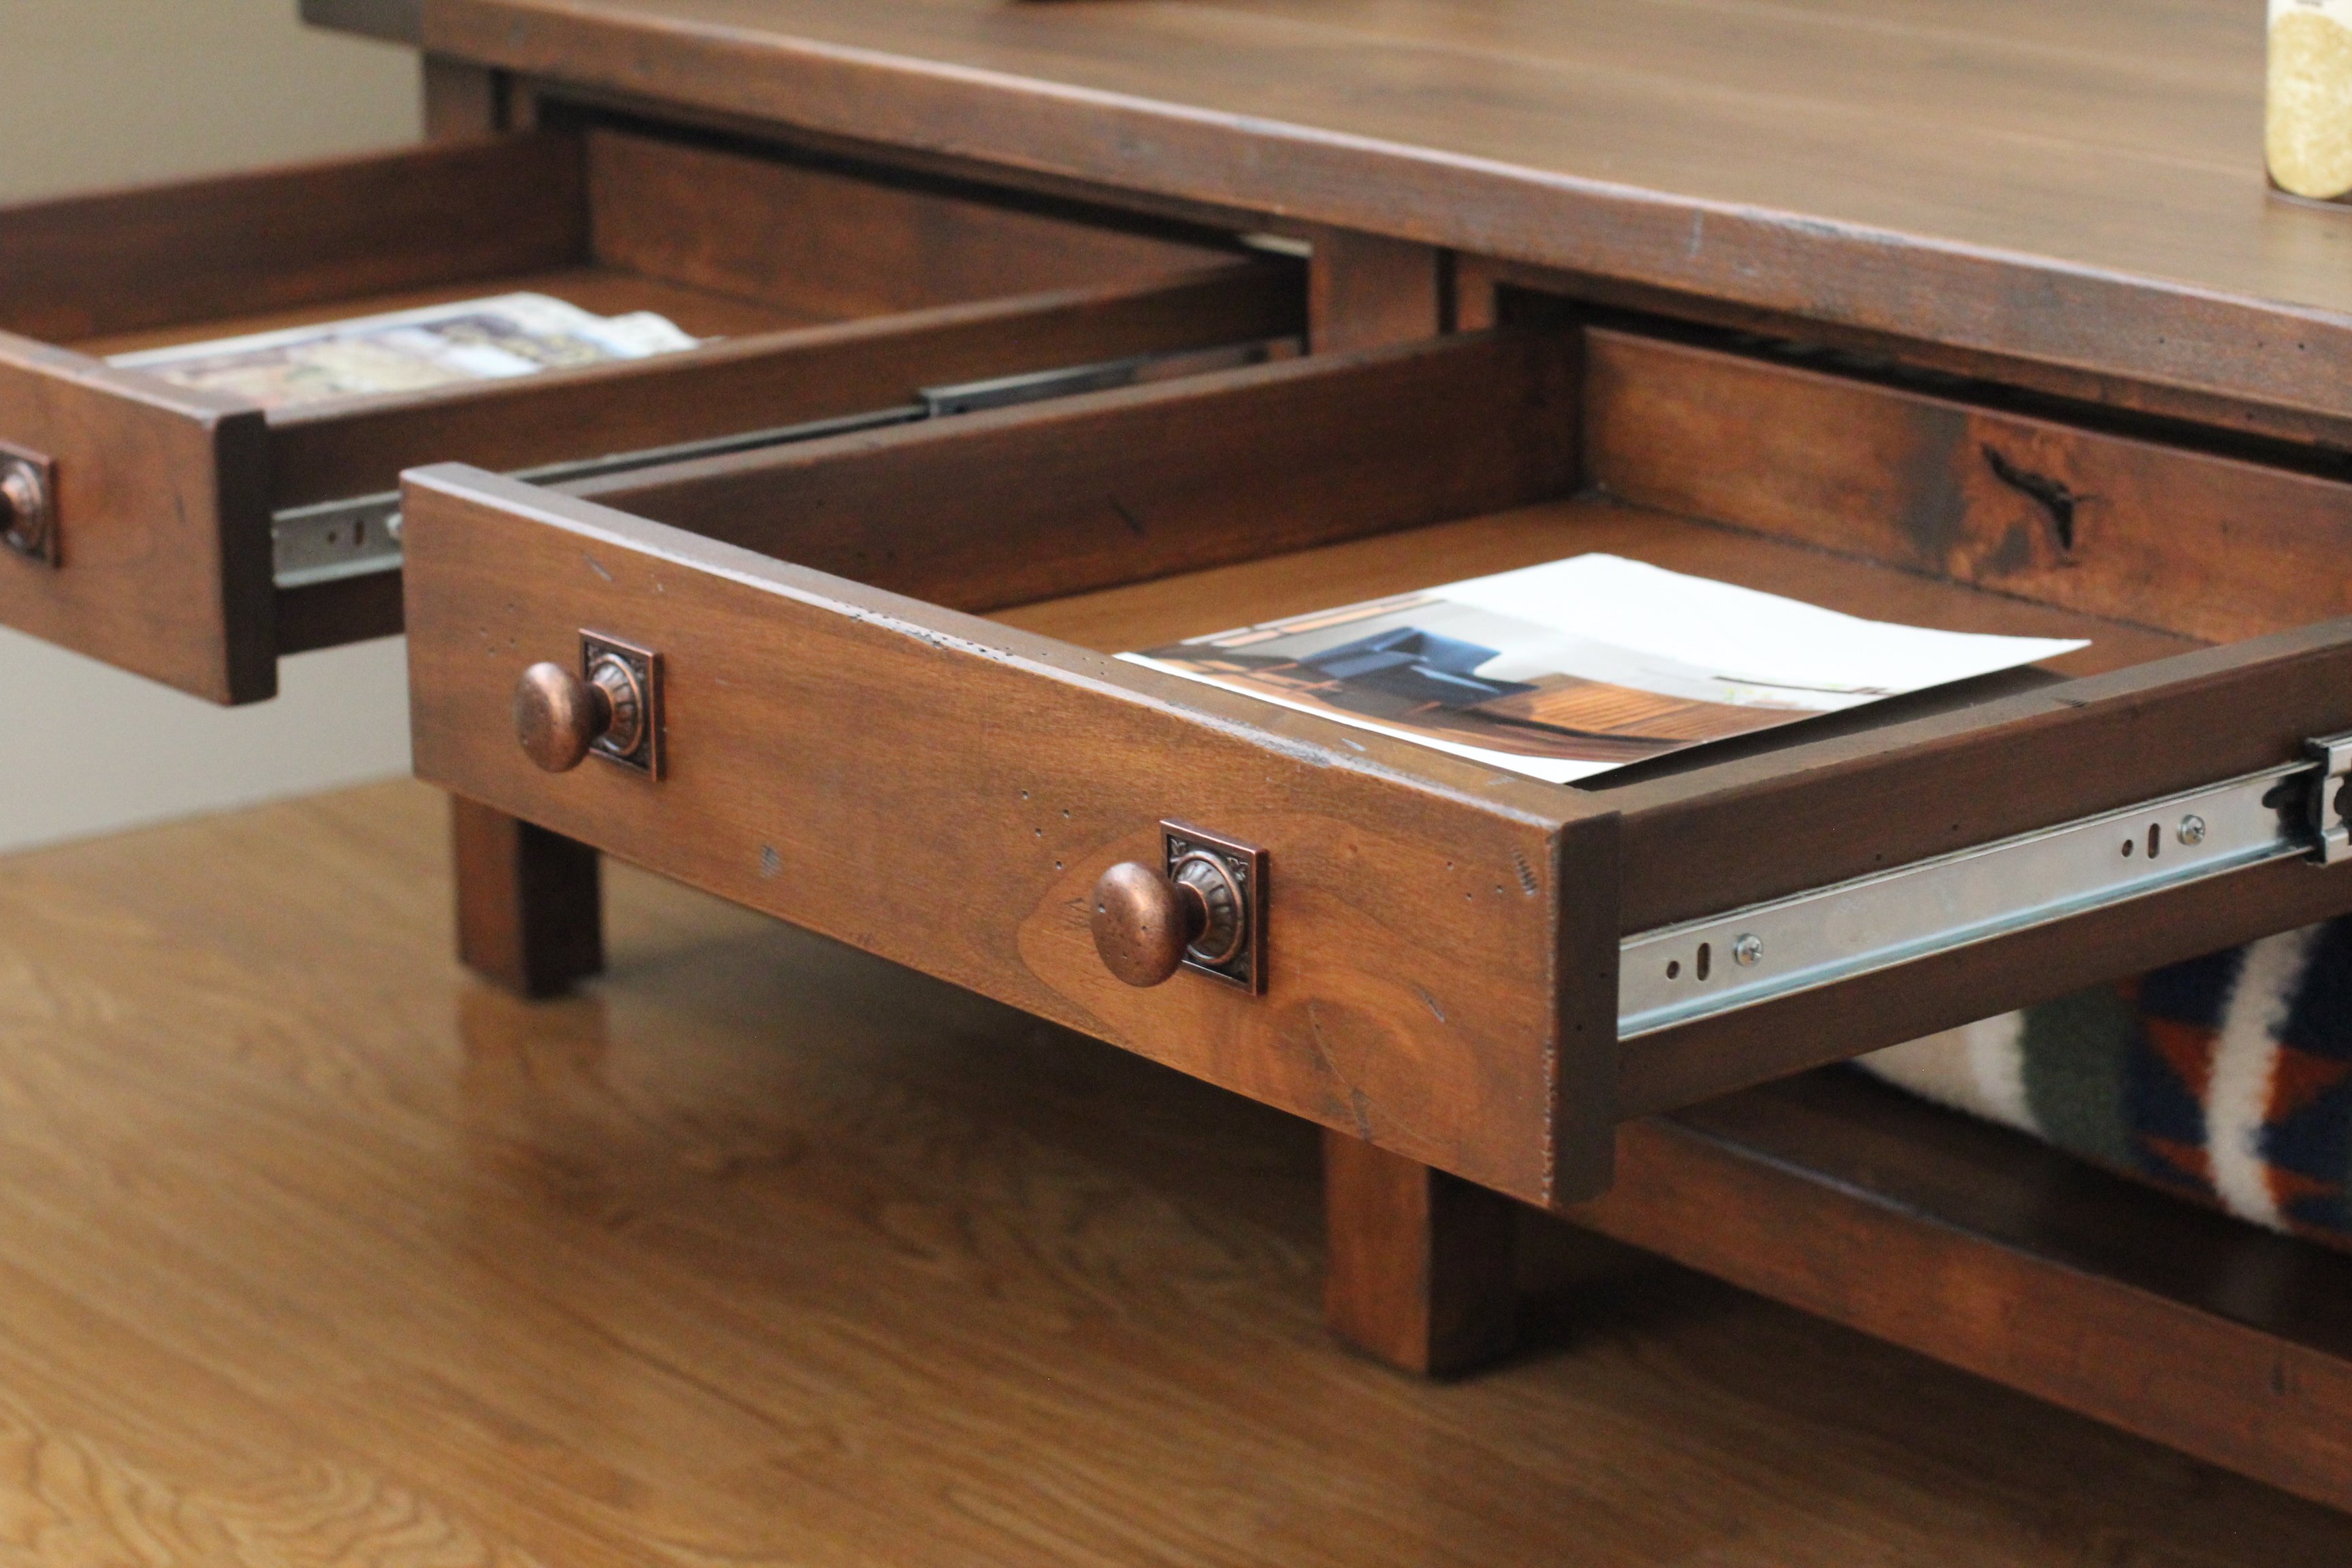
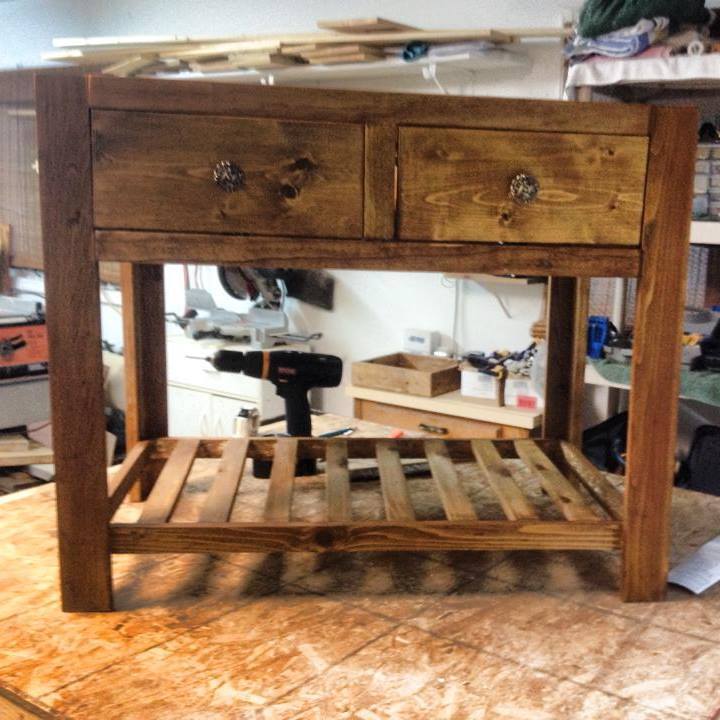
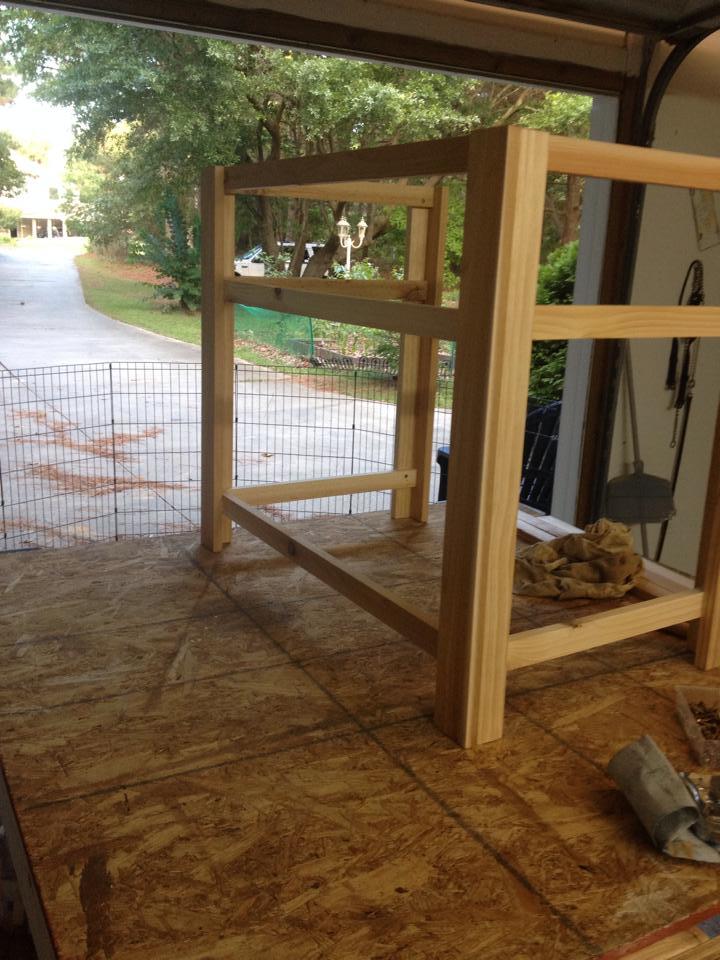
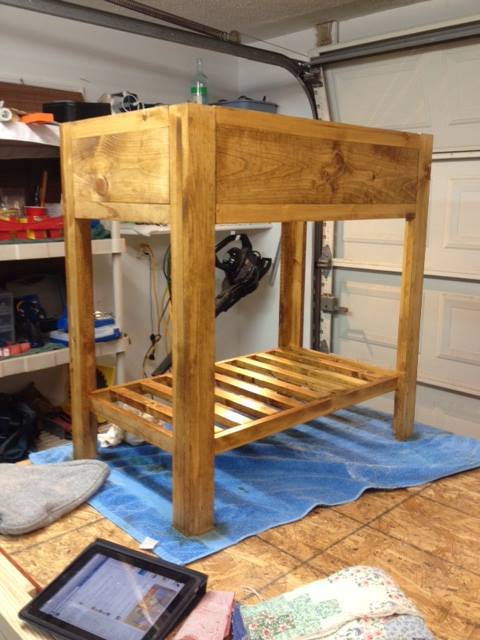
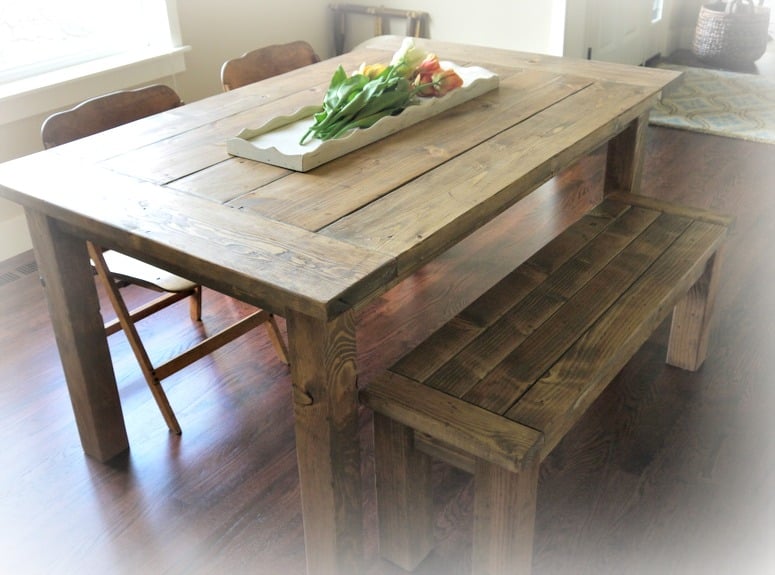
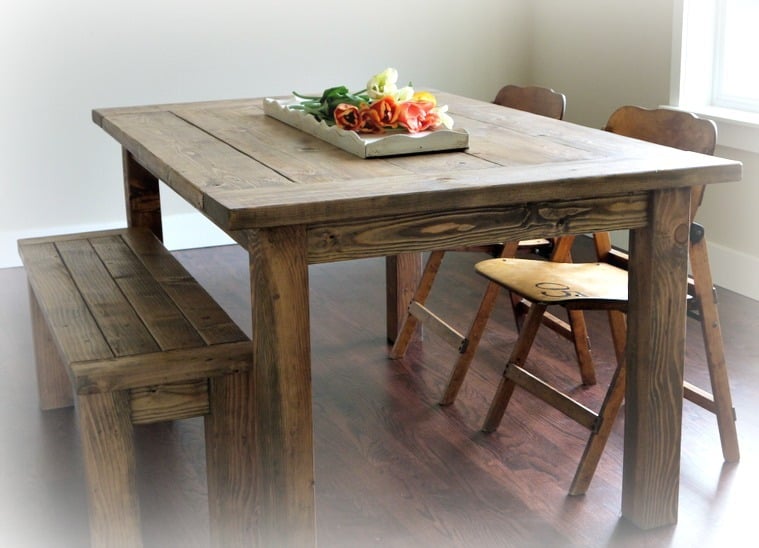
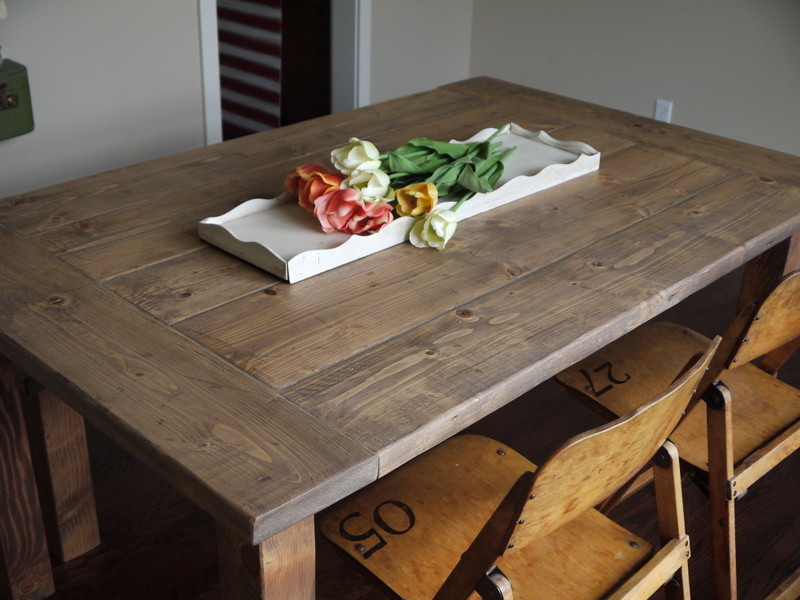
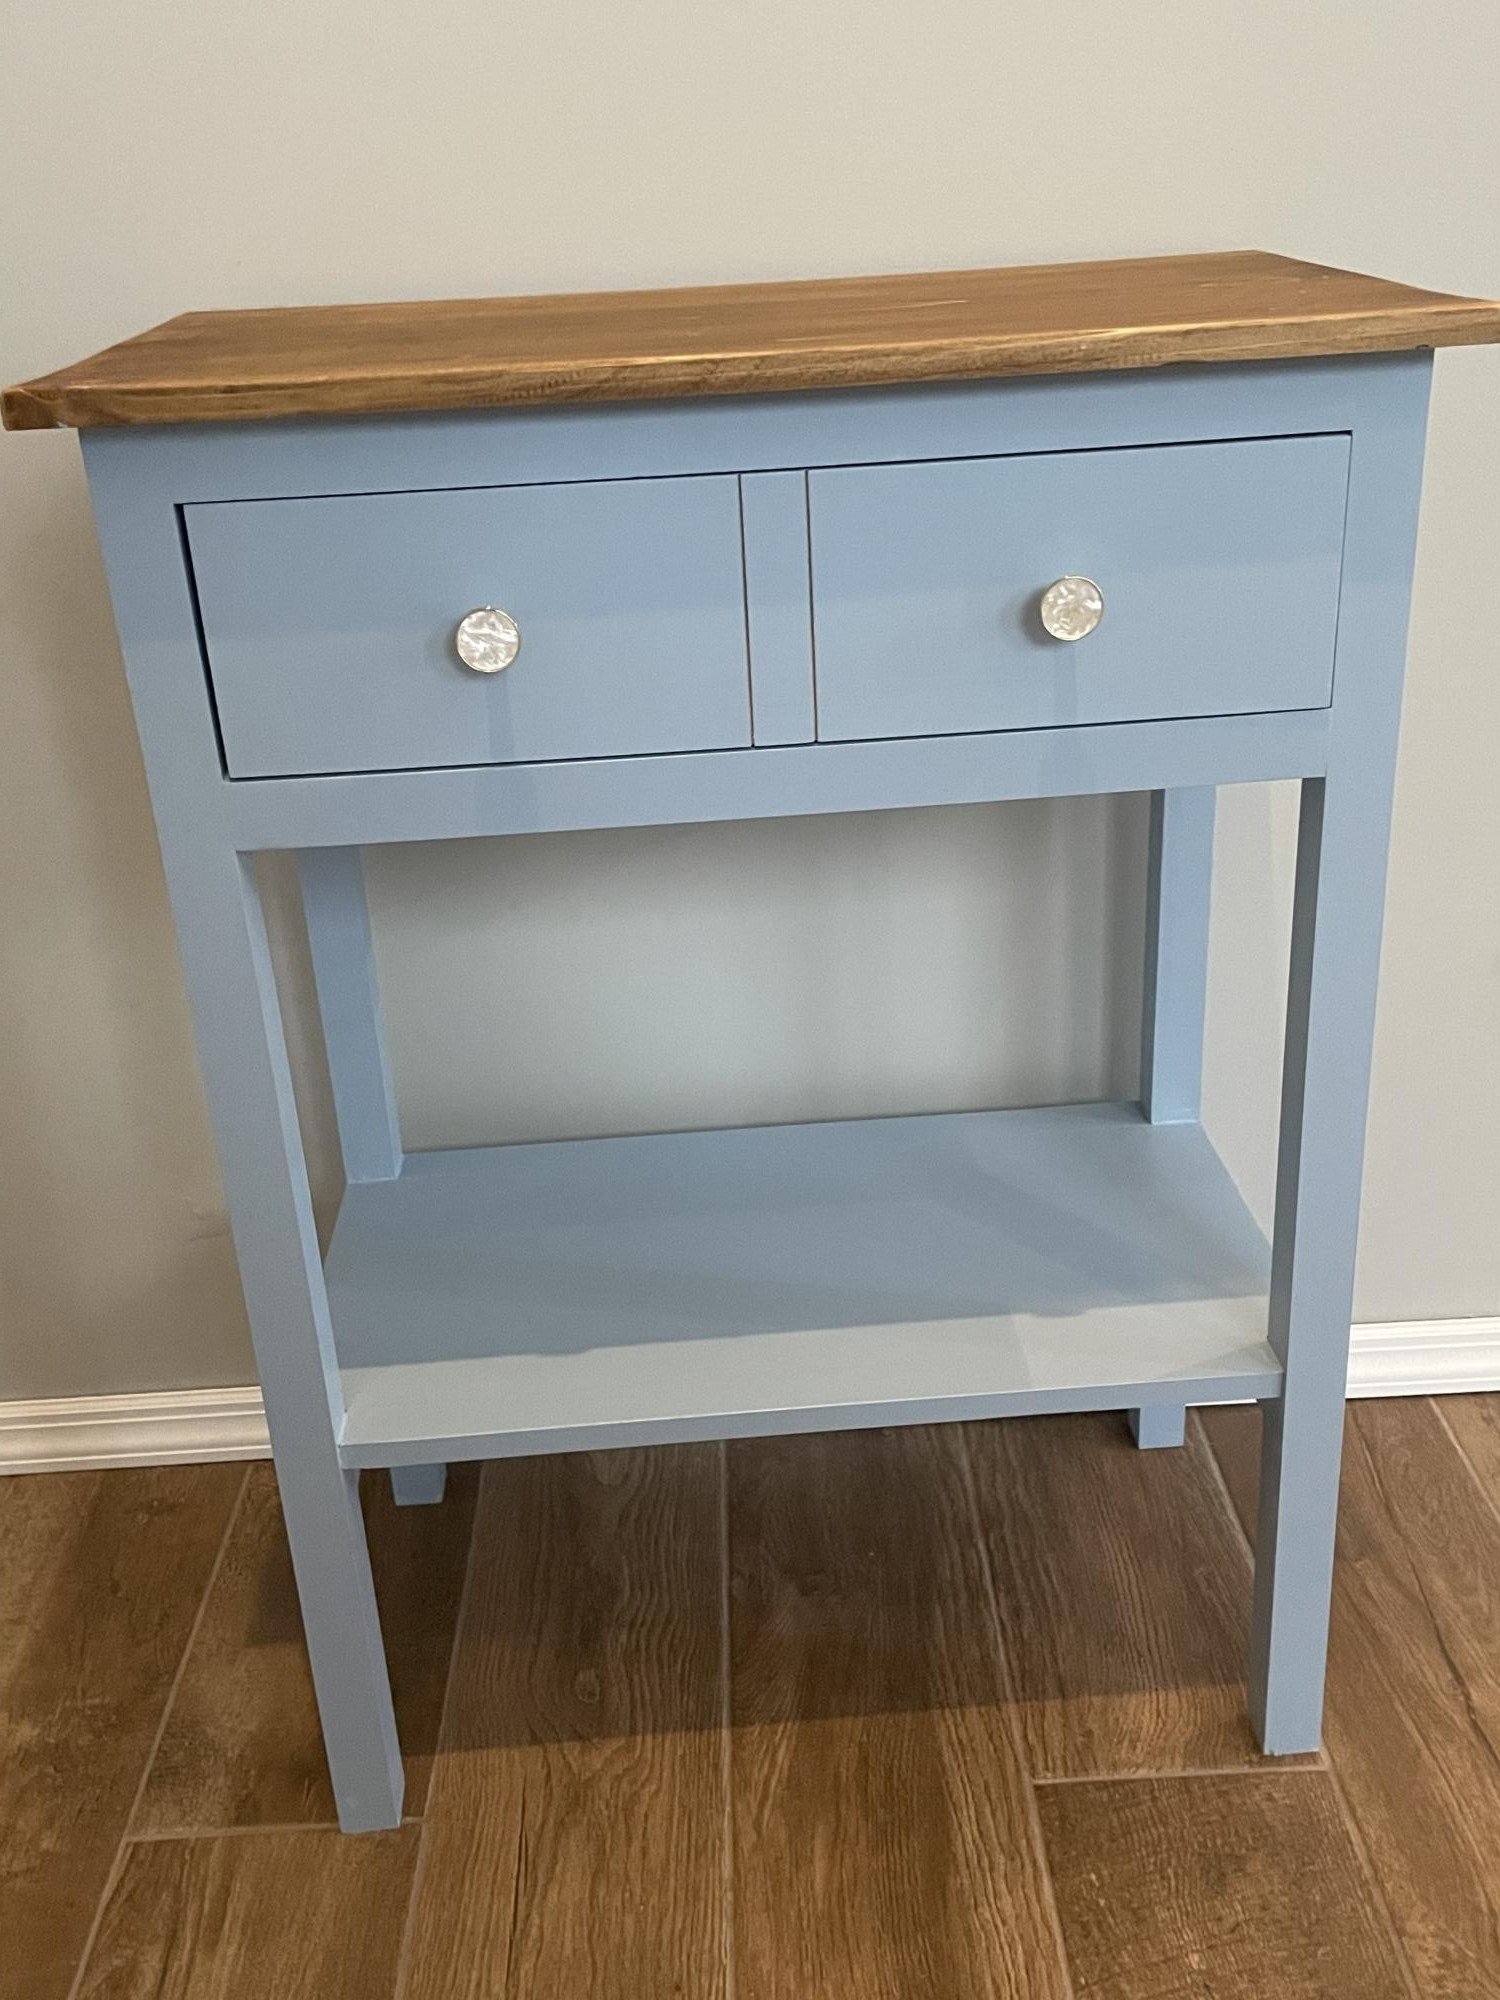
Kitchen Island - minus the drawers
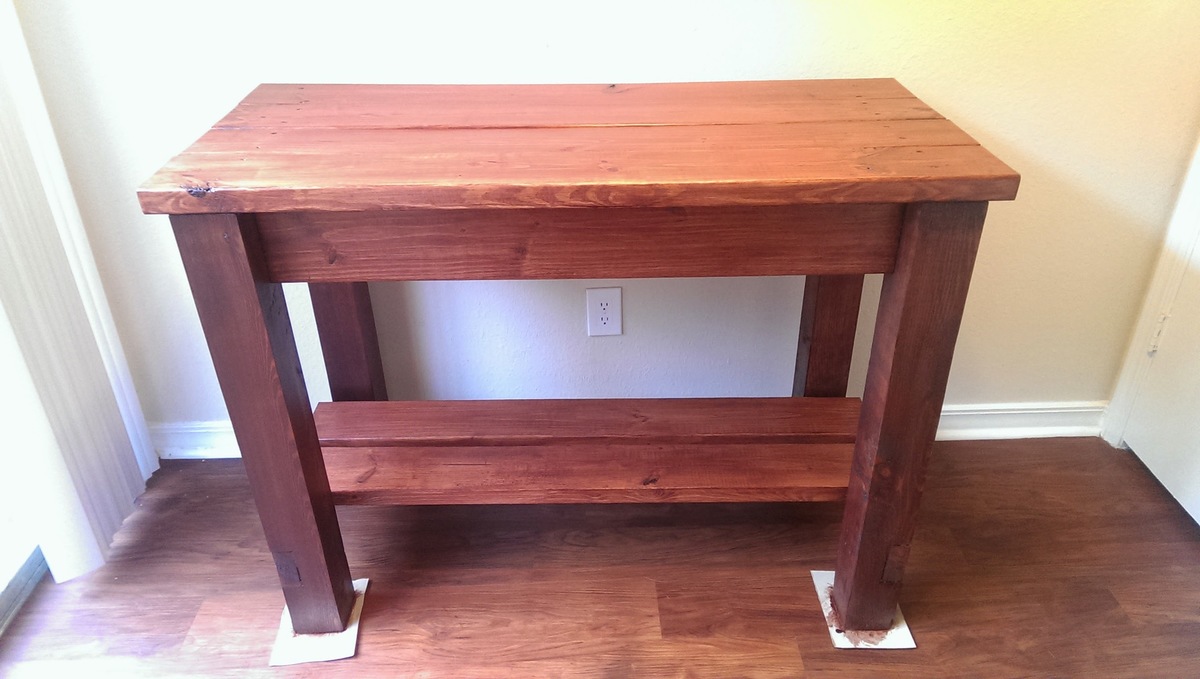
Found this plans for the Gaby kitchen island and fell in love. So, I decided to try my handy work at it one weekend.
Built from Plan(s)
Estimated Cost
$80
Estimated Time Investment
Weekend Project (10-20 Hours)
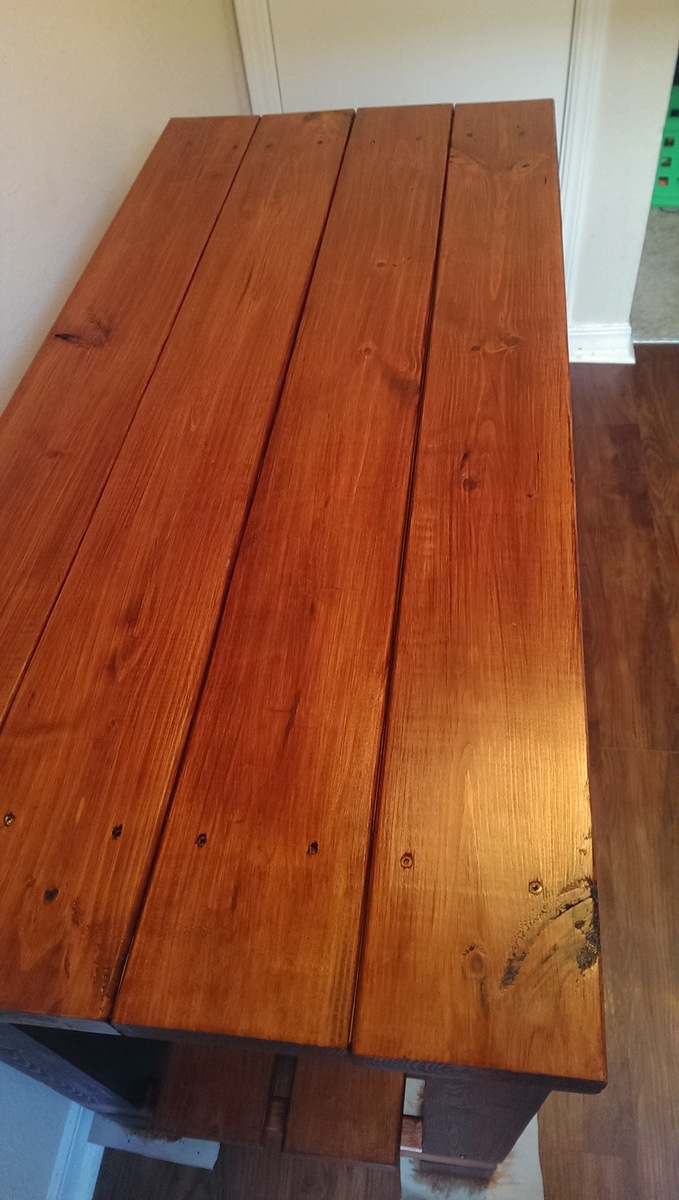
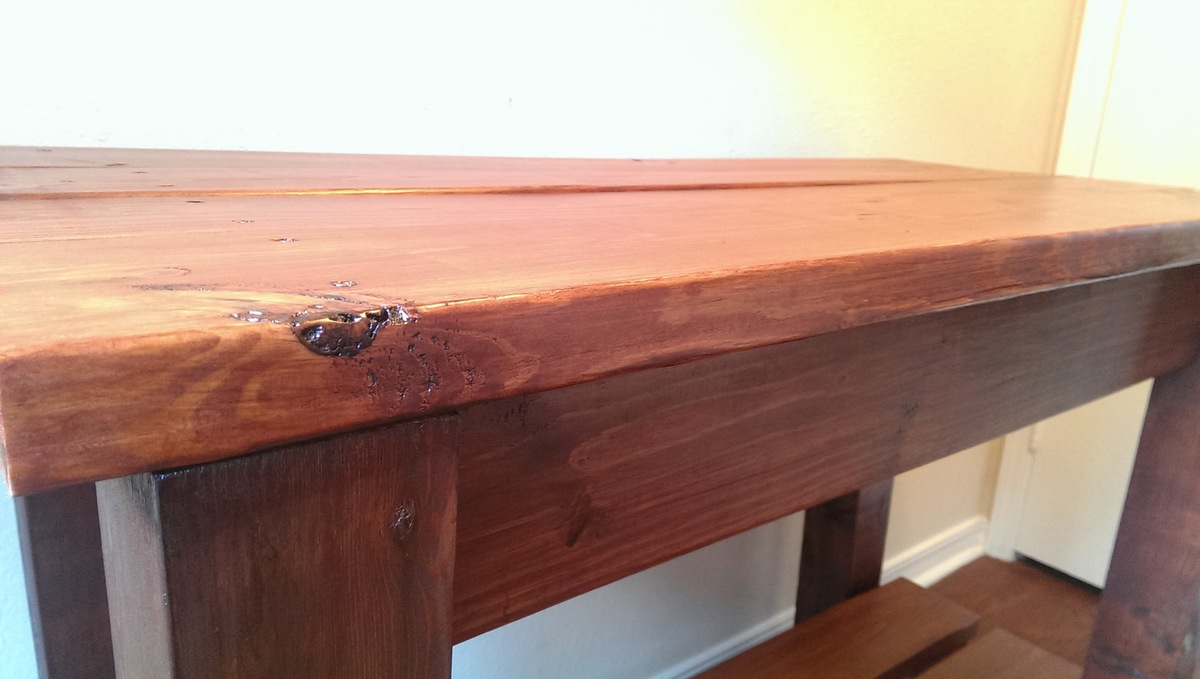
Finish Used
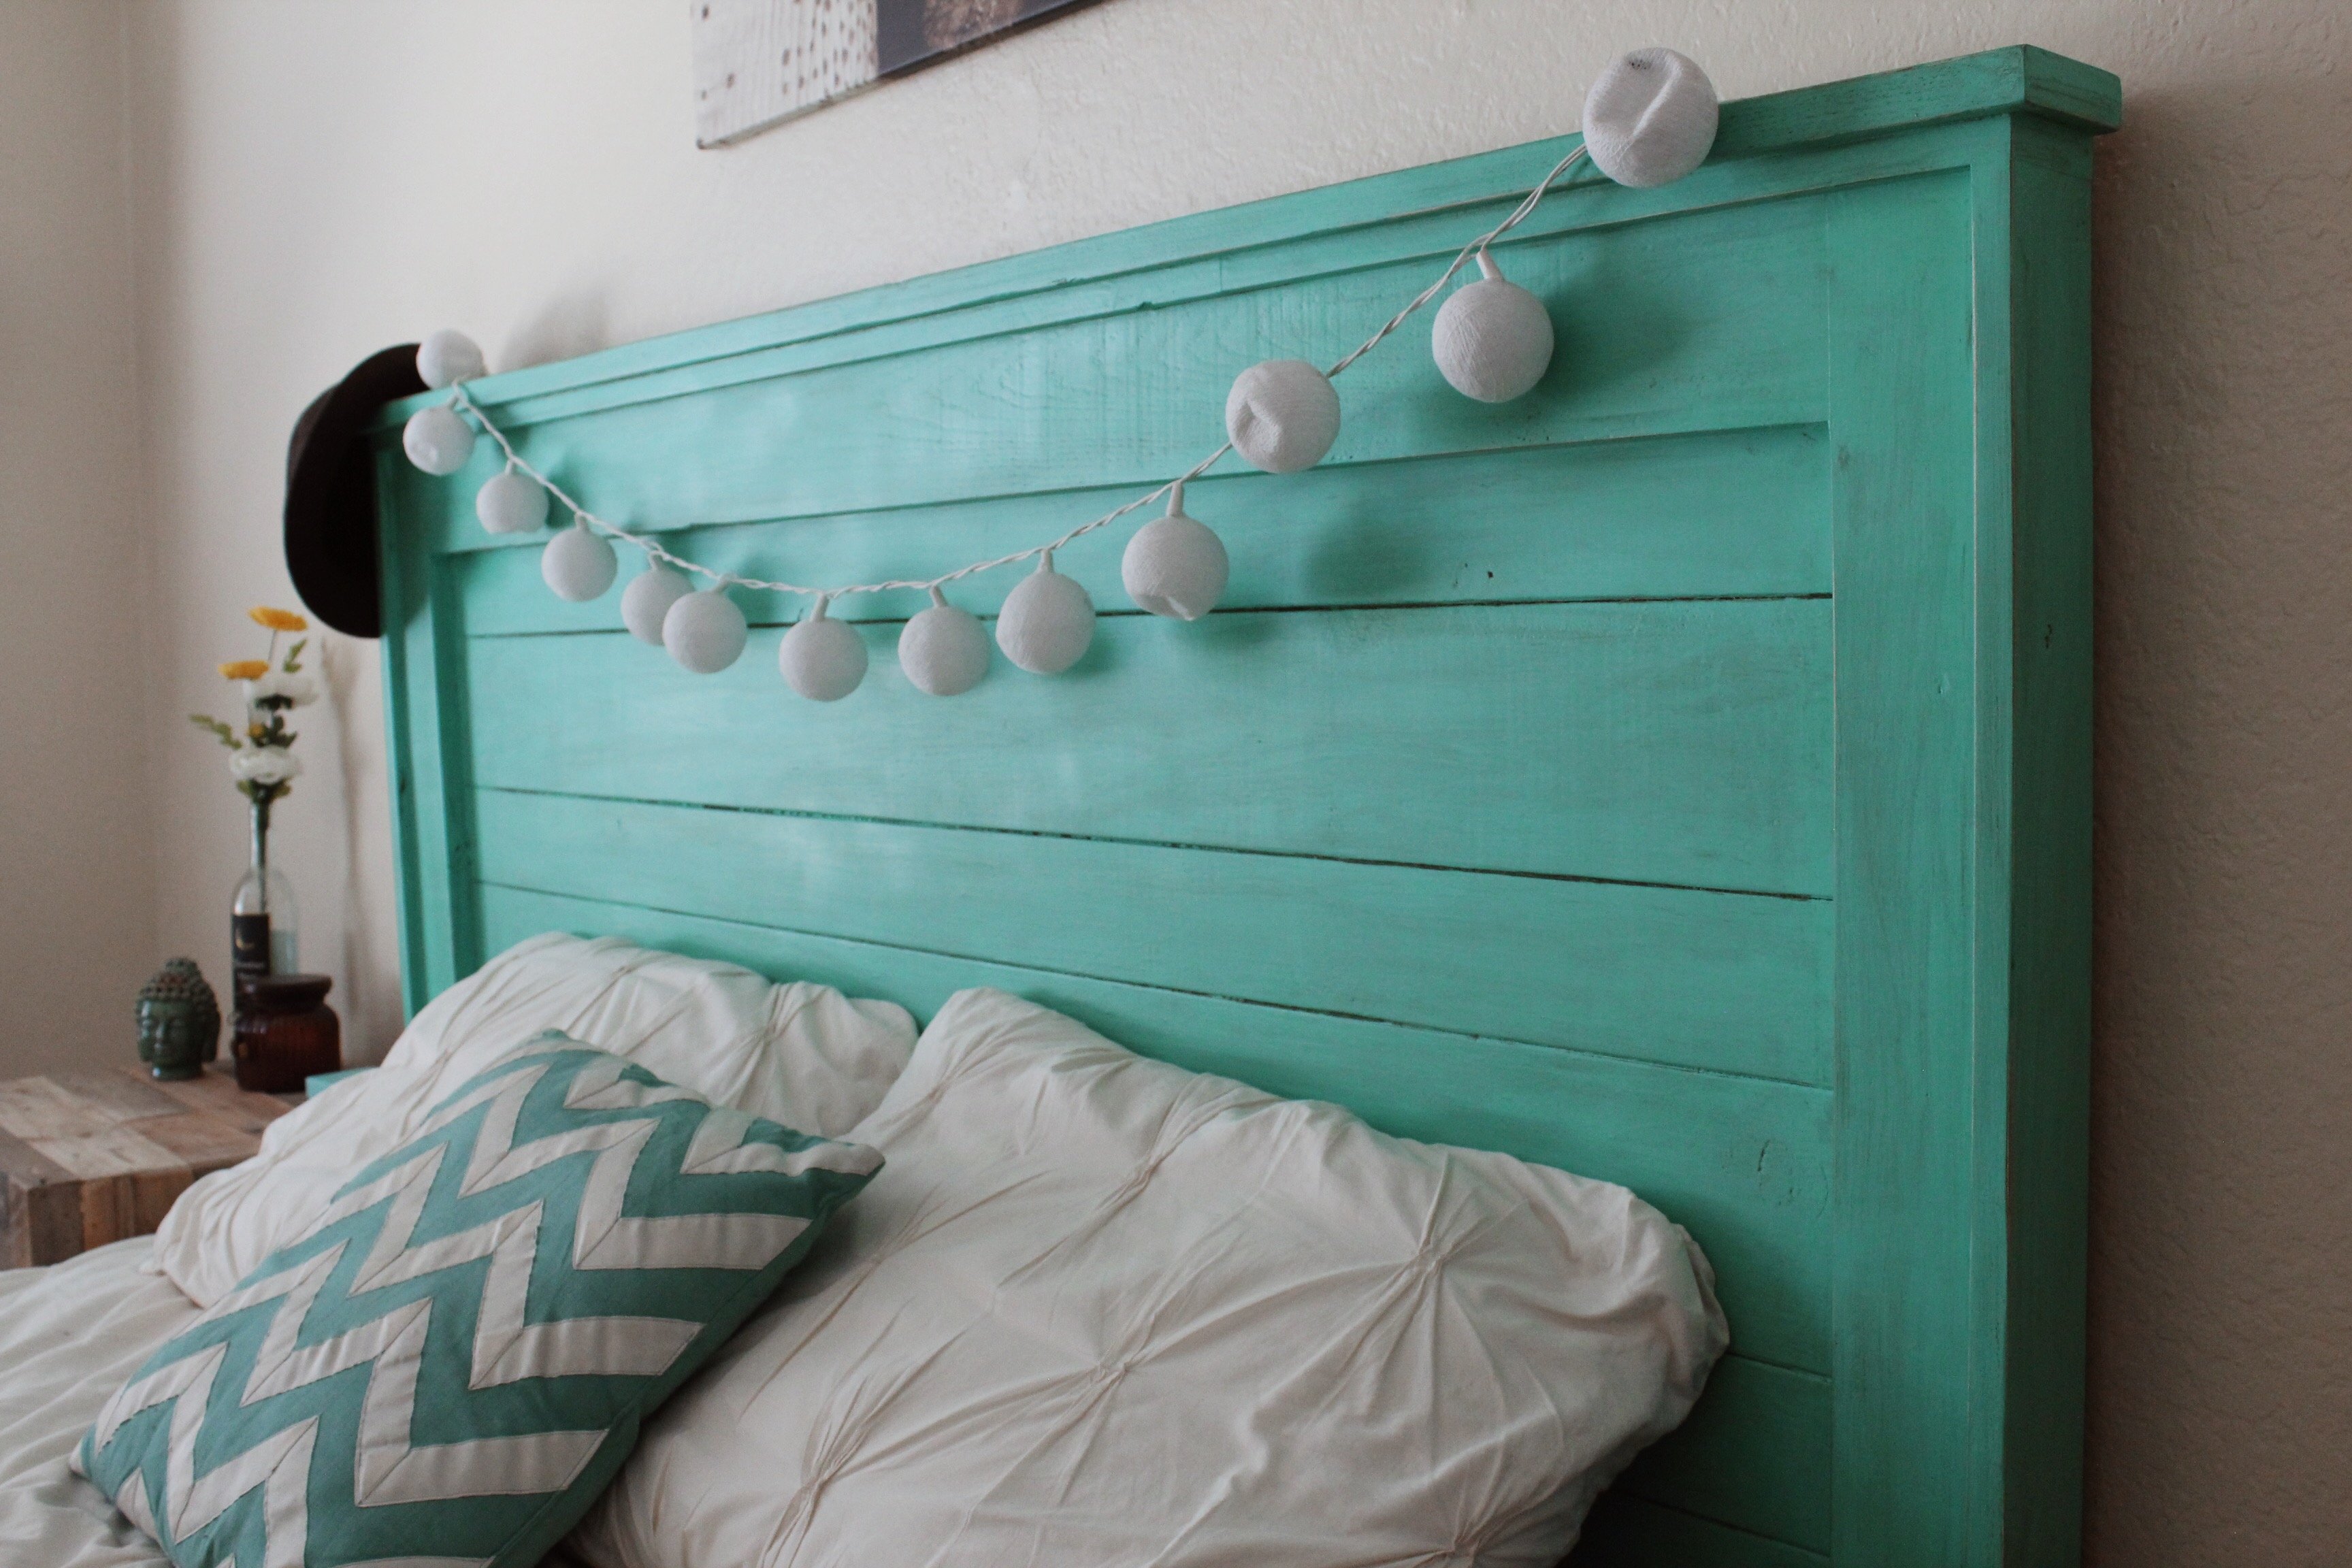
Cabot water-based stain Paprika. Shellac sealer
Recommended Skill Level
Intermediate


Comments
Ana White
Tue, 01/27/2015 - 15:24
Great job! This is a
Great job! This is a beautiful build!