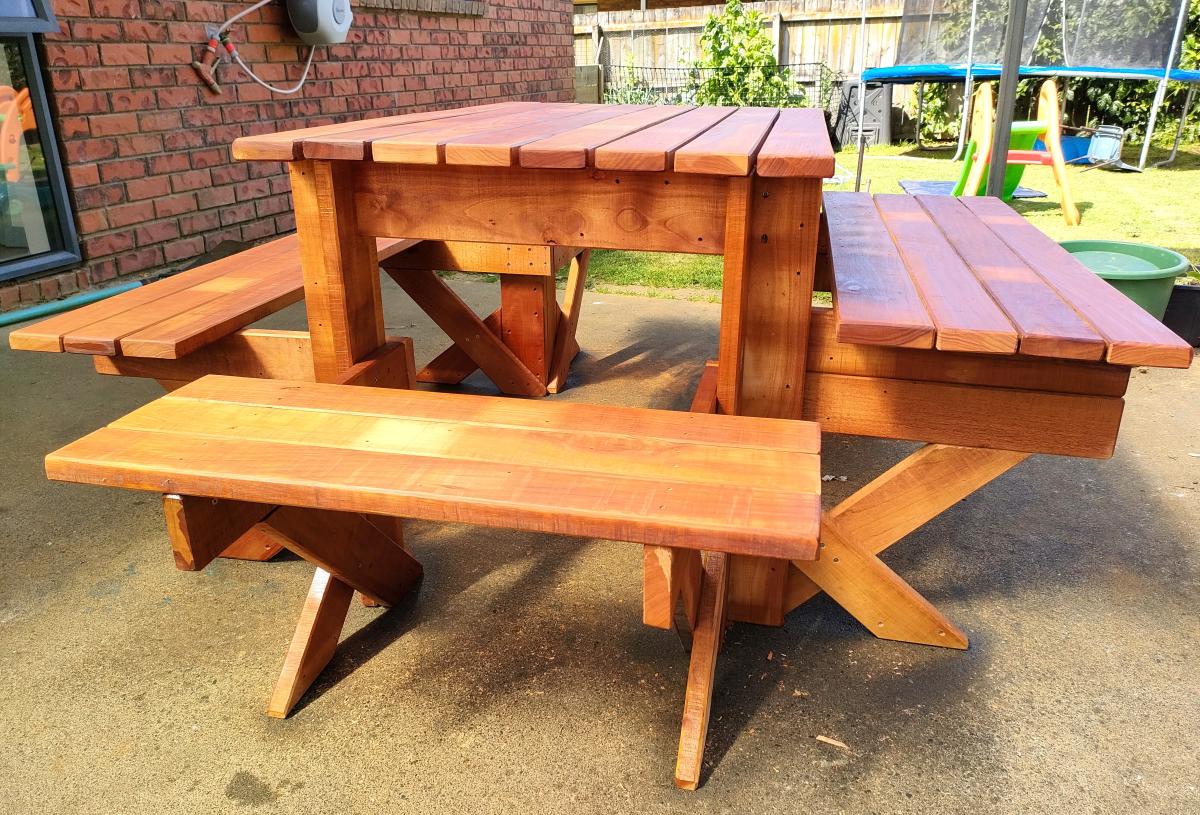
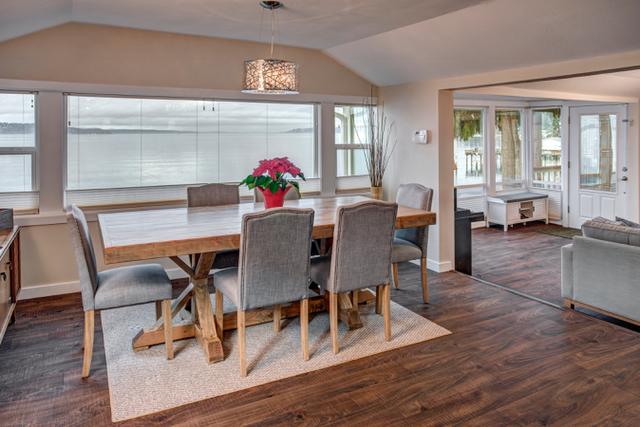
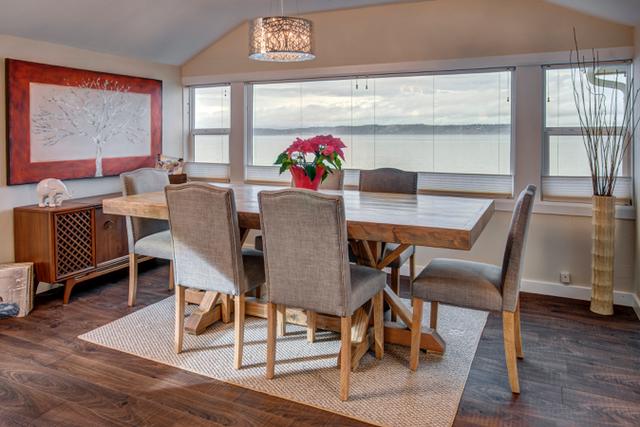
Square Outdoor Picnic Table
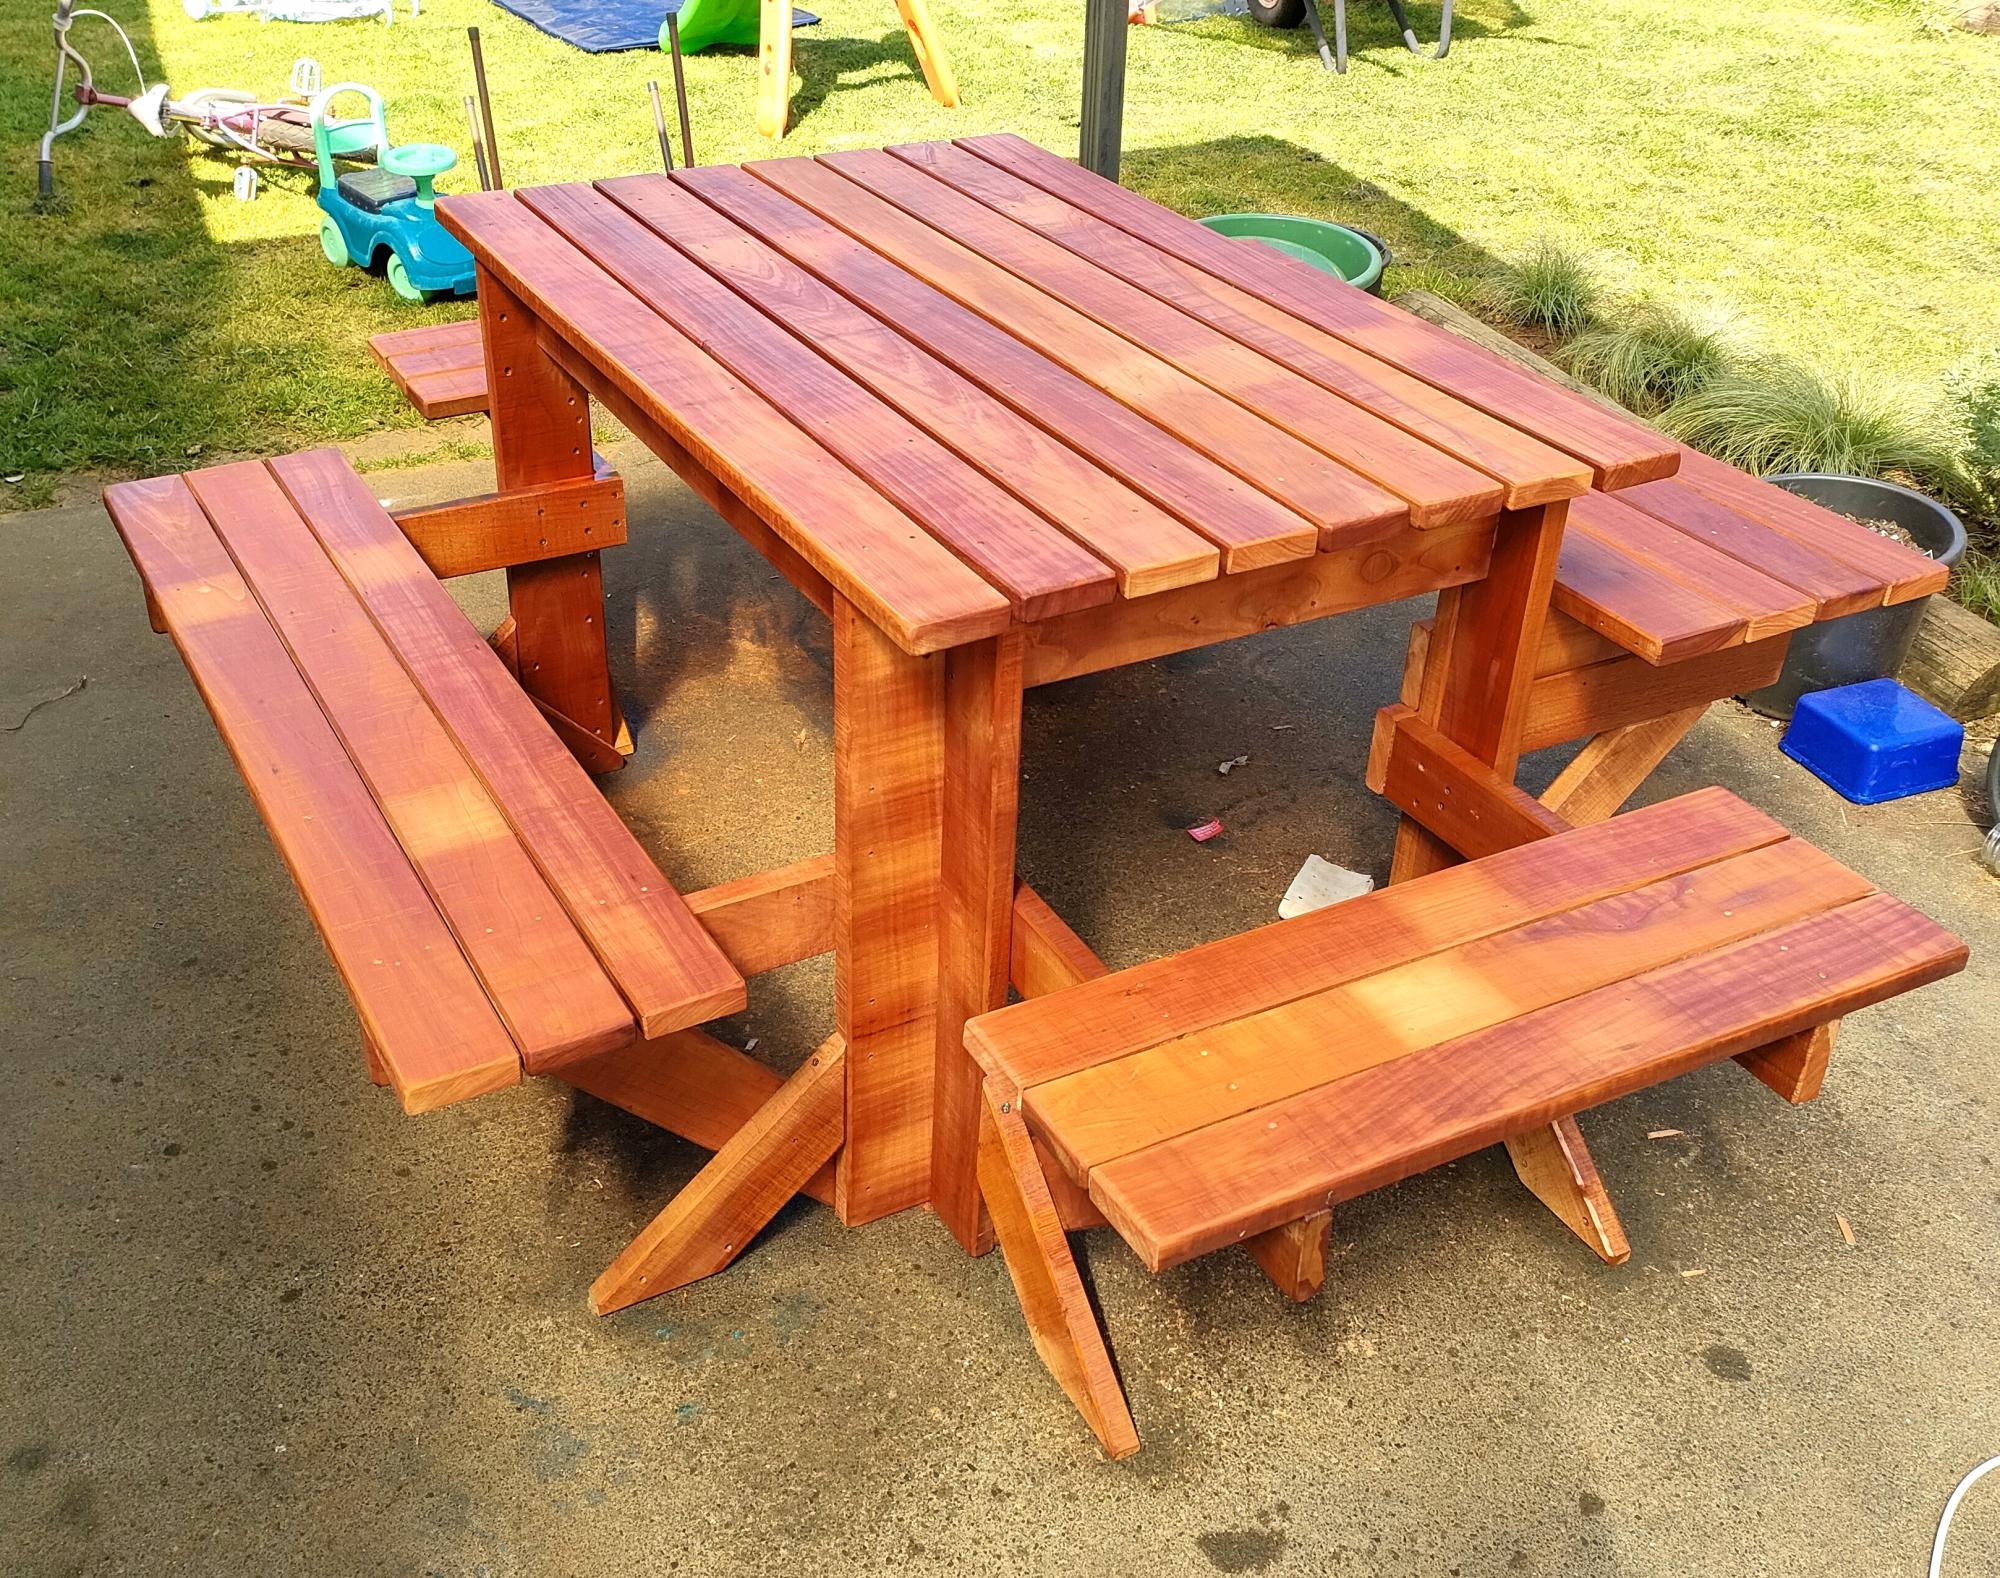
6 seater Recycled Fijian Kauri with extra leg supports, one side higher & closer for kids.
Marty
Built from Plan(s)
6 seater Recycled Fijian Kauri with extra leg supports, one side higher & closer for kids.
Marty
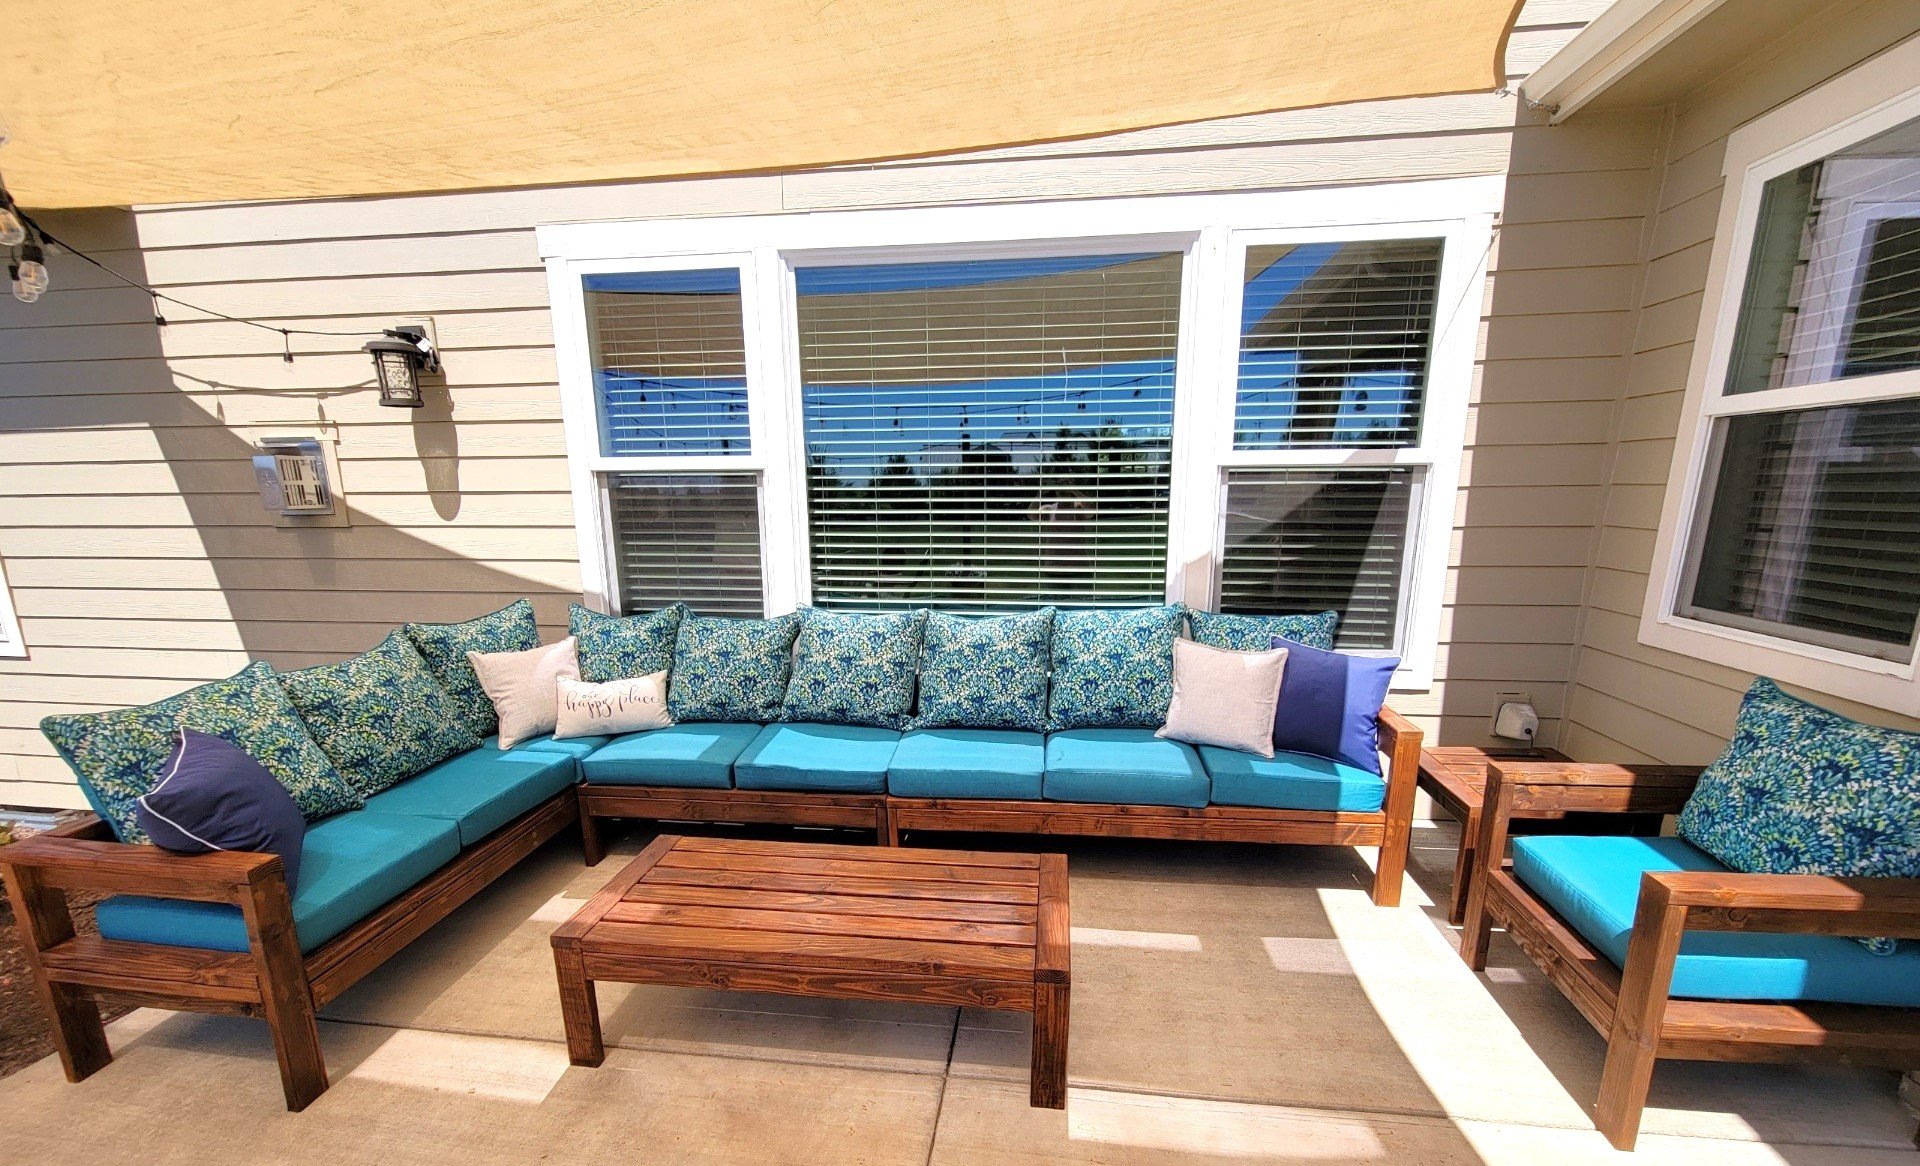
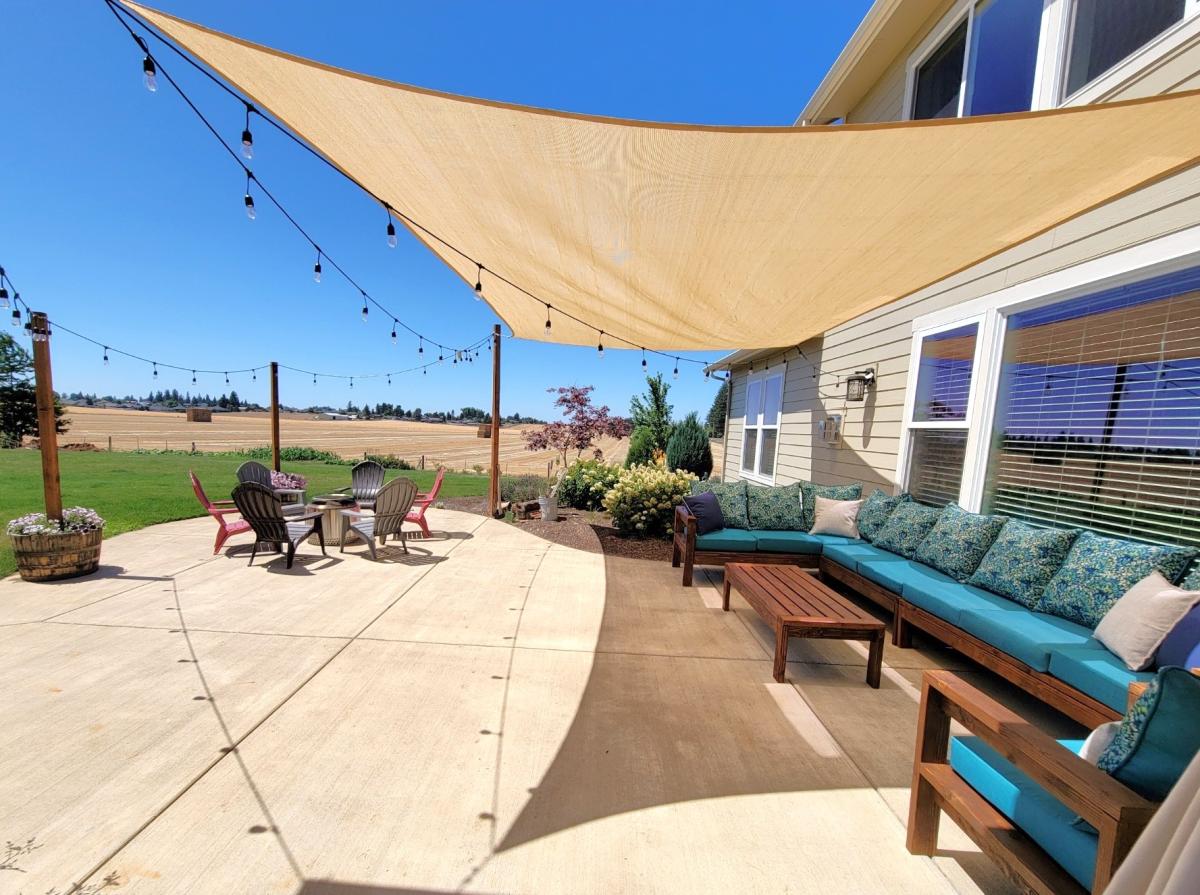
My wife used you patio sectional and table plans to make herself a summer oasis. She built it specifically to fit a corner of our patio that we were never using. Now it is used almost daily for reading, visiting or just sitting outside watching the birds.
Tony for Julie
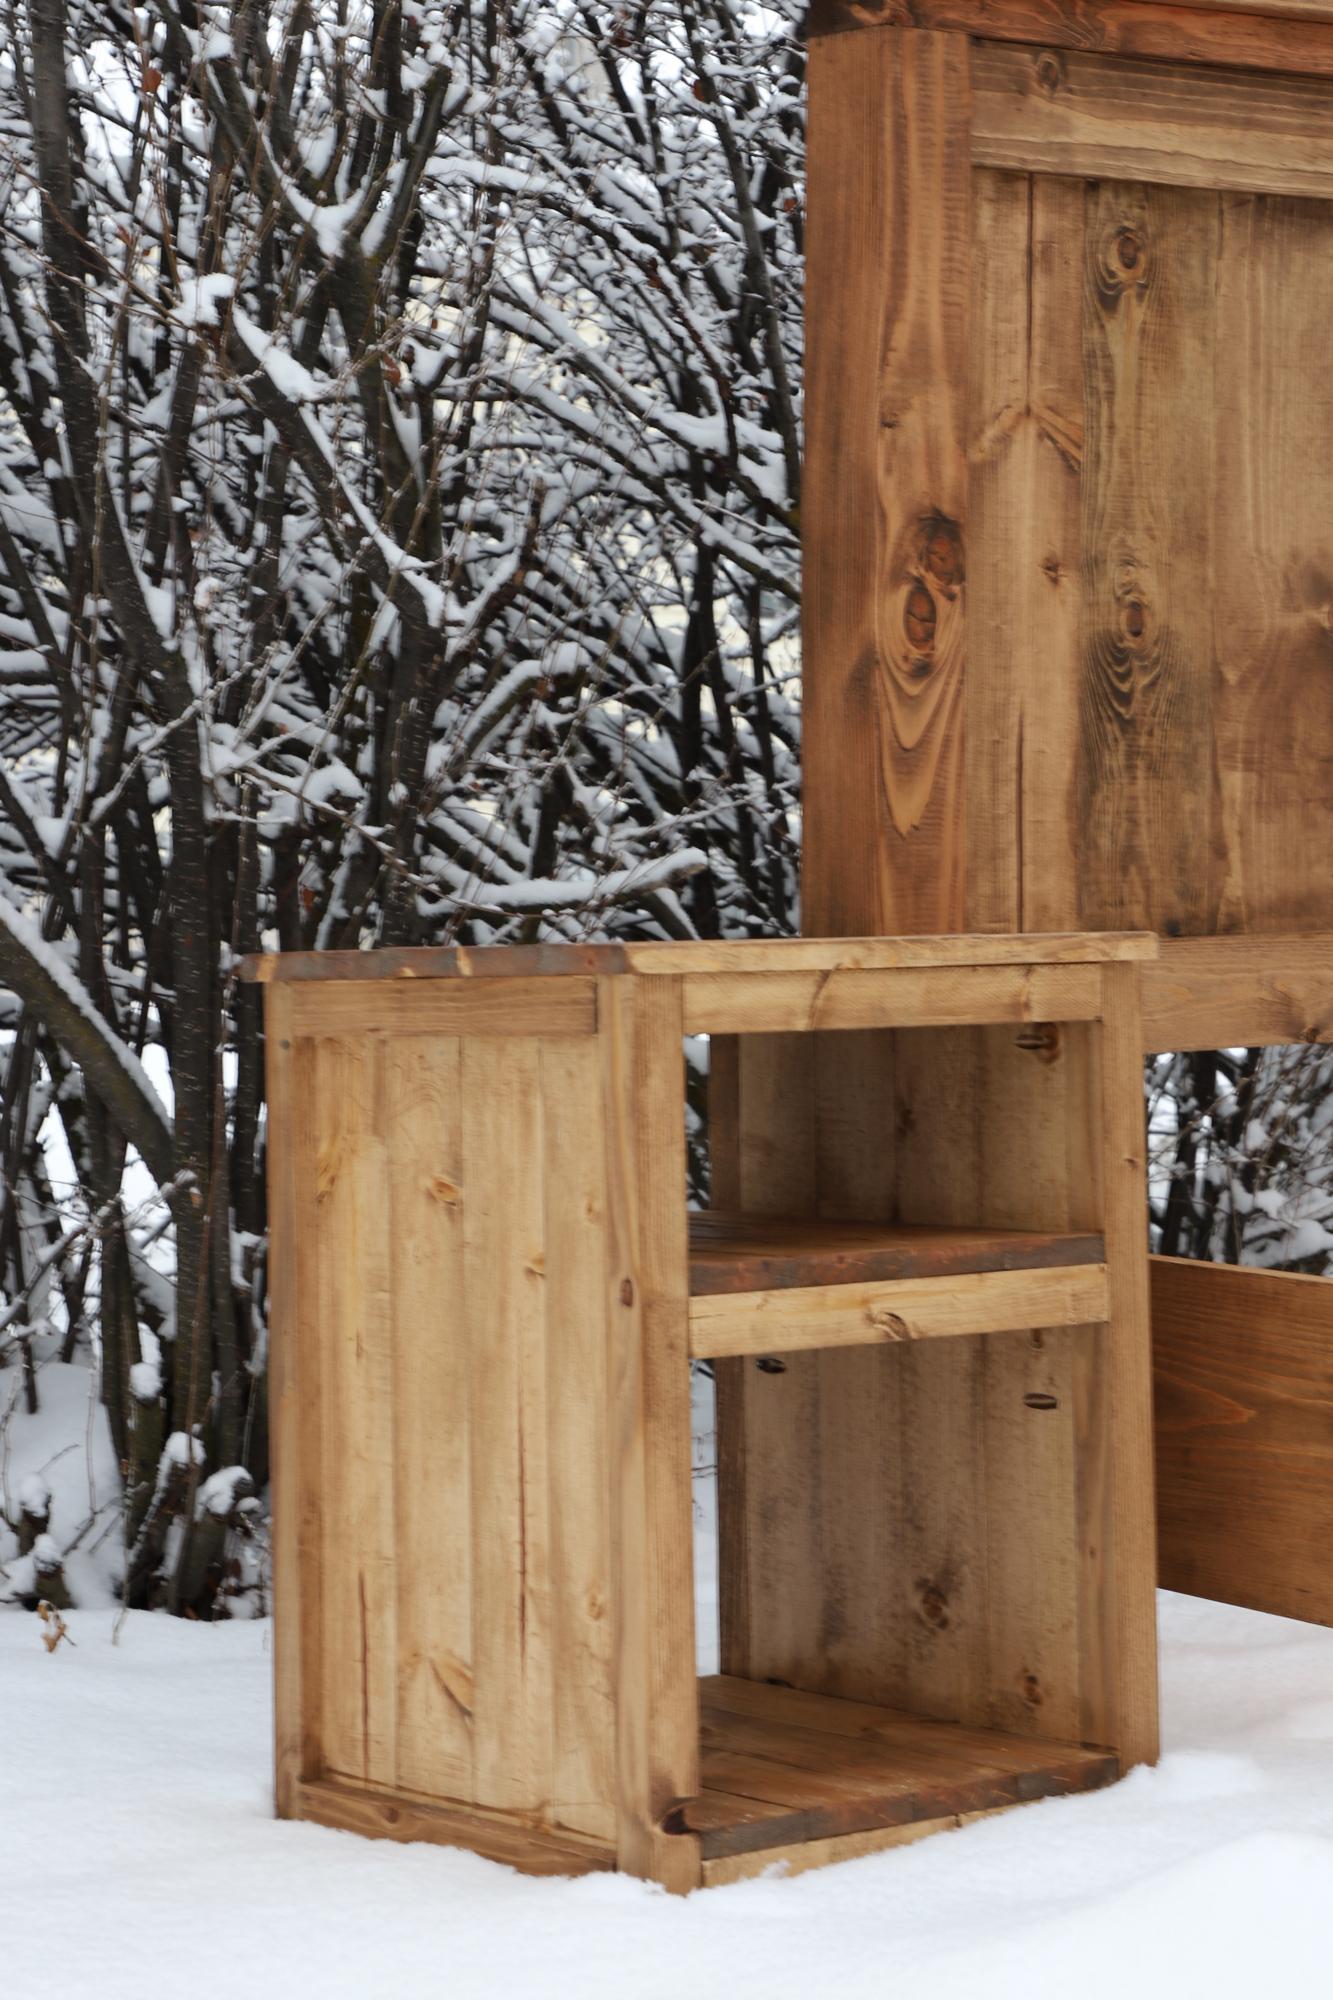
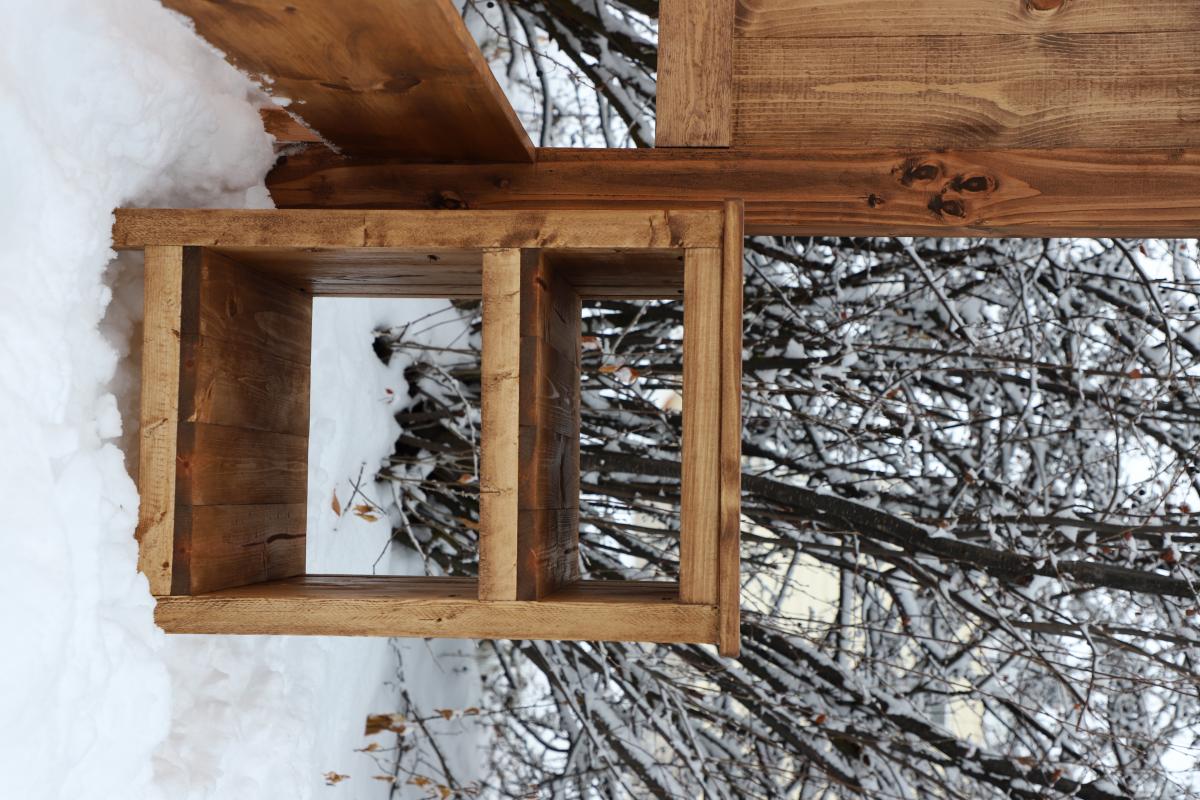
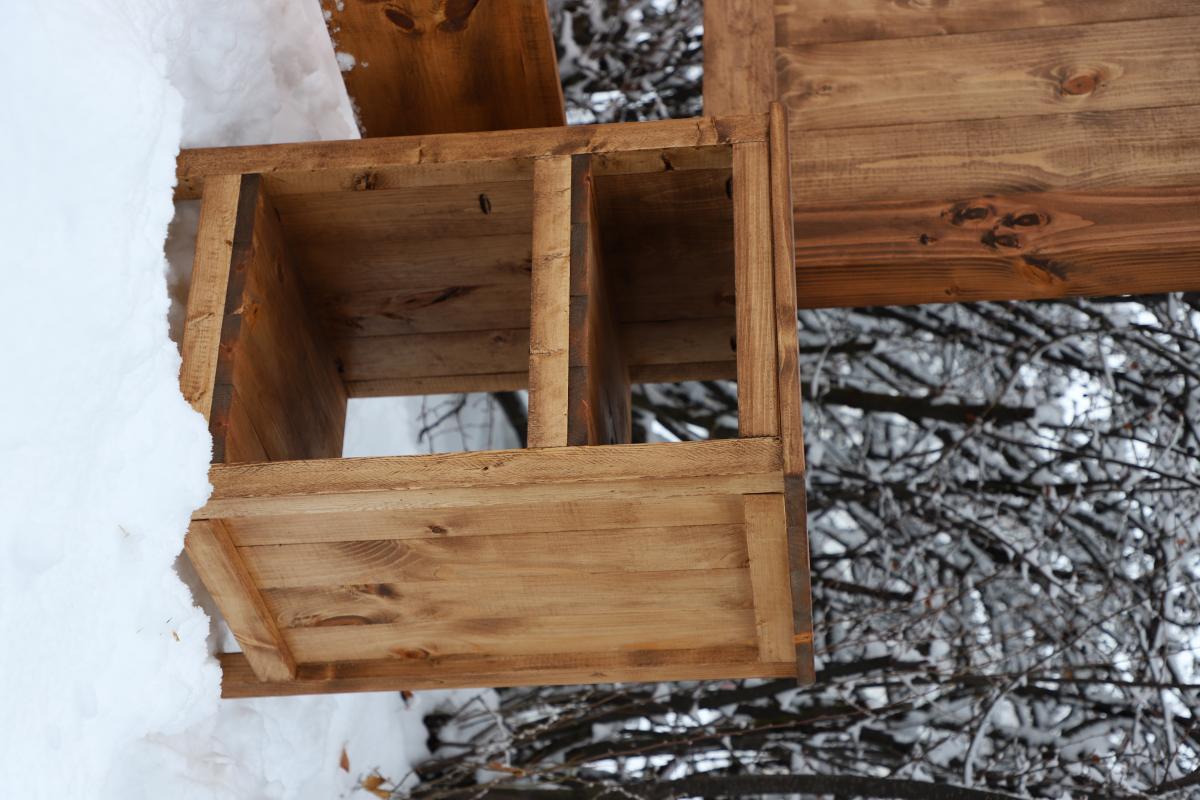
I built these matching nightstands to go with a king bed frame I built for a couple whose rebuilding their home that burned down. They were pretty simple to put together, but despite their simplicity, they are gorgeous.
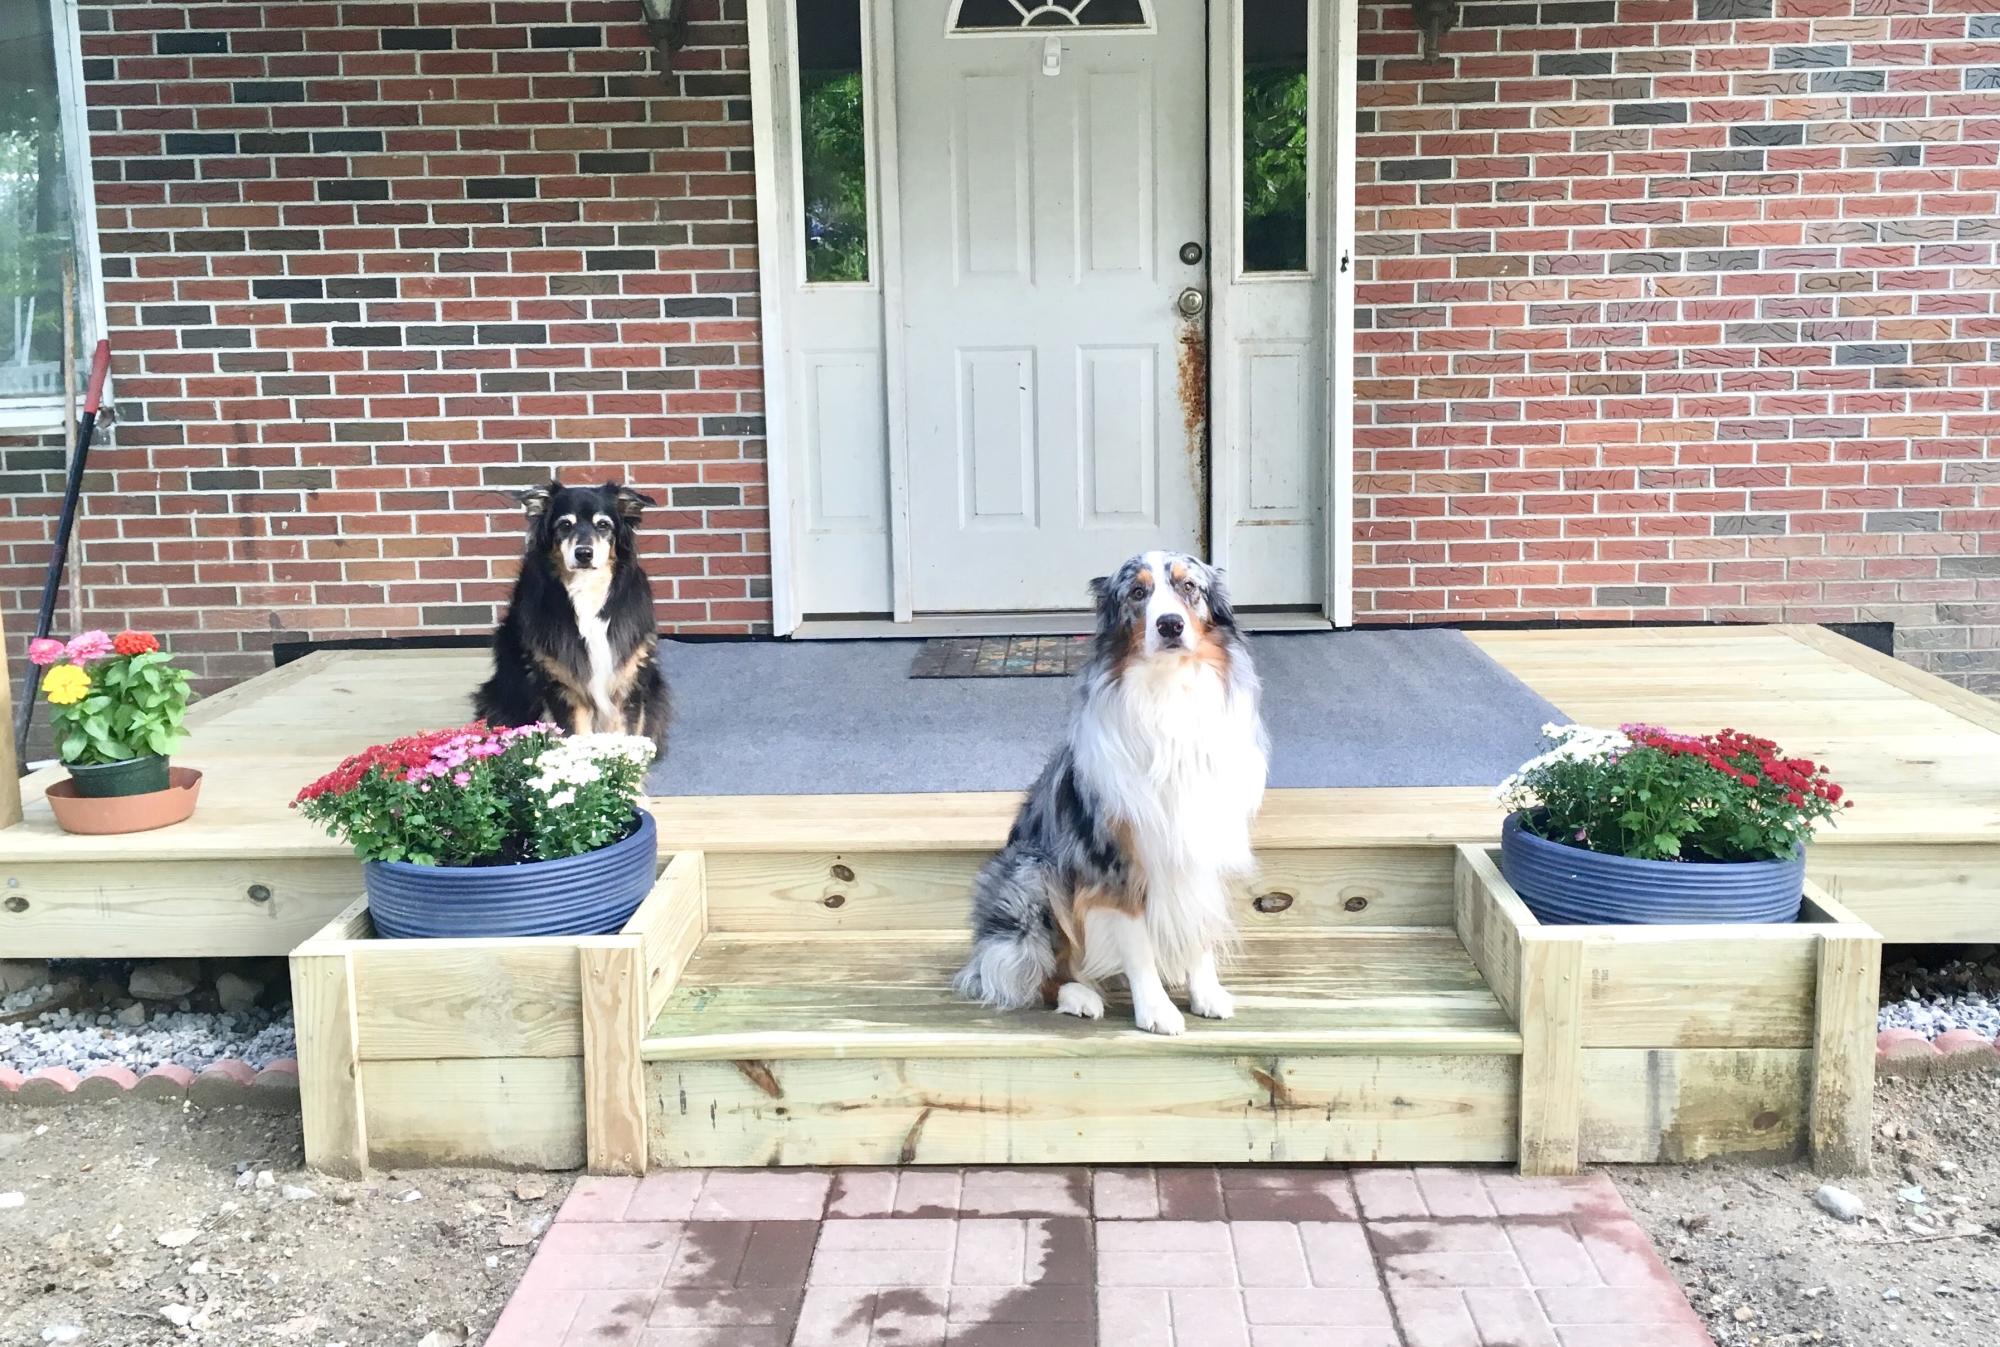
I love how sturdy and beautiful these planter steps turned out! They were easy to build and work perfectly with the new deck/front porch I built this summer. I only needed one step and I used the same 1x material for the top of the step as I did the deck. I just added a couple more supports for the 1x material, as it isn't as sturdy as 2x6's. Thank you so much for the wonderful plan!
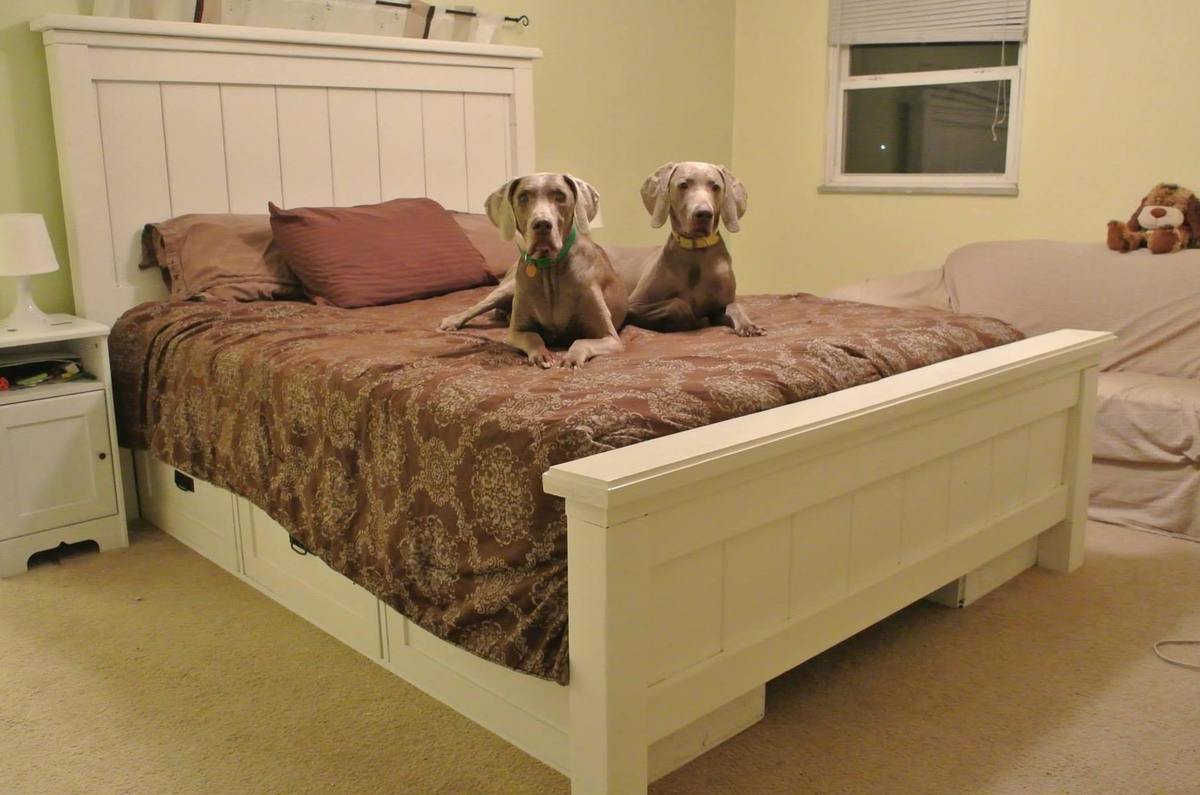
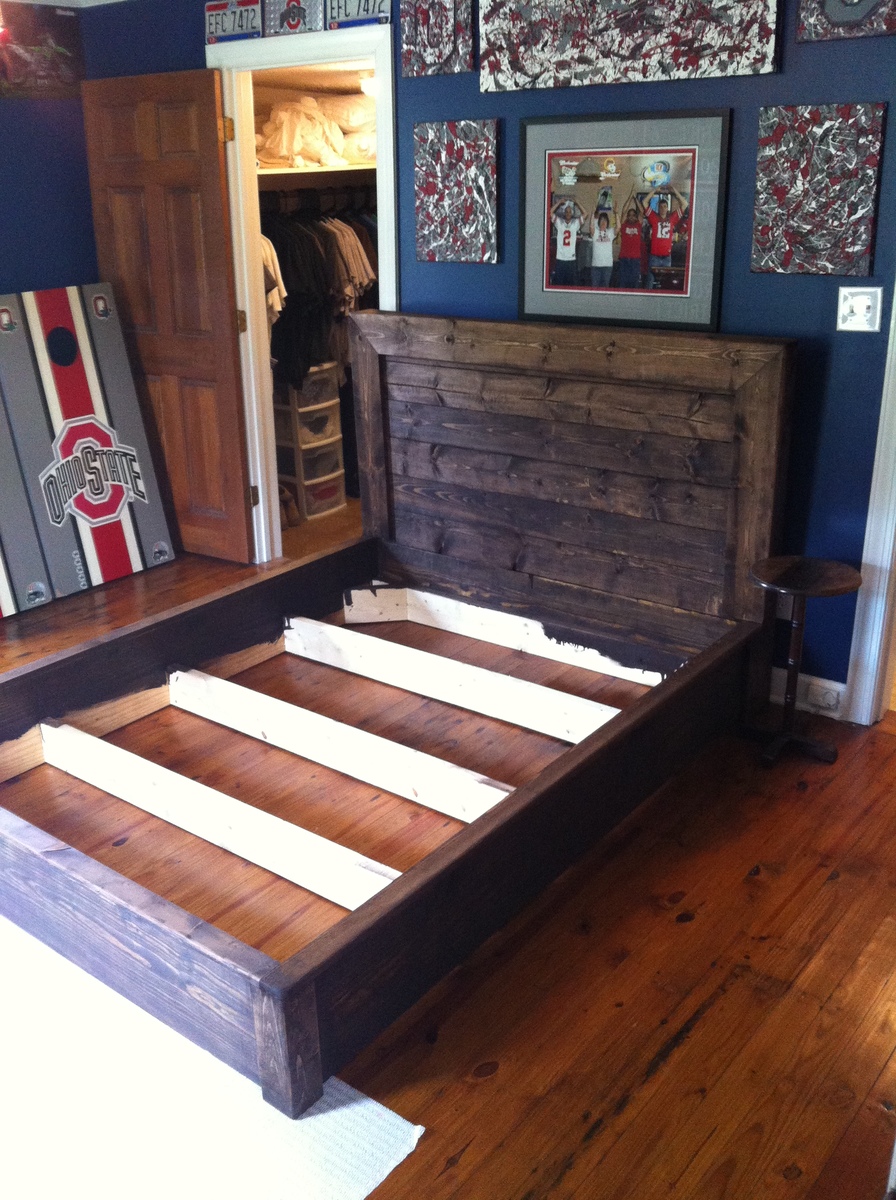
I meshed the Farmhouse Bed with the Farmhouse Storage Bed with Storage Drawers and this is the final product. Let me know if you have any questions. I learned along the way.
A few things I modified -
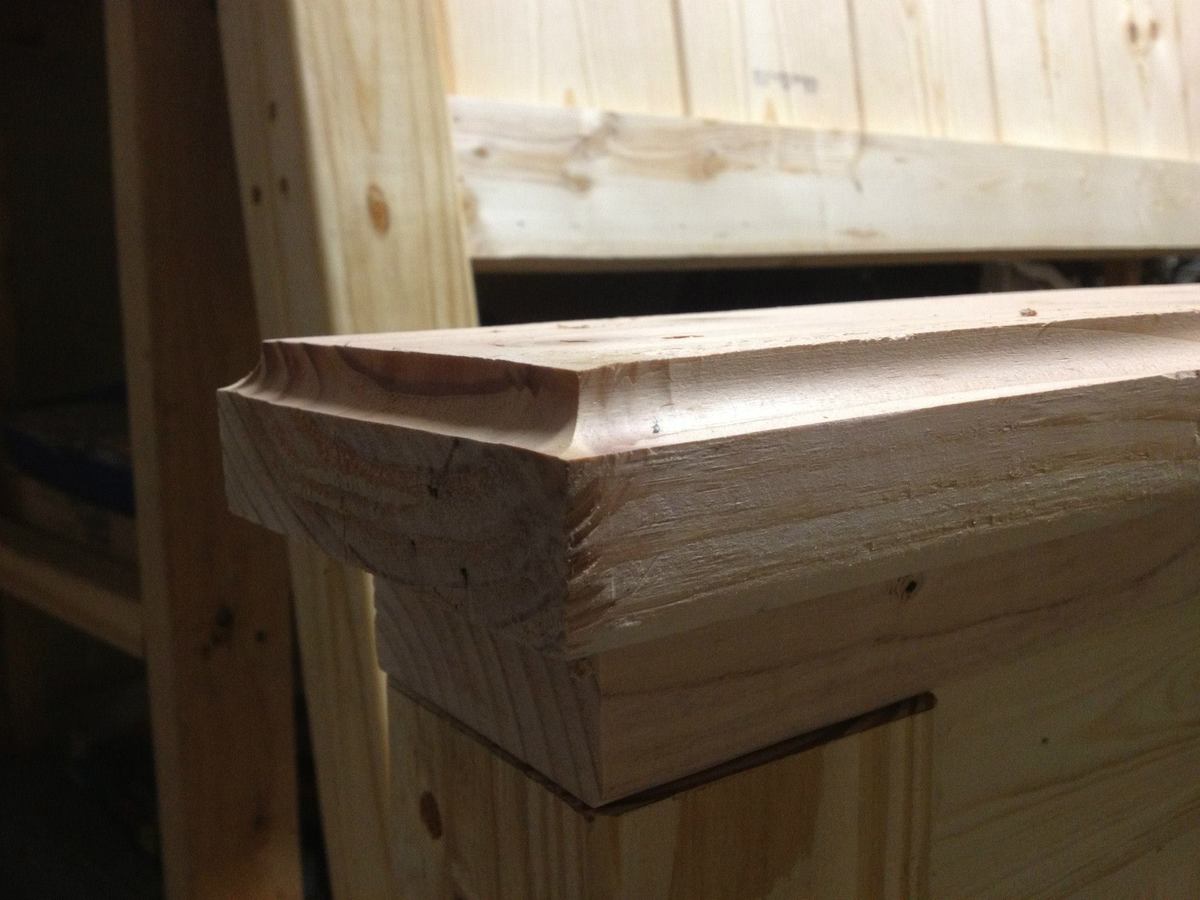
I knocked off the corners of the 1x8's used in the footboard and headboard as I wasn't a fan with how they butted up straight. I liked the rounded edges of the routered boards instead.
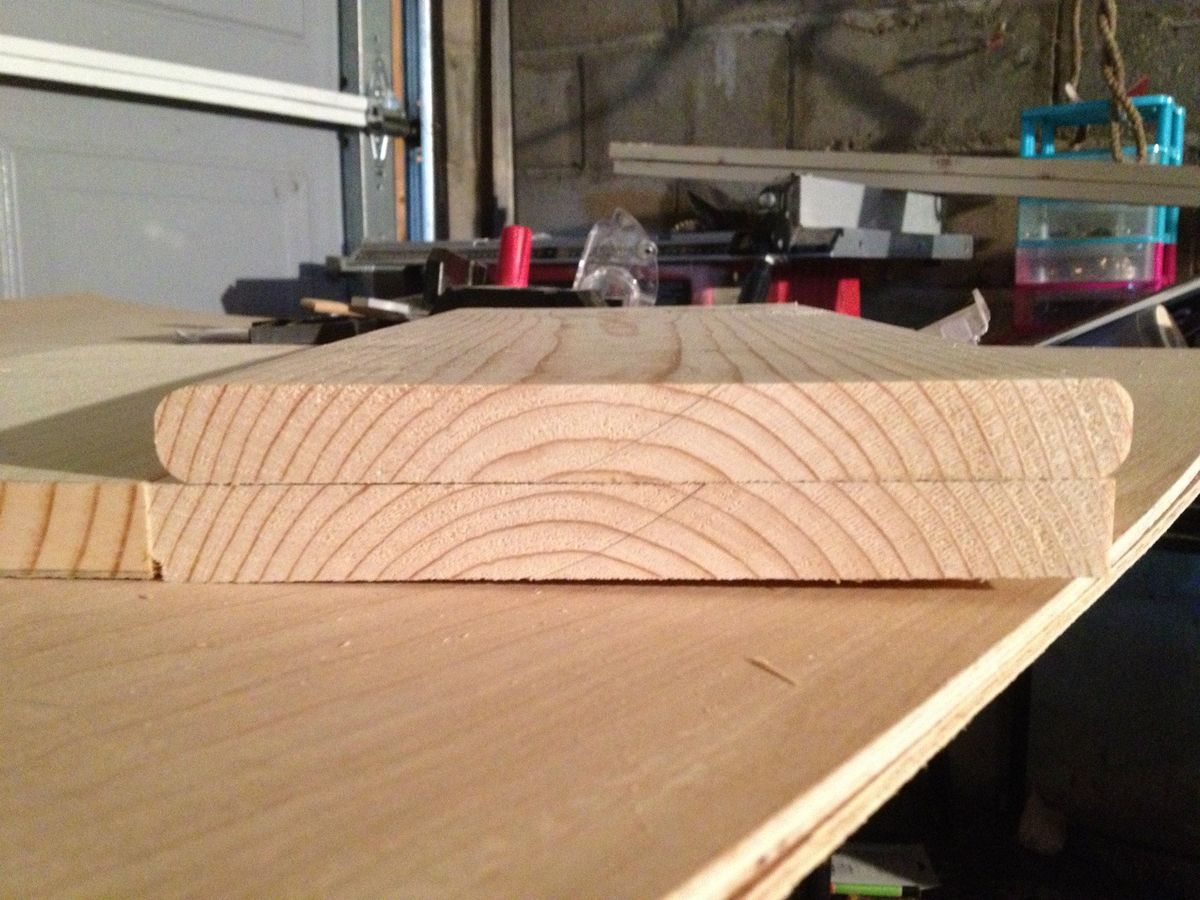
I cove routered the tops of 2x6's and loved how they turned out
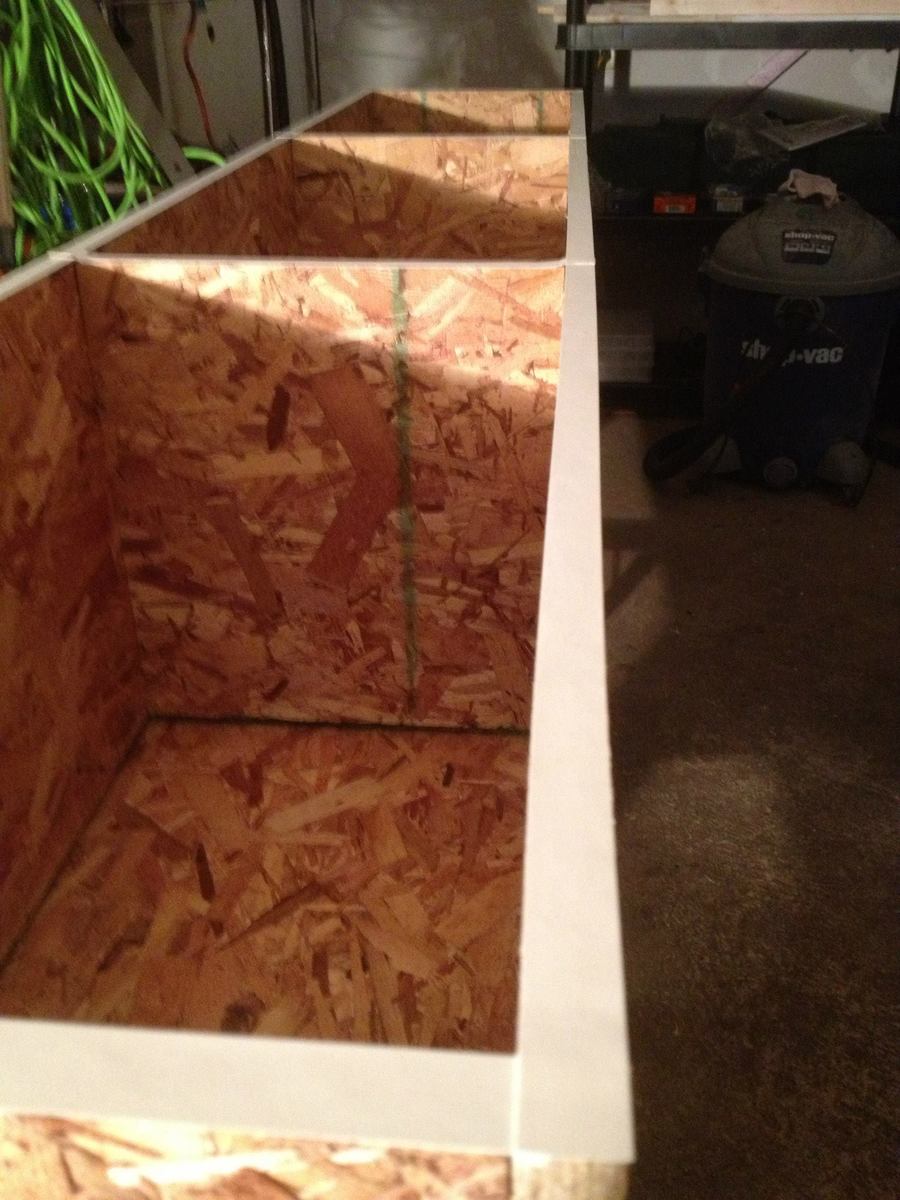
When I handed my cutlist to the kid at the big orange store, he pulled OSB instead of plywood for the storage cabinets. I realized it halfway through the cutting as I was shopping for other things and didn't have the heart to tell him halfway through the job. I had to edge band (first time) the edges and the OSB soaked up a lot of primer.

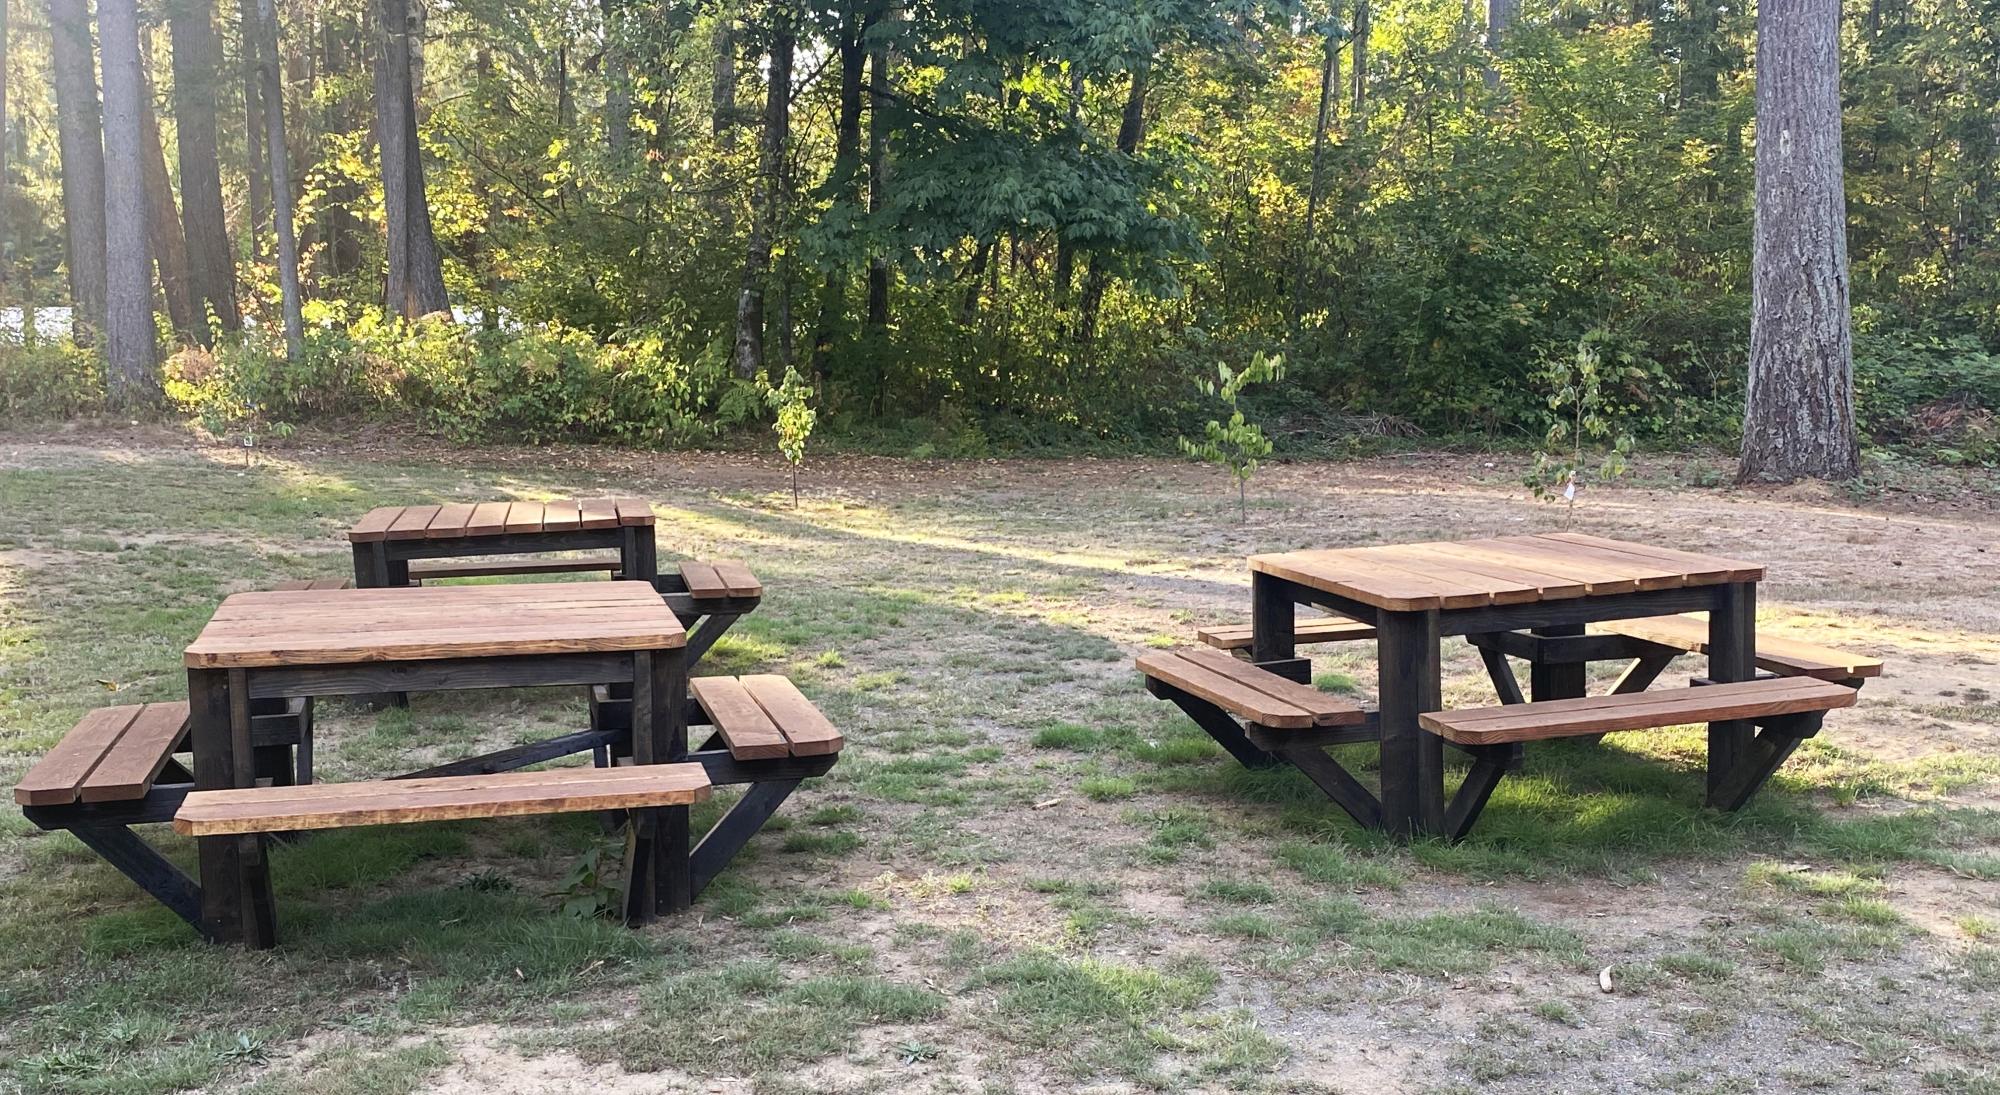
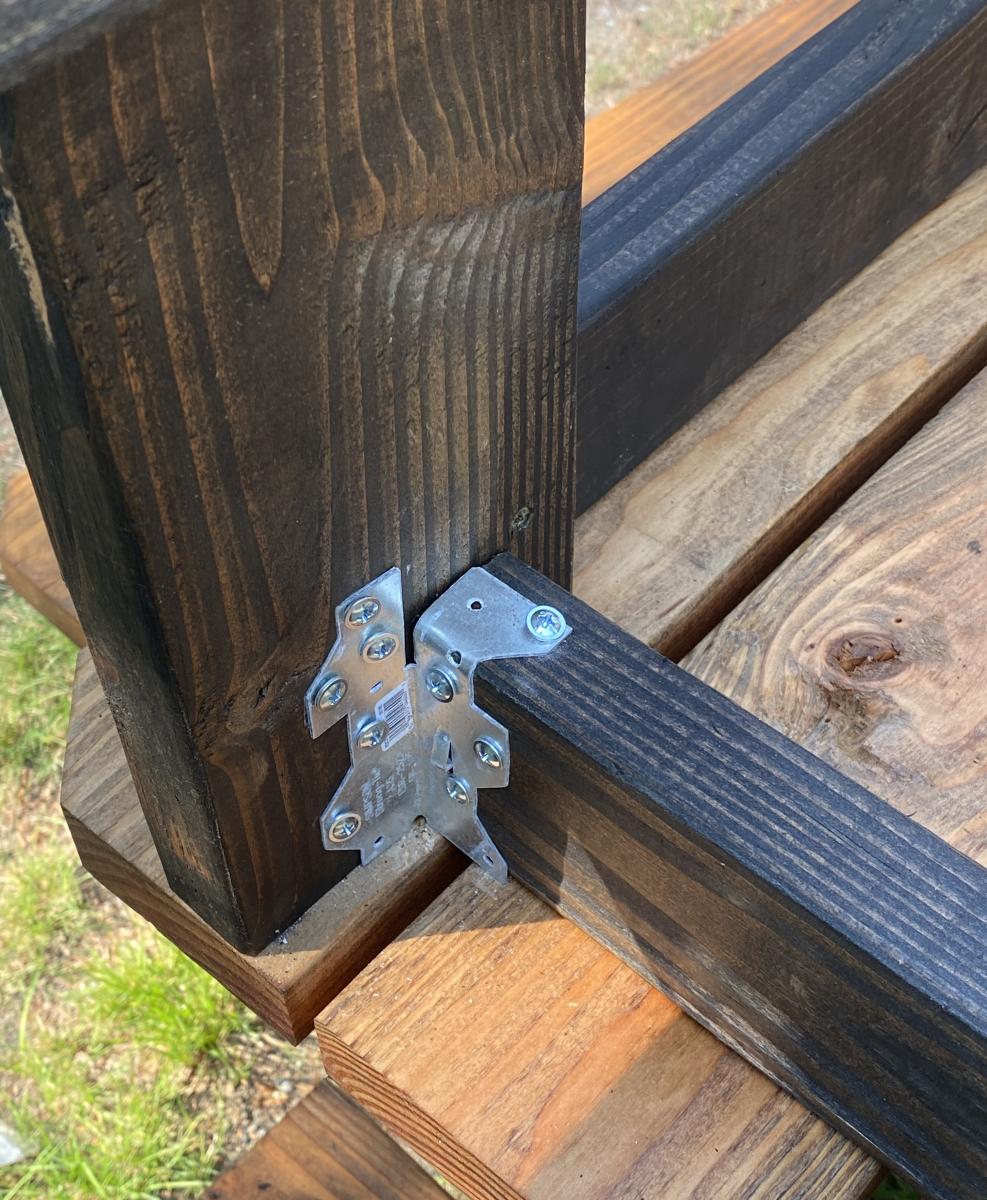
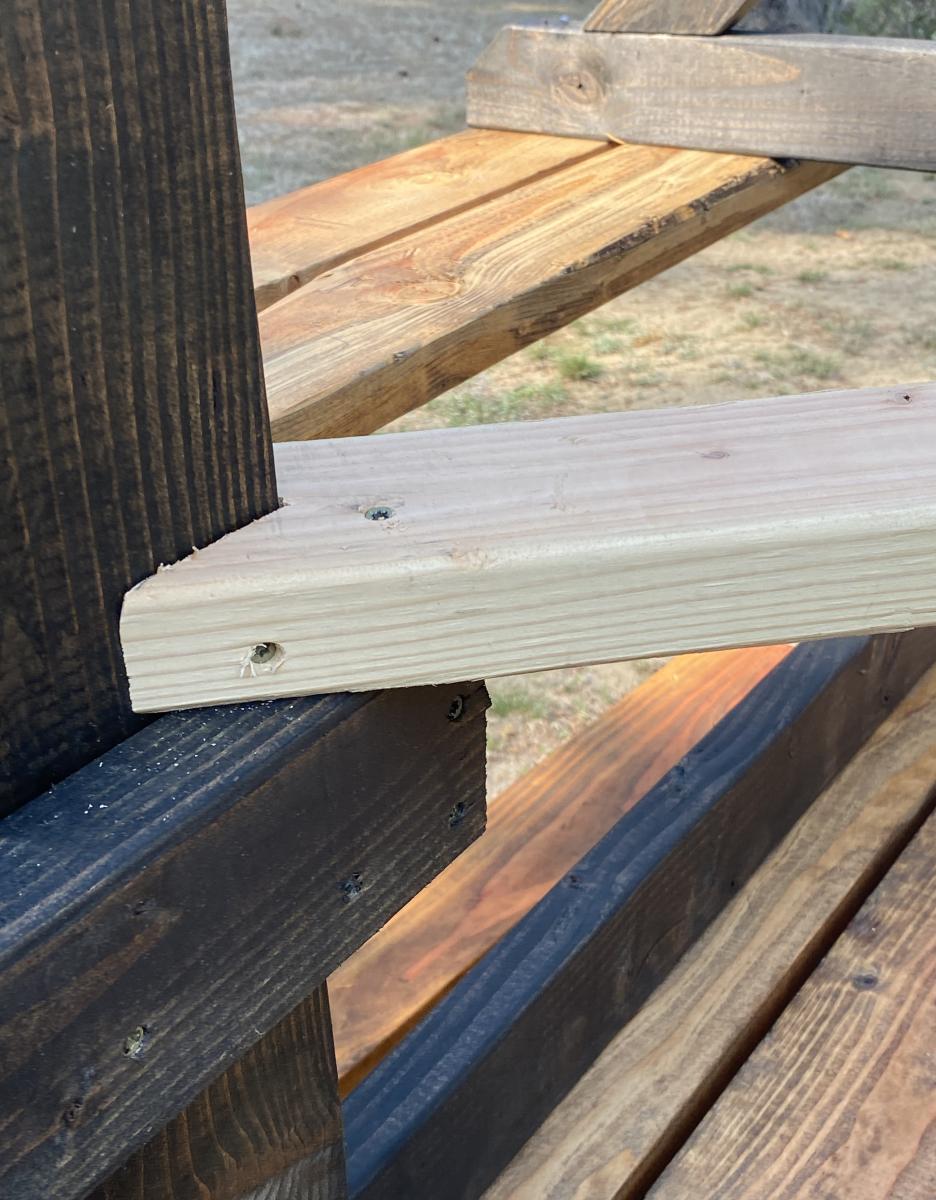
I built 3 of the square picnic tables, as we have a large extended family. I enjoyed the project and the results. I did end up adding a cross brace and some metal clips, they added a little more strength for the table when it was full of people.
Thank you for sharing your plans.
Rick

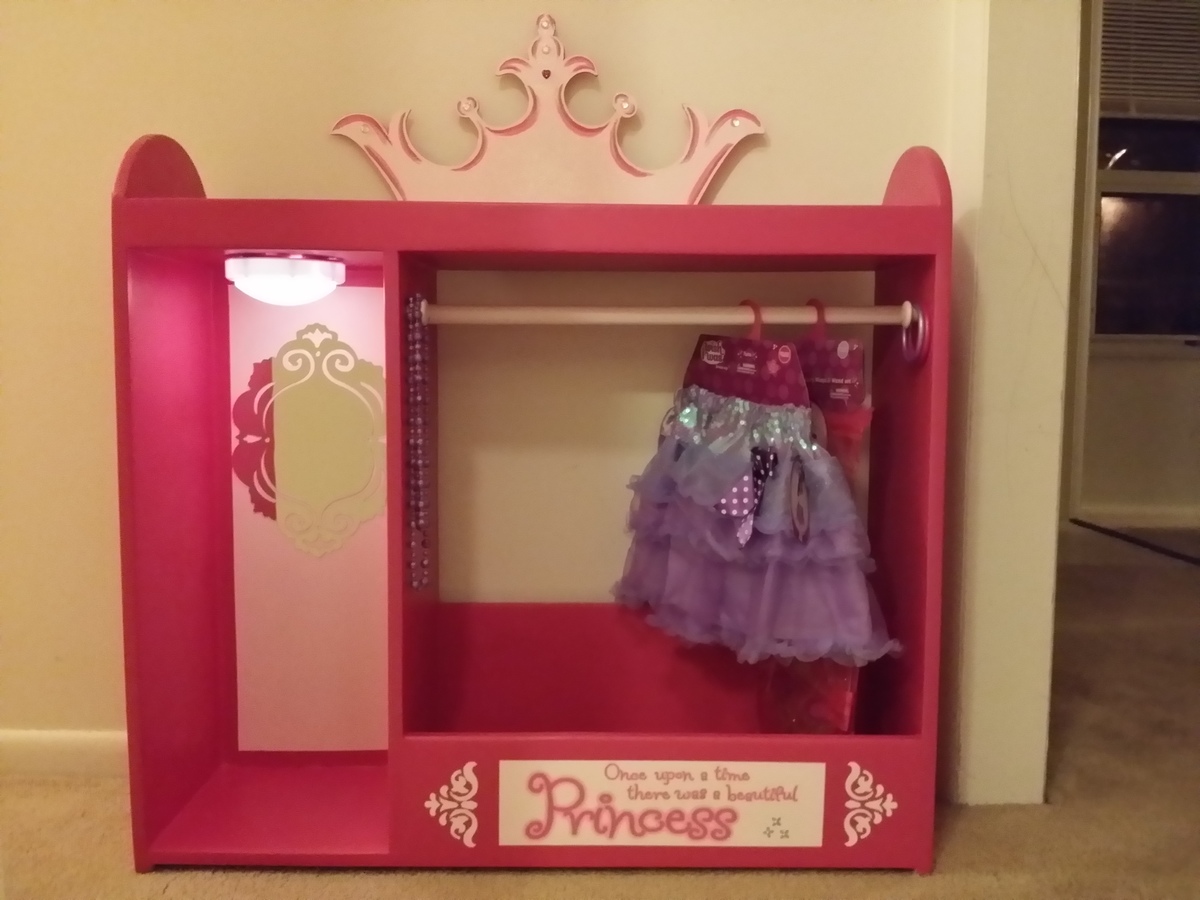
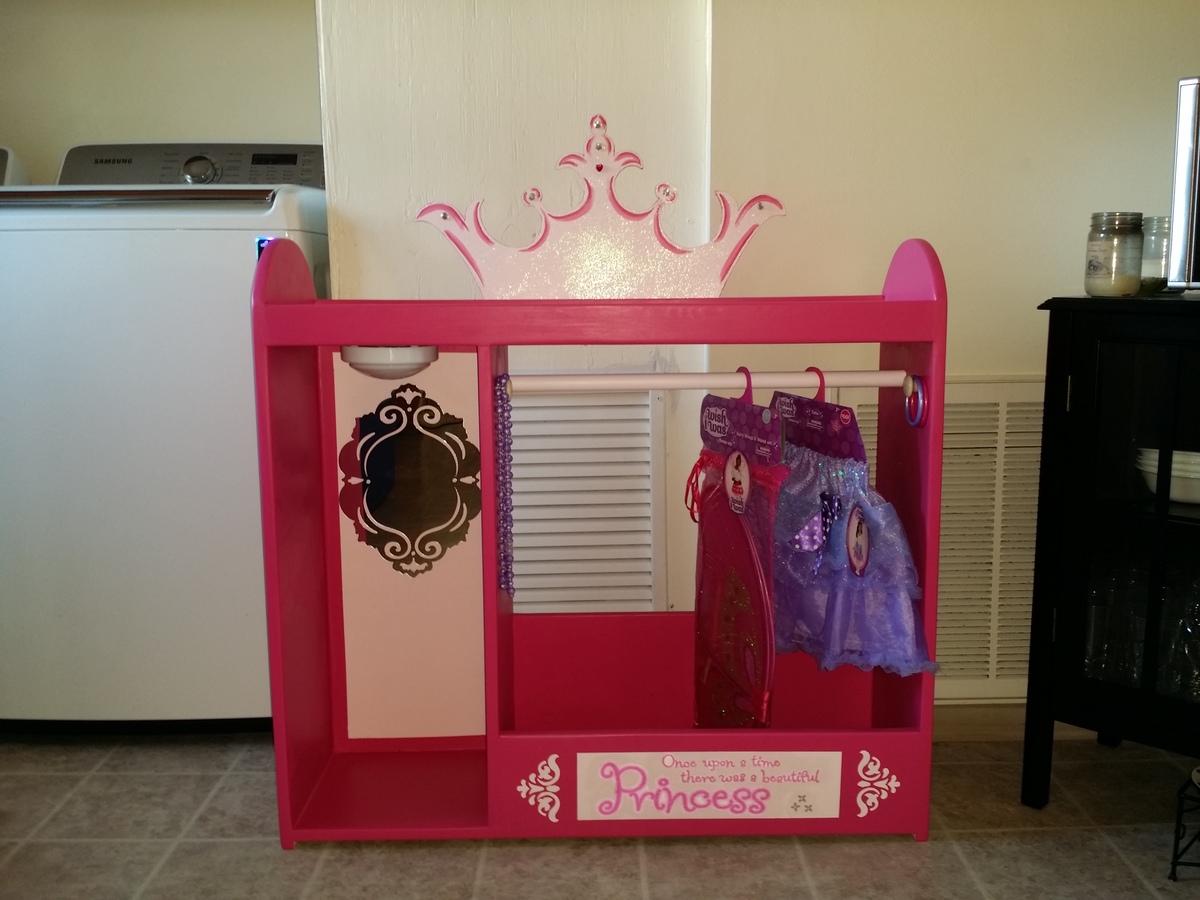
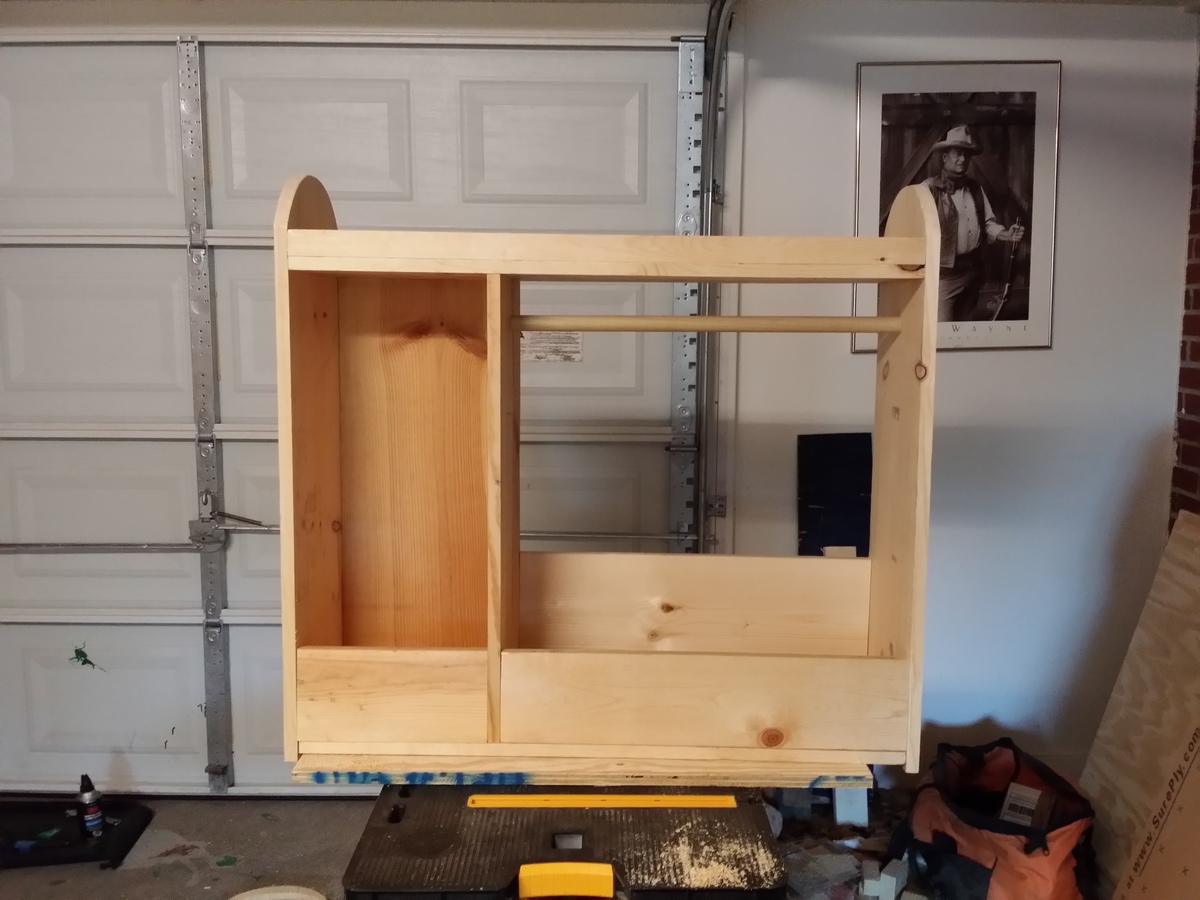
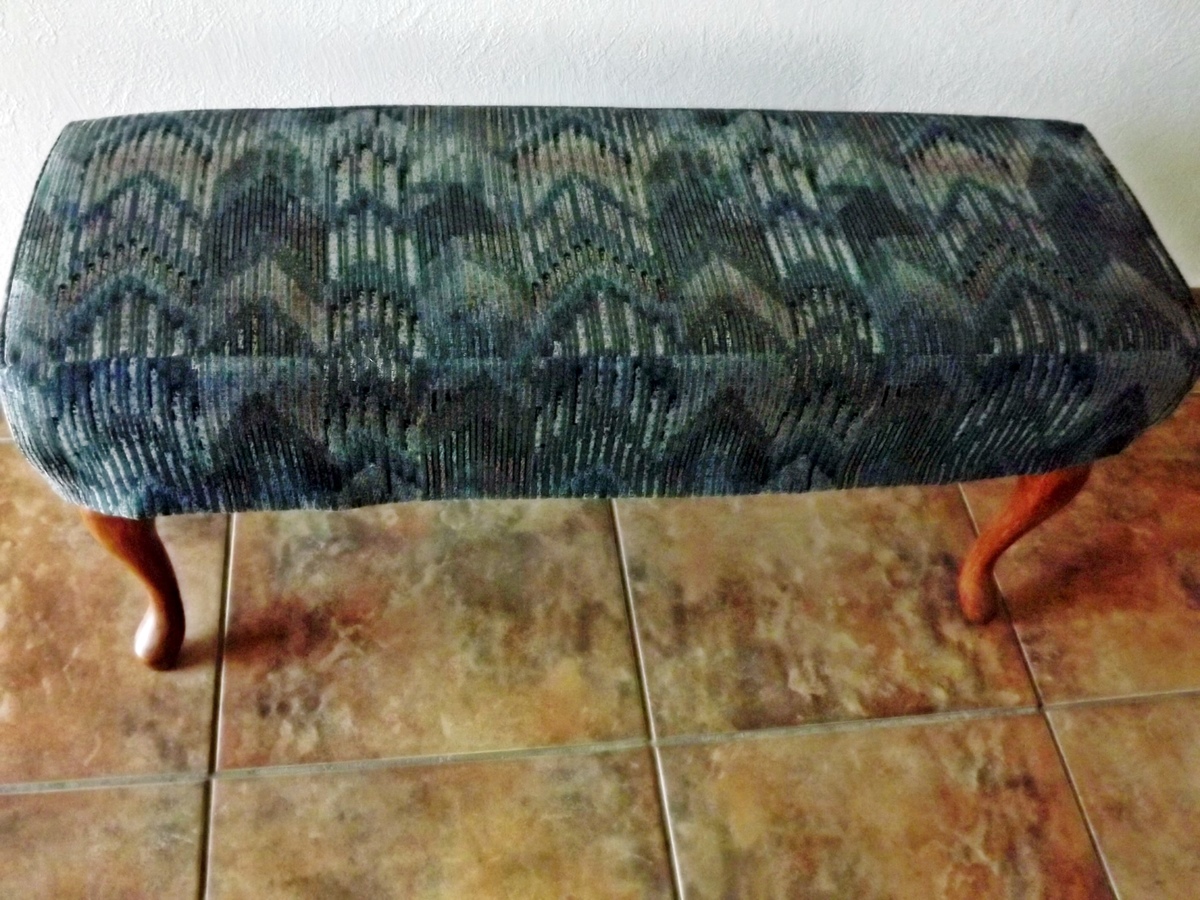
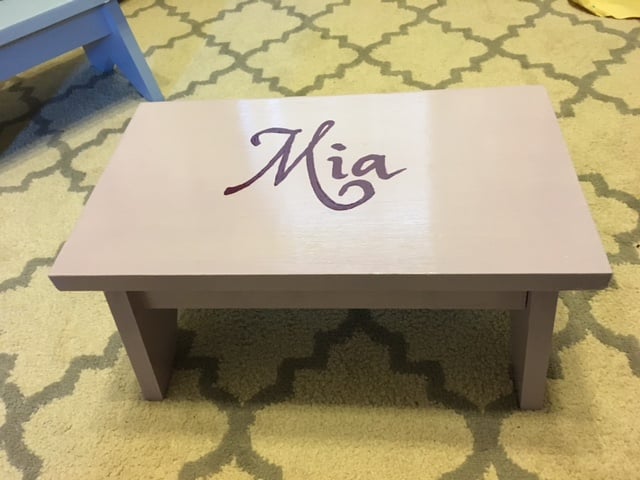
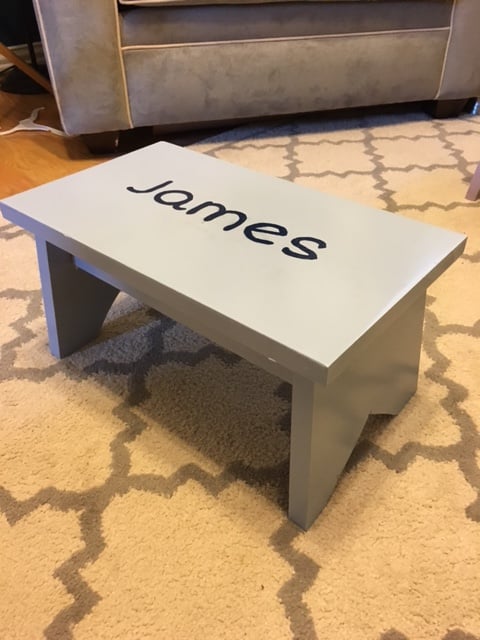
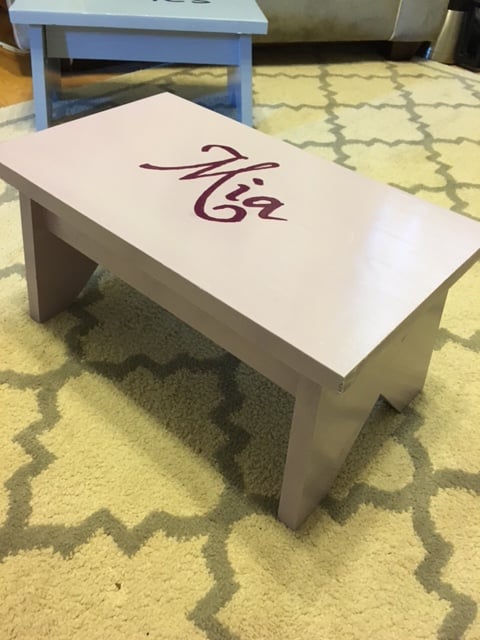
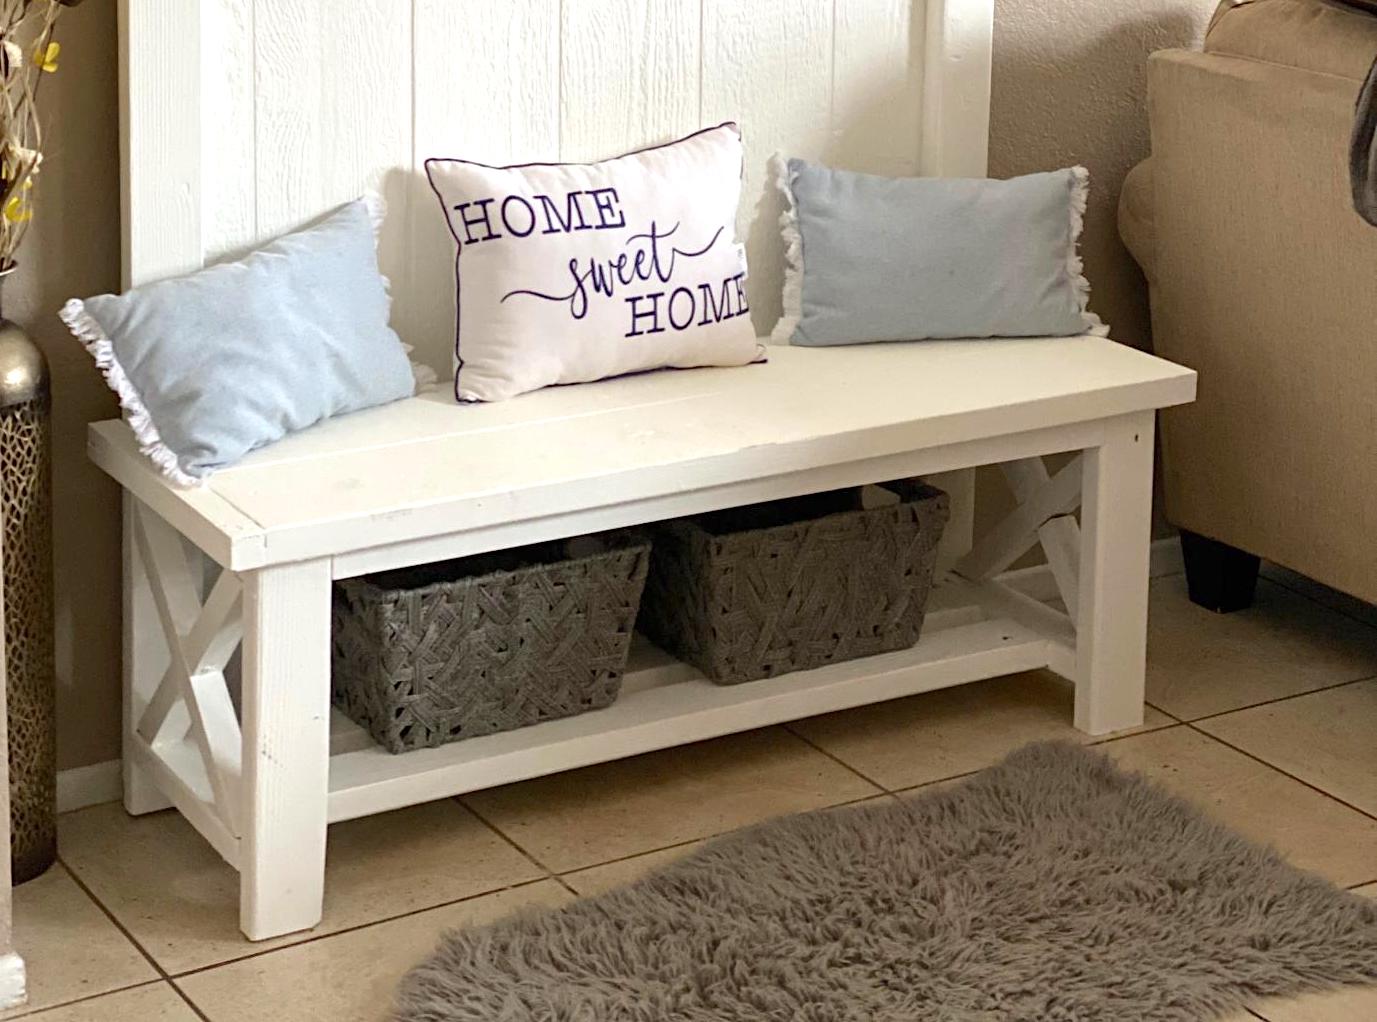
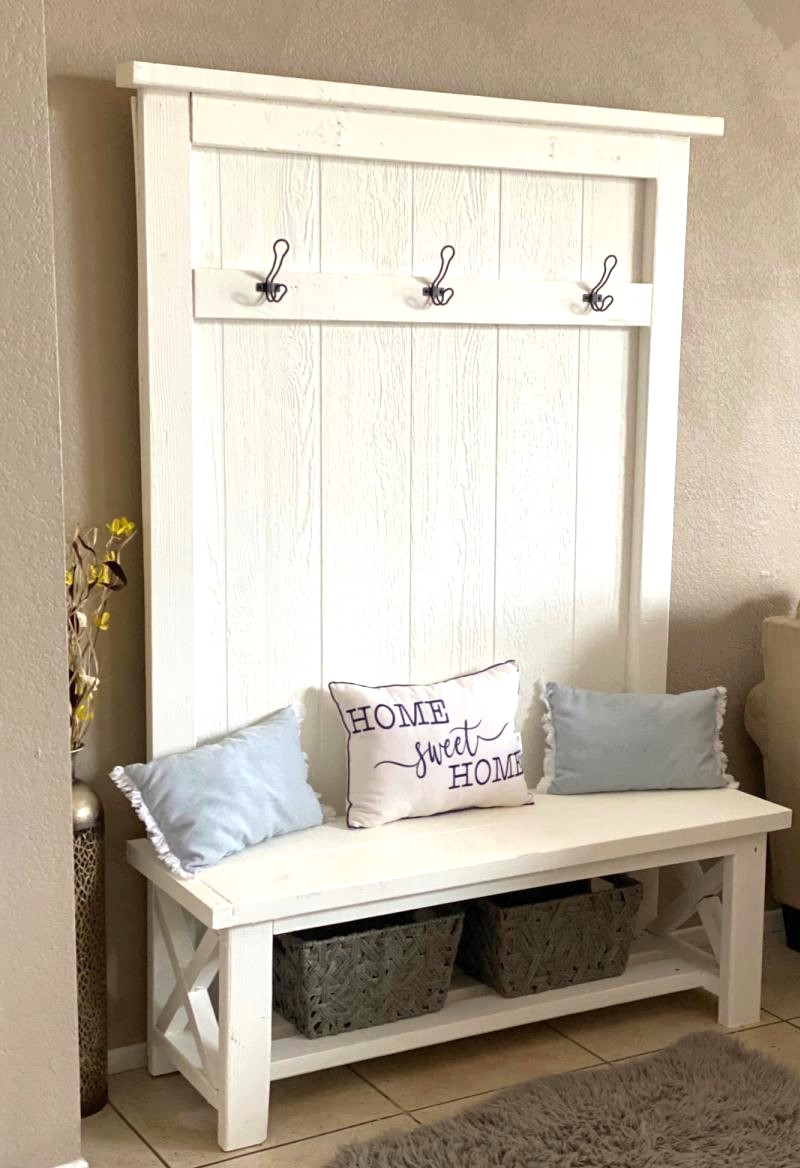
This project took about a week of commitment because of the multiple coats of paint. Otherwise, it was a very quick build, built in one day, but quite tedious sanding. I wish I could have sanded before I built it because the corners were very difficult to get around on the inside. I drew the crown on very thin Plywood that I had laying around from a night table I built and cut it out with a jigsaw.
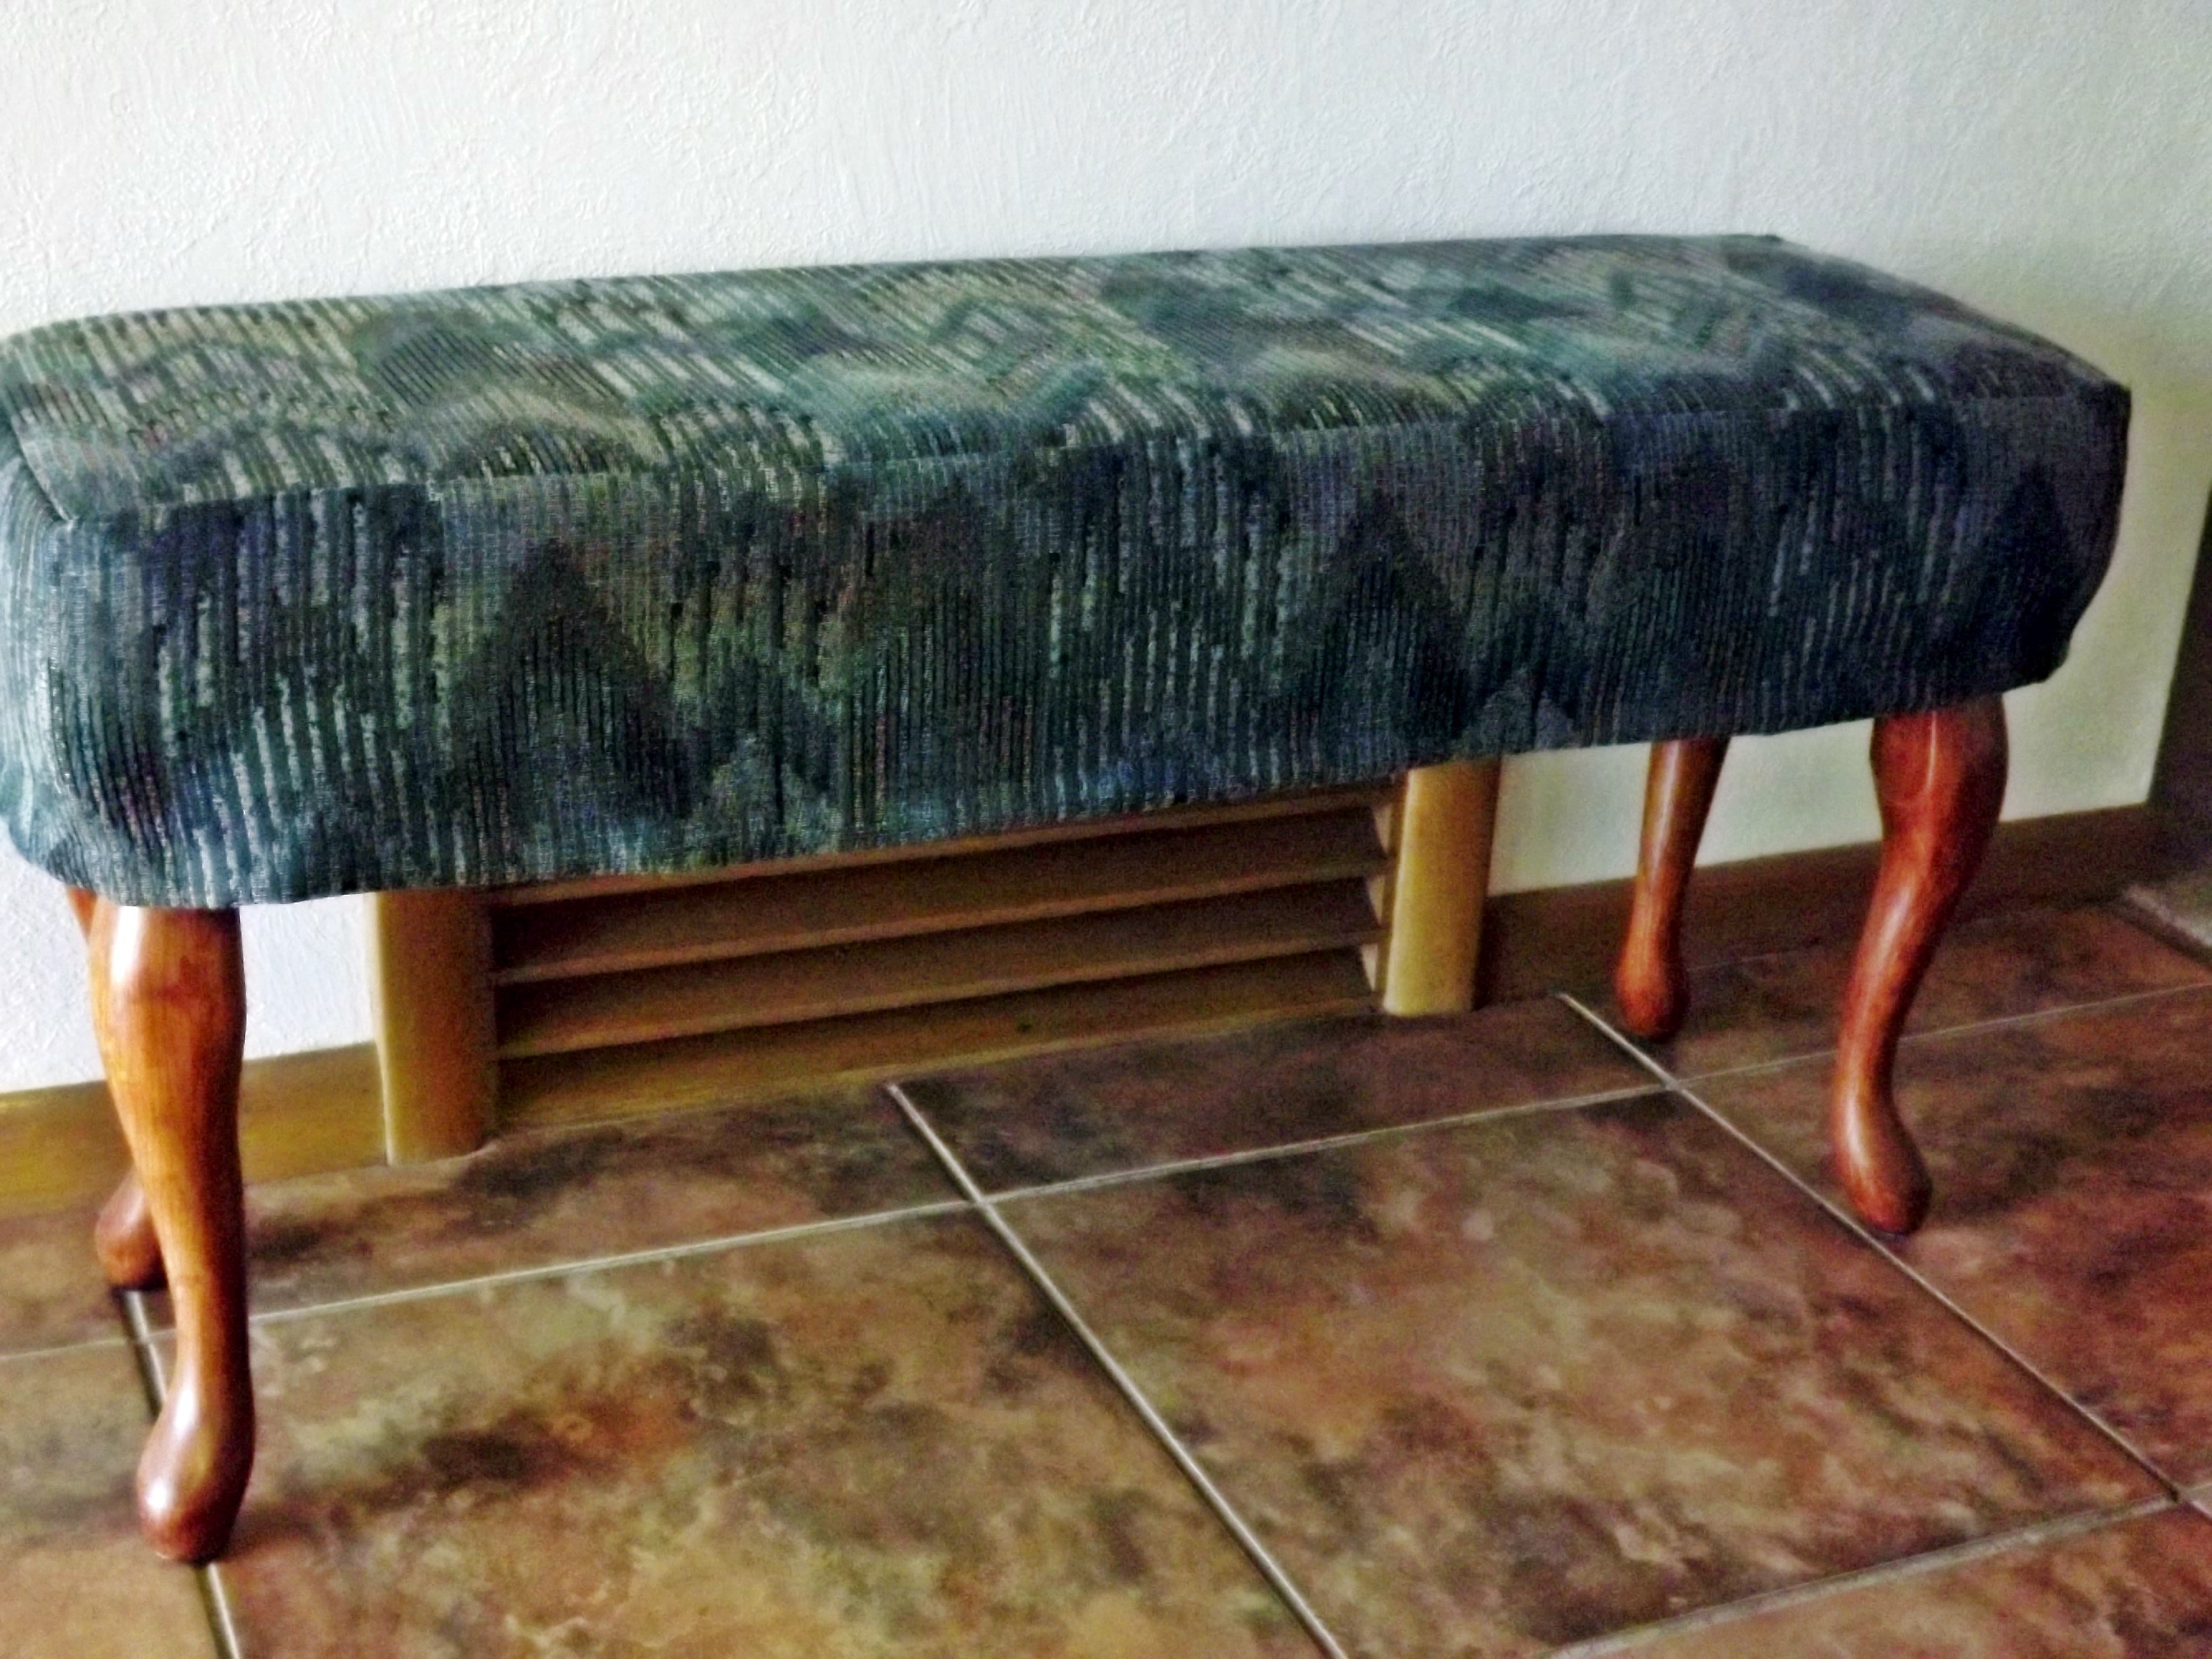
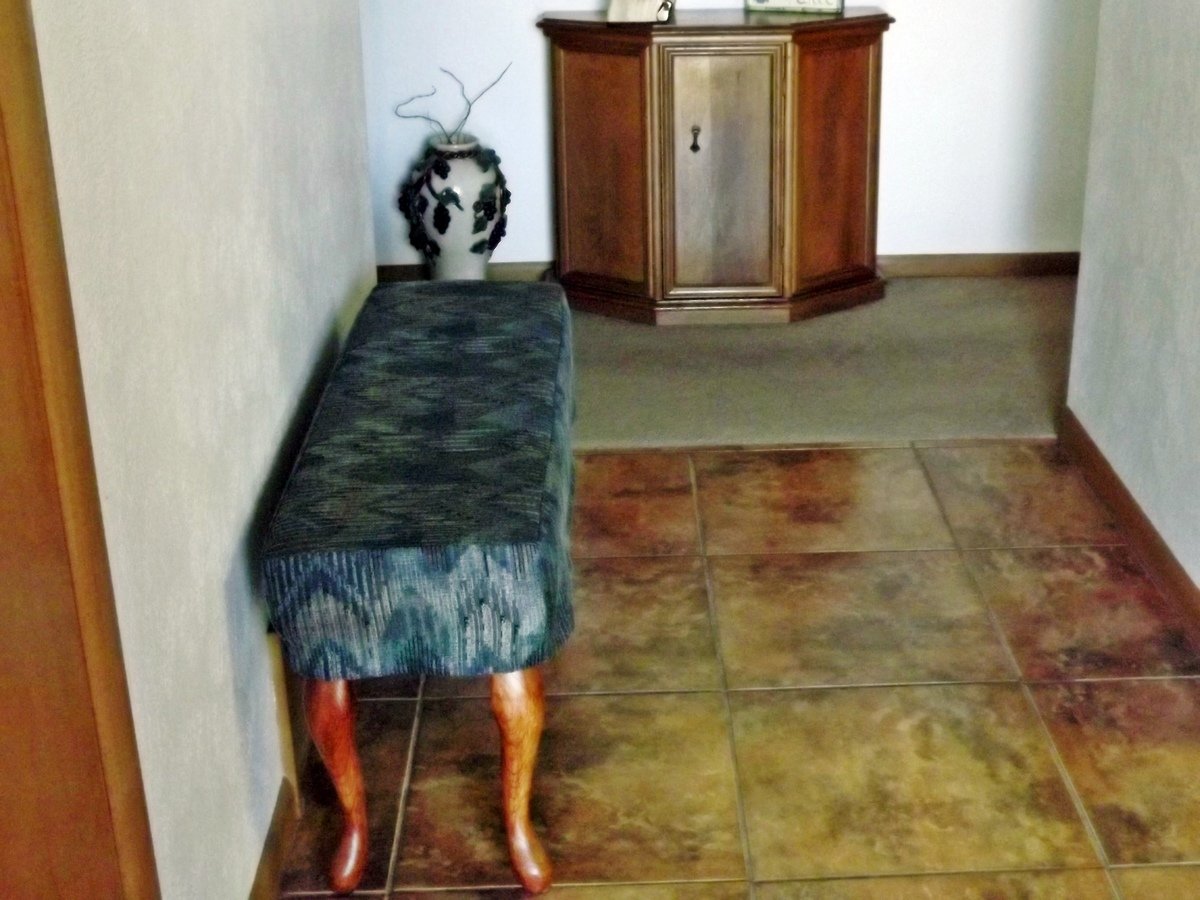
My mother needed a bench in her small entryway. She had definite dimensions in mind and we looked everywhere. None fit the bill. Then I saw these plans and we went from there. She had leftover fabric from recovering her dining room chairs, and I had the plywood. She wanted the Queen Anne legs to go with her traditional furniture; we put felt floor protectors on the bottom of the feet of the legs, which helps keep the bench from moving so easily on the tile floor. The plans were easy to follow, including the tutorial on how to sew the slipcover. The bench worked out just like she had hoped. Thanks Ana, for the great plans.

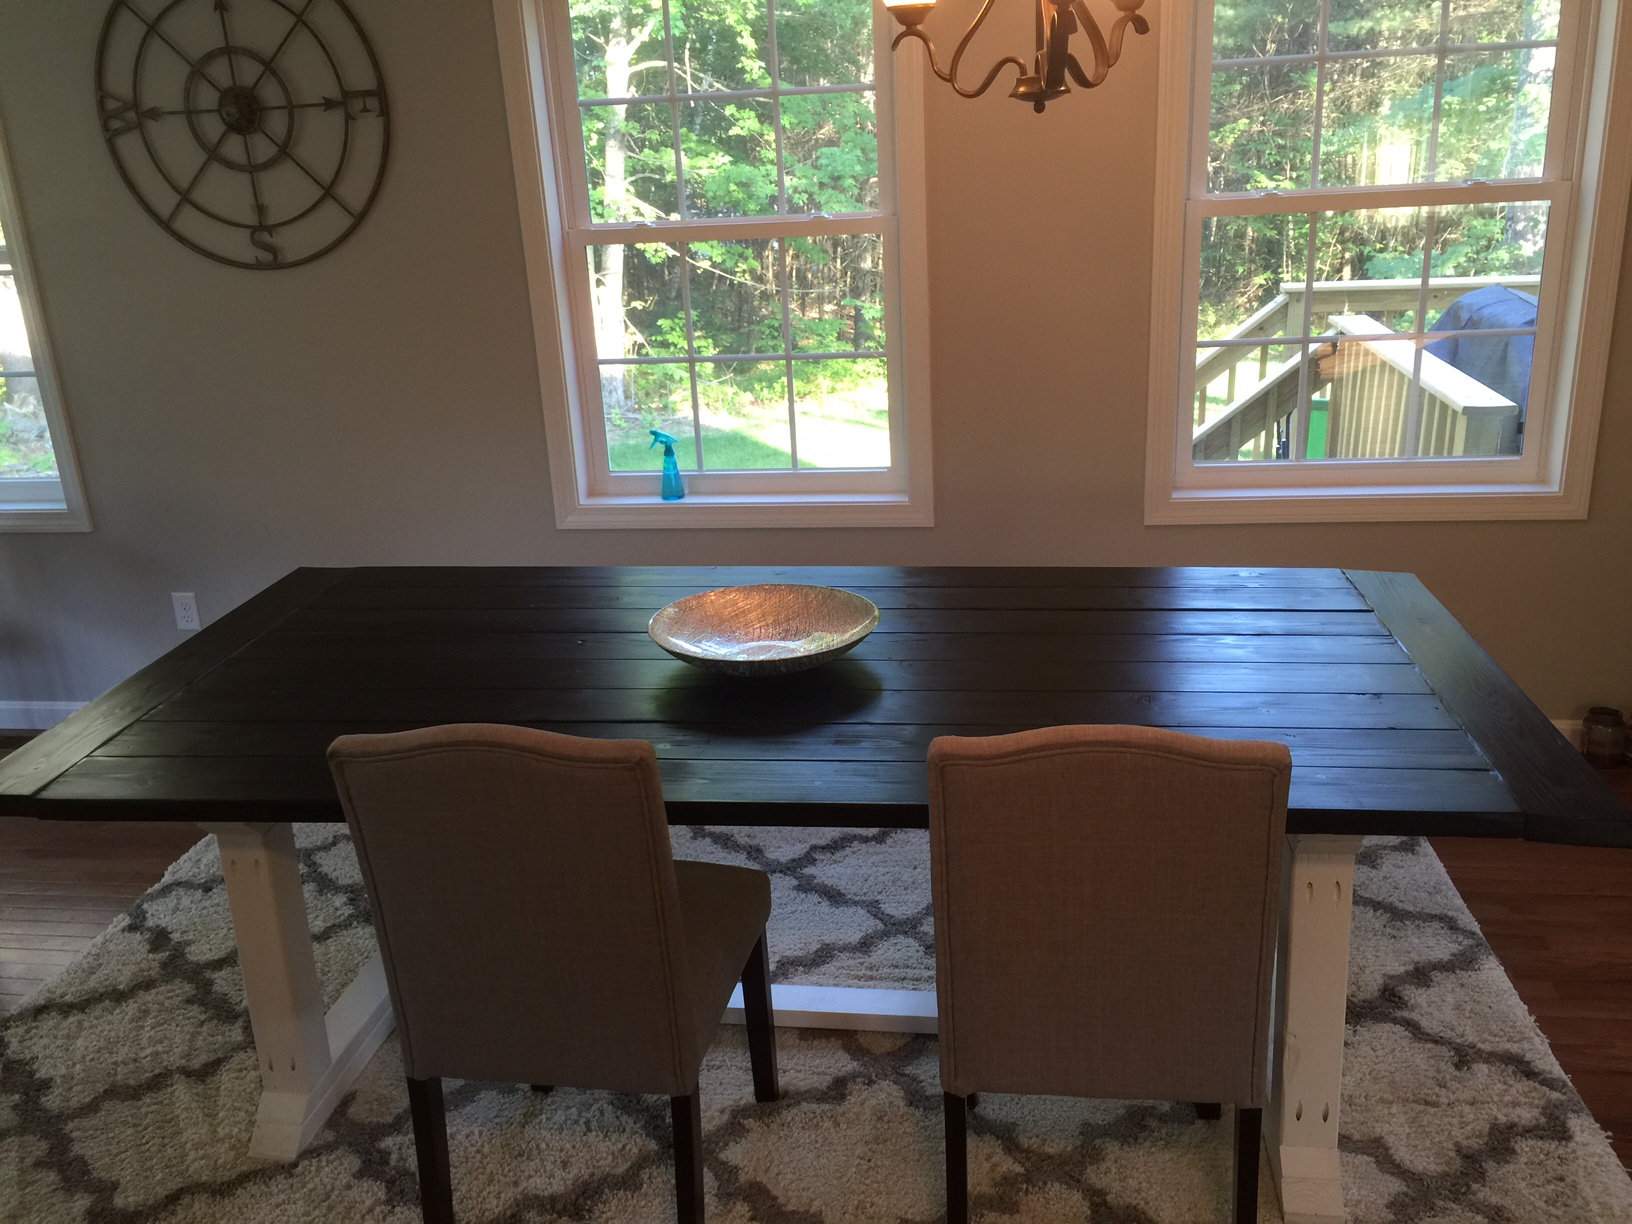
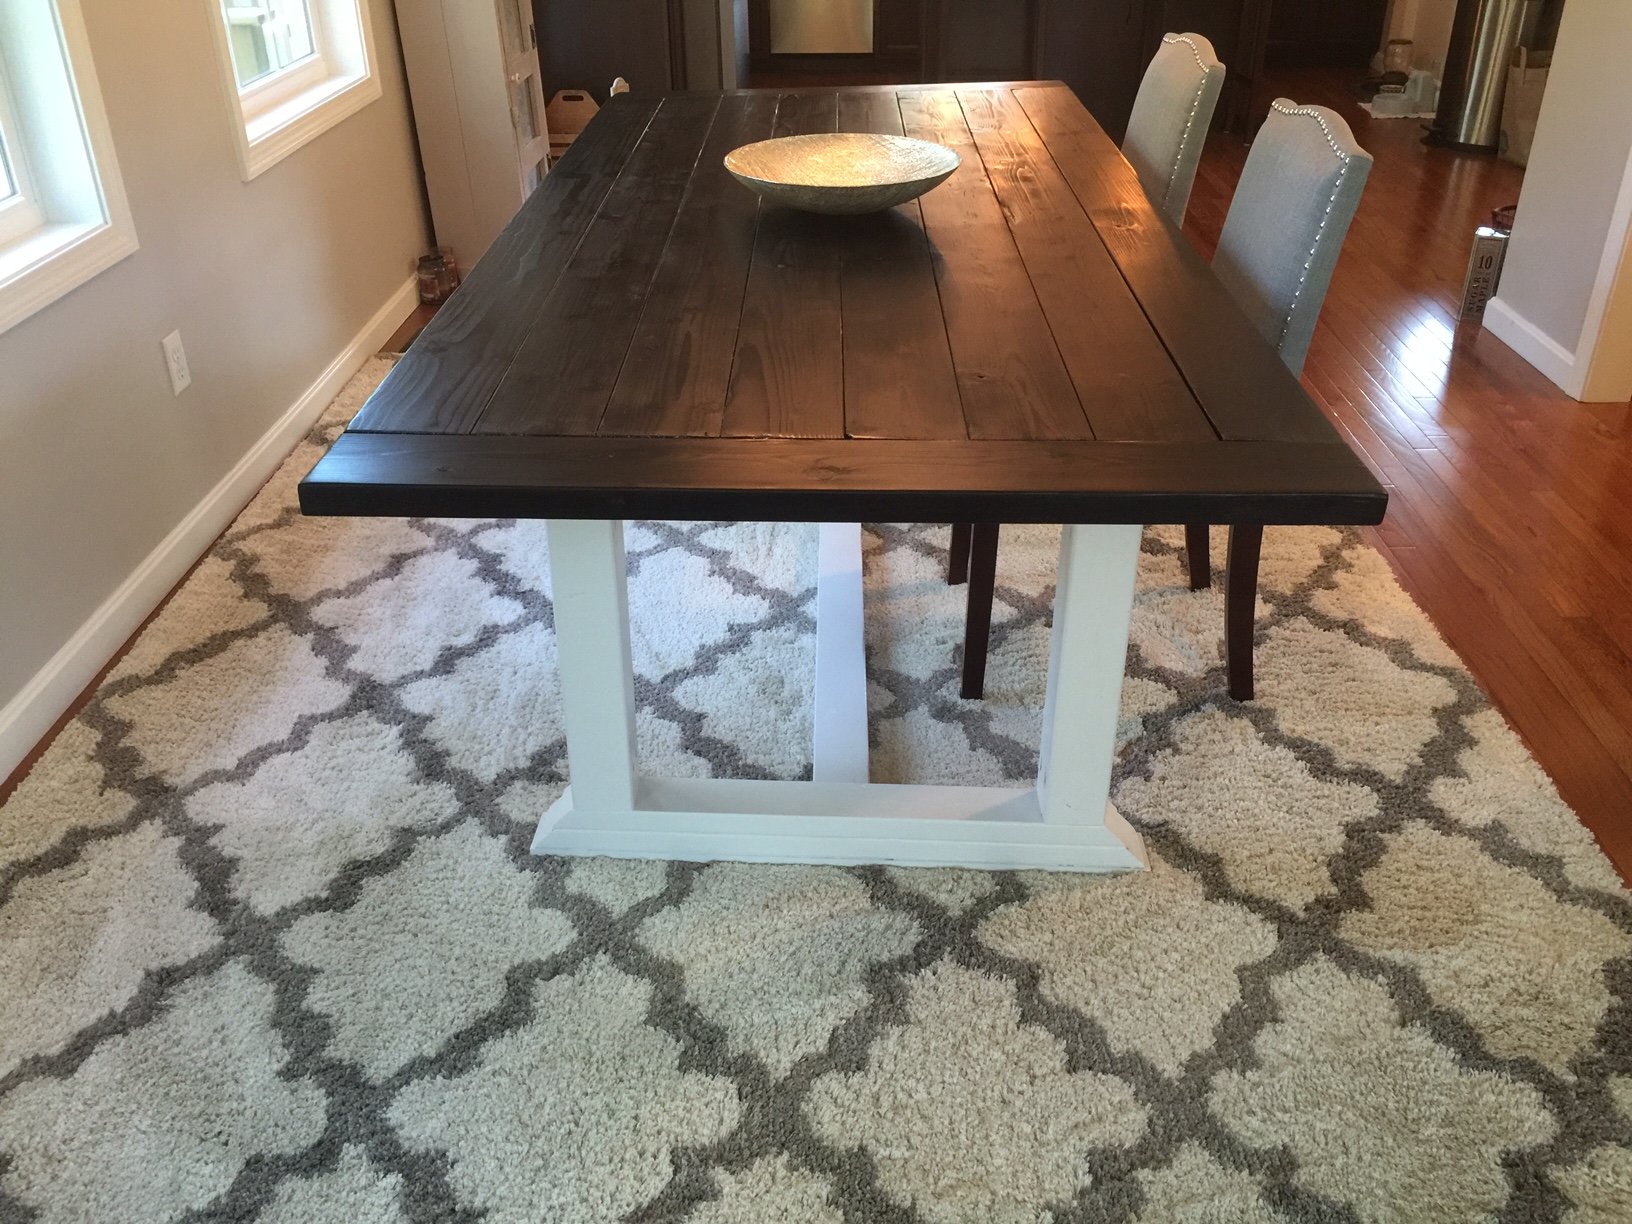
Needed a classy table...
Purchased the chairs separetely. Sanded the legs from black paint back to wood, and stained them to match the table.

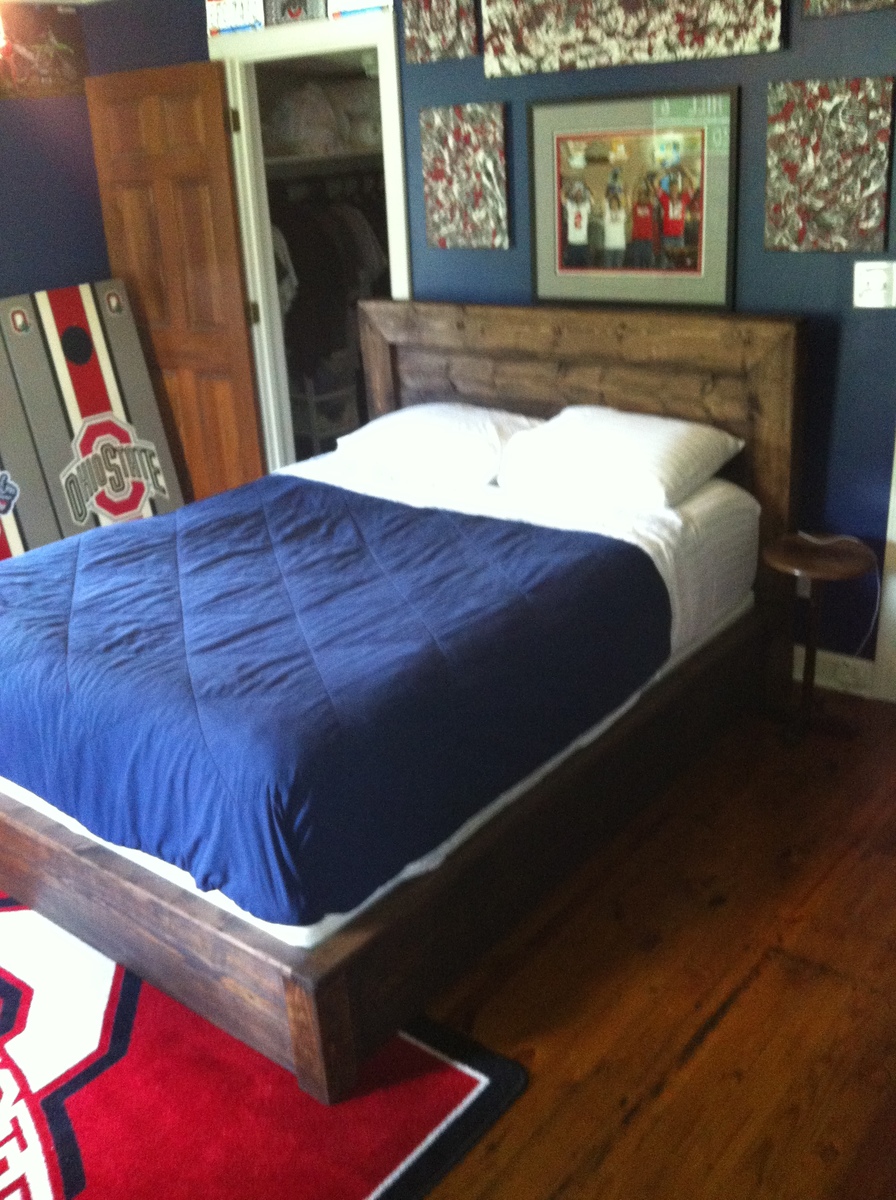
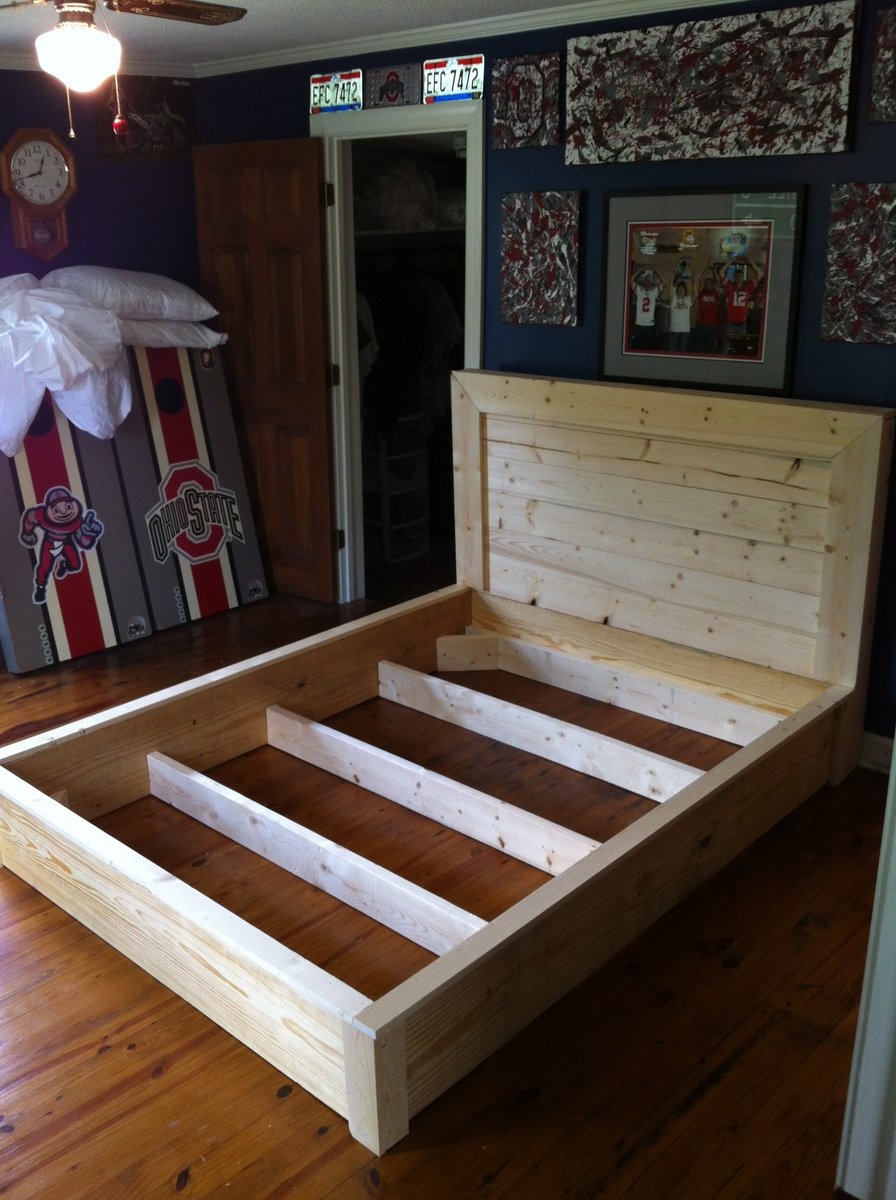
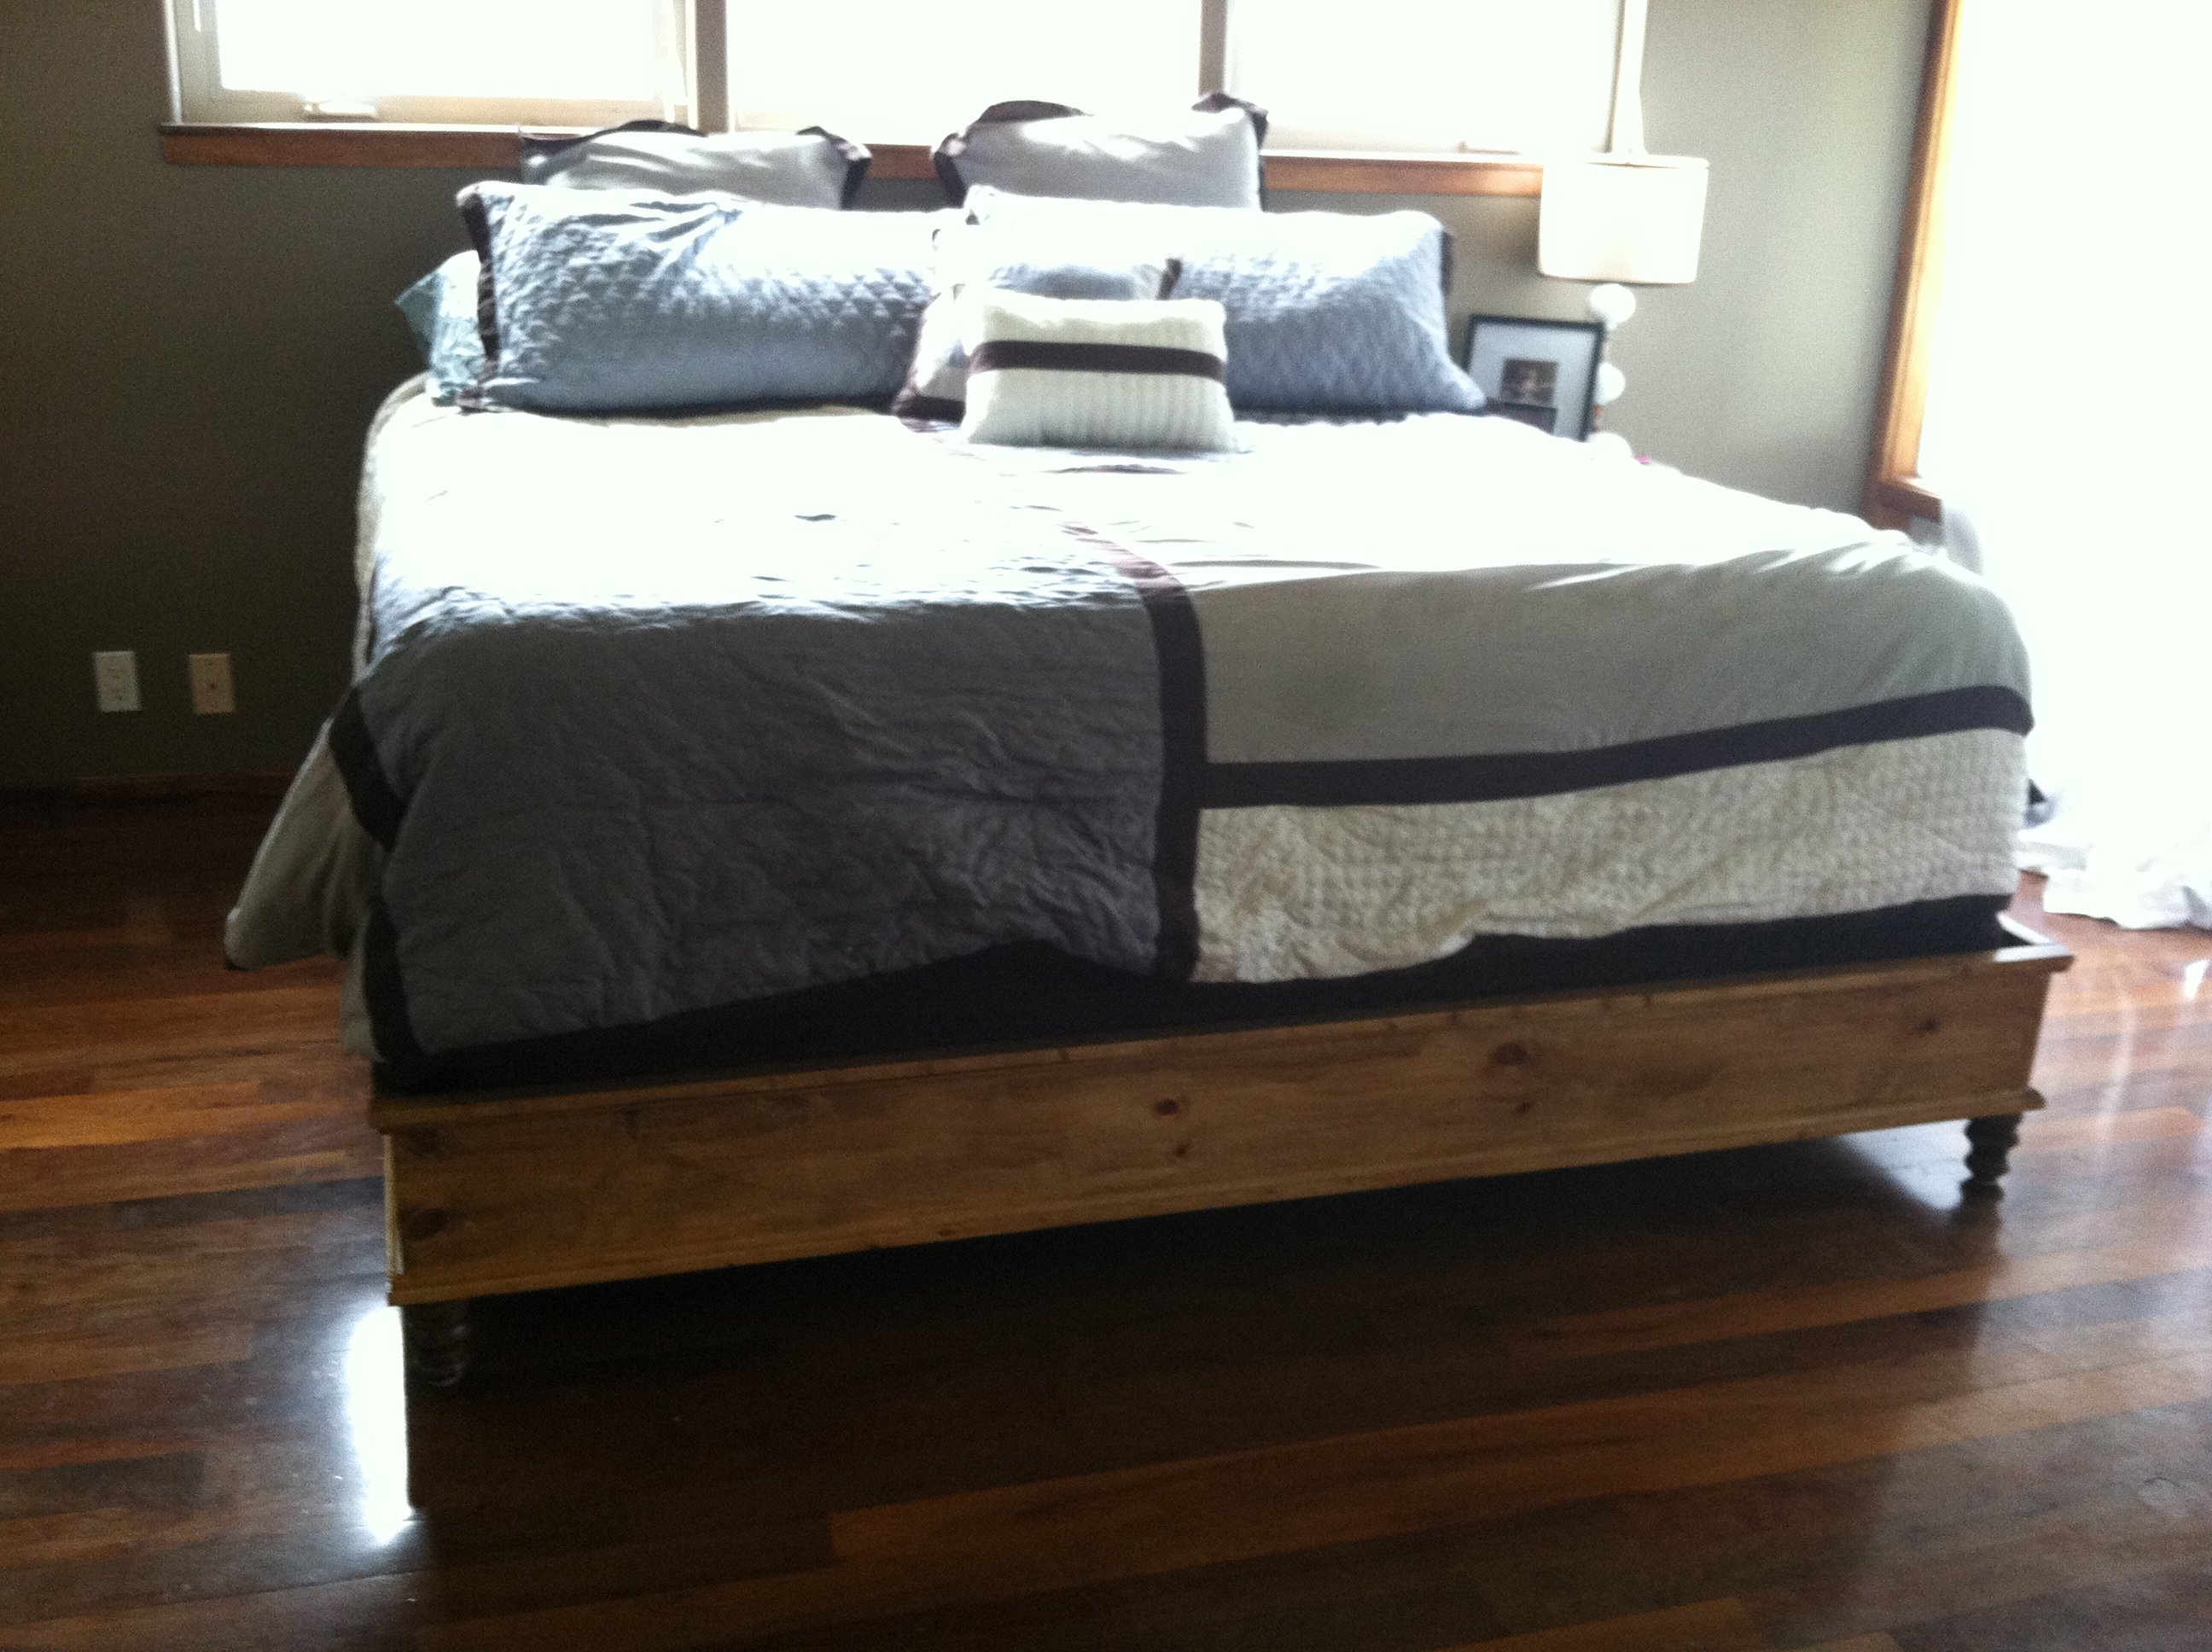
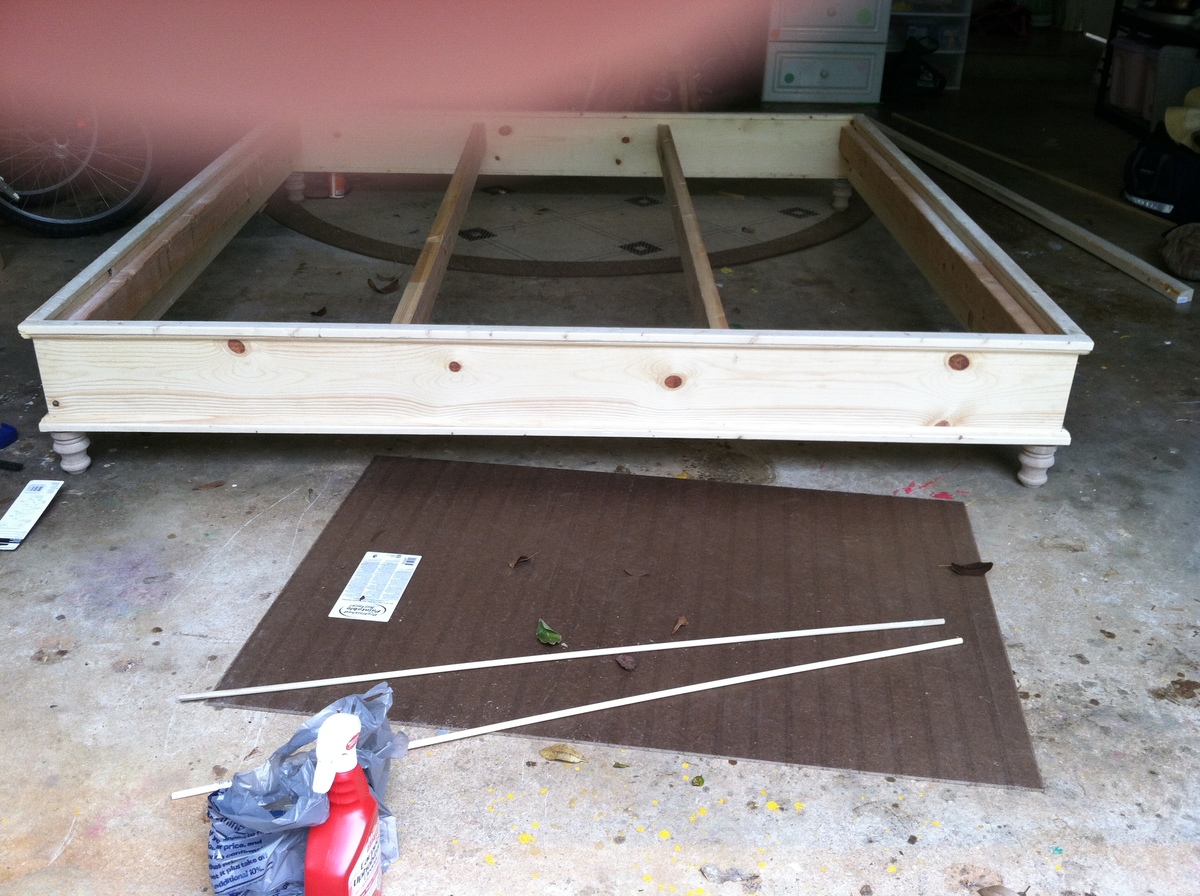
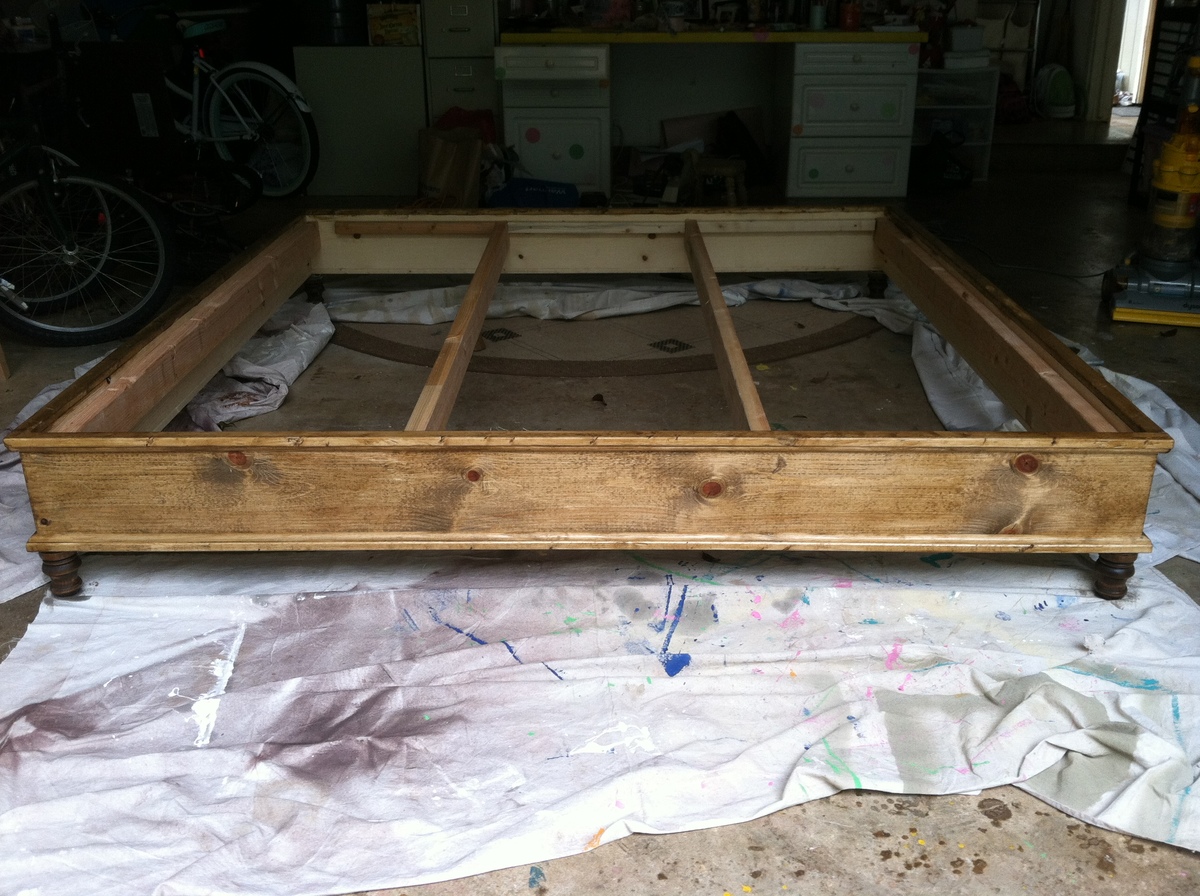
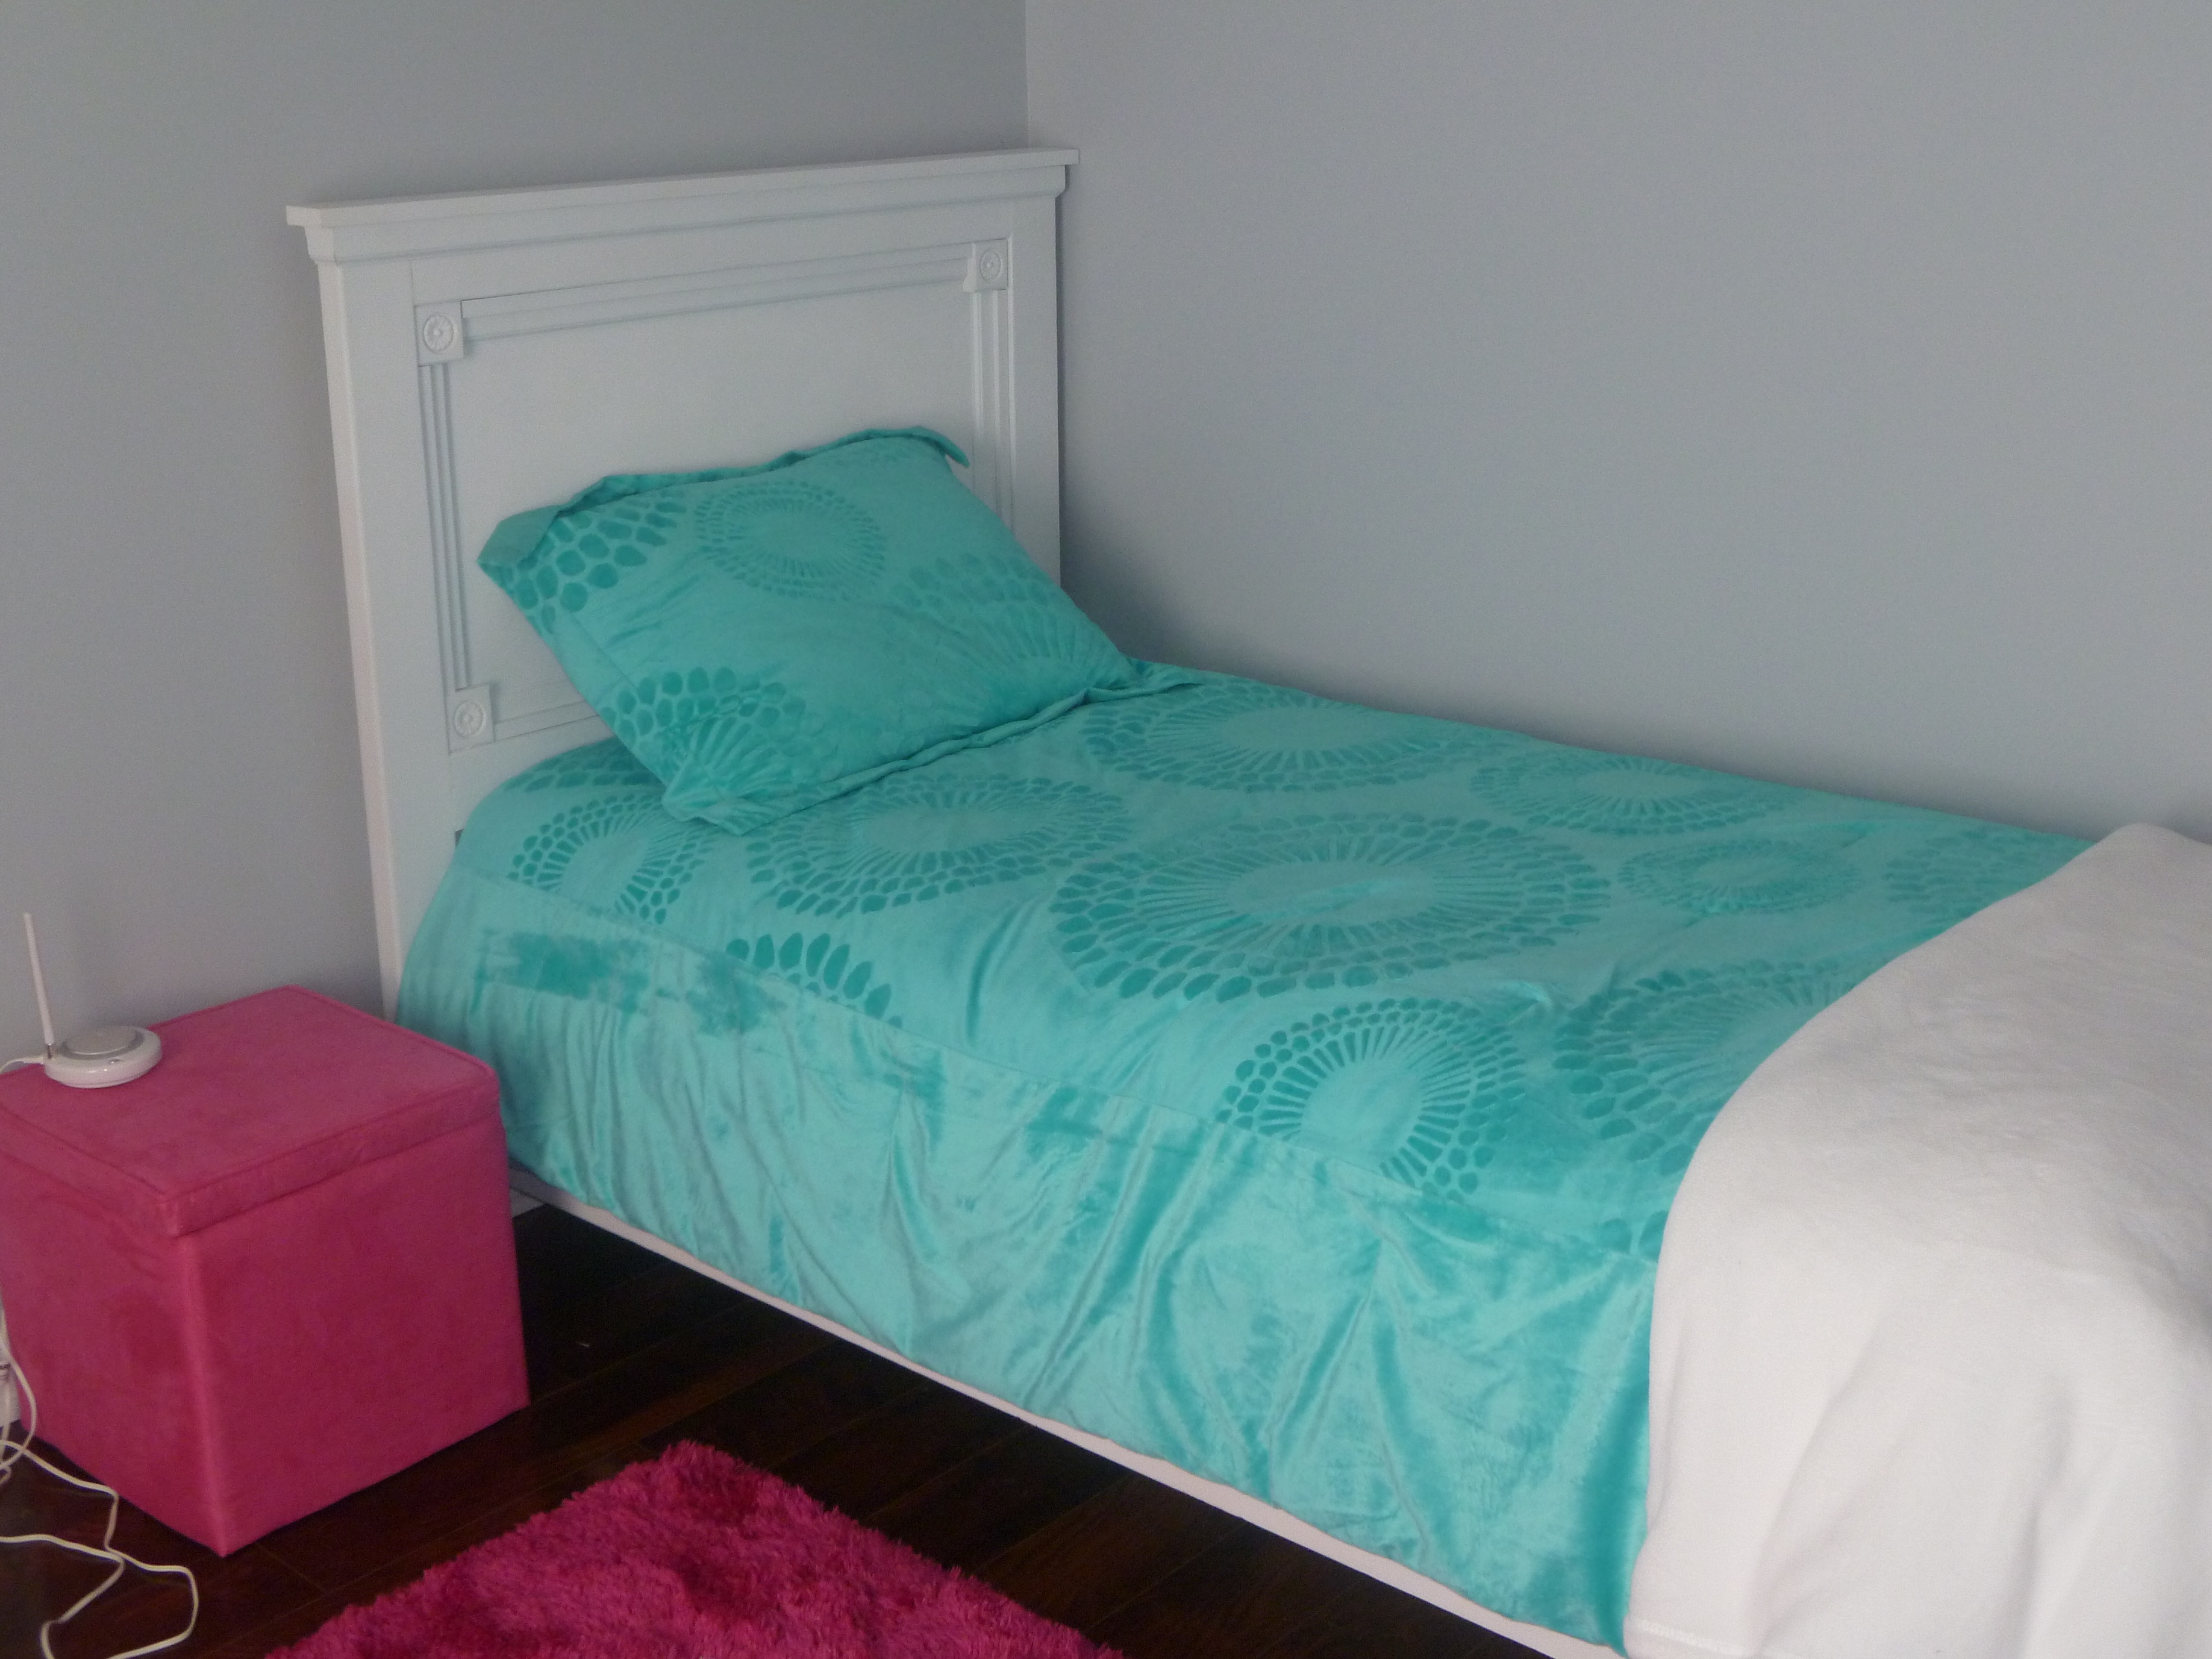
I had searched for a nice bed frame for the longest time. I wanted something that would last and the prices in furniture stores or antique shops were crazy. I found the plans for the platform bed/headboard and modified them a little. I used 2x12's for the frame and set my 2x6's down inside for my box spring. 2x6's for the headboard and trimmed it the same way as in the plans. I love it. Thanks for the plans Ana.
Fri, 05/30/2014 - 18:40
Love your inspired bed! What size mattress is your frame for? I am looking to make a frame just like yours for a queen size bed. Do you have your measurements or are they pretty similar to the original post? Complete beginner here, any help is much appreciated!!
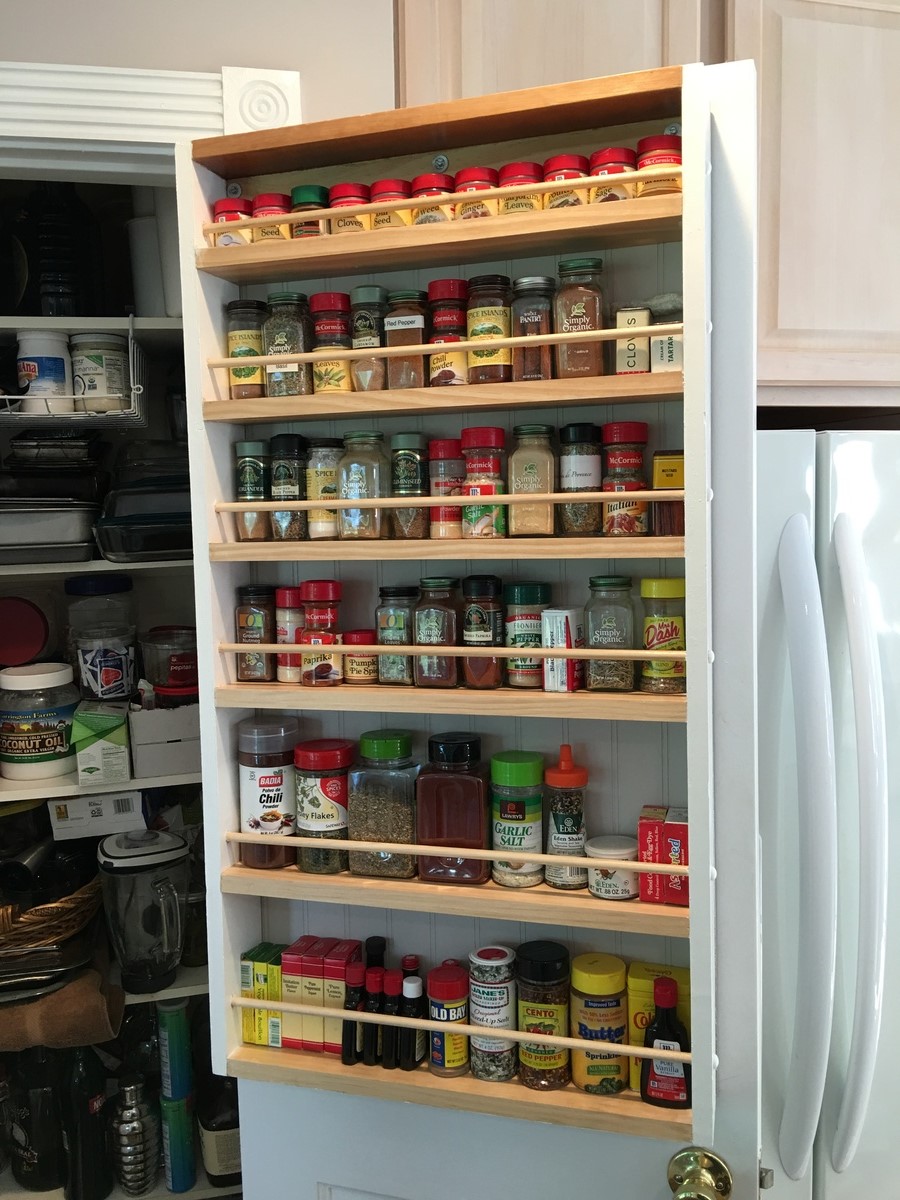
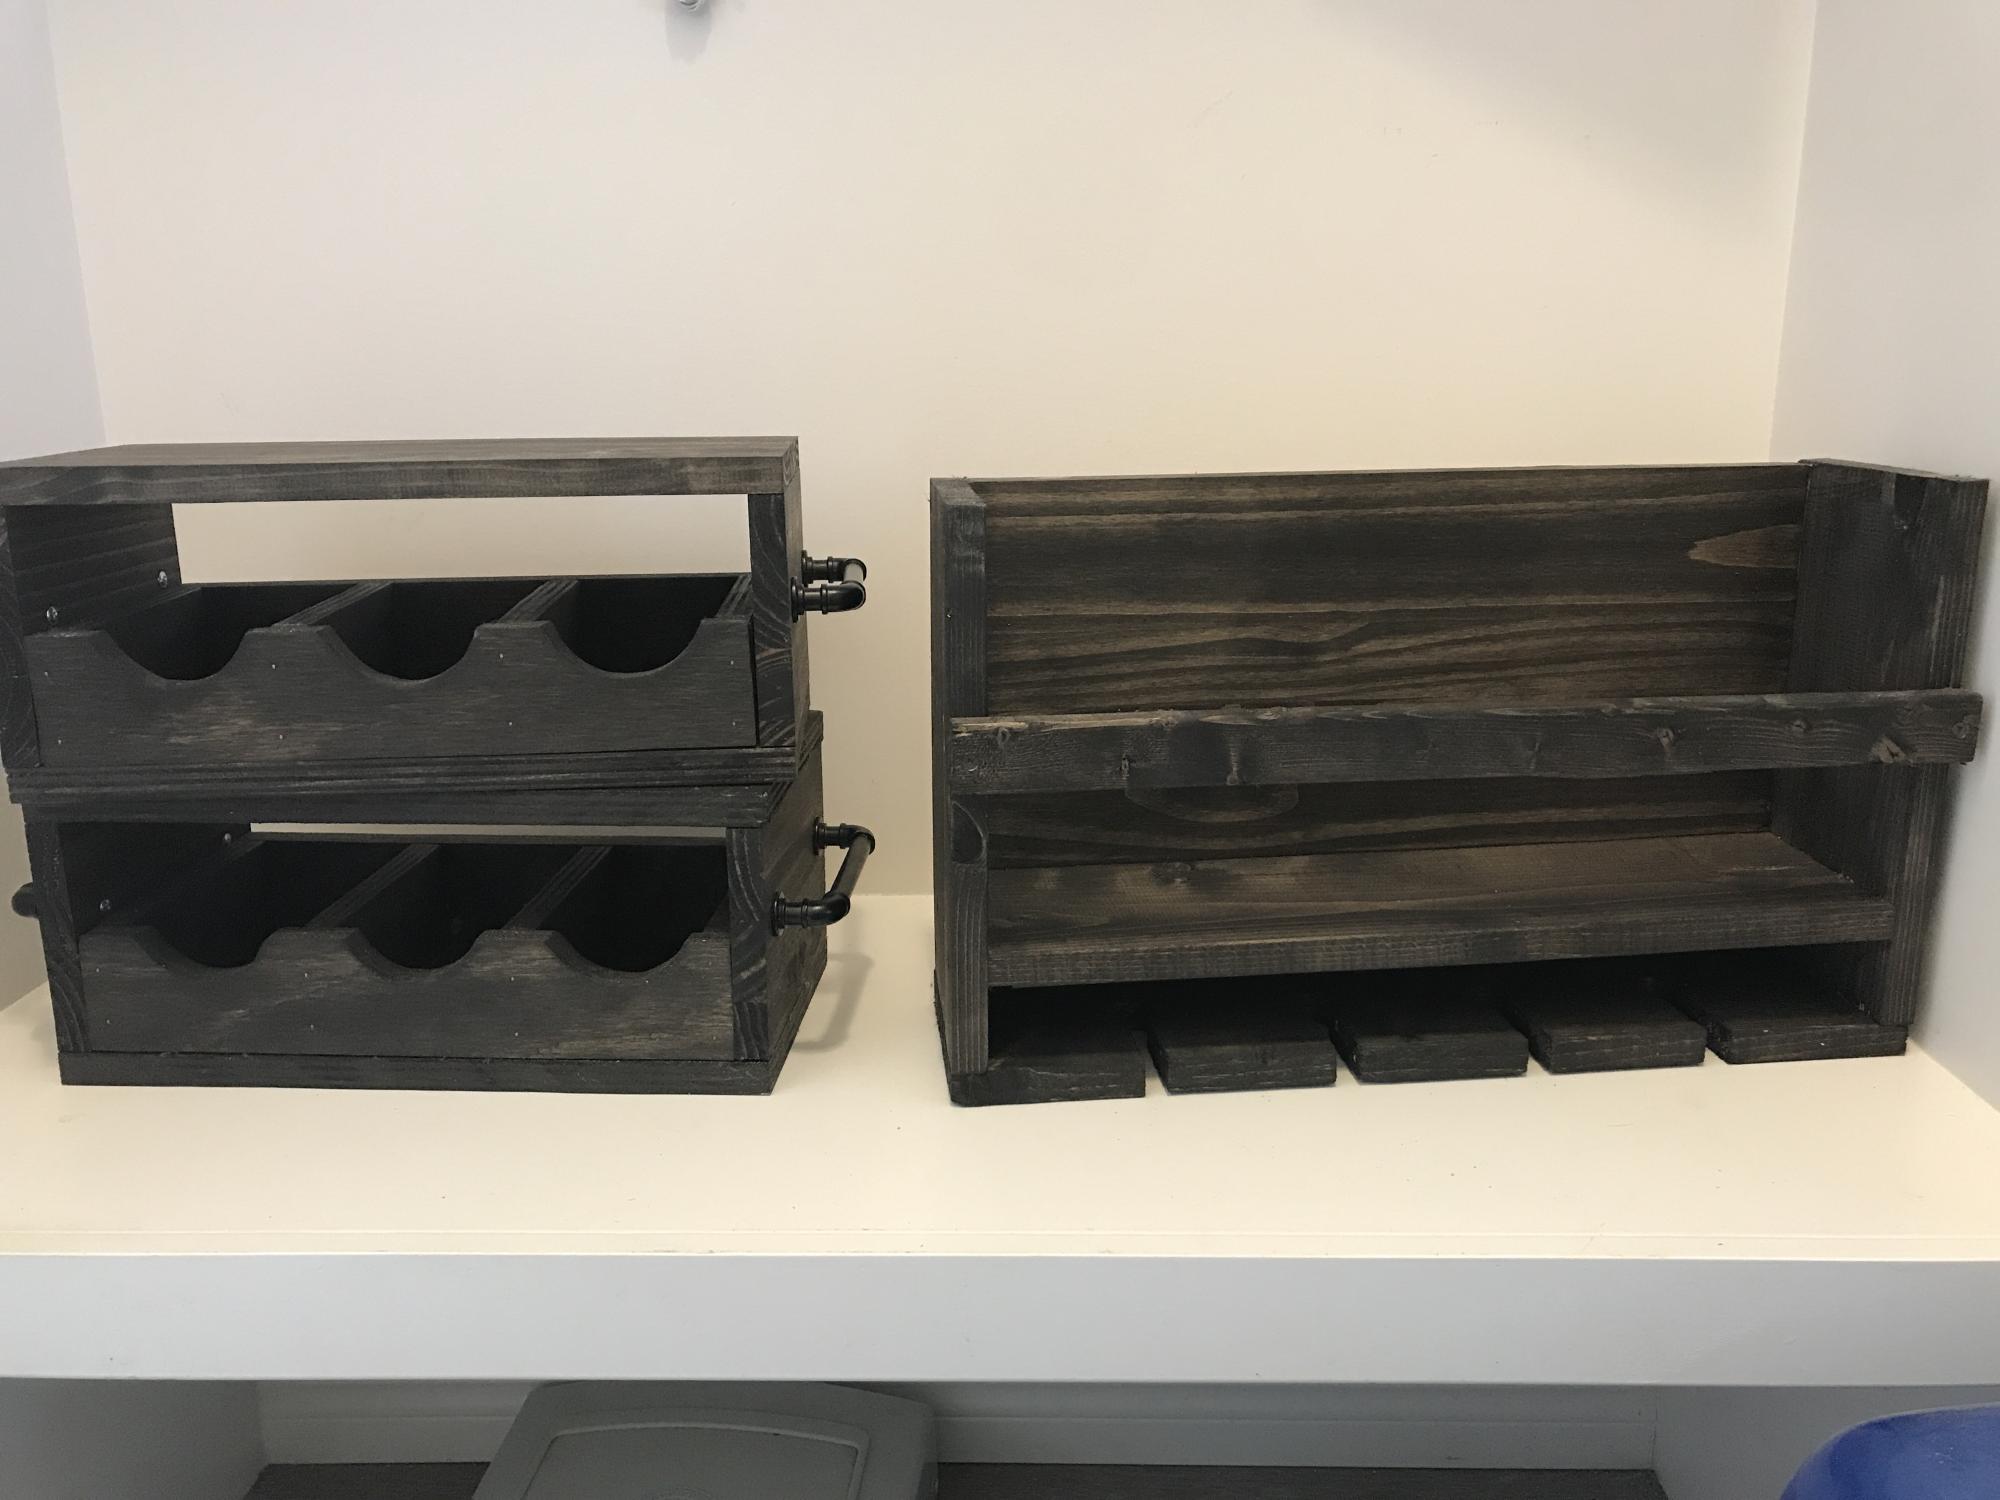
love Ana! We moved from the city to a late 1800's Victorian farm house with no closets, no basement, no storage! This was a great Woodshop 101 project for my husband and me, and gave us extra space in the kitchen. Can't wait to do another Ana project.

Wed, 08/28/2019 - 11:03
This is awesome!!! Thanks so much for sending in a brag post!
After building my daughter's beds and some outdoor day beds, I finally got around to building a bed for my husband and I. I altered the plans to a king size bed. I added a second 2x4 in the middle for support and around the inside edges as I used the box springs to make the bed taller. Using the kreg jig really made this project so easy. I also used 1x8's instead of 2x8's because I couldn't find those in Hawaii anywhere, except pressure treated wood. It still turned out great.
Thanks for the wonderful plans!
Mon, 06/25/2012 - 19:40
I LOVE this bed! I'm asking my husband to build it and I was wondering if you could email me the dimensions for the plans of a king size Chestwick Platform bed? I'm pretty sure he could figure them out on his own, but I'd love to make it easier for him :) Love your work!
In reply to King platform bed by Katie Saldivar (not verified)
Sun, 07/22/2012 - 11:58
I made the bed 80 x 79
Tue, 10/26/2021 - 10:48
Amazing! can you please provide the cut list for the king size measurements?
Thank you!
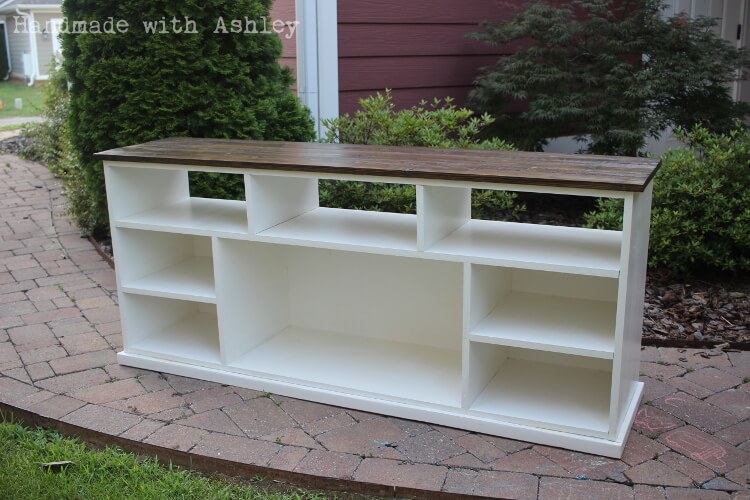
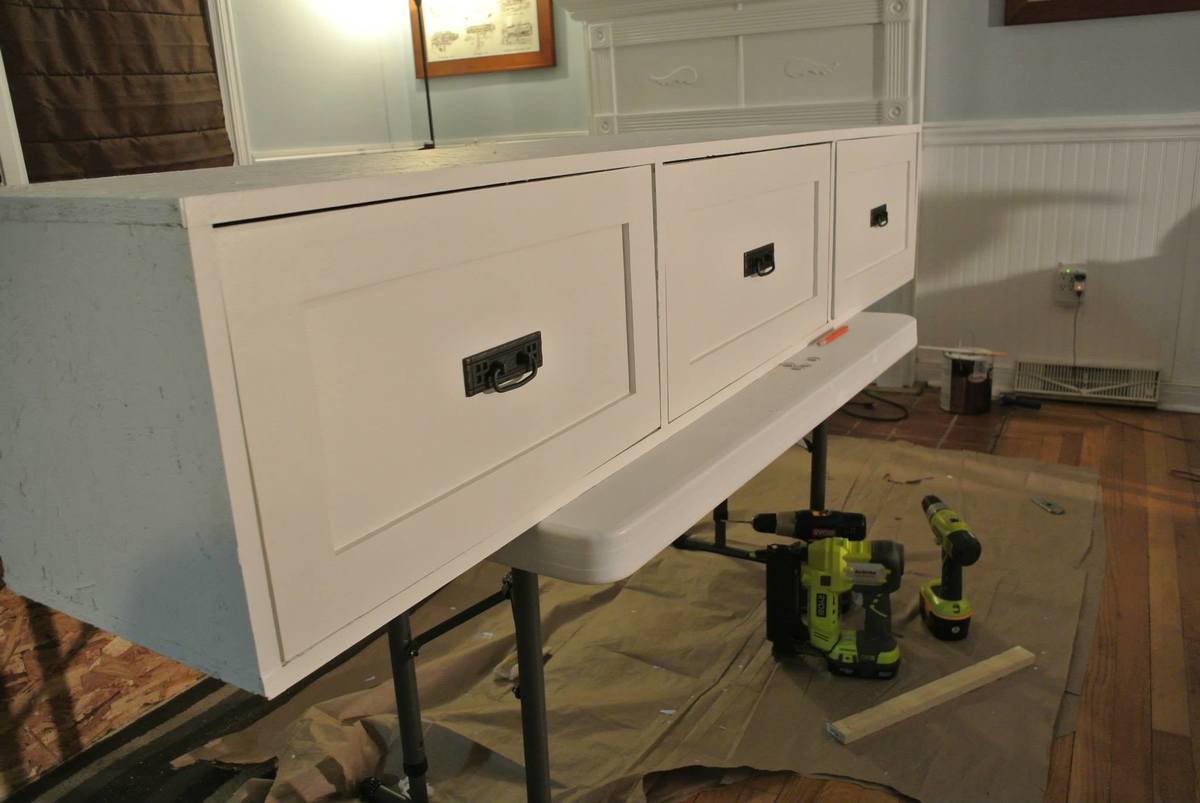
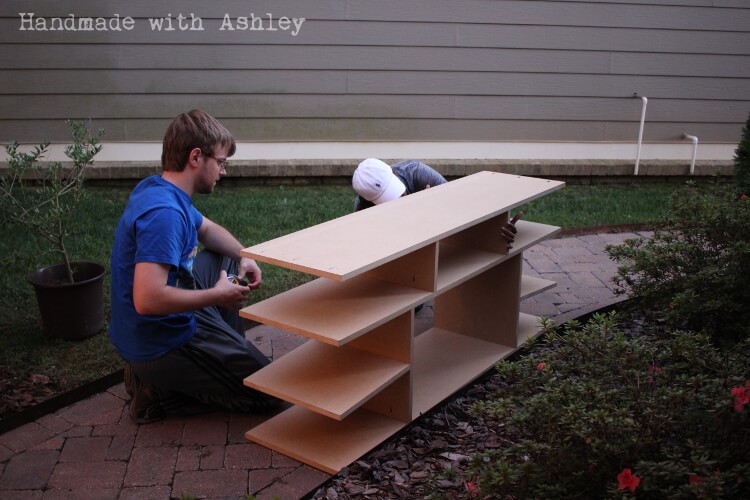
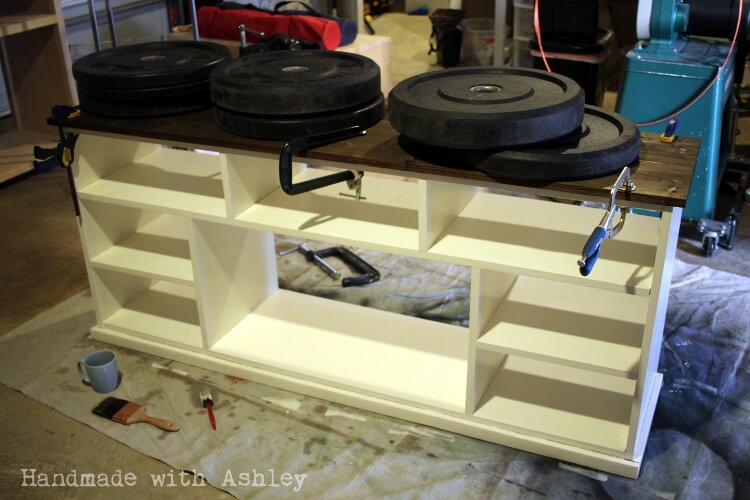
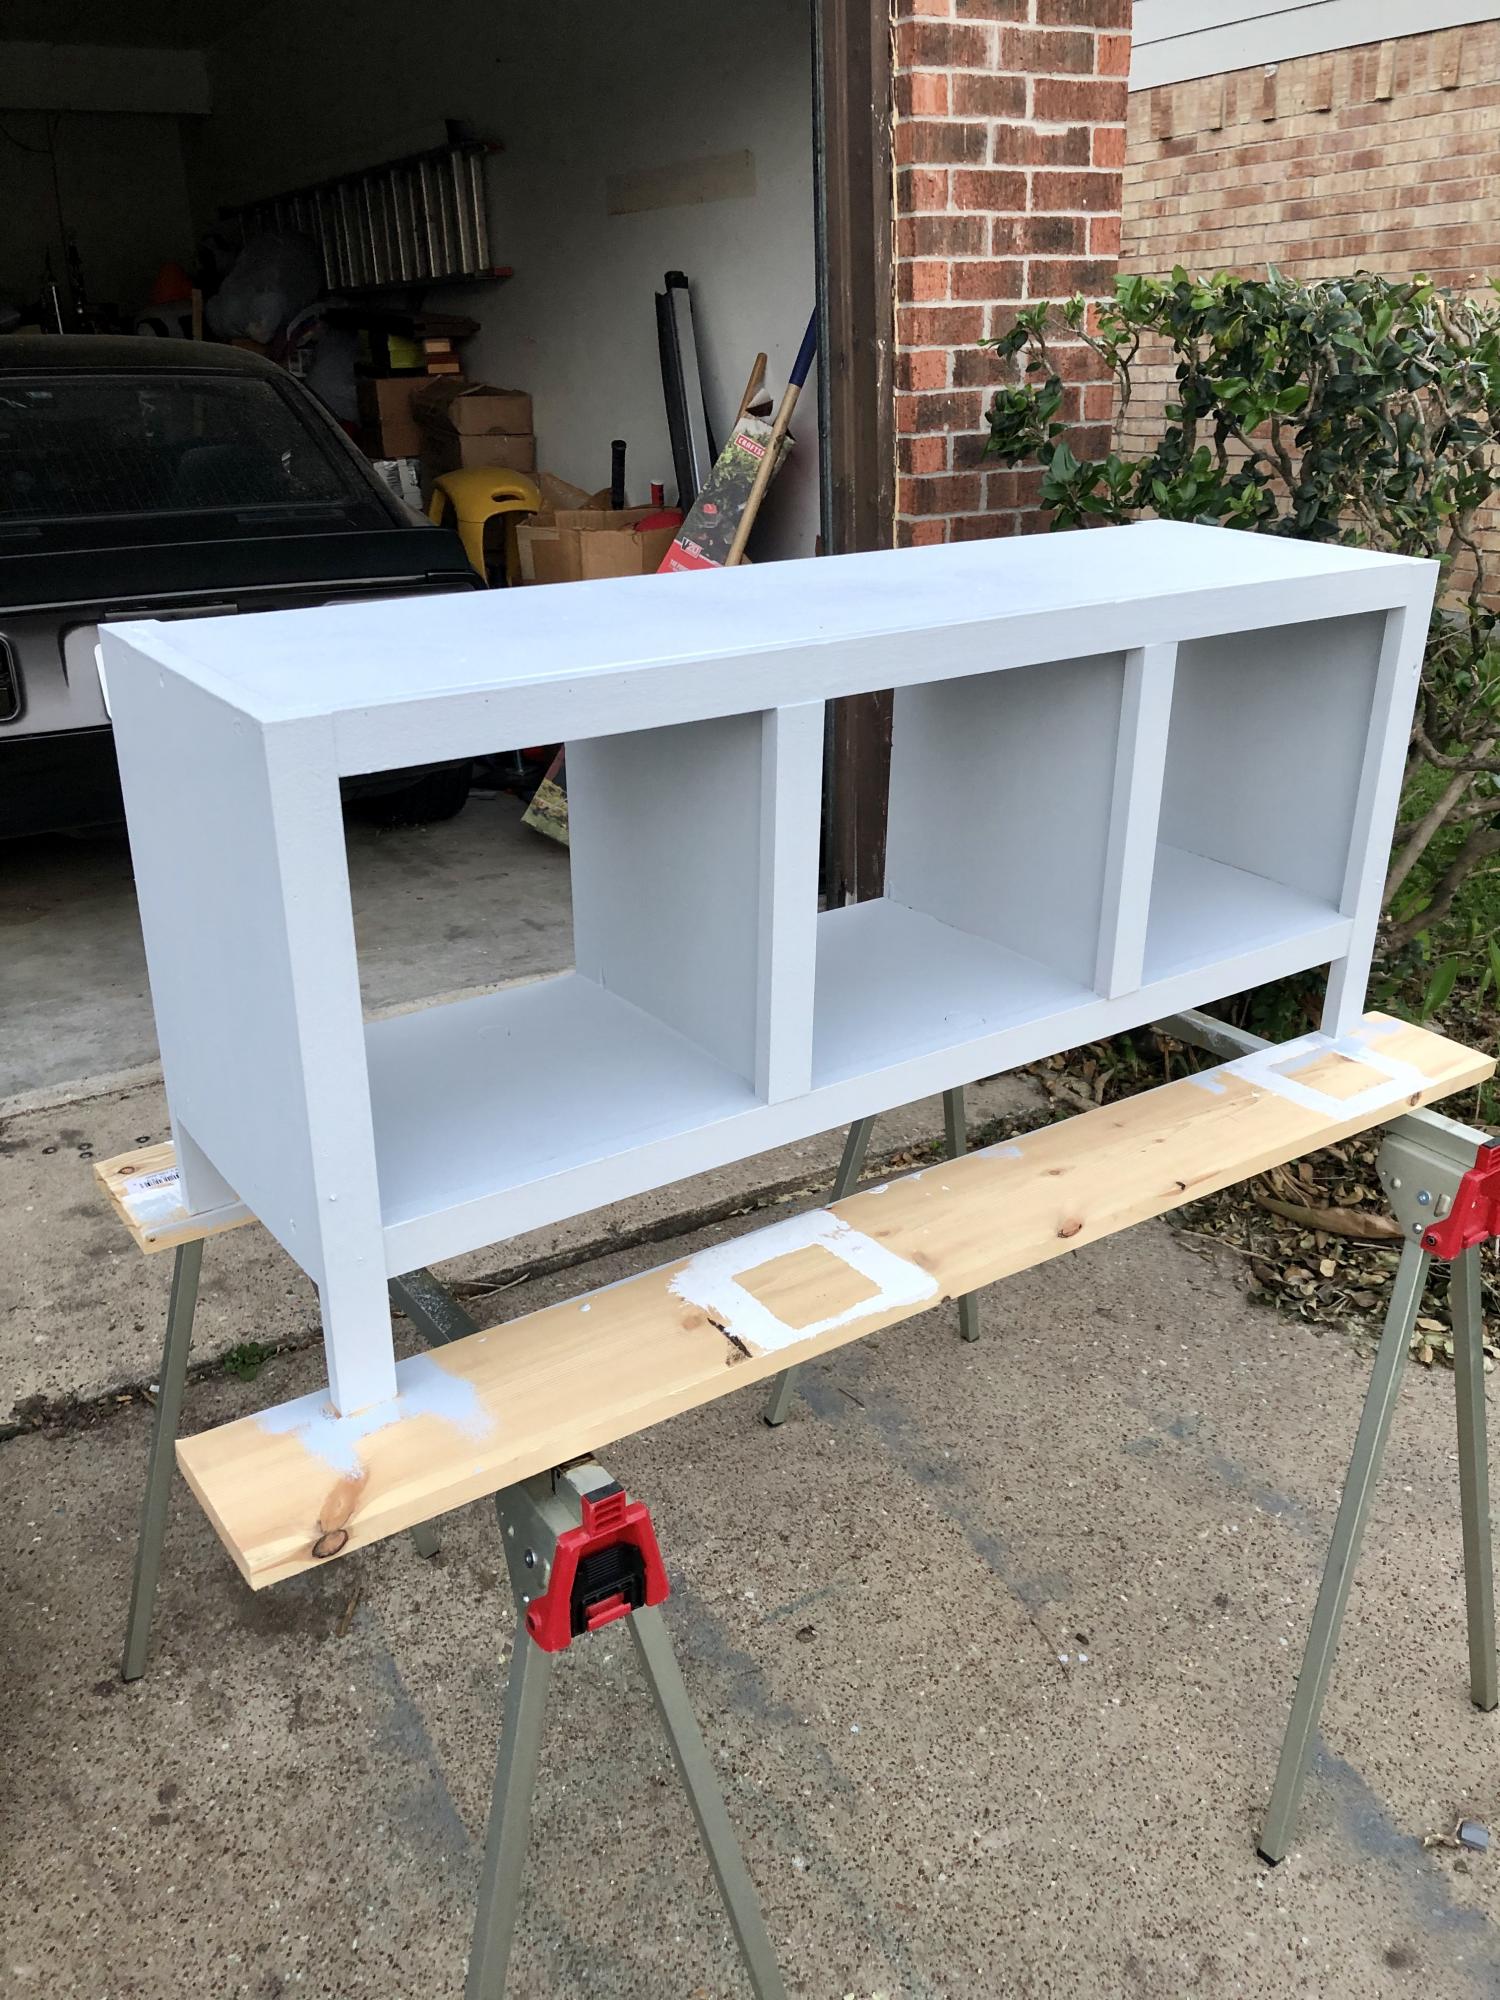
Several months ago, my sister approached me with the request of helping her build a media console for her home. We left off the doors and drawers in favor of having open shelves. We worked on this project over the course of several weekends and my sister is very happy with the final result!

A 30" tall bar stools inspired by the plan simplest stool.
Fri, 07/20/2012 - 05:32
I like your design. Finally made an account and will be making matching ones. Thanks for the inspiration. If the better half doesn't like the first one I will have a new stool for my workbench
Tue, 09/04/2012 - 15:20
by adjusting circular saw depth and using chisel and hammer and lots of sanding :)

I love this plan and had already built one a few months ago. It is an easy project to tackle ;) I did change things up a bit. Will be building another one soon :) Thank you so much for sharing the plans.


This was my second project from Ana White, and overall it was successful. I used a miter saw for the cuts (struggled with the bevel because my 12 inch saw isn't a slider, a kreg jig to attach everything (struggled to attach the 1x3s to the legs due to the angle of the dril and tight space), but everything eventually was held solidly together and it's really very sturdy. My husband is about 160 and he was able to jump on it with absolutely no give.
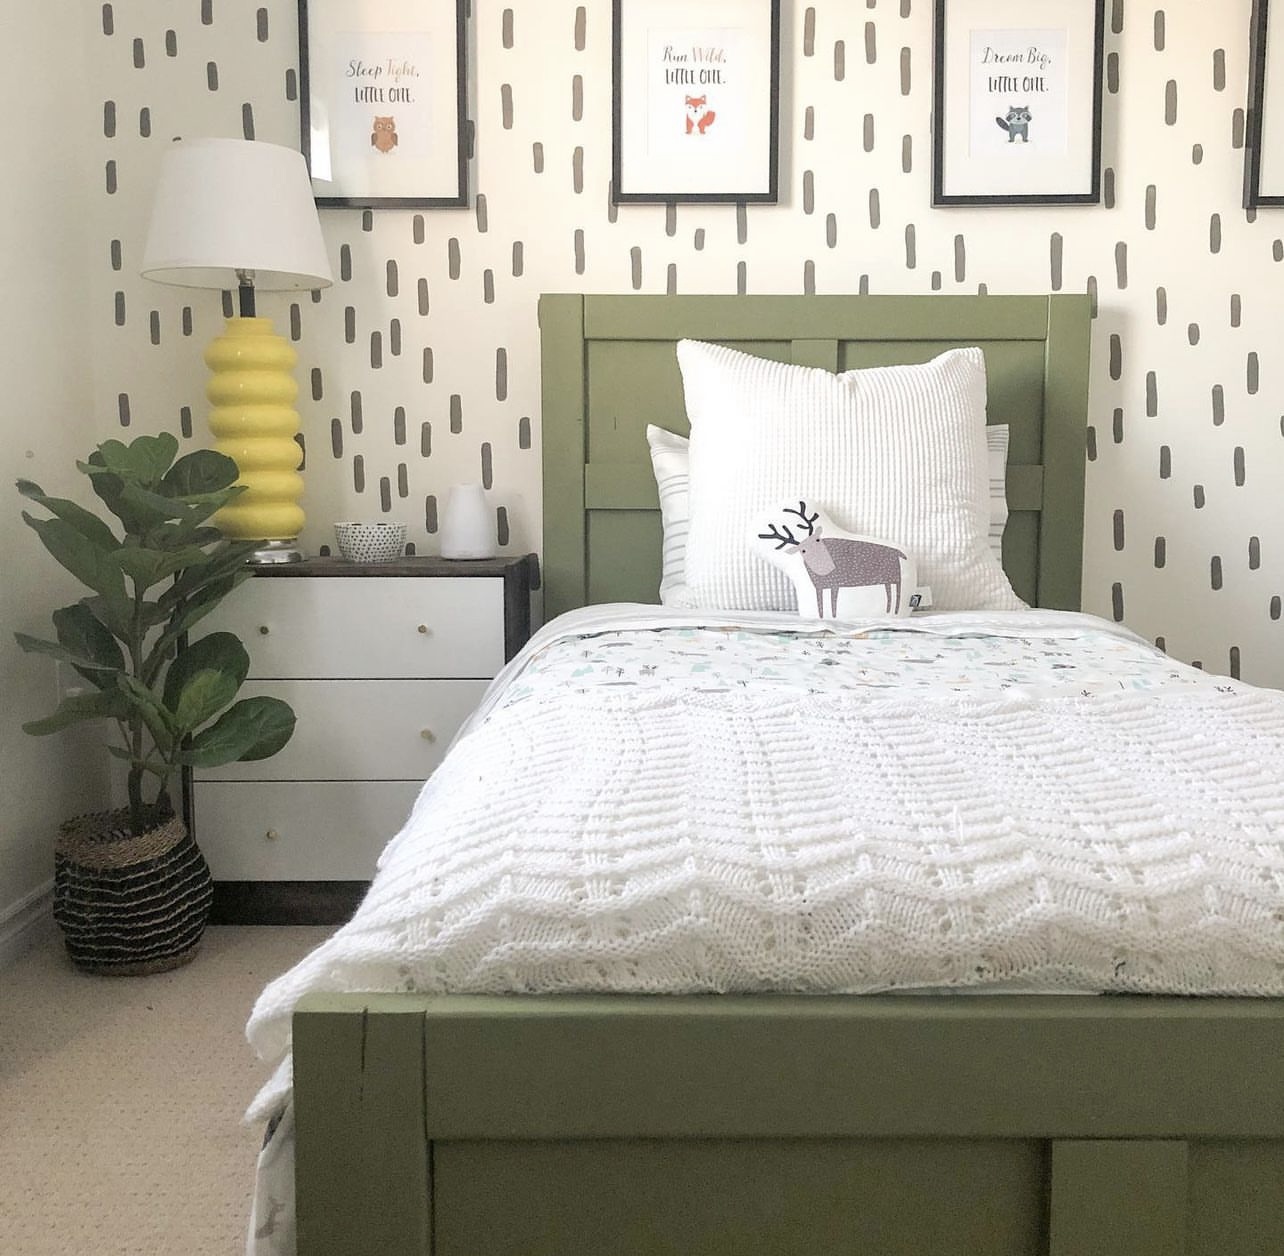
The paint is just small samples we had on hand from home depot to coordinate with other projects in the kids' rooms, and I handpainted the letters. I finished it with a double coat of polycrylic.
Pretty straightforward plans. No adjustments were made.
Built this plan and it came out amazing. I used a sheet of siding for the back to really bring out some grains!

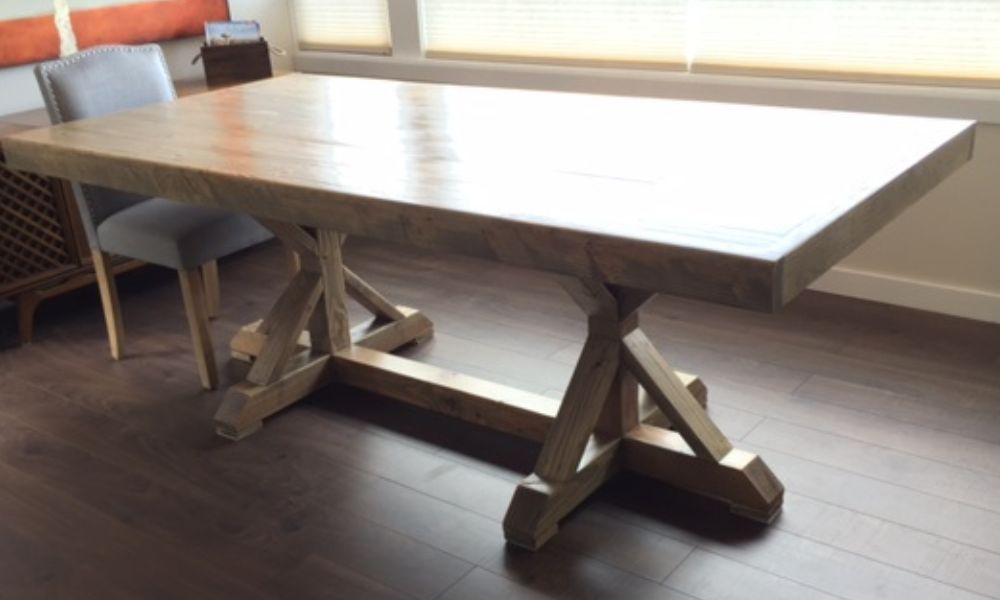
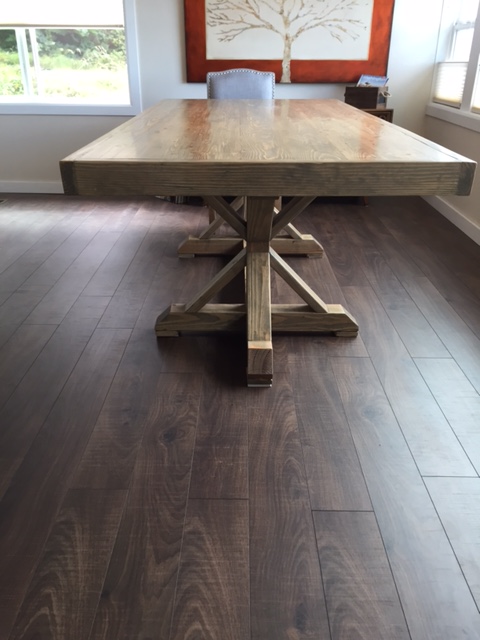
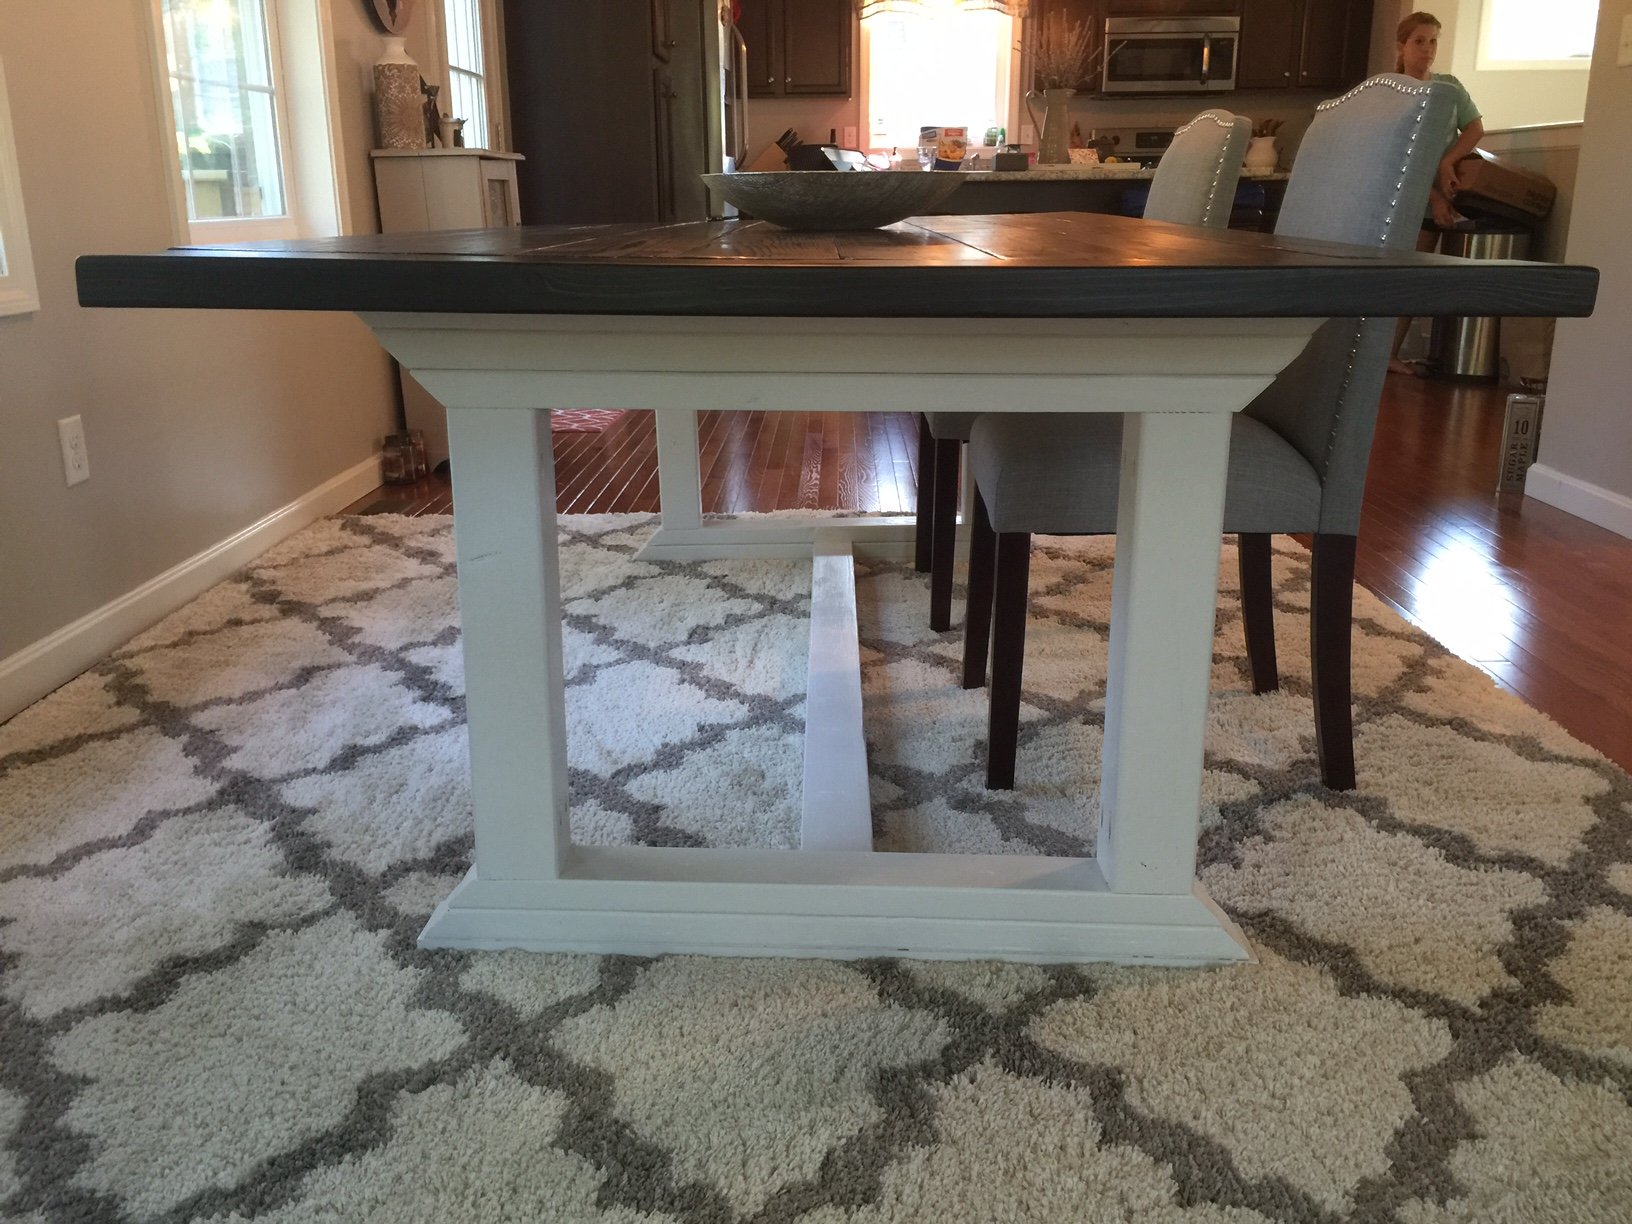
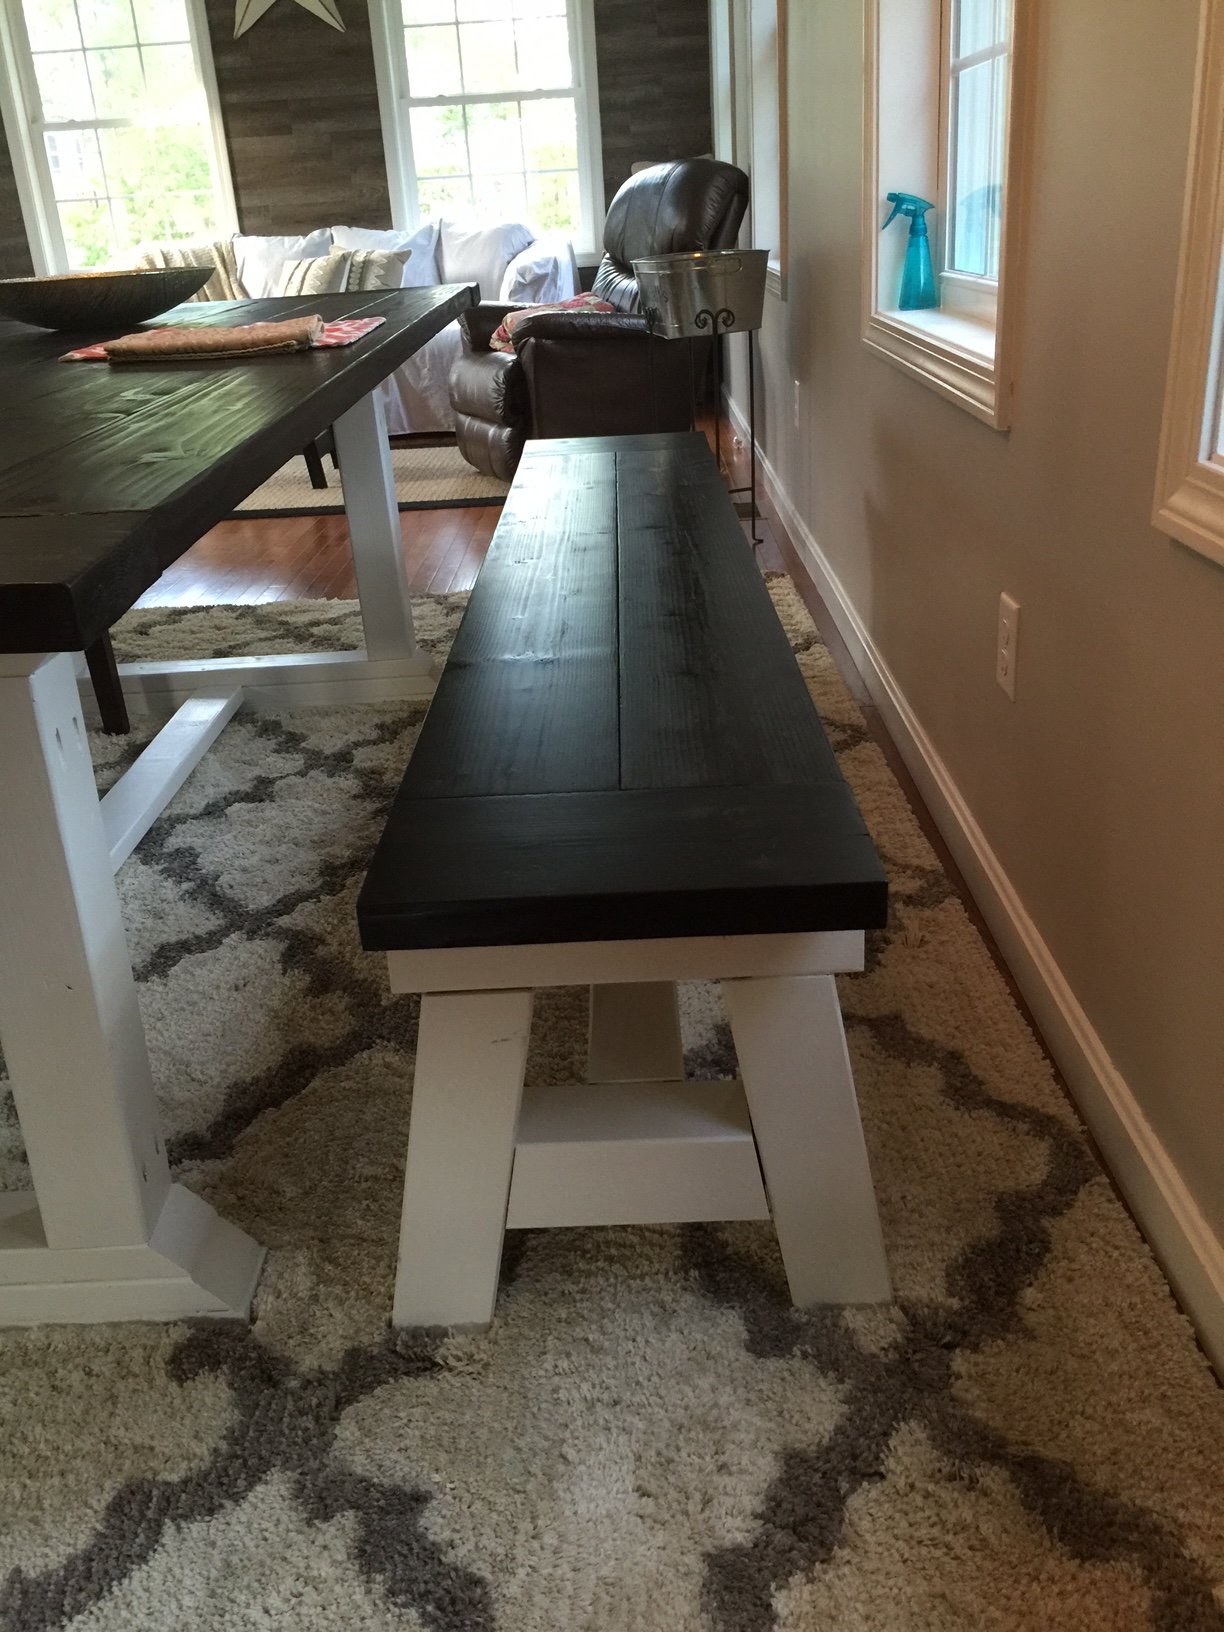
This was my first ever DIY project as I wouldnt consider myself a handy man, but I had alot of fun making this table and bench. I modified the design as I wasn't confident in making the necessary cuts for the X but I added a long support underneath the table top so that the top wouldn't sag (hopefully!). Since completing the table, I've grown more comfortable with my carpentry "skills" and all I want to do on the weekends is build things! I'm sure I'm driving my wife insane!
It took me a lot longer as I had a couple weekends where I could only work on the table and bench for an hour or two but you can definitely do it in a weekend.
Thanks Ana!


Comments
Ana White Admin
Wed, 08/02/2023 - 15:43
Great table!
Thanks for sharing, cool mods for the kids side!