Both me and my partner work from home, where we share an office. It’s nice to be together all day, but not always. Sometimes we get on each other’s nerves, and sometimes we can’t stand the sight of each other. We’re a happy couple - it’s just that working from home together takes its toll from time to time.
First, I considered renting an office together with a friend. That idea did not last for long, unfortunately. The overall expense, as well as the ins and outs of council permits, forced me to scrap the idea.
In the end, I decided to go for a backyard office in the form of a log cabin. I put two and two together - these things are perfect garden offices and both me and my husband have some of that DIY enthusiasm in us. Why shouldn’t we give it a try?
Once we found the right backyard cabin company, everything went pretty smoothly. It took them six hours to build the whole thing. Granted, it’s a 4 x 3 sqm cabin, which I chose for three reasons.
Firstly, I thought it was big enough to give me the needed space. Secondly, a cabin of that size doesn’t dominate the garden. Finally, the guys from the company assured me that it doesn’t need council approval.
The cabin came fully installed. I got it with an insulated roof, fitted windows and doors, light sockets, and a deck. All that I needed was some furniture for a home office. Which is when I decided to check out the plan catalog on Ana White.
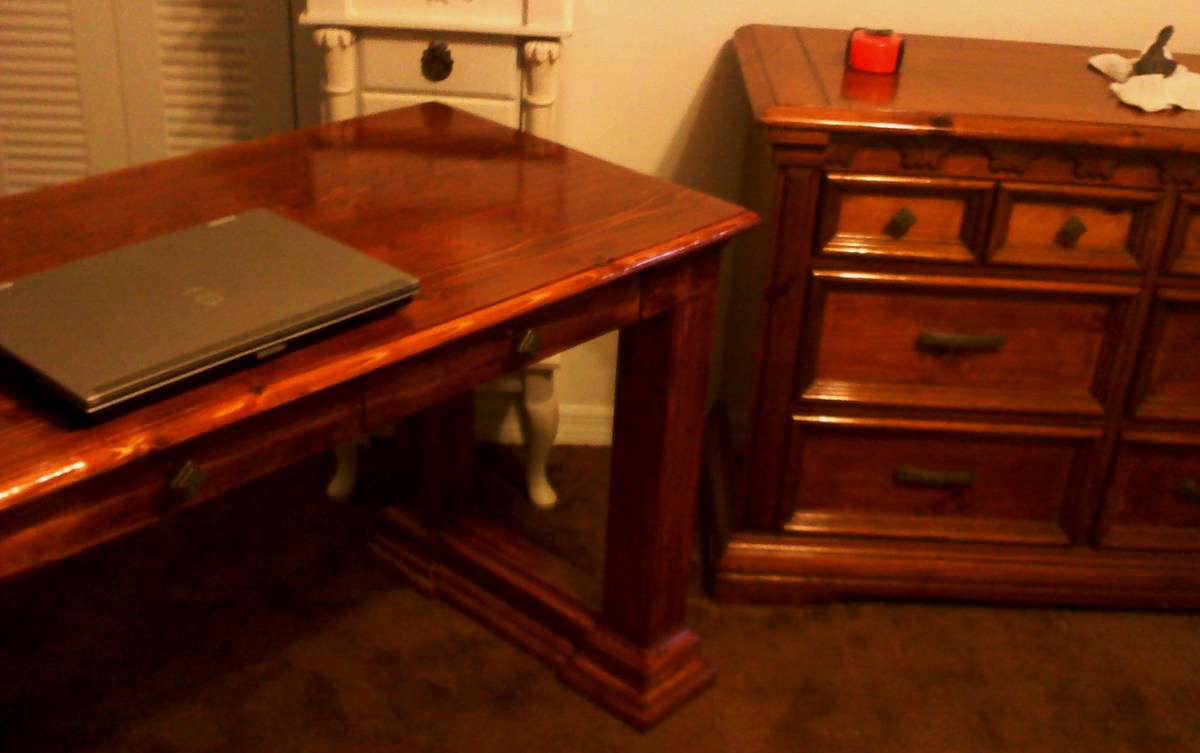
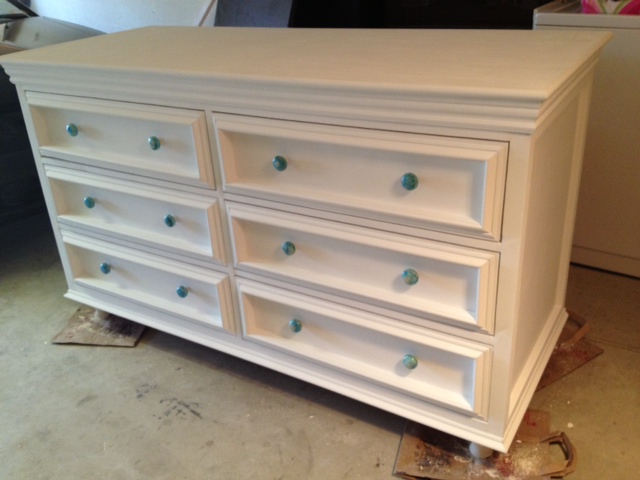
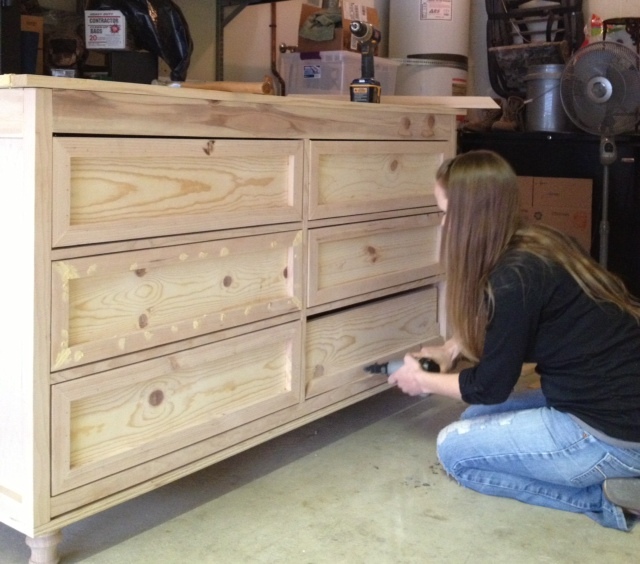
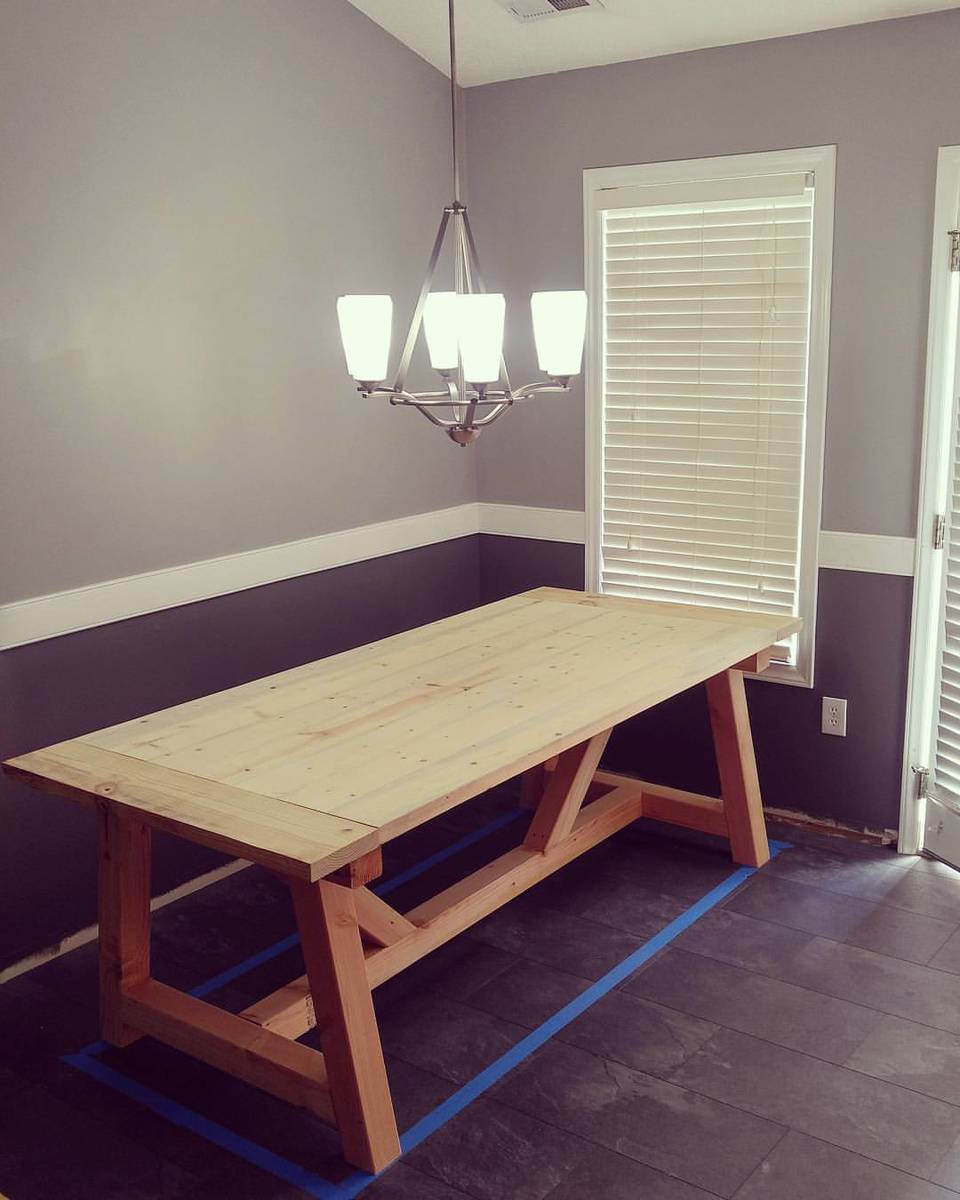
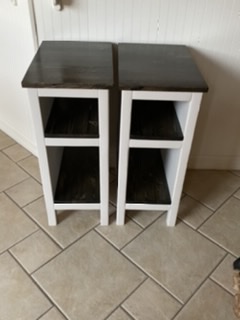
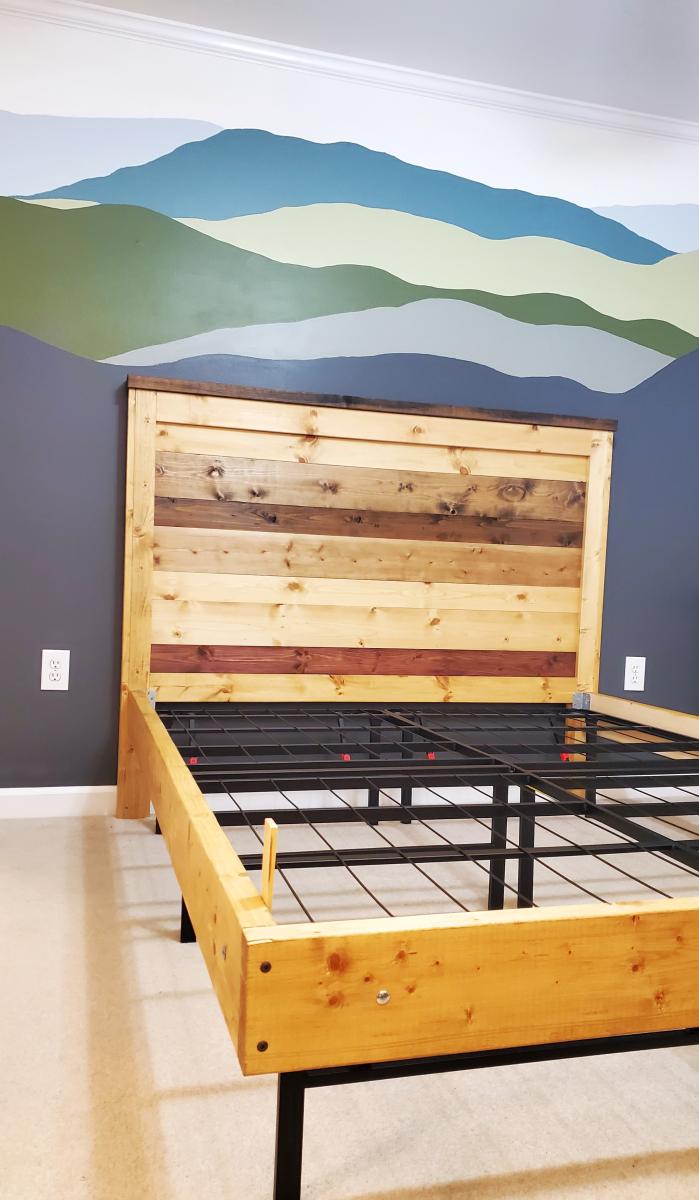
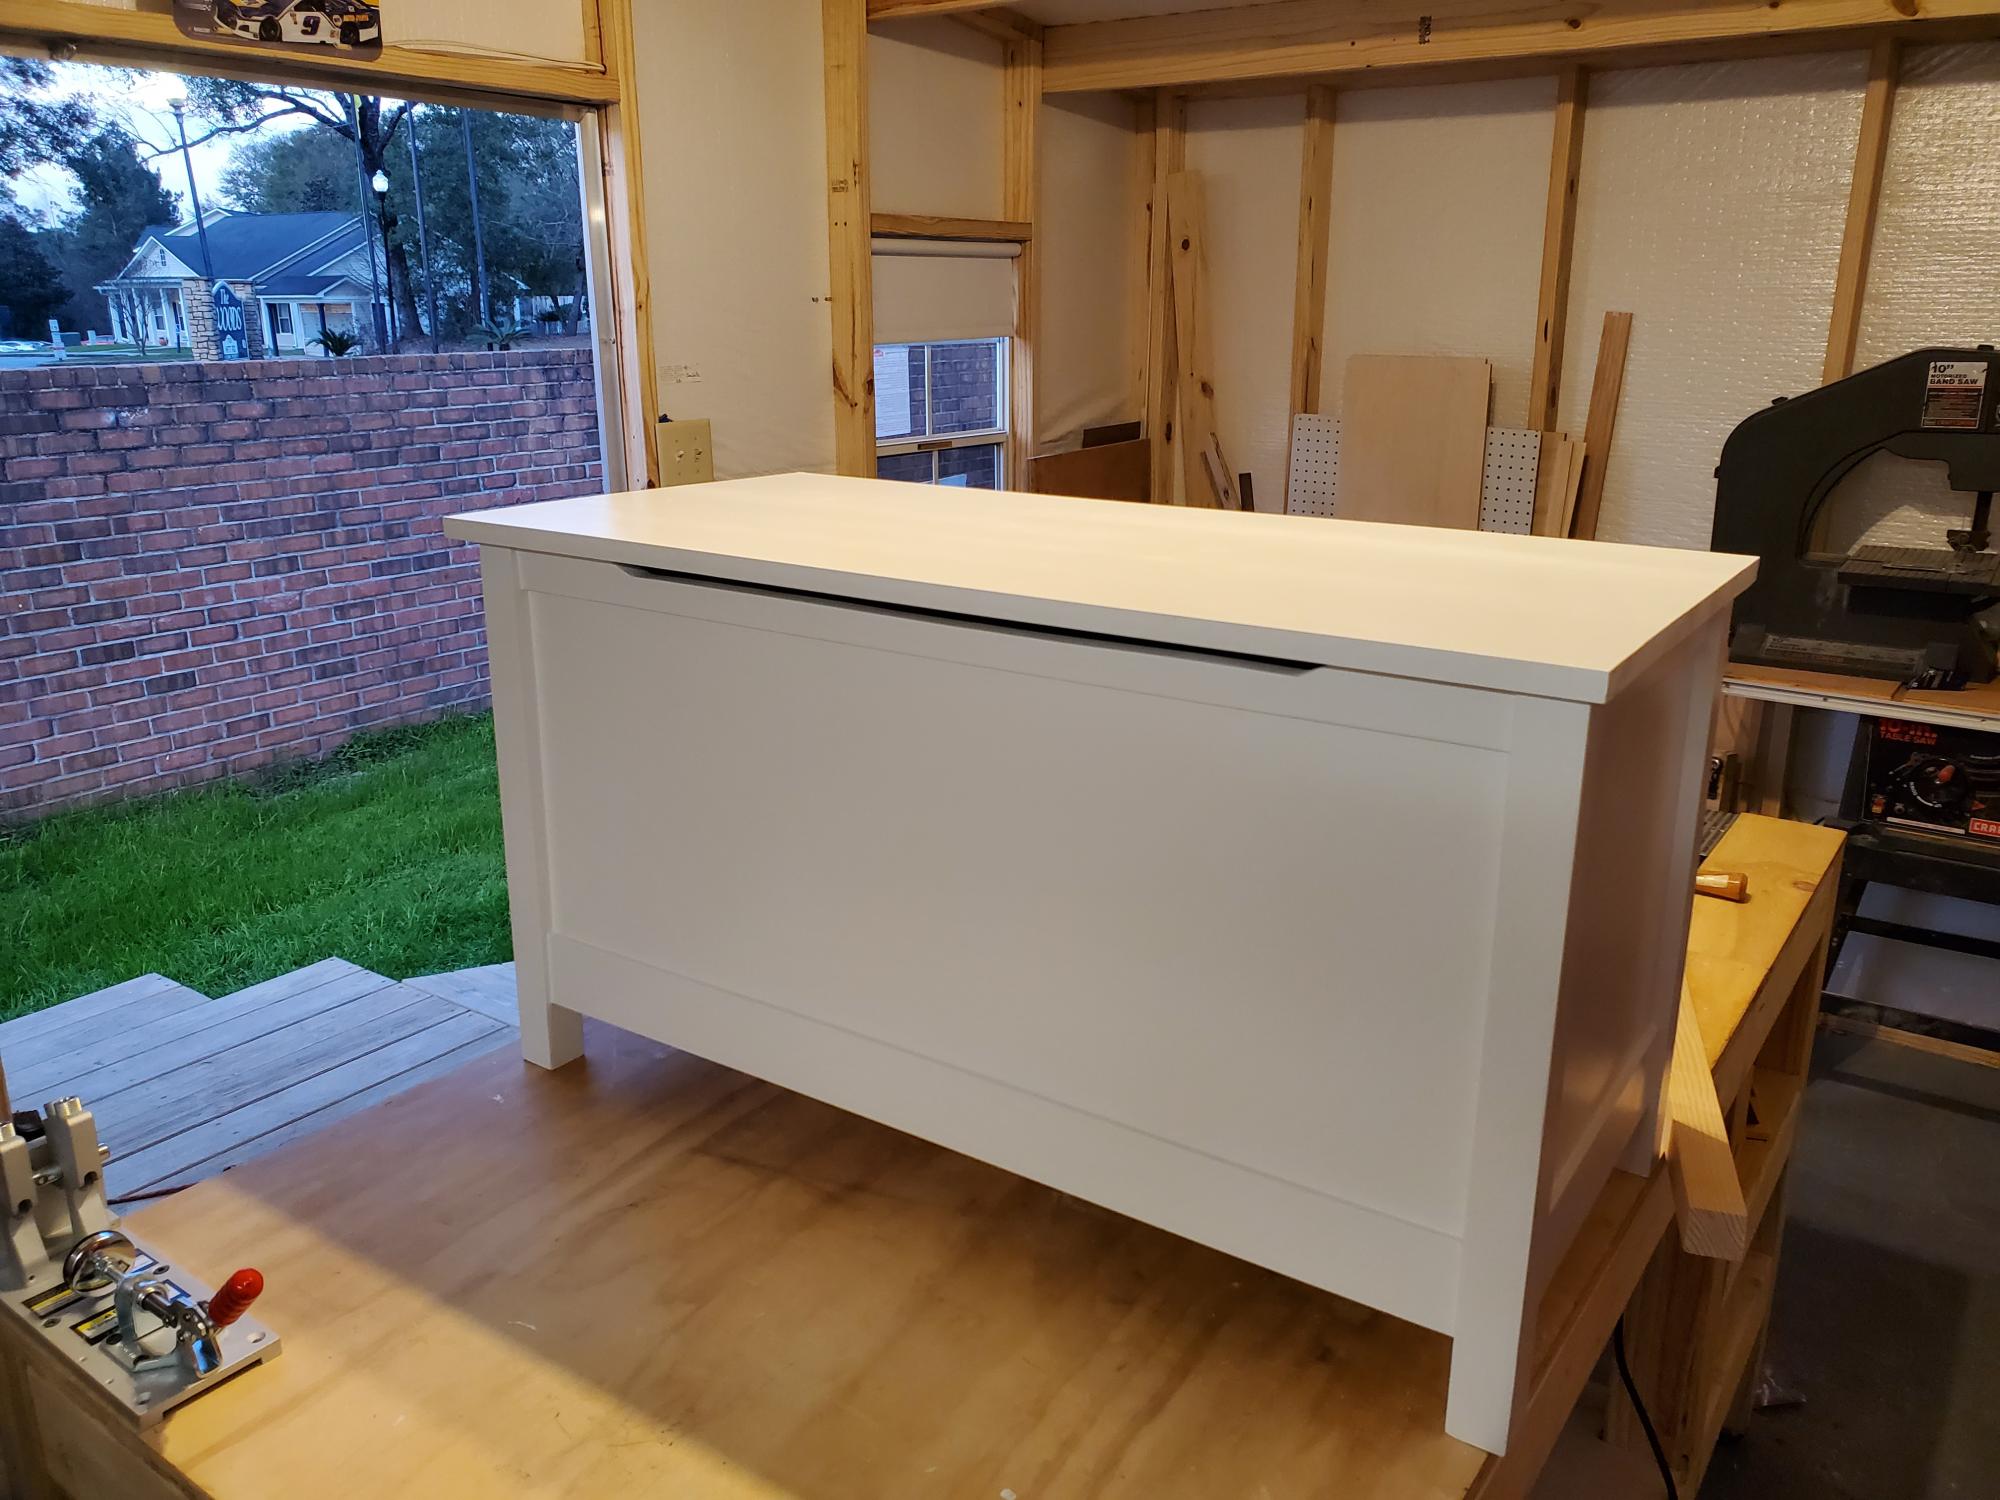
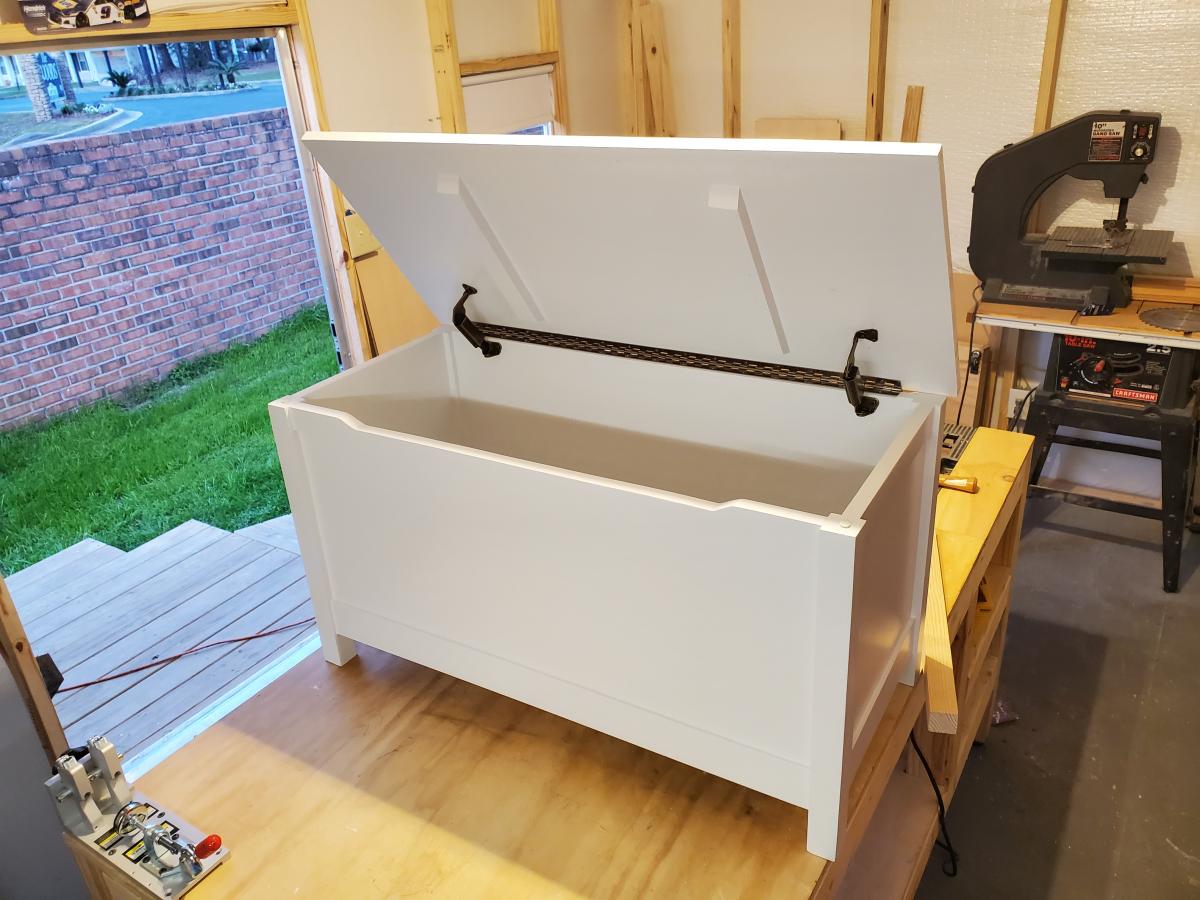
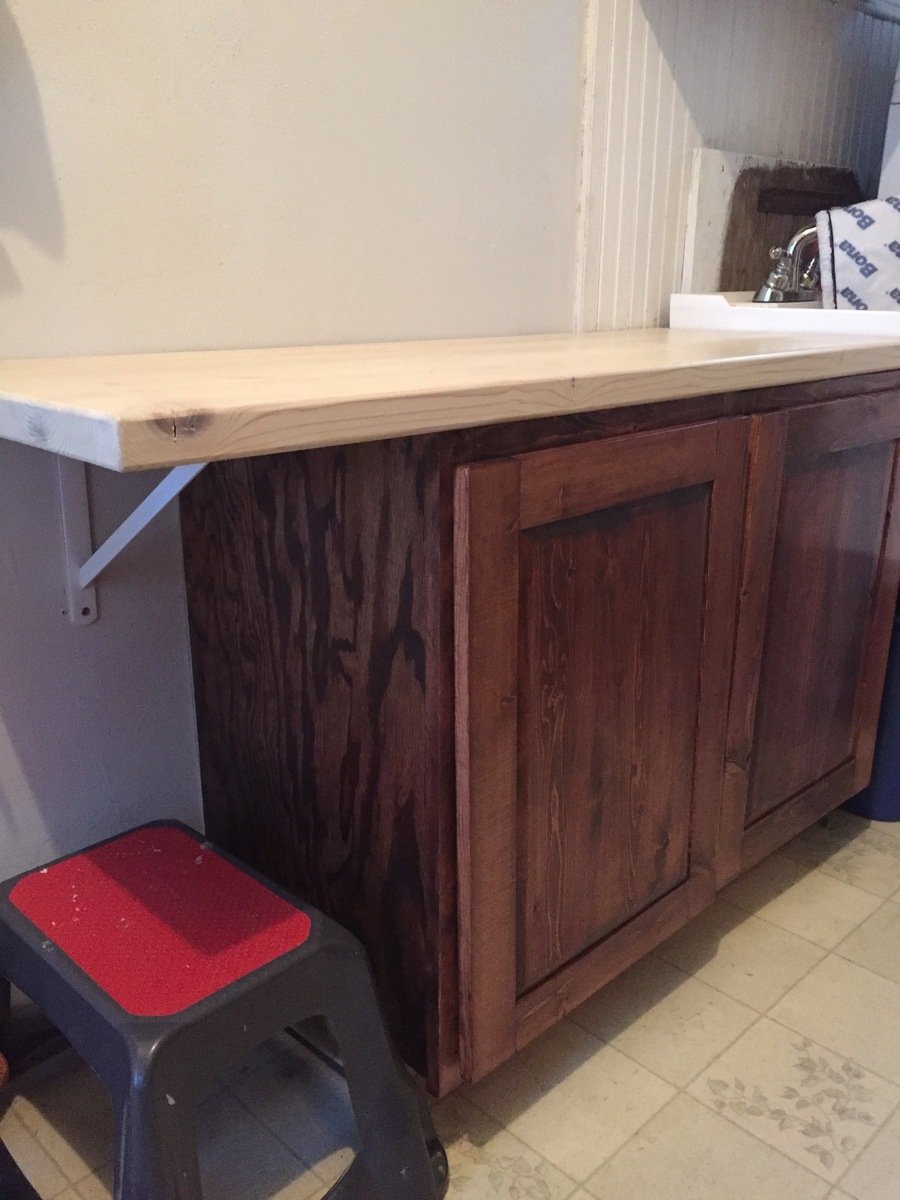
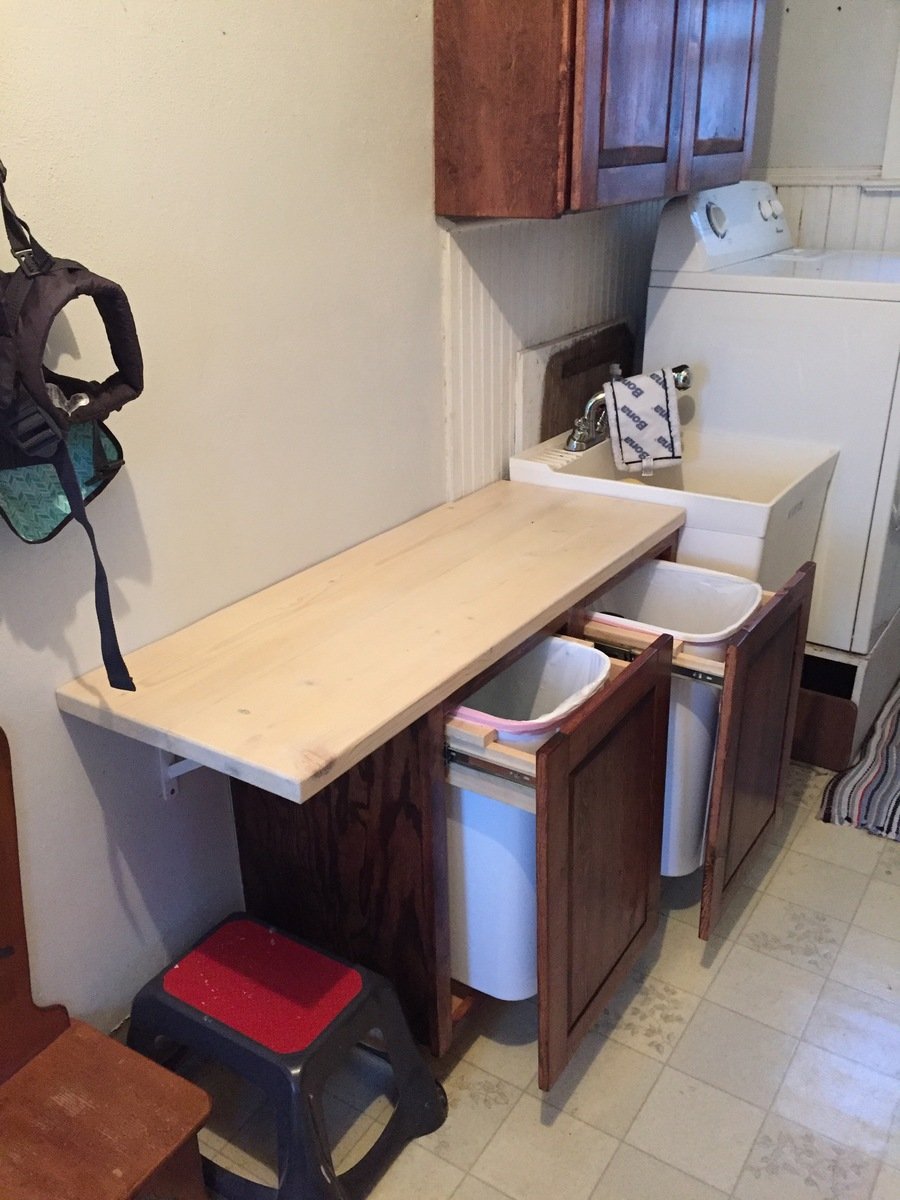
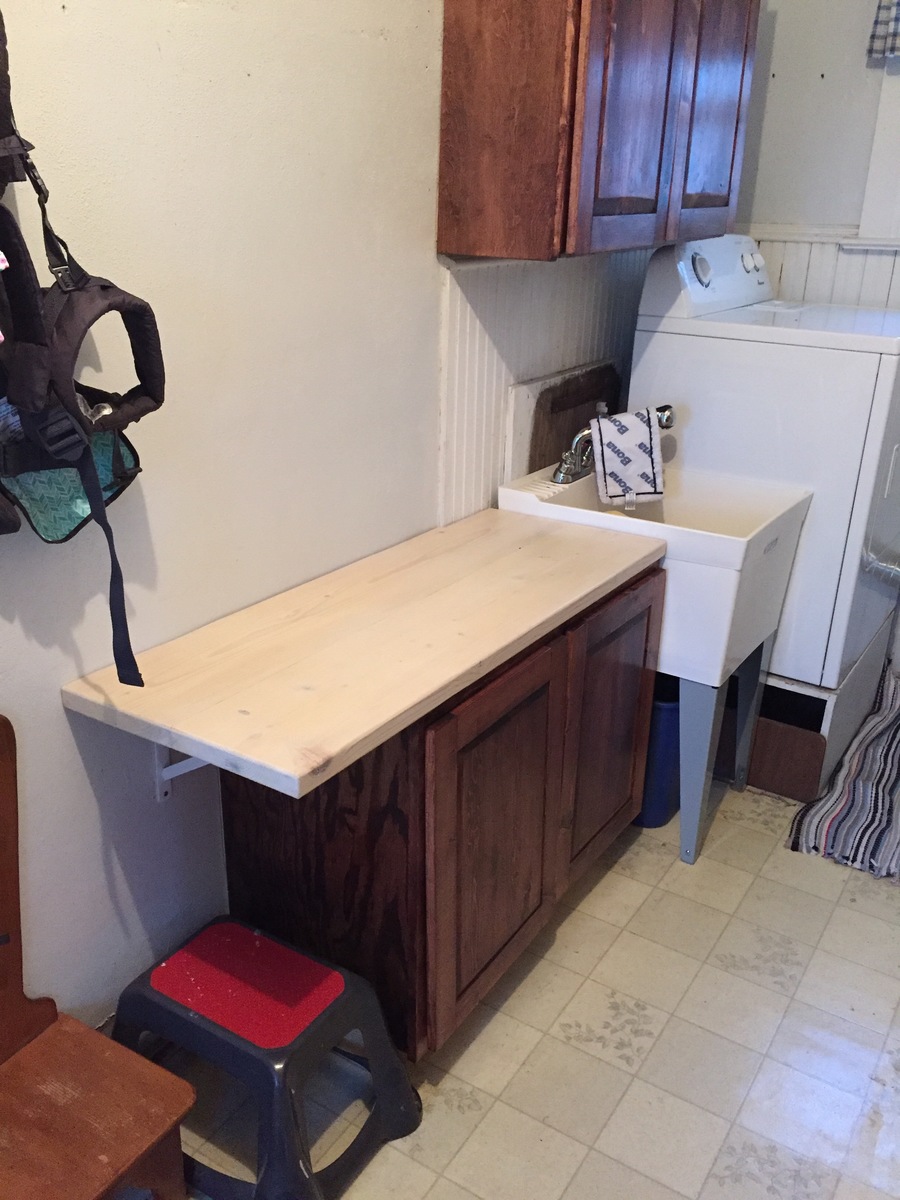
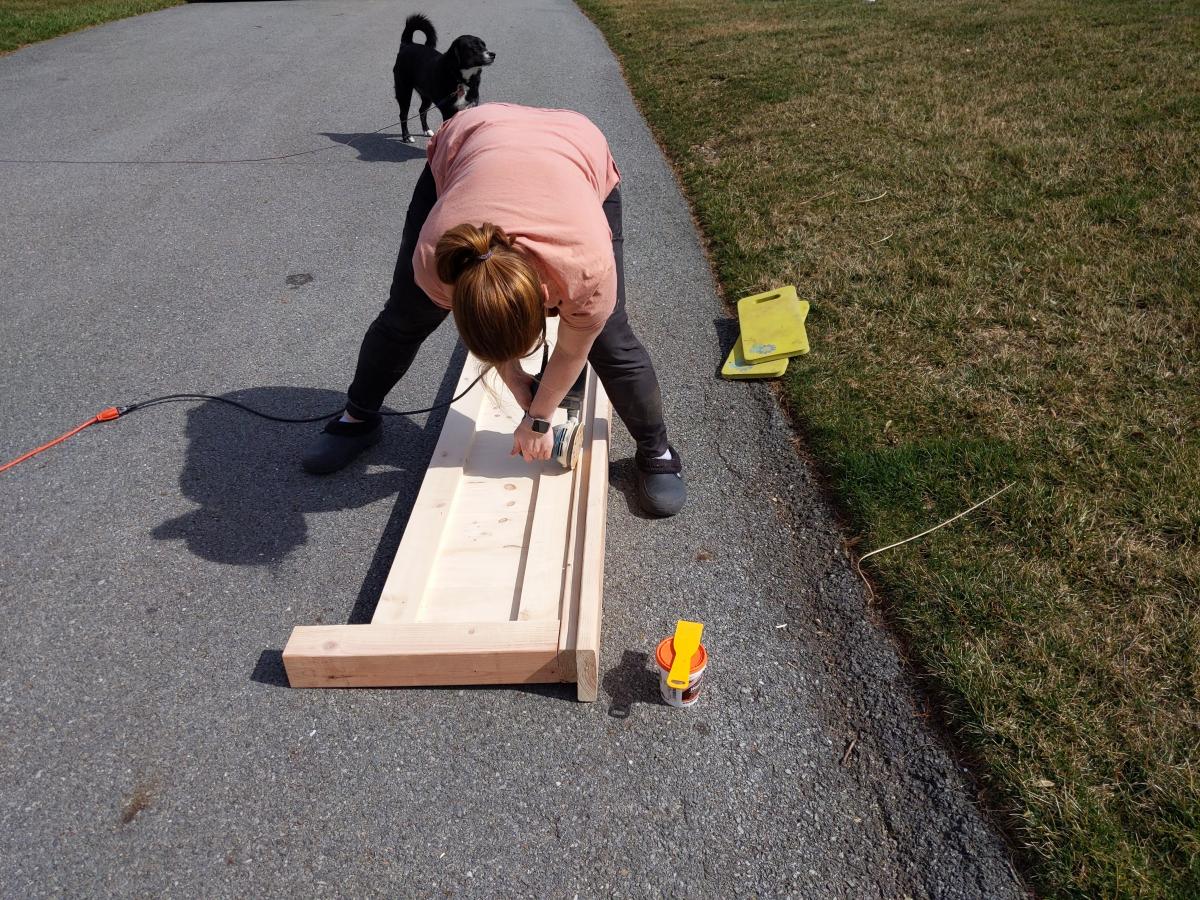
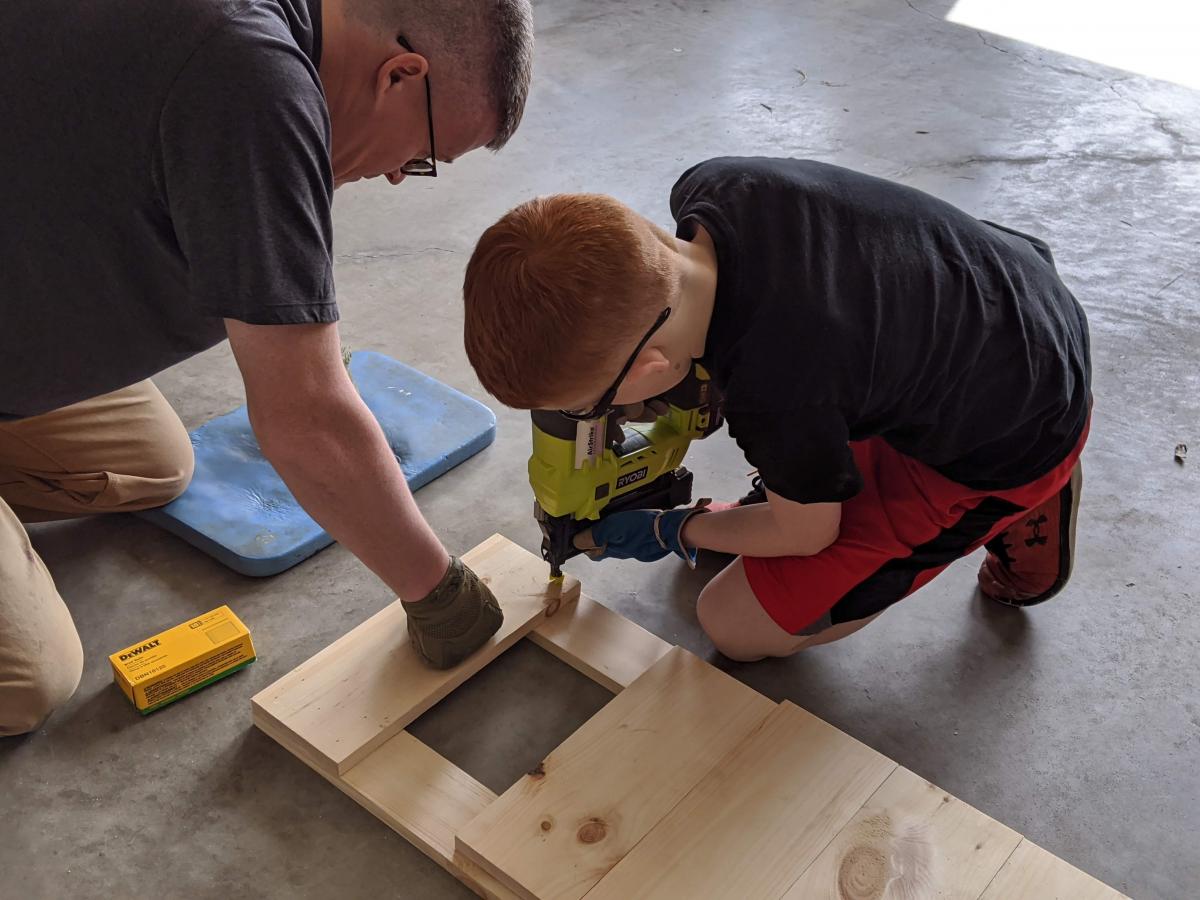
We decided to go for two projects - a simple office desk and a file cabinet. These were the only two things I really needed. As we’re both handy with tools, it took us two afternoons to complete the projects.
Once I got the furniture I needed, I started organizing everything. Here, I realized that setting up a functioning home office is a bit more complicated. Here’s a list of things I had to take into account:
A View
One of the first things I remembered was how important it is to have a view. Just like in the office in our home, I needed to have some natural daylight while I’m working. Moreover, I like opening the windows for fresh air in good weather. I put the newly-built desk close to the window.
Lighting
Having good natural light inside your home office is one thing. Having a good lighting solution is another. The lighting in our shared office was pretty good, so I wanted the same in my cabin.
Since it’s pretty small, we solved the issue with a ceiling LED lamp and a brass lamp for the desk.
Plants and Decorations
I love plants! I have a bunch of them in and around the house. Naturally, I decided to bring some into my new home office. I also brought in a couple of paintings, and I intend to start using essential oils, too. All of this makes for an atmosphere of a stimulating office, which I think is really important.
A Second Monitor
With new space that’s only my own, I decided to upgrade some of my techs. The first and most important thing was to purchase a second monitor. I always wanted some extra screen real estate, as I hate juggling windows.
I advise buying the same model as the one you already have. You’ll get the same screen fidelity and user experience.
A Sound System
Some people find music to be too distracting when they’re working. I’m not one of those people. My husband always nagged me about this. I finally managed to shut him up by finding out that work plus music equals productivity.
For that matter, I’ve decided to invest in a good sound system. I’ve set the speakers at the strategic spots around the desk. It’s a bit weird without my hubby around, so music also helps me feel less lonely while working.
The Right Chair
If you’re someone who works from home, do not underestimate the convenience of a good chair. It should be the core of your productive home office. Make sure to choose comfort over style.
I decided to avoid buying the chair online and went to a store. After testing nearly a dozen of them, I found one that provides the right arm, thigh, and back support.
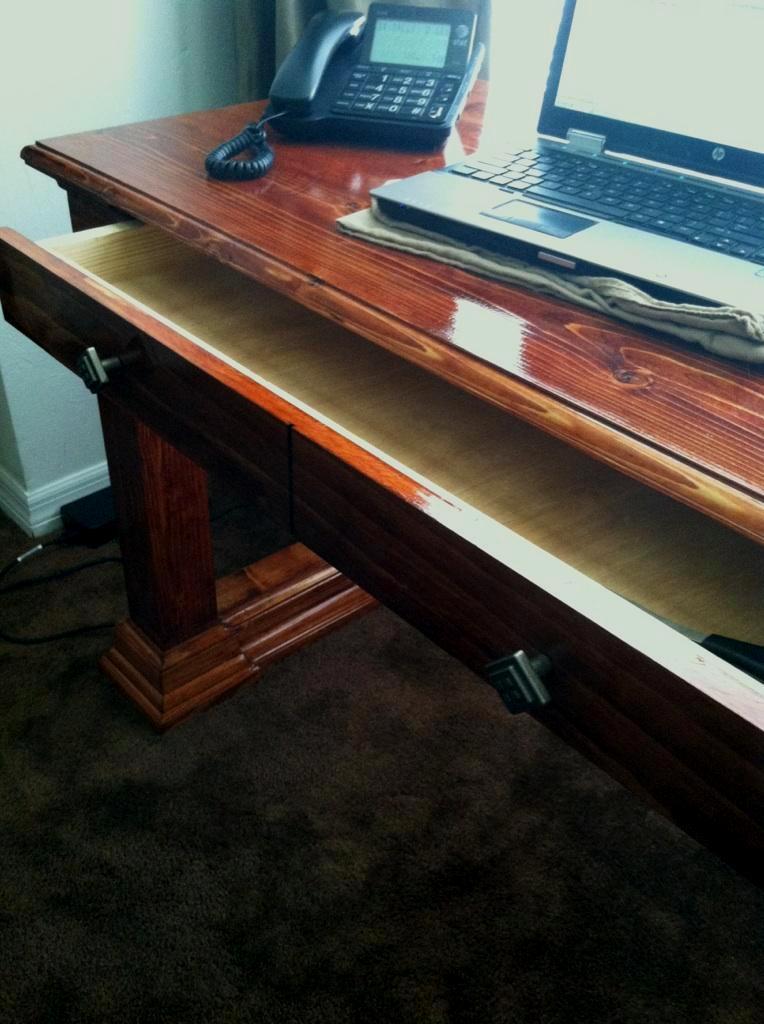
Wire Management
Since my computer setup includes a lot of wires and cables, I was worried about them getting tangled up in such a small space. Clearing up this mess was pretty easy - I only needed a couple of zip ties and clamps.


Comments
washington4x4
Tue, 05/08/2012 - 12:49
Love the details!!!!
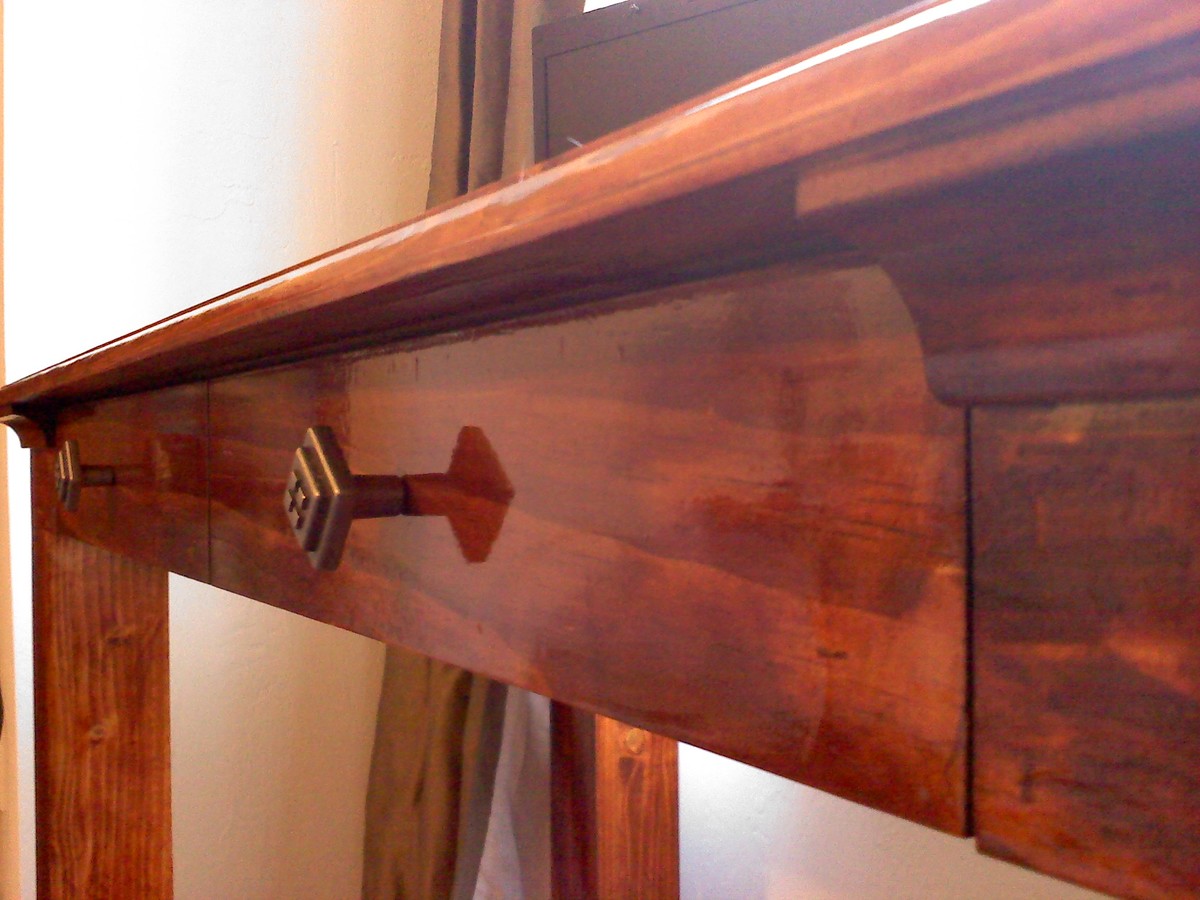
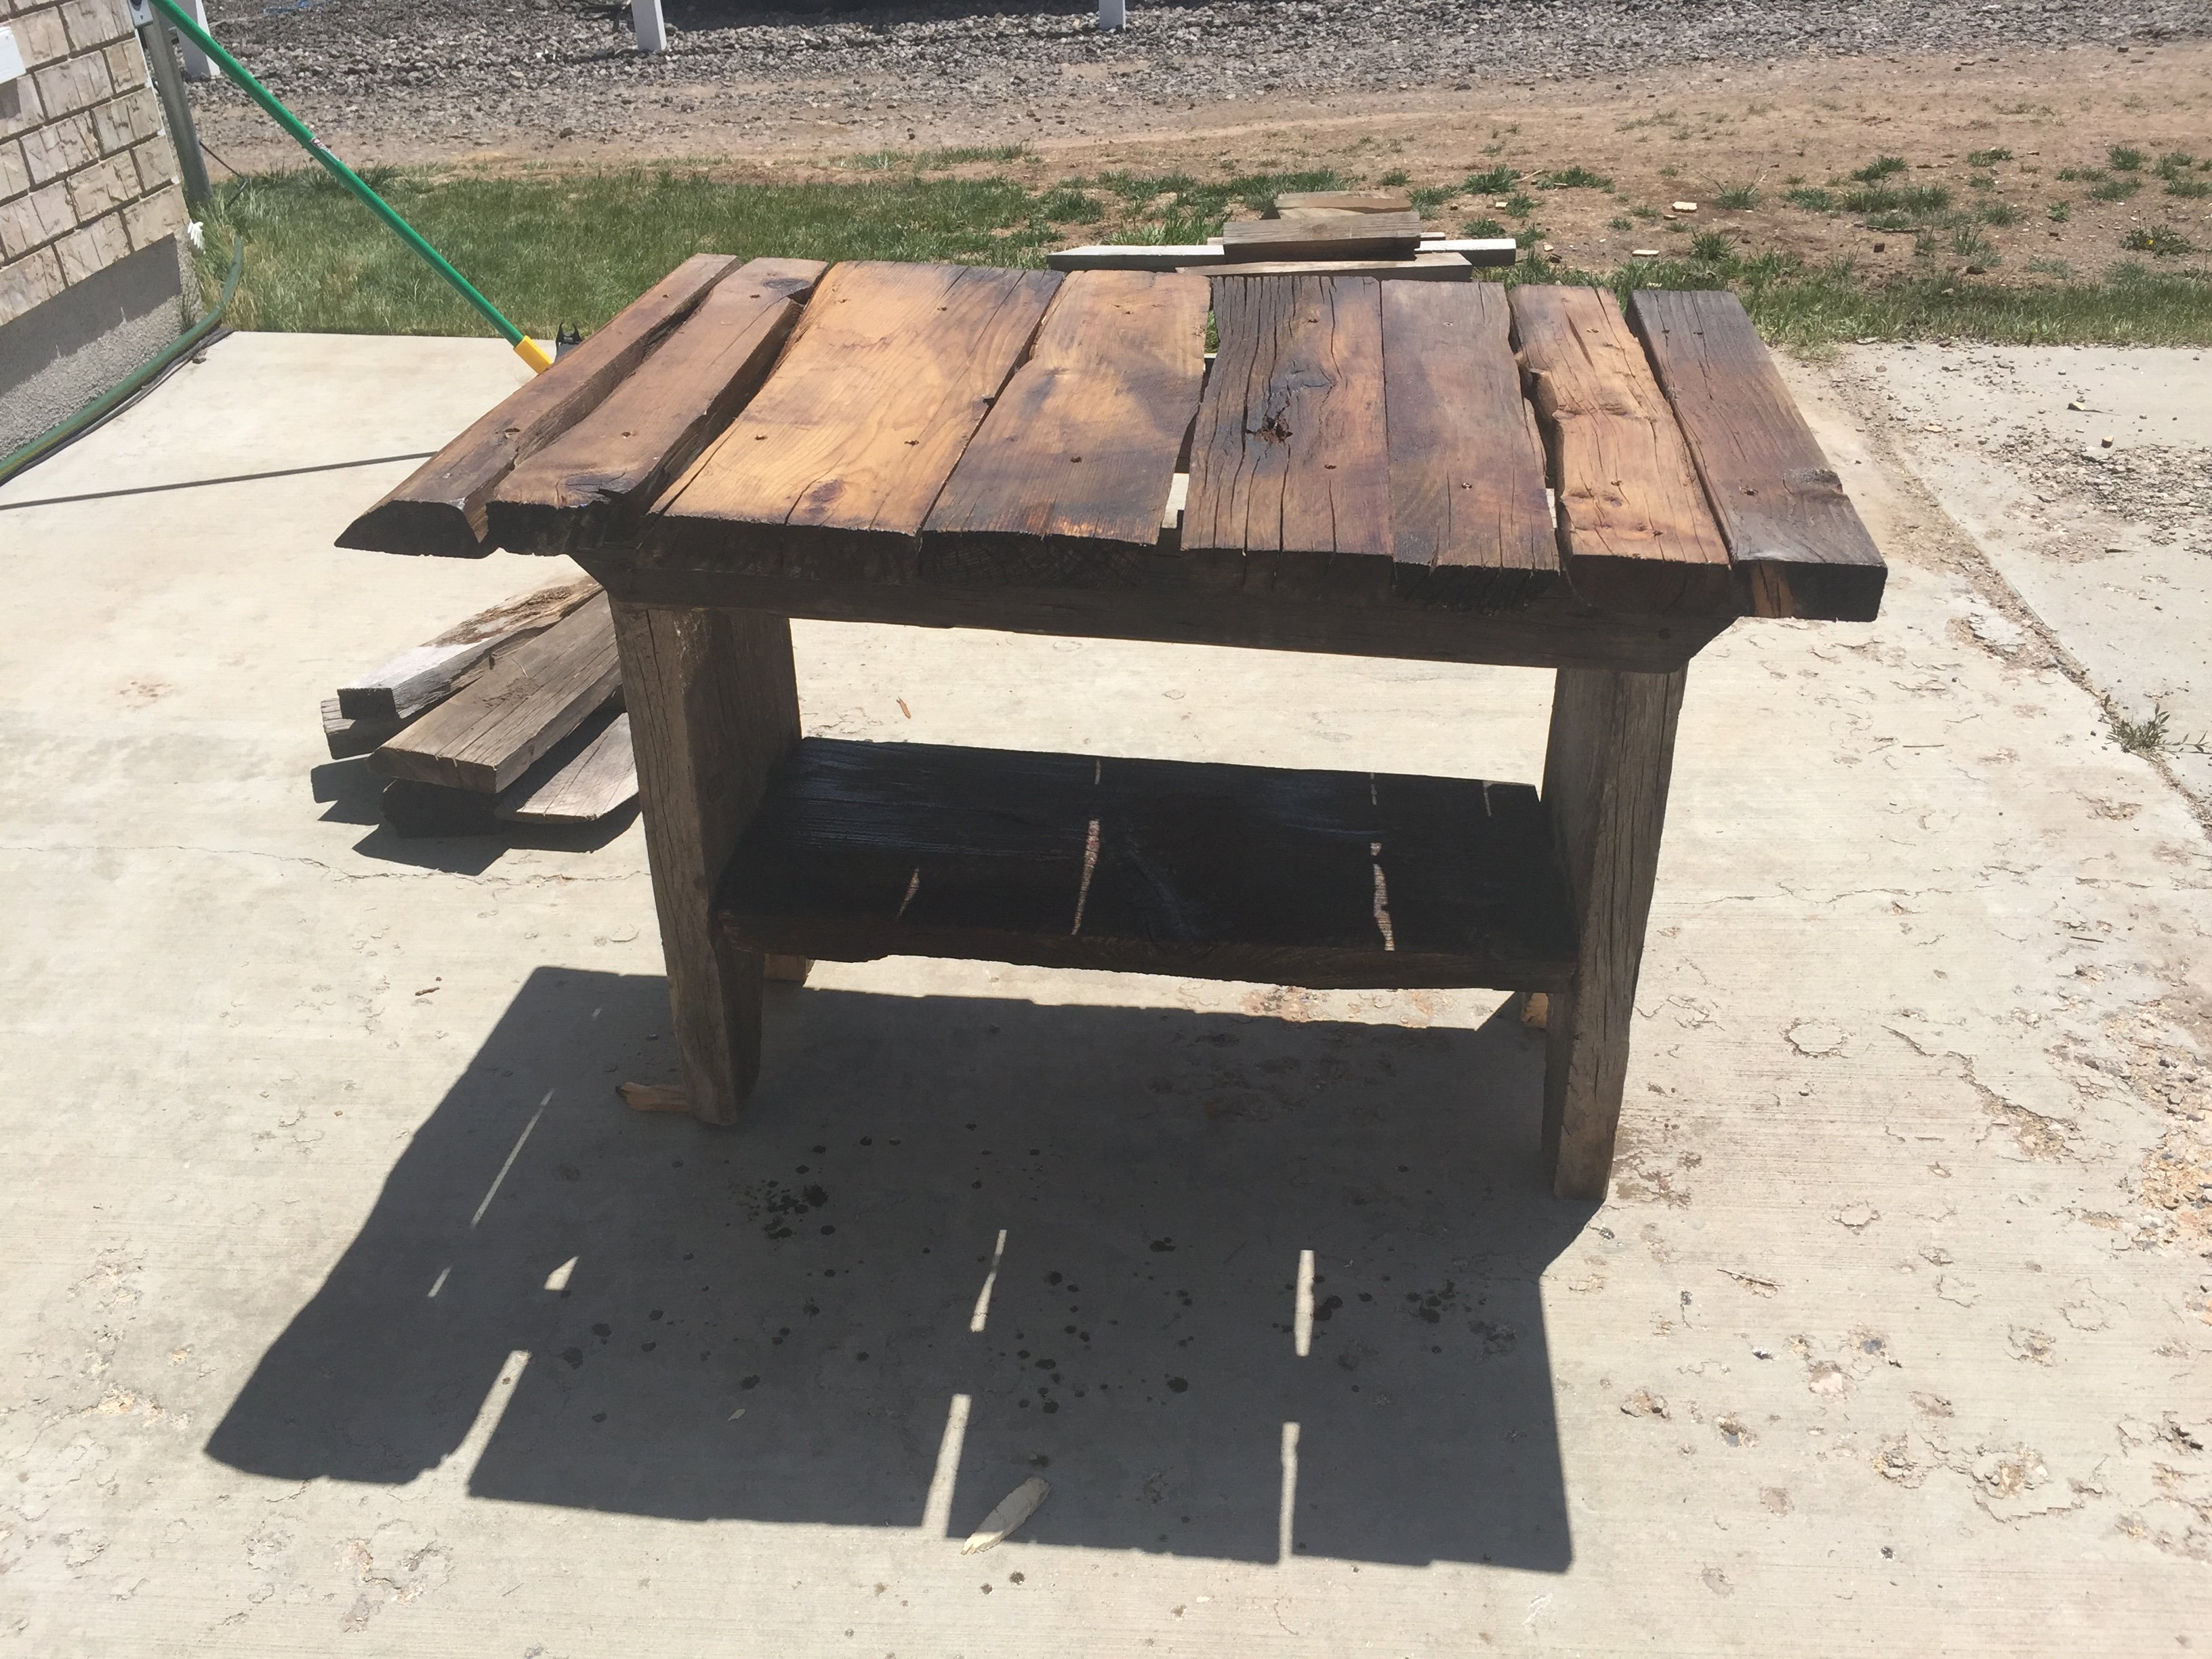
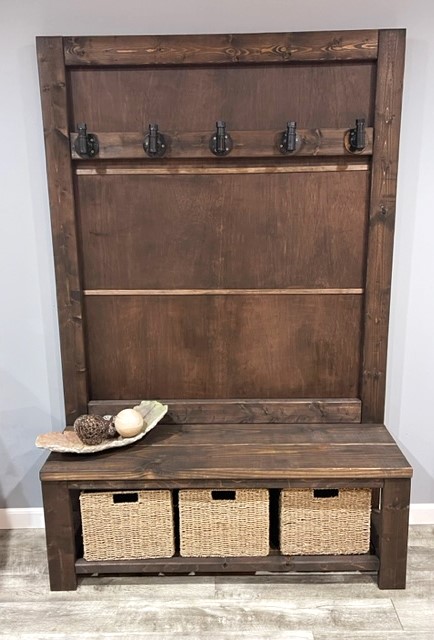
I have been looking at some different design ideas for a desk. I love what touches you put on the table legs. I might have to try something like this when I start building.
Patrick Hosey (not verified)
Tue, 05/08/2012 - 17:13
Finishing
Gorgeous finish. What's your method? Pine has been killing me. I put 6 coats on my last table top or polyurethane. Time after time the wood just soaked up the finish. I could never get a smooth surface. Maybe if I would have applied 10 more coats...
BJ D
Wed, 05/09/2012 - 05:22
thanks !
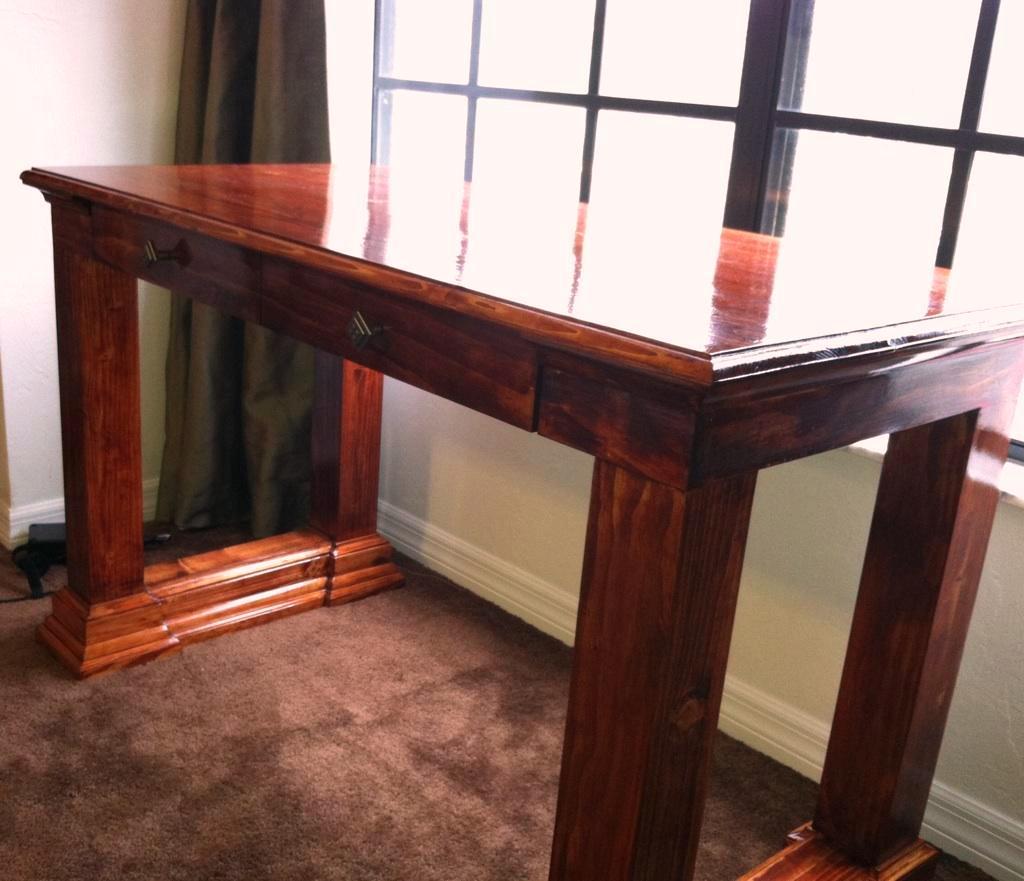
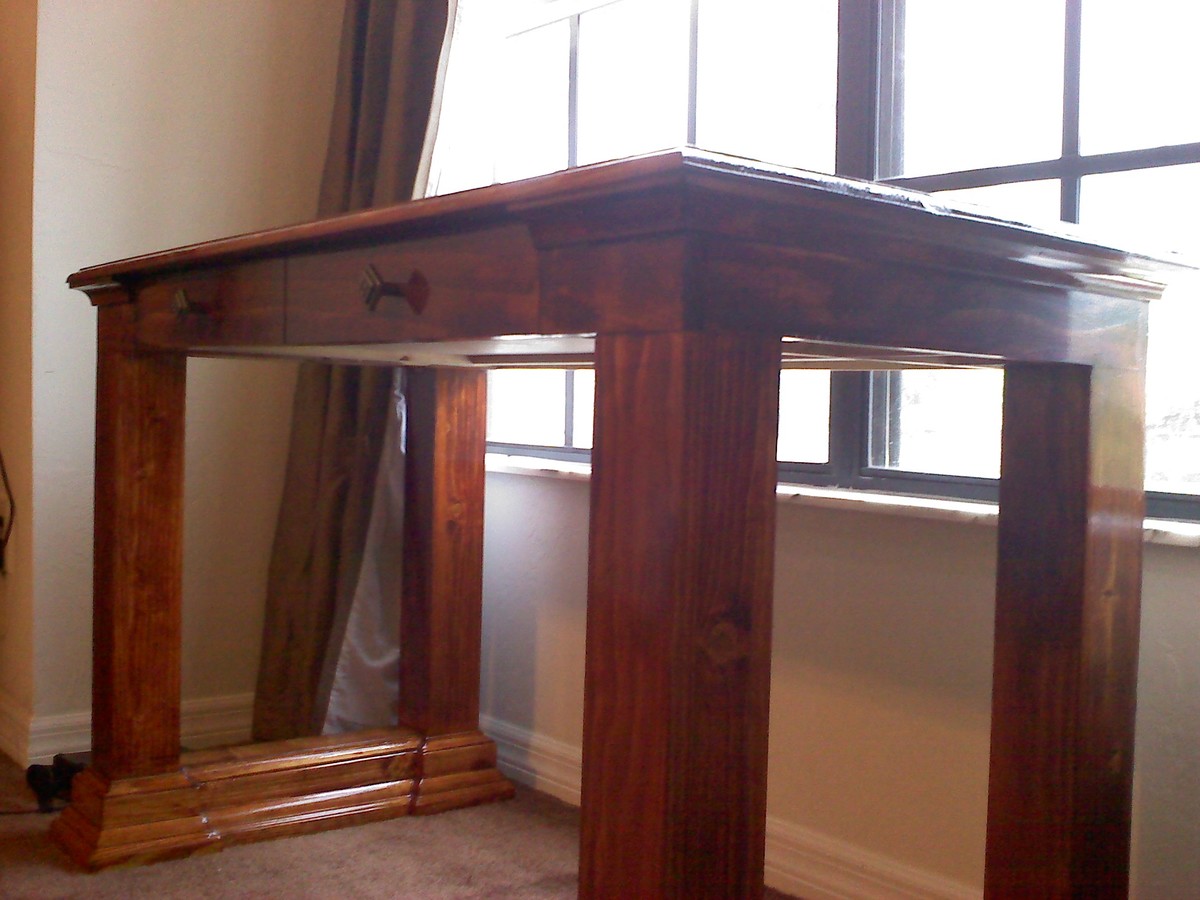
Washington- keep in mind the size of the trim pieces if you do a base like this. Some of those trim pieces are 1/2 wide and angled... not the easiest to get to fit right. If I were to do it again, I would cut in more to make the cuts a little easier. However, I loved this result.
These legs are hollow also, a definite idea to keep in mind for anyone wanting to do a 4x4 leg project but unable to find treated 4x4's.
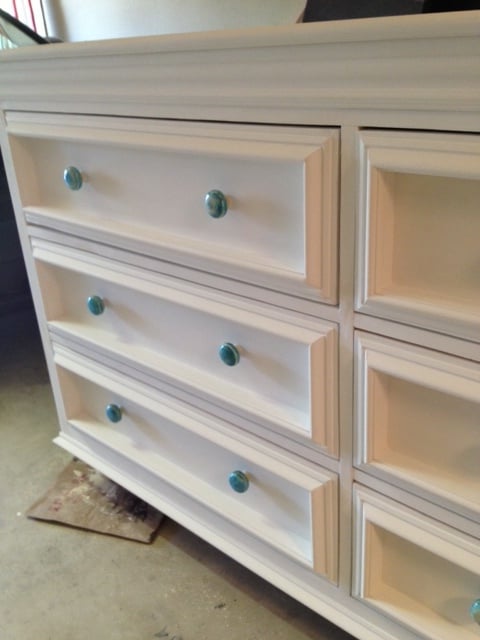
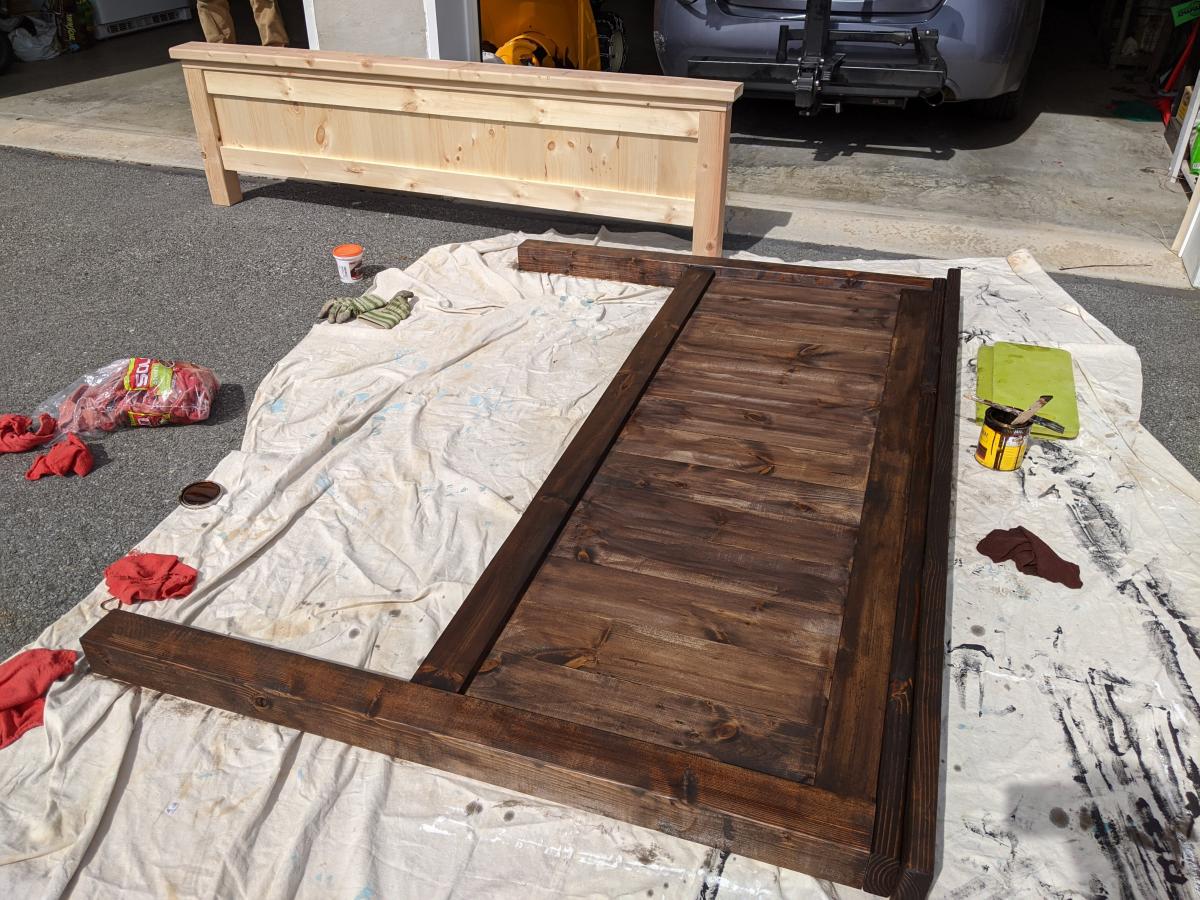
Patrick- everything was well sanded in advance. then a coat of wood conditioner. Then the stain (2 coats of the gunstock and 2 coats of the Golden Oak). With the Poly, In between coats, I buff with 0000 Steel Wool then wipe clean. That surface, minus the places where I left the charachter in the wood on purpose, is VERY smooth.
spiceylg
Wed, 05/09/2012 - 06:31
You did a really beautiful
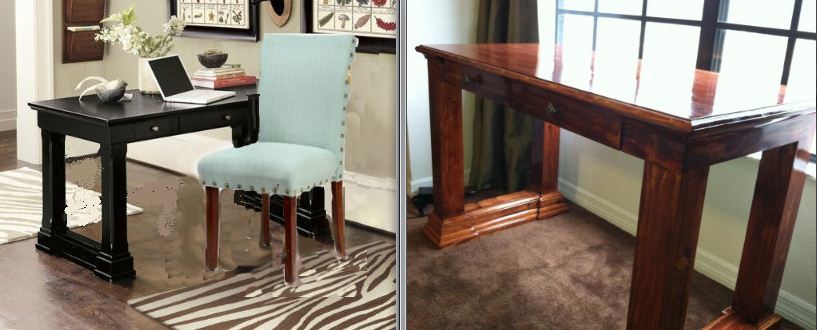
You did a really beautiful job and it does match the dresser so nicely.
Patrick Hosey (not verified)
Thu, 05/10/2012 - 19:15
Ahh poly in between coats.
Ahh poly in between coats. What a great method. Will try that.
BJ D
Wed, 05/16/2012 - 05:40
between coats
Patrick.. you apply poly, give a very light sand with the 0000 steel wool (A little more than running over the surface with minimal pressure) until the surface feels smooth with no drag. Then wipe down with tack cloth and apply a new layers of poly.
Keep in mind that with polyacrylic.. the water based stuff, you can't use the steel wool. I'm told it will rust. This is strictly for polyurethane.
BJ D
Wed, 05/16/2012 - 05:42
raised trim
Washington- the middle layer of trim is on top of spacer to raise it up. It provided a great look.
s2miller123
Wed, 03/27/2013 - 21:25
How did you build the legs?
The desk looks great. I was trying to figure out how you attached the four pieces of wood that make the legs. You indicated a Kreg jig, but it would seem that there would need to be some pocket screws on the outside. I don't see any...what am I missing here?
henryholub
Wed, 08/14/2013 - 13:30
Wow...
Wow...just wow. Thats absolutely beautiful