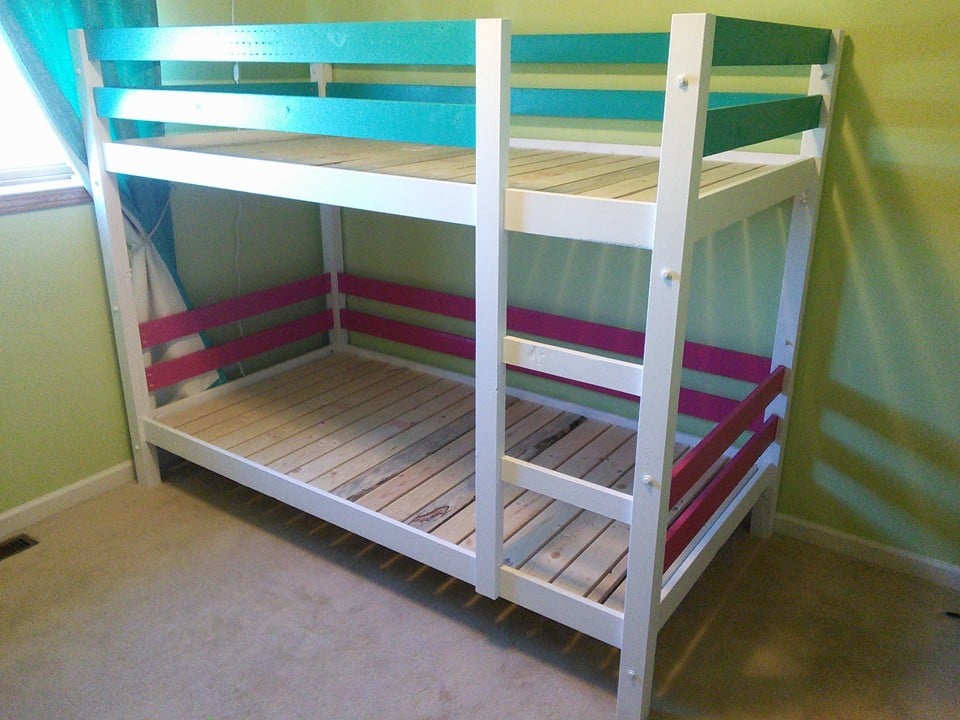
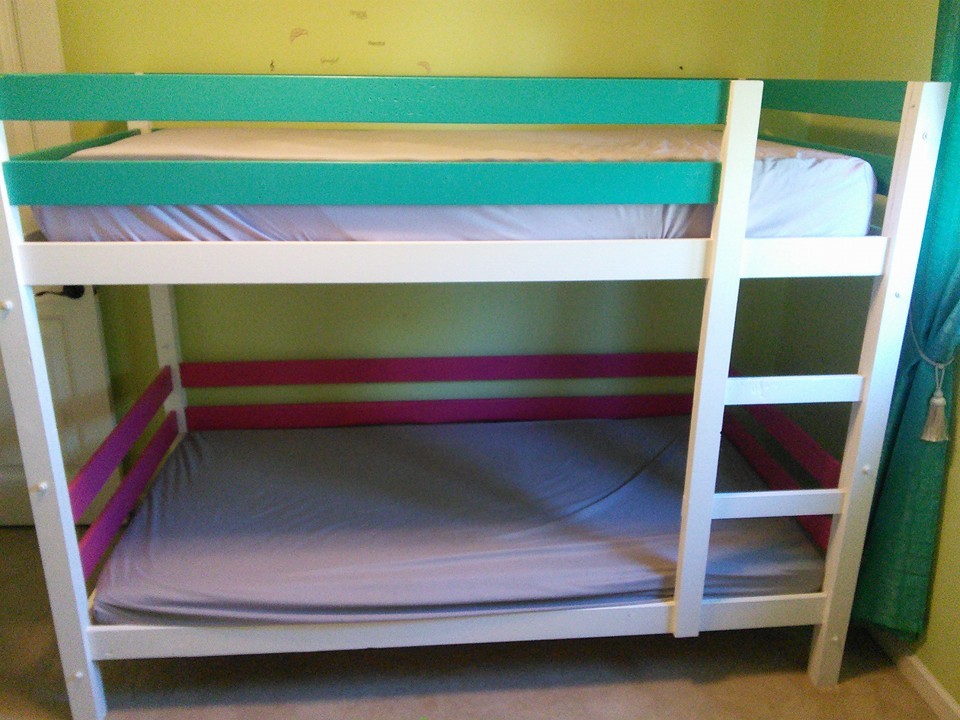
Ocean/Mermaid themed full size version of Sweet Pea Bunkbed
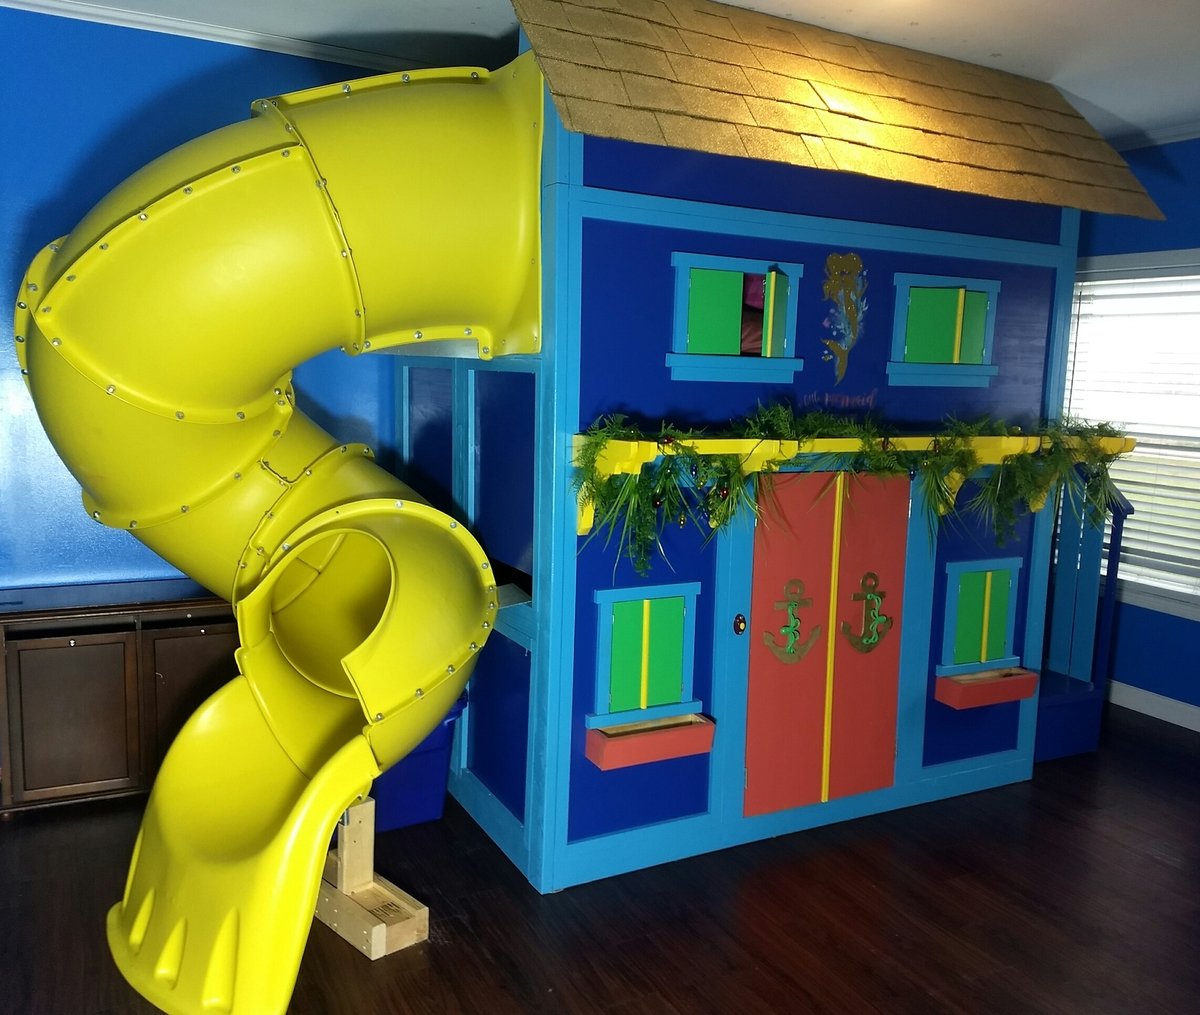
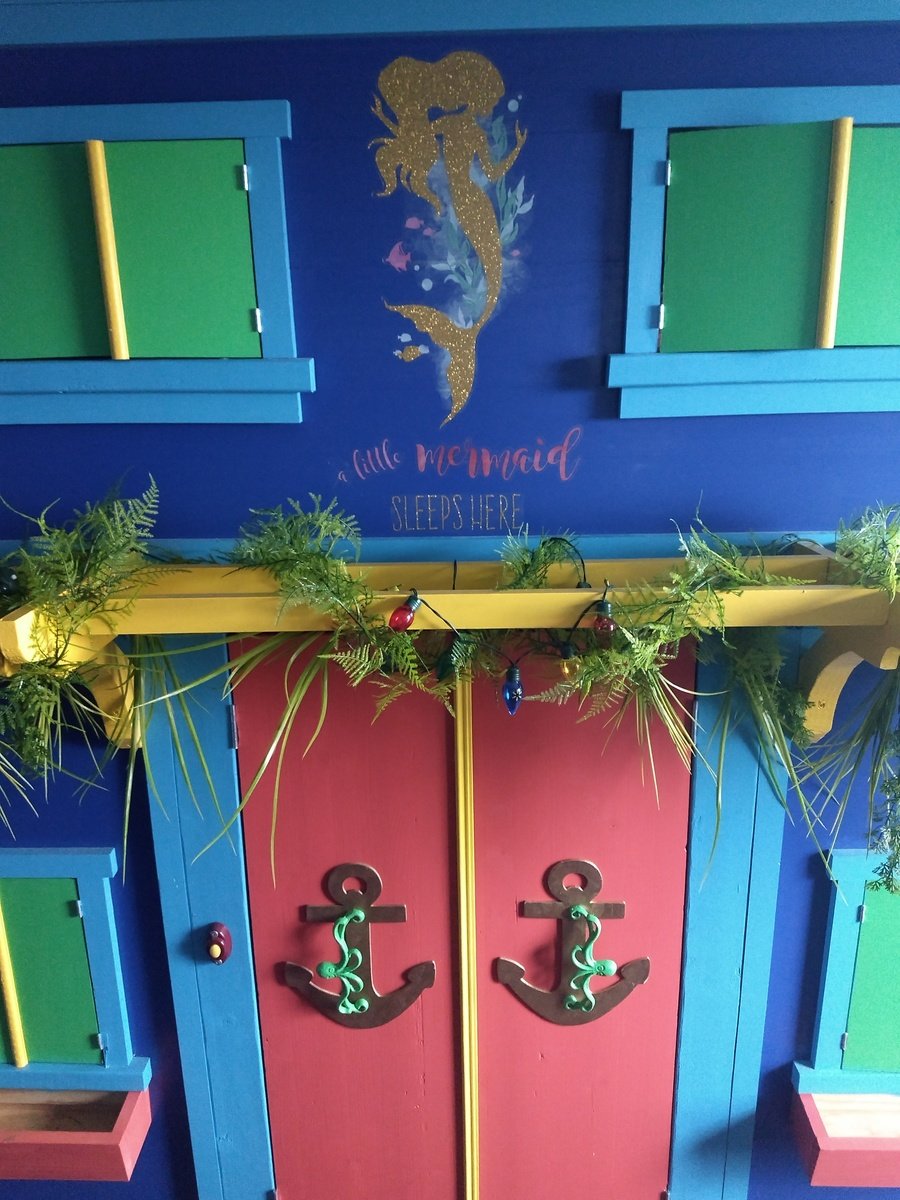
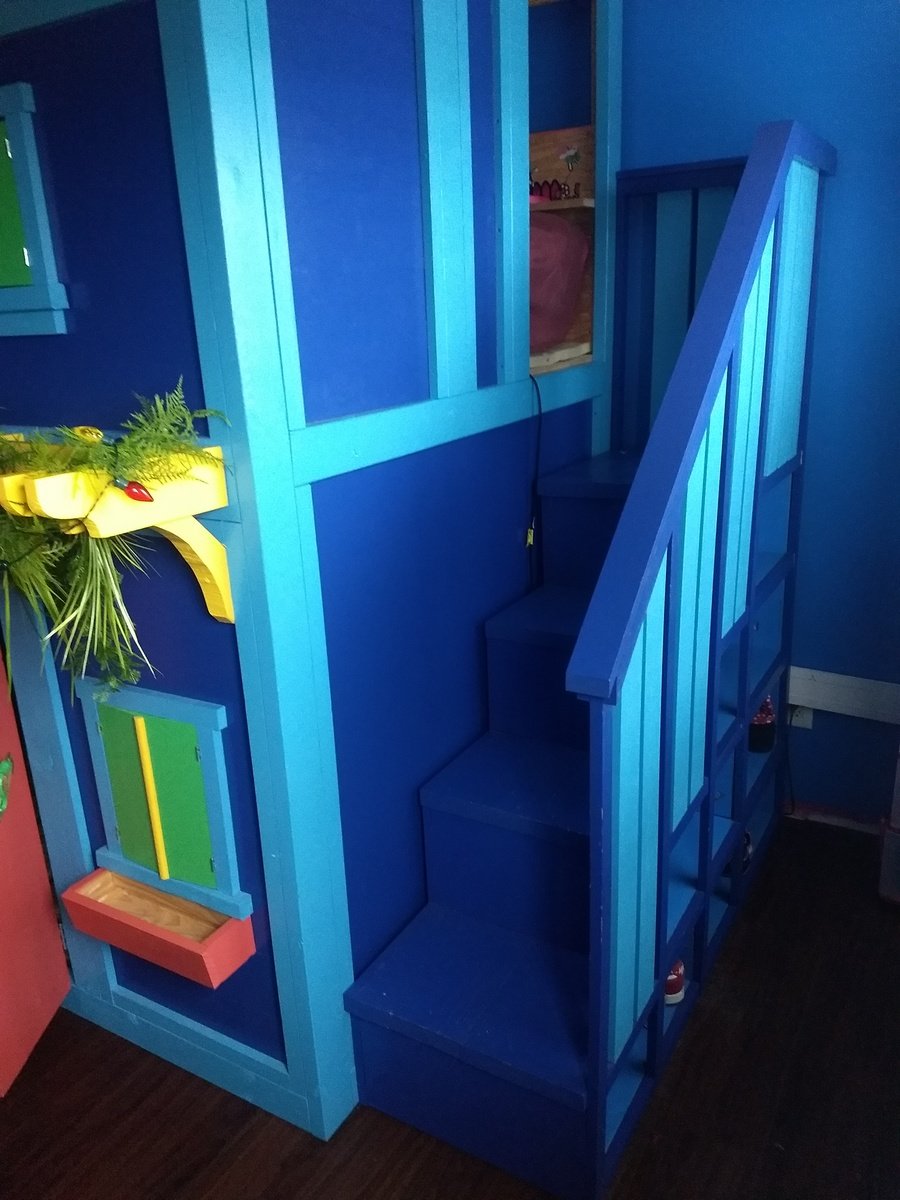
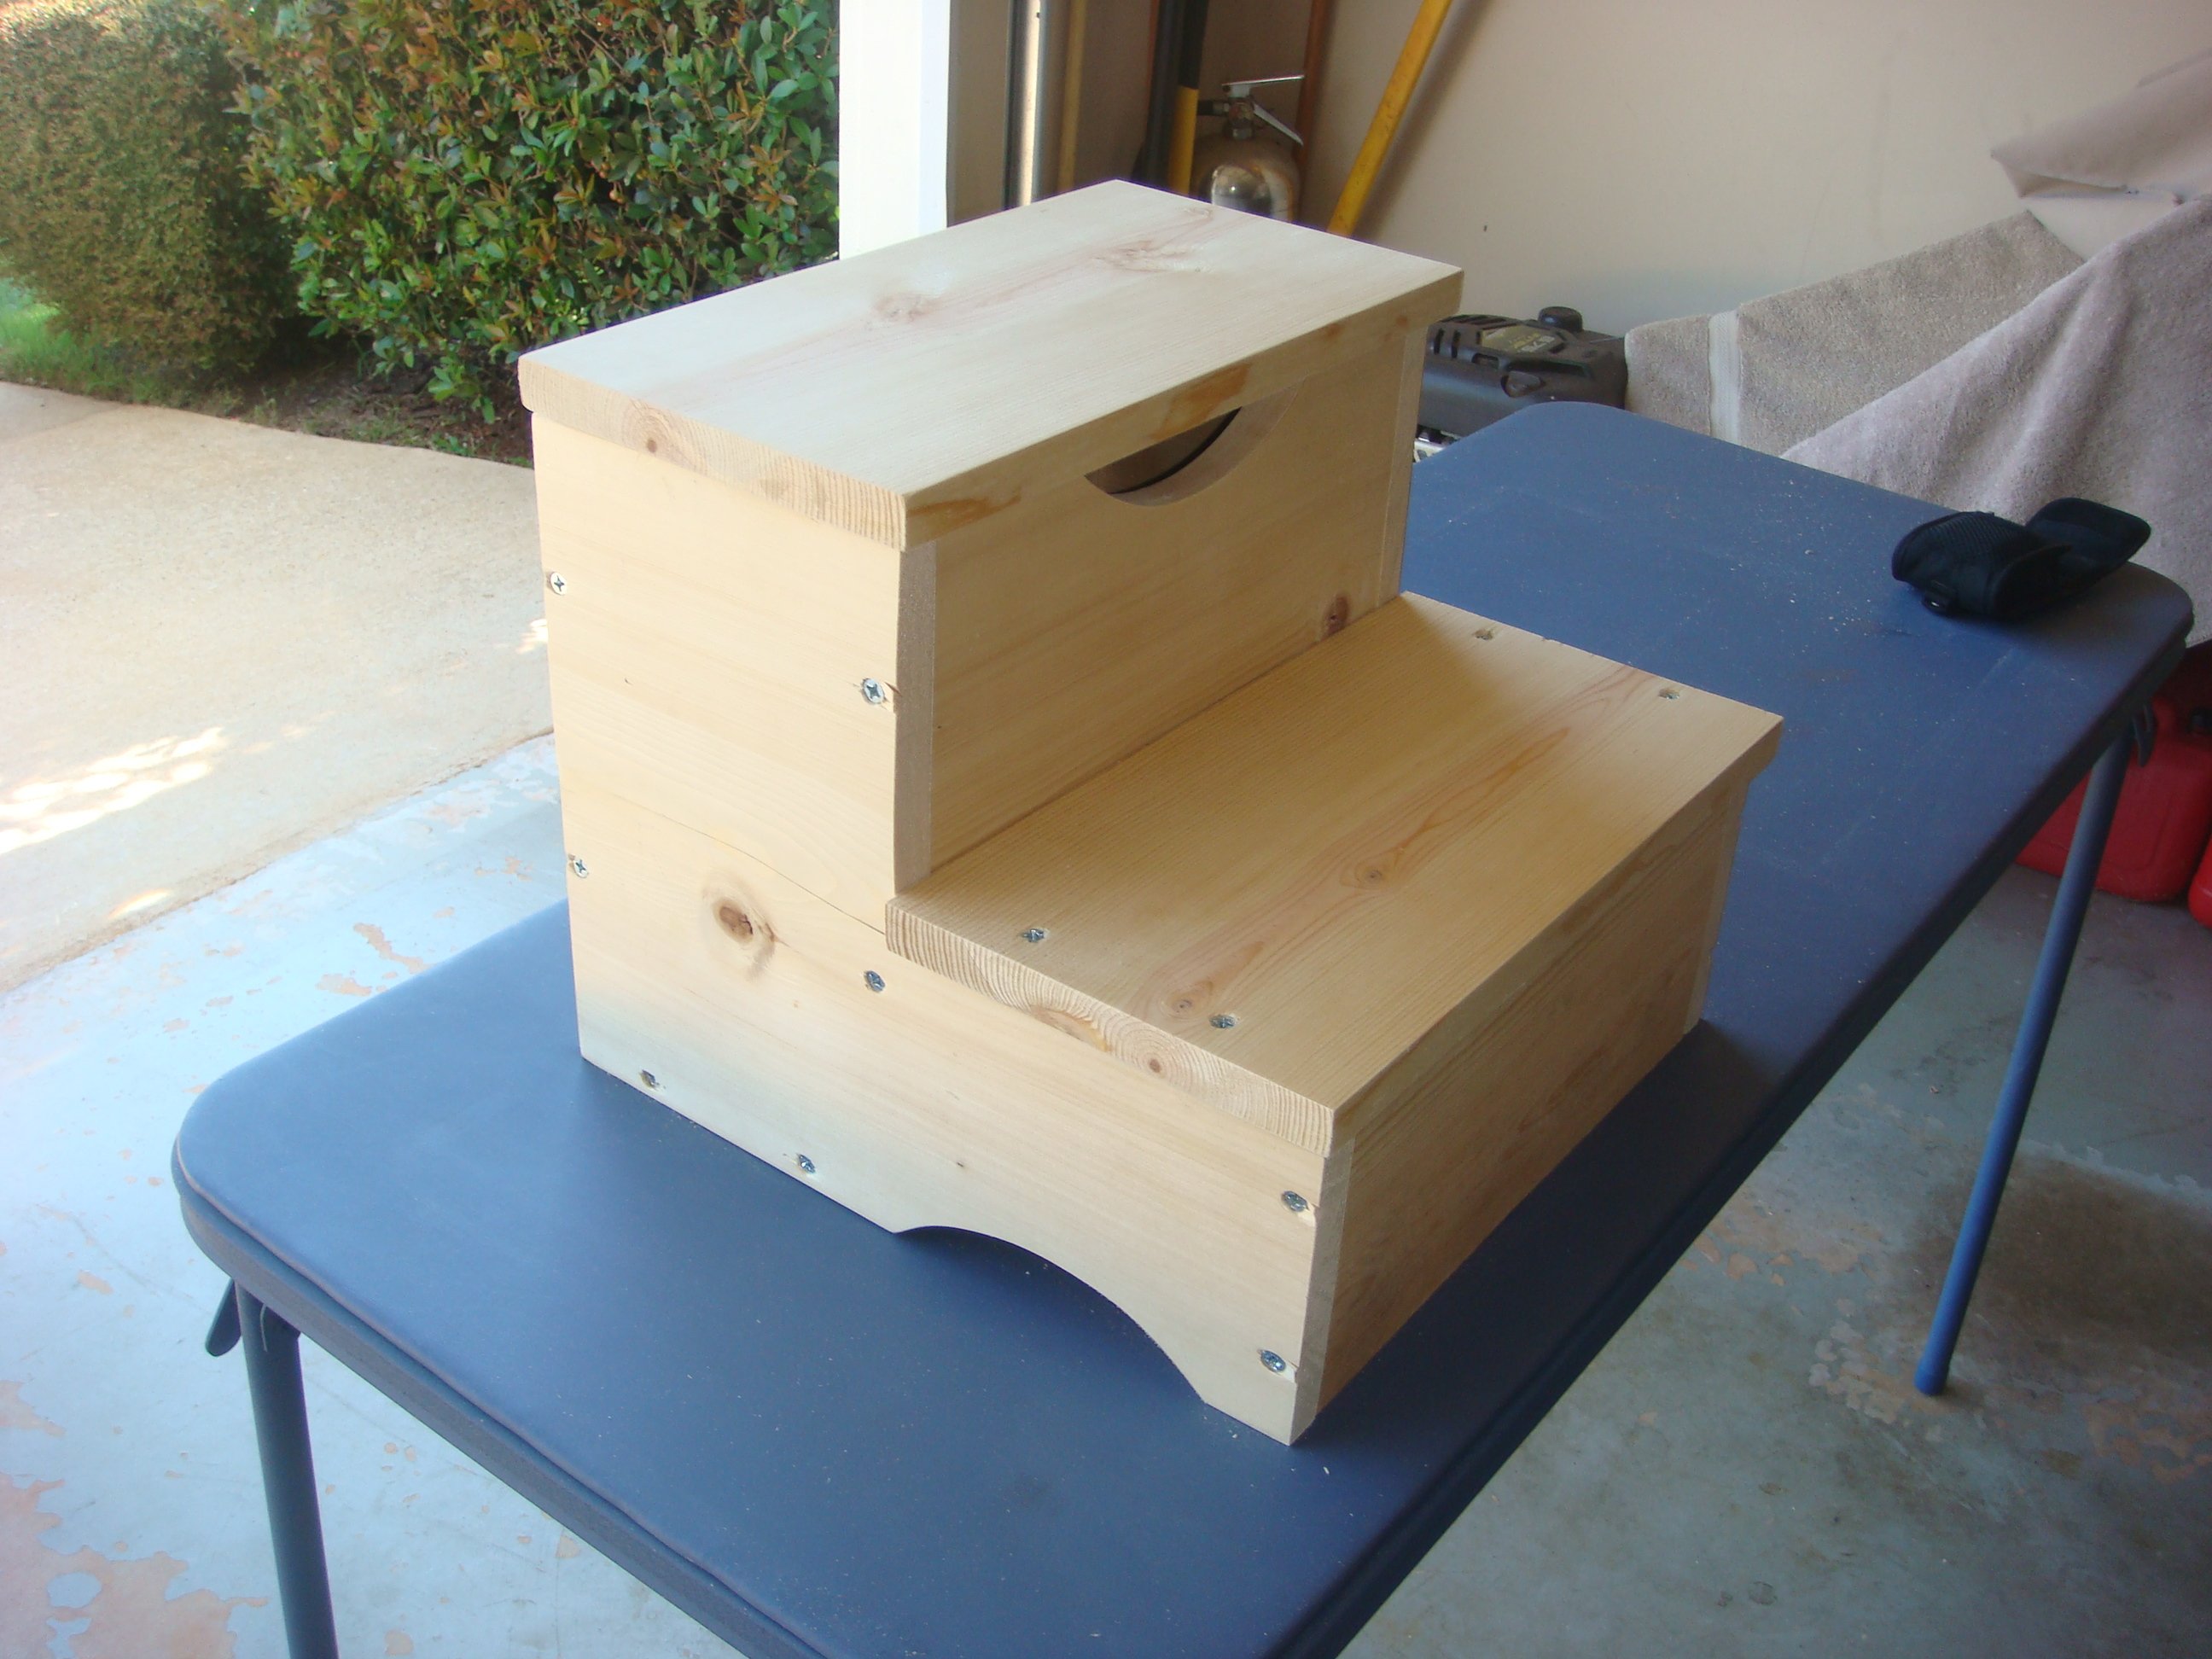
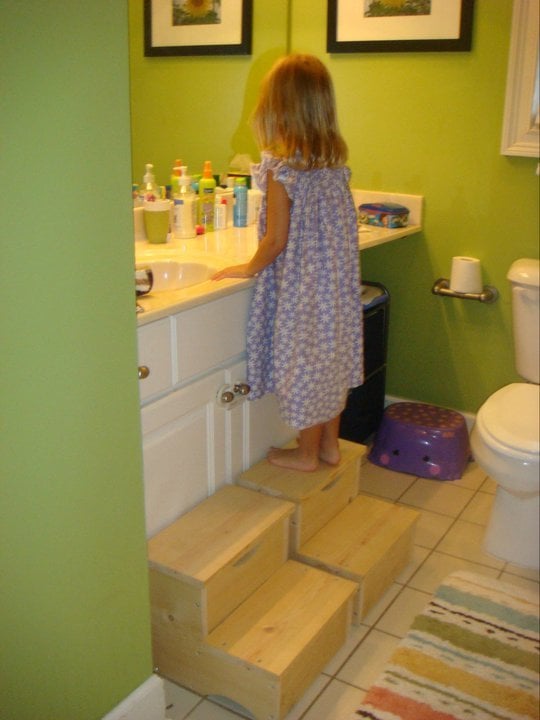
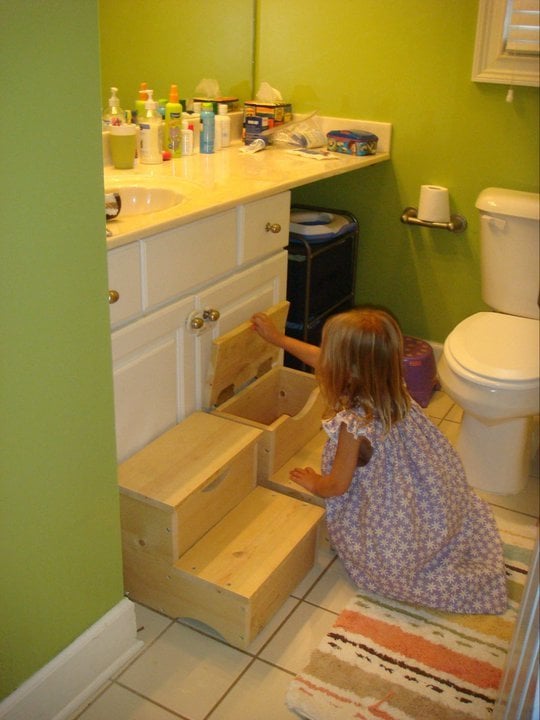
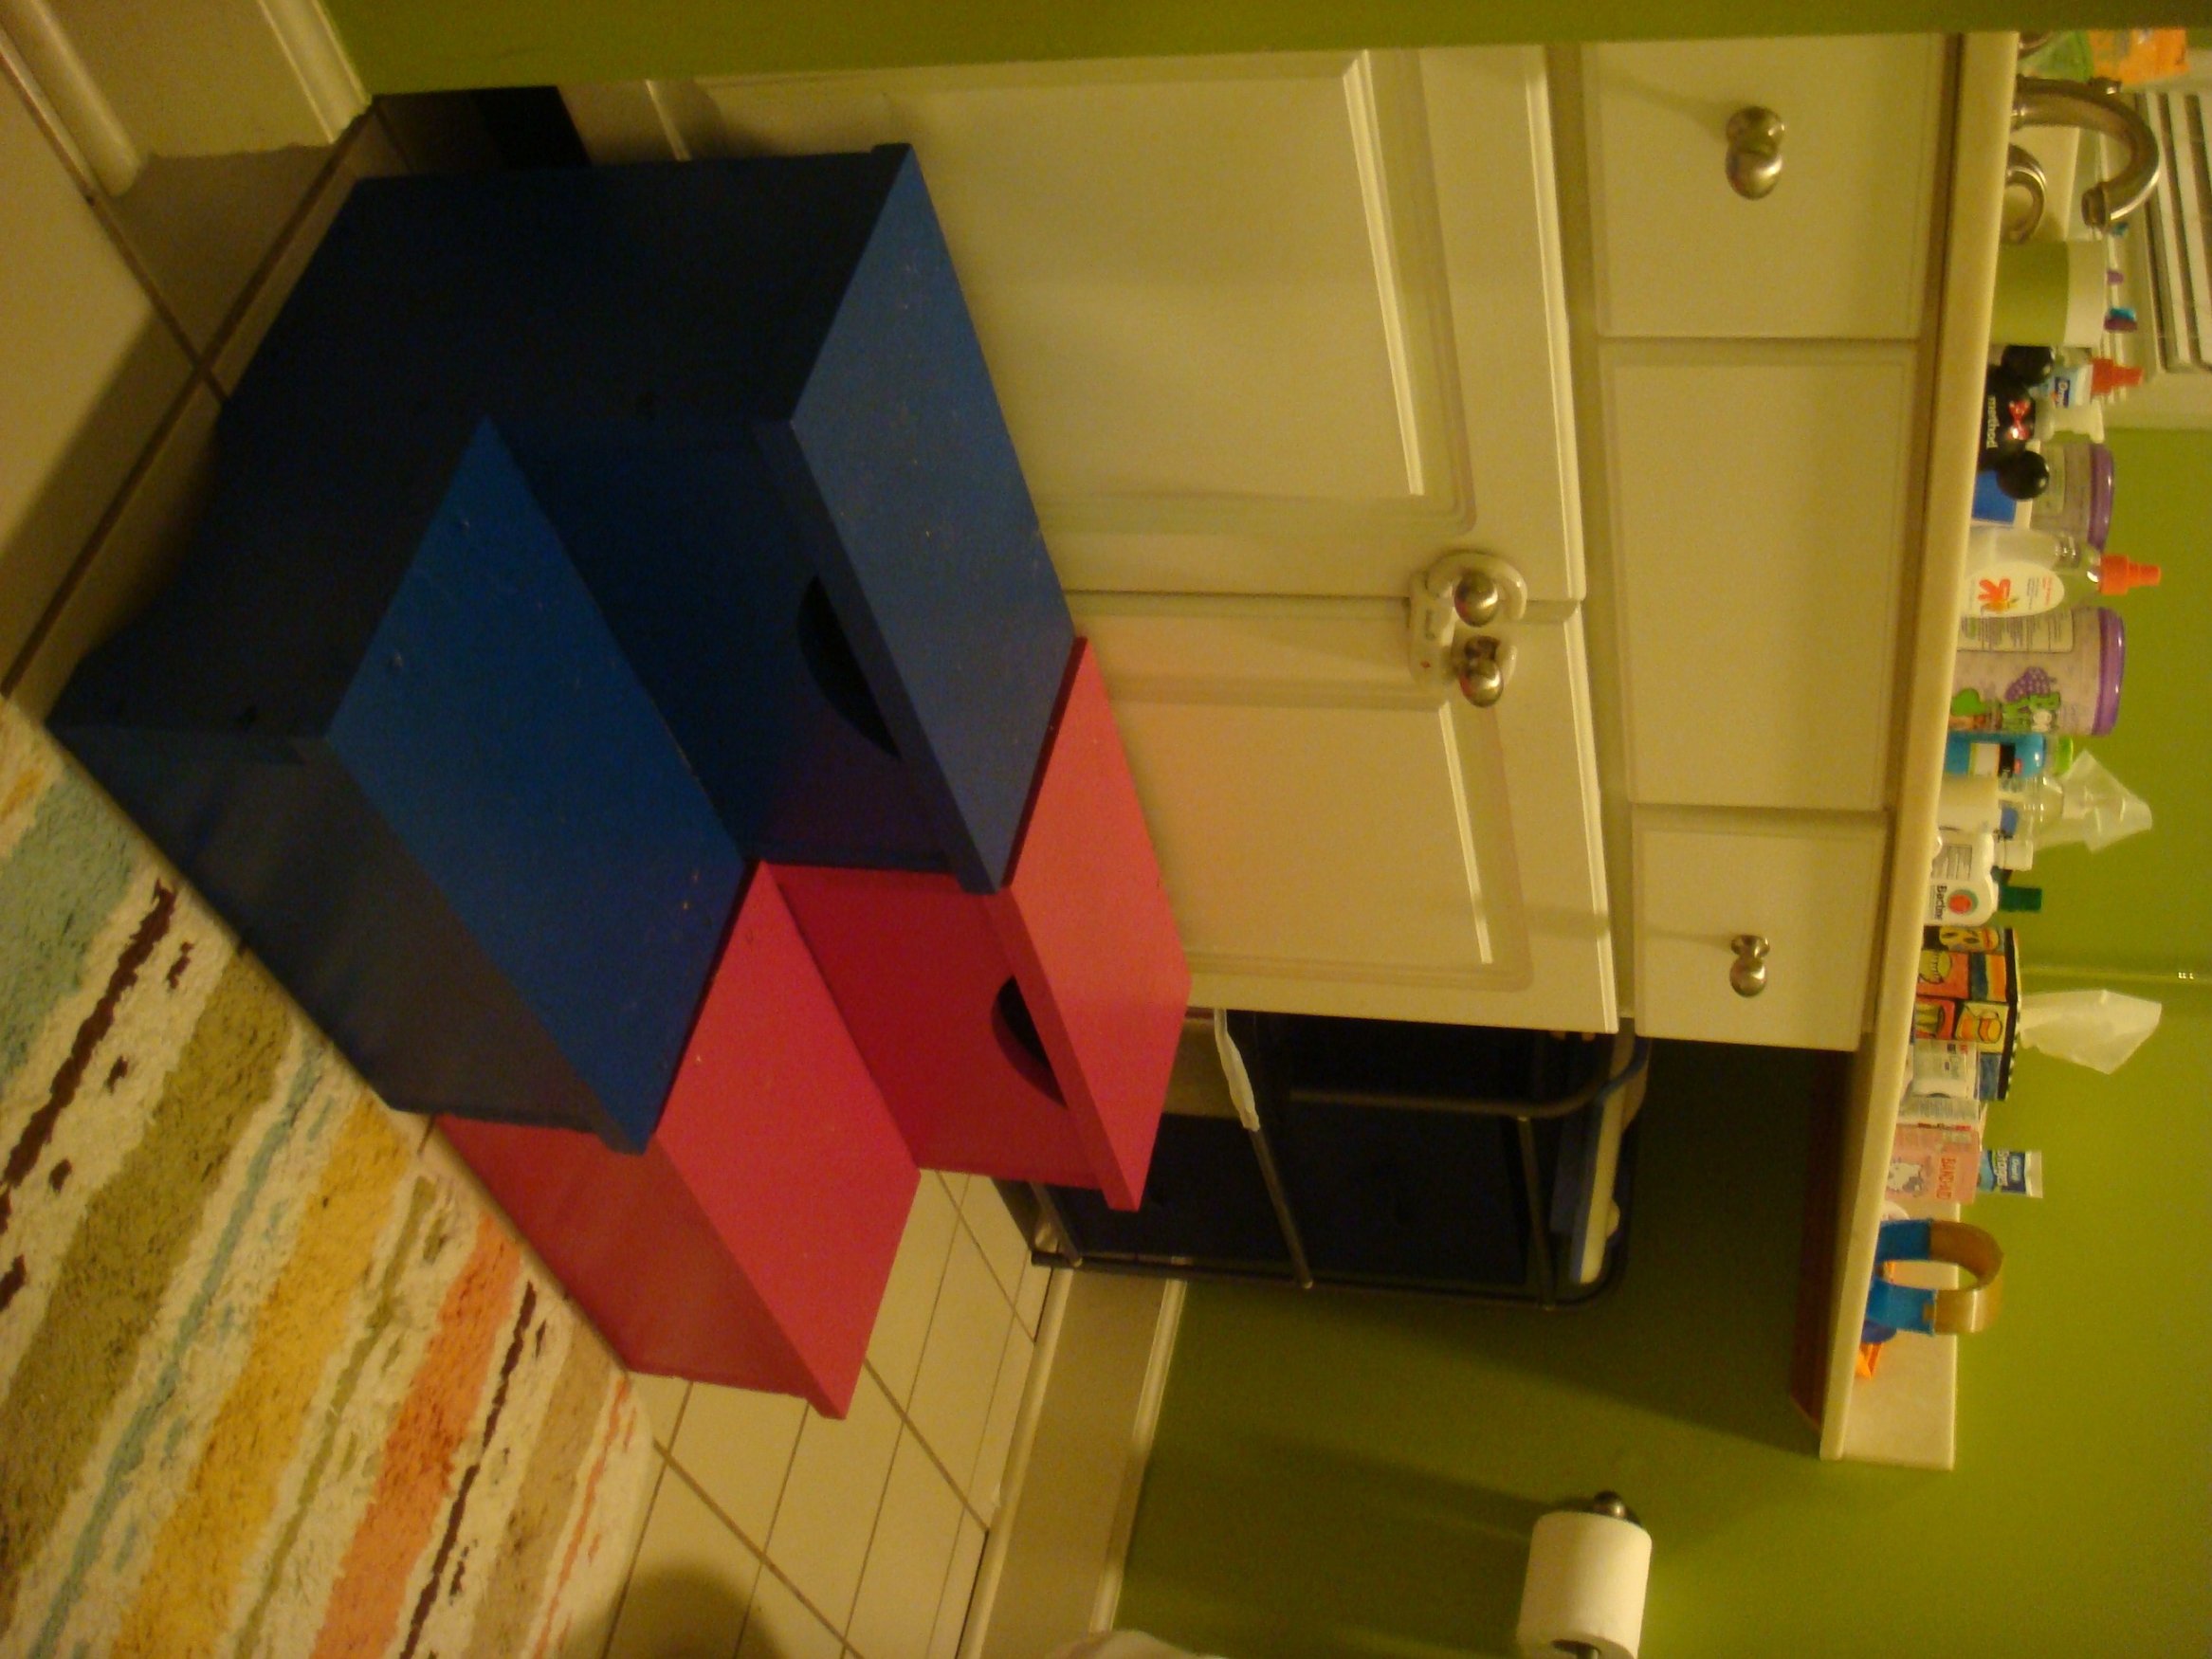
This is a ocean/mermaid version of the sweet pea bunk bed. I had to add an additional section above the original plans in order to accommodate for the slide. I also forwent the bottom storage and opted to just put a bigger door, which allowed more headroom inside and the ability to put both a mattress and box spring on the bottom bunk. I used real shingles and painted them gold. The slide came from Home Depot. The octopus door handes I got off of Etsy for about $5 each. I found a doorbell on an old plastic outdoor house set laying around. I added some seaweed from Joann Fabrics. The steps are made out of 2x6 boards vs 1x boards. I also changed the plans so both beds are full size instead of twin size. The top bunk has so much support...it was tested with 600 lbs up there and held up fine!


Comments
SoCalMom
Mon, 11/19/2018 - 12:09
WOW!
That bed is amazing! My daughters would never ever sleep and my 3 year old said when I showed her "mama, I wanna go there"...