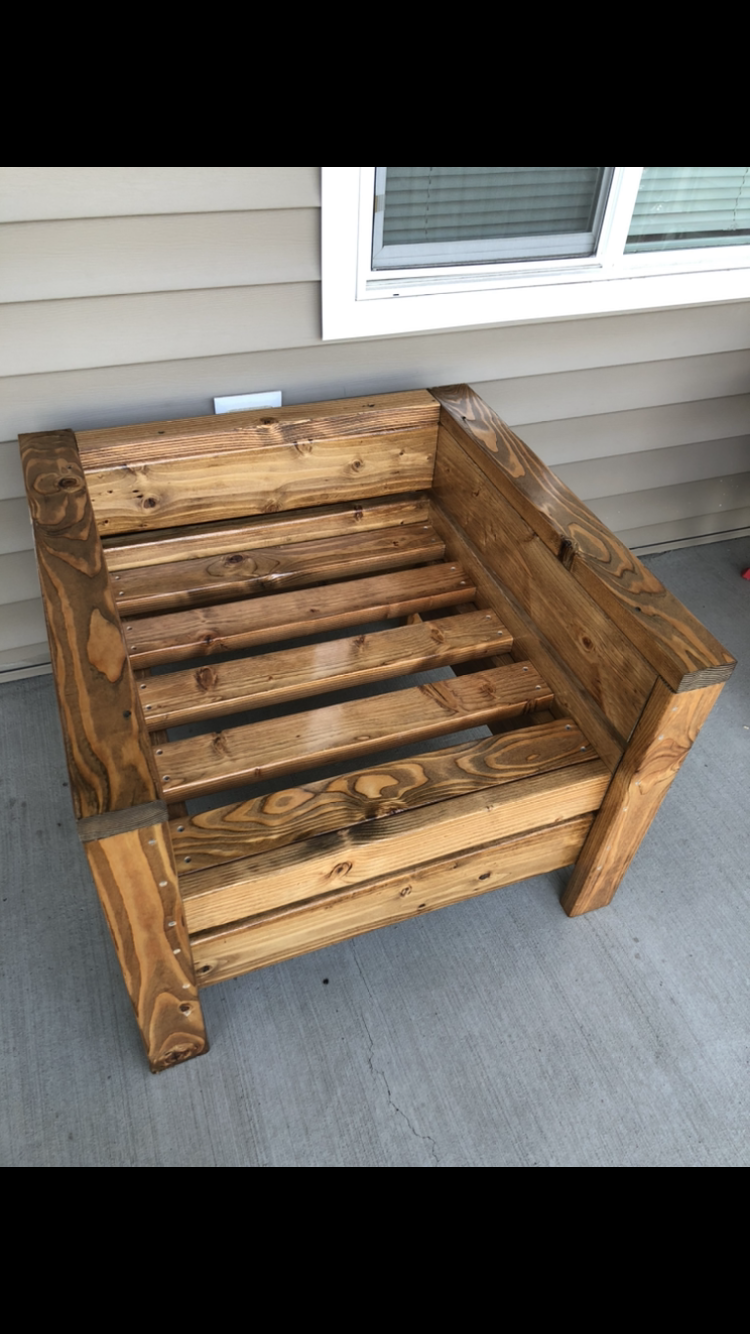
Adirondack Chair with Burned Wood Finish

Followed the plans. Burned then sealed.
Toker
Built from Plan(s)
Followed the plans. Burned then sealed.
Toker
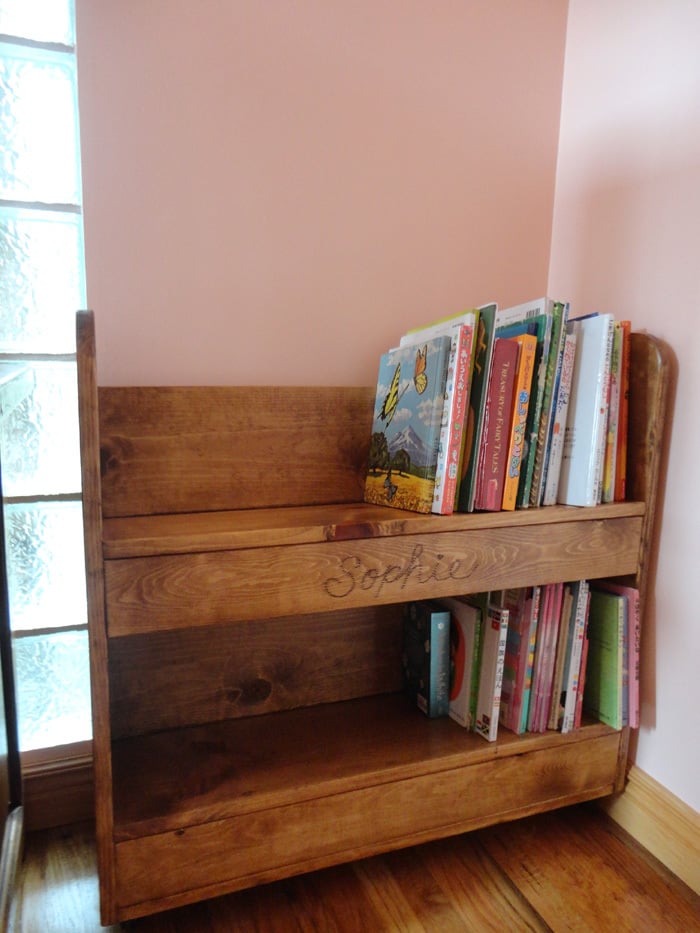
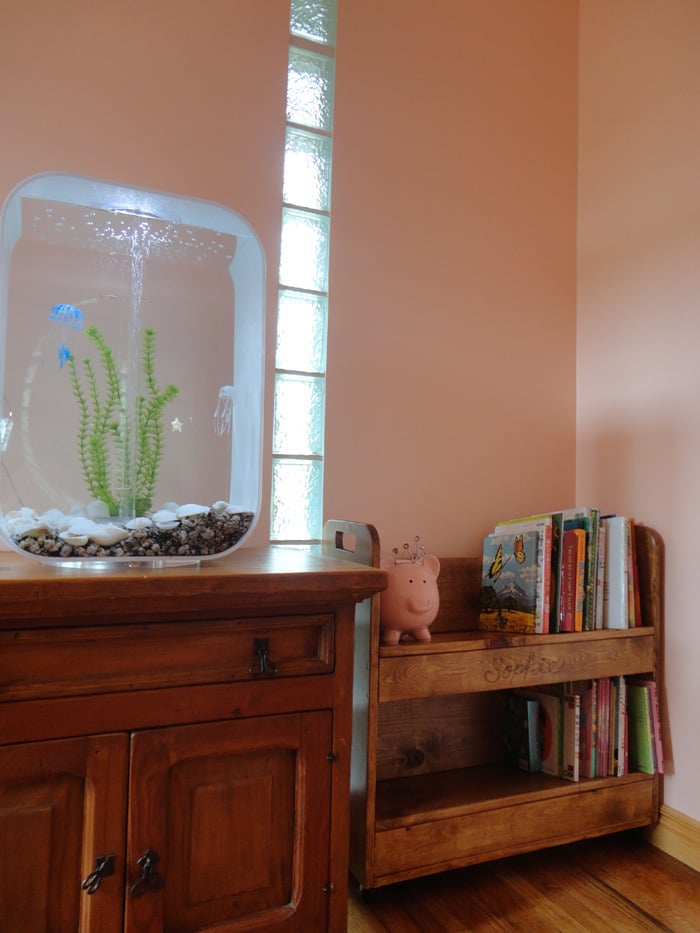
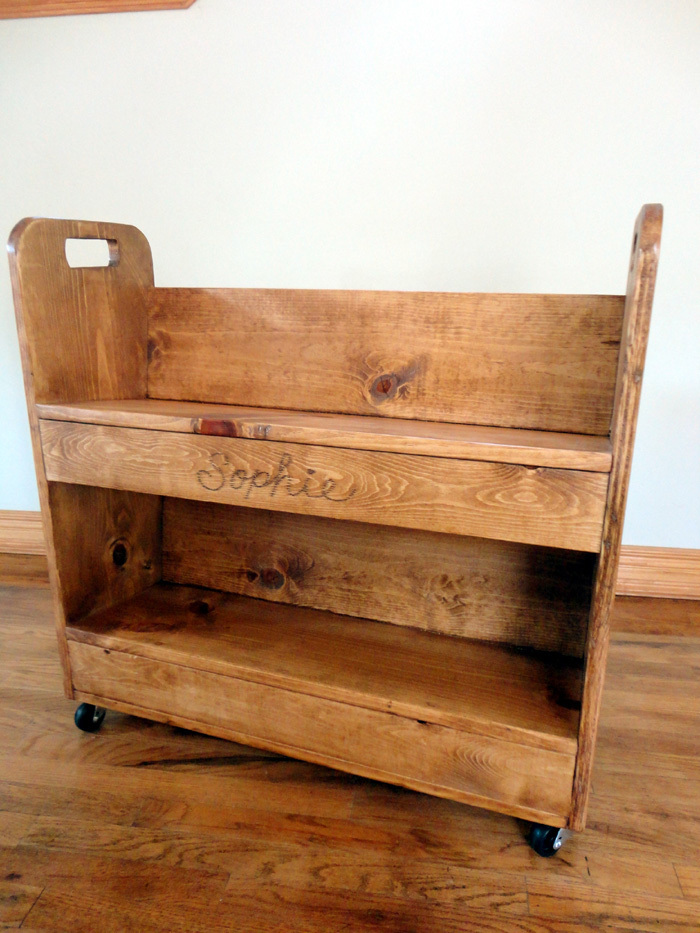
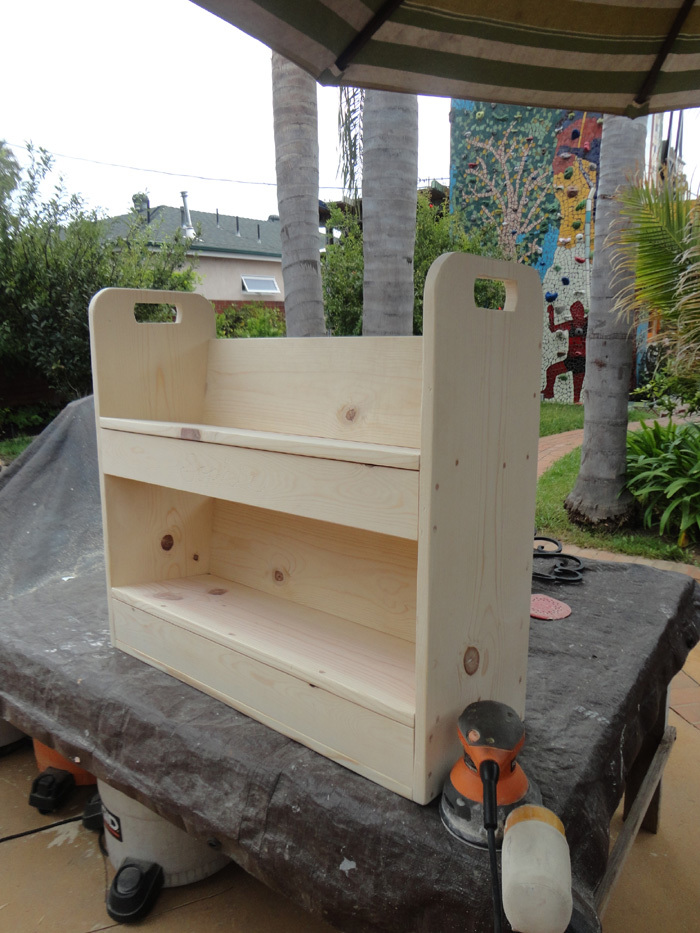
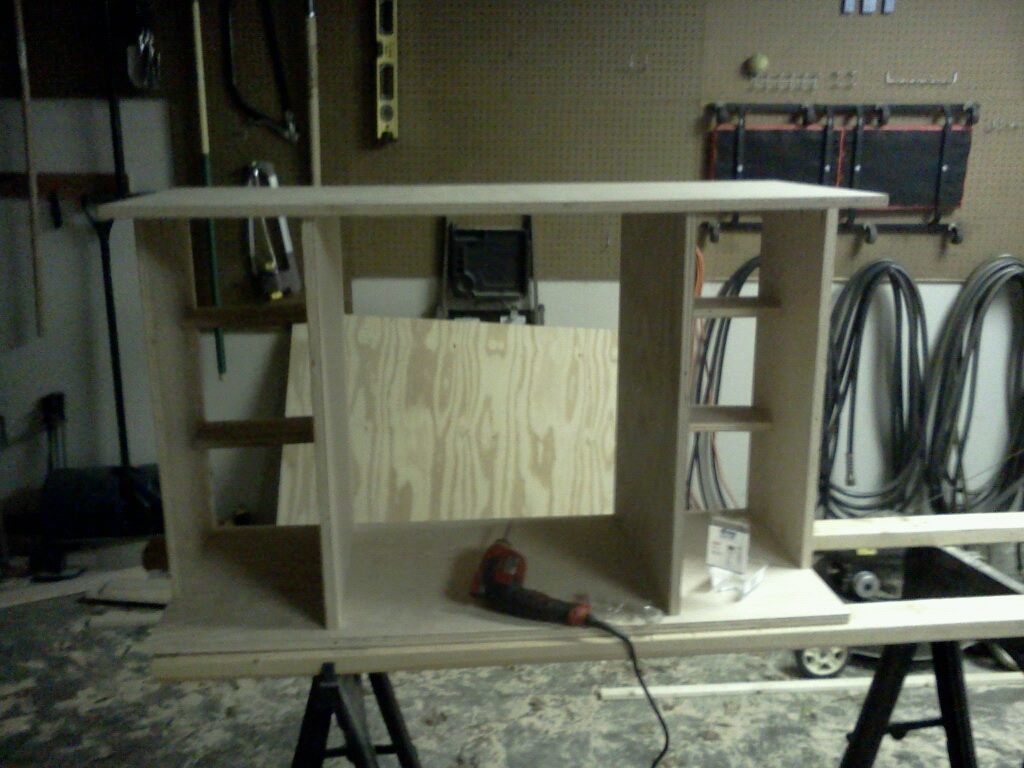
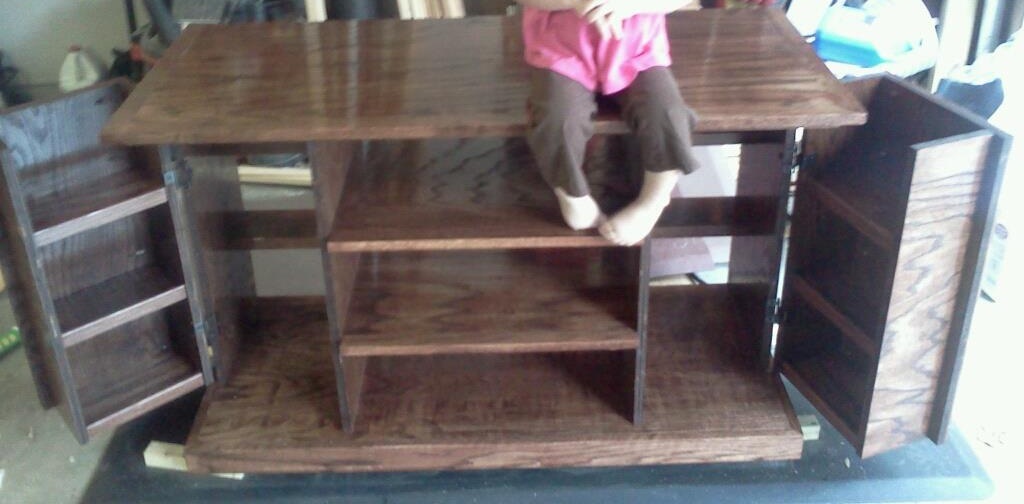
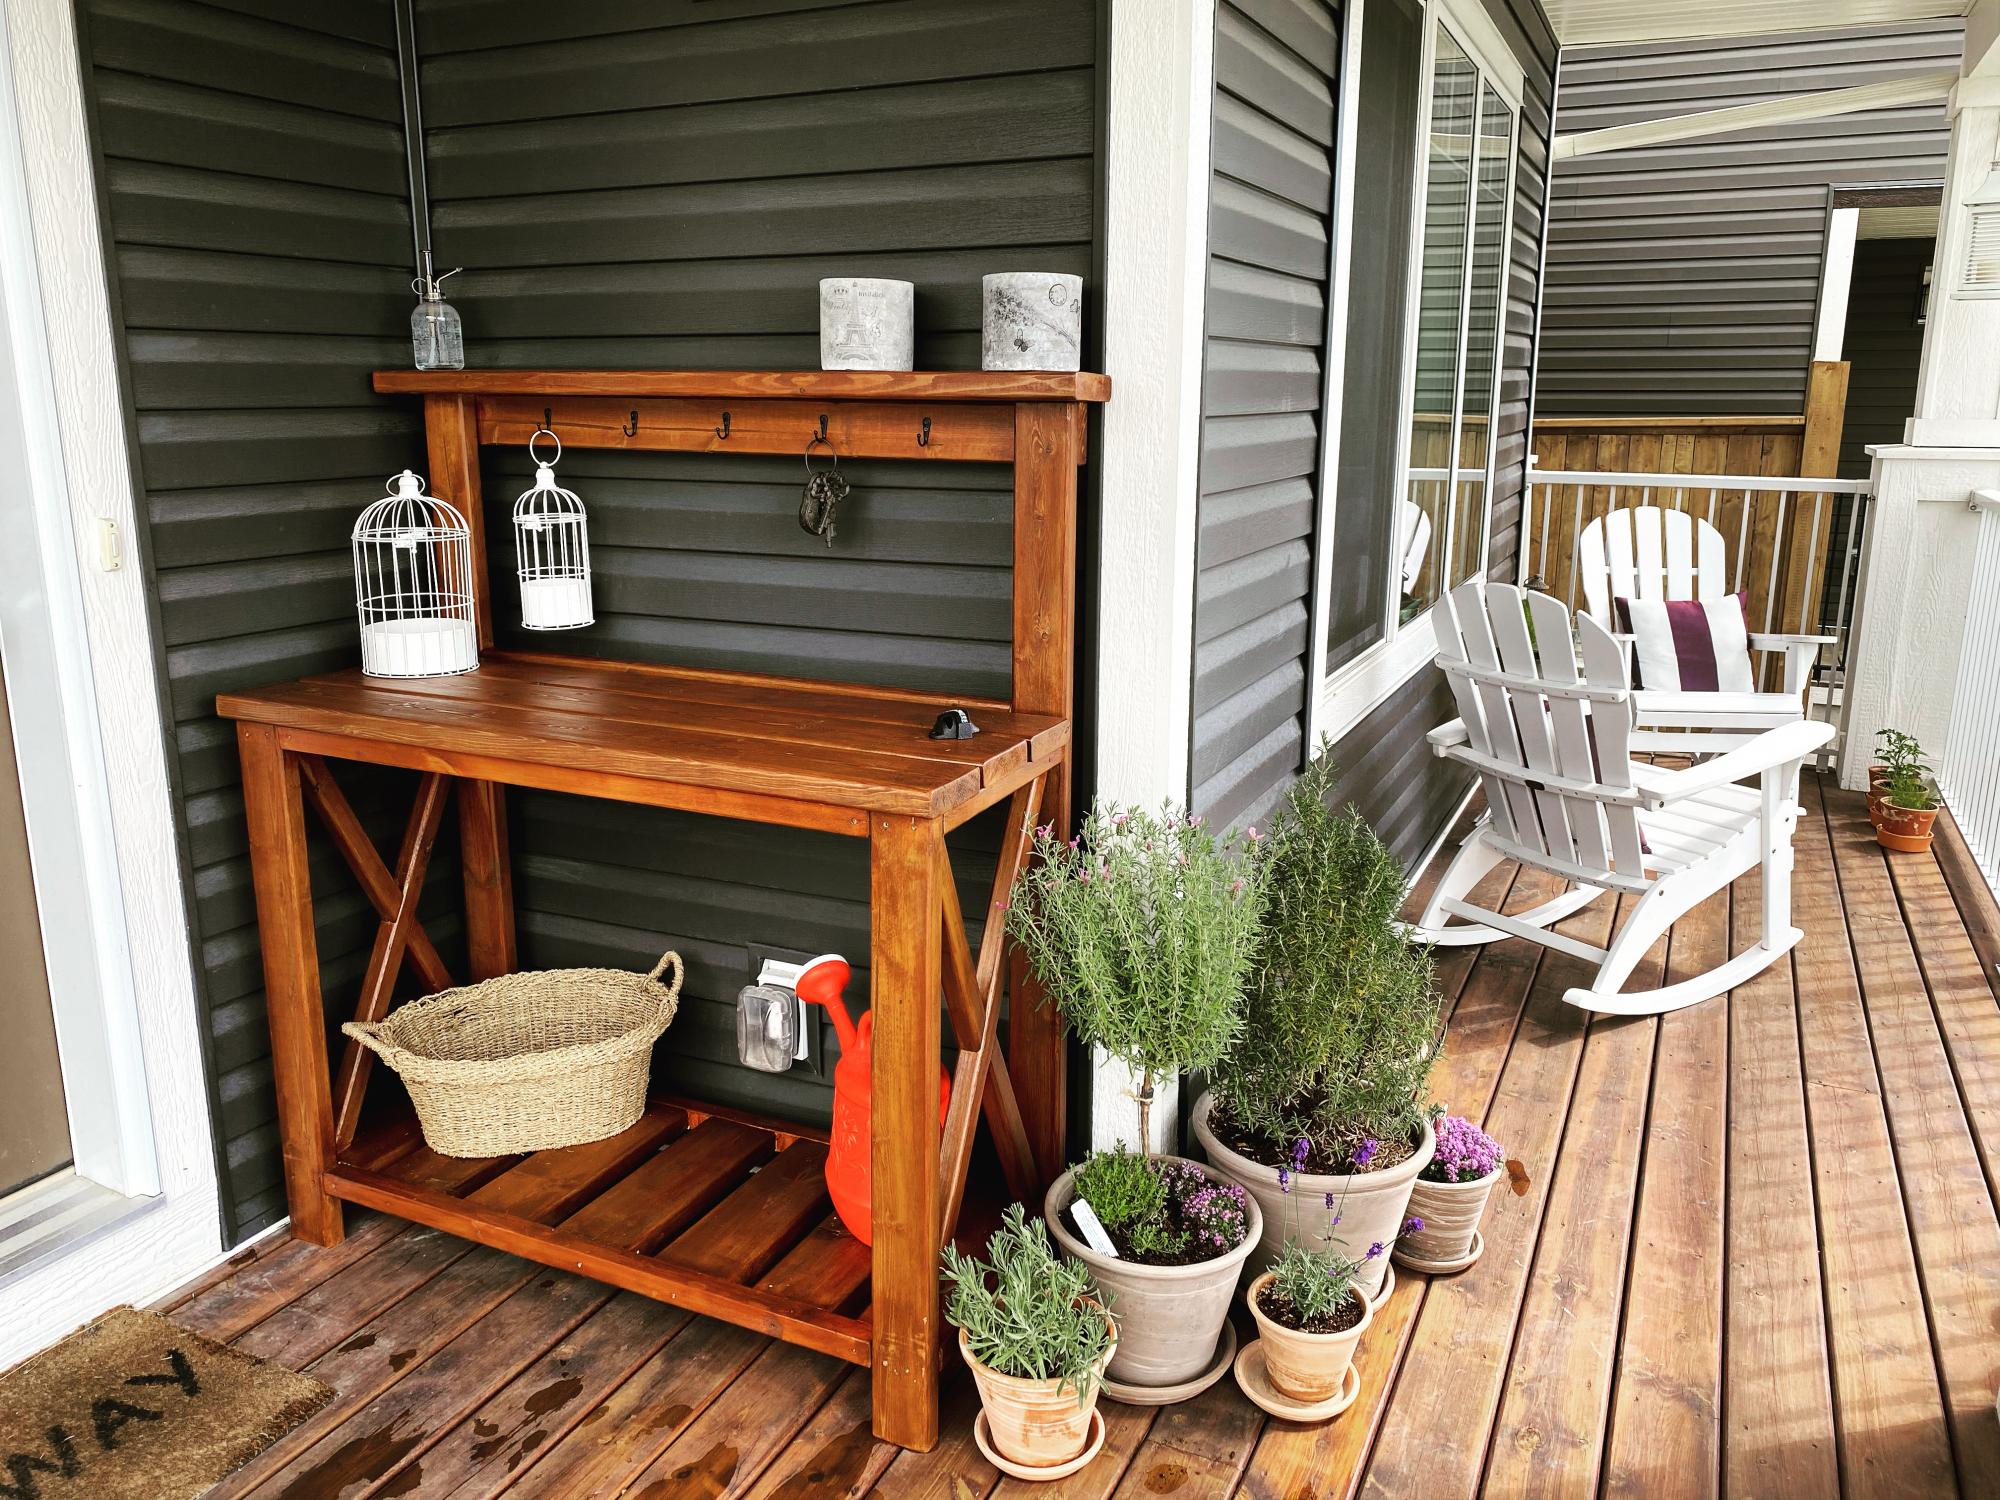
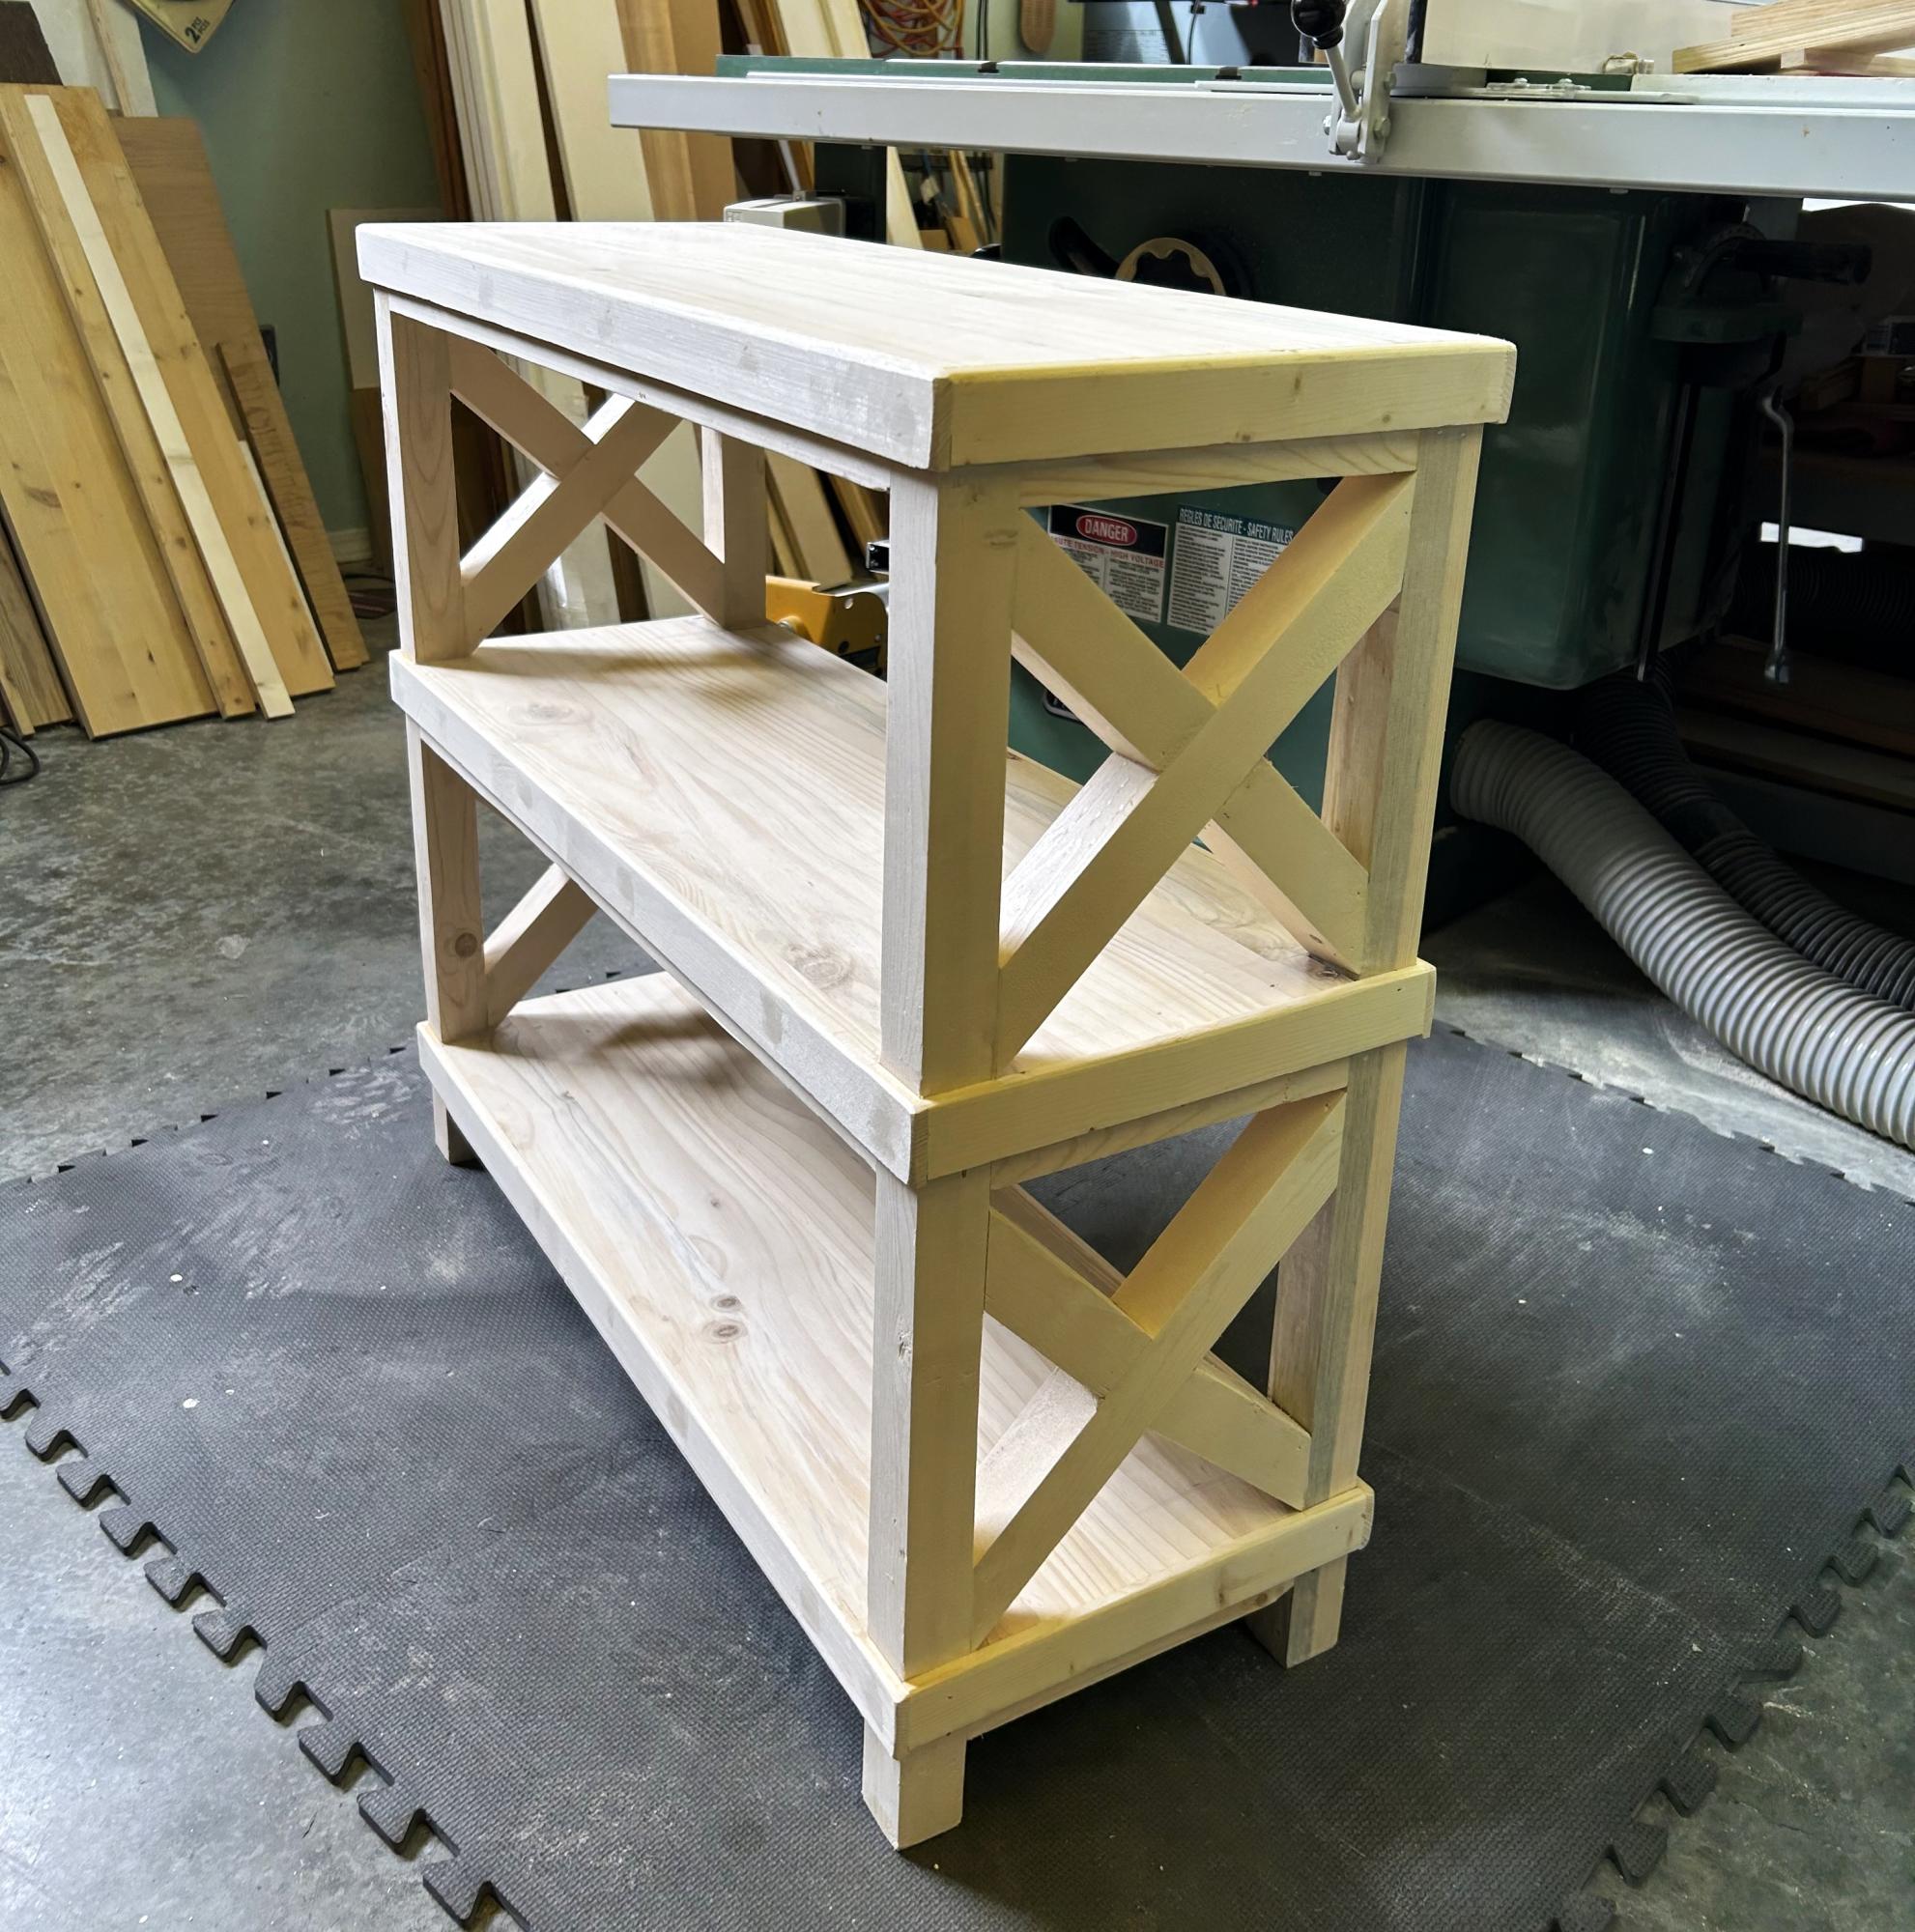
I built this book shelf for my daughter.
I made both the top and the bottom shelves an angled.
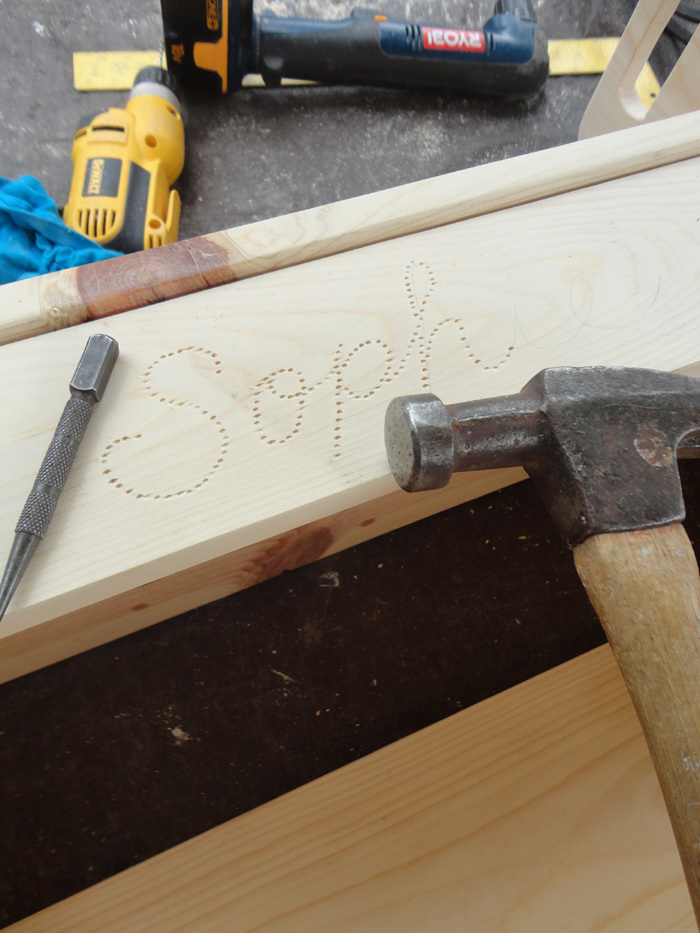
I used a finishing nail punch to emboss the name.
I mixed 3 different color stains to match the other furniture.
Used 2" caster wheels from Home Depot.
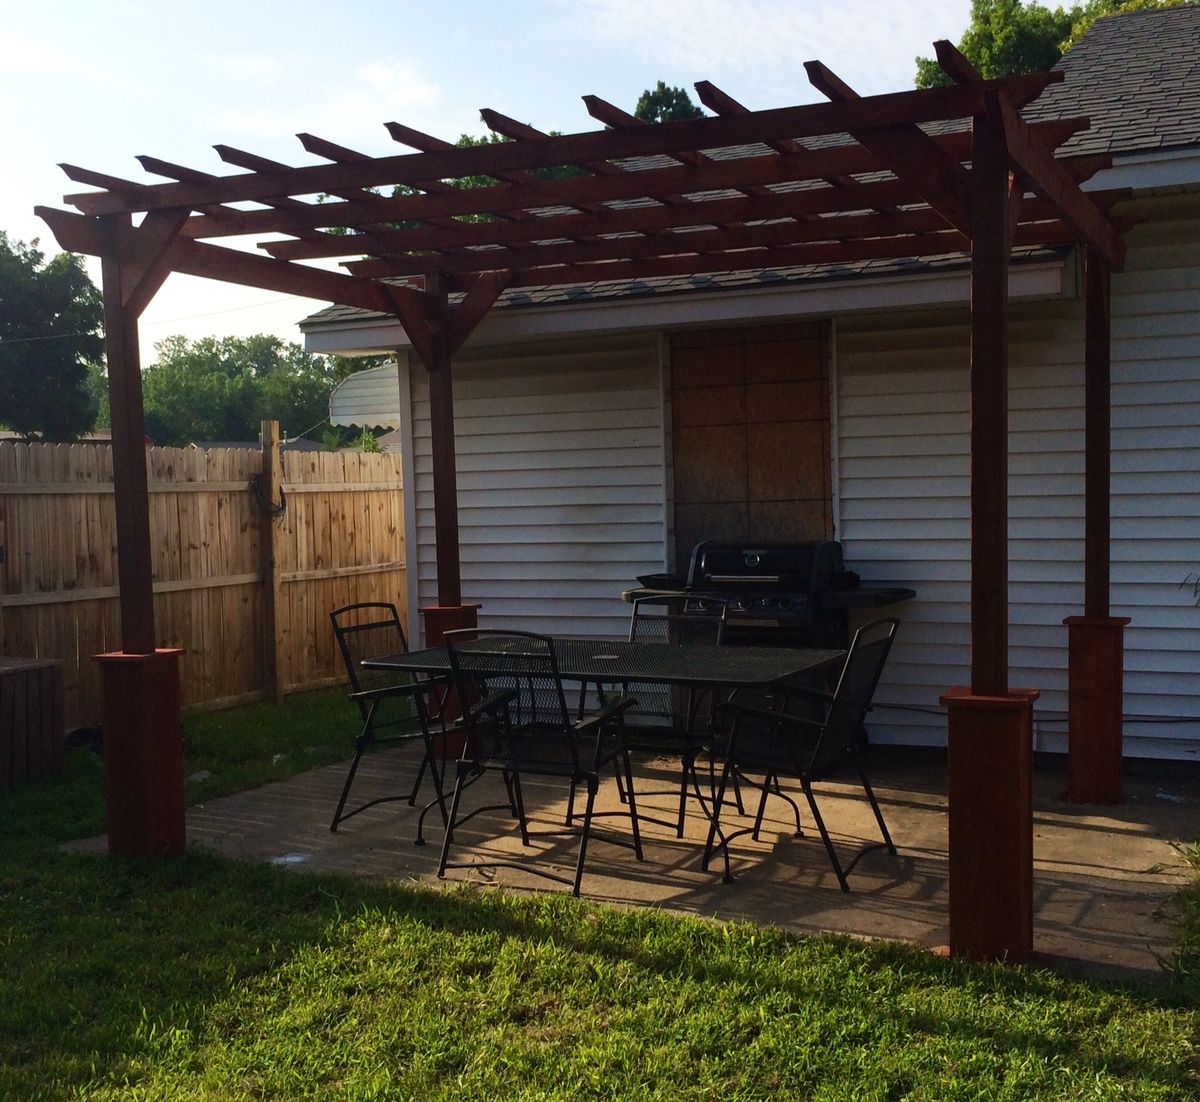
First pergola build. Plans were very easy to follow and it turned out great!
Wed, 07/09/2014 - 20:54
It looks wonderful! Did you cement the posts into the ground?
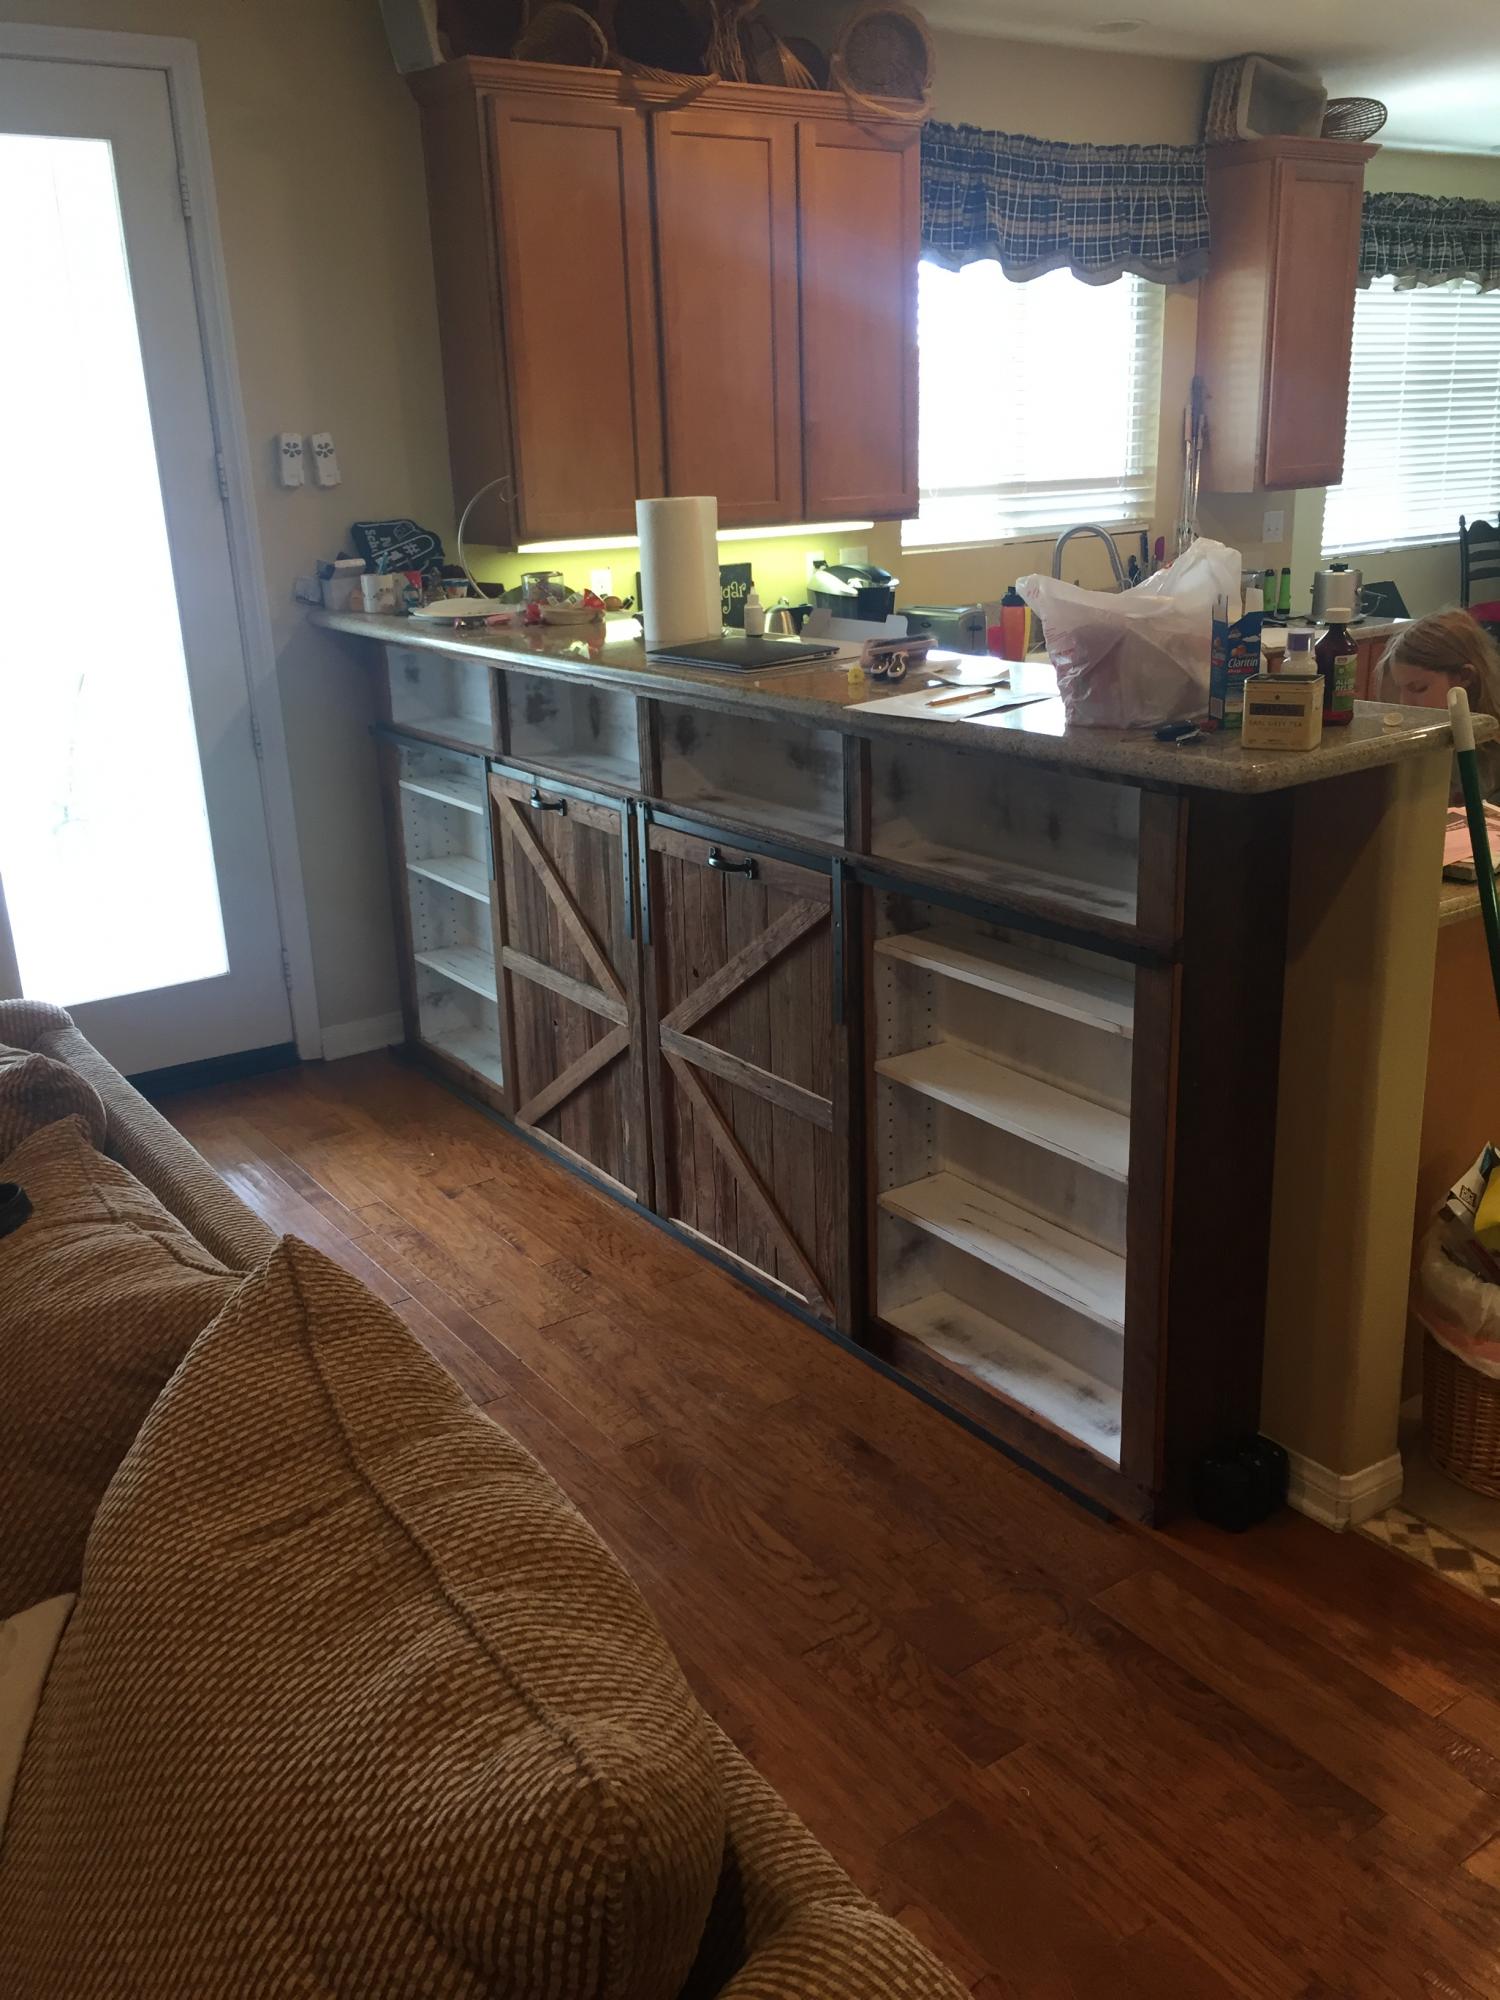
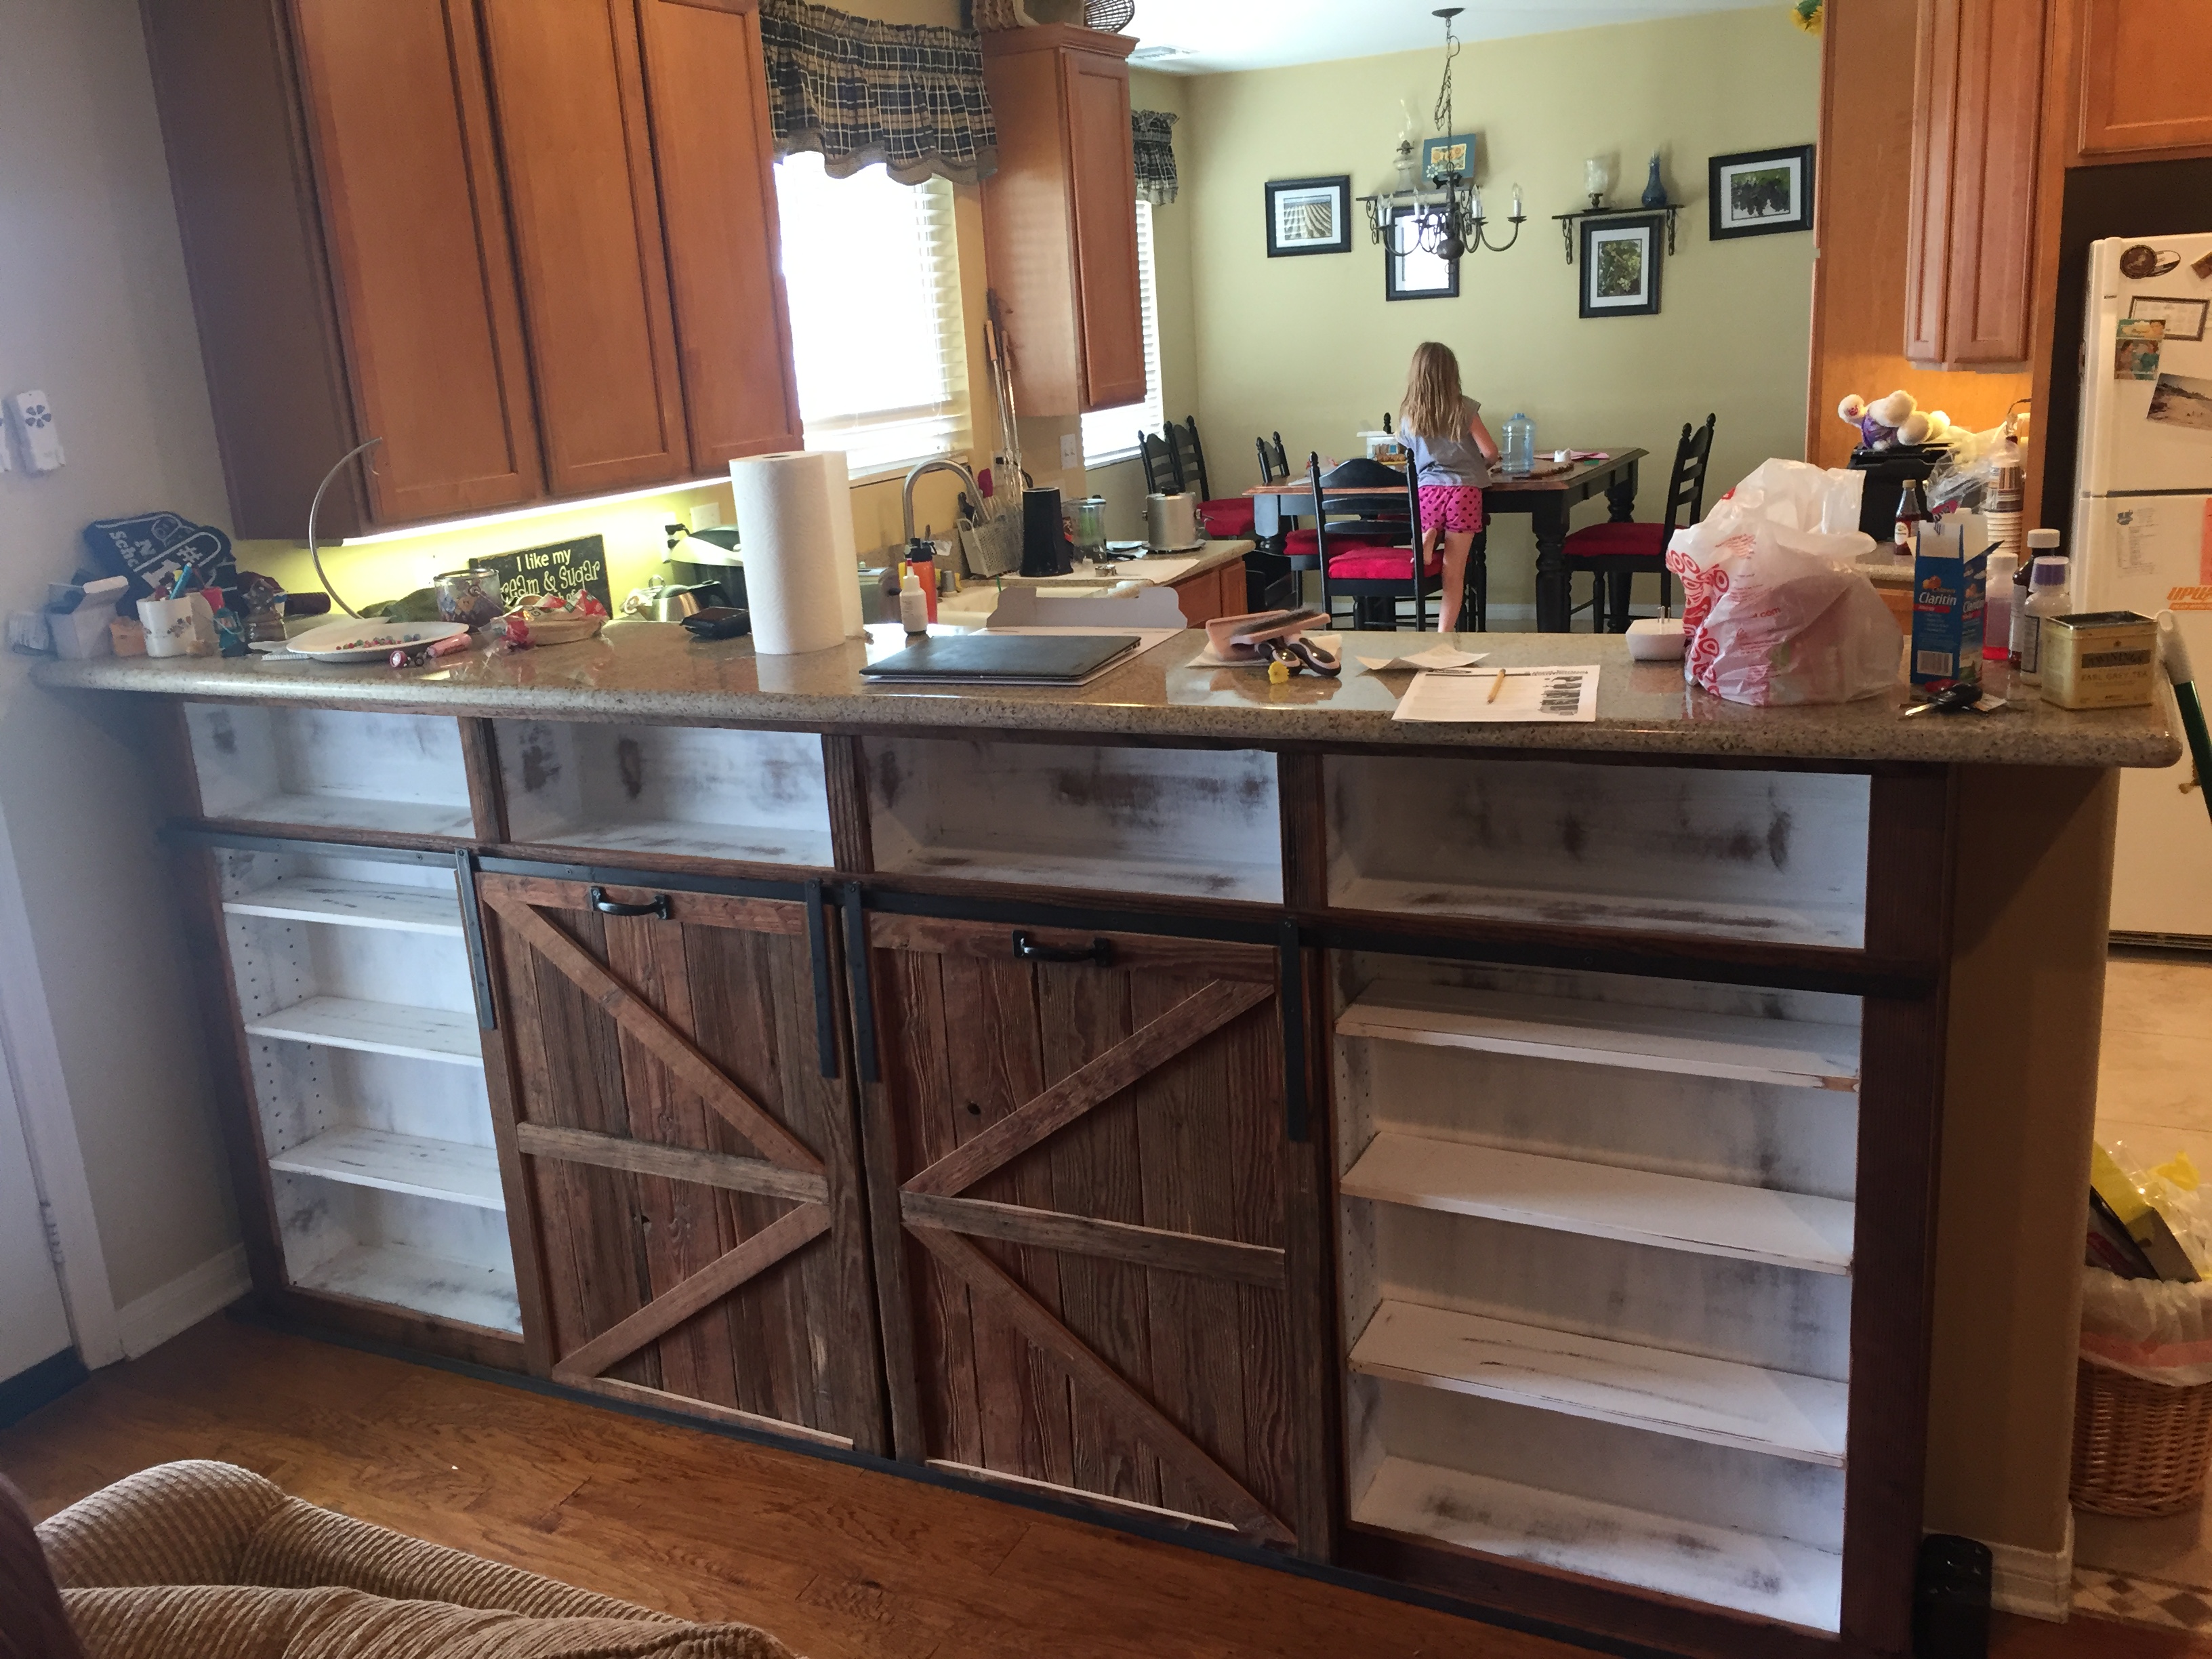
Built in cabinet based on the bar door cabinet project. Reclaimed bar wood used for the doors and trim. Custom made steel hardware.
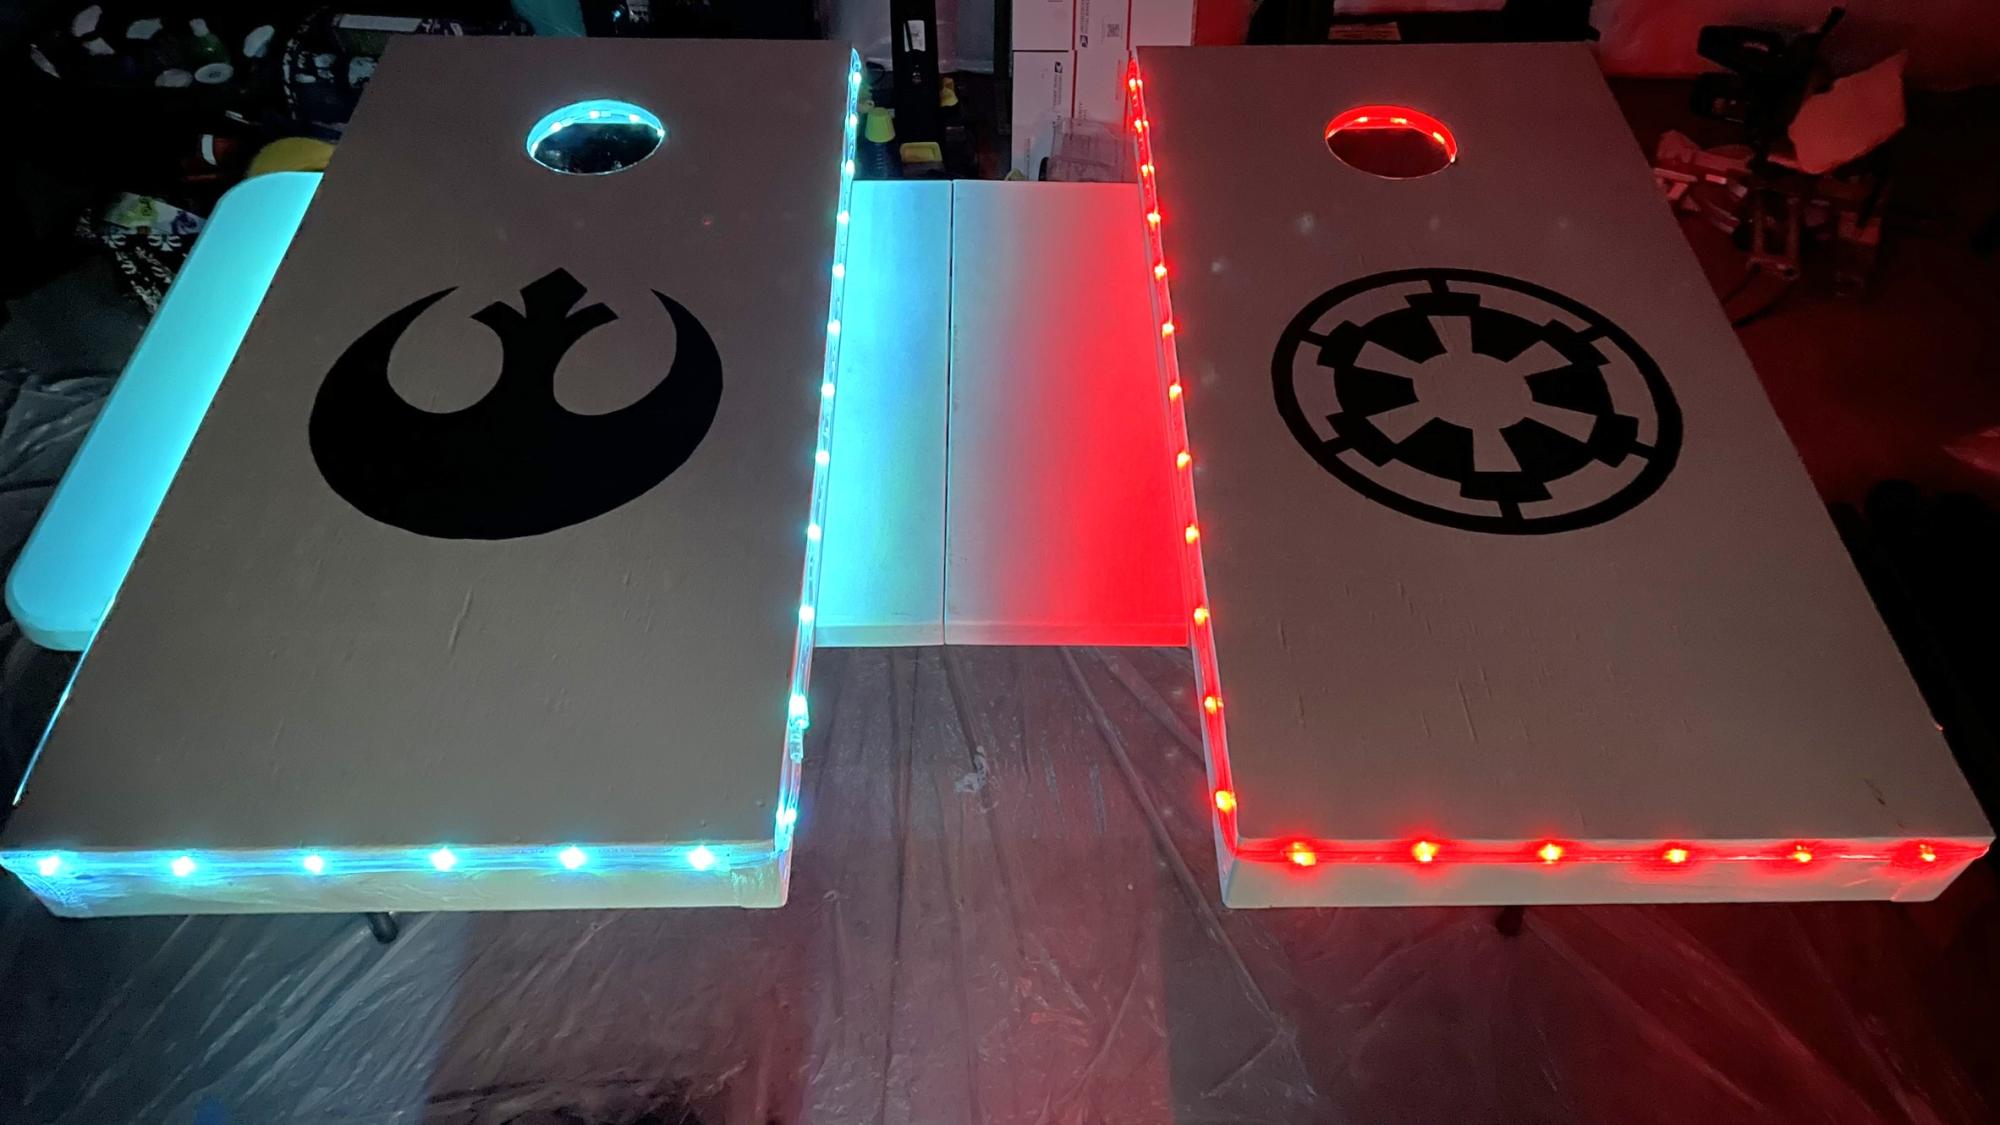
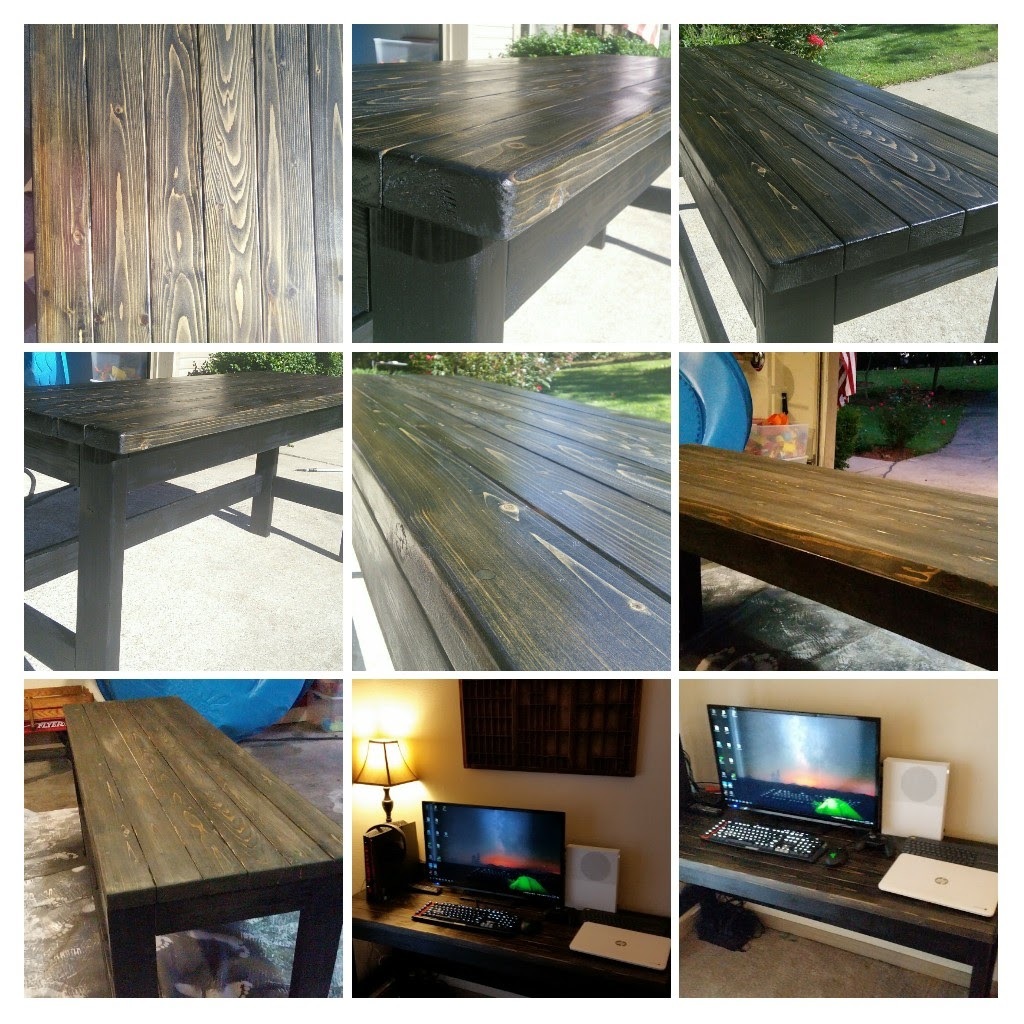
These were a lot more work than expected but turned out amazing! I used a drill + jigsaw for the center. To do the designs I printed the logos across 4 sheets of paper each, lined them up, then cut them out. Next, I covered the entire area on the boards I wanted to logo into painter's tape. Then I used my cutouts a a stencil and a box knife to out out the logo. Finally, I prepared for spray paint and spray painted the logos. Pulled the tape off and BAM. Finally a bunch of coats of polyurethane. Lights from Amazon.
chewyTBG
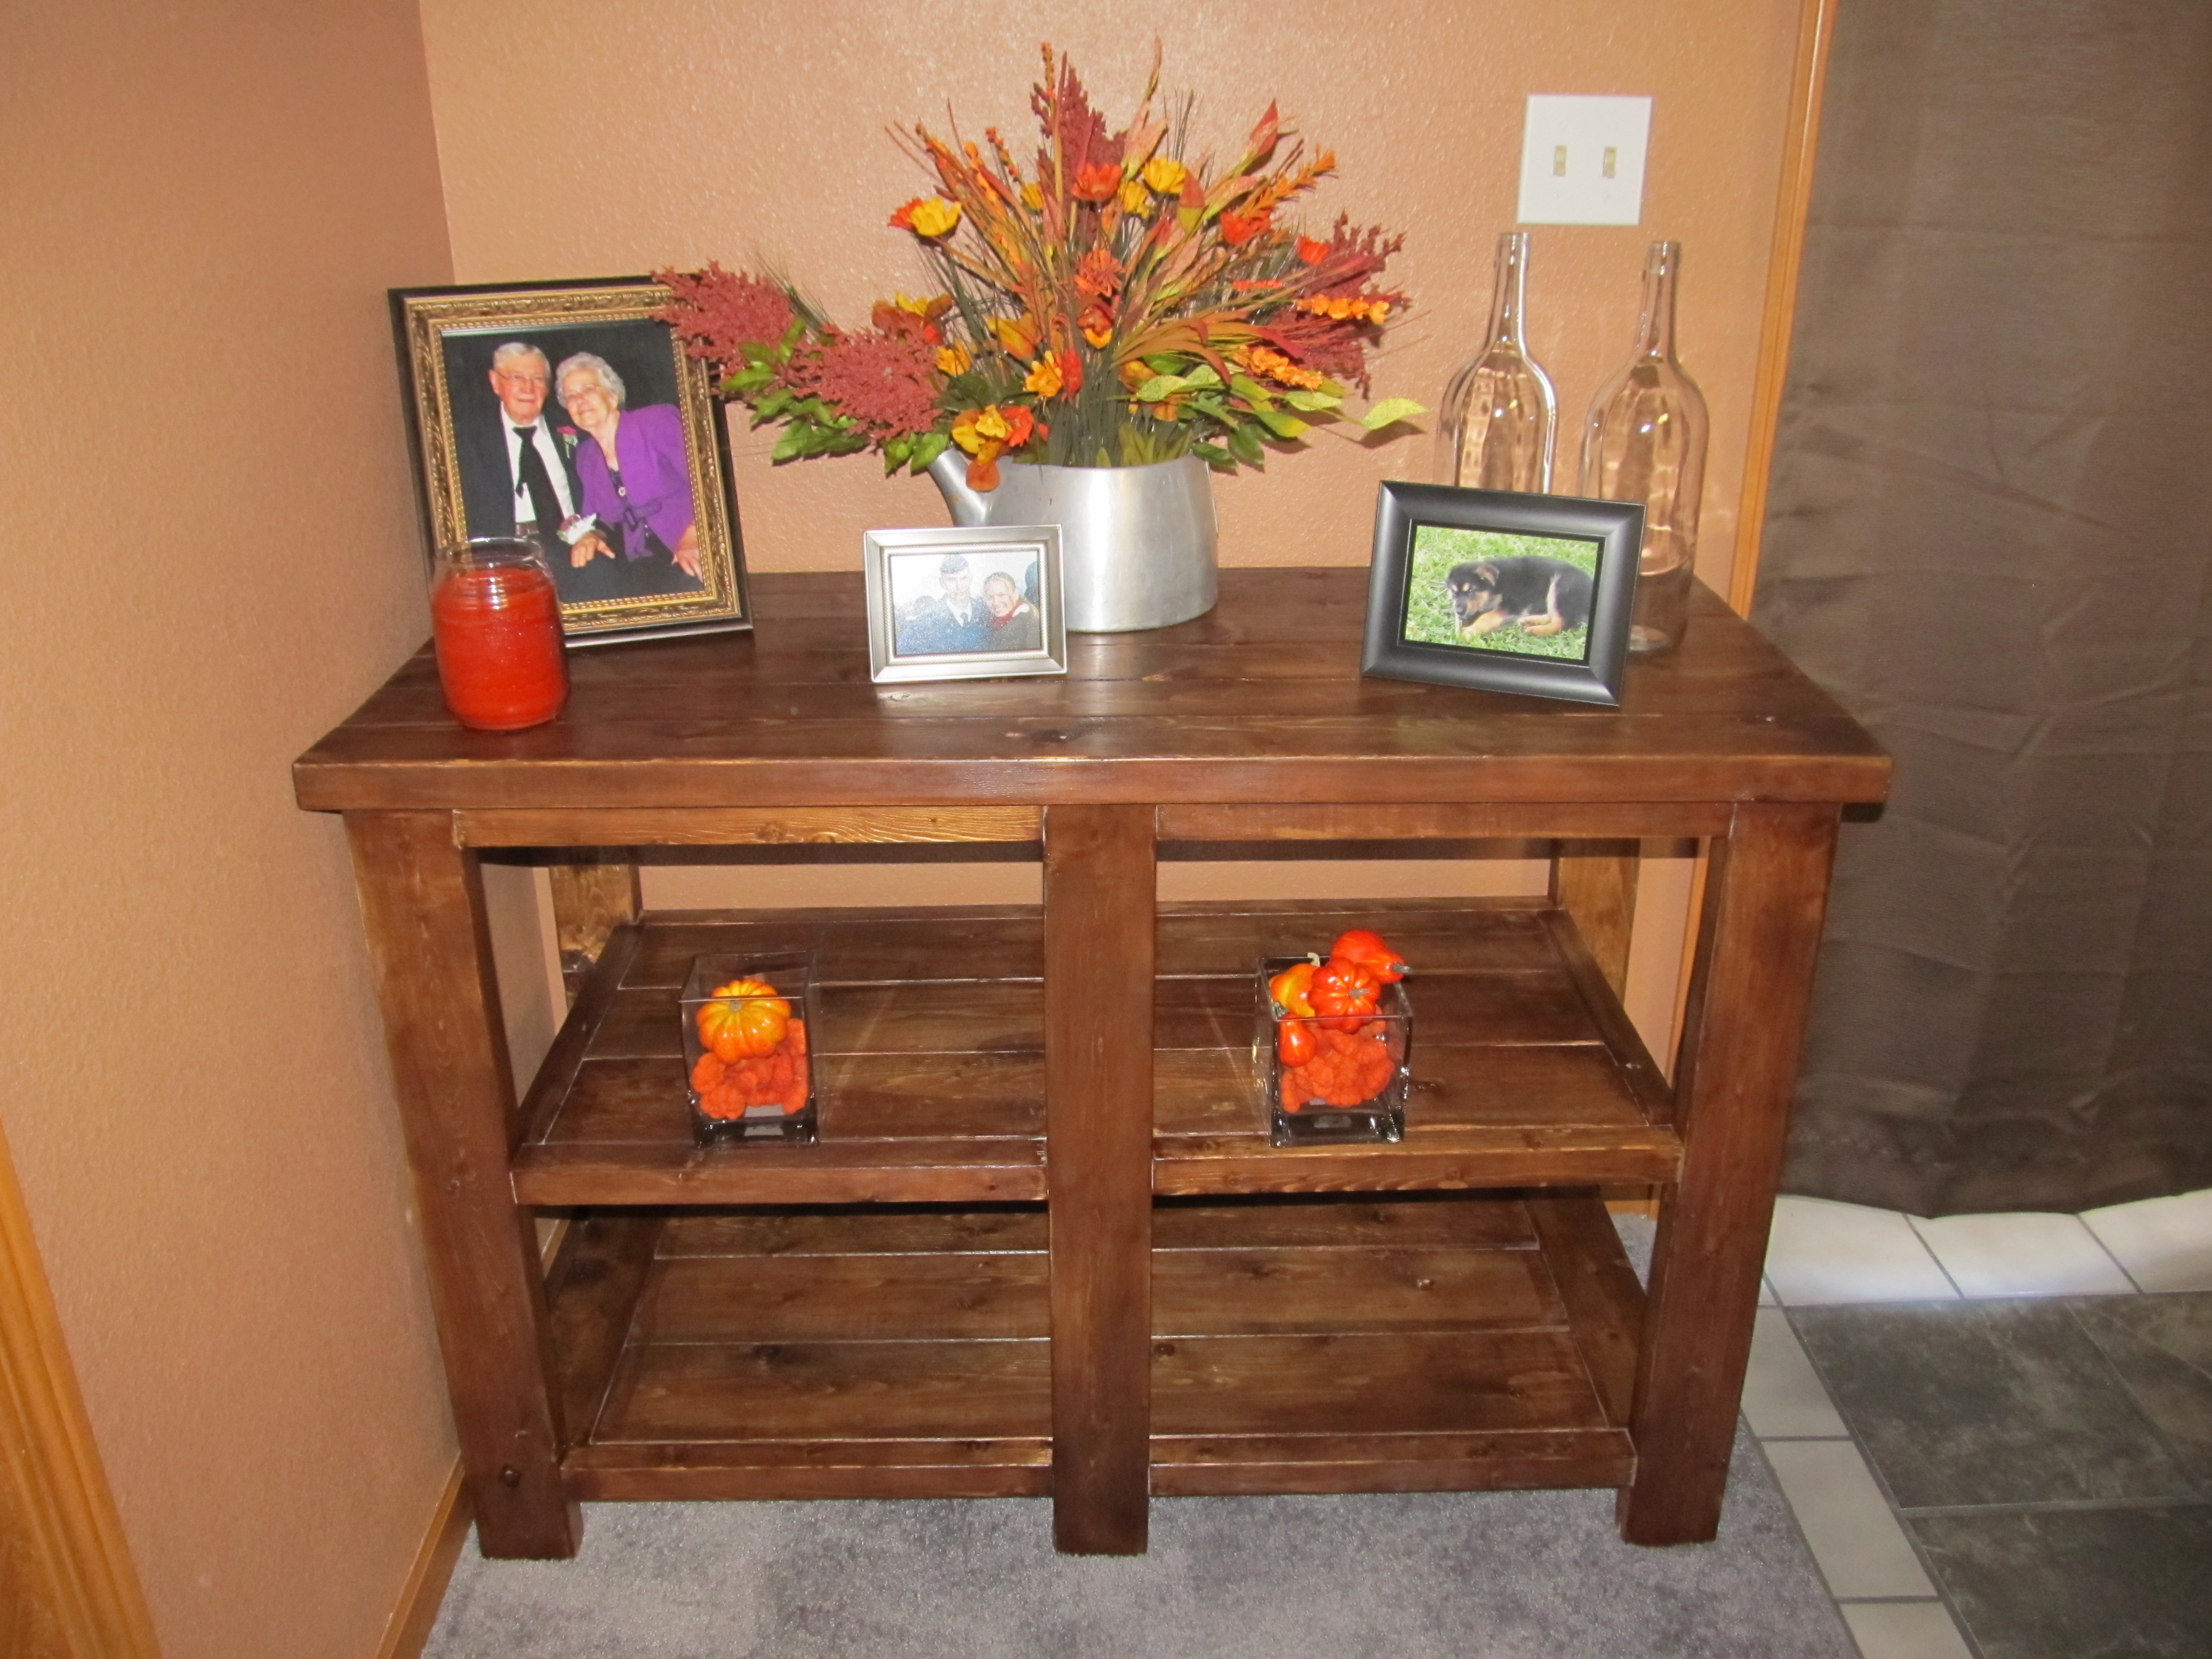
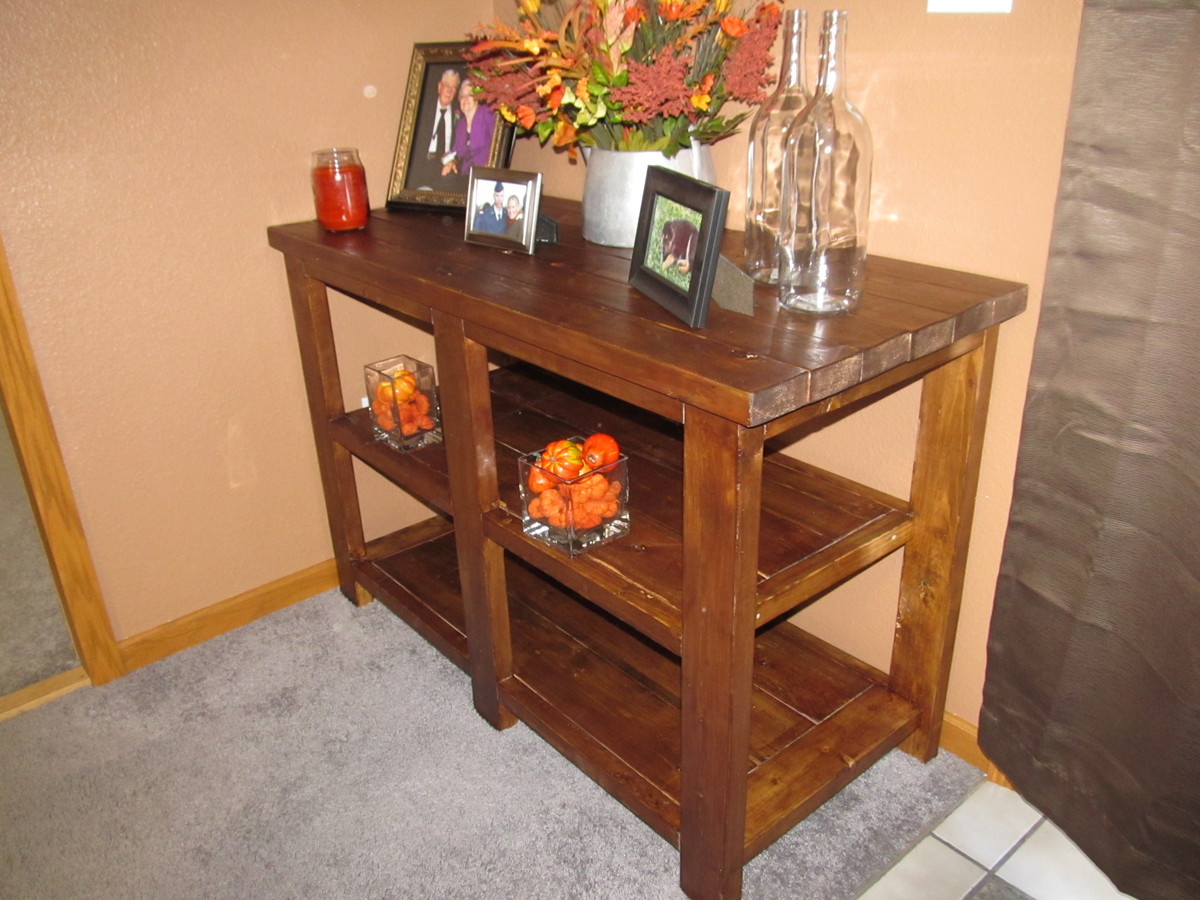
I built it for this specific space,so I ended up shortening the length of it but also made it wider from front to back. The original plans would have run into into the door that's to the right. My old coffee table sat here, so I went off those dimensions.
What I learned:
If you do decide to tweak the plan, be sure to take into consideration that a 2x4 isn't actually 4 inches wide. The same goes for 2x6's (the bottom two shelves are made of 2x6 wood).
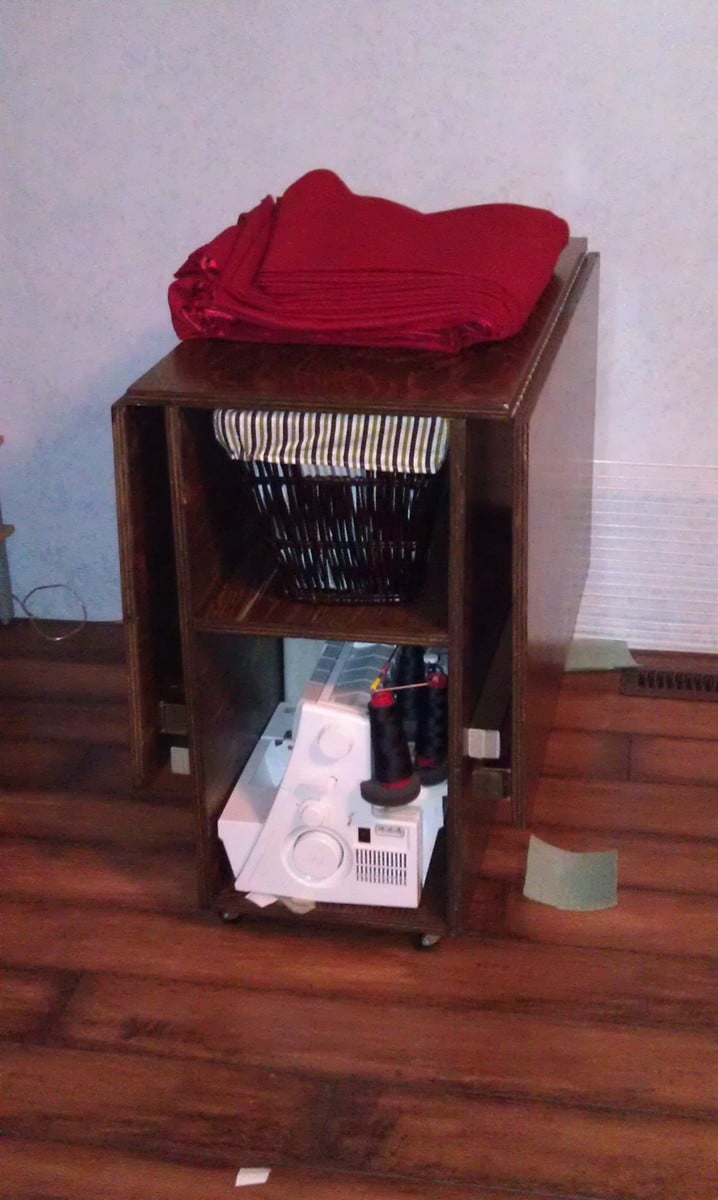
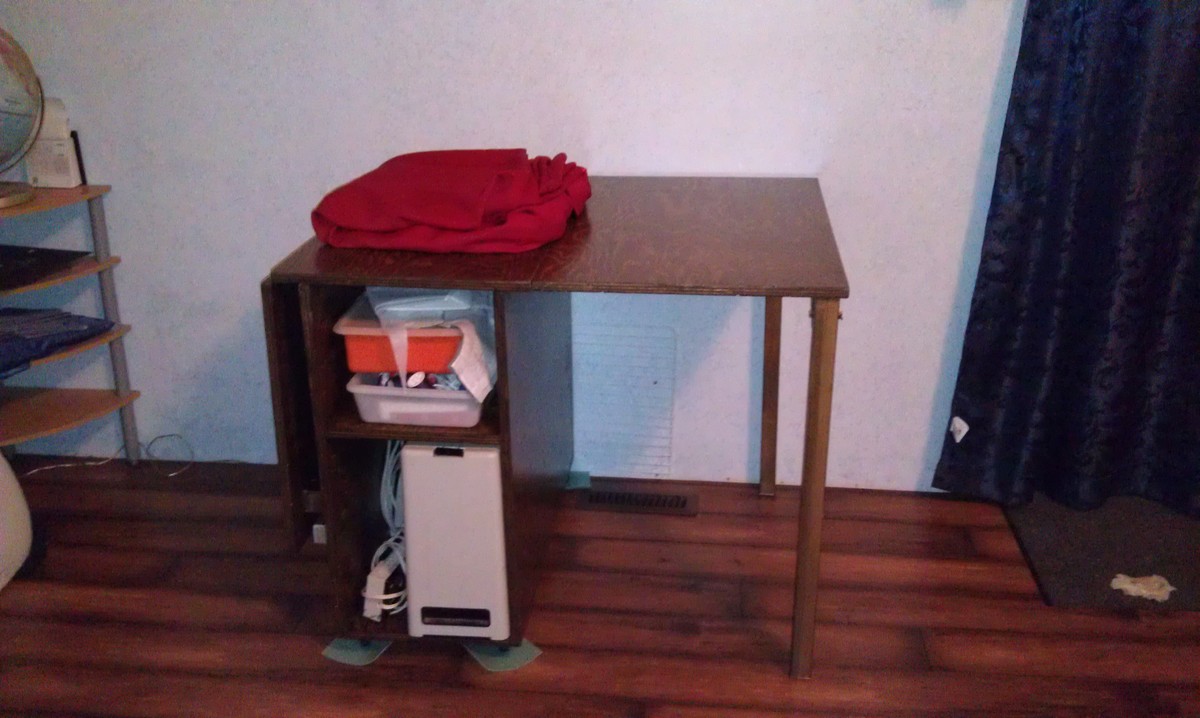
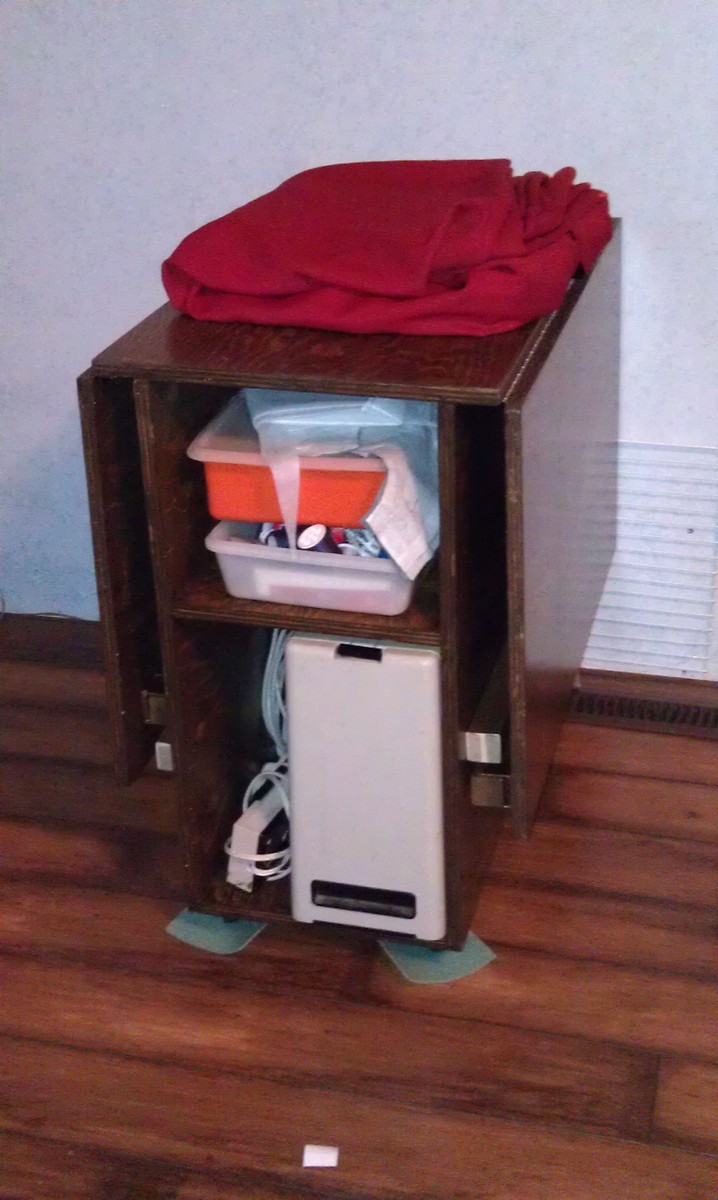
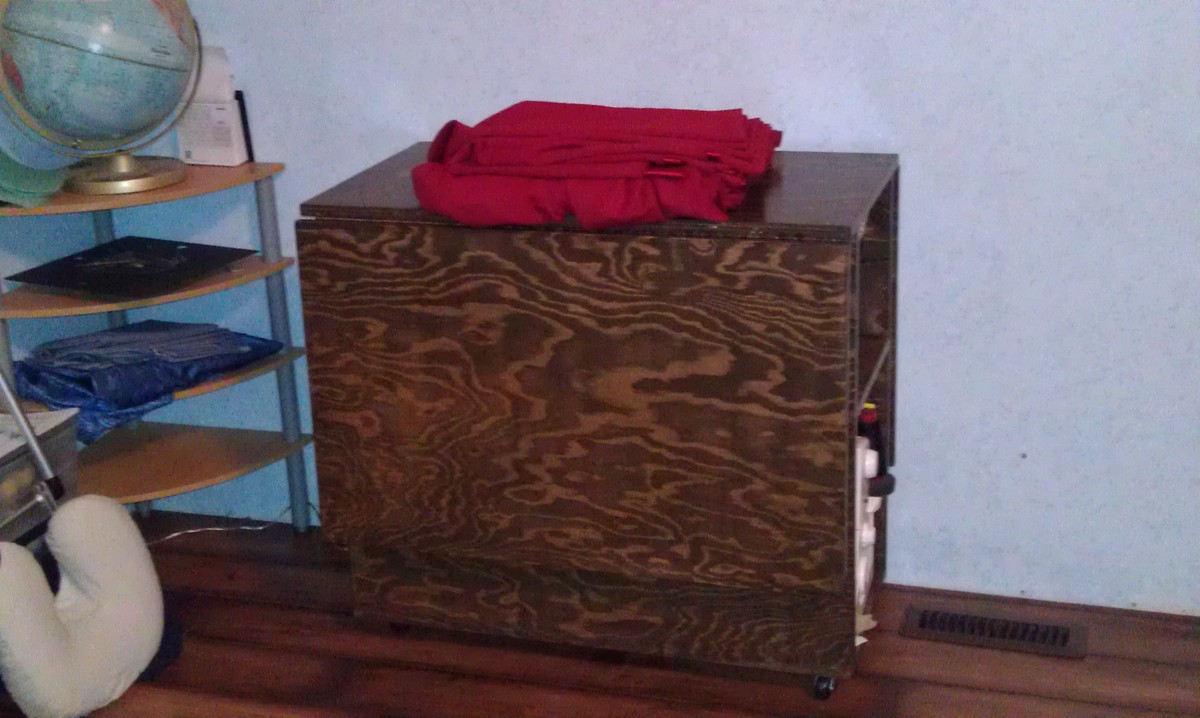
I made this sewing table using Ana Whites Sewing table for small spaces plan. I used 3/4" fir plywood.
I did however make changes to use continuous hinges (aka piano hinges) and upgraded the legs to 2x2's. I used folding leg brackets from Lee Valley Tools found here: http://www.leevalley.com/en/hardware/page.aspx?p=40035&cat=3,41306,41309
It's finished with a dark walnut stain, and three coats of water based varathane. All told this project took about a week. I had the pieces cut for me by the lumberyard, but they still required sanding before assembly. Then assembly took another afternoon. Staining & finishing took the longest, probably 3 days, since I could only work on it in the late afternoon - evening.
Approximate Costs:
$30.00 Hinges, screws, & 2x2's for legs, paint brush
$20.00 Stain & Finish (some savings here as I had some leftover from another project)
$30.00 Folding leg brackets
$50.00 Lumber Costs (this can vary wildly depending on your wood selection)
Took 2.5 hrs to cut, fasten and sand, and approximately 24-48 hrs to paint, stain and poly.
This has been a very rewarding project. Now I have people comissioning work!
Thanks for the plans
Stained with Minwax Early American, and sealed with Polyurethane. In the process of completing a 2nd to make a set
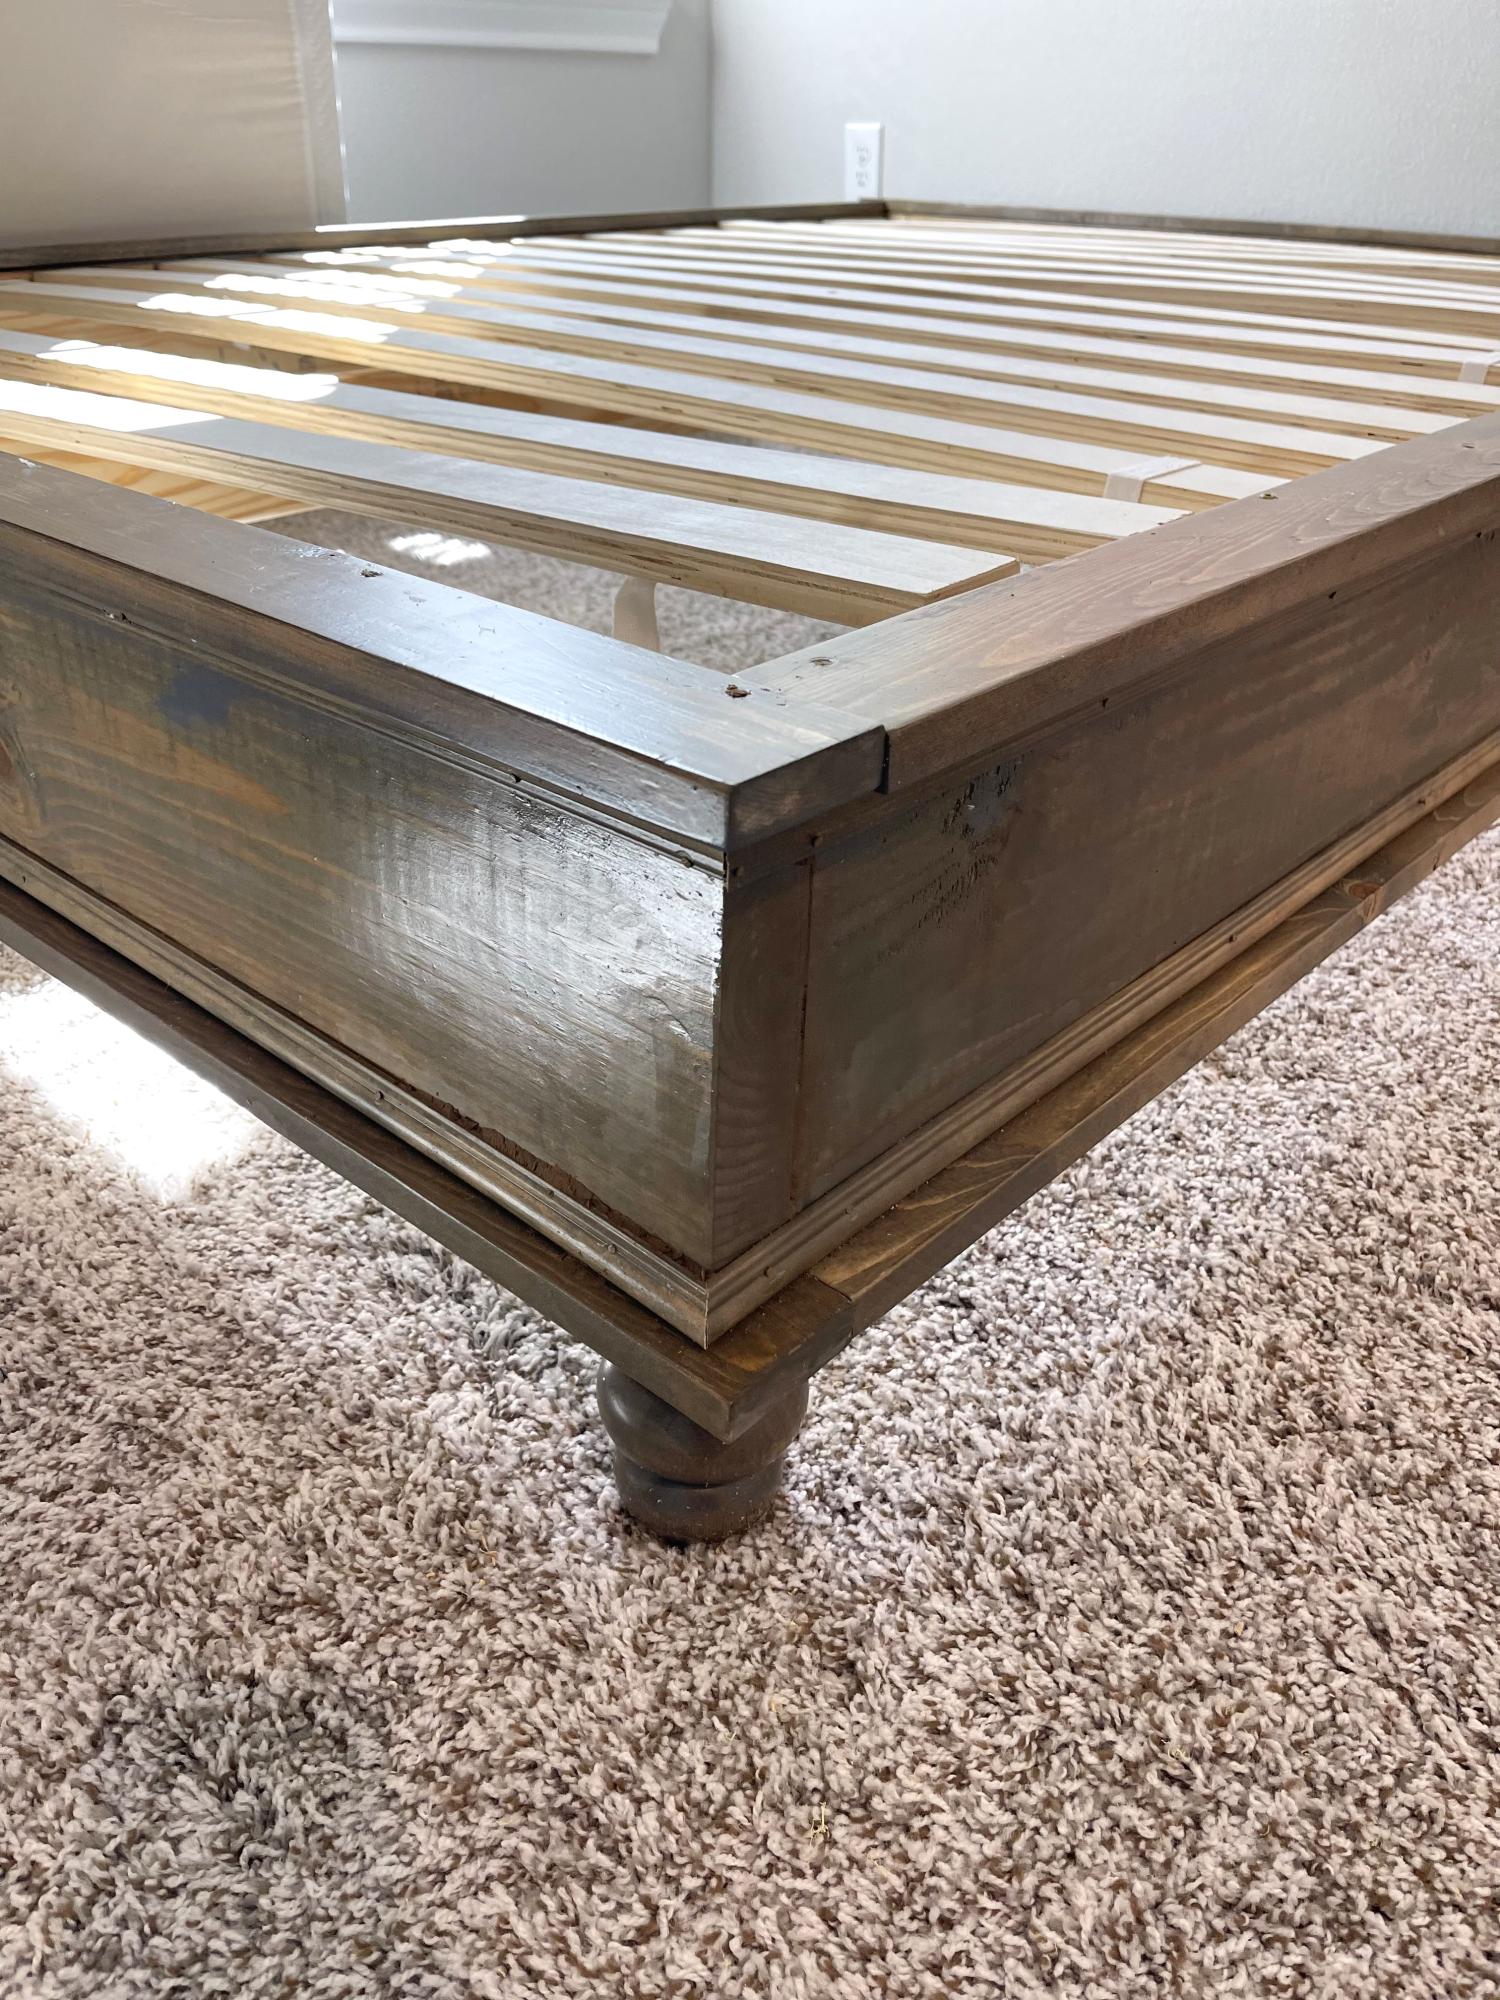
This bed was built using Ana White’s Haily plan. I used 2X10’s in place of the 2X 8’s. I chose not to build the headboard.

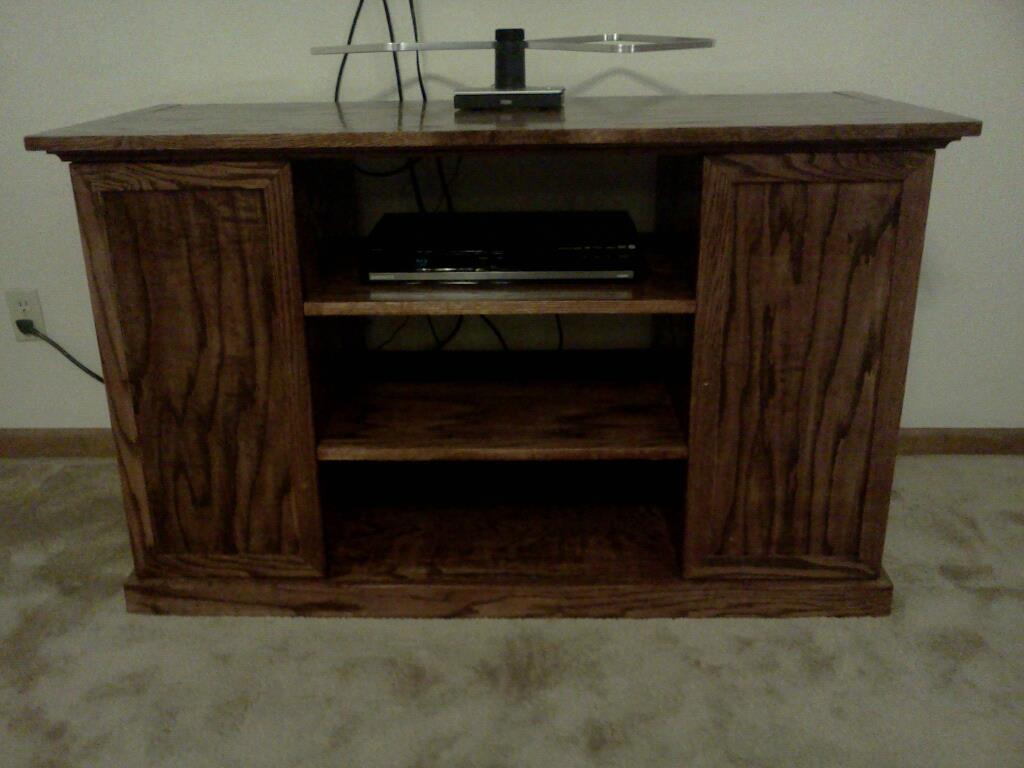
Entertainment center with Bluray/DVD storage in the doors. Based on the Cynthia media stand by Pottery Barn. I drew it up to my personal preferences using Draftsight (free 2d cad software). Used 3/4" oak for everything except for a few trim boards. It came out great, we are very proud to call it our own.
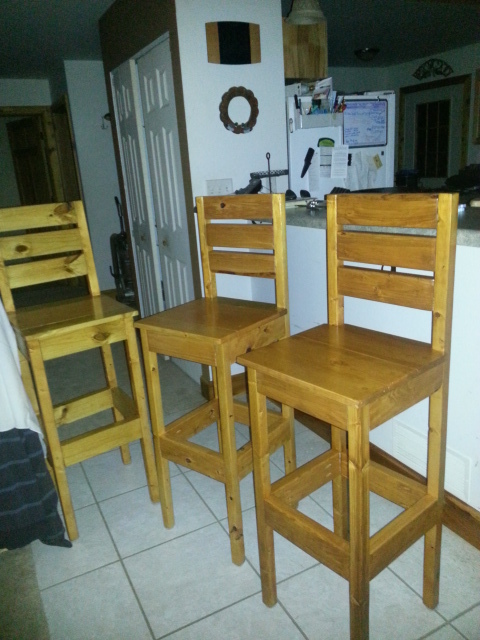
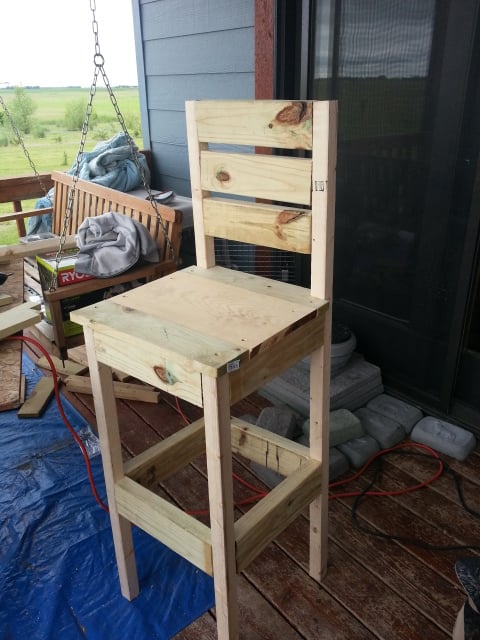
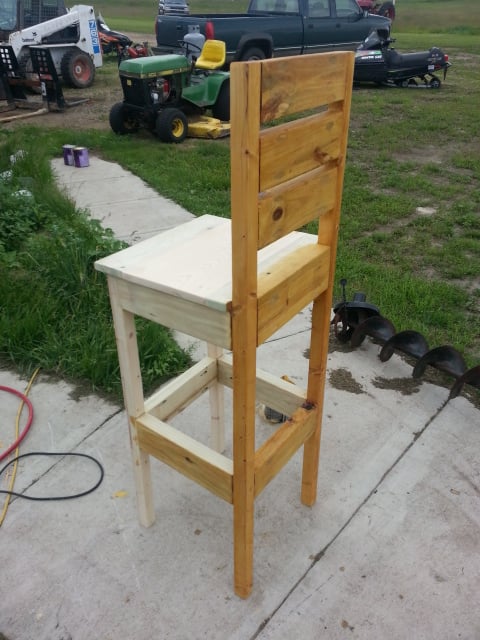
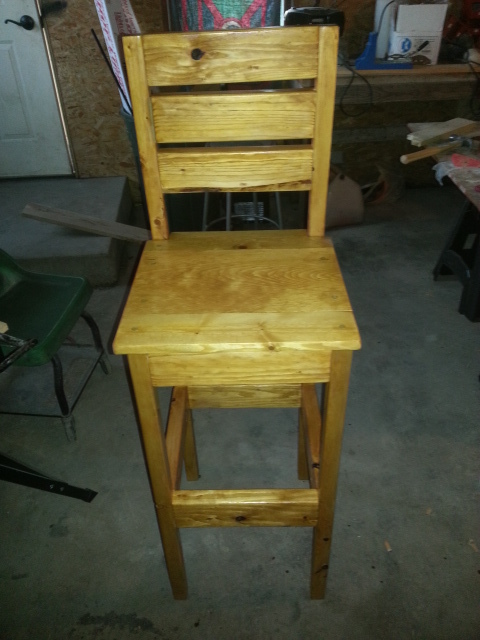
I recently resigned from my job to stay home with my kids. This gave me time to begin a long desired hobby! Thanks to this website and the awesome, easy to follow plans, I have been able to start practicing with some very practical pieces. I have been looking for extra tall stools for over five years, since moving to our current home, and have not been able to find any I'm willing to buy. They have to be special ordered and are ridiculously priced for the chintzy pieces they are. I had fun making these ones and they look gorgeous in my home.
It took me several days to complete all three, but for a more experienced person it would take much less time. I used the Kreg Jig for all holes possible. And with each stool I learned something, and each one was completed in less time than the last.
THANK YOU ANA!
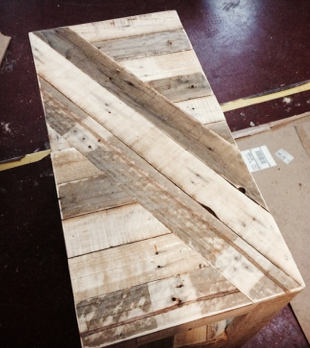
Built a small table for the living room out of a reclaimed pallet.
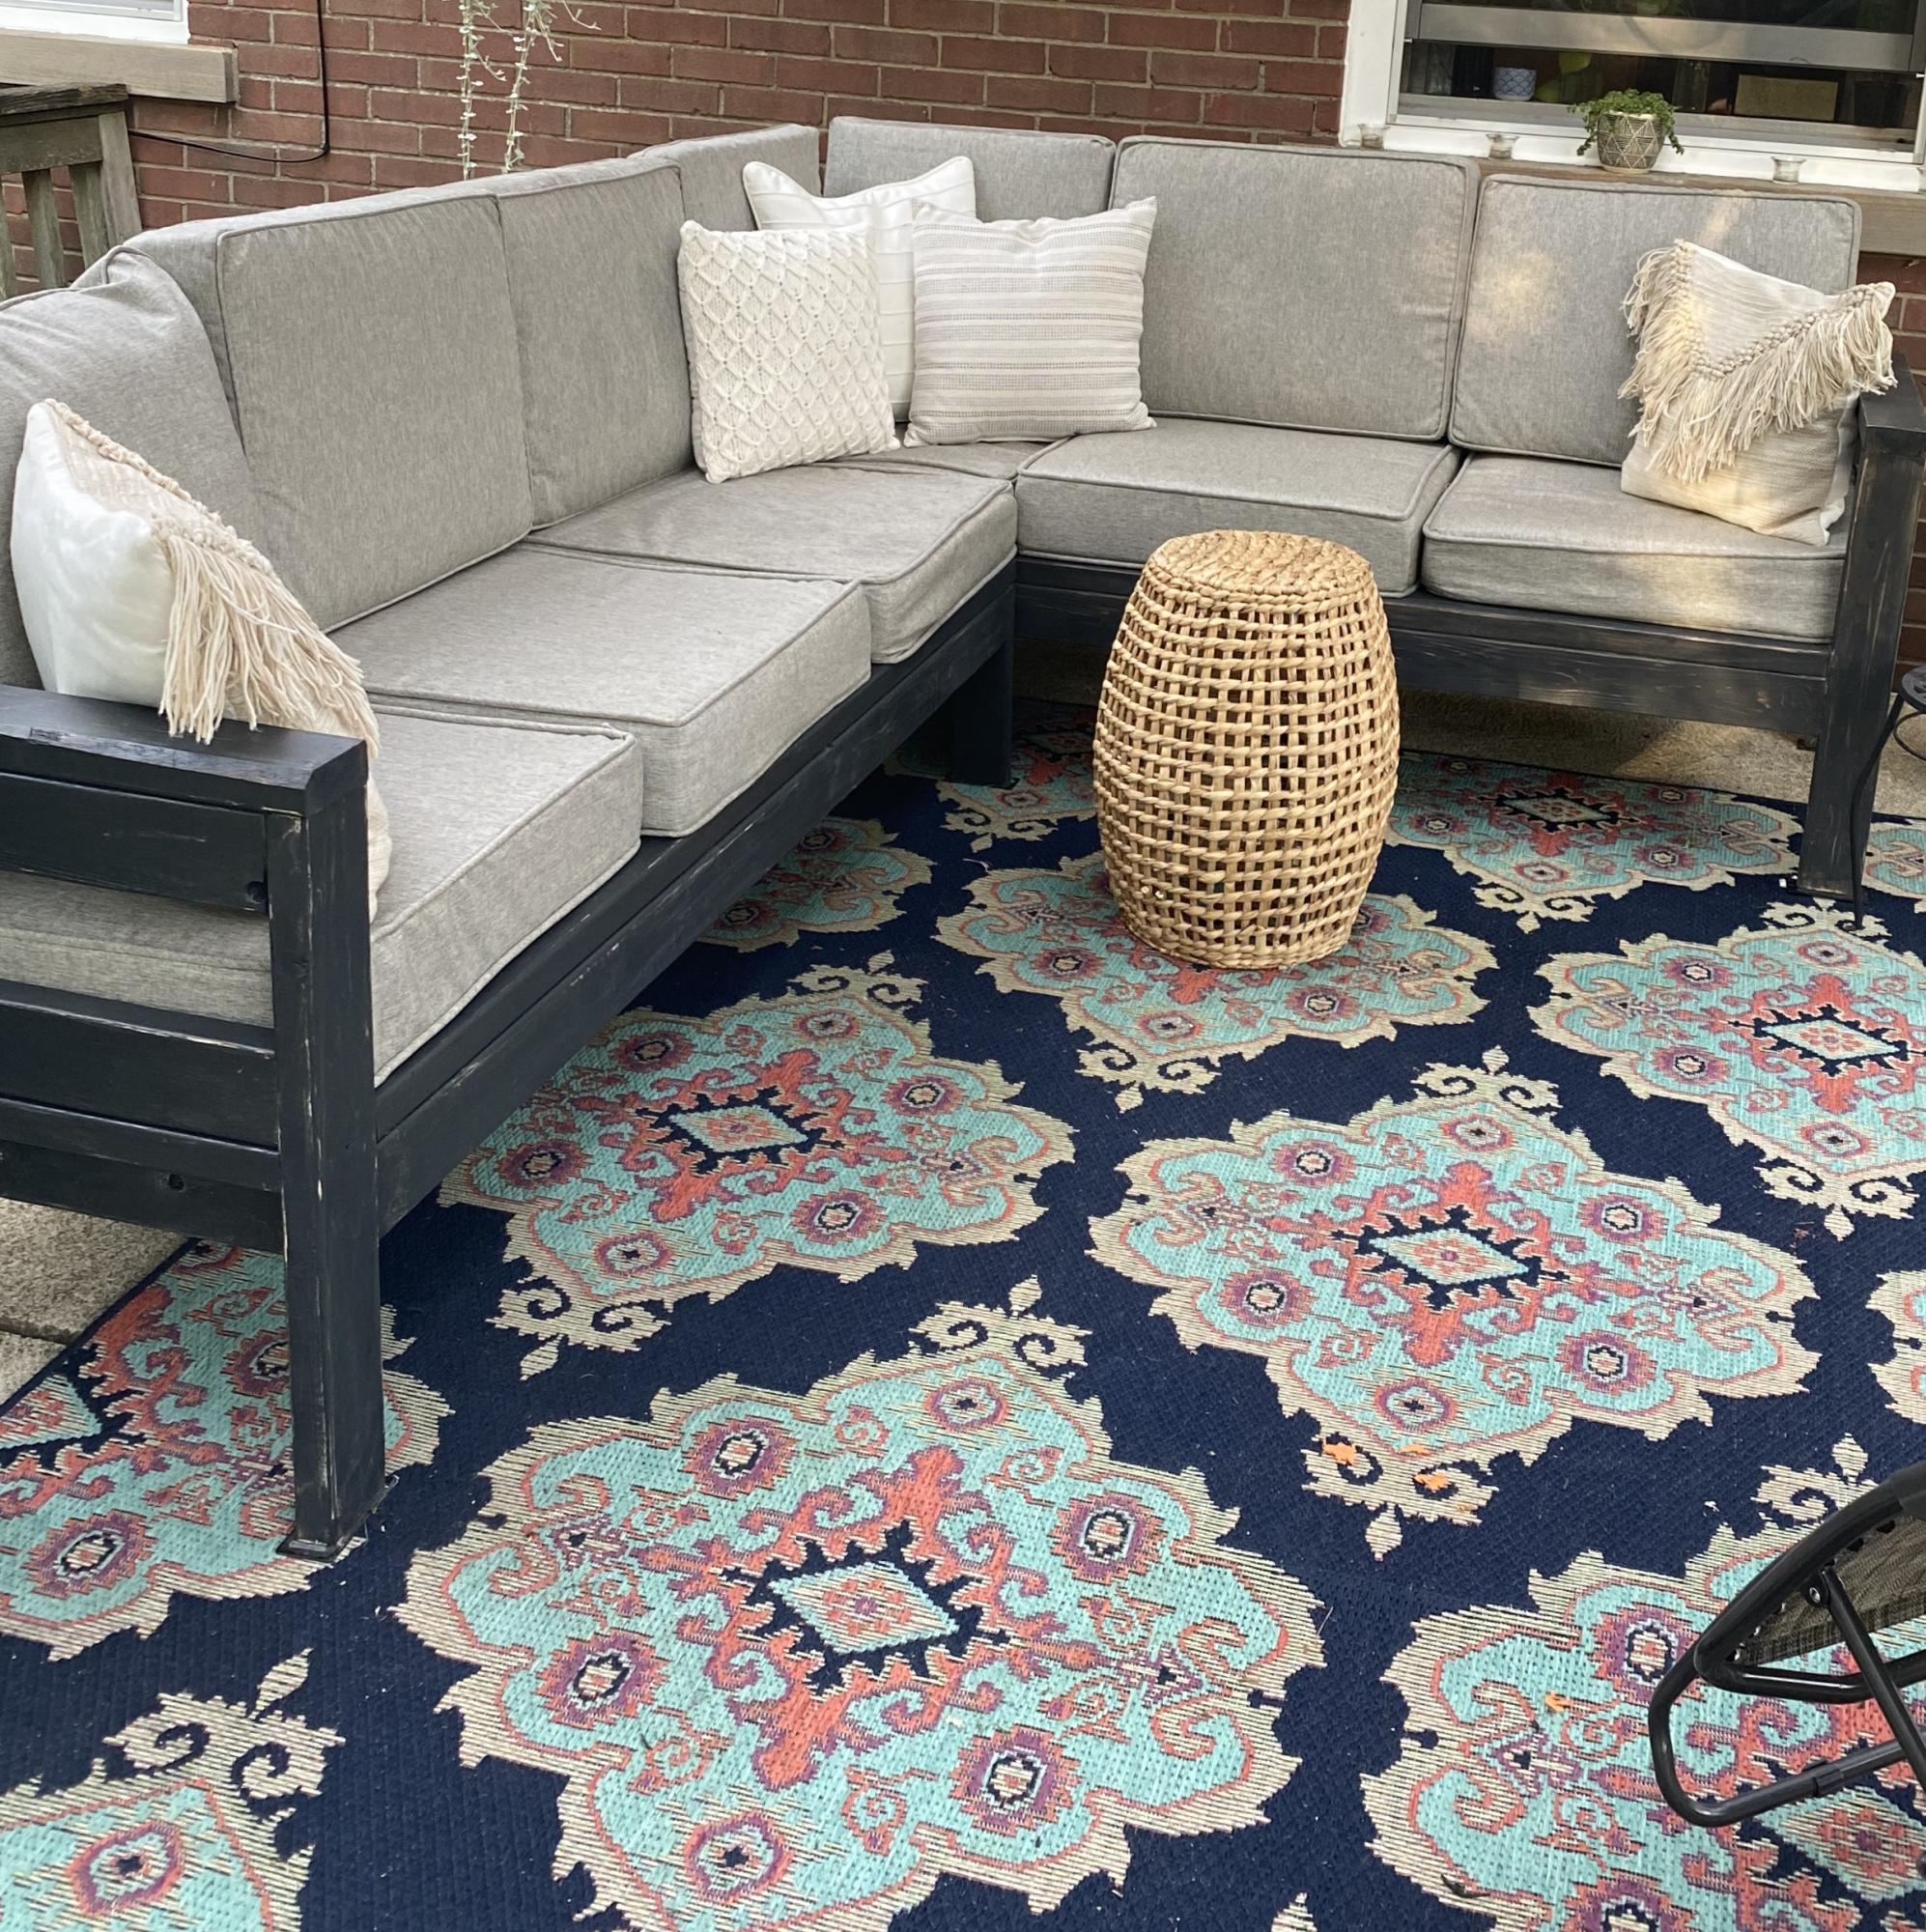
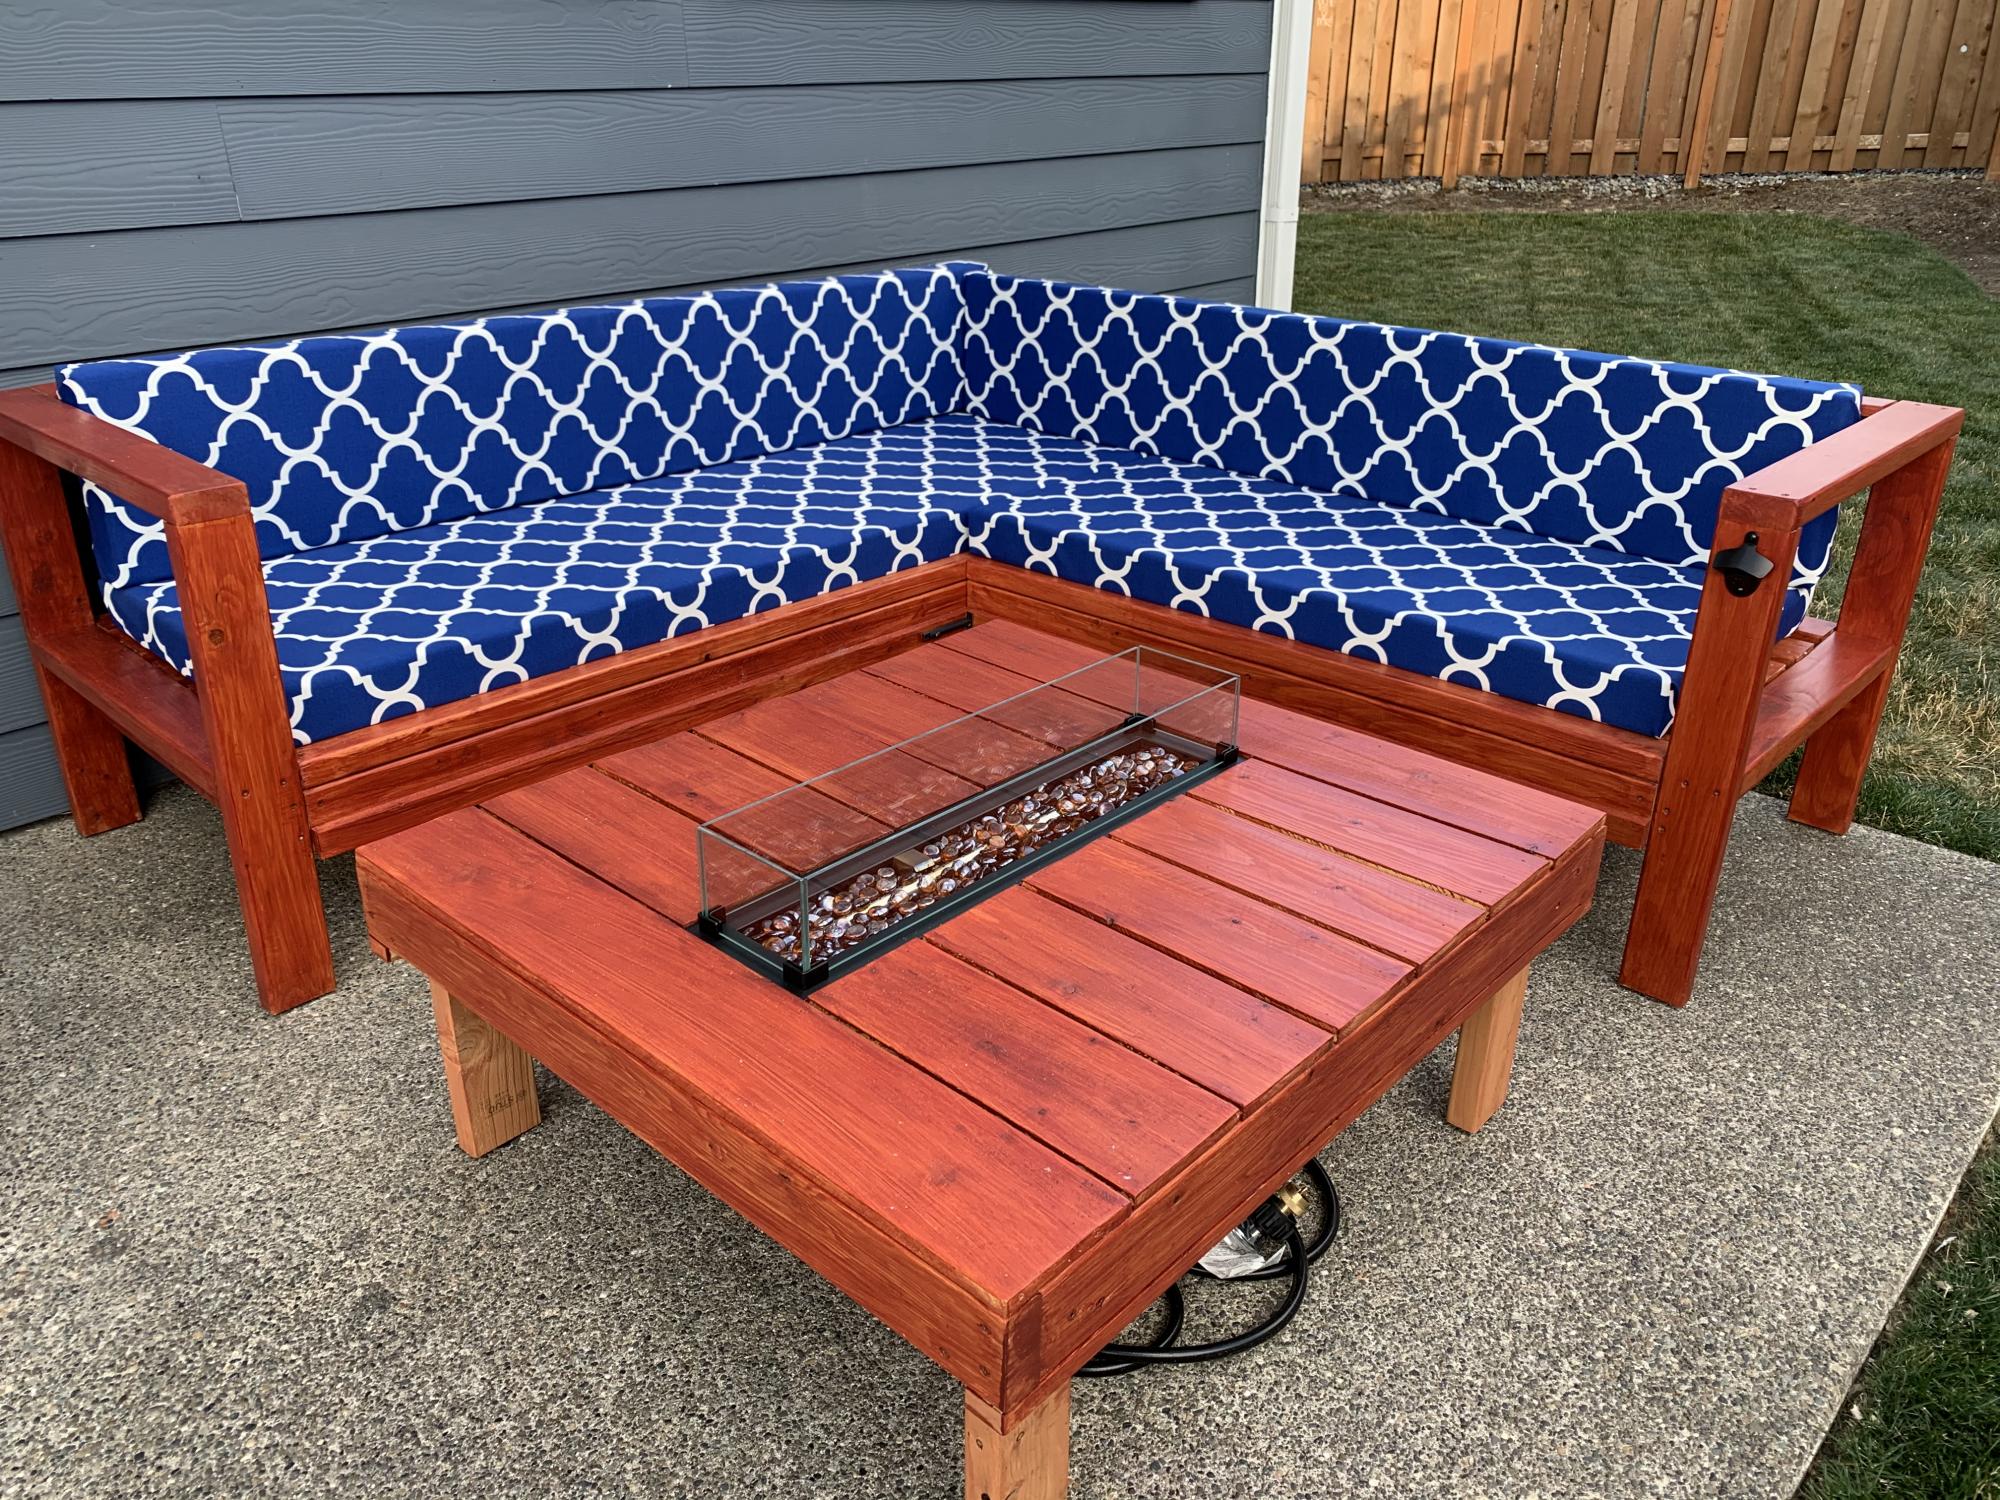
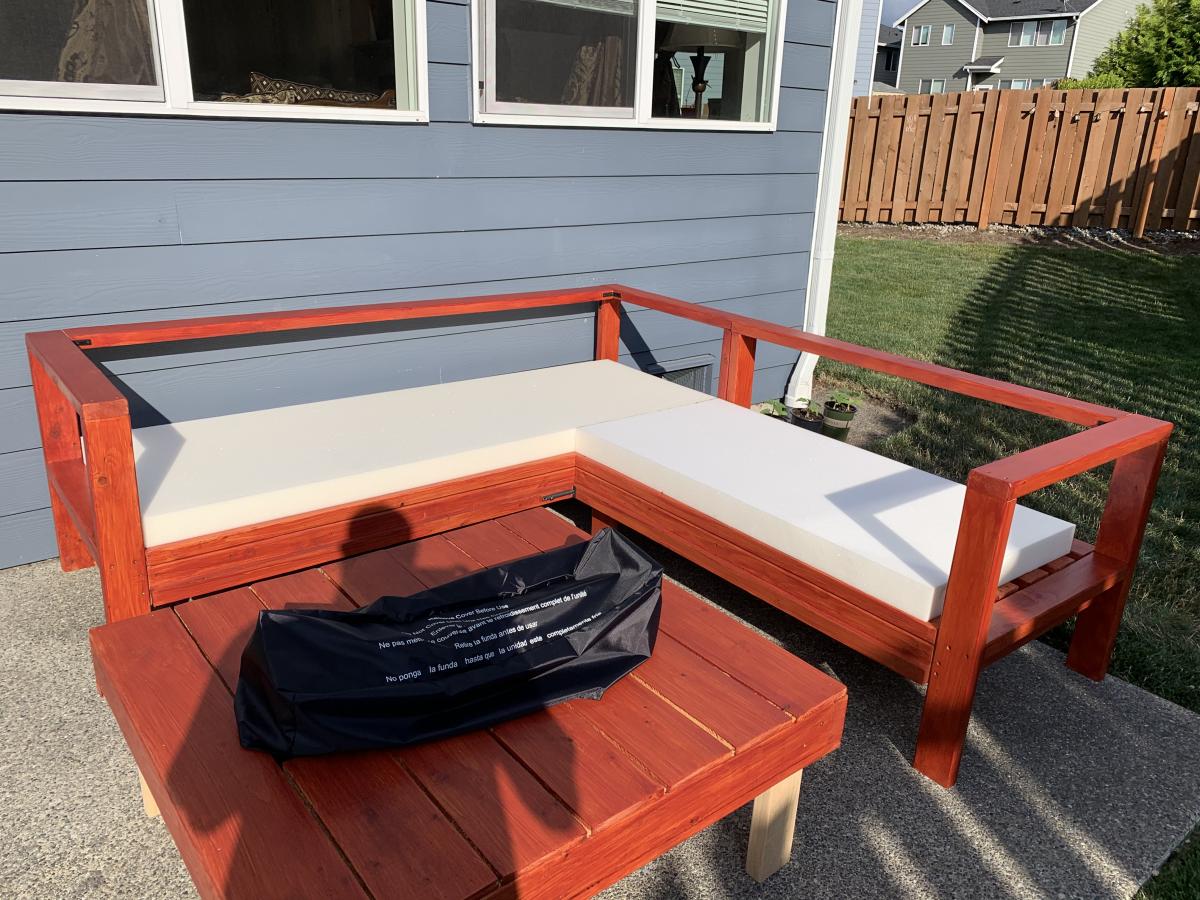
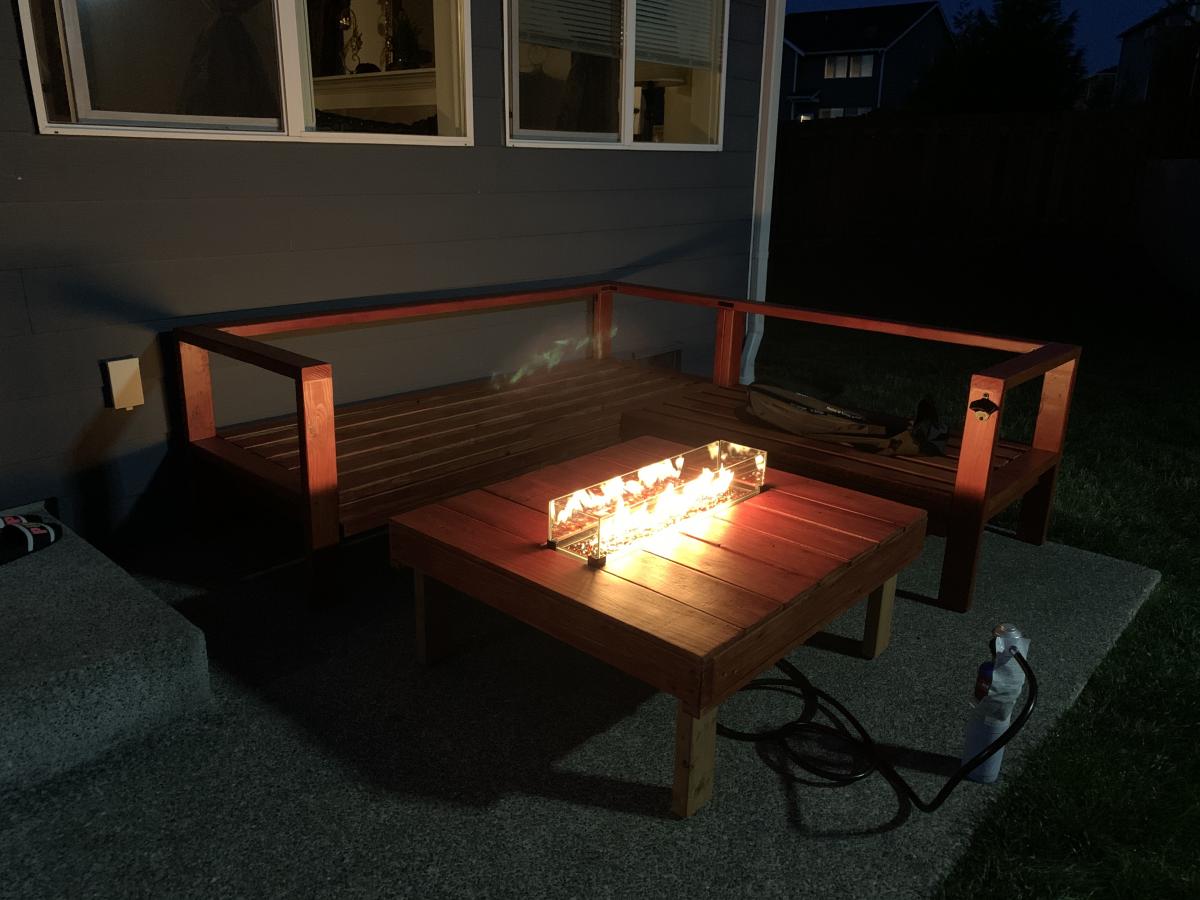
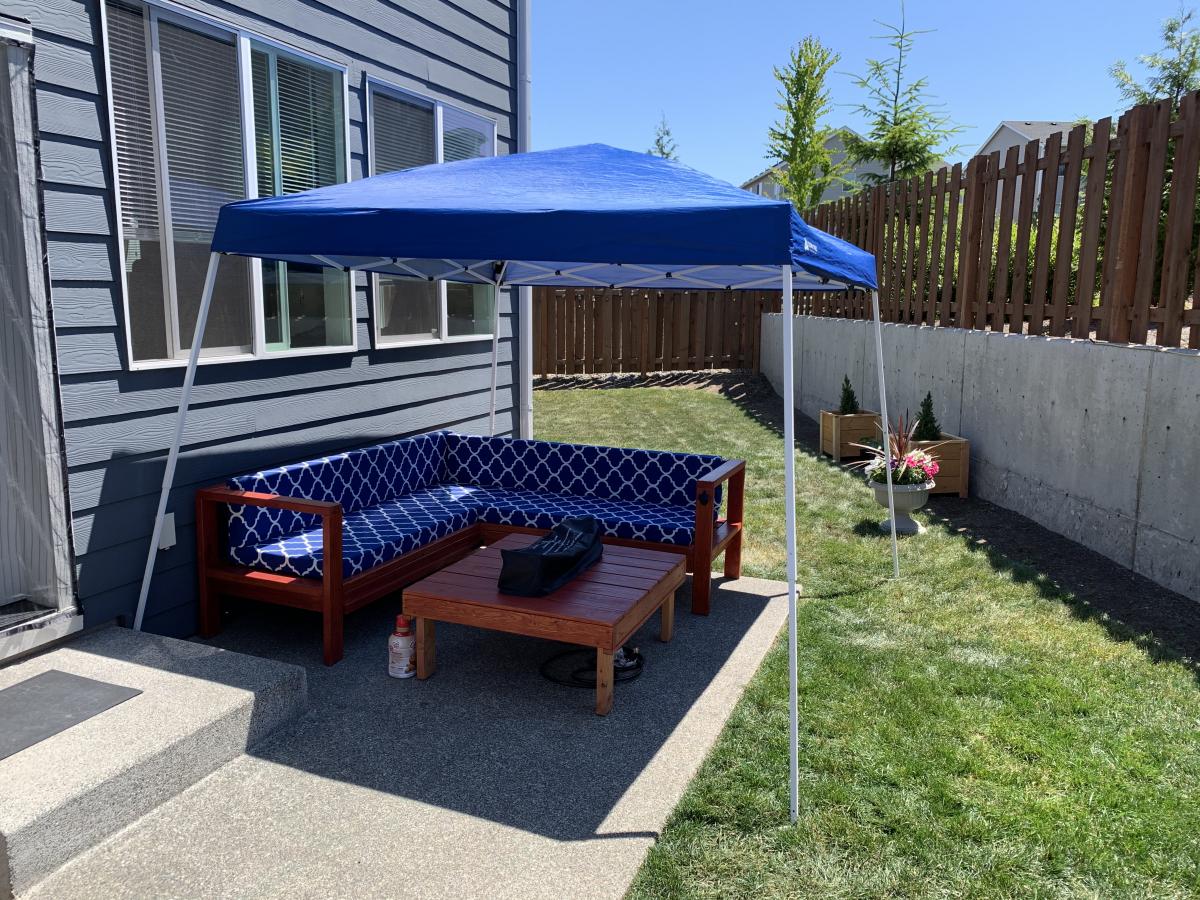
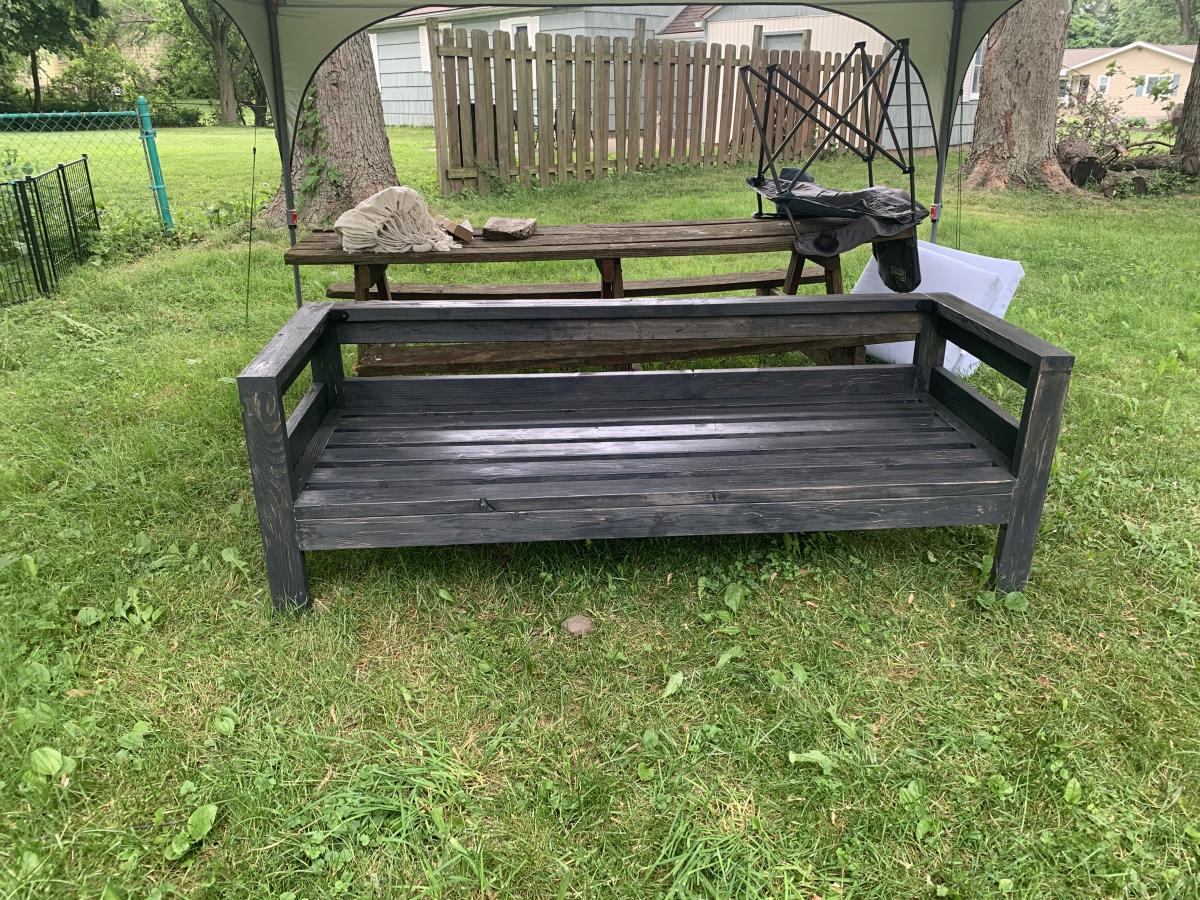
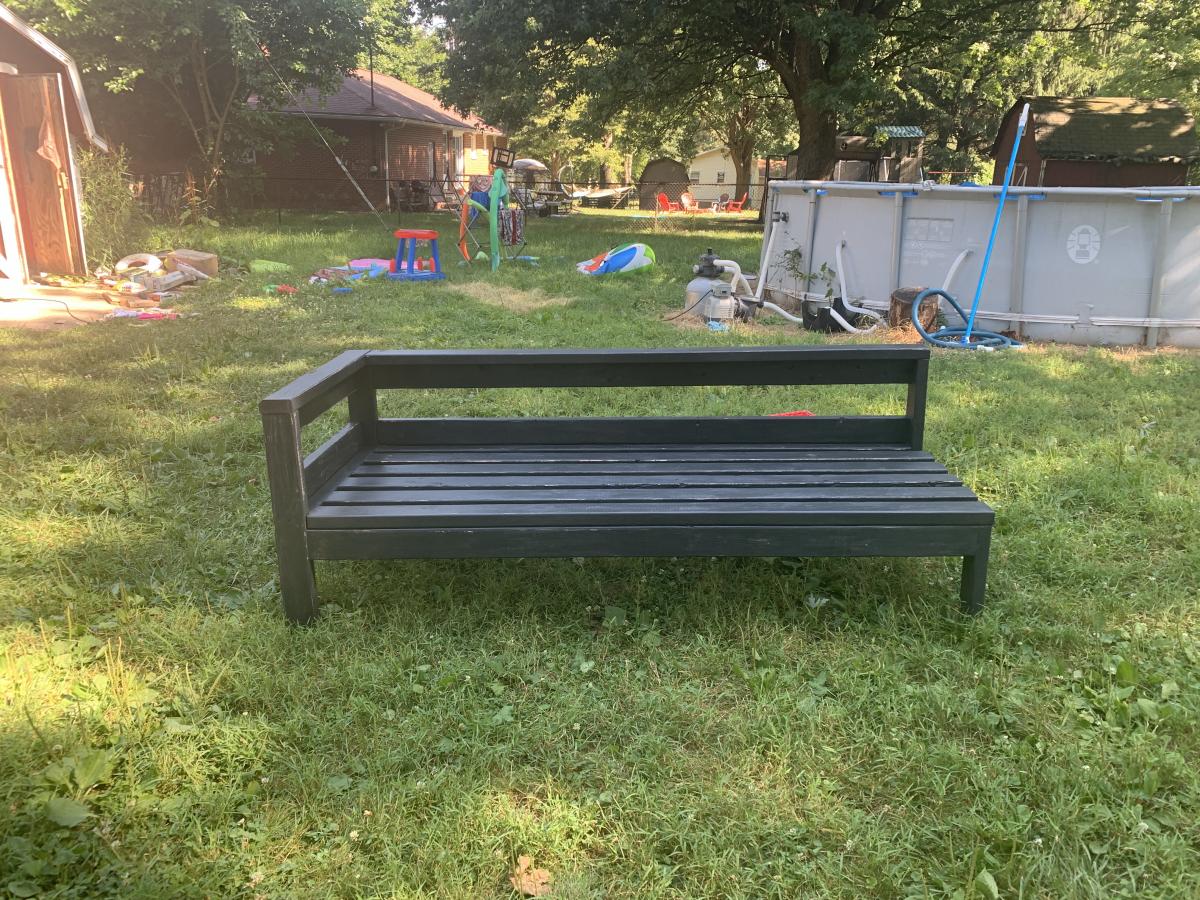
These plans are super easy to follow! It took me about 4-6 hours to assemble the sofa and the same for the one arm sofa. However, filling screw holes, sanding and more sanding and did I mention the sanding...and the staining because we all love to watch paint dry. The weather here in Ohio was very cooperative, there was either a heat advisory or it was raining. Now that I’m looking back on it, hind site and all that I would have taken the time to sand and stain at least some of the pieces prior to assembling it was quite an under taking saving it all for the end.
Fri, 08/14/2020 - 14:17
The cushions are 25 inches long and 24 inches wide! I hope this helps
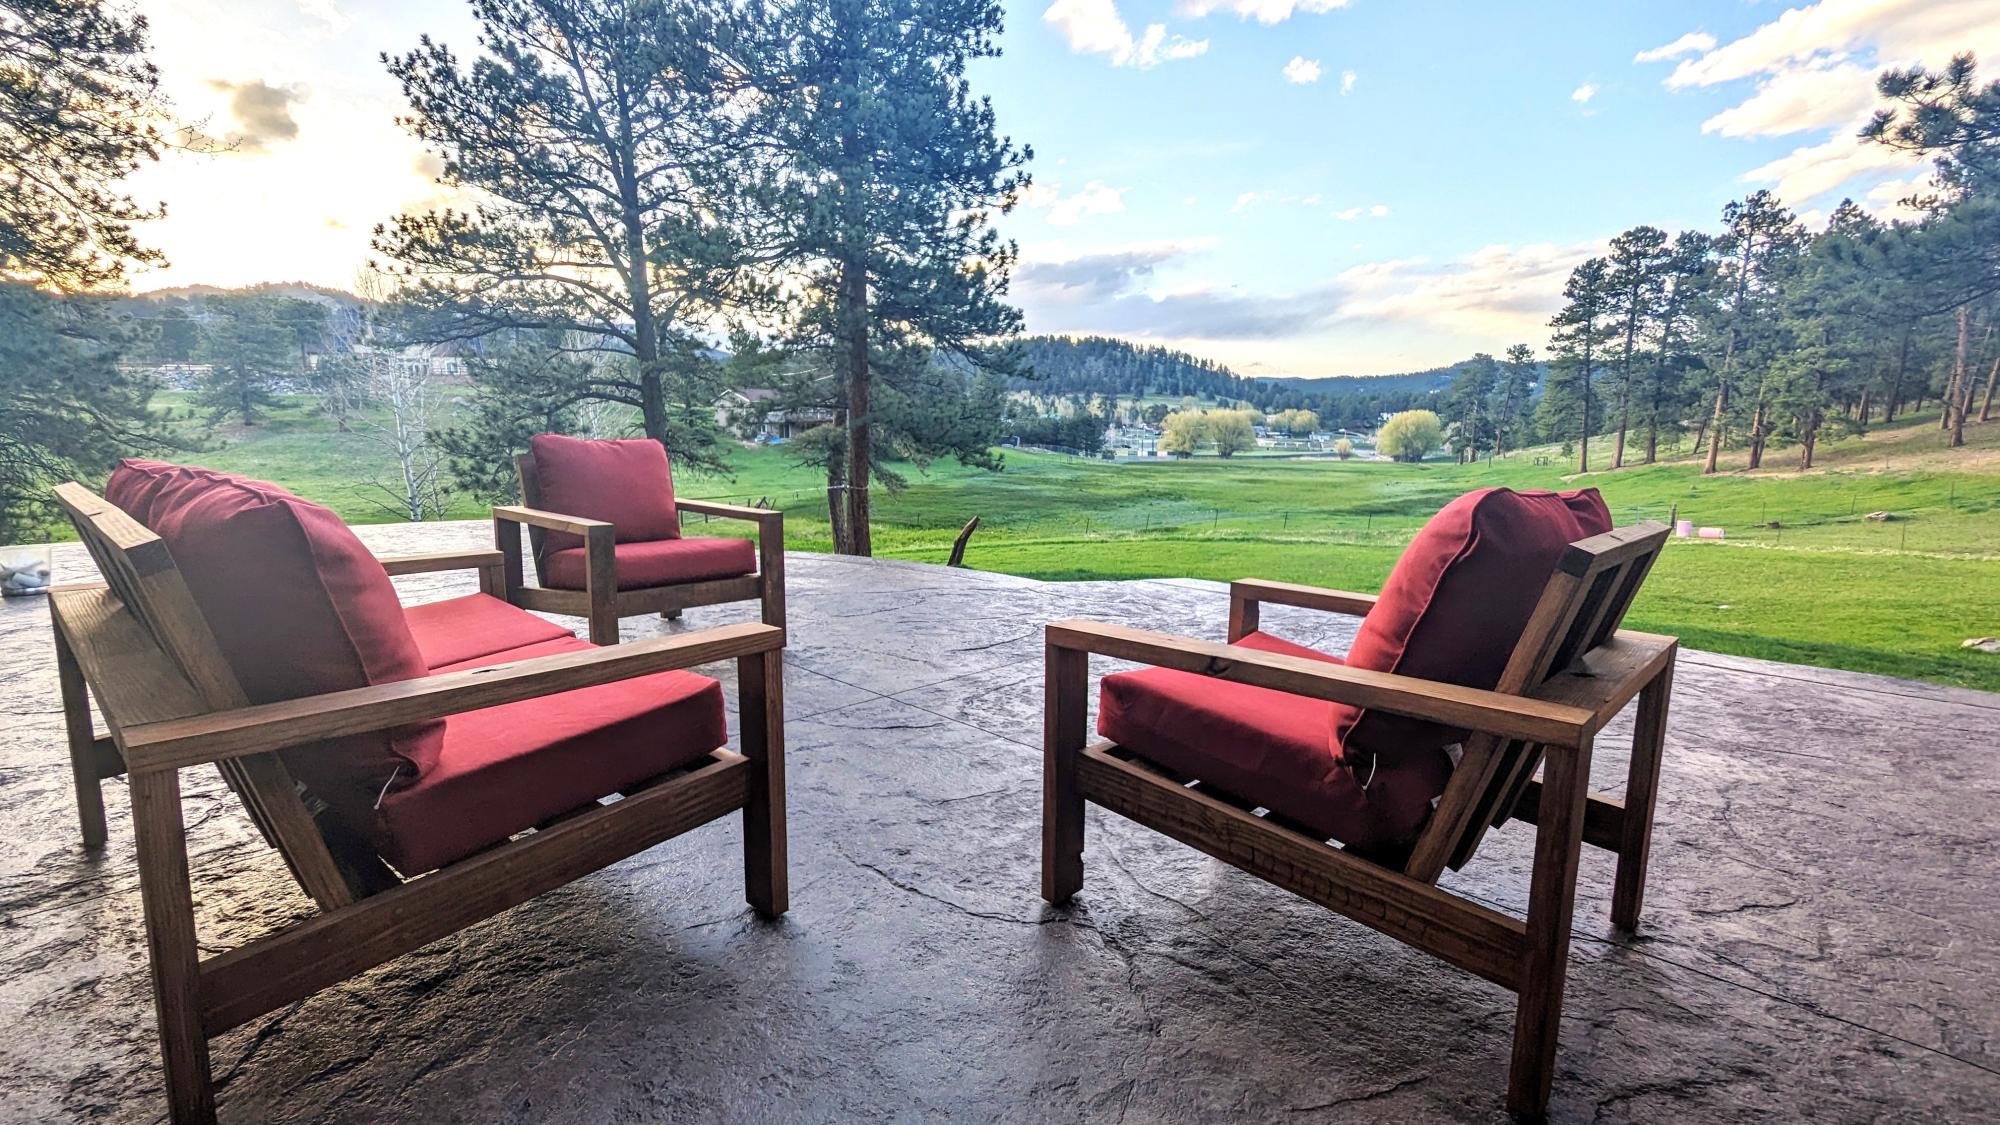
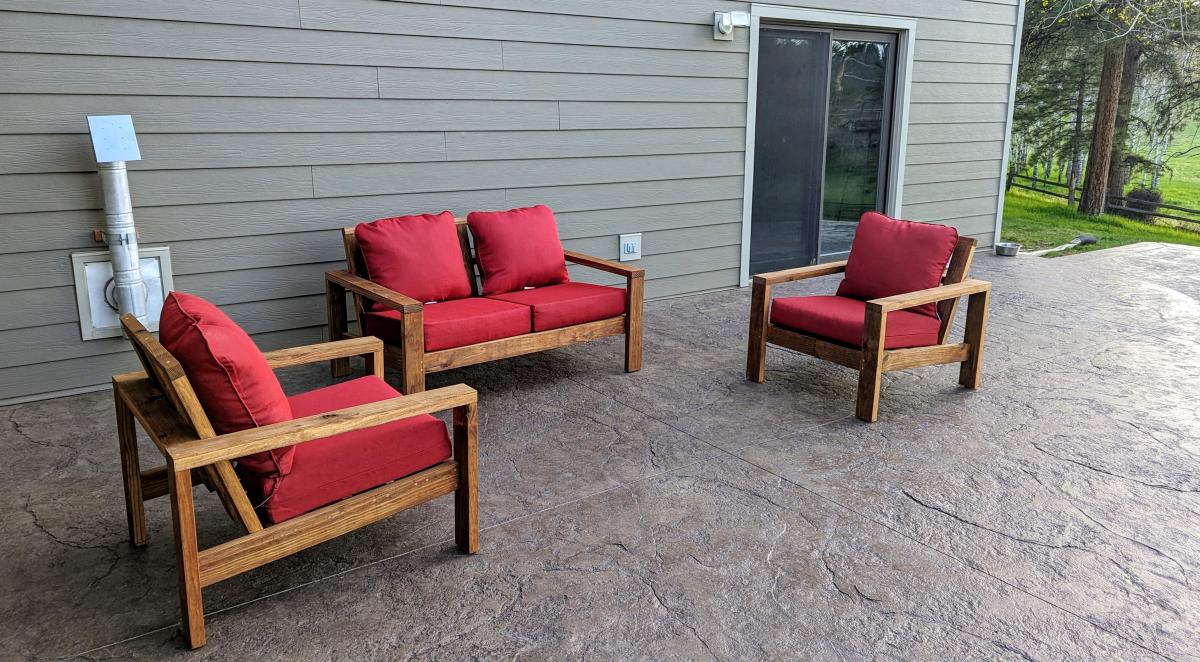
Made this patio set out of old lumber from a deck we replaced. I saved a lot of the 2x10 joists. I ripped them all into 2x4s, then had to sand off 25 years of grime. Built two chairs and a loveseat. Just added additional seat support for the loveseat. Then stained them. Very happy with how they turned out. Was nice to be and to repurpose that old wood.
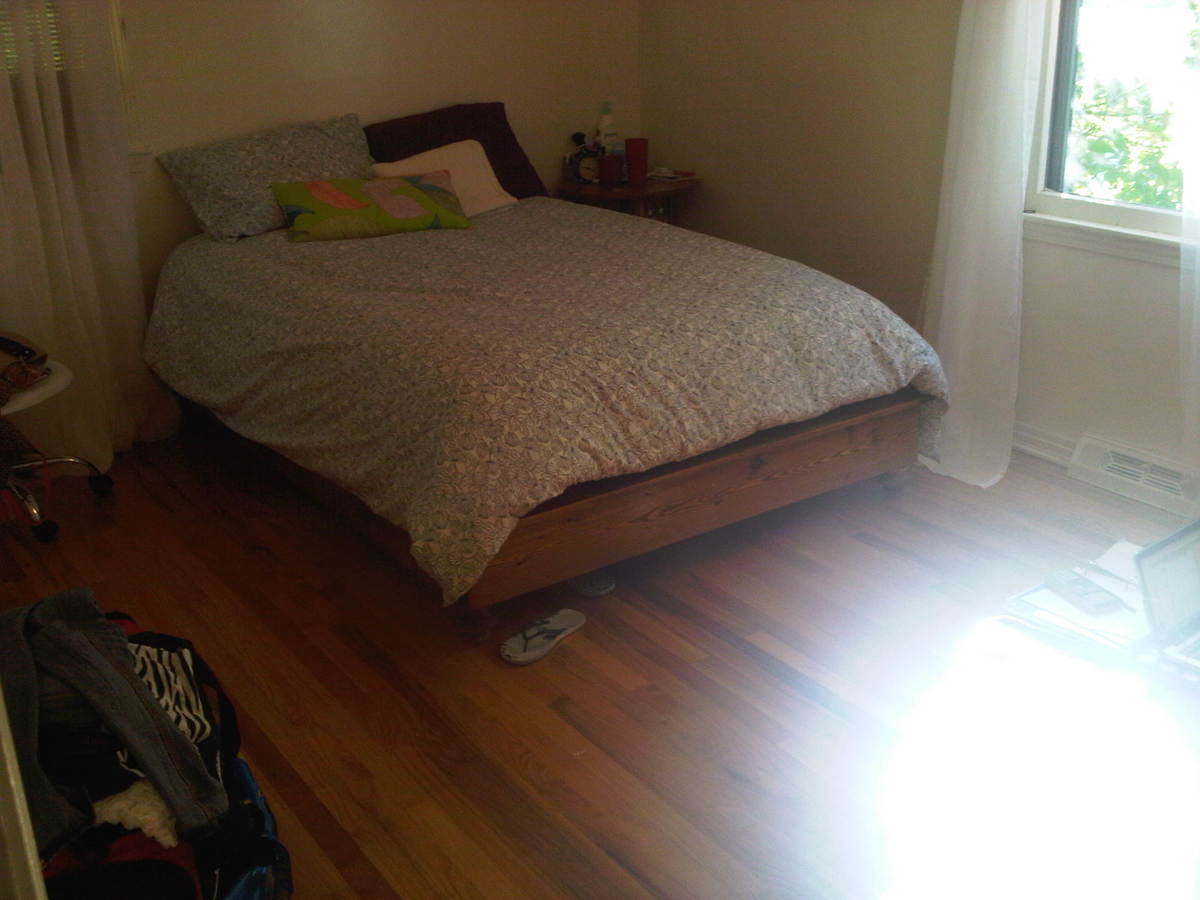
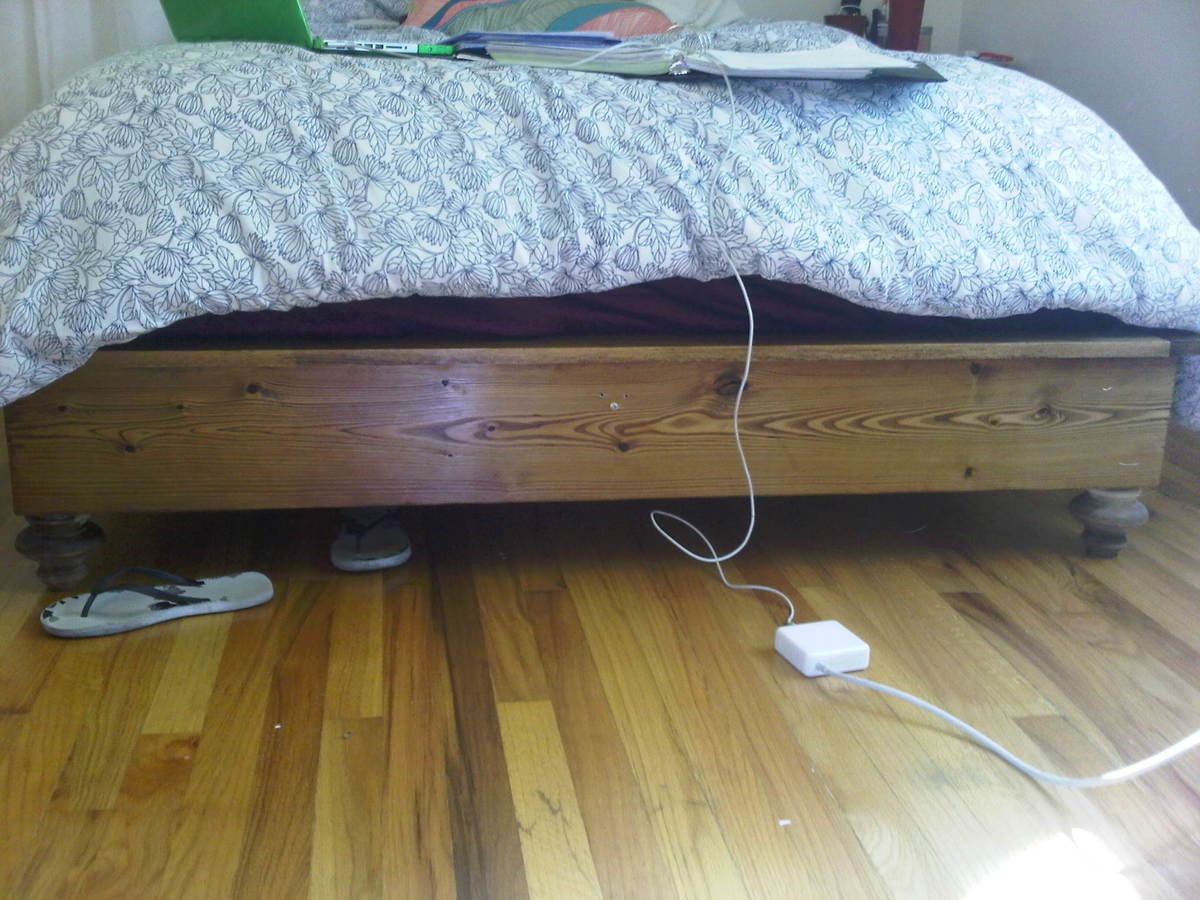
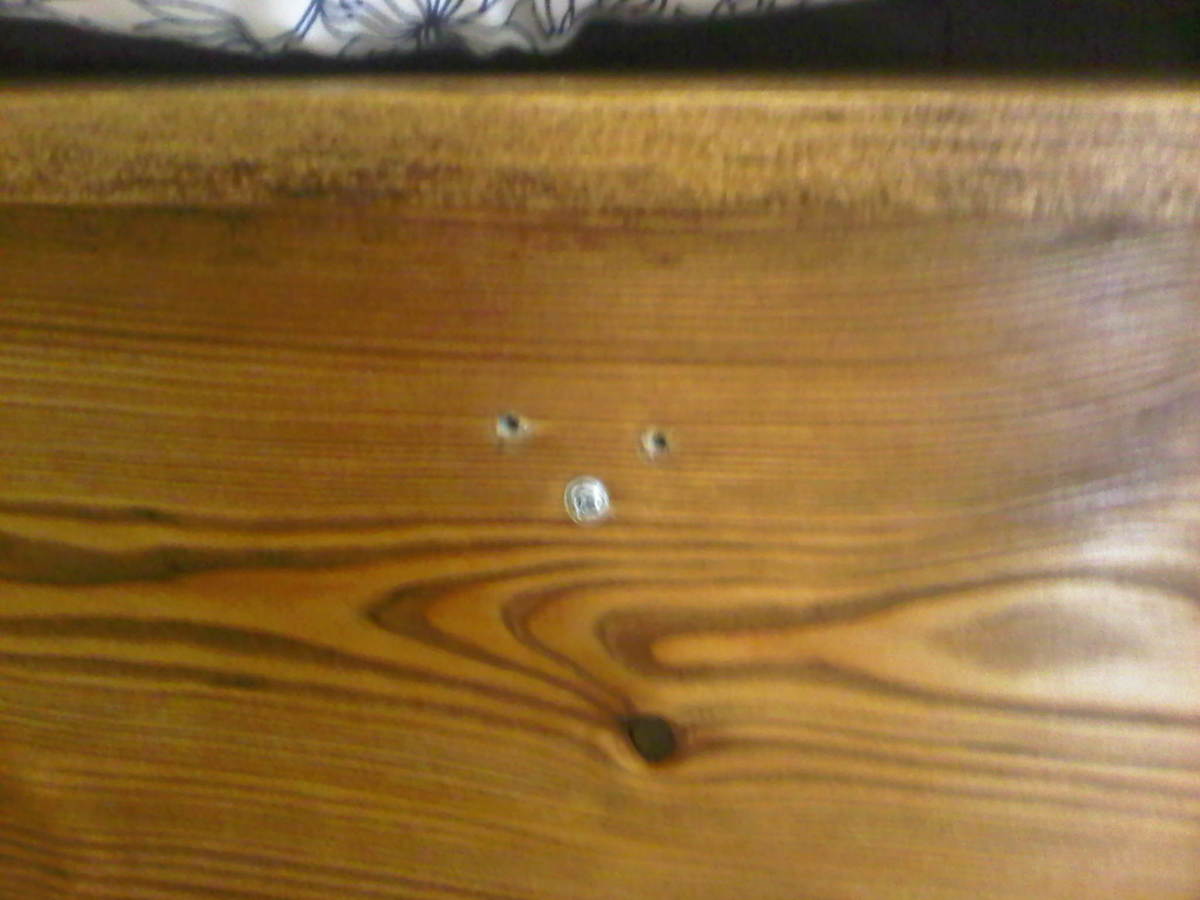
I'd say all together i spent about 5 days working on this... but i did it all by myself and i'm a newbie! I used studs i found at home depot. My tulip legs were $8 dollars a pop and I bought a drill/kregjig and sanding paper because I've never built anything before. I hand sanded the whole thing!!!! This was my first build... but it did break once: For the center support i used two 2 1/2" screws and screwed it from the outside and the screws just ripped through the wood. but i replaced it.. put in new screws and attached little 1x2 pieces under both ends and i plan to adding 2 legs in the center. You an see in the photos i attached where the old screws were, and how i solved the problem under the bed by adding the like 1x2 pieces. I've had it for 2 weeks completed now.. and although the center support gave out once... it's been good and solid since! I hope this was help to anyone considering making this bed! P.S. just buy a sander... hand sanding is painful and boring!


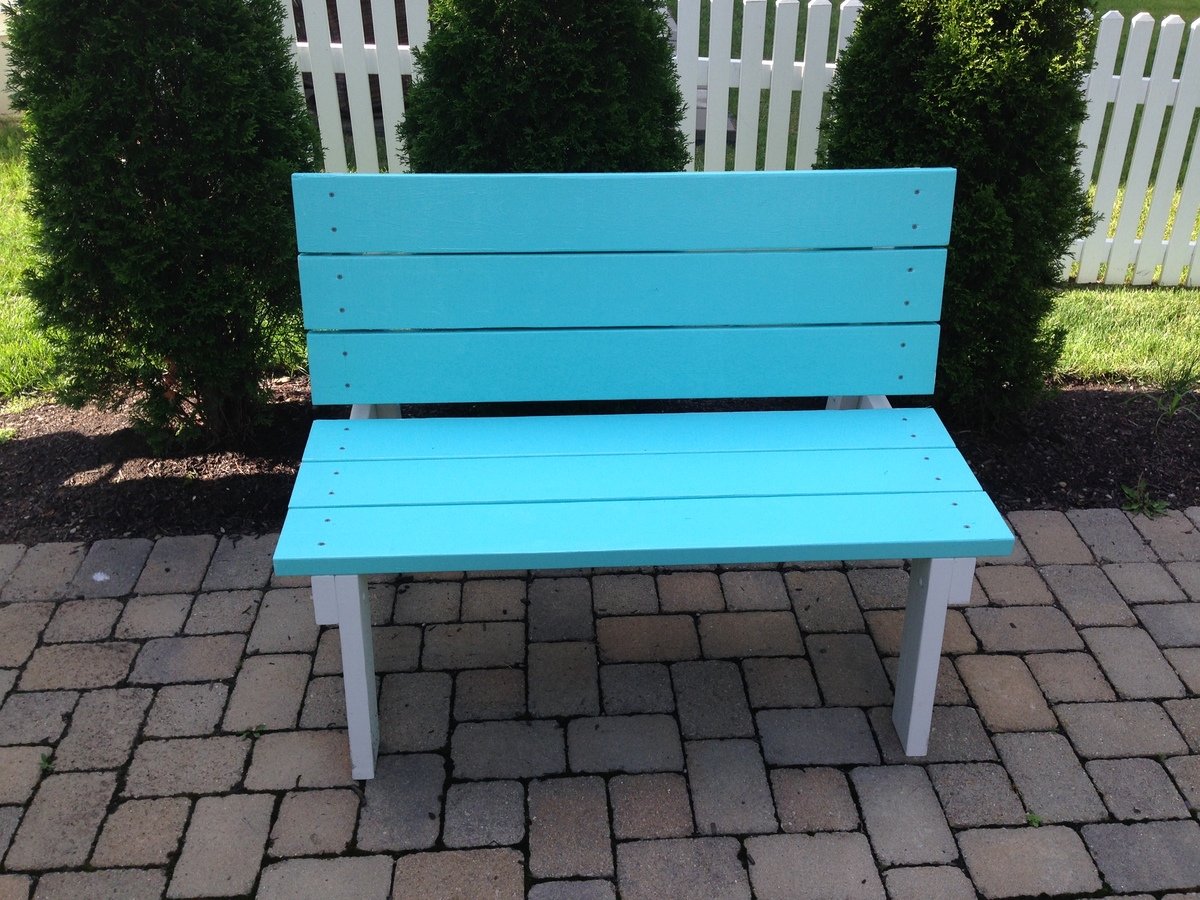
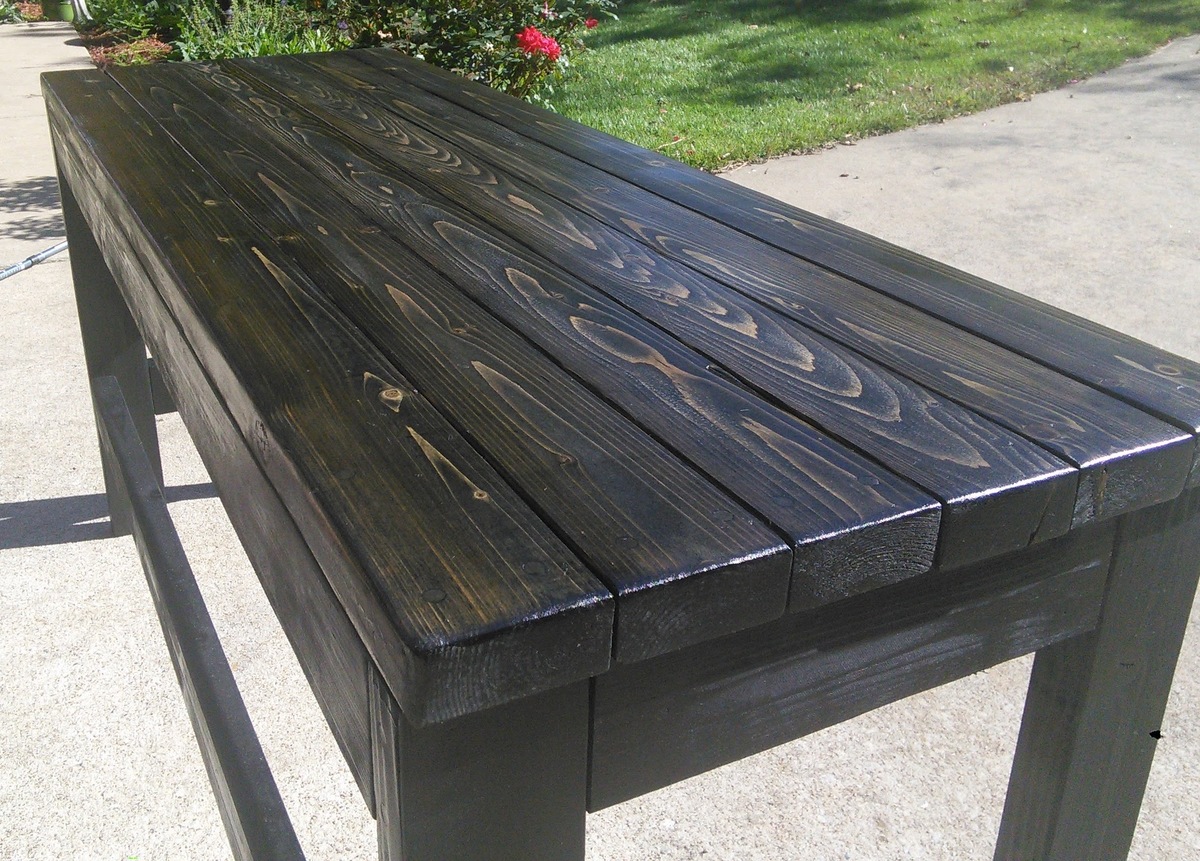
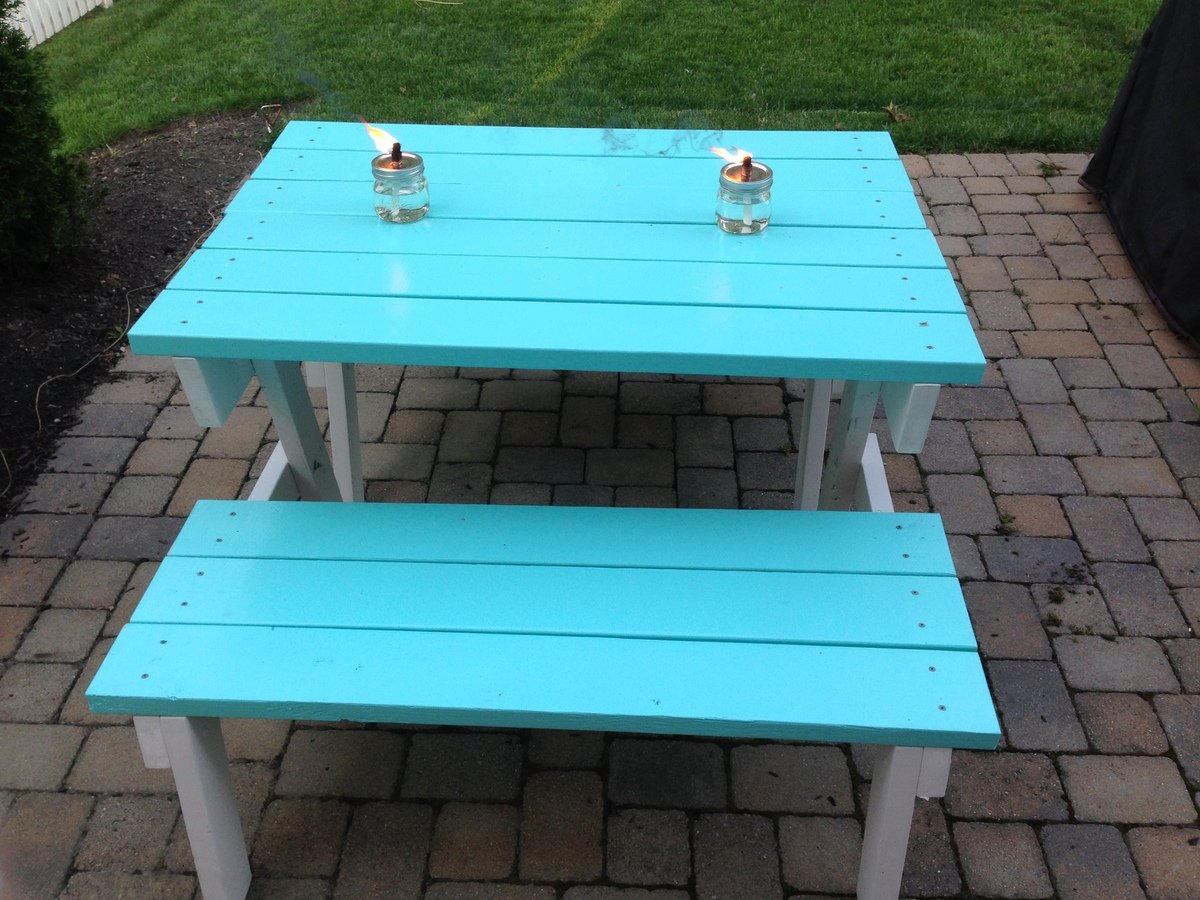
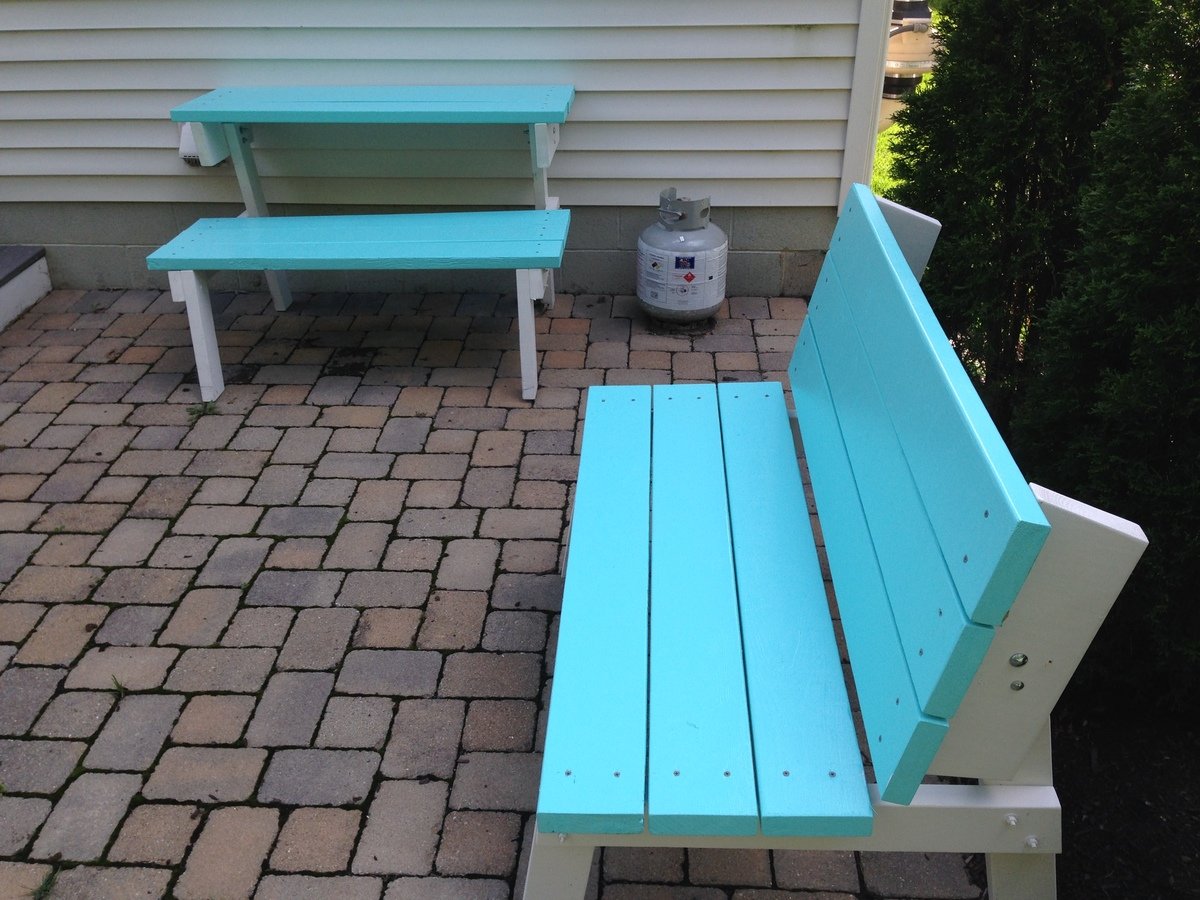
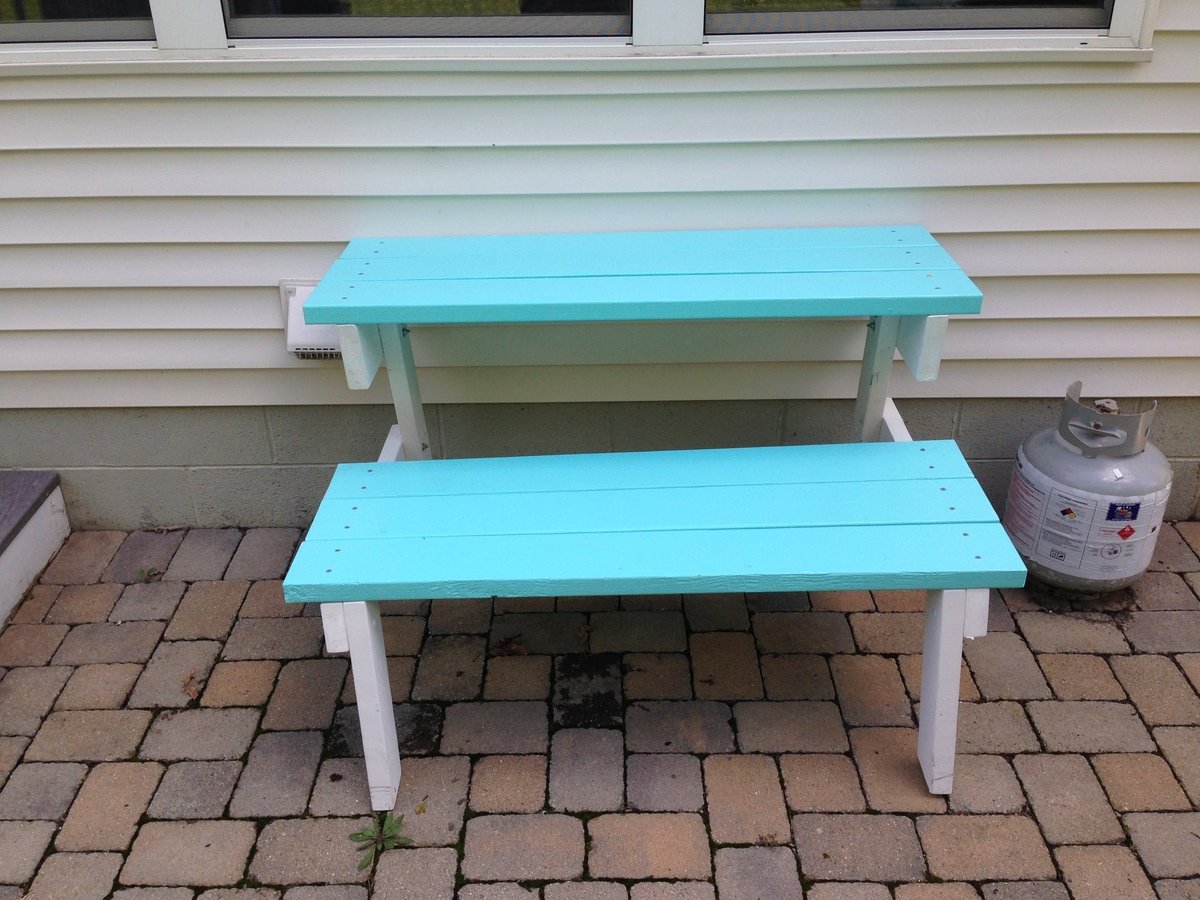
This was my first project like this from website, the instructions were clear and easy to follow. I did this over a weekend all total it took 10 to 15 hours with the bulk of that going to priming and painting the wood.
The table is a little small (as is mentioned in the instructions). If I was going to make it again I might try 6 foot boards for the benches and top. I made a couple of modifications, one intentional and one unintentional. The intentional changes was bolting the frame together with carriage bolts. Others had mentioned that it was wobbly and I'm a bigger guy and didn't want to take a chance. The unintentional change is that it's an inch shorter than it should be. I was cutting the first pieces and thought it said 27 when it said 28. That wasn't a big deal as I shortened the other piece by an inch.
I'm very happy with how they turned out except that one of my benches isn't completely square. The top of the bench and table is square but somewhere in all my drilling and bolting together its off a little bit. I need to take it apart to determine where I am off and fix it.
I mentioned that it was $100 to build, it was $40 for the wood and $60 for all the other little stuff, screws, paint, primer, bolts, etc. Of course I have enough left from most of that to complete another bench or two if I just get the wood.
What a great 'Beginner' project. Little mistakes or imperfections only add to its charm! This was a real confidence booster for me. I am so delighted with the results! I had most of the wood leftover from when our fence was built, so I only needed to pay for the screws, stain and hardware which made the whole project cost less than $50!
Just finished this console table for my granddaughter the angels on the cross piece were quite challenging.