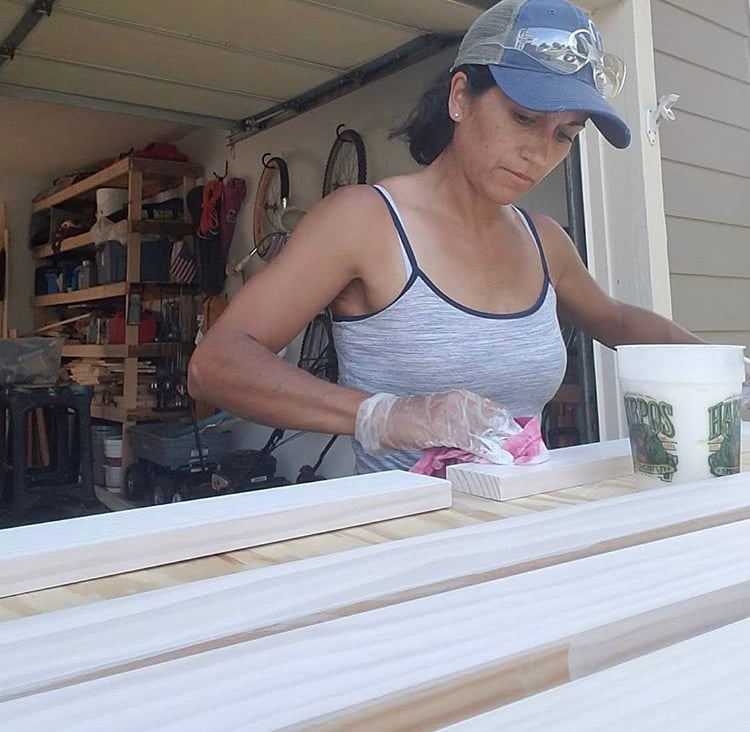
Tall Cedar Tapered Planters
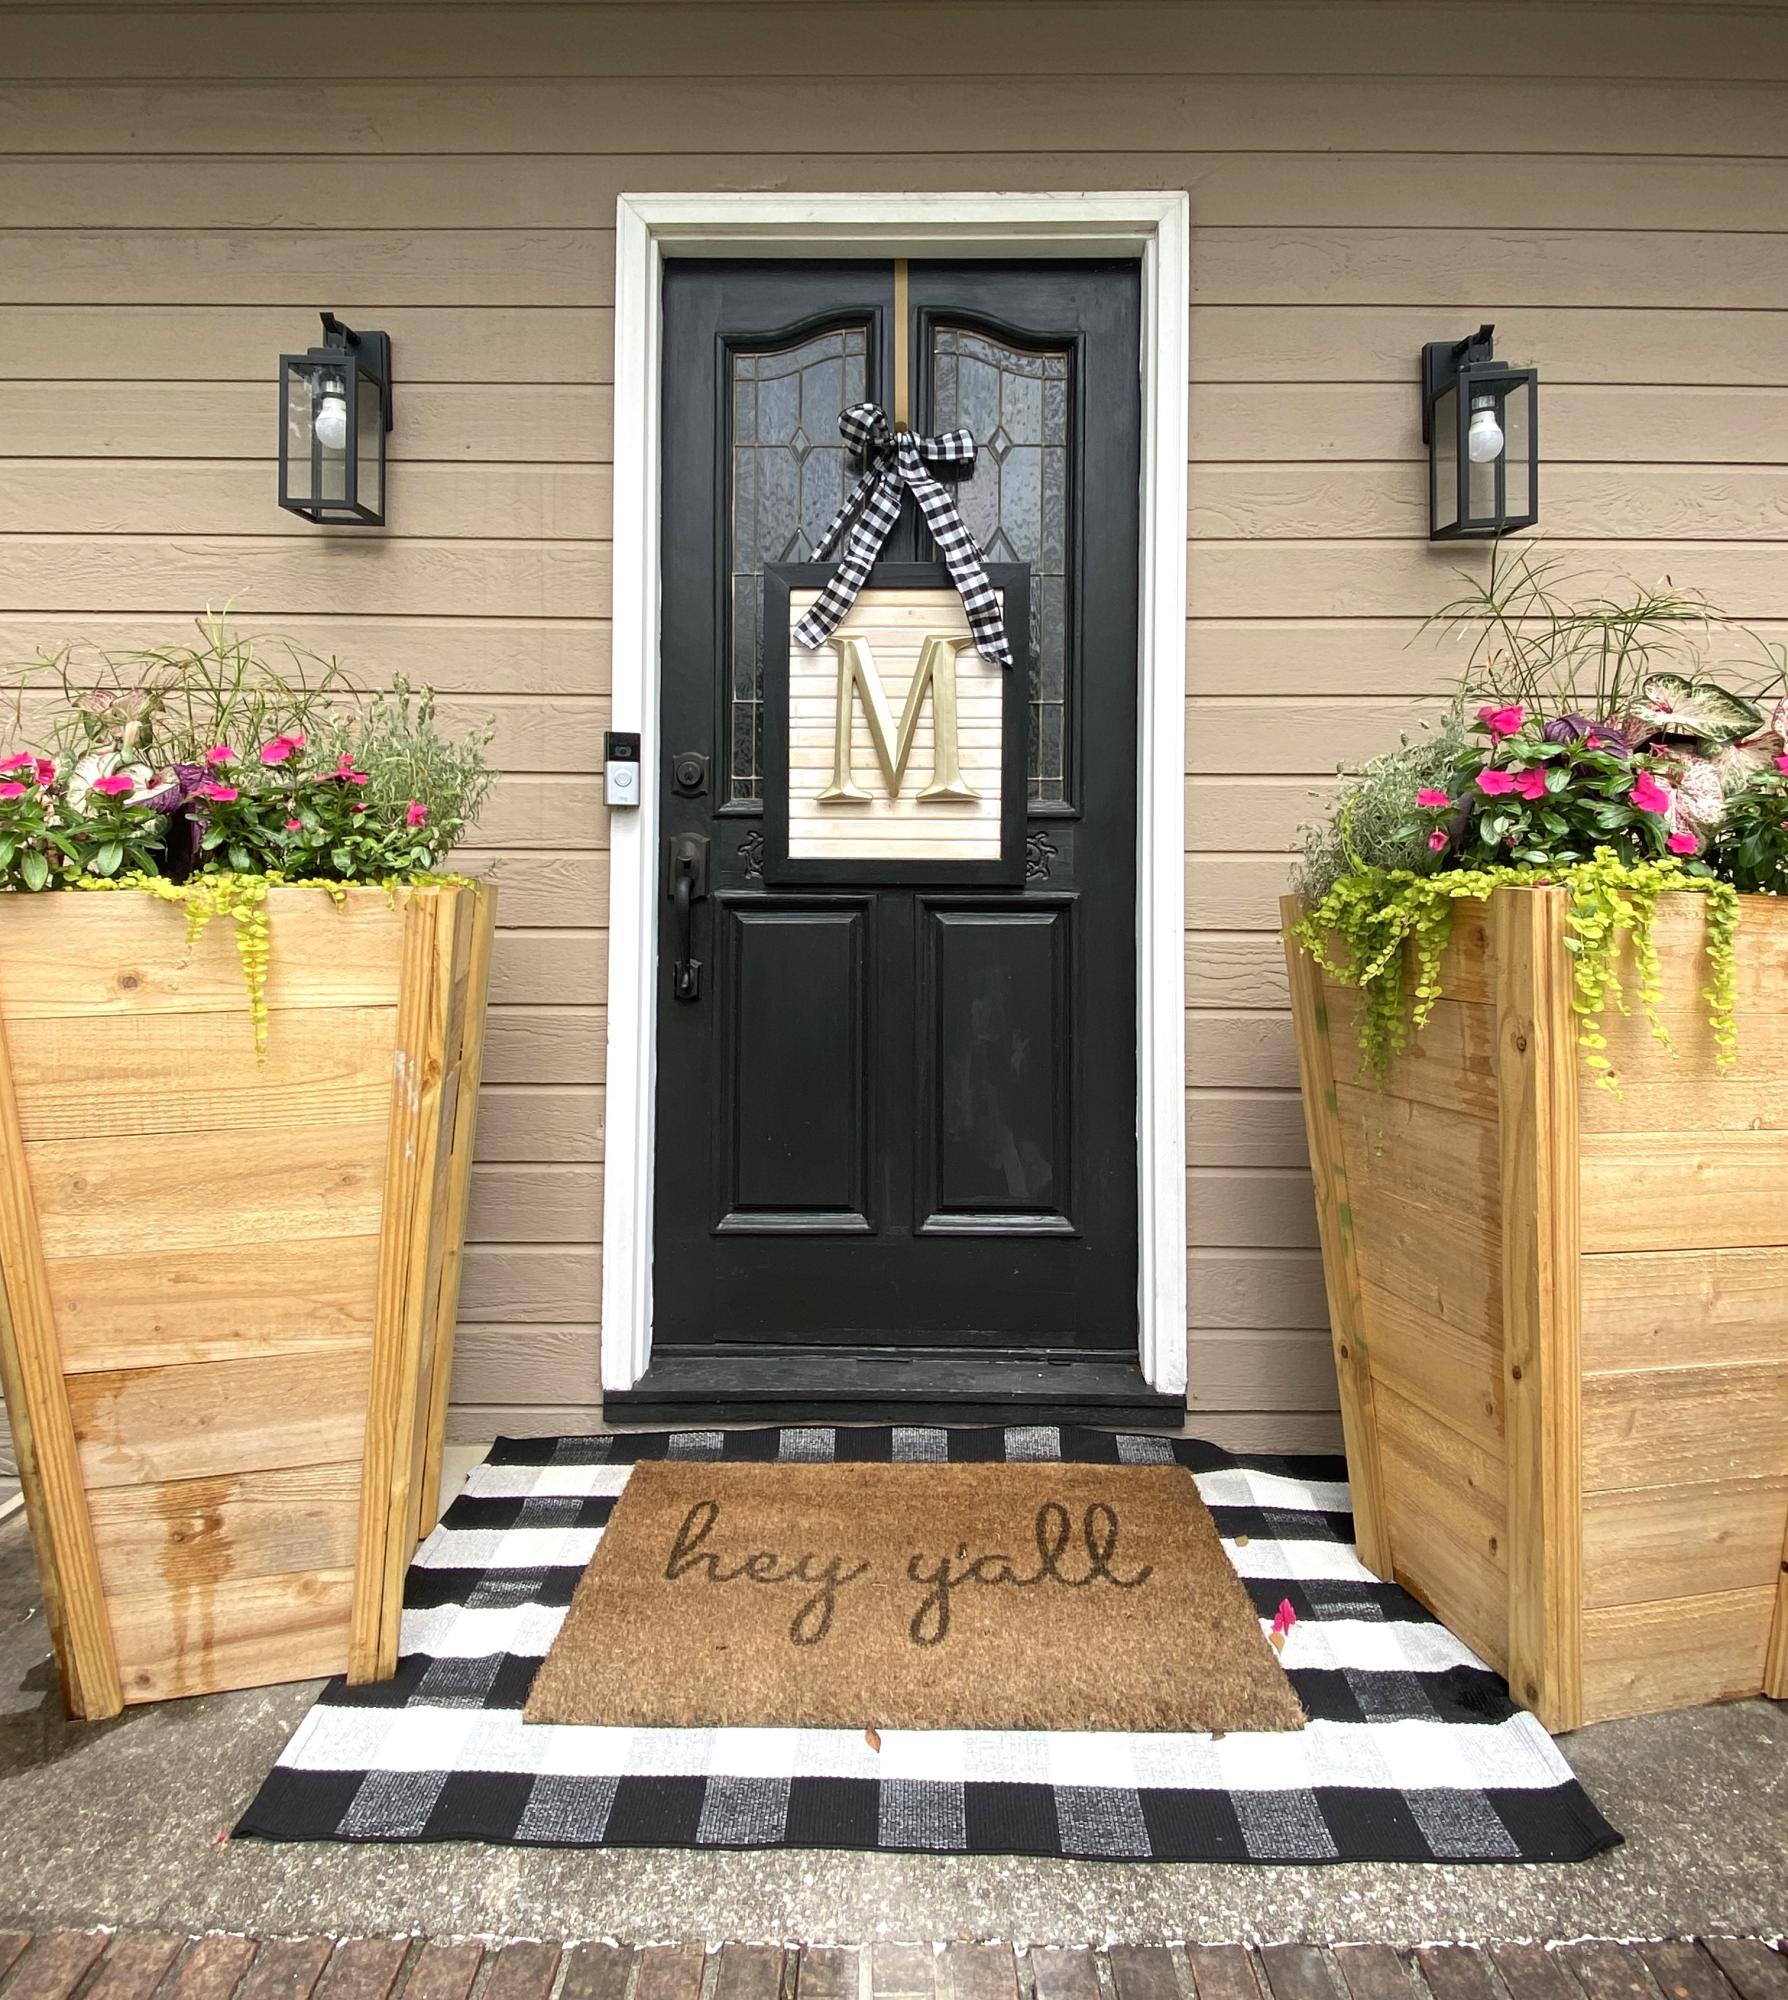
Two 7-plank cedar planters, unfinished. Thinking of charring….
Kim M
Built from Plan(s)
Two 7-plank cedar planters, unfinished. Thinking of charring….
Kim M
When I saw this we had to build it. Hope you like!
Wed, 02/15/2012 - 06:15

Fri, 02/17/2012 - 01:28
I got so excited when I saw that you built this. Thank you!! :-)
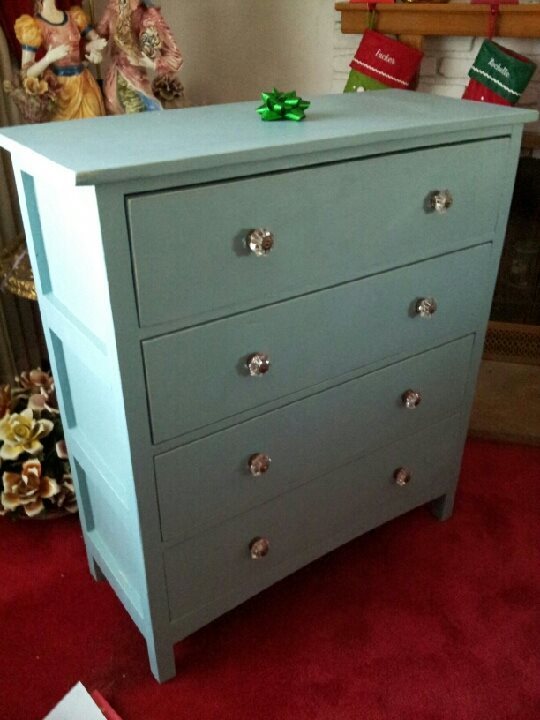
This was my first dresser. The original plans say to lay the dresser on its back and center the drawer fronts then nail in place; in my opinion it is faster and more accurate to hold them in place and have a helper nail them in place. Also, the original plans suggest a certain jig for installing the slides which requires a locking c-clamp to hold the jig in place. Well, in my opinion the locking c clamp, along with a magnetic small torpedo level is faster and easier than the jig. A six in steel rule with a slider clamp is also helpful.This was fun project - learned a lot! Thanks Ana & Patrick!
Tue, 12/24/2013 - 08:23
Oh, another lesson I learned: The drawers are made by attaching drawer fronts to the boxes. This makes the front 1.5 inches thick - this means most drawer knobs won't fit unless you use a Forstner or spade bit to bore a hole on the back side of the drawer face - in turn you may need to do this before you assemble the drawer!
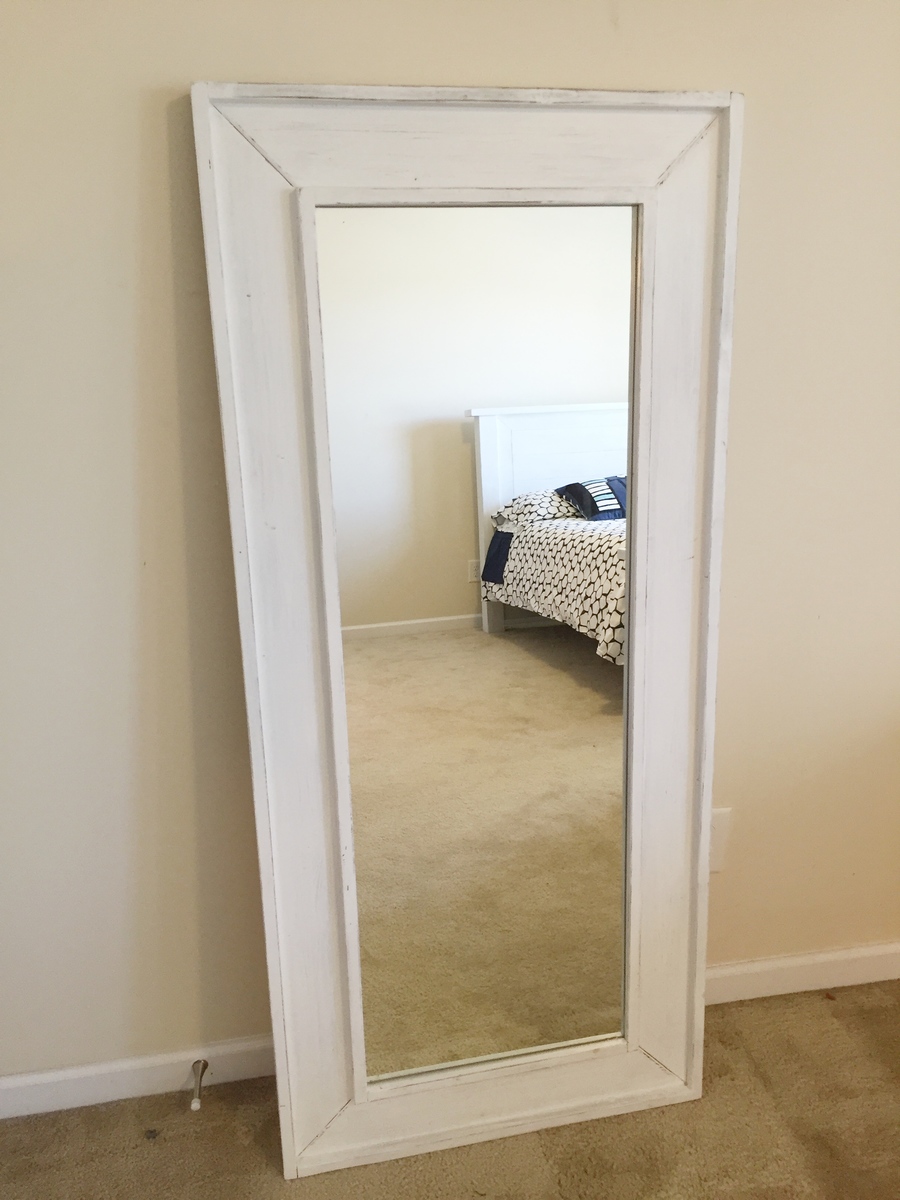
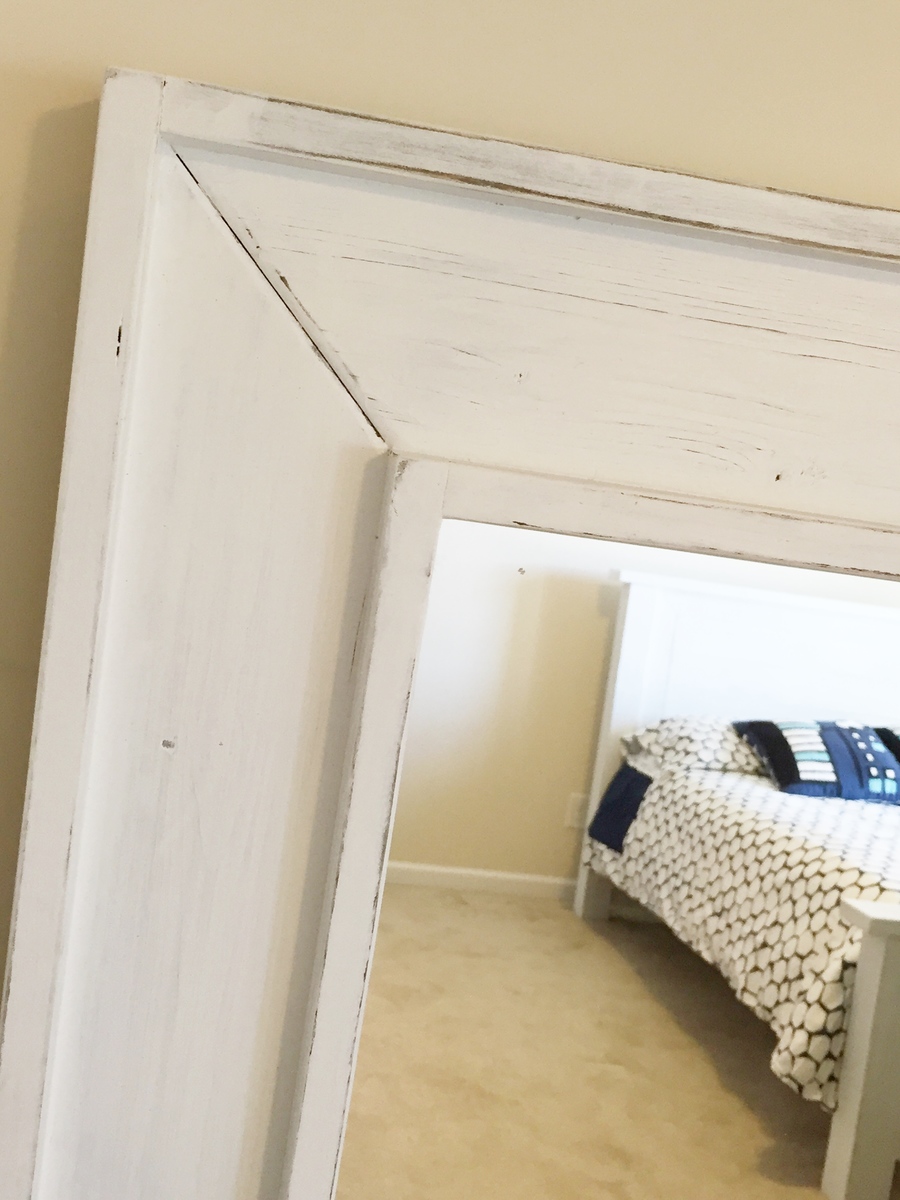
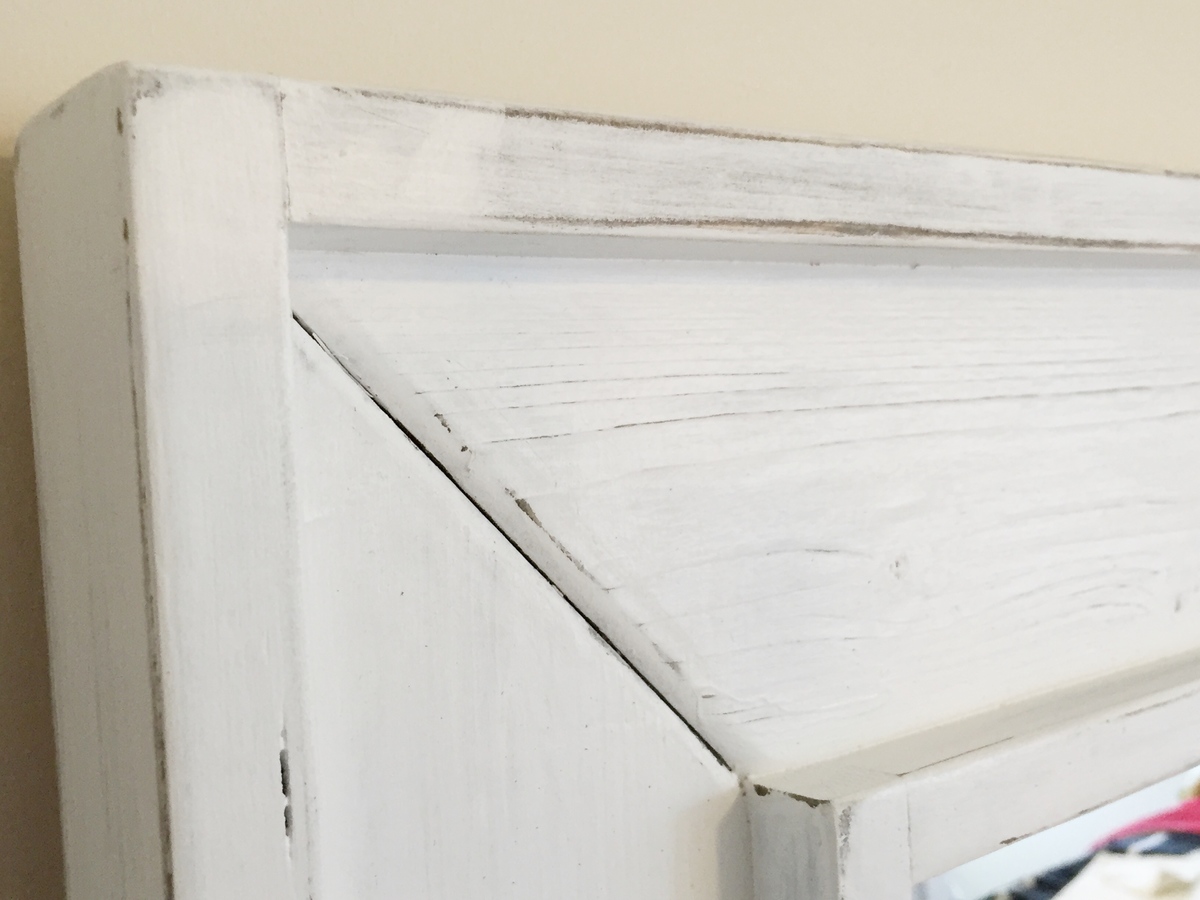
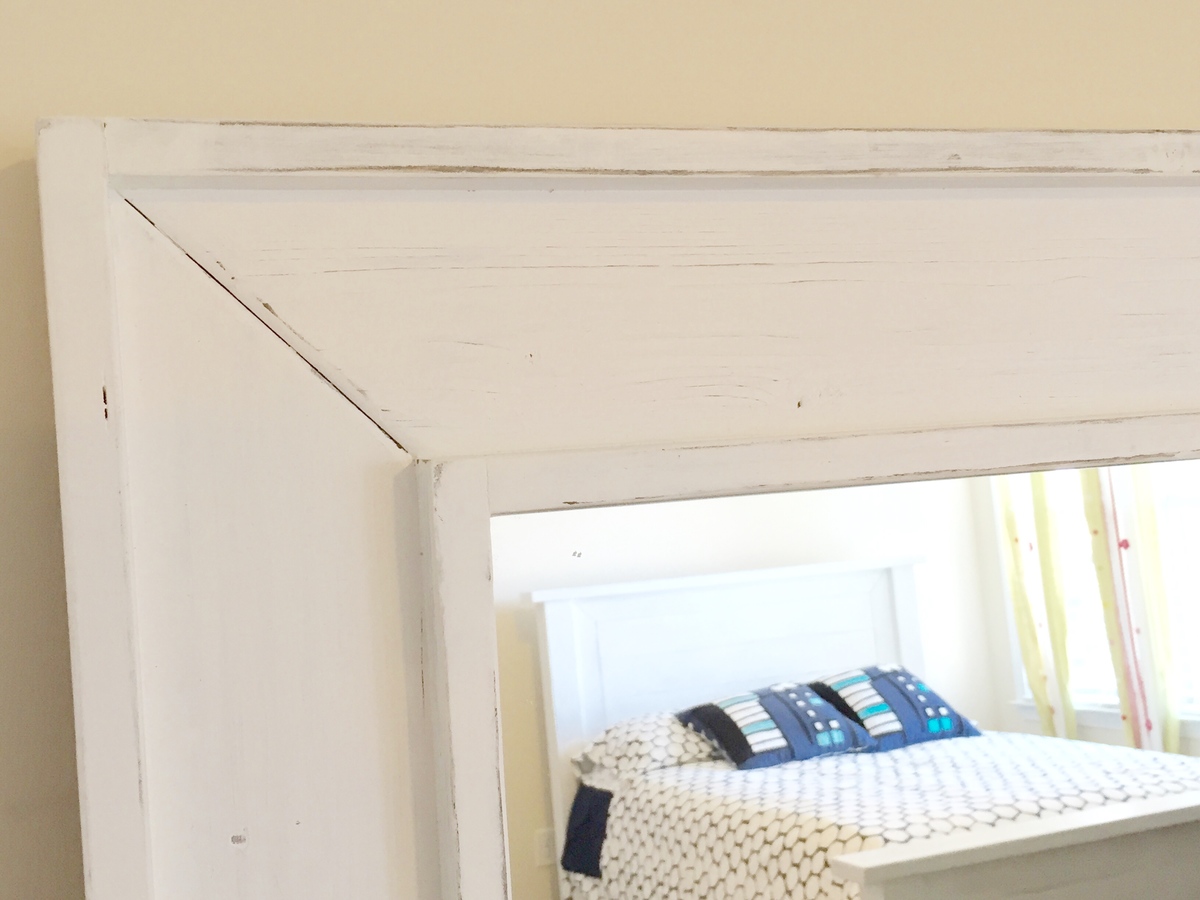
A $10 Mirror framed out with some 1 by 2, 1 by 3 and 1 by 4.
Stained black and then 2 coats of white paint sanding after each to give a rustic/antique look.
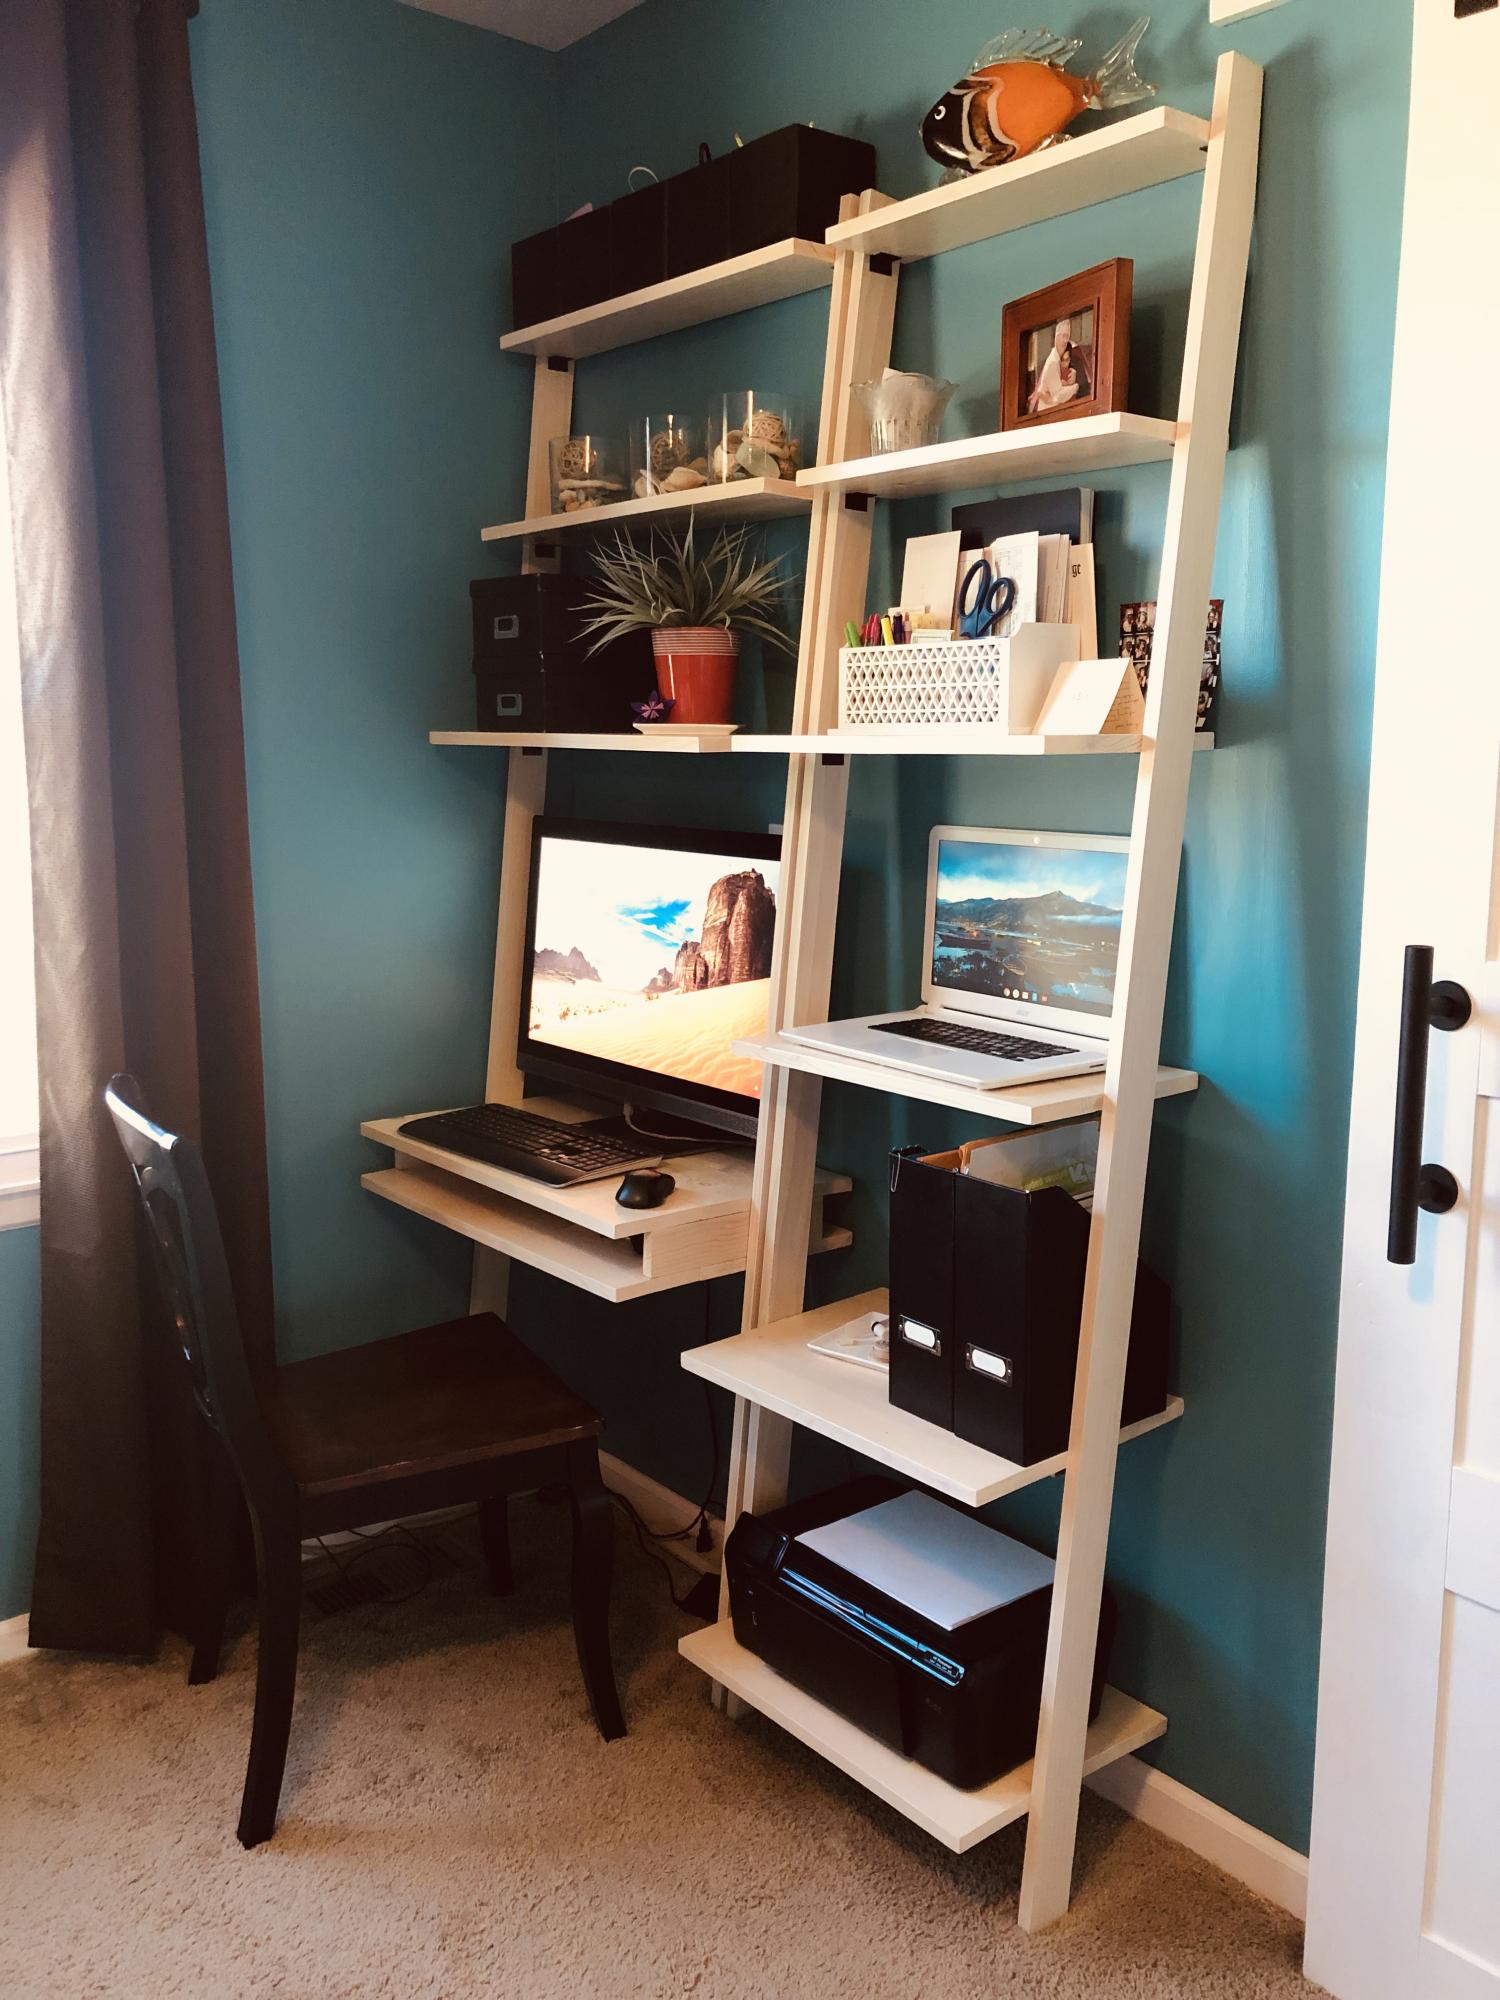
I needed a desk to get my computer off the kitchen table. After remodeling my bedroom and sealing a doorway to make the wall space, I needed something that would take up a little amount of floor space. Of course I couldn't find exactly what I wanted so I decided to build it. Found this little gem of a plan and modified it to my liking and needs. I’ve had it up for about a year and I love it.

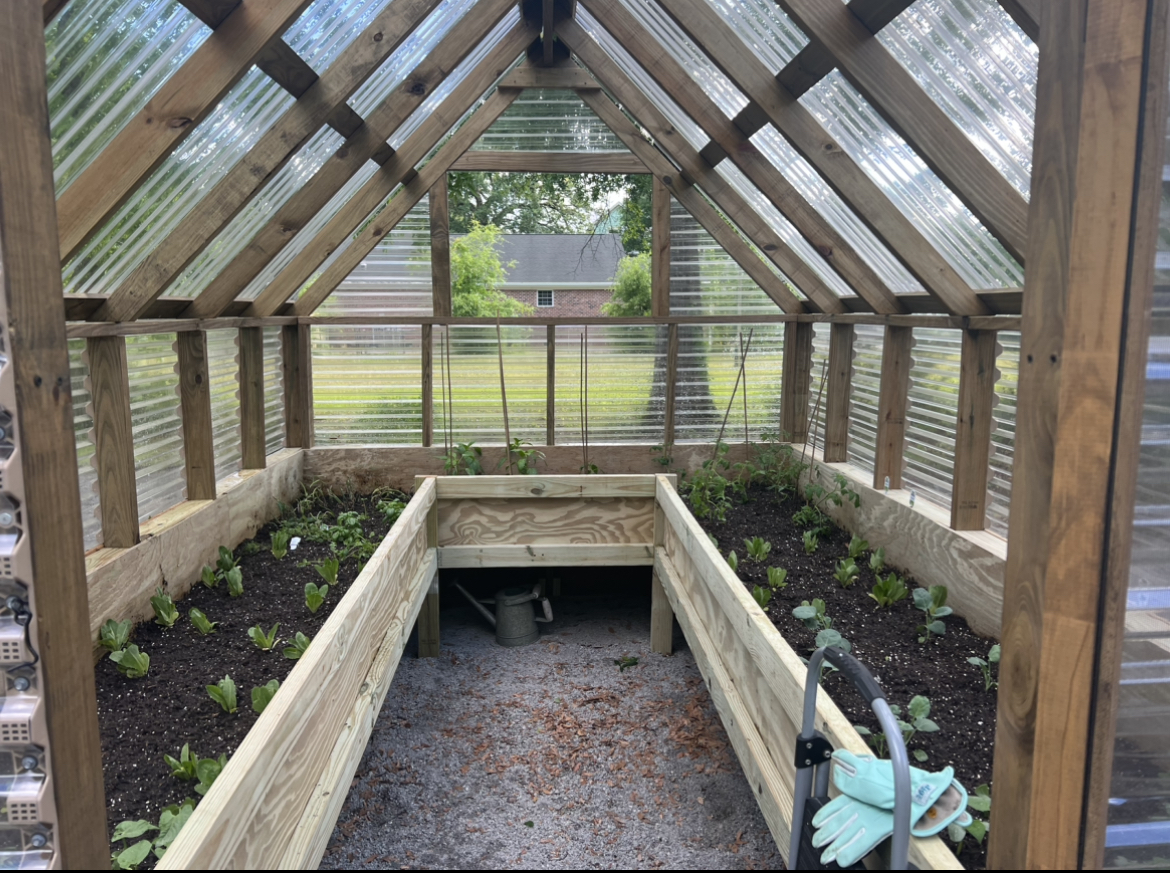
Greenhouse Project - Built to Plans Exactly
Christy LaChapelle
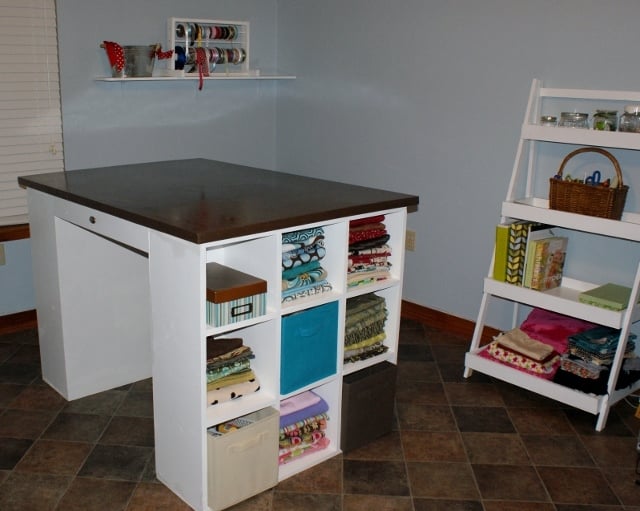
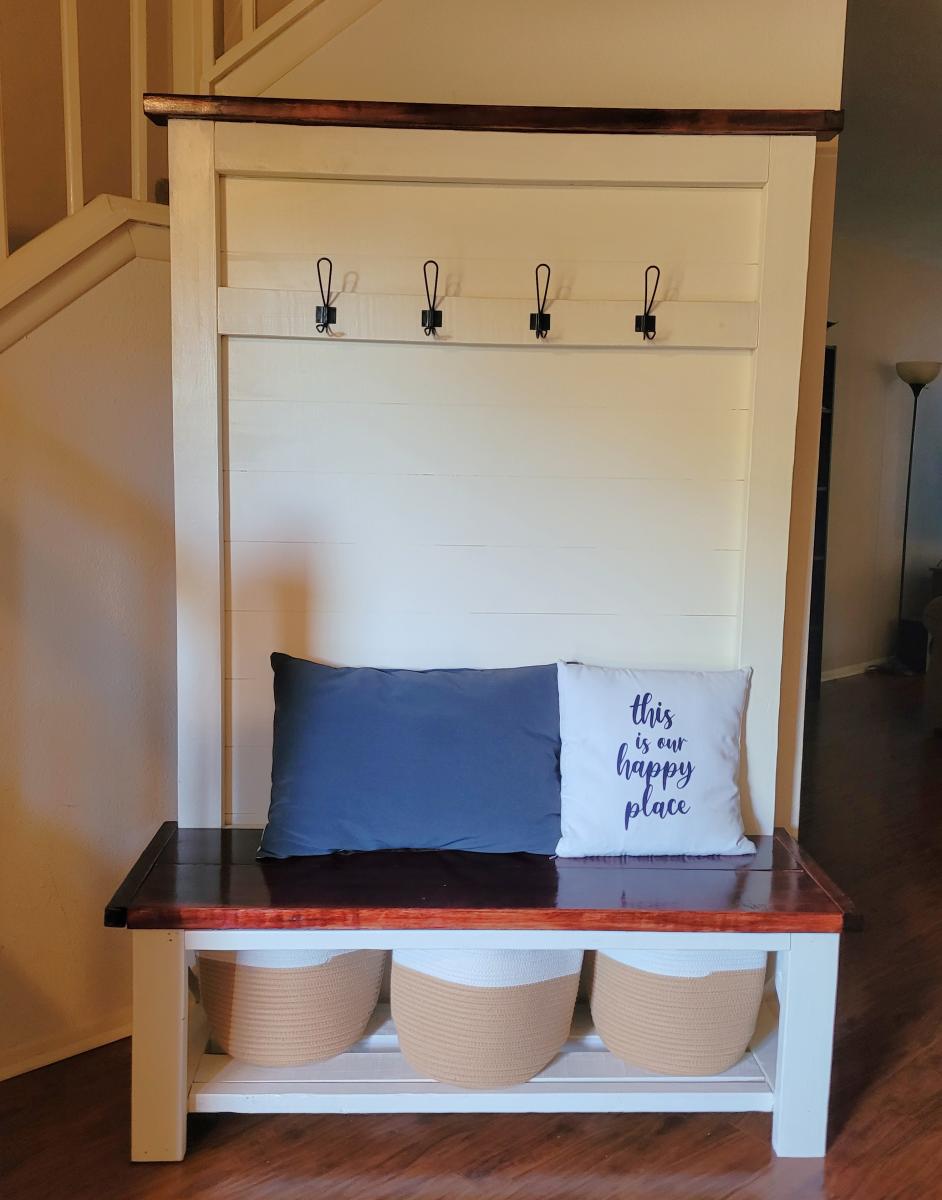
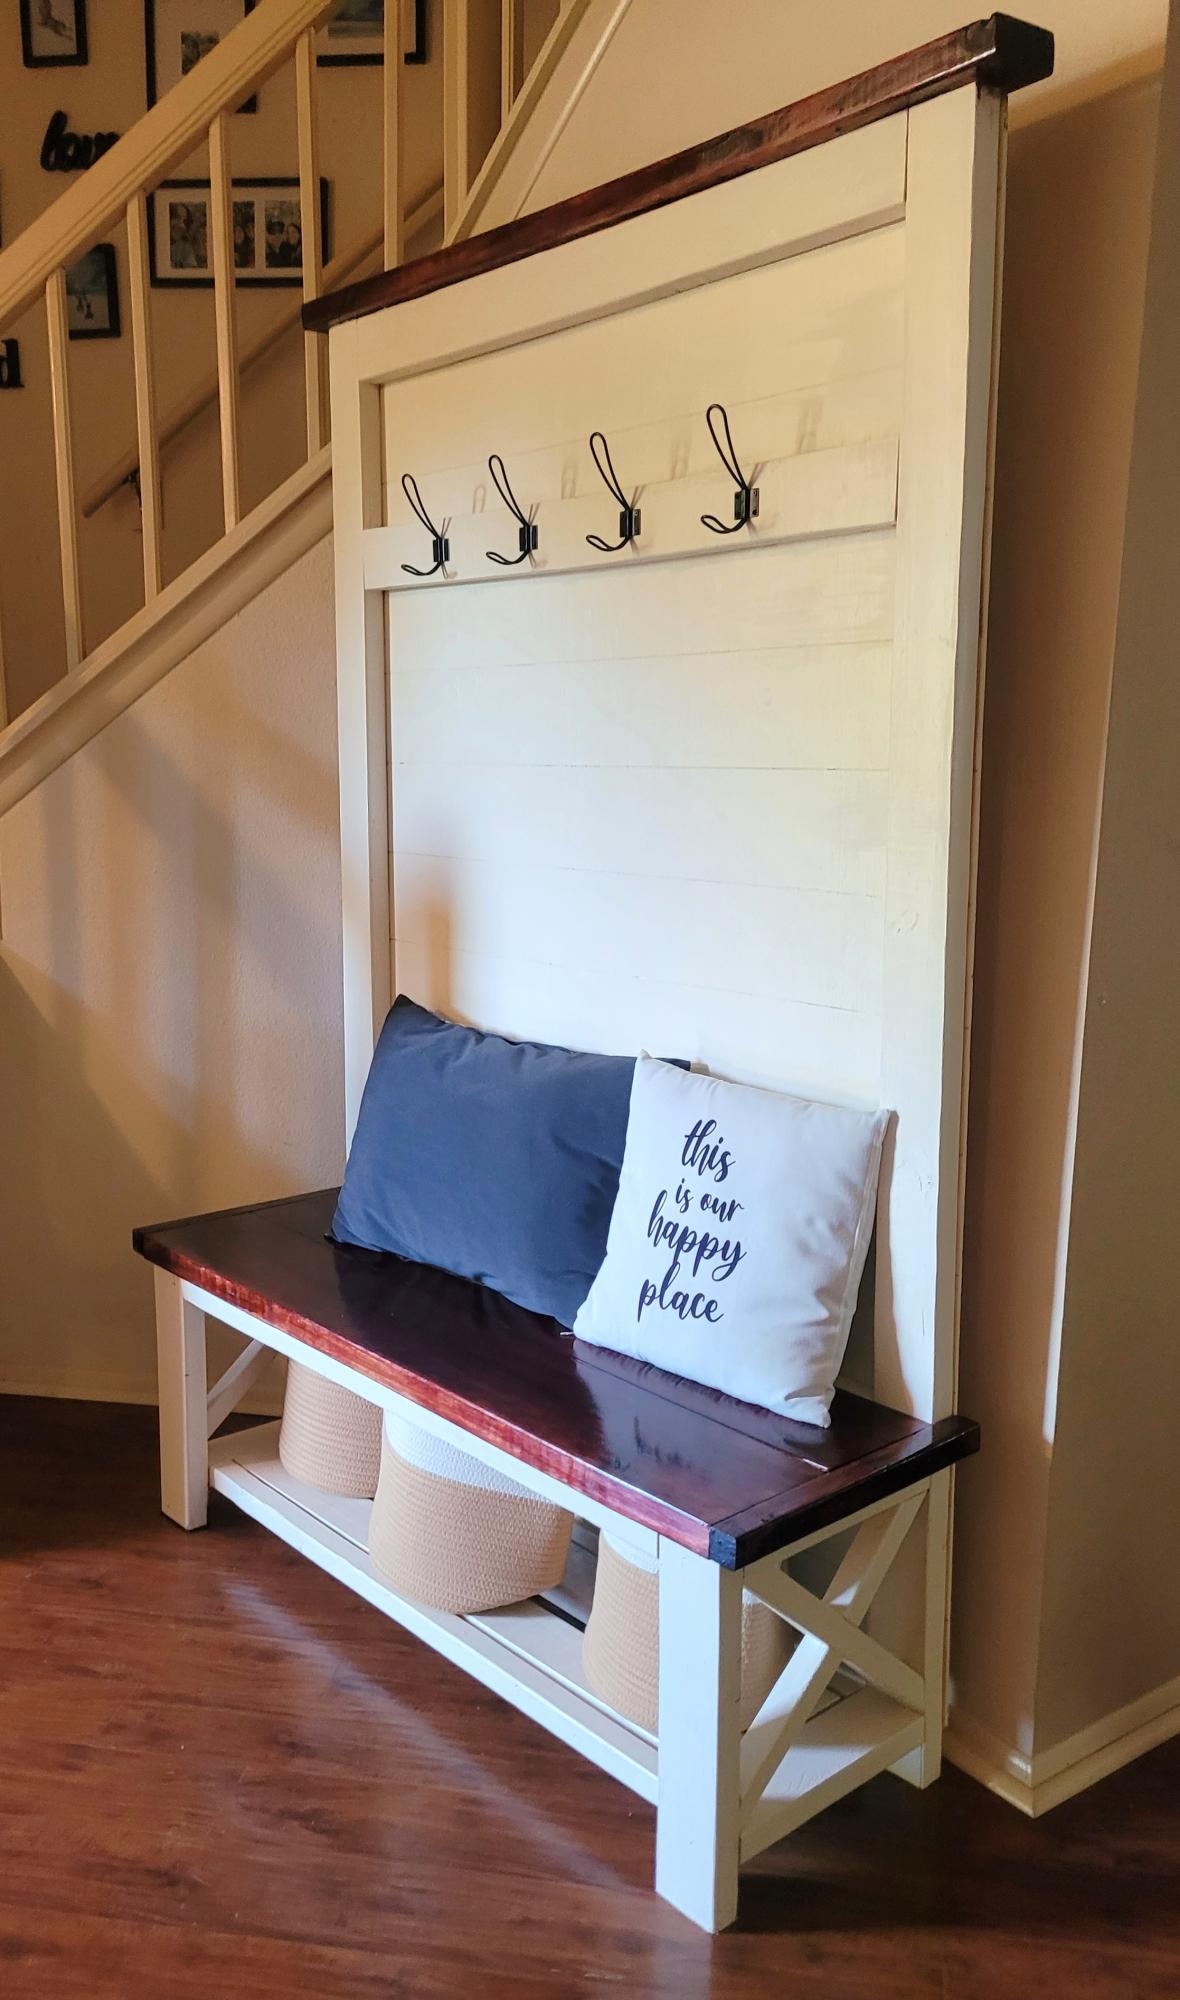
I consider this my first build...notice the ribbon rack and painter's ladder shelf also in the photo. Those were just confidence boosters to help me tackle the craft table I've been asking my hubby to build me for years. I just got tired of waiting, and decided to give it a try. With a 2 and 6 year old in the house, this took me a few weeks to complete...building during nap time and forgoing sleep on some evenings just to get it done. :) The drawers were by far the trickiest part of the whole thing. My first attempt was with 16" euro side mount slides, and I couldn't get the drawers in because they are inset under the tabletop. I ended up going with just a regular side mount drawer slide ($4.30 per drawer). The bookcases and the drawers are just your standard white cabinet paint, but the tabletop is finished in Martha Stewart's Potter's Clay textured paint (Hacienda) with a top coat of polyurethane. I also made the table top twice as thick by gluing 2 pieces of plywood together and screwing them together through the bottom piece. The height of the table is perfect for cutting fabric...no more backaches from bending over a table to cut fabric. I can't wait to move on to my next project! :)

Sun, 02/19/2012 - 23:29
Everything you made came out lovely. Once I finish the sofa, I have to make a sewing table for myself.
Wed, 02/22/2012 - 14:11
Sewing and building two of my favorite things!! It looks great :)
This is my first attempt at building and your website made it possible. There were a couple of mistakes, I admit. This was especially true with the finish. I did my best, but I'm a little impatient with letting things dry.
I am also having a difficult time estimating how long it took to build as I am the sometimes proud father of 3 boys...aged 2, 4, and 5....resulting in frequent stopping, starting, and intermittent chasing down the street. I need an exterior lock on the garage.
Thanks so much for your website Ana.
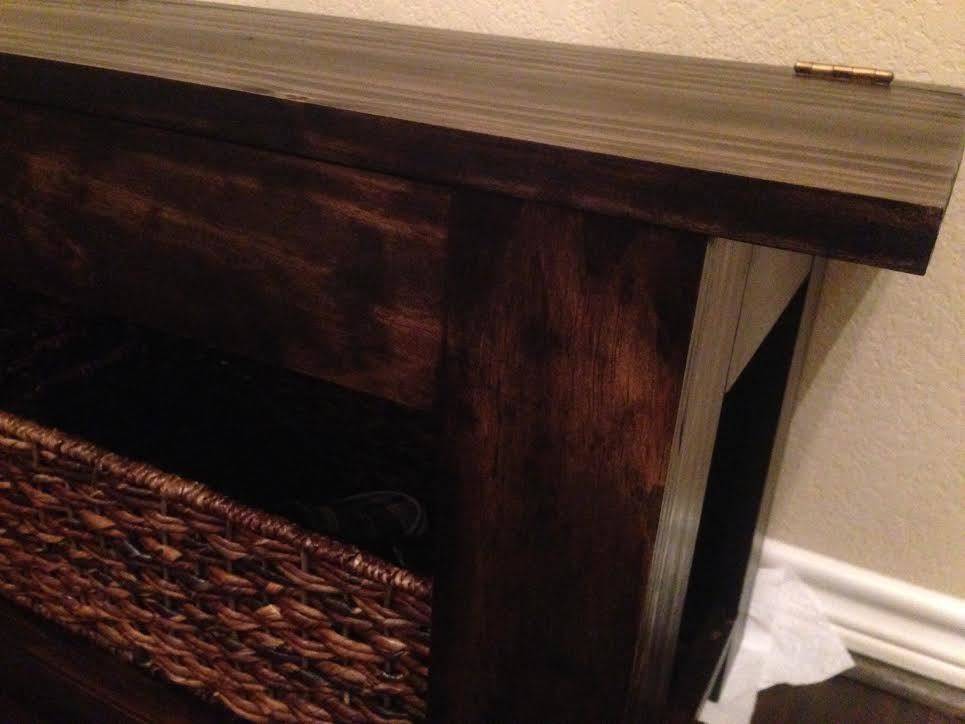

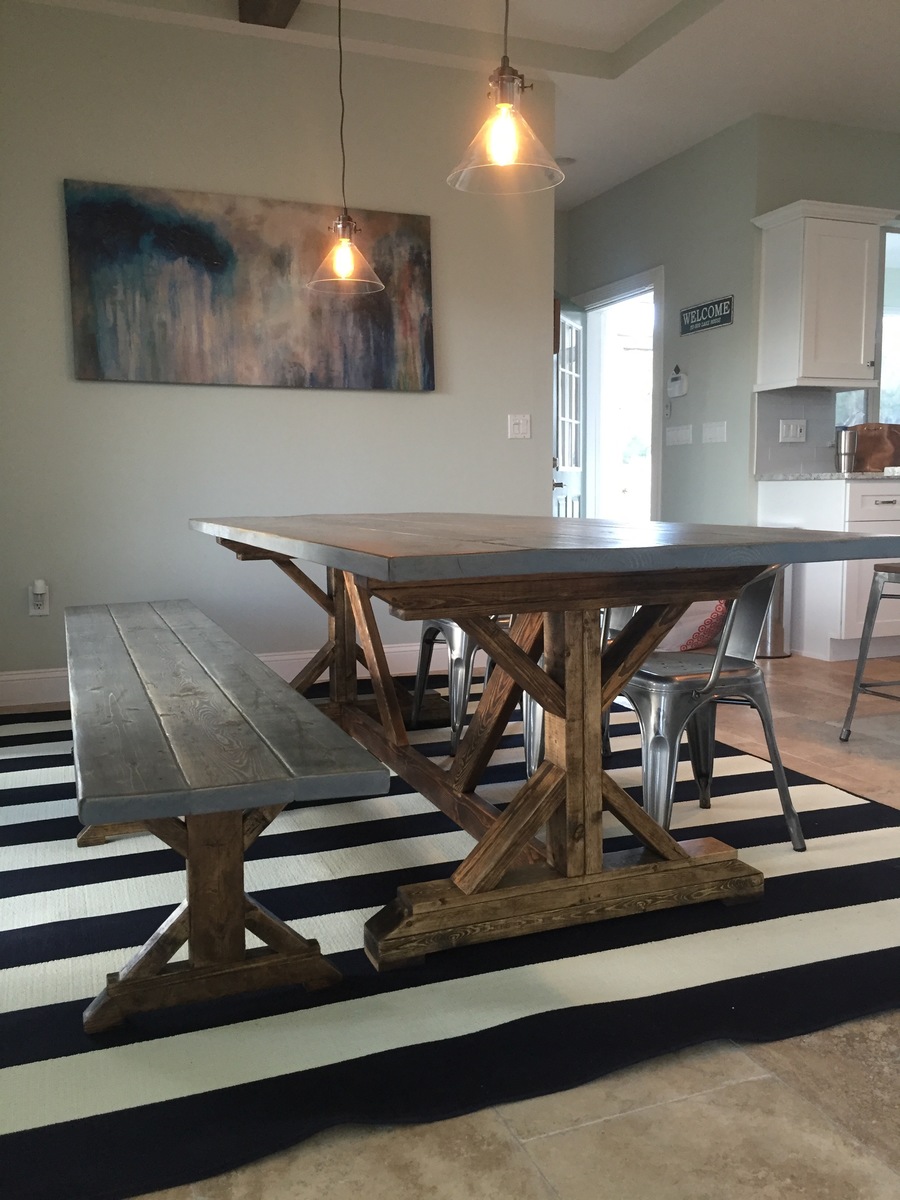
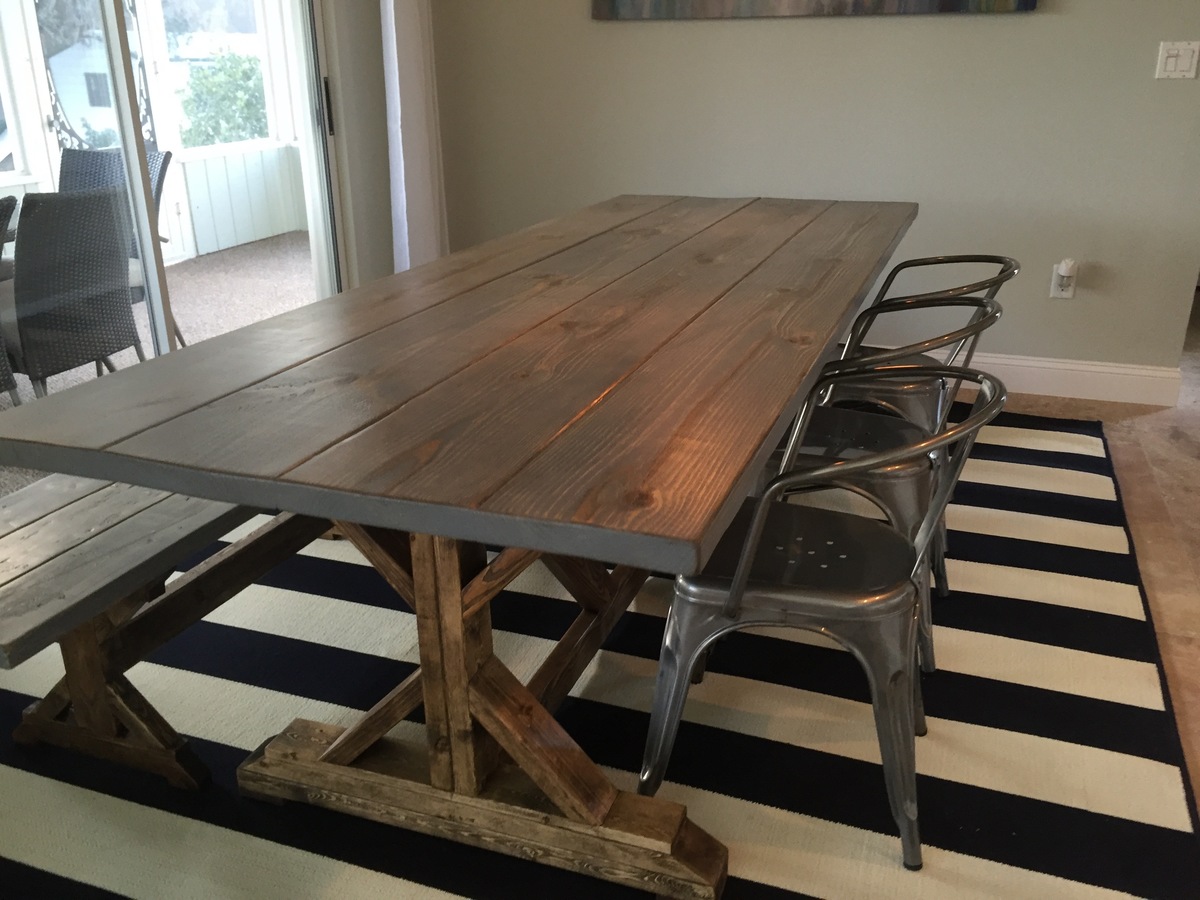
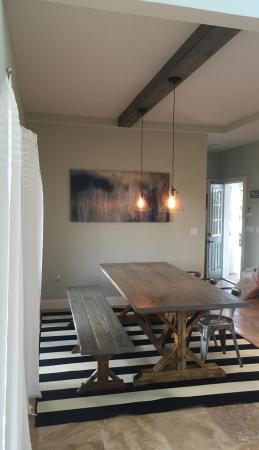
We used the Fancy X Farmhouse plans and matching bench to create a wonderful new farmhouse table and bench for the lake house. We distressed the tops of the bench and table and stained them Weathered Grey with the base of the table and bench stained Ash. We absolutely love it!
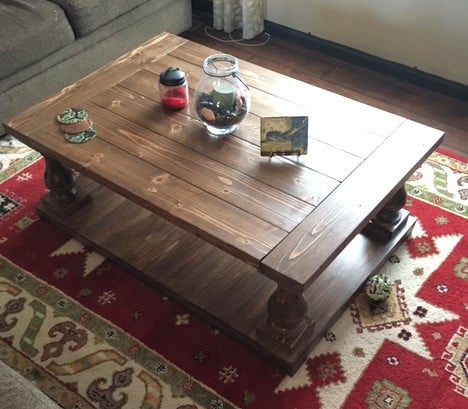
This project was actually my first build (besides a small blanket ladder). I used the Ana White plans every step of the way! Since this build I have created coffee tables, side tables, console tables, head boards and a bed frame. This table gave me the confidence to try an original project of my own. Although this table was fairly simple, it was the project that started it all. That is why I chose for this piece to be my brag post.

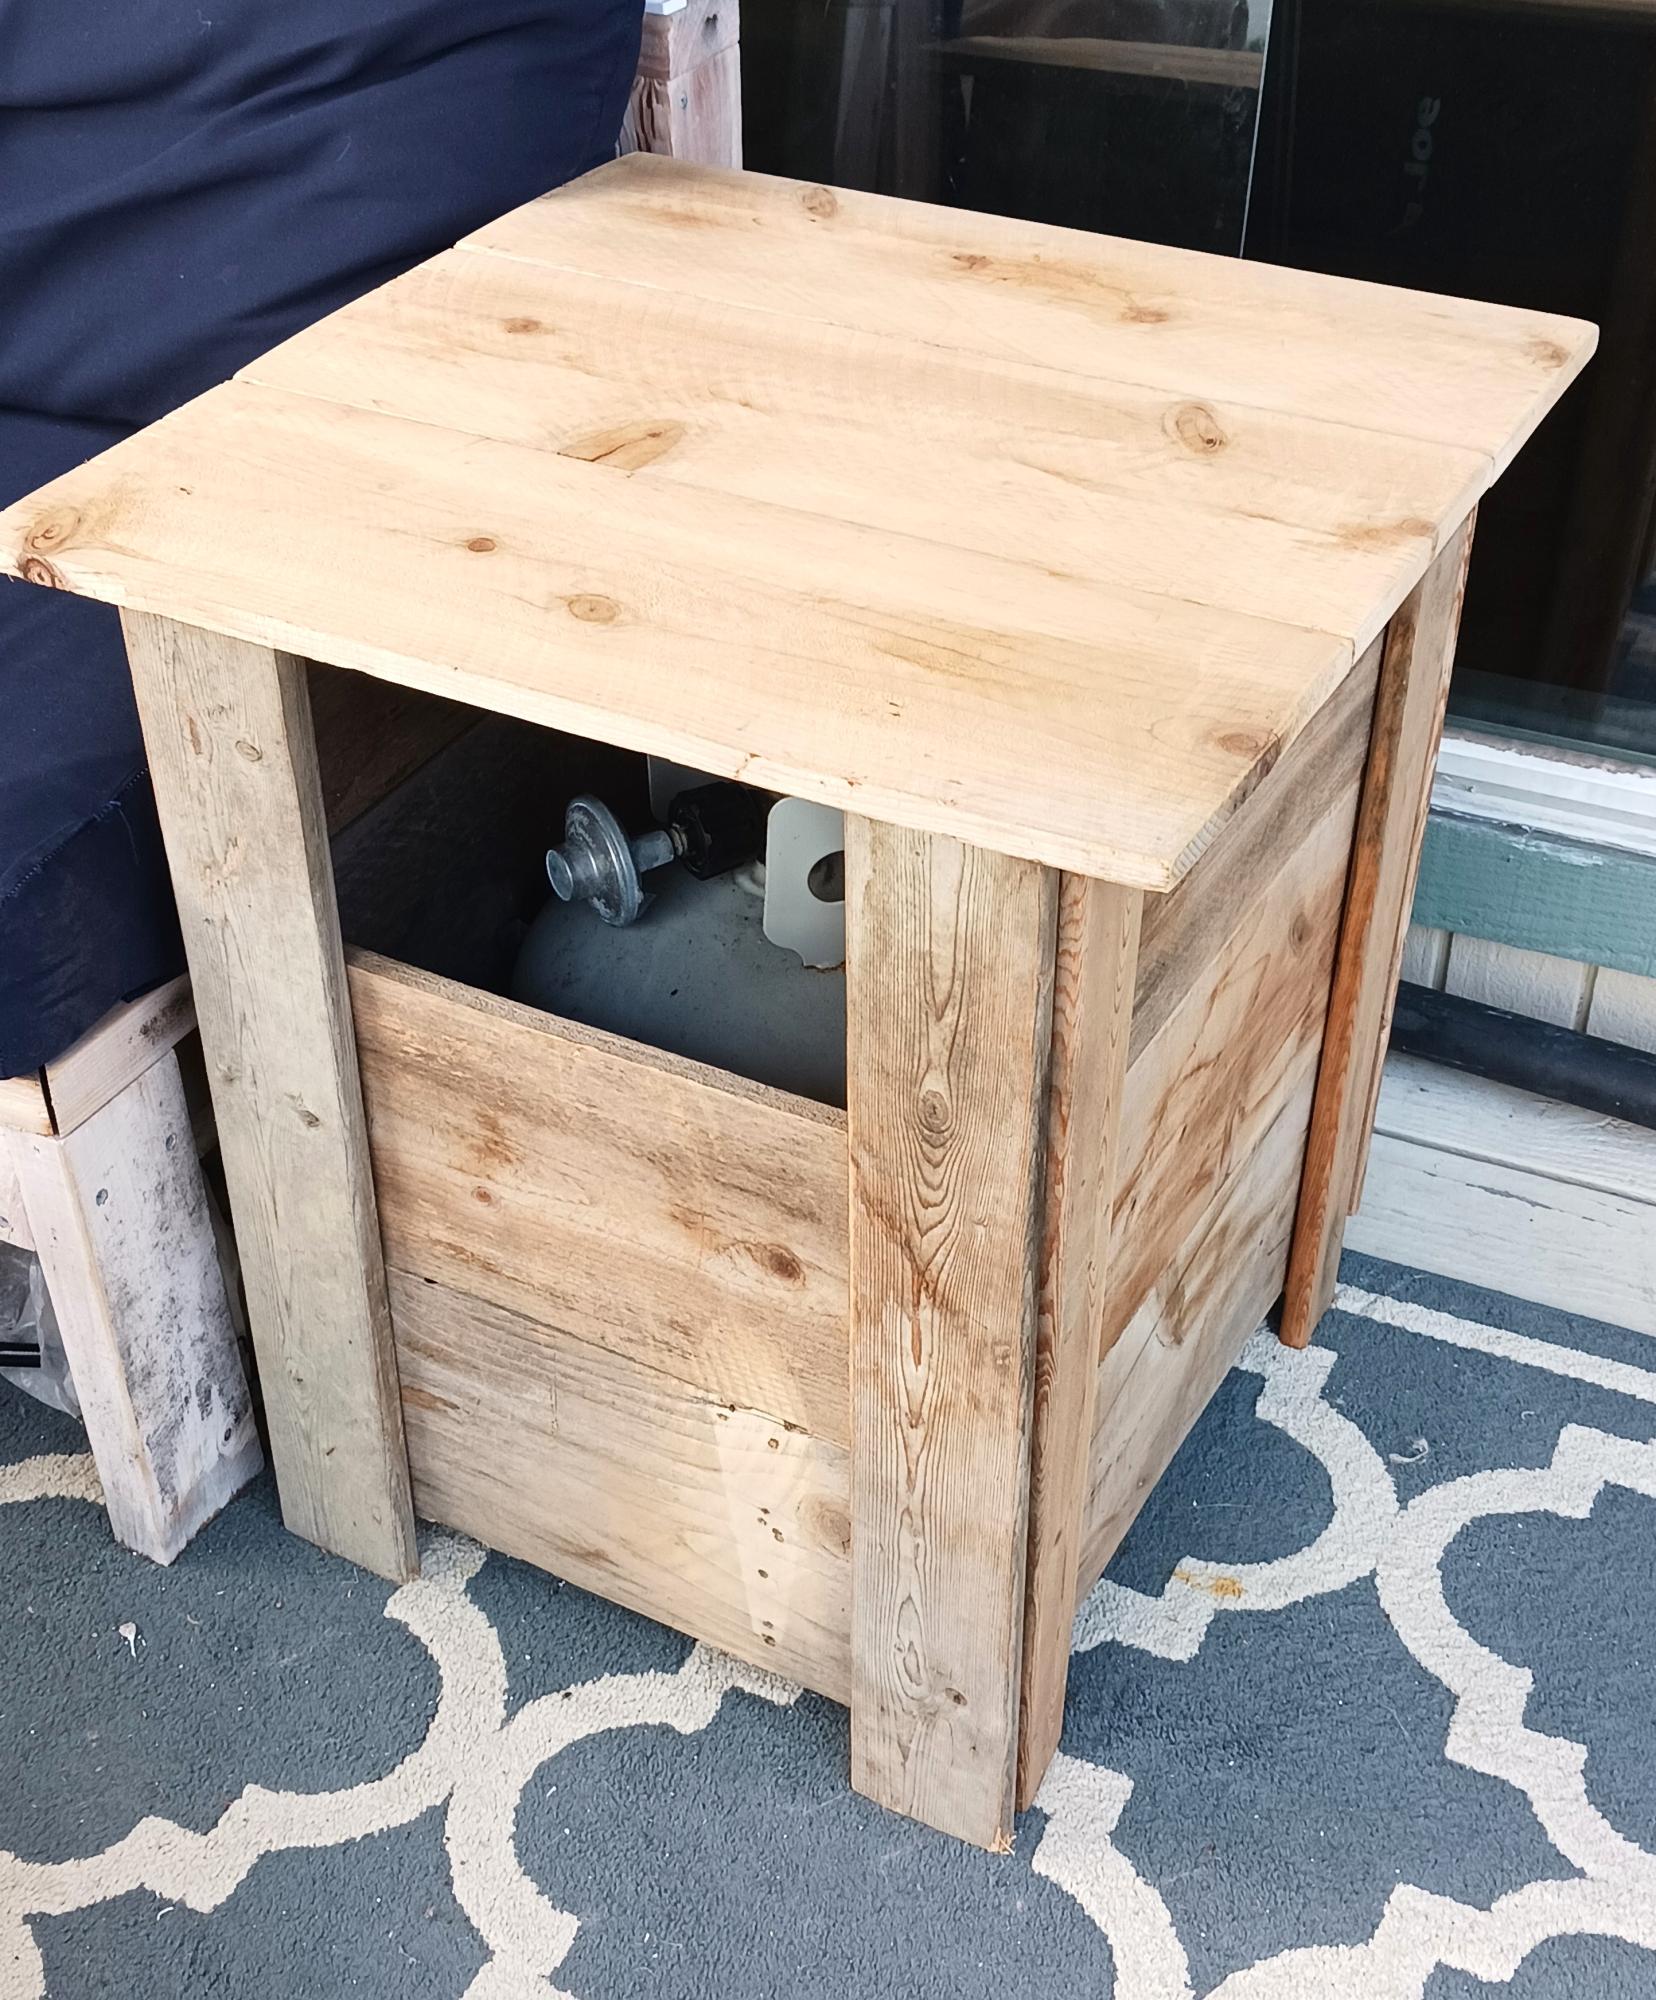
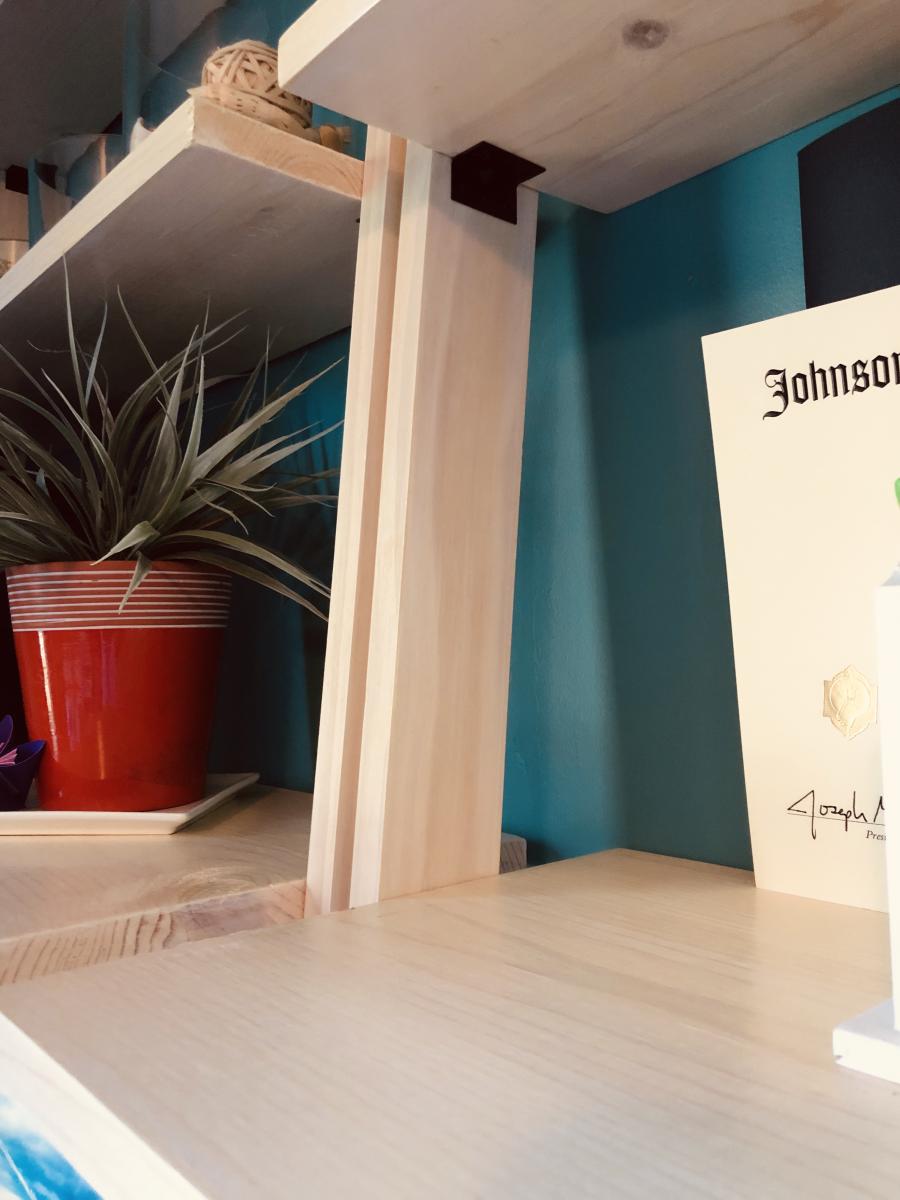
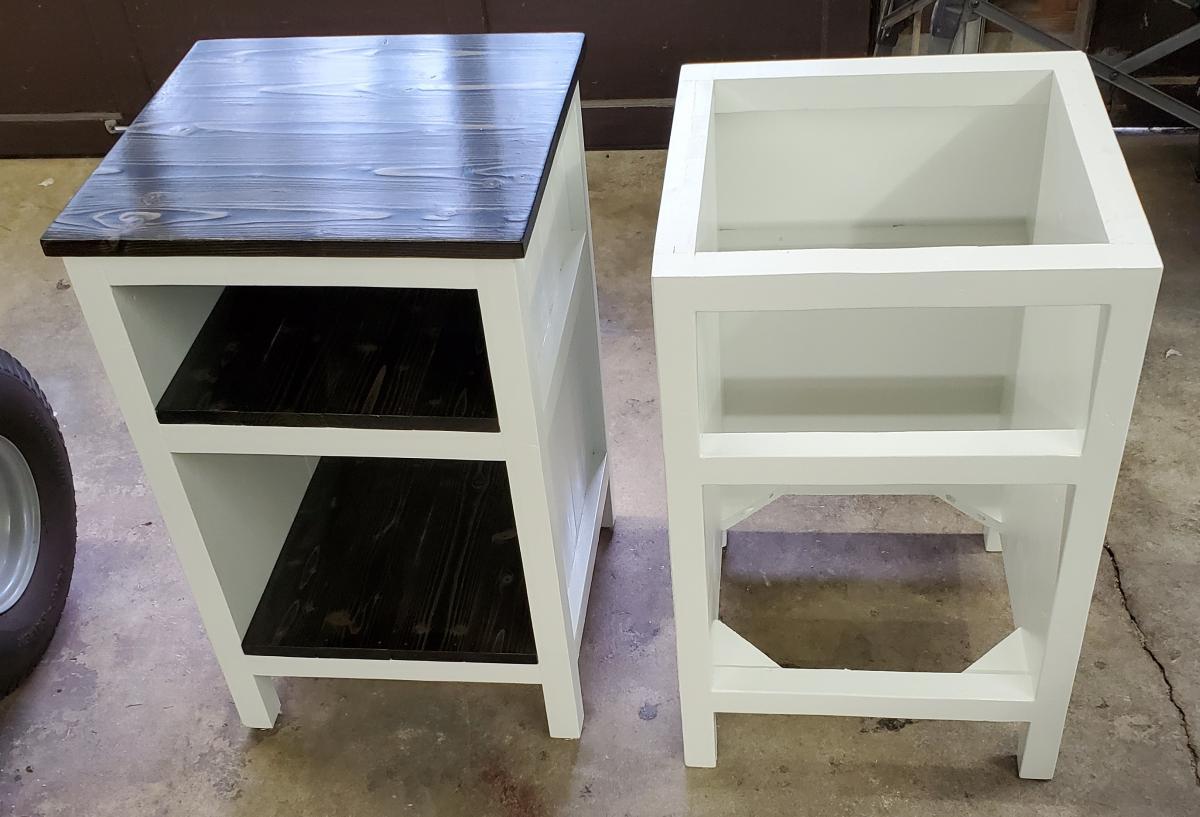
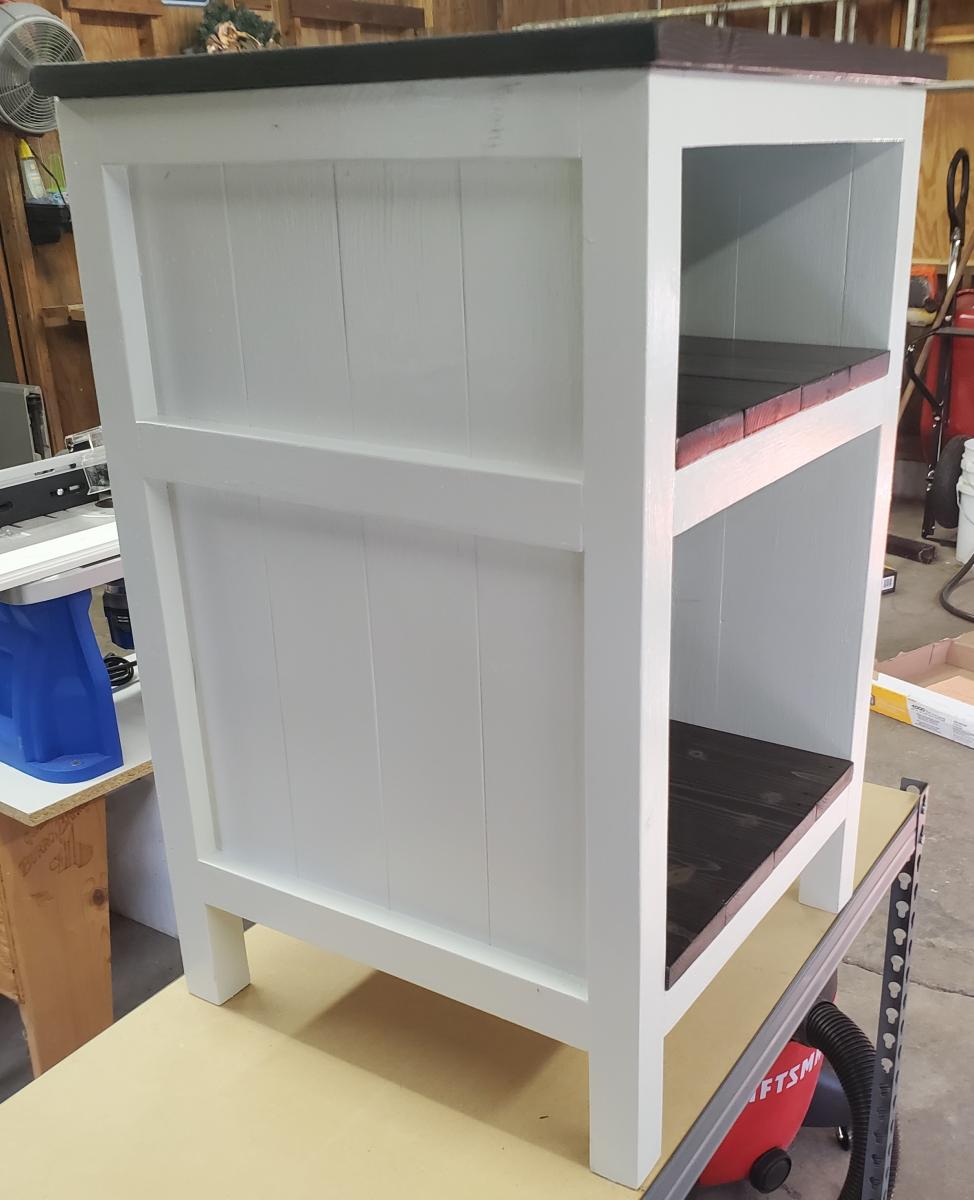
I had inquire on your Facebook about you making a new plan... i had wanted a side table to hide my propane tank. I used the planter plans as an inspiration for this table. It is regiment rough looking as I managed to build it using only scrap on hand. I did have one cedar board in my pile that was leftover from another project that I used for the top... pretty happy but know it would have been better with new wood that was the right size and not warped! The space at the top is on purpose to be able to teach in and turn the gas on and off.
Debbie Hertz
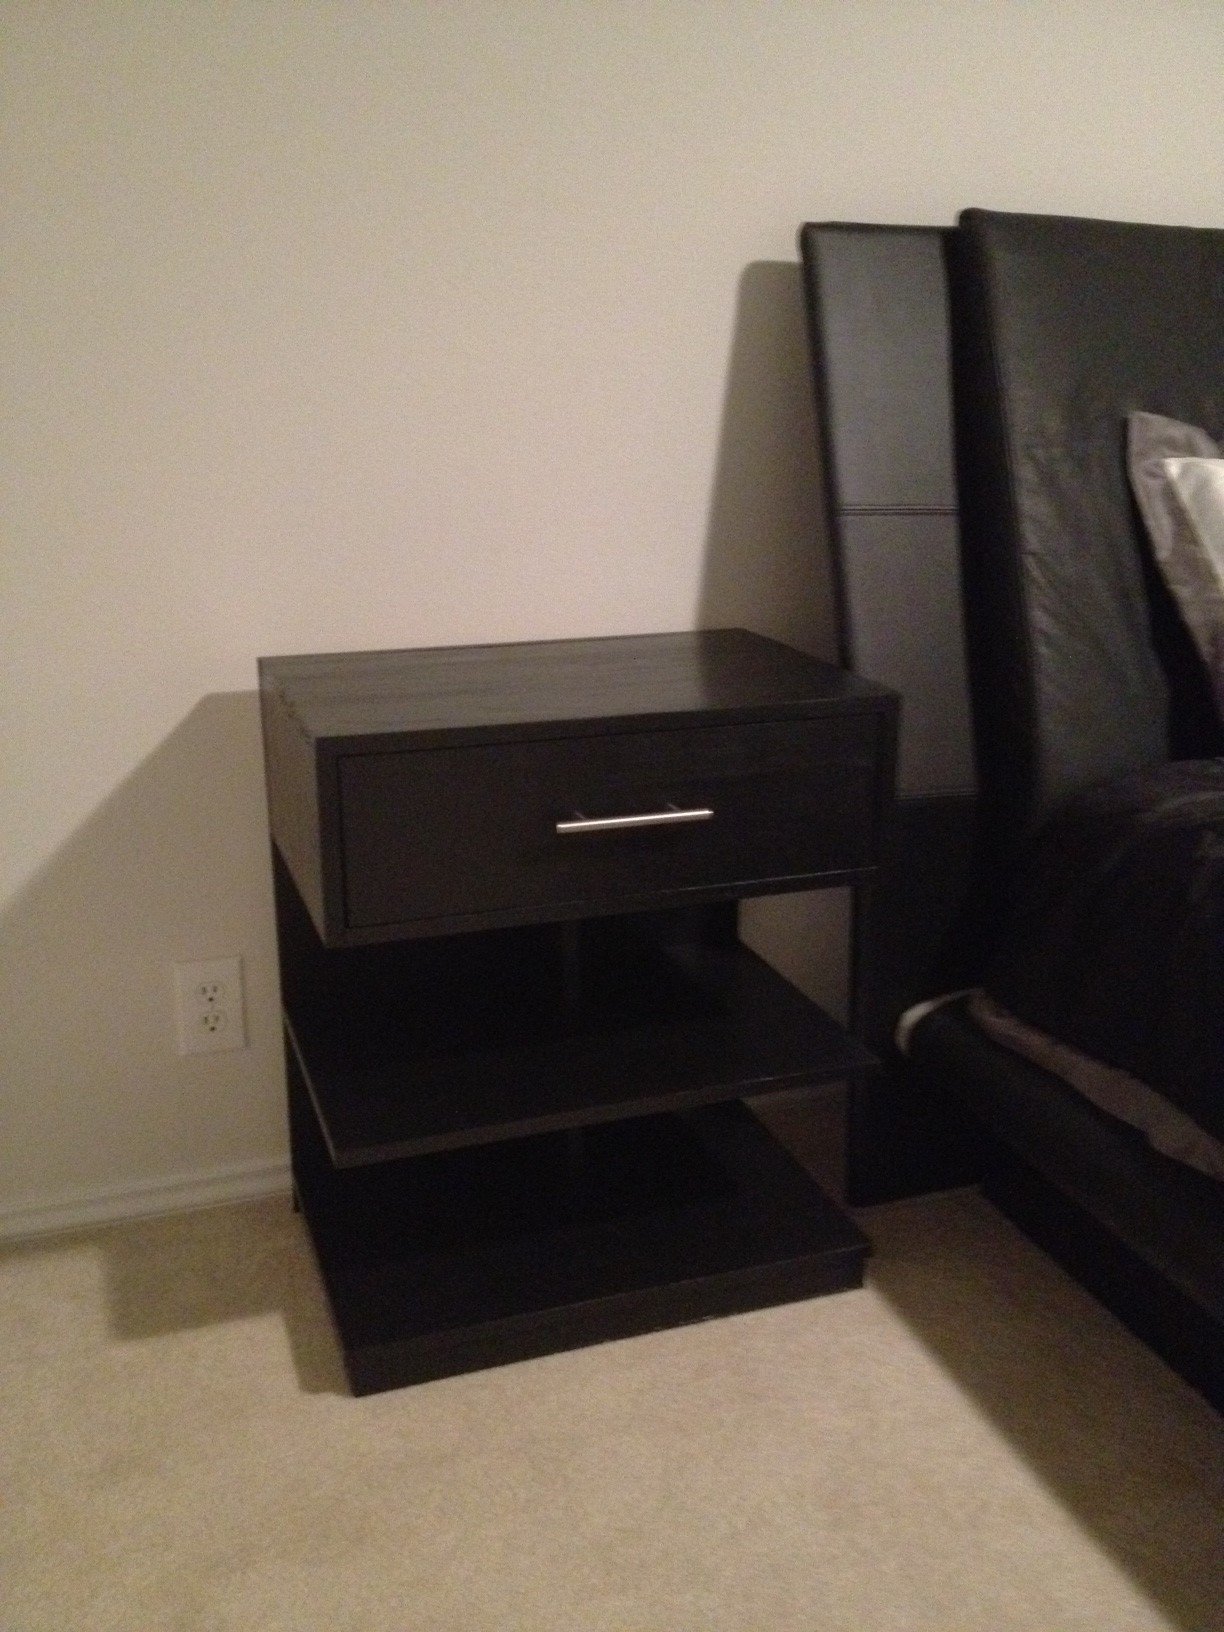
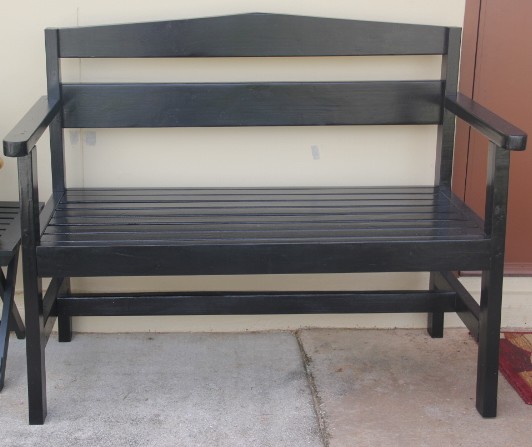
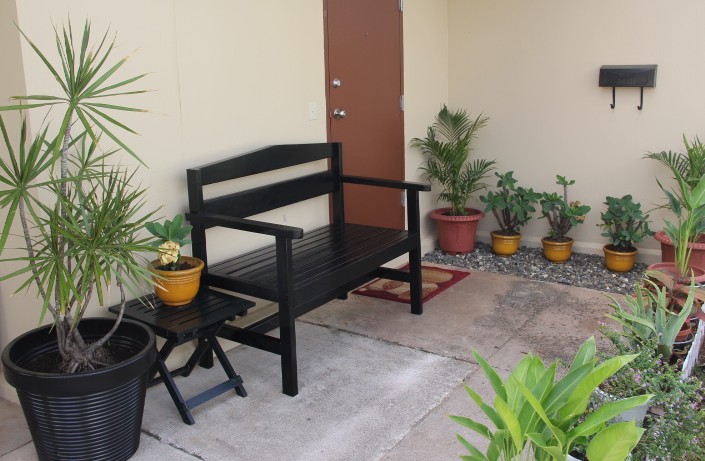
Used the Argie Bedside Table plans, but instead of using plywood for the top I used 1x4's joined together. Painted it a semi-gloss black and put the stainless pull on the drawer front
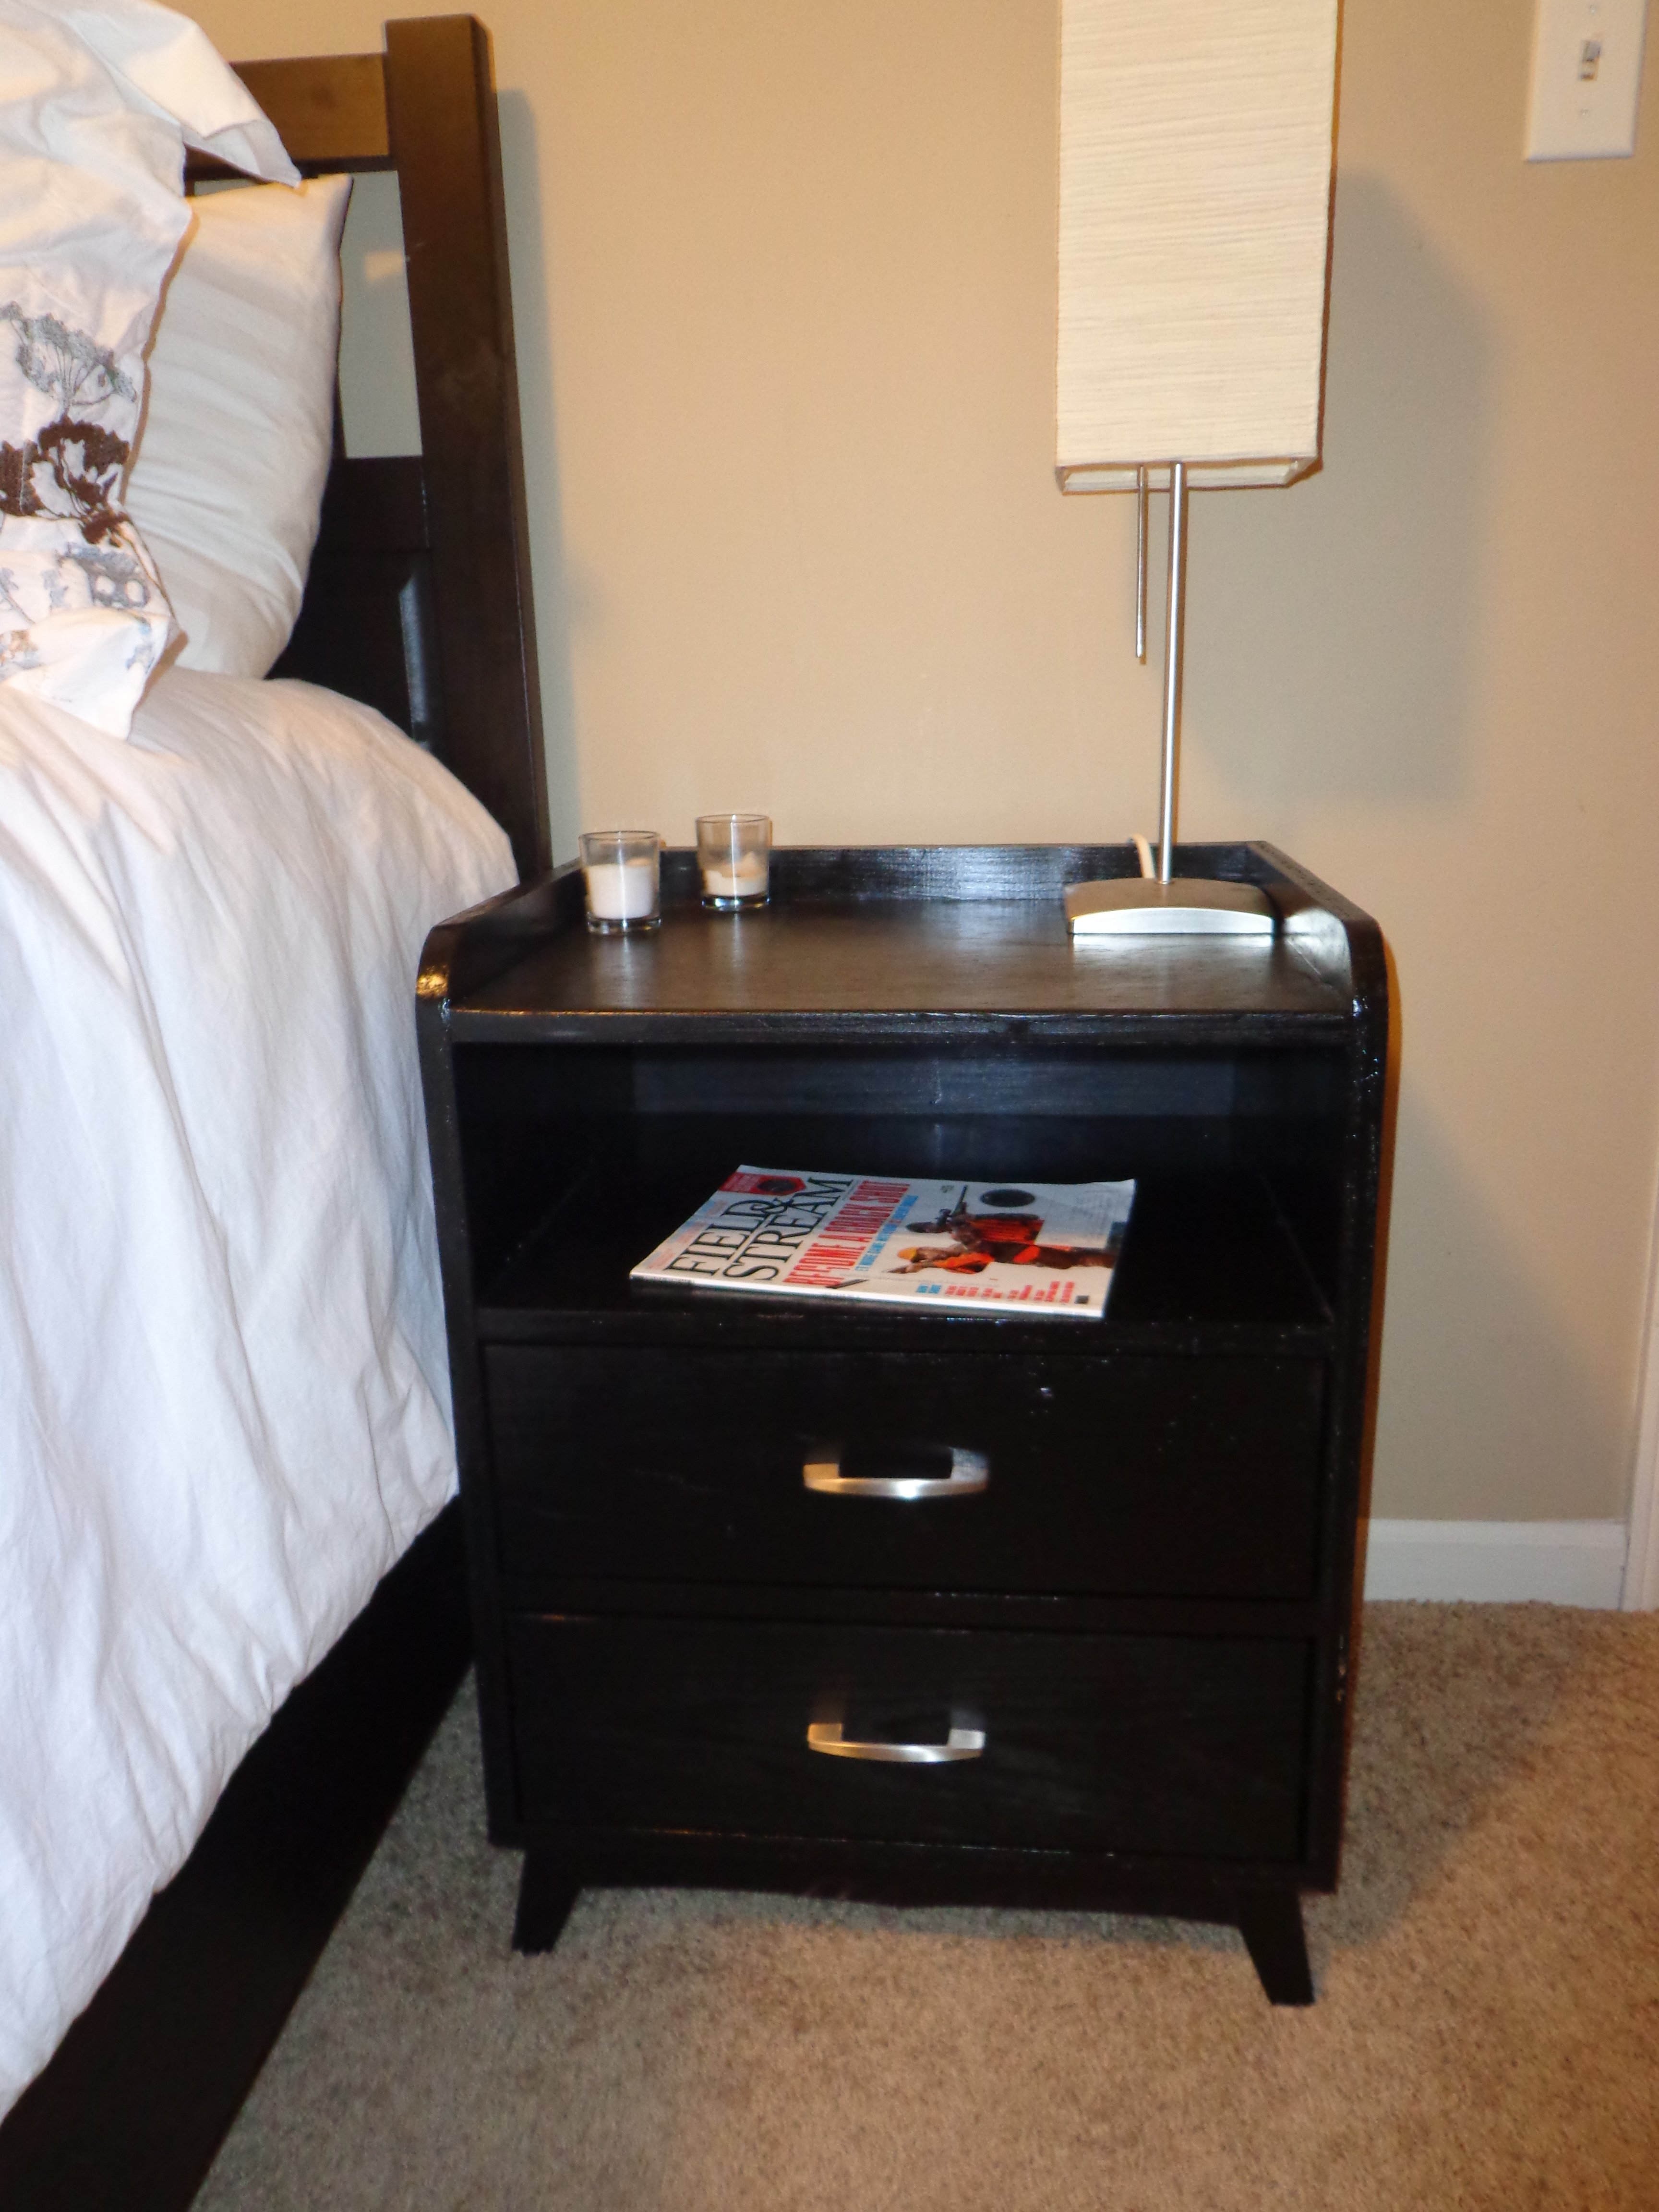
Great design, easy to follow!
We saw this table here on Ana-White and loved it so much that we decided to take a shot at it. We have done smaller projects with wood before but nothing like this. In all honesty, it was super easy and fun!

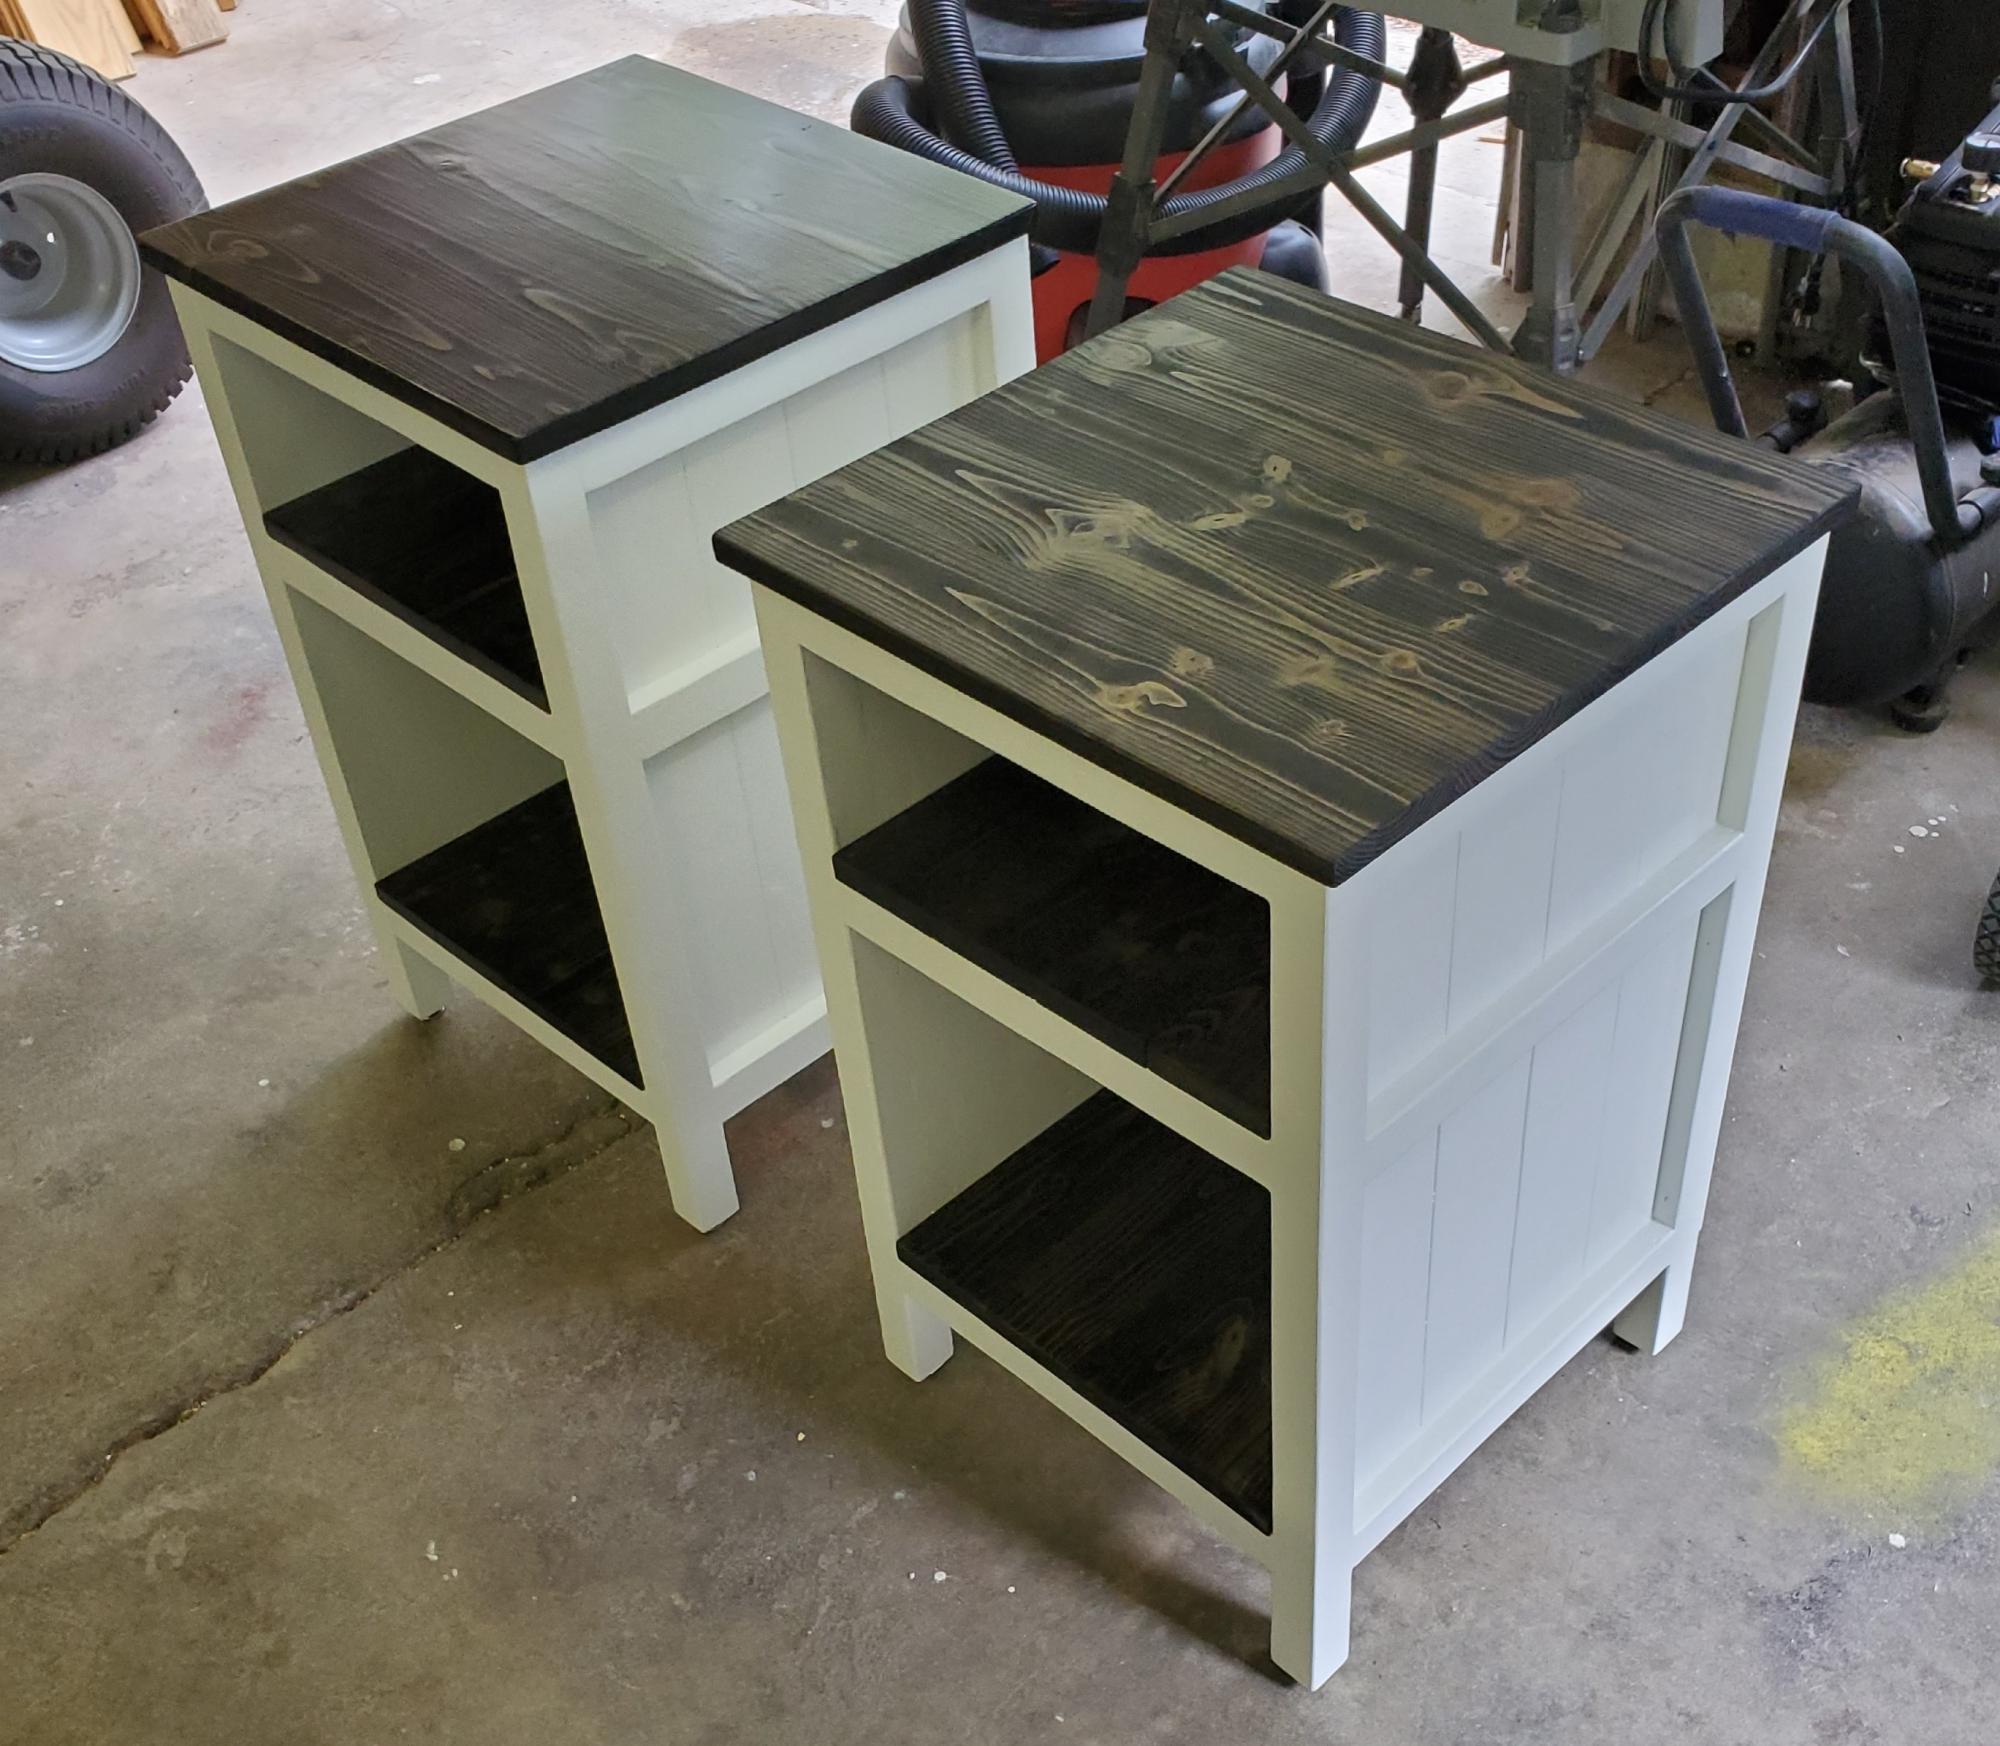
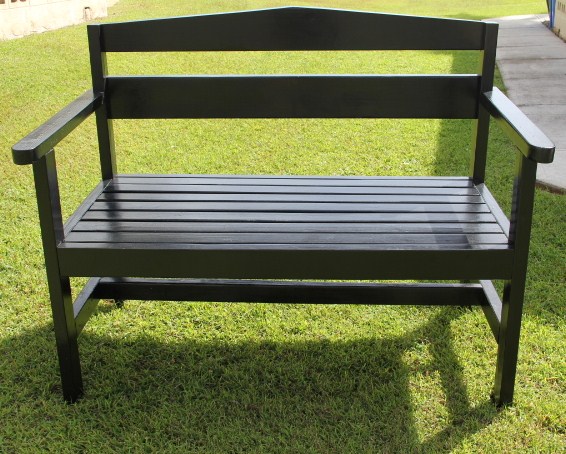
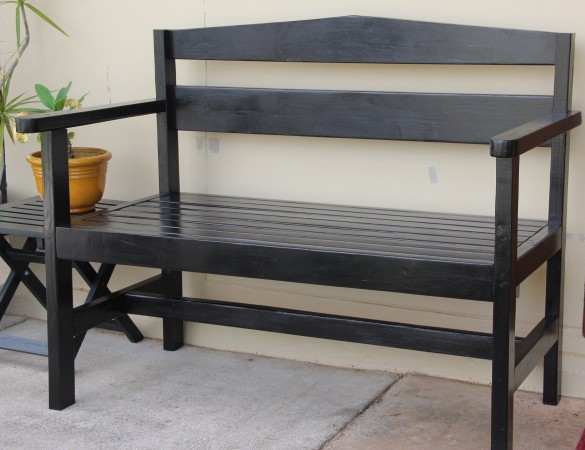
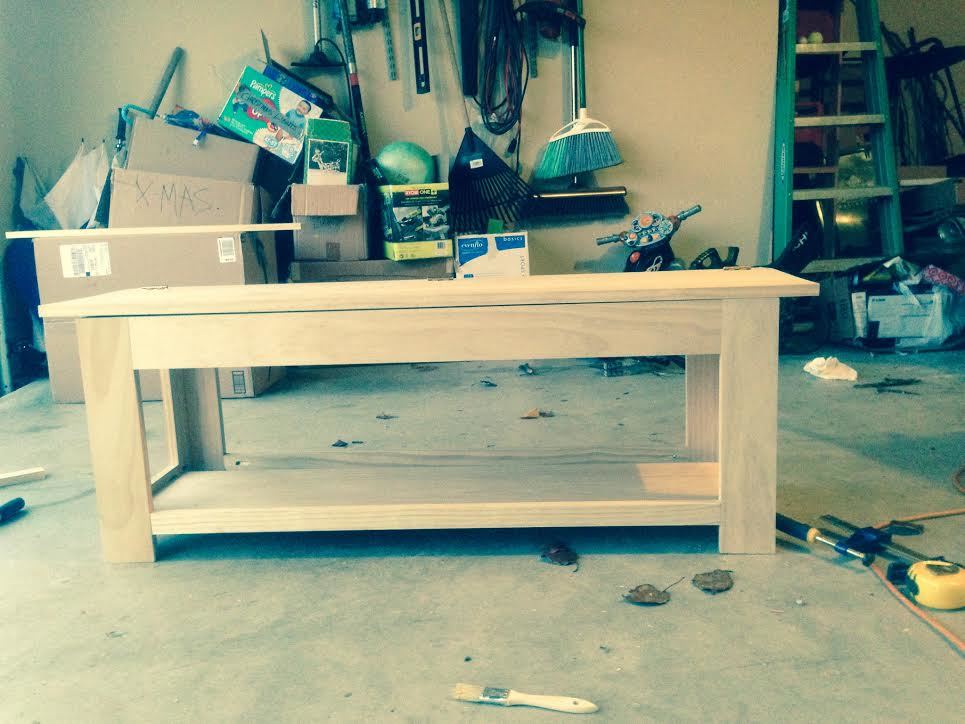
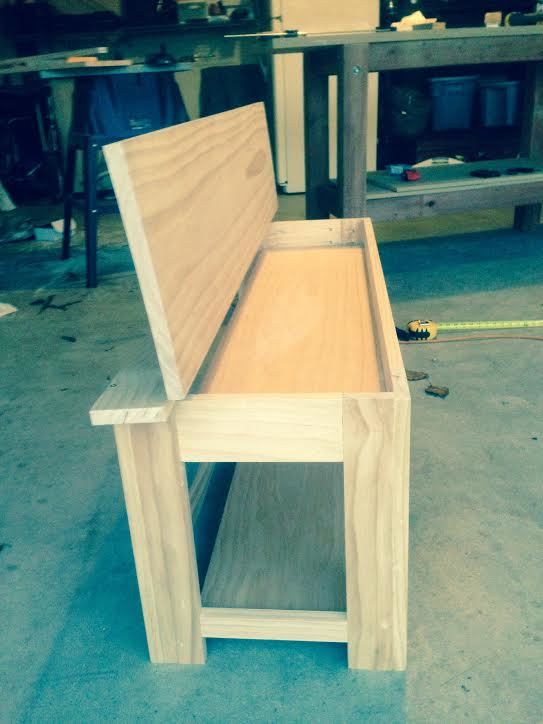
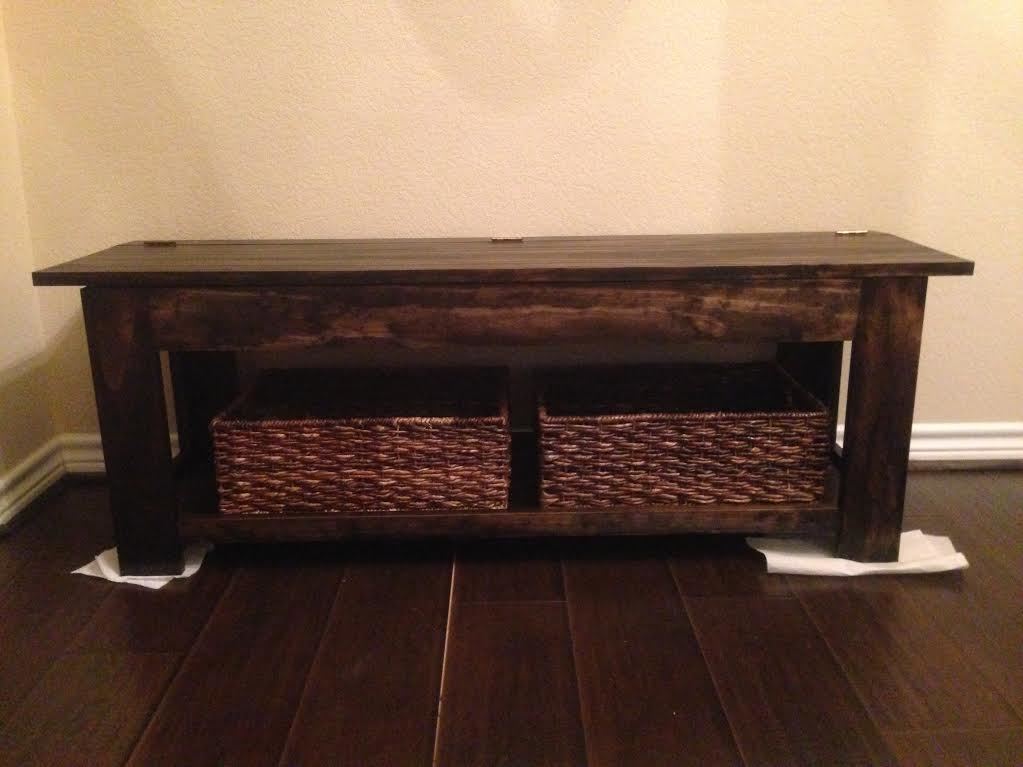
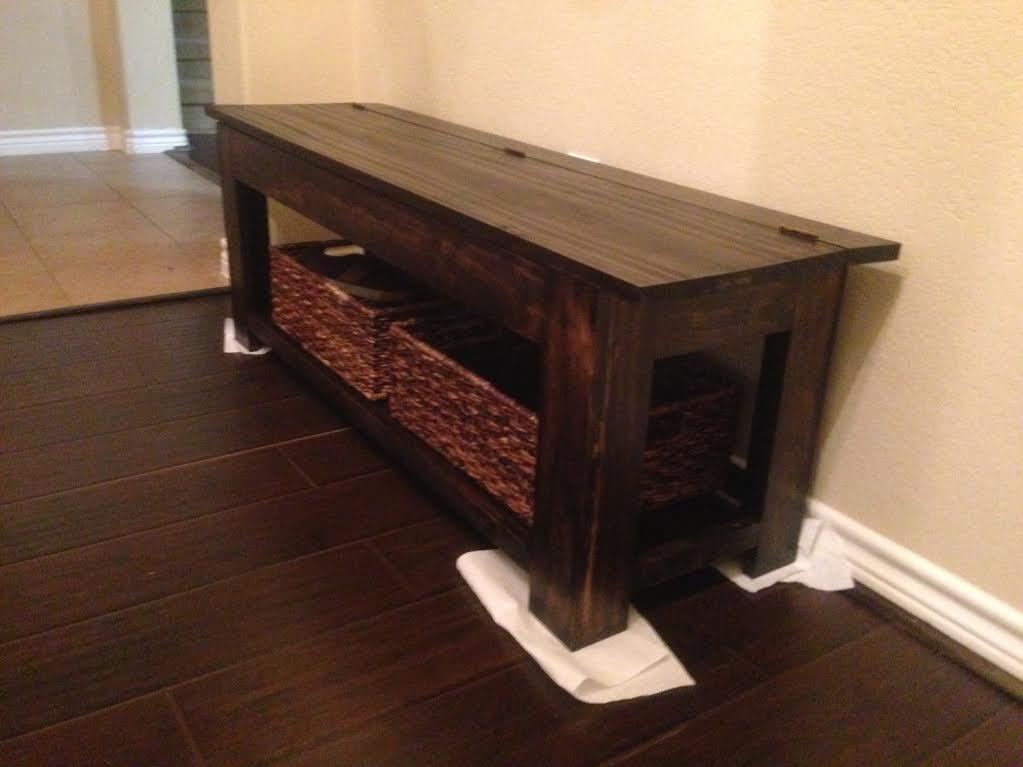
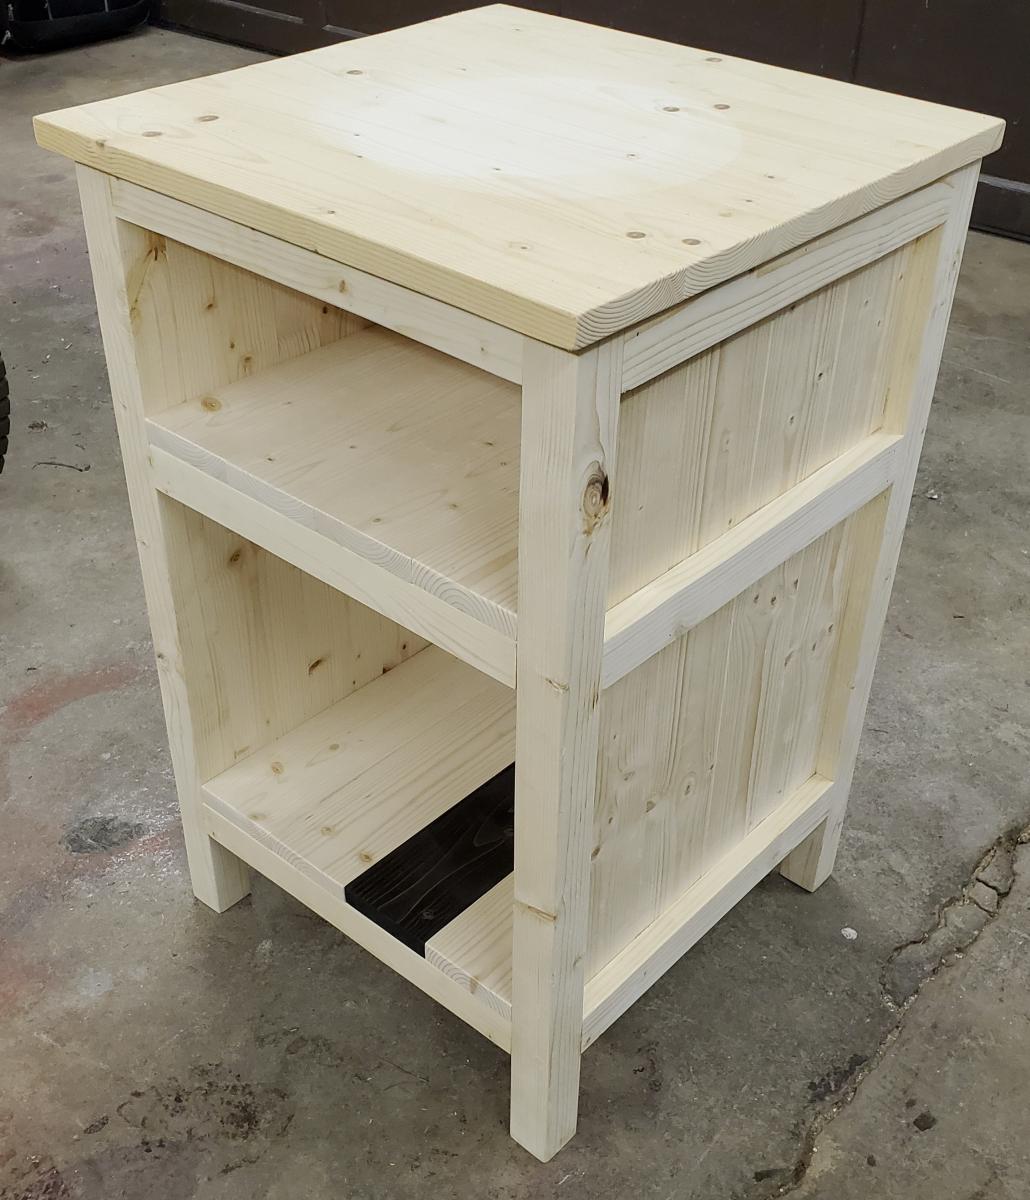
I built these for my daughter's 22nd birthday, after she showed me a set of night stands that resembled these from the site. They were my first furniture woodworking project I have ever done. I did add a set of gussets at the bottom, below the bottom shelf. I had to rip the 2x2's for this project, as I can't find any where around that sells them. I opted for a paint brush finish on the body to give it an antique look. I used 7 coats of polycrylic to give the shelves some depth. I just loved how the stain shows off the grain and knots in the wood.
My daughter loved them when I revealed them on her birthday.
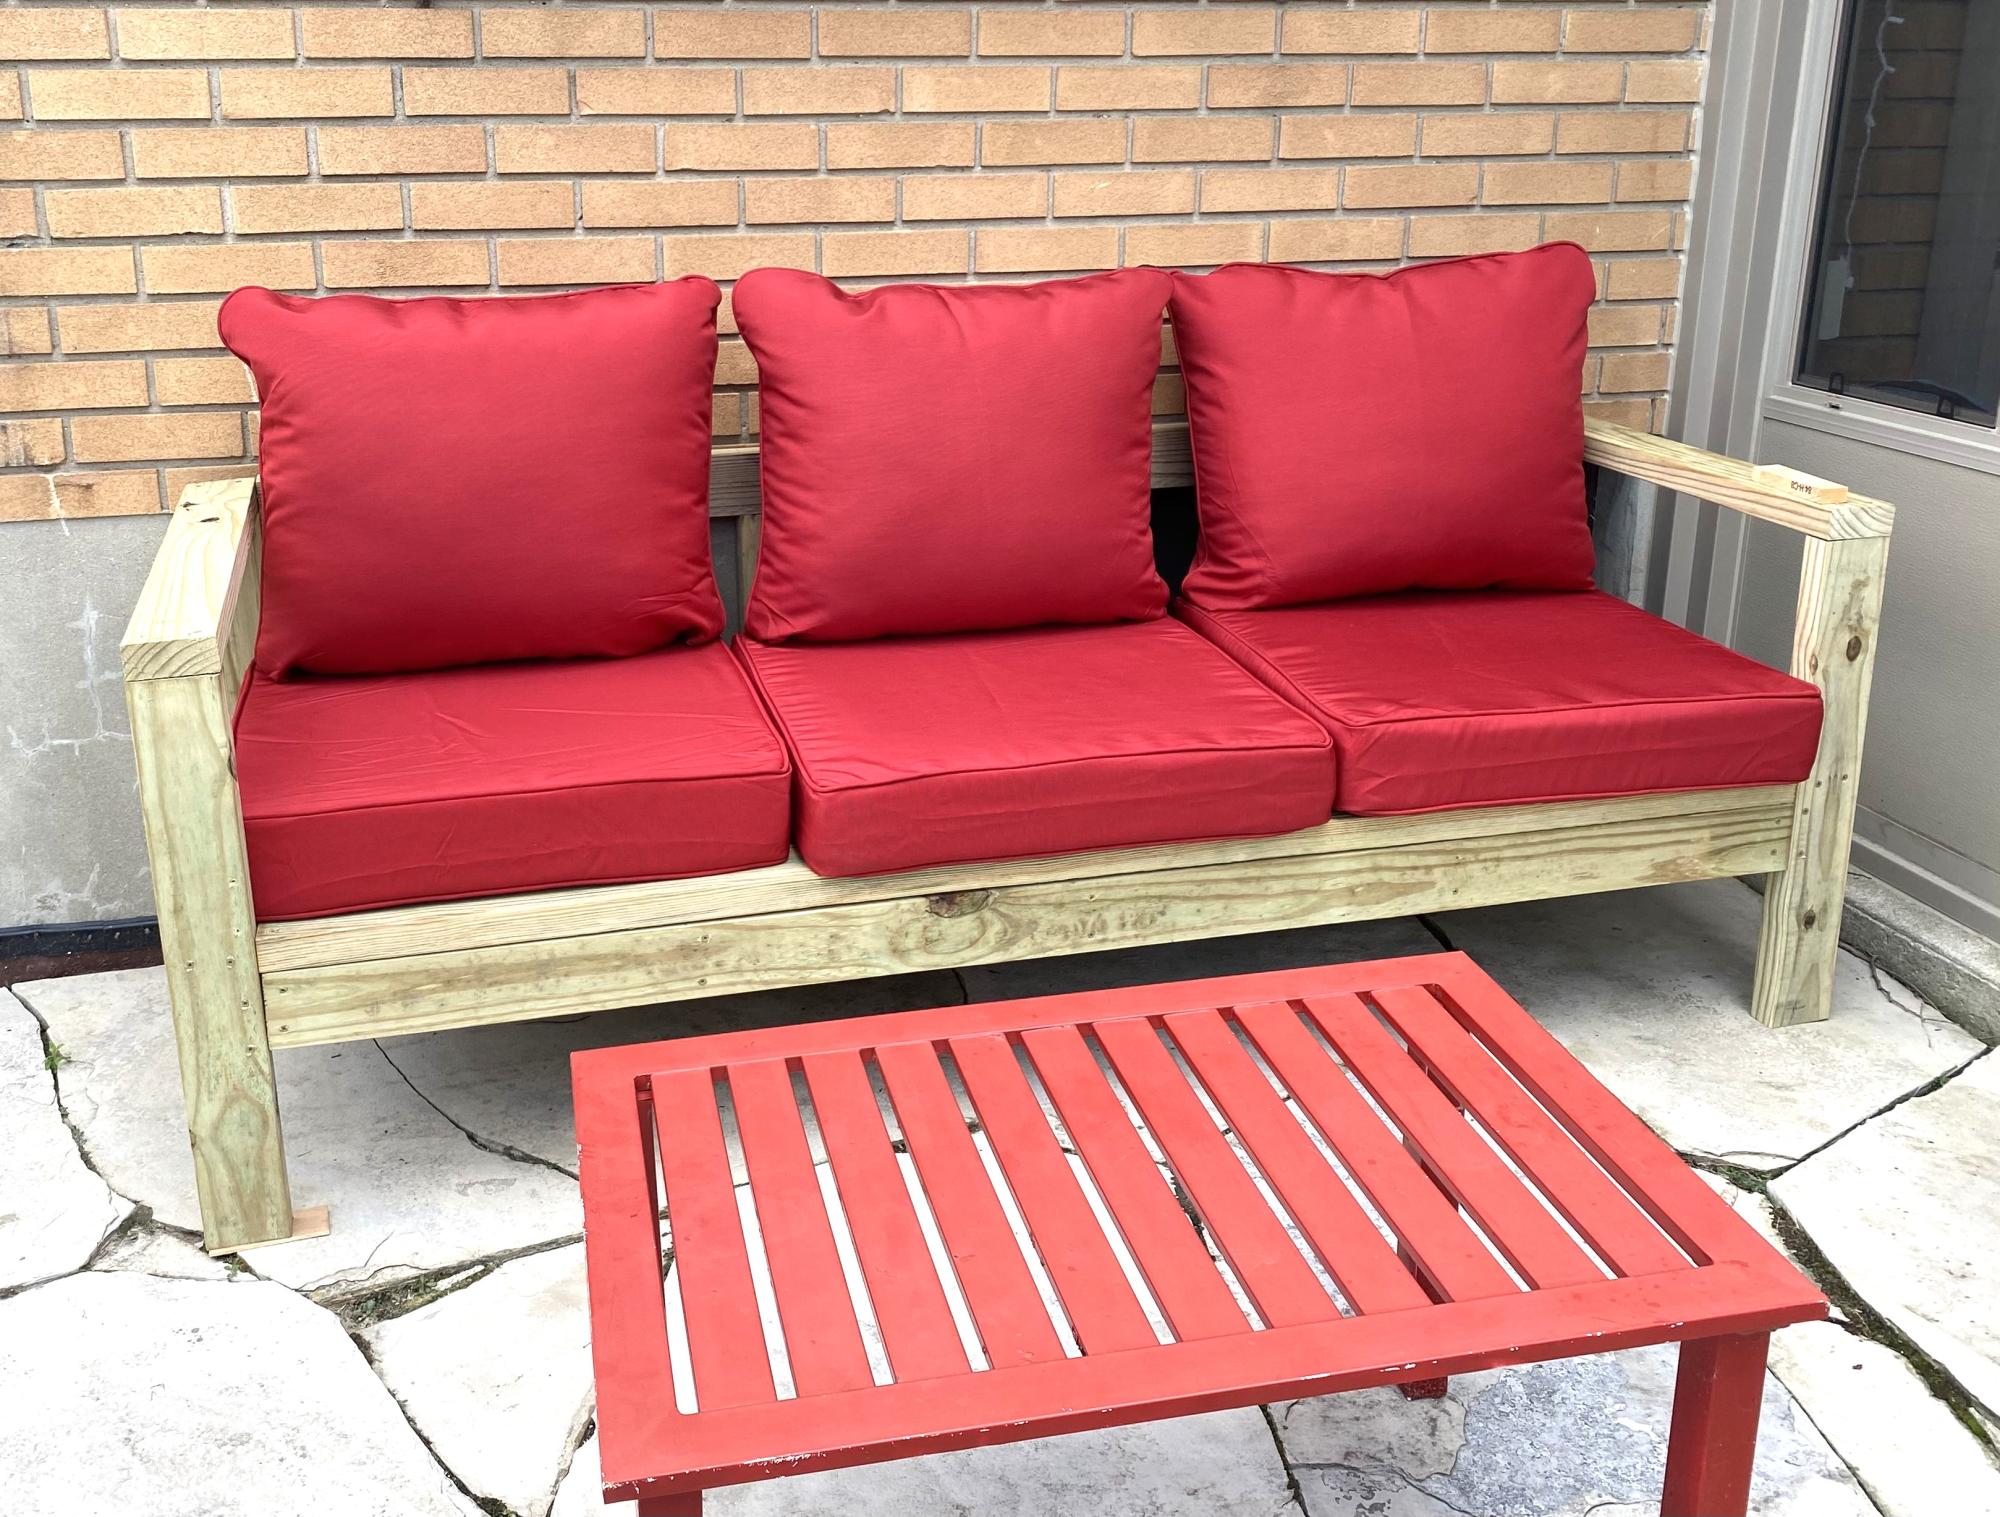
Outdoor couch excellent plans, easy to make and result is amazing.
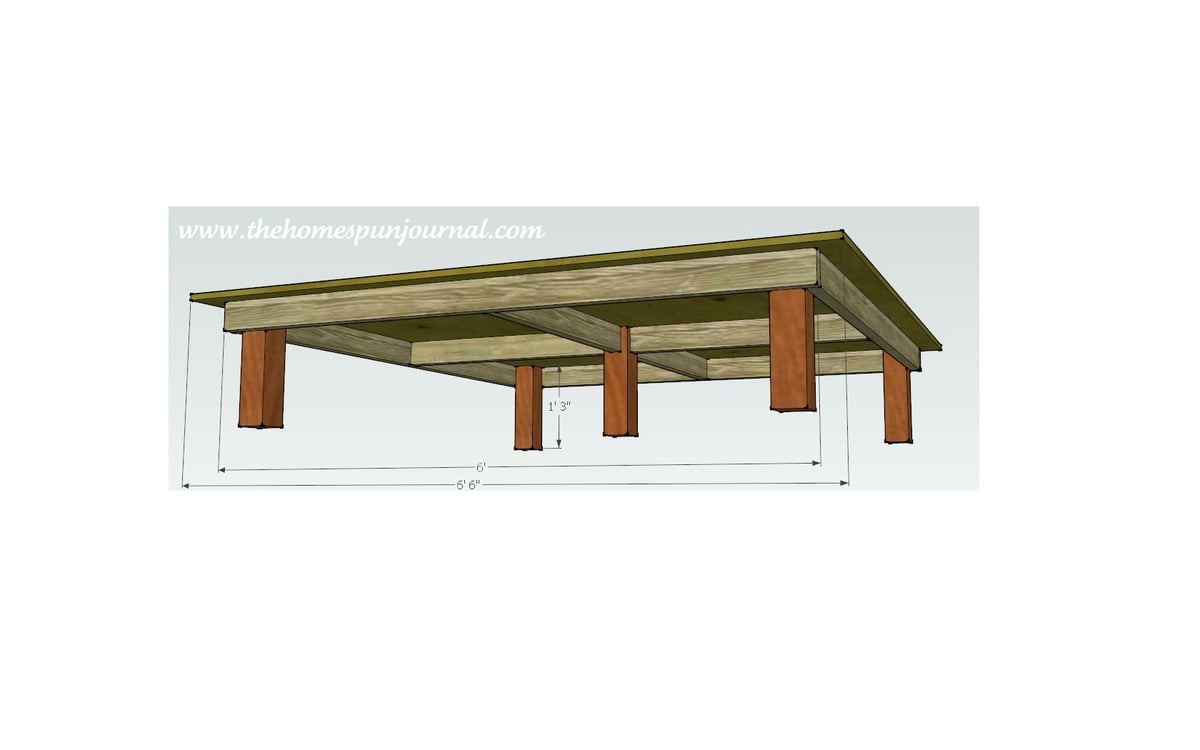
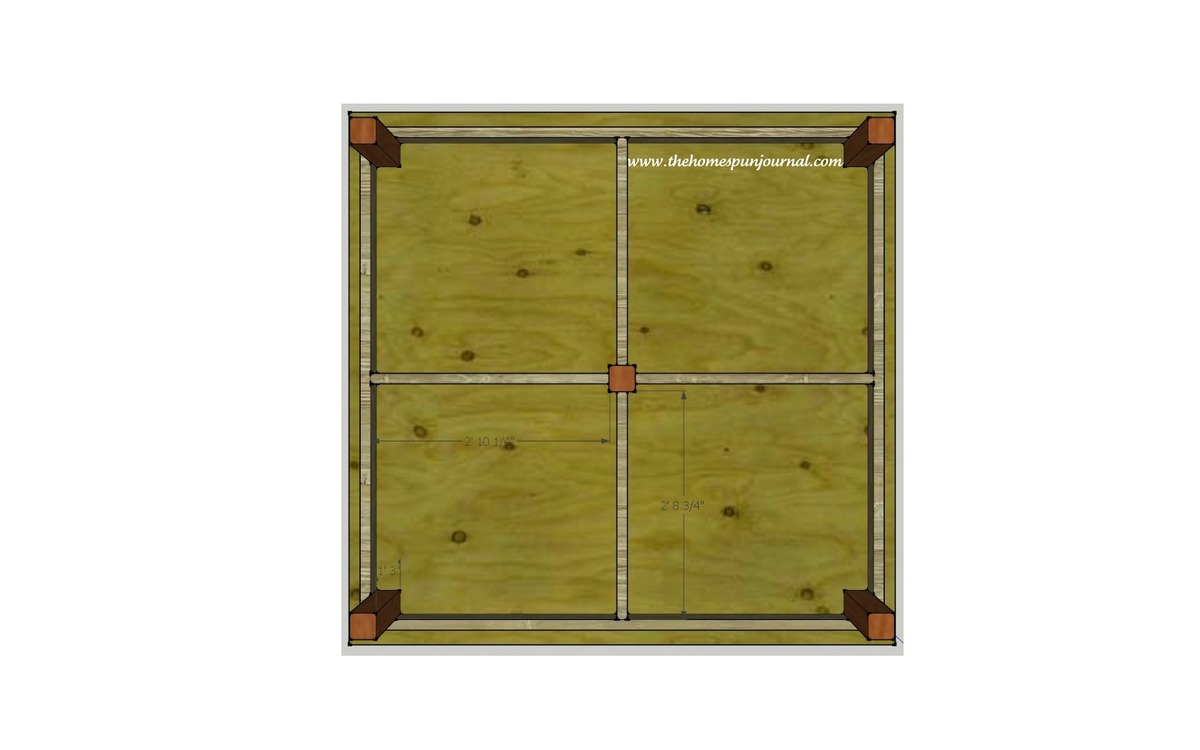
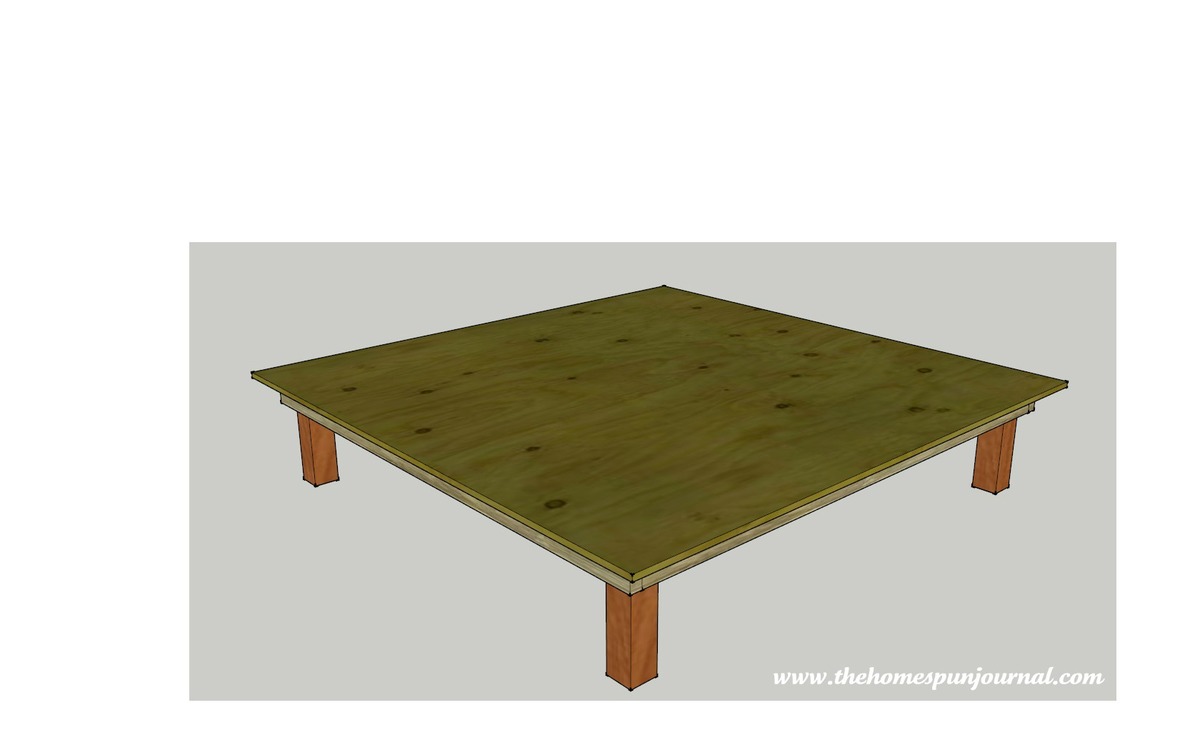
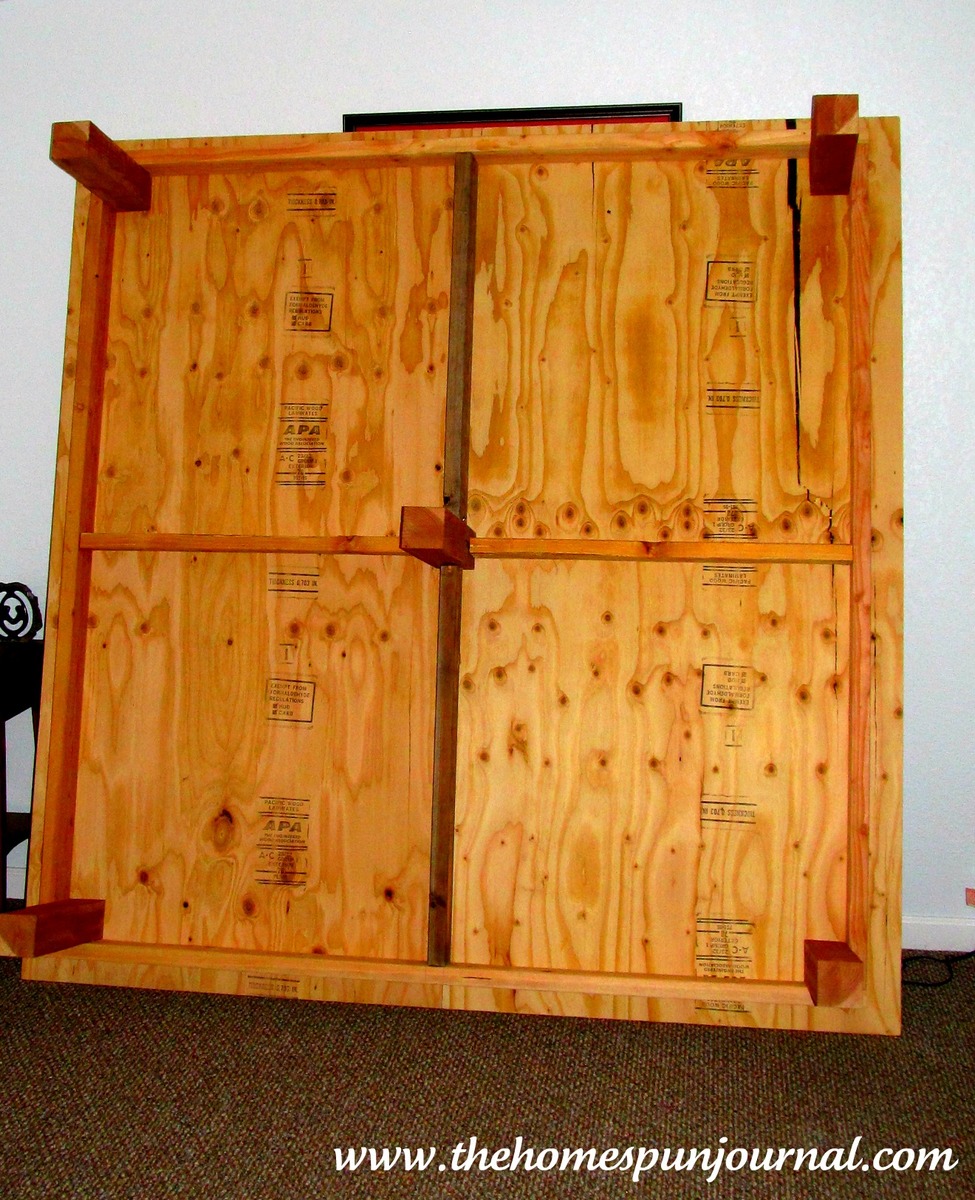
DIY king-sized platform bed. A quick afternoon project to get yourself off the ground. Specifically built for Ikea memory foam mattress (which doesn't honor their warranty if bed is kept on slatted wood platform bed). Detailed plans here. http://www.thehomespunjournal.com/2012/02/27/king-sized-platform-bed/
Tue, 02/28/2012 - 07:52
I am thinking that if you wanted your mattress to breathe on this platform, you could drill a bunch of small holes in the platform to let some air circulate from underneath.
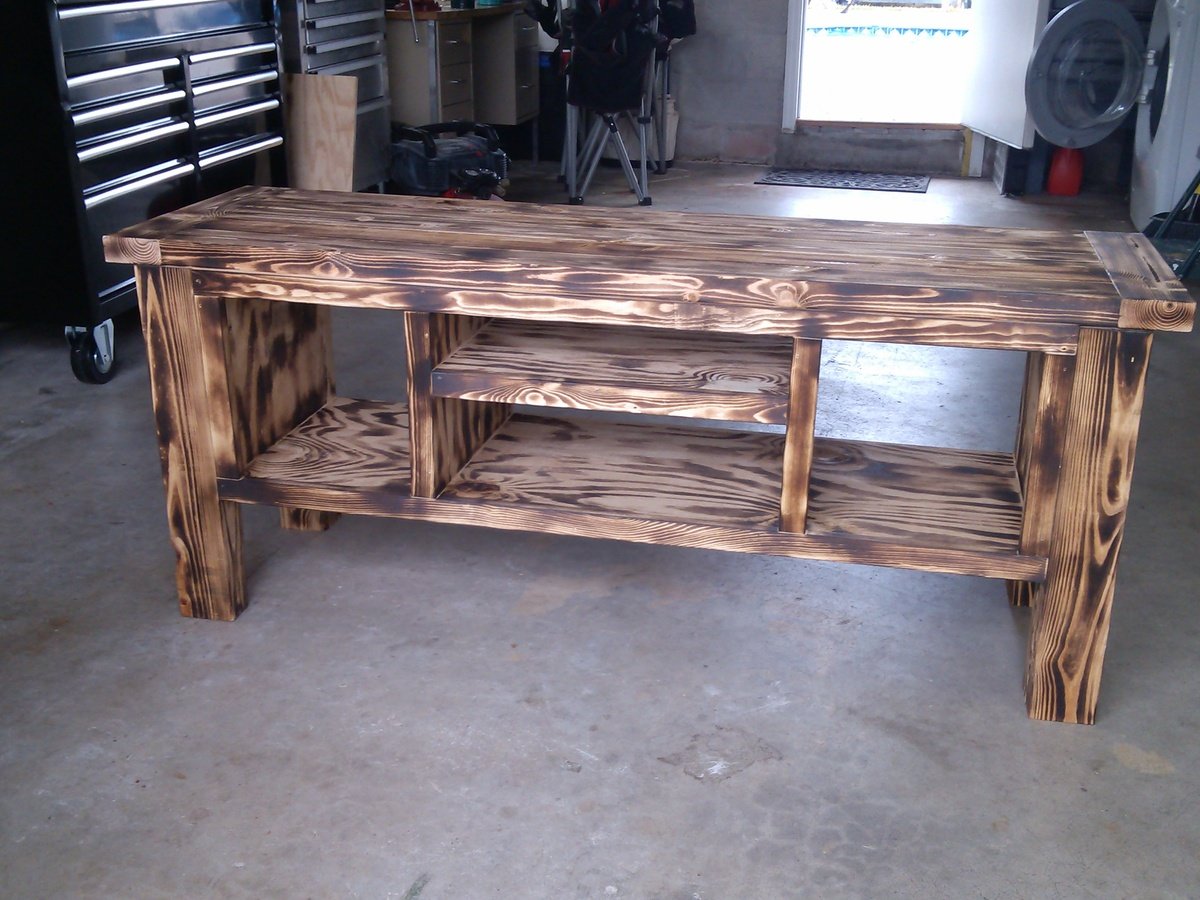
I built this for my little brothers living room because he desperatly needed something for his tv to sit on beside his safe (he has a true bachelor pad) i used the plans for the tryde media console and the finish on it was done with a torch. I put 2 coats of clear satin poly. The project too about 6 hours to complete. i love how it turned out !
Mon, 01/13/2014 - 18:52
Cool finish. Care to share the details on how you did it?
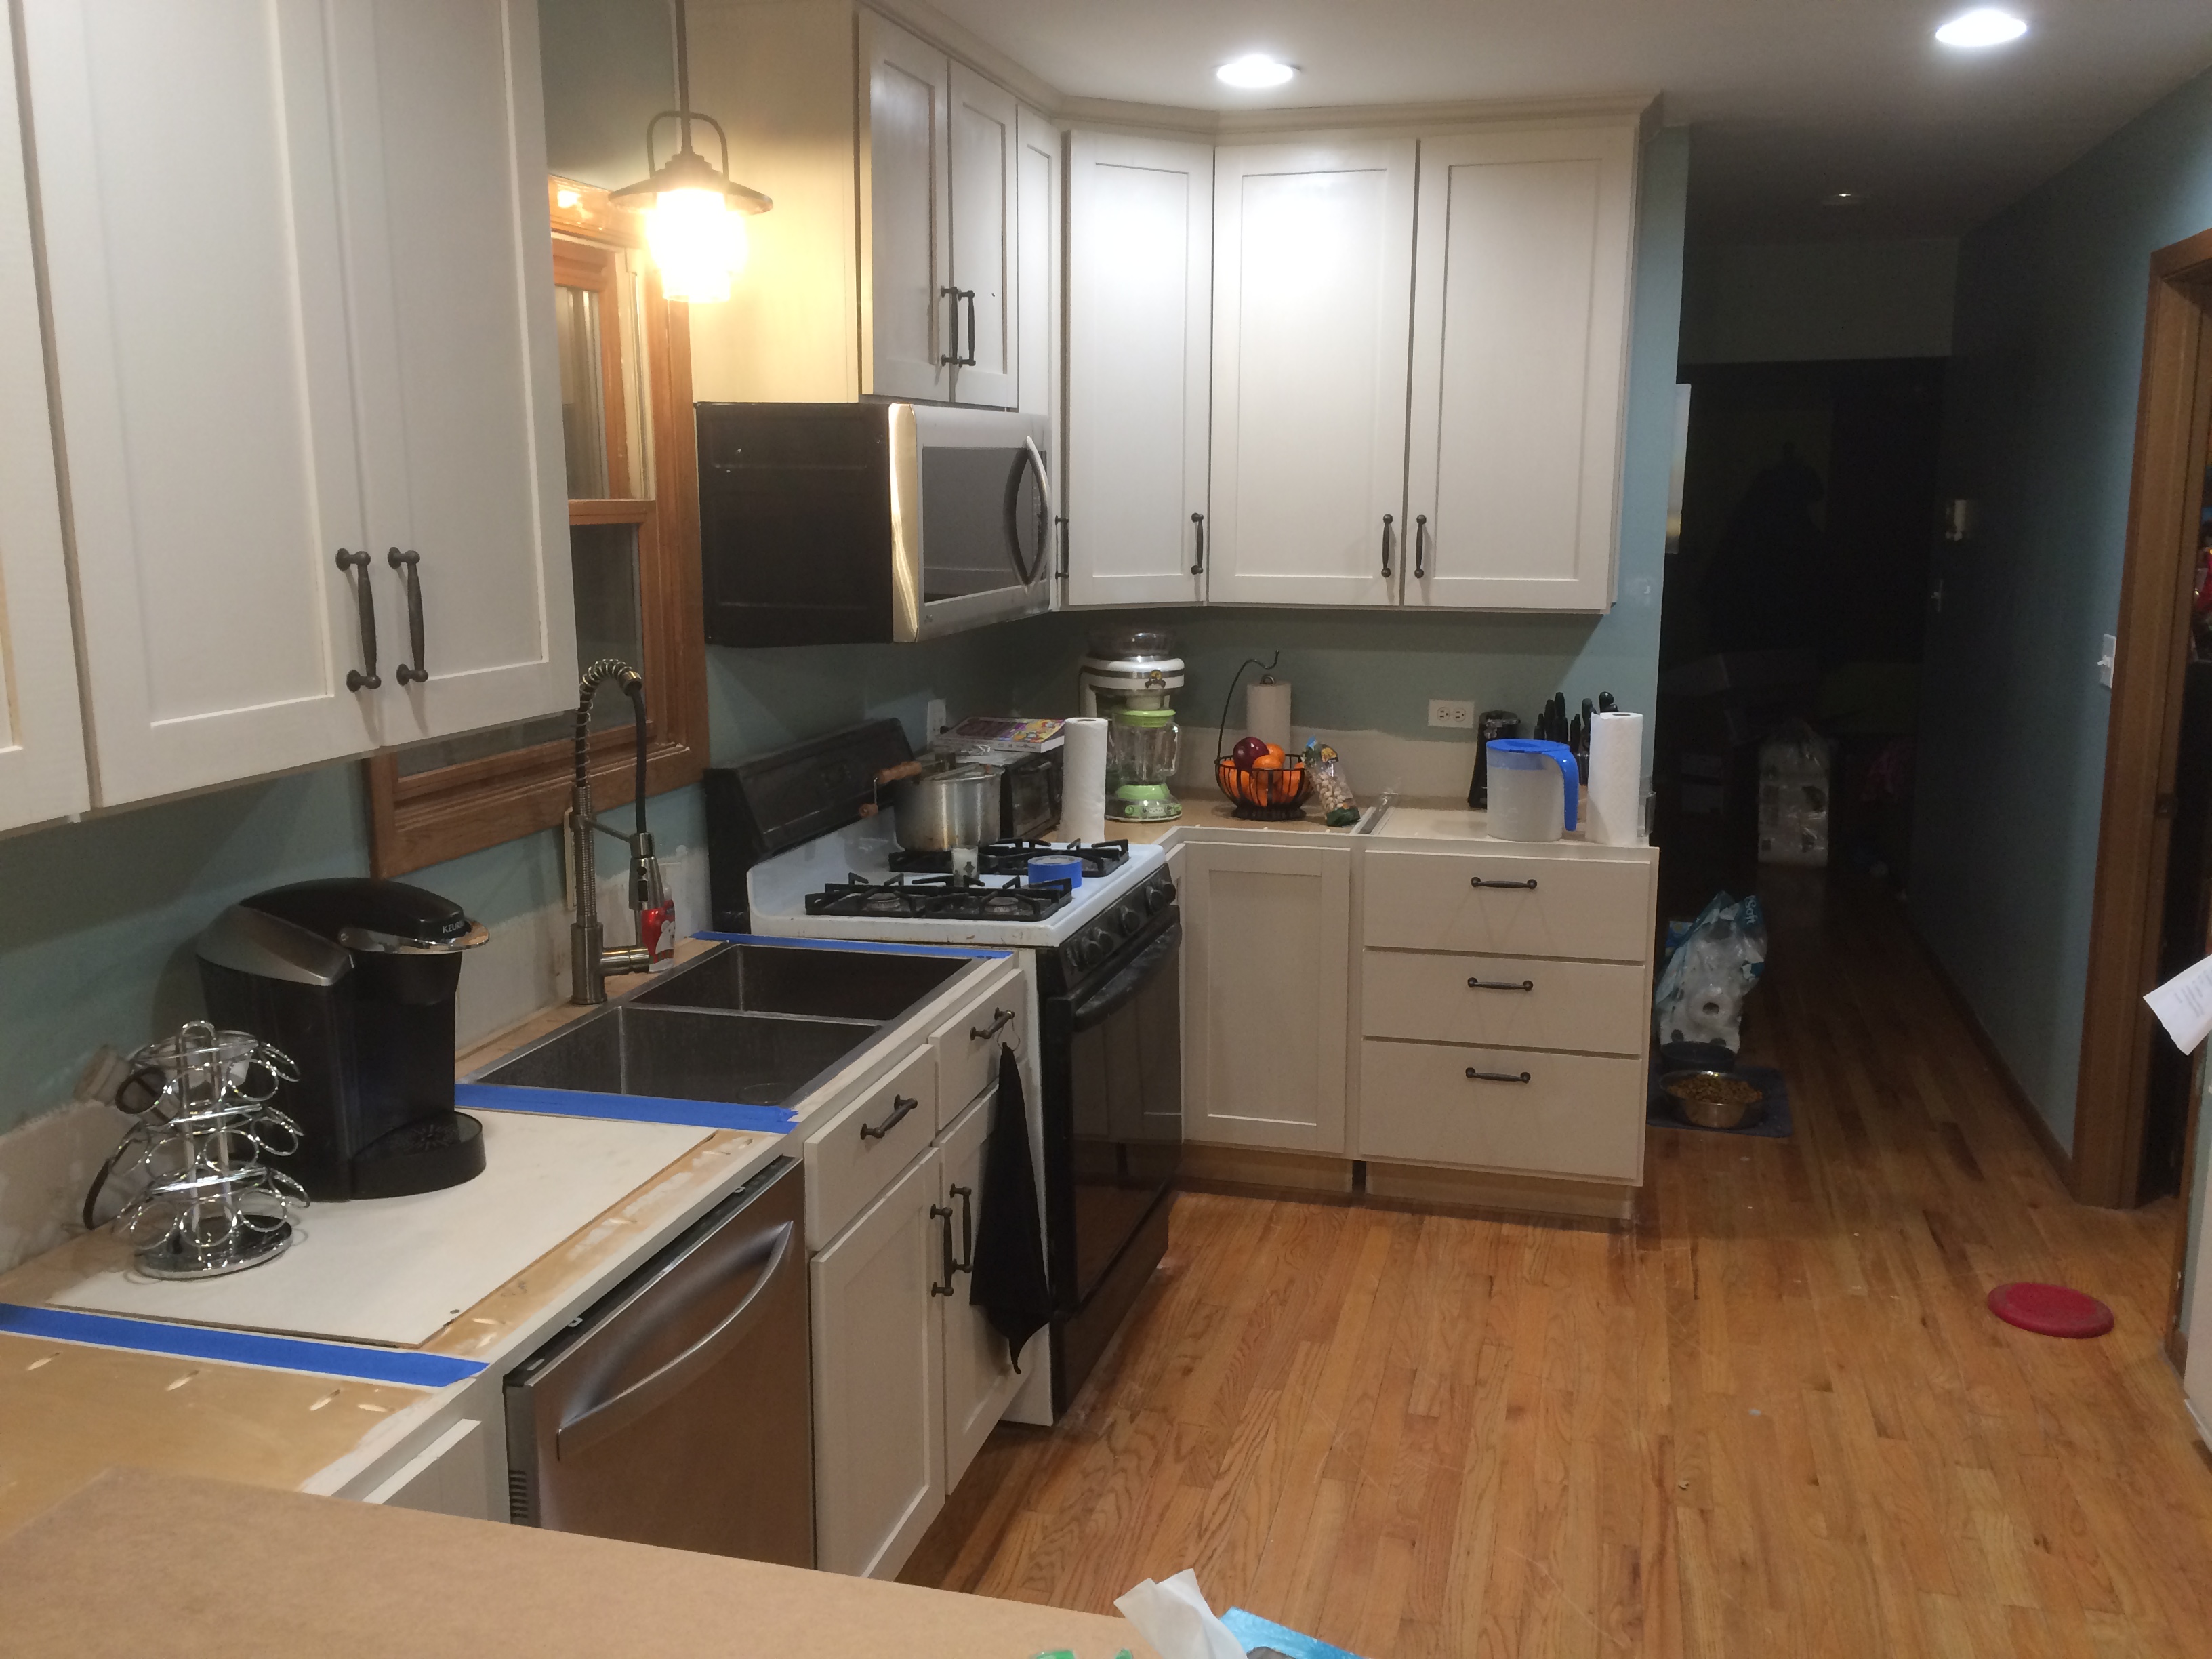
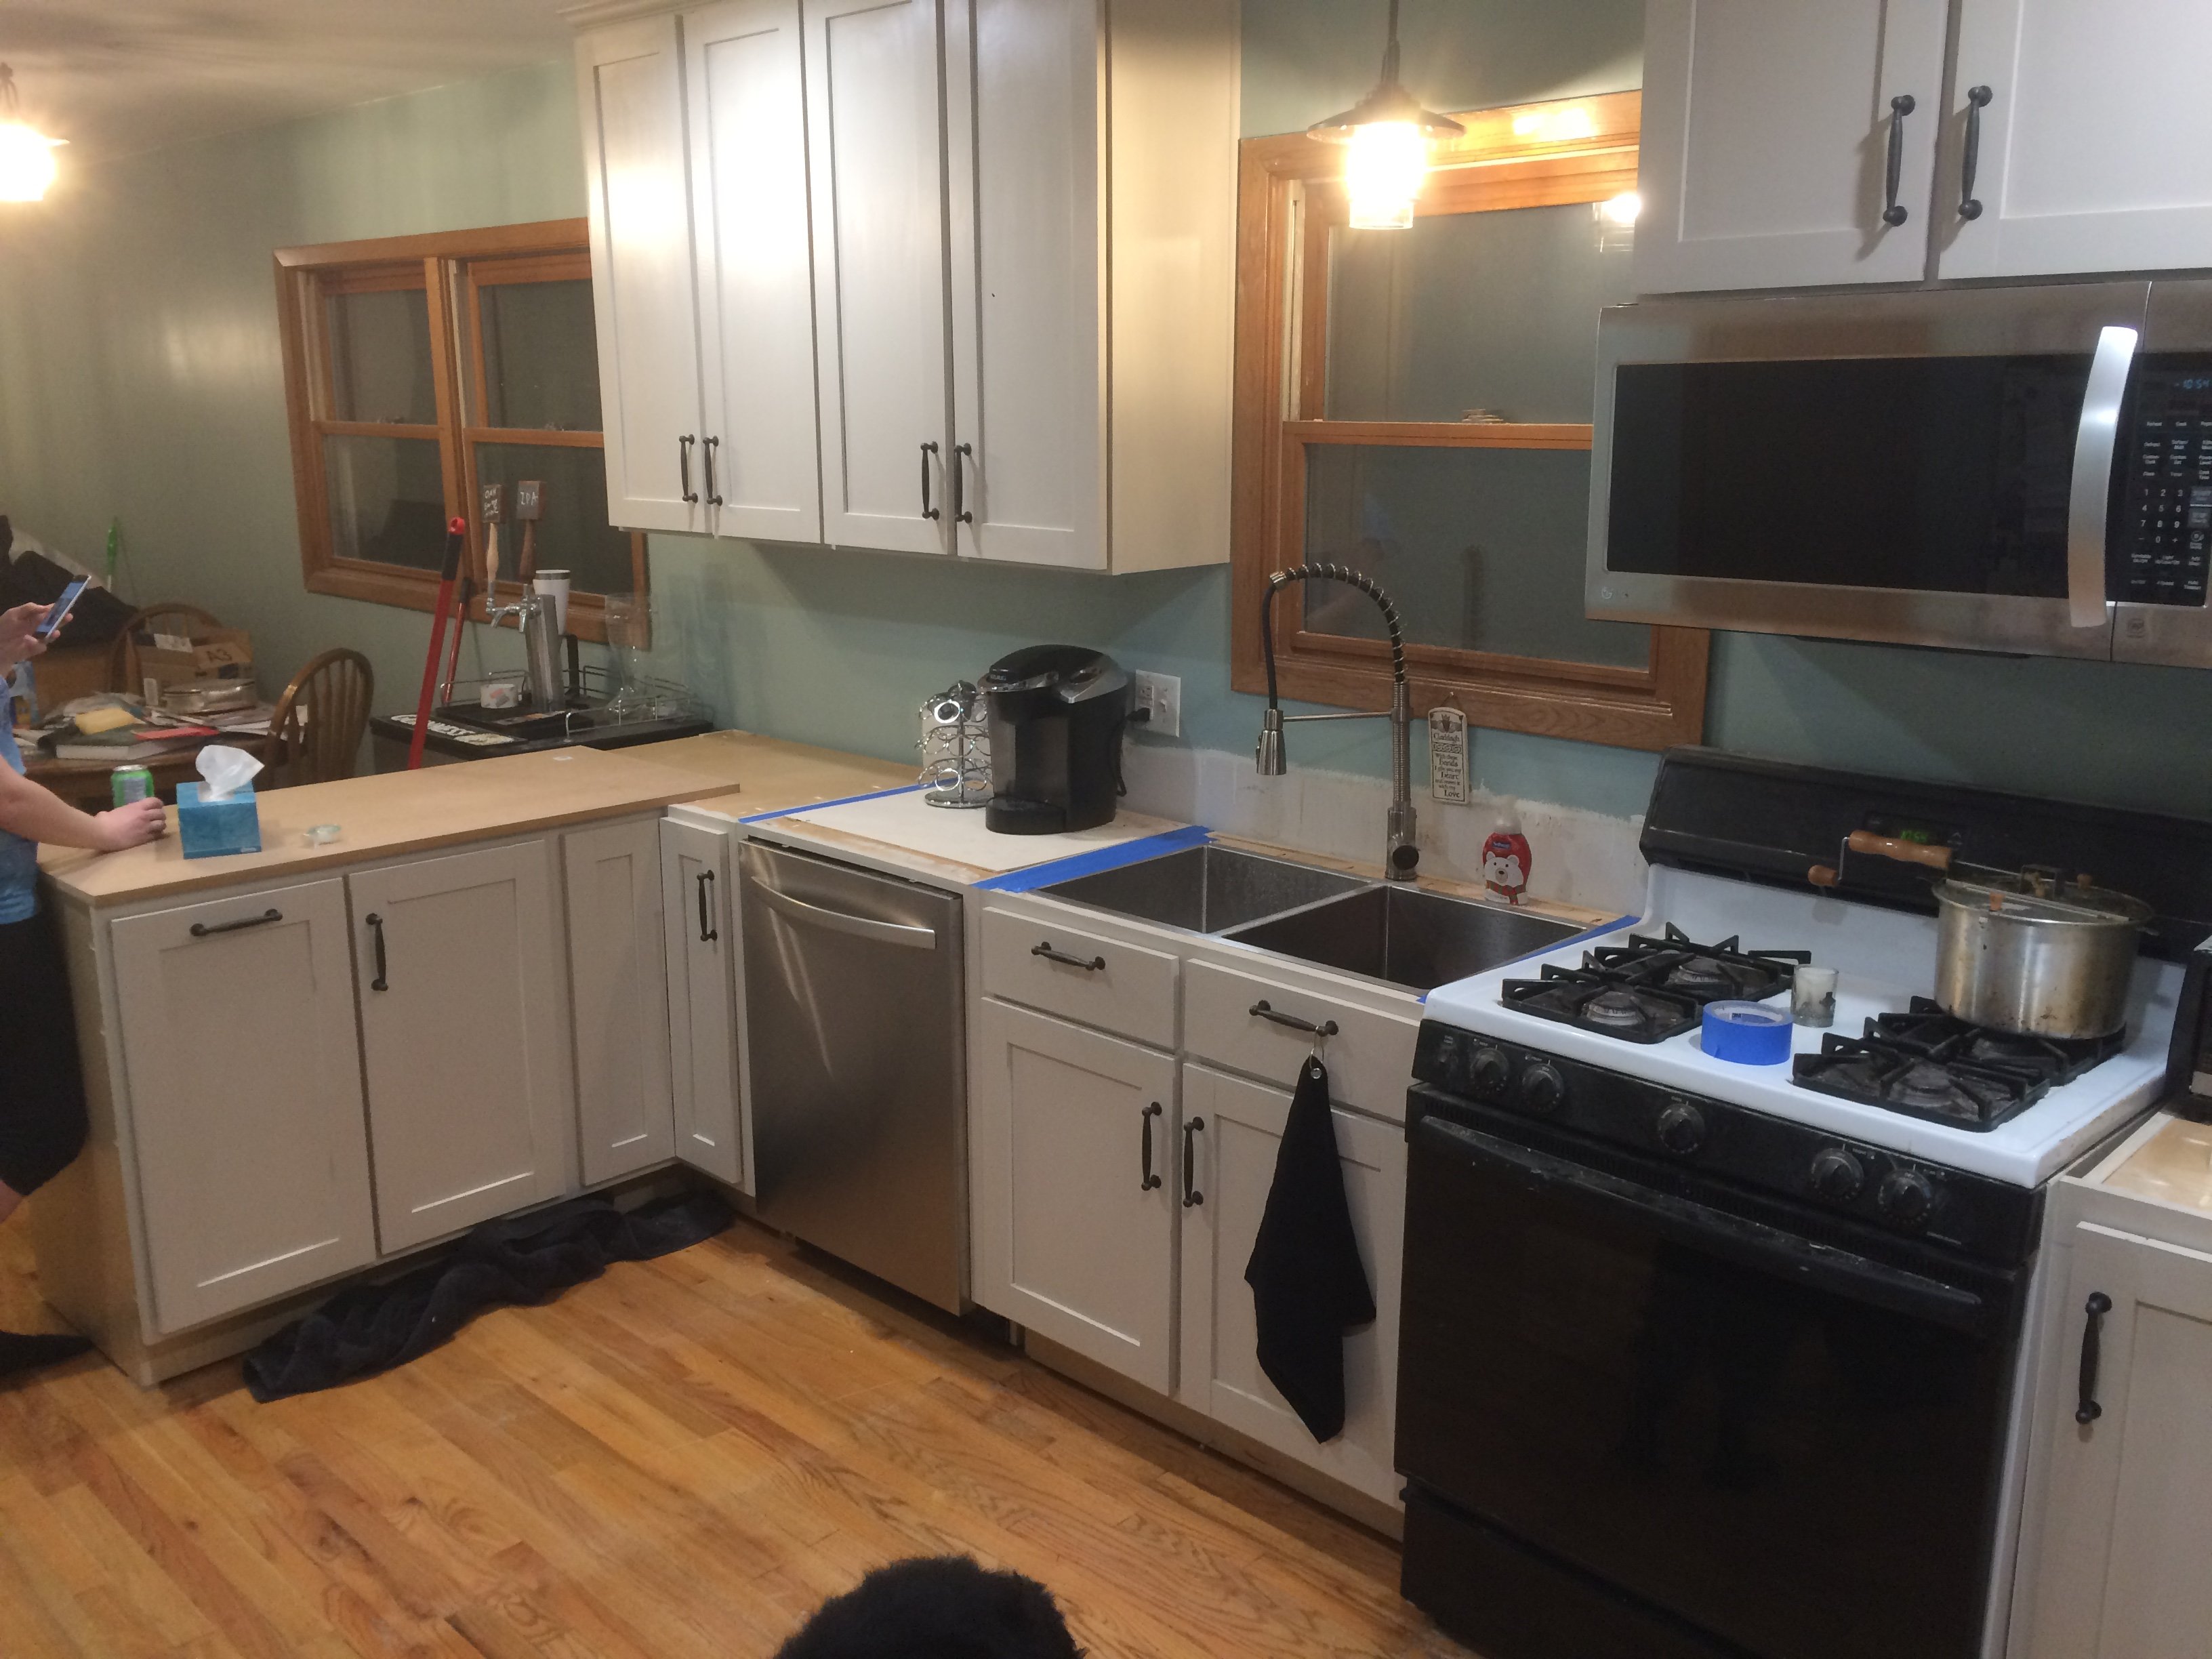
I did a 15" deep x 36 wall cabinet over the drawers and the rest of the uppers are 12deep x 42"
Lowers are standard 24" deep
Still deciding on countertops
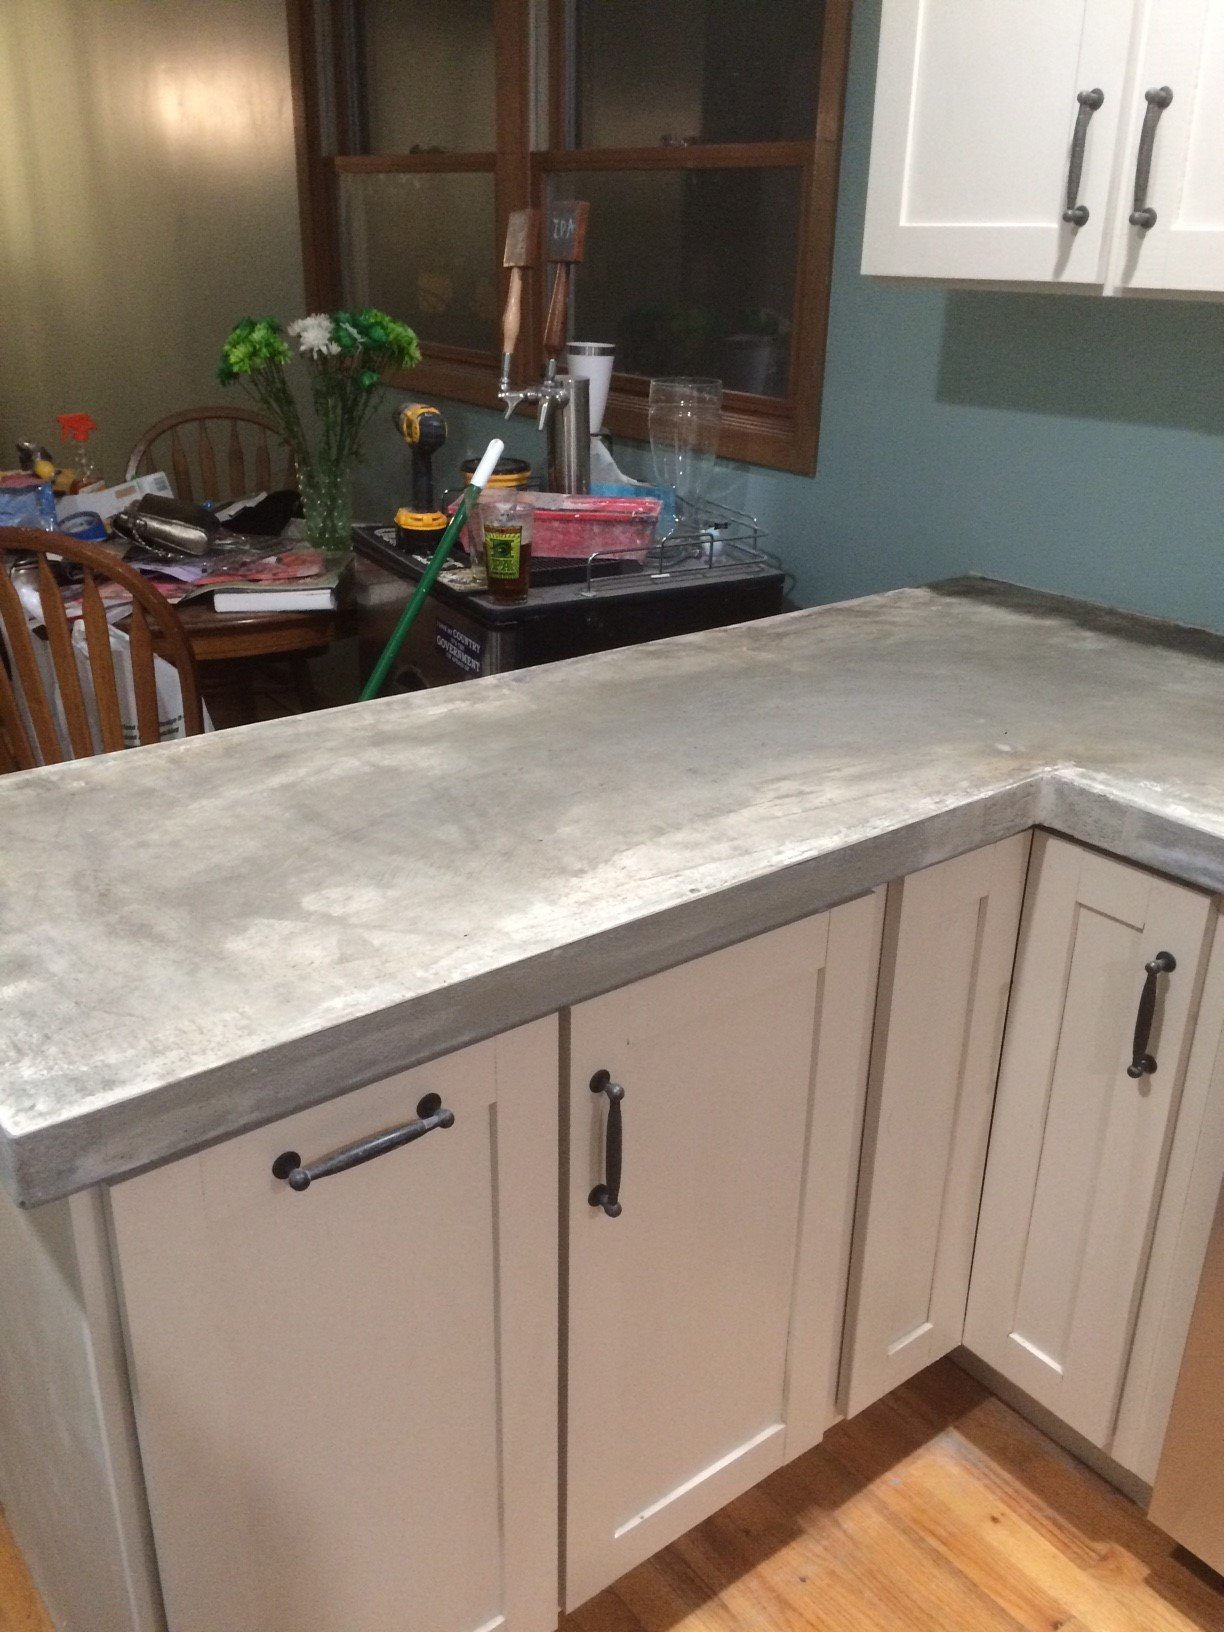
Decided on pour in place concrete for the counter tops

Mon, 03/28/2016 - 08:47
I used the same plans for the doors, but used a shaker router bit set for construction
Tue, 03/29/2016 - 08:22
I used Anna's Plans, diffrent router set I think however.
Sun, 04/10/2016 - 07:09
Please link the router set you used, I love your cabinet doors!
Mon, 04/25/2016 - 09:33
Yonico 12249 Rail and Stile Router Bit Set with 1/2-Inch Shank, 2-Piece
http://www.amazon.com/Yonico-12249-Router-2-Inch-2-Piece/dp/B00KZM0KE4?…
Mon, 04/25/2016 - 09:34
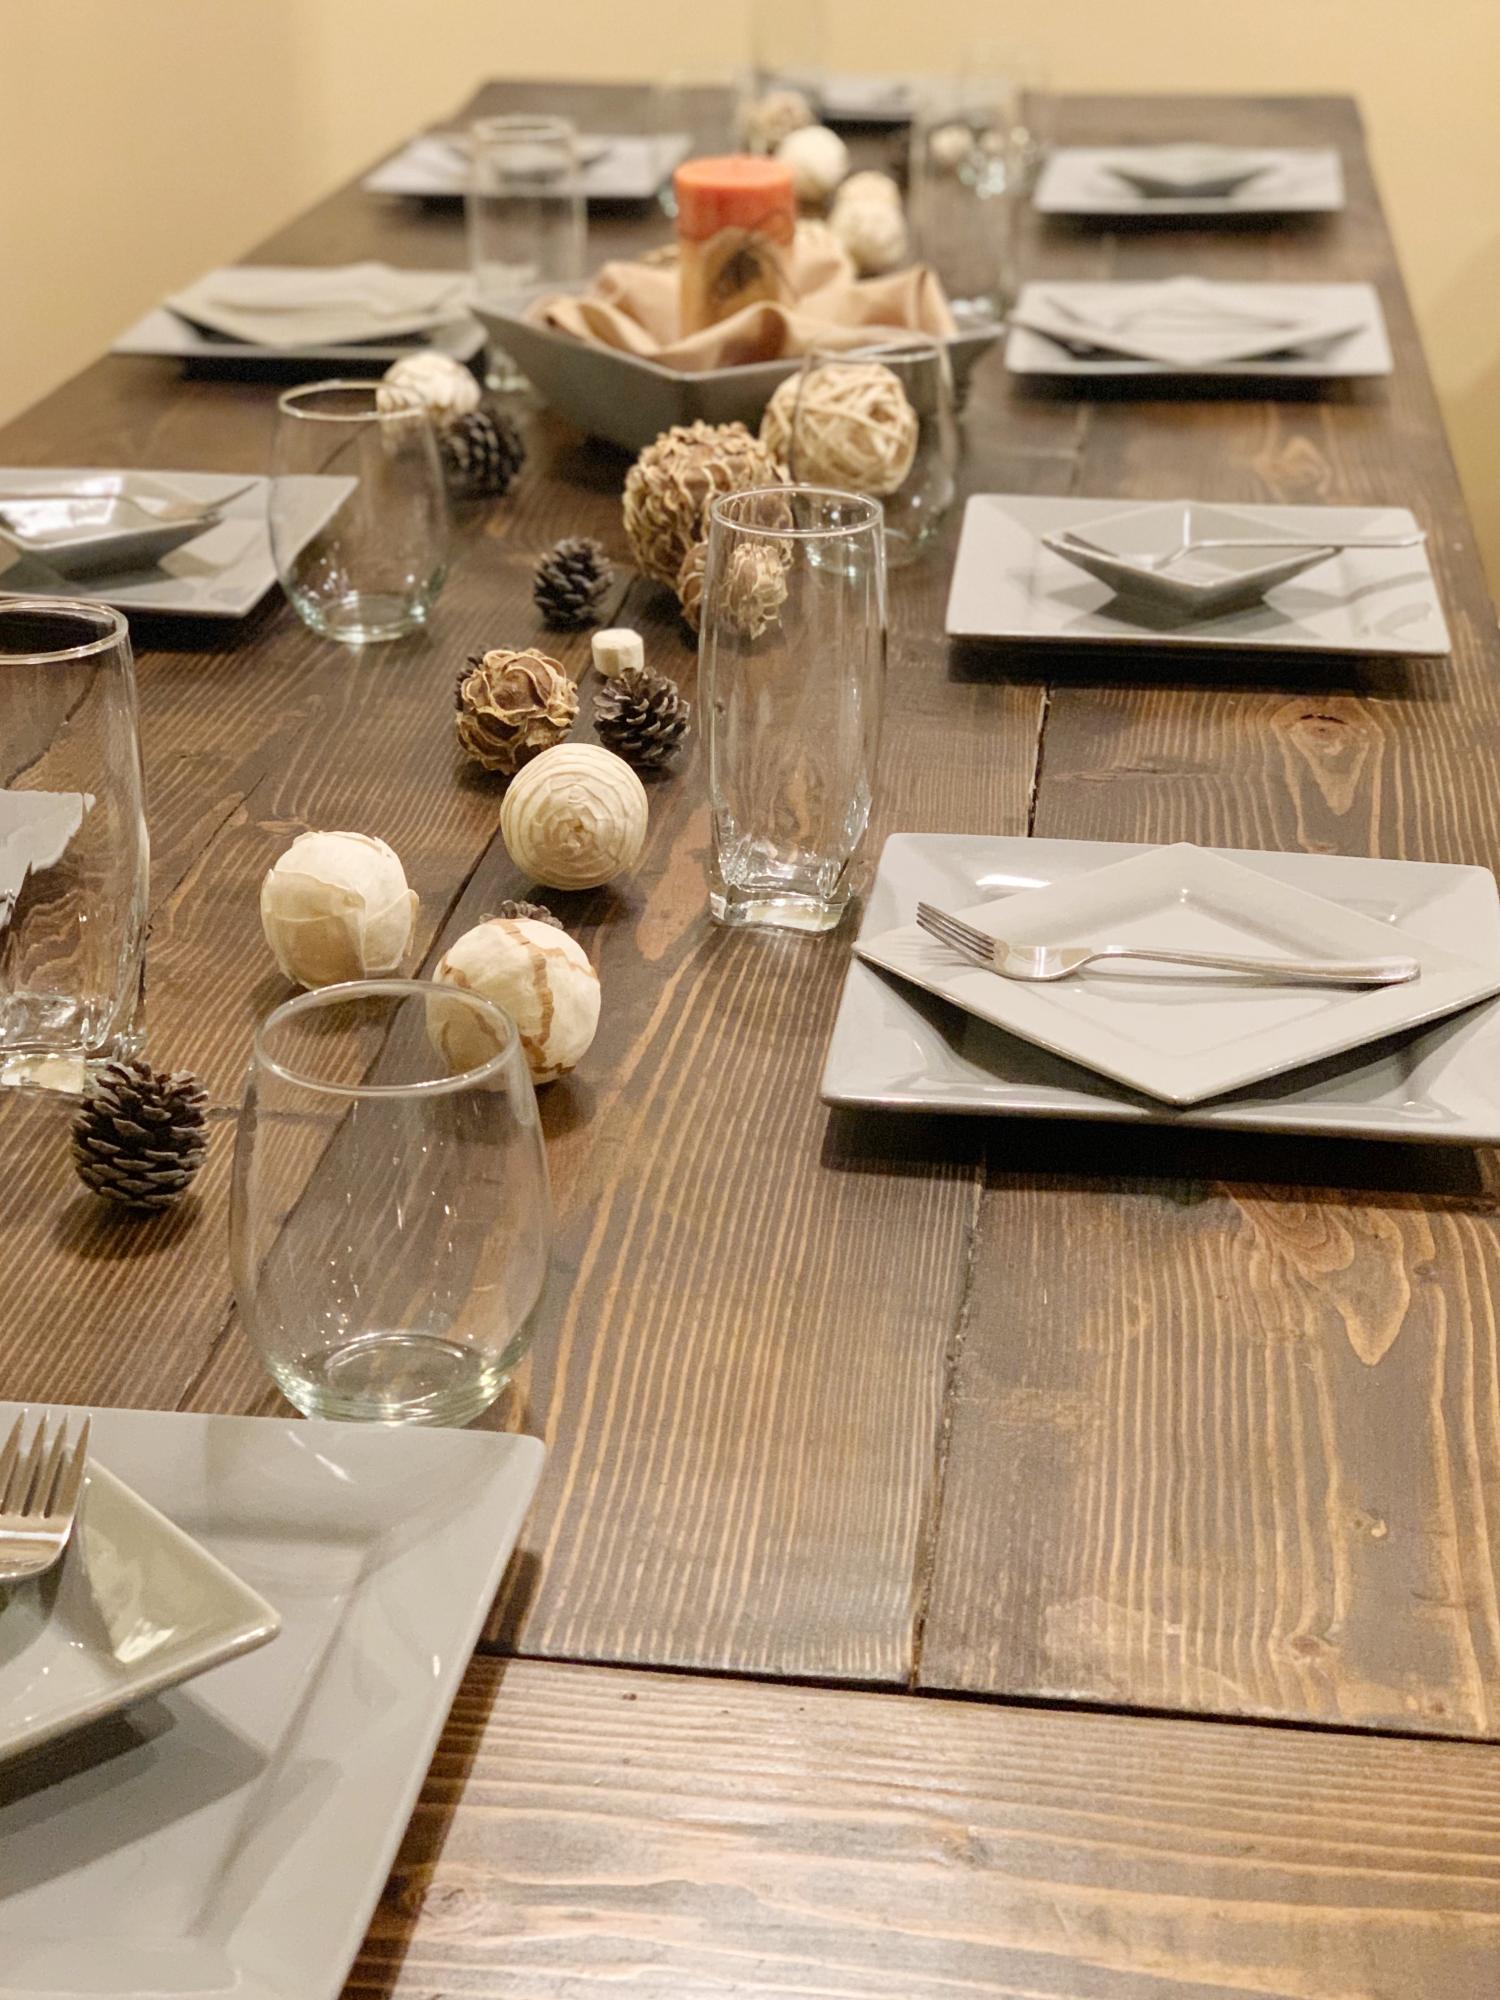
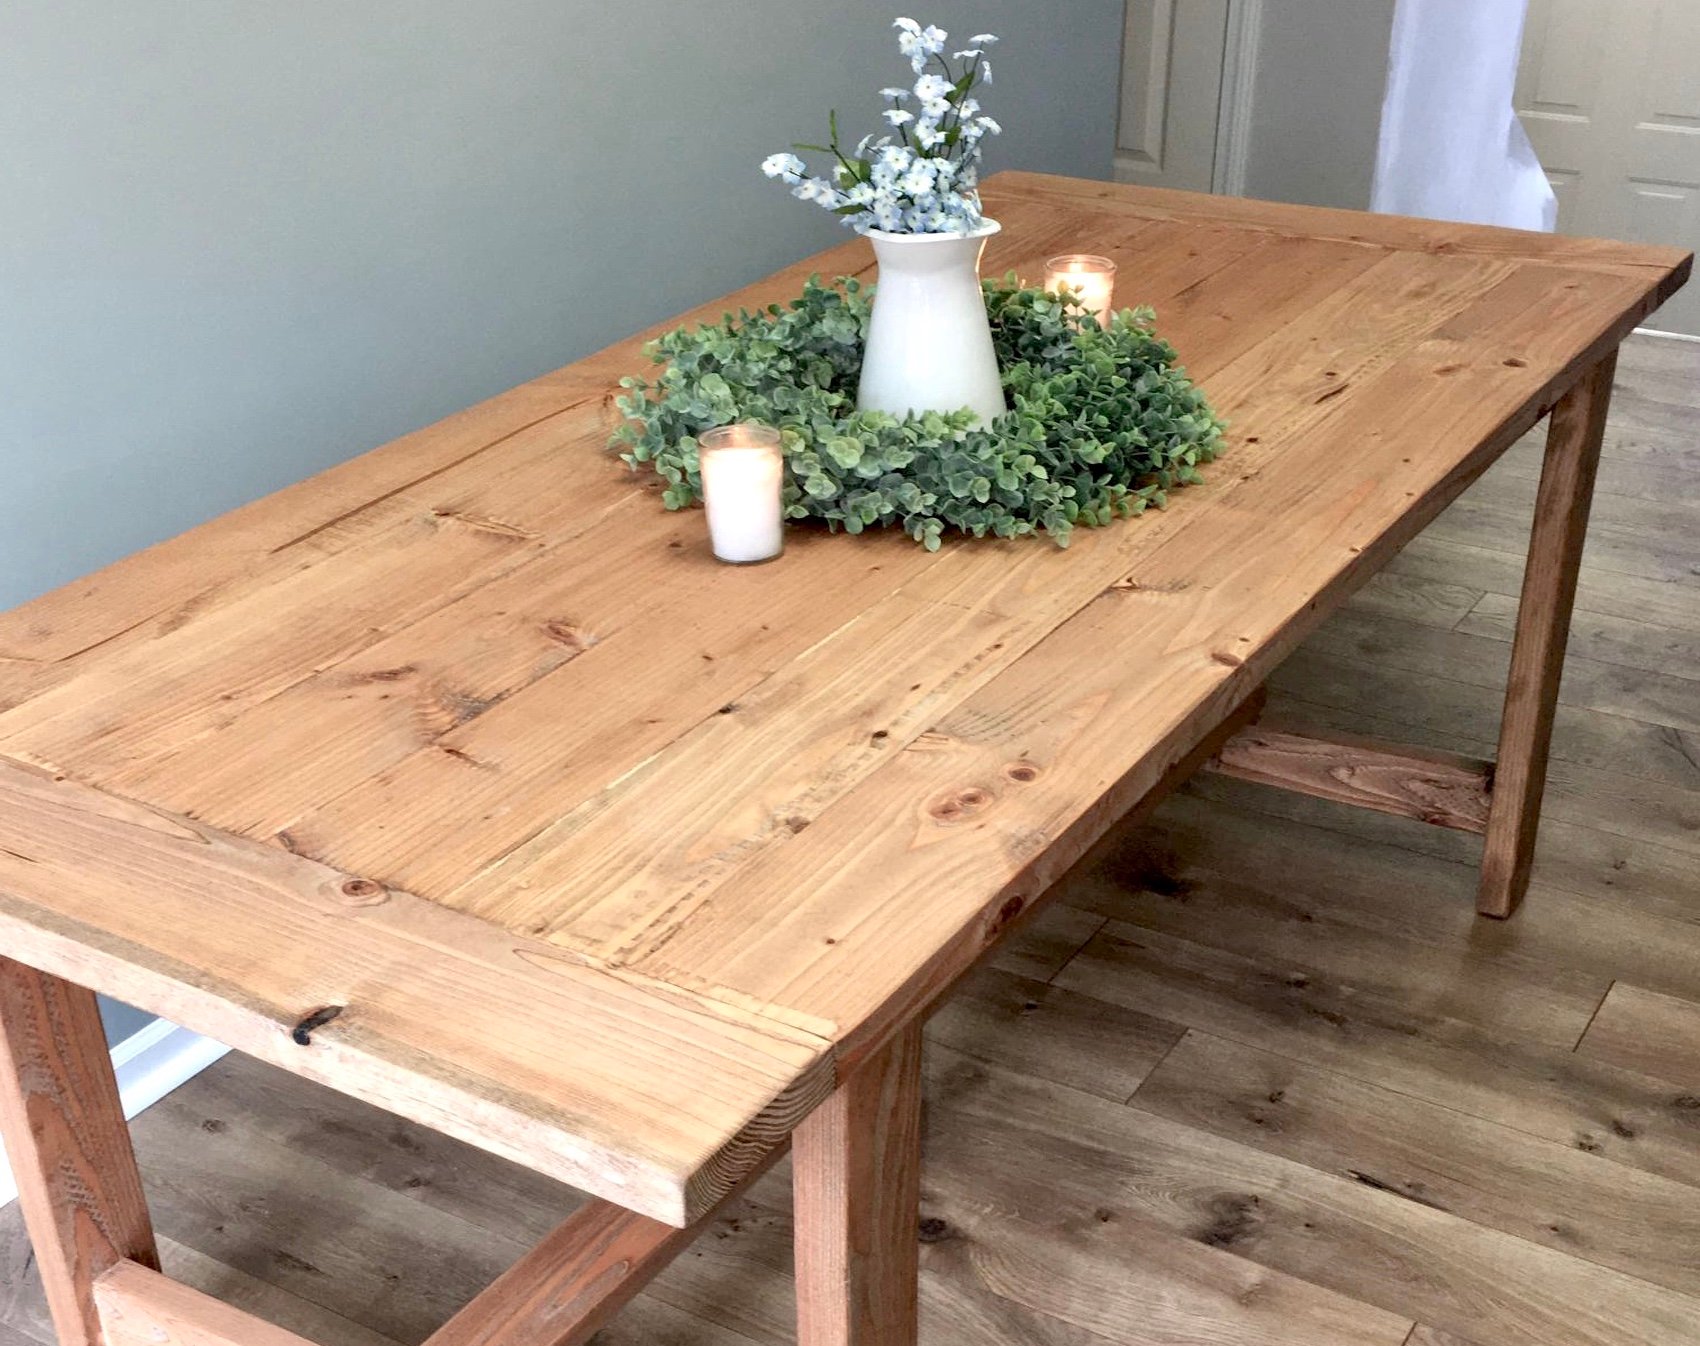
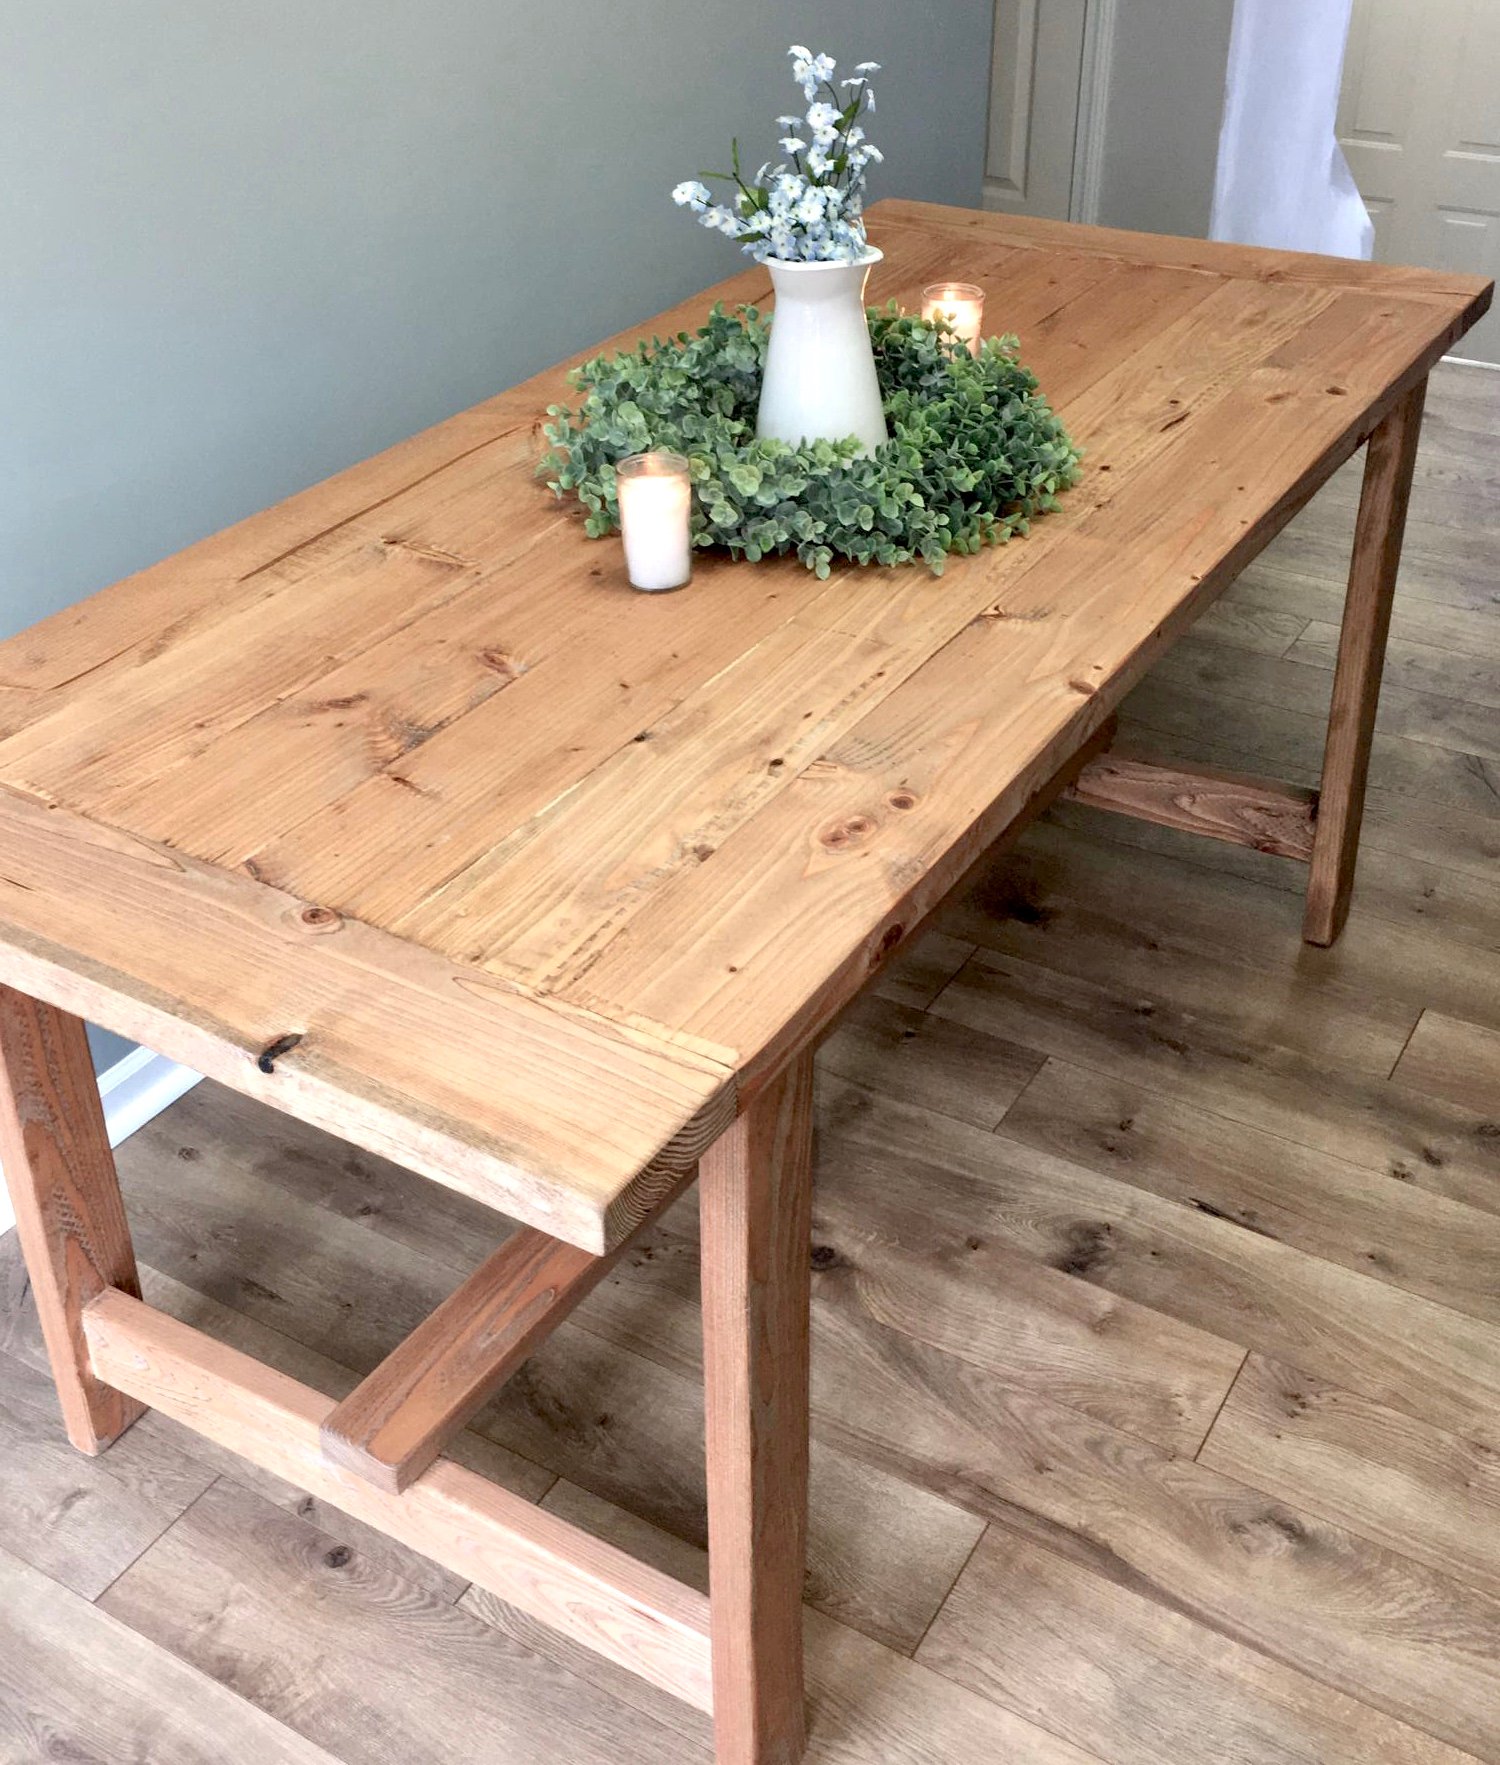
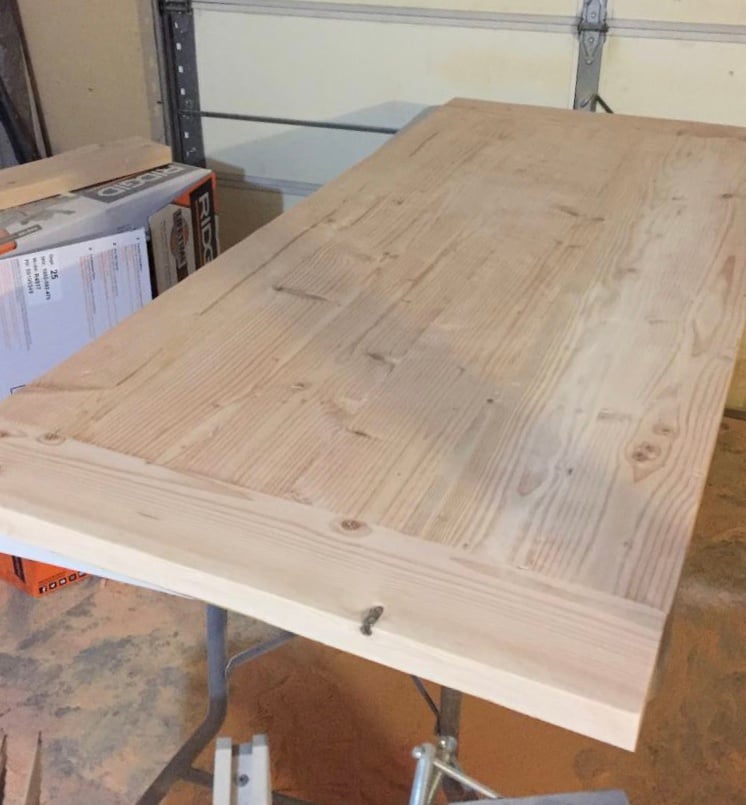
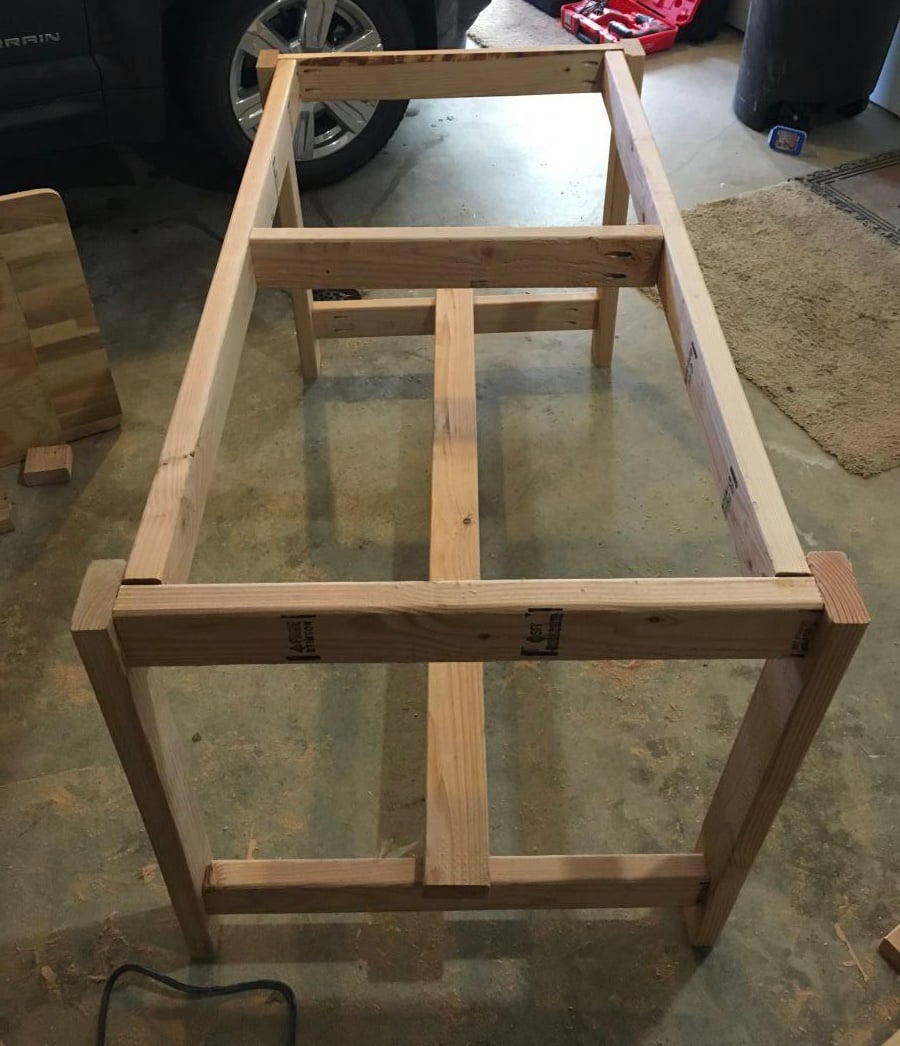
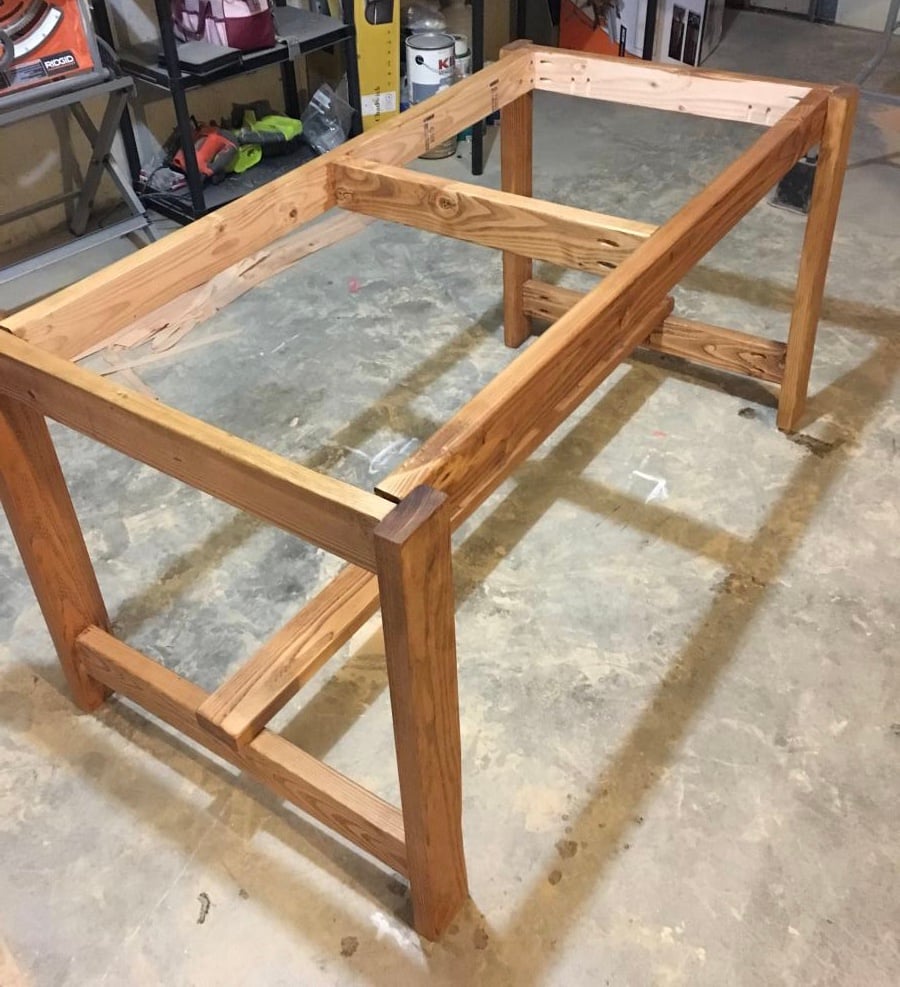
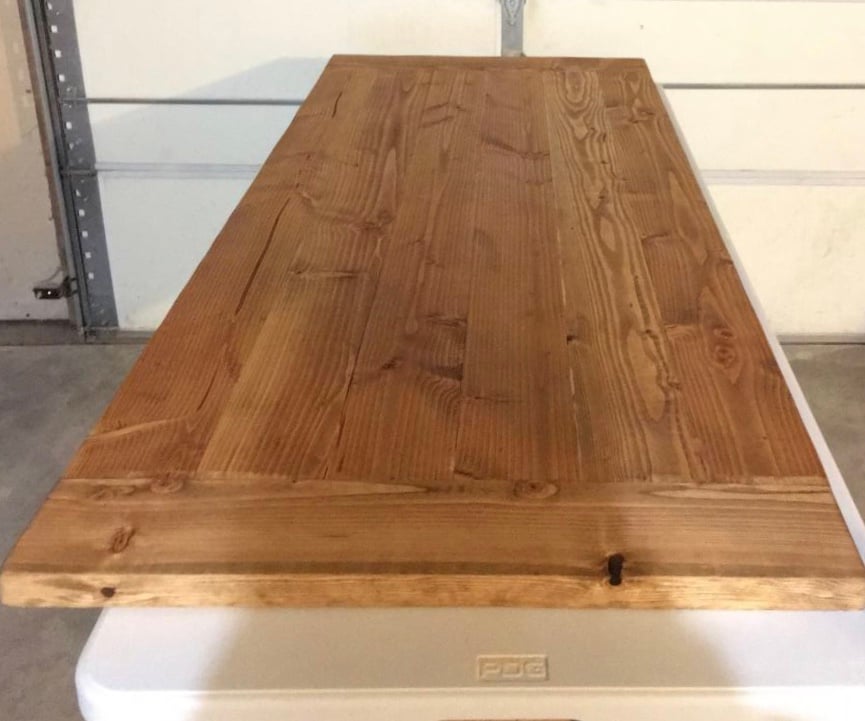
This is my first made-from-scratch table, and I'm really proud of the result!
I made this table for my amazing in-laws. They just moved into a beautiful new home with a spacious, open dining area, and they've been looking for a large table that our growing family can gather around.
We customized Ana's design by making the table larger and by transforming the ends of the table into extendable 10" table leaves.
The final dimensions are:
Height: 2.5'
Width: 3.4'
Length (fully extended): 10'
It took two weeks to make, predominately evenings and weekends, and/or whenever my baby girl was asleep!
Such a fun build! Can't wait to start my new project 🤗
Jenuri