Wood Custom Windows balance (Templary Style)
I just Get up and saturday morning and I felt inspired and start to build that window balance for my bedroom and I call it Templary Style
My wife wanted some chrevons (1 for all members of the fam). We are moving to a rustic feel so thought some pallet wood would do the trick. Left them rough (unsanded until very end). No real plans just figured it would as I went.
This is the 3rd table I built. Love all of your work. Ross
To finish my laundry room off I decided to build laundry cabinets - this laundry basket dresser is perfect! I used 8in. fold down shelf brackets (like the ones in Lady Goats Miter Saw cart). I also cut corners on the back since I was out of plywood after building my laundry cabinets. I used 3 1 X3s to support the back. I used a pine project board for the top which is only 24in deep so I did adjust the plan for that and the baskets still fit!
I followed the basic plans for the kent wood nightstand but made a few changes. I made paneling out of 3/4" plywood for the sides and door/drawer and routed a 1/2" by 1/2" channel into the face frames to slide the panels in. I added a drawer and made the door smaller. Instead of using the strips of wood for the top I framed it with 1x3's and inset a piece of Wedi tile underlayment. Wedi is a closed cell foam that is coated with a cement membrane. It is pretty durable and completely waterproof. I then used white thinset mortar and set 3x6 tumbled travertine in a herring bone pattern using a 3/16" v notch trowel. Grouted the top of the tile and caulked with color matching latex caulk where the tile meets the wood frame.
Built using the Farmhouse Bed - Queen plan, making adjustments for the Full size matress. The finish is a blue milkpaint over a white base and distressed with a sanding pad.
Thanks to the pandemic I needed to whip up a quick (and cheap!) home office. This desk was the perfect fit! I made the top out of an 8-foot rough pine board...Just cut it in half and attached it lengthwise with wood glue and pocket screws. Finished the top with a dark stain, and the bottom with some white trim paint we had laying around. The whole thing cost about $20, versus the $200 I would have had to spend. Very happy with how this turned out!
My interpretation of the printers cabinet. Needed something for my office that was deeper for my printer, 3D Printer and a few other items.
So I built this table in the last few weeks. I am looking to make furniture for a living at some point down the road, being sort of tired of my current profession. Starting a new hobby takes some initial investment, but my wife was enthusiatic. The whole table took about 4 days of work. I ran into a few problems with sizing of some of the pieces but they are all covered in the commments sections.
Materials: Fir for the legs, red oak and walnut on top. You may notice the top is pieced together a little differently than Ana's plan. This is due to some creative problem solving. Namely, the 1X6s for the top weren't quite the right width.
Finish: Satin Polyurethane (4 coats) and Minwax Cherry Oil based Stain (1 coat). Note, the spray cans of polyurethane are a waste of money.
Entire project was 350 dollars. I Probably could have done it for 300 or less had I more experience. Now I need some chairs. Saw some cool ones here. http://wudfurniture.com/furniture/wud-chair/
Whaddya say Ana? Plans Please! :)
I saw this table on Anna's website from rogueengineer.com. The plans were simple to follow. I made it out of pine, 2×4s, and baltic birch ply.
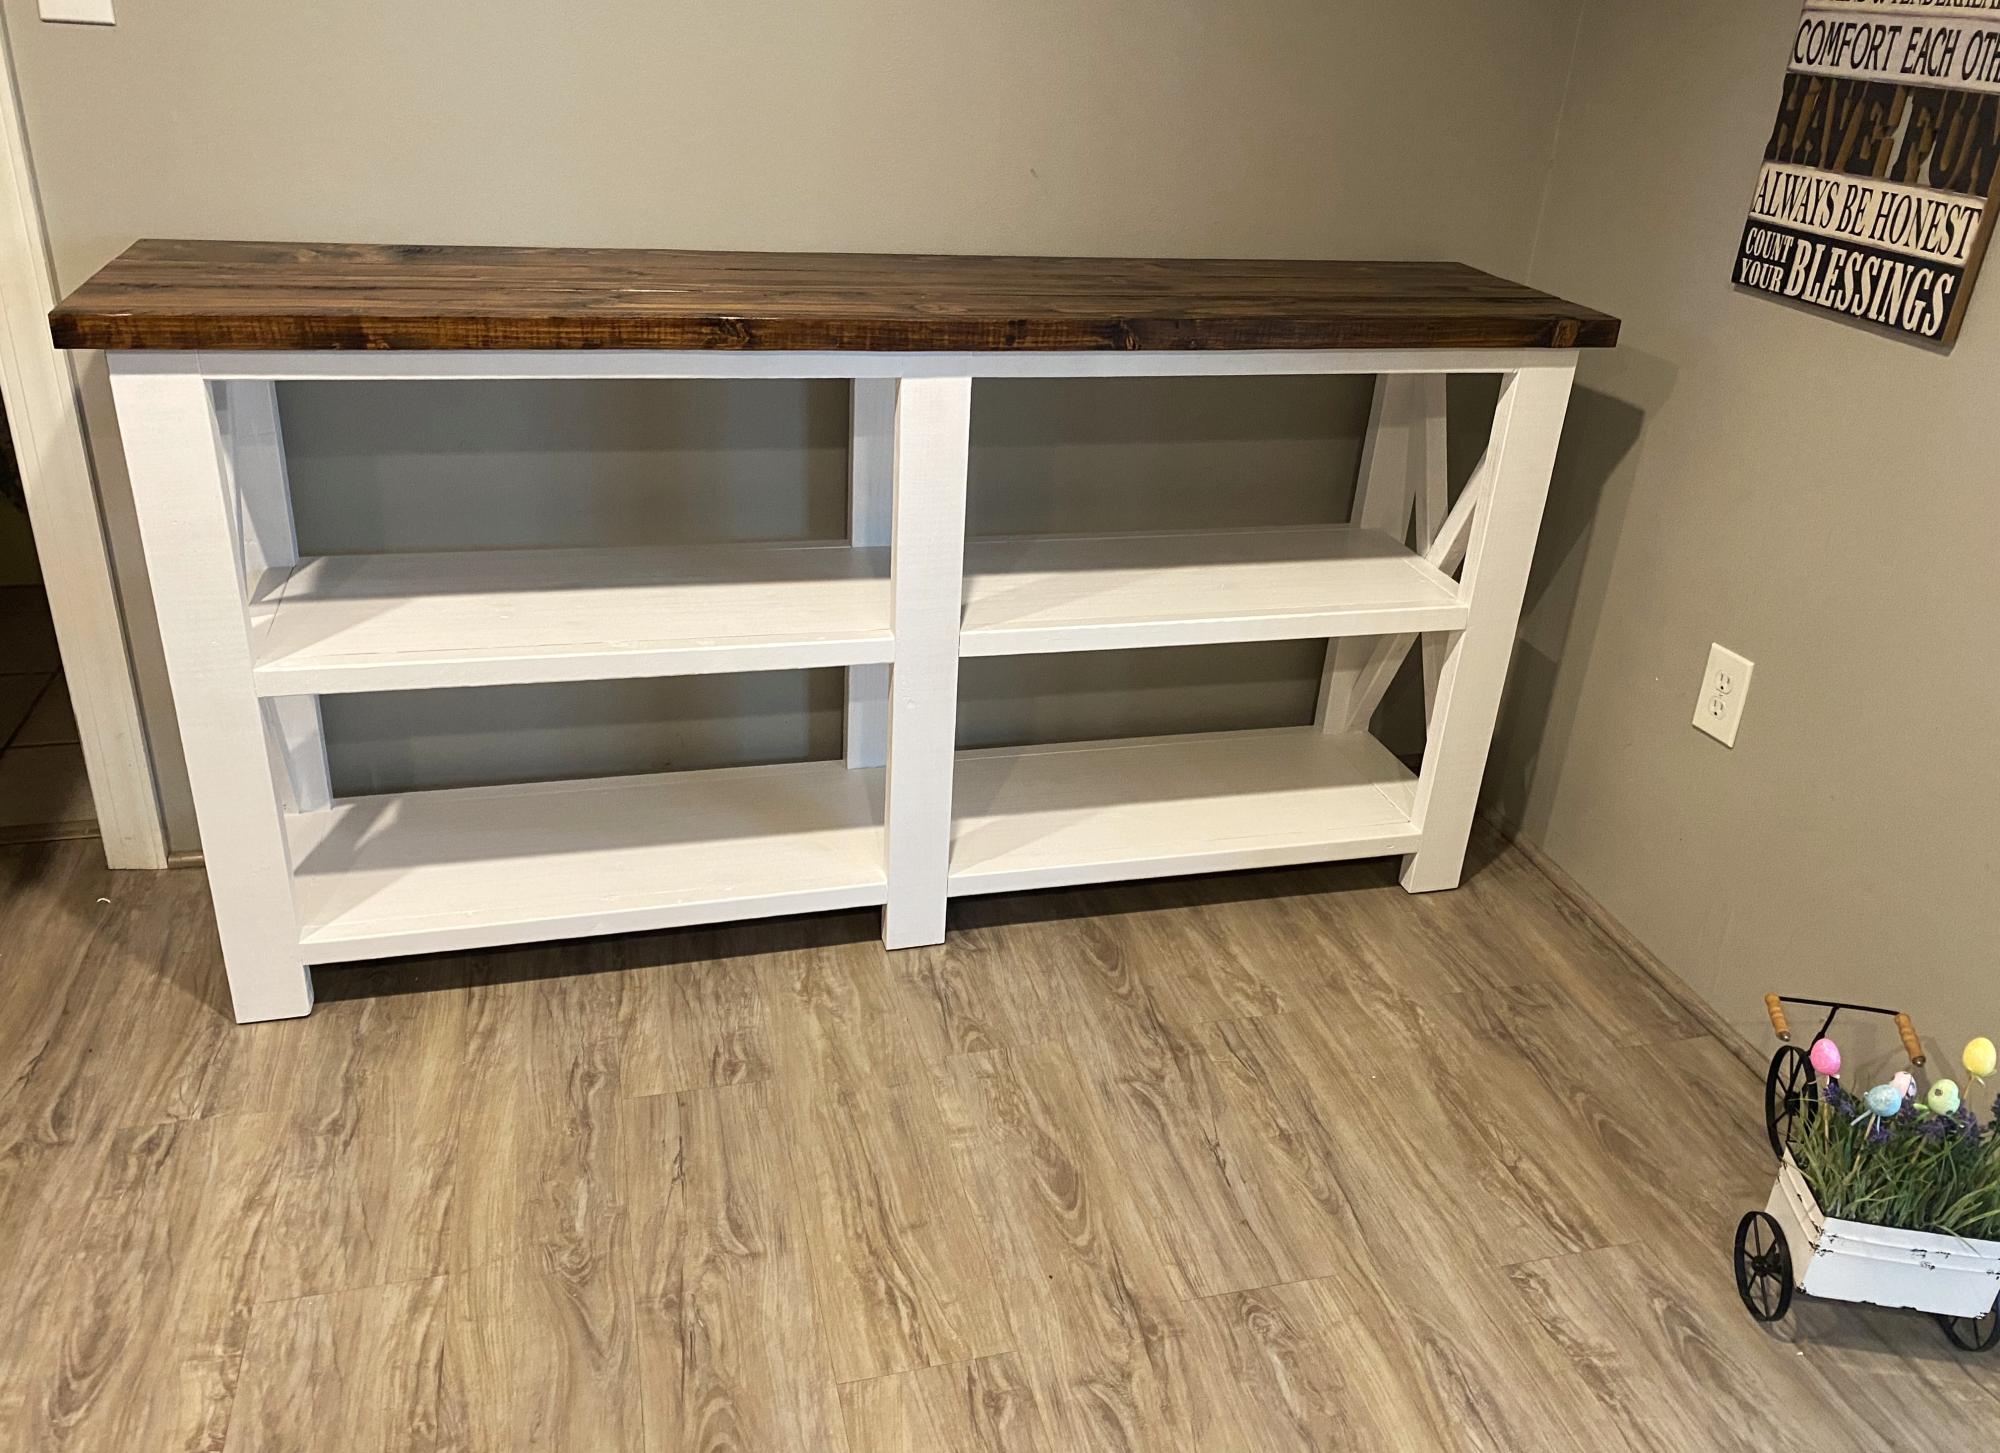
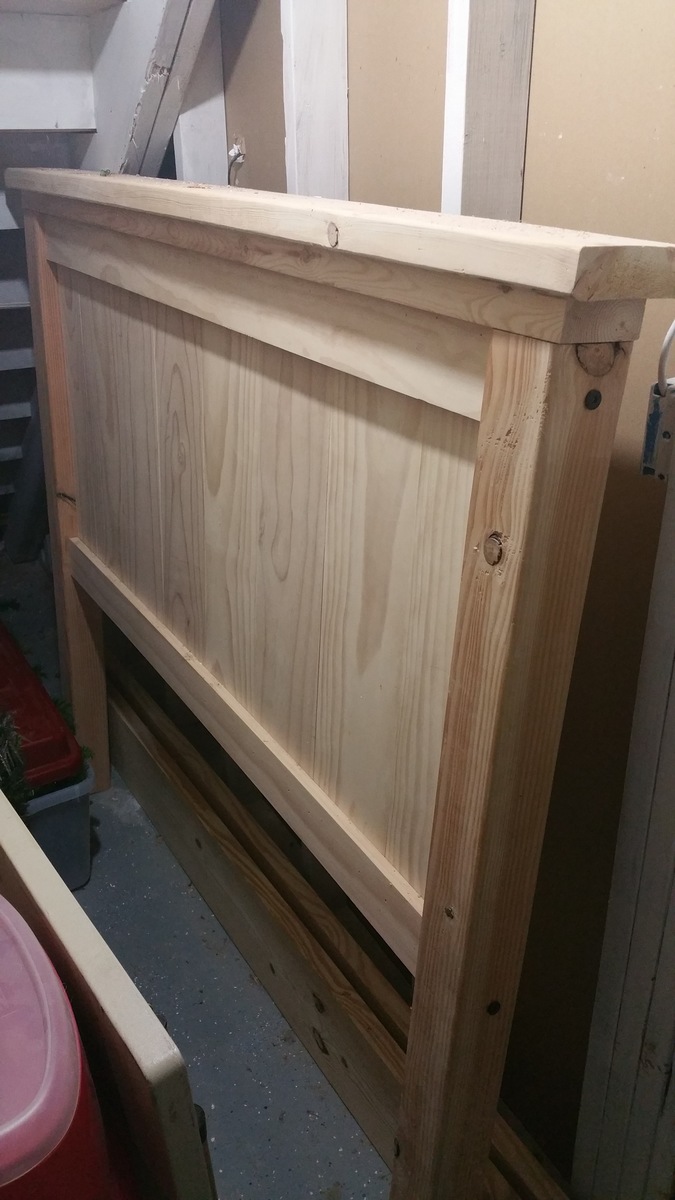
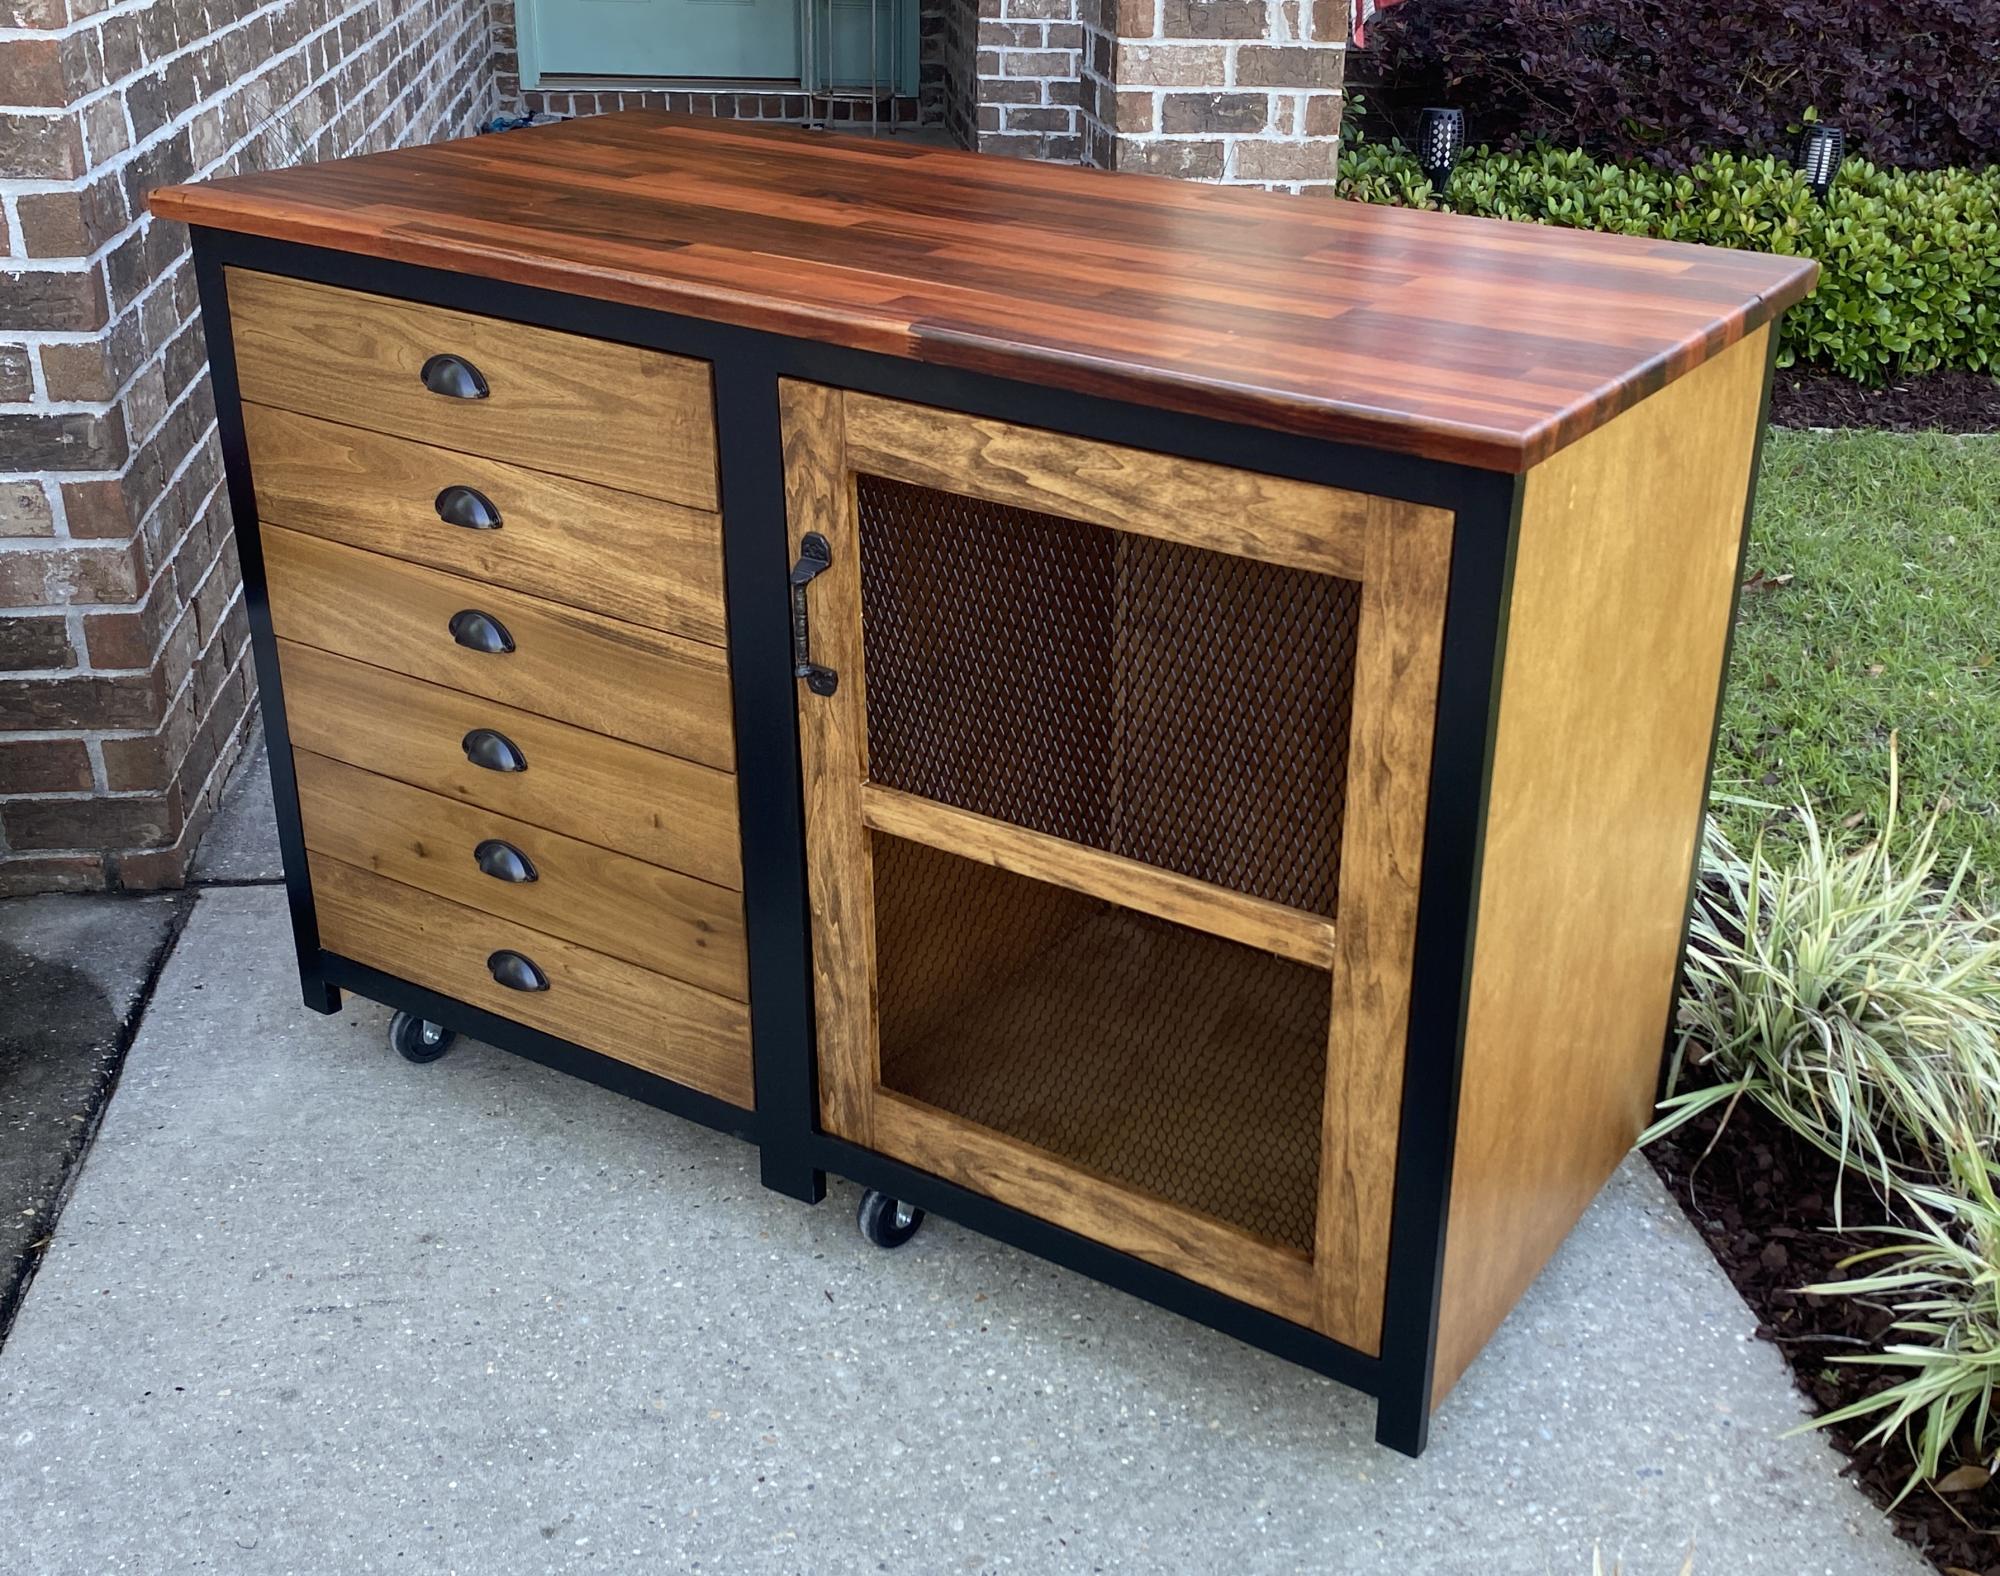
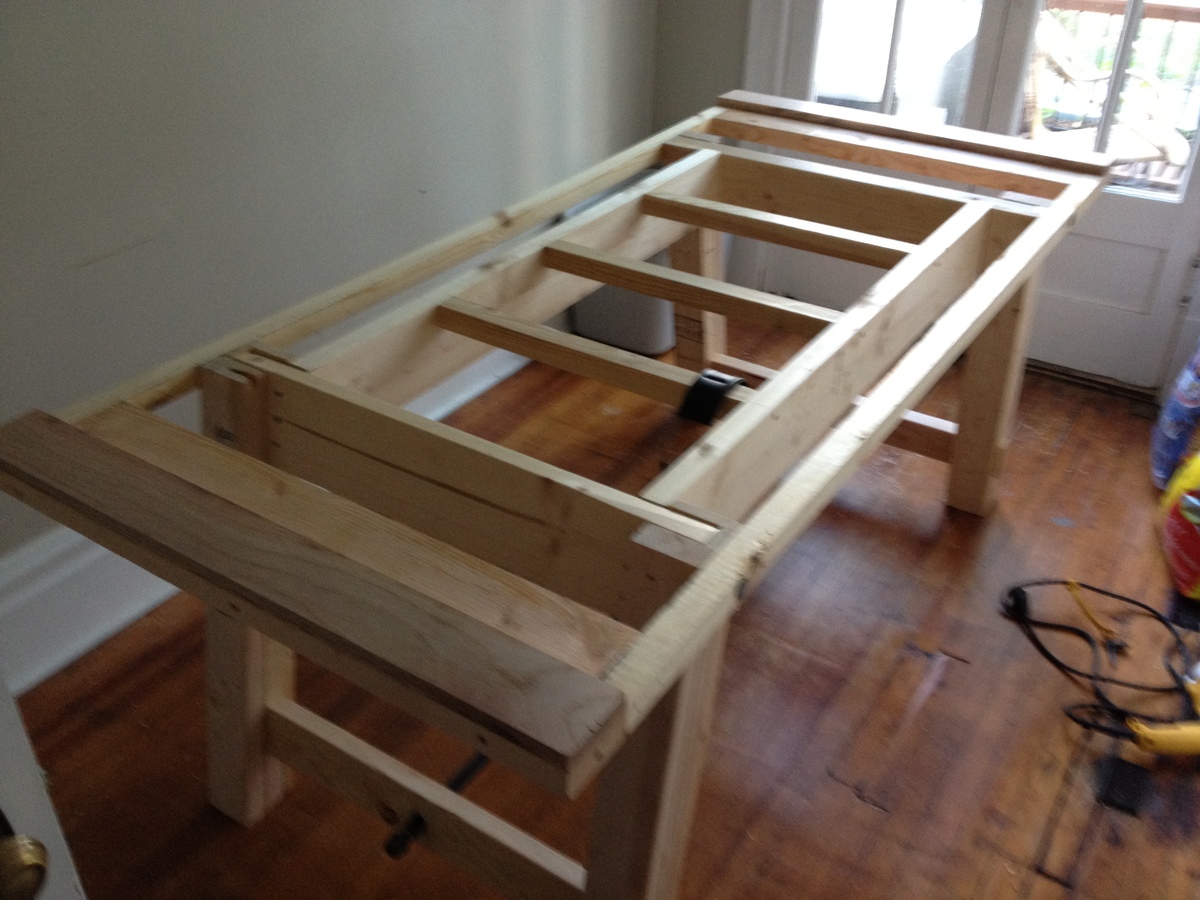
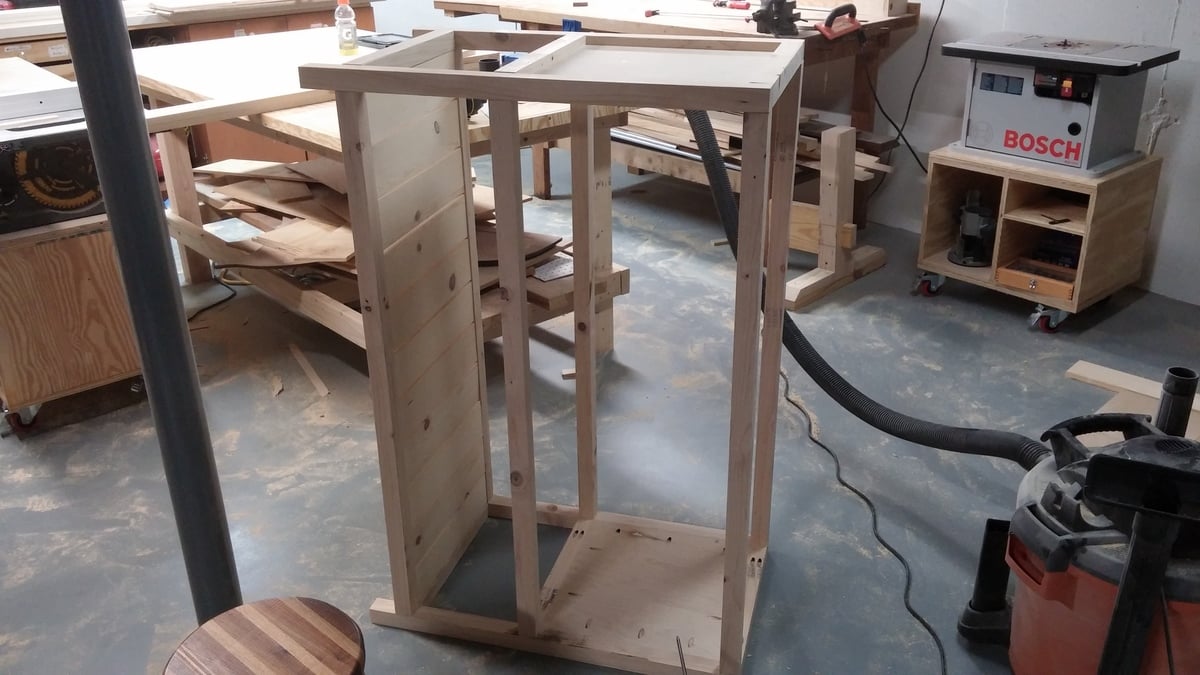
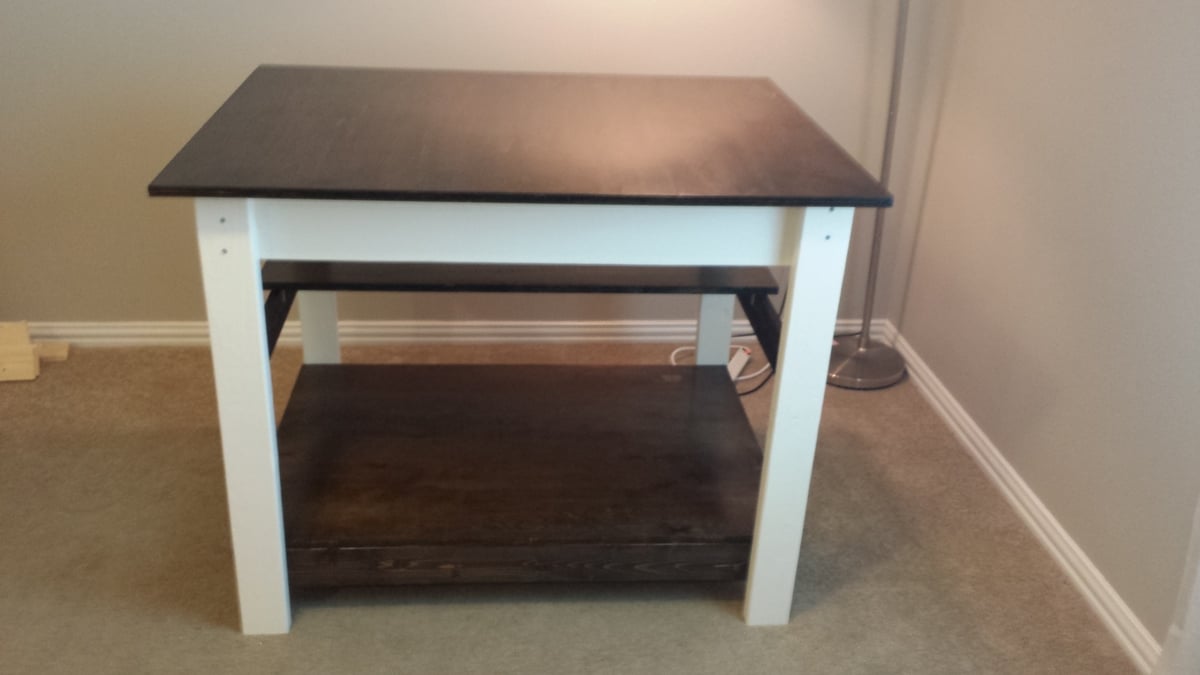
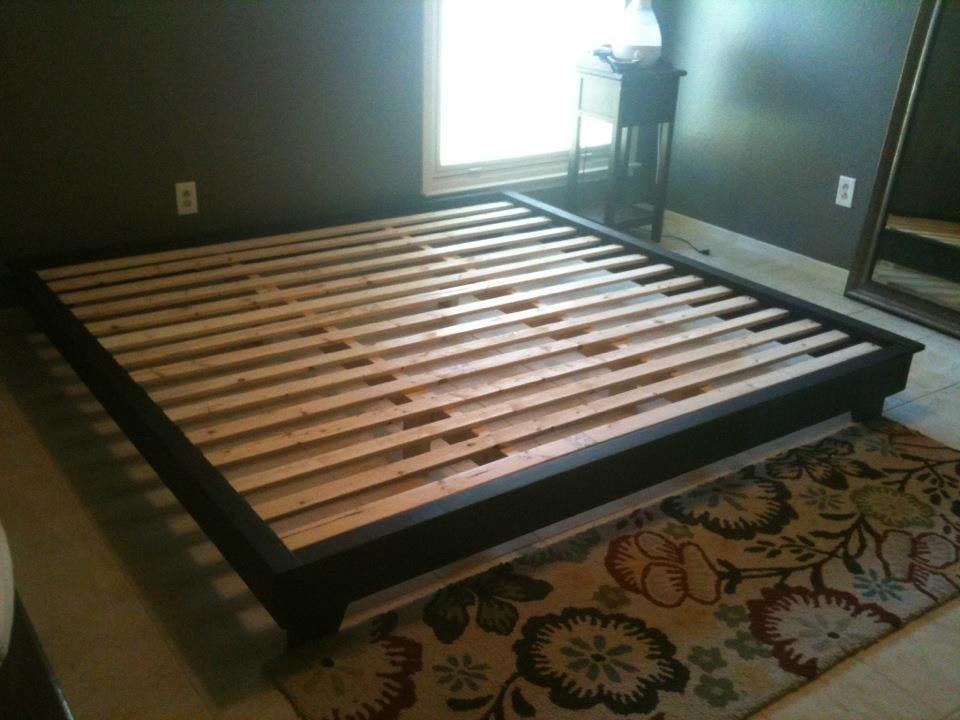
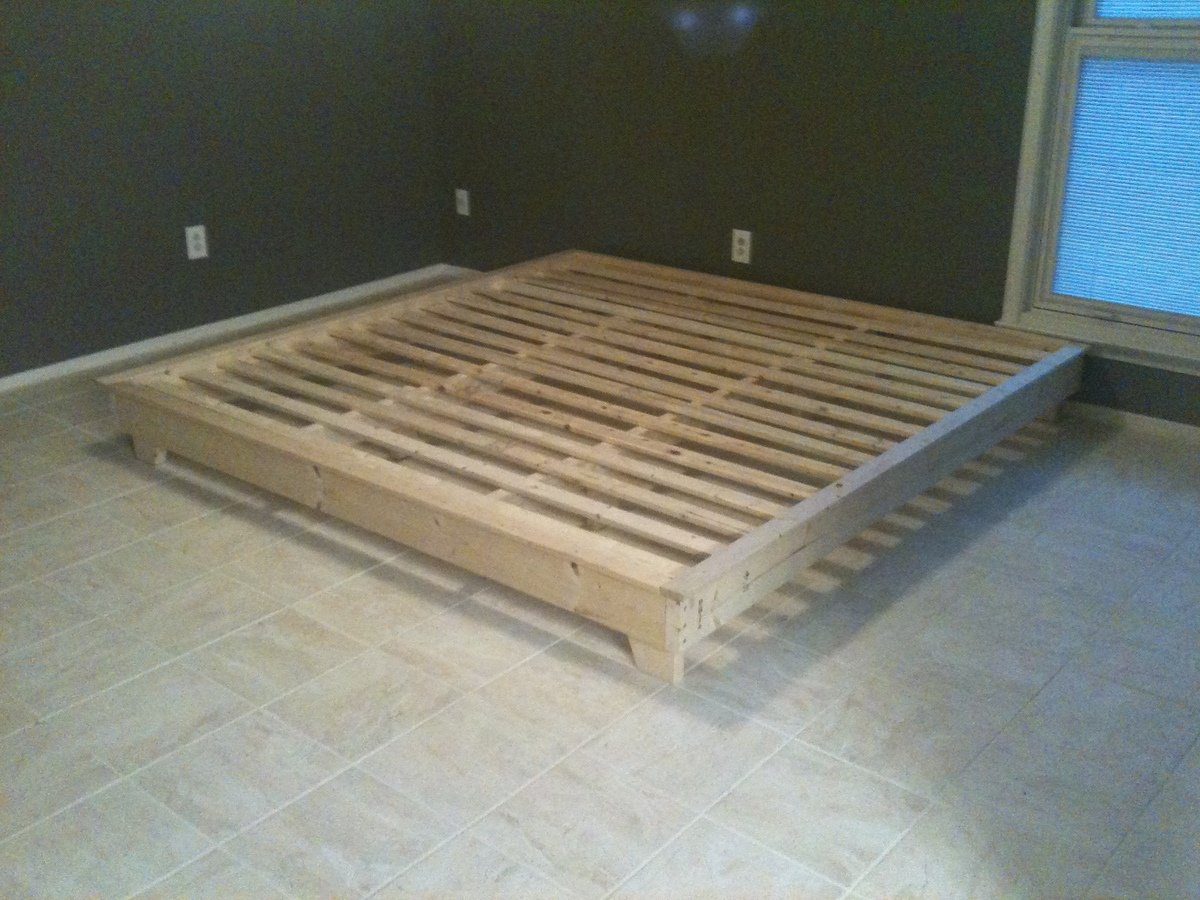
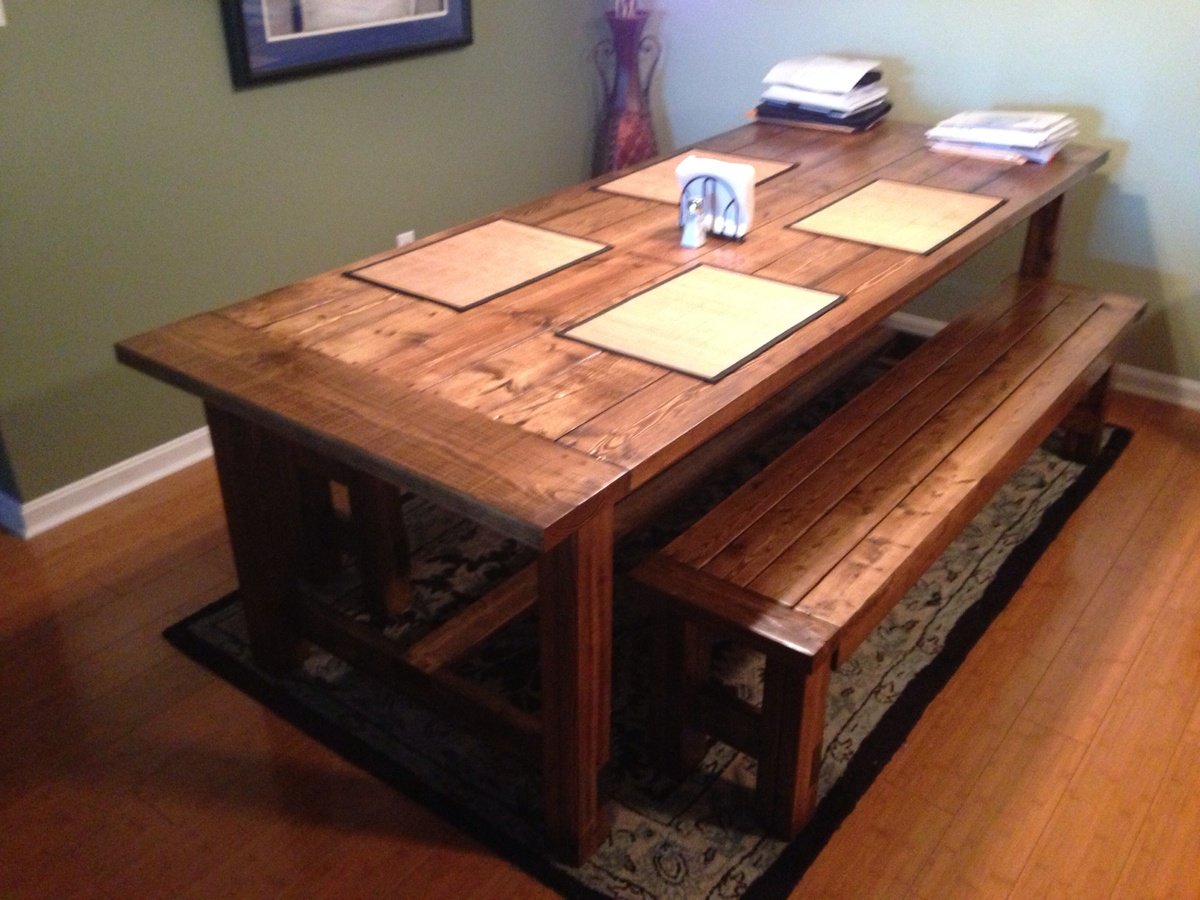
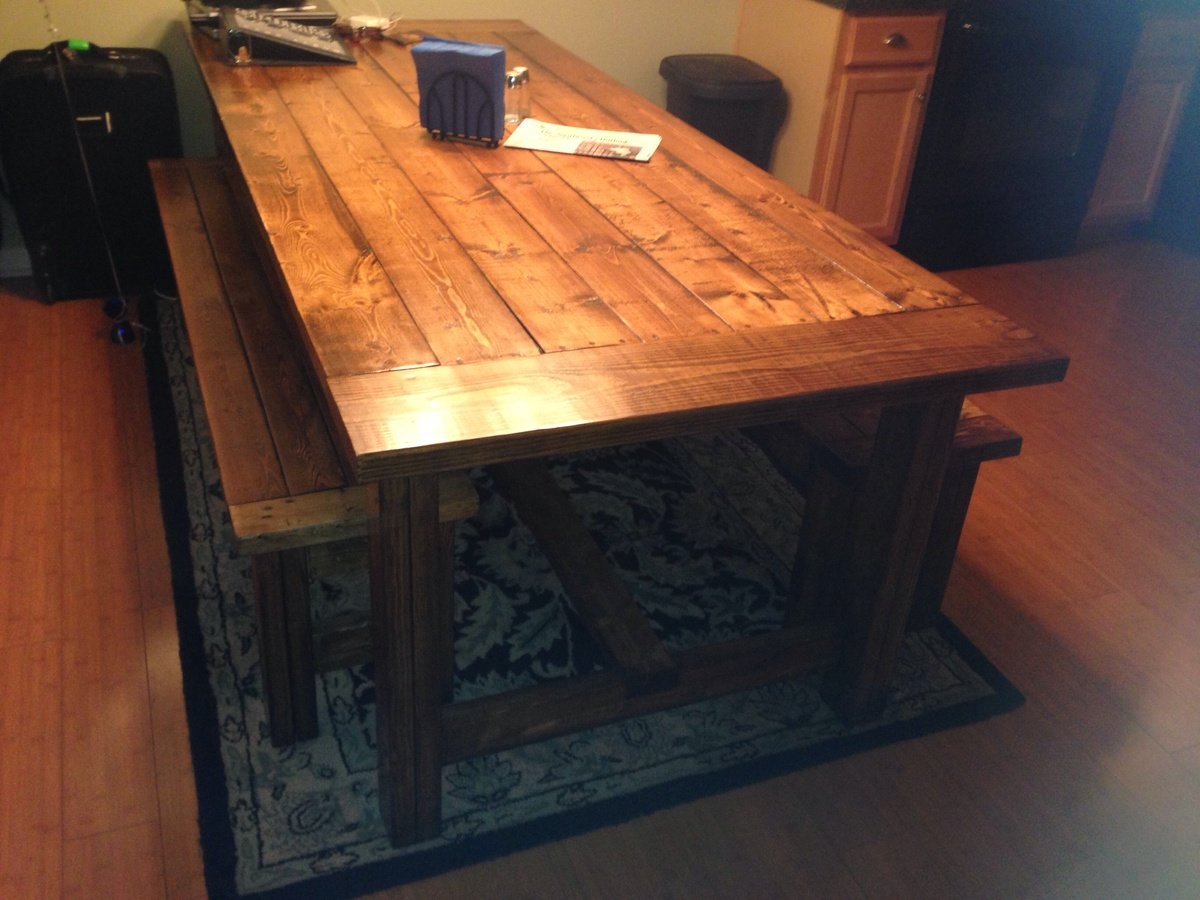
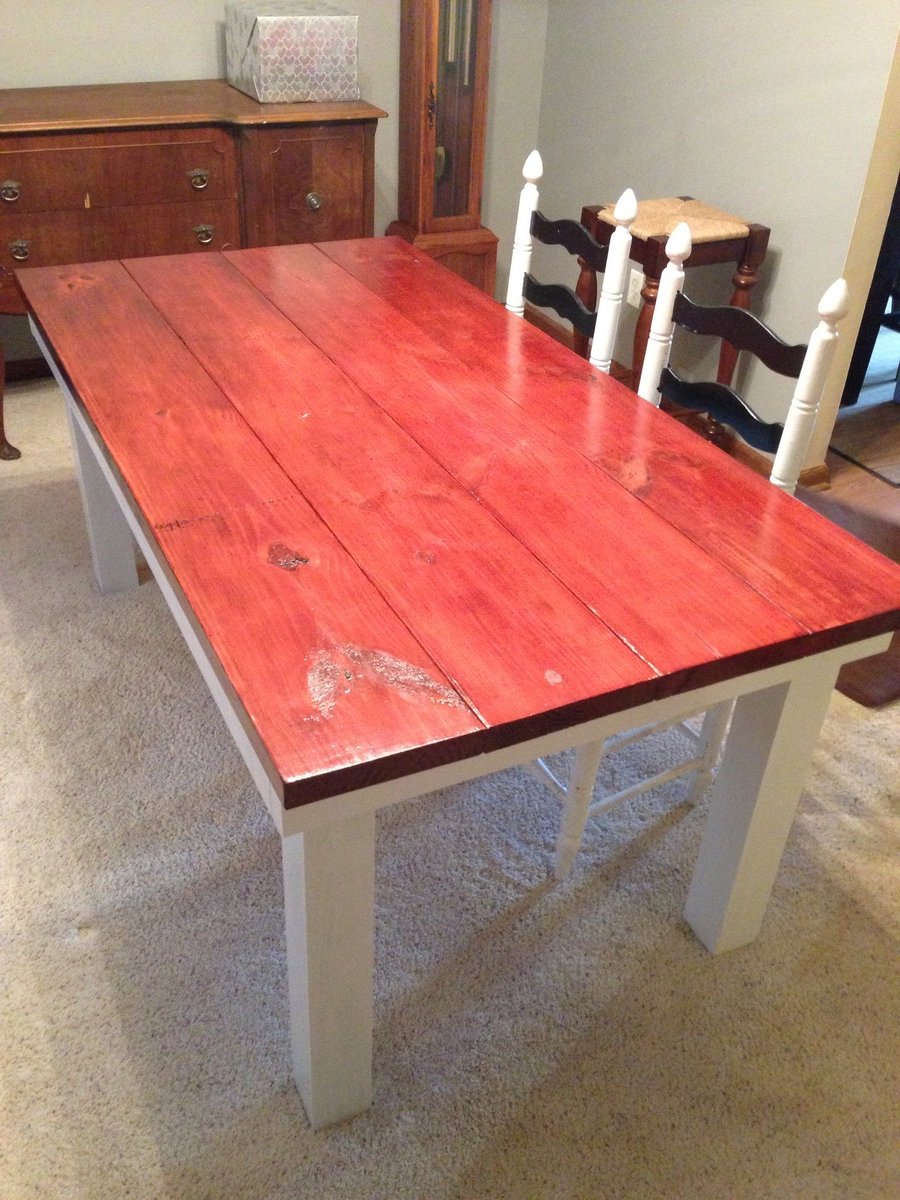
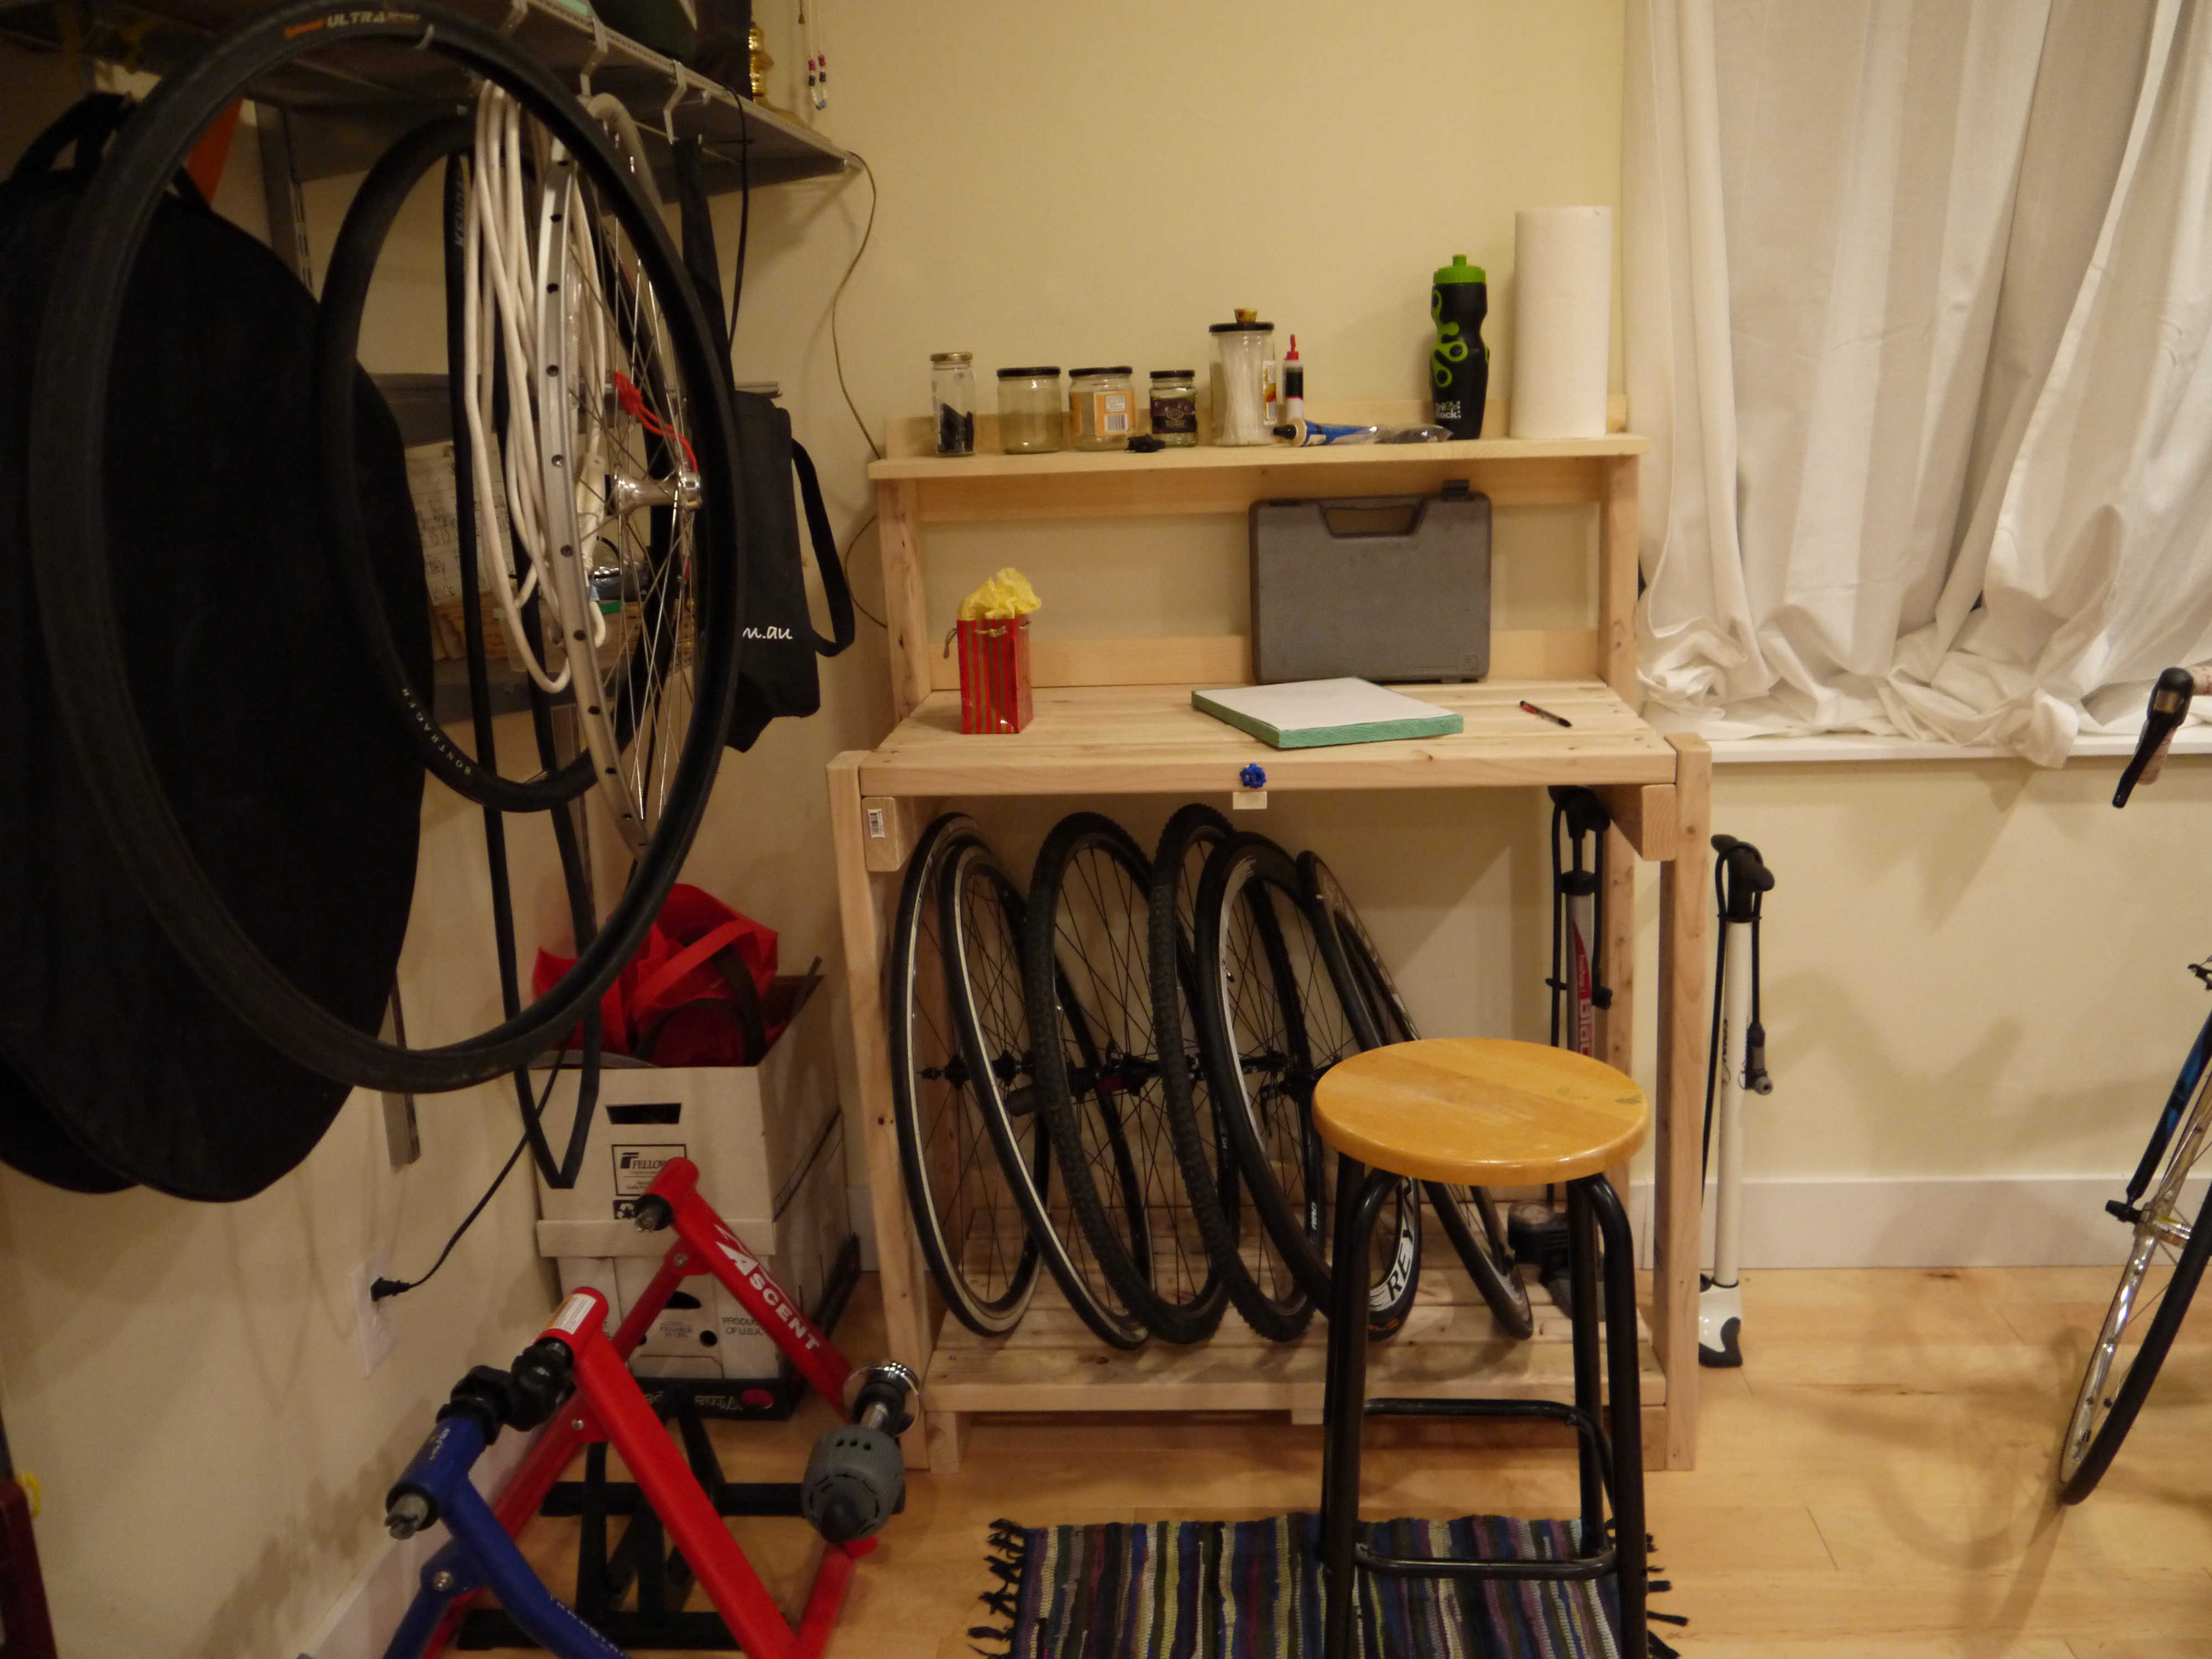
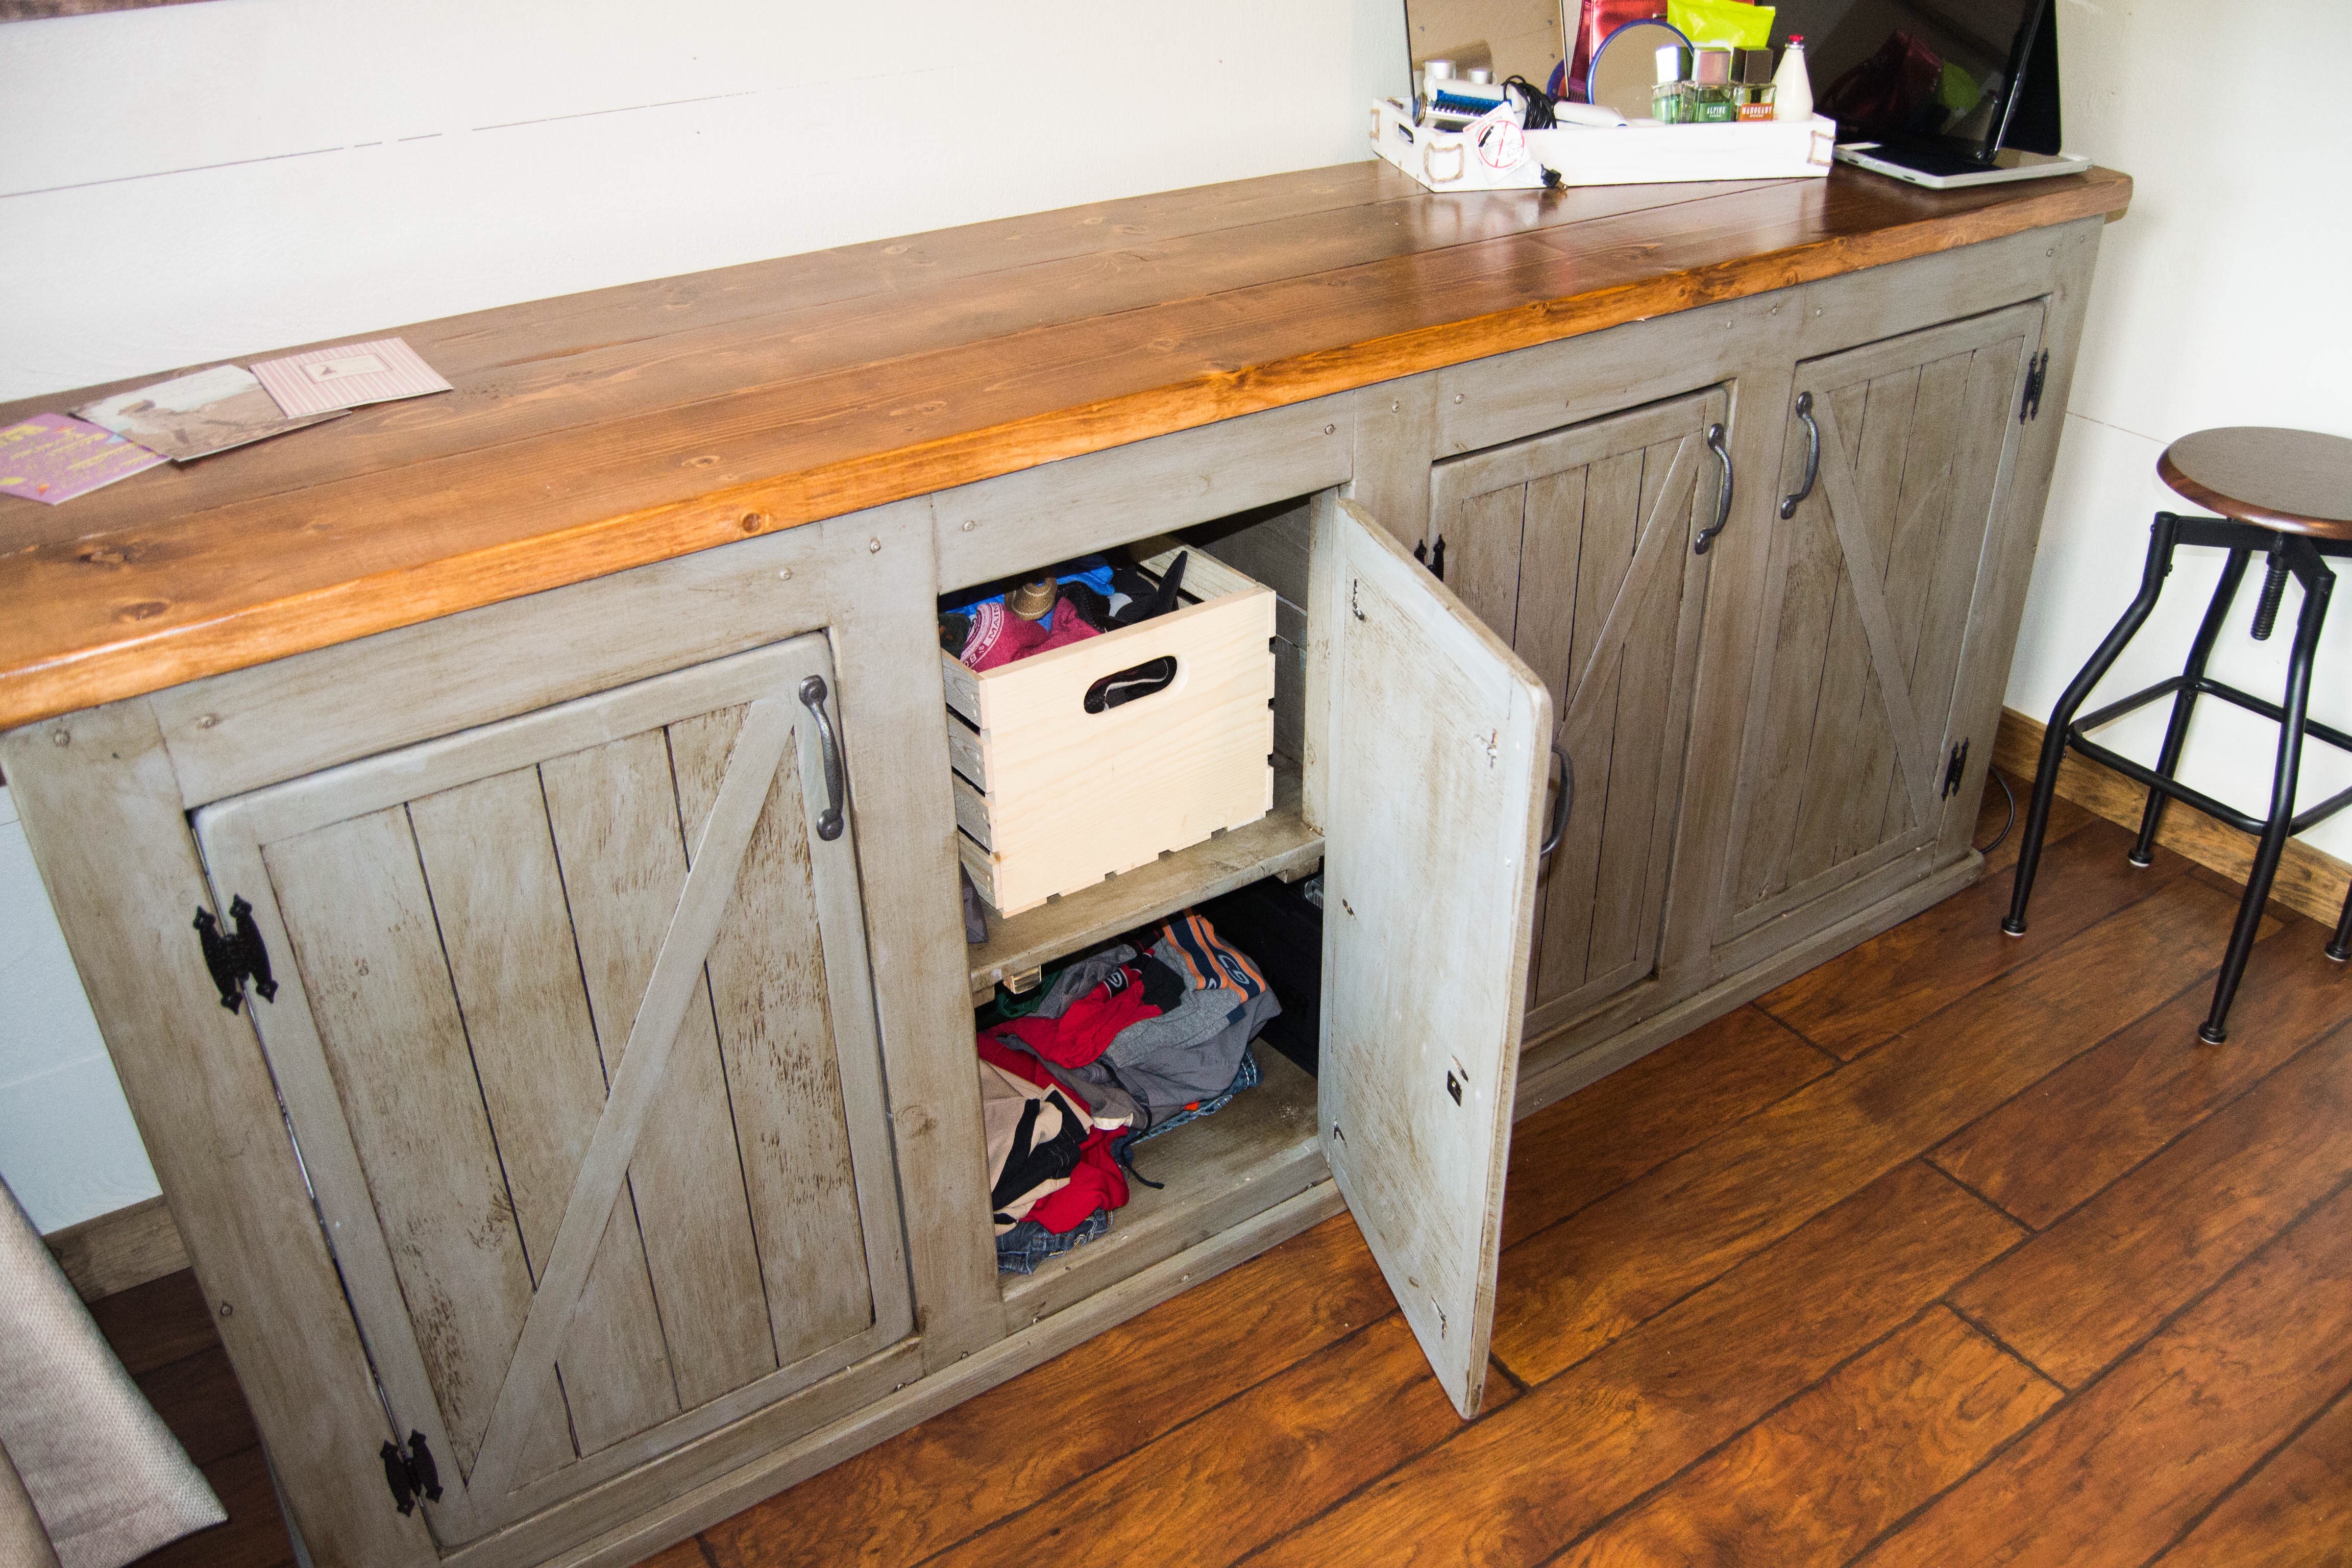
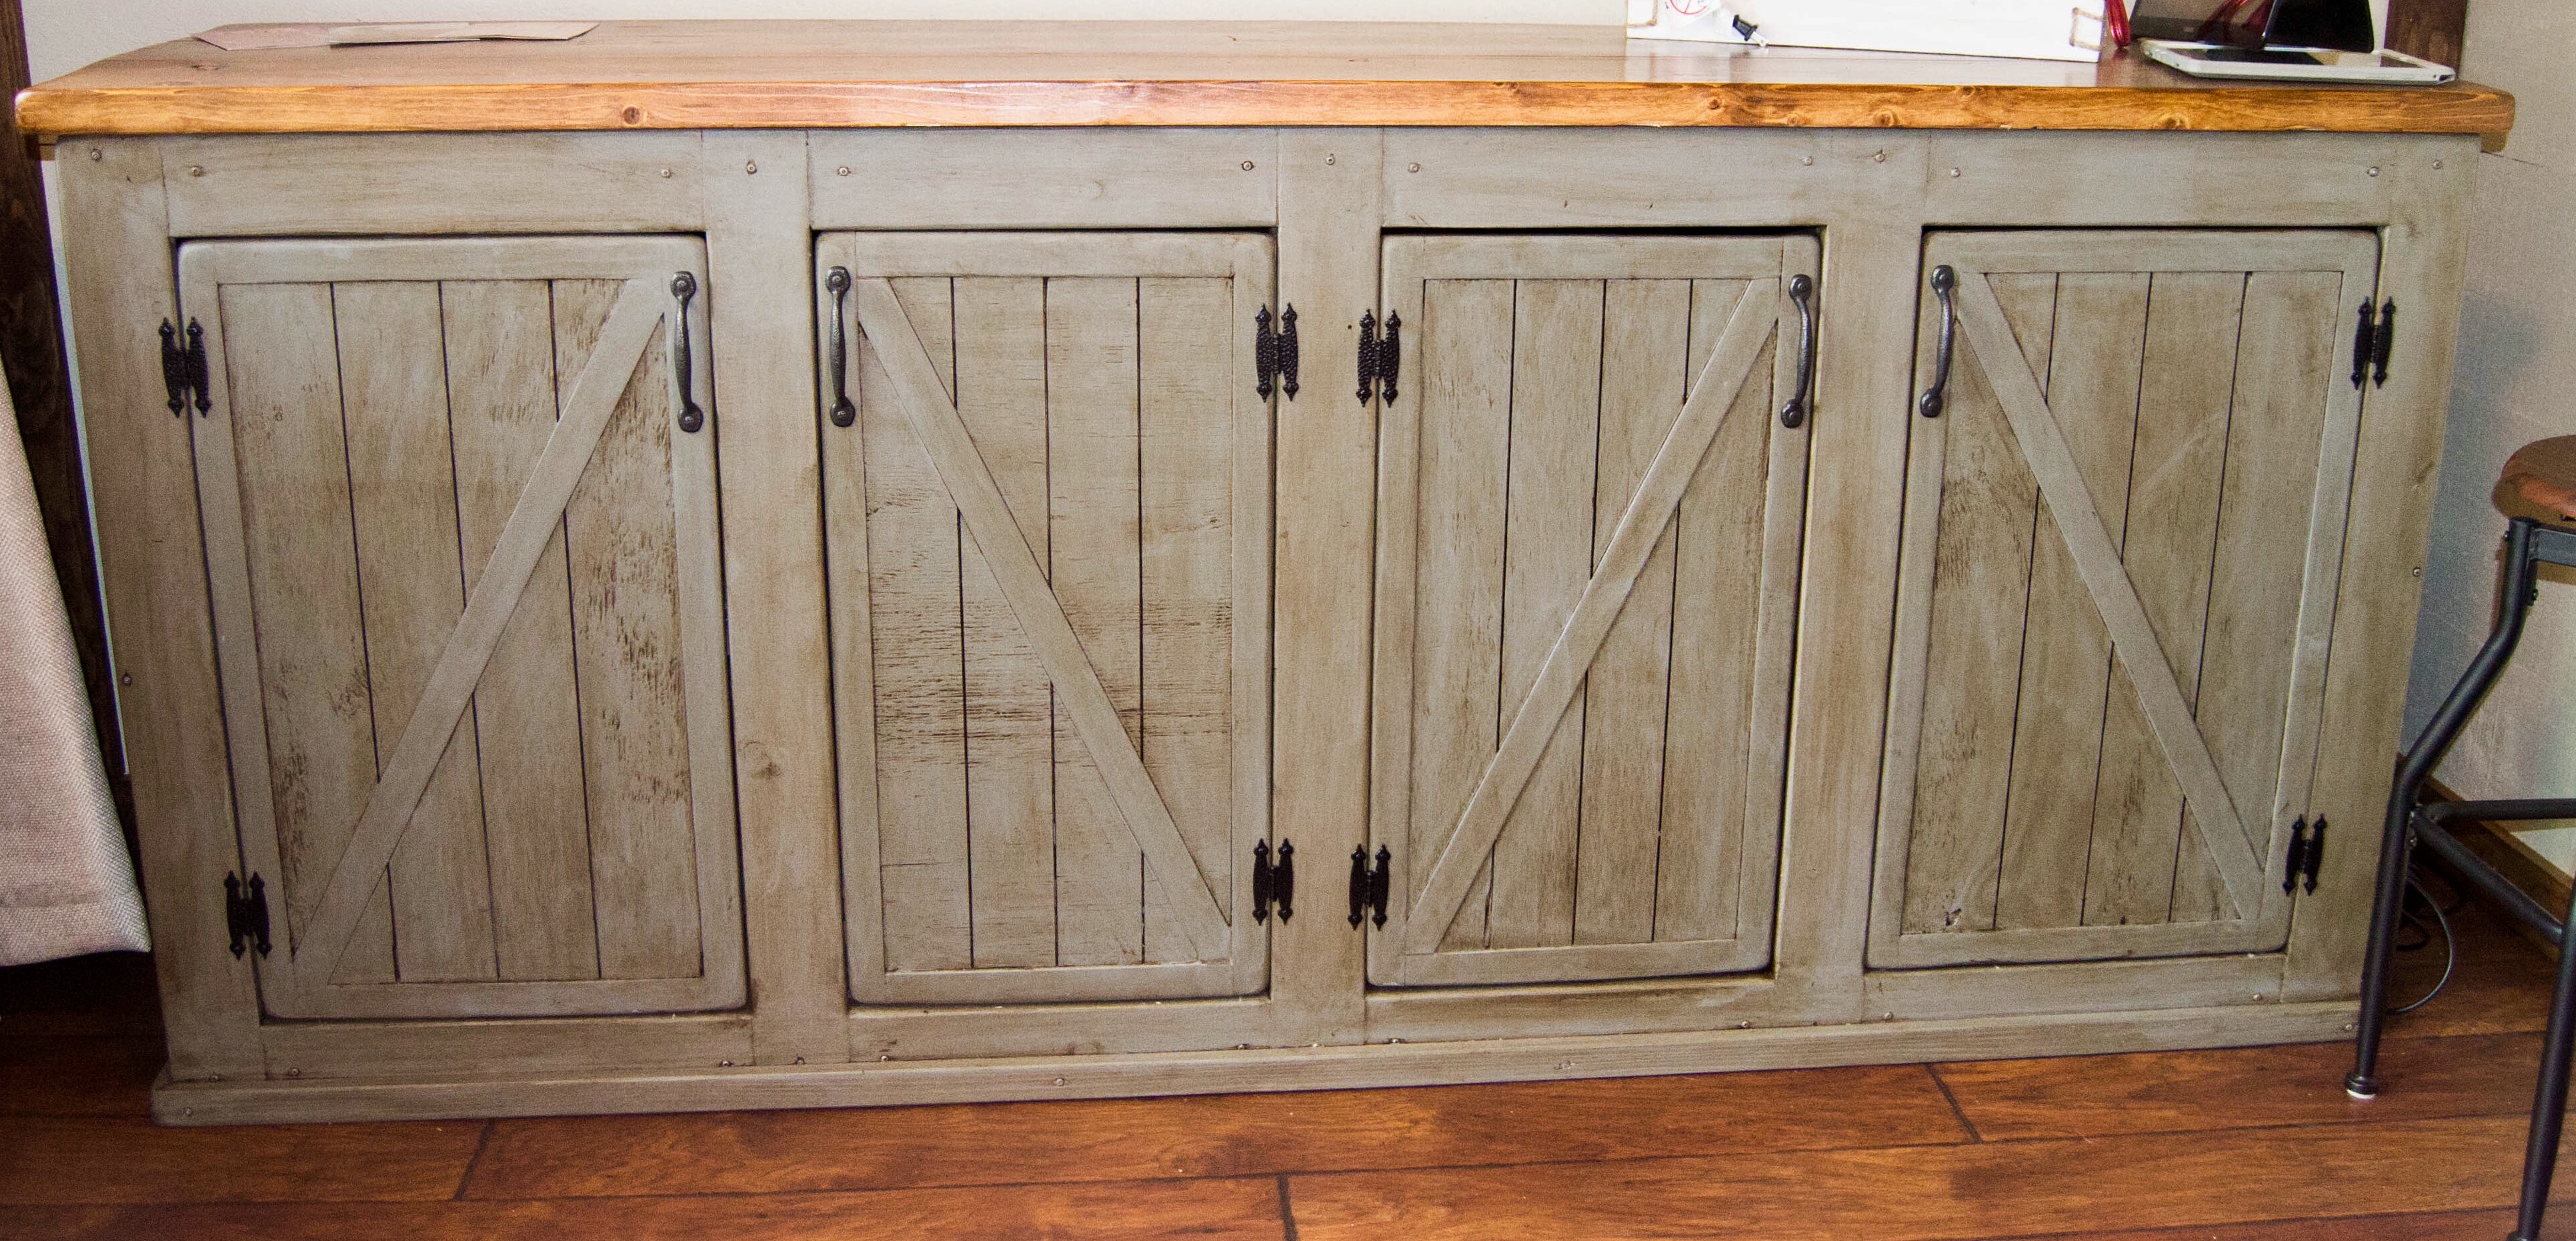
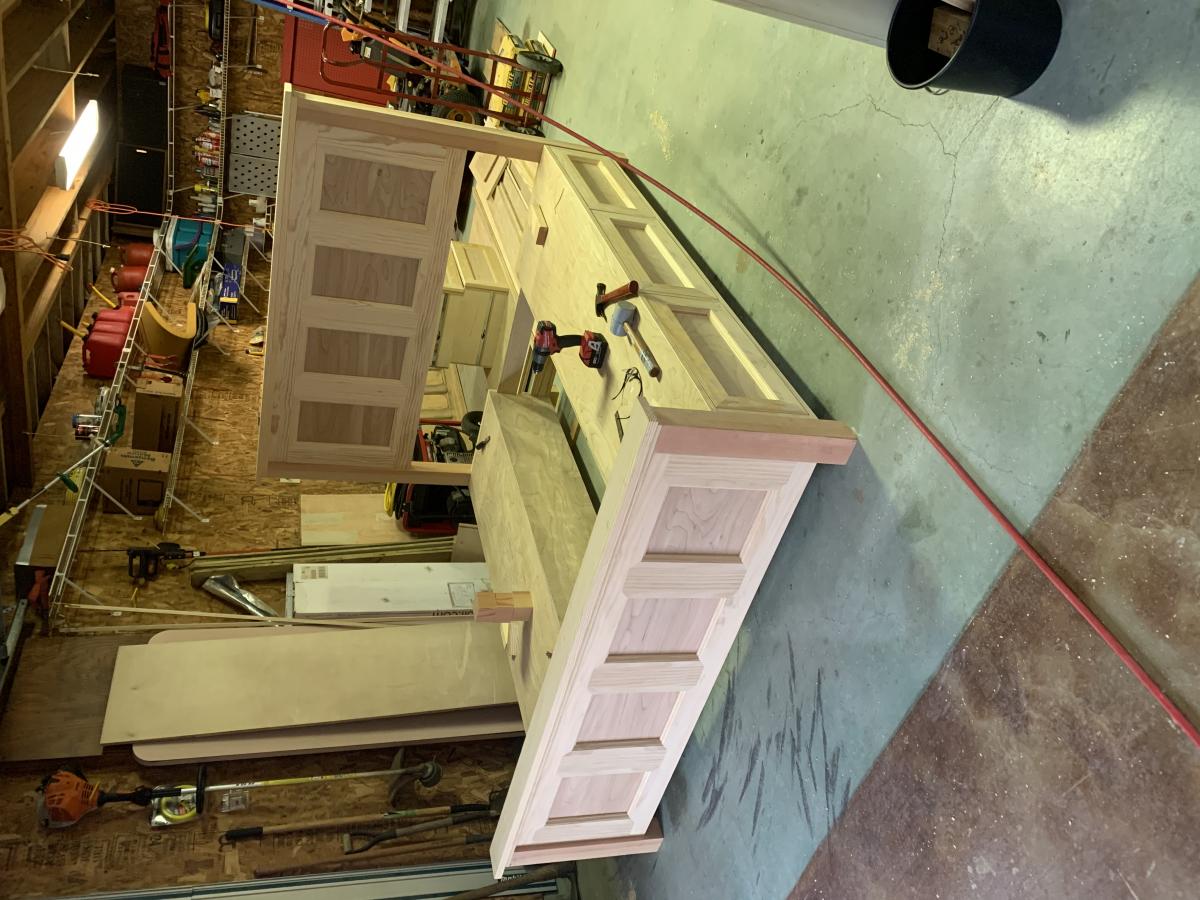
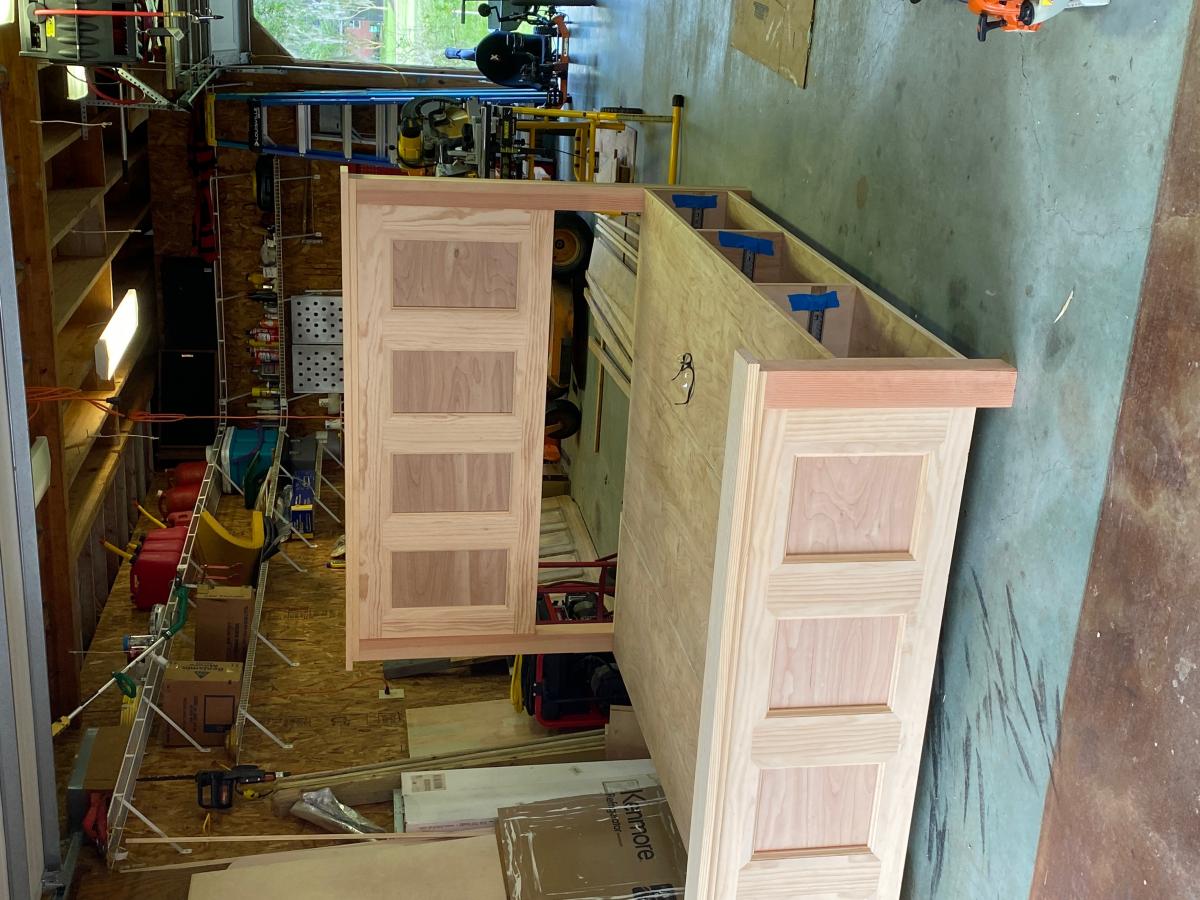
This was inspired by the easy kitchen island and the easy garage workbench plans. I saw what another person had done so I modified it to my specifications to work as a craft and fabric cutting table. It is 37" high so I can stand and cut fabric comfortably without bending over. I chose 37" because I have long legs and needed a little taller than normal countertop height.
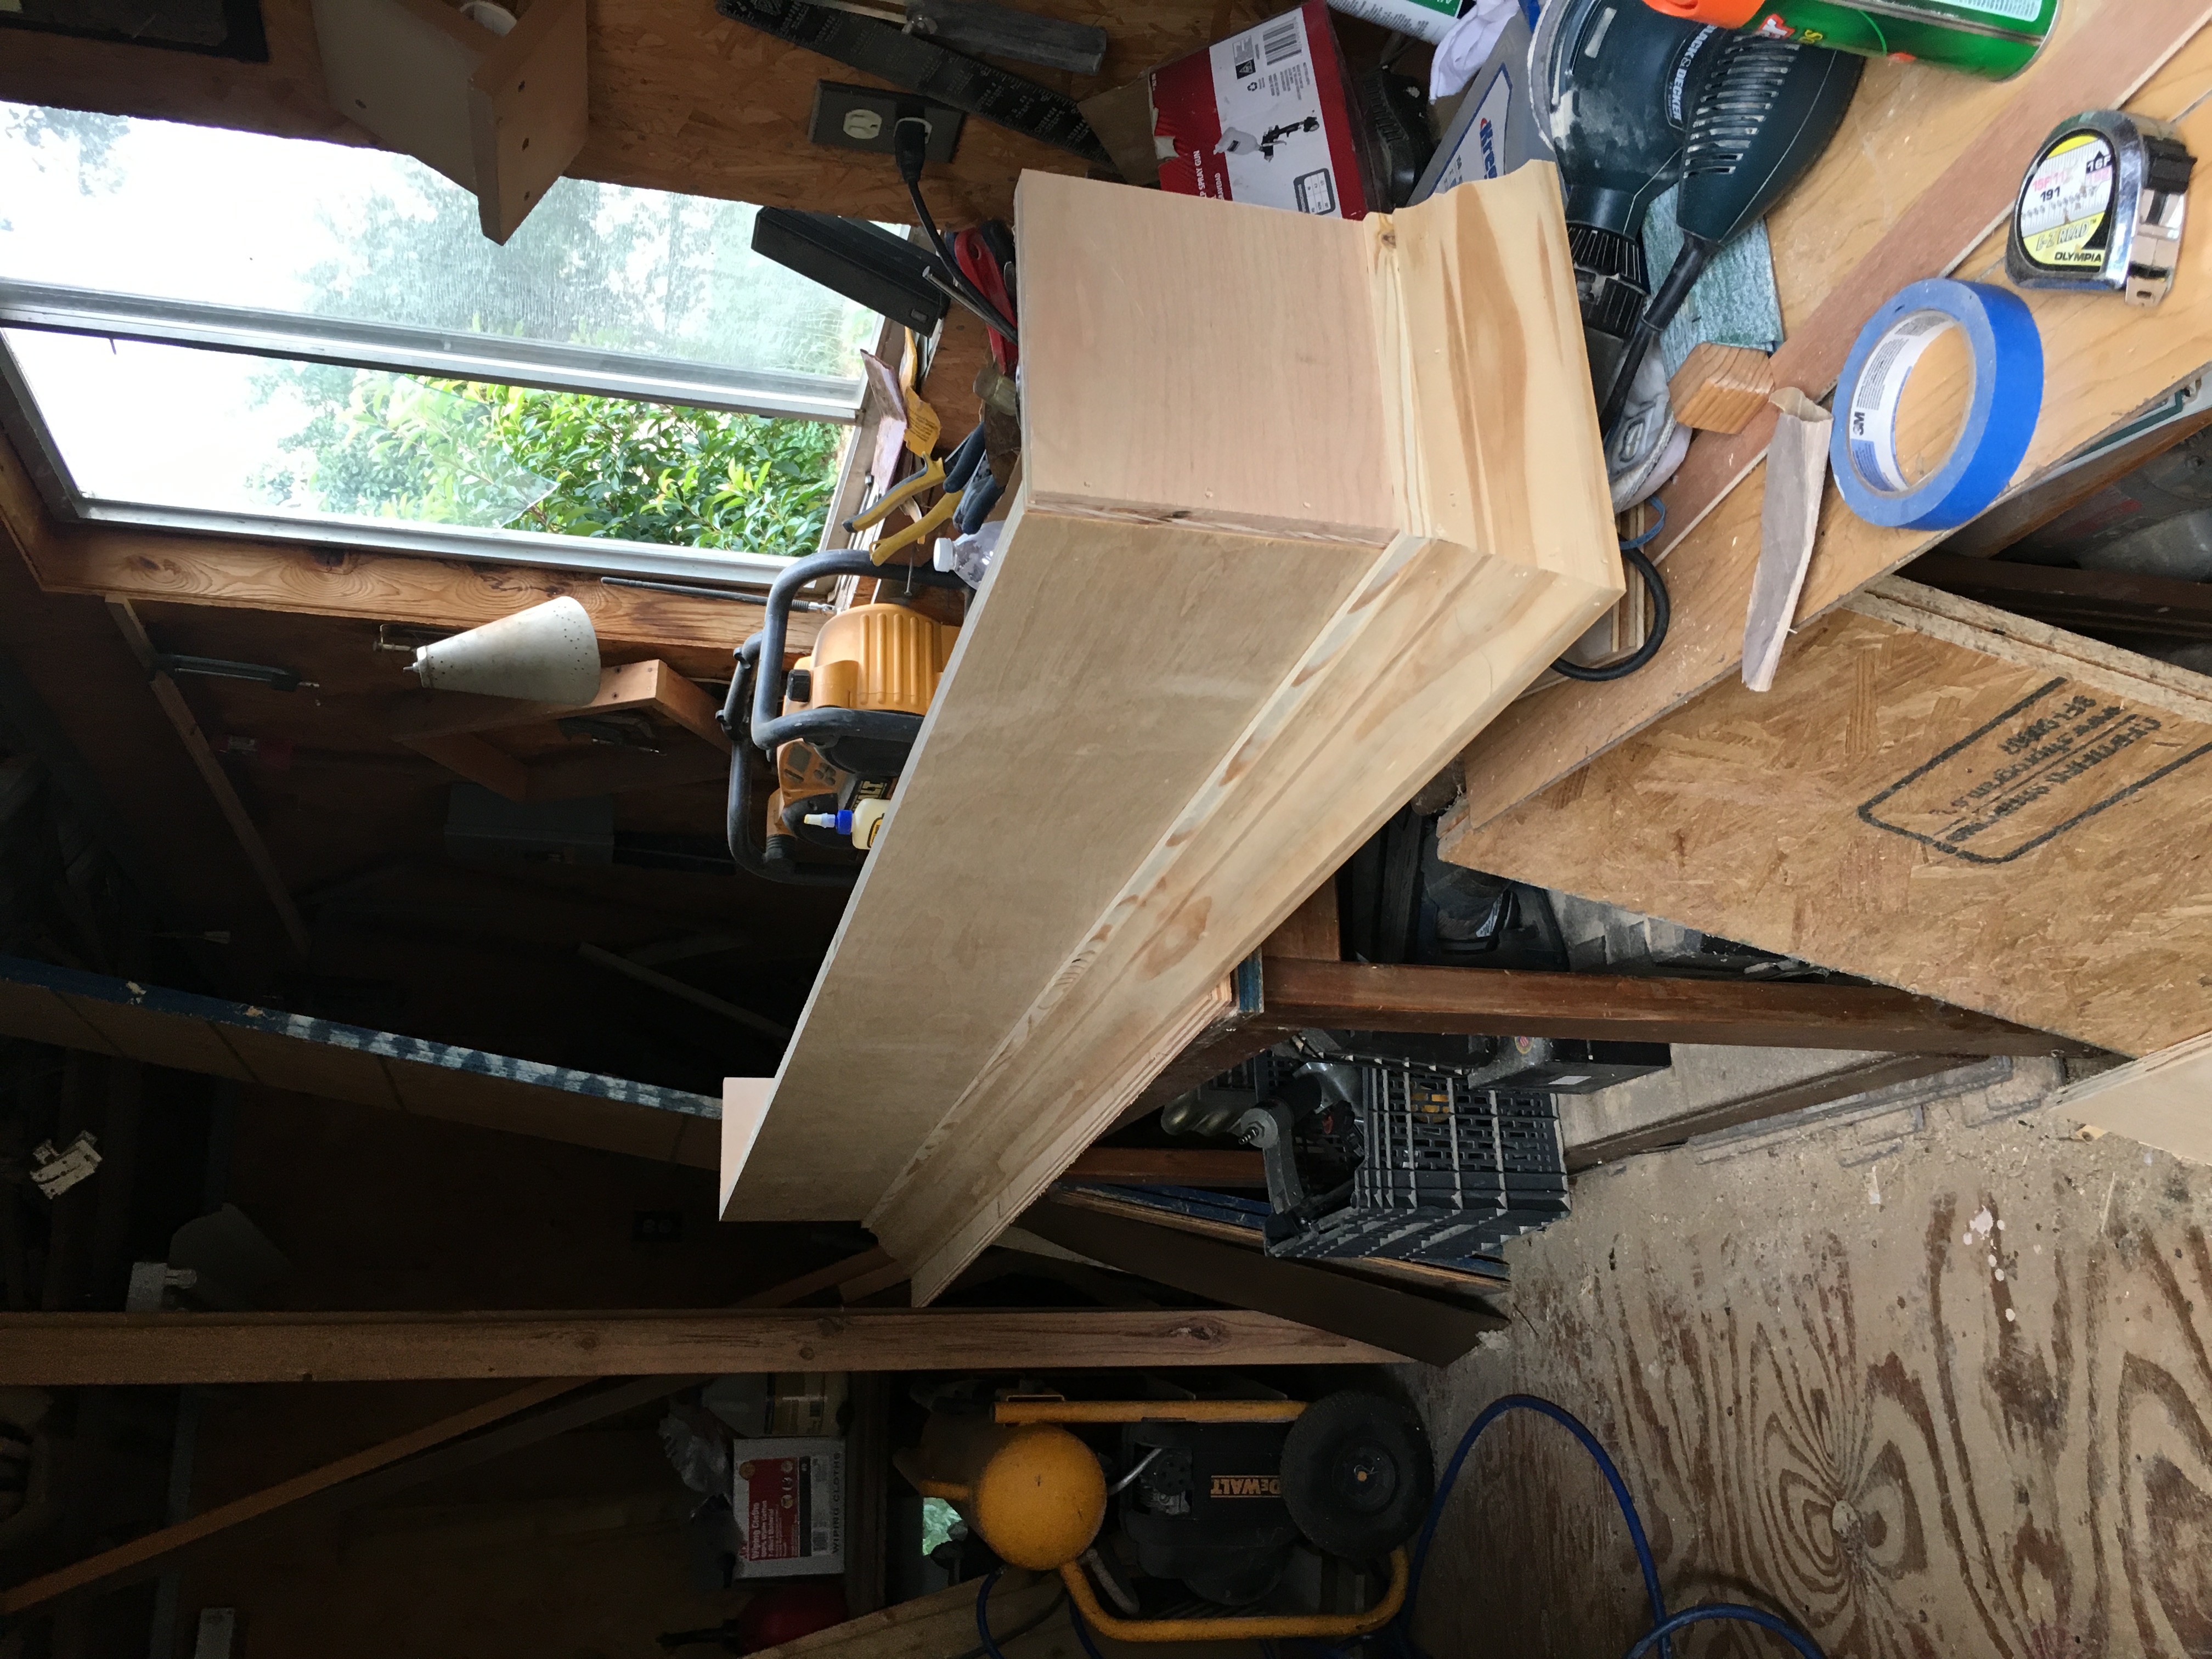
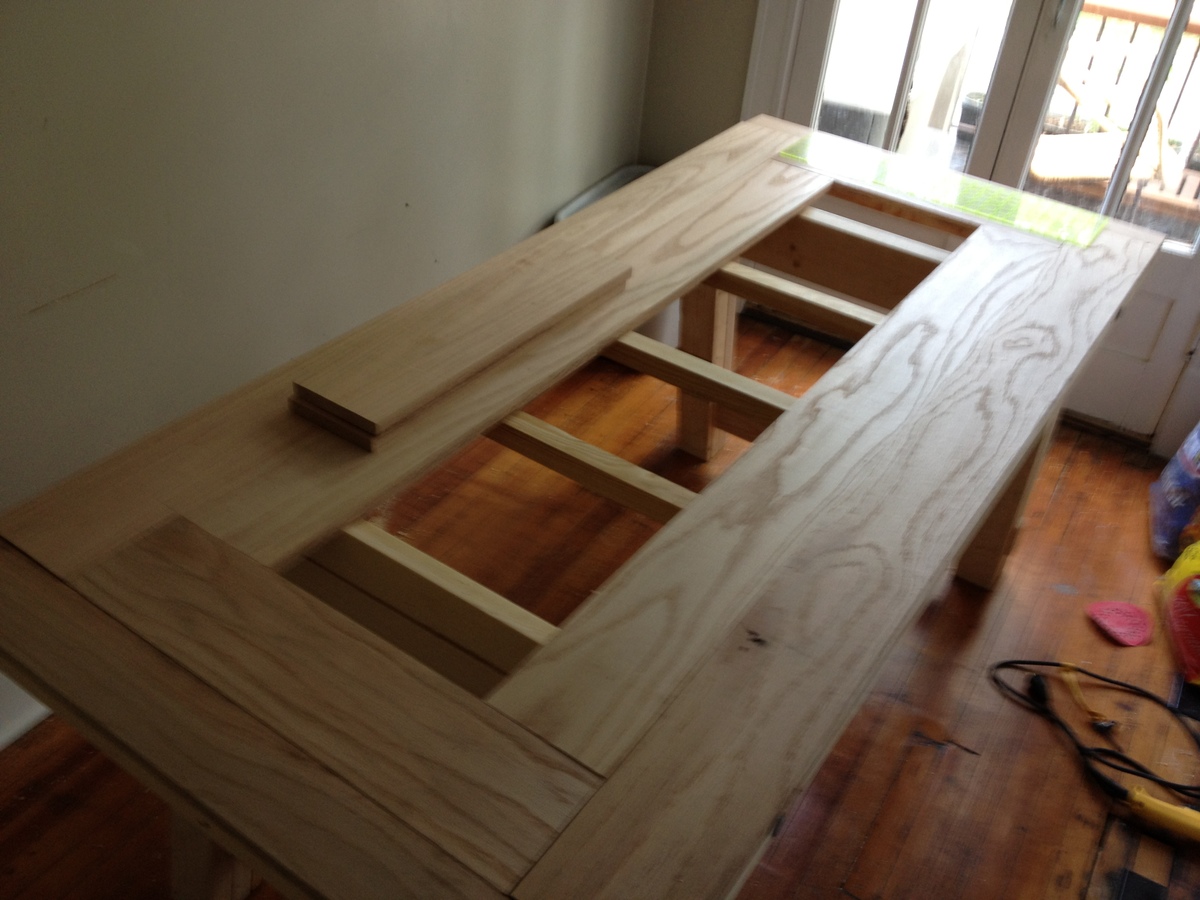
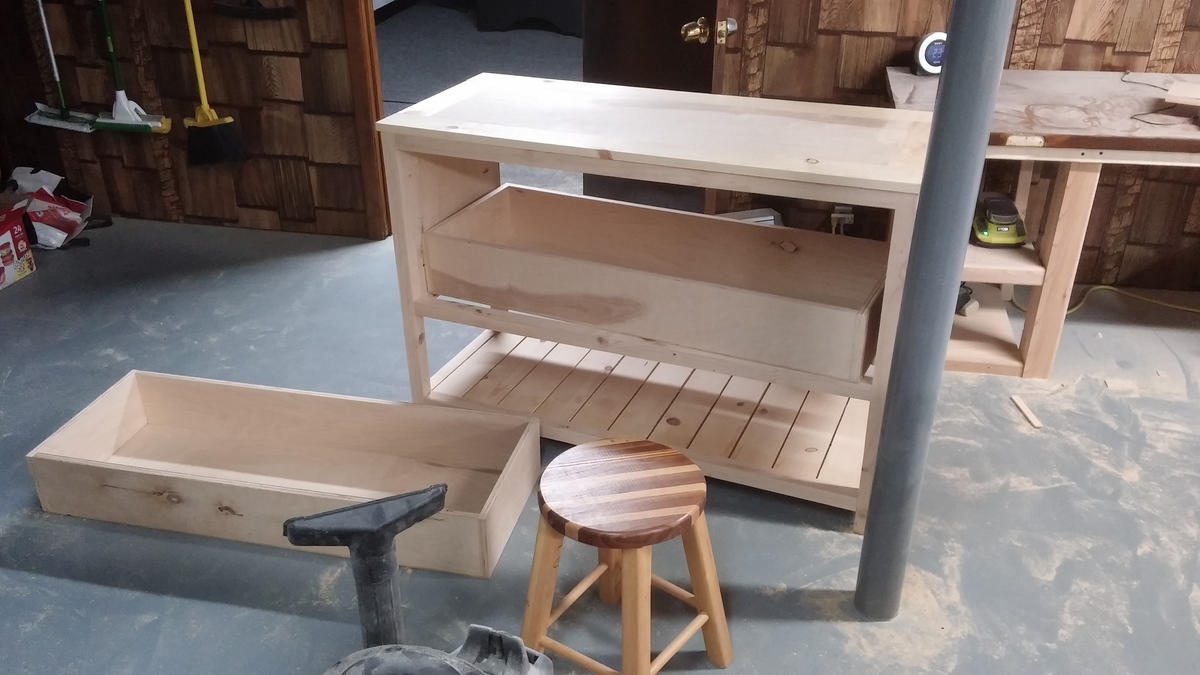
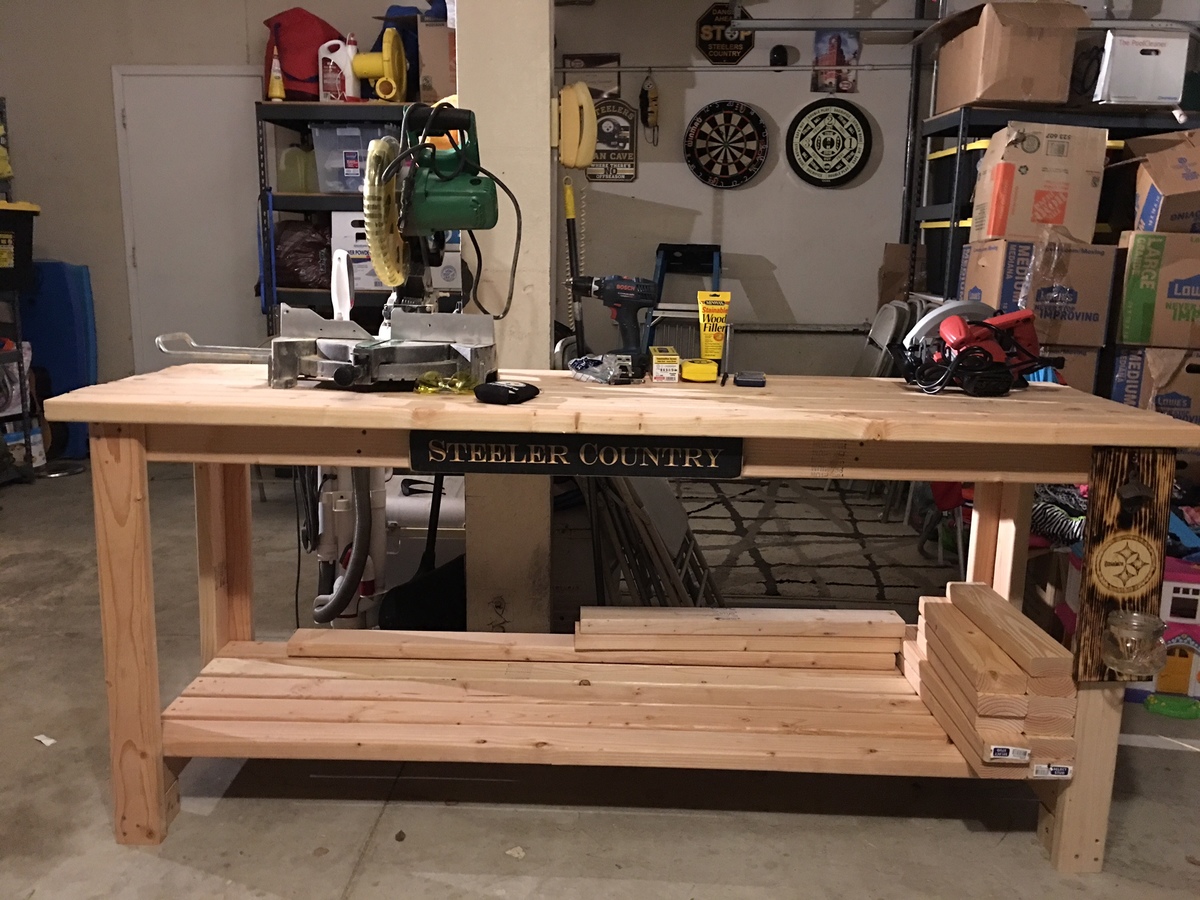
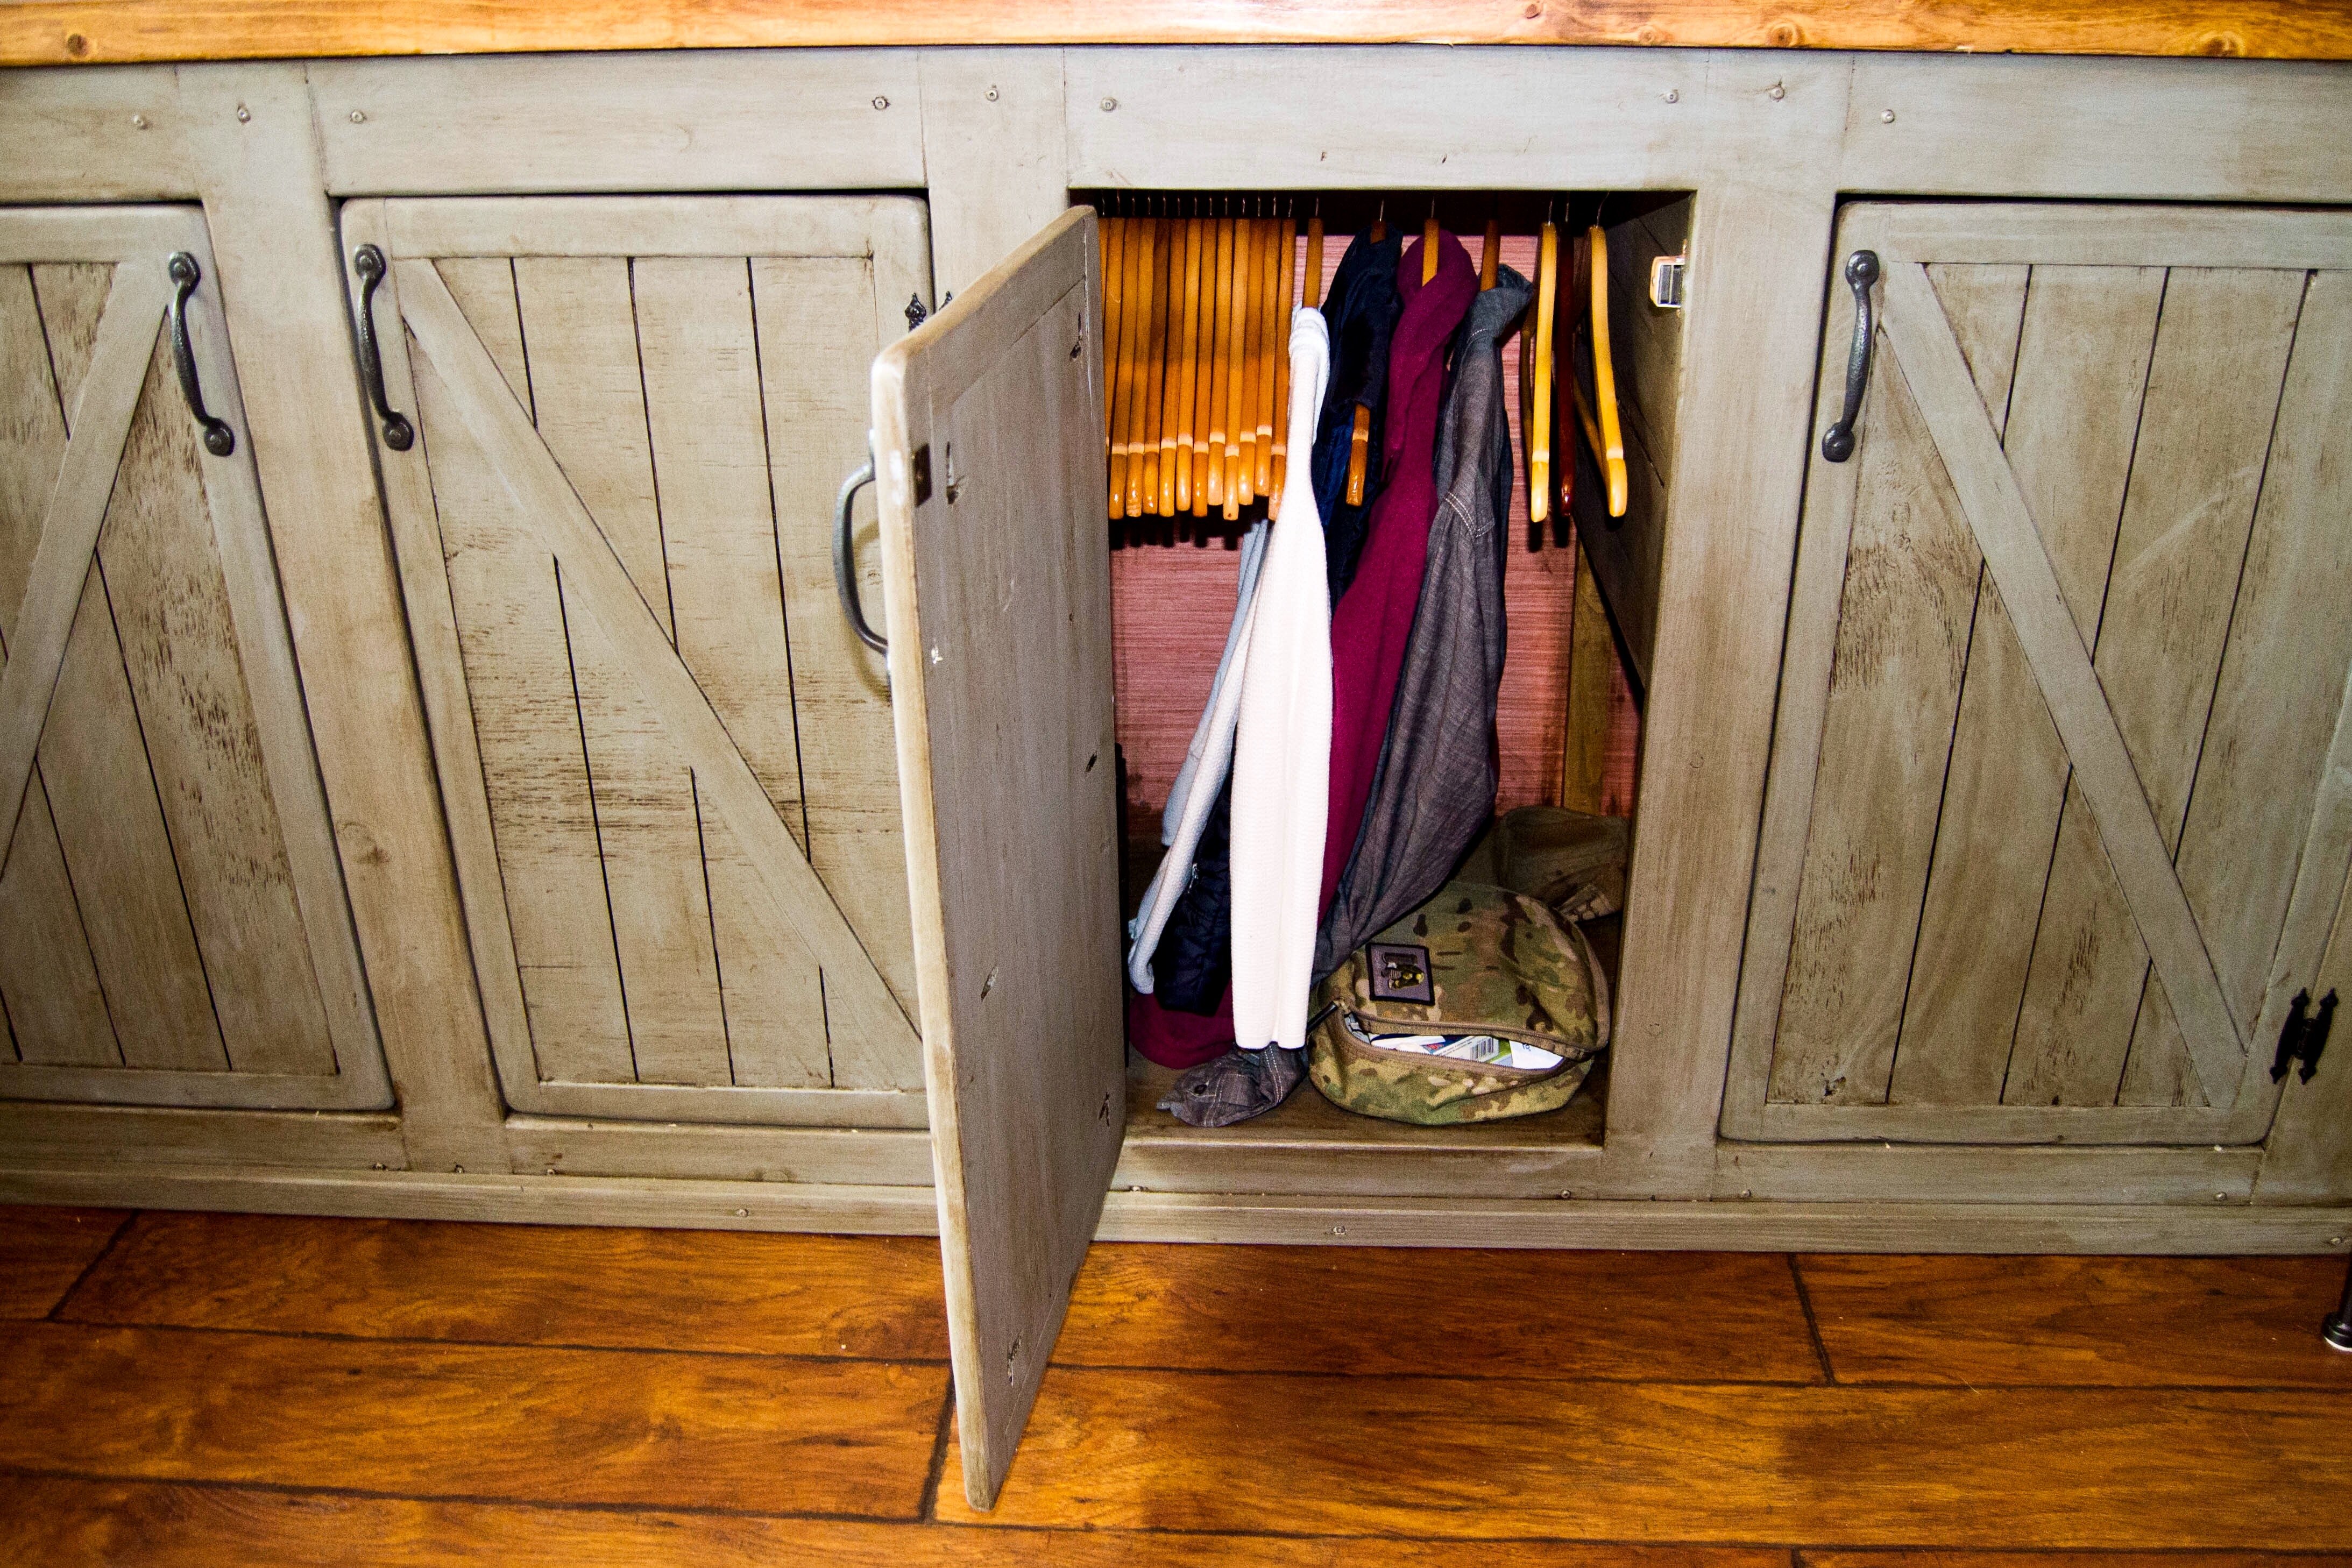
The top is 48"x38" so my cutting mat fits both directions and a yard of fabric fits completely on top. The frame is slightly smaller 44"x34" to allow a 2" overlay on each side. The bottom shelf is 44"x31" and the middle half shelf is 44"x17". I ended up doing a half shelf because I used the leftover scraps from the 4x8 plywood. It works great because I will be able to pull up a chair and put my knees underneath.
The 2x4 legs are set out 1" from the ends. I attached the shelves and table top using L brackets. Due to bad math I ended up with a 1" overhang on the shelves along the 44" side.
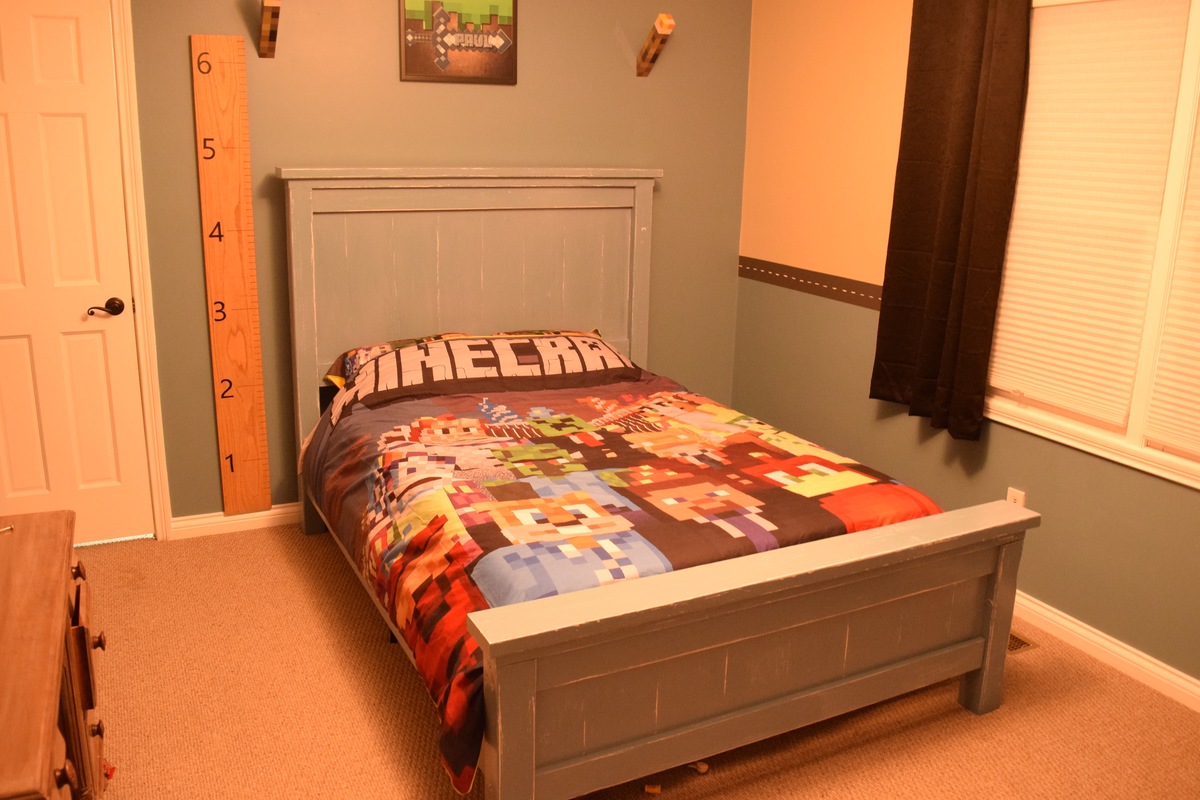
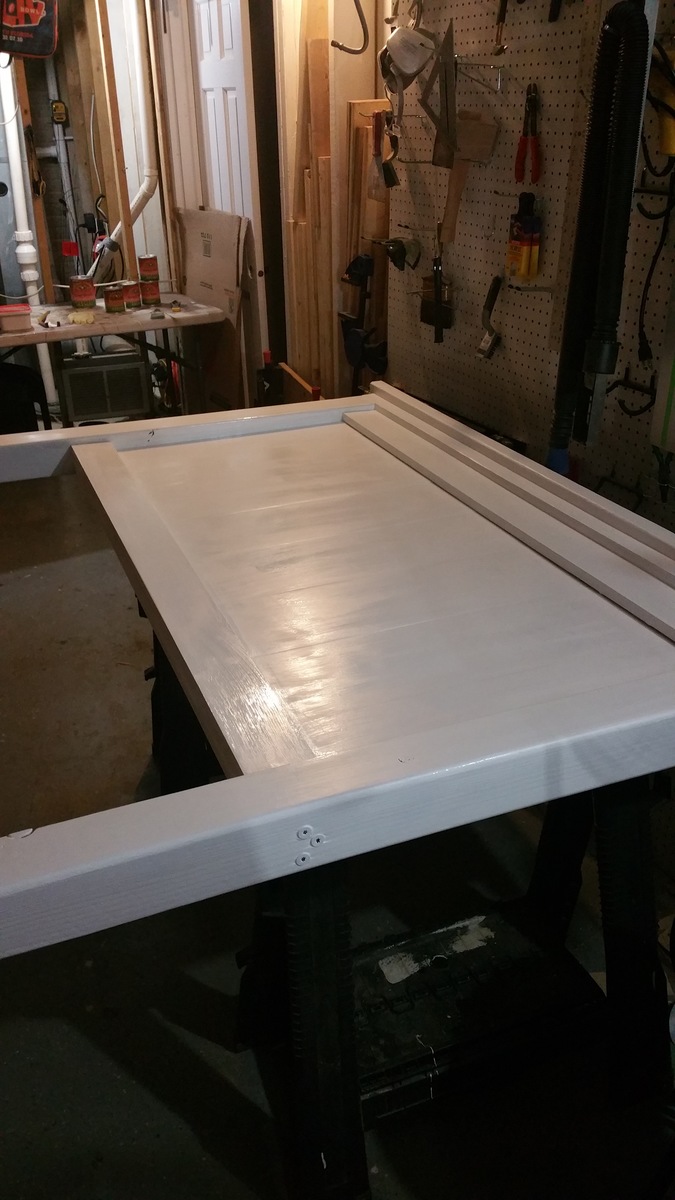
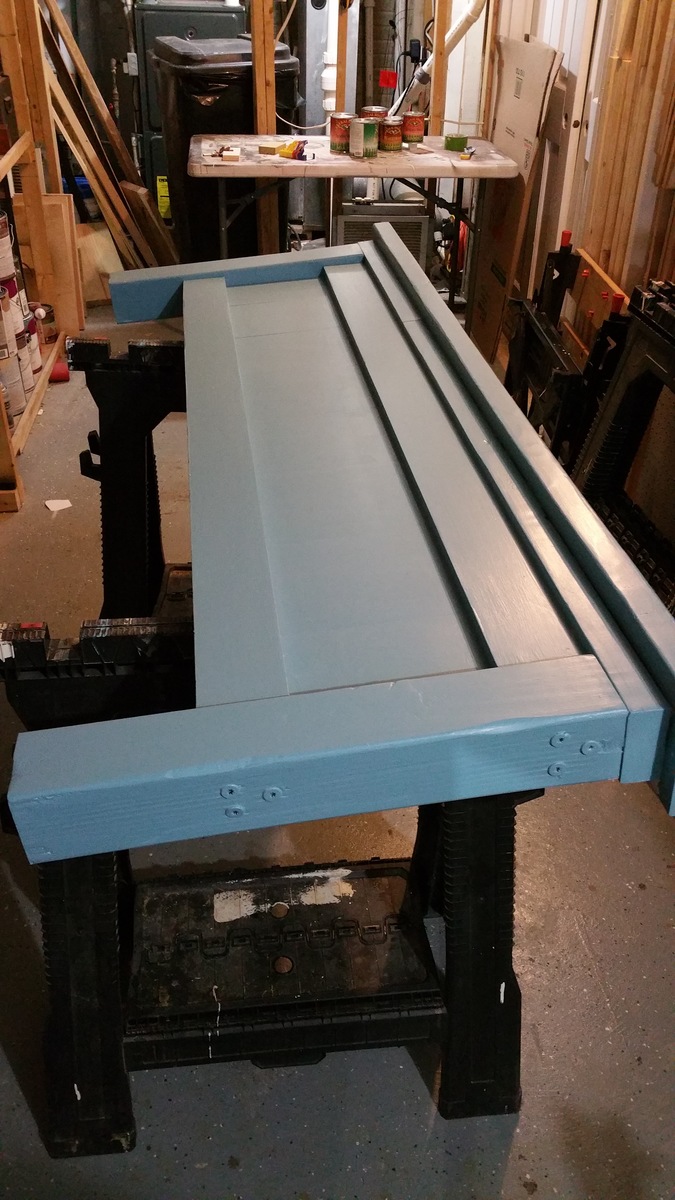
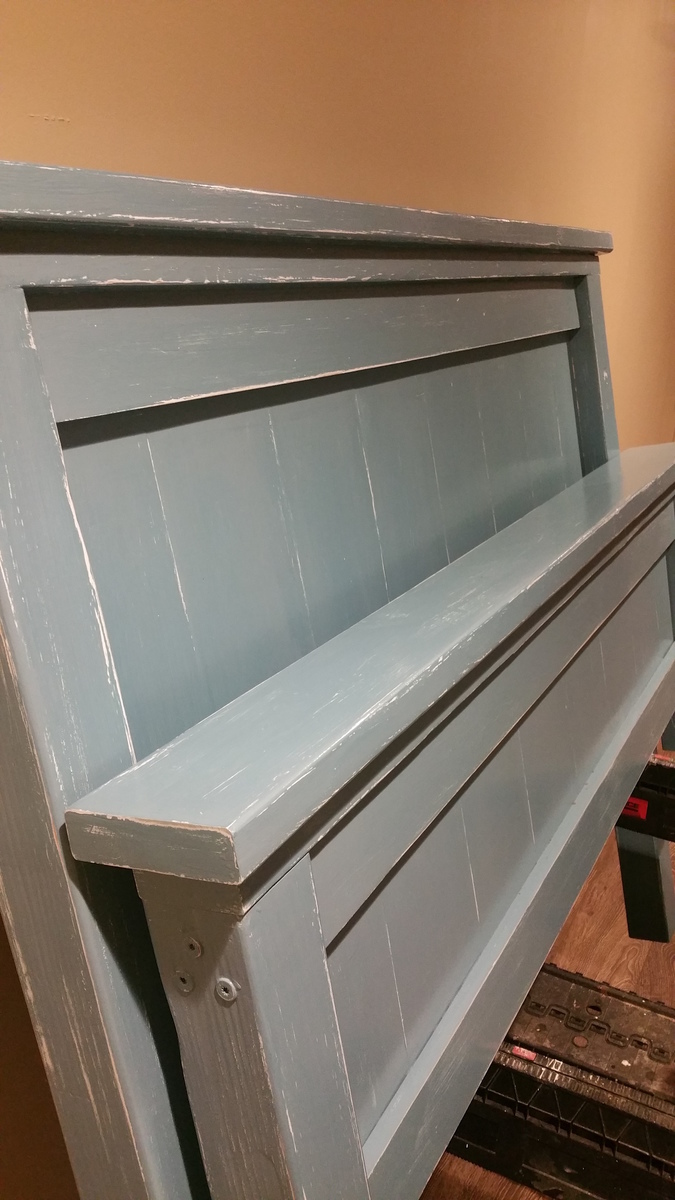
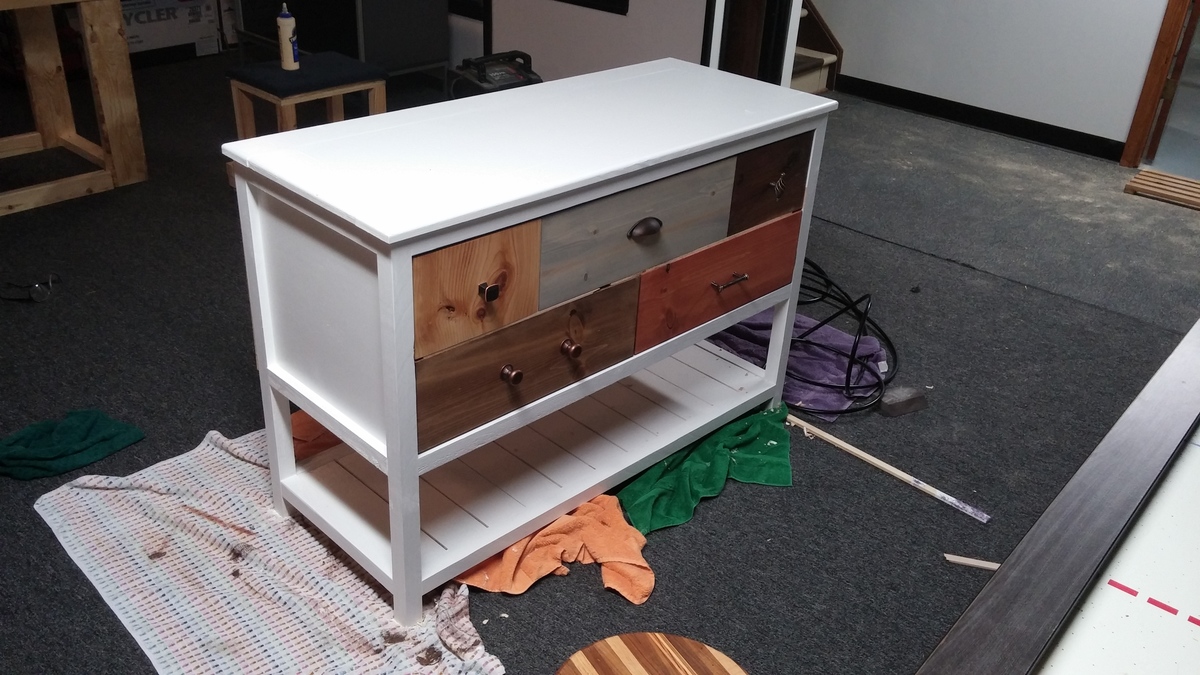
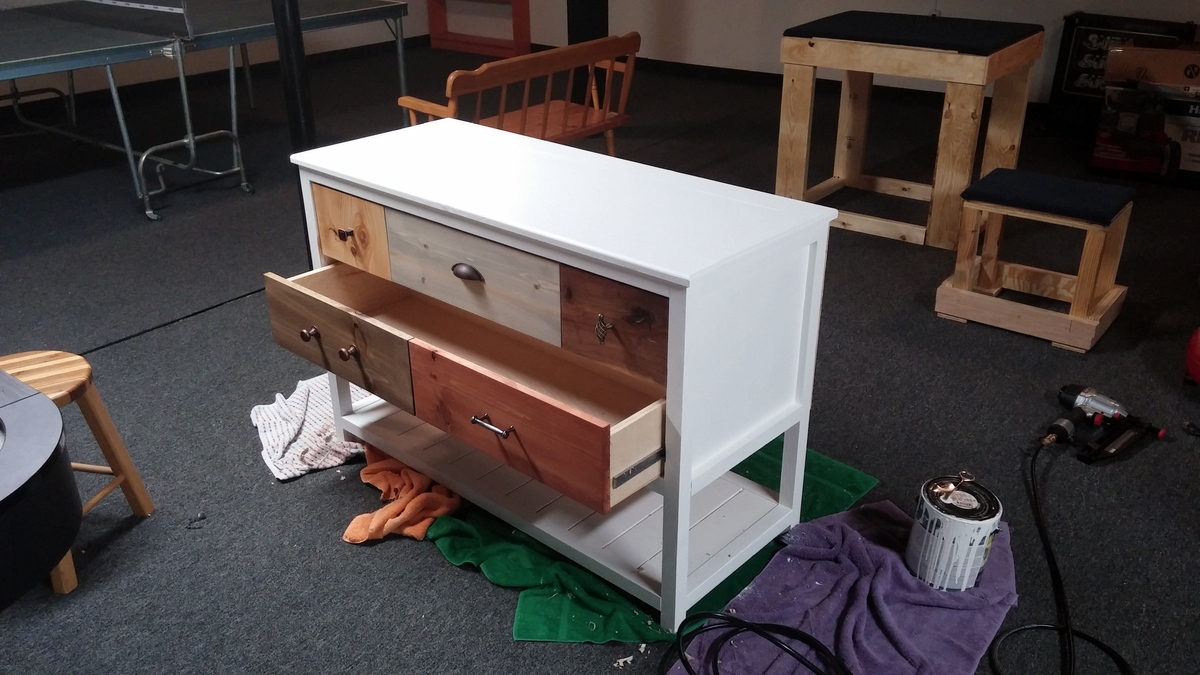
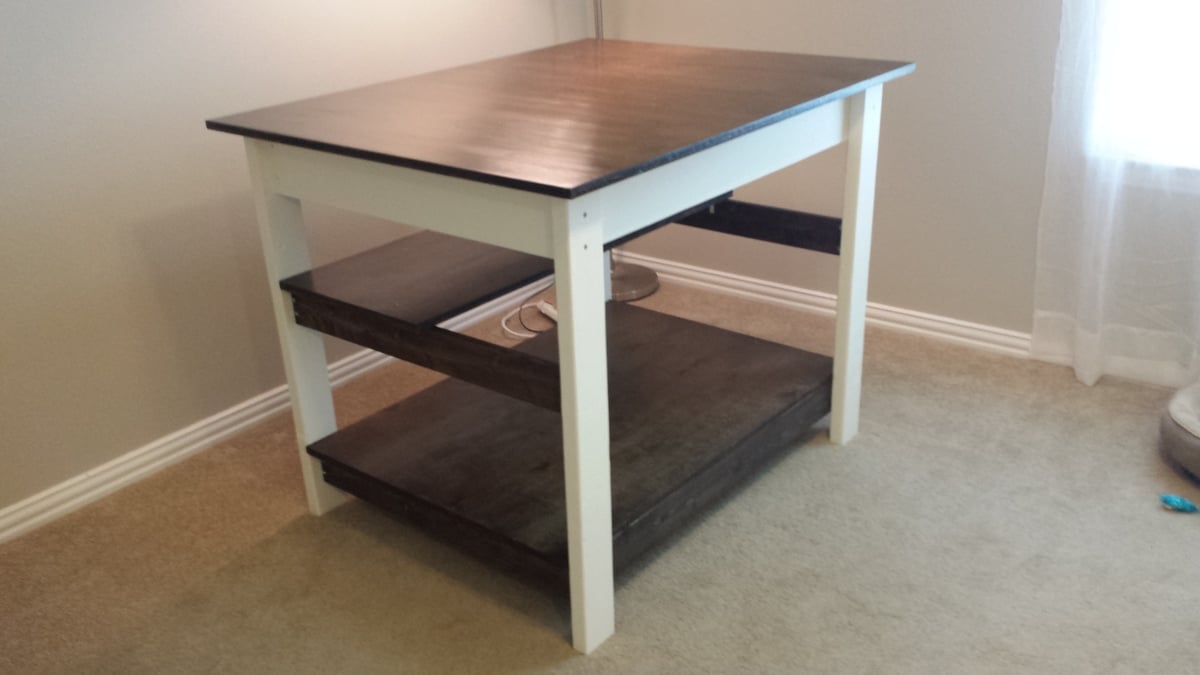
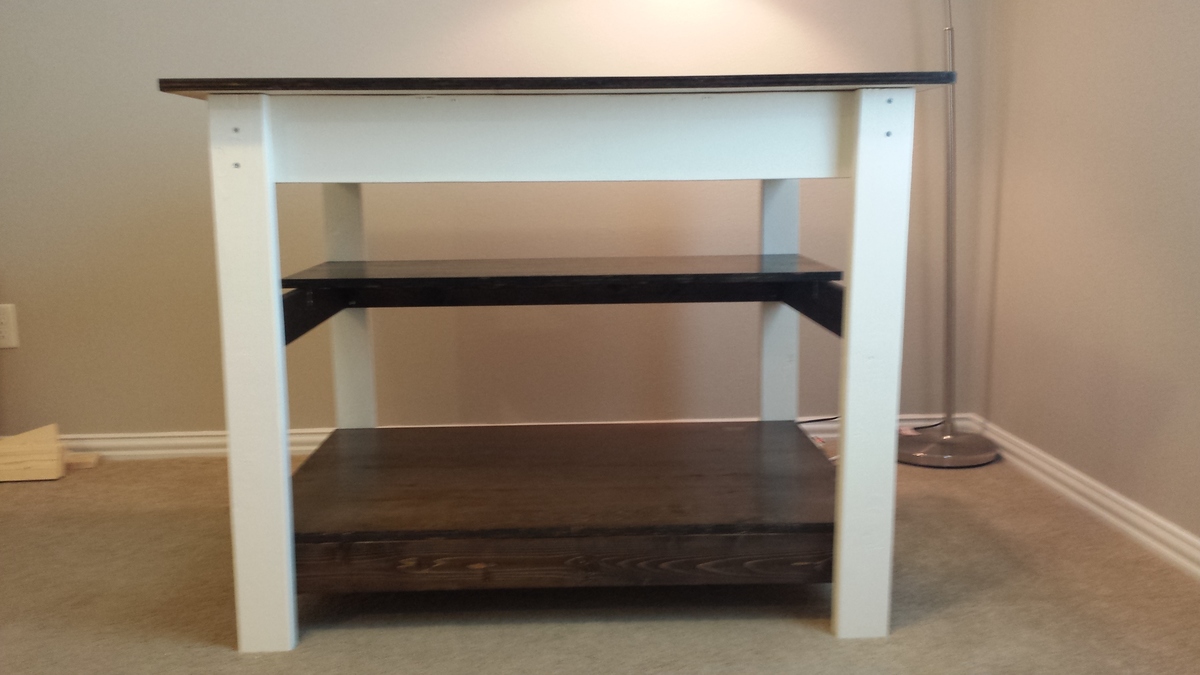
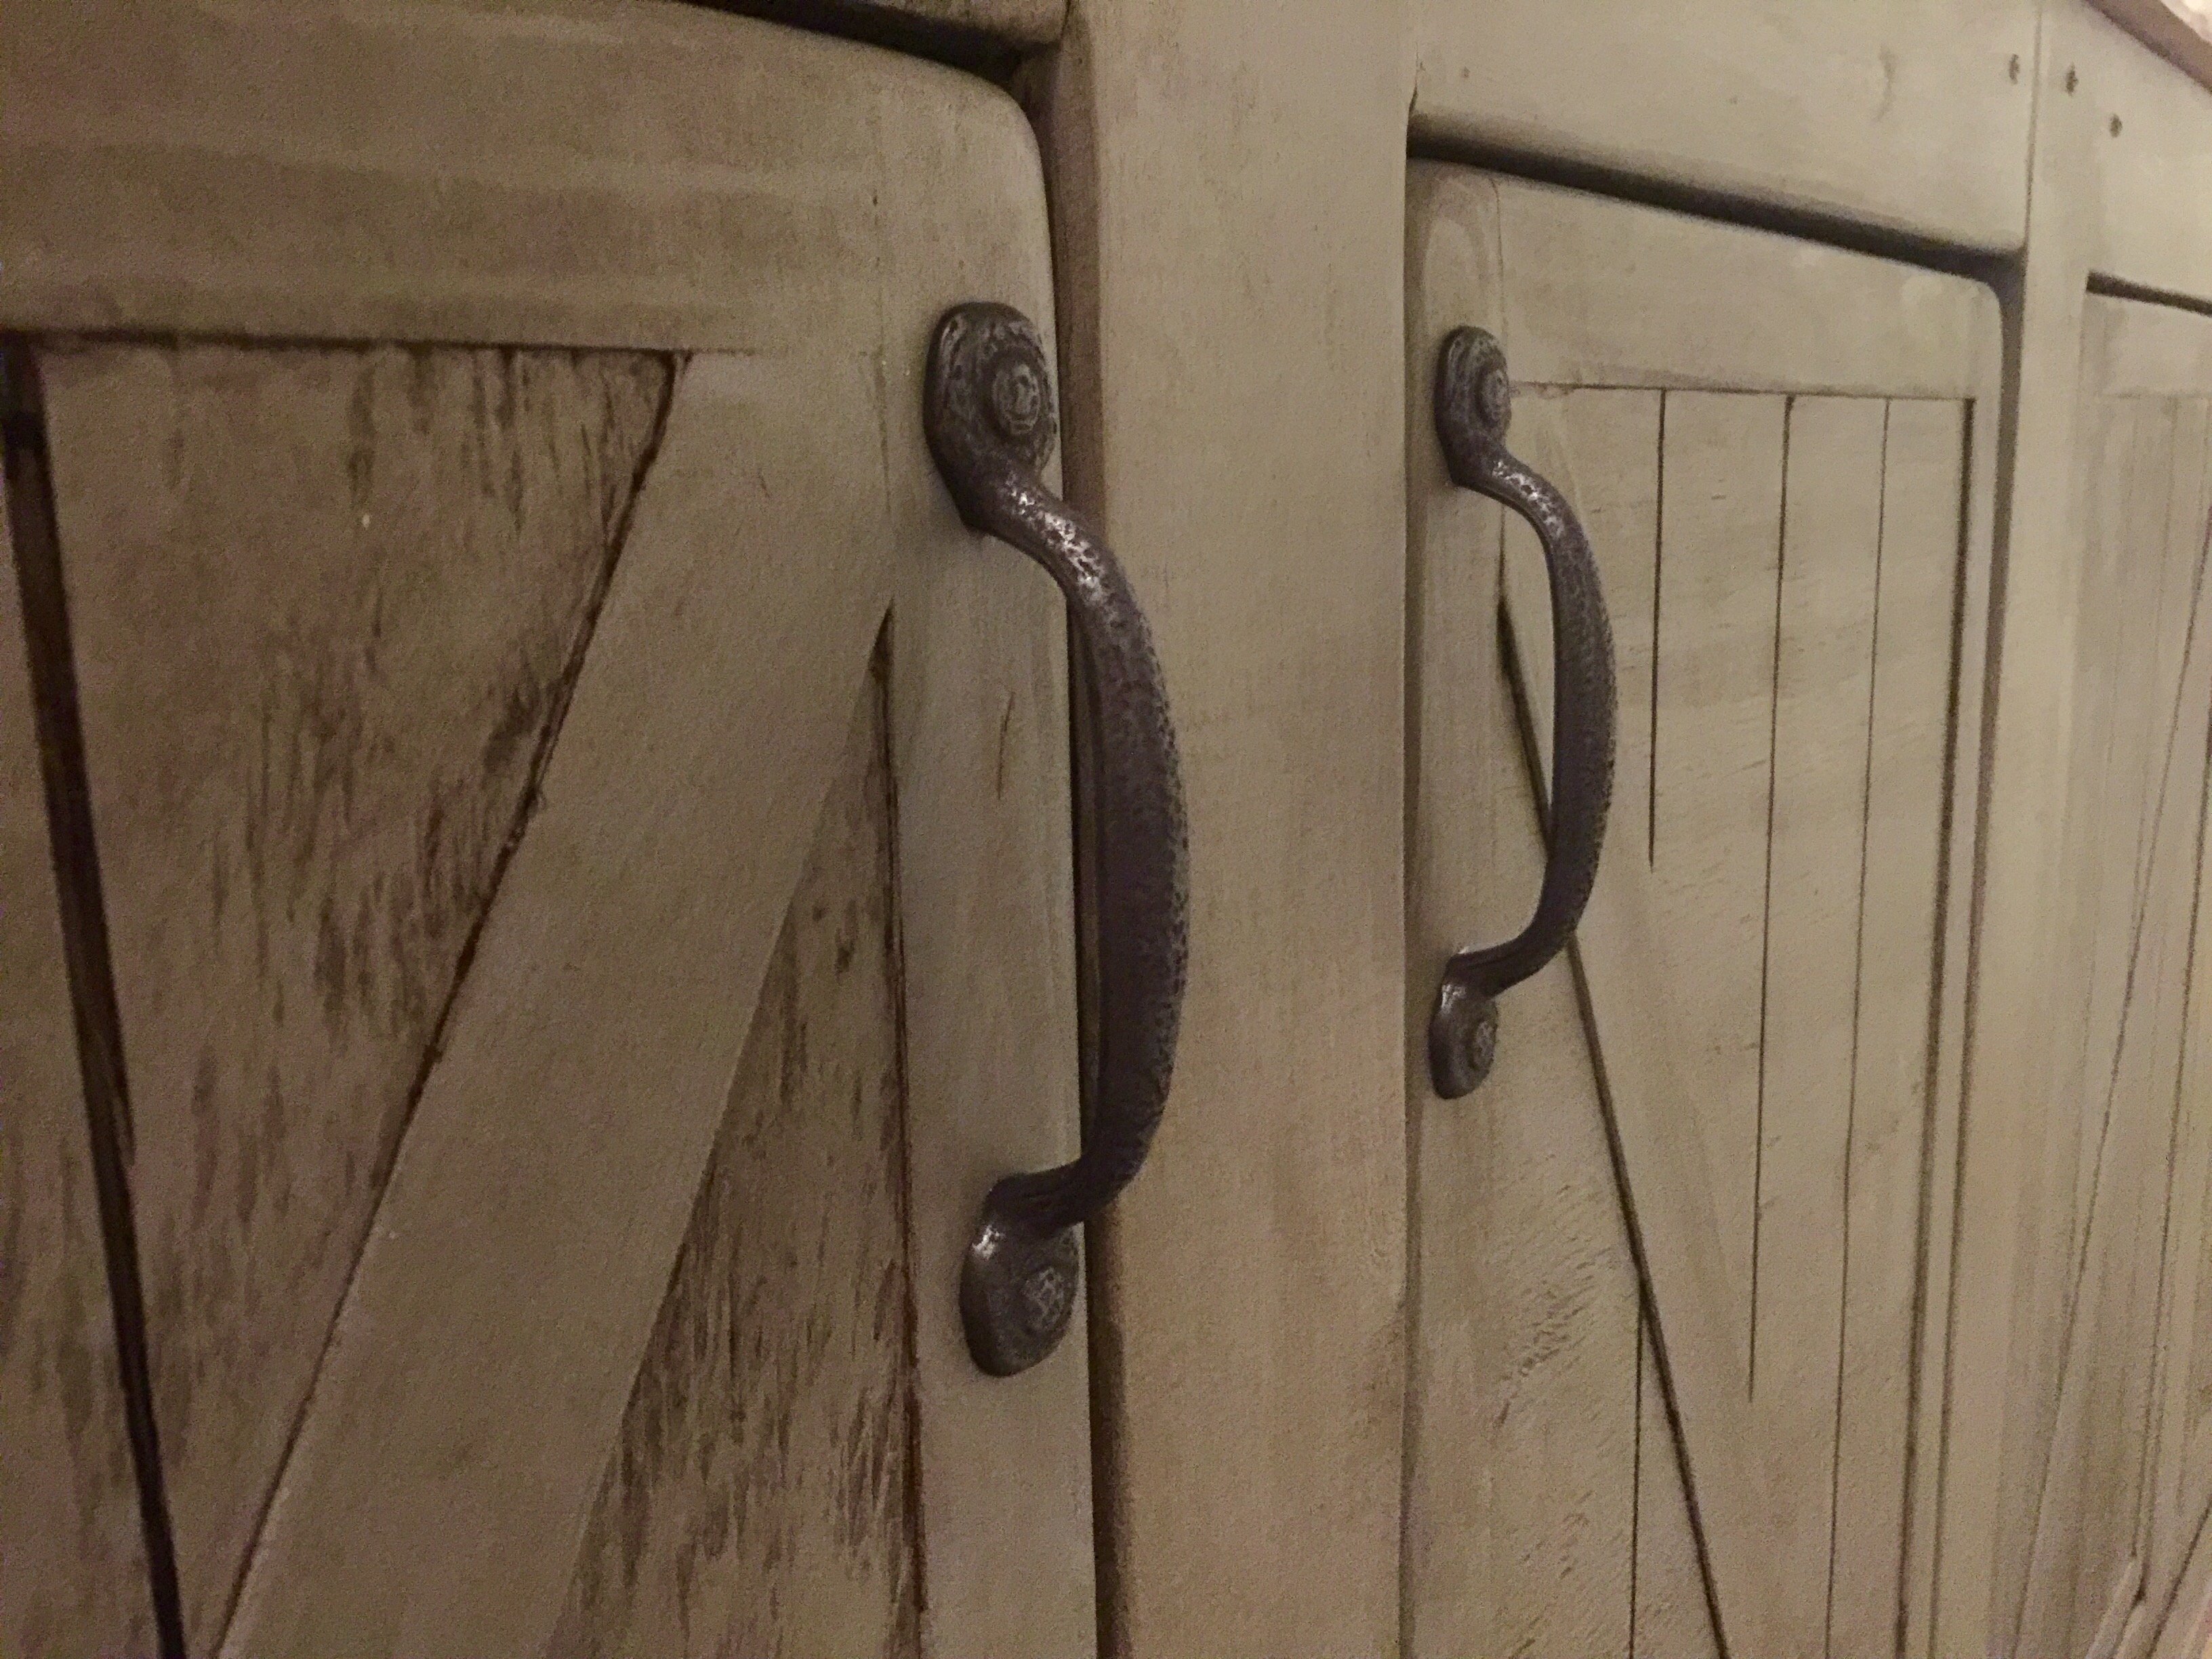
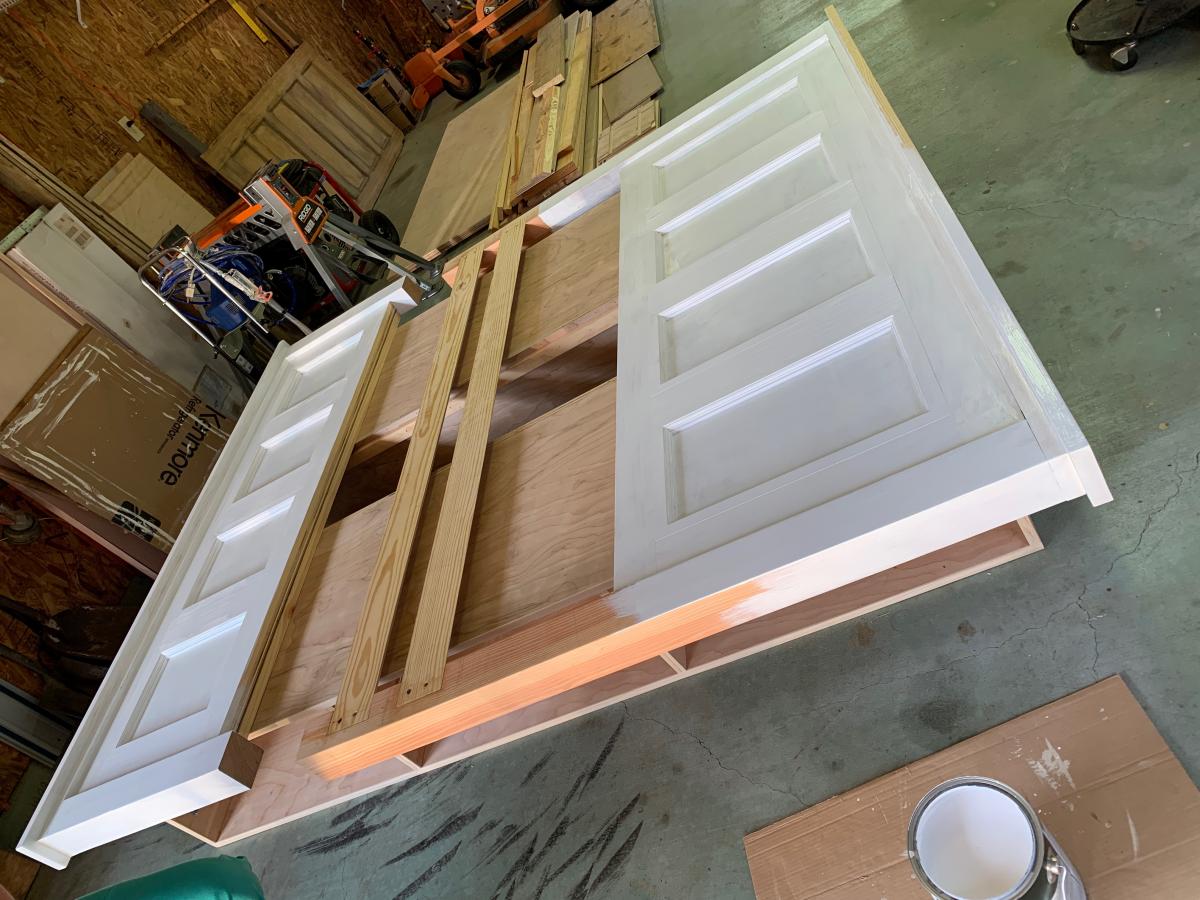
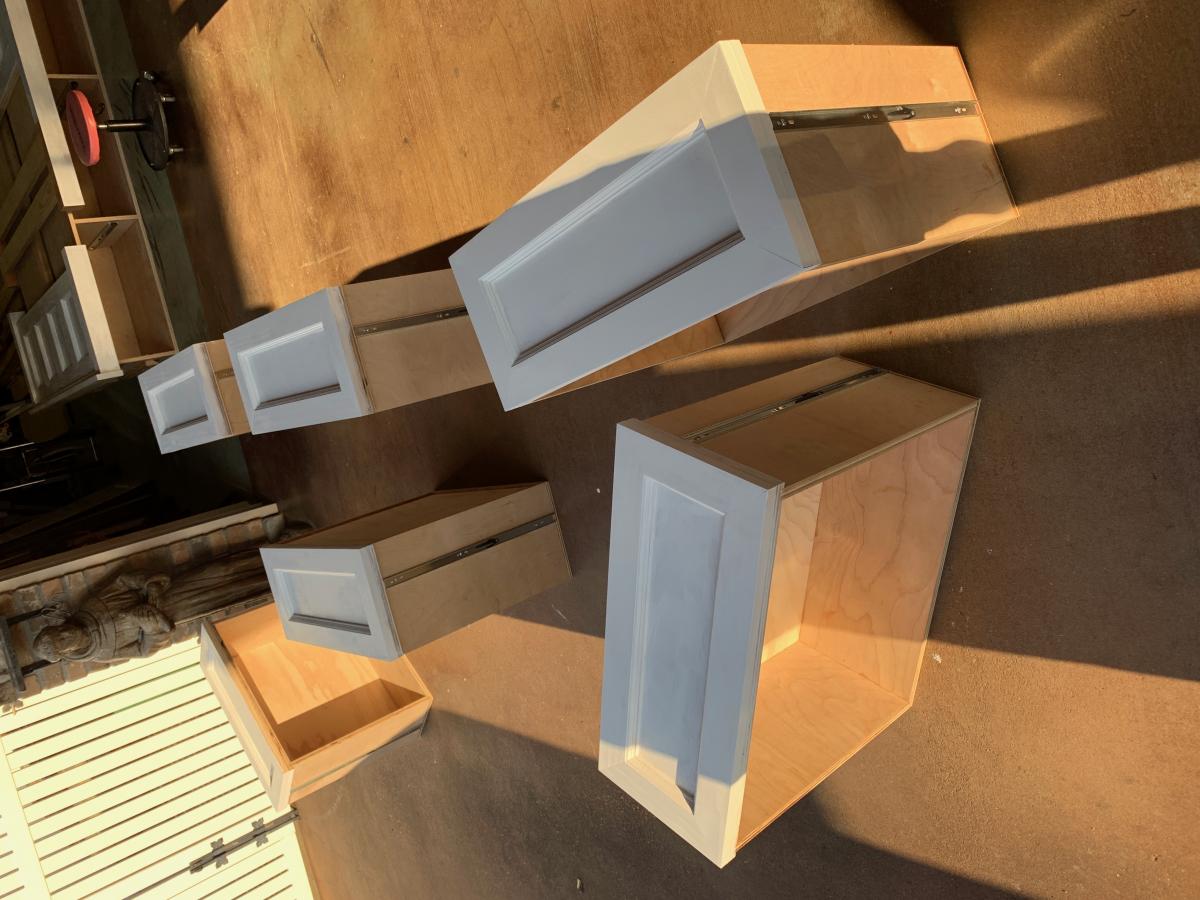
The paint I used is Behr brand Spun Cotton in satin finish. It is an offwhite / cream color.
The stain I used is Minwax dark walnut and finsihed it with 4 coats of Minwax polycrylic.
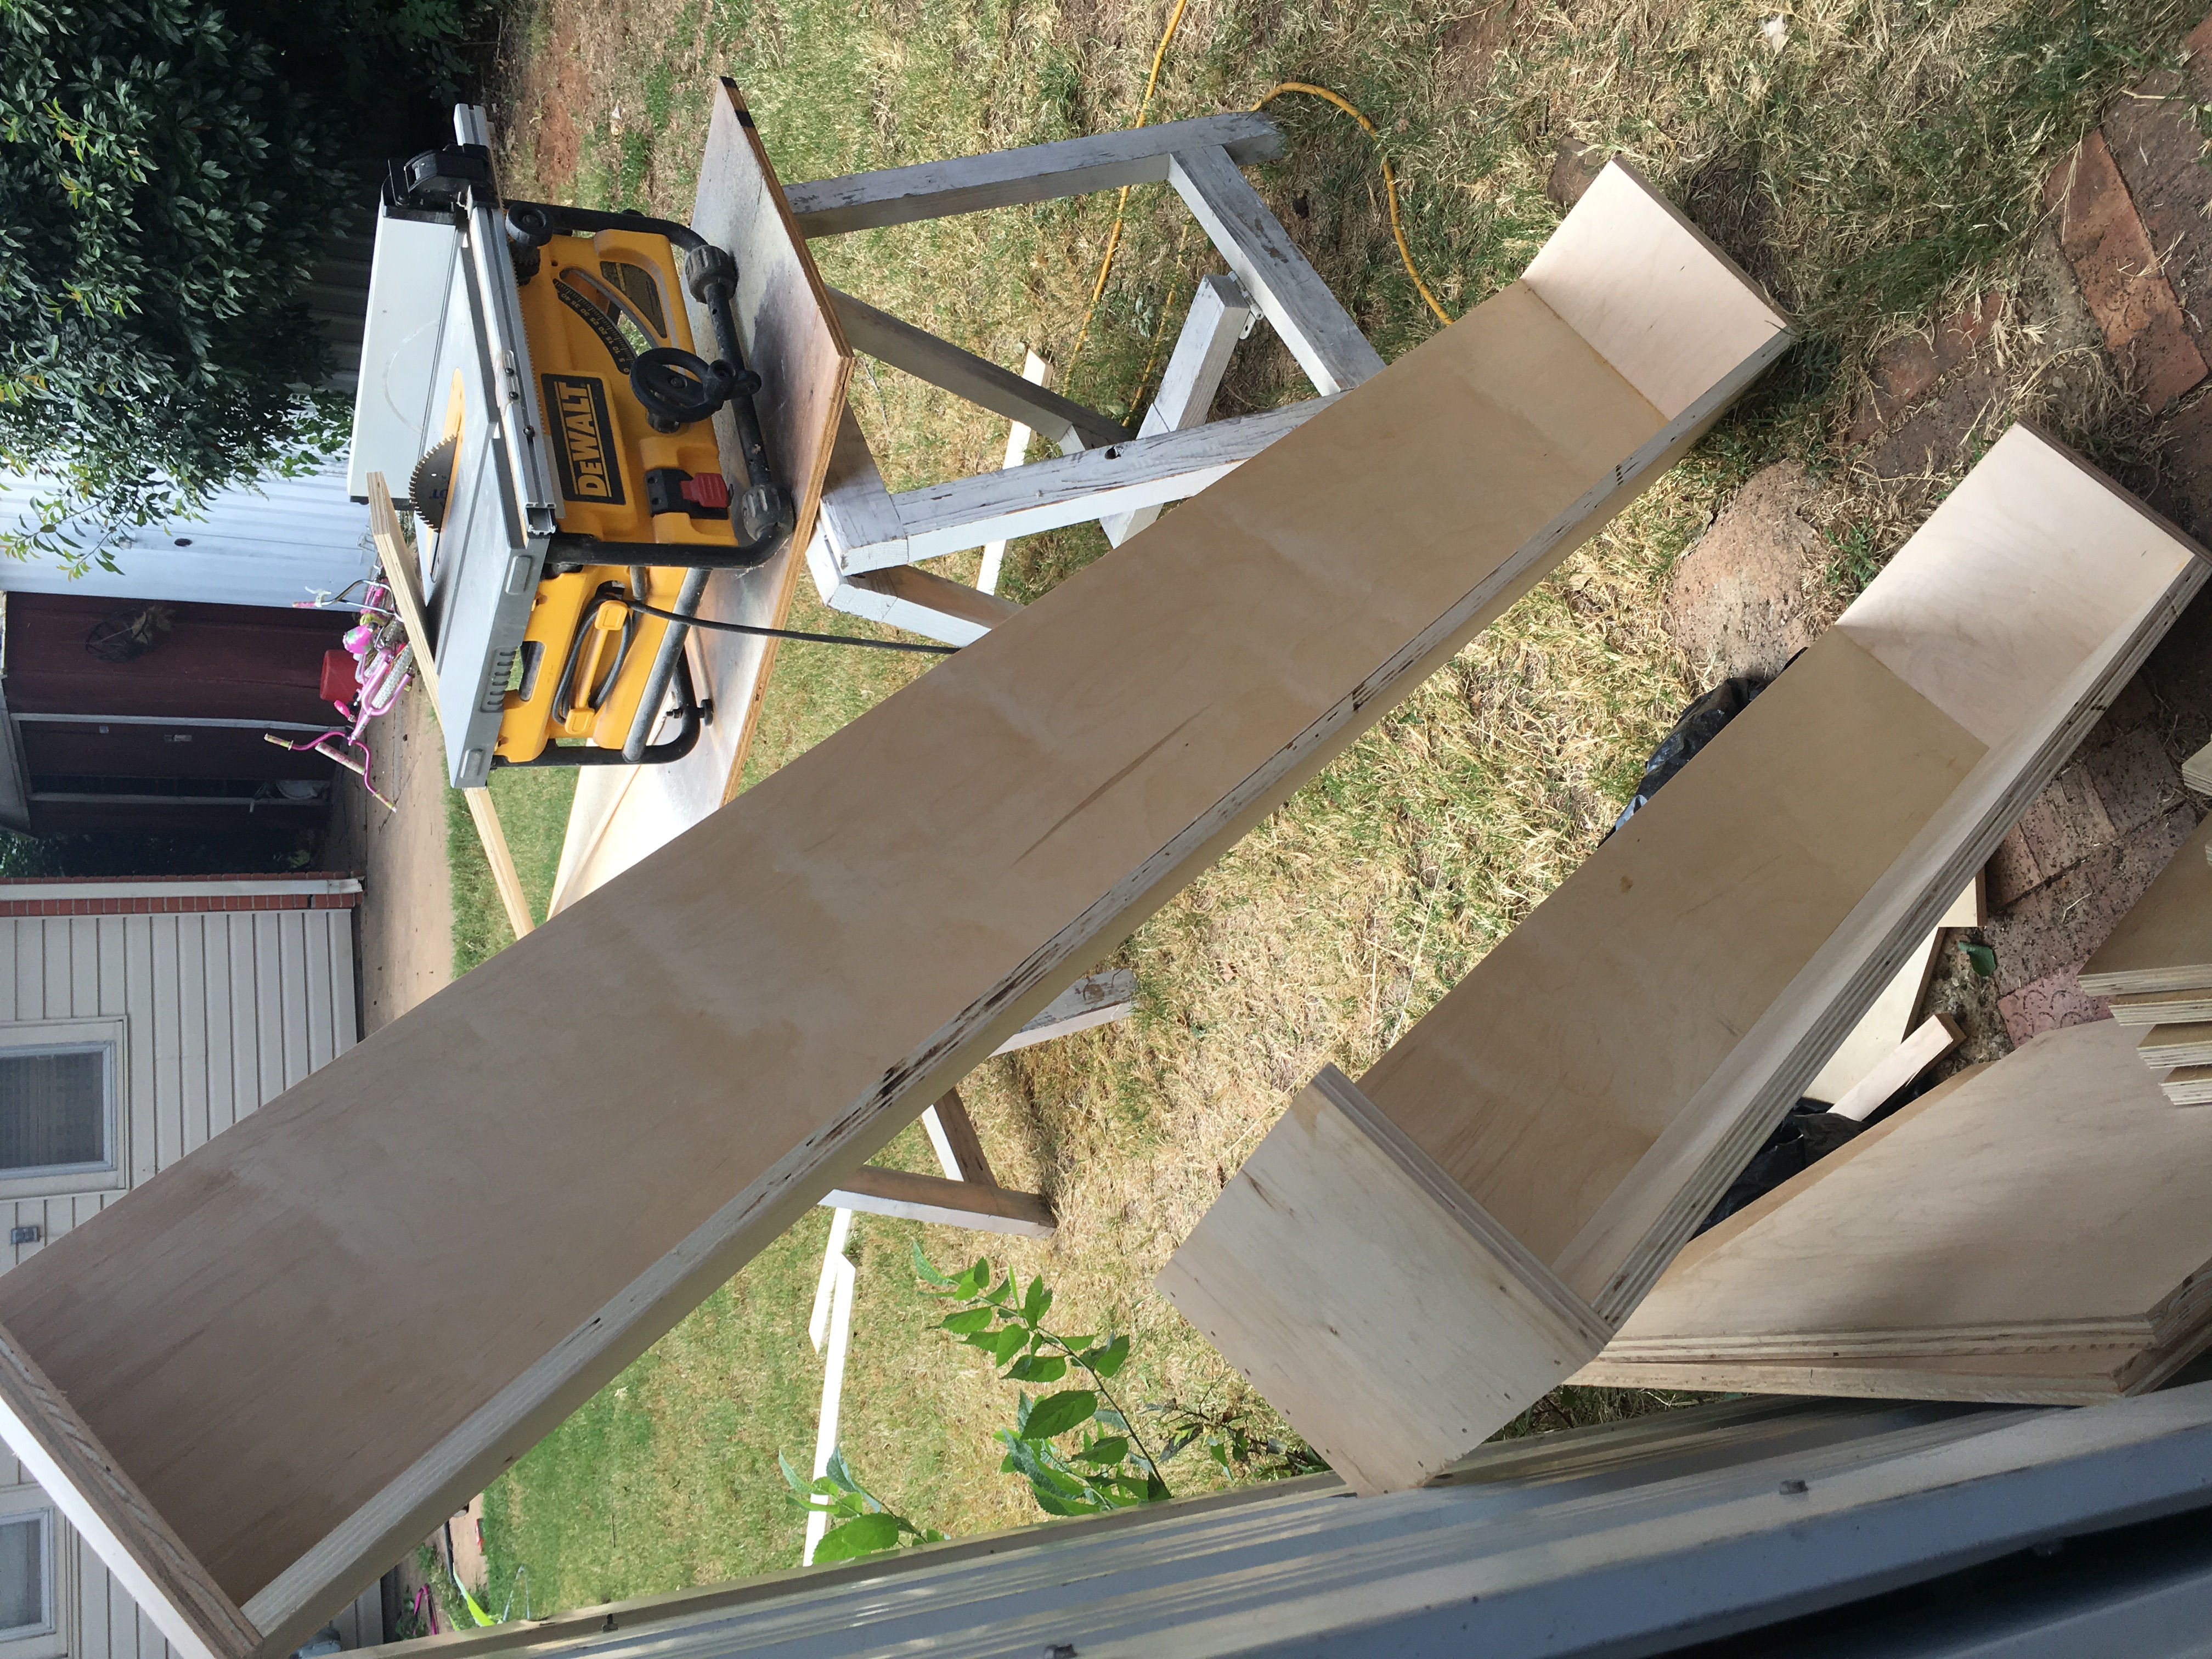
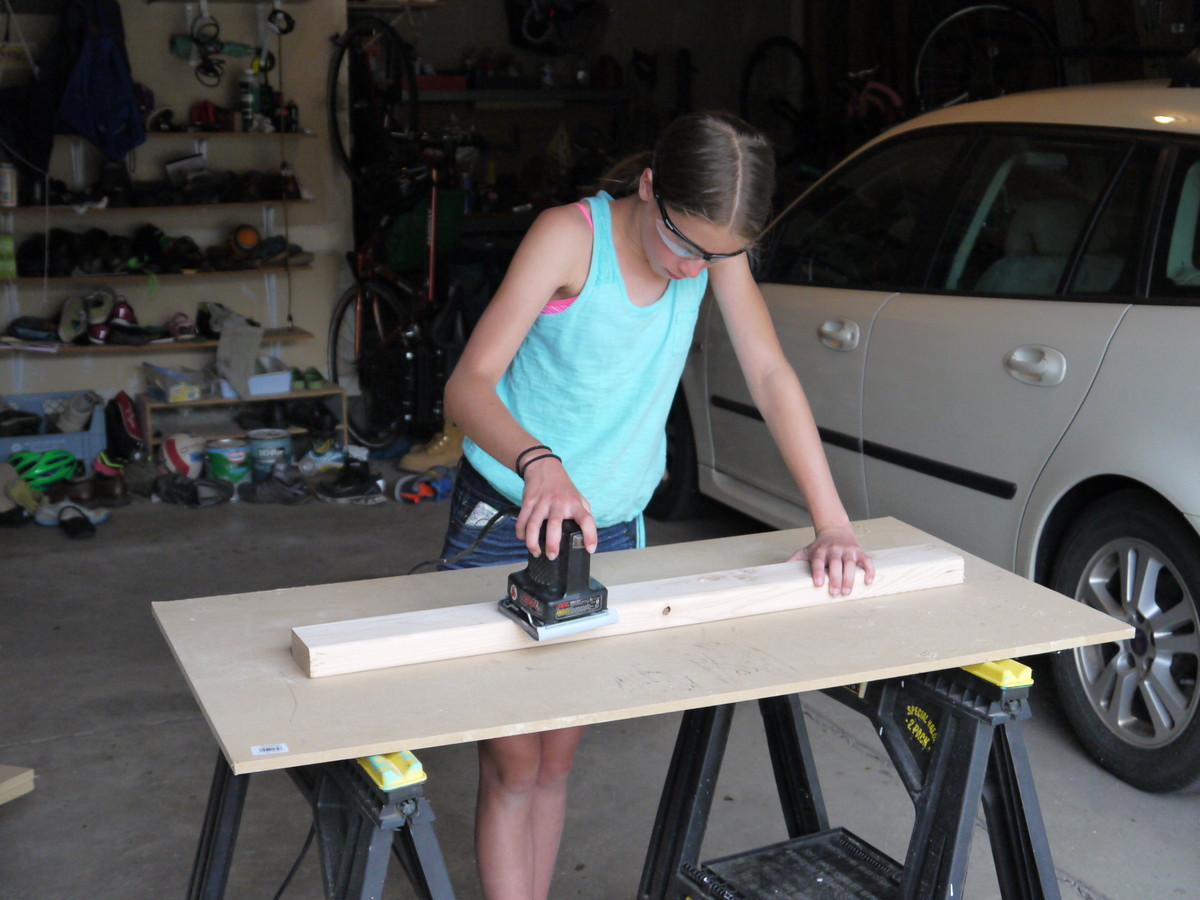
I had an awesome guy at Home Depot do allt he cuts of wood for me.
Wed, 09/21/2016 - 15:00
I can hardly belive this is DIY! That birch plywood was worth it, it is lovely! Thanks so much for bragging, really enjoyed seeing your project! Ana
I made these for my granddaughter. I was using fours colors instead of three so used 1x6's instead of 1x8's on for the table top and just added one more back slat to each chair.
Built in May of 2020, made some modifications to install a fan unit. Has raised beds left and right.
Moltzvt
My husband's grandfather helped us build this bed in his shop. We built it in about 5 hours and I stained and sealed it over the next few evenings. This was one of the most affordable and simple plans I came across to customize for my new chemical-free mattress. It is extremely sturdy and supportive. I really like the blog post Crab and Fish did on the brag for the Hailey Platform they built. You will find it helpful if you are interested in building this bed.
Wed, 01/16/2013 - 09:03
Did you use Kreg Jig and screws from inside? If yes, How many for each corner ?
or used screws from outside ( to join the main frame). f yes, then what size?
This was my first ever project. The table that has a white base is another table I built after the stained one.
The project took several weeks because I only was able to work on it on Saturday mornings. I'm happy with how it turned out and learned a lot from it! I have a new love for woodworking and enjoy the whole process, from design, to completion.
Thanks for checkling it out!
Thanks for the awesome plans. Read a lot of feedback from people saying it was too small. Just make it bigger! Used same plans but 6 1/2 long and 4 inches wider. Added extra support to the table top and used all 2x4s. Lovin it
Sun, 09/25/2016 - 12:23
Love the bigger size, what an awesome project! Thanks for sharing it! ana
Easy Build DIY Planter Box with Cedar Fence Pickets
Followed these plans and made these planter boxes for the front porch! I couldn’t believe I was able to complete a project like this so quickly! Instead of paint, I opted to use some grey stain I had leftover from another project. Thanks! I love them!
Beth
I thought I'd start building again with some decor that didn't need to be perfect. I needed something to spruce up my garage, something my son couldn't break while shooting baskets - this seemed perfect! I didn't have all of the scraps I needed so I did have to buy a few boards, but my friend wants me to make her one now and she'll supply the pallet. Since I planned to use it outside and wanted it to look weathered, I used semi-transparent deck stain, watered-down flat white paint and hit it with a sanding block, hammer, rasp, bottle caps - anything to scratch it up a bit. Then covered it with satin polycrylic (because that's what I had around the house).
My daughter and I made this for a Father's Day gift, along with a bike rack, to get my husband's bike "shop" in better order.
Changed up the plan a little, shortened the overall length, which changed the size of the door openings, but the biggest change was making four cabinet doors instead of two exposed sections and two sliding barn doors. Used Lowe's chalk paint products. Made this a dresser for our cabin in Maine.
Tue, 12/29/2020 - 19:01
I like it! Wondering what you used for the doors; did you use paneling or did you cut lines in 1/4" plywood to make it look like boards?
Inspired by the Queen Size Farmhouse Bed with Drawers, my father-in-law and I converted those plans into a King size. This was quite the project and took us a substantial amount of time to complete. We used a modified French Cleat to make the entire bed modular, so it can be easily (still very heavy) moved. The entire storage capacity is roughly 30 cubic feet, so we will have ample room to store our linens and other items not regularly used. This entire project was modeled from an antique door that my wife found in an antique store. Enjoy!