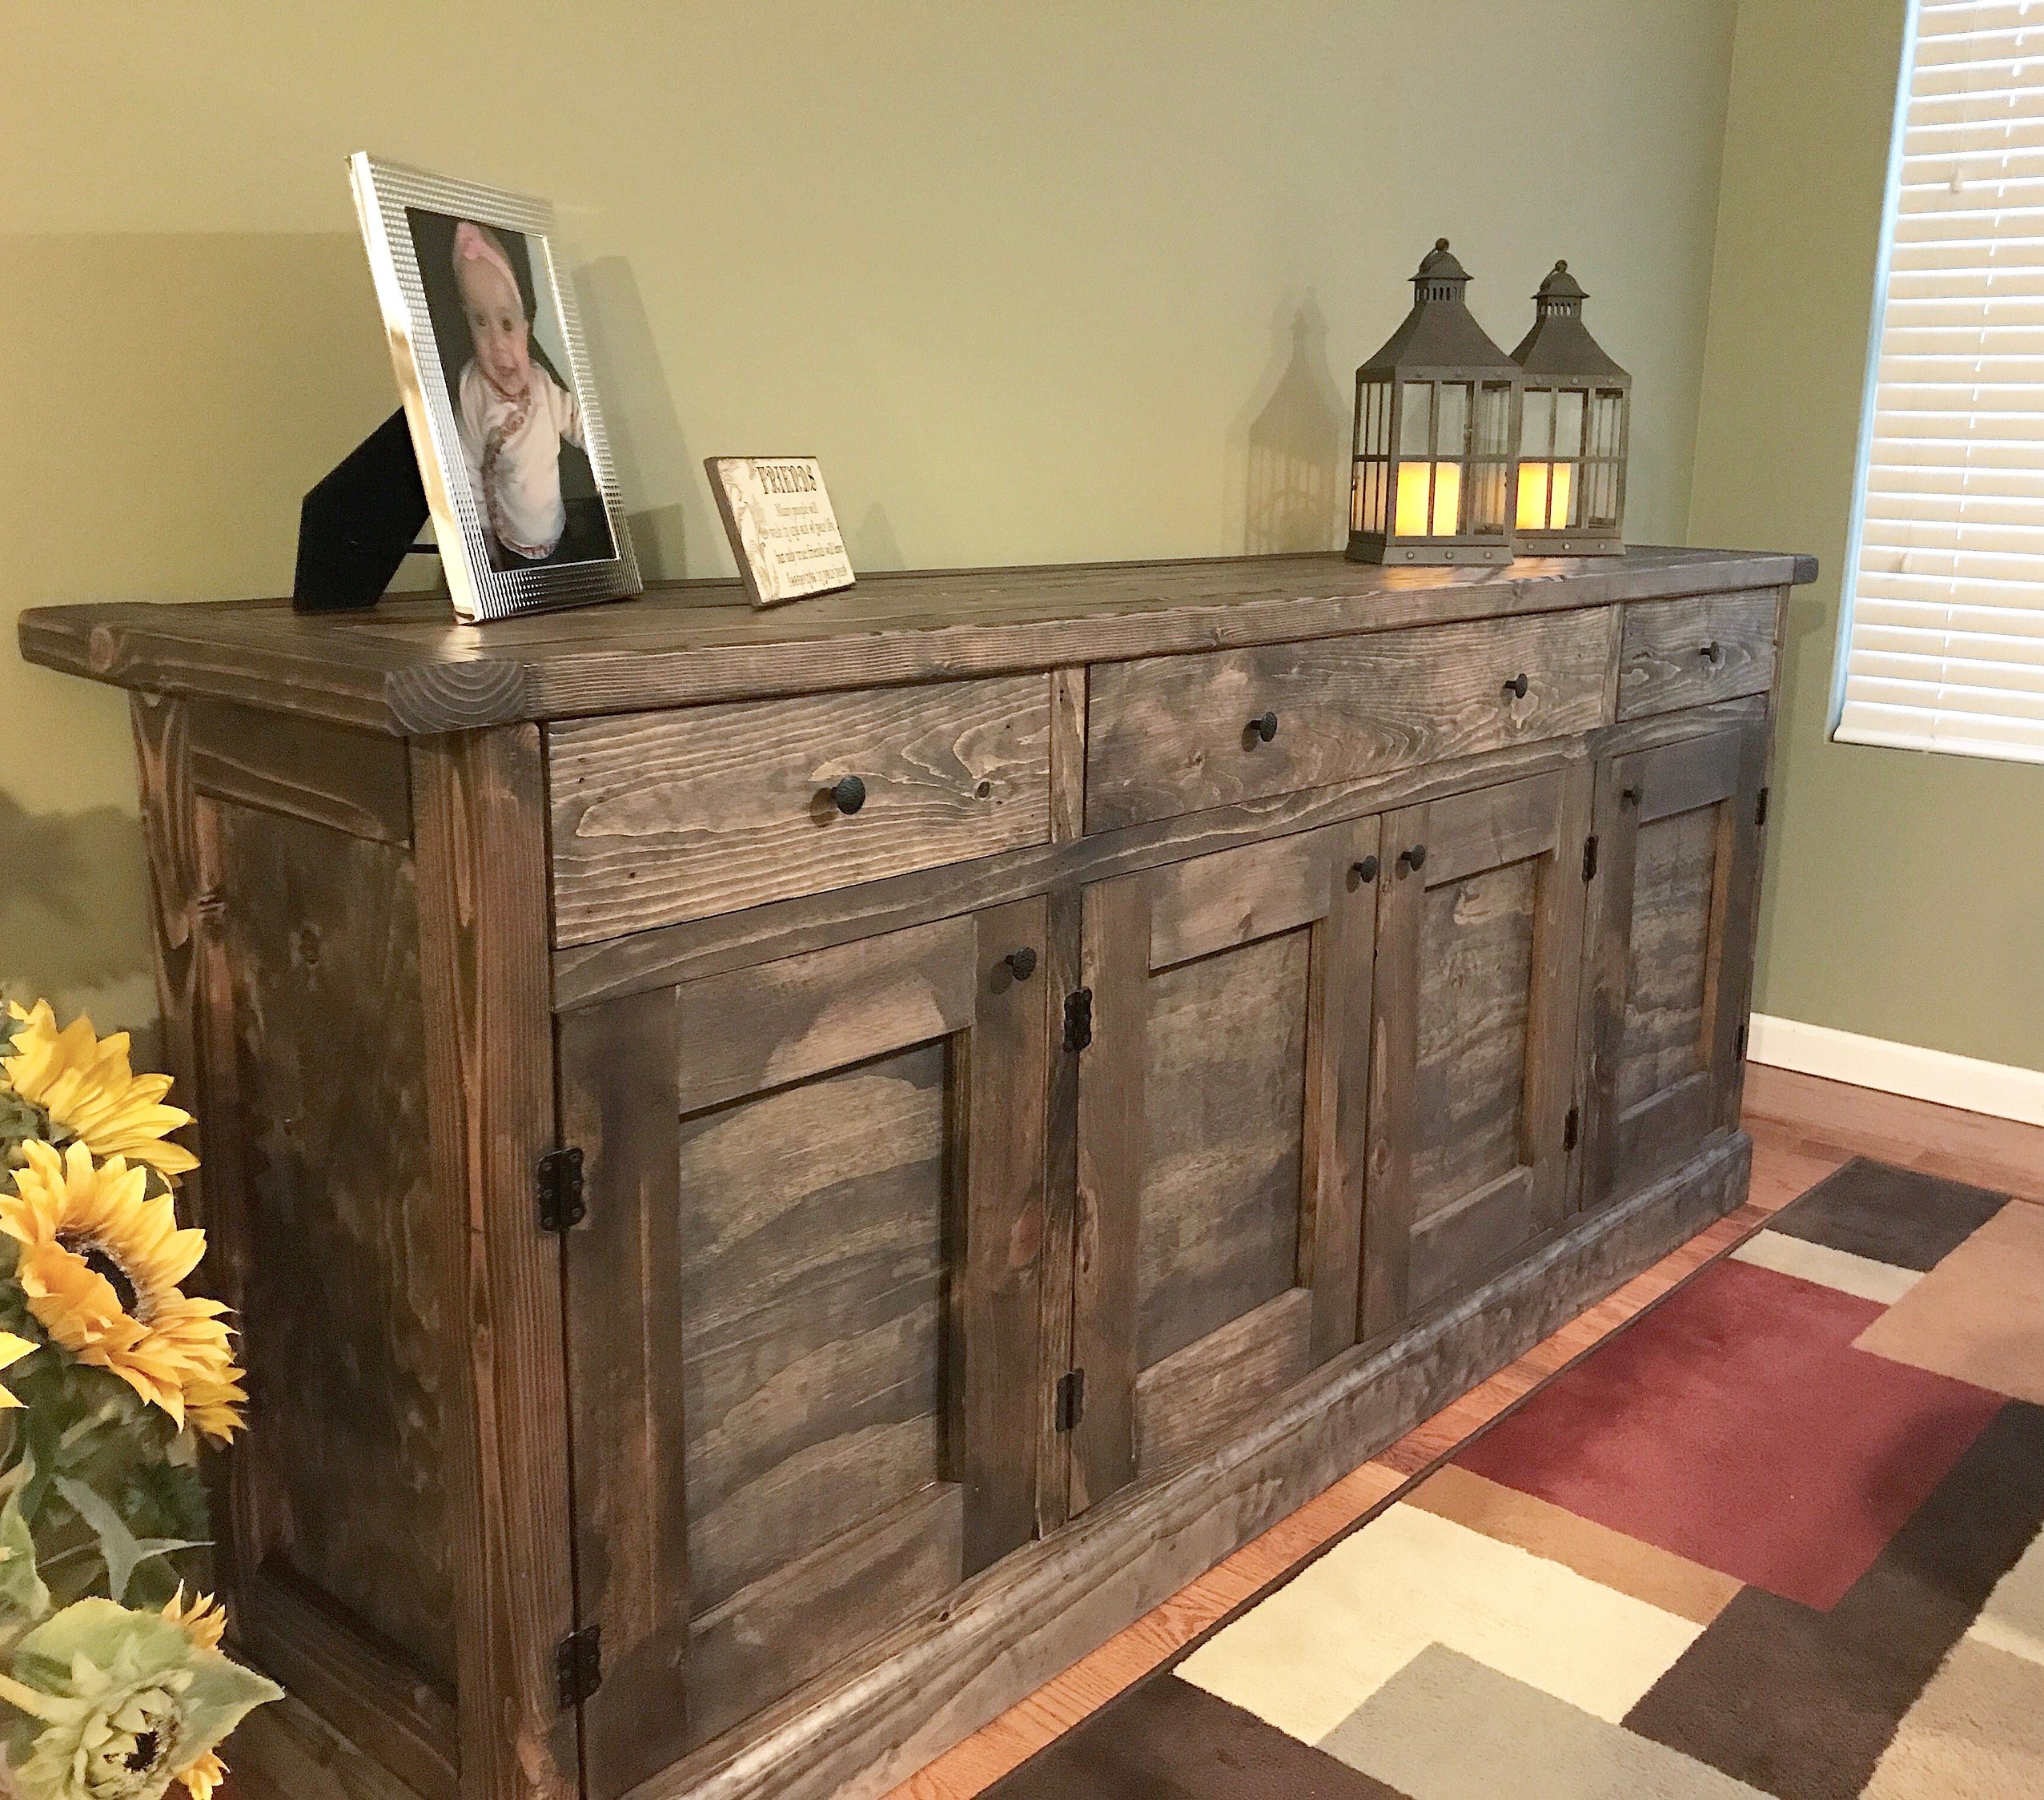
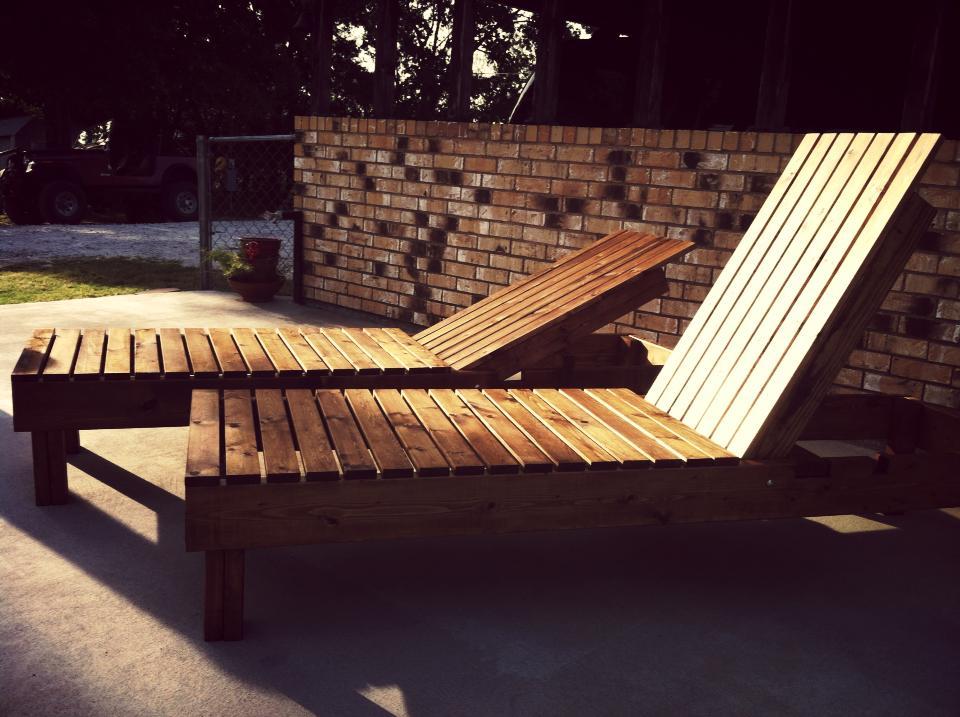
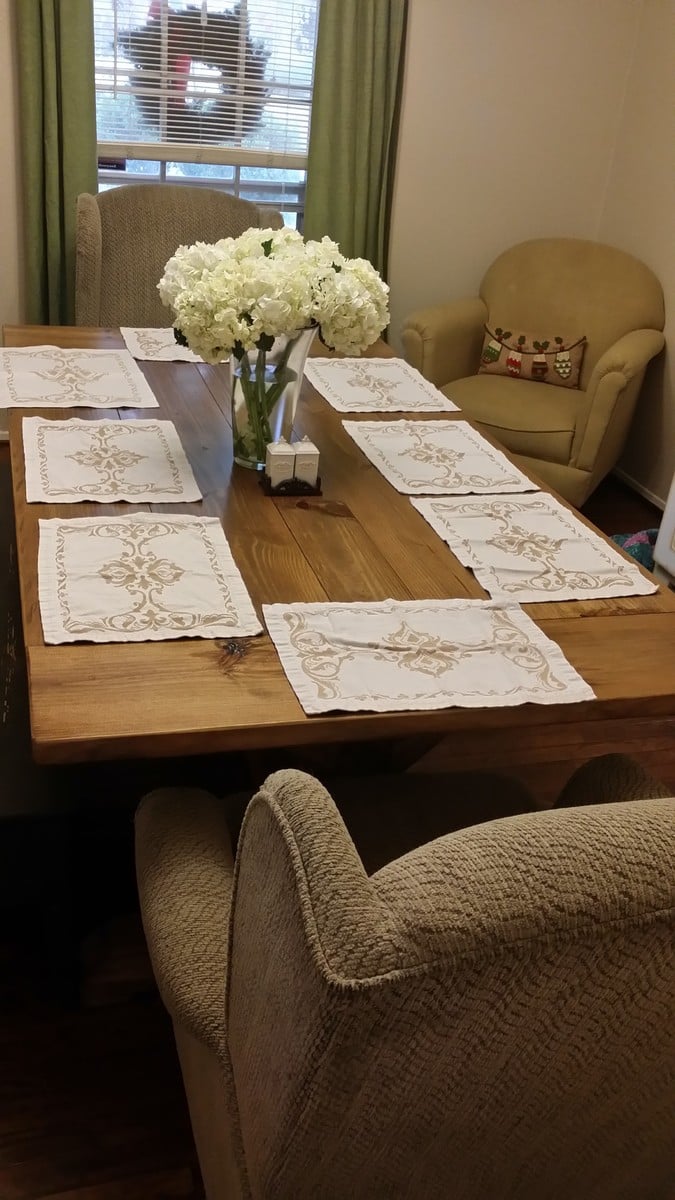
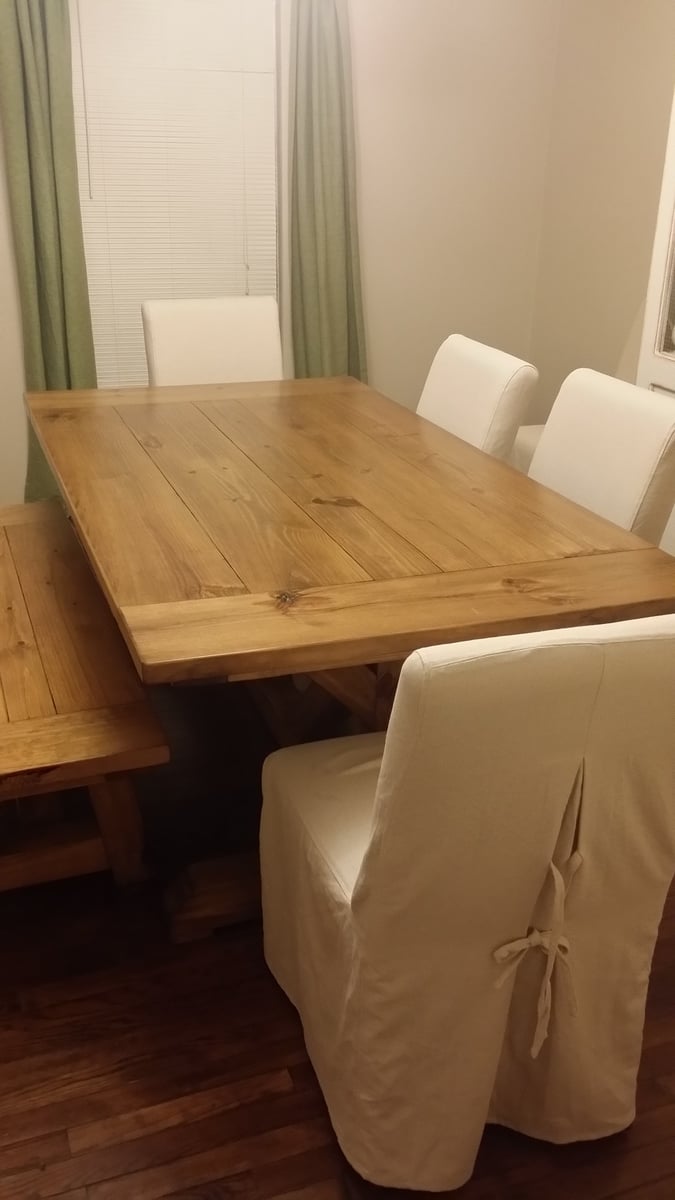
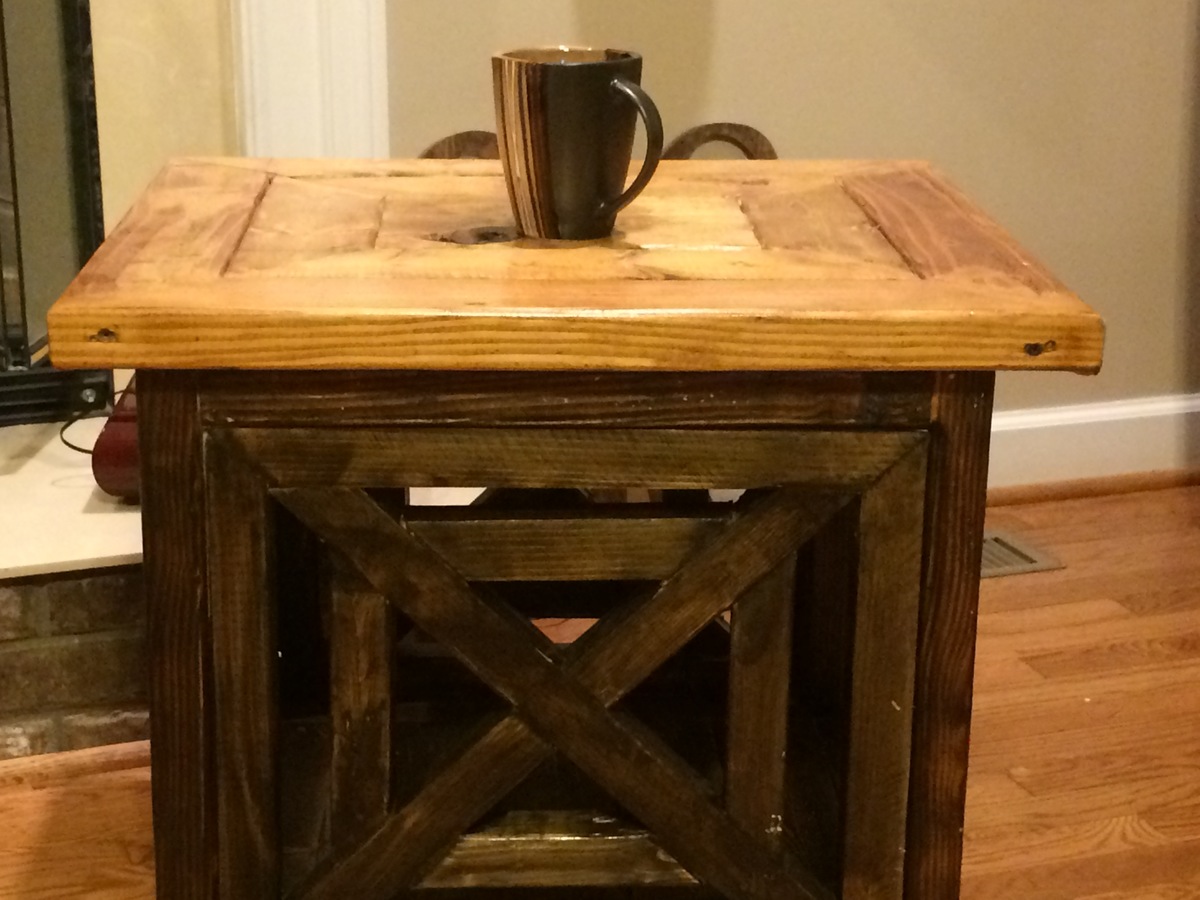
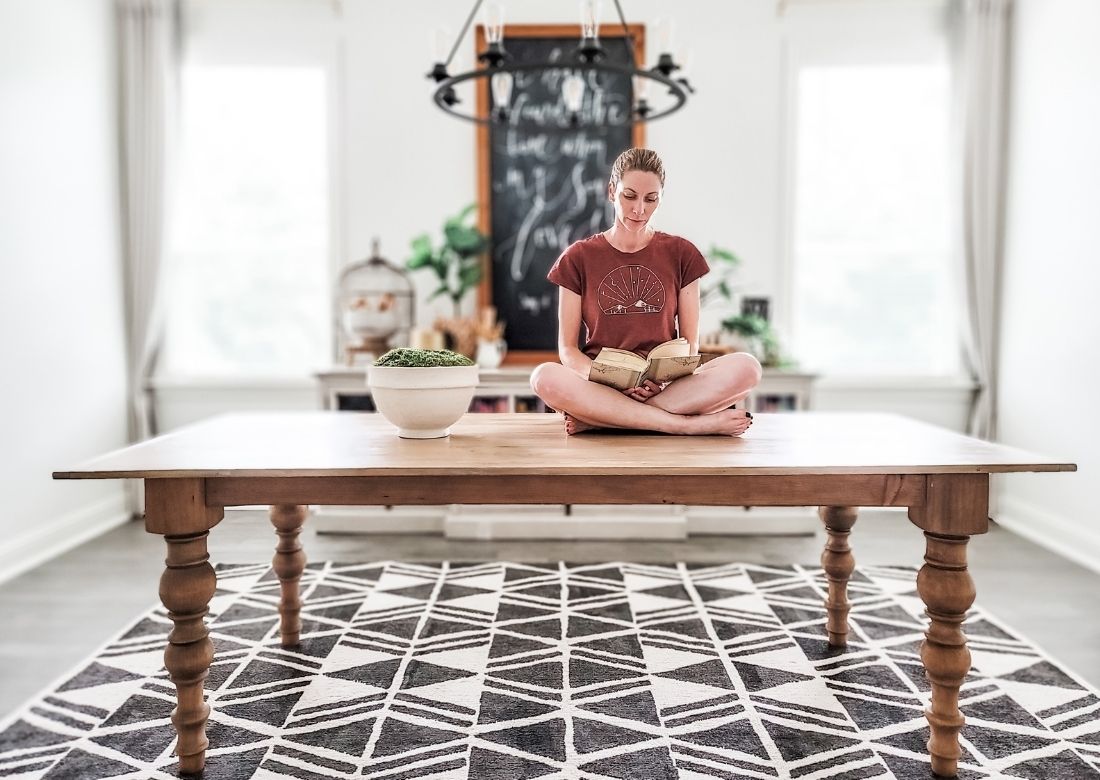
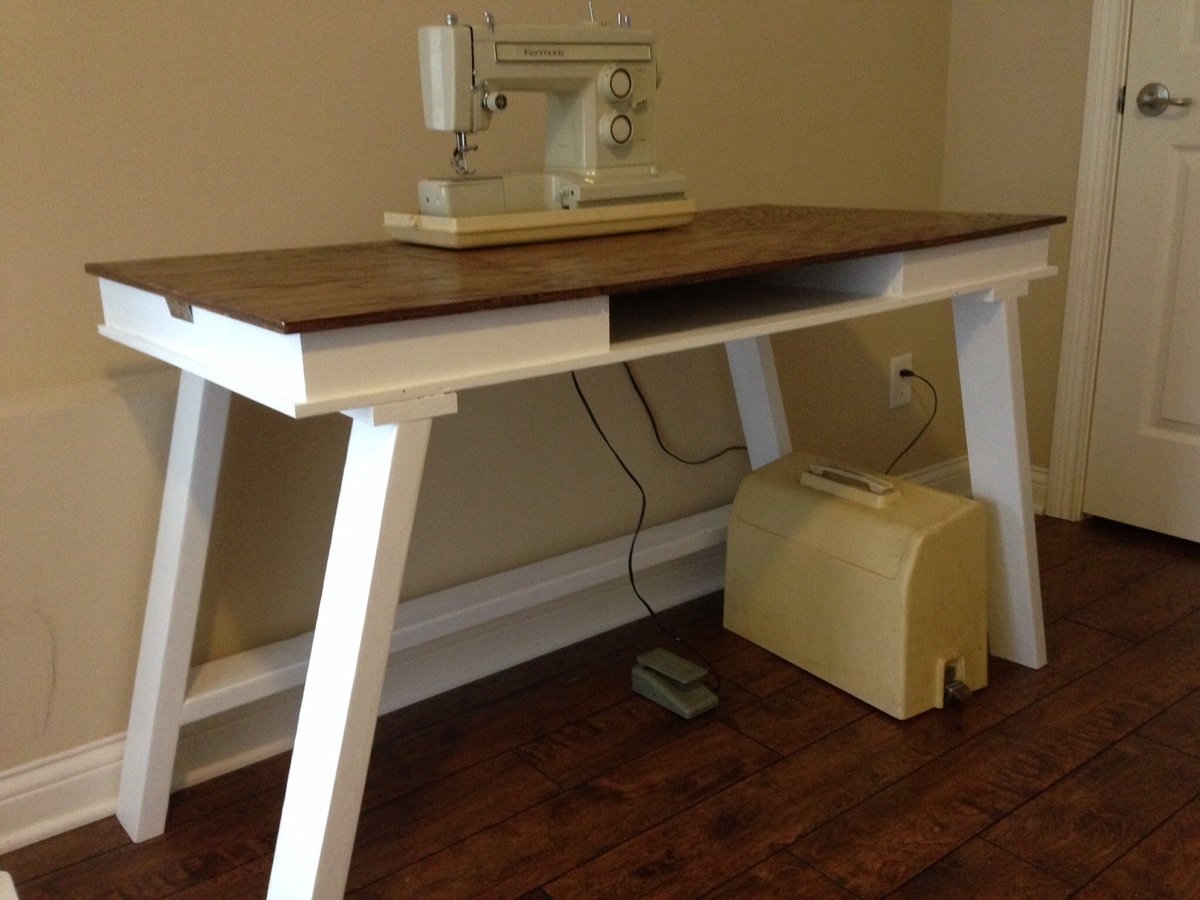
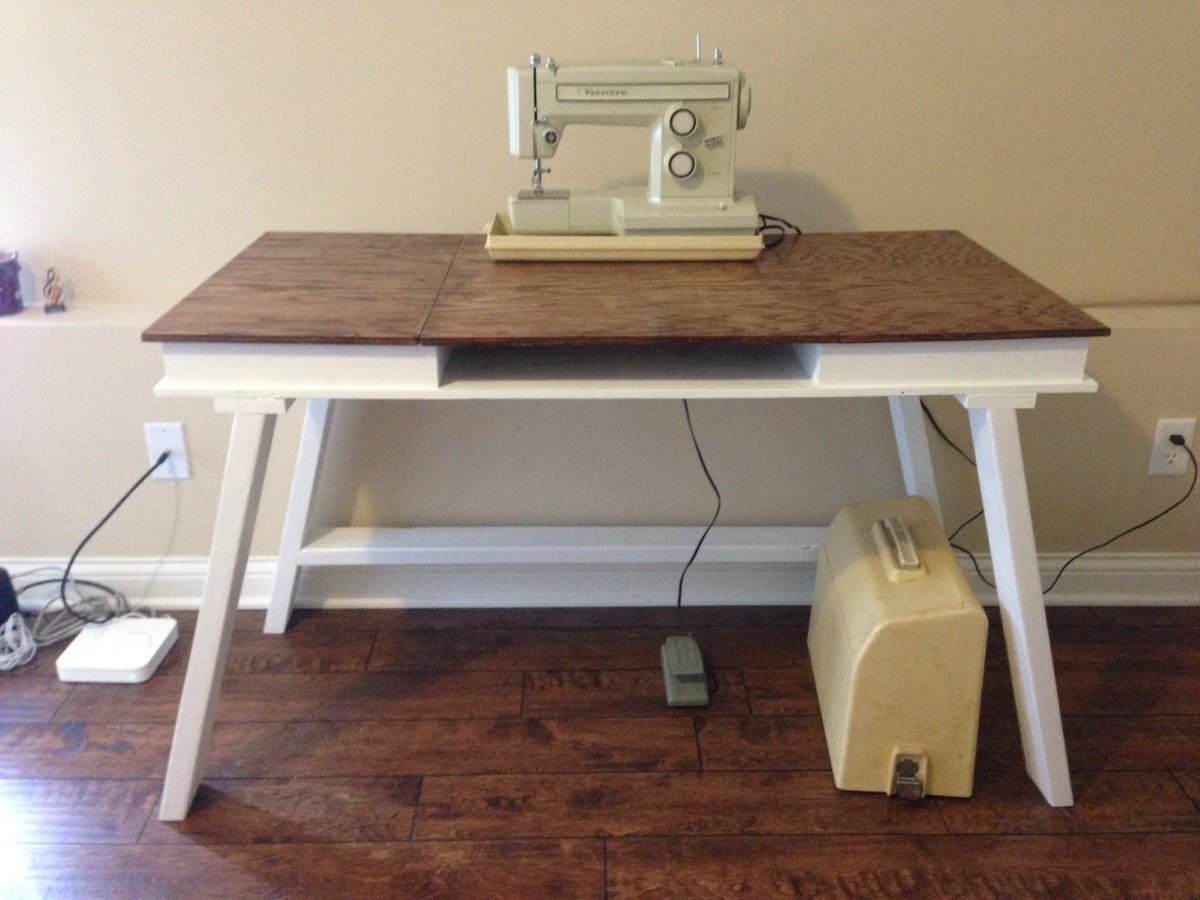
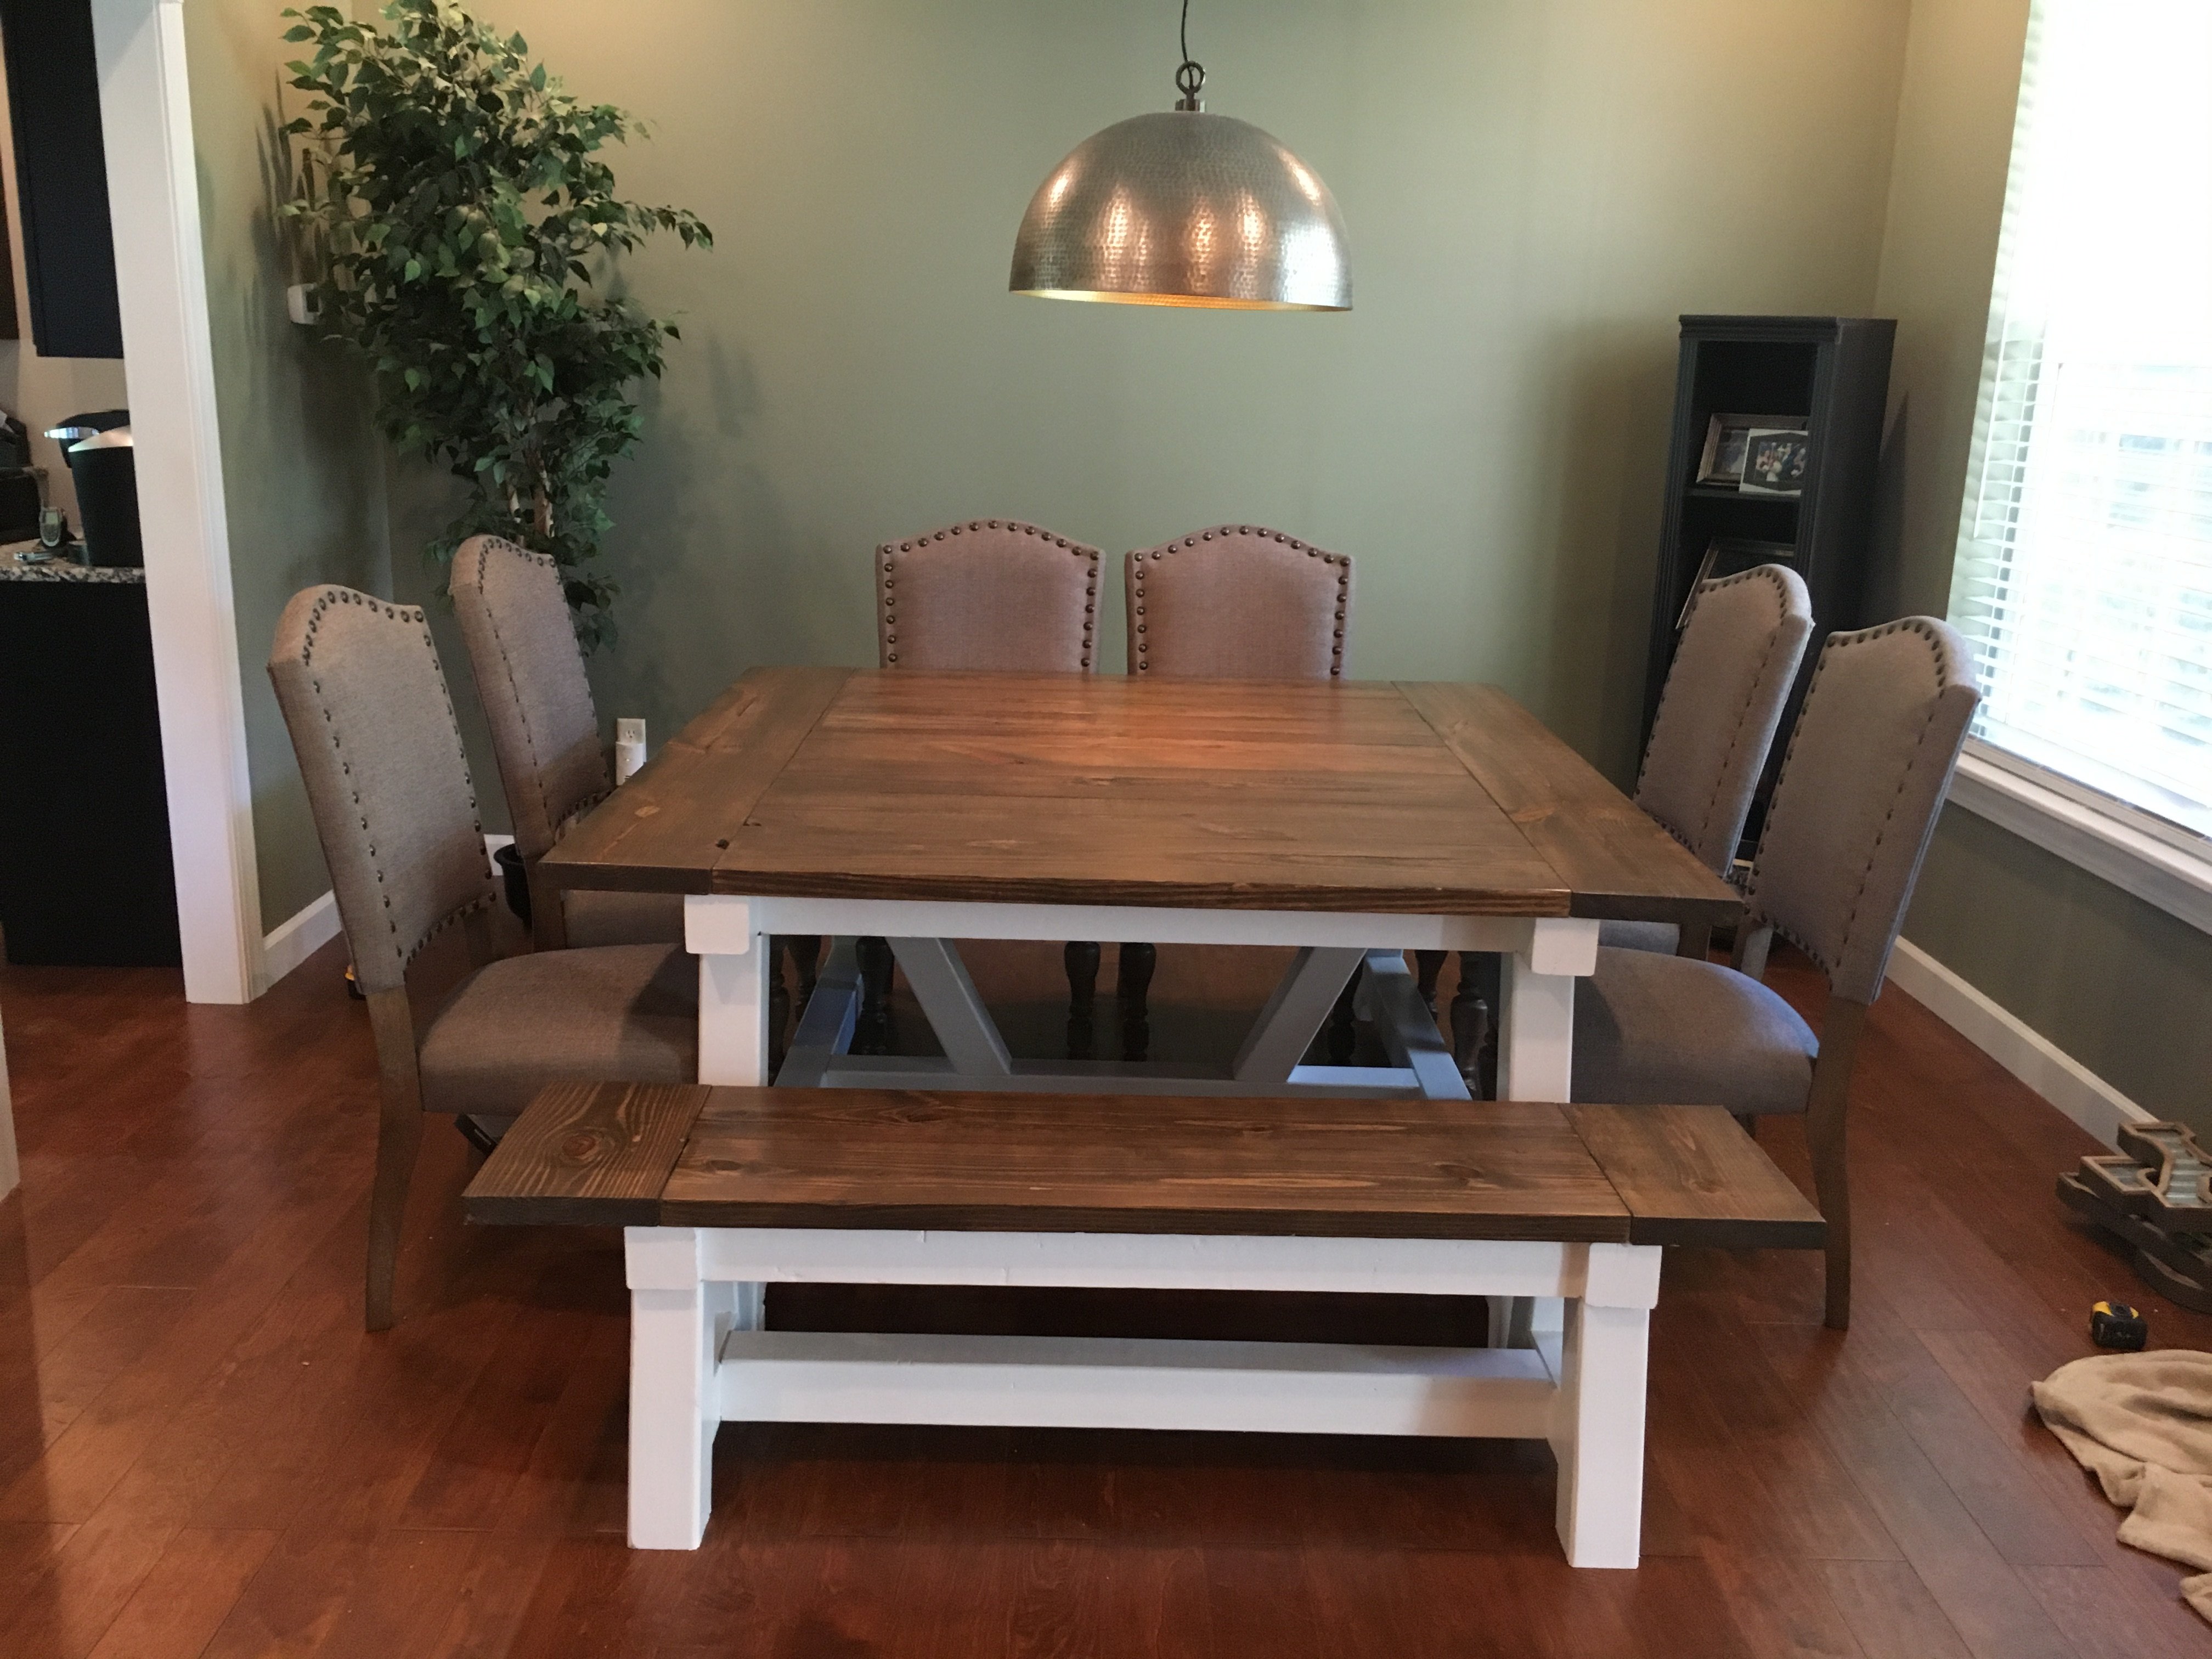
Sideboard with a Slab top
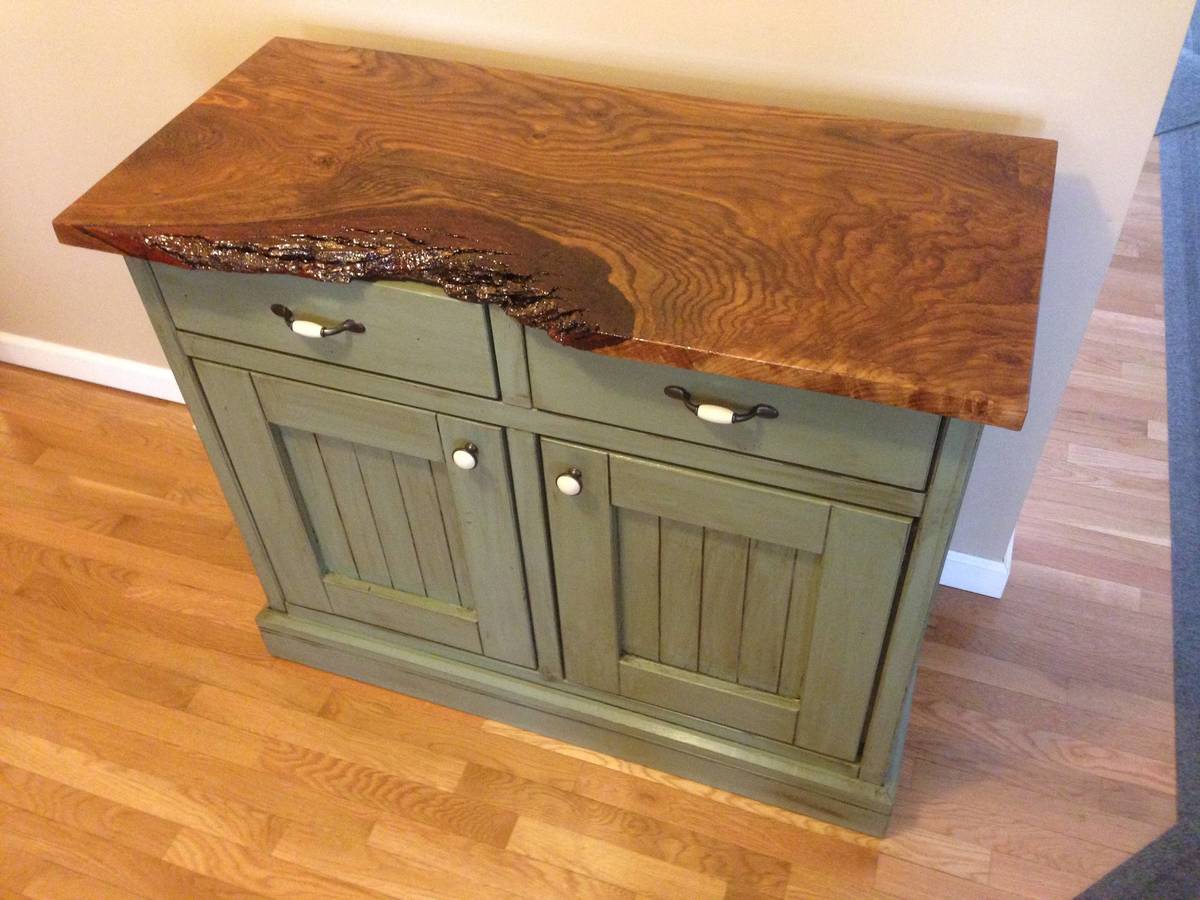
Shortened the design to fit the spot and used a slab of white oak I had laying around.
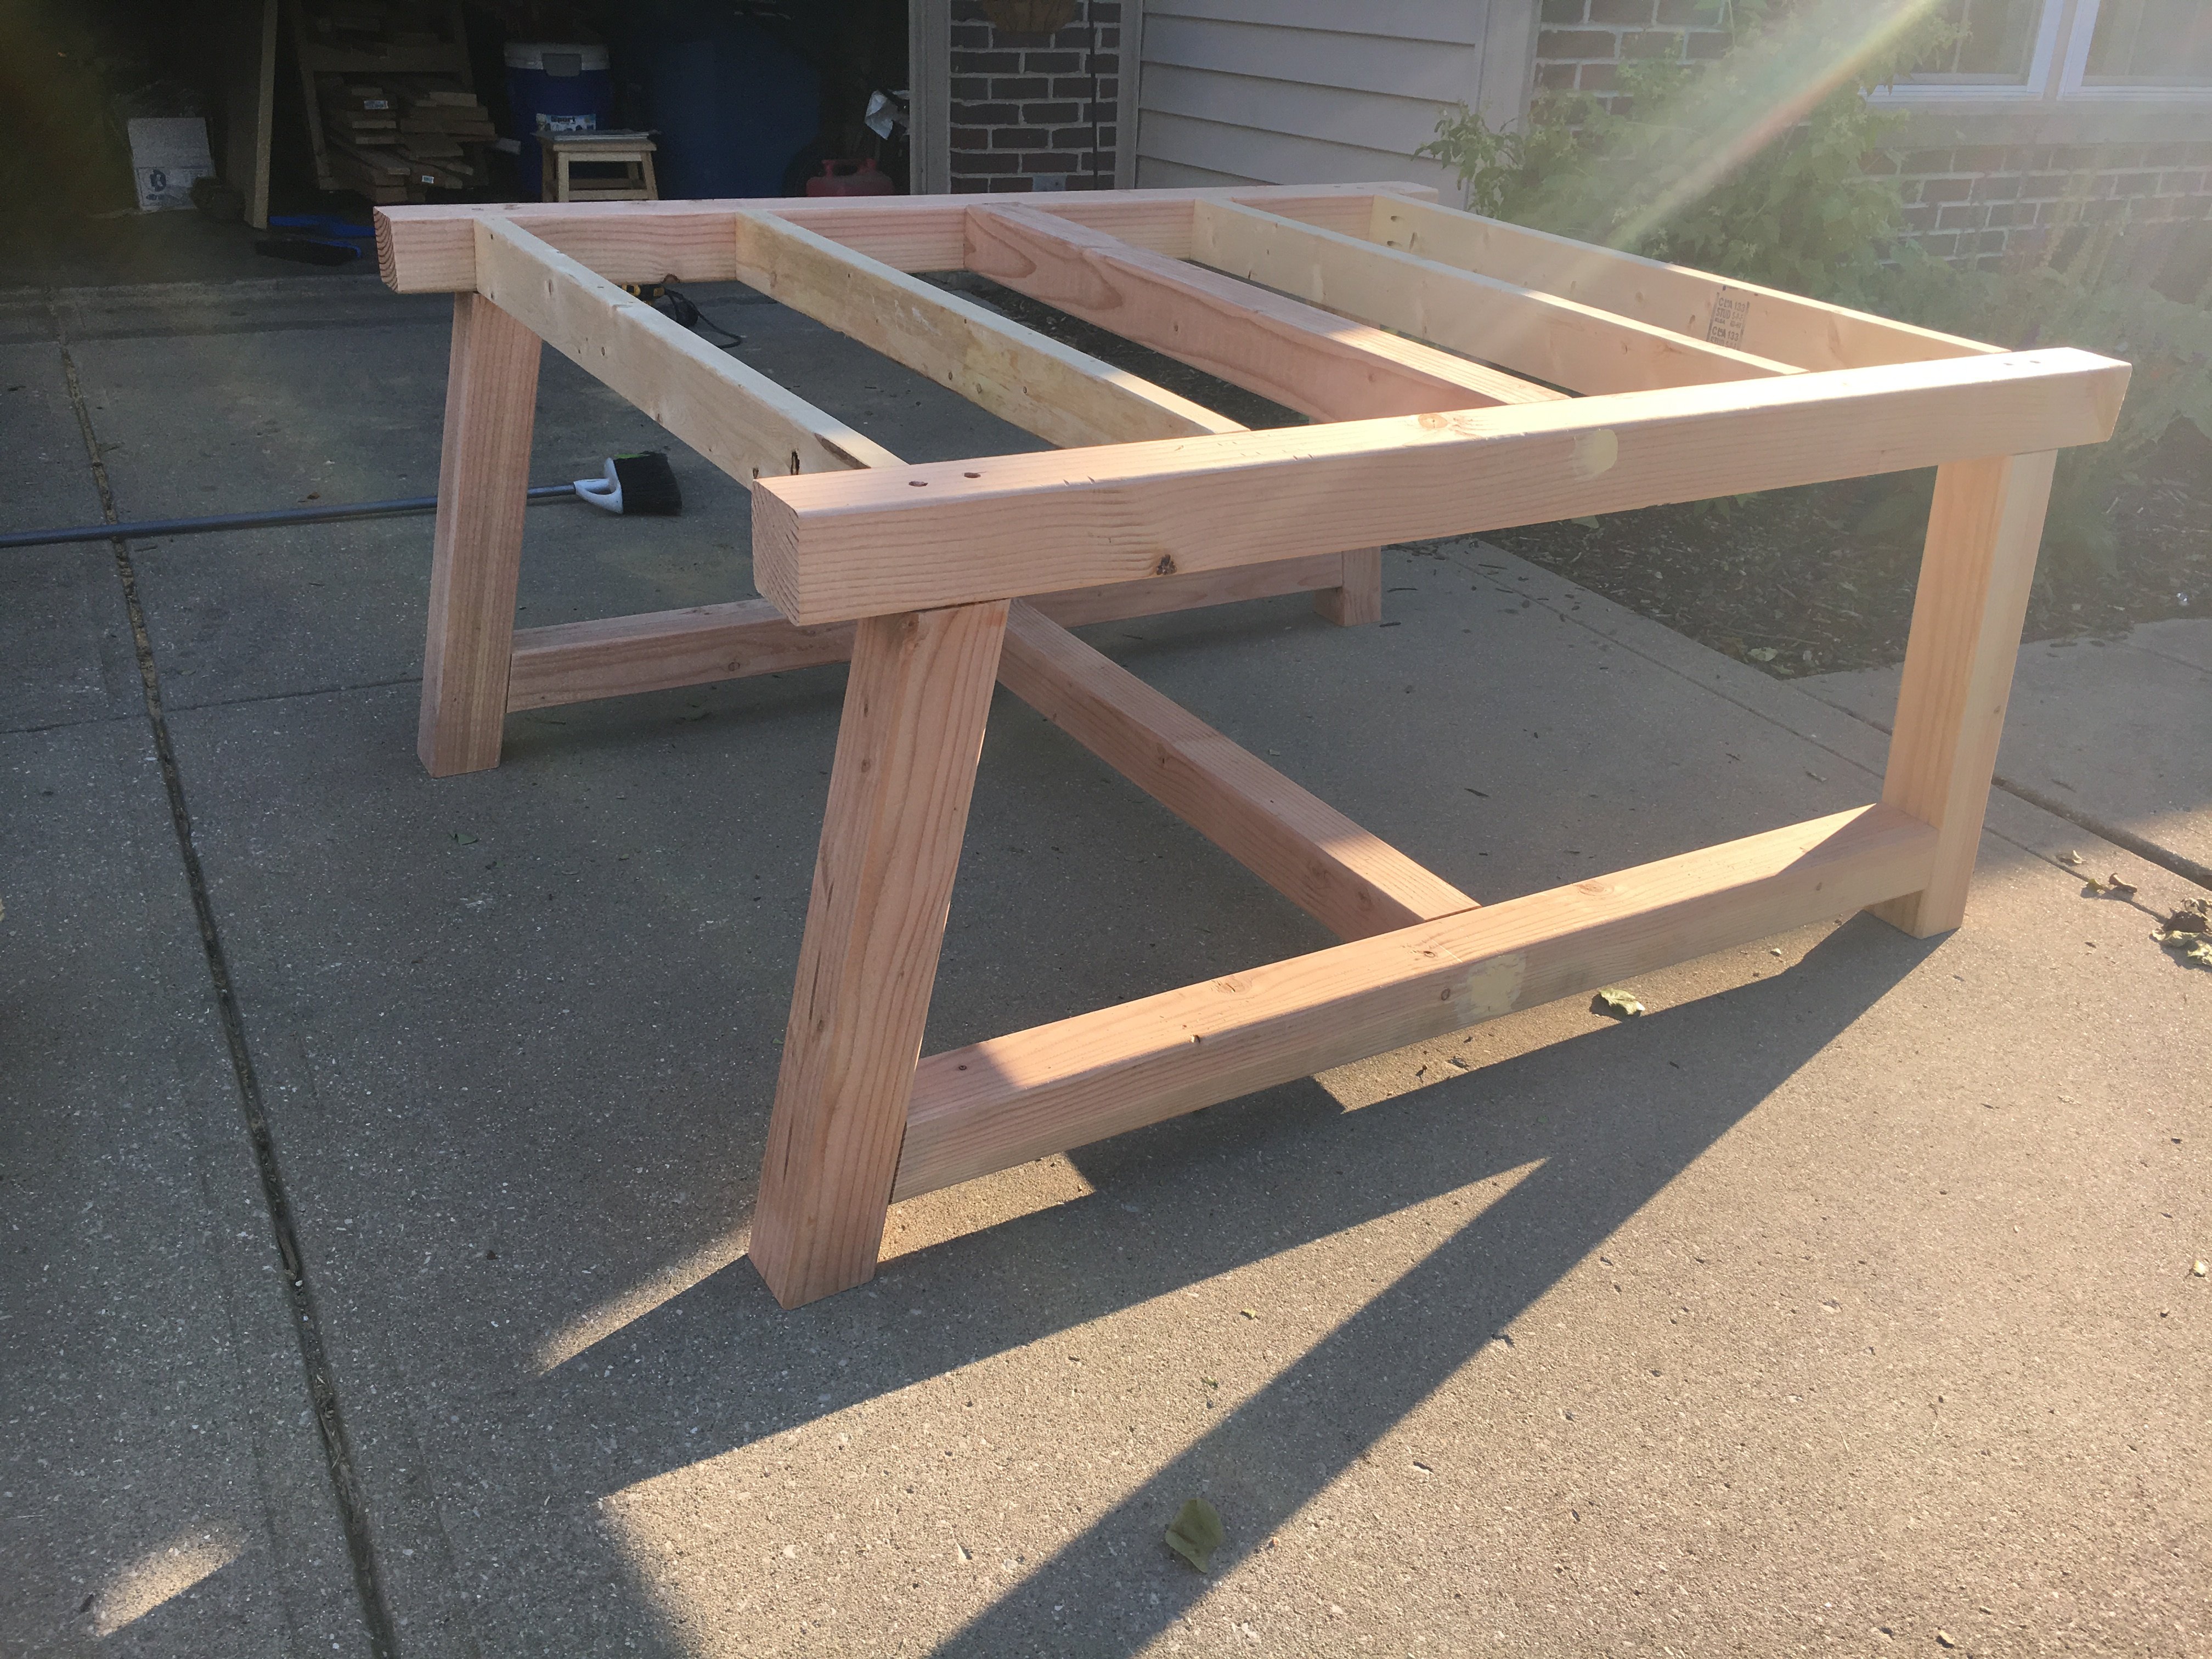
Built from Plan(s)
Estimated Time Investment
Week Long Project (20 Hours or More)
Finish Used
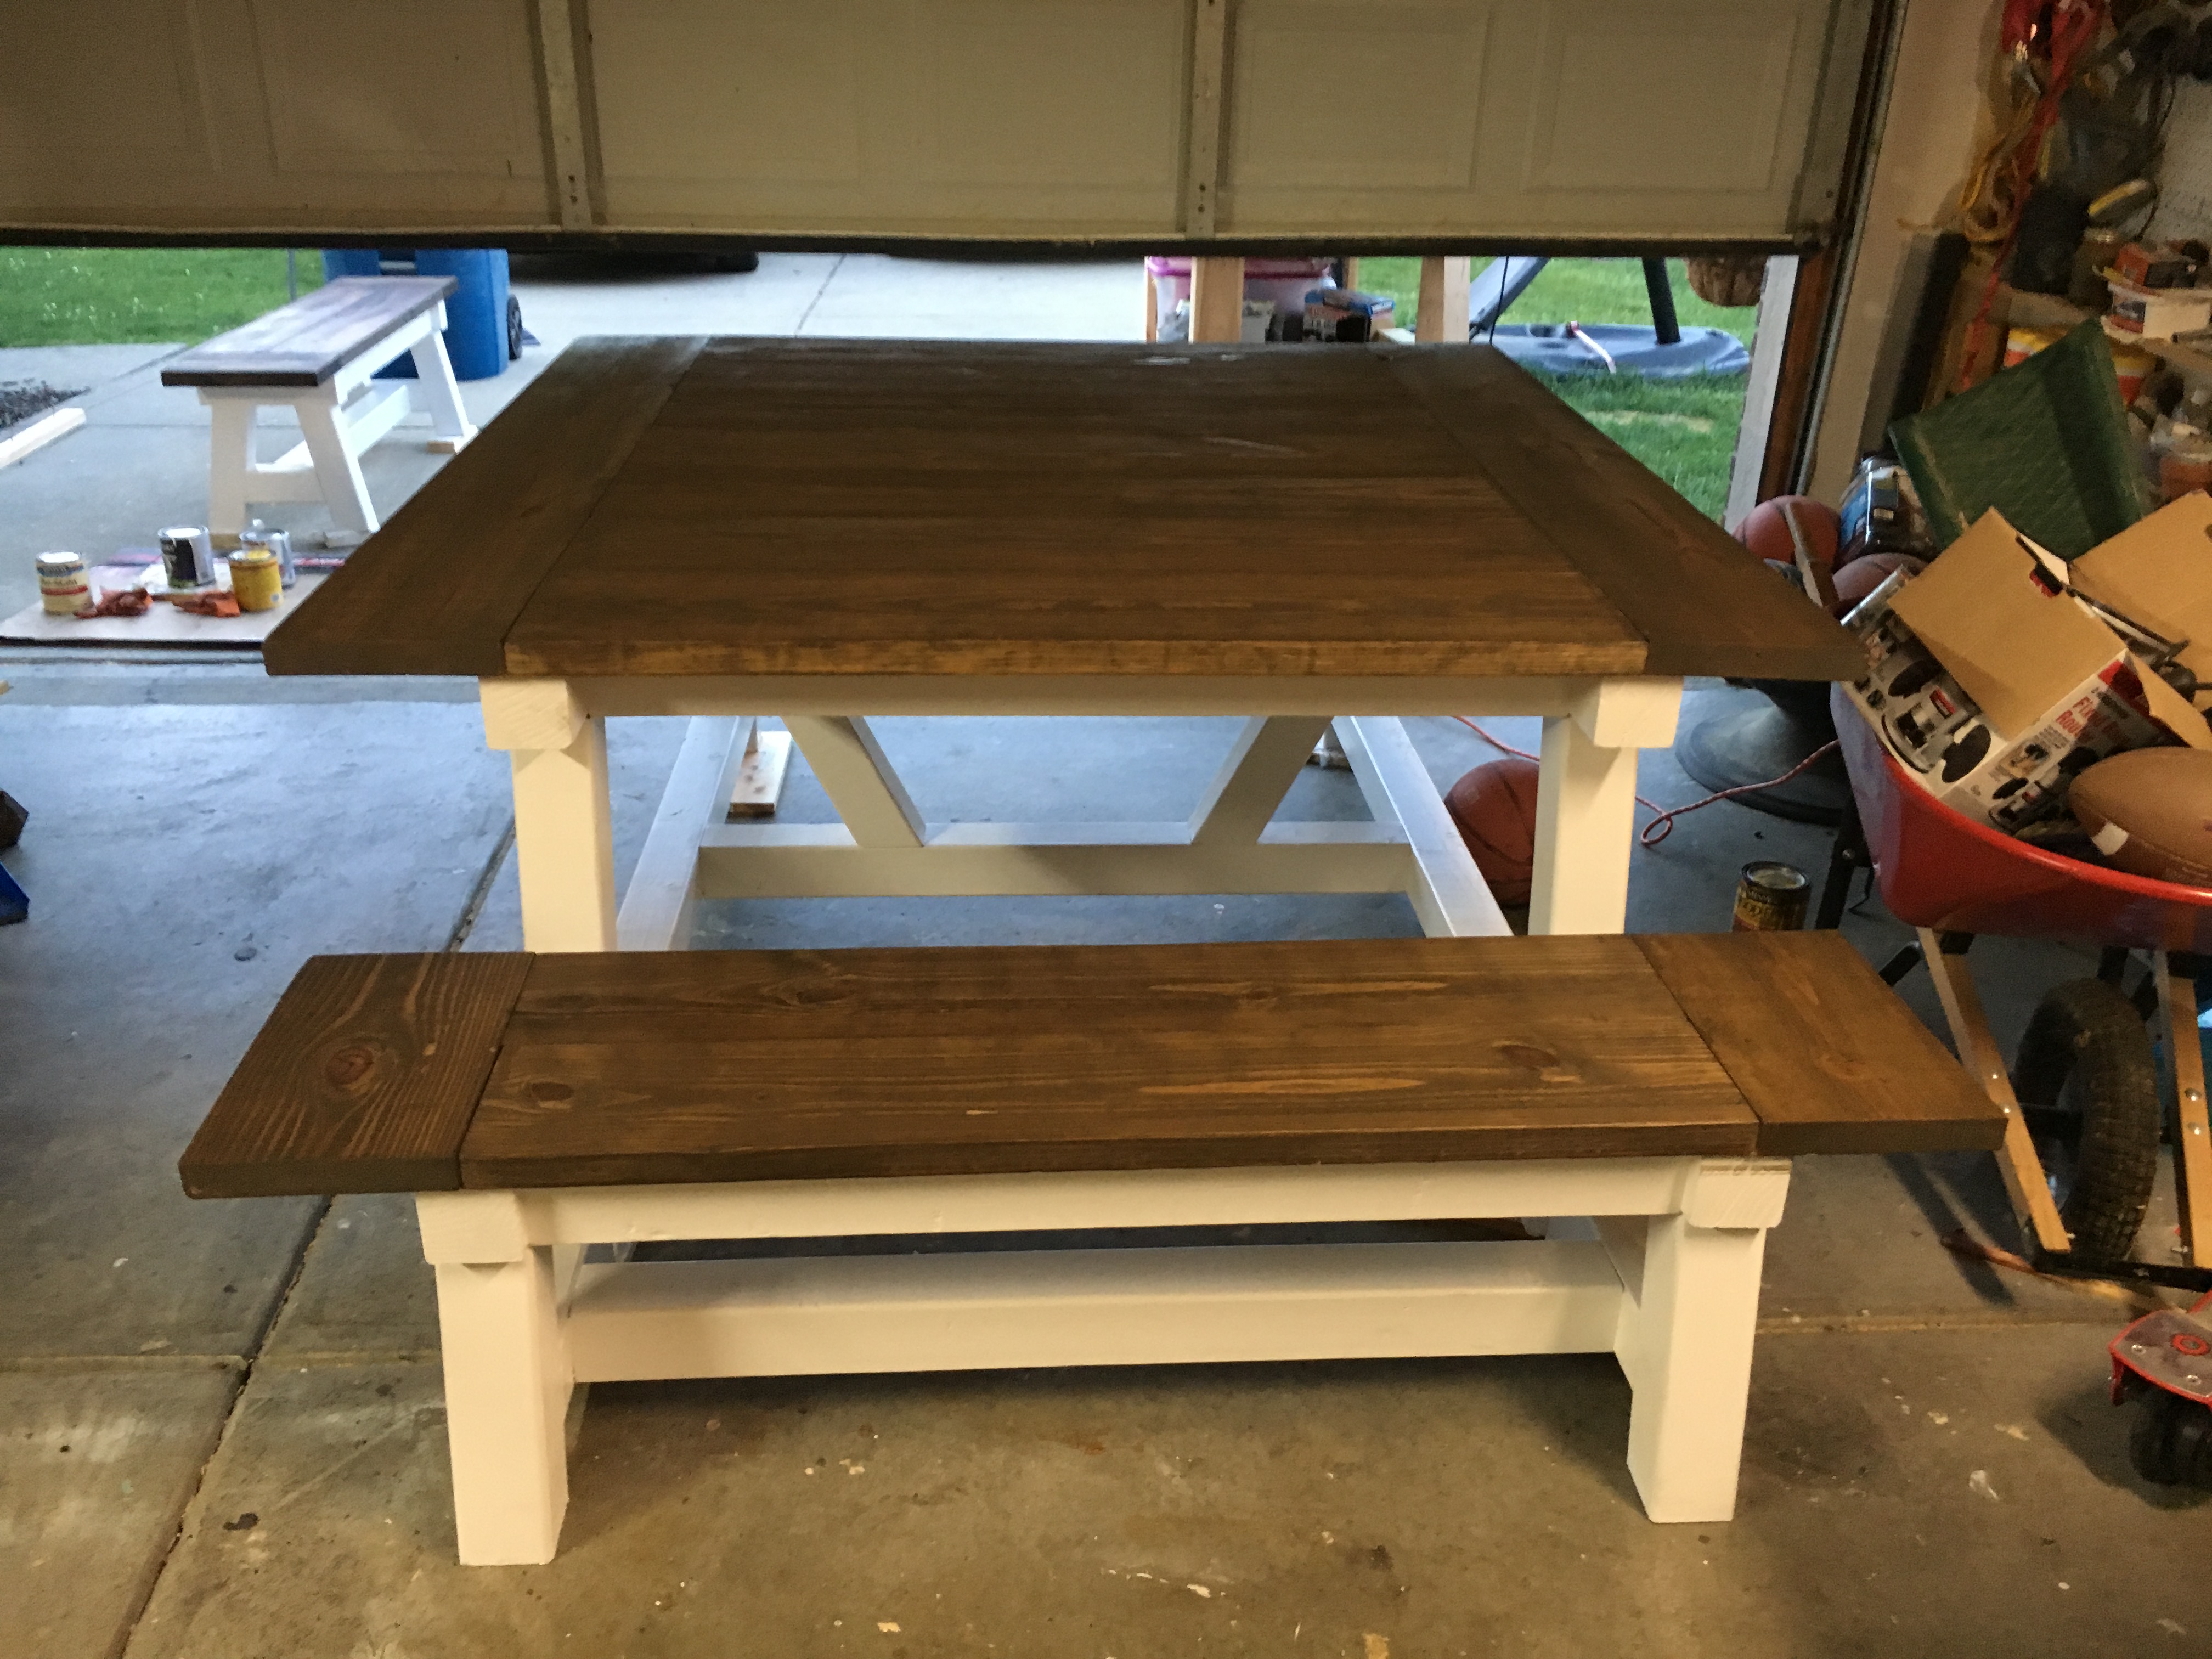
Base: Dark Stain, Shellac, General Milk Paint, General Glaze, General High Performance Flat.
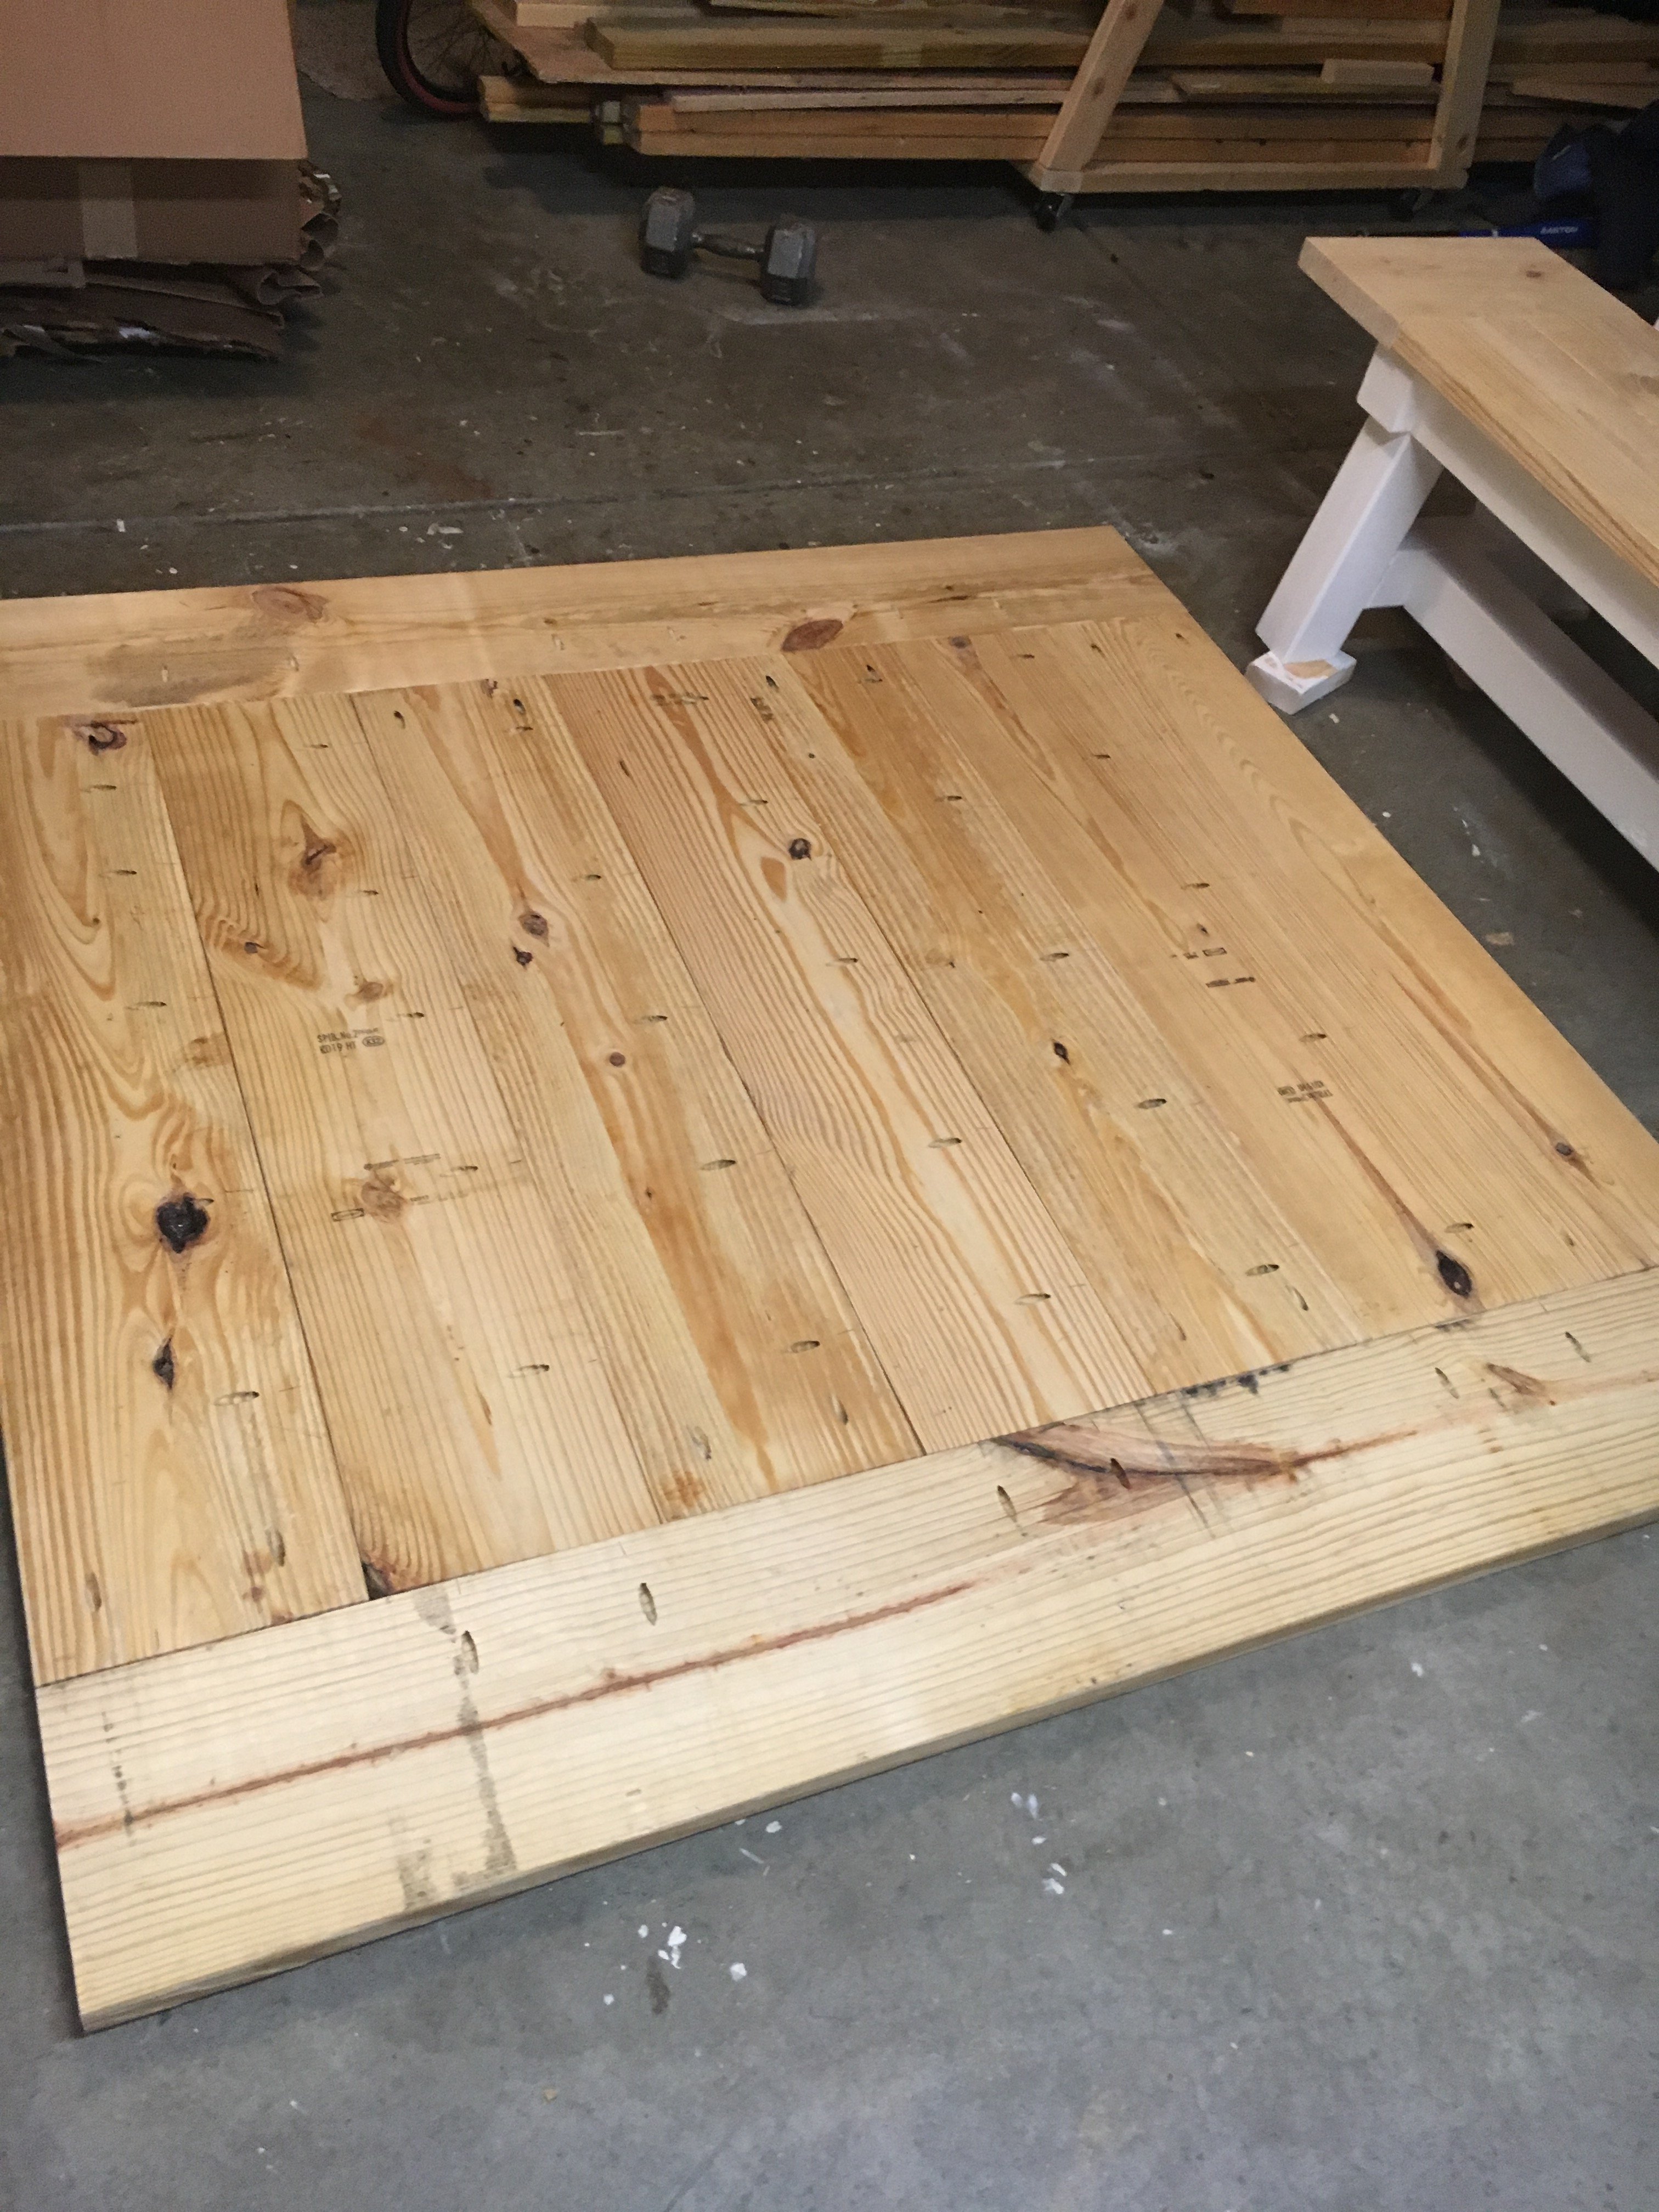
Top: Boiled linseed oil, Shellac
Top: Boiled linseed oil, Shellac
Recommended Skill Level
Beginner


Comments
Noelleskaya
Sun, 03/01/2015 - 08:01
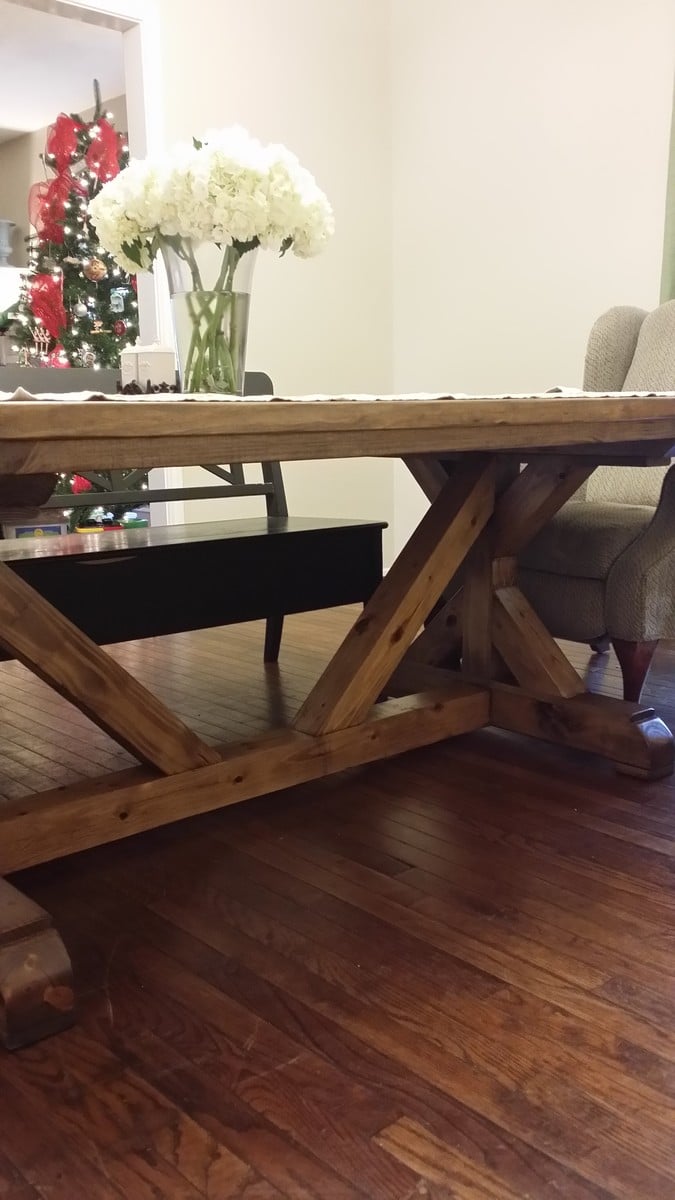
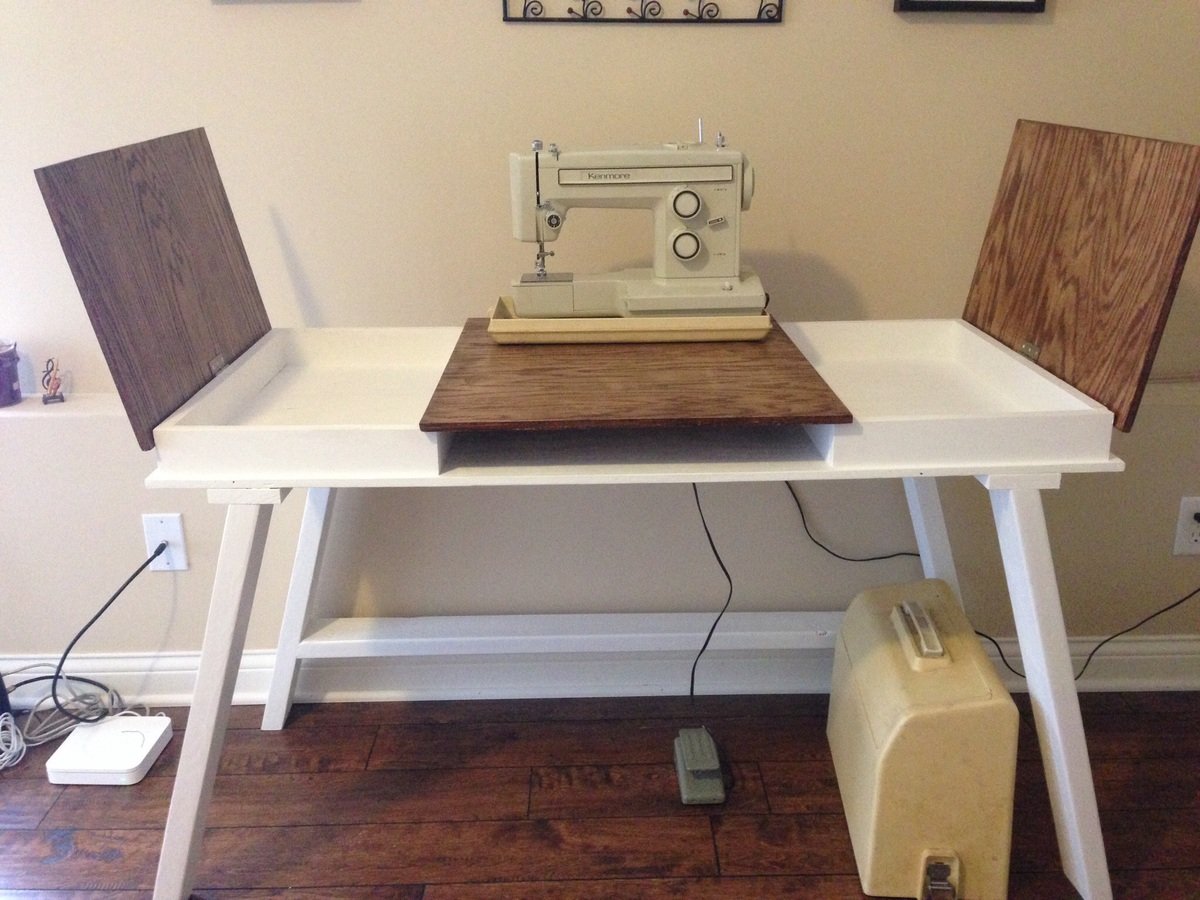
I love the live edge piece
I love the live edge piece you added for the top. It brings the perfect rustic element! :)