My try at a step stool
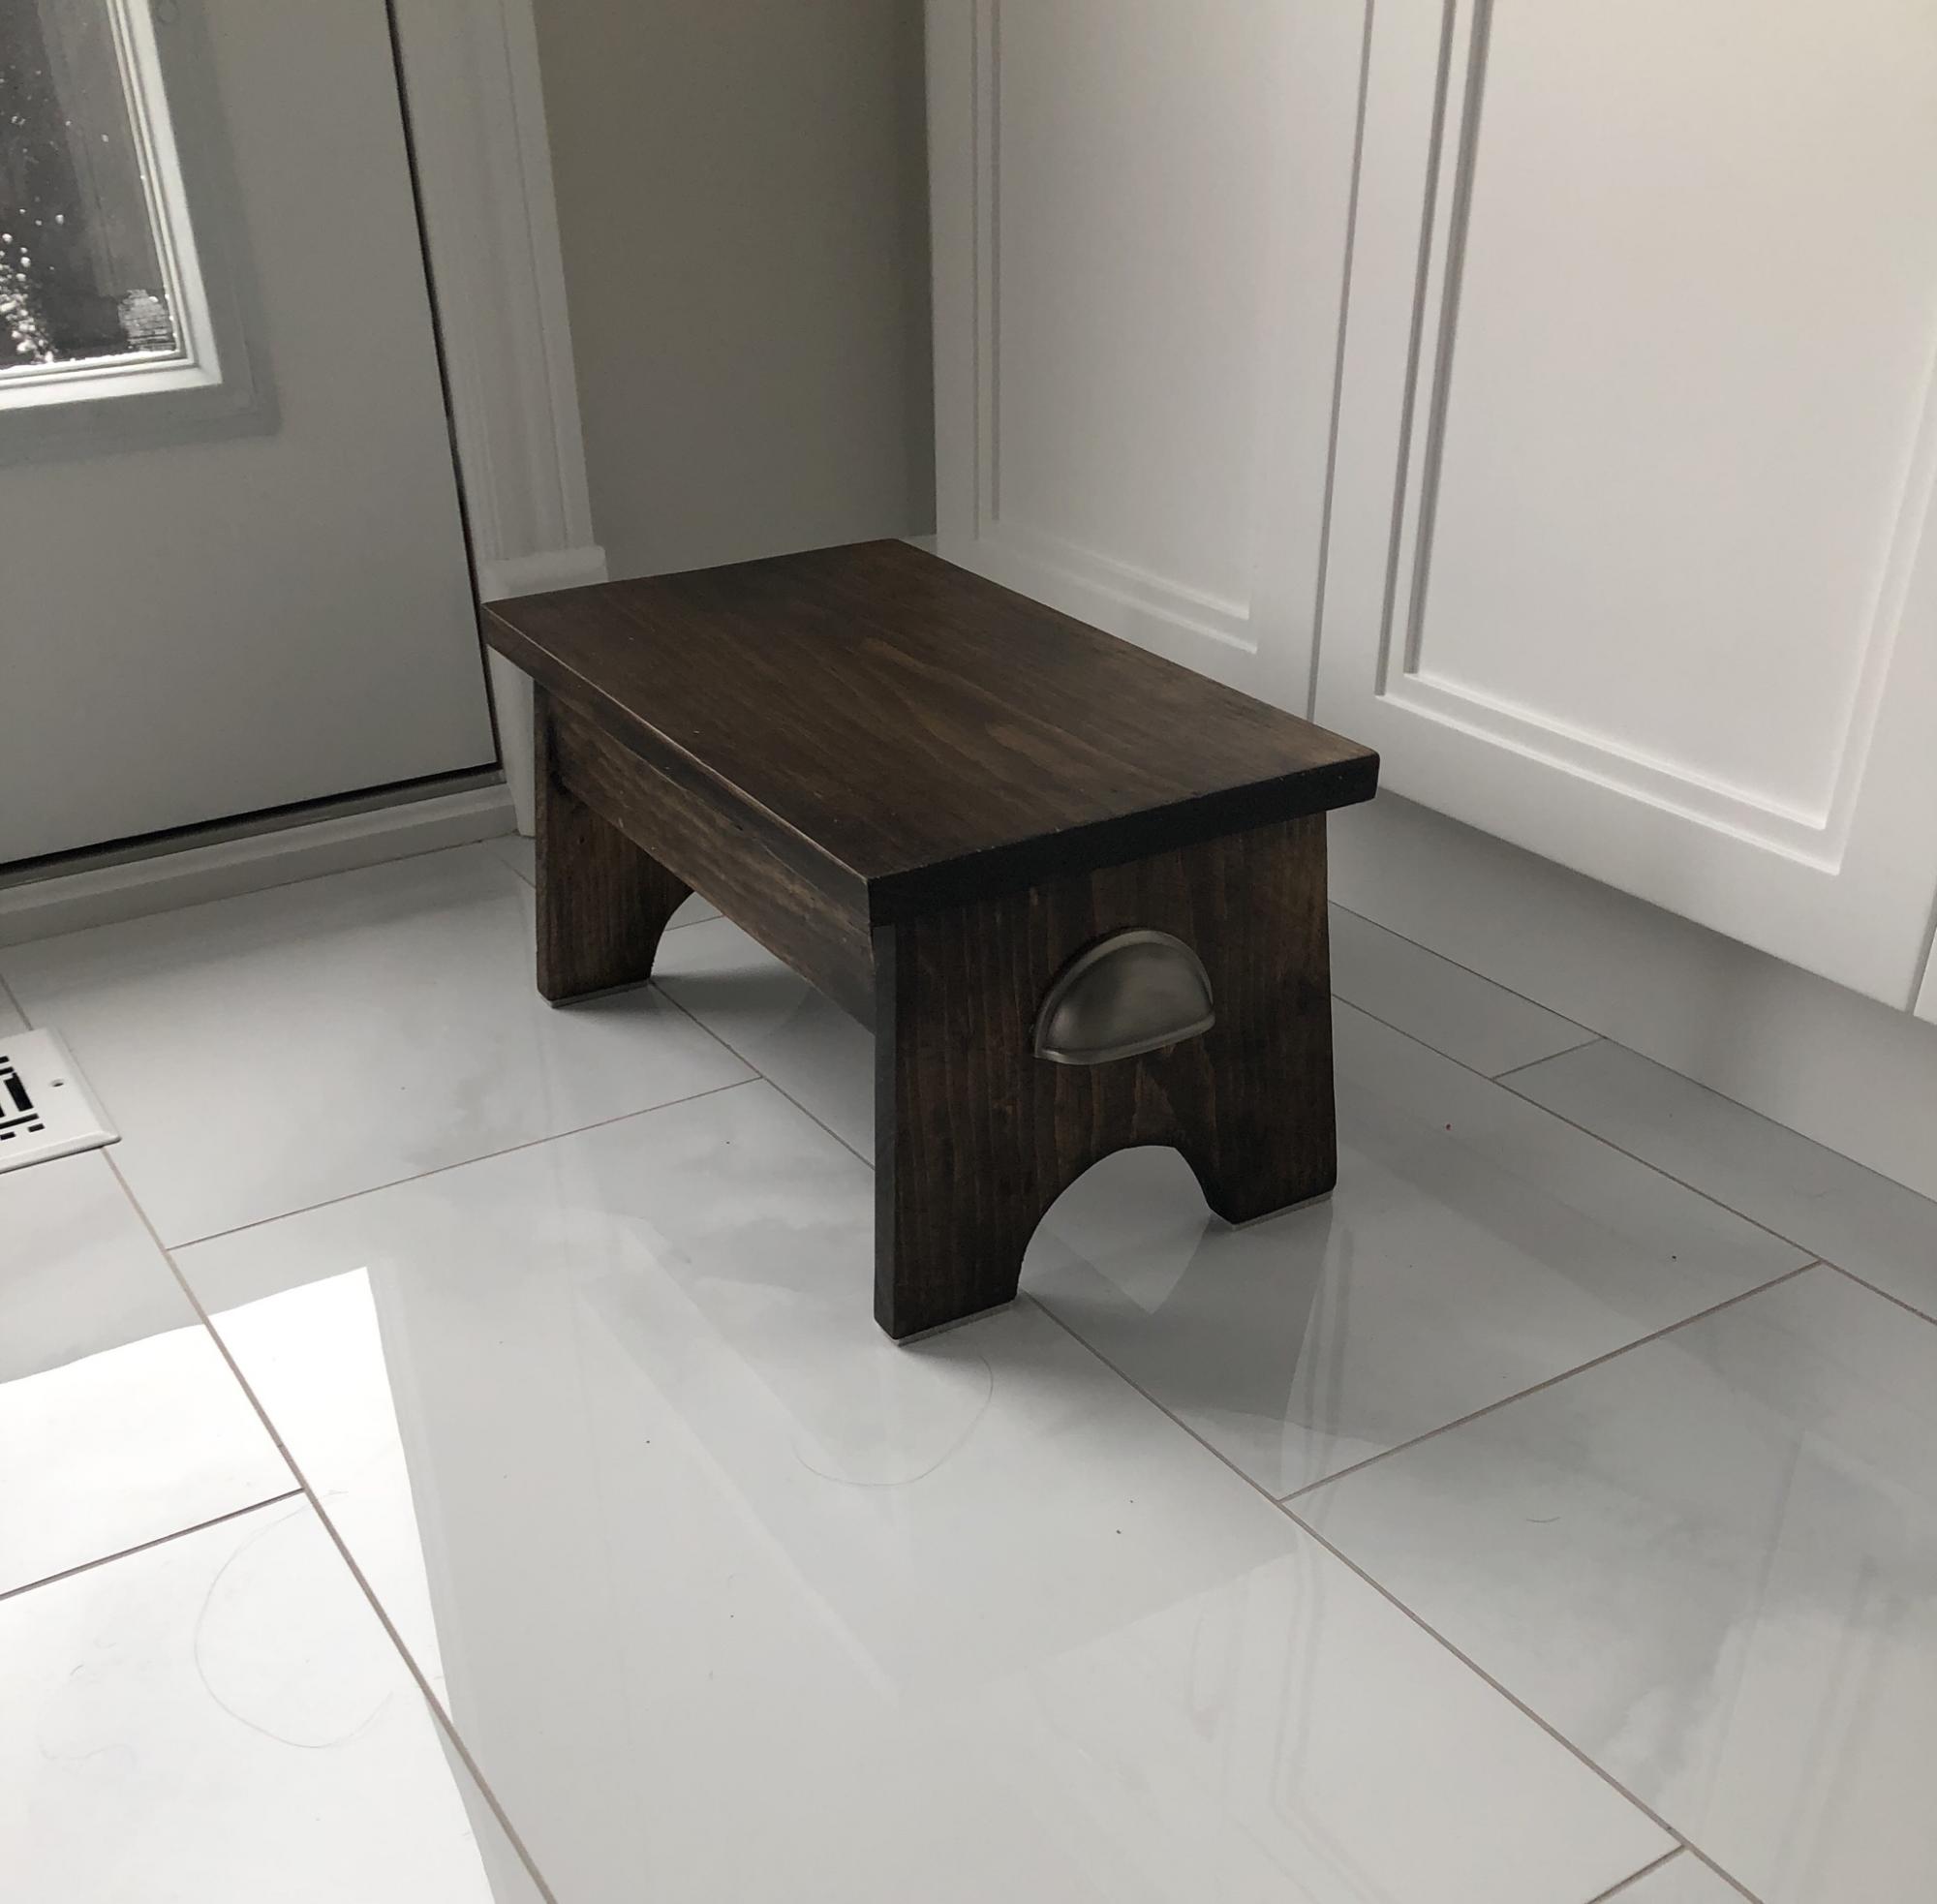
Had fun doing this one. I used a gel stain and about 4 coats of lacquer to finish
Built from Plan(s)
Had fun doing this one. I used a gel stain and about 4 coats of lacquer to finish
I made this as a birthday present for my two year old neice. It was really easy to make even for a beginner like myself. My five year daughter has been asking me every day if I would make her one "just like it" for her dolls, so I guess I know what I'm doing this weekend!
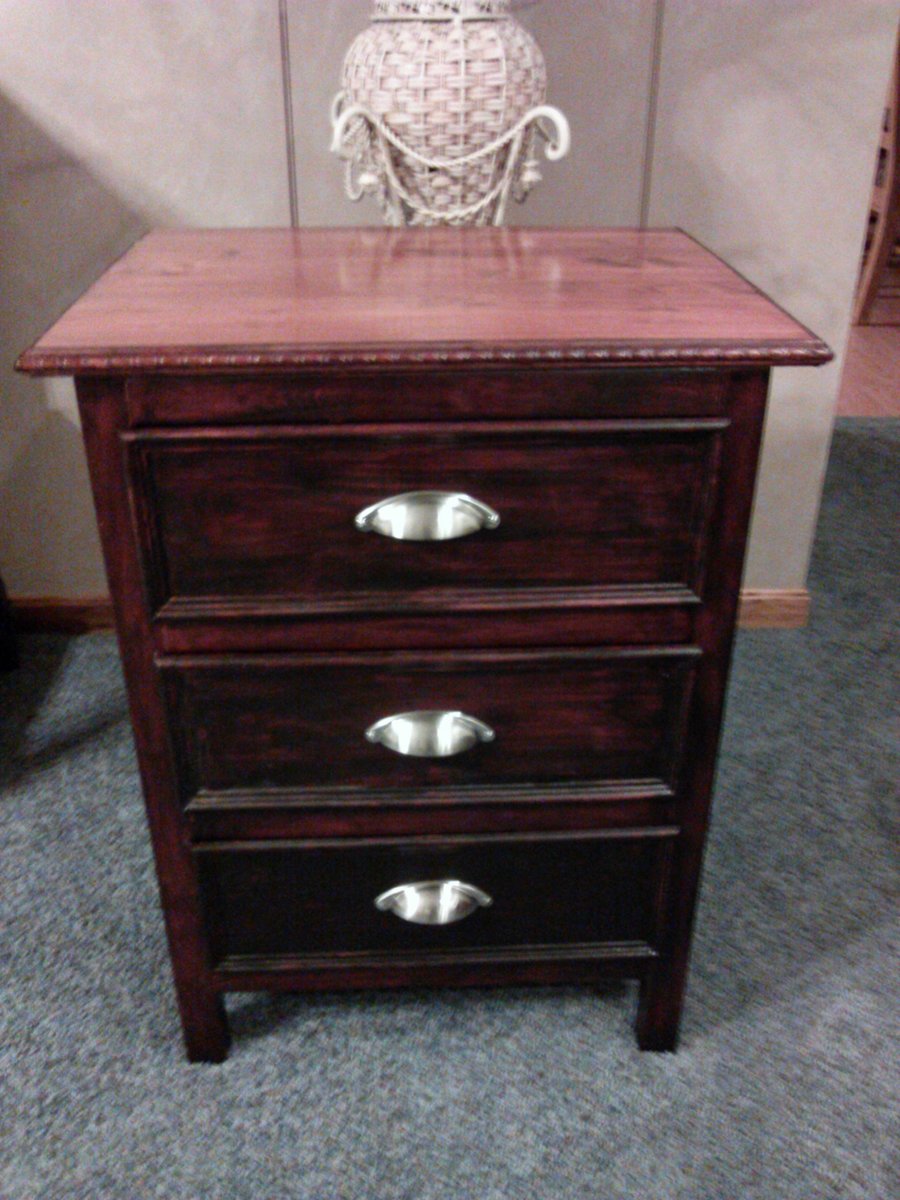
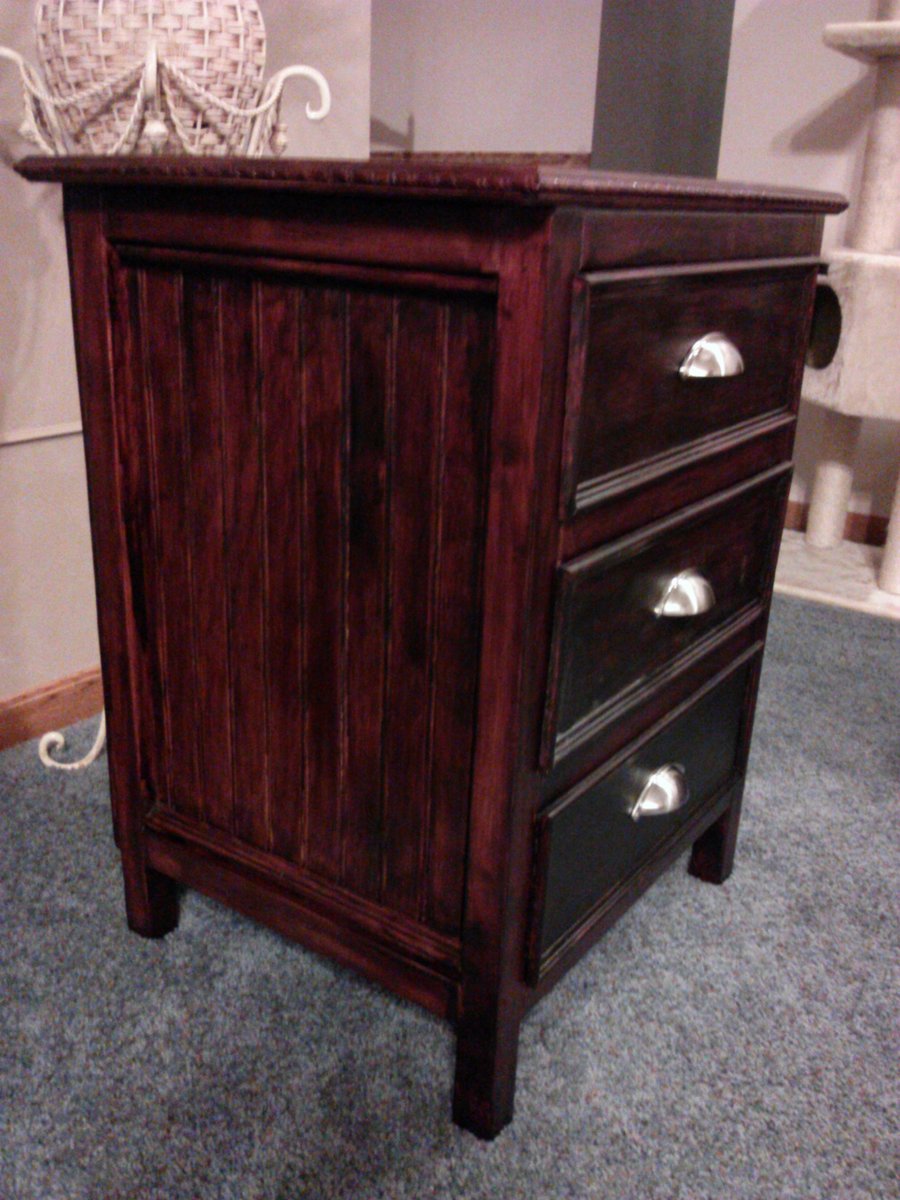
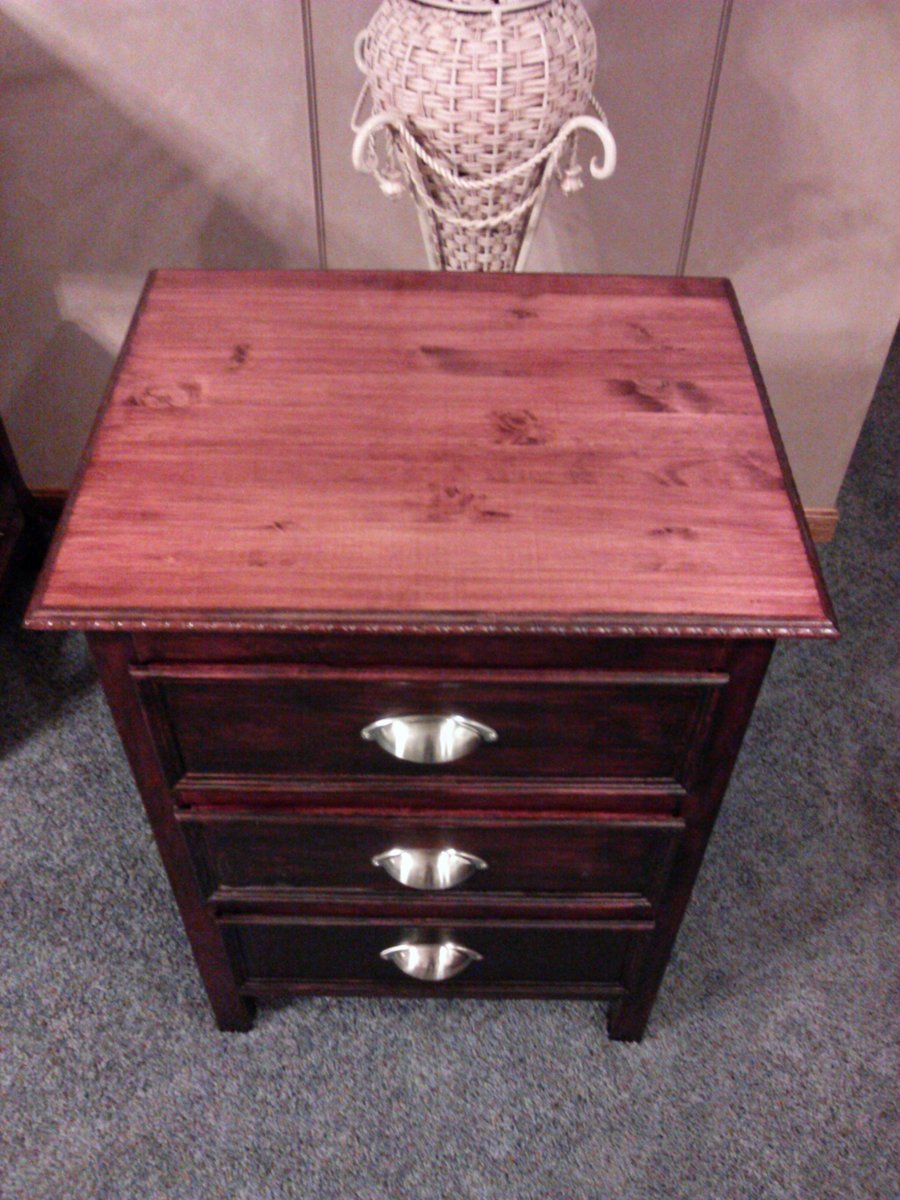
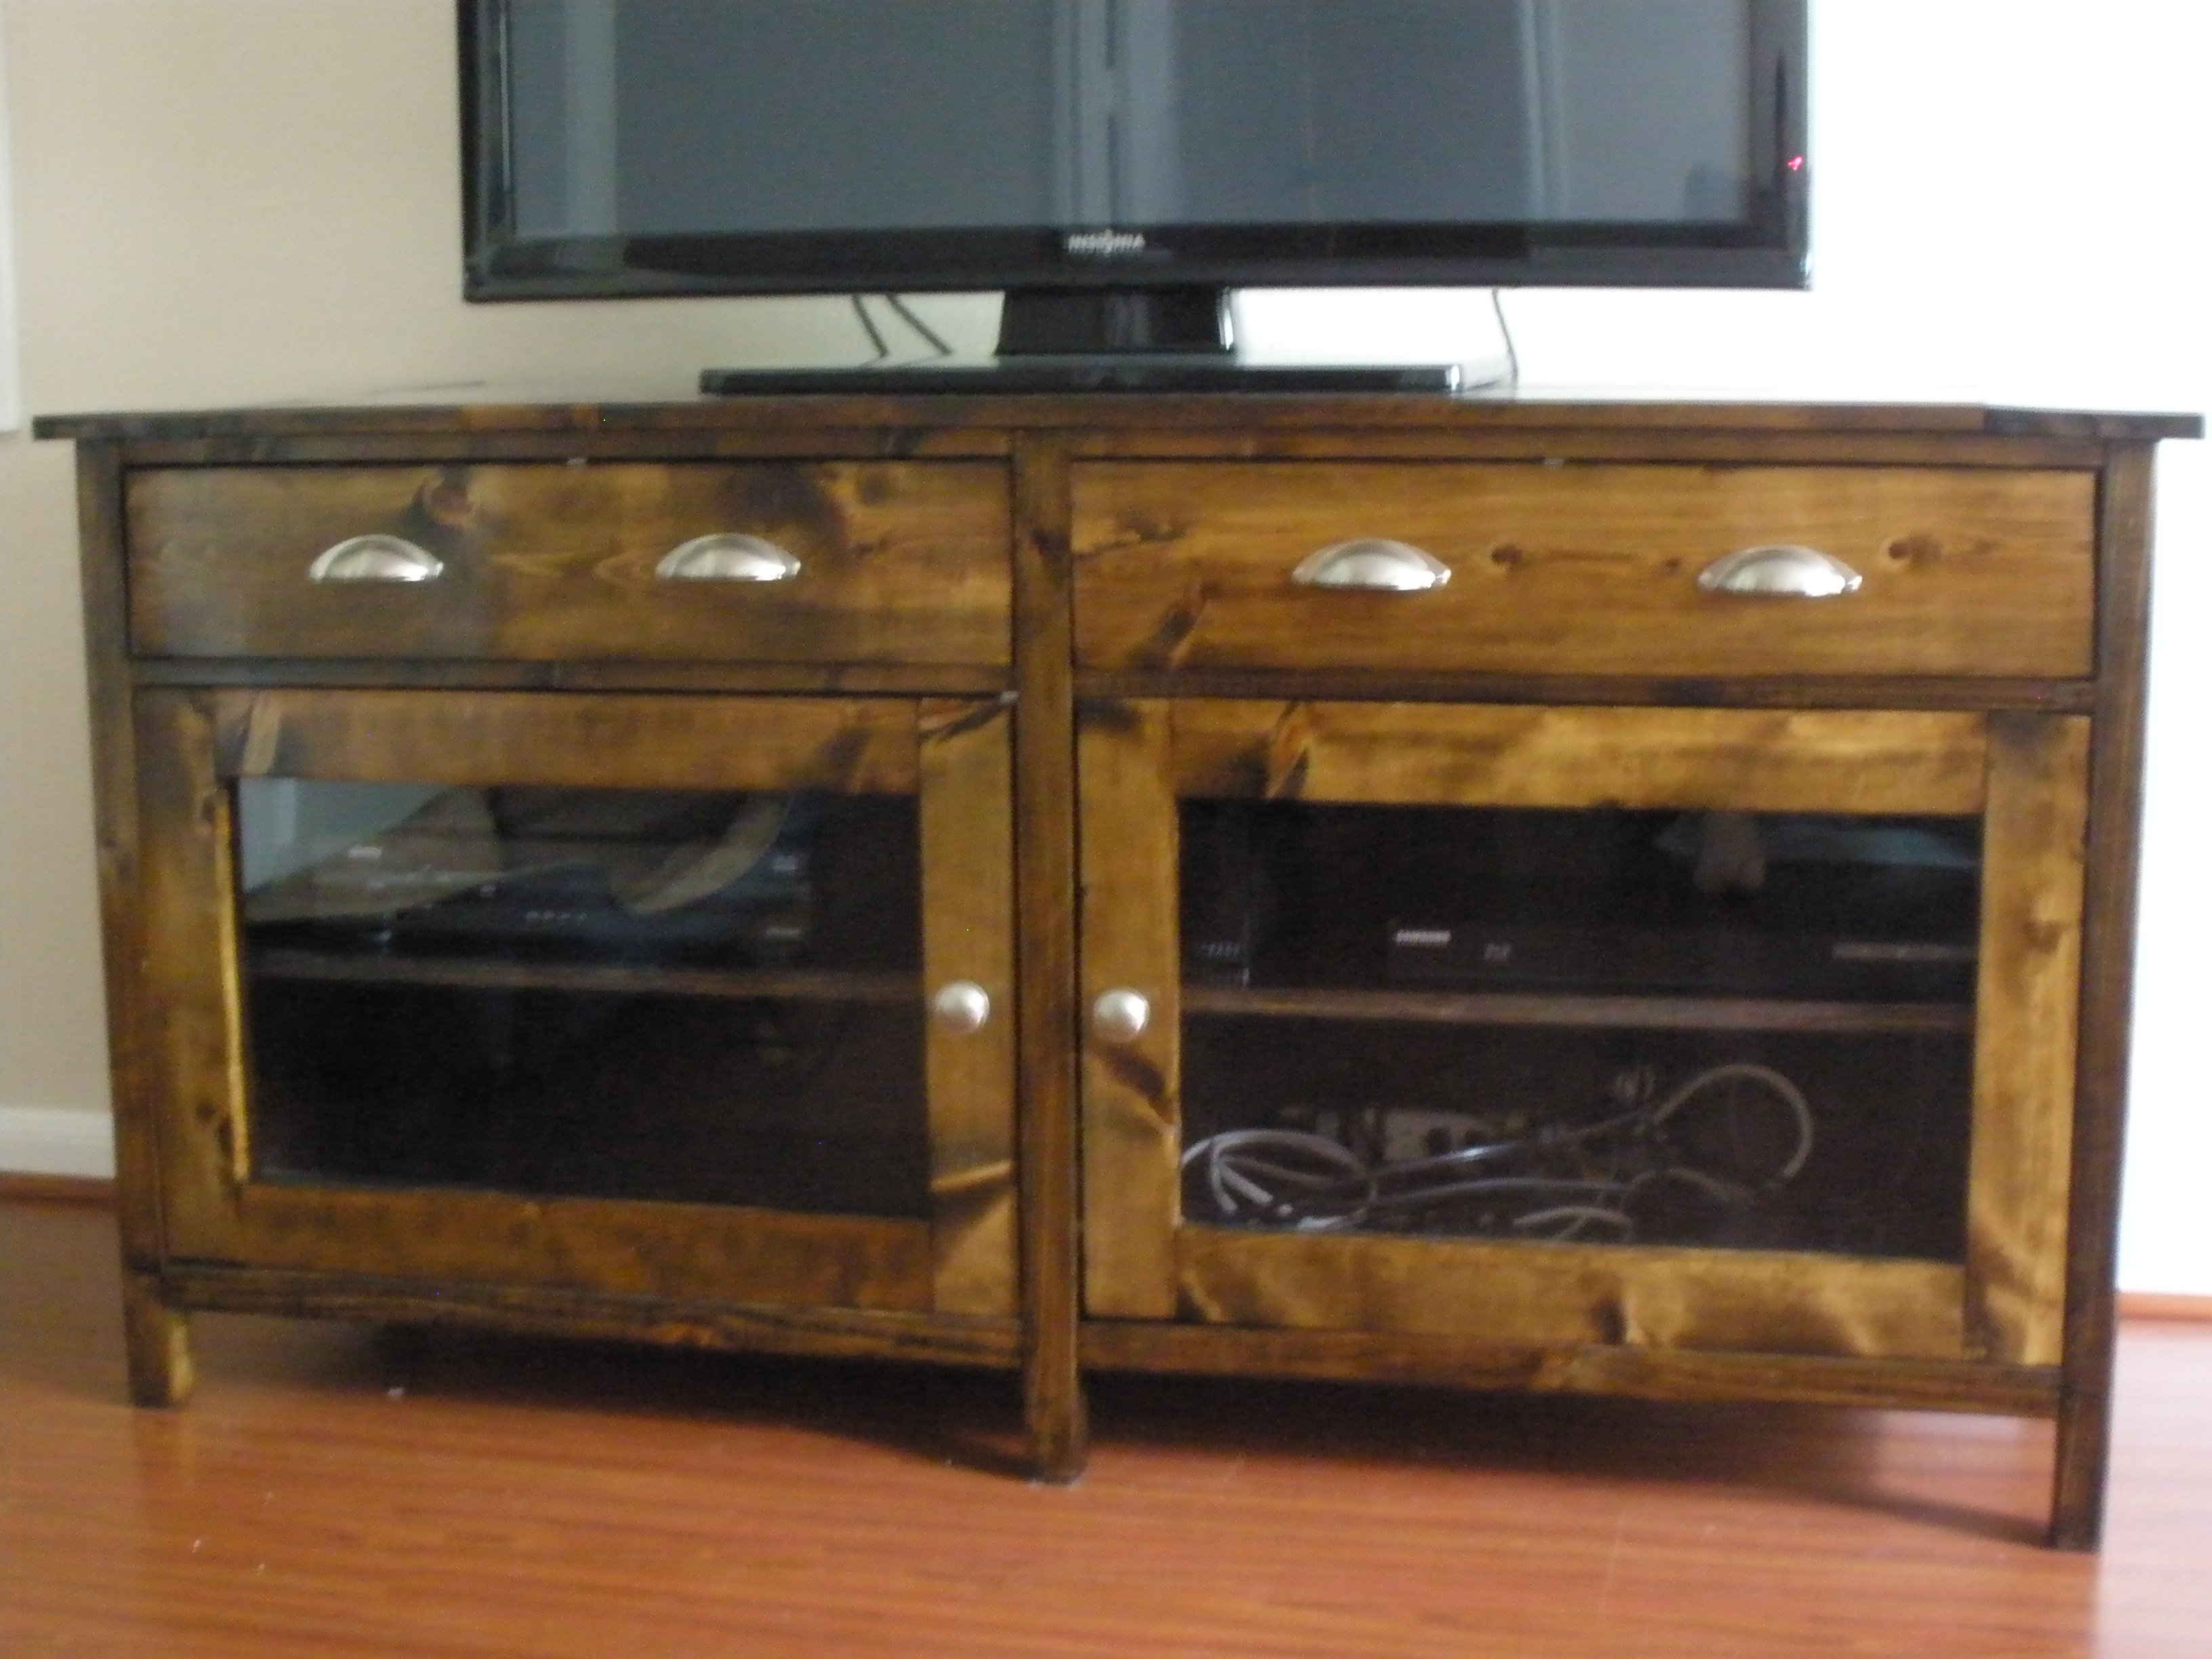
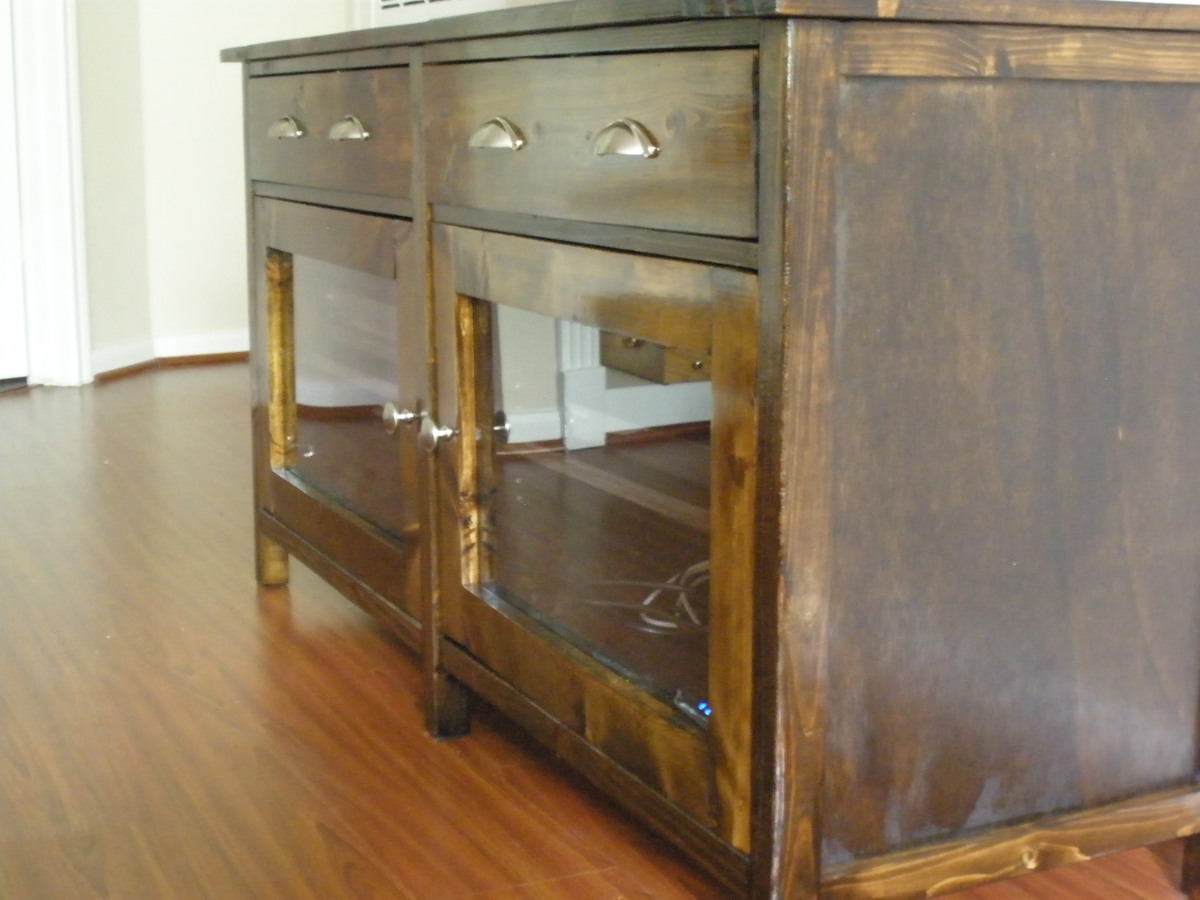
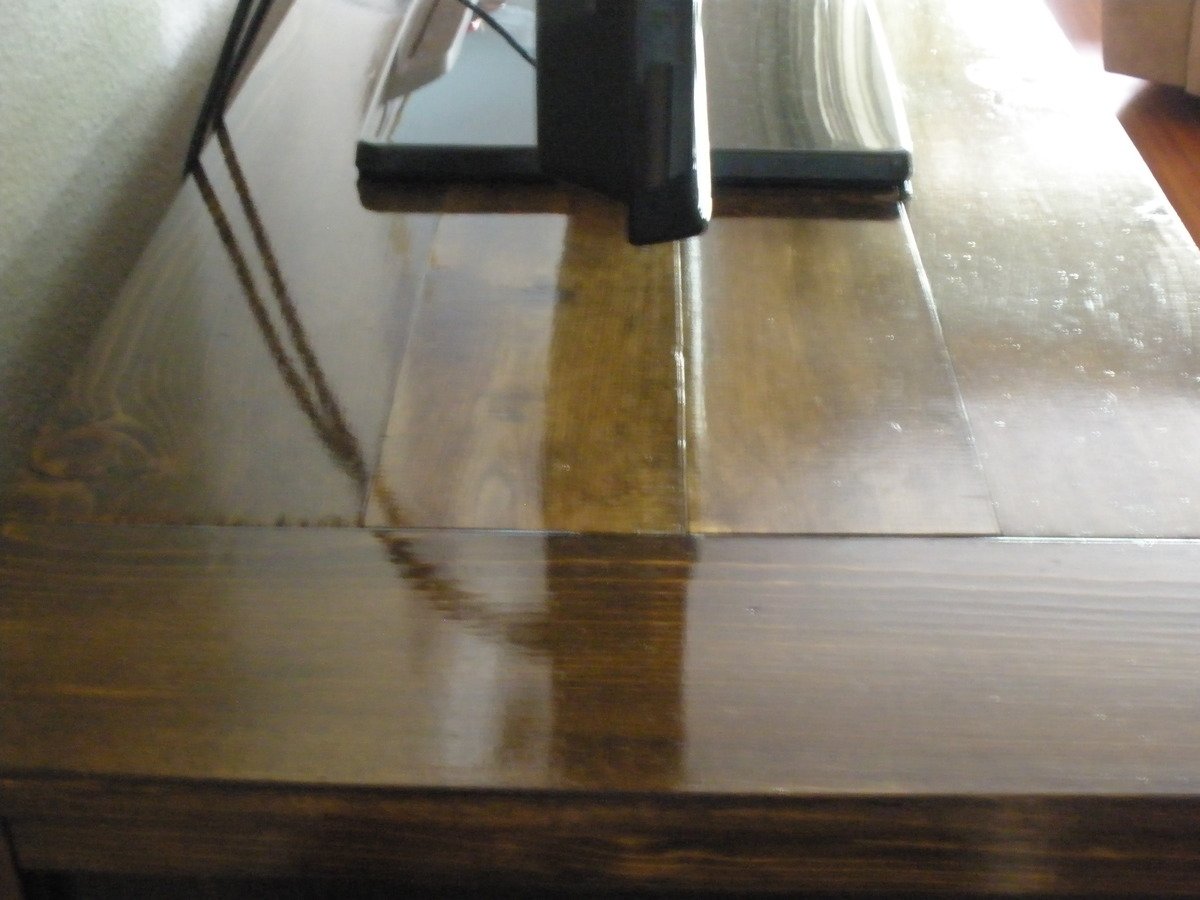
This stain color photographs blotchy looking. It does not look that way in person........
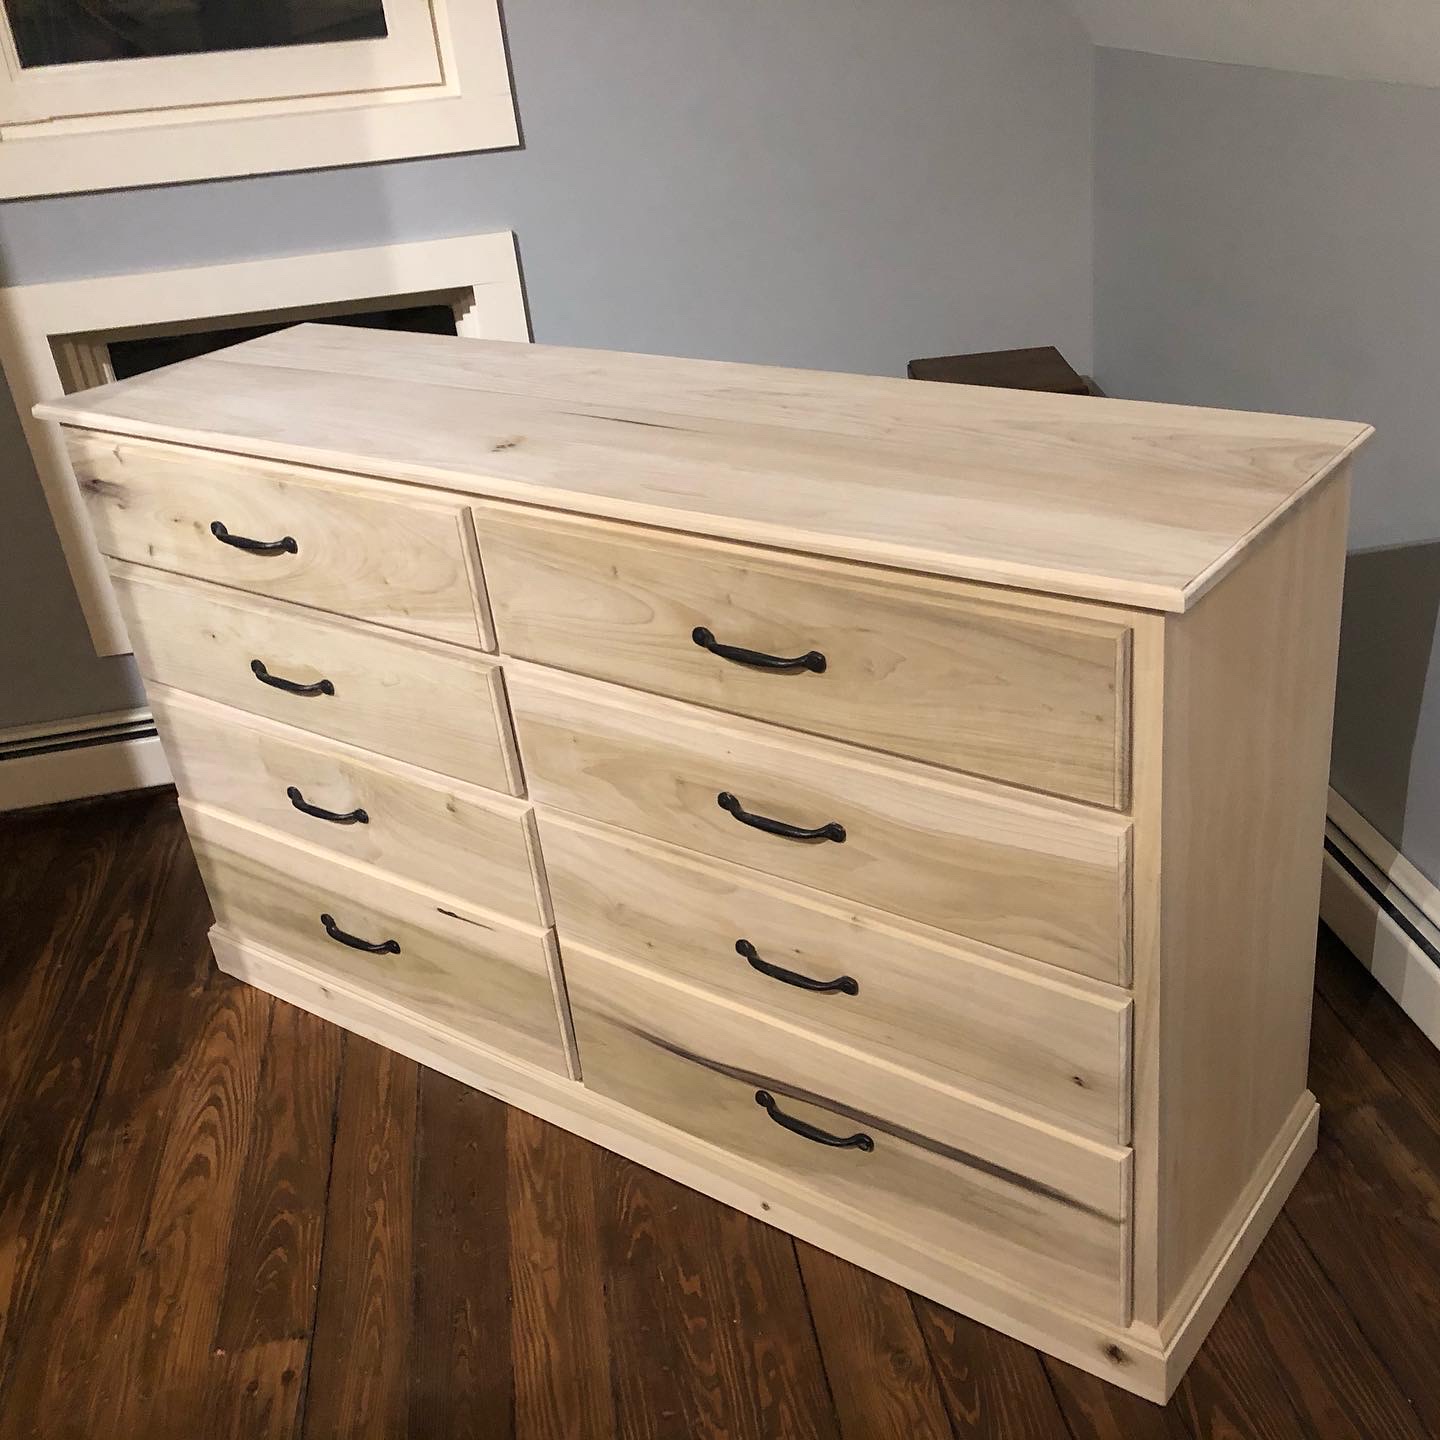
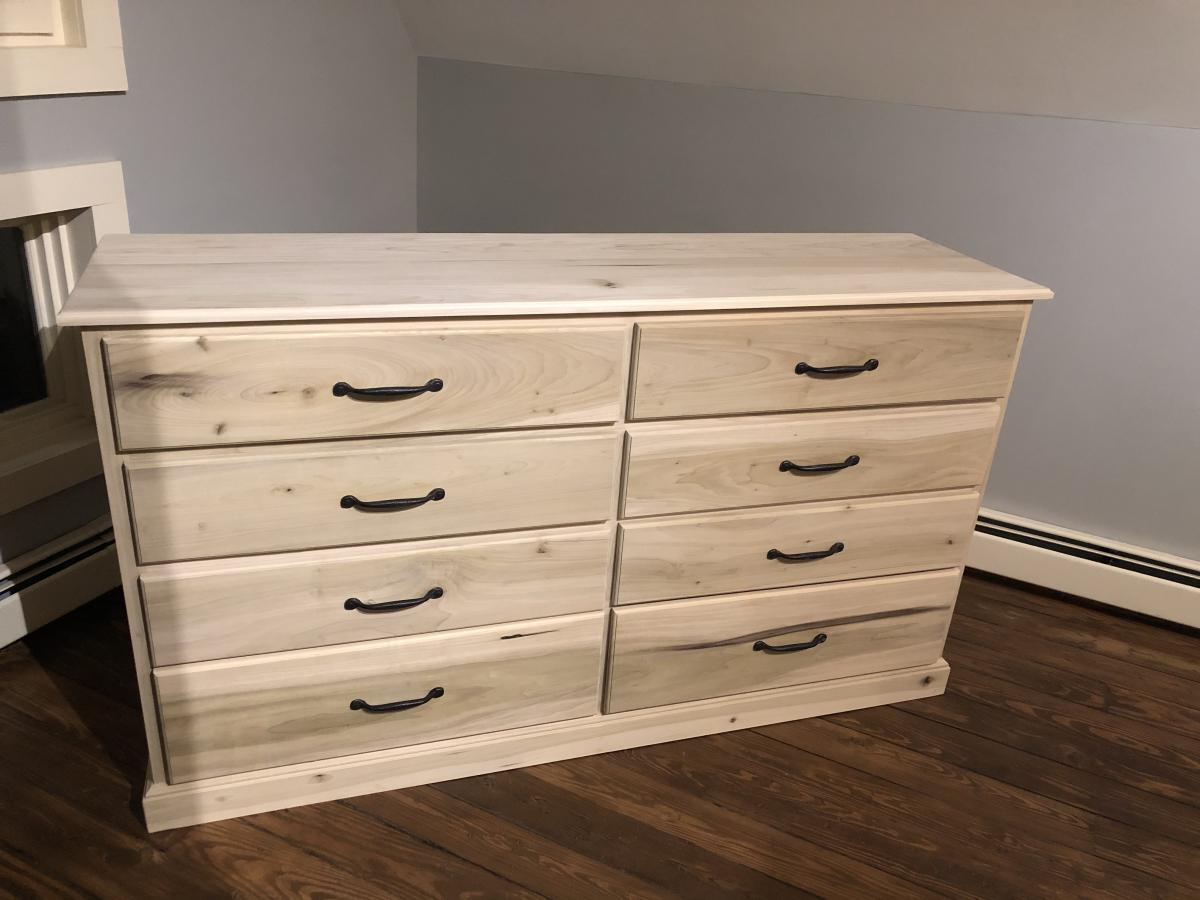
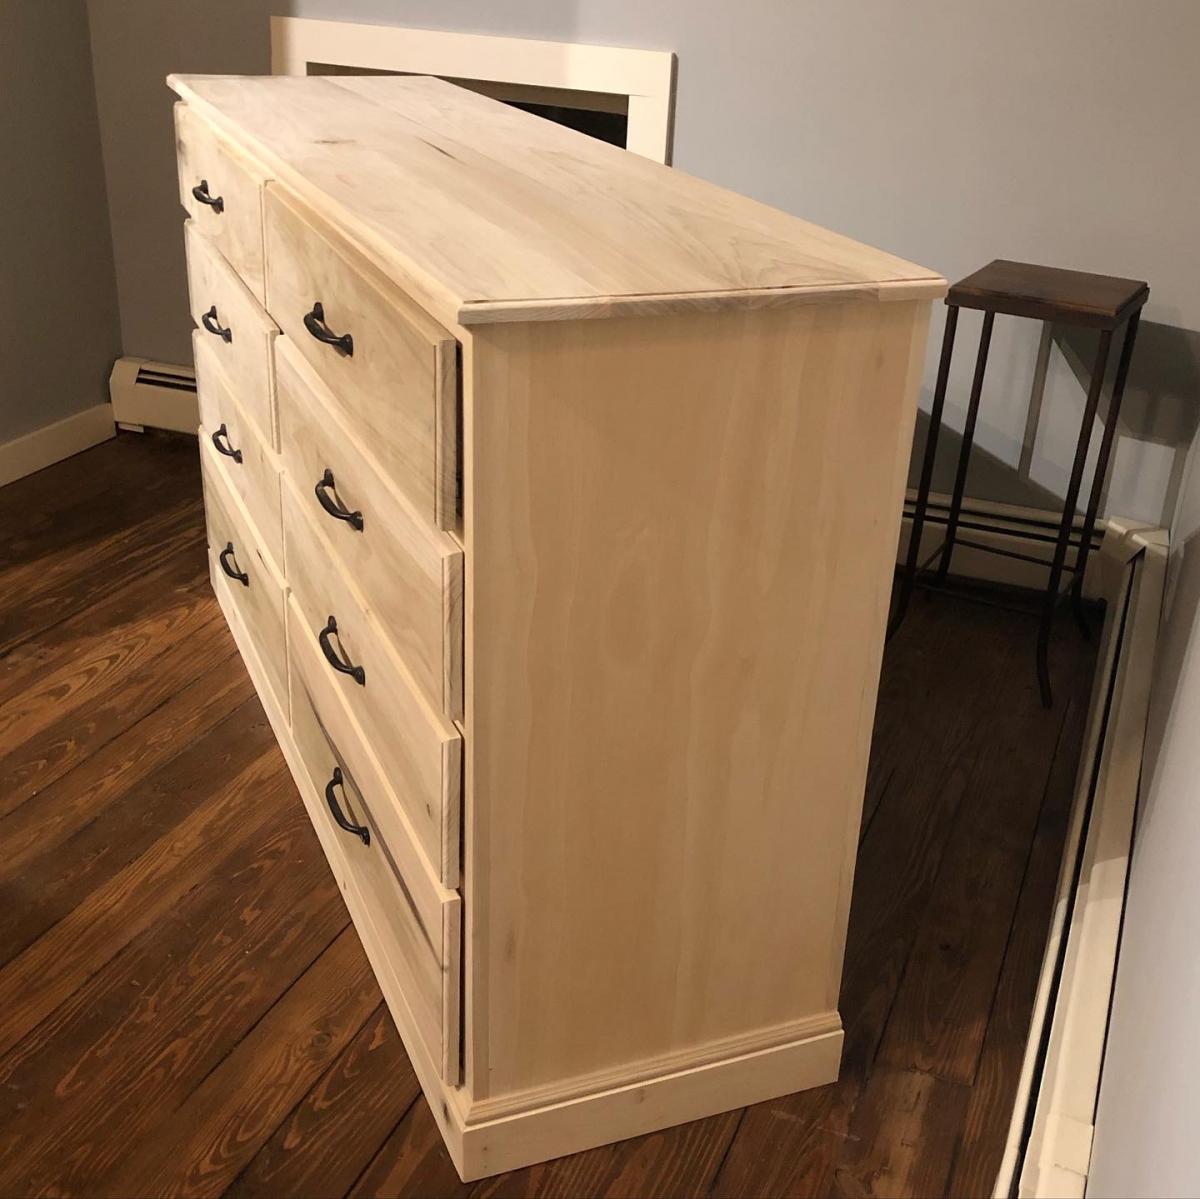
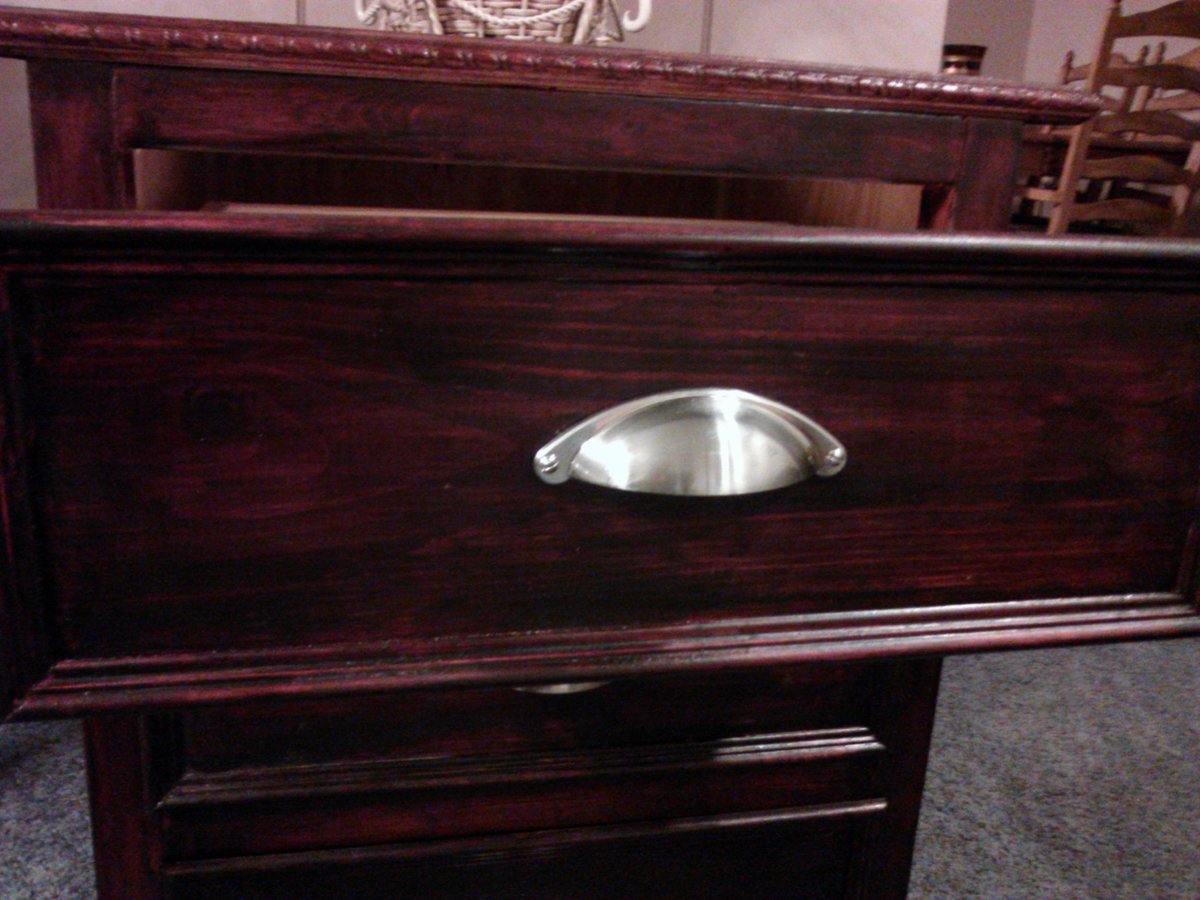
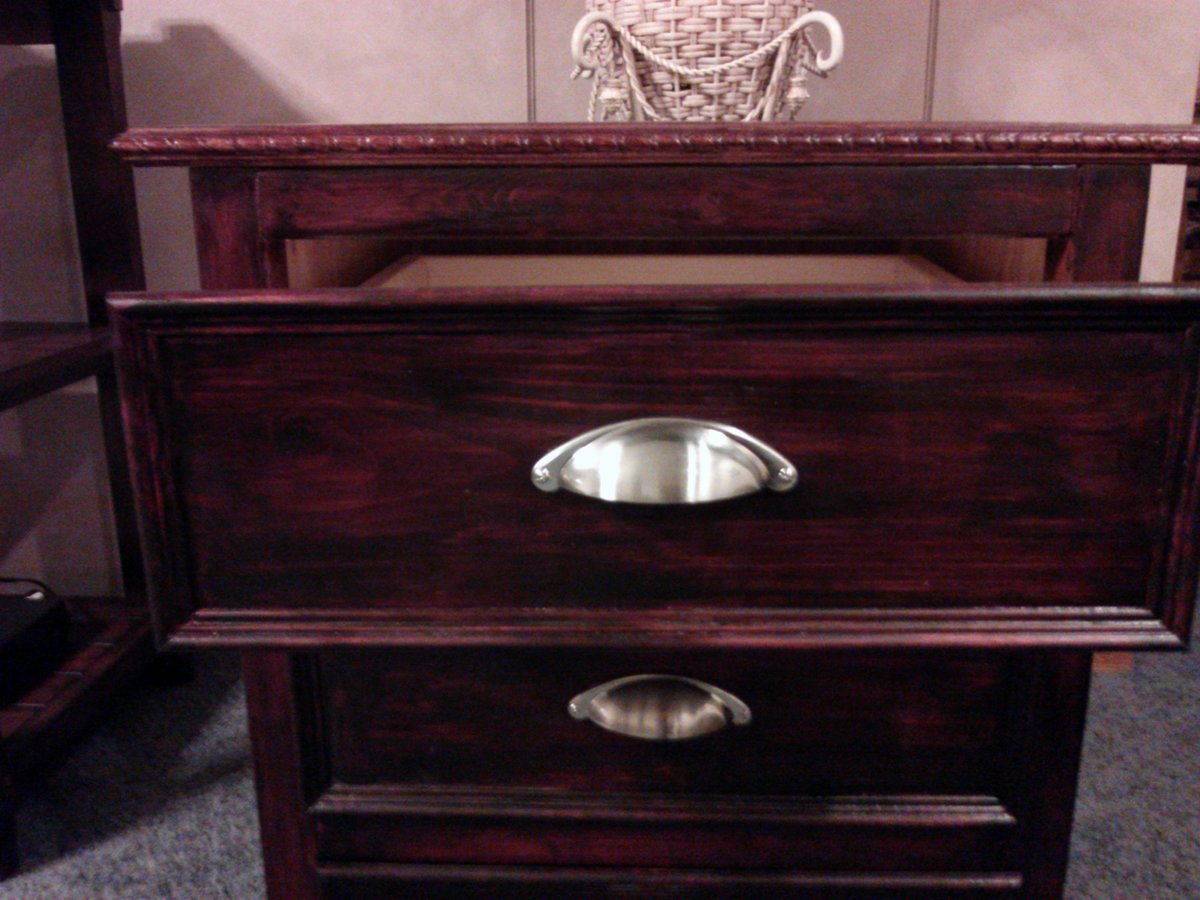
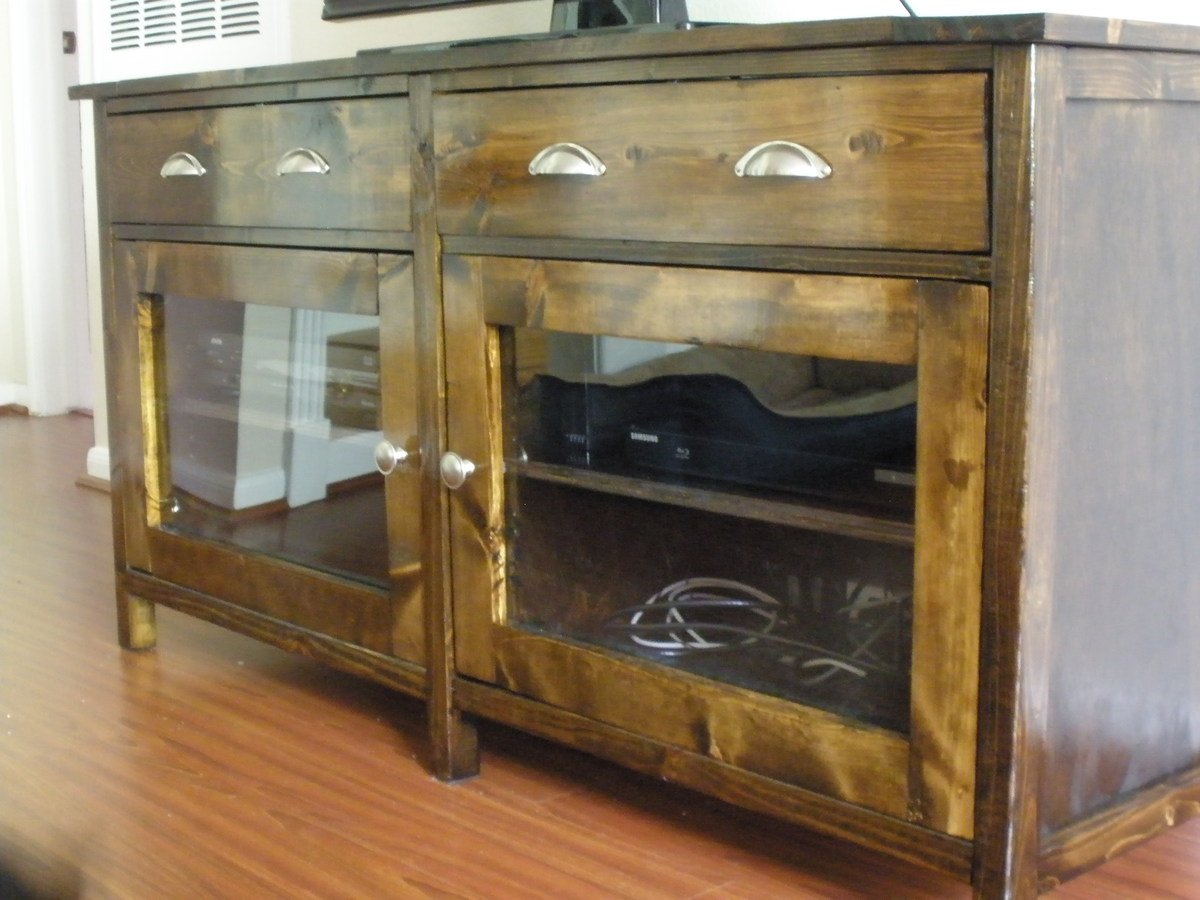
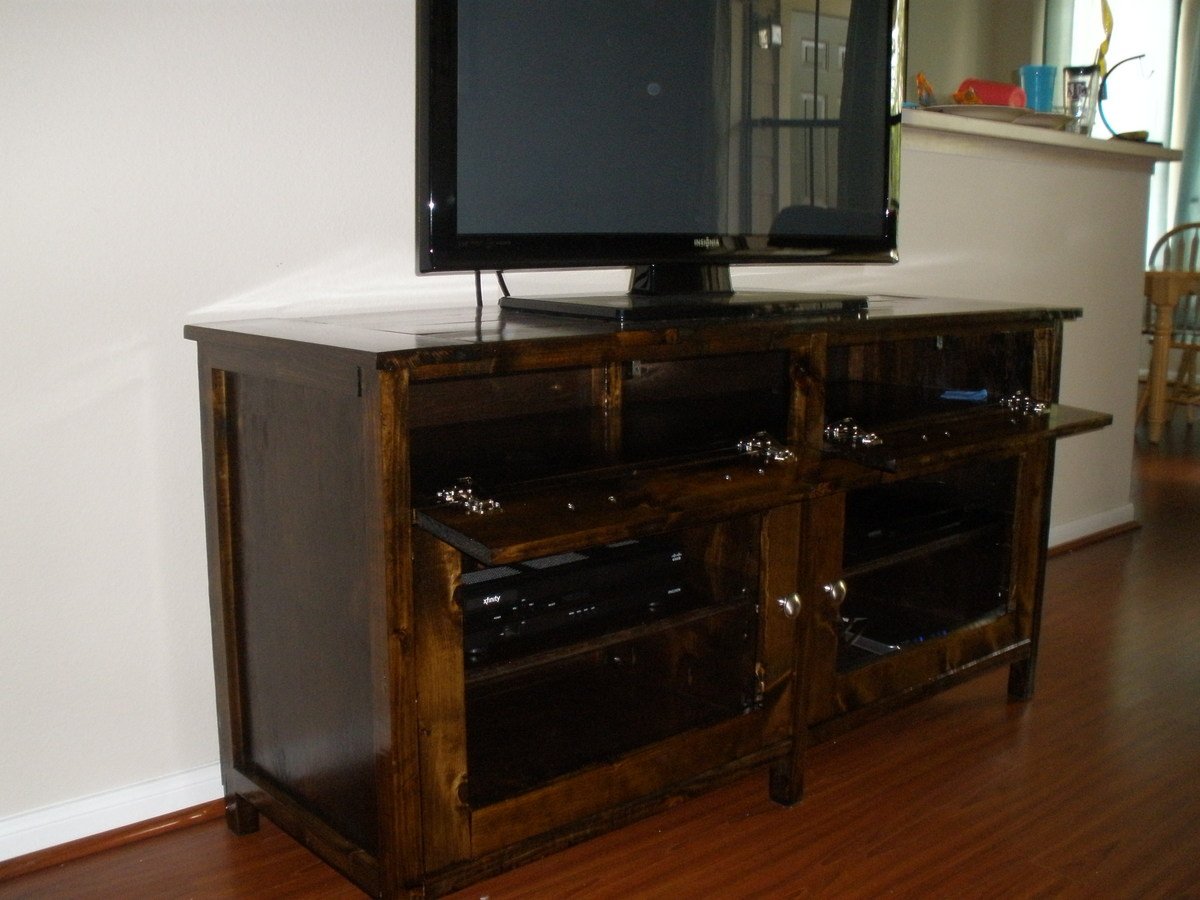
I used beadboard for the sides because I had some left over. I'm glad I did. I really like the way it looks. I also used trim on the outside of all the drawers. It really gives it a polished look. You could also use it if you have uneven gaps where the drawer slides in.
One other thing I did was use a solid piece for the top. I wanted it to be a smooth surface. I then trimmed the top piece with trim that I used on the Fancy Farmhouse Bed I made. I wanted to tie the two pieces together.
I've never made anything with drawers before. It is a bit more challenging, but not that bad if you are careful. However, I am not looking to build anything with drawers again for awhile :>}
Sat, 02/01/2014 - 09:56
Pretty cheap and all wood. When we bought my daughter's bedroom set,her nightstand cost us an extra $160,and its cheap mdf with an extremely thin wood laminate over it. Wish I had found Ana's site before we purchased it,could have saved a ton and built a bedroom set out of real wood.
Superb job on the nightstand,really like the way the trim u added came out!!

Naturally we based our plans on the space and the railing we needed. But it was easy to do once we had the vision and the supply list Ana White provides.
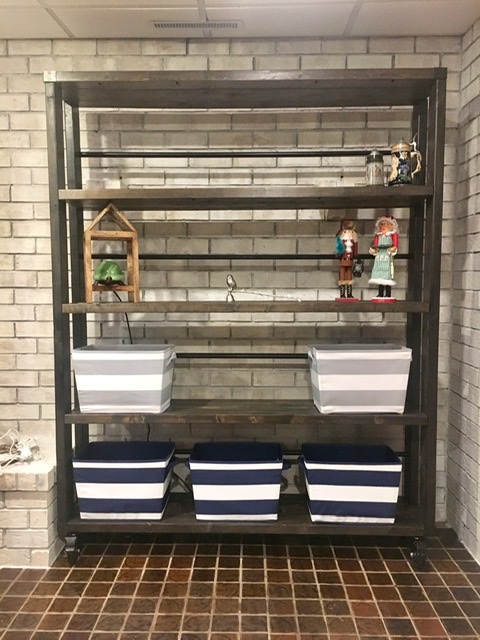
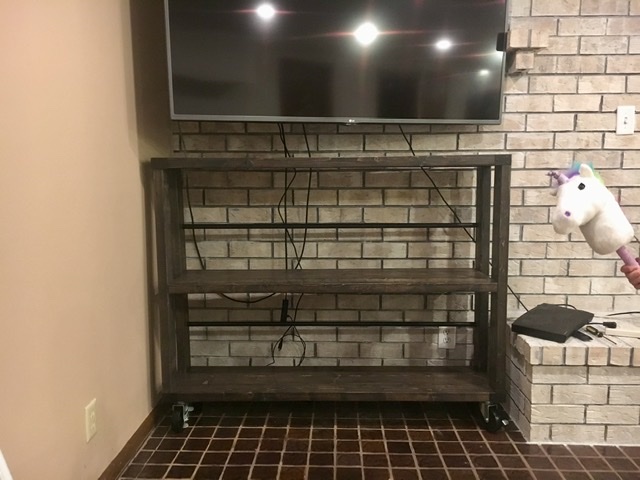
These were fun to make. They let me whitewashed brick show through while still being functional. I made a shorter one to go under my tv too. My advice is to secure them to the wall if they feel tipsy like mine.
Home Depot cut and threaded all my pipe. They were great!
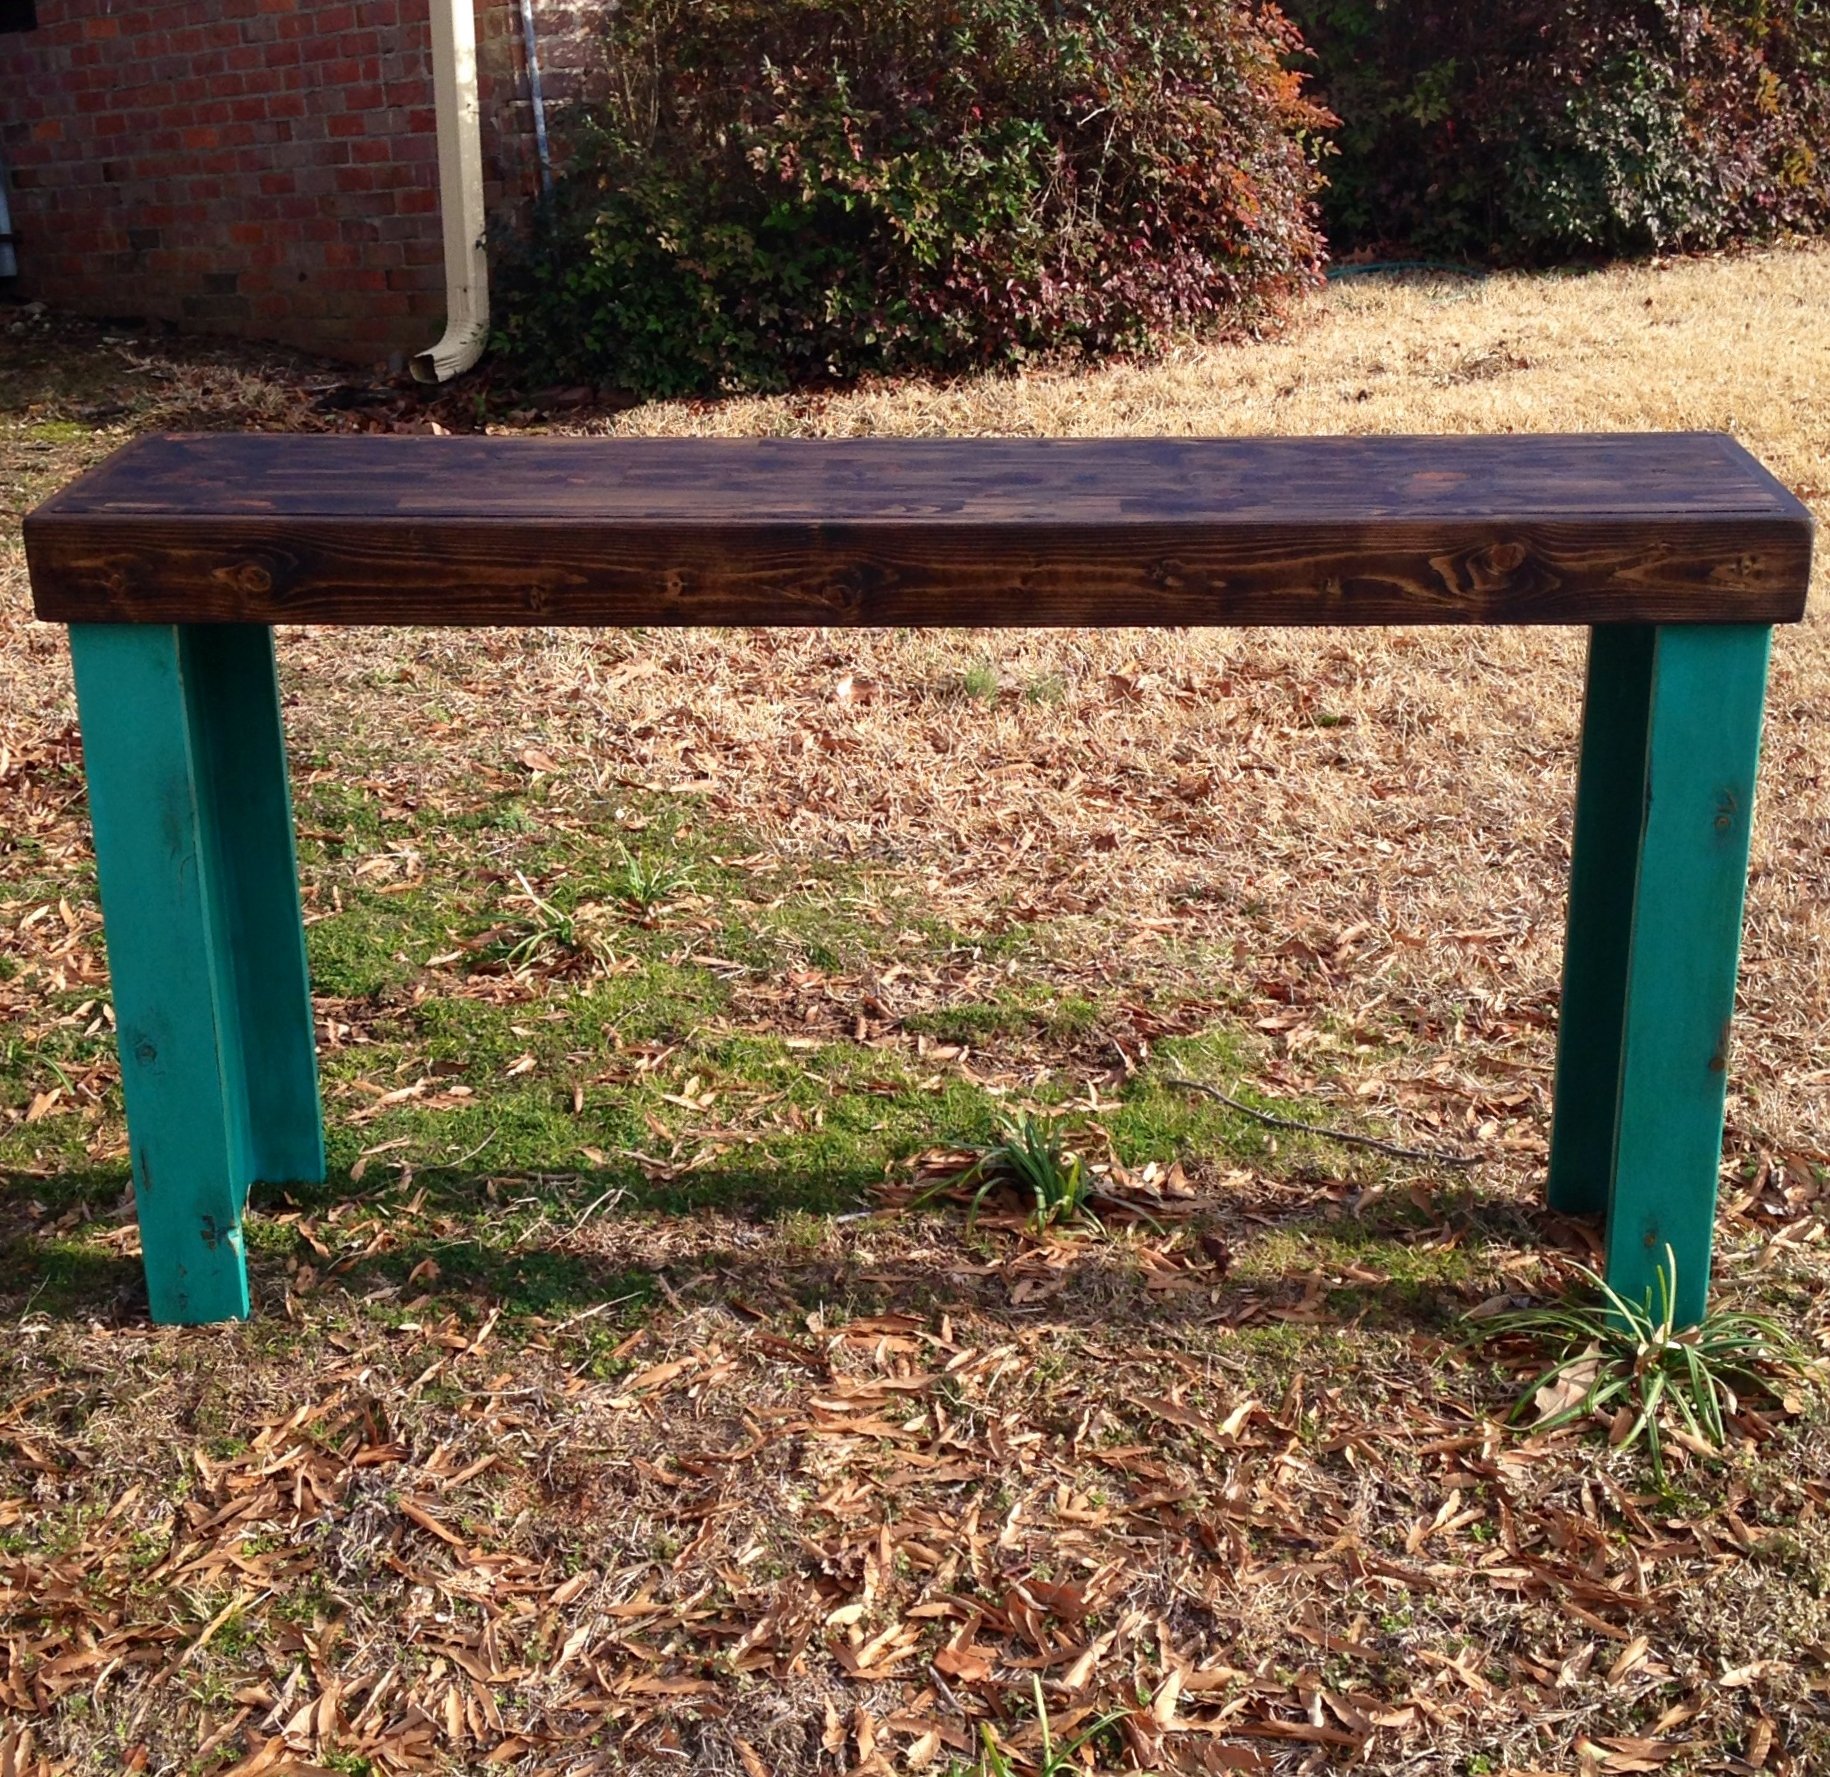
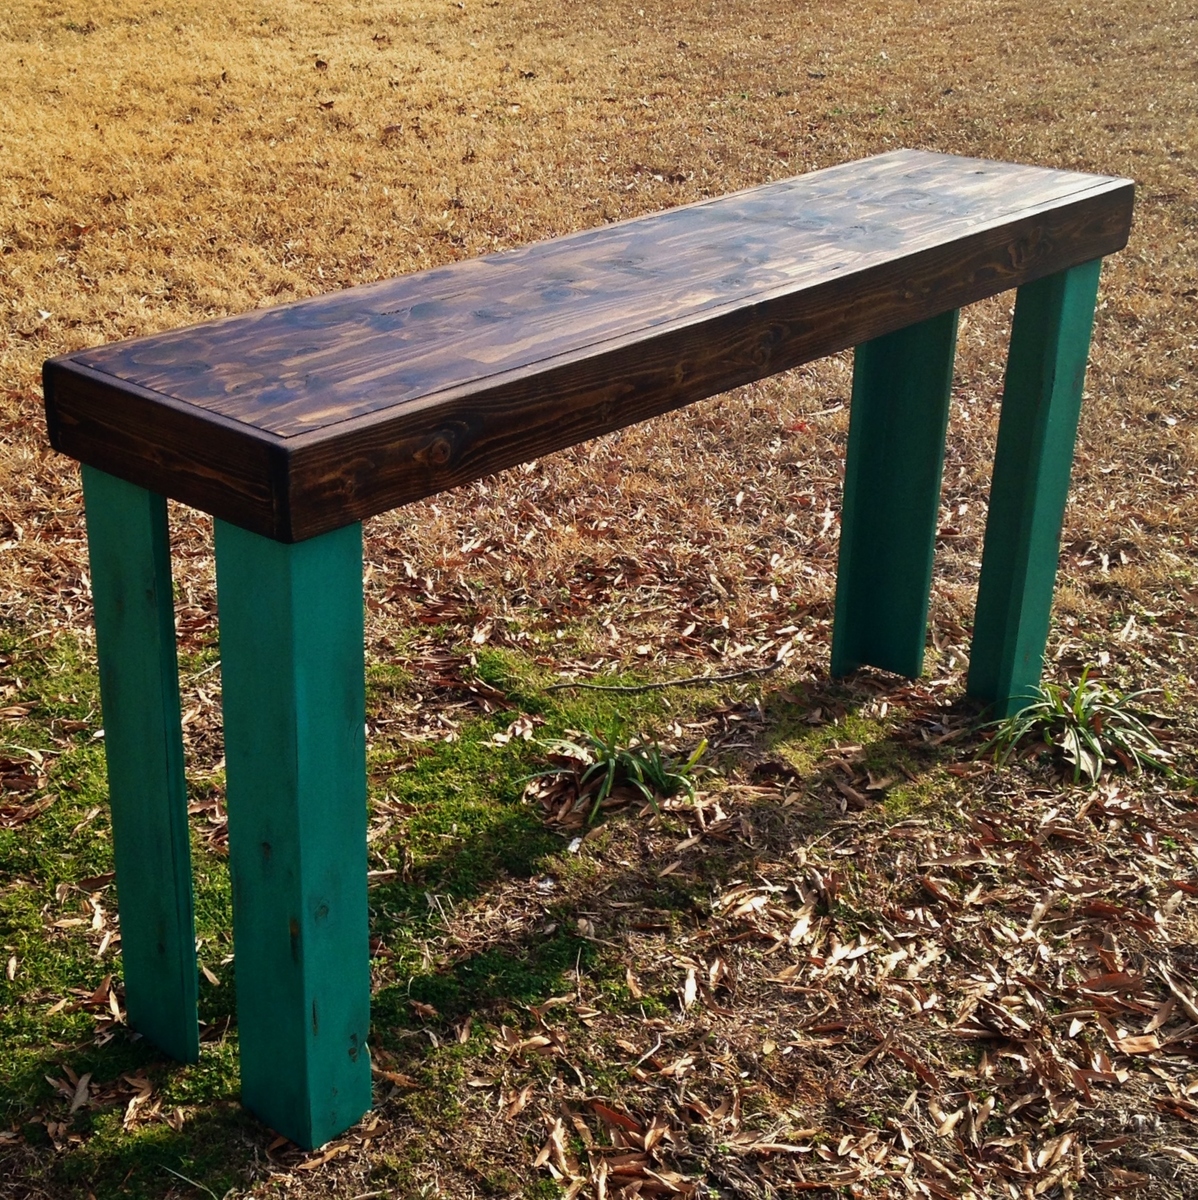
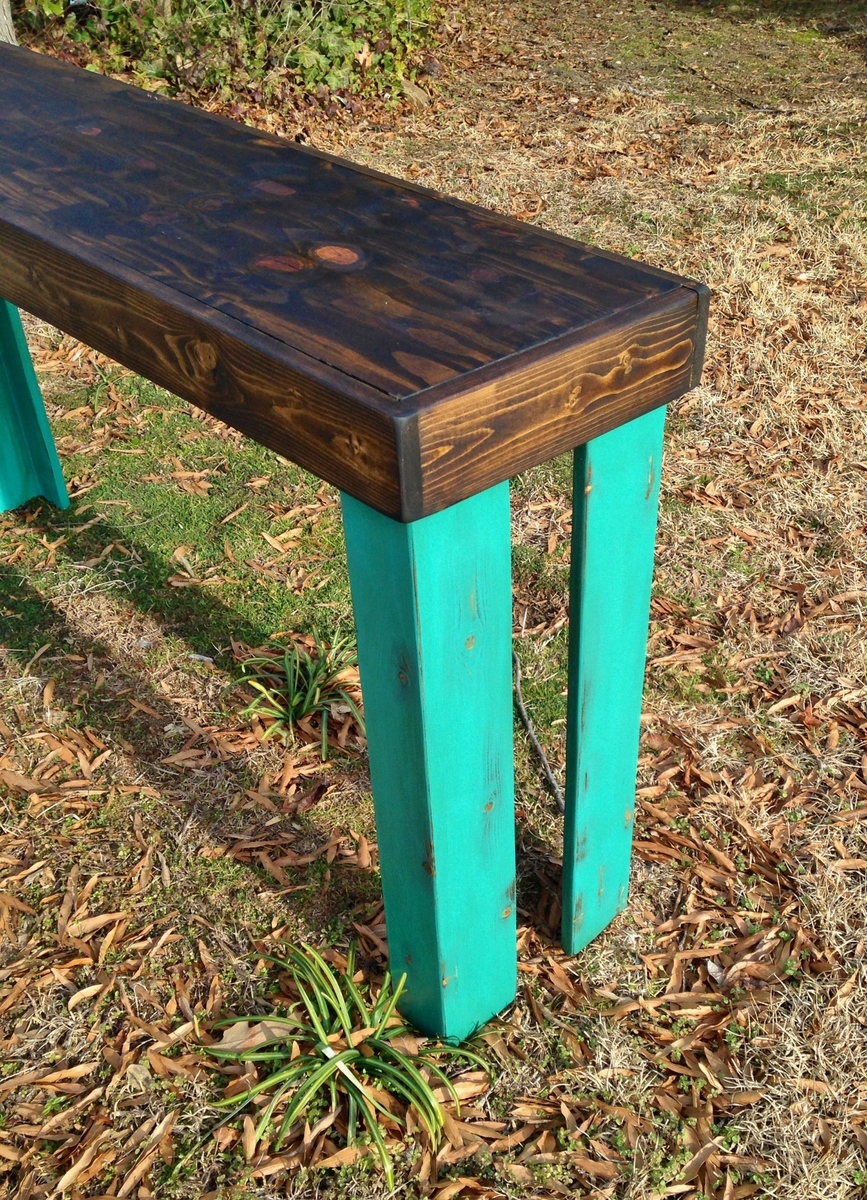
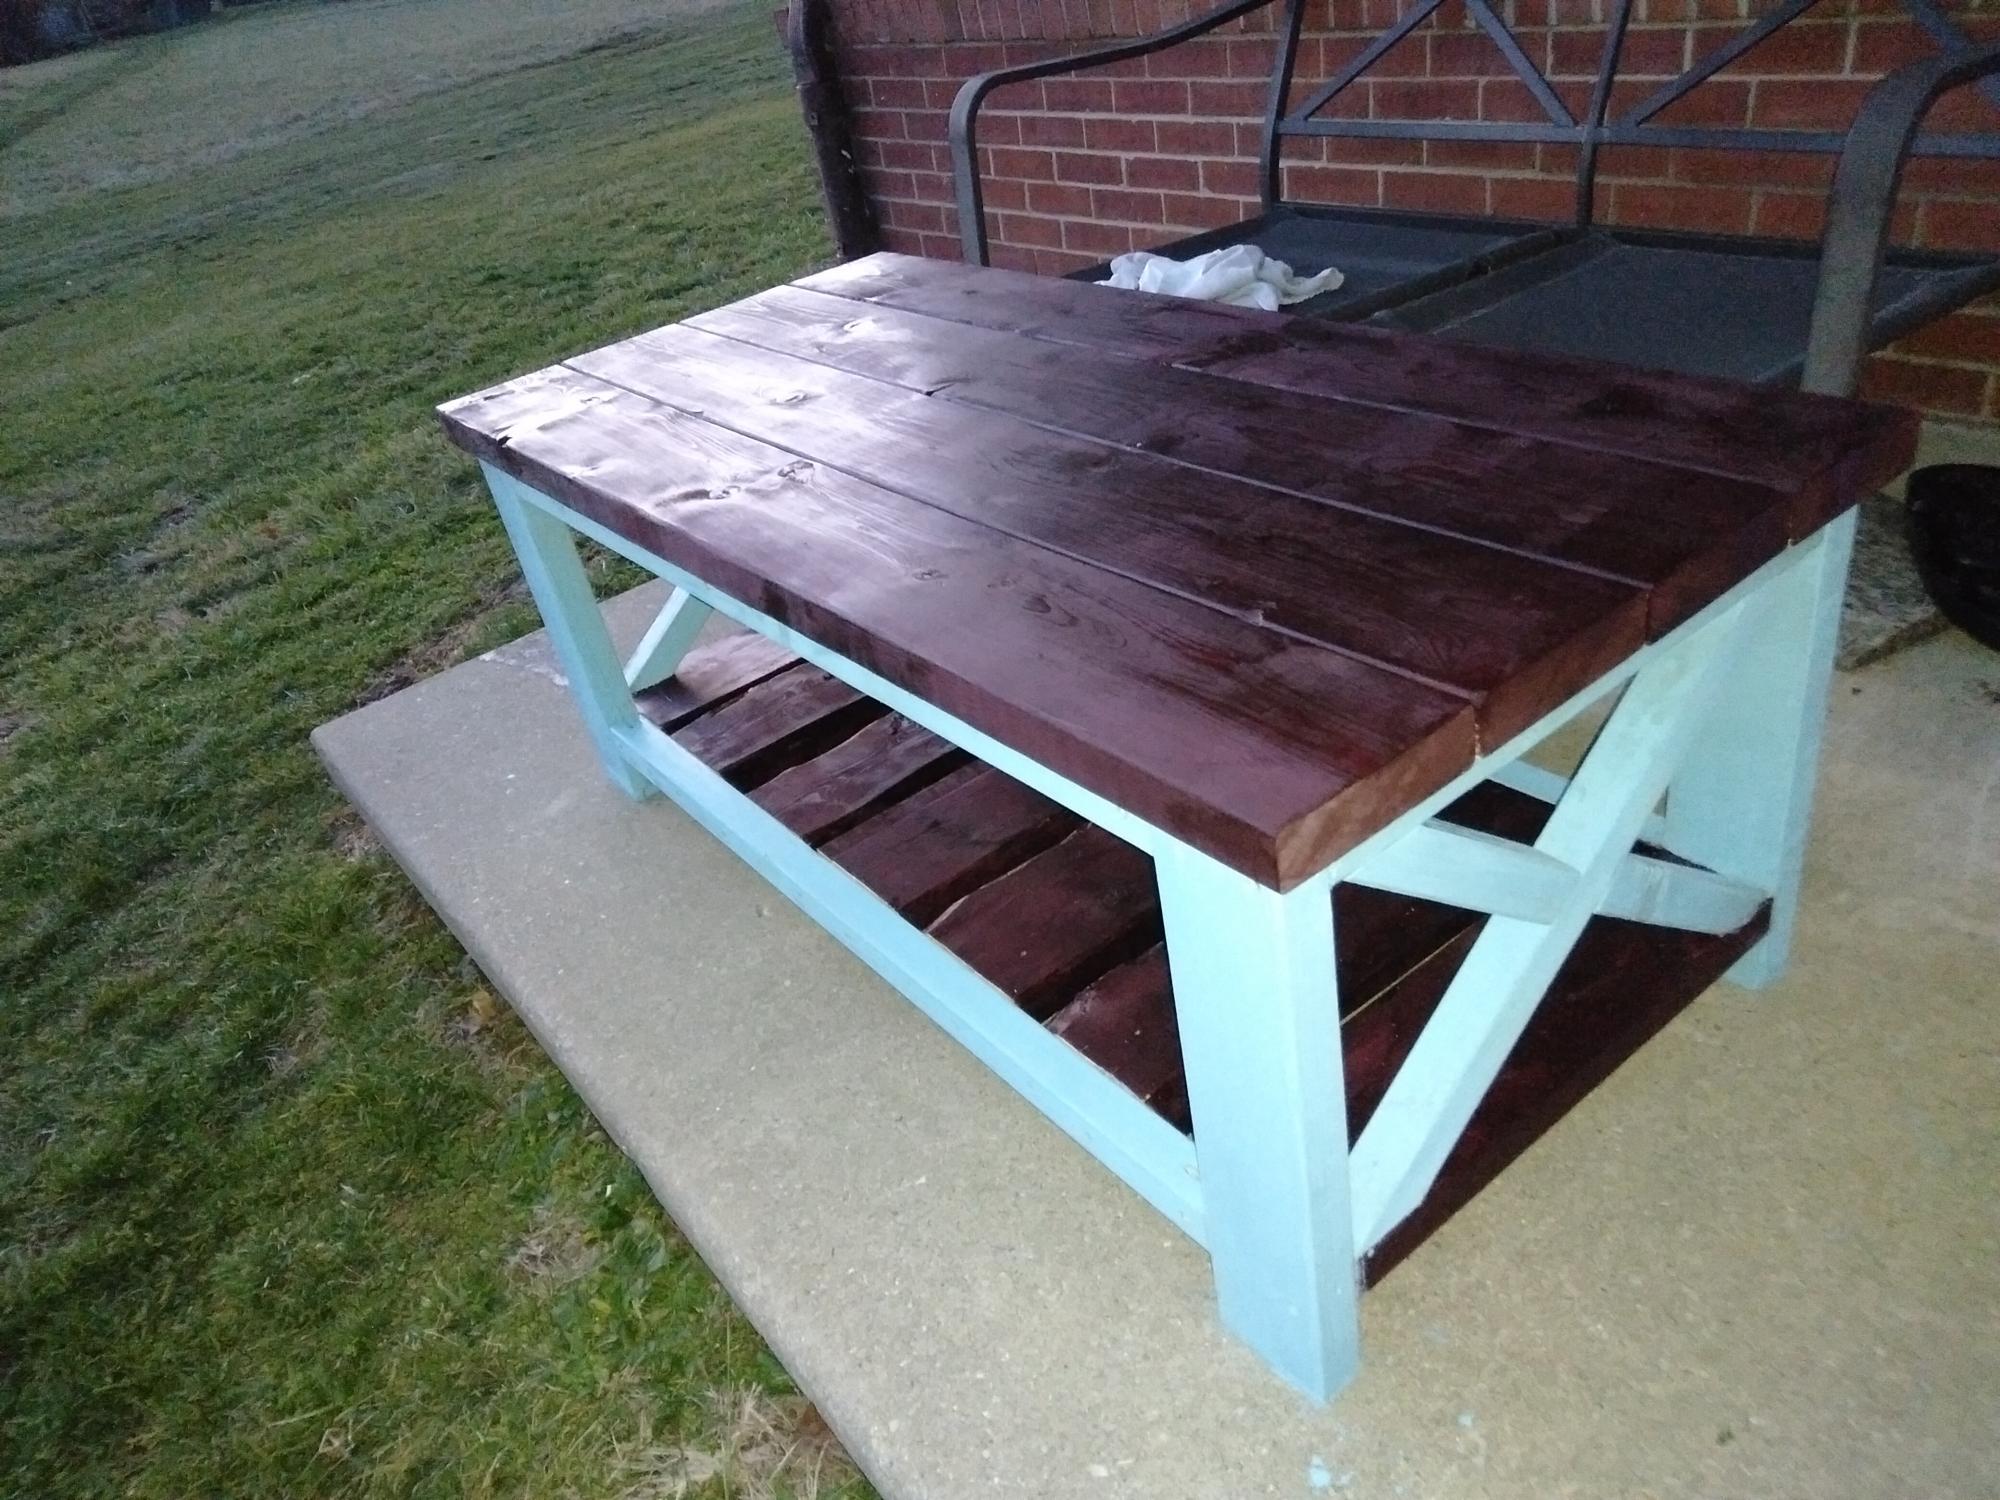
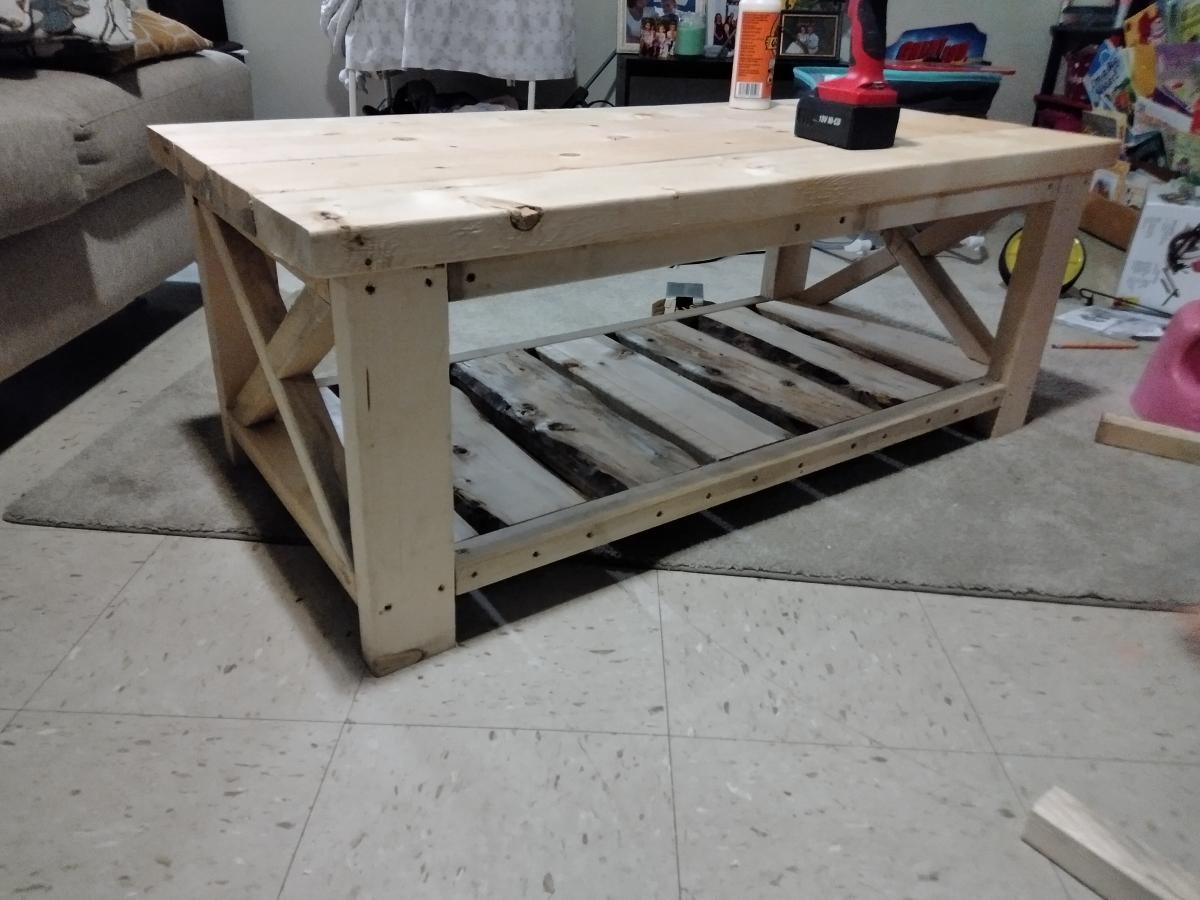
This was my first project, I love the look of the benchwright collection, so I changed the plans a little so it will look like the benchwright console and coffee table.(Farmhouse look) On the top I used 2-1x5's and 2-1x6's with 1x6 breadboard ends instead of the plywood with 1x2's and 1x3's. I can't wait to start on the benchwright coffee table and the console table for the entry way.
Wed, 08/01/2012 - 08:22
That's beautiful! My husband and I just built a den onto my Mom and Dad's old farmhouse. She is begging me for the entire Benchwright collection to go in her new room. I will be building this piece soon, I'm sure ;) Thanks for sharing all the great photos!
Wed, 10/24/2012 - 20:41
Looks good. Did you sand the clear coat between coats? How did you attach the glass to the doors?
One of my best friends got married a while back and for their wedding gift, I wanted to build them a piece of furniture. I had purchased a piece of 1x12 from Lowe's a couple of years ago because I thought it looked cool and finally found the right project for it.
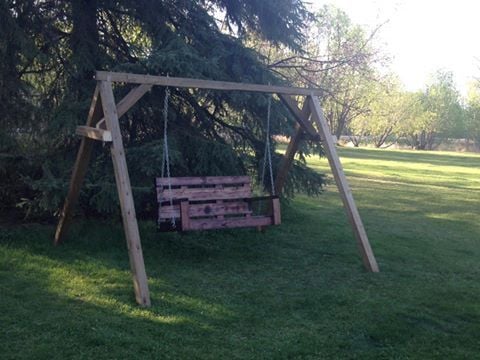
Perfect plan Ana , very easy to make. Swing hung on the A frame bulid with 4X4
So thankful for the blueprints I found on this website. Table turned out amazing!!
Such a cute, functional table that was easy to build!

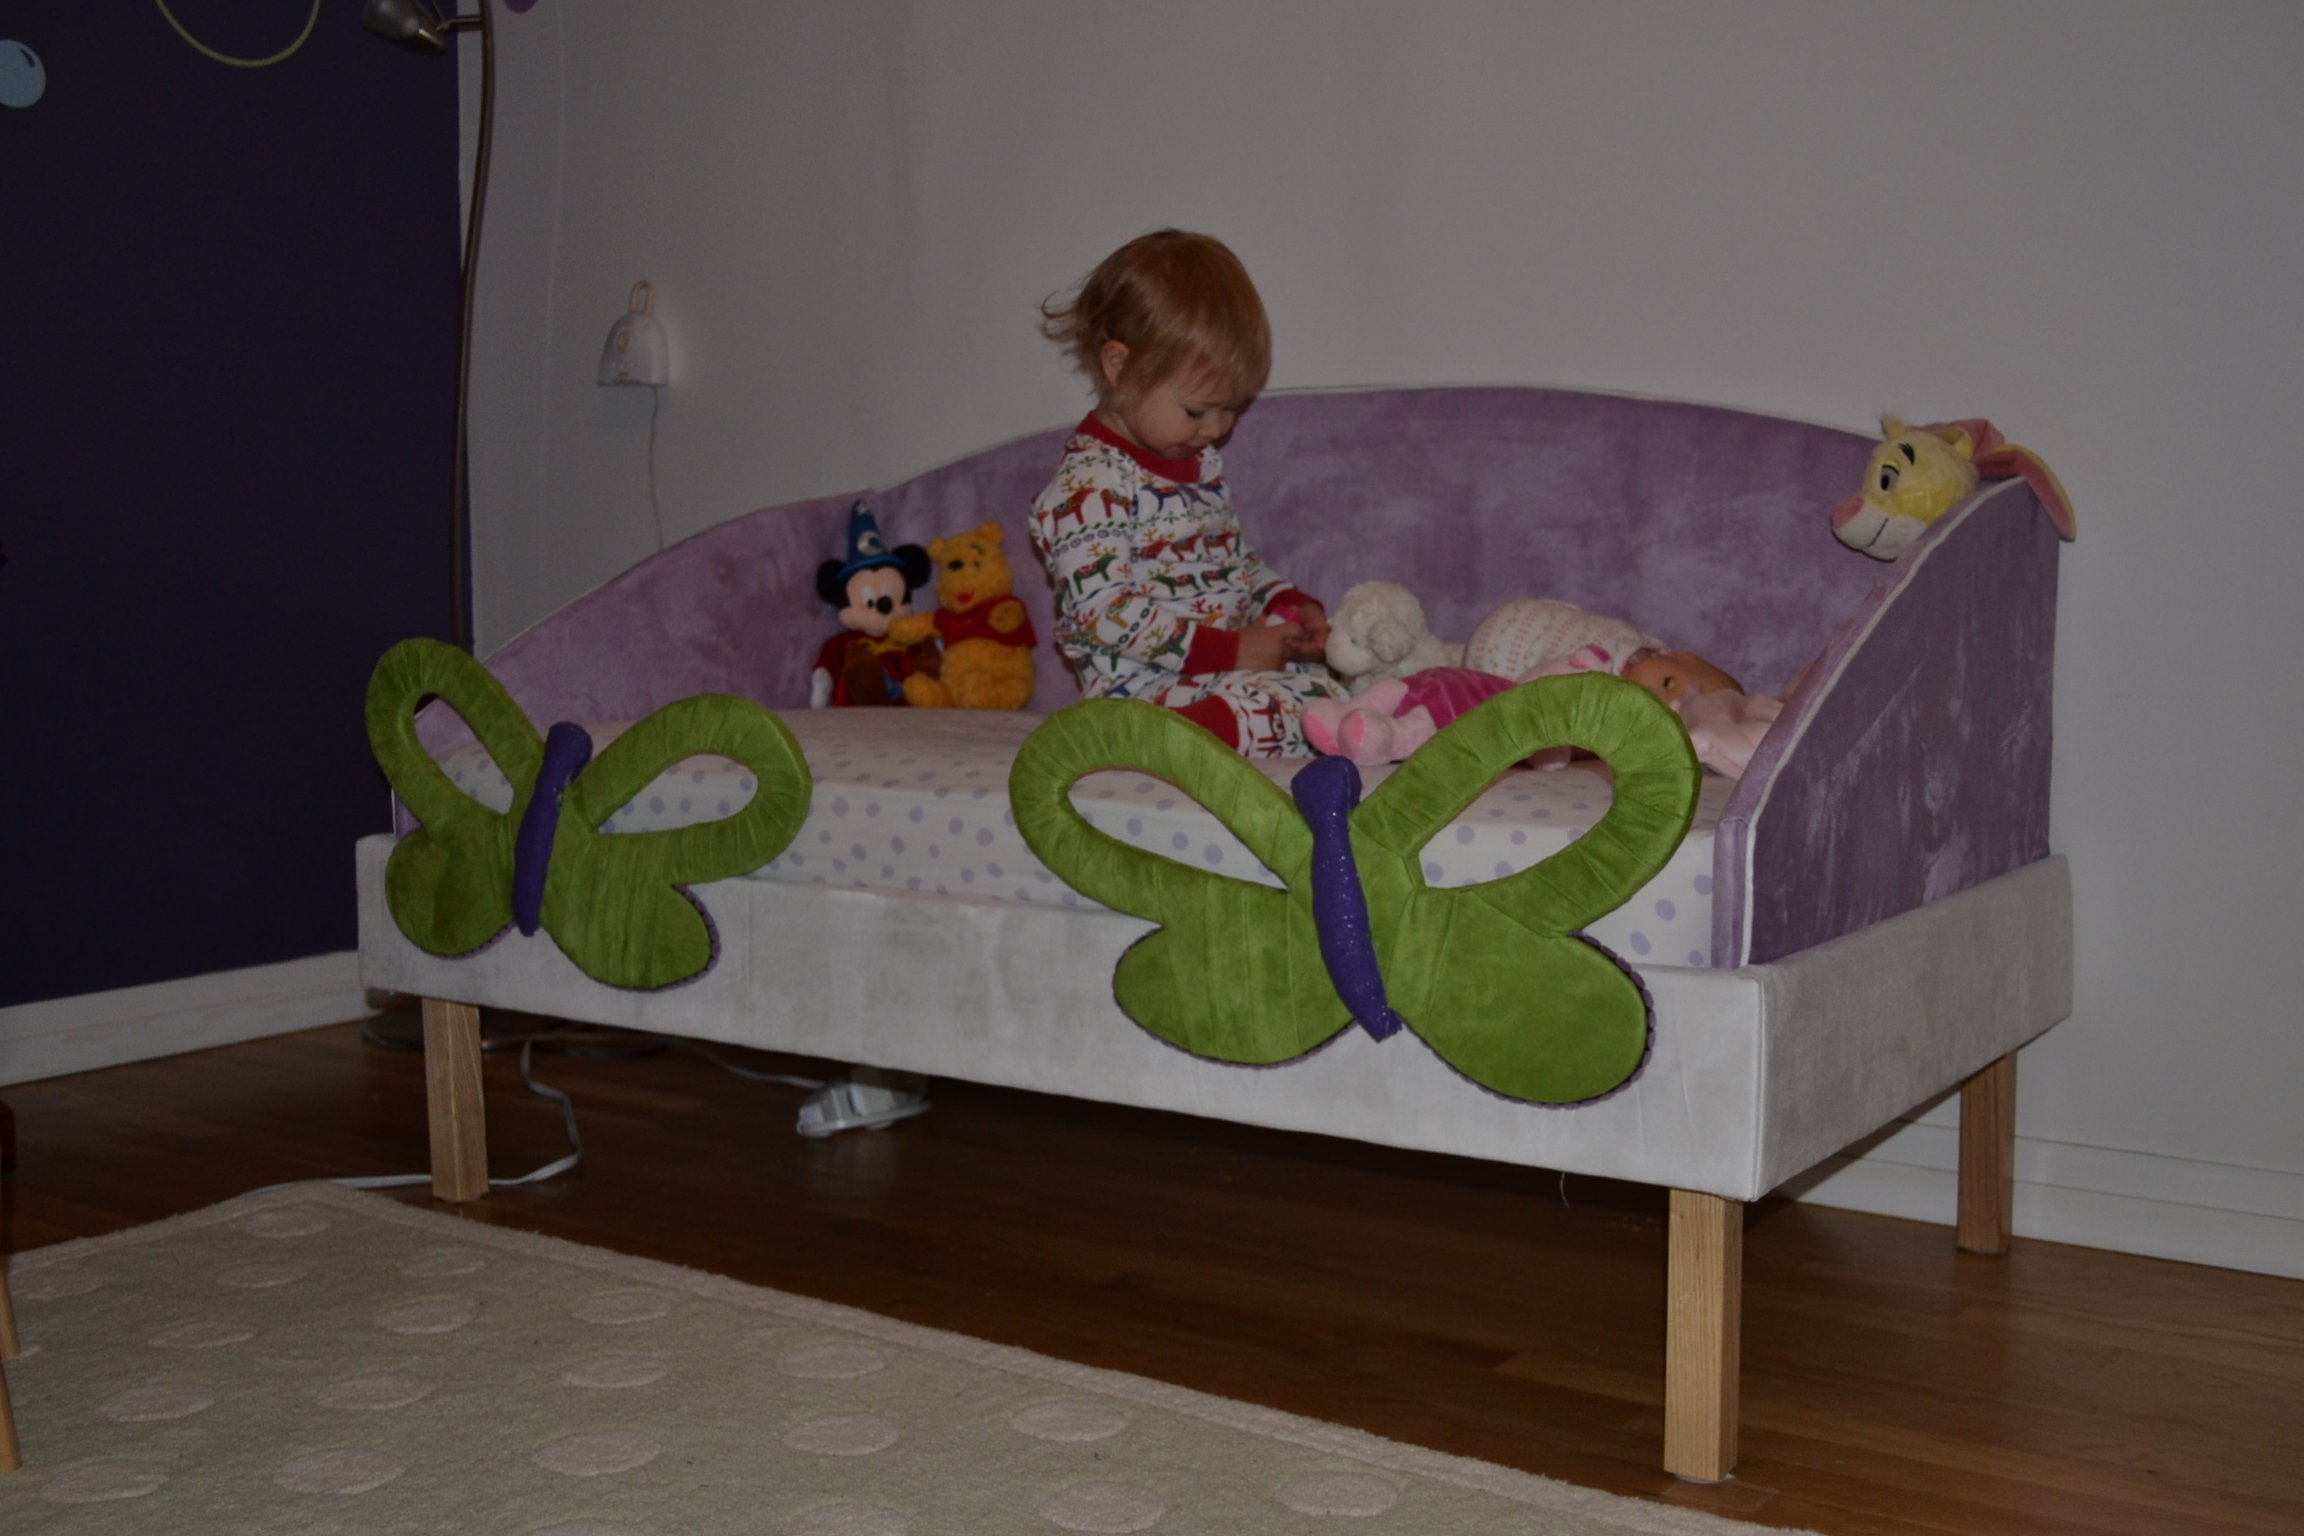
I love the toddler upholstered bed plans, but my daughter rolls all over the place while she's sleeping. So I added sides and put cut out butterflies on ladder hooks in front. She named it her Princess Butterfly Bed because everything is princess.

Tue, 12/02/2014 - 19:01
This is just darling - so cute for your little princess! Love how you upholstered the sides along with the back.
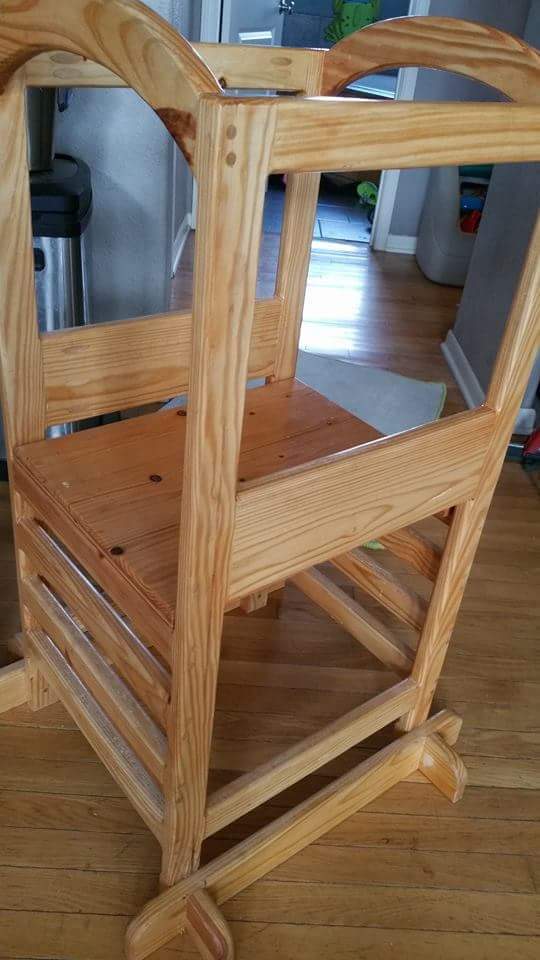
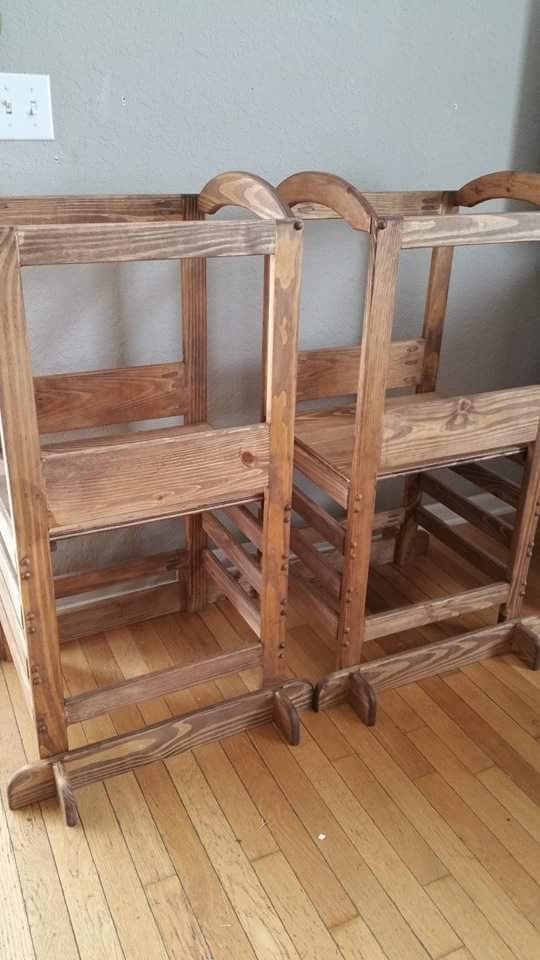
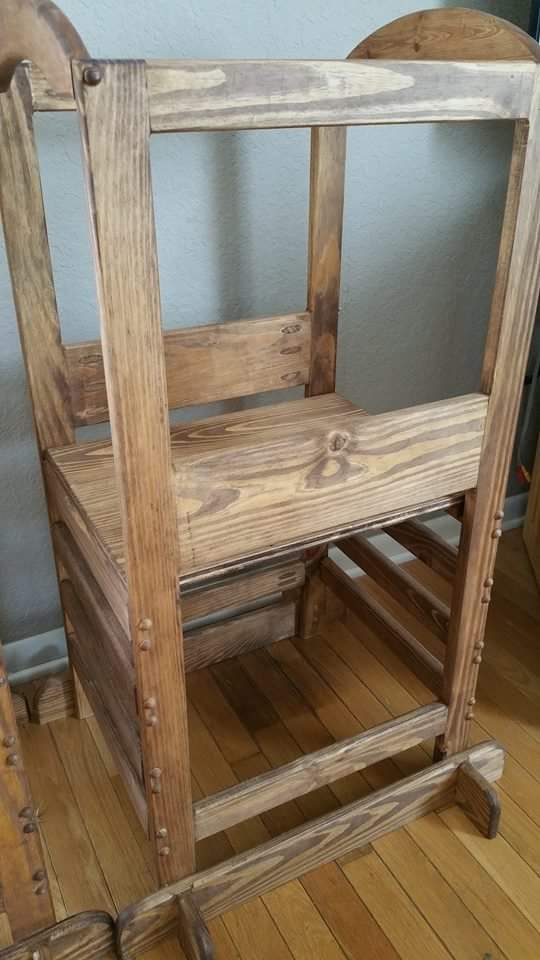
This is a slightly modified version of the little helper tower, very sturdy design, i weigh 184lbs and use it to climb up to high places as if it were scaffolding. The modifications include making the sides the ladder and the ladder the sides, this allows for smaller hands to grip easier when climbing. It helps to mimic more a ladder design than climbing up the side. It also made for easier install of rungs for ladder. Screws go through the wood face into tge end of the rungs, then pocket homes were used for side supports which were larger woods pieces than the rungs and pocket screws went from face of supports to the edge of the legs therefore no split out when doing pocket screws! All made from recycled wood from crates, dried and seasoned of course, if you use recycled wood it must be fully cured or it will warp and split over time.
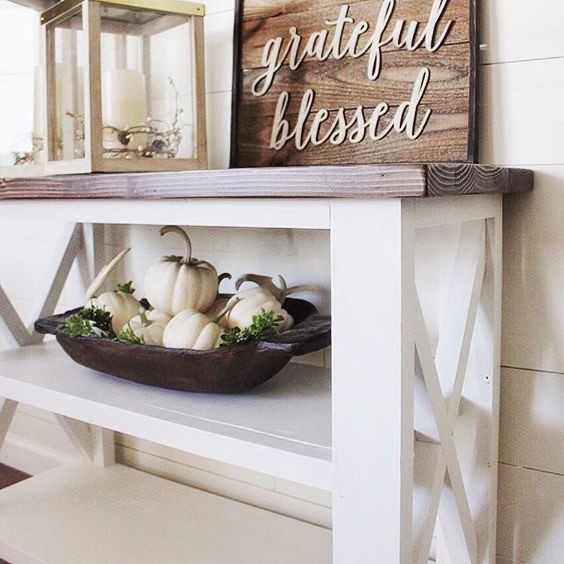
Beautiful fall decor console table.
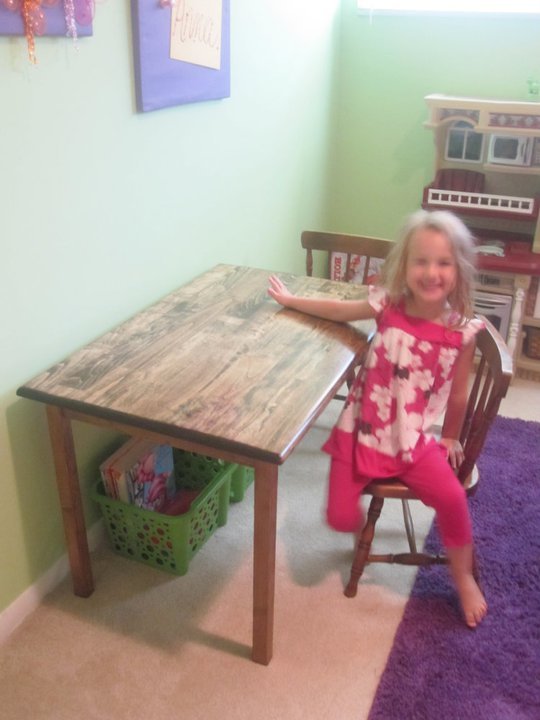
The 'Clara table' was my hubbies first true build. He built this table for our daughter last summer. She loves it and it gets used on the daily. :) We went with a solid top instead of separate boards. It might have added a little extra cost but not much.
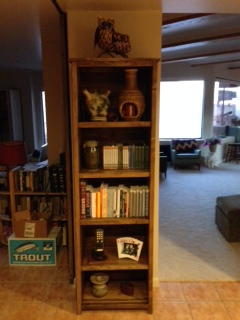
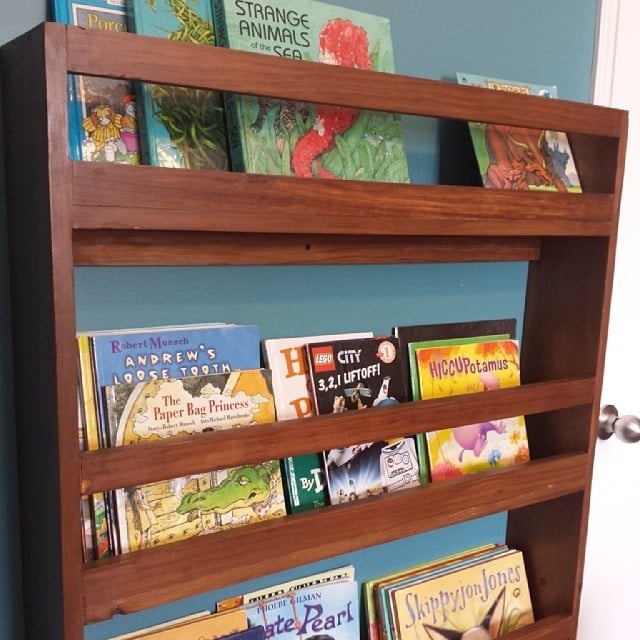
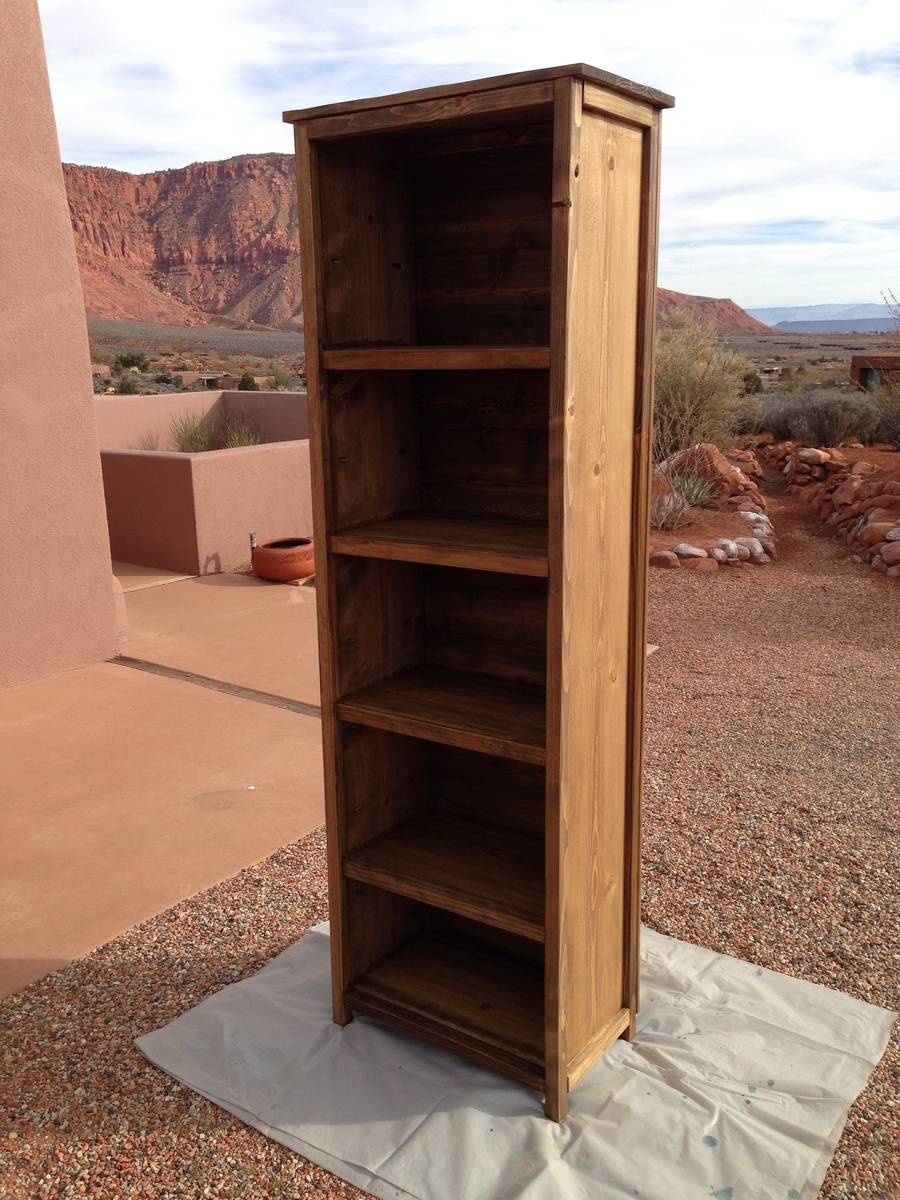
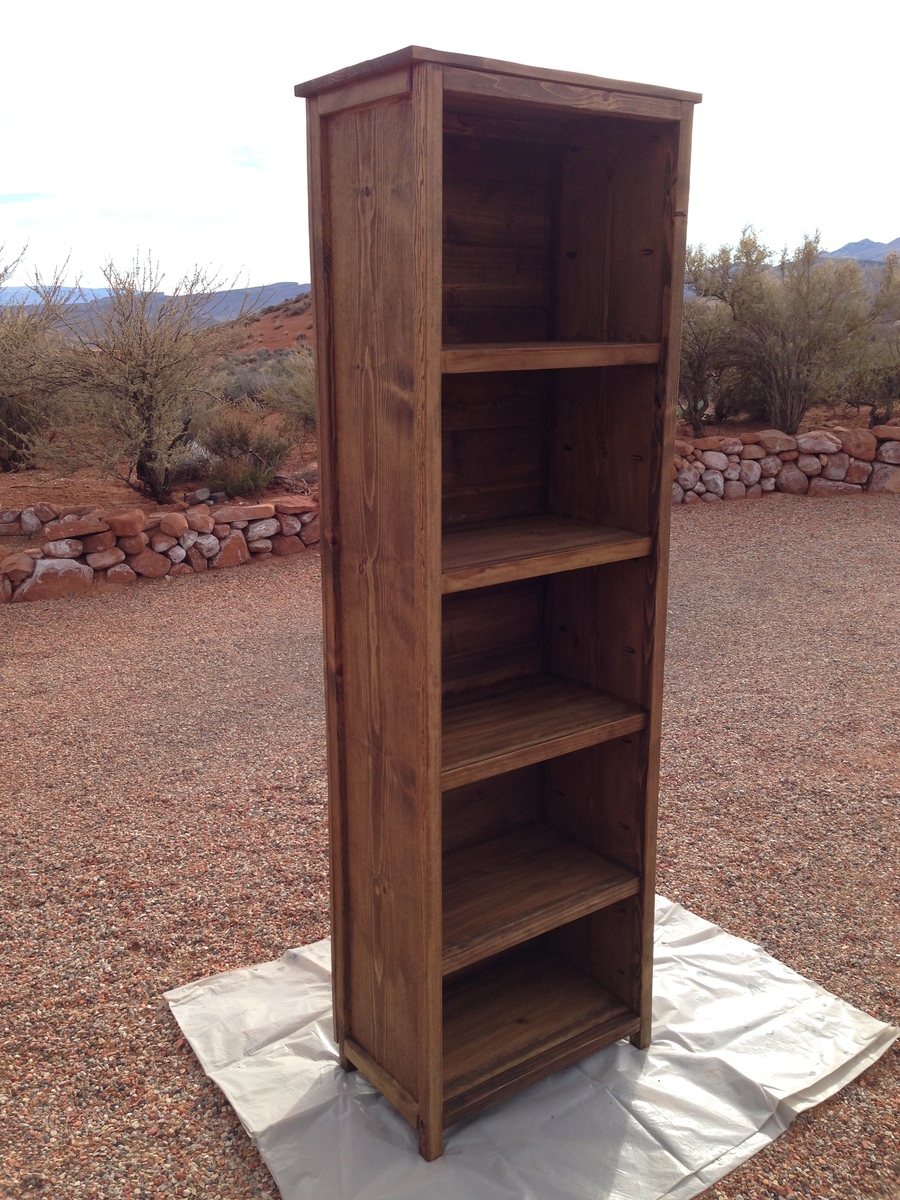
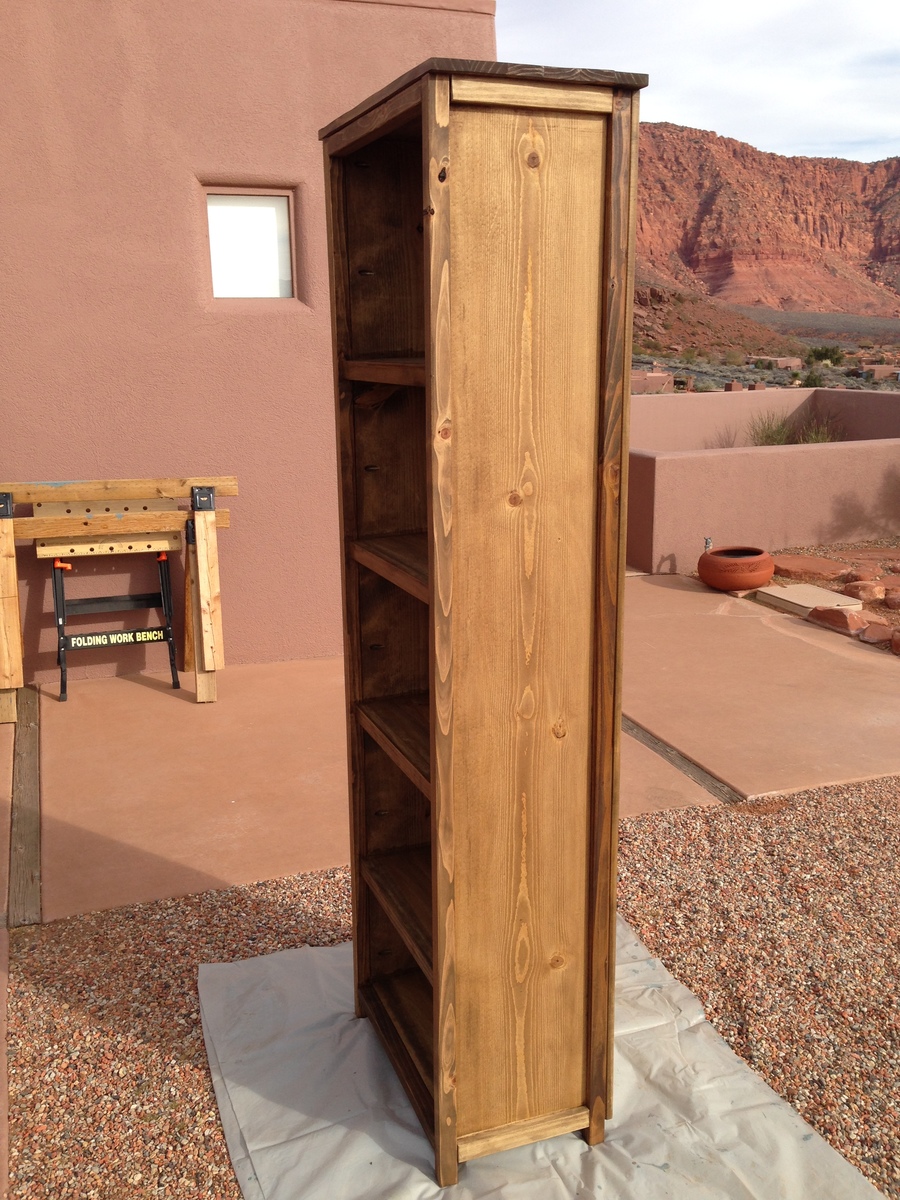
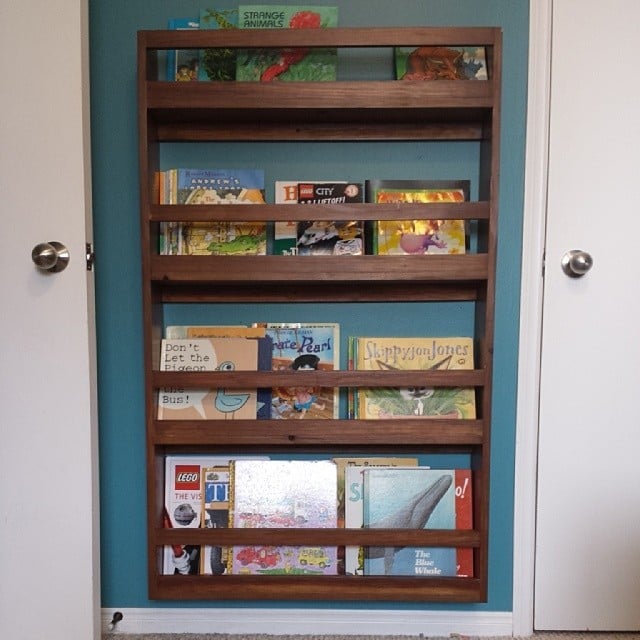
I loved the rustic look of this plan but decided to use prime pine and sanded it smooth. I also used tongue & grove 6" cedar for the backing running horizontal instead of vertical to not make the shelf unit look tall and skinny. I covered over the 2 side edges of the tongue & grove cedar with a pine strip 5/8" wide all the way from the top to the floor. I also increased the height to add an additional shelf. I definitely suggest using a Kreg tool. I also recommend not plugging the Kreg pocket holes. They look terrific just stained. I also recommend not bothering to screw the top slates together. Just glue them using clamps.
Here are the plan modifications I made for the extra height & shelf:
- sides 76 1/2"
- legs 78 1/2"
My next project is to make another shelf just the same except to make the shelves 31 1/2" wide. This time I will use 1"x4" backing vertically.
The end product looks spectacular. You couldn't' buy a bookshelf like this anywhere.
Decided to try out my new tools on making a bed frame. Please note, I have NEVER made anything before, this was my very first project (go big or go home, right?). After a bit of research, I found Ana White's site, and am so thankful. I took the basic plans for a king size bed, but modified them to fit the look I wanted. I found old flooring at Habitat for Humanity and sanded/ stained/ sanded/ stained. I used four different stain colors, but really tried to mix everything up with the colors. The bed frame turned out amazing!
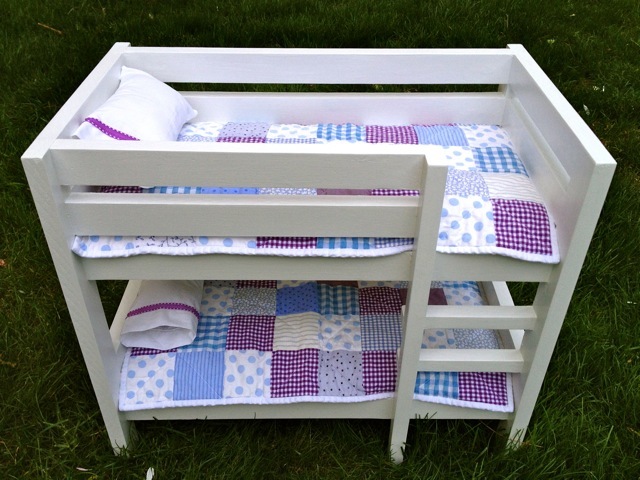
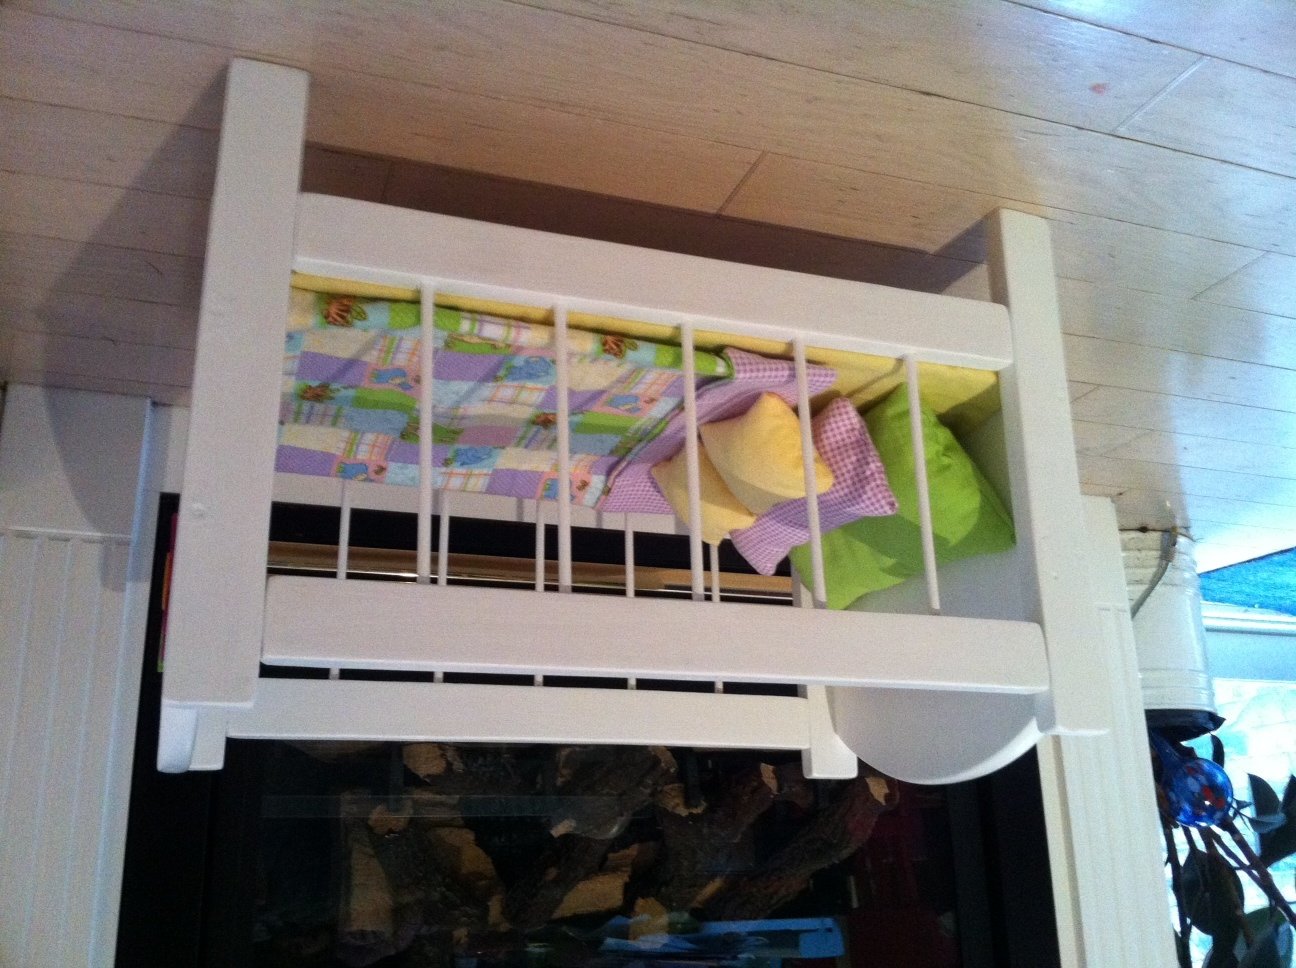
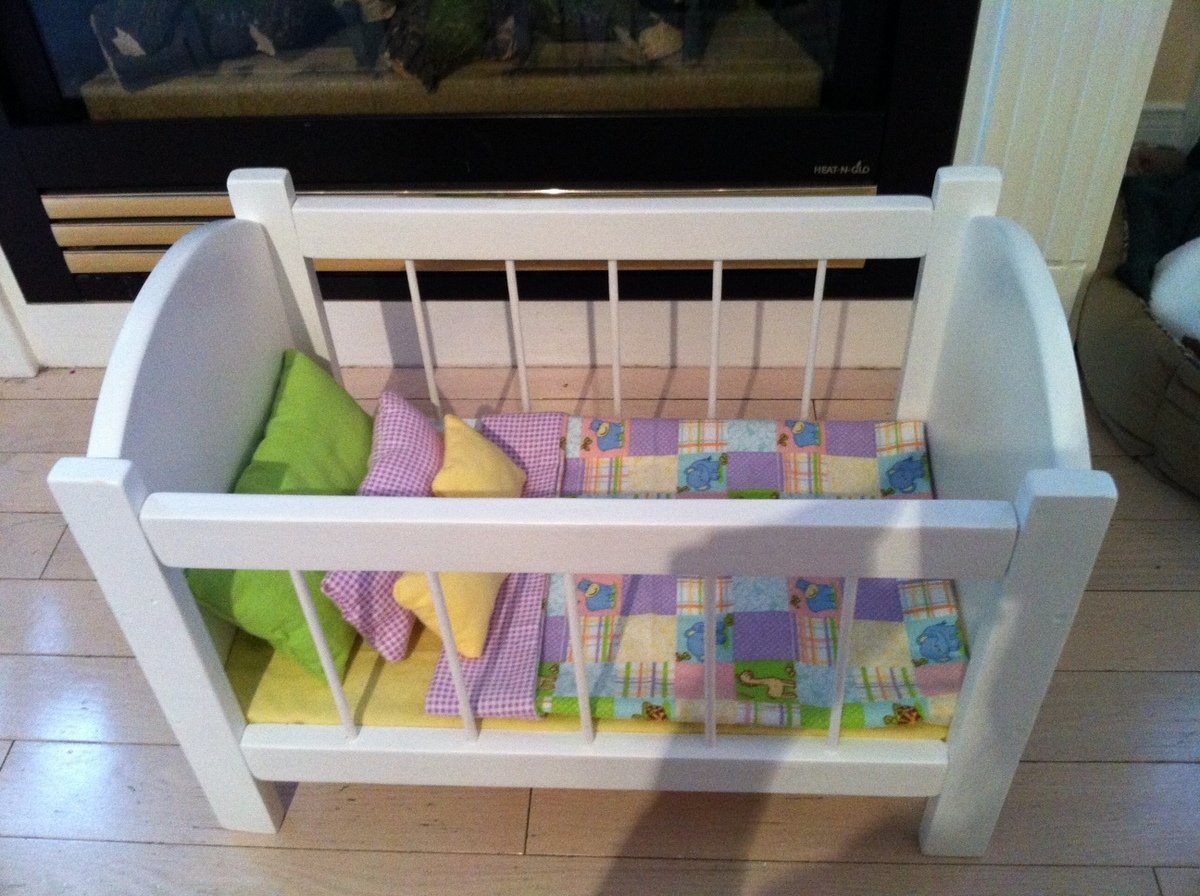
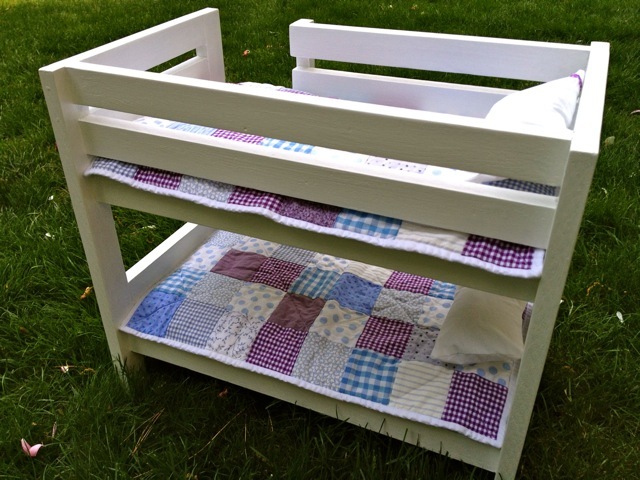
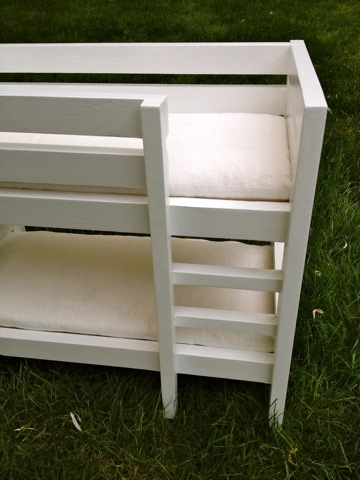
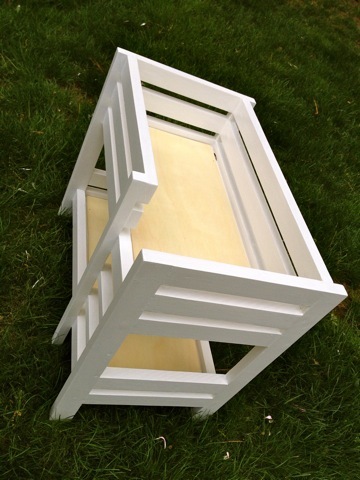
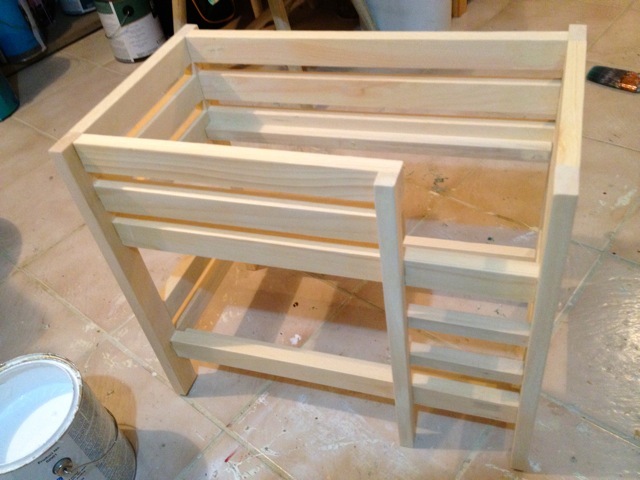
Doll bunk bed painted in white with purple patchwork bedding.
I modified Ana's plans a little for our own needs. The simplified design feels a little more masculine to me and matches my boys' bunk beds a little better, too. I used pine. The 1 x 2's are select pine, not rustic, because that's all our HD had to offer. I wiped the whole thing down in tea, let it dry and then used a rusty vinegar solution as a stain. Gave it a few coats of varnish and voila! Love the final product. Thanks, Ana, for an incredibly empowering and motivating website. :)