My first build! Not too bad. :)
First try at building a piece of furniture myself. I am inspired to do so much more projects like this now.
Built from Plan(s)
Recommended Skill Level
Beginner
First try at building a piece of furniture myself. I am inspired to do so much more projects like this now.
Easy to build 2-3 hours. Weather proofed because did not want grey cedar in a few years. Liked the color of weather proofing but color continued to leak off. Polyed and sanding eventually stopped the leaking if colors. Scored pottery barn cushions 50% in the winter + 15% new email customer. Still $150... bought some pillows from pottery barn on sale for another $60. All in all looks awesome! VERY easy build. The rest ($$) is what hurts... Test any weatherproof in you use first before using.
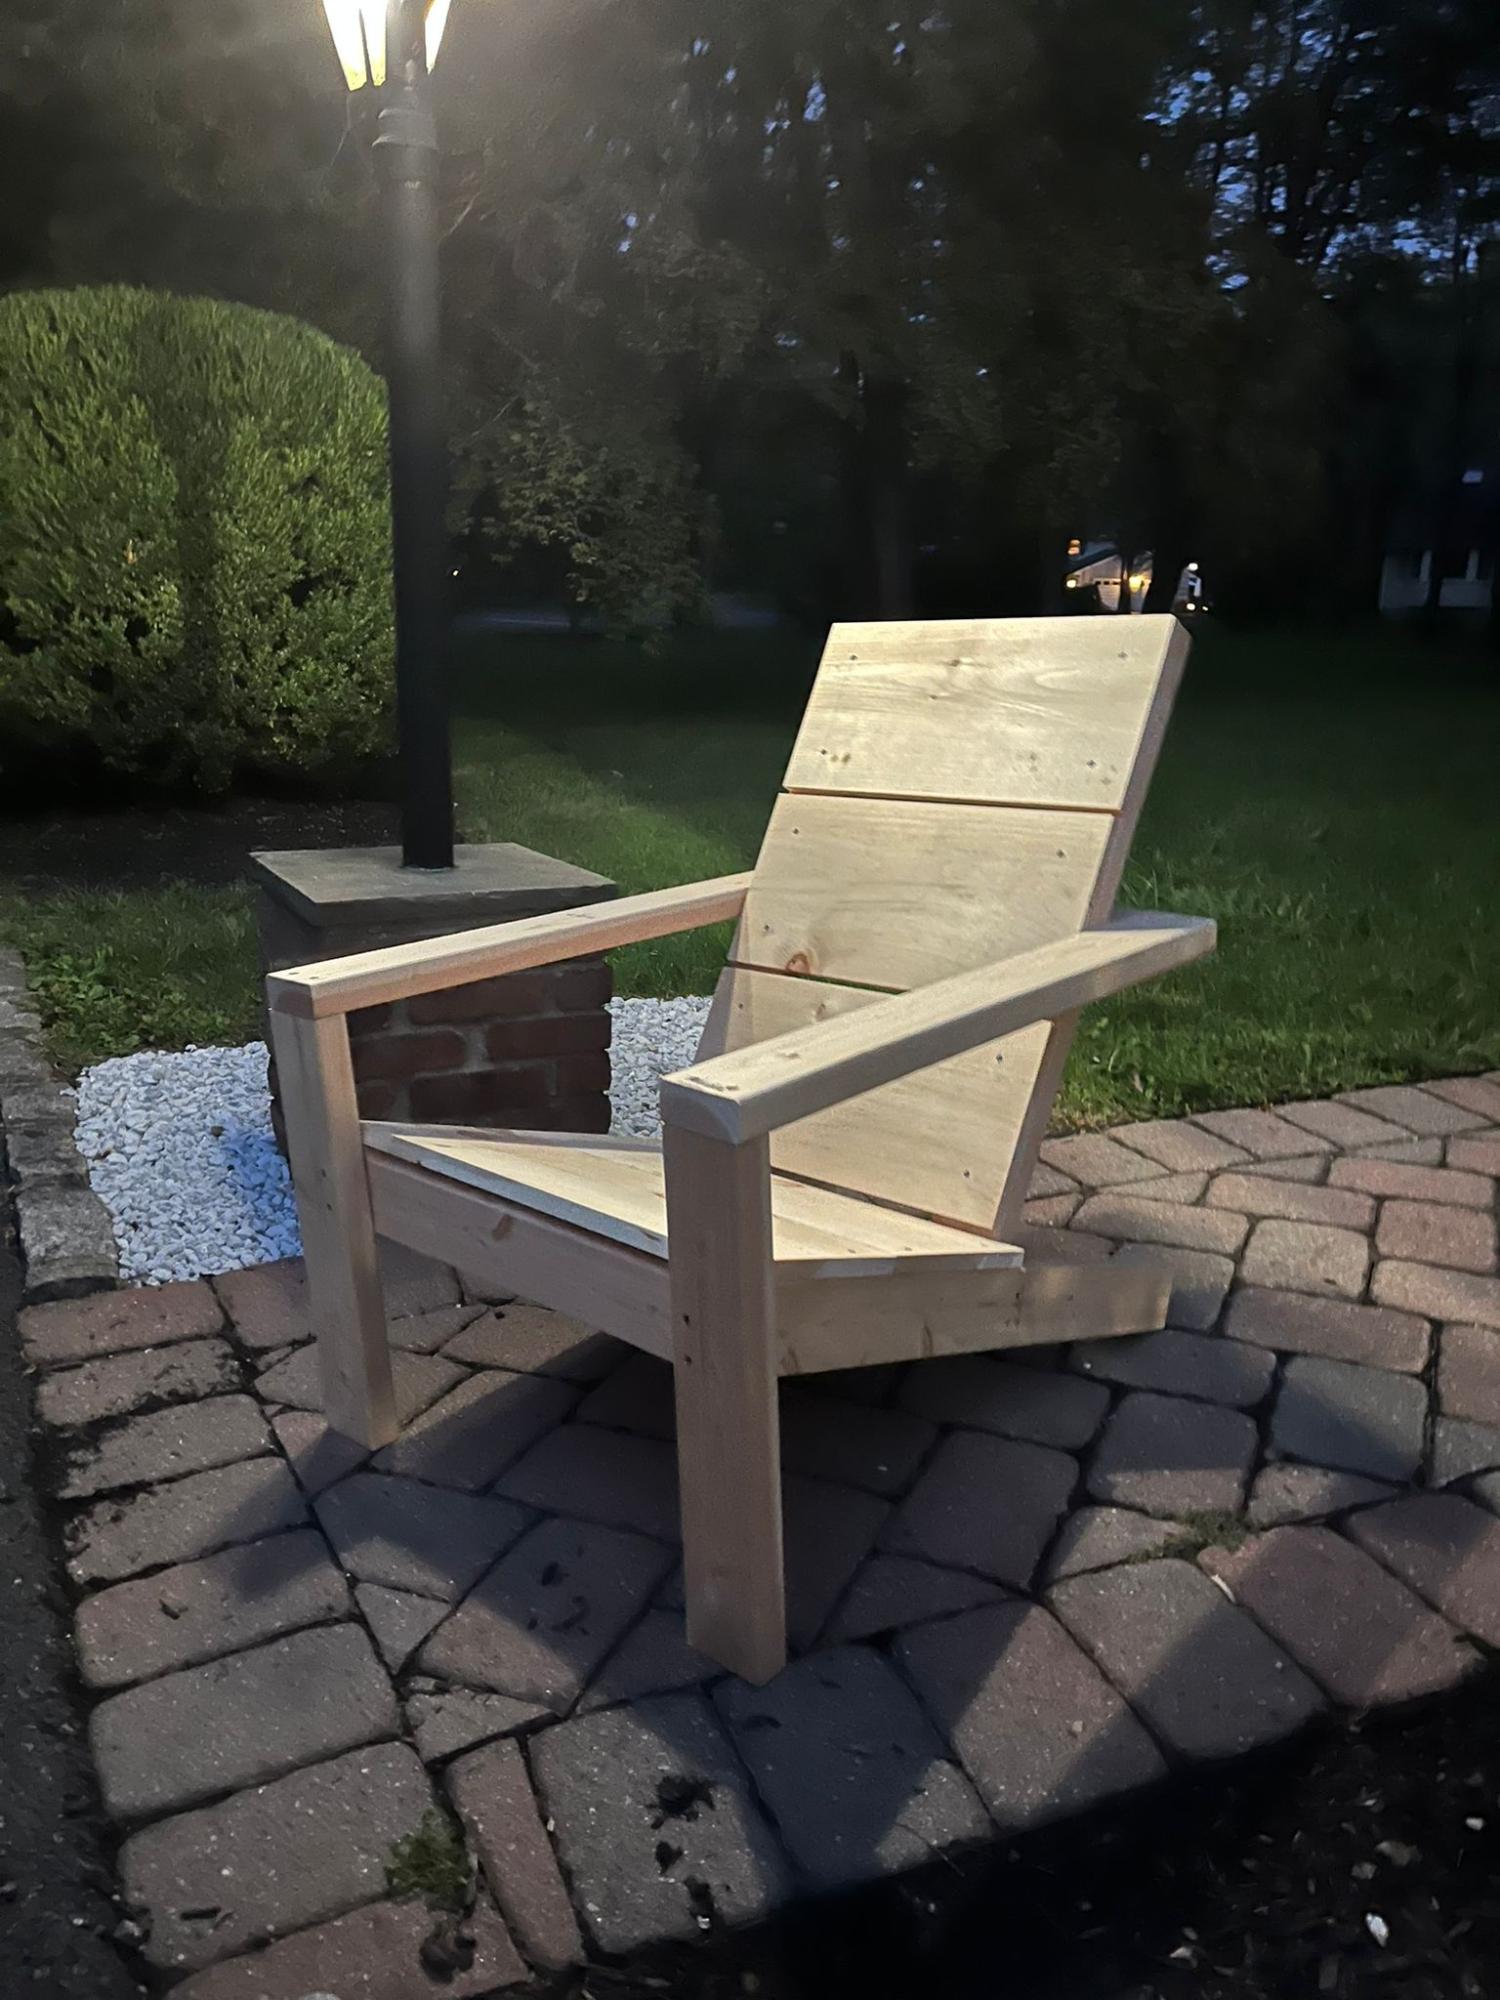
Great Project. We are very happy with the chair. It is modern. Amazing. Ana thanks!! The drawings are great.
Jhrios2003

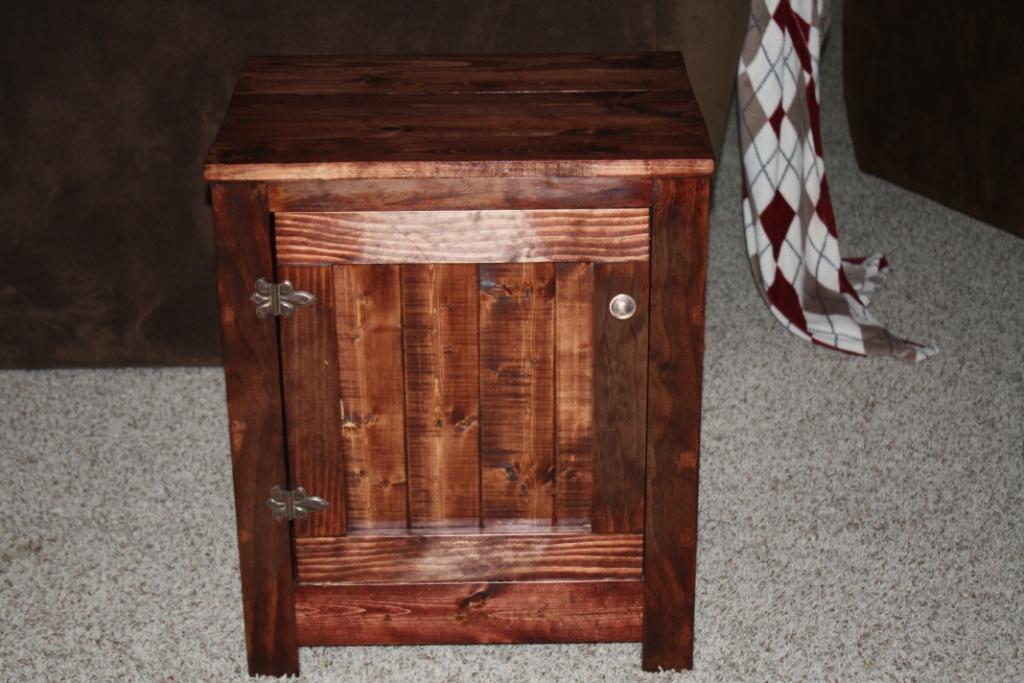
The plans I used were actually from design confidential but it is the same table.
Tue, 04/24/2012 - 23:16
This looks great! did you modify the plans (length) at all? It looks like your cross beams are closer together and I like that look best.
Tue, 05/15/2012 - 04:15
My husband and I are looking to build this table very soon. He is unsure as to what wood you may have used for this project. We absolutely love this dark wood. Will you please tell us what wood you used for this project?
Thanks! Can't wait to have this beautiful table sitting in our dining area!!!

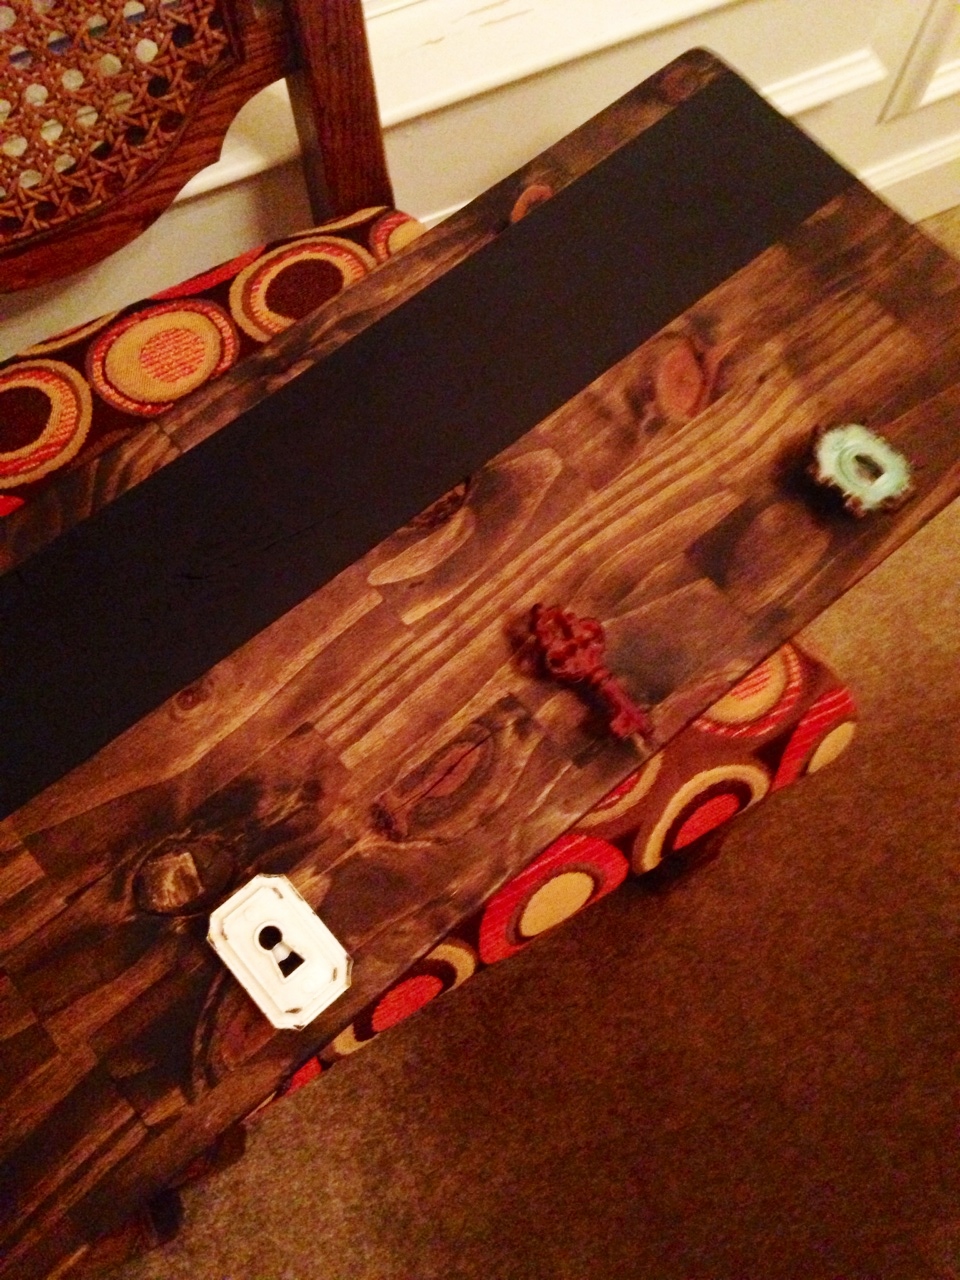
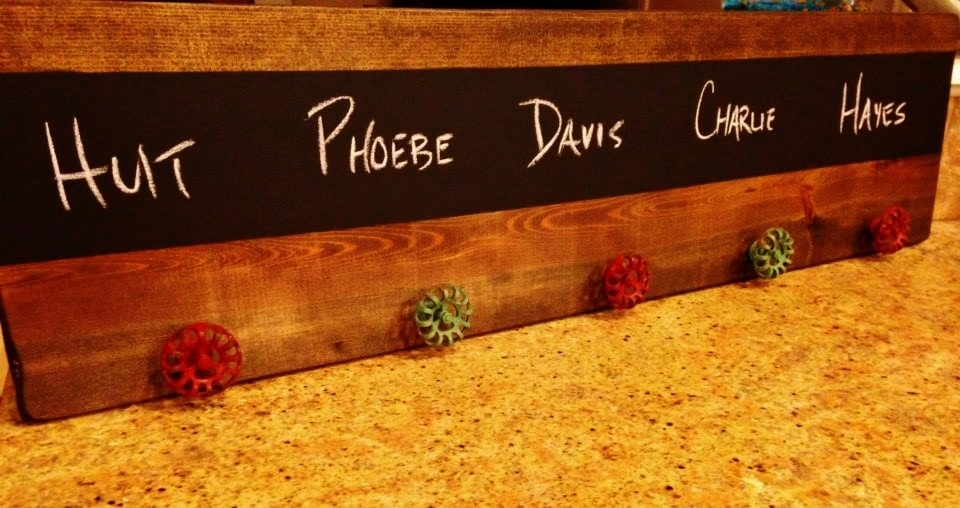
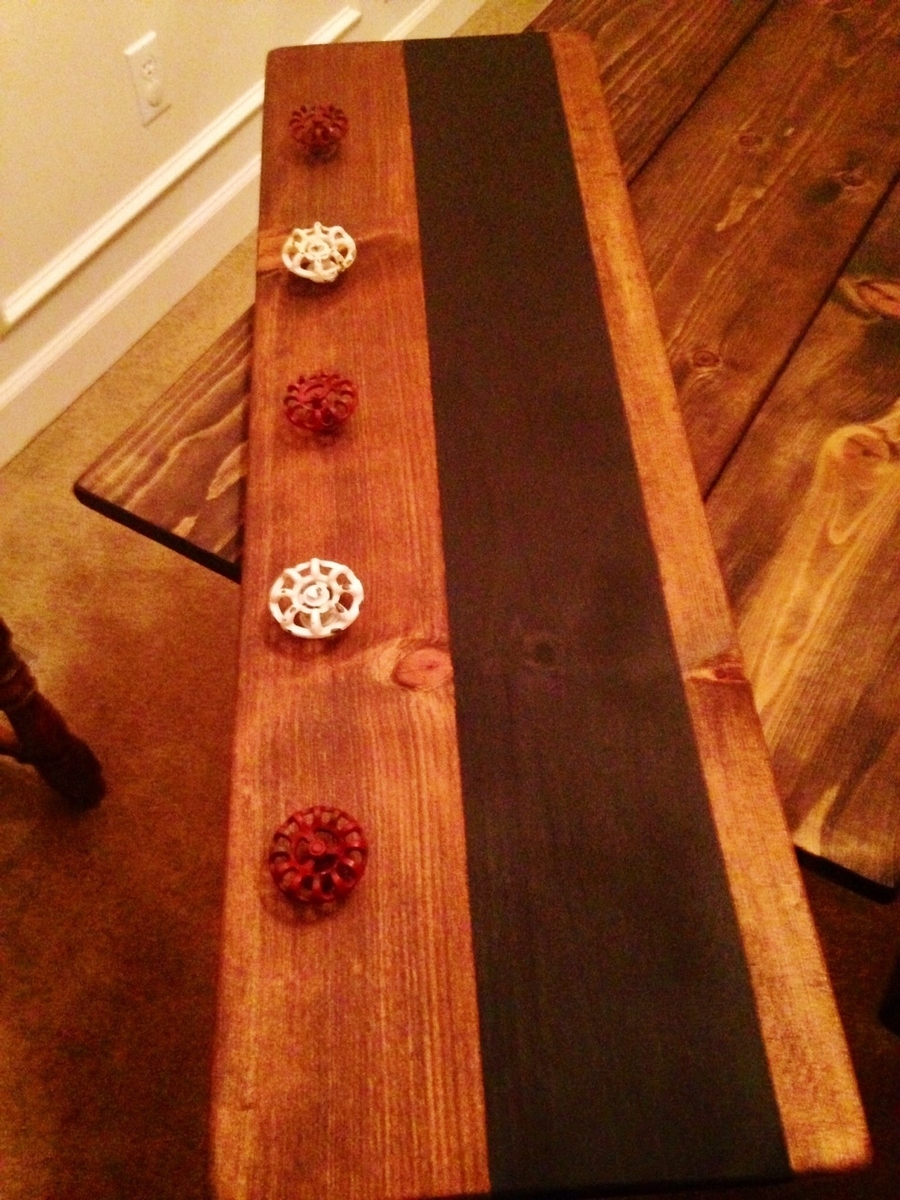
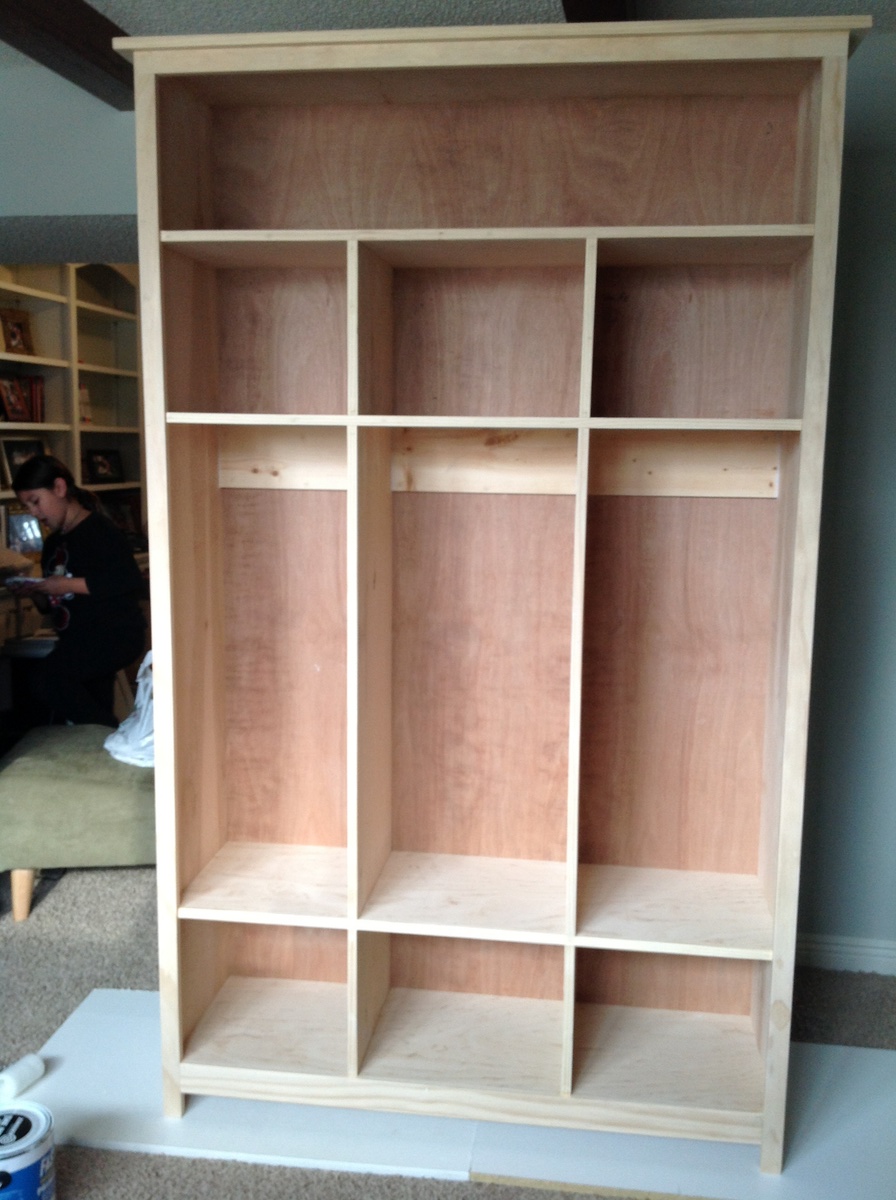
I have been waiting a long time to have this amazing piece of storage. The size is what was intimidating to me but it was easy to build. This project is perfect for a beginner . Make sure you have an extra set of hands due to the size otherwise this was easy and straight forward to build. I love the storage it offers to keep my Minnesota winter gear organized. The kids have a place for all of their snow pants, boots, coats etc.
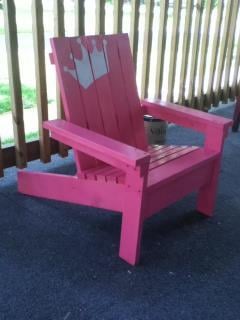
This was my first Ana White project. A kid size Adirondack chair fit for a princess :). The cost was around $25. I finished it in a weekend, but that was trying to fit it in between laundry, dishes, and taking care of kids. It was easy to do and I learned a lot.
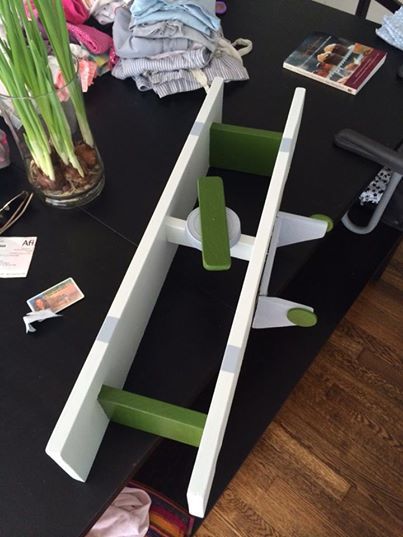
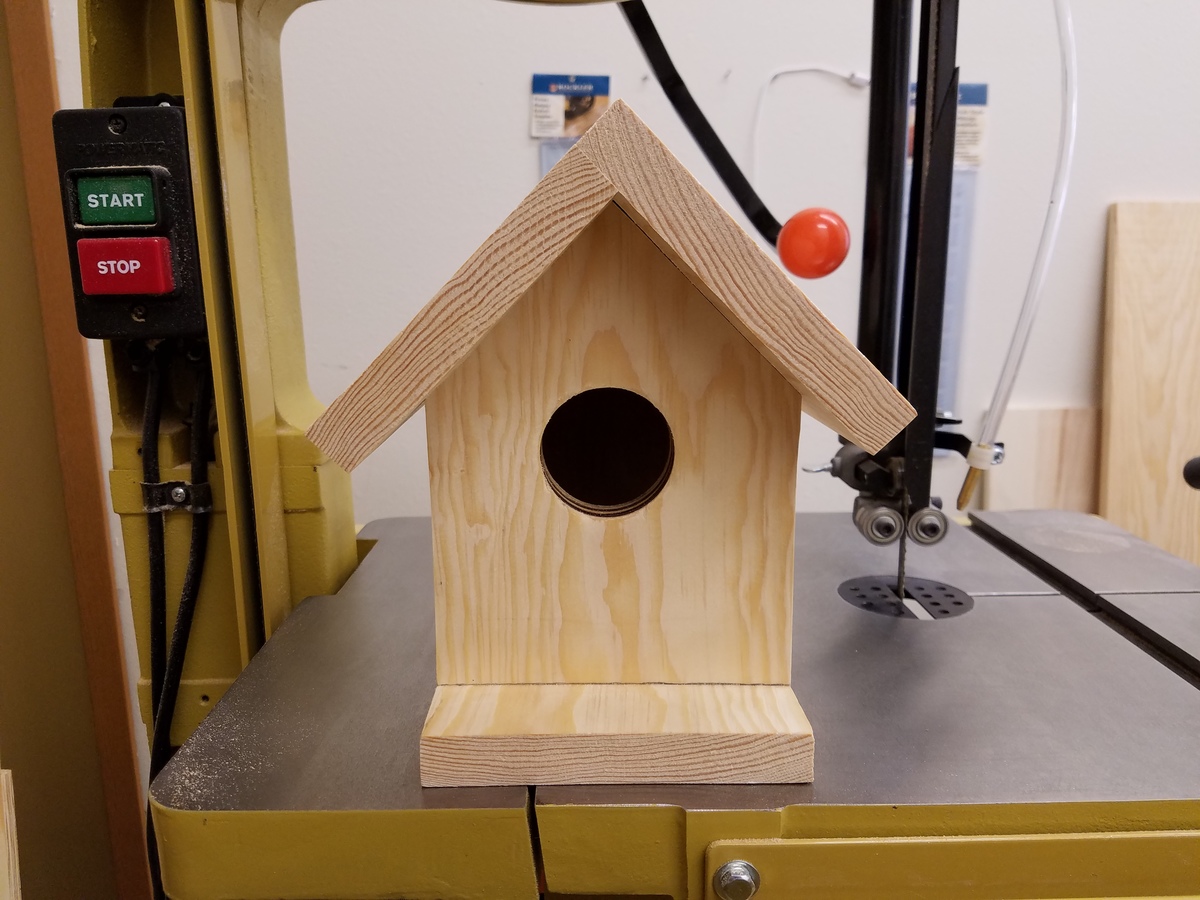
I made this shelf with reclaimed random wood but followed the original plans almost exactly. I used an extra large jar of peanut butters top for the front of the plane and the propeller was made for a random little piece of wood I just sanded down the edges to round them. The landing gear is from two corners of scrap wood and I bought the round pieces of wood for the wheels at michaels for about 10cents because I do not have a hole saw.
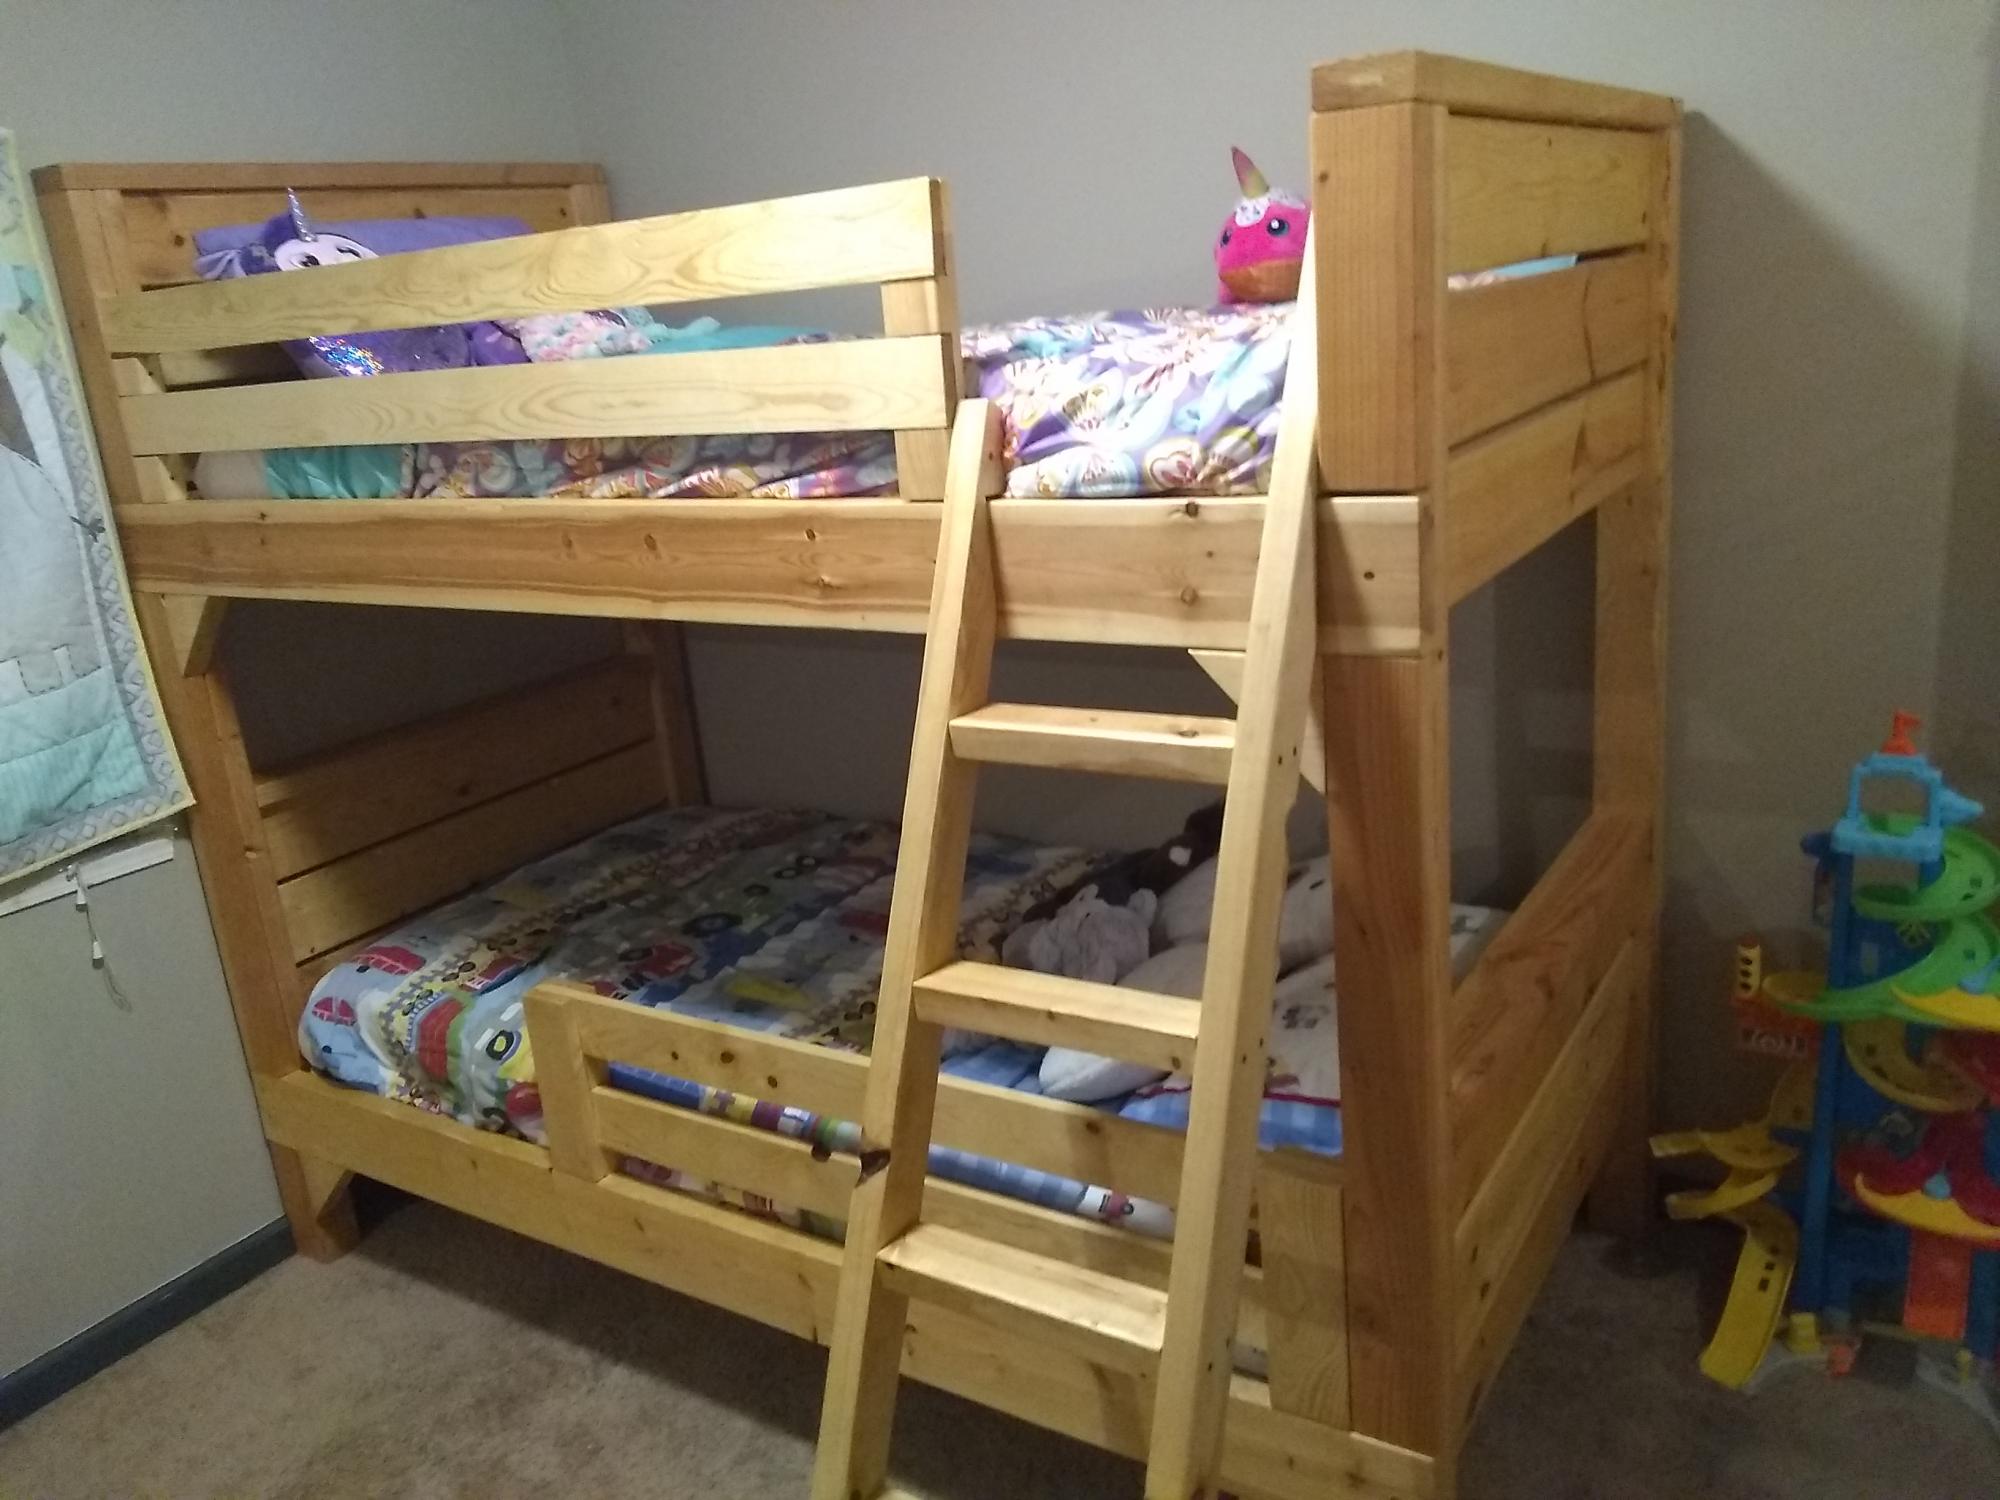
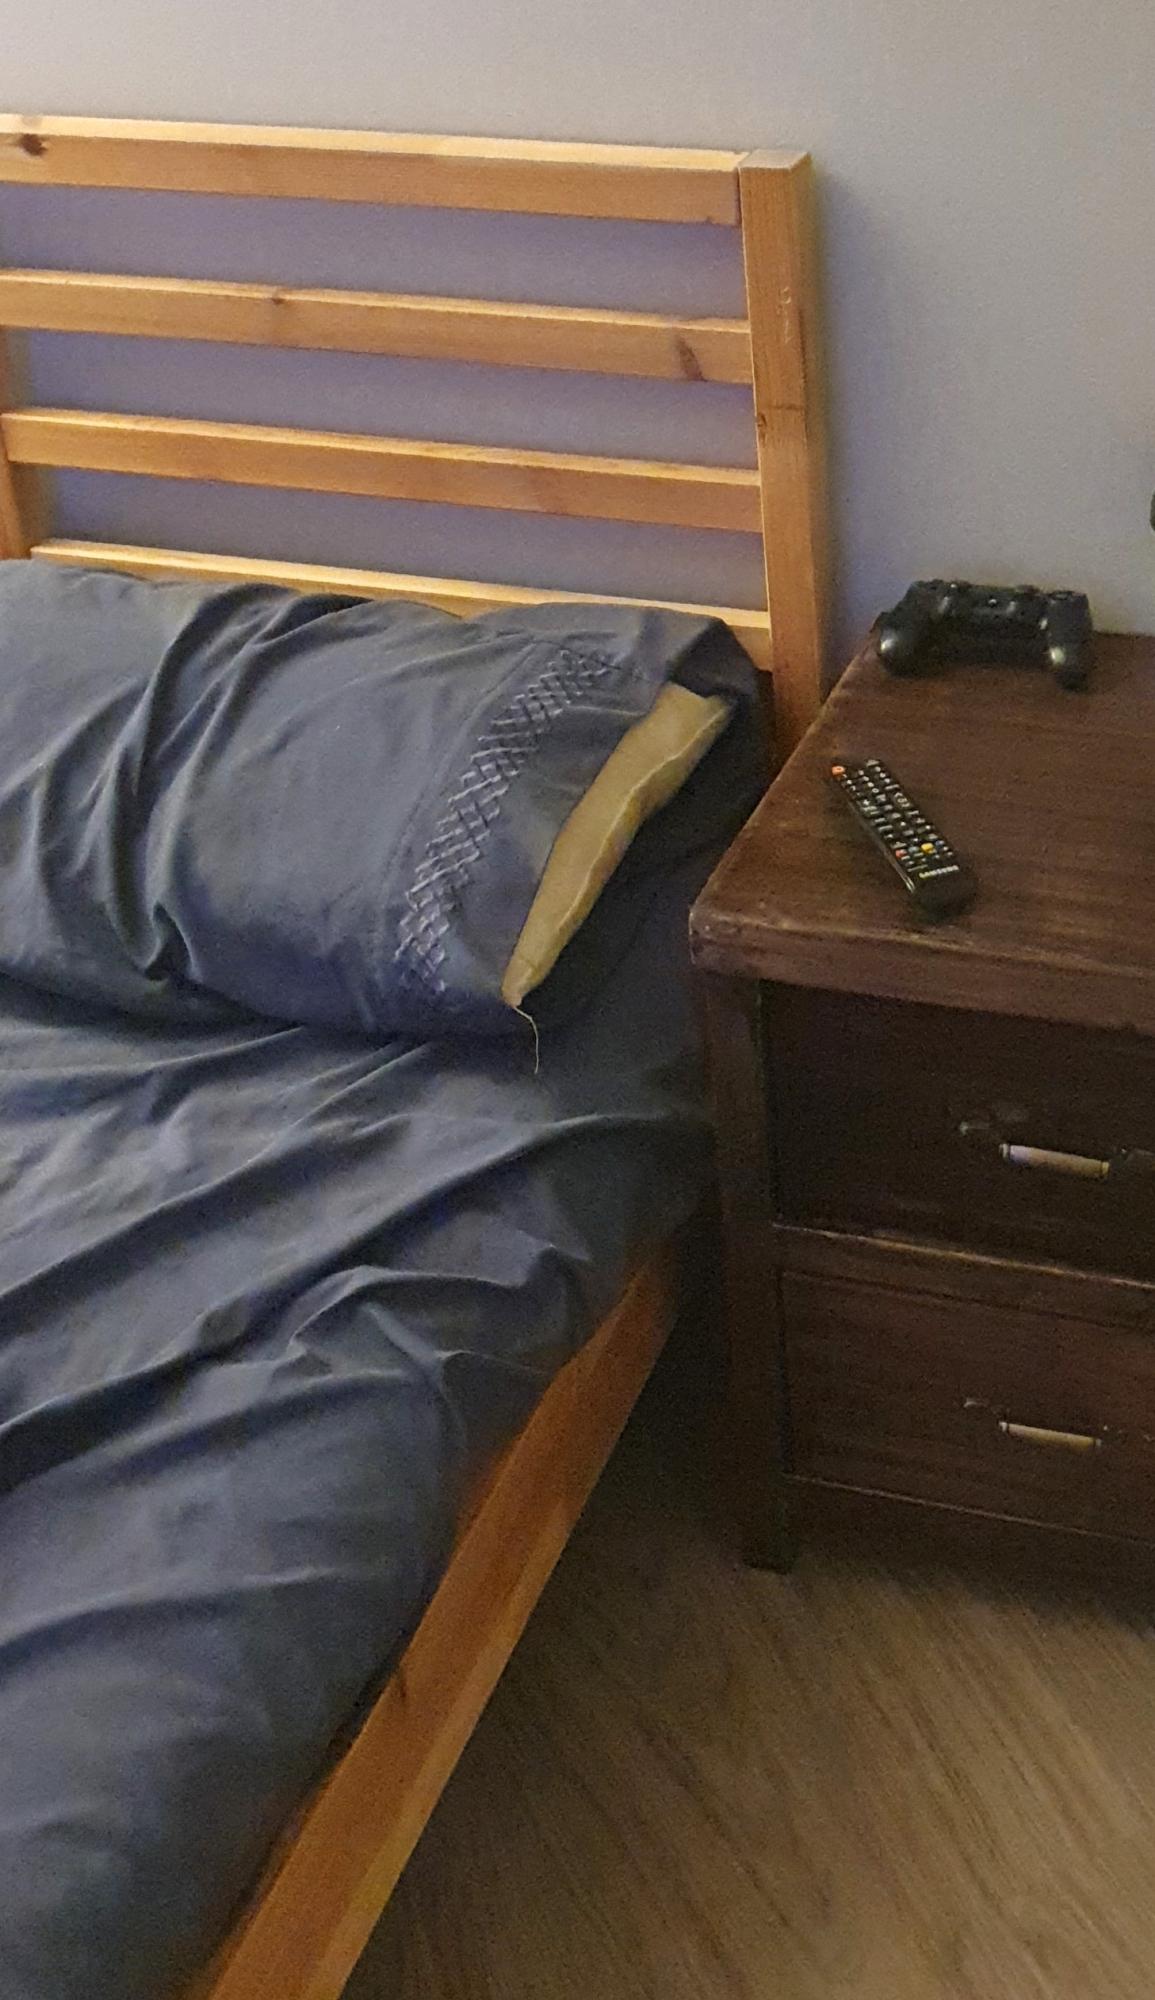
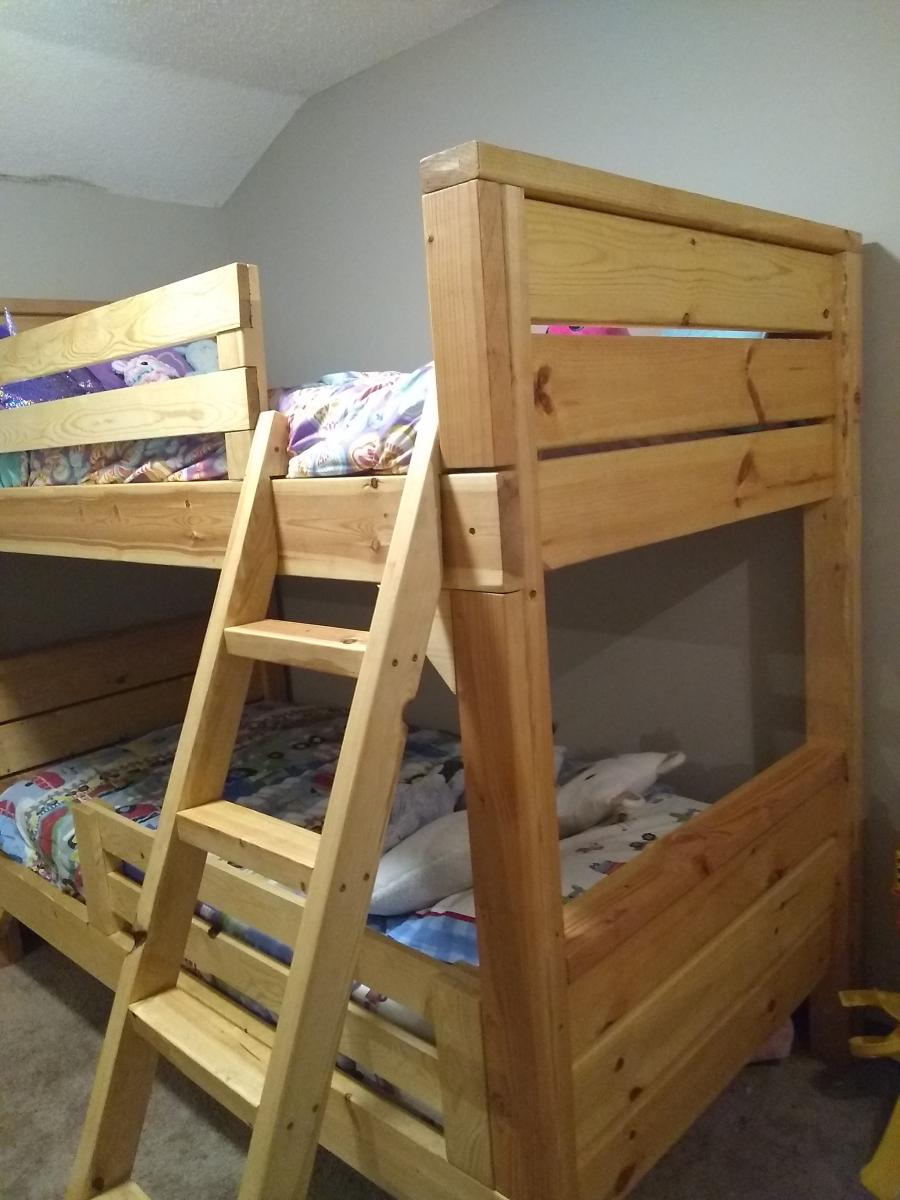
I built this bunk bed from the plans here on Anna white, I love this site. I think it came out really good. It took a little longer than expected because I sanded every piece down, every corner, every side, every end, because it's for my kids.
I devised the ladder myself for my situation and modified the rails I found as well.
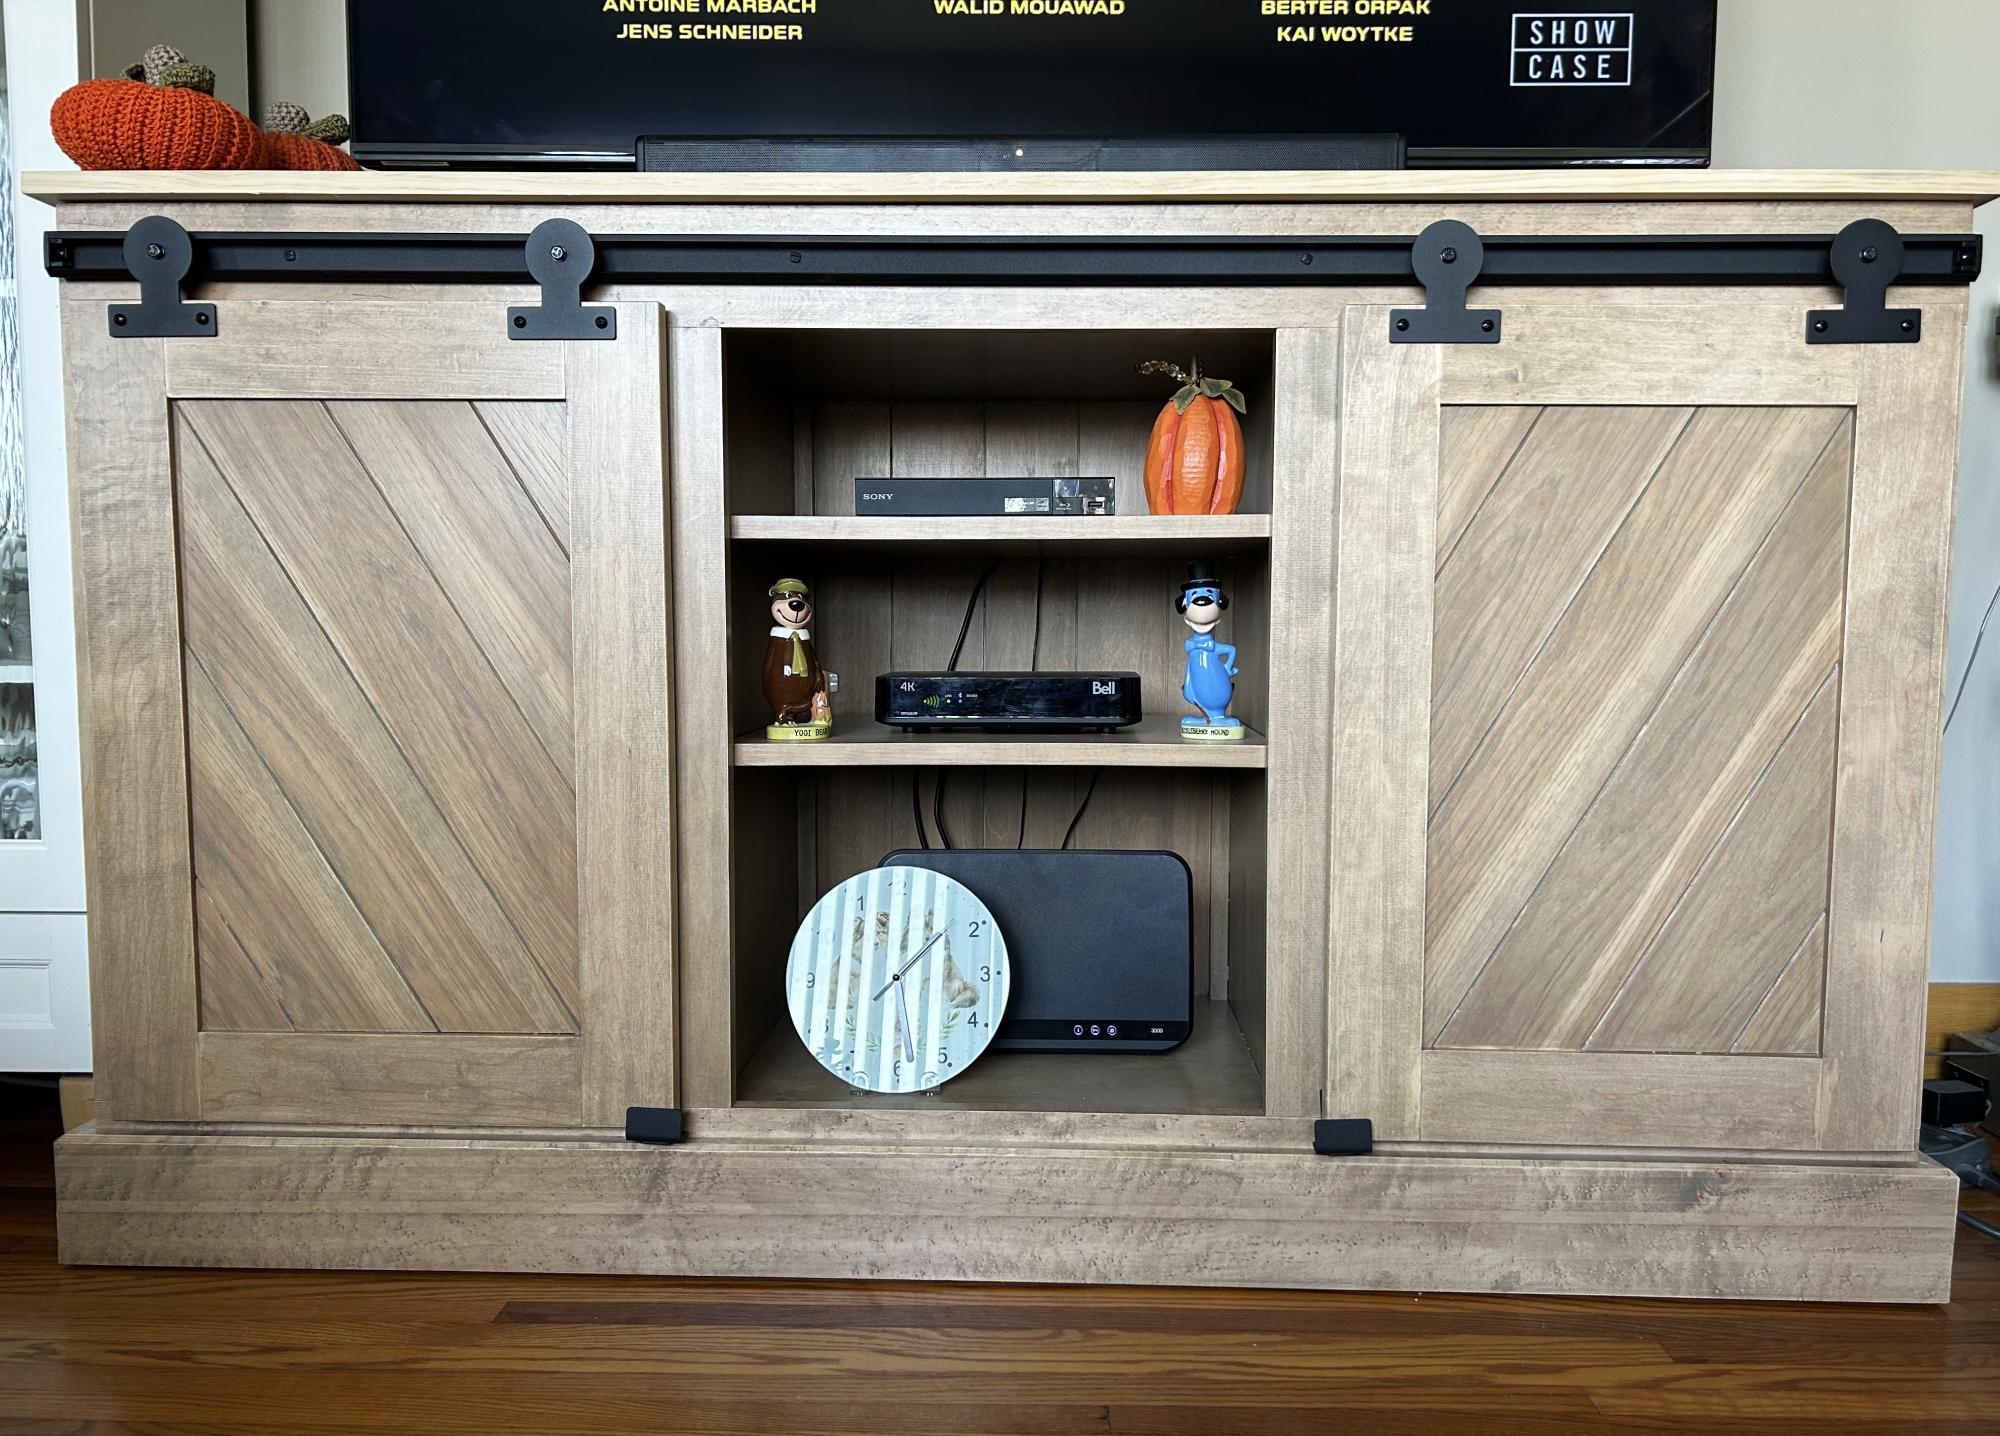
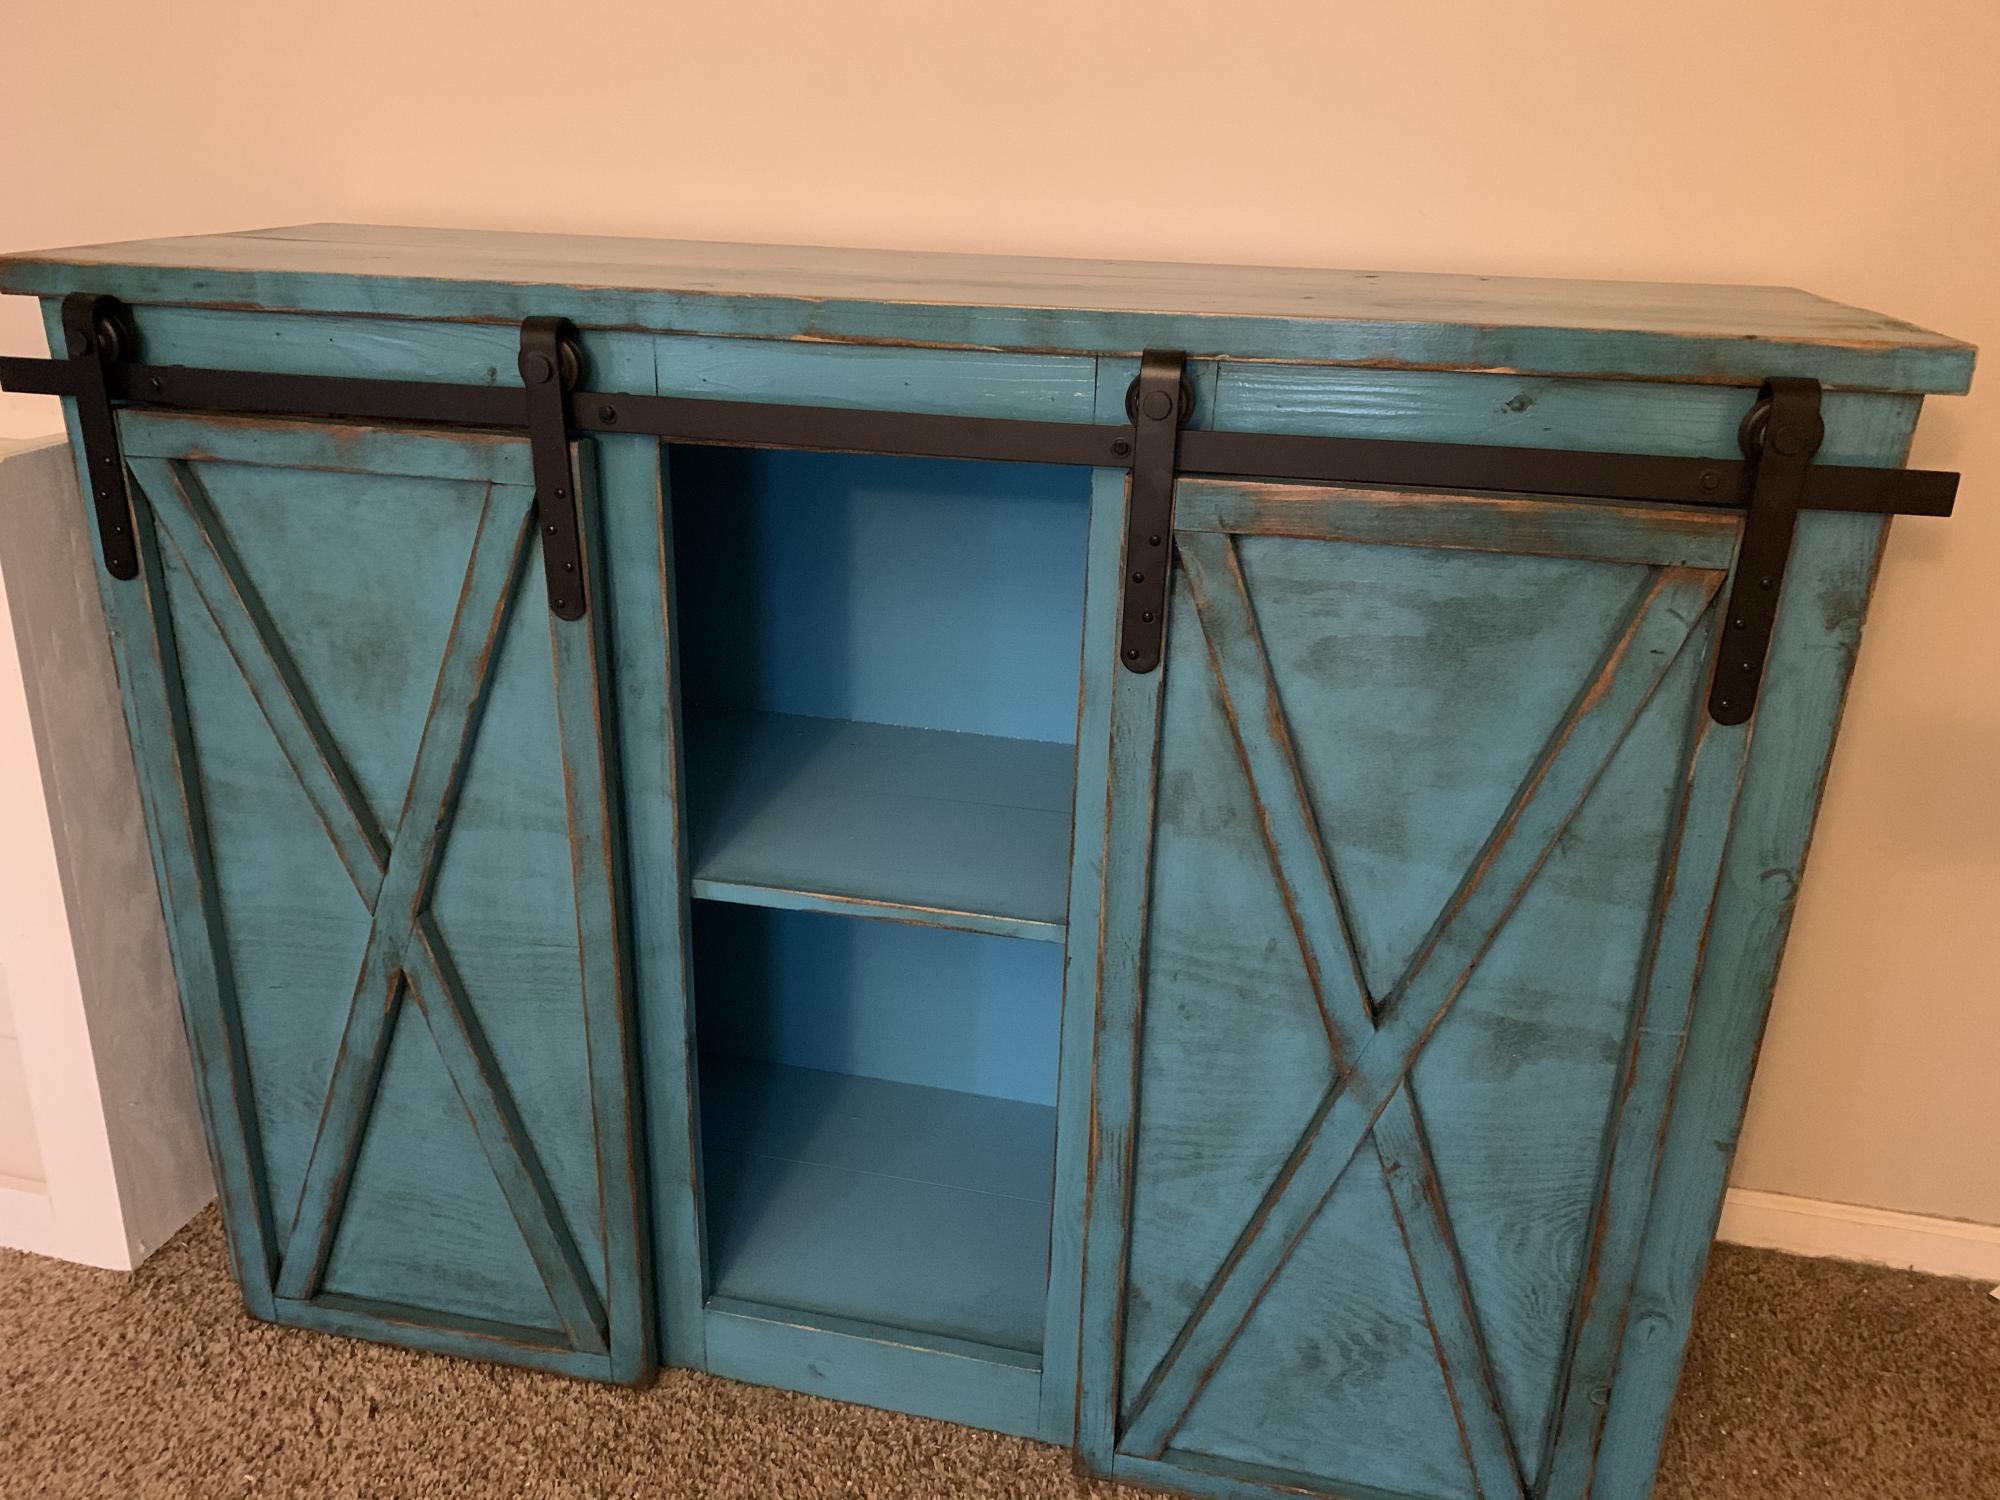
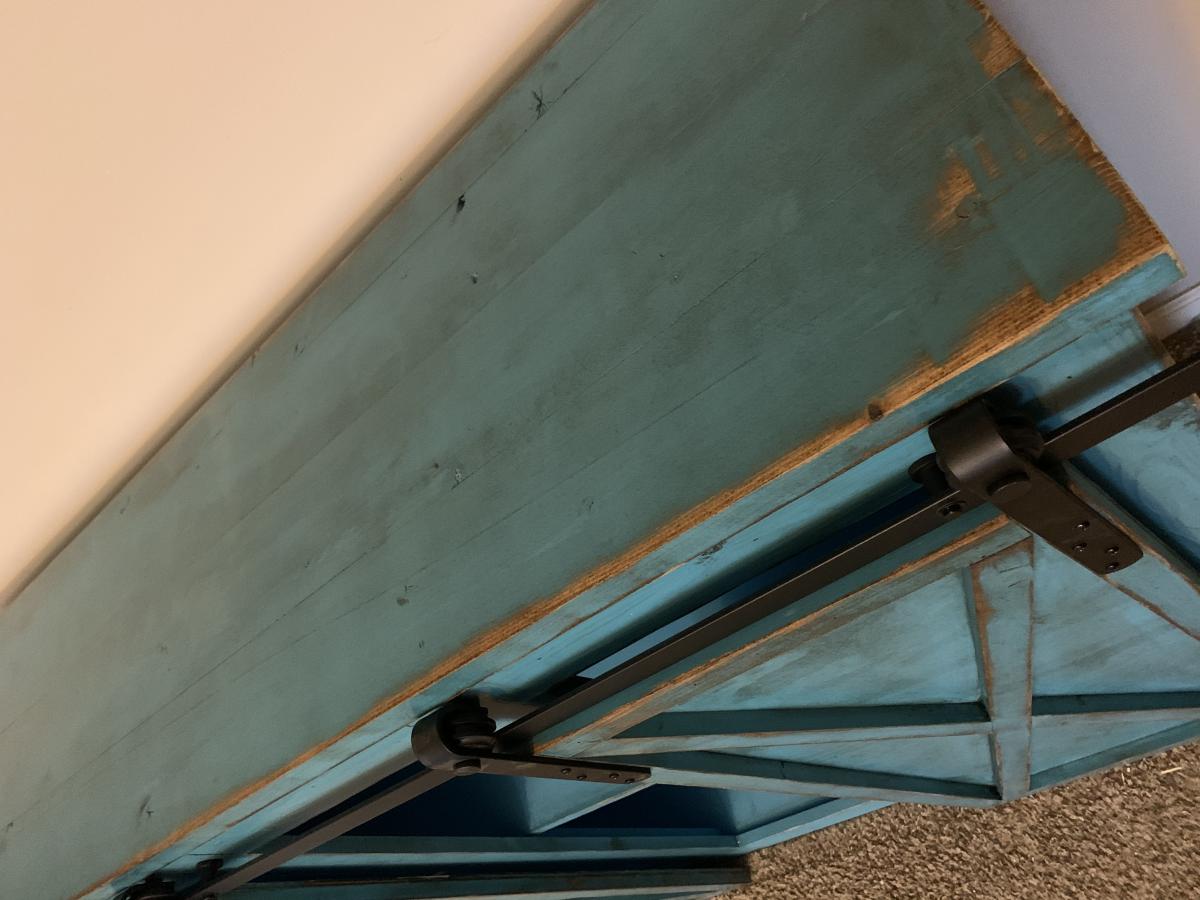
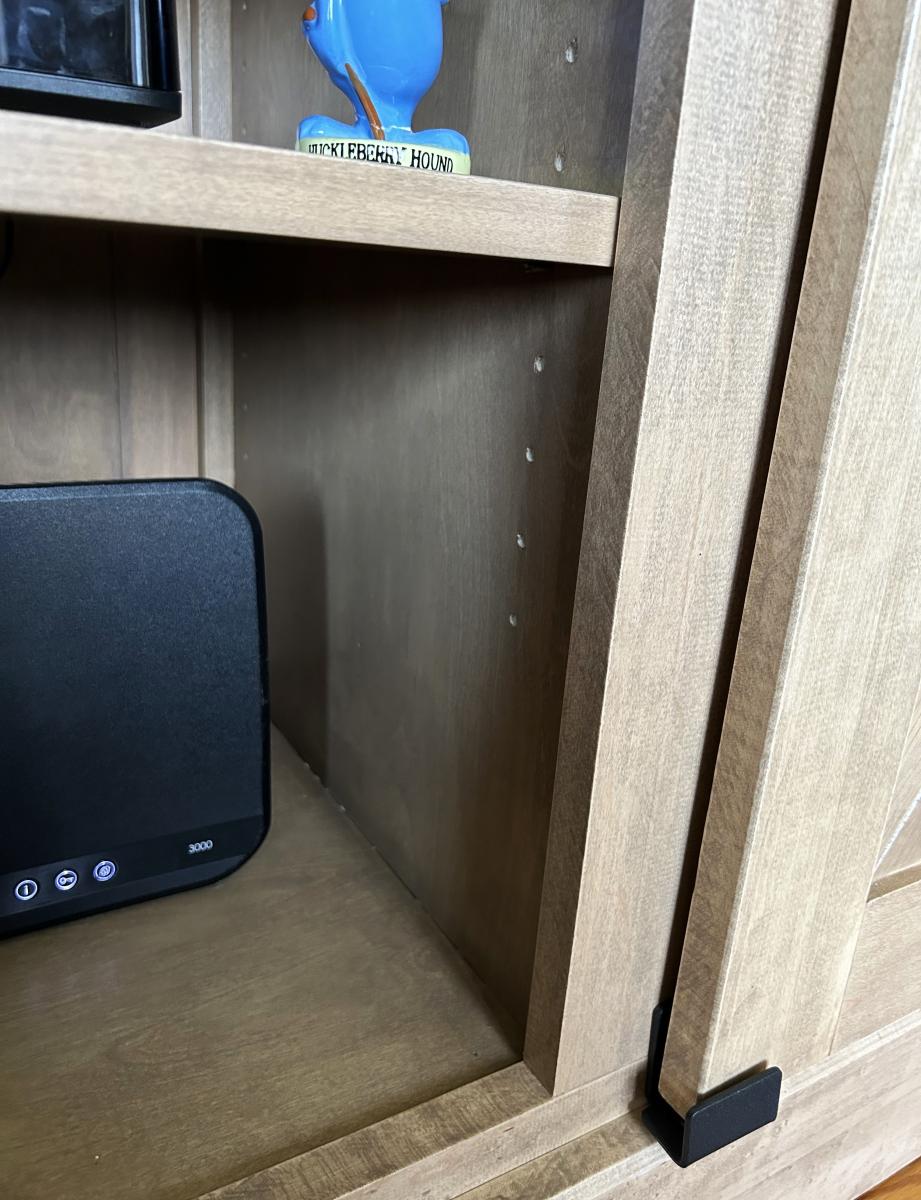
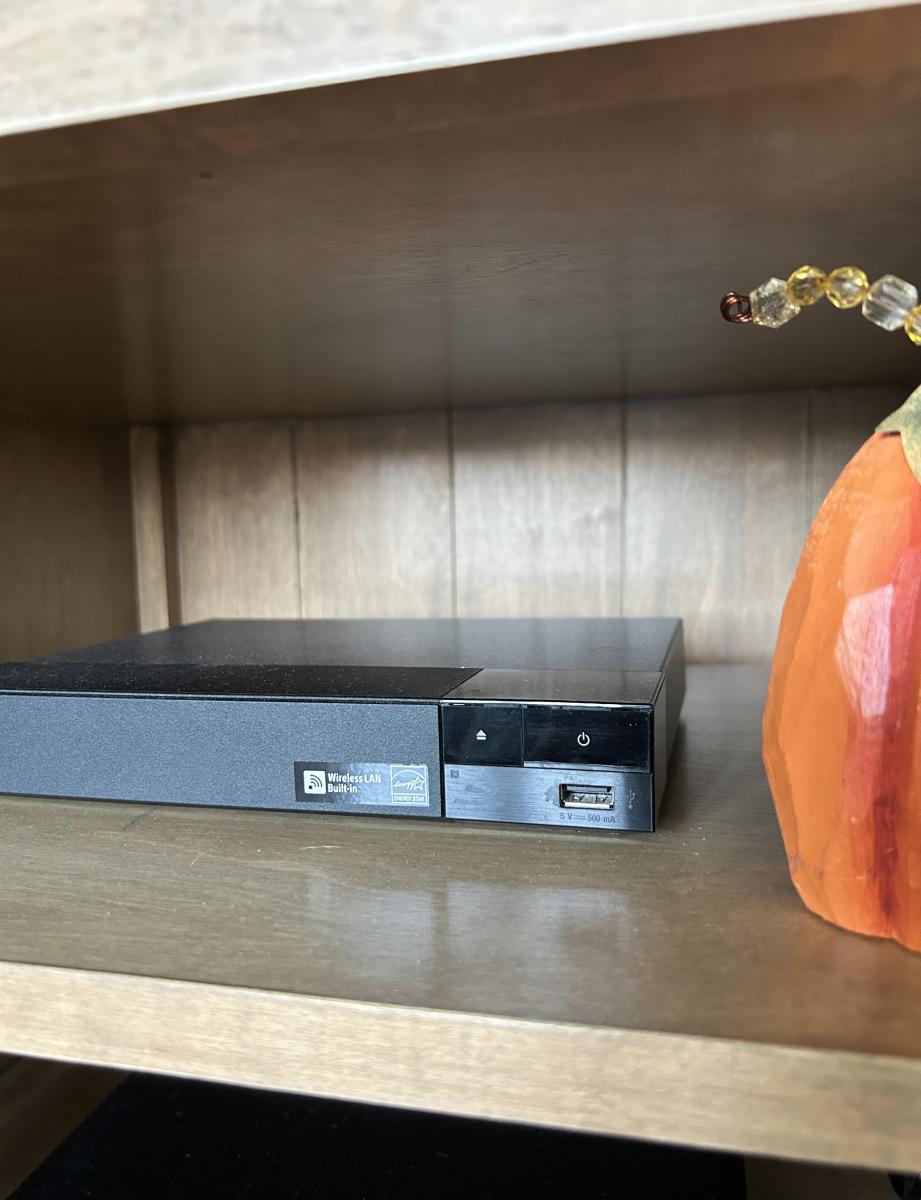
5ft Barn Door TV Stand.
I used the Grandy Barn Door Console as inspiration. I made it as 3 separate units and screwed them together. The shelves are adjustable, the bead board back was done on the table saw, the doors are maple with a hickory diagonal centre panel! This is my largest project so far and I have have to thank Ana White for the beautiful plans that you produce. Without you I’m not sure I would have attempted this. I am one proud lady 🥰
Debbie P
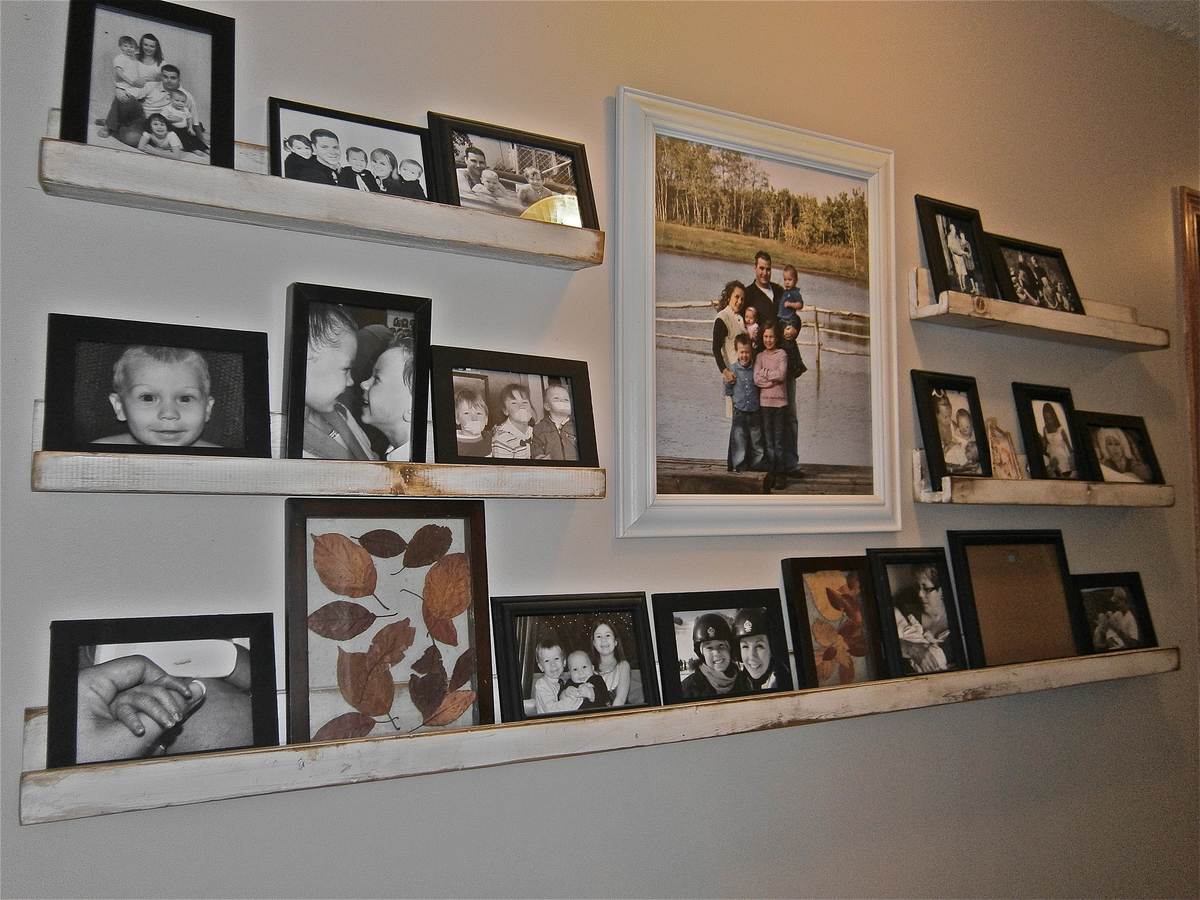
This project took my "picture wall" to a higher level!
So easy too.
Sat, 10/20/2012 - 12:01
Love the way these shelves are done with the large family picture in the center.....
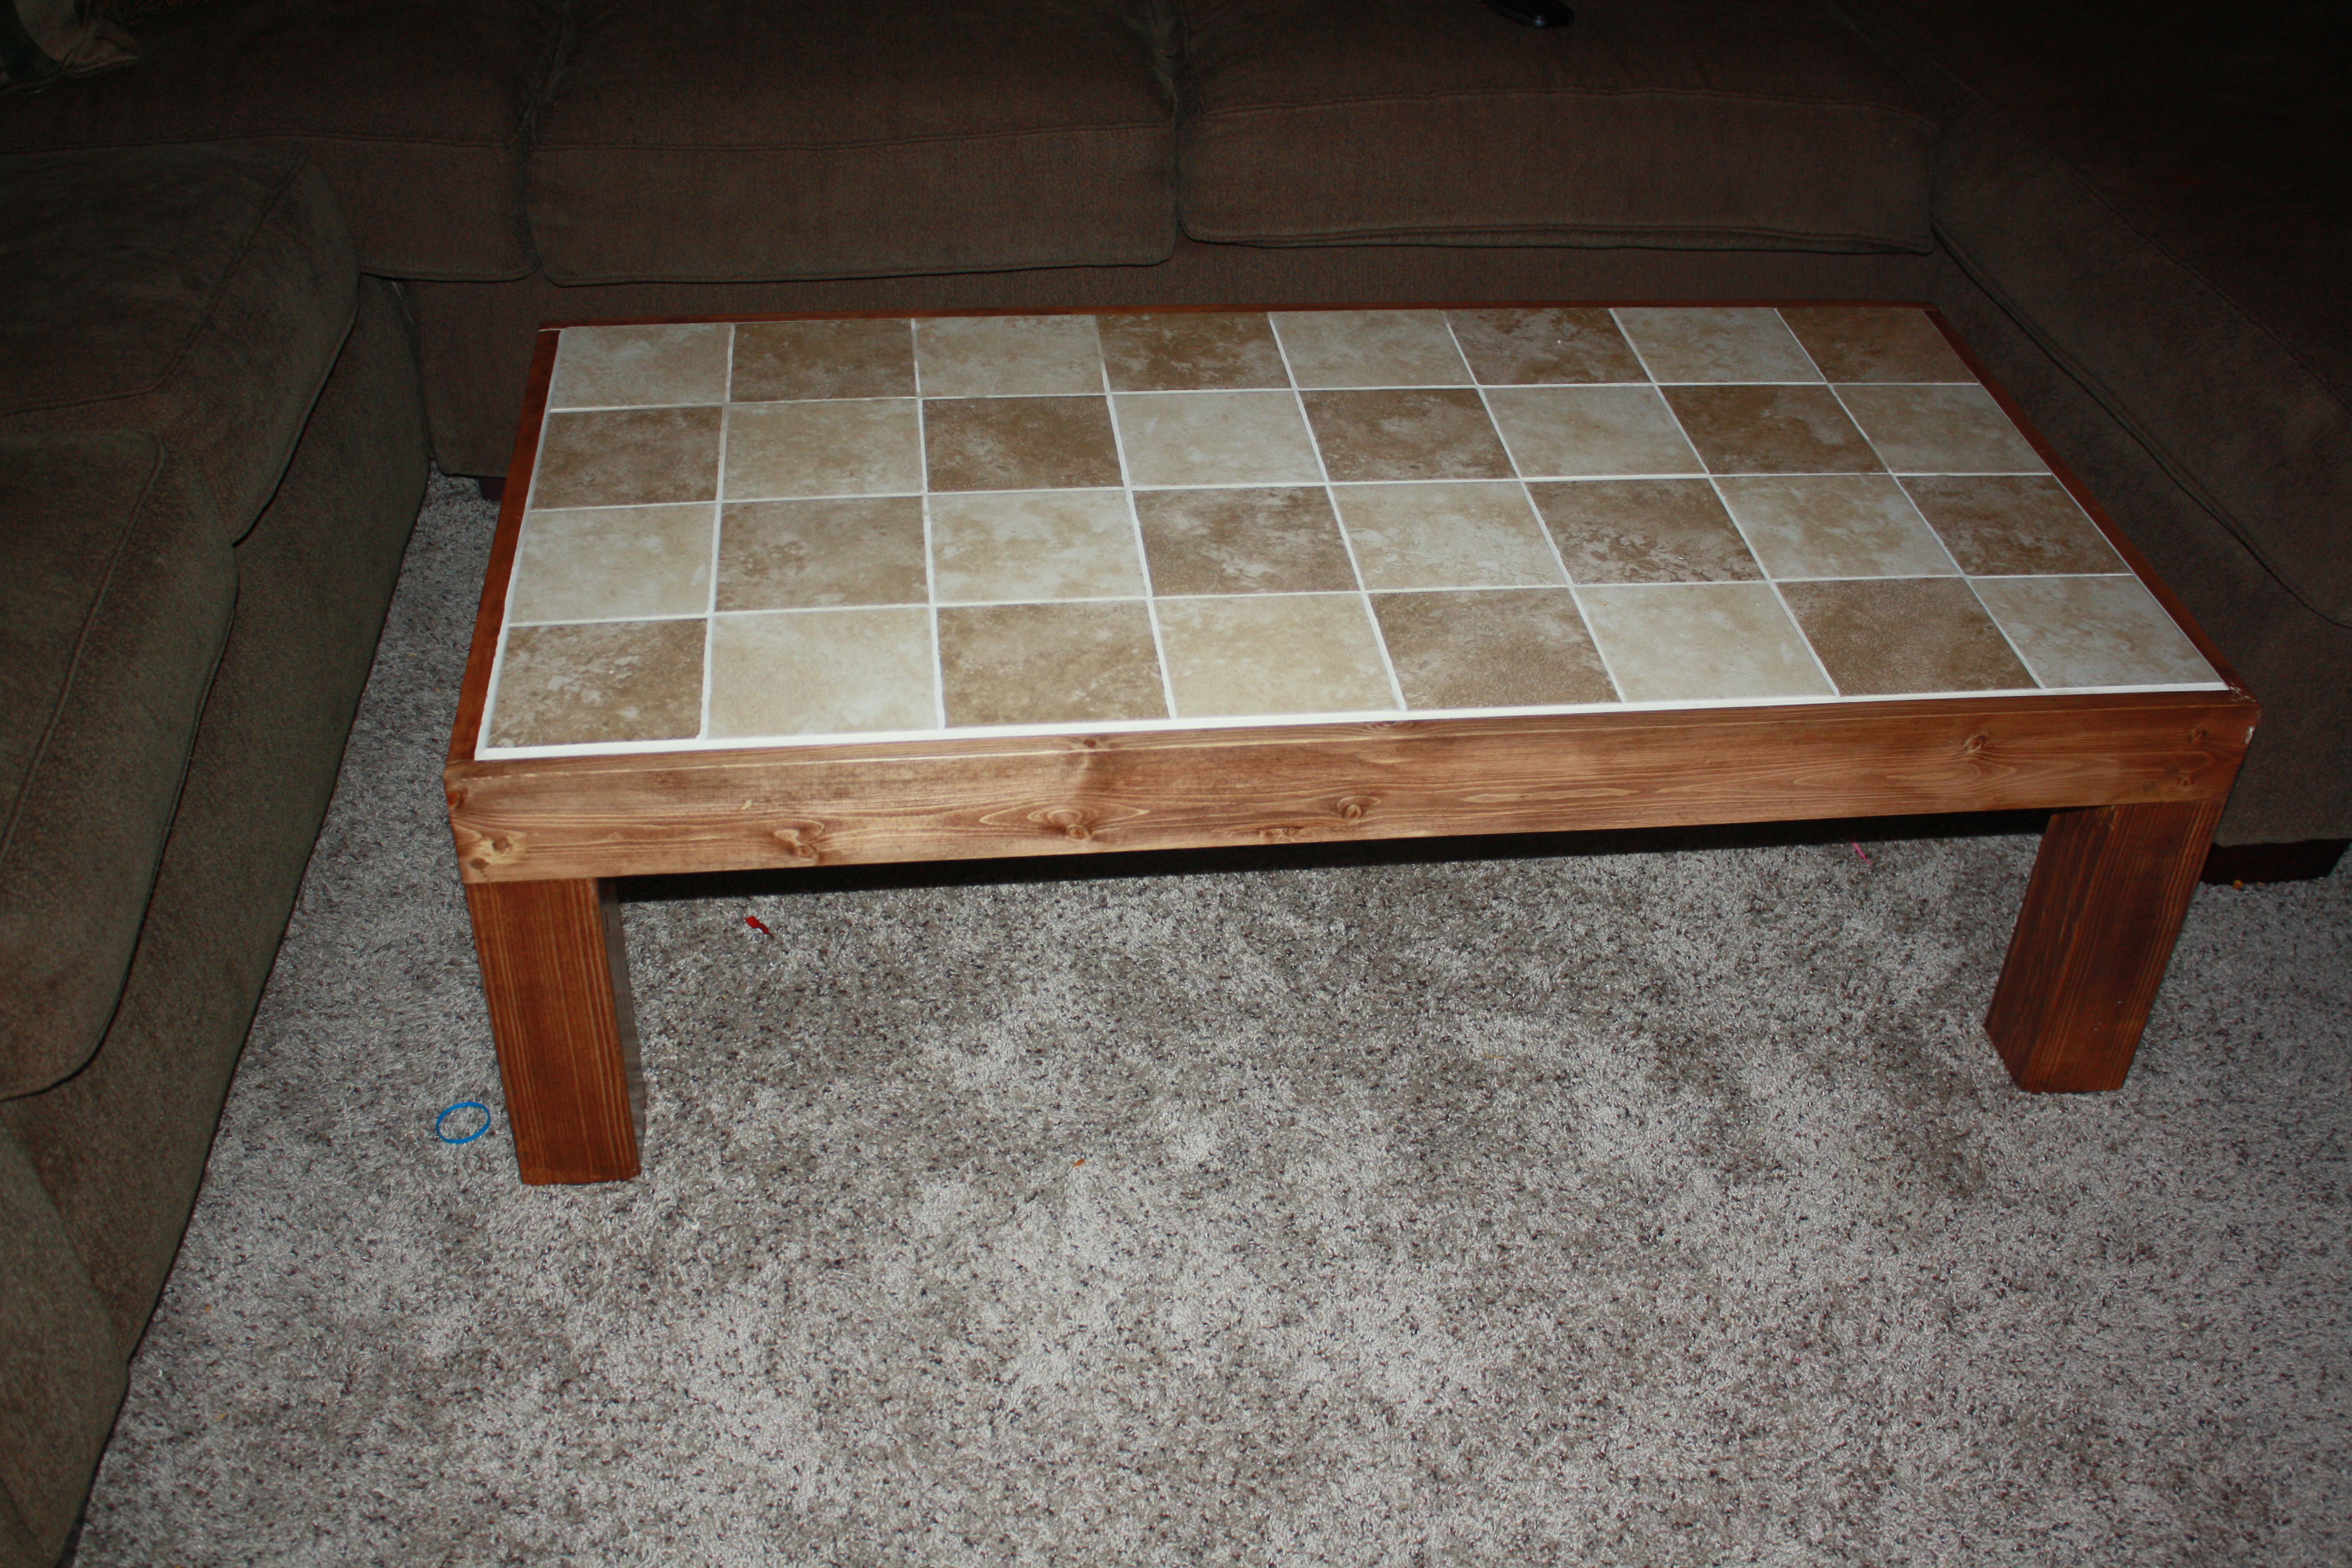
This was one of the 1st woodworking projects I did on my own. I never tiled before so it was a challenge. Even bought myself a tile saw to do it. I could not be more happy with the way it turned out and I love having it in my living room.
Sun, 02/16/2014 - 19:32
This was a fun project to do and a great conversation piece when people come over!

I built 3 30" picture ledges for my daughters for all of their books.
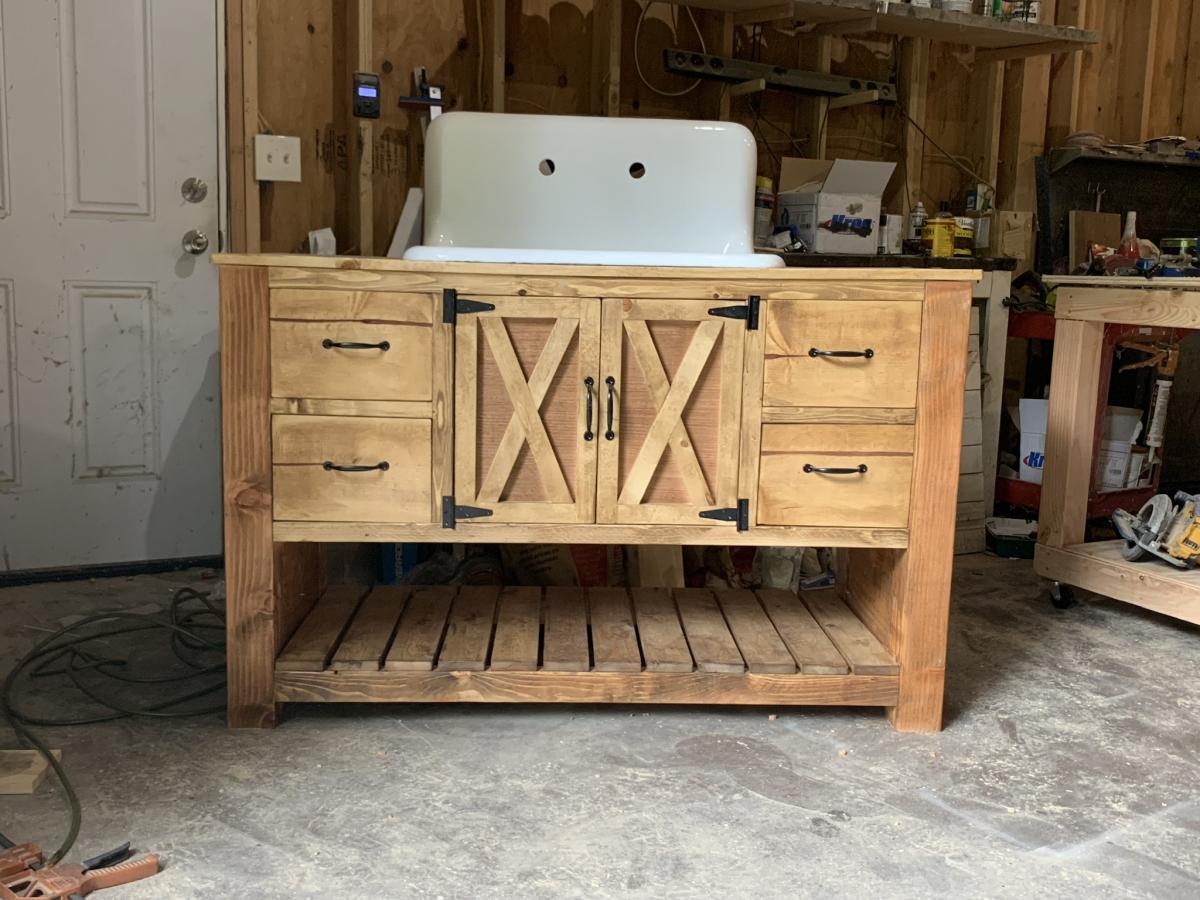
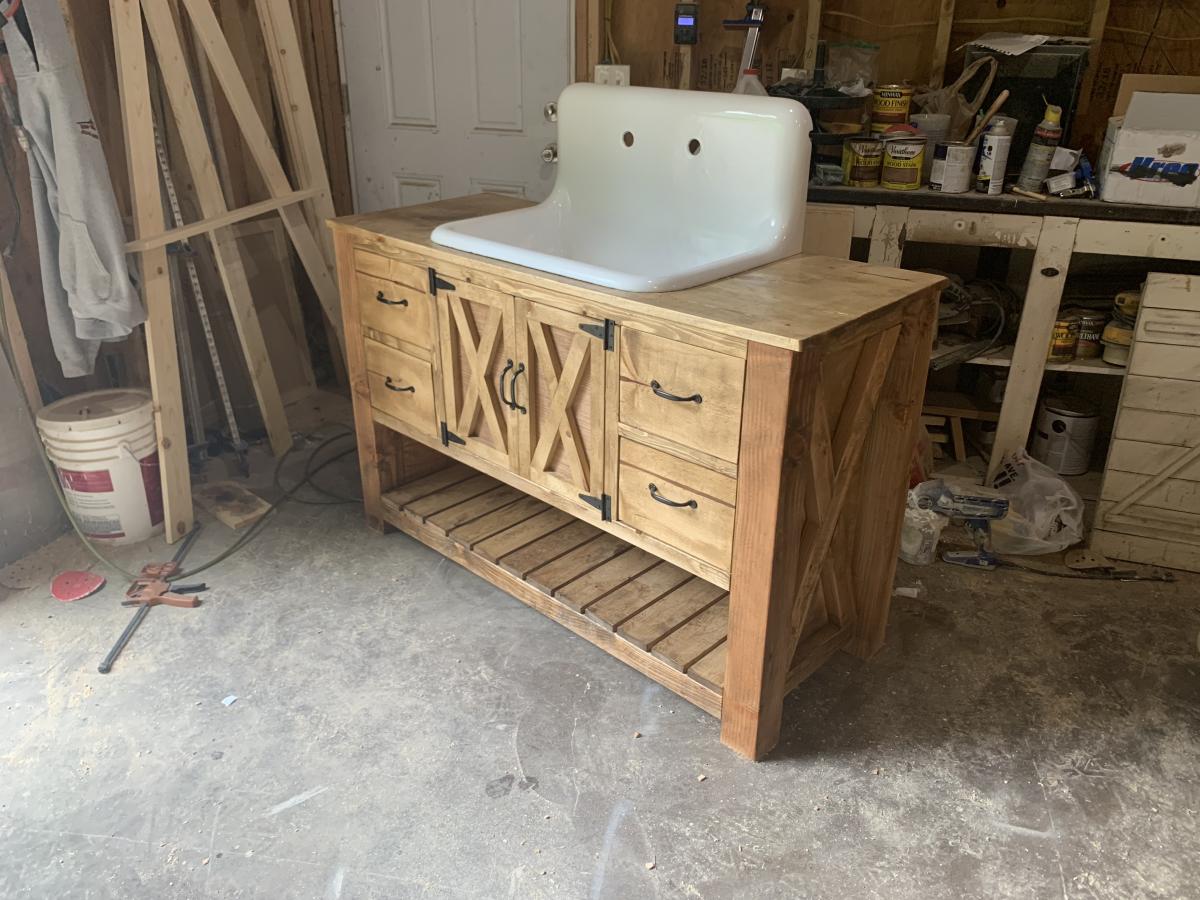
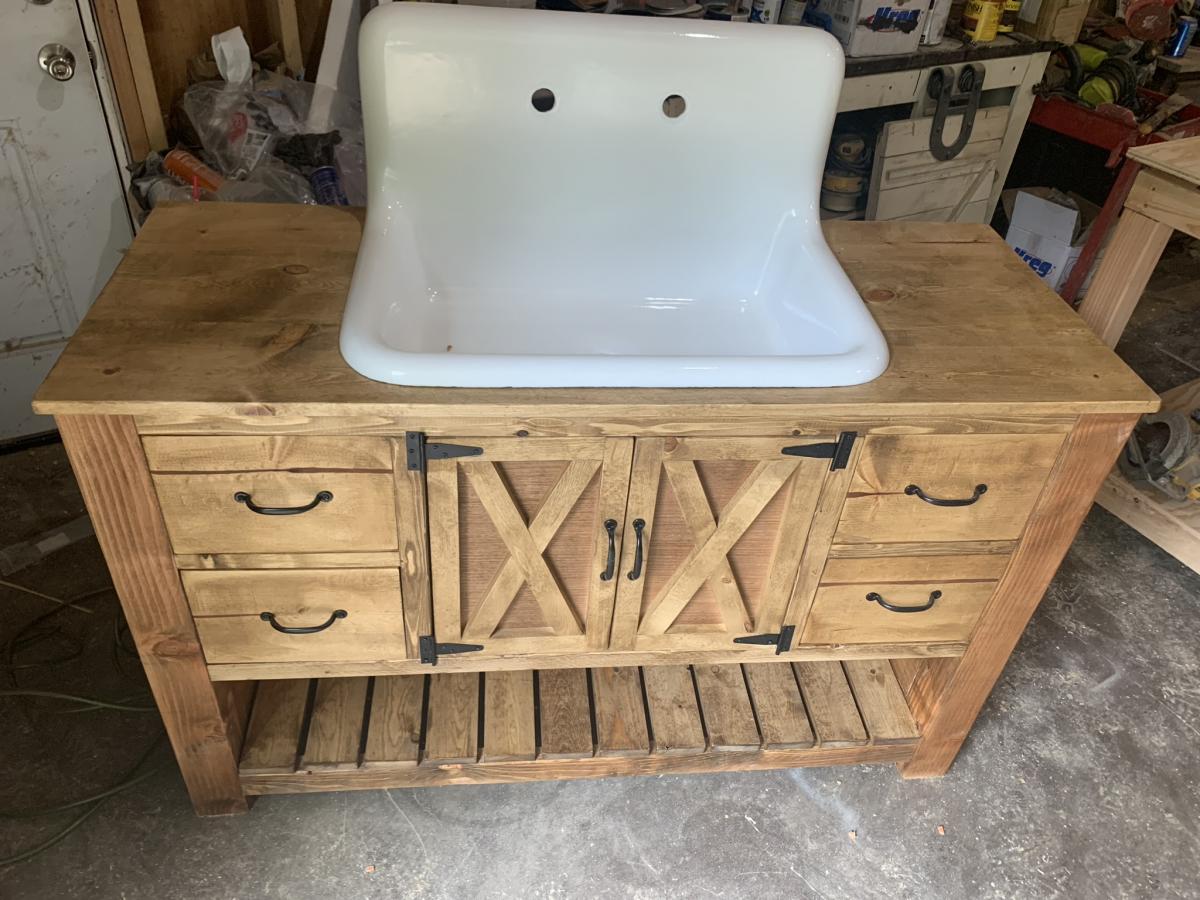
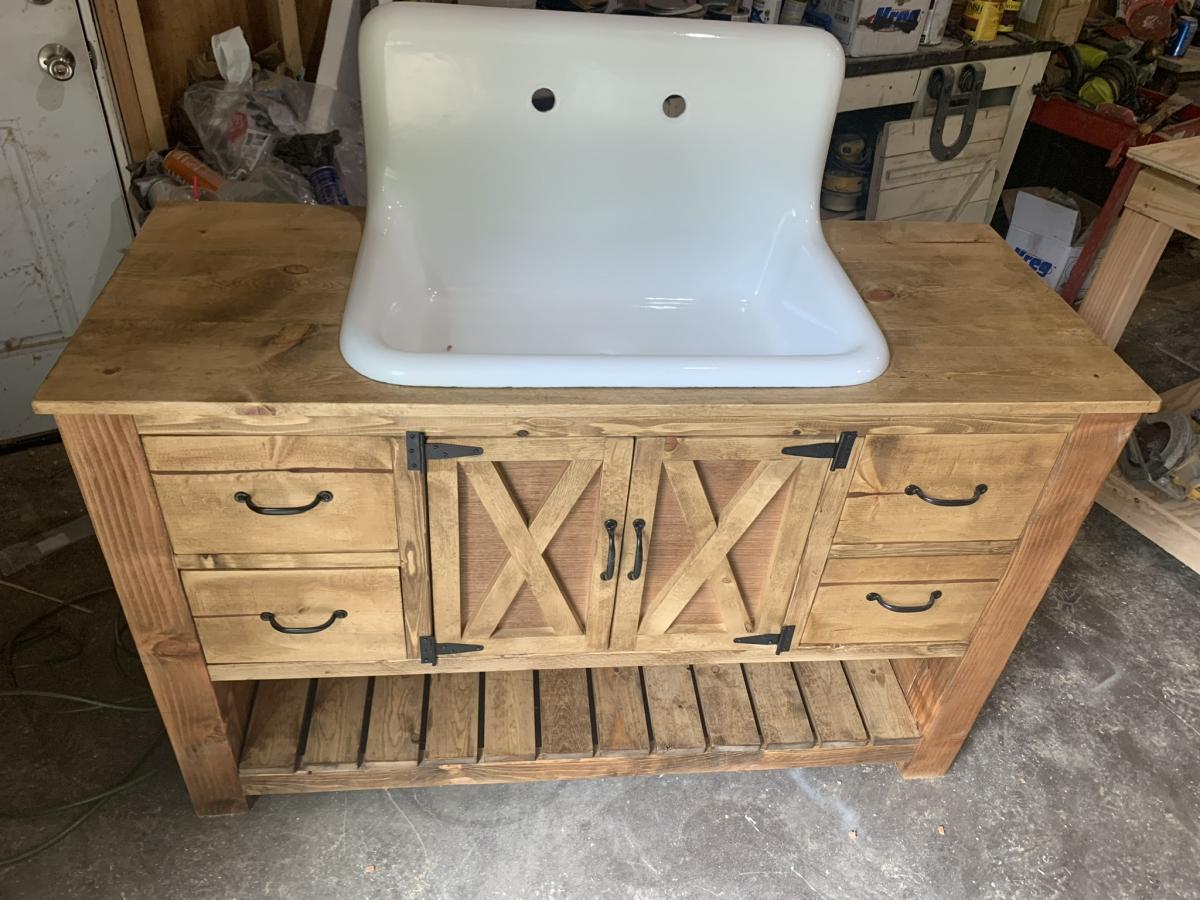
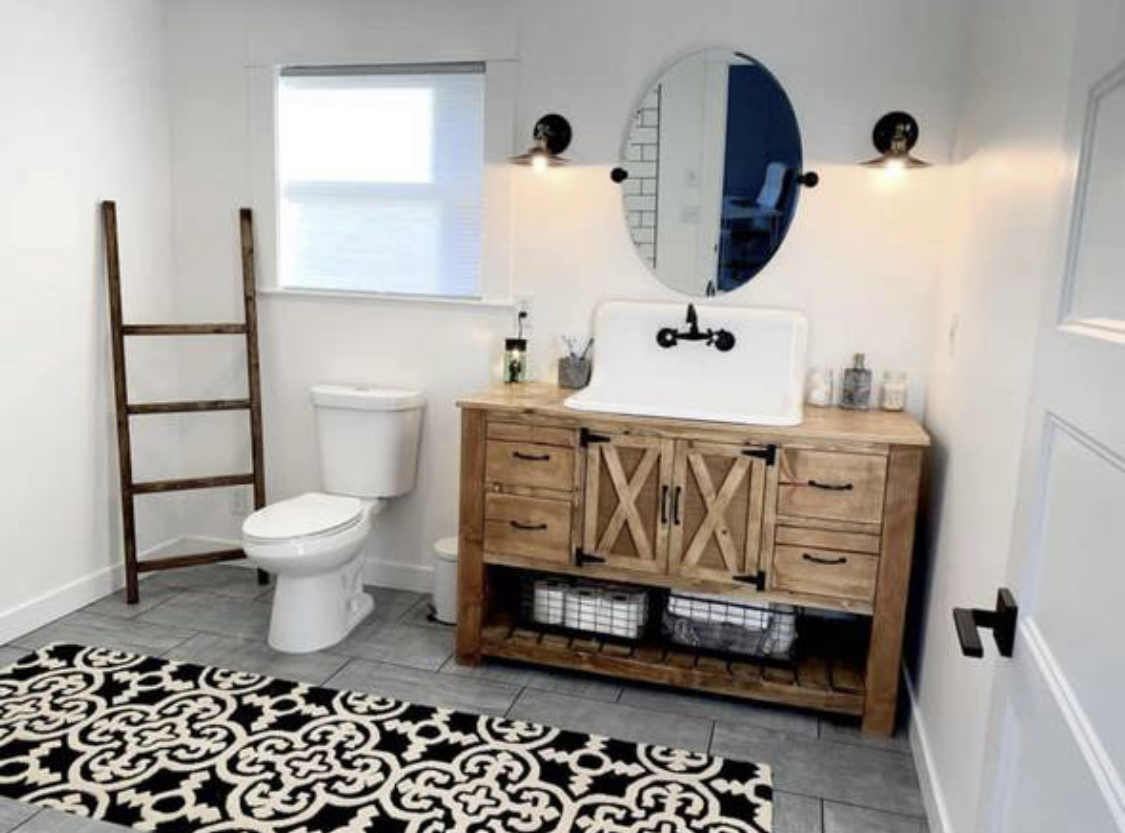
Hand made bathroom vanity


Wed, 06/30/2021 - 23:28
I've been searching for WEEKS to find this vanity. I knew it existed somewhere but didn't know where. Please, PLEASE, post the plans for this. The video posted above it is for the pantry organizer. Thank you in advance!
Wed, 06/30/2021 - 23:35
What angles did you cut the "X"s at? They're cut at the top and bottom instead of the sides like the kitchen island plans show and I want to make sure that I cut mine at the correct angle. Thank you again.
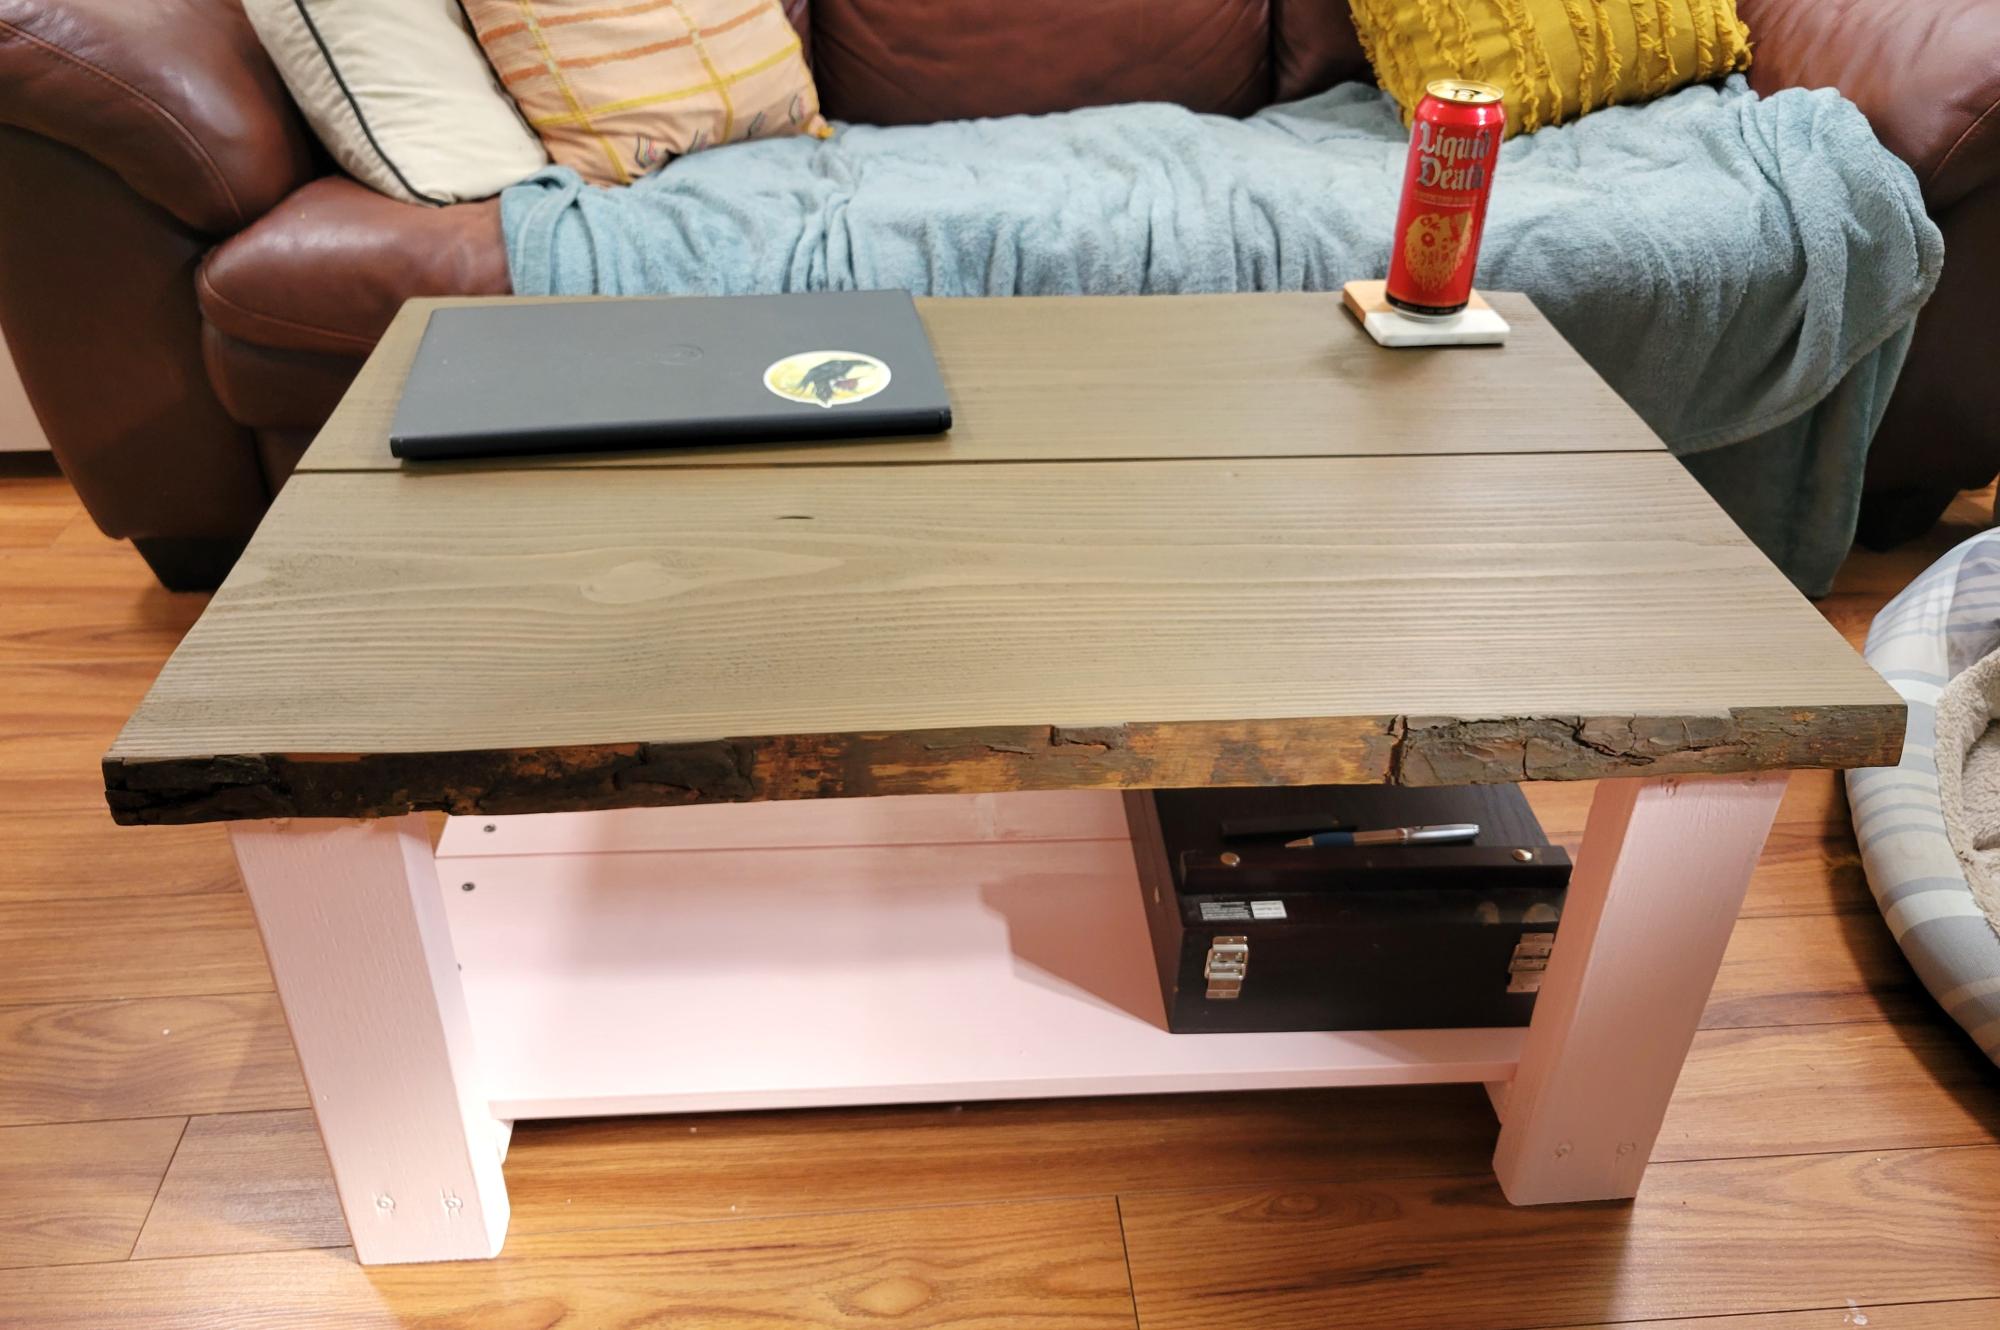
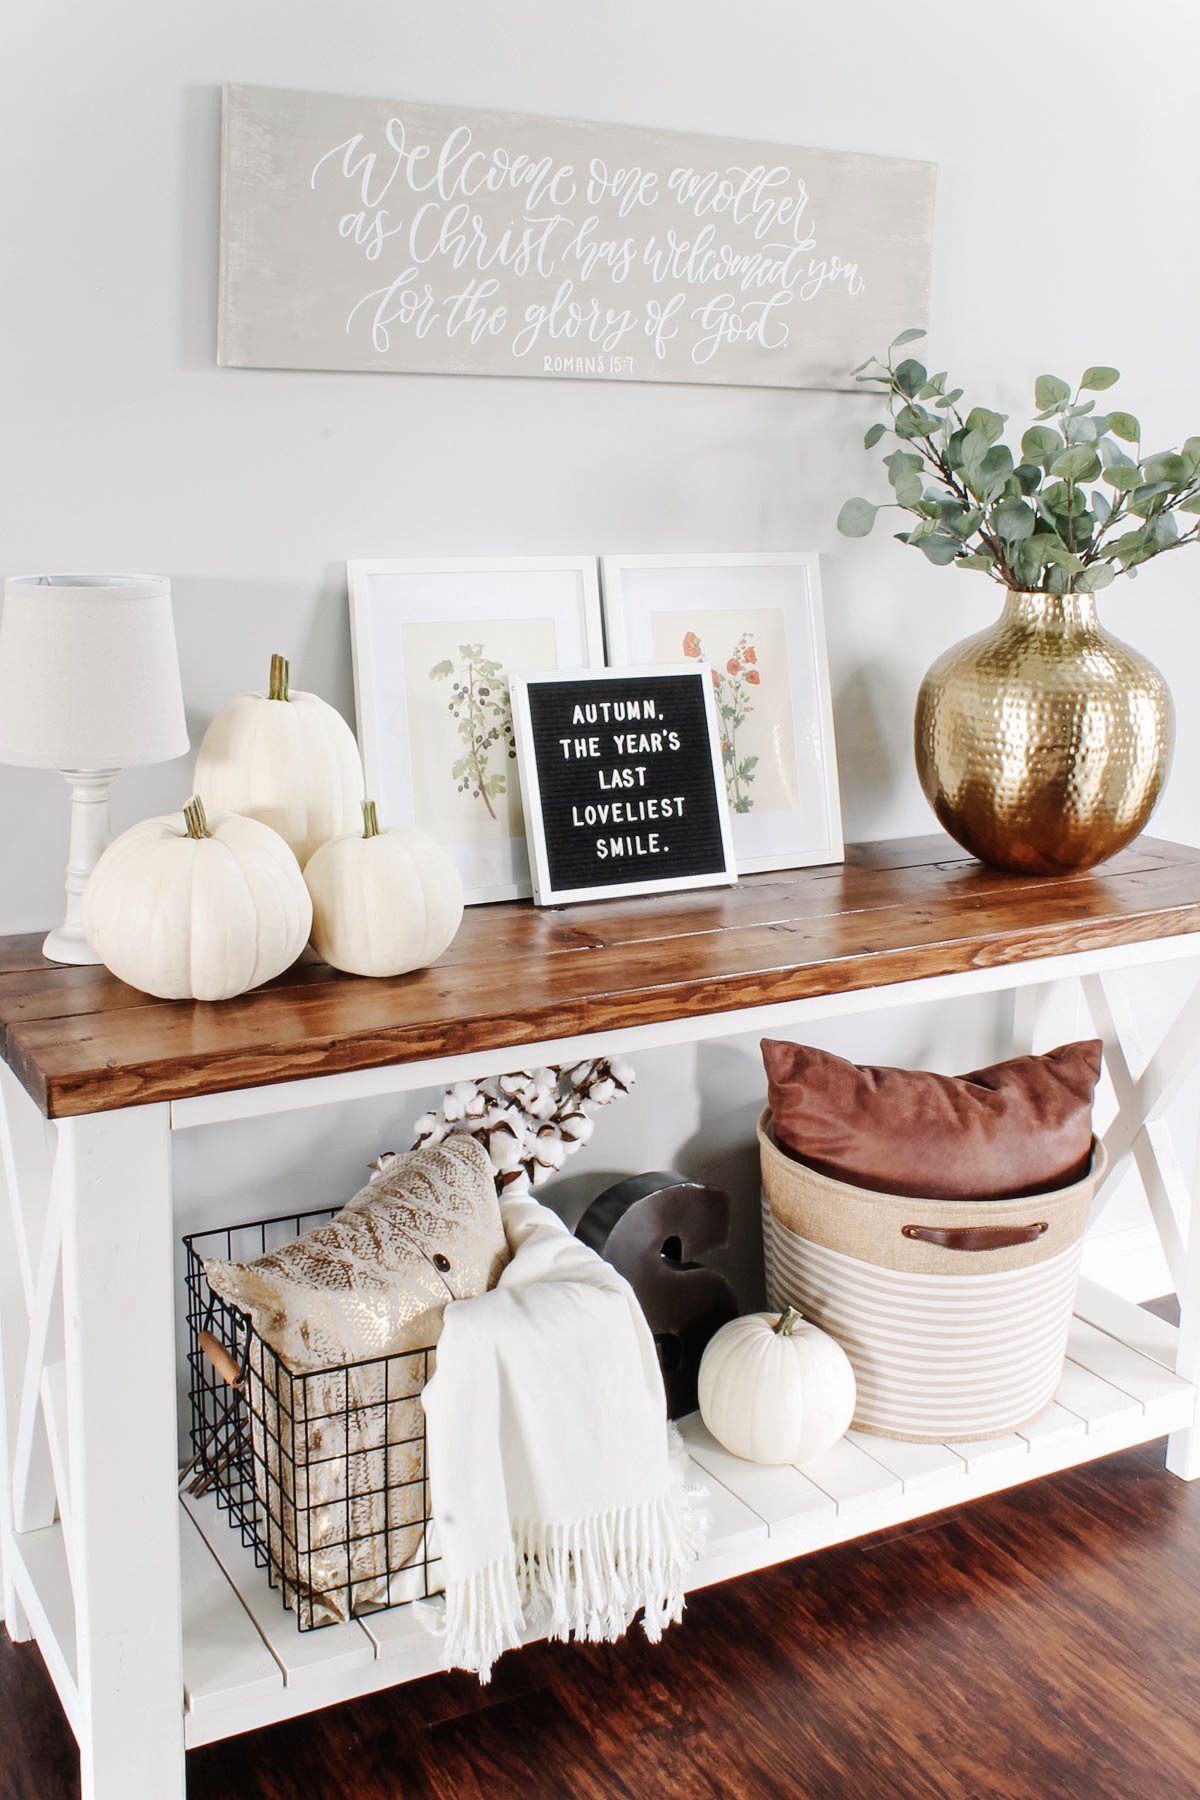
This is my first piece of furniture I've ever made that didn't come in a box ;) The instructions were so clear and easy to follow. I wish I'd had a table saw for the piece of live edge (it had live edge on both sides so I had to make a 6 foot cut with my circular saw that came out not quite perfect, but I am choosing to think of it as adding to the charm. Might go back and add some shine to the top, but for now I'm super happy with it.
emily.rhoades_

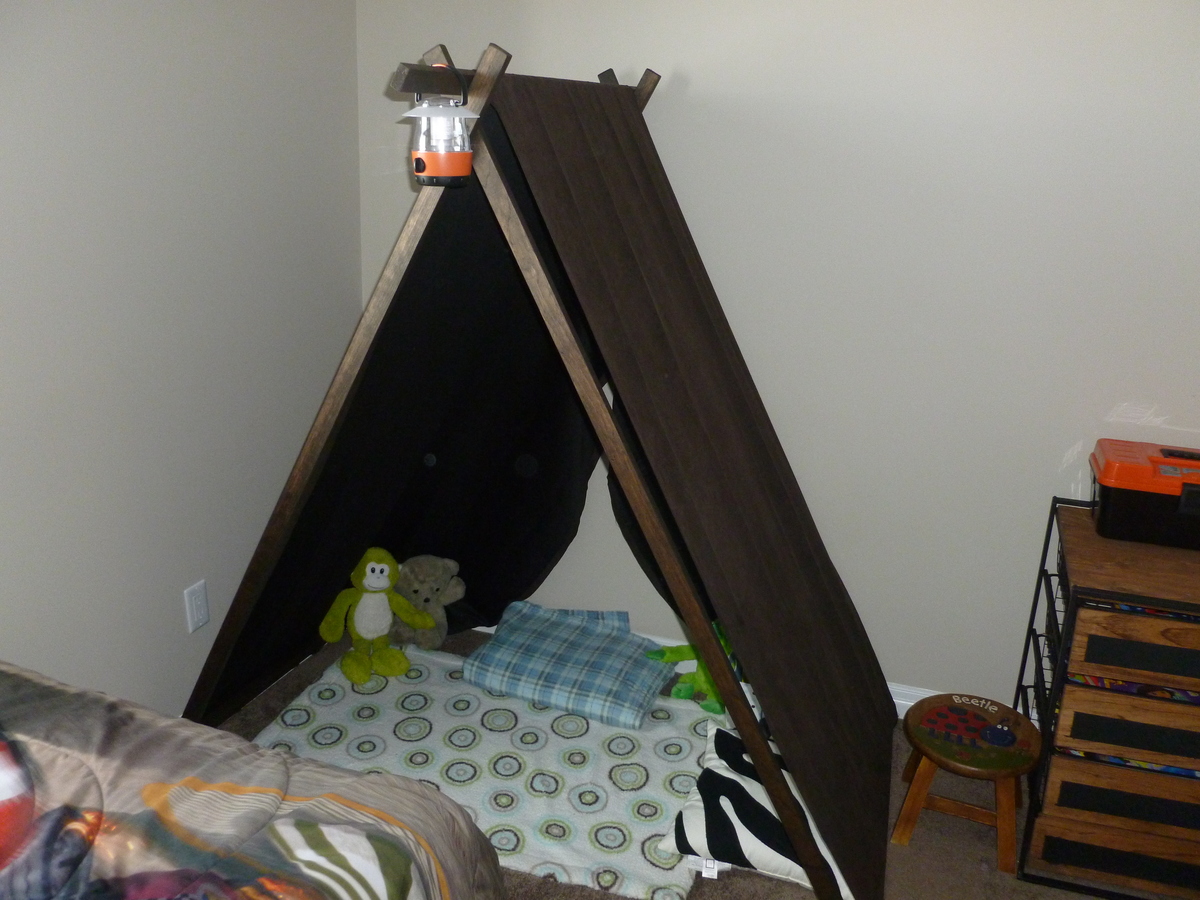
This was the easiest and quickest build I've done yet. The more time consuming part for me was stapling down the curtains on the underside.
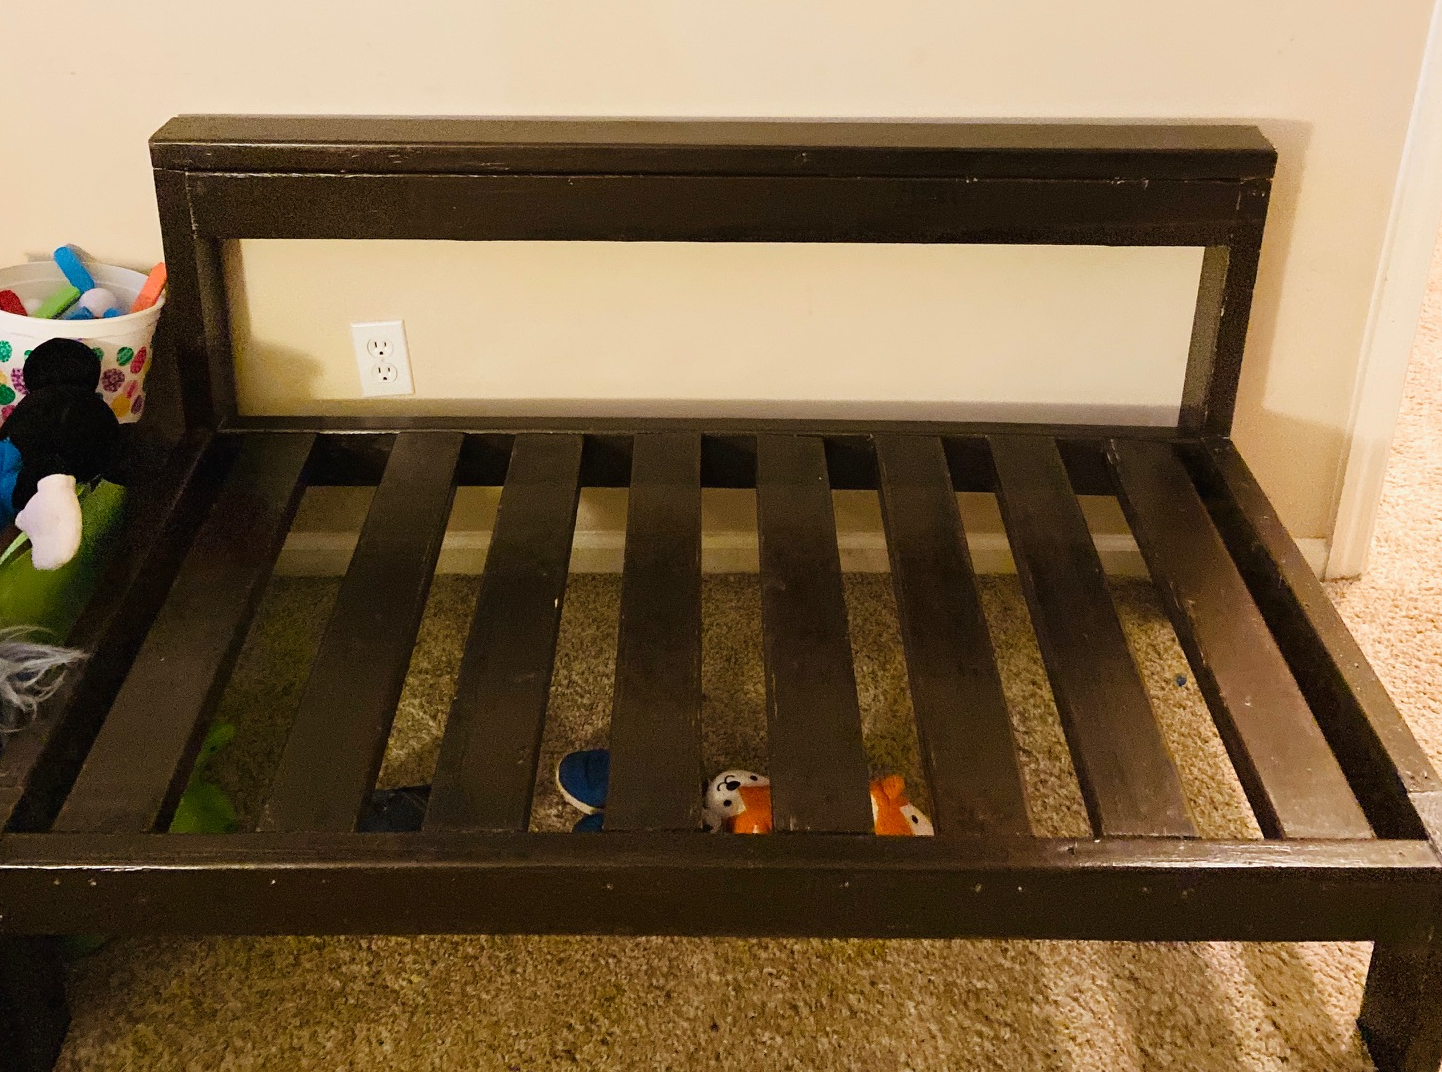
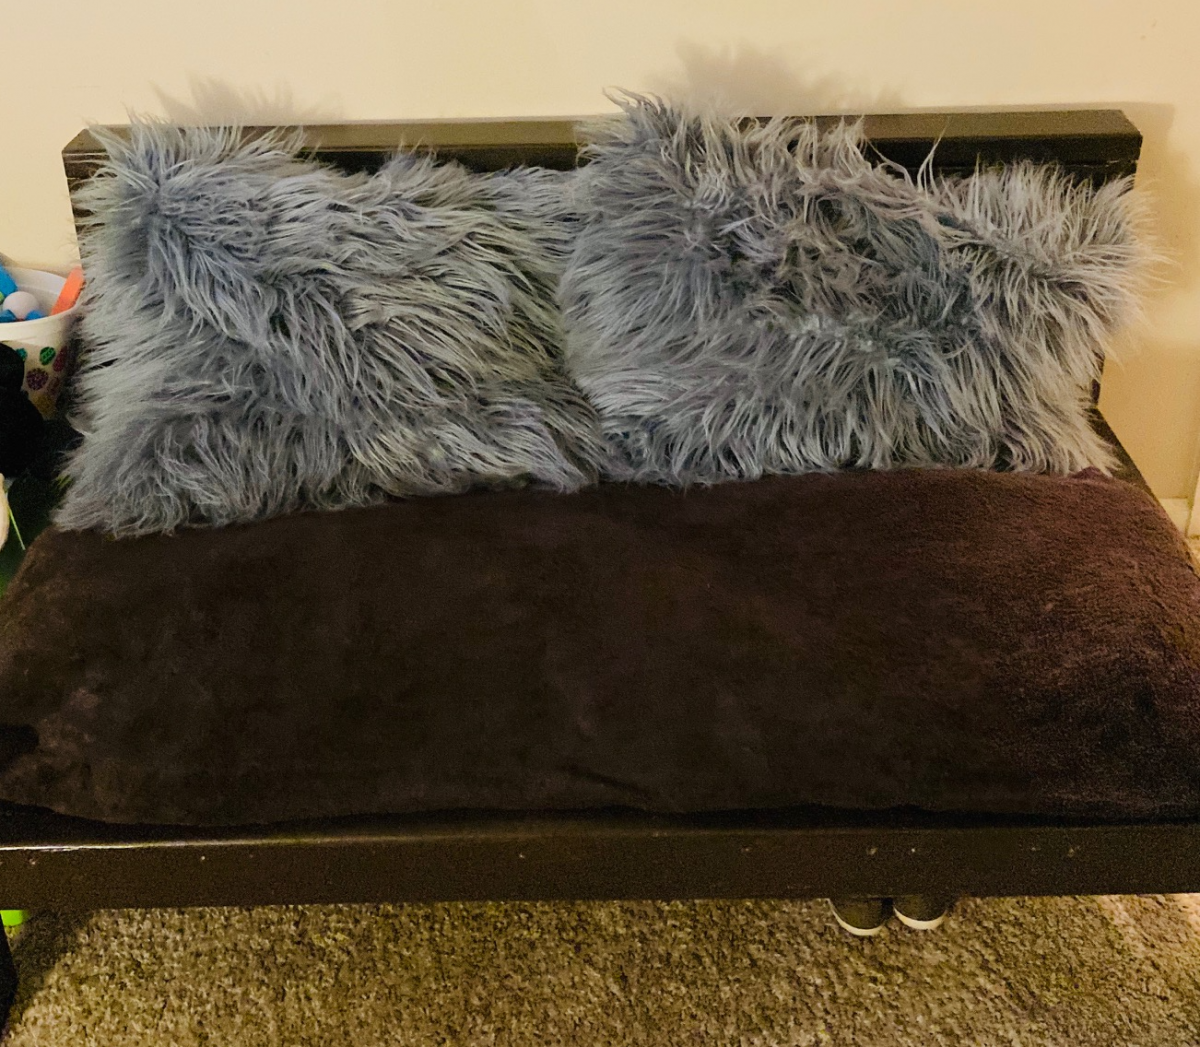
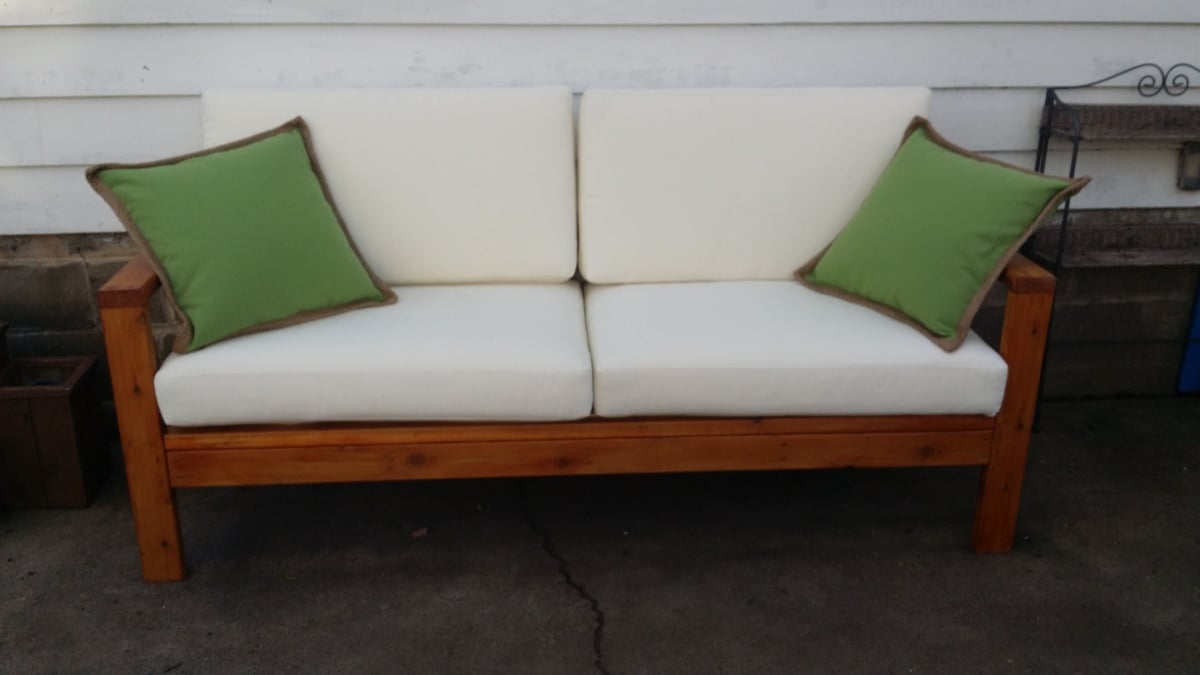
I had some wood laying around with all the new home construction around us and needed a reading seat for my 3 & 7 year old. I took the sectional plans and whipped this together pretty quick (as you can tell as I still need to put in wood filler for the screws...). It's perfect and we all can sit on there while reading books for night time (and he can keep all his little shoes under there for easy storing). Takes a few hours to come together for s novice like me. Paining took the longest. I need to remember to paint first but tend to get so excited to build, painting comes after. Thank you for the plans!