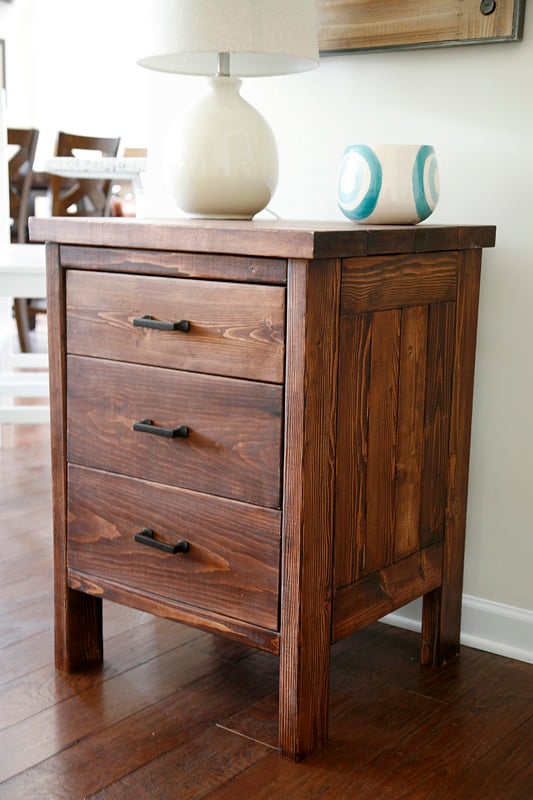
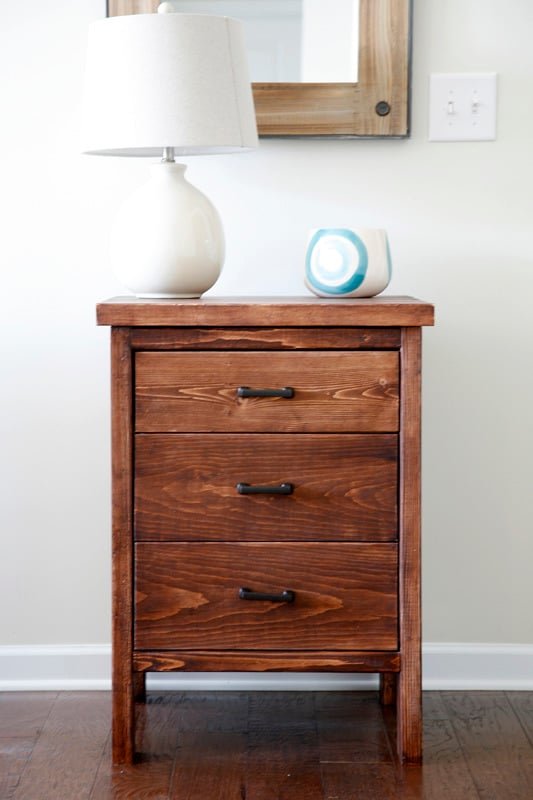
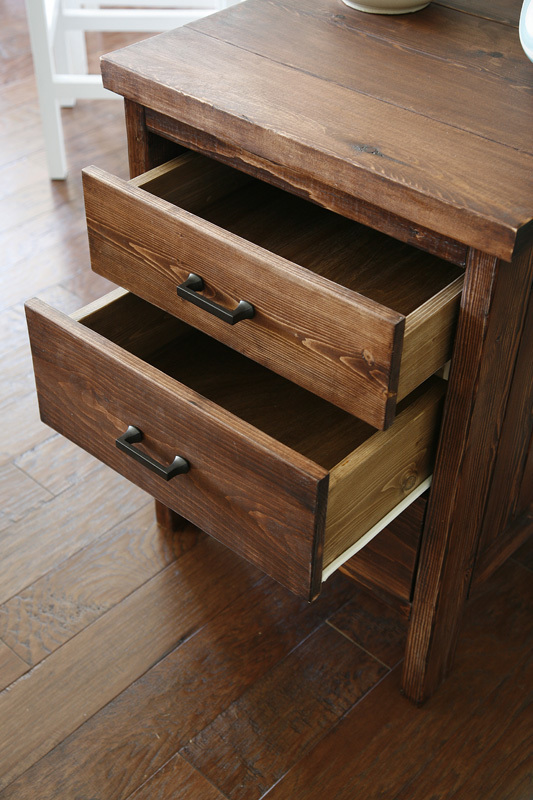
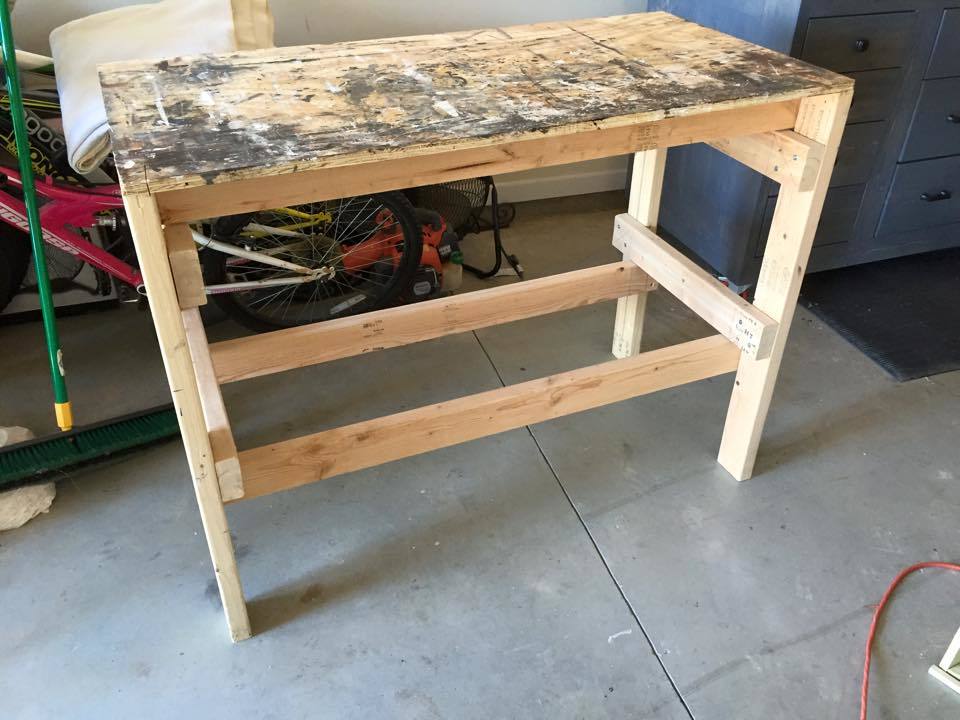
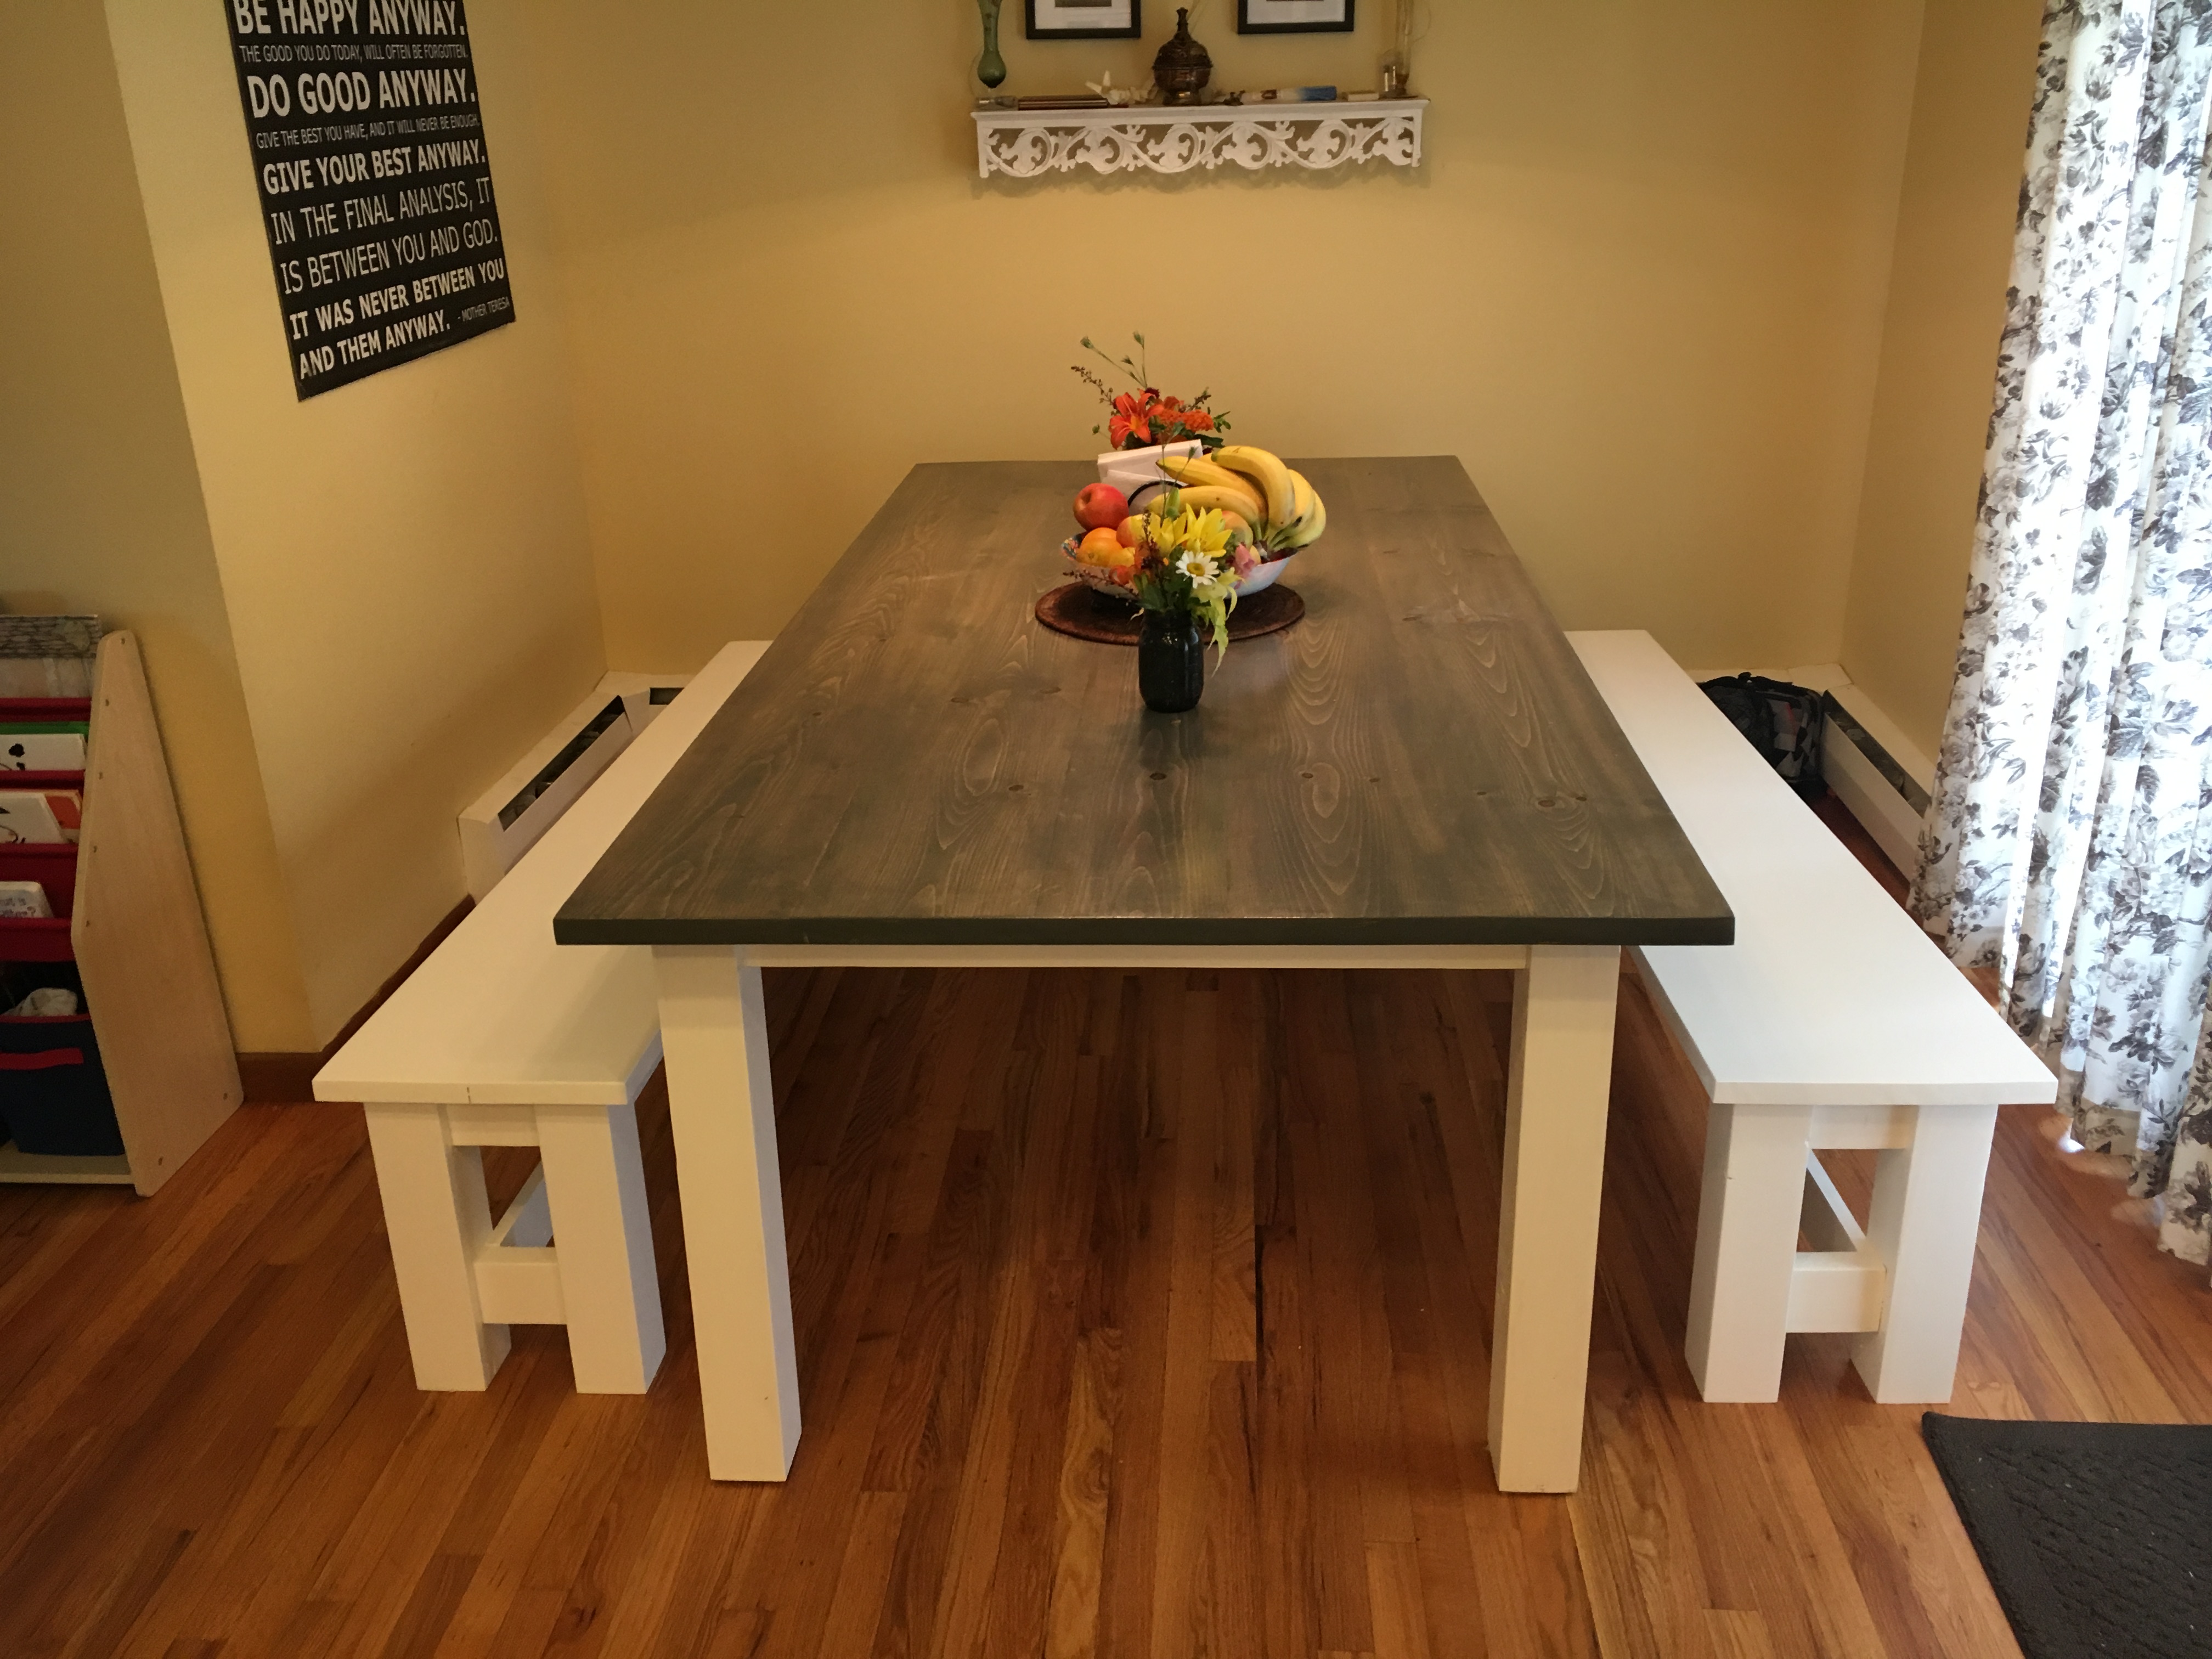
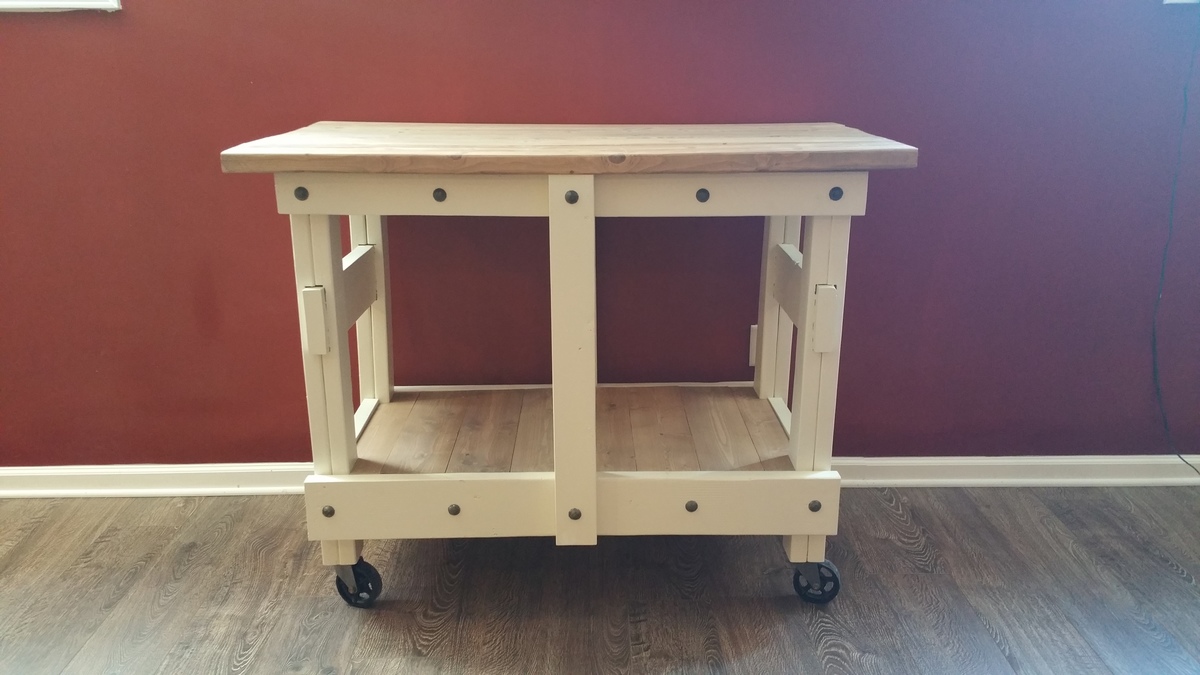
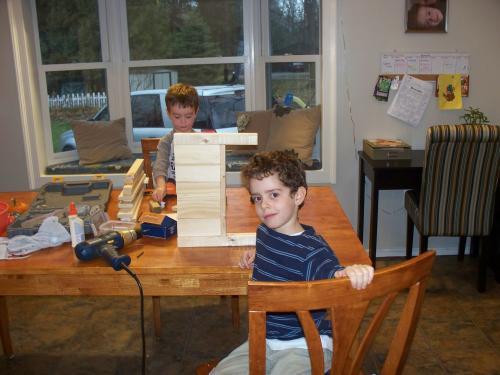
Entryway Bench and Storage Shelf
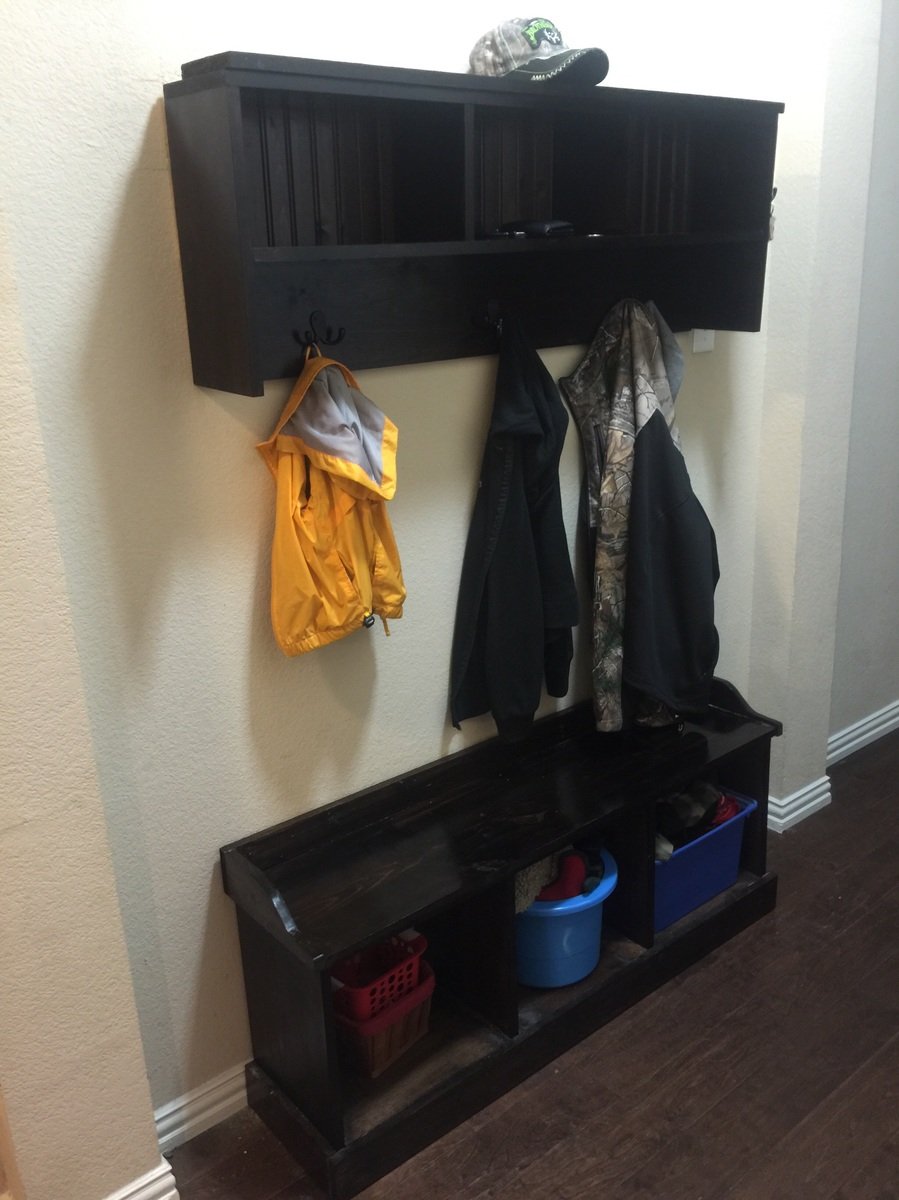
This is perfect for my two boys. I can now get them to stop dropping their coats and bags on the floor as soon as they get home from school!
Built from Plan(s)
Estimated Cost
$50
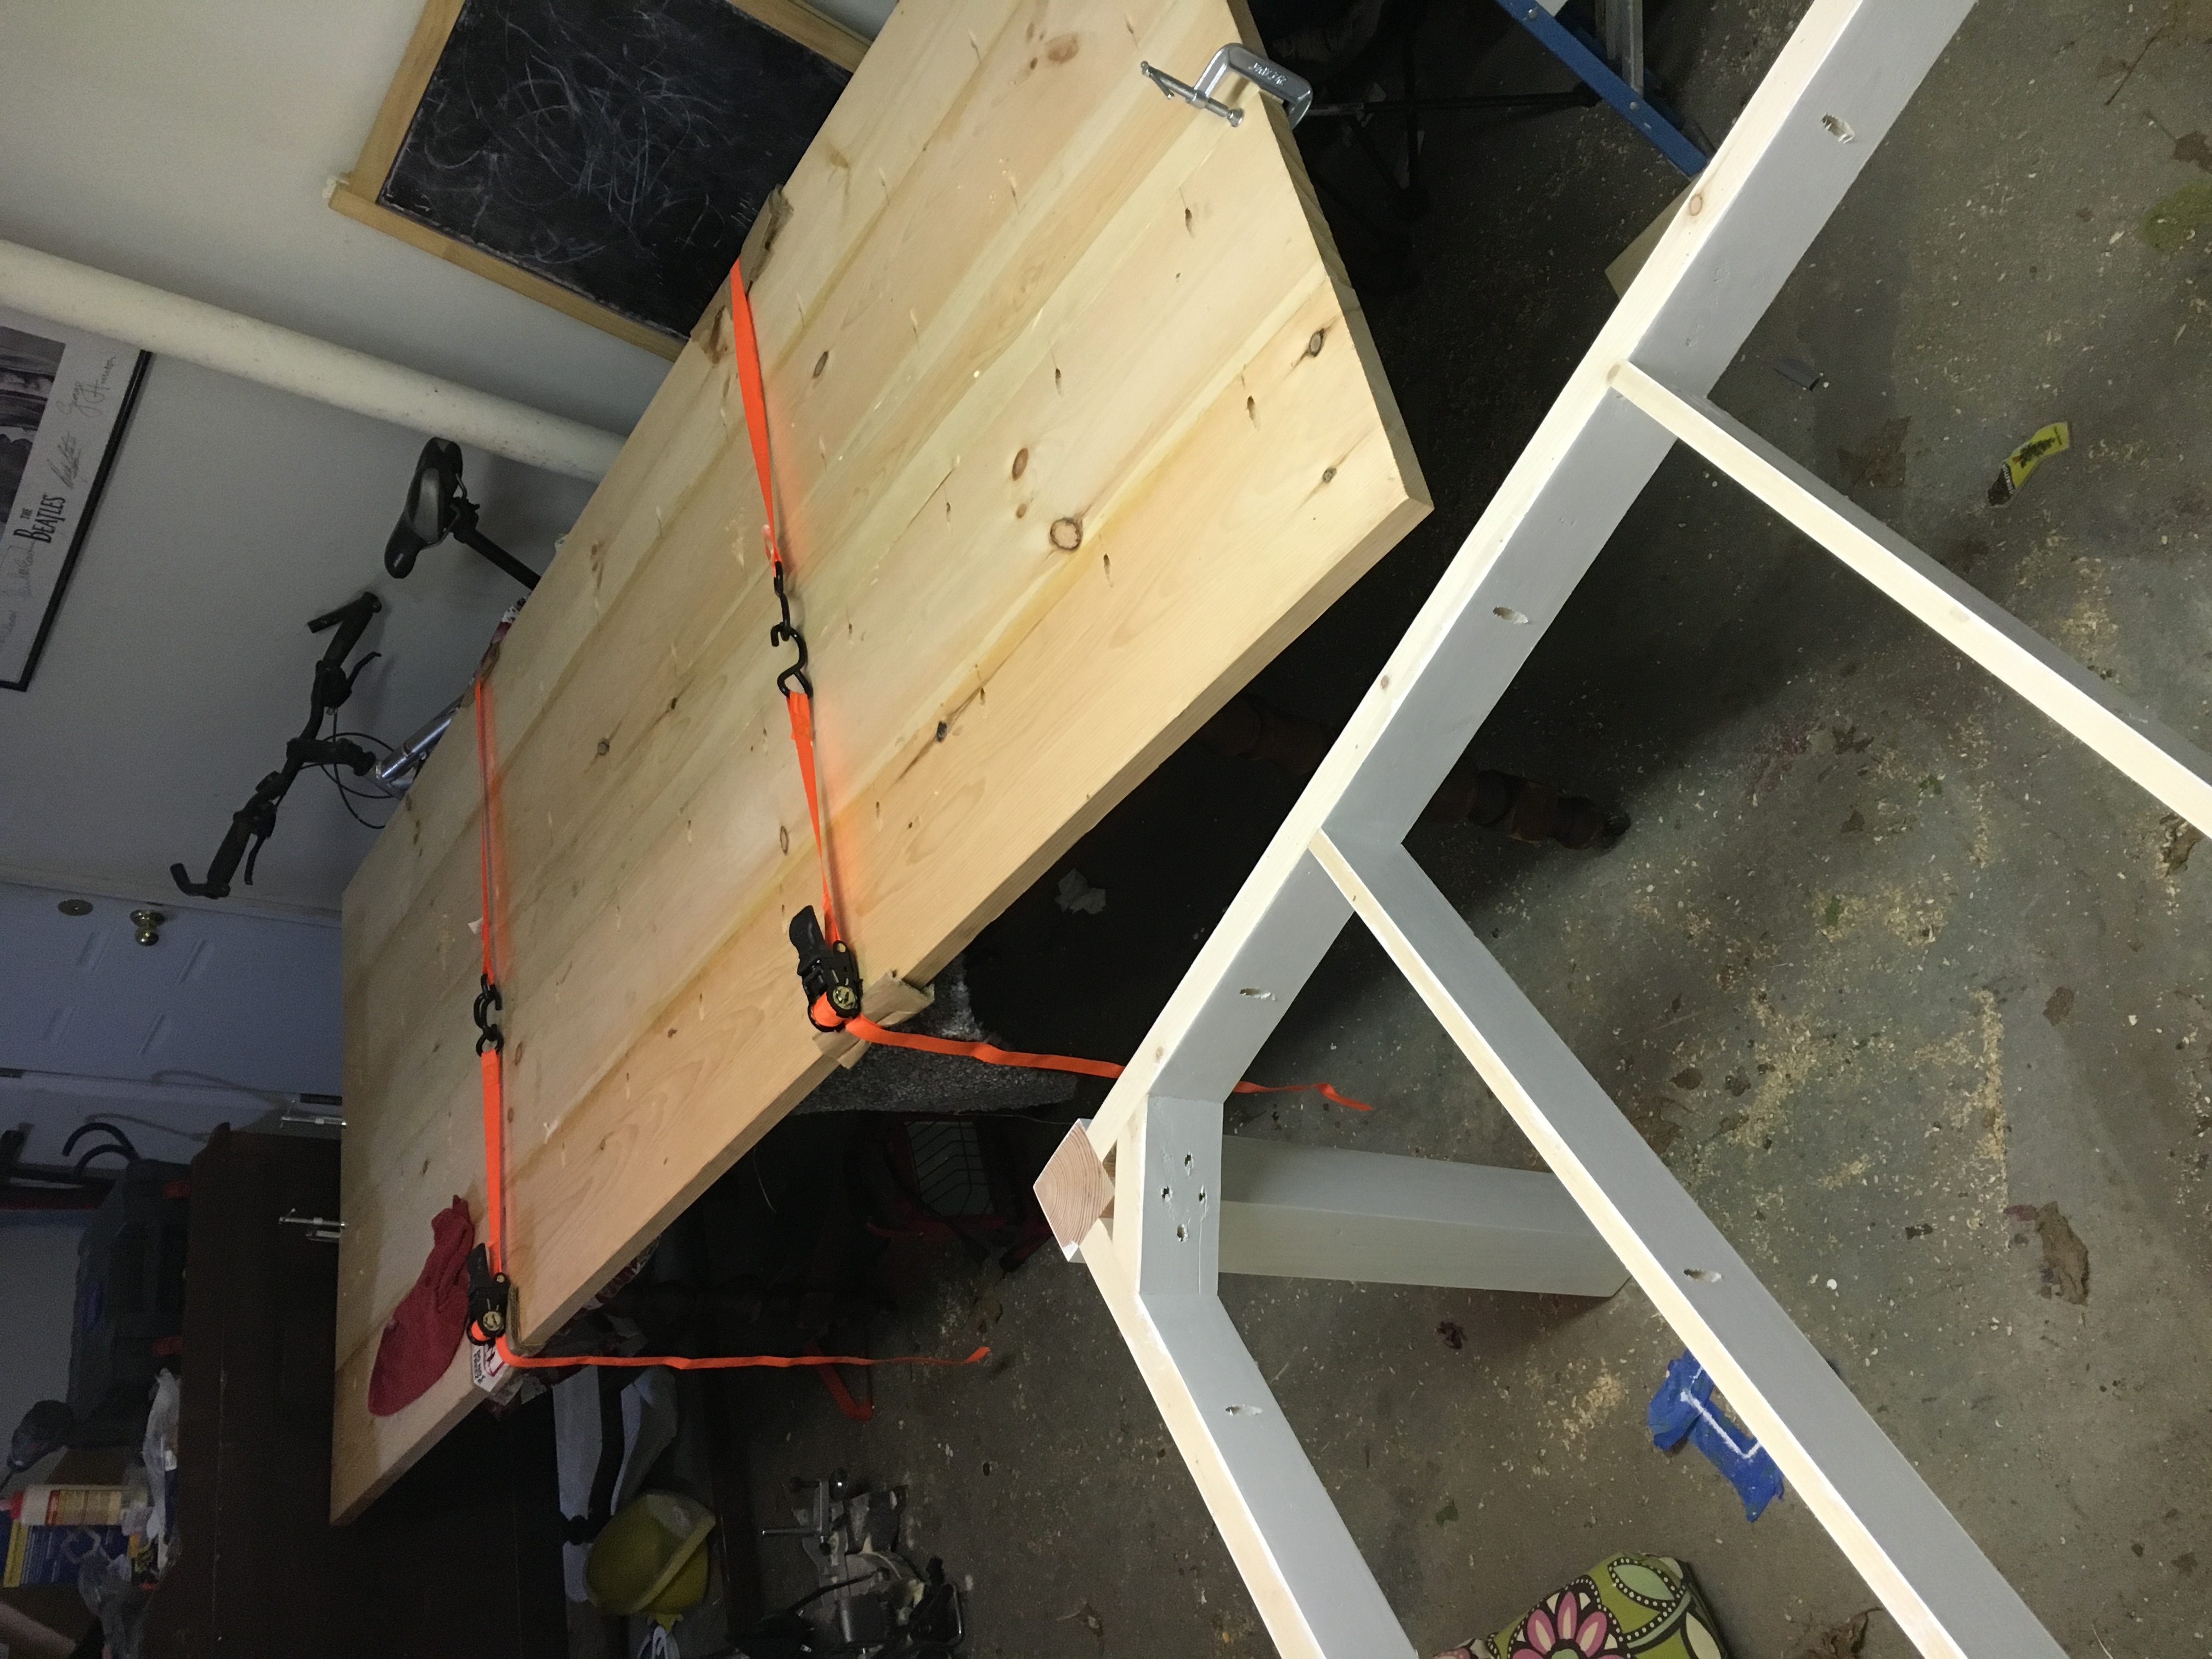
Estimated Time Investment
Afternoon Project (3-6 Hours)
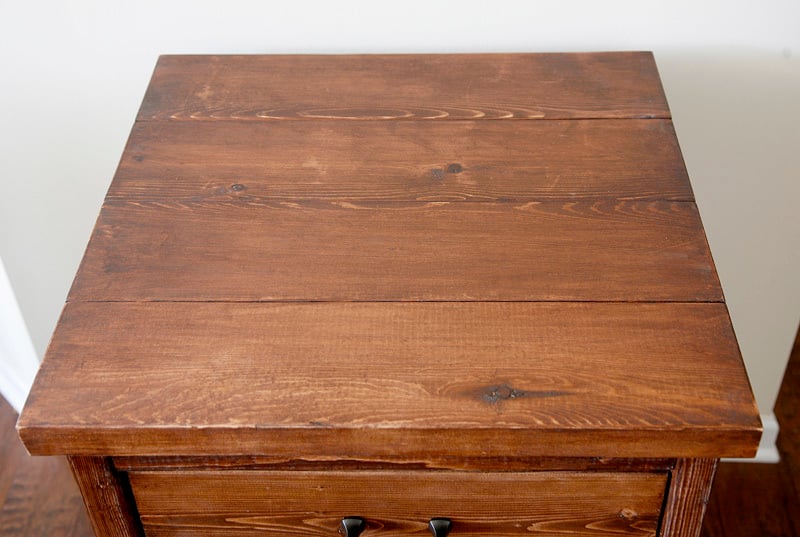
Finish Used
General Finishes dark brow dye and Minwax clear gloss polyeurothane.
Recommended Skill Level
Beginner


Comments
Ana White
Thu, 03/26/2015 - 15:10
Nice work! Very organized!
Nice work! Very organized!