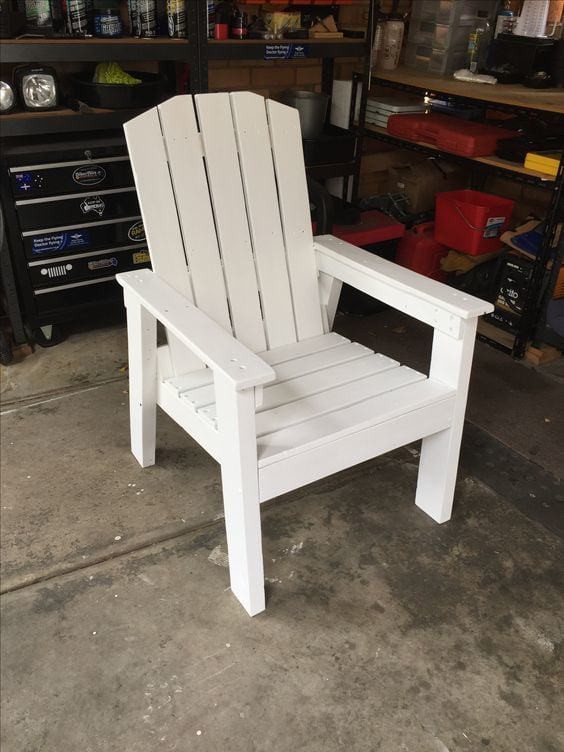
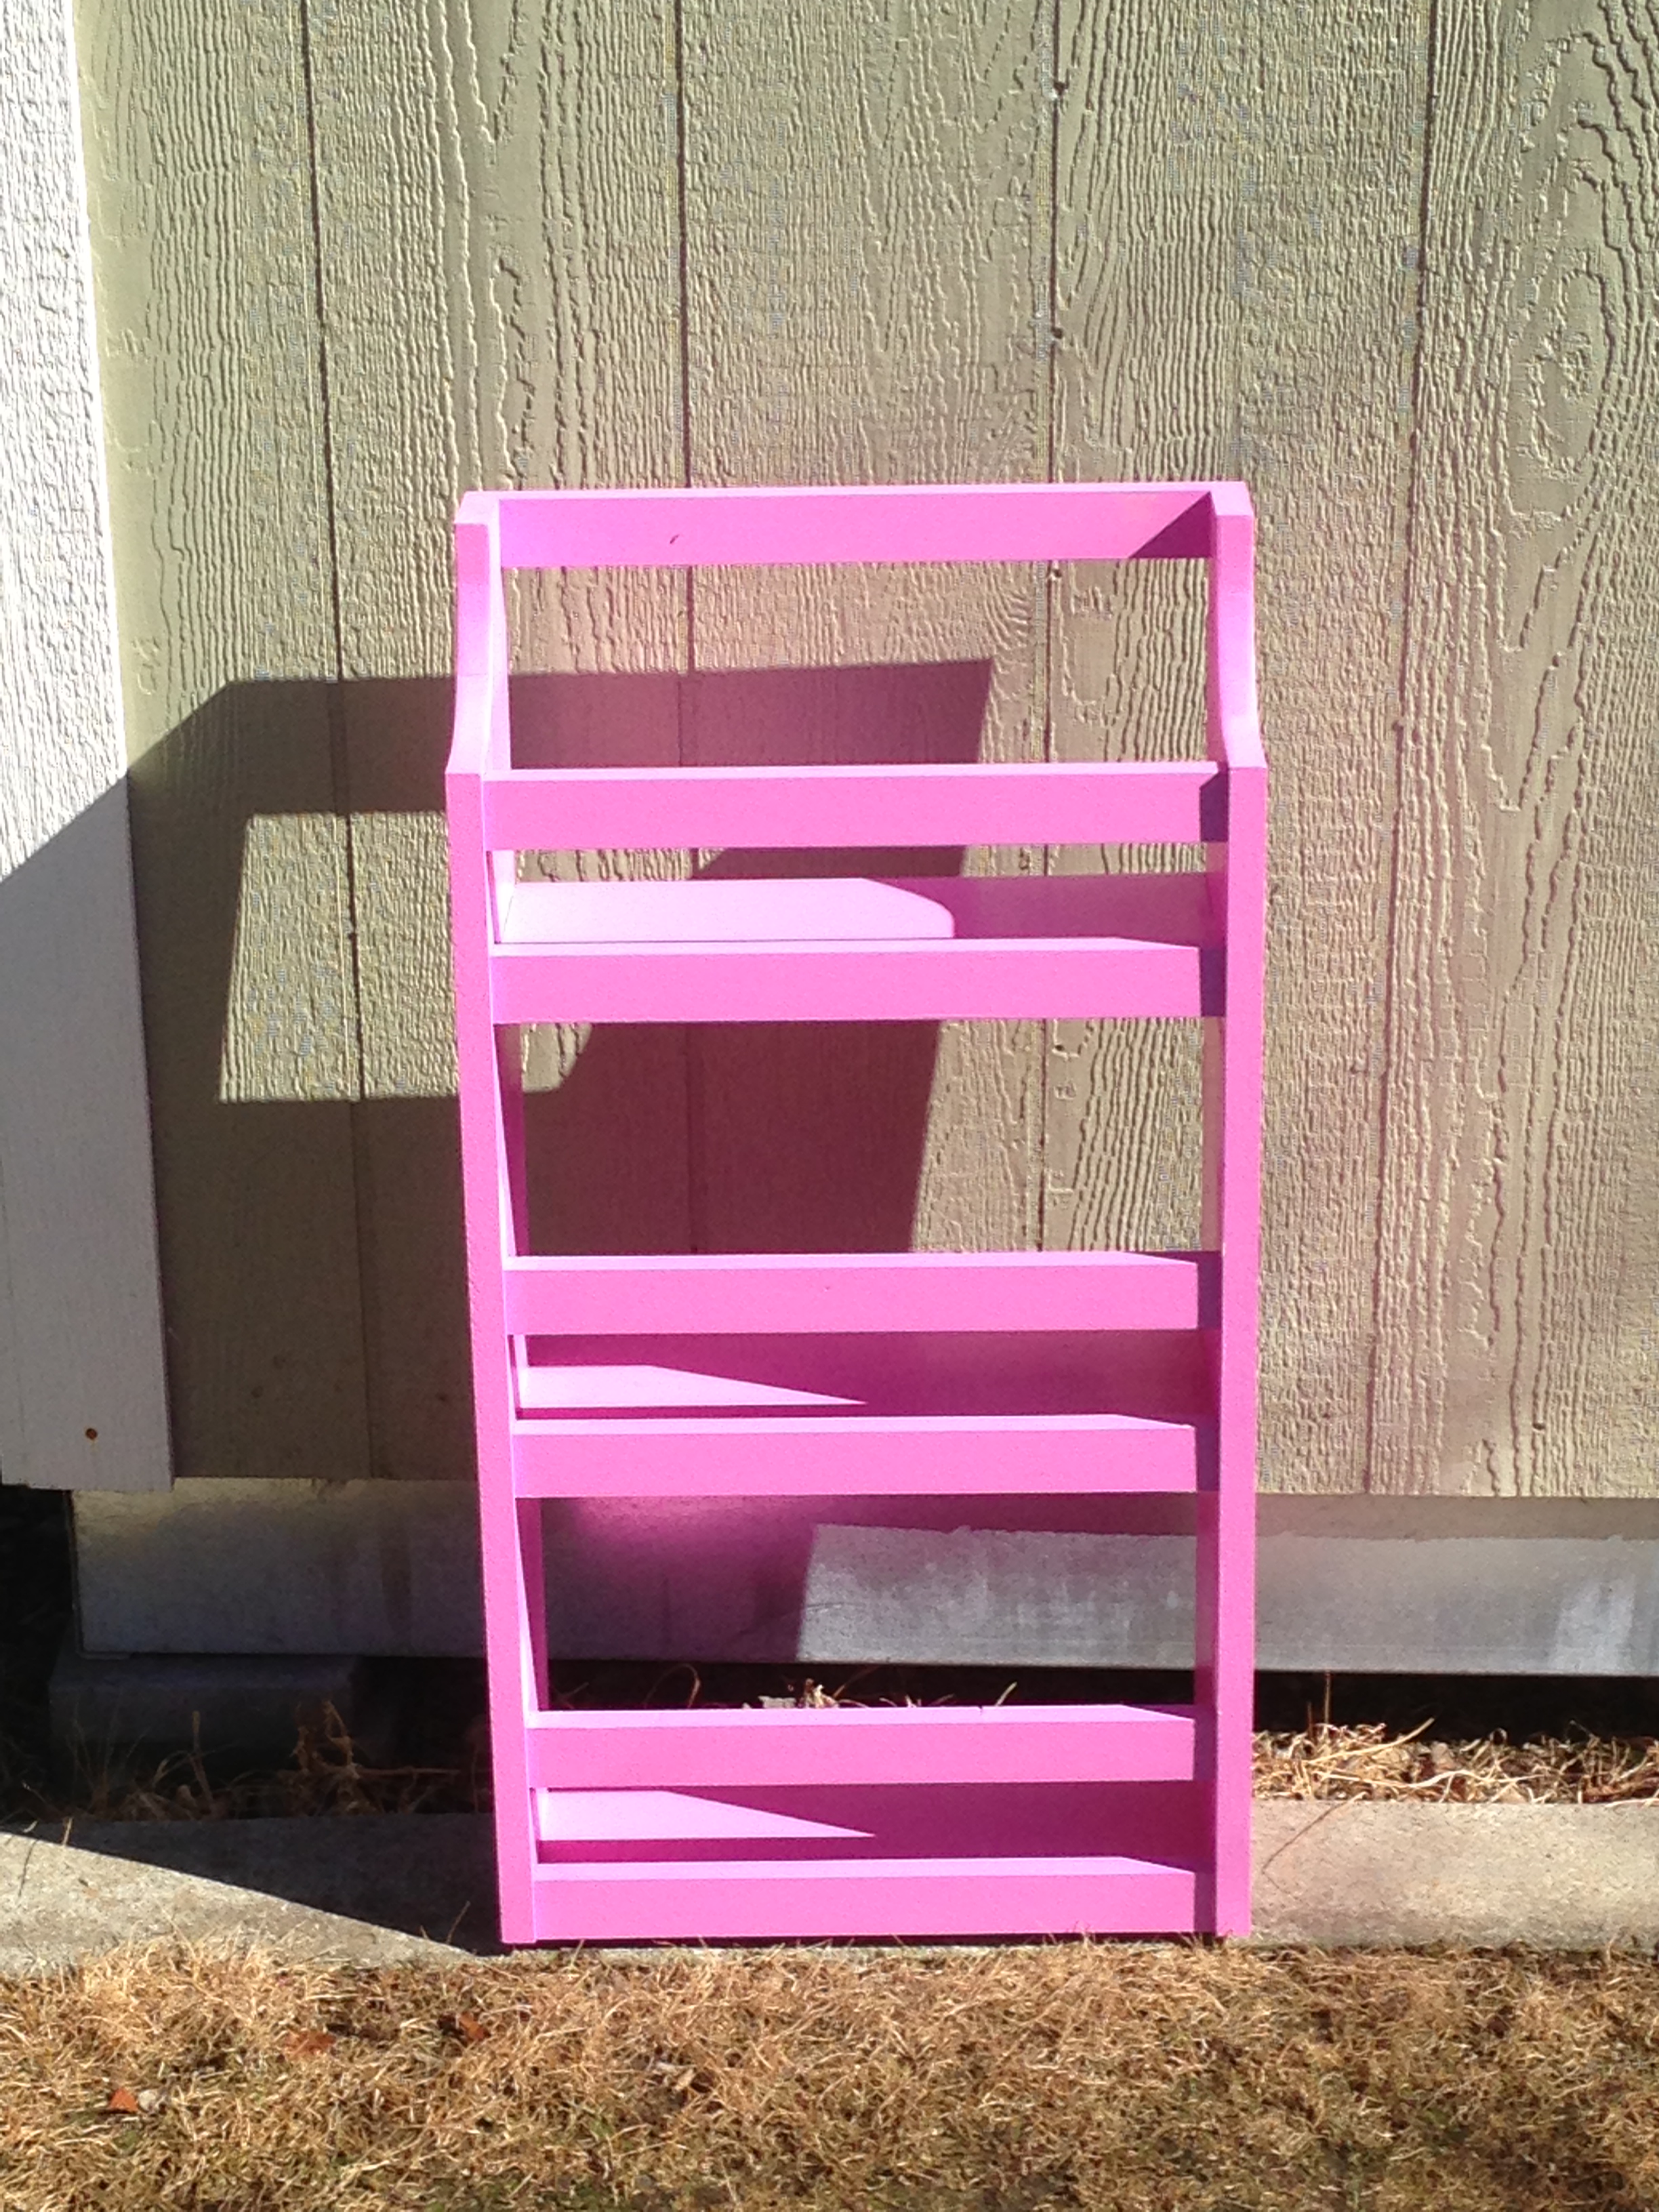
Kids Adirondack chair
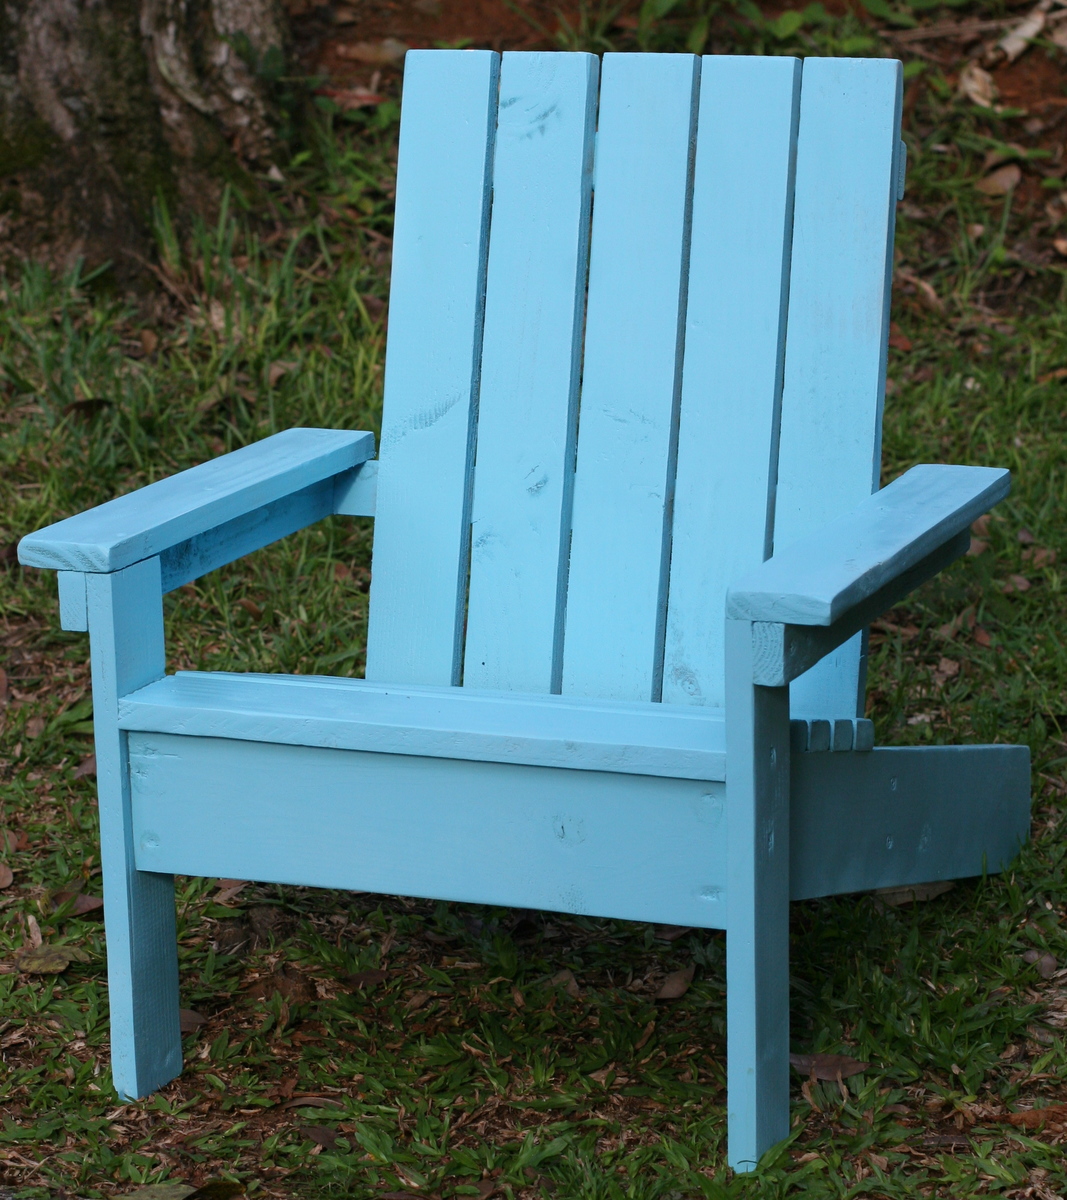
I had leftover scraps from some other projects so I decided to use Ana's plans to build this easy adirondack chair. It was built in a just a couple hours. It's the perfect size for my 4 year old!
Built from Plan(s)
Estimated Cost
leftover project wood - but would be $10 or less.
Estimated Time Investment
An Hour or Two (0-2 Hours)
Finish Used
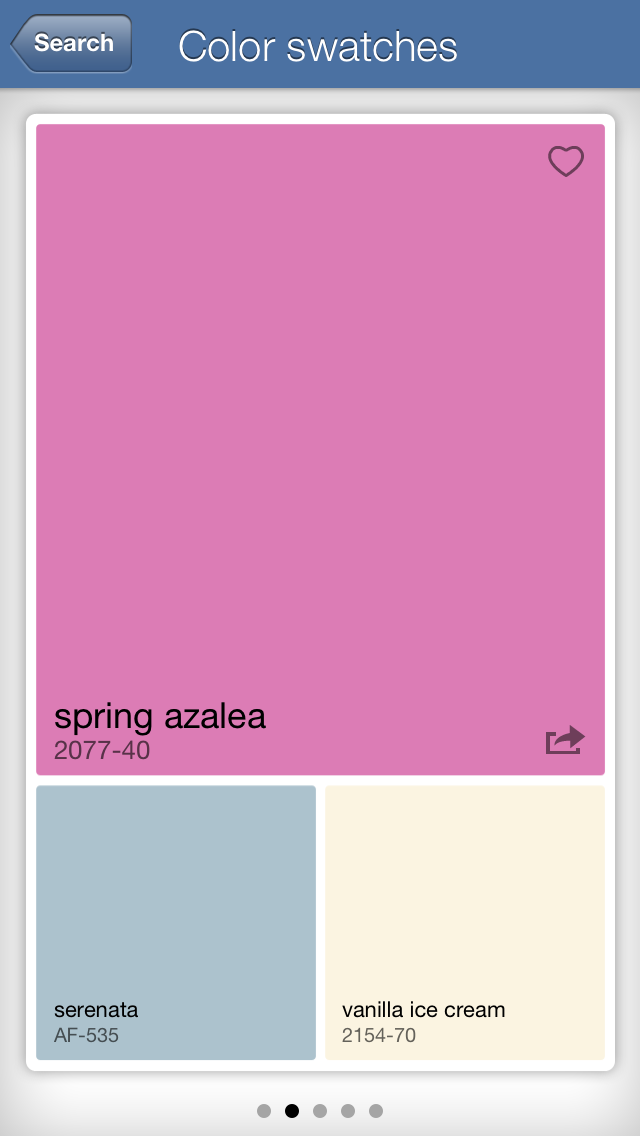
I primed it, then used spray paint in satin aqua. I followed it up with a marine finish to protect it from the Hawaiian elements.
Recommended Skill Level
Starter Project