Simple Potting Bench Modified

Slight variation on Ana’s Potting Bench. I lowered the bottom shelf and added a middle shelf with wood from a gate we removed. I’ve received many compliments. Thanks, Ana!
Kathy Joy
Built from Plan(s)
Slight variation on Ana’s Potting Bench. I lowered the bottom shelf and added a middle shelf with wood from a gate we removed. I’ve received many compliments. Thanks, Ana!
Kathy Joy
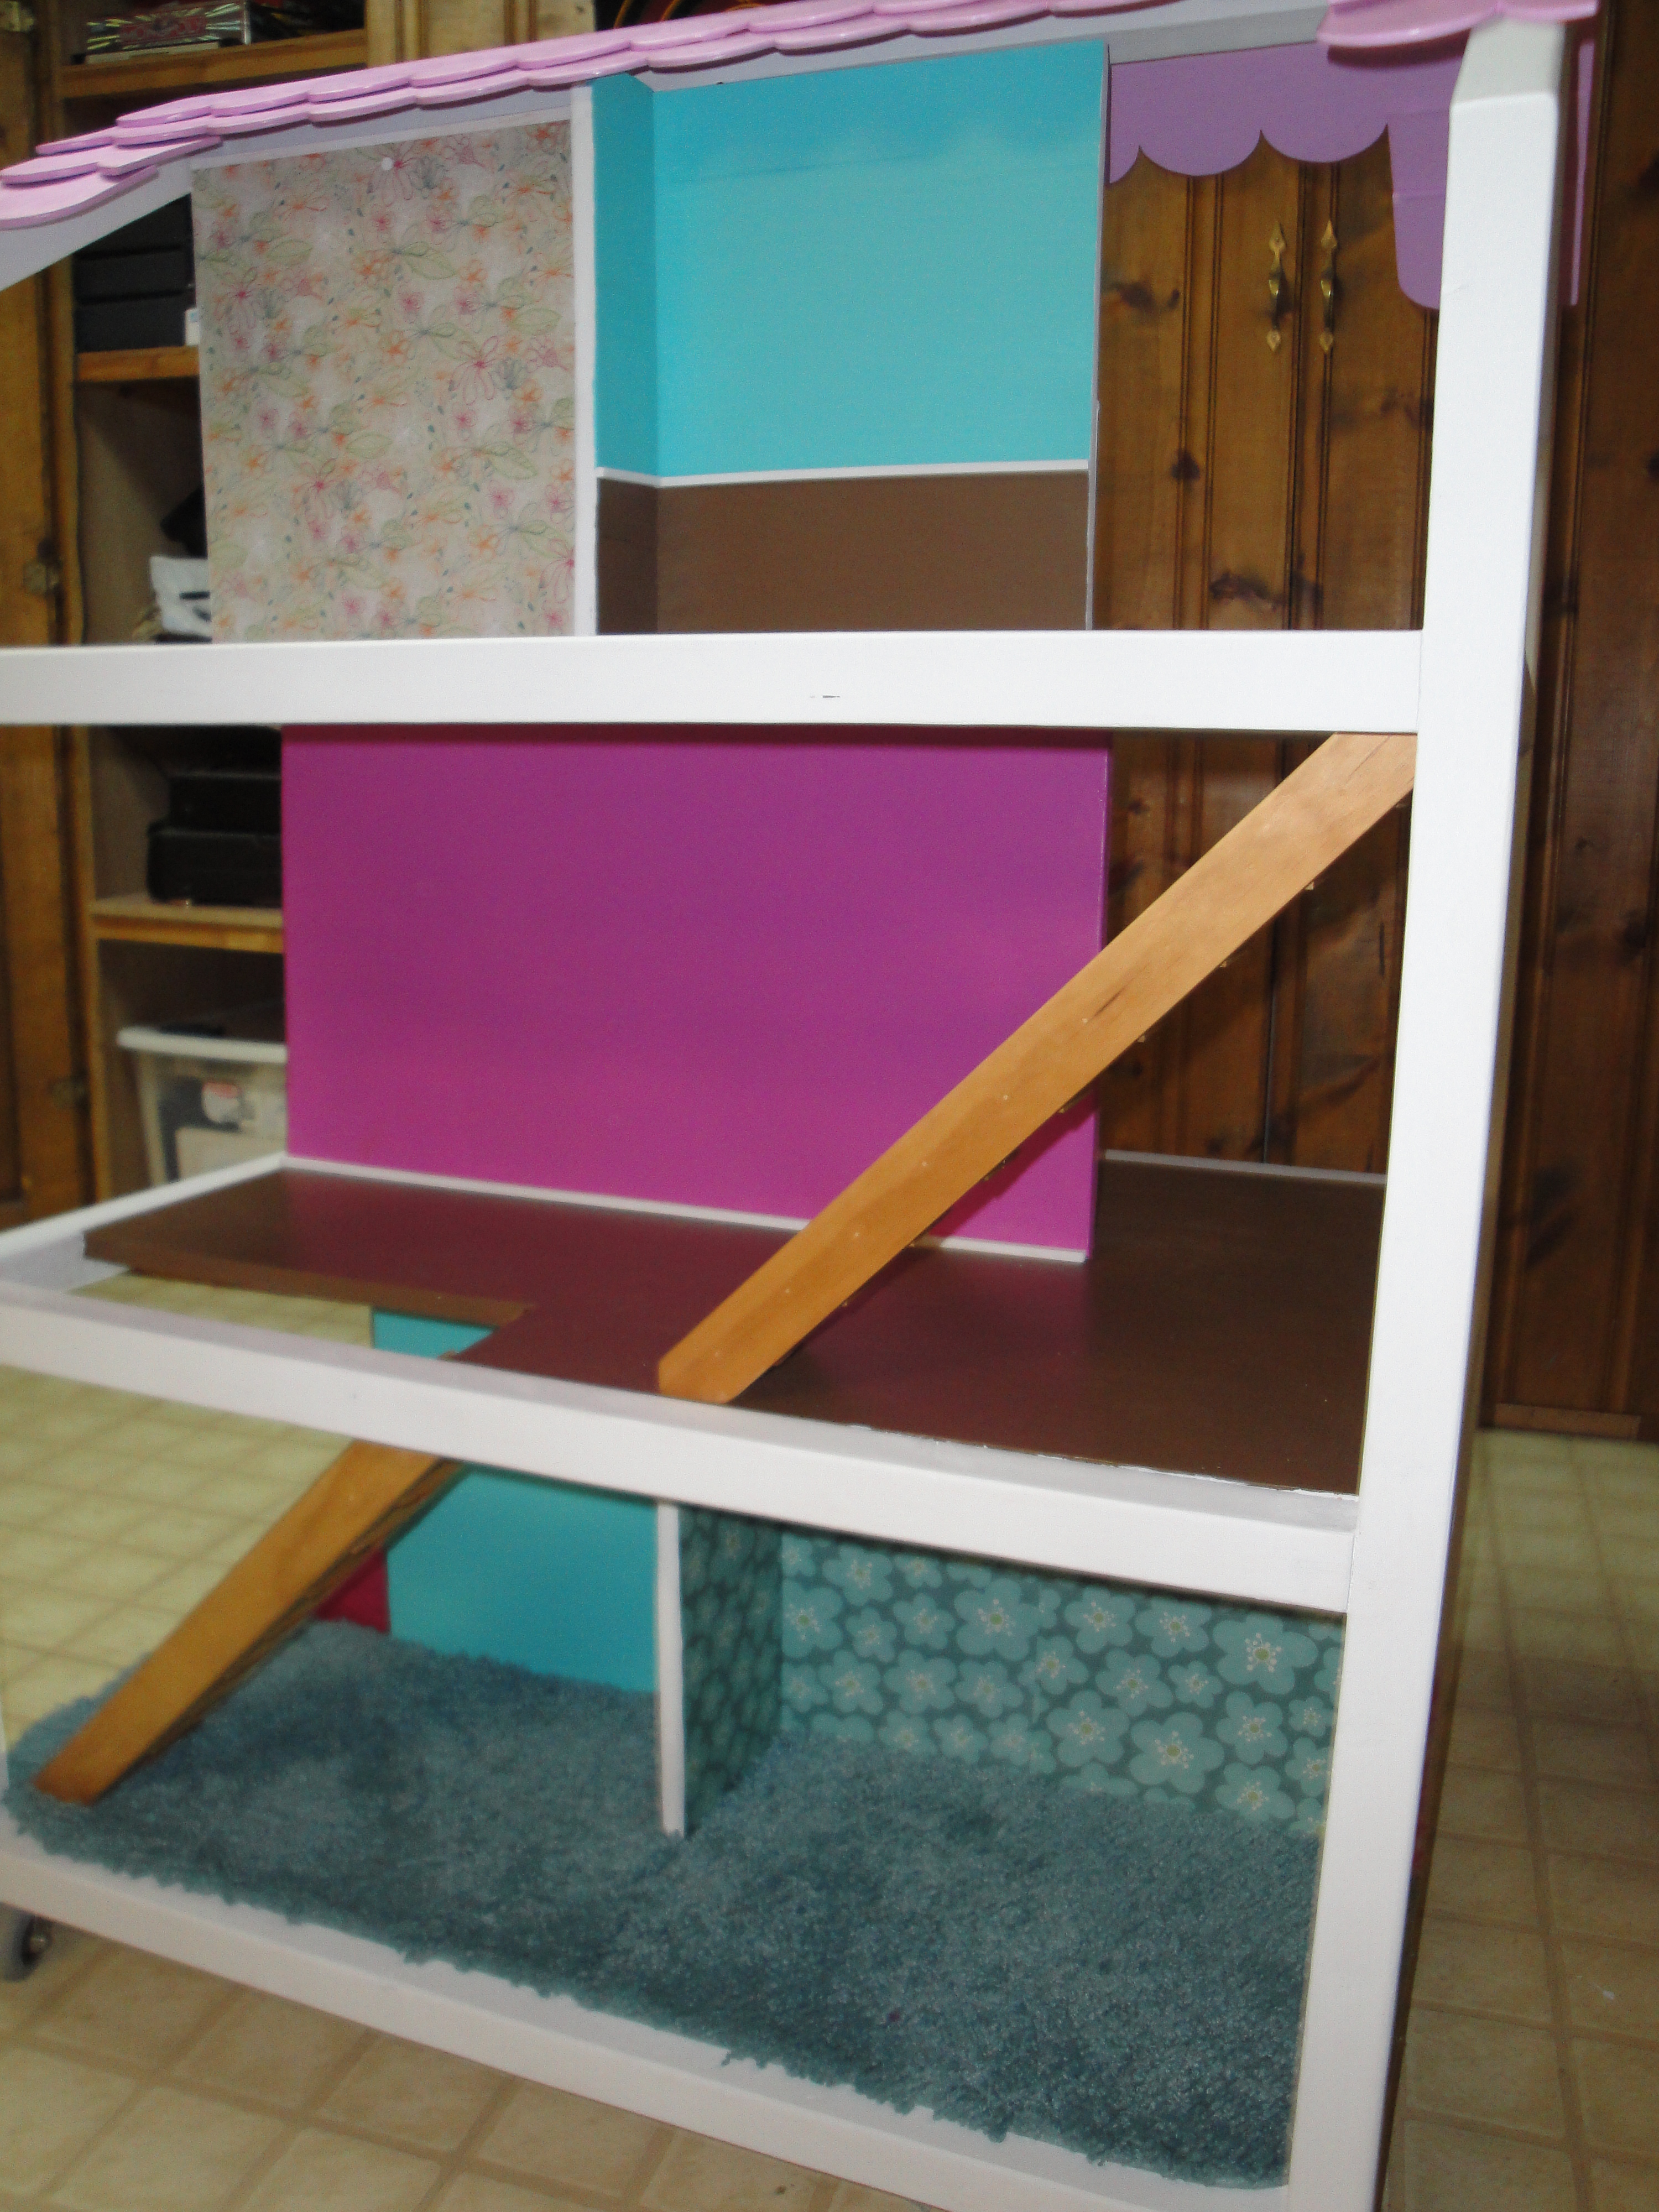
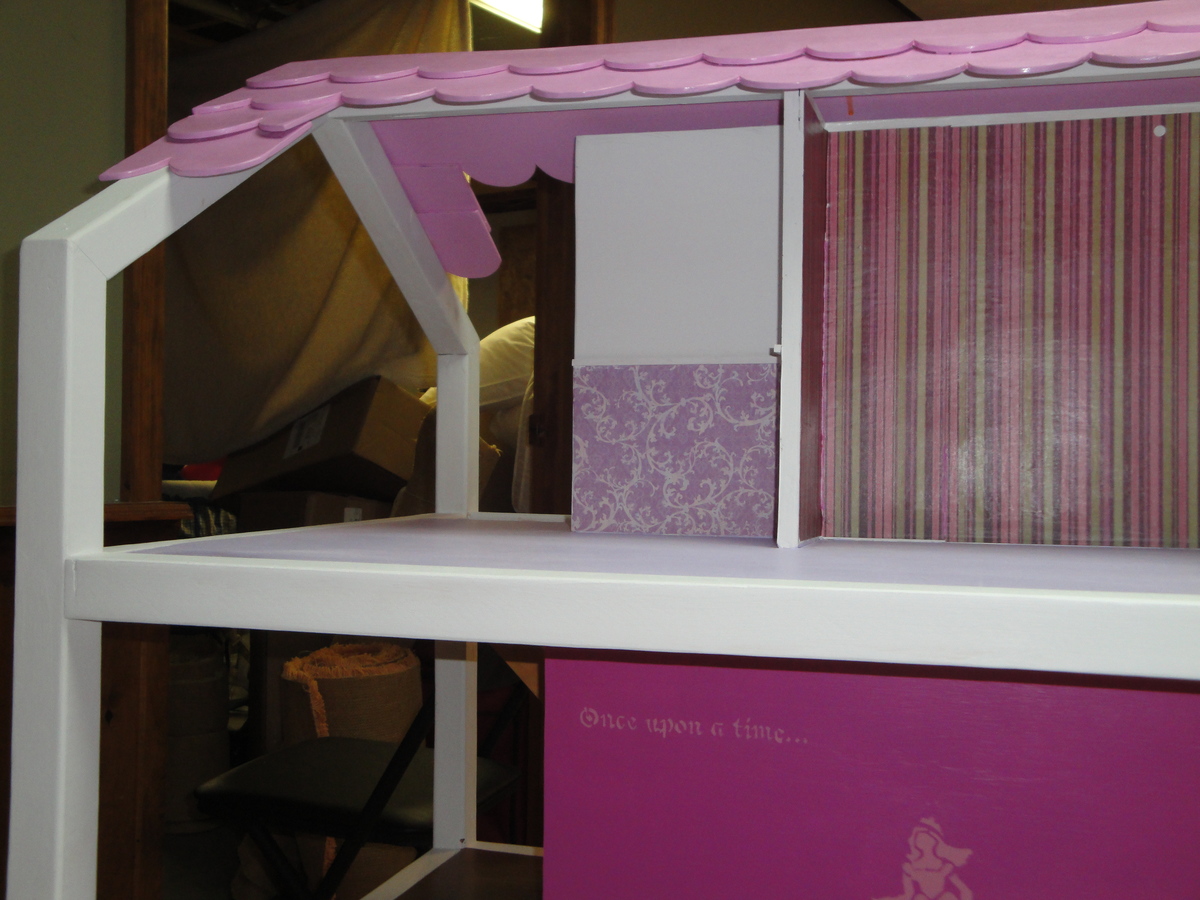
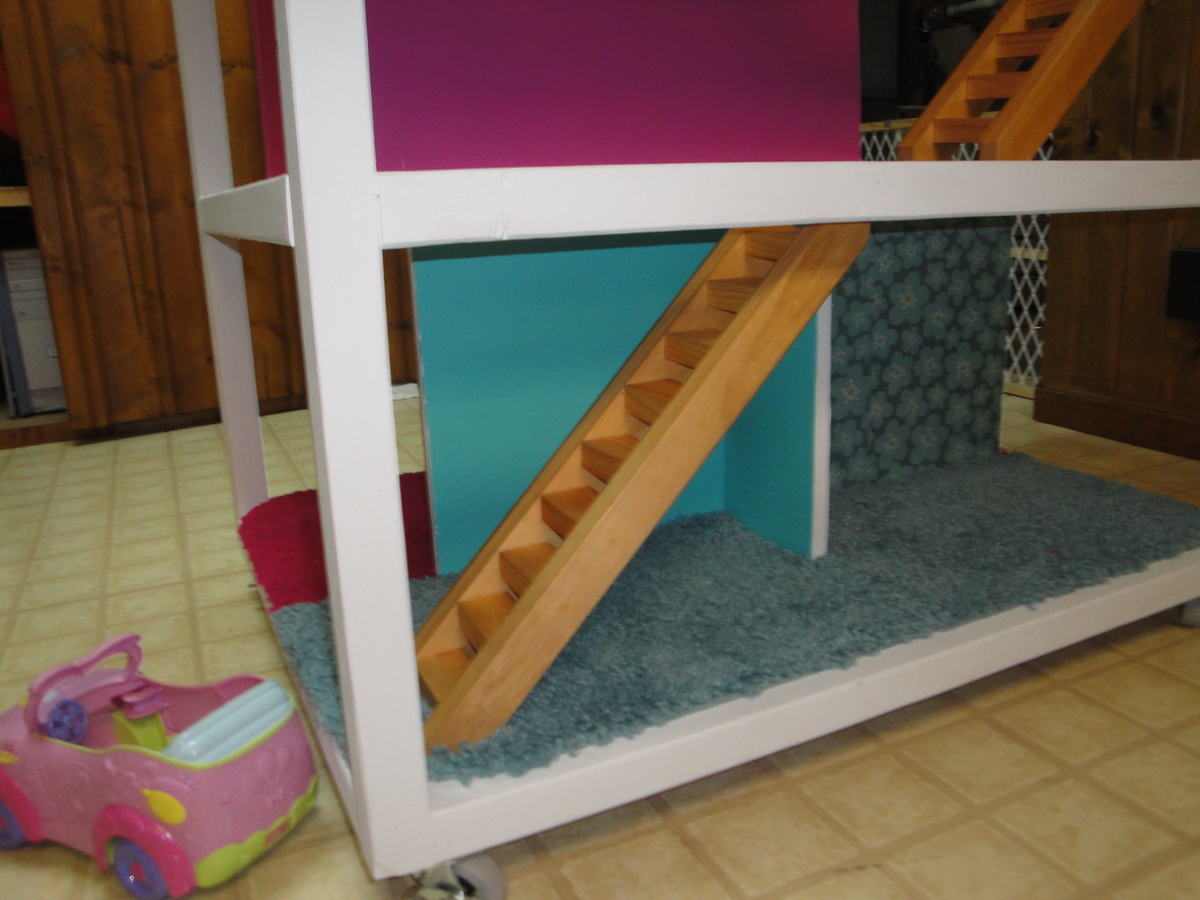
We painted the doll house with paint samples from Lowe's. For the stairs we cut 1 inch by 2 inch boards at a 45 degree angle. Then we glued and nailed each step on each side. The carpet was bath mats that we cut into shape. The chair rails are my favorite! We painted square dowel rods white and cut them to fit the rooms. We used scrap book paper for the wall paper. Thank you Ana for these amazing plans!!!
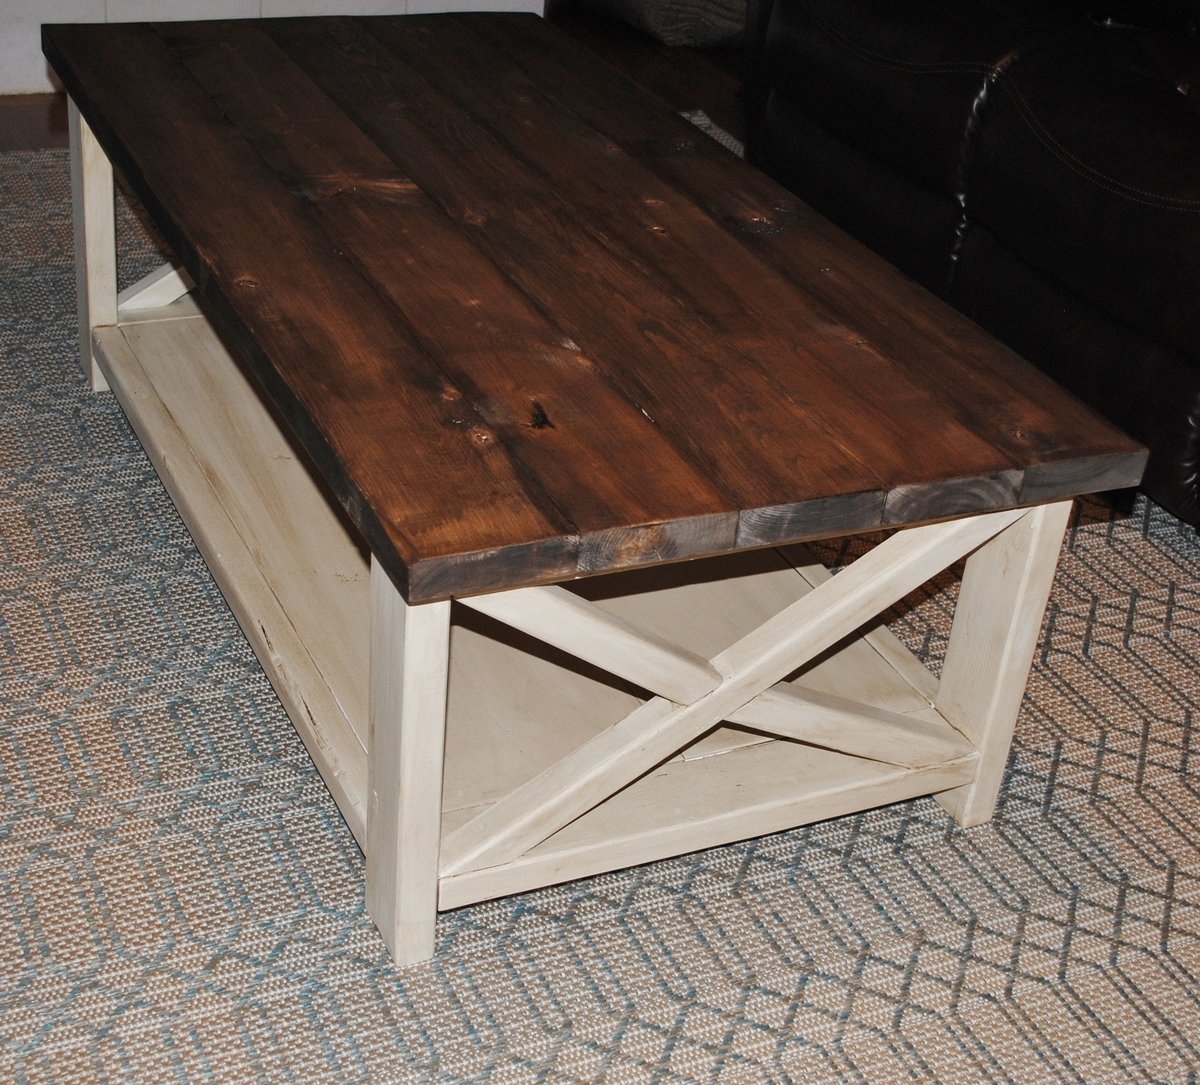
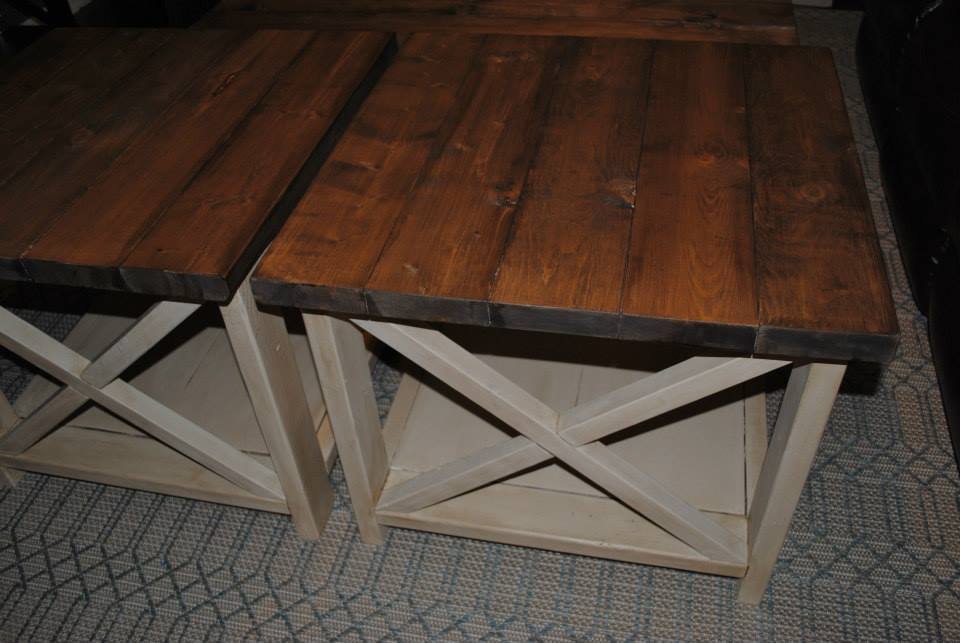
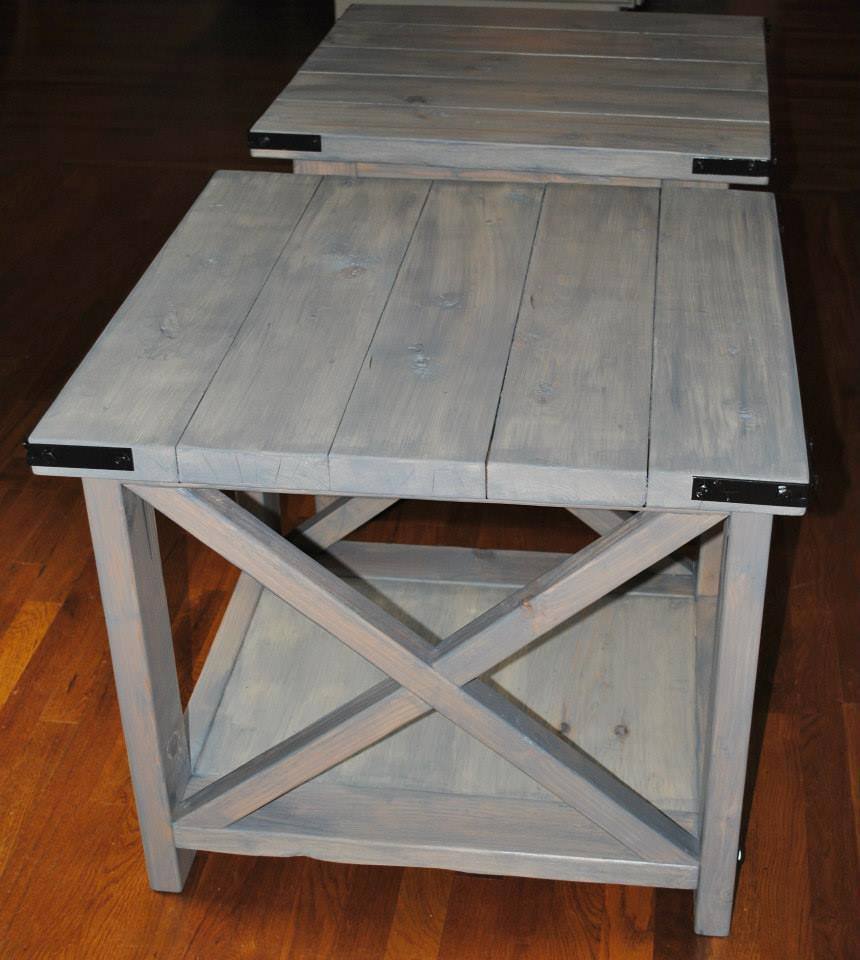
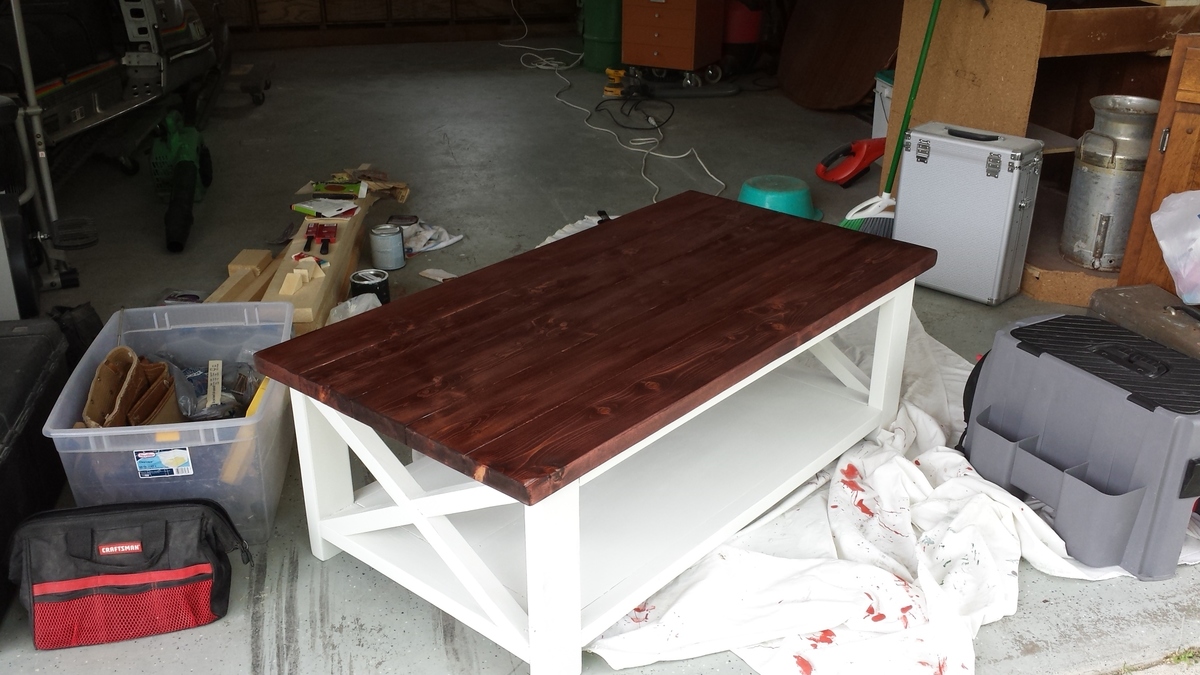
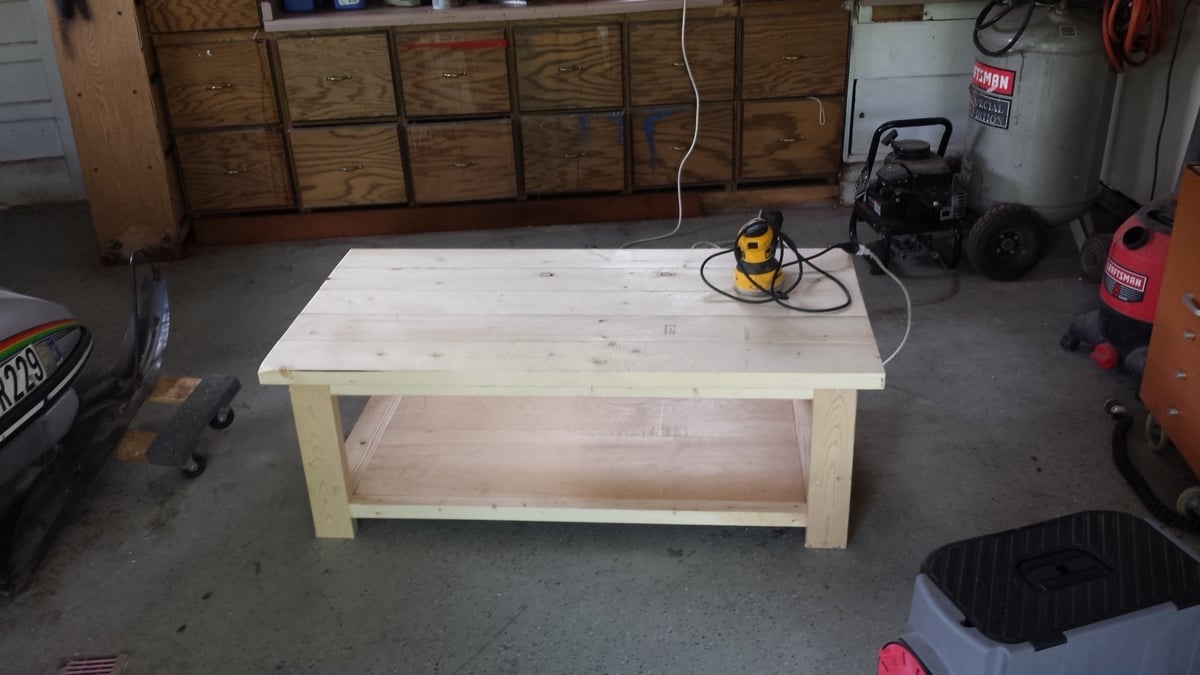
My husband recently constructed a coffee table and 4 end tables using the rustic x plans. We think they turned out great!
I did a mixture of 2 stain colors to get the weathered grey finish on the one set of end tables.
I did a stained top and creamy white bottom with glaze for the base of the coffee table and additional set of end tables.

I made you planter. Thanks very much. Unfortunately they don't sell in the UK. I enjoyed making them though.
Karen K UK
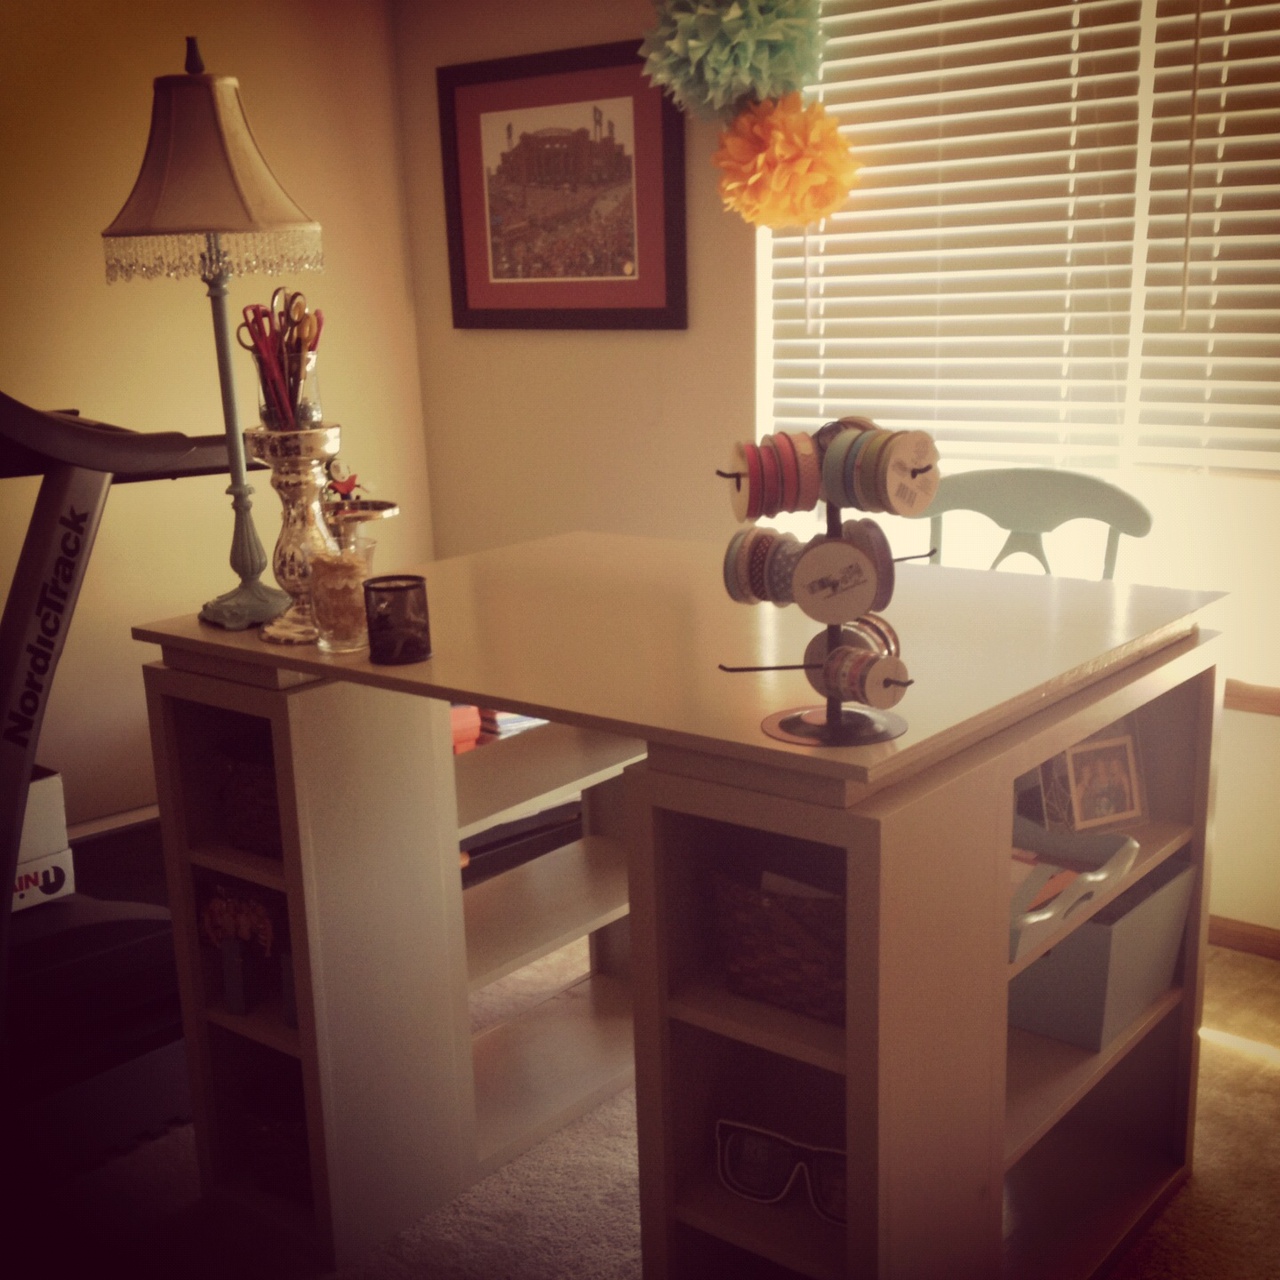
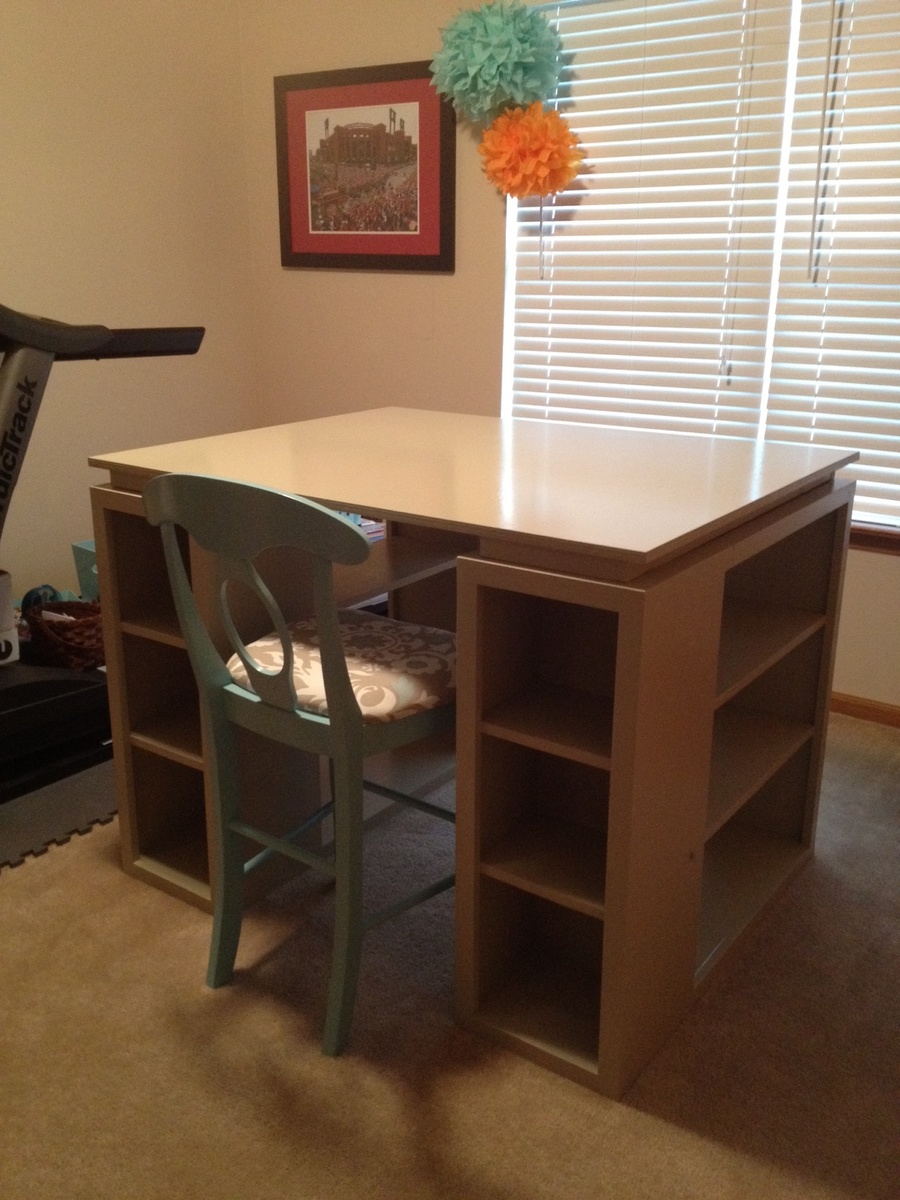
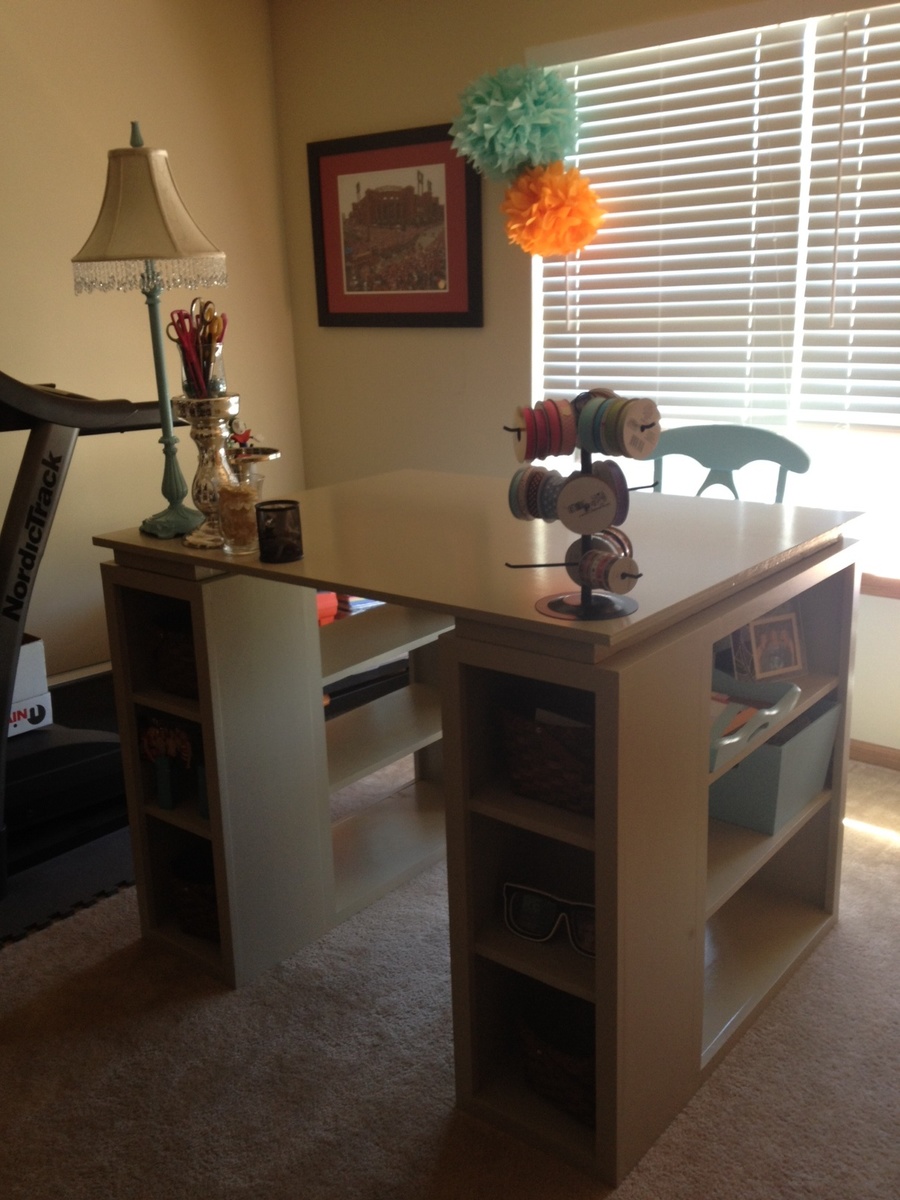
My Dad just recently retired and since he is very handy, I had him make this desk for me. He did an amazing job! He used very nice wood and took his time. This could have been a quick weekend project for anyone who isn't retired and has time on their hands :) He did need a little more wood than was called for so you may have to make a second trip to the hardware store, which wasn't a problem. Another note he would give you is to NOT pre-cut the trim pieces before you build the desk. Cut the trim pieces after it is made so you won't be off. (It was only off by 1/8 of a inch, but for a perfectionist that was 1/8 inch too much!)
After it was made we did two coats of paint on the desk followed by several coats of poly on the top. The final project looks amazing and all of my friends now want my Dad to make one for them :)


Mon, 09/17/2012 - 19:57
Great job Dad!!! Absolutely beautiful craft table, the finish looks amazing too!
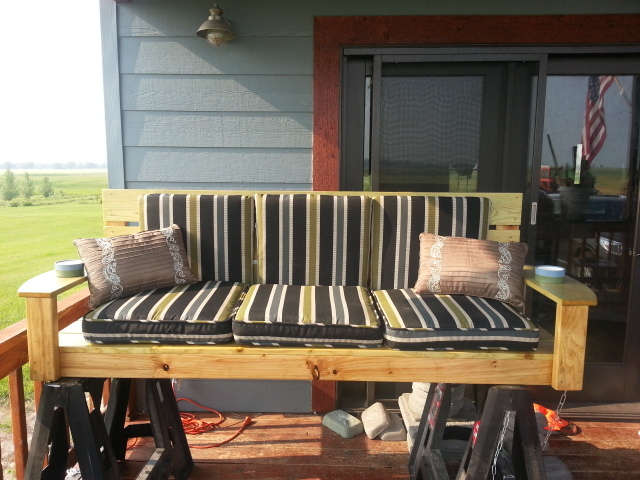
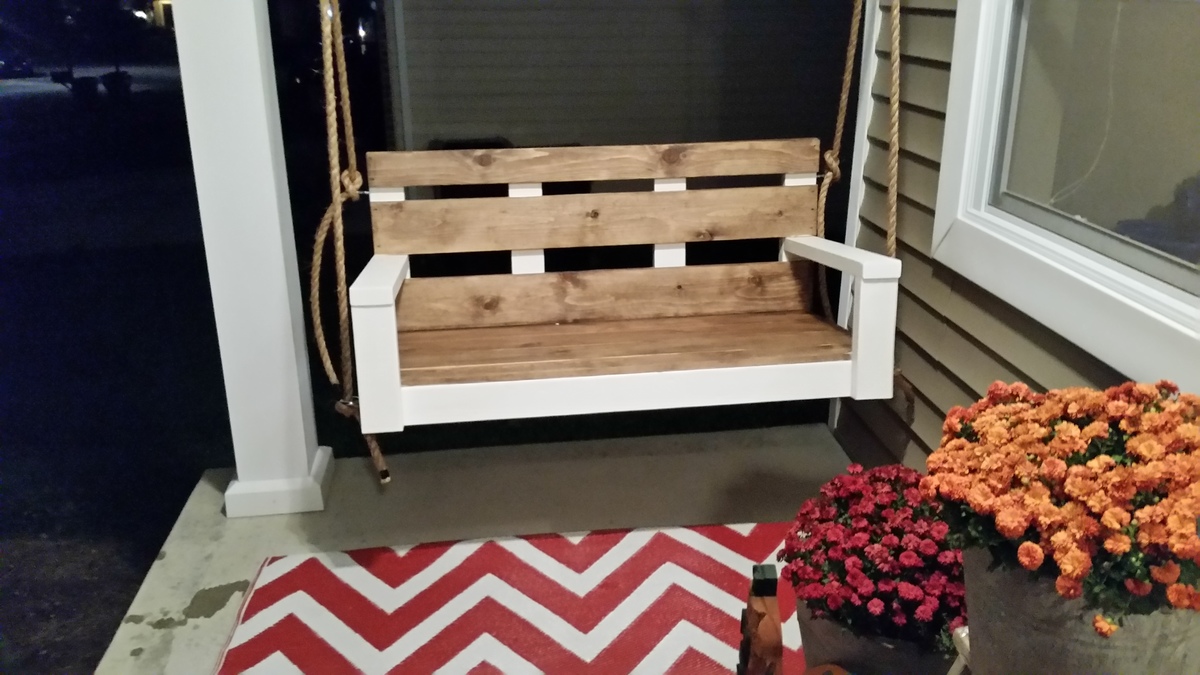
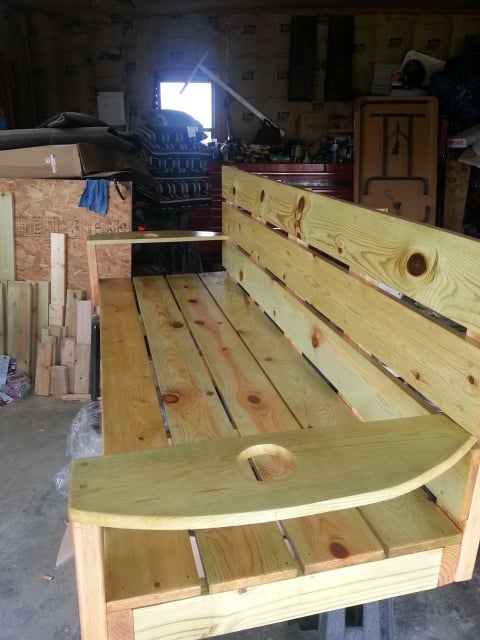
This is the second project I attempted and it was a huge undertaking for me, but it was fun and went well! I had planned to sew a cushion for it, but by the time I completed the project, I was DONE! So I bought some for now.
The only modifications I made were larger arm rests so I could put cup holders in them. The cup holders I made out of PVC 3" Male end and a 3" drain, which I glued together. I then scuffed the entire thing and painted them with acrylic paint (trying to get them to match the blue and green in the cushions) before spraying them with gloss sealant.
My family LOVES the new "swing bed". It weighs ALOT so I had to make sure to get proper hanging gear. It's obviously not hung yet when I took the pics tho.
Thank you for another beautiful project!

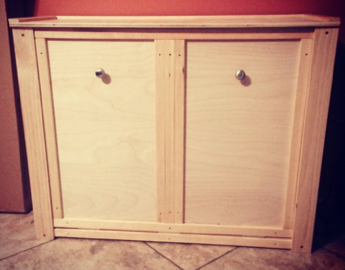
Double wide trash can unit, Fall of 2015.
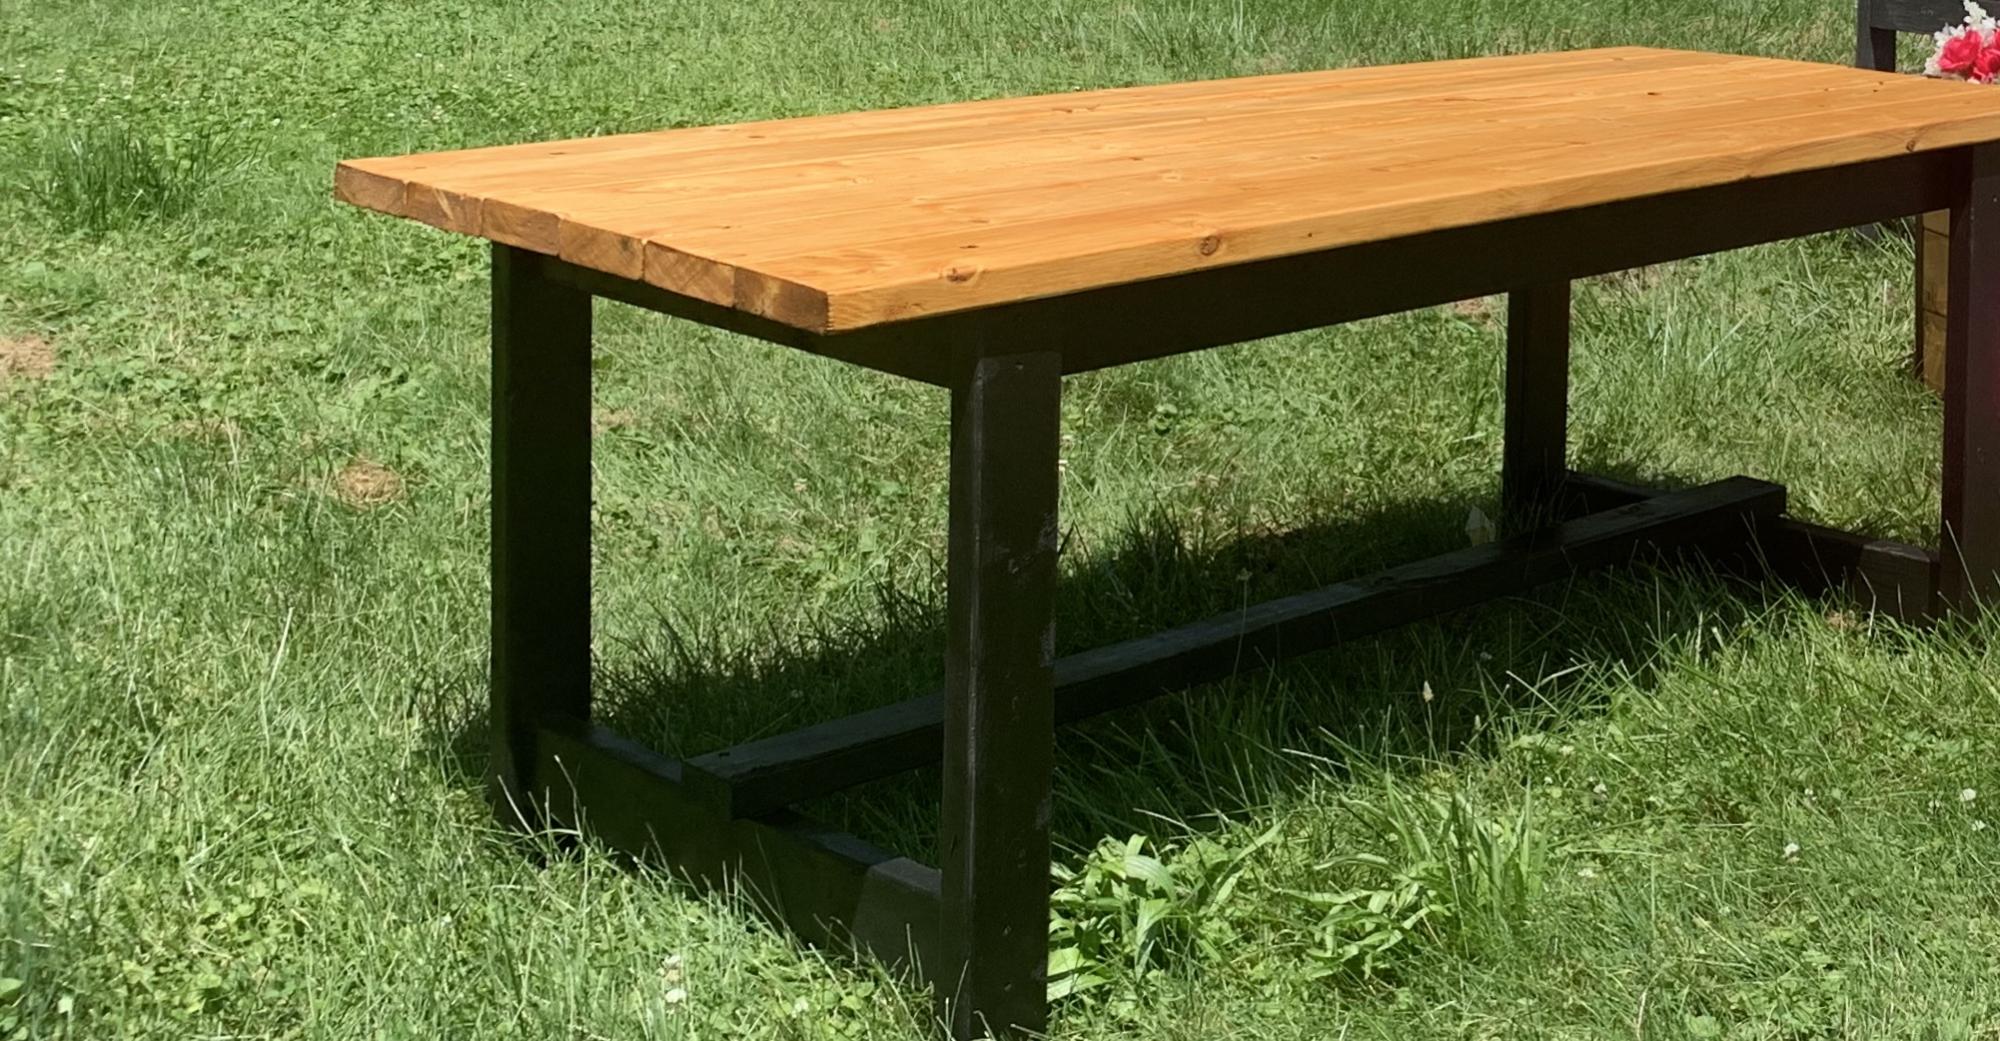
Another super easy plan to follow! I was even able to make adjustments really easily! This table is 6ft by 33in, because I needed it a bit smaller for the space. The table went together in about half a day. My new paint sprayer and orbital sander made my life a little easier but the heat has been obnoxious so it took a couple of extra days to get the finishes done! I did end up changing my mind and decided to stain the table top to match the sofa & sectional which were done in Olympic Maximum stain and sealant semi transparent in cinder.
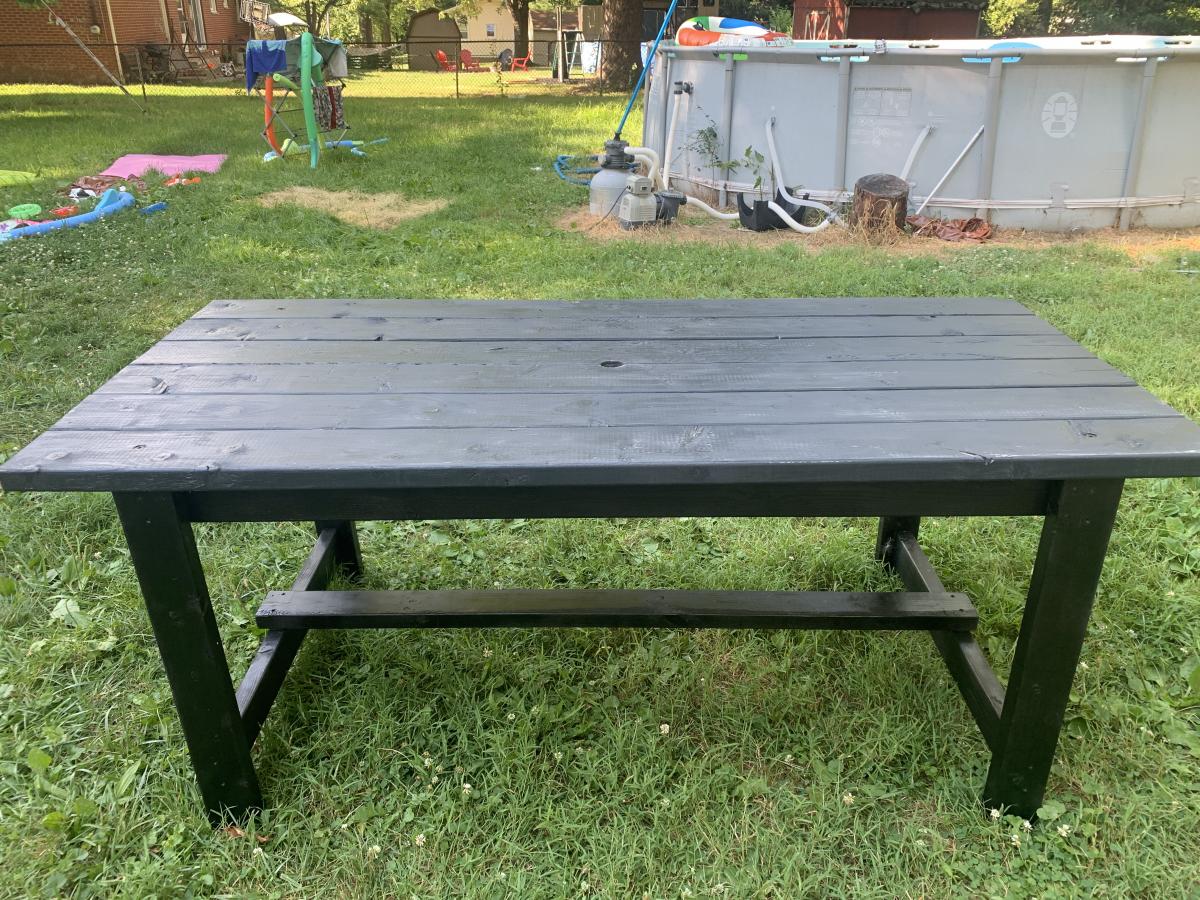

This was such a fun project! I’ve wanted to build a potting bench for years. I can’t imagine why it took so long take a shot at it, it’s such a simple build and only took a couple days.

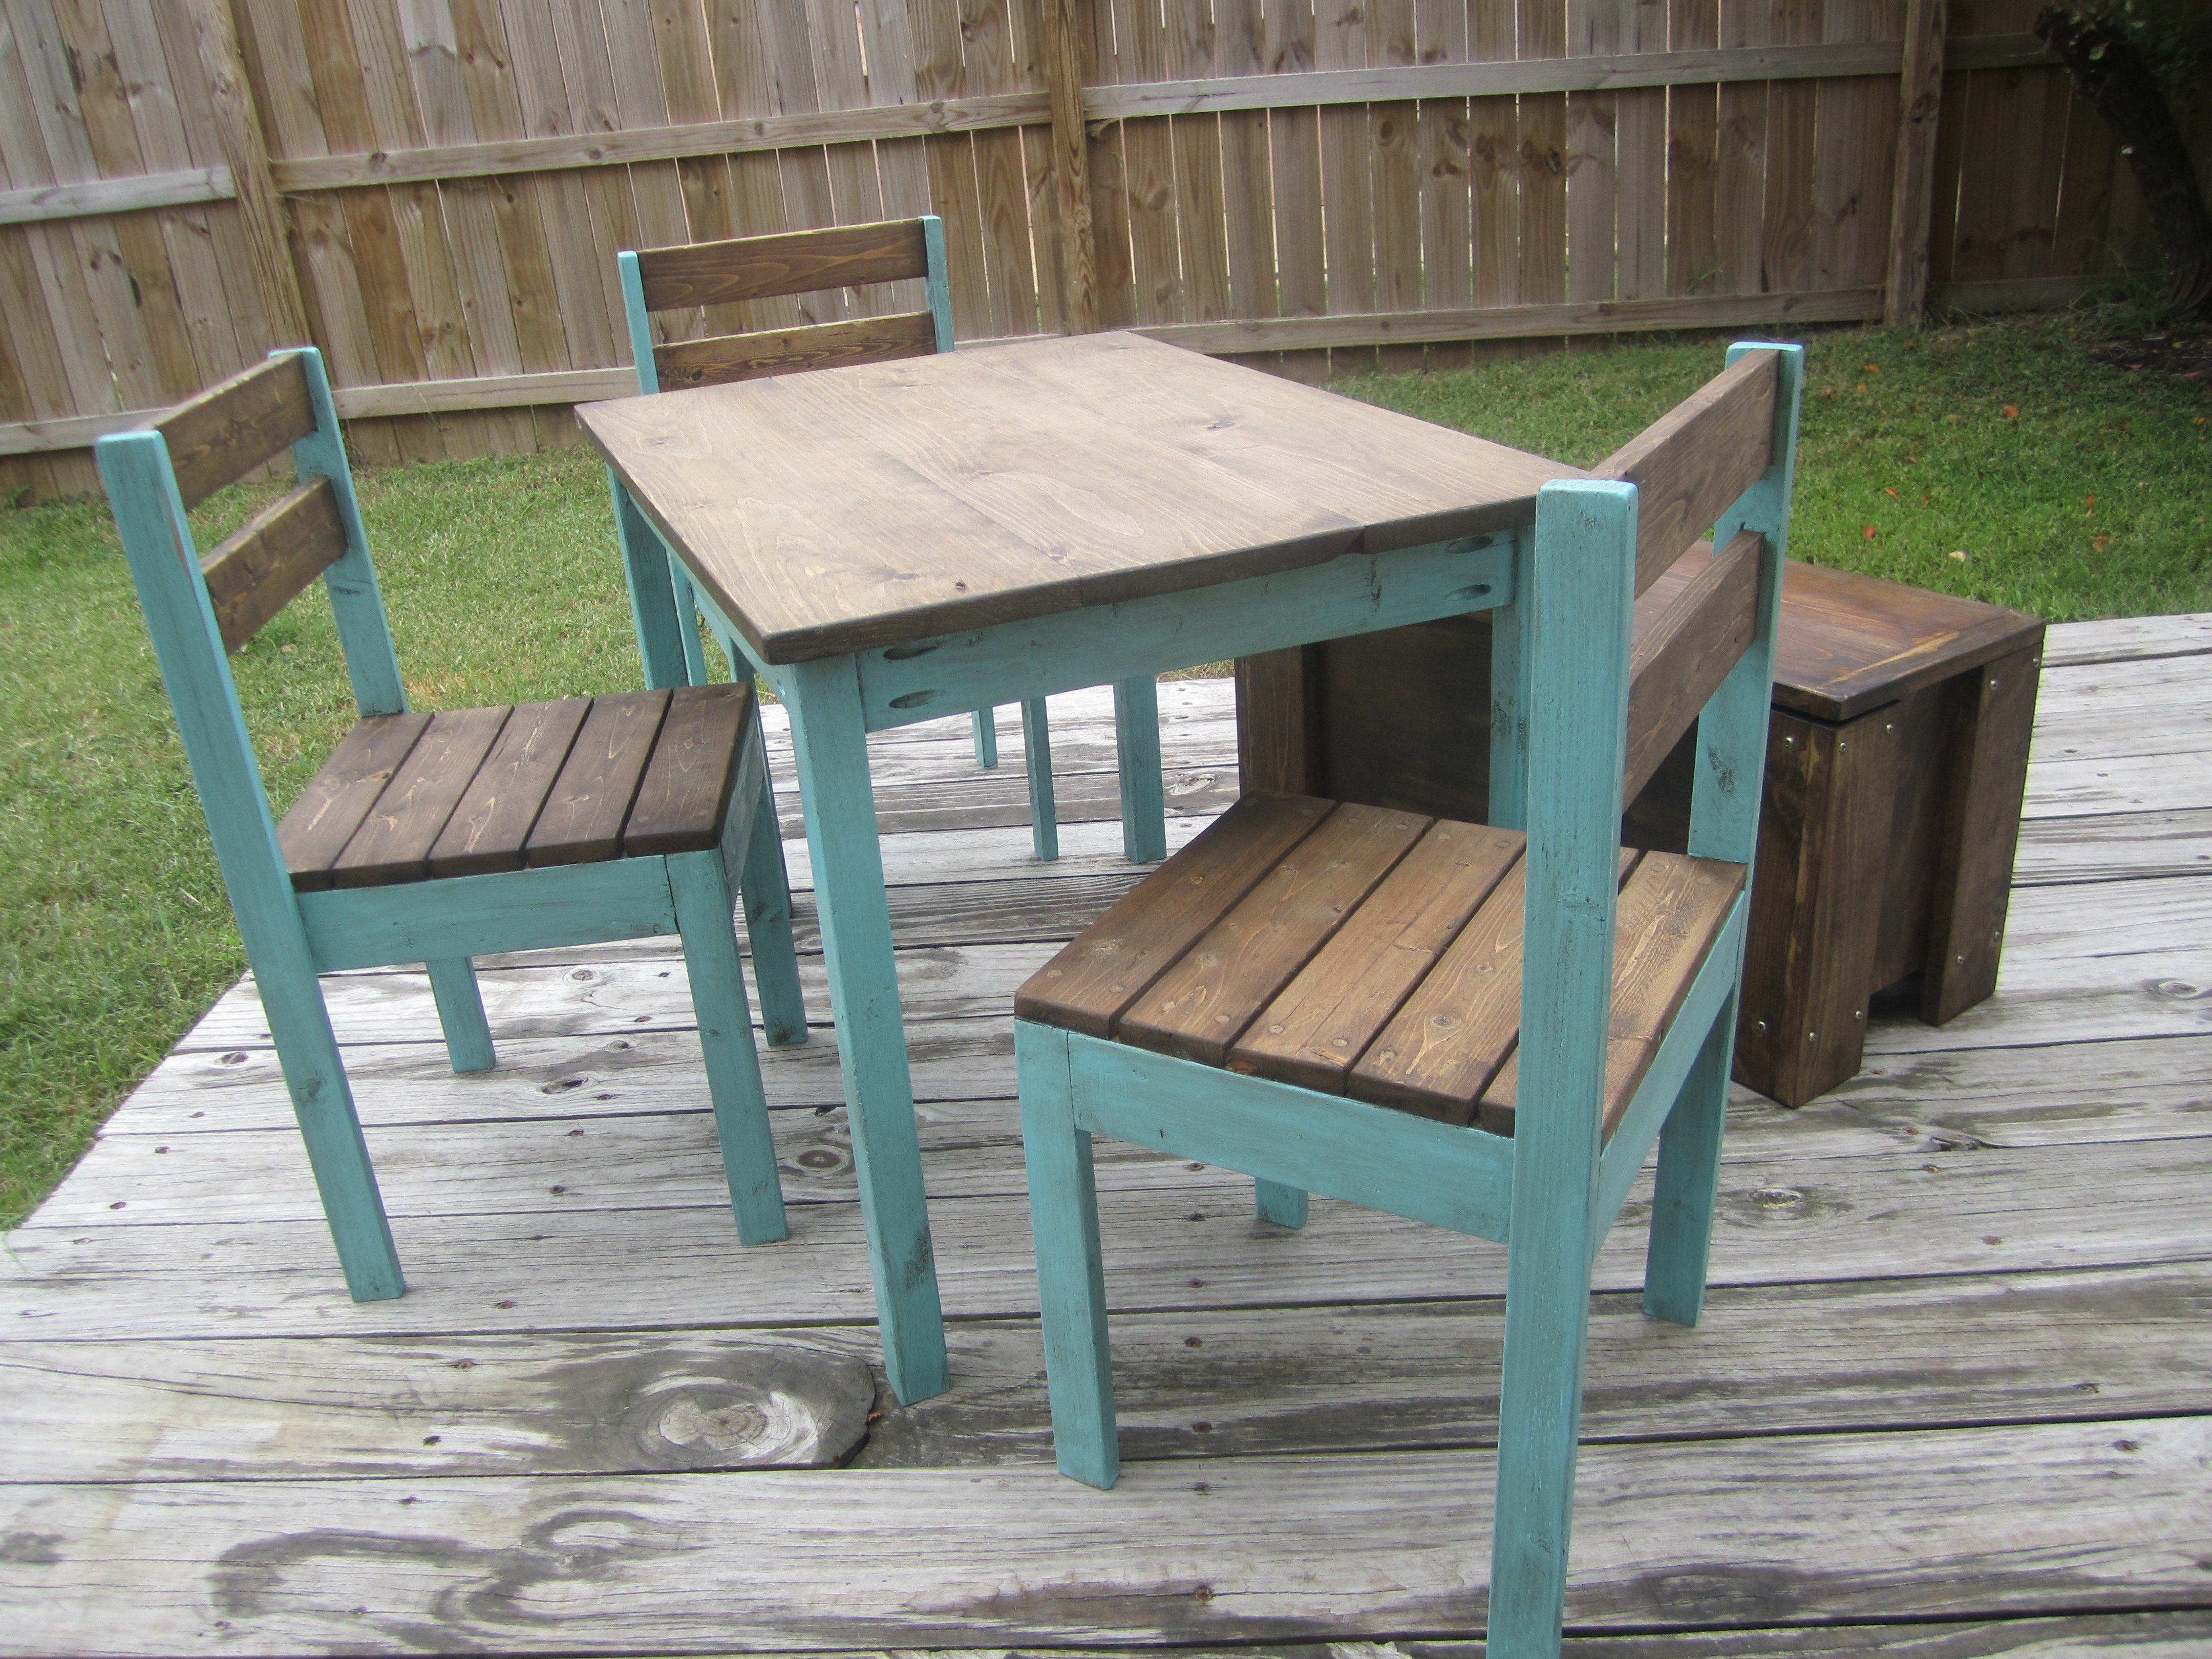
So i made these chairs to go with the table i built. I actually built 7 of them at a time, three for me and four for a friend. I had a little over a hundred pieces of wood to put together which became a chore, so i don't recommend doing so many at once. I got burnt out quite a few times, hence why it took me a month to finish (couple hrs here every other day or so).
Anyways, the plans we very easy, the wood on the other hand was difficult. Using furring strips is inexpensive but i had more then i wanted split, and they wern't all the same thickness. Making the front legs stick out more (no biggy) and some screws went too far through even though they were the right size according to the plans. Two 1x3's furring strips sandwiched together ( side aprons) might not take a 1 1/4 inch screw. I had to cut off a few tips from the inside of the chairs.
All in all i am so happy with the end results, even happier that in total it only costed me less then $20 in wood! Would have been a little more because i got the wood for the chairs for free, in exchange to build my friend a table and chairs set like mine.
Link to the Chair Plans.
http://ana-white.com/2010/11/plans/four-dollar-stackable-children’s-chairs


My wife was going to buy a resin bench from Lowes. I told her I would build a REAL bench out of wood myself. I found the One Board Bench plan and thought it was a classic looking bench that was not too busy and perfect for the spot under the pine tree she was wanting to fill.
I went with Cape Cod Grey Olympic Maximum Semi-Transparent Exterior Stain instead of the natural wood look using the Tung Oil originally in the plans.
This was my first venture into woodworking since middle school shop class. I've always wanted to get back into it and I thought this was a perfect project to get my feet wet and shake off the rust.
Thanks, Ana, for your amazing plans and the inspiration I needed to get back to a hobby I love after over 20yrs.
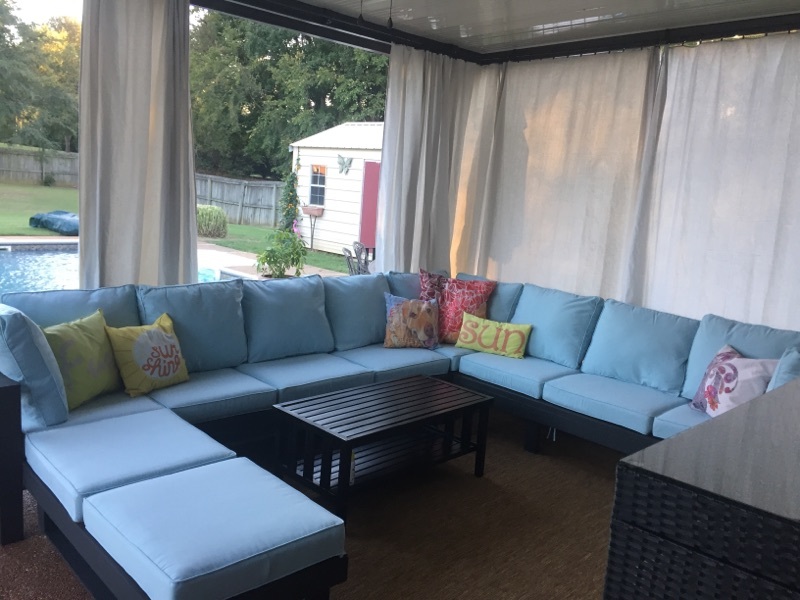
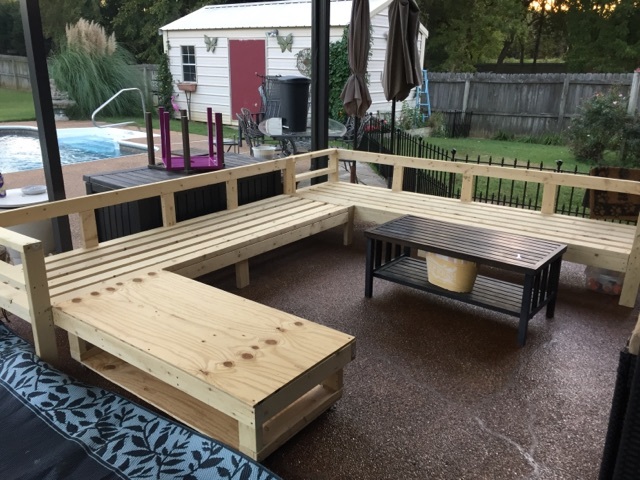
Thank you Ana! the directions were right up my alley! We have never built anything and now we cant wait to build our next piece! we used your insturctions and made minor modications to accomodate our cushions. We got brave and designed our own ottoman and put it on casters :-) We also added a few back support and legs.
We used one coat of deck over paint
Cushions were on sale at ballard http://www.ballarddesigns.com/ballard-basic-seat-and-back-cushion-set-w…
Quality of cushions is amazing! they were the most expensive part. We spent $600.00 on cushions.
Wood, putty, paint and screws about 350.

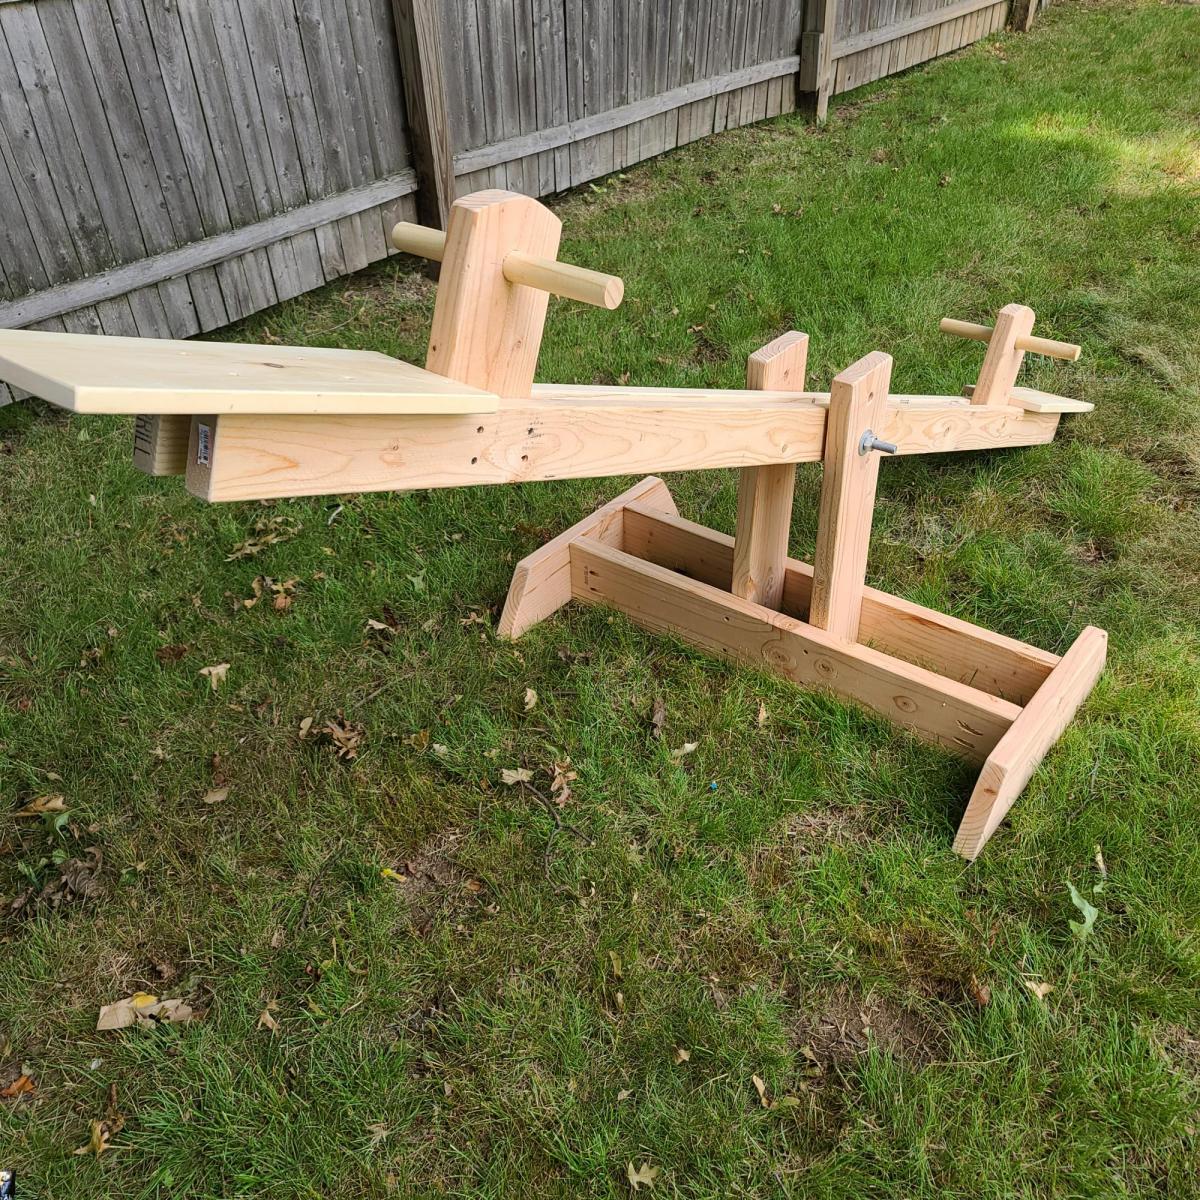
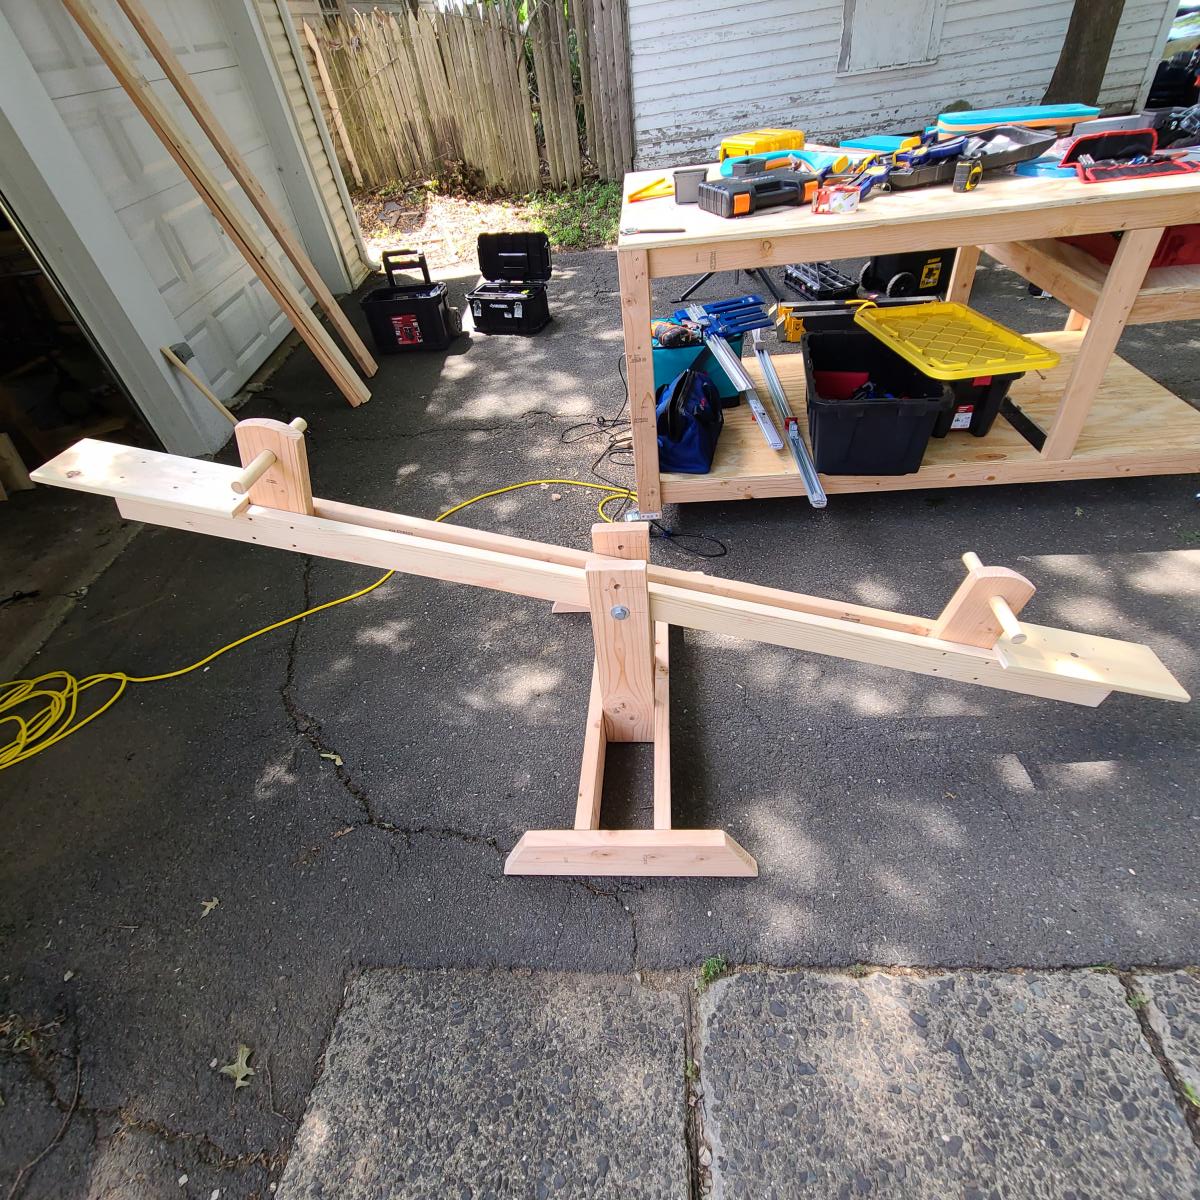
My kids are loving this seesaw. Easy to make. I followed the plans, and completed it all in about 8hrs. Rounded all sharp edges to make it a bit safer. I recommend adding an additional hole on the vertical support if you have smaller kids. A tip, pre-tape the washers over the holes prior to final assembly. It'll save you a lot of frustration.

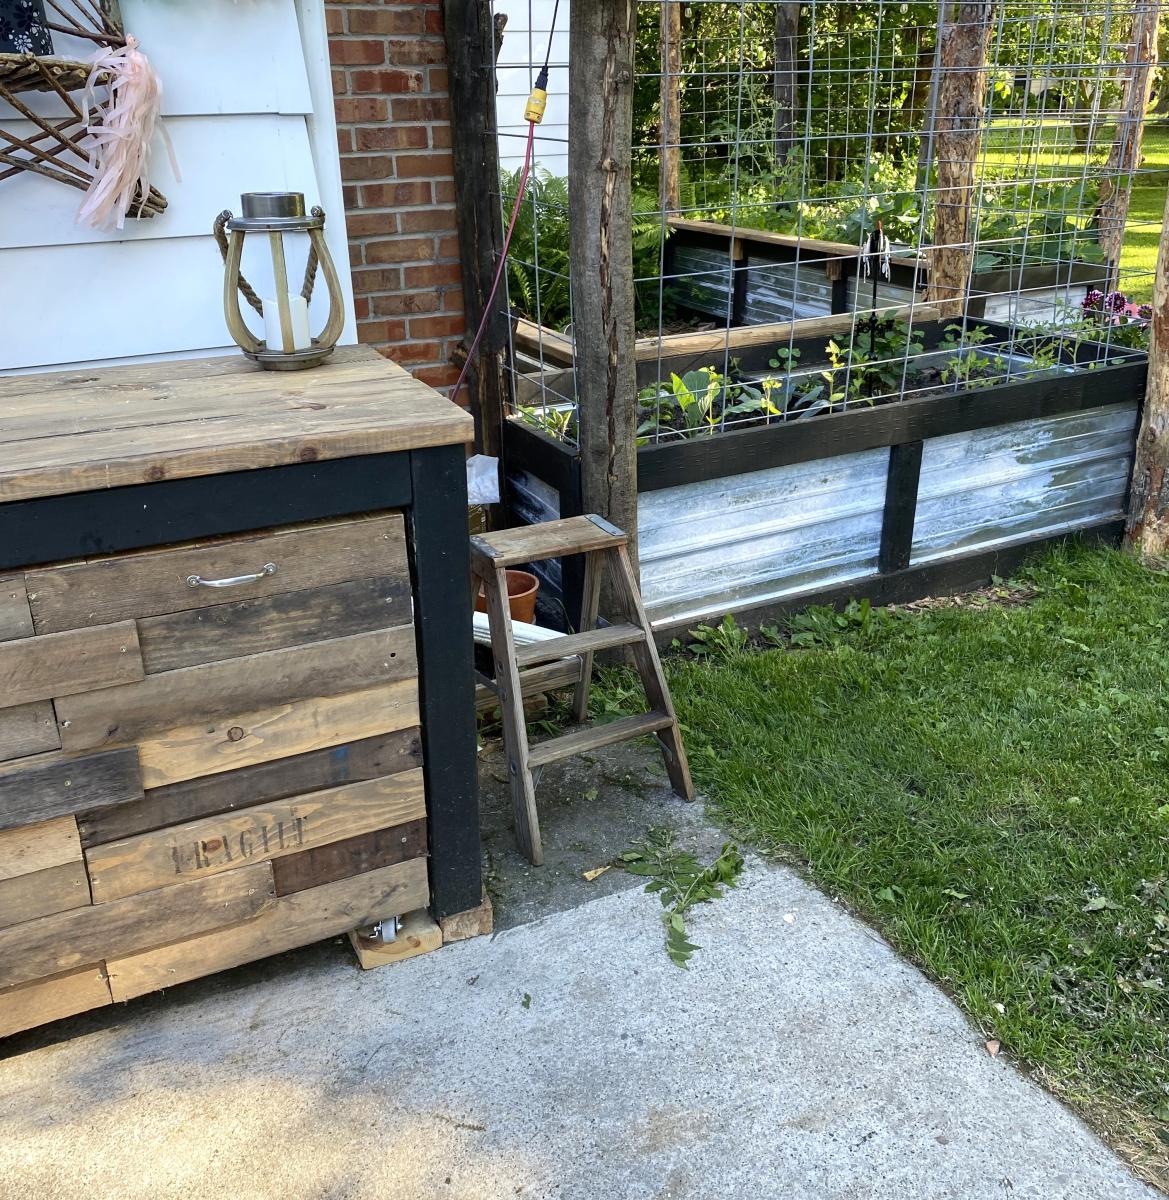
I made the grill table to match my chicken coop and my garden beds. Absolutely LOVE it!! (Ignore my cracked concrete (the table is level). The plans were easy to follow and it all came together great!! Thank you!
Kelly

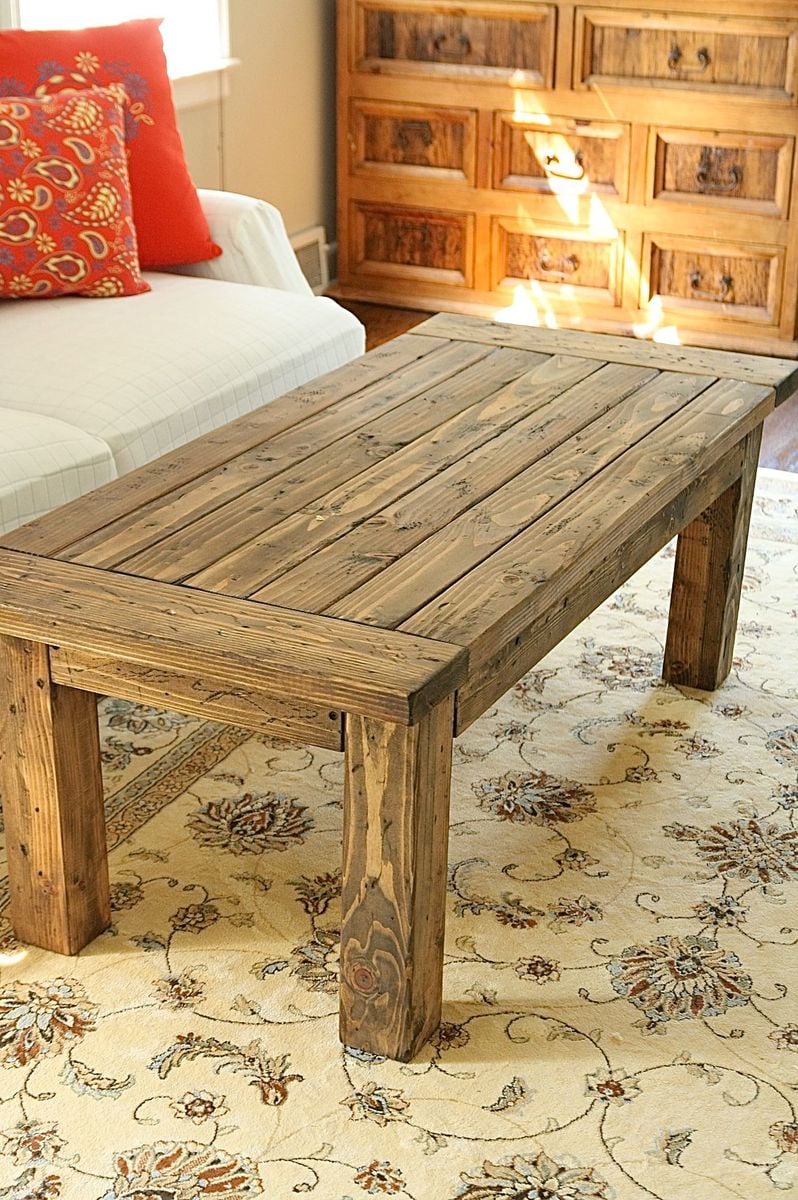
This coffee table was our first DIY project! We found the plan from Ana's website, and it was pretty easy to follow. We are so happy with the result and now we are itching to build everything for our house!
Sun, 09/23/2012 - 21:39
So beautiful! Thank you so much for sharing photos! The finish is beautiful!
Mon, 09/24/2012 - 02:53
Looks very nice! And yes - you're right, Ana's projects - they give enthusiasm to dare to do smth. Keep on homemaking - your coffee table is great!
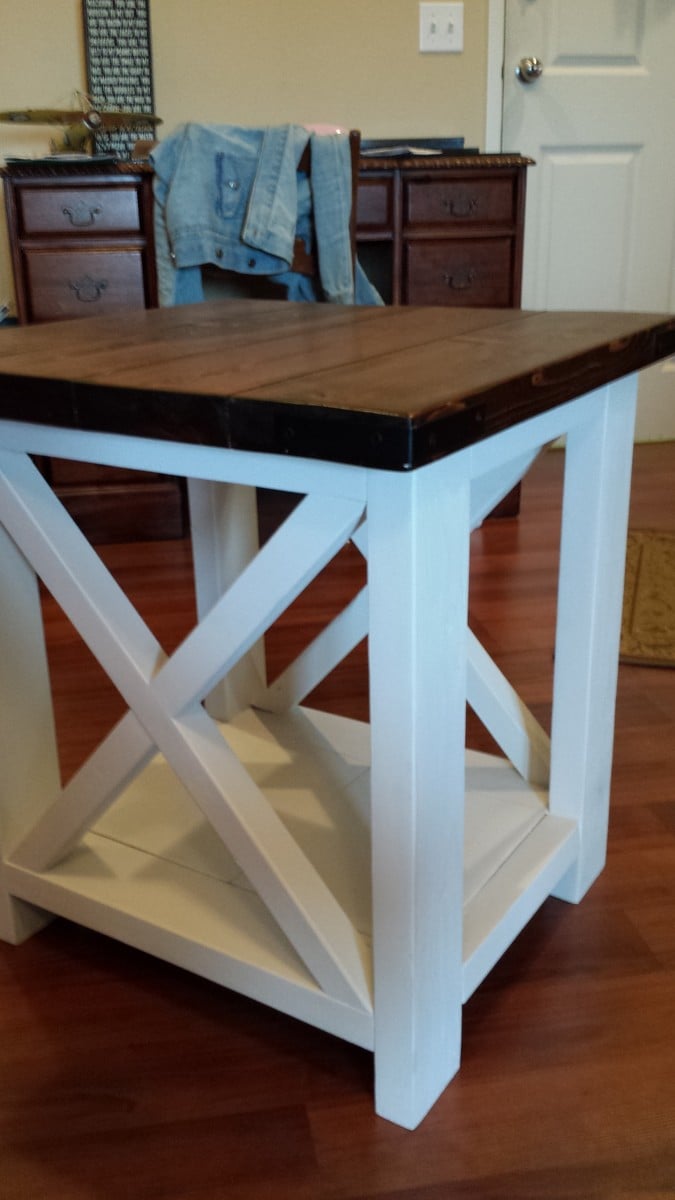
My wife and I got the idea of the two tone from one of the other brag posts and thought it looked great. The end table plans called for it to be 27 by 27.5, we thought this was a little to big for our home so I changed the plans to 22 x 22. Everything worked out great with the exception of some tool spacing issues. When screwing in the PHS my drill did not fit in the smaller space that was left after I shortened the length. Over all I am thankful for this website and all of the people who give back. We saved a lot of money doing these two projects and they turned out exactly how we wanted.

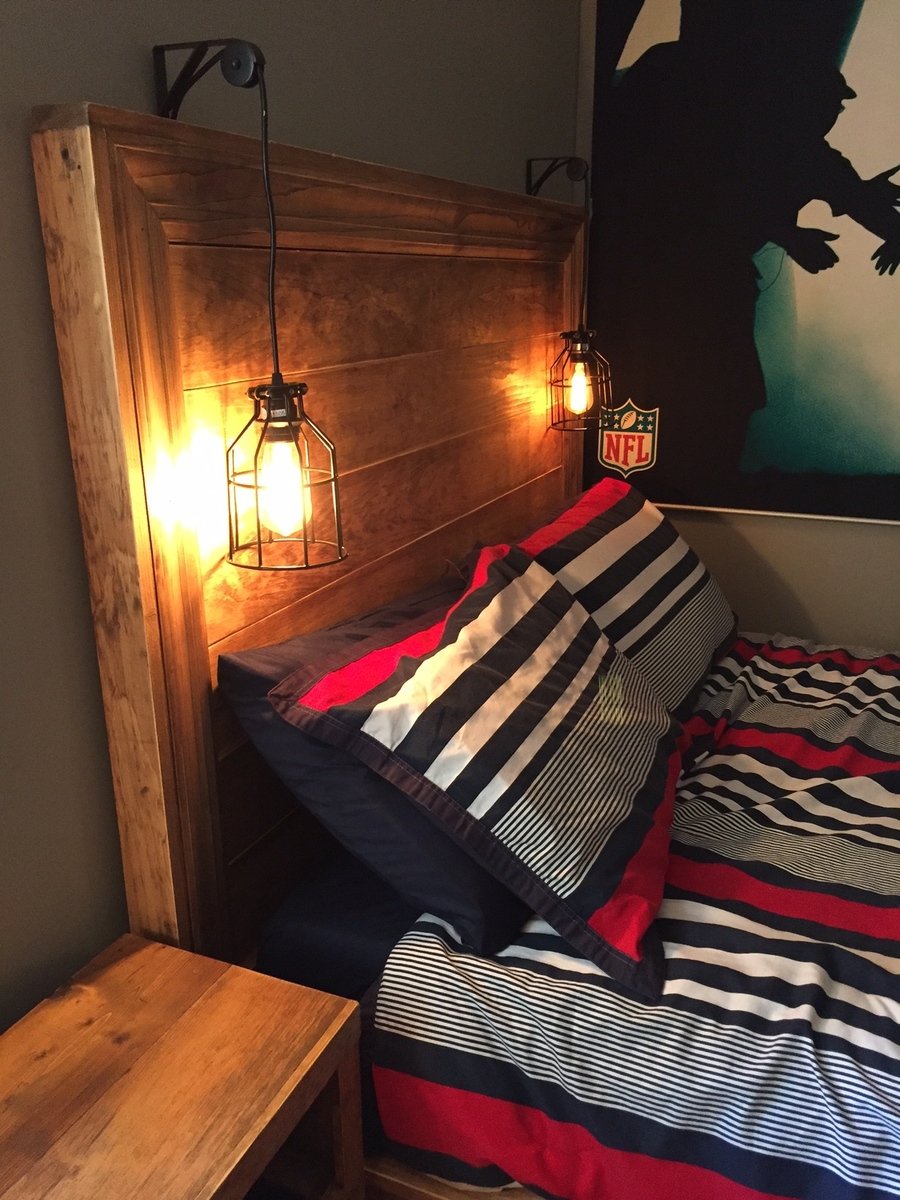
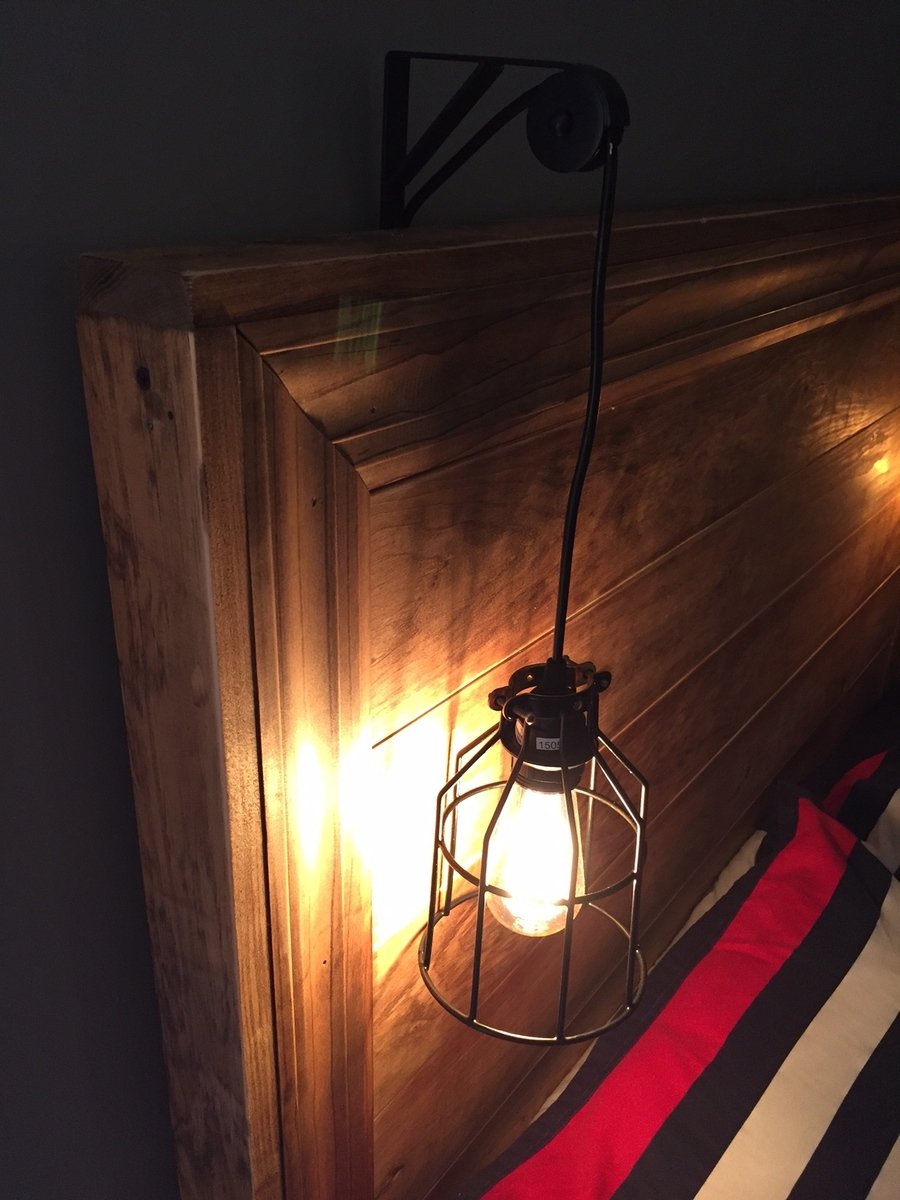
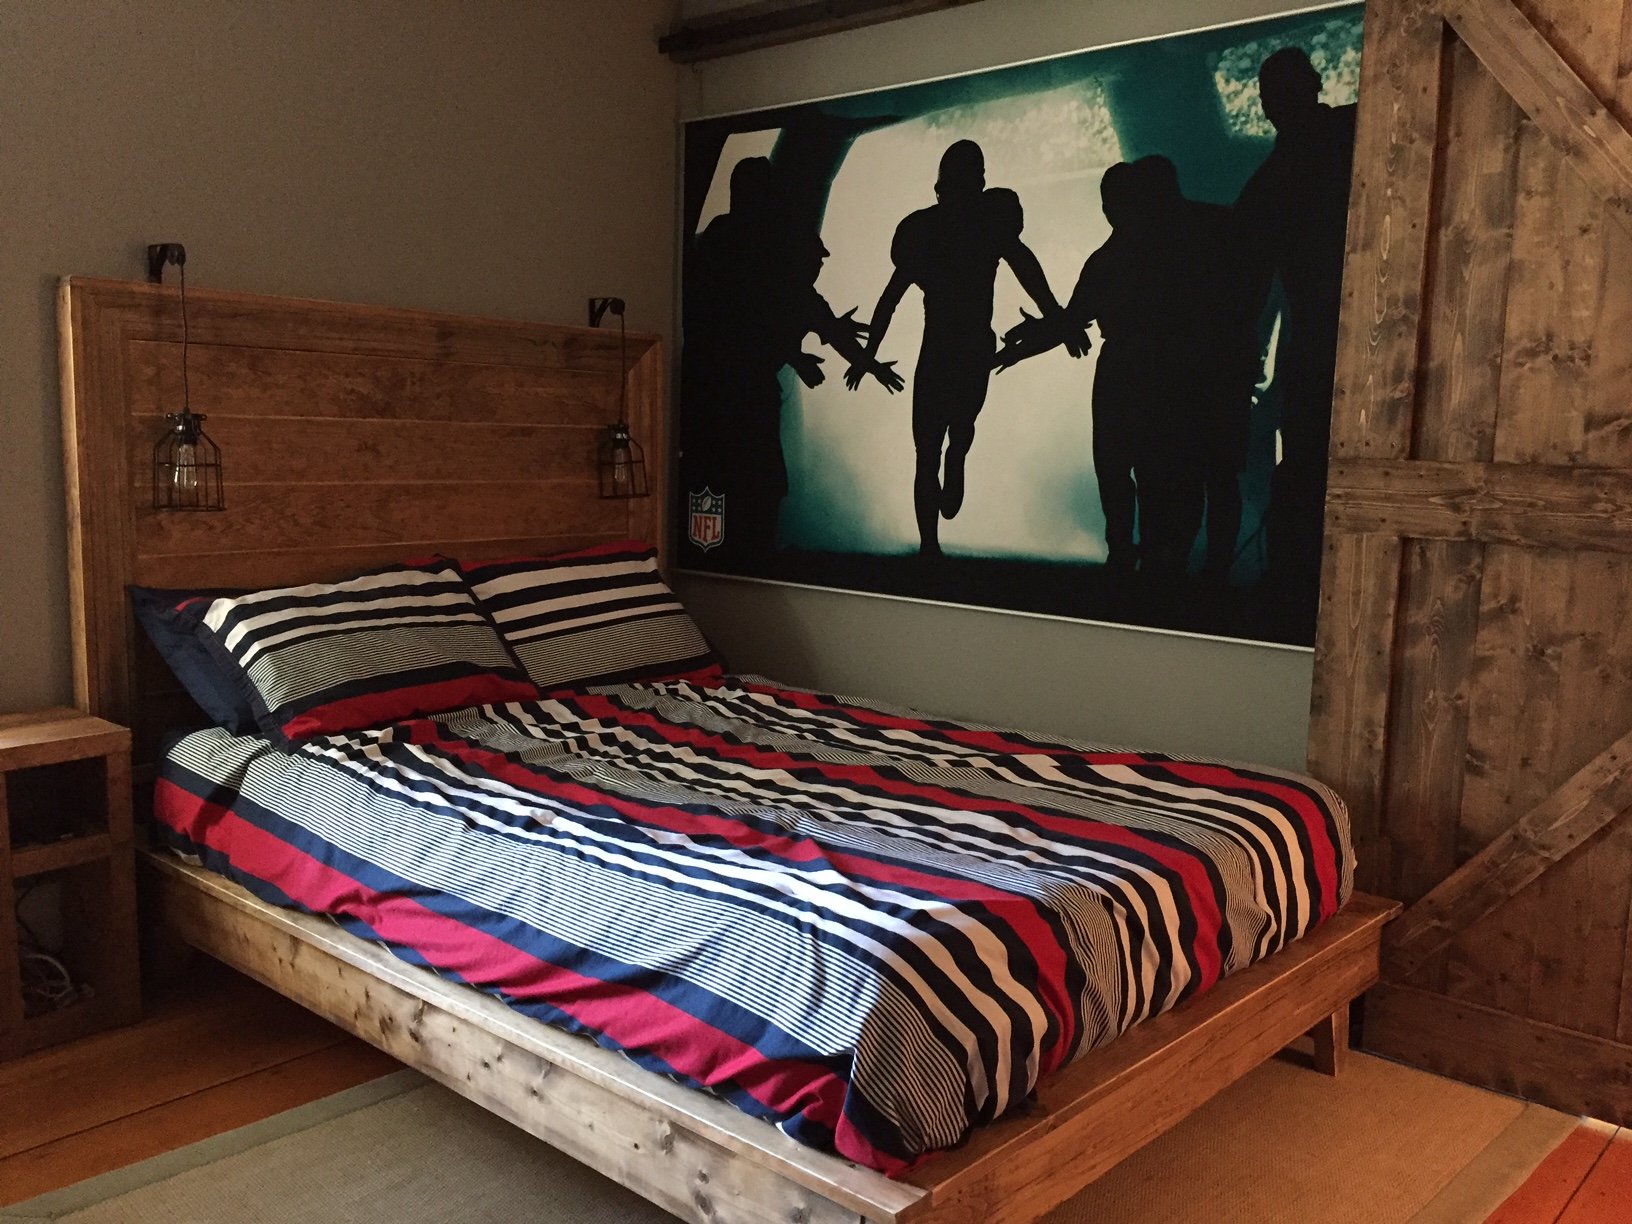
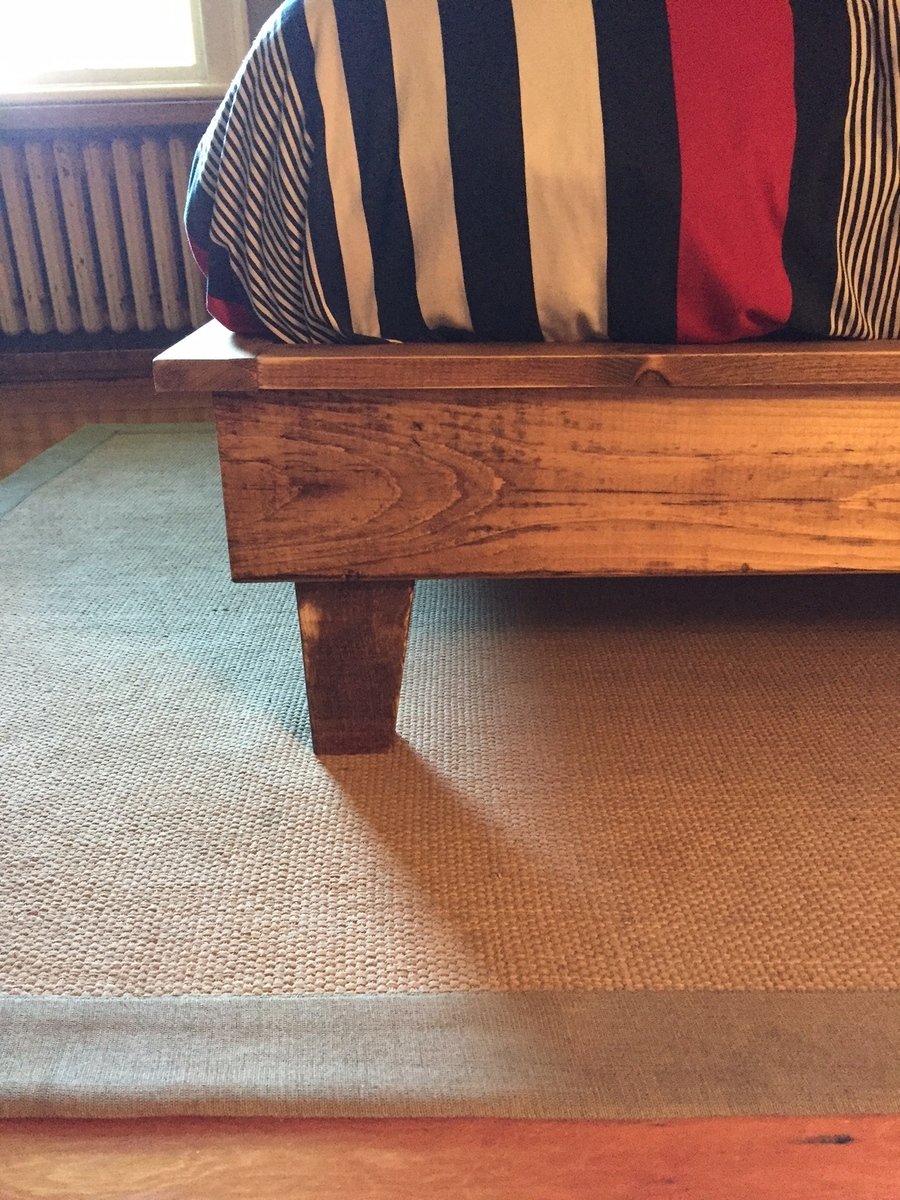
I love this bed in my son's room. They were wonderful plans that were easy to follow. The only change I made was to make the feet slightly taller so he could slide underbed storage containers underneath. My only mistake was not planning ahead for how I would attach the headboard to the frame. It ended up not being necessary because the weight of the bed pins it against the wall, but If I ever wanted to make this for someone else I would want to solve that piece first.

Mon, 07/15/2019 - 13:53
Amazing job, I love the hanging light fixtures....and the matching side table....and the matching barn door. A dream bedroom for a kid! Thanks for sharing!
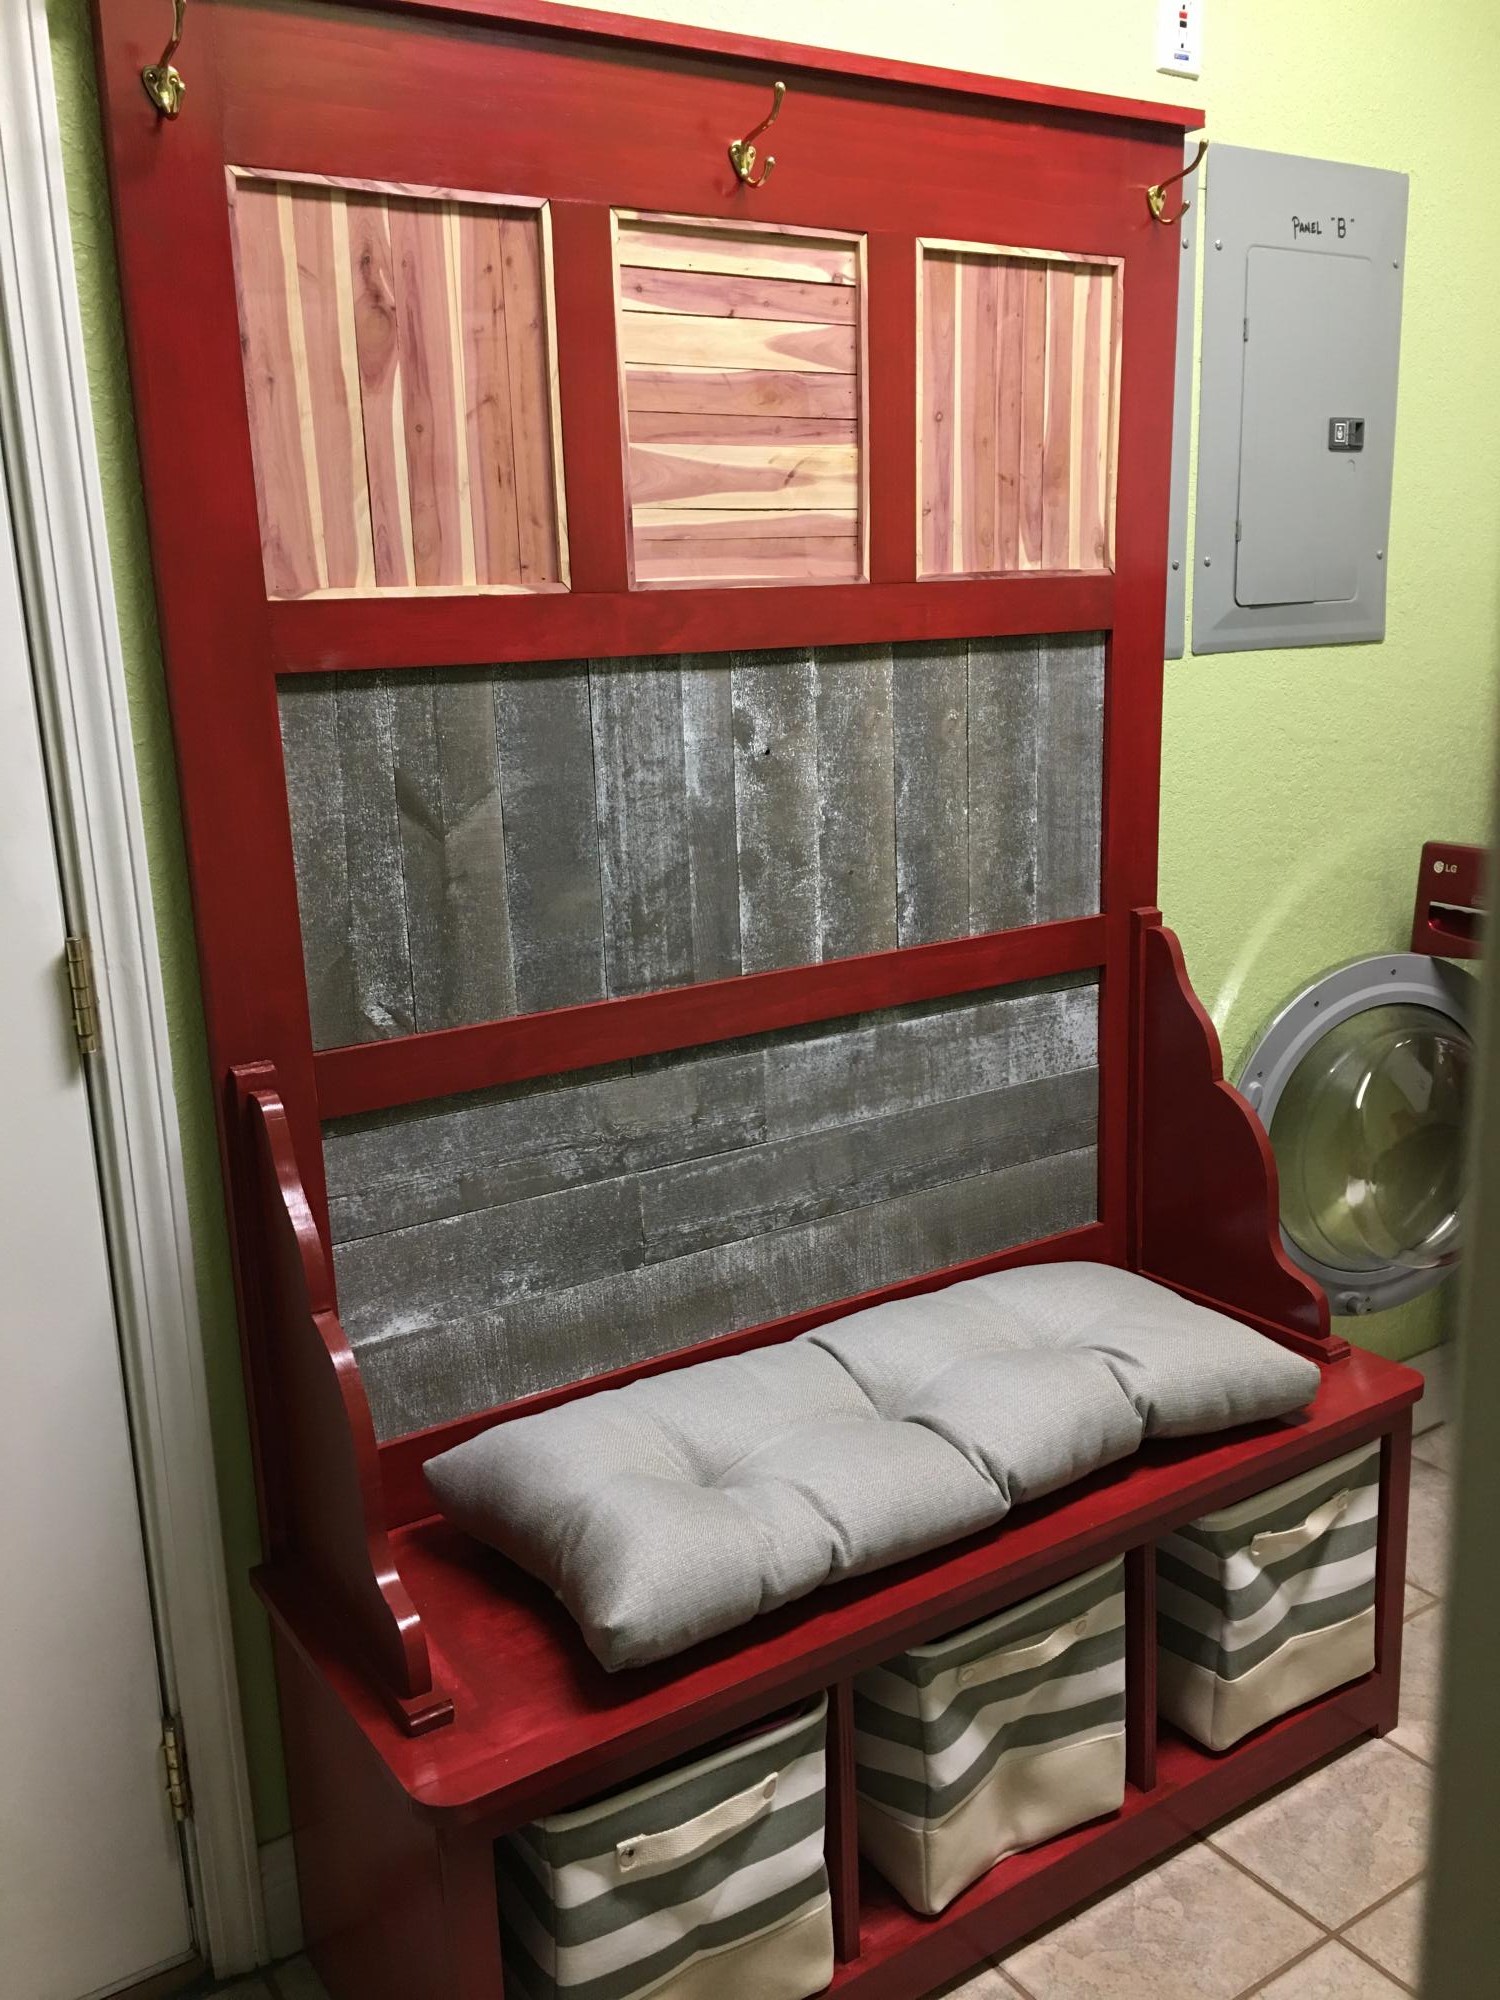
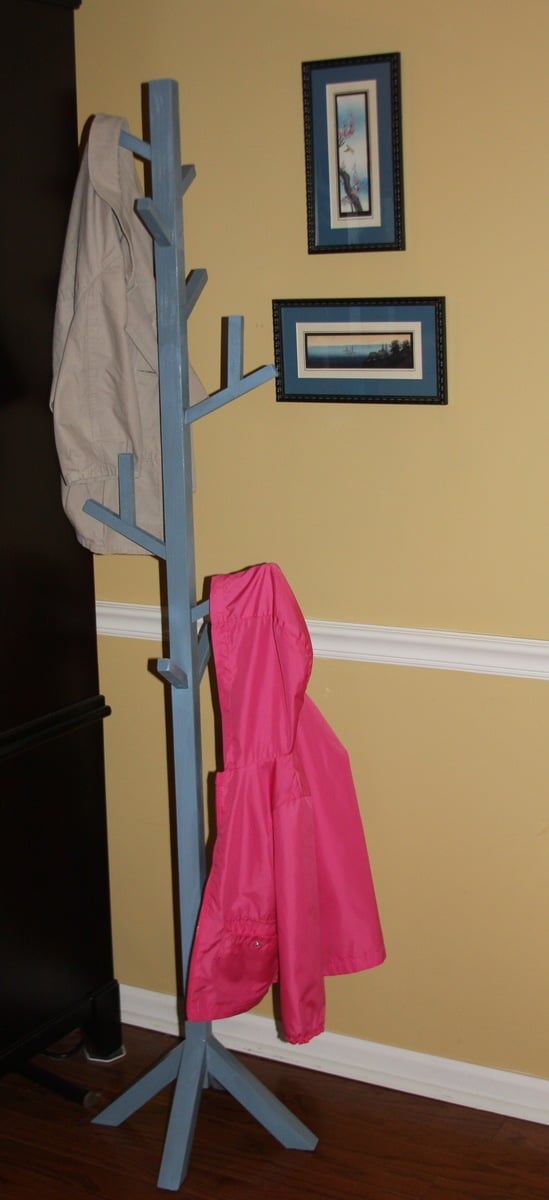
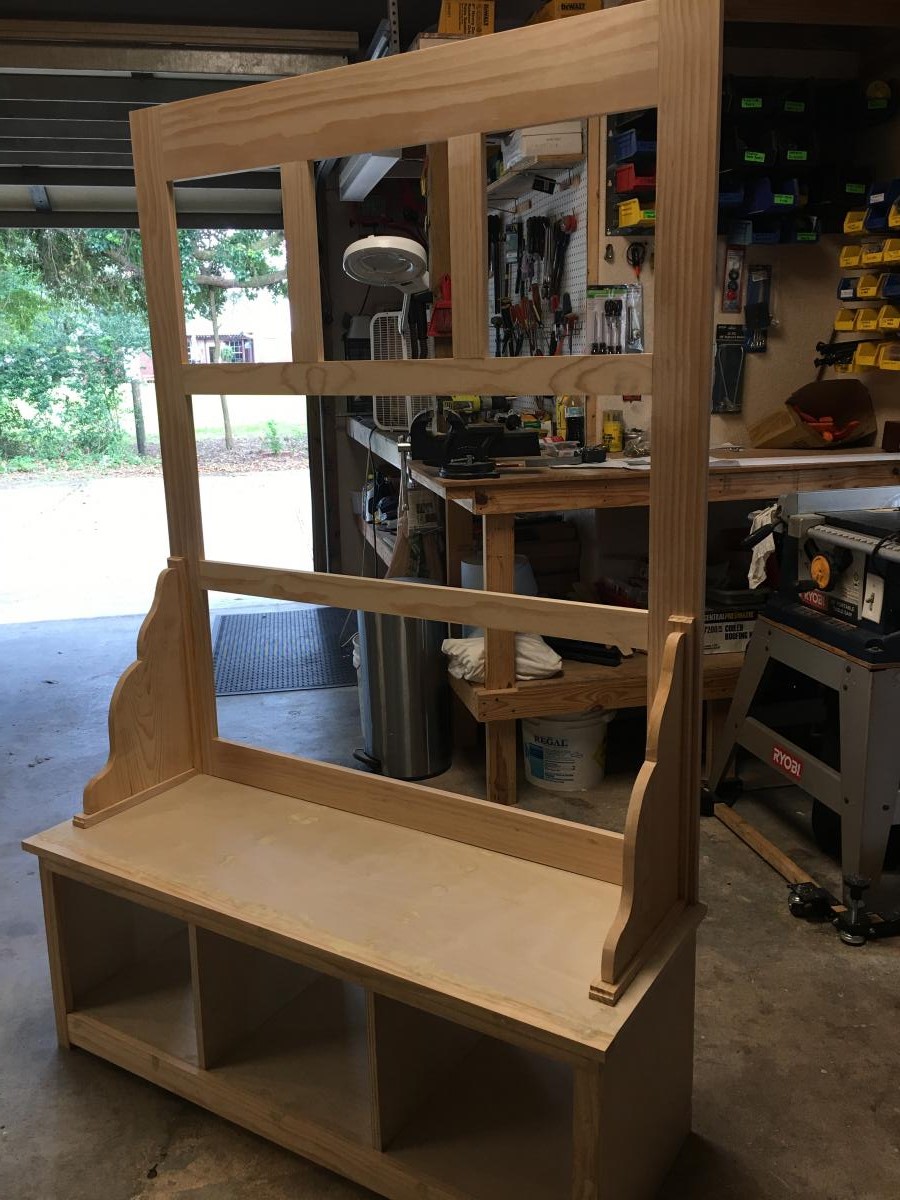
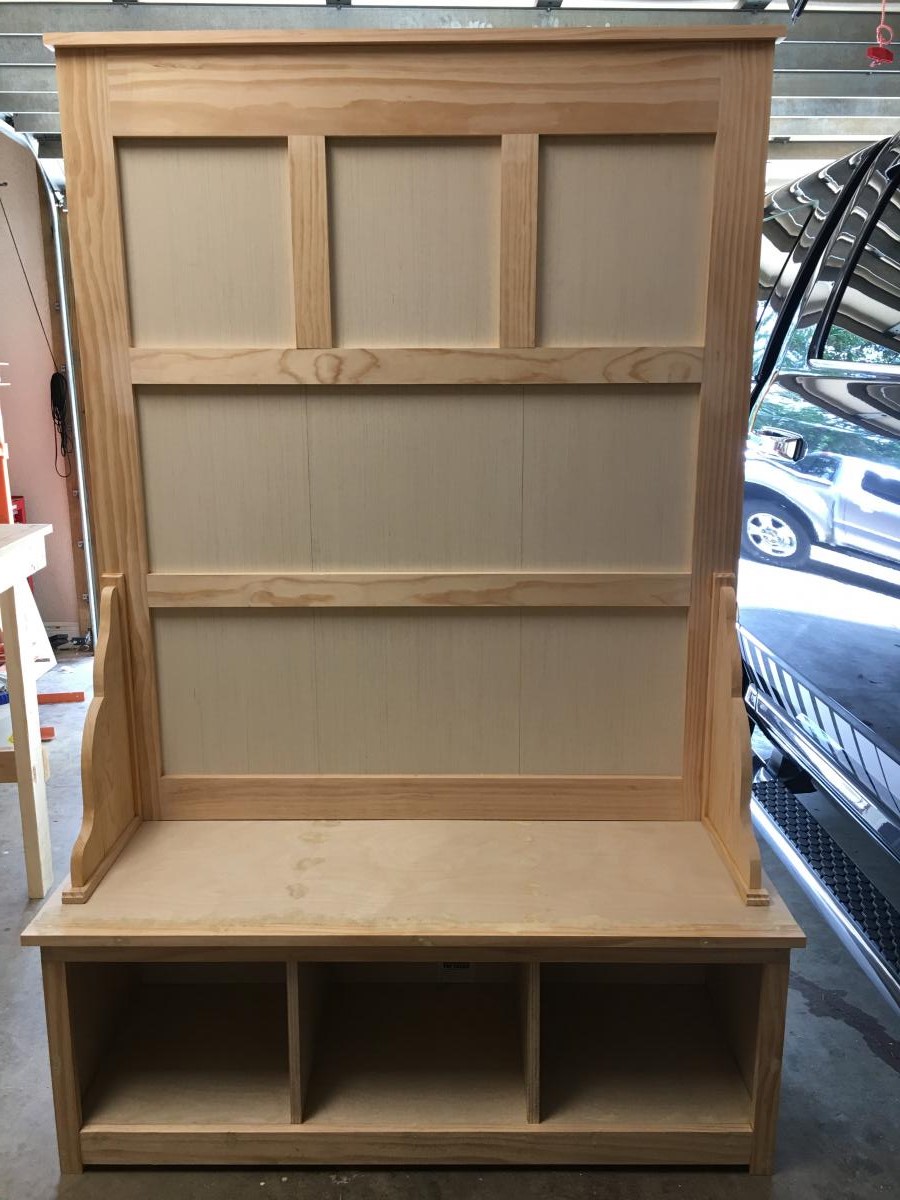
Hall tree I got off your web site, very simple to build, out standing plans I put my own twist into it. I had some cedar tree limbs on my property that I had cut down . I ripped down on my table saw and added to my project. it was a challenge to turn limbs into small boards but worked out well.
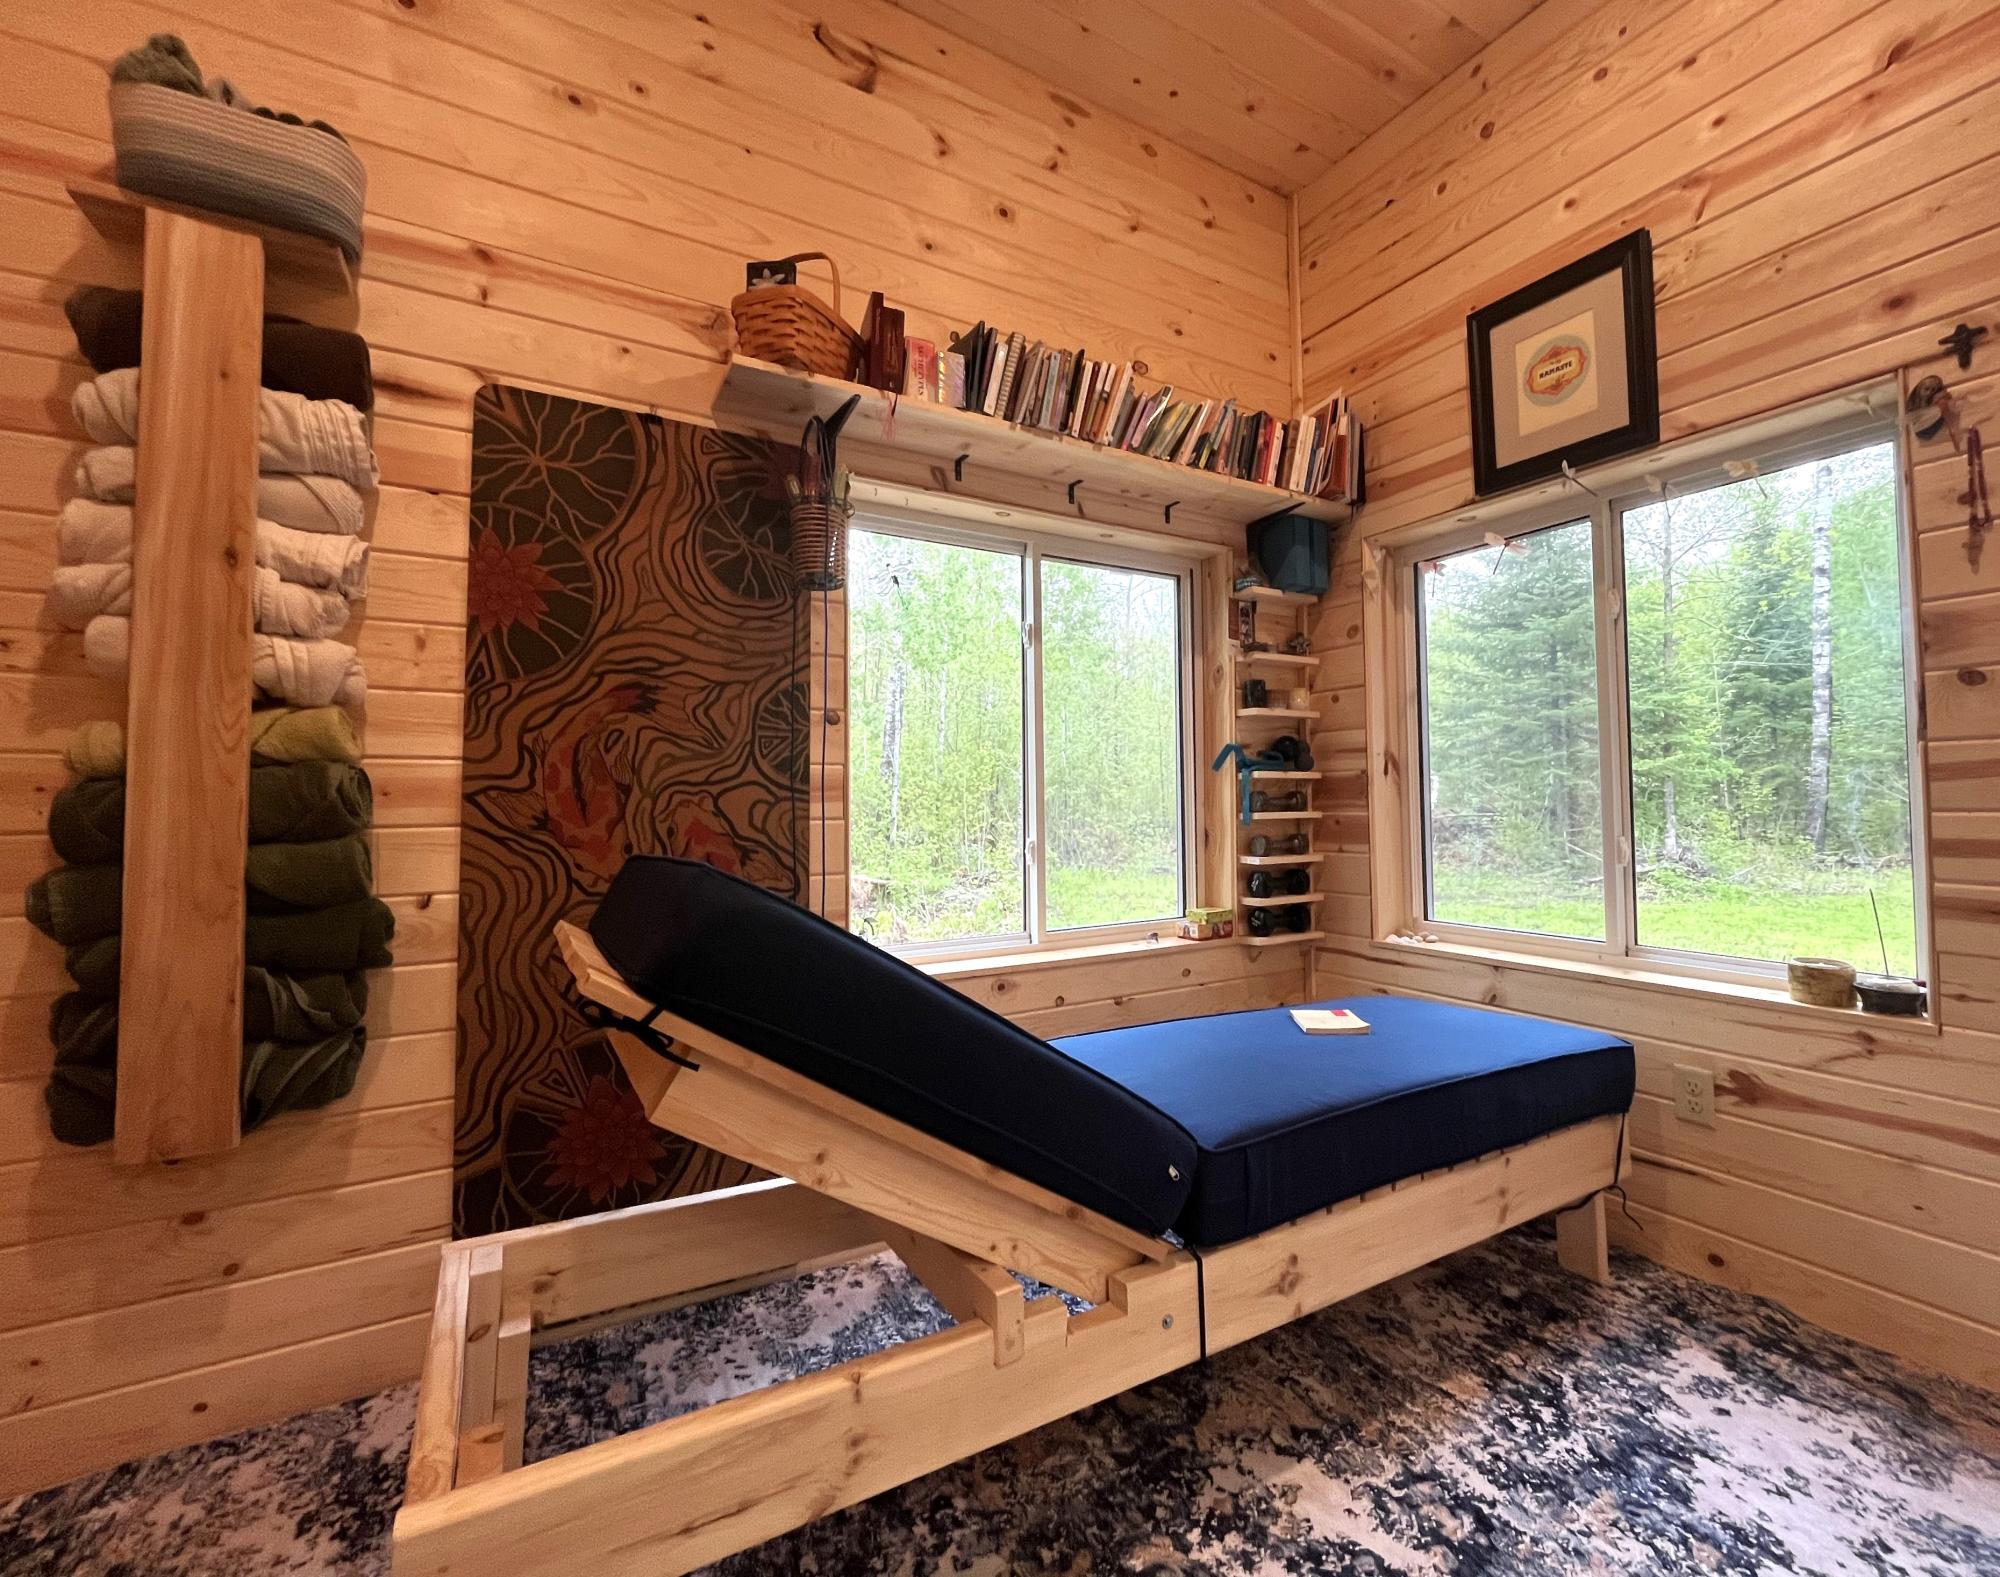
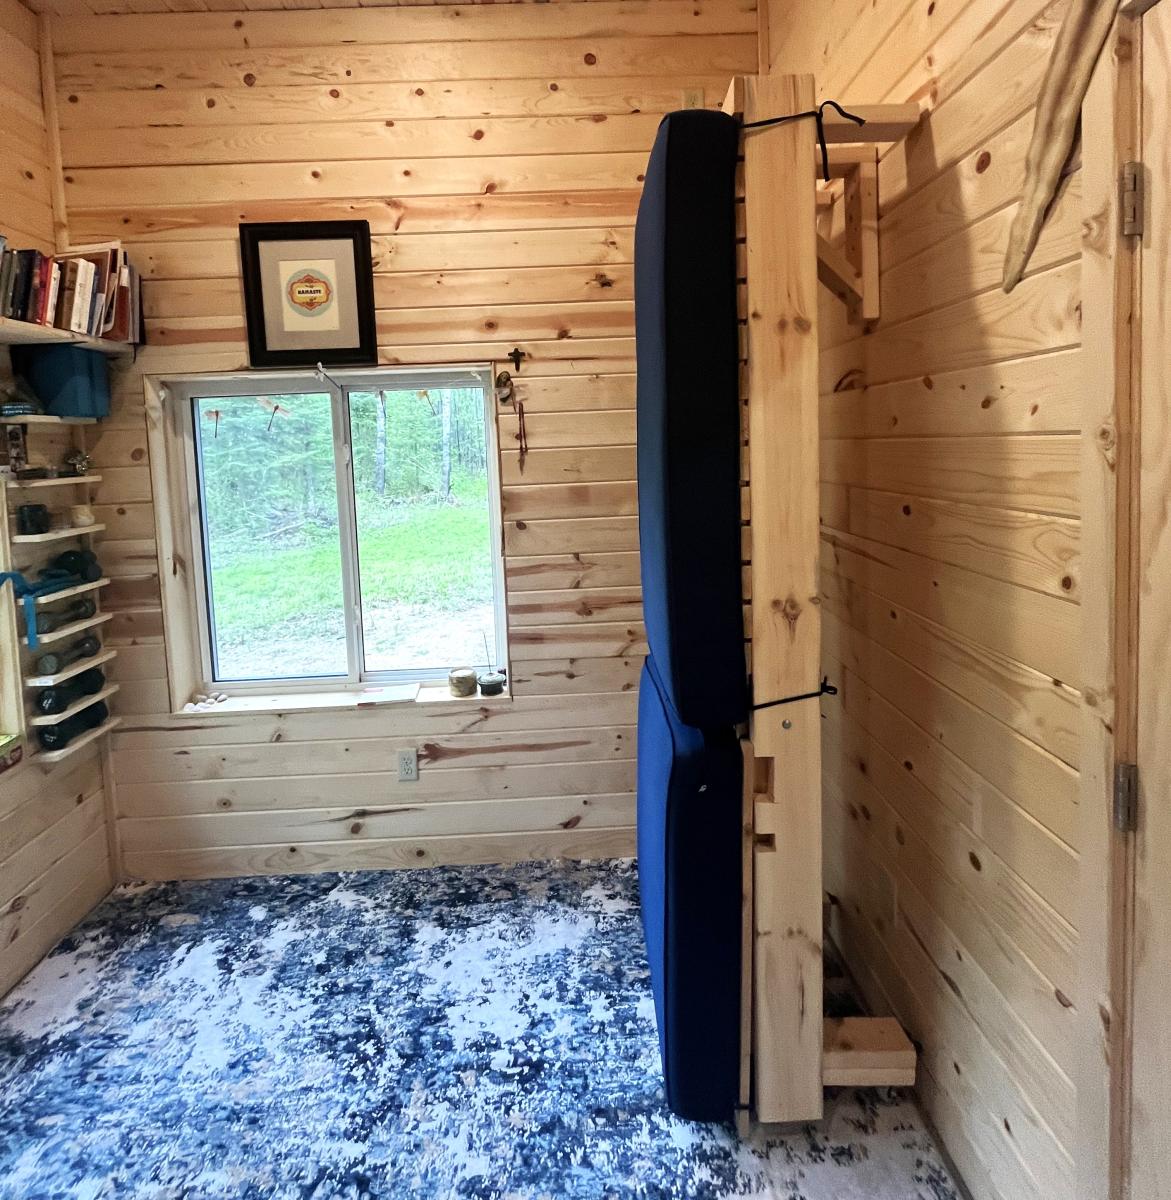
The 8’ chaise lounge… my first furniture build. Such a great plan to follow Ana! And since I need space for yoga I made a triangle brace to hang it on.
Laurie H
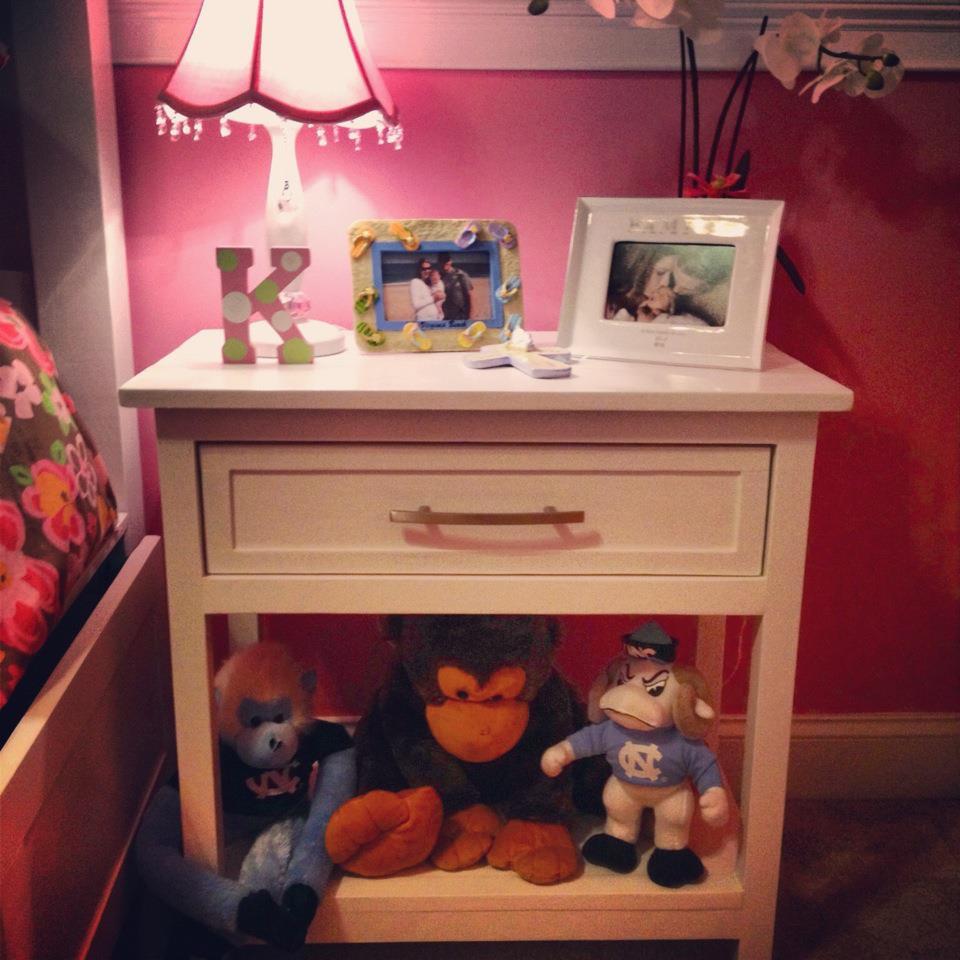
Built this bedside table to go along with the Farmhouse Storage Bed I built for my daughter. I added molding to the front of the drawer to match the molding on the drawers in her bed. I used a ratio based of the size of the drawers which left me using 1/4" plywood strips cut to 1" wide to frame out the box.