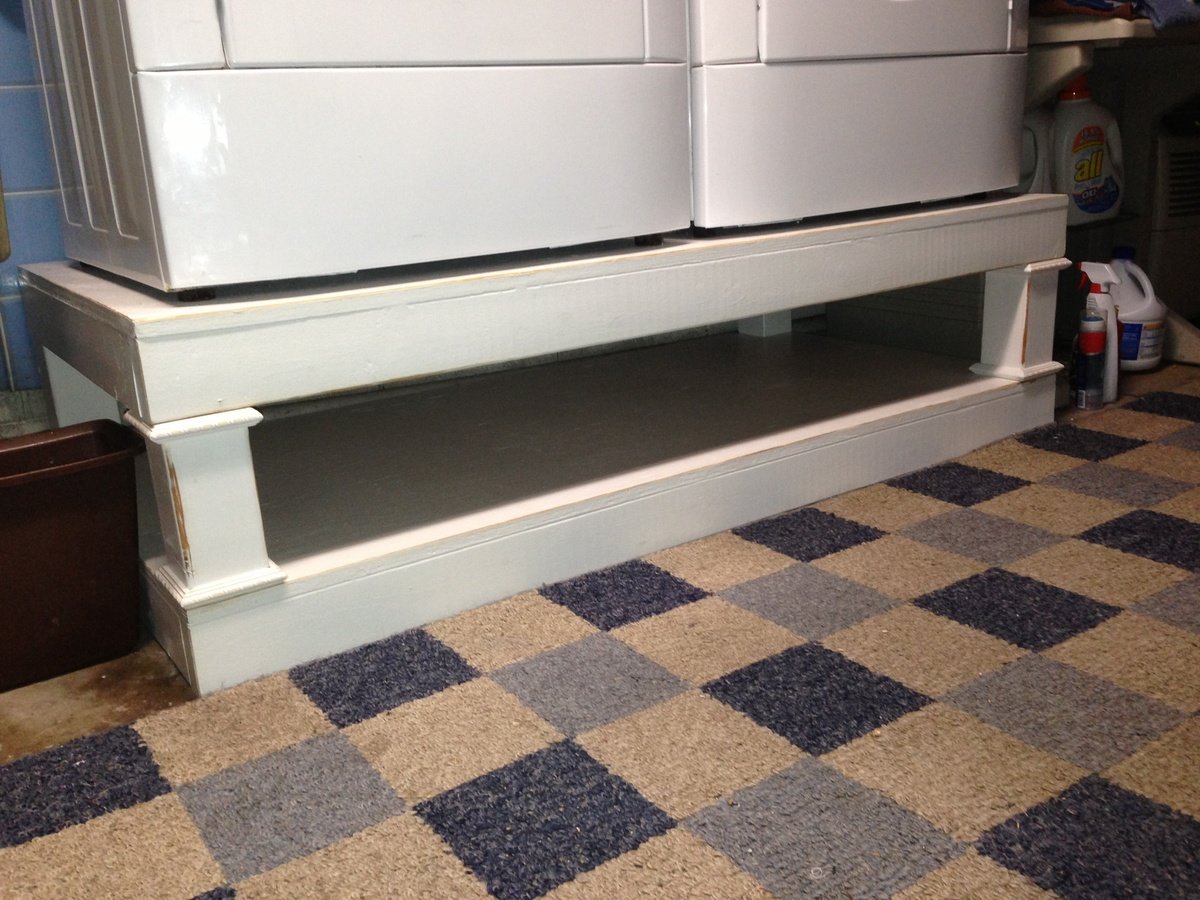
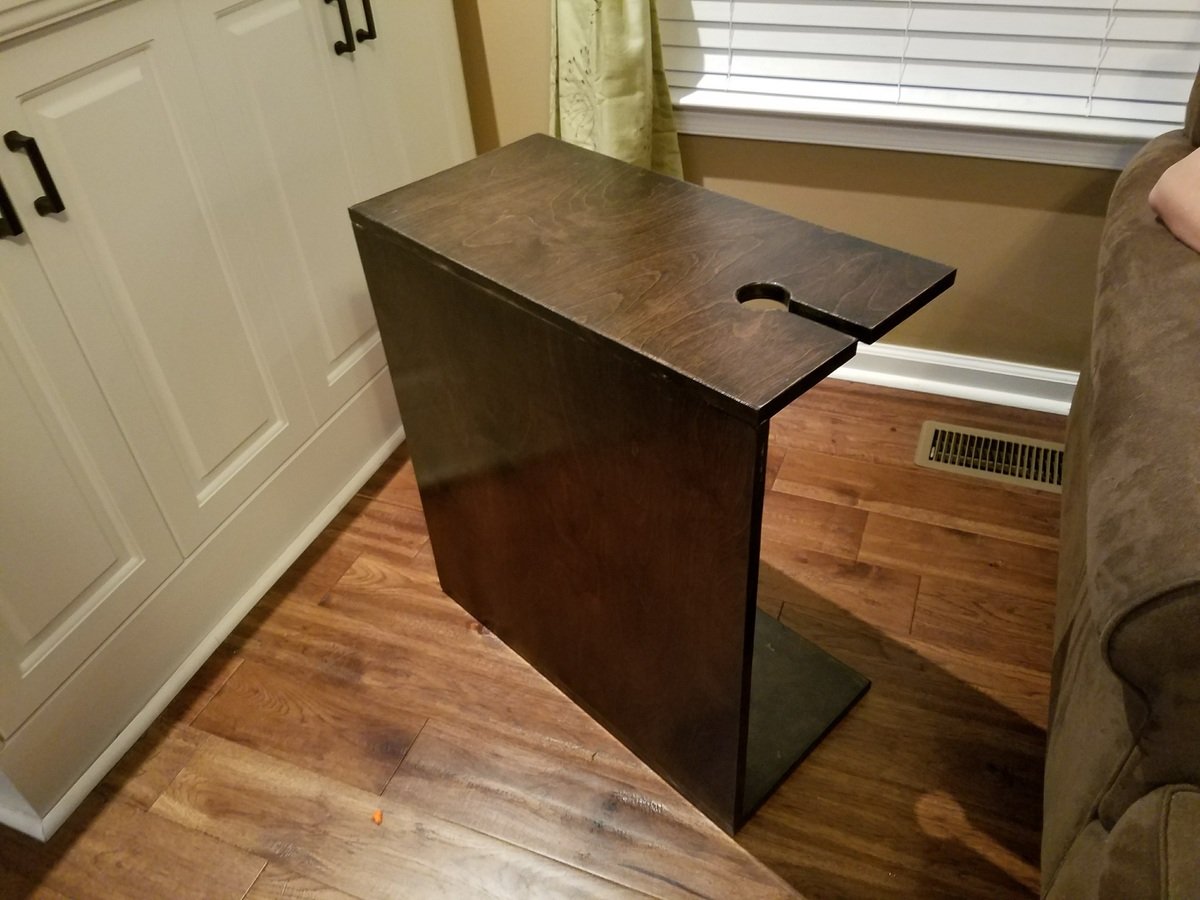
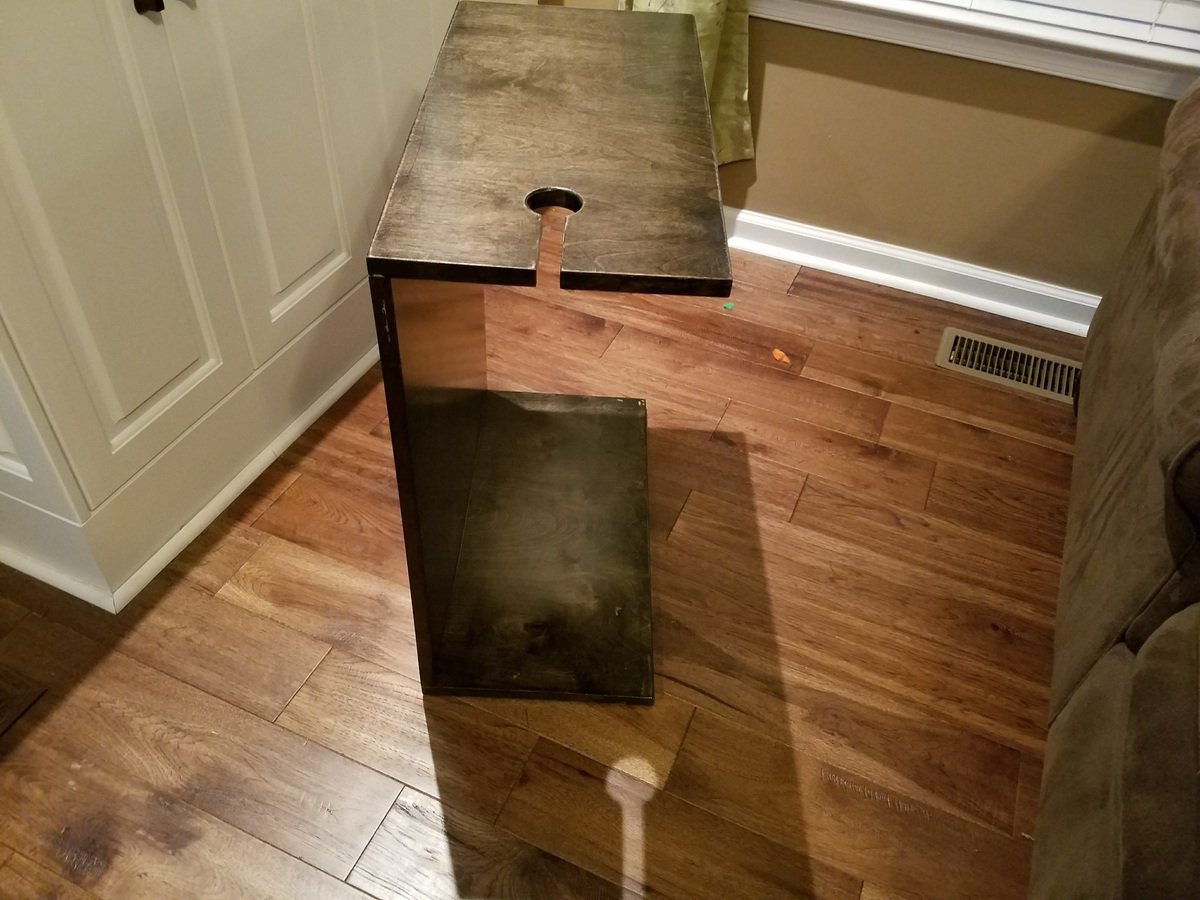
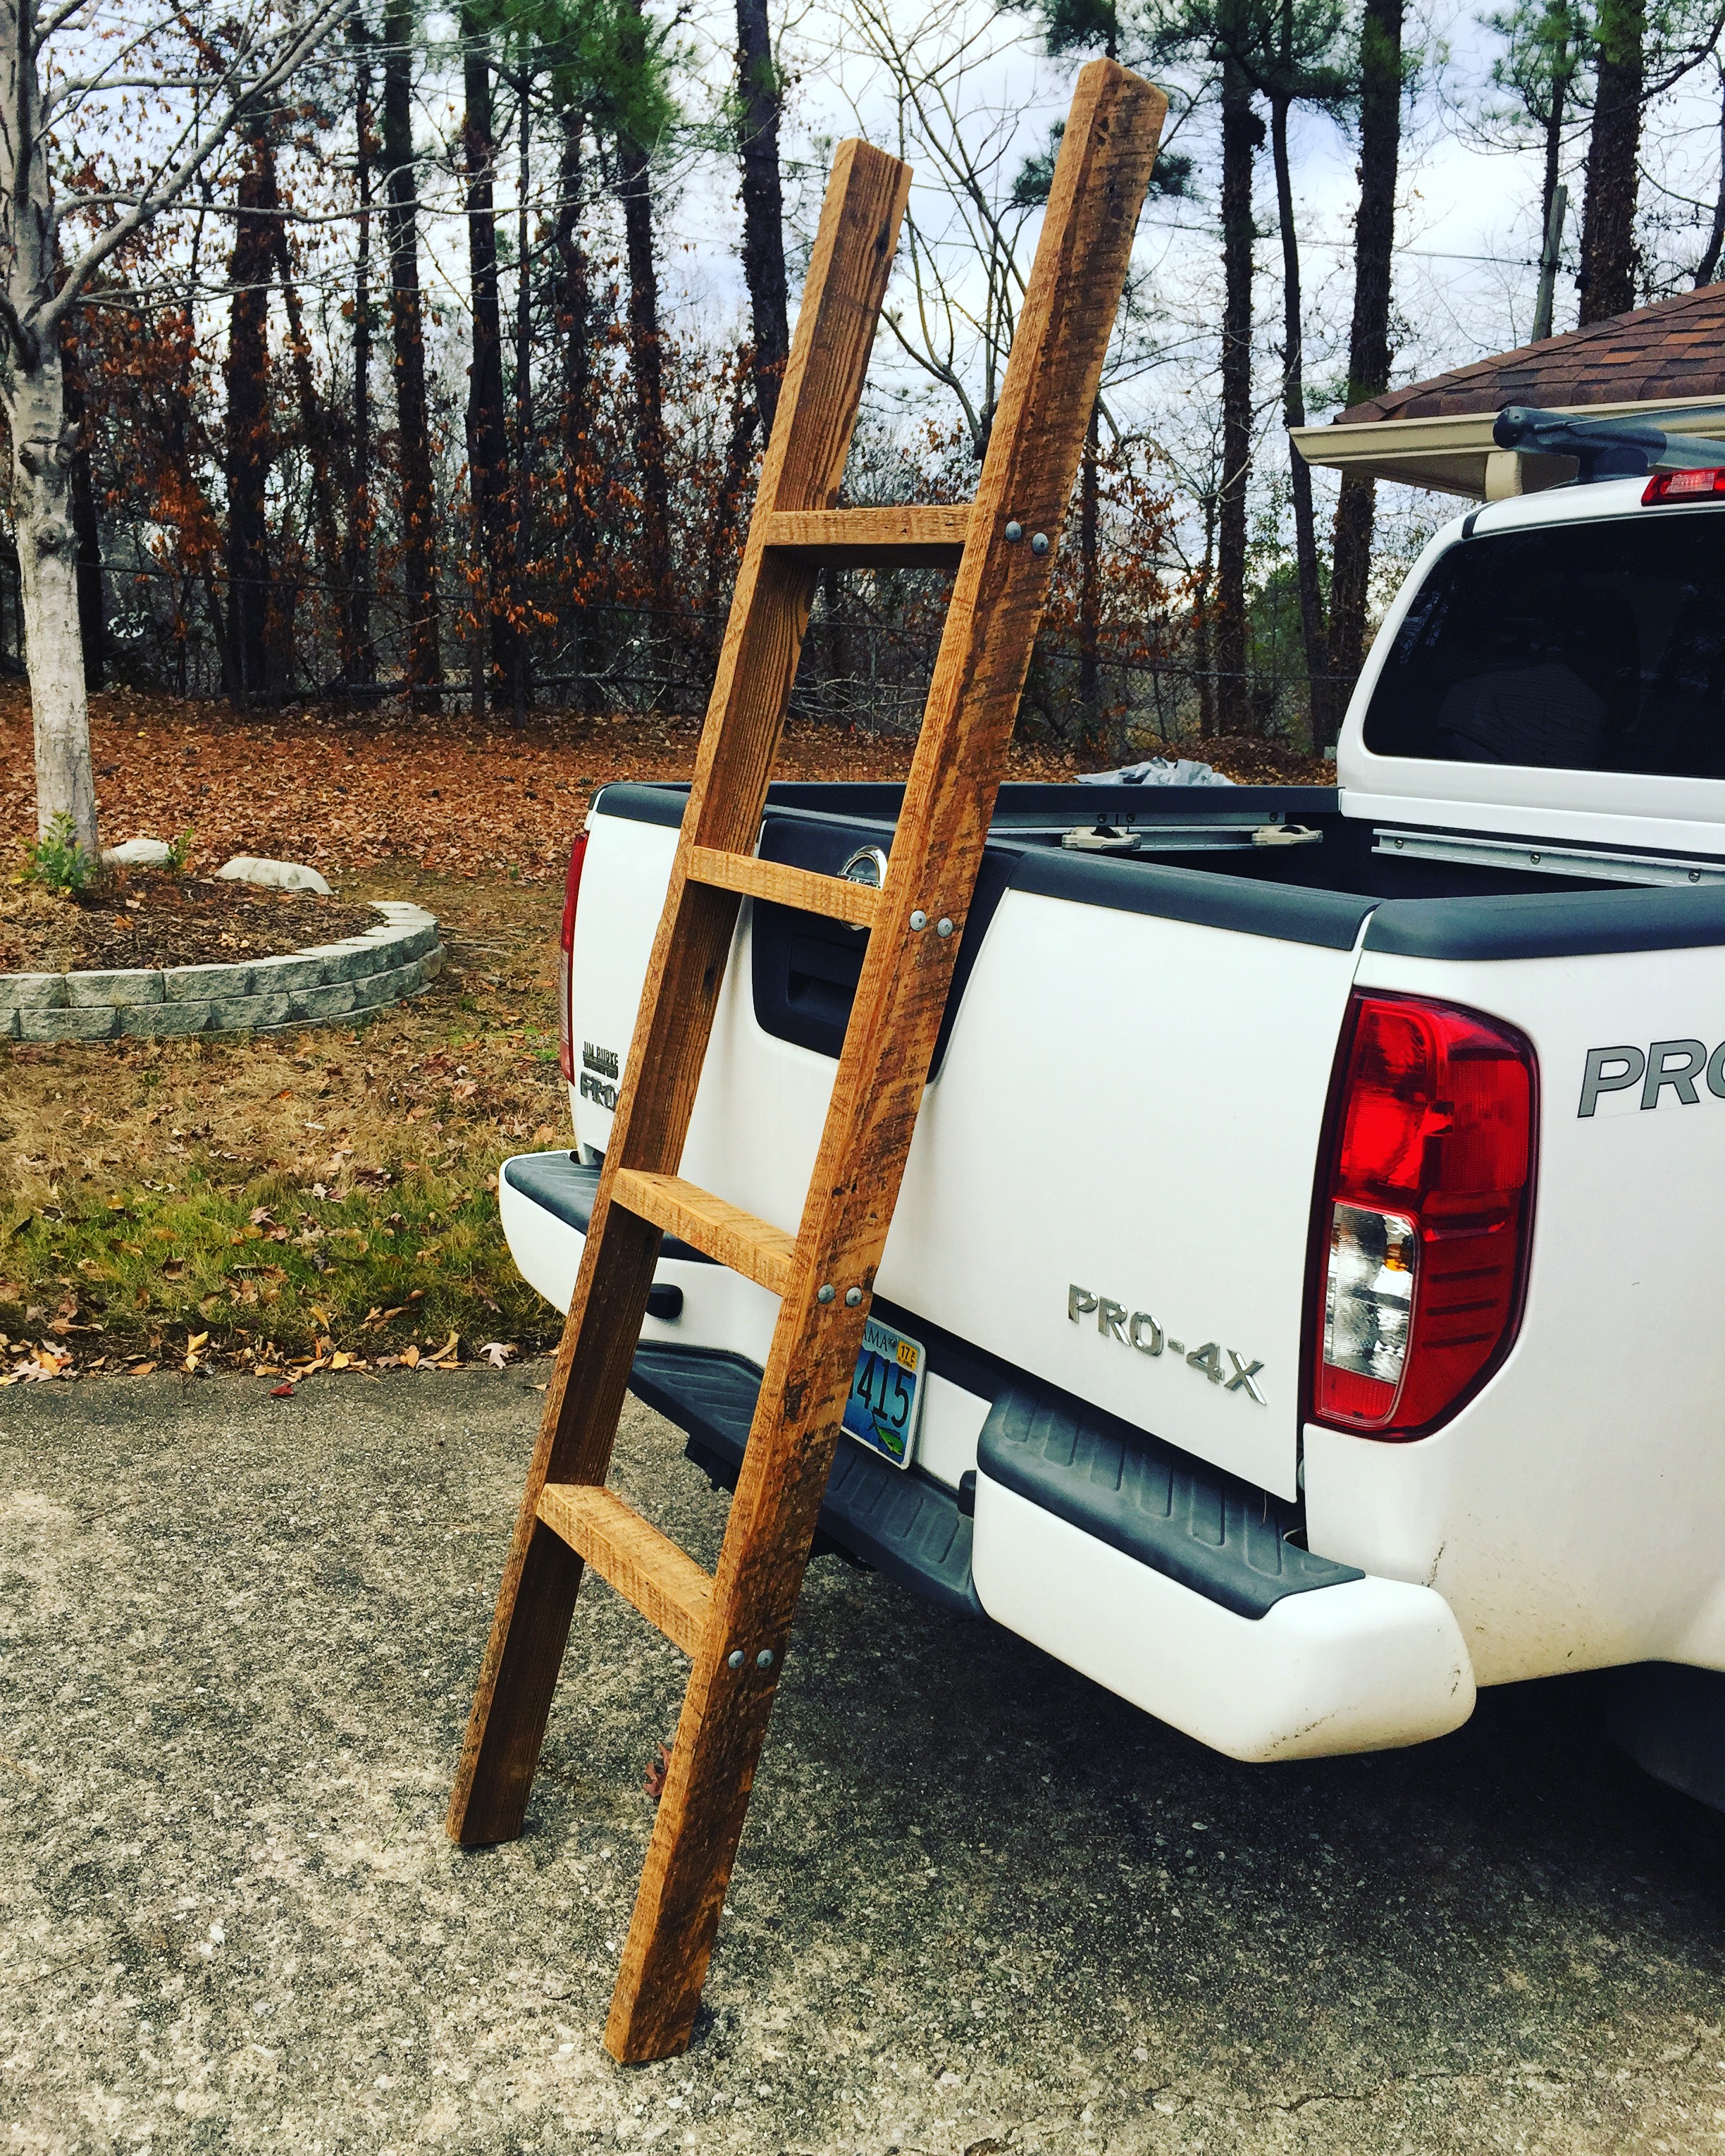
Painters Ladder
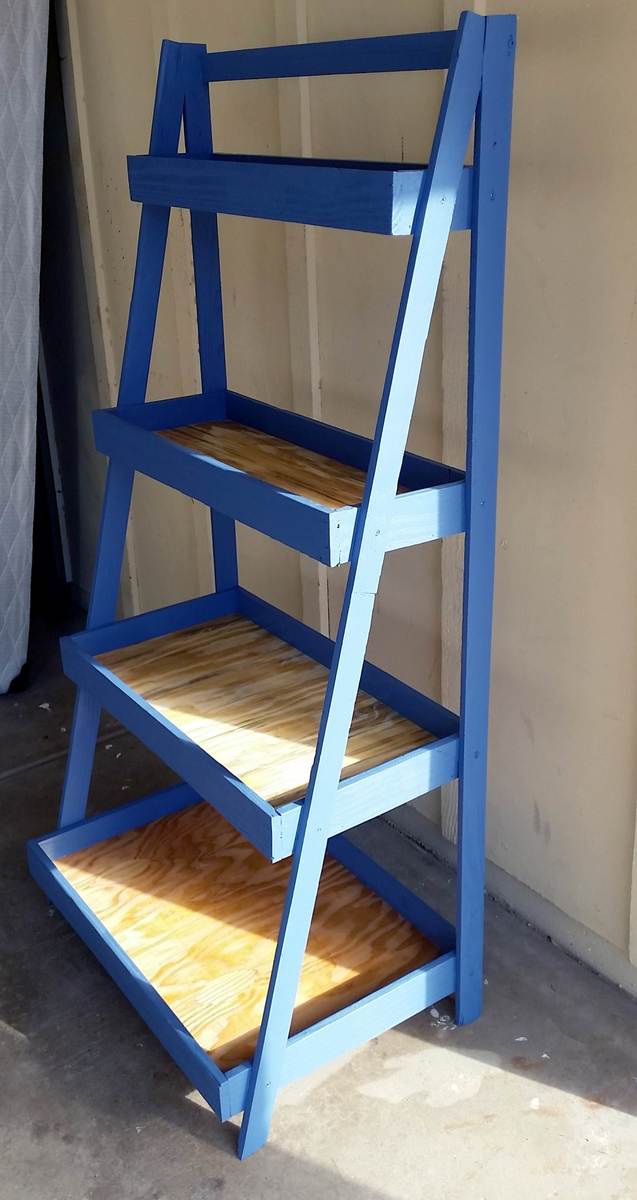
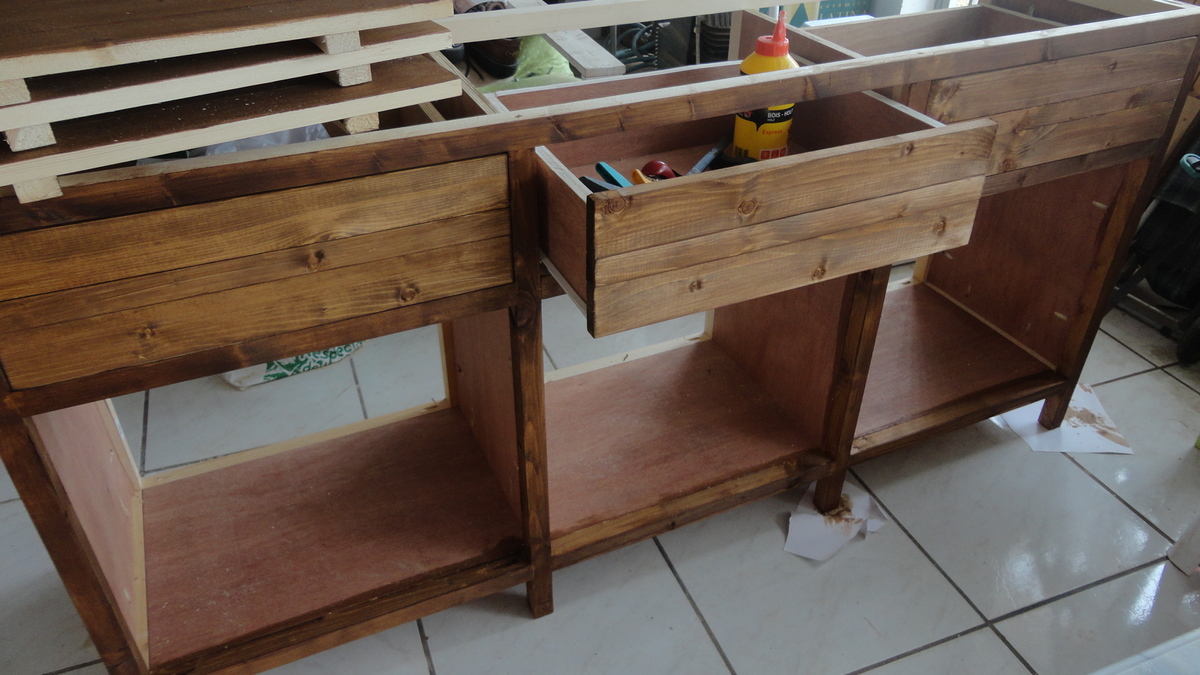
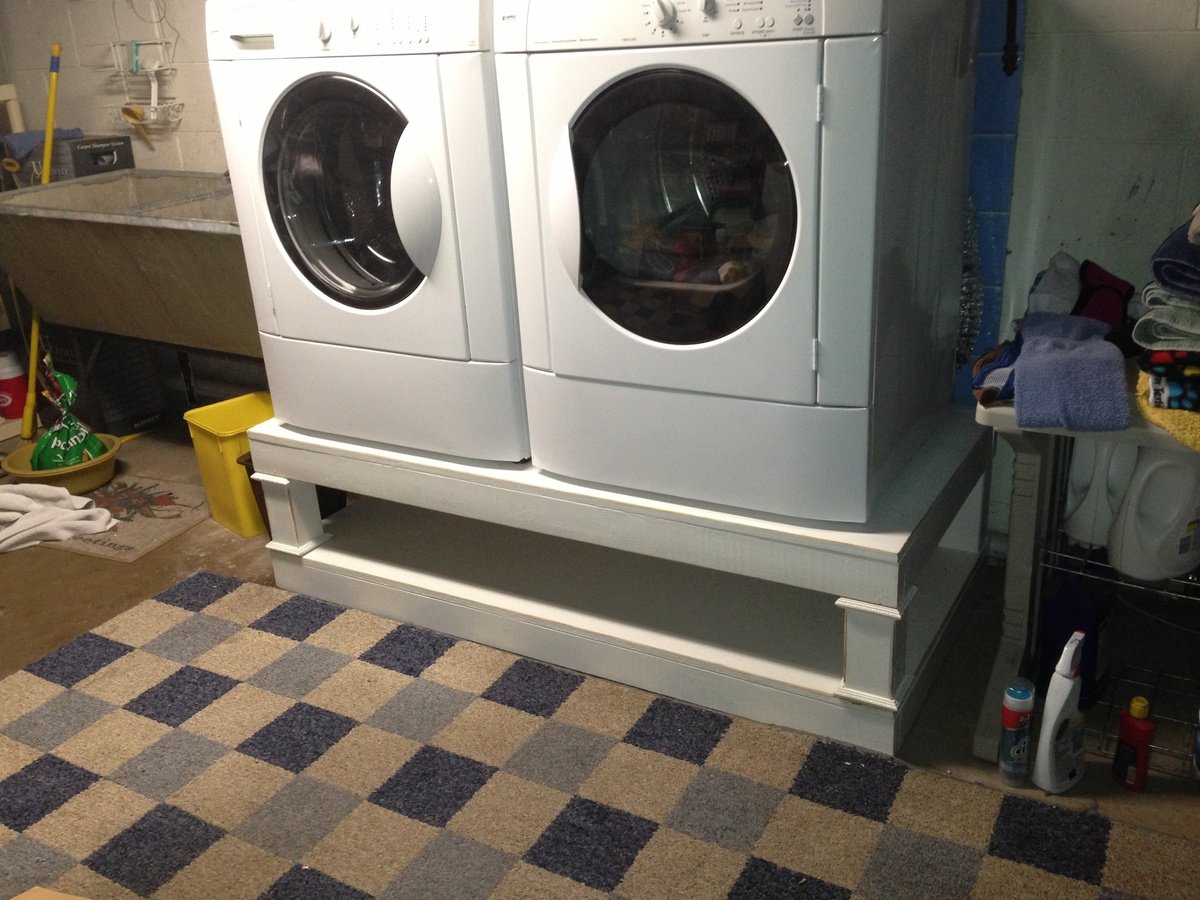
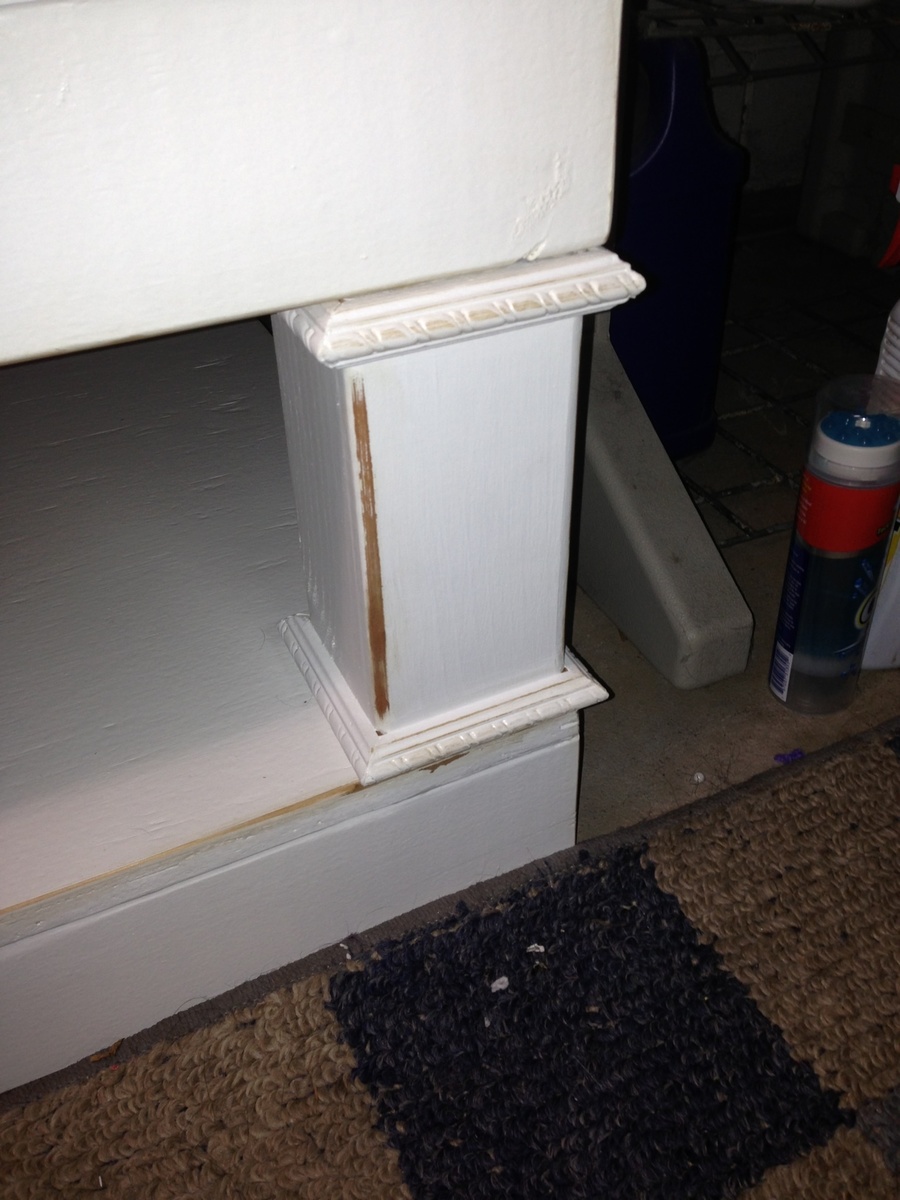
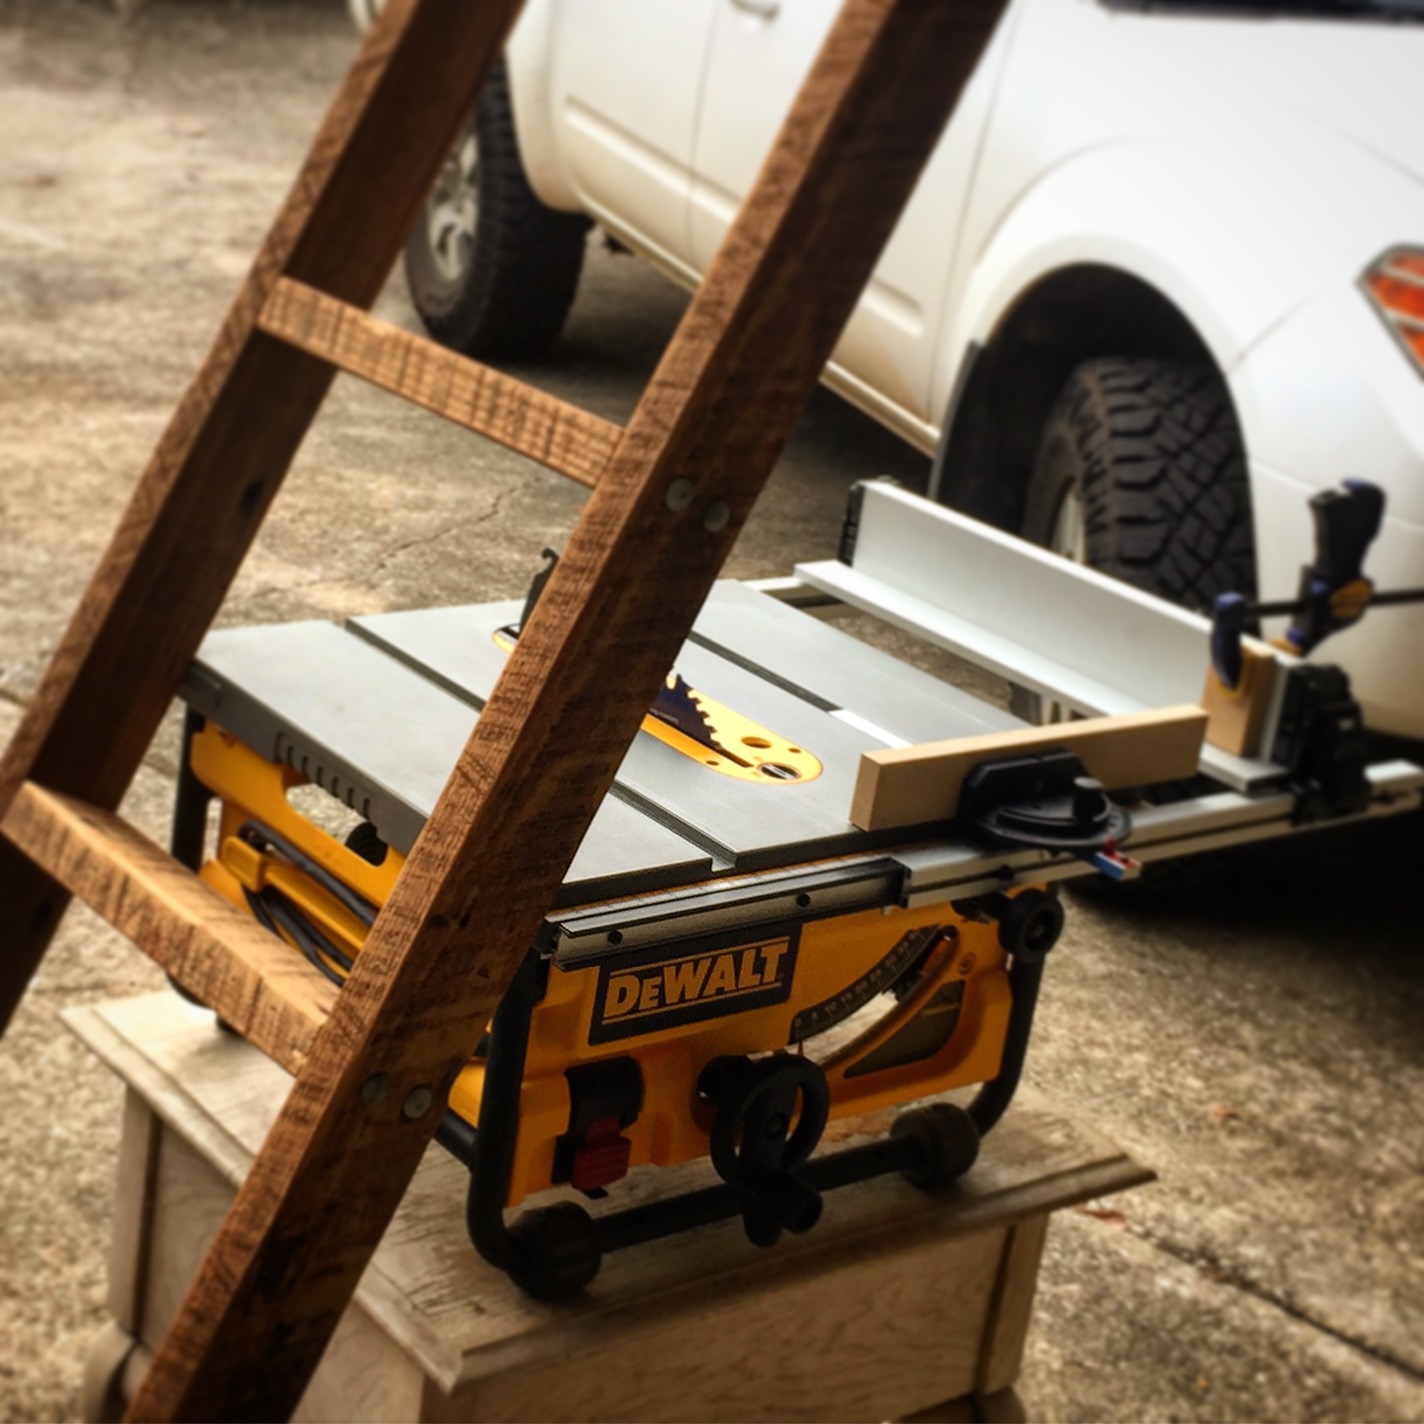
The legs and trim were made from 2x4 that I cut down to size with the table saw. Plywood from a chicken coup I made from Ana''s chicken coup plan was used for the shelf base.
Love this barn door console cabinet made from rough lumber and some old pallet wood. Sanded and painted for about $160 Canadian dollars. Modified plans to fit a specific spot. Thanks for the plans!
Wed, 09/23/2020 - 11:39
Thank you for sharing all of your great projects!
I built this console because I love it. I built the other printers console and when I saw this one, I decided to build it too. My house is not so big but I found a place for this console in the entryway.
It took me three weeks to achieve it. I was affraid drawers but now, I know I can do it. Thanks Ana and all of you because you inspire me!
I extended the landing and added rails.
Mon, 06/01/2015 - 12:06
I love your modifications with extending the landing. Do you have more pictures that show the whole thing? Did you by chance write down any notes with what you did differently? We are building this bed next week and would love to make a "deck" like you did.
In reply to Questions by wrigleysmama
Sun, 01/22/2017 - 10:39
Hi, Ana here! I might suggest something like this -
[[{"type":"media","view_mode":"media_original","fid":"3154931926","attributes":{"alt":"","class":"media-image","height":"834","typeof":"foaf:Image","width":"891"}}]]
Basically just increase the length of the side pieces first to however long you would like the deck to be.
Then, if you need extra support, add legs on the inside of the platform where needed. On the front side if you are doing railing you could even extend the front leg up so it is part of the railing too.
You may need to add additional supports for the deck boards, shown in green above, but this should be easy enough to do.
Hope this helps!
Although I loved the original plans I had a much smaller space to put this in, so 10ft was not an option. So I cut it down to a more managable size and I think it came out great. Let me know what you think. Great plans and I love the site!
This was my first project in this style and thanks to this website they turned out great!
I finished two projects and had tons of leftover wood. Pieces too small to use in projects or jigs, so I sanded down the various shapes, threw out those pieces with too many knots, gouges, large splinters, and painted them for the kids to use as building blocks. Best thing was I knew what the blocks were made from rather than questioning the materials used by commercial companies (e.g. NO LEAD PAINT!) which cost about $1 per block. I made 200 blocks for less than $40 and about 14 hours of labor.
Sun, 12/23/2012 - 09:28
Wonderful idea but next time I'd use thinly diluted koolaid to "paint" with. Then there are no worries about the kids chewing on paint.
Smells good too....
Will have to do this for my grandkids!!!
I modified the farmhouse bedside table plans to make it more modern. I also added a piece of mirror behind the carved drawer front.
For anyone who is interested in building their own glass-top vanity with pull-out drawers :)
Sun, 11/29/2020 - 01:27
Hi Ana, where can I find the instructions for this project?
I final got around to building the beautiful cedar planters! I couldn’t be happier with them. Thanks, Ana!
Made this for my mom for a Christmas gift. I had to modify the height for space requirements. Used white semi gloss that I already had in the basement, and distressed the edges with golden oak stain. Quick and simple job.
I used some of the remaining reclaimed boards from my buffet table build to make an end table for the living room. The build itself was very similar to the buffet table, just to a smaller scale. I didnt have long enough boards remaining, and had to get a little creative with the top, but I'm pretty happy with how it turned out.
I made this table 55" x 44" and it came out great. Fun project and not very difficult. On to the next project!
Thank you Ana for the great plans! We adapted the project for wood we had on hand. It is only 40 inches wide instead of 42”. Our widest pallet board was only 40”.
Thank you for continuing to inspire us! We made two couches a couple of months ago. Great plans!
I followed the plans for the Kids Tent / Reading Nook but used a 9'x12' painter's drop cloth canvas instead of curtain panels. (I made 3 tents so I cut this into thirds...)
To make it even more fun, I painted stripes on the canvas by mixing regular latex paint (Valspar in Orange Crush, Twist of Lime, Dive In, and Cheery on Top) 2-to-1 with a textile medium.
This was my first build. After searching high and low for a desk for my husband for Christmas, I decided to build him one......2 weeks before Christmas. With some help from my father, we somehow pulled it off! (without killing each other) I followed the plans exactly, except for one thing. I used a pine panel for the top so my hubby would have a flat writing surface. I purchased a 6ft panel (i think) and cut it down to 5ft. When he went away on a business trip, I transported it from my parents house (where the build was taking place) and assembled it. Then I put a big red bow on it and surprised him! Don't know how I'm going to top that gift!
This was a great simple design, My wife now has a place for her wine glass and doesn't need to worry about the dogs knocking it over. It also doubles as a workspace or table by simply turning it sideways to stradle her while sitting on the couch.
We needed a bigger coffee table for our family, especially for game day nachos! Stained the top but painted the base to resemble rusted iron.
There was a large hole in our living room. A large hole between our couch and the kitchen! I have always been obsessed with console tables, but never in a million years thought of ever building one!
And so, with the help of my sweet Blake, we were able to create this amazing, rustic, industrial, shabby chic, yadda yadda yadda PERFECT FARMHOUSE X-CONSOLE TABLE!!!
And no, we can't take all of the credit. We found this unbelievable plan on Ana White's Website here! She gives a perfect step-by-step-tutorial. All together, this project cost us roughly $75 and two days worth of time, but I can assure you, buying a solid wood console table at a store would cost nearly $500! Not to mention, WE made it, together...and so forever this will be ours. :)
Thanks Ana, we love ours! :)
A little bit of a different project for me. My husband concocted a plan to build his own bass speaker cabinets to take to band gigs. Wanted them to be lightweight and easy to carry. He bought the speakers, grates, ports, cable jacks, corner bumpers, and handles. I built the boxes :)
Built out of two sheets of half-inch birch plywood and coated with Duratex speaker cabinet texture coating for wear resistance.
Reclaimed this wood from a >100 year old home that was being renovated. The plans were from www.akadesigns.ca