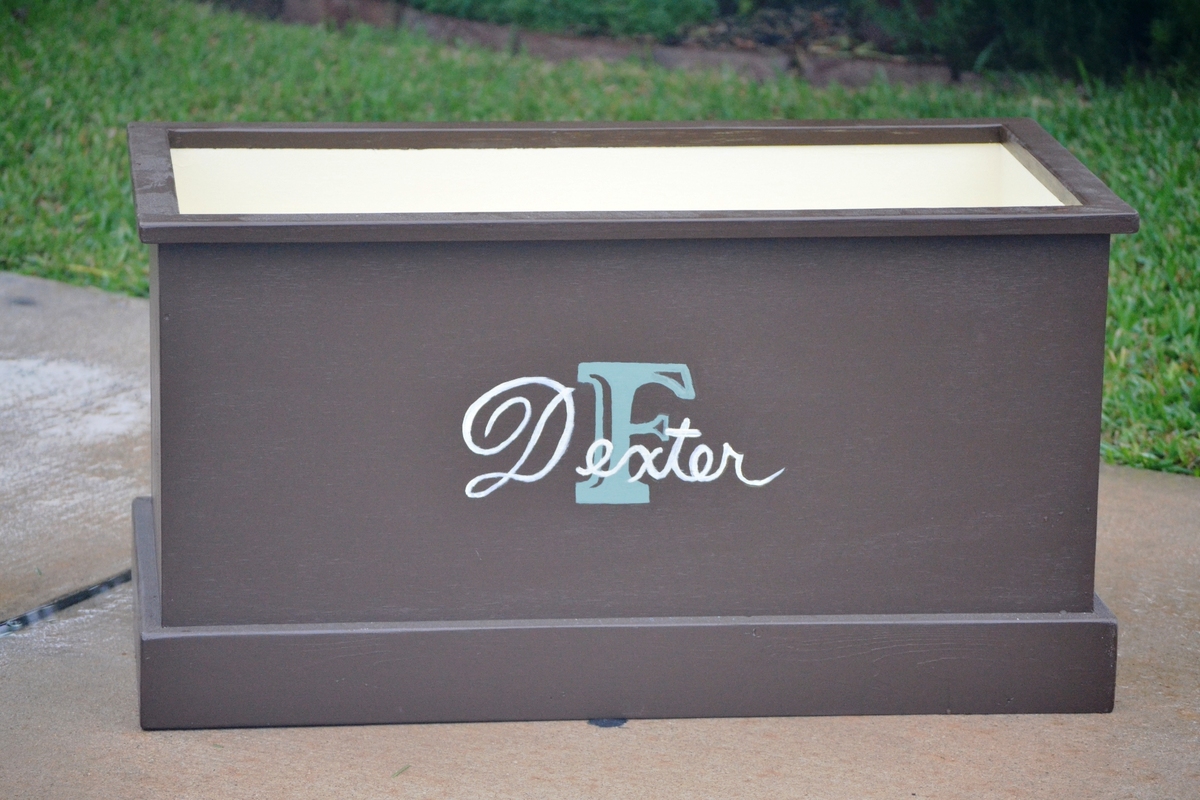
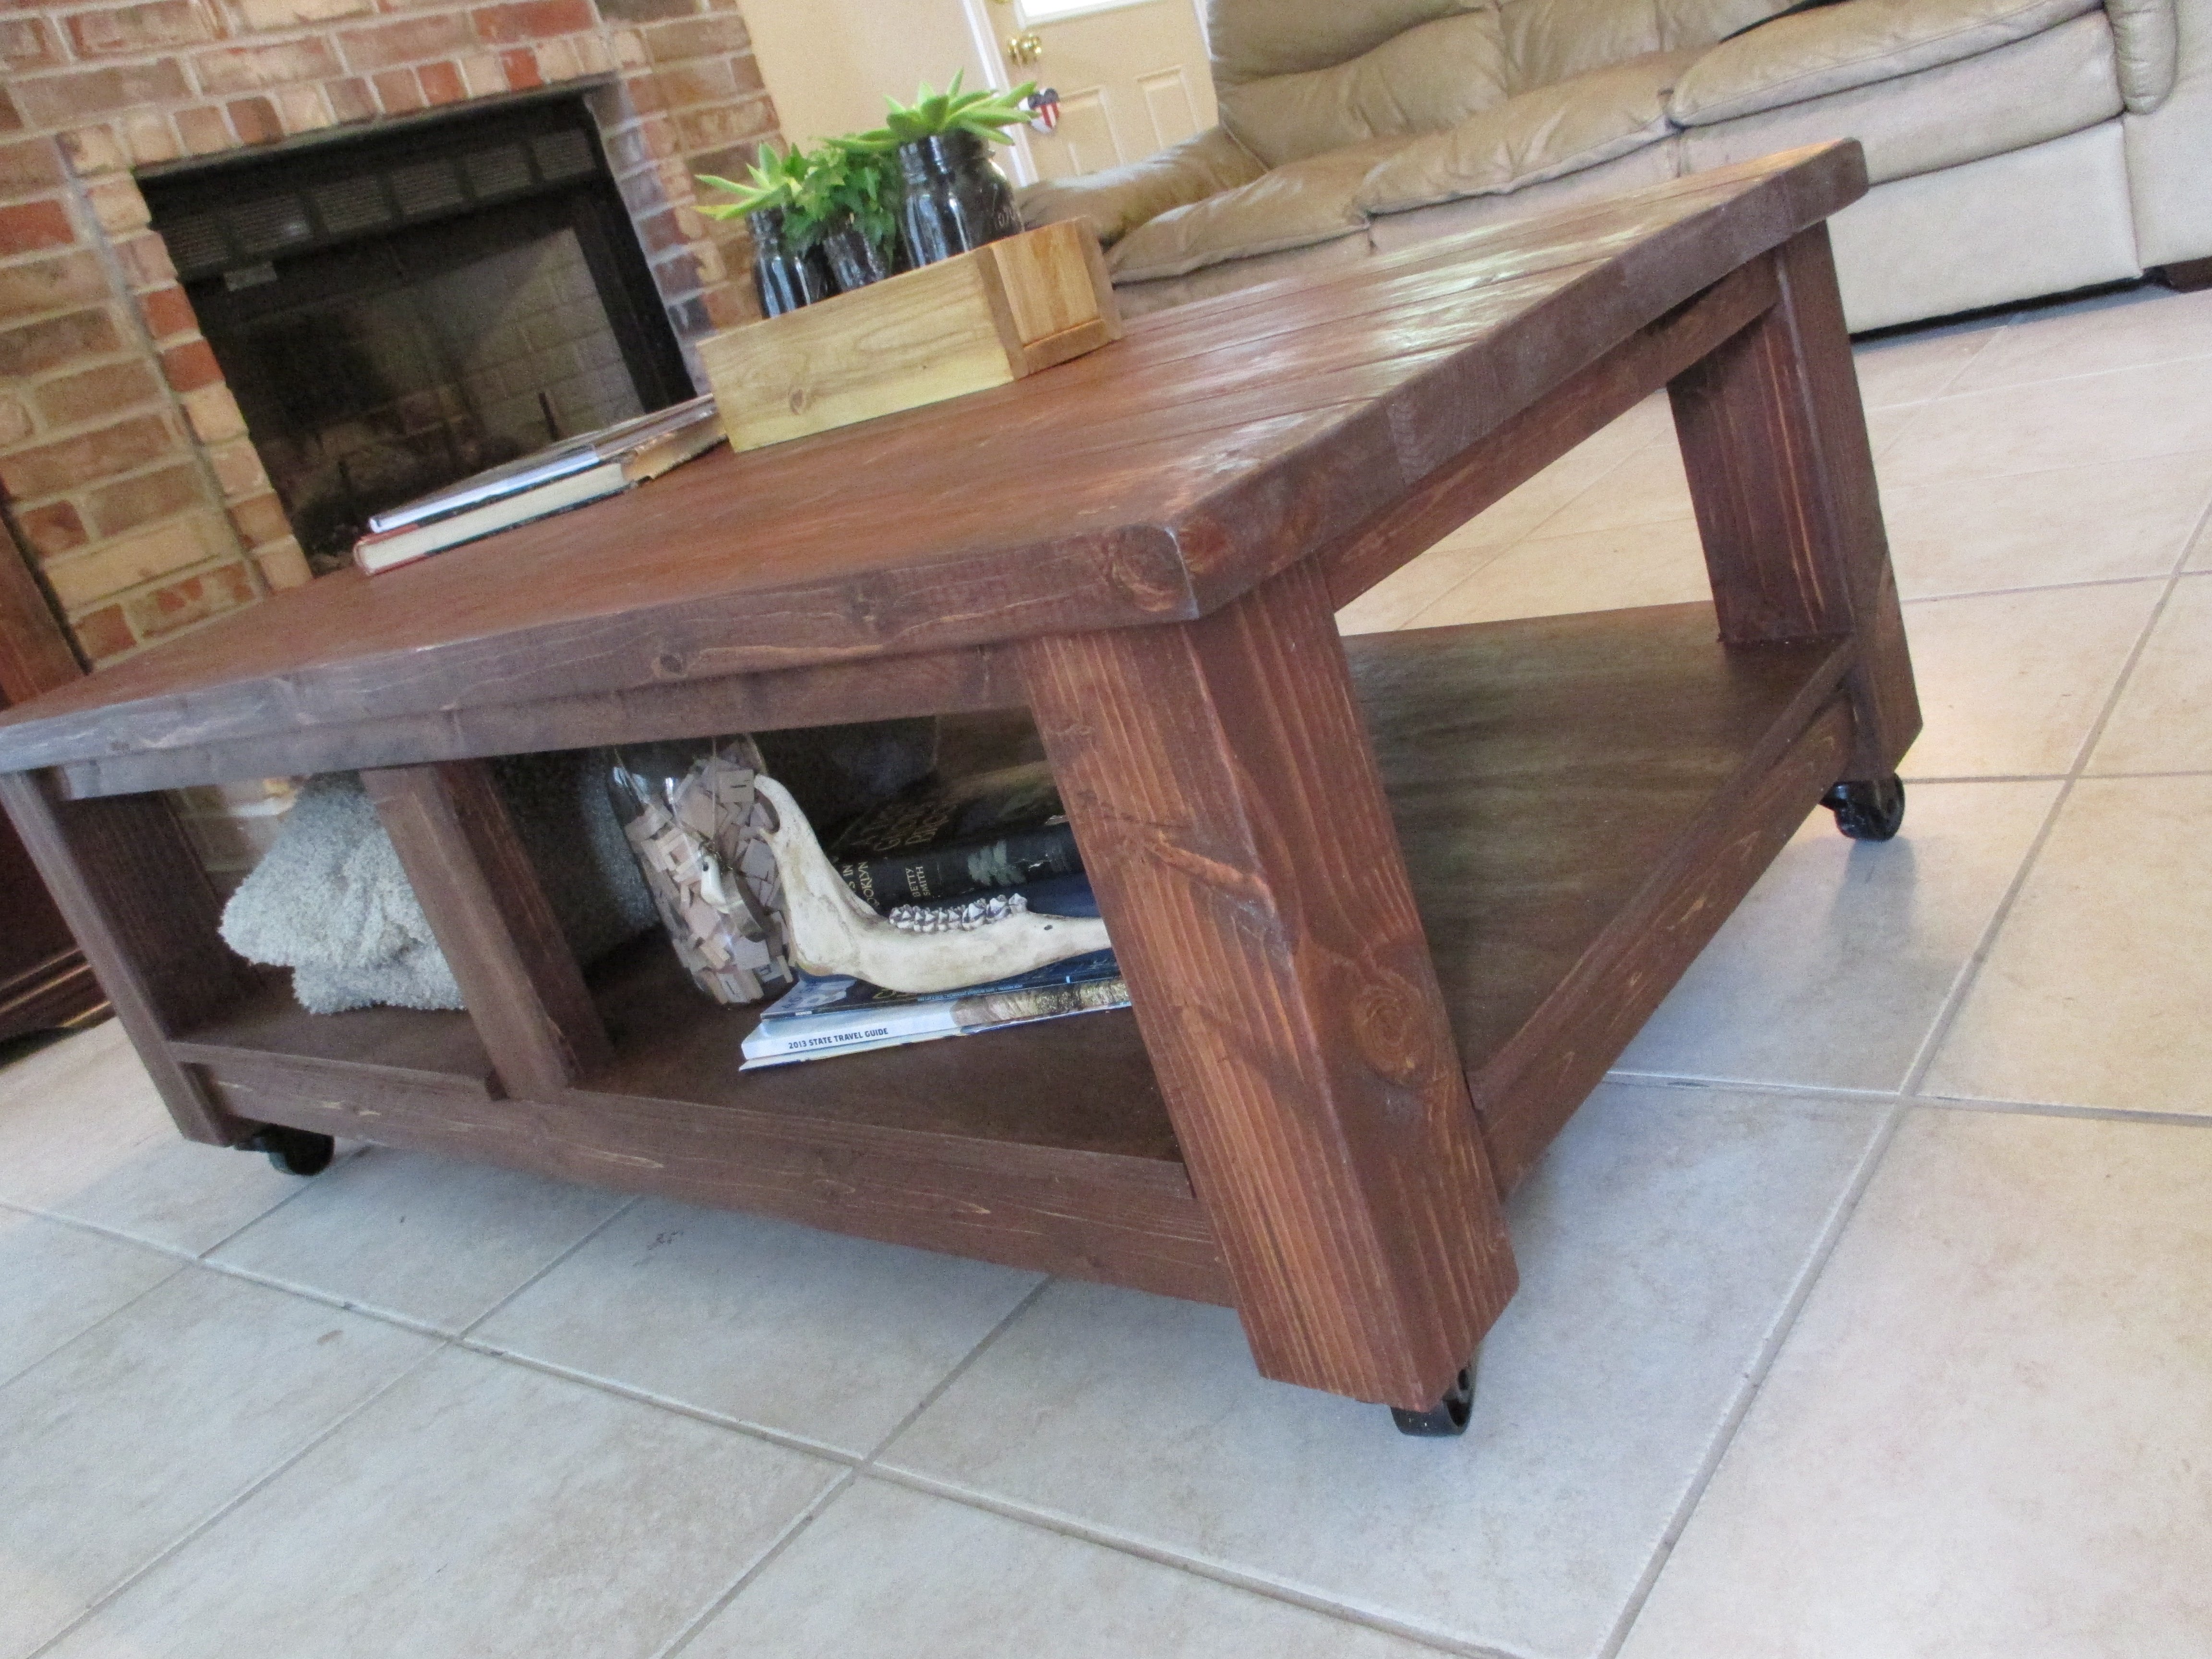
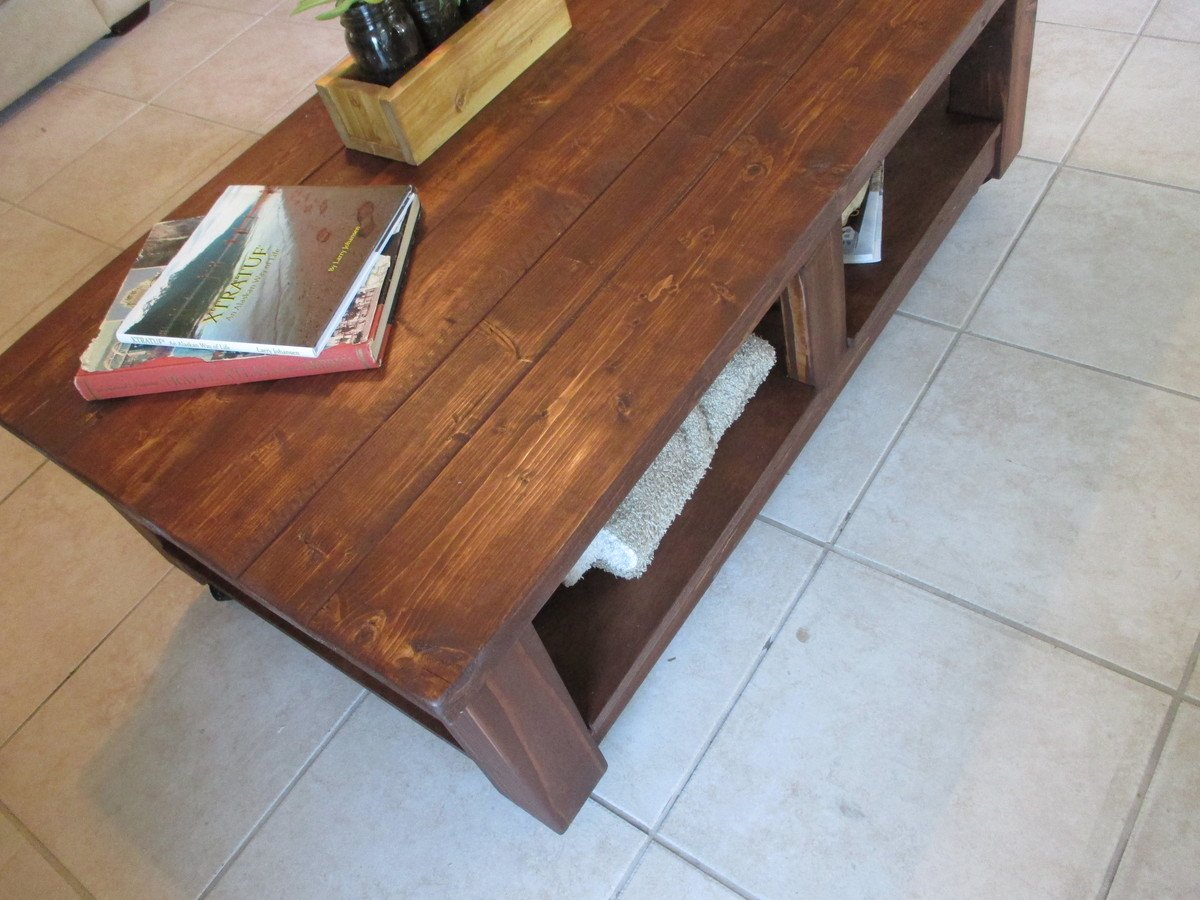
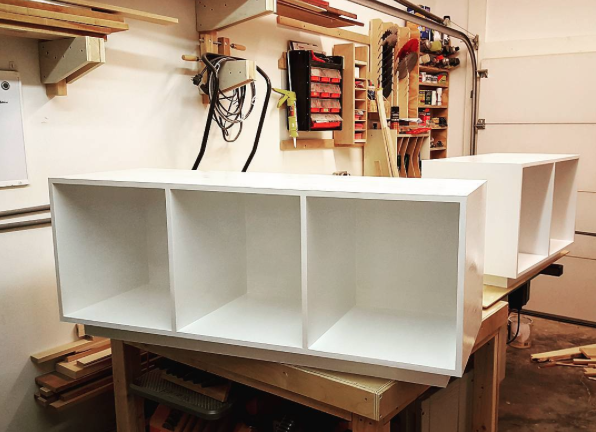
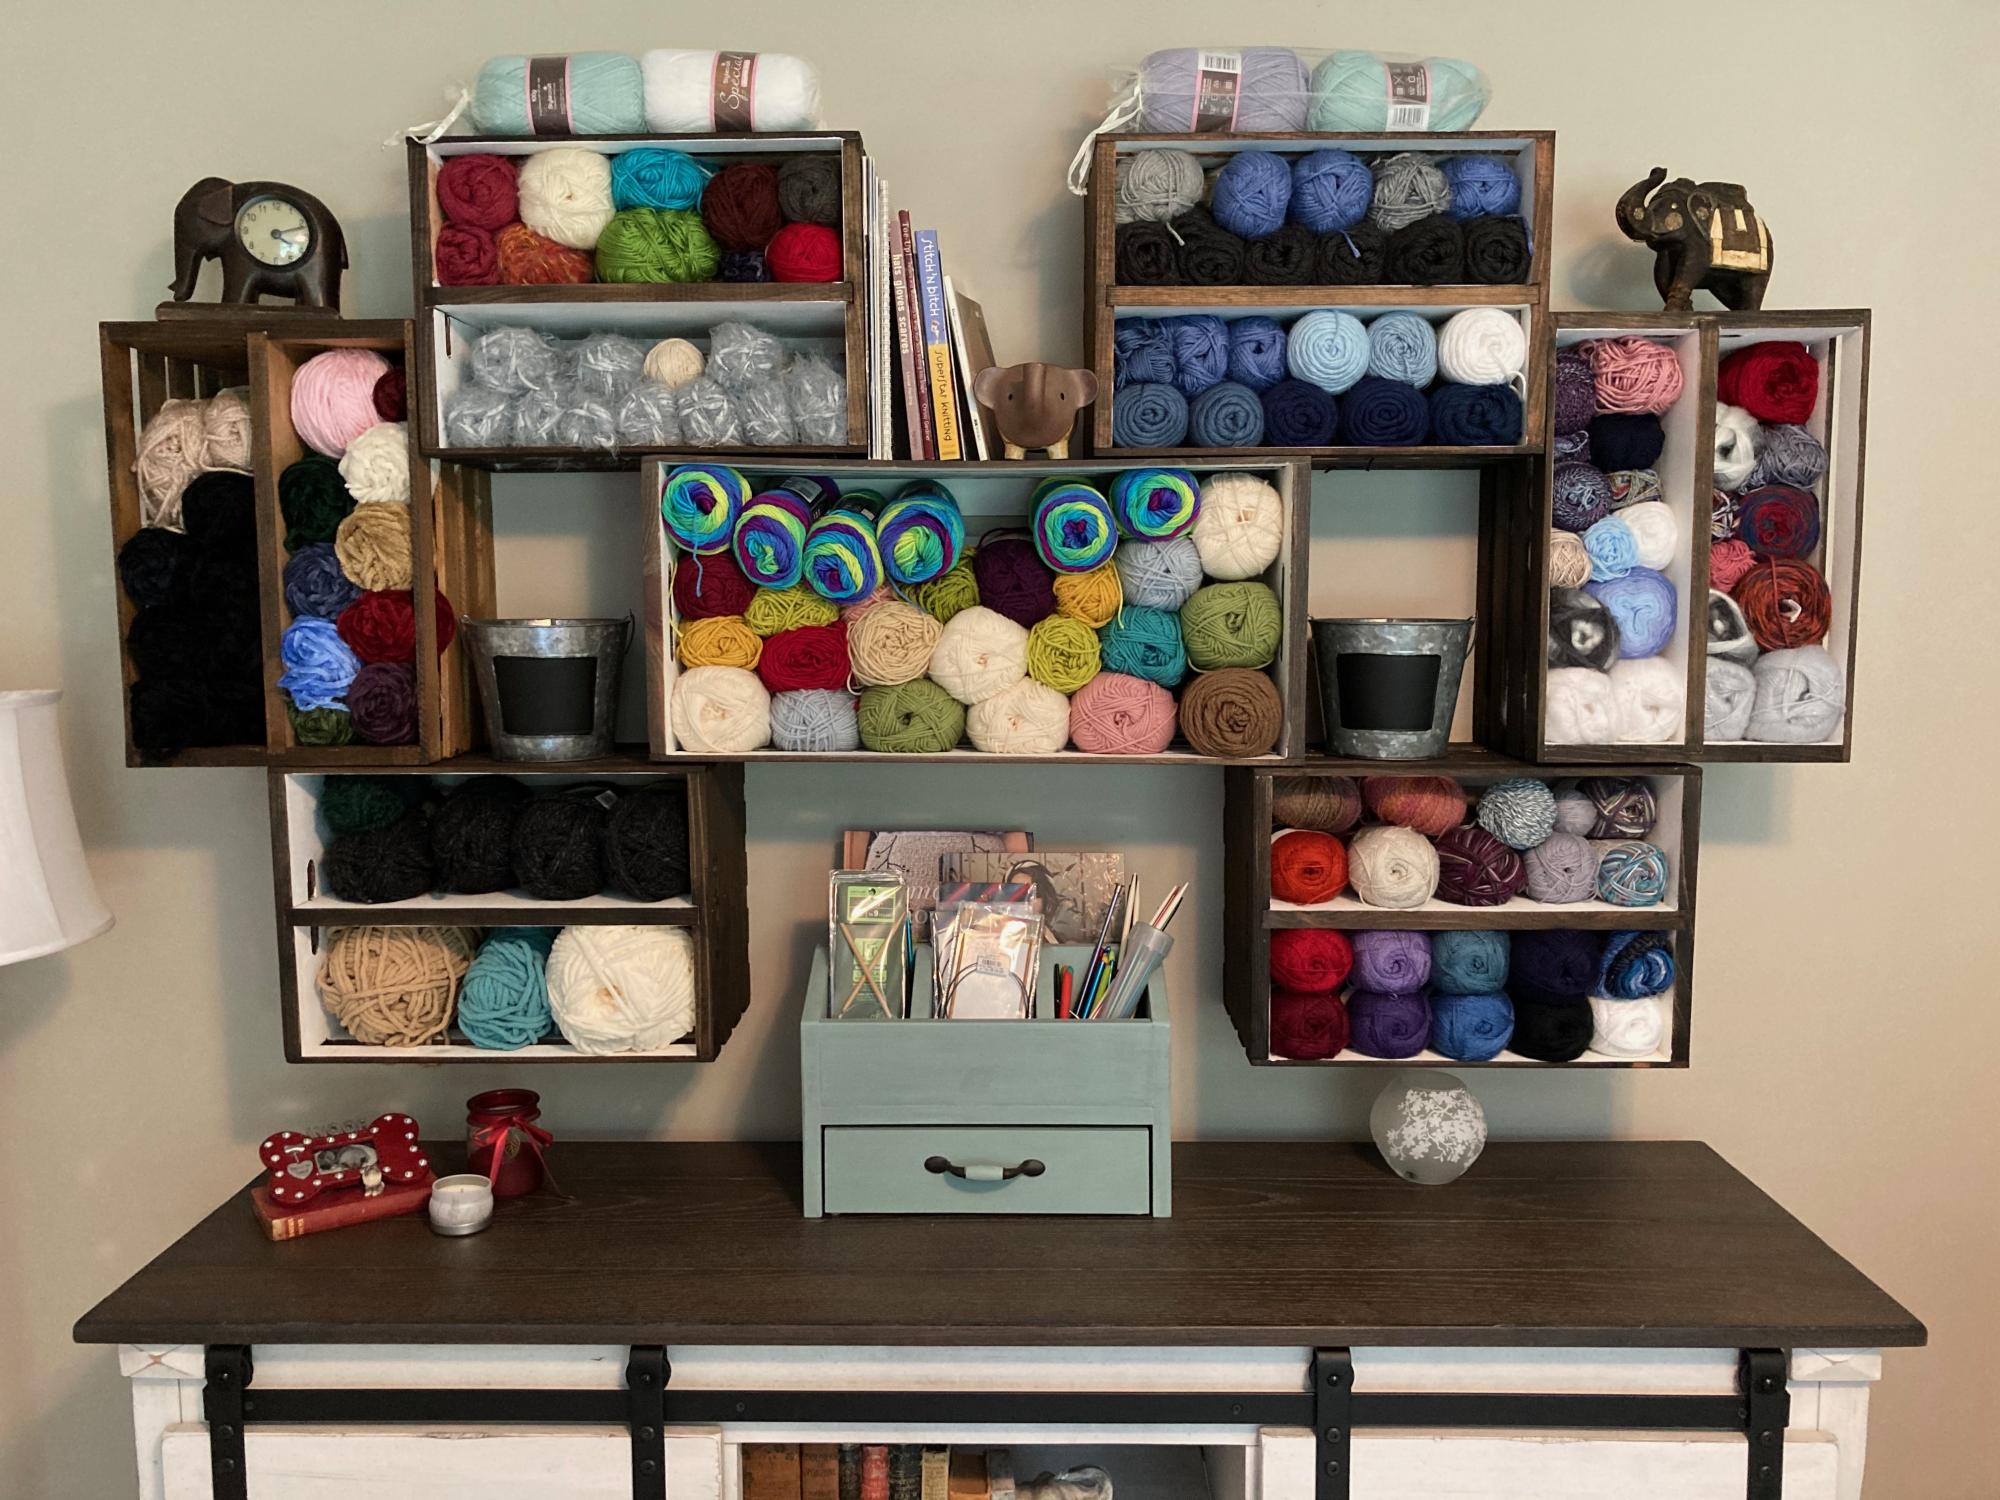
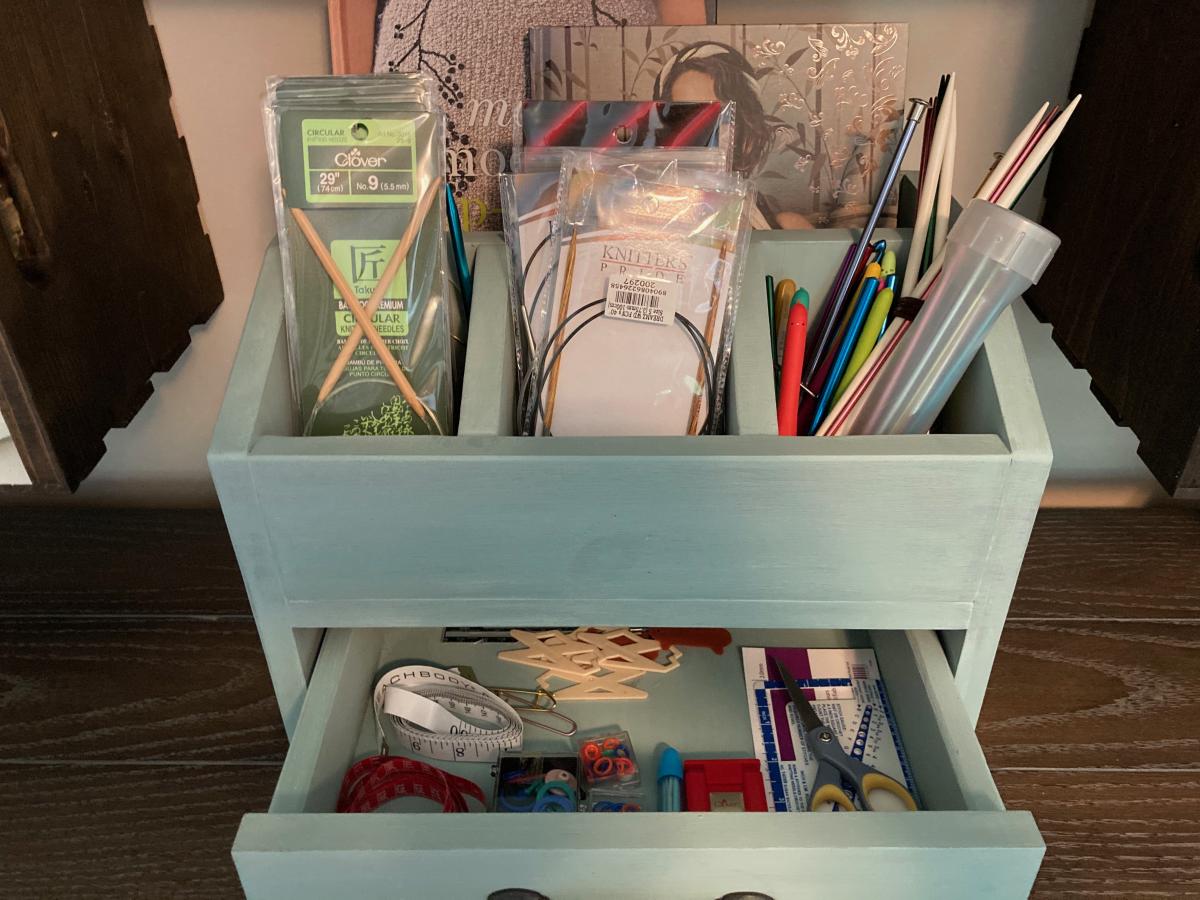
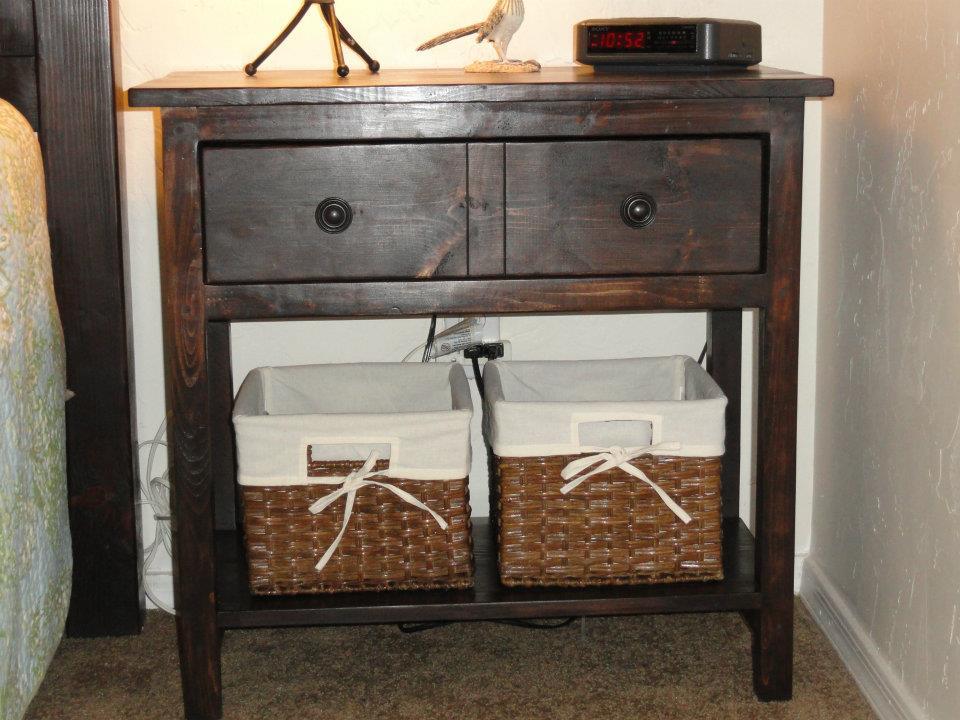
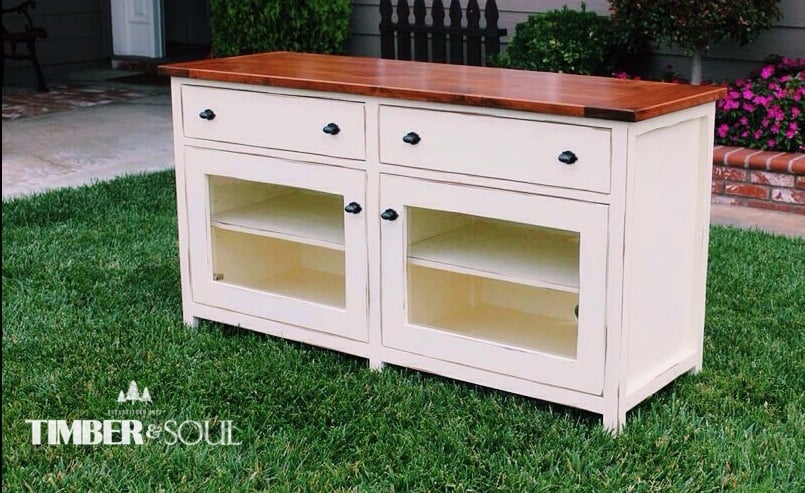
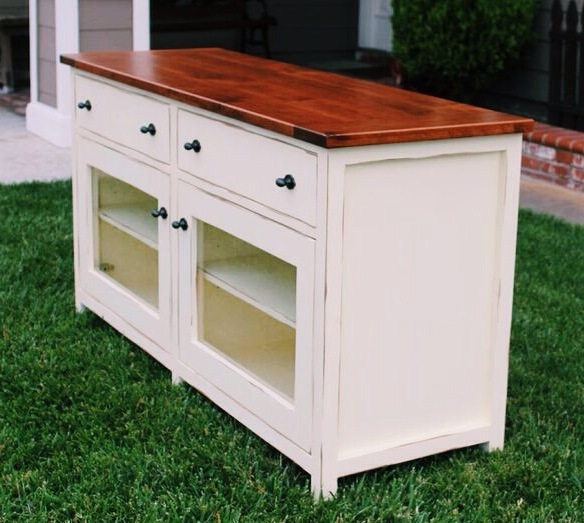
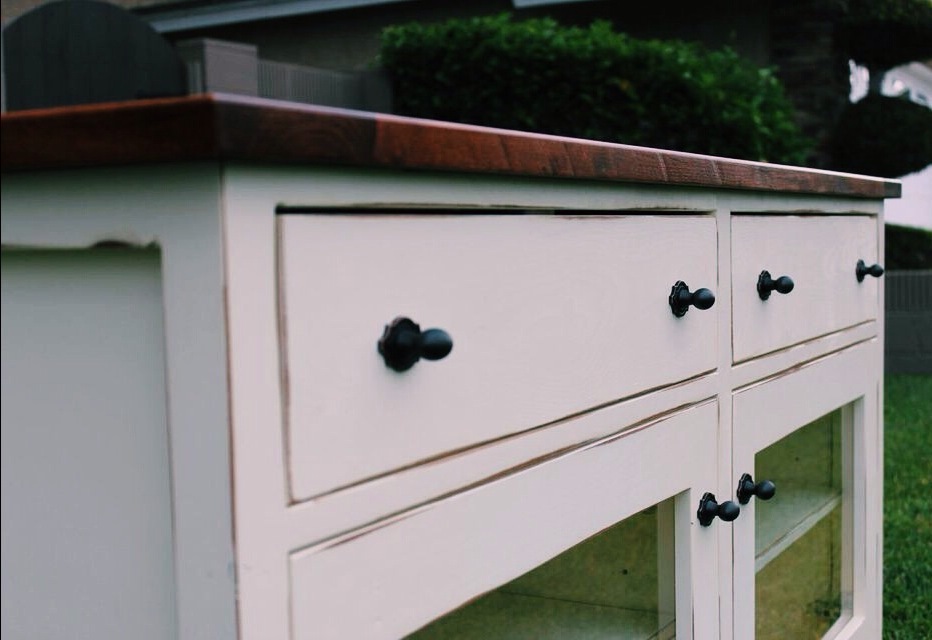
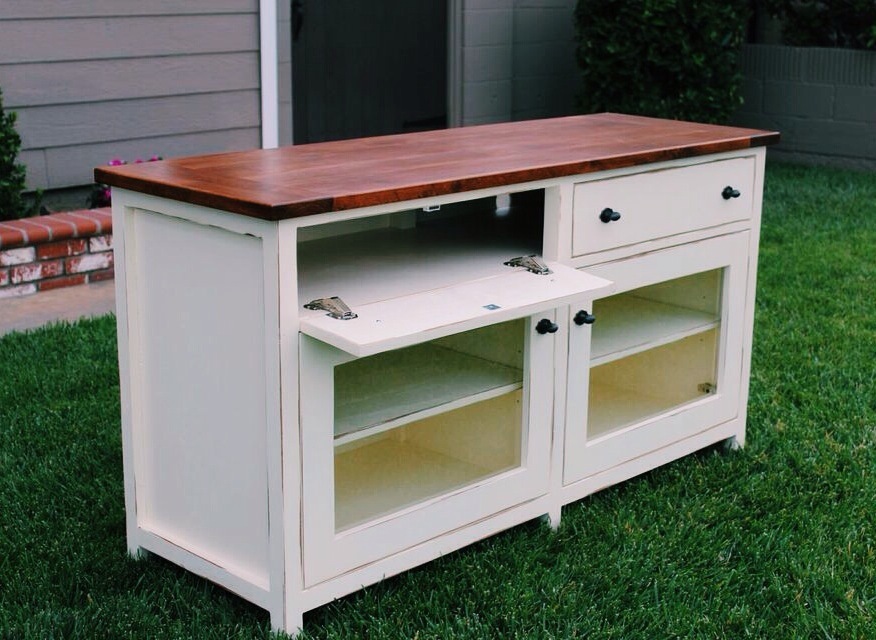
Entry Console
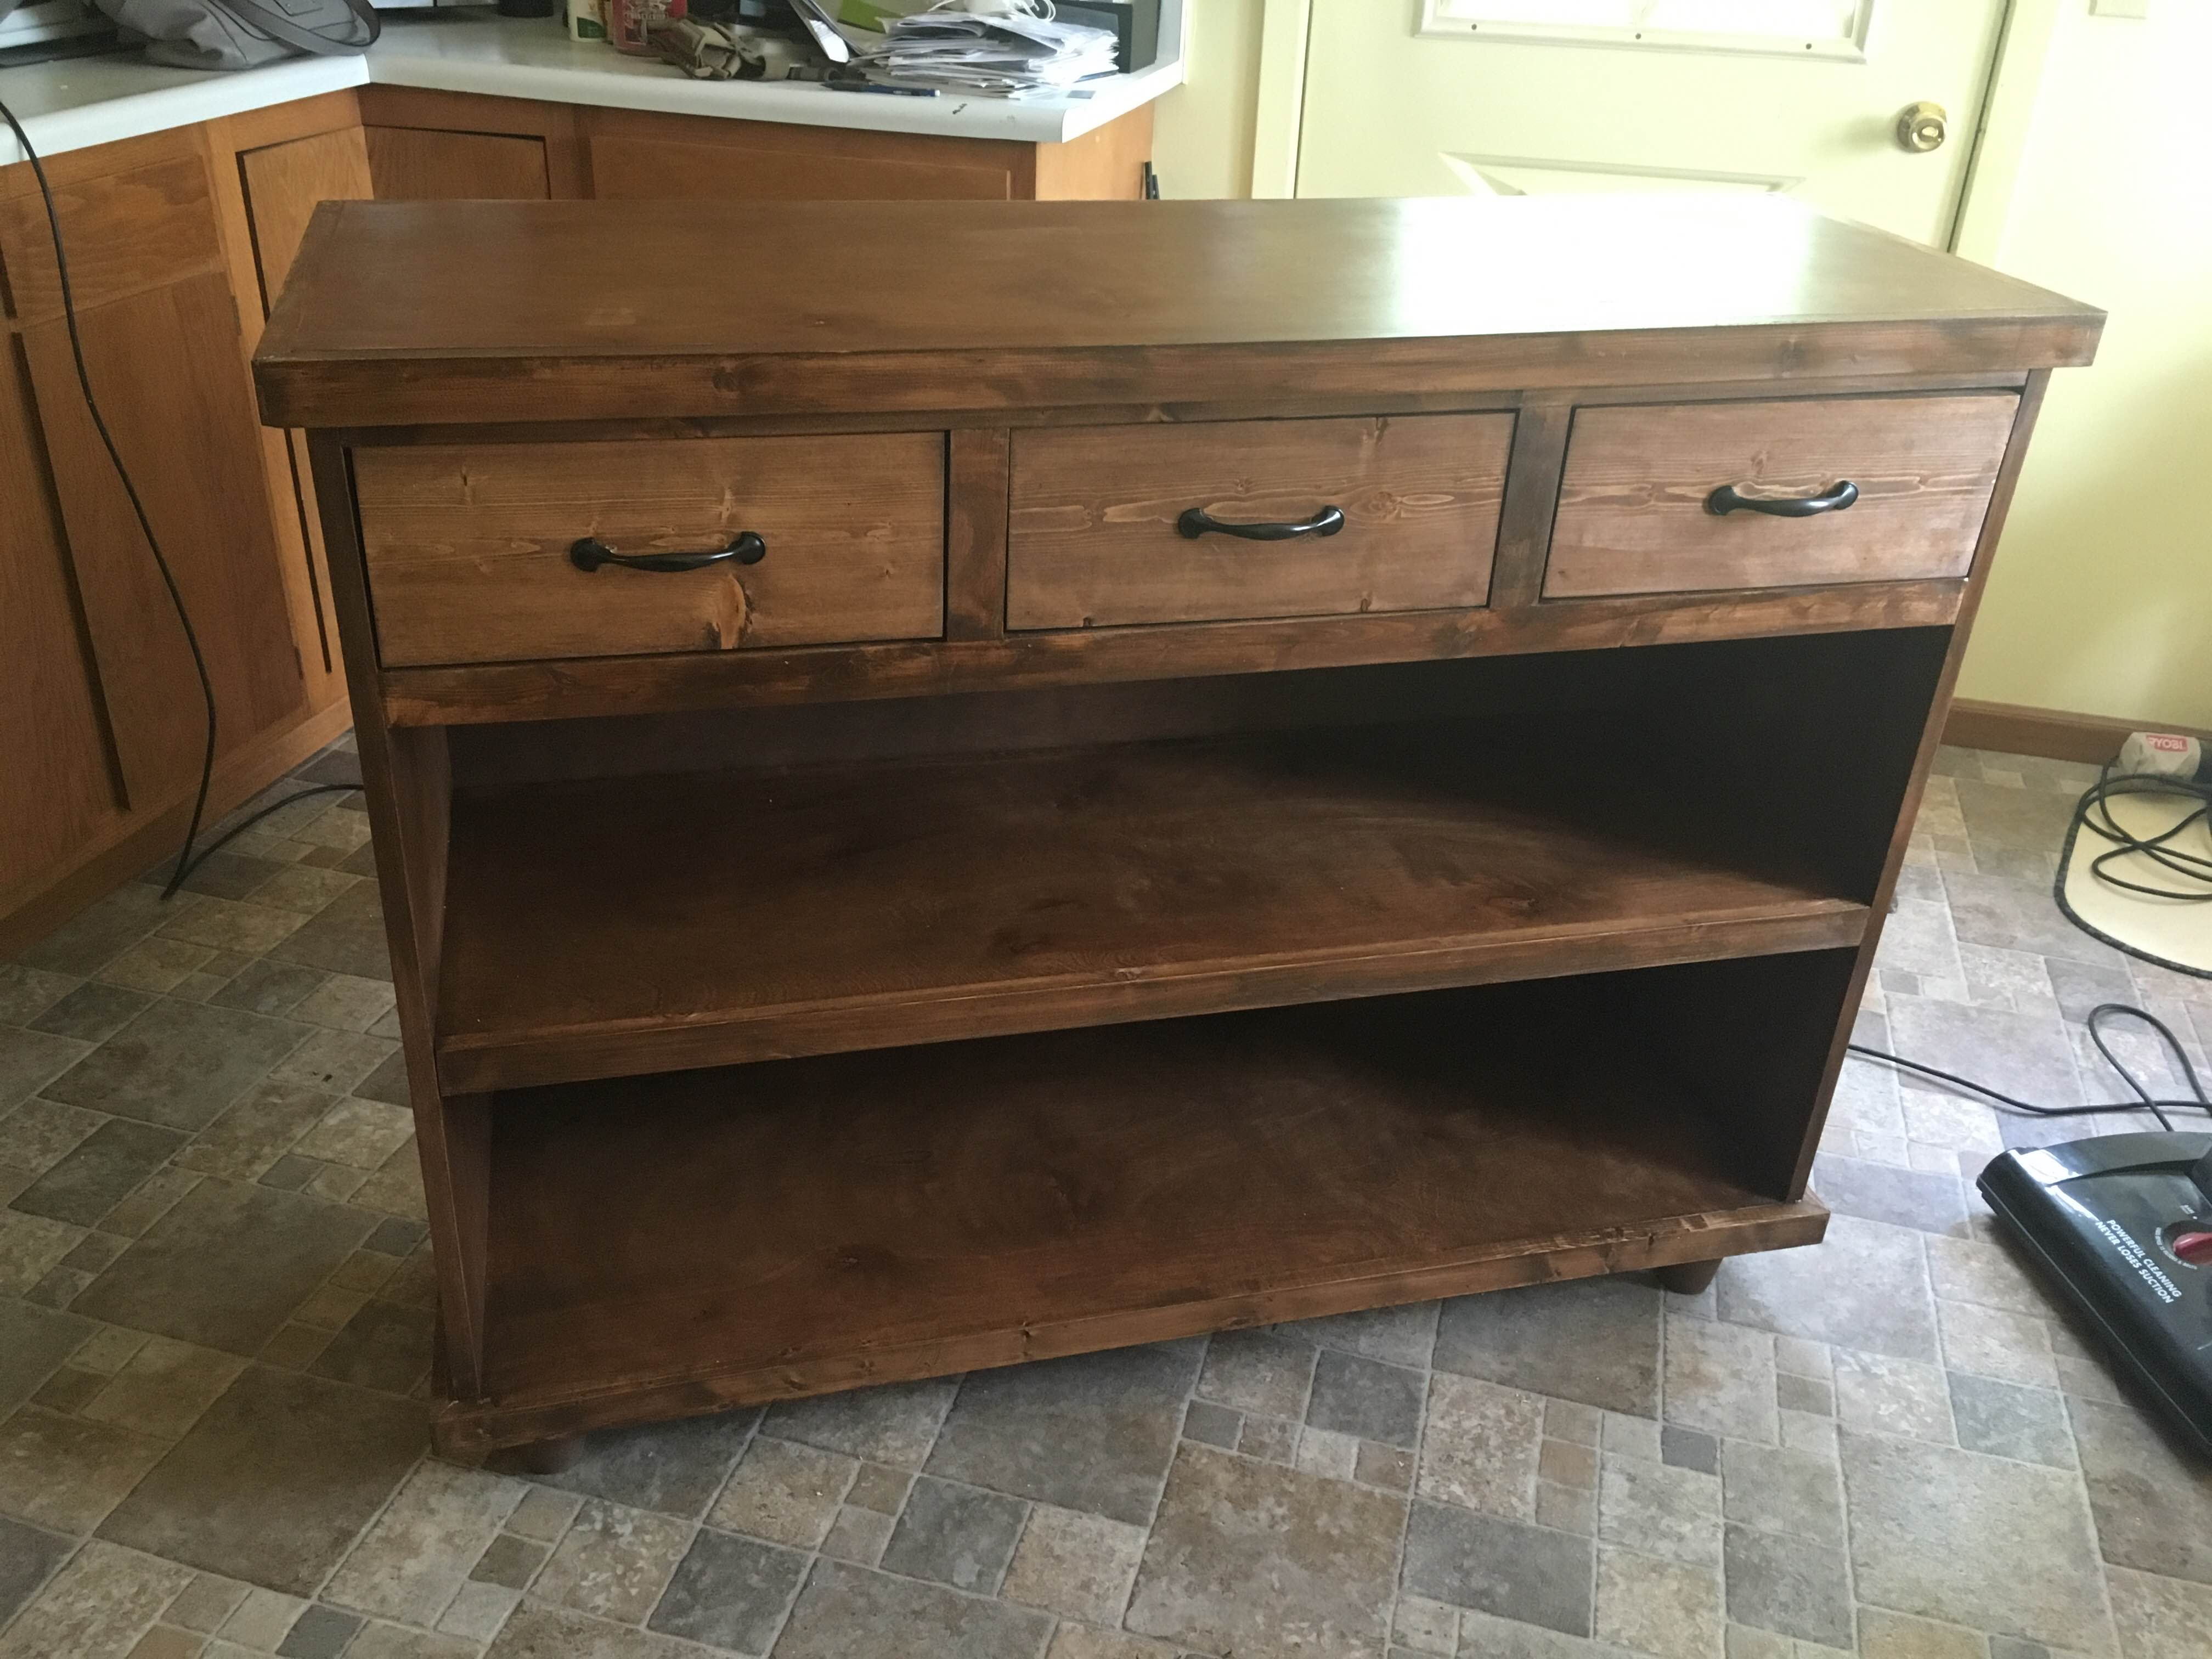
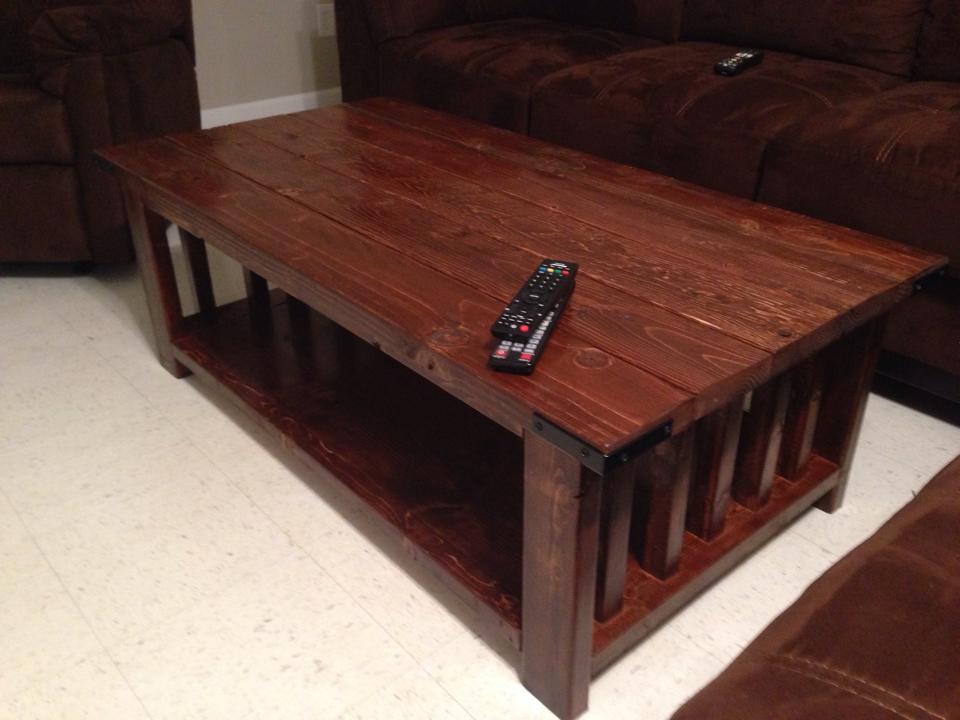
I liked the look of the spacers on the bottom shelf, but decided to leave them out since I just wanted to be done with this project :) I modified the plans to only have one shelf, as well as feet on the bottom (instead of having the piece go completely to the floor). As a result of adding the feet, the bottom is framed with 1x2s instead of 1x4s. I needed to purchase 6 1x2s to do that (but only needed 3 1x4s). I attempted to miter the cuts on those pieces...wood filler came to the rescue in the end. This was a lot of fun to make!
Built from Plan(s)
Estimated Cost
Approximately $200
Estimated Time Investment
Weekend Project (10-20 Hours)
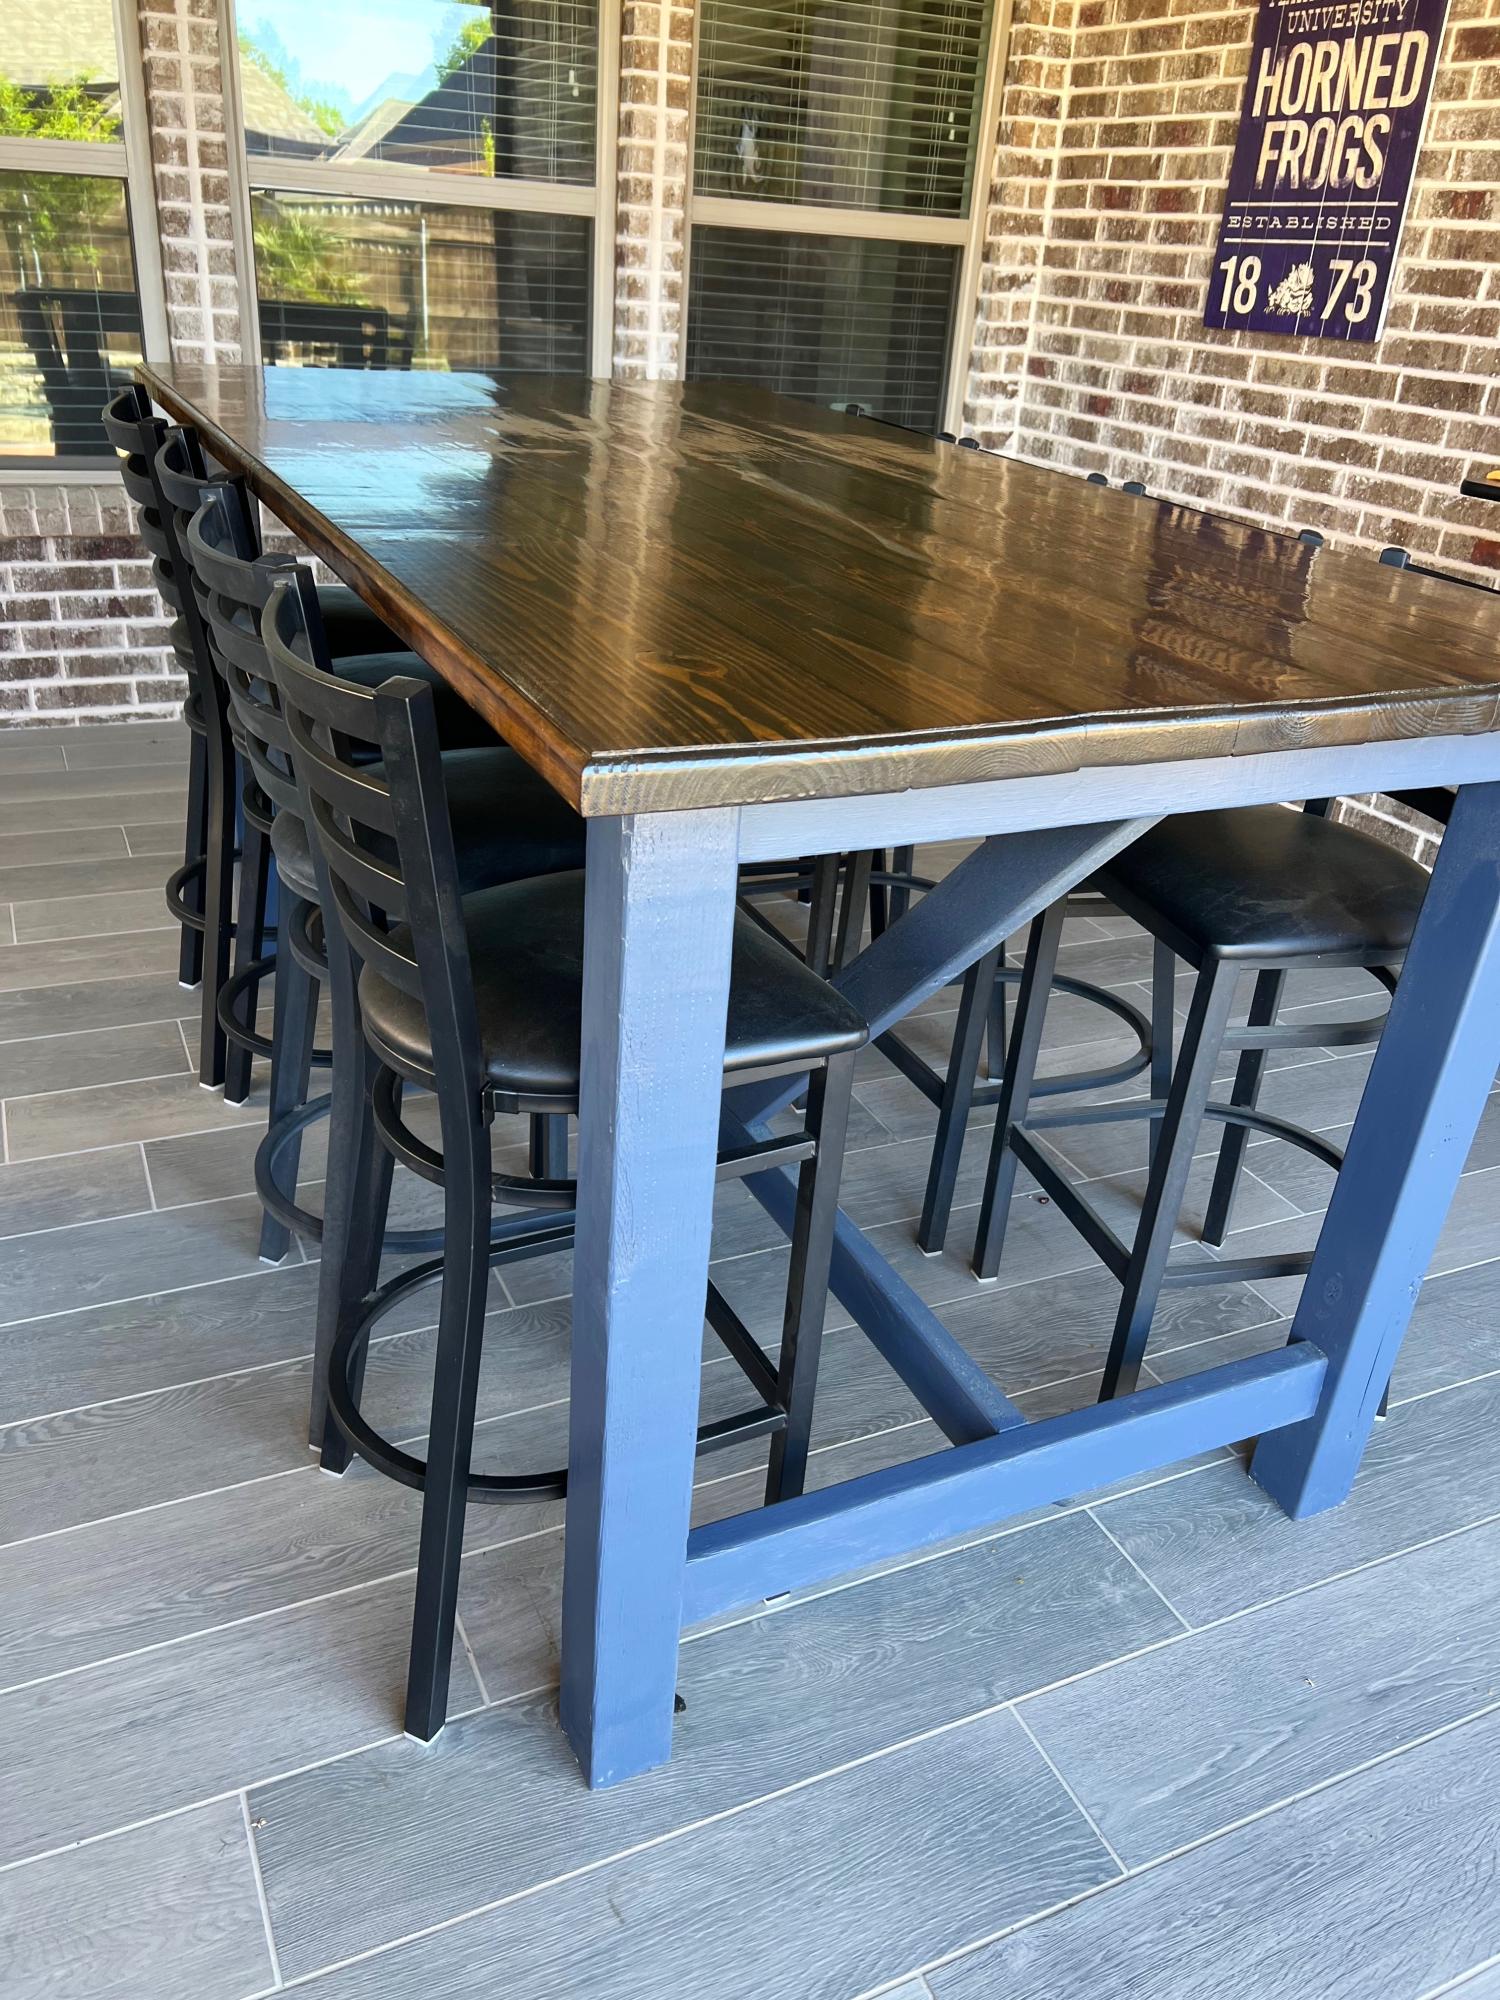
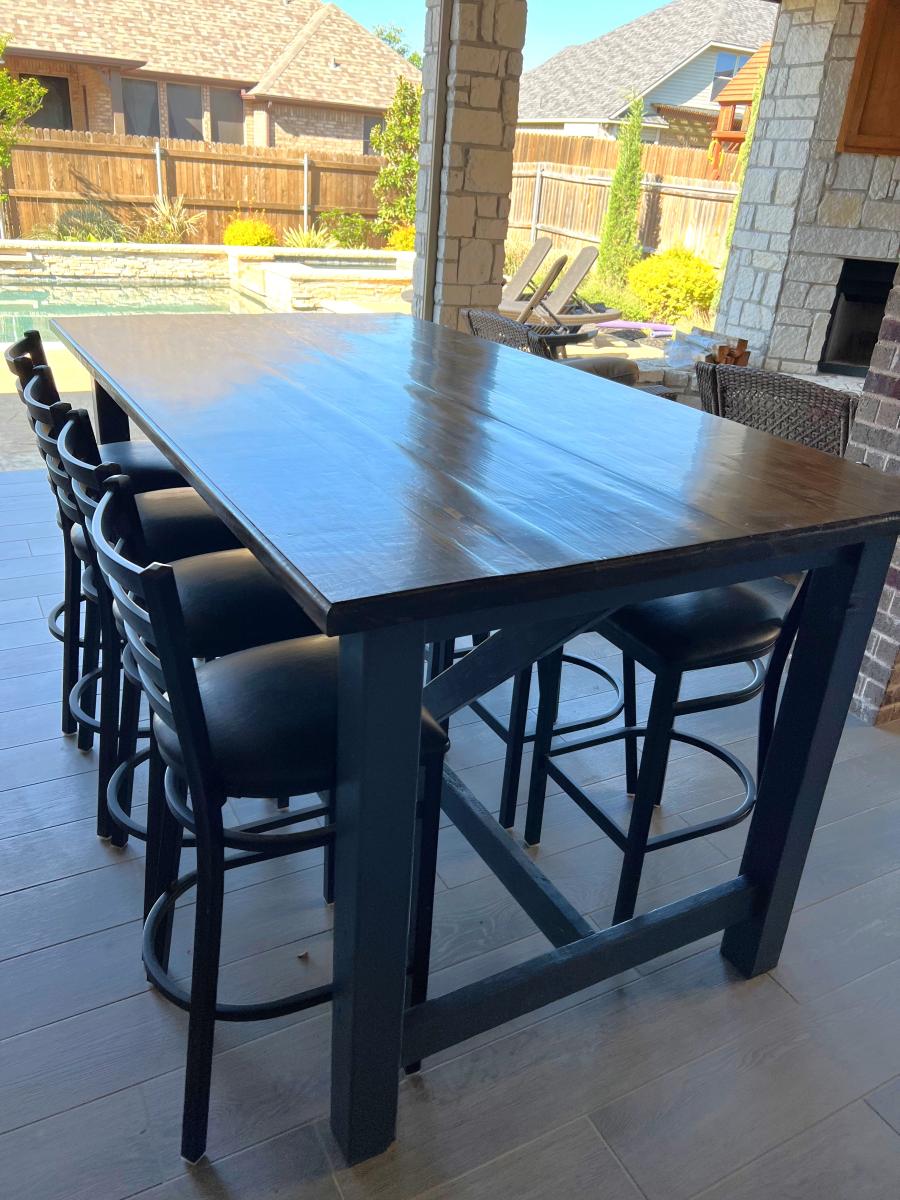
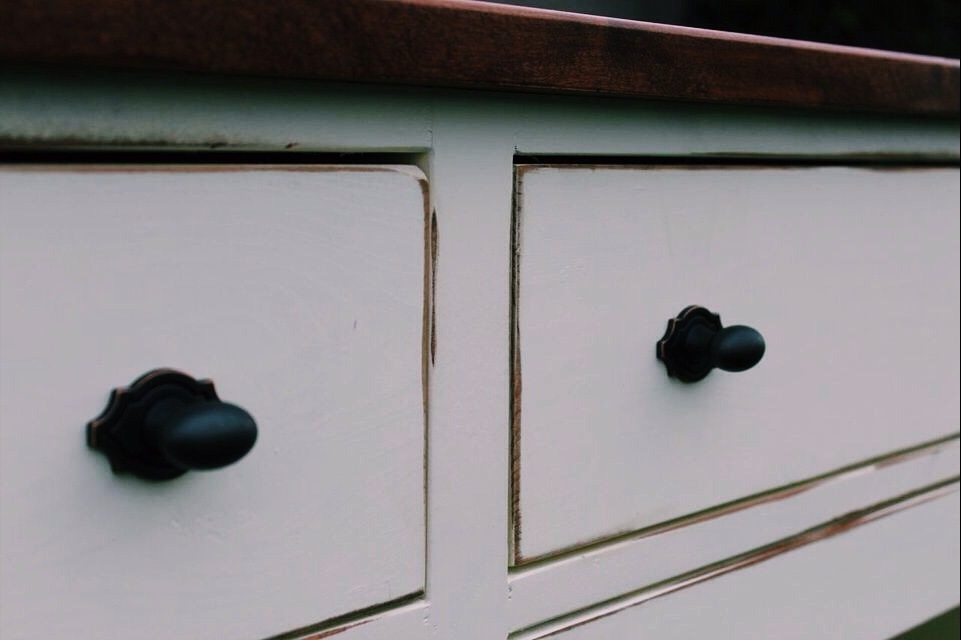
Finish Used
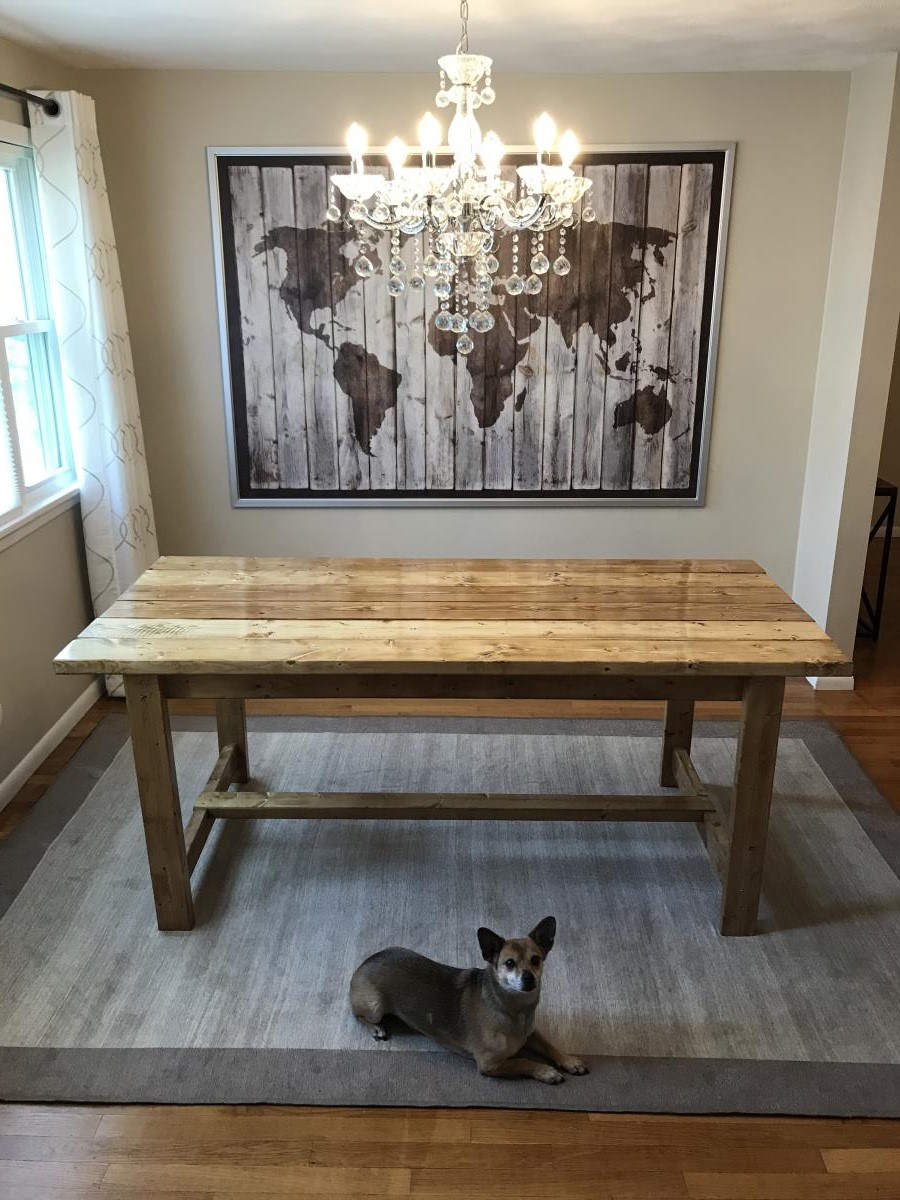
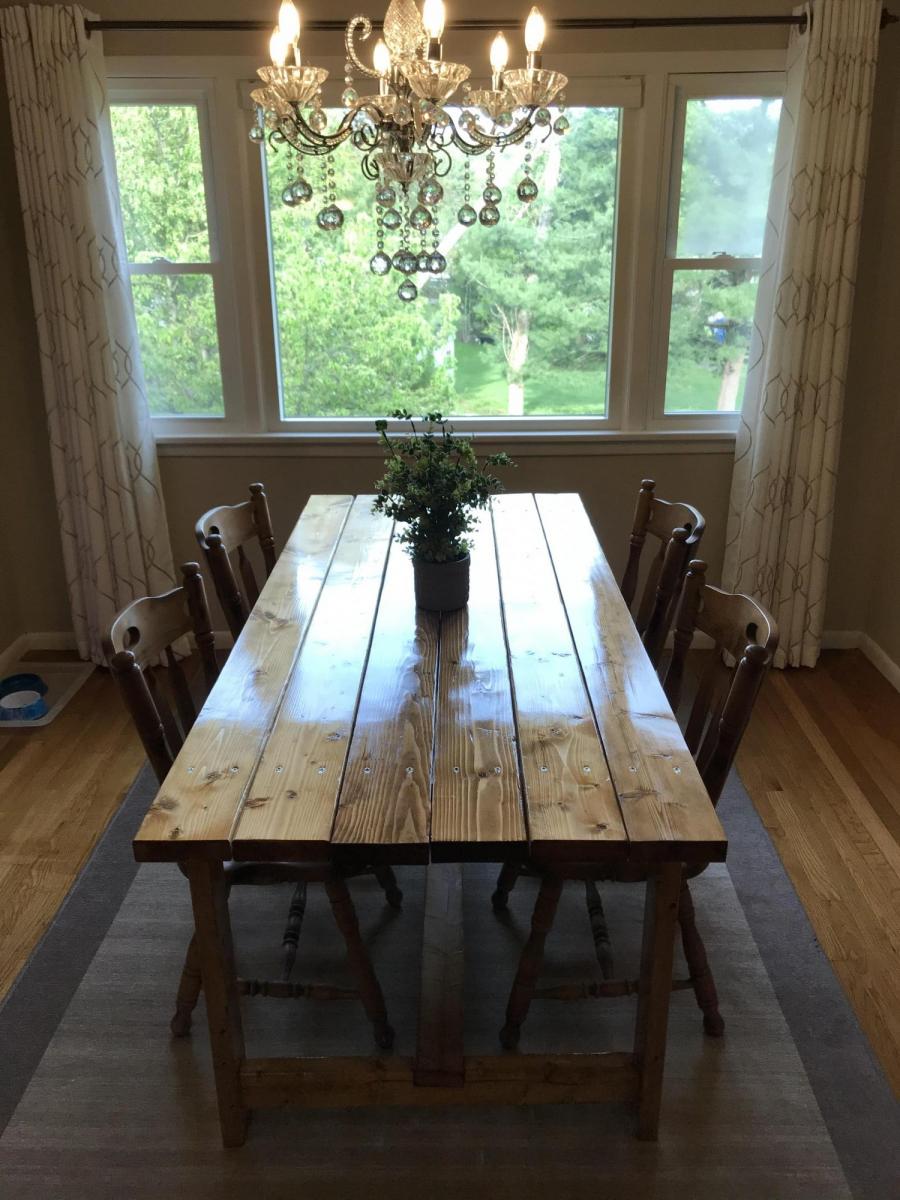
Varathane Early American. Brush on one coat, let sit for 5 minutes, then wipe off excess and blend together for an even finish. Follow with 3 coats of poly (I used Miniwax water-based satin finish), sanding between each coat.
Recommended Skill Level
Intermediate