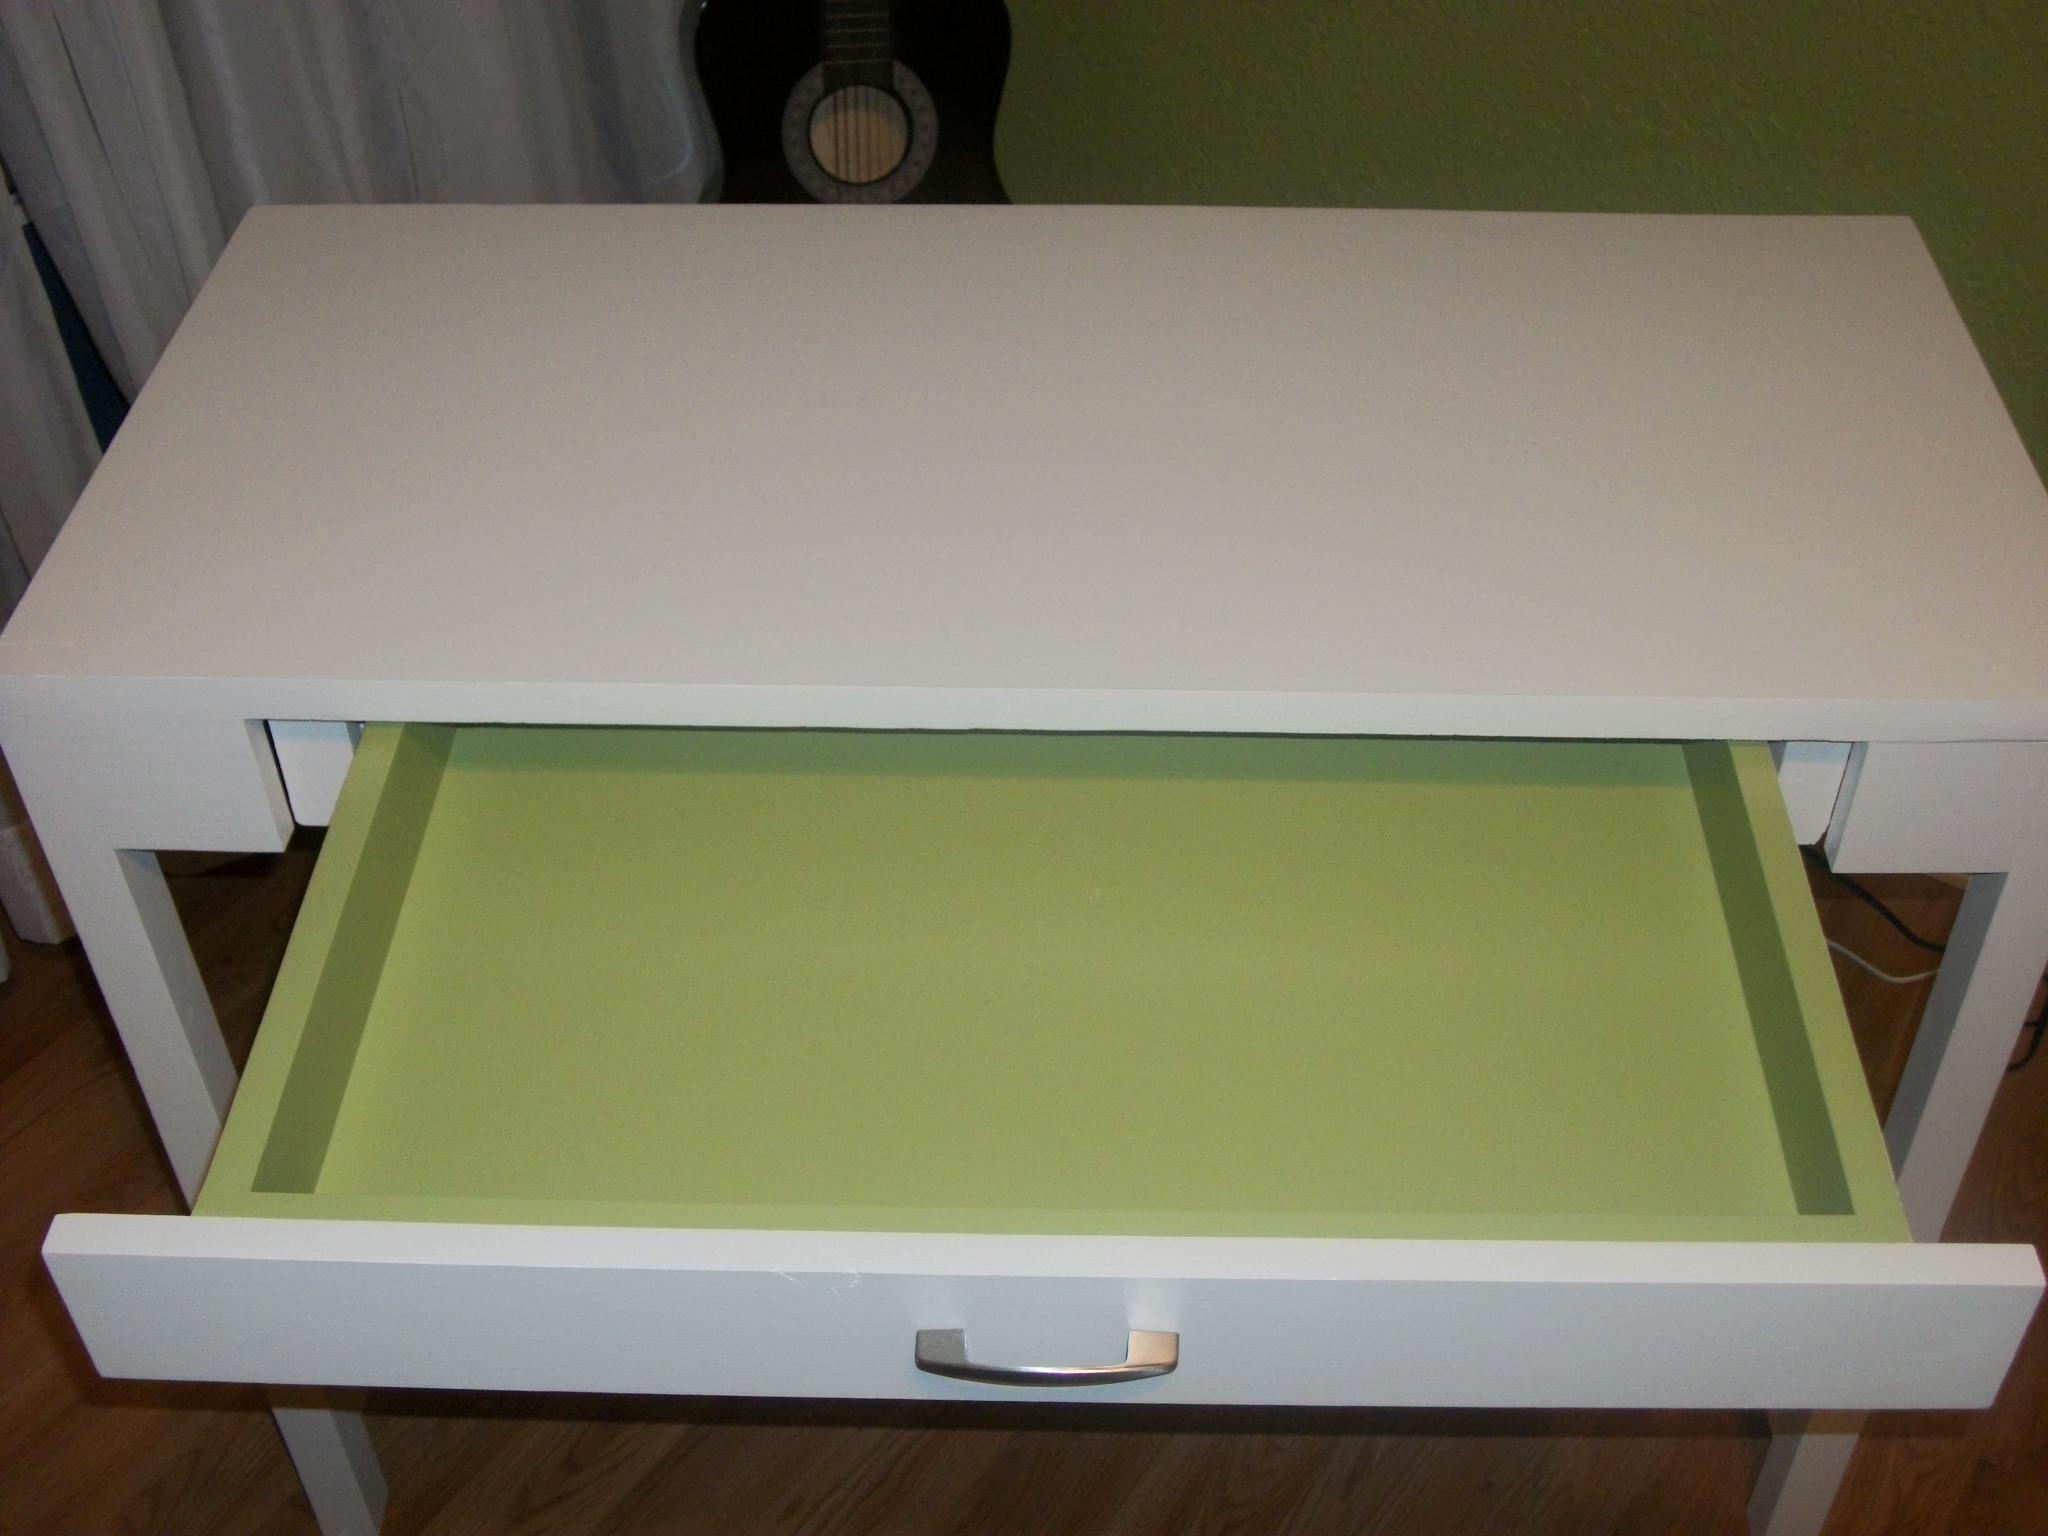
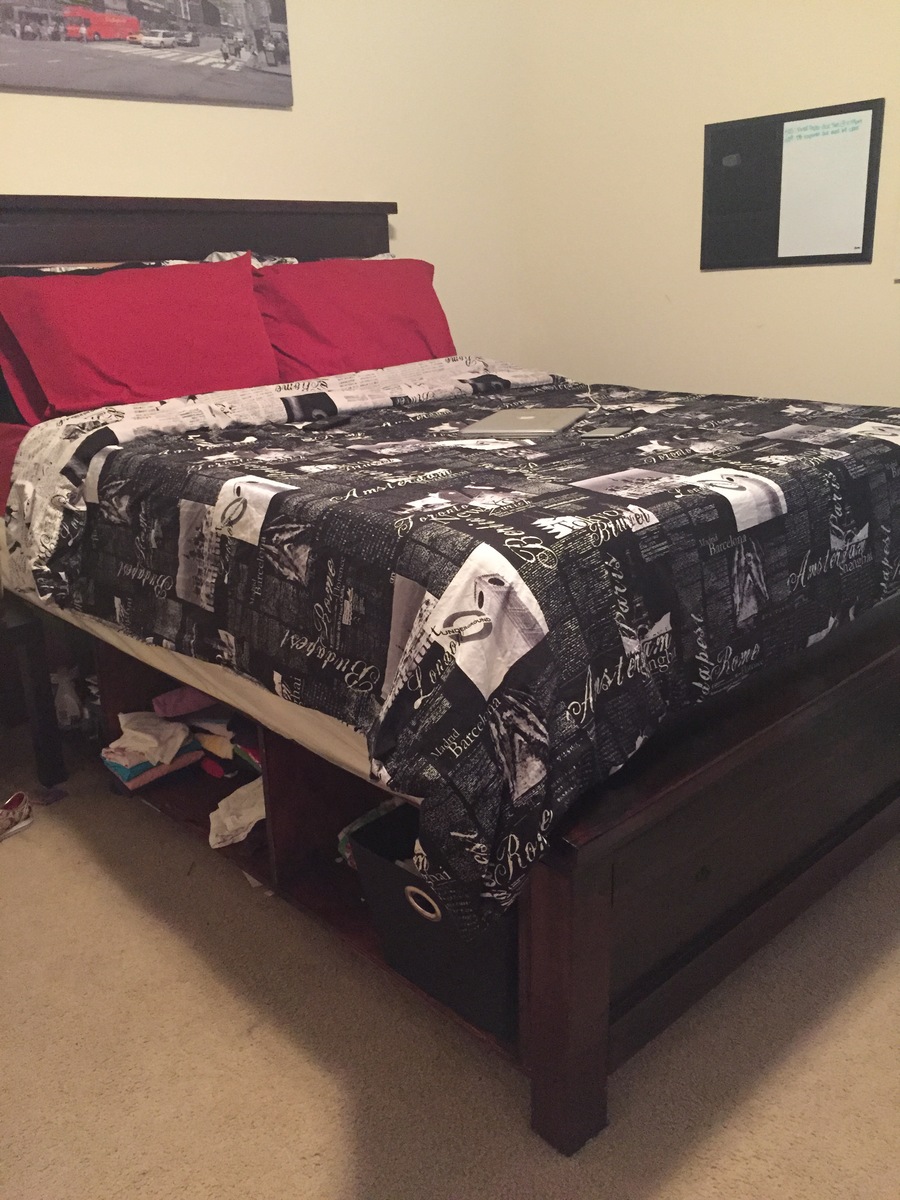
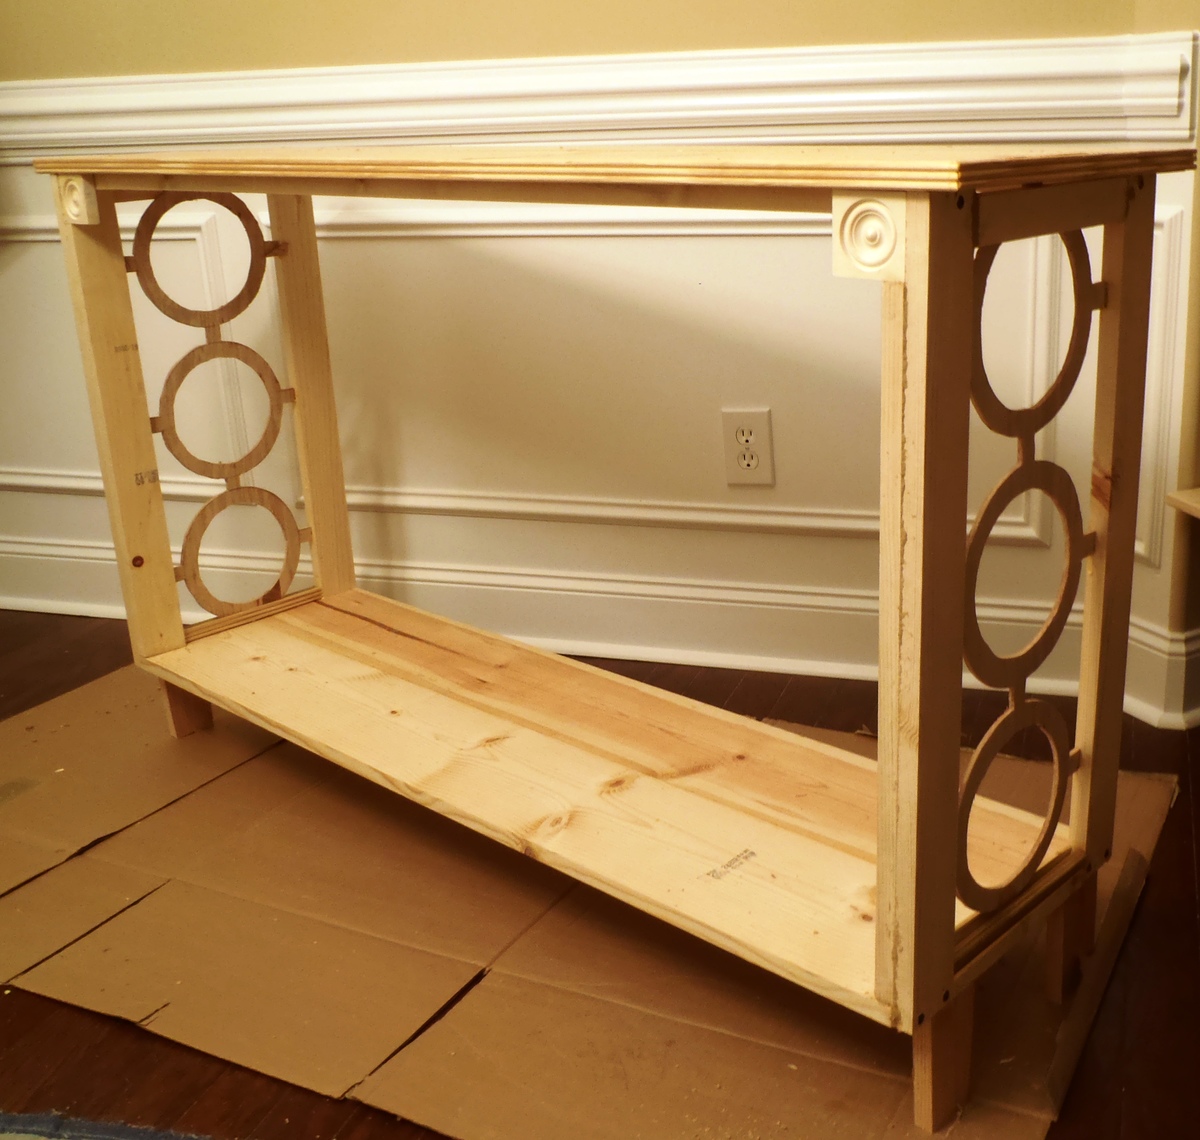
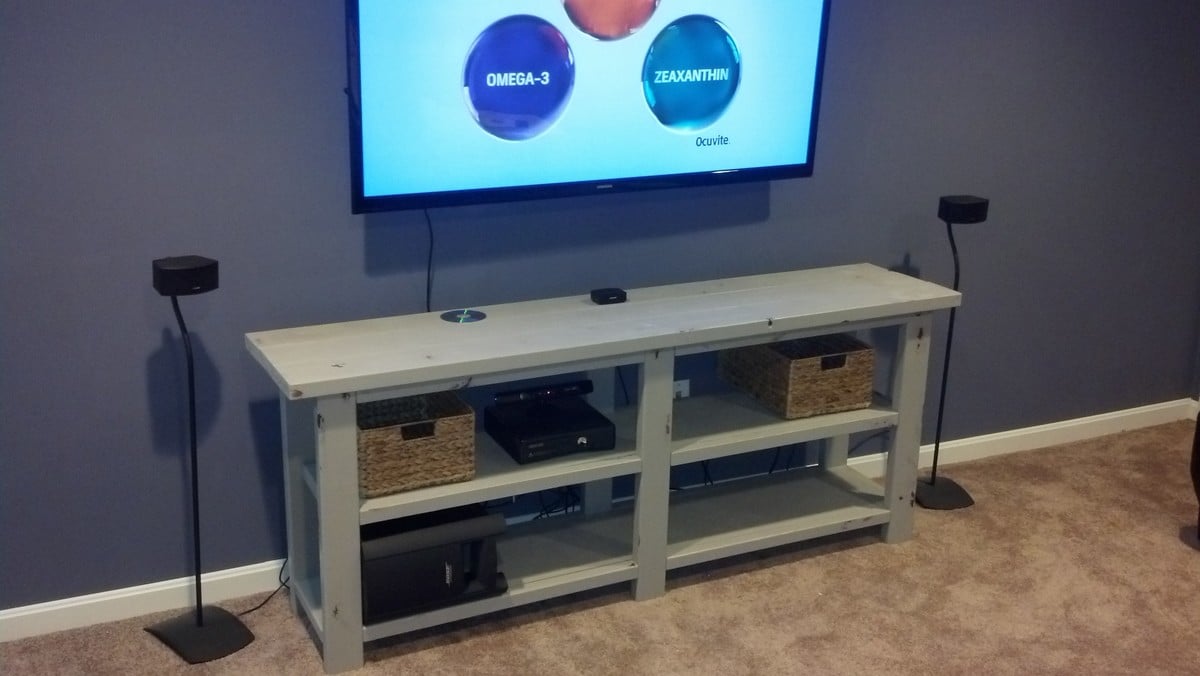
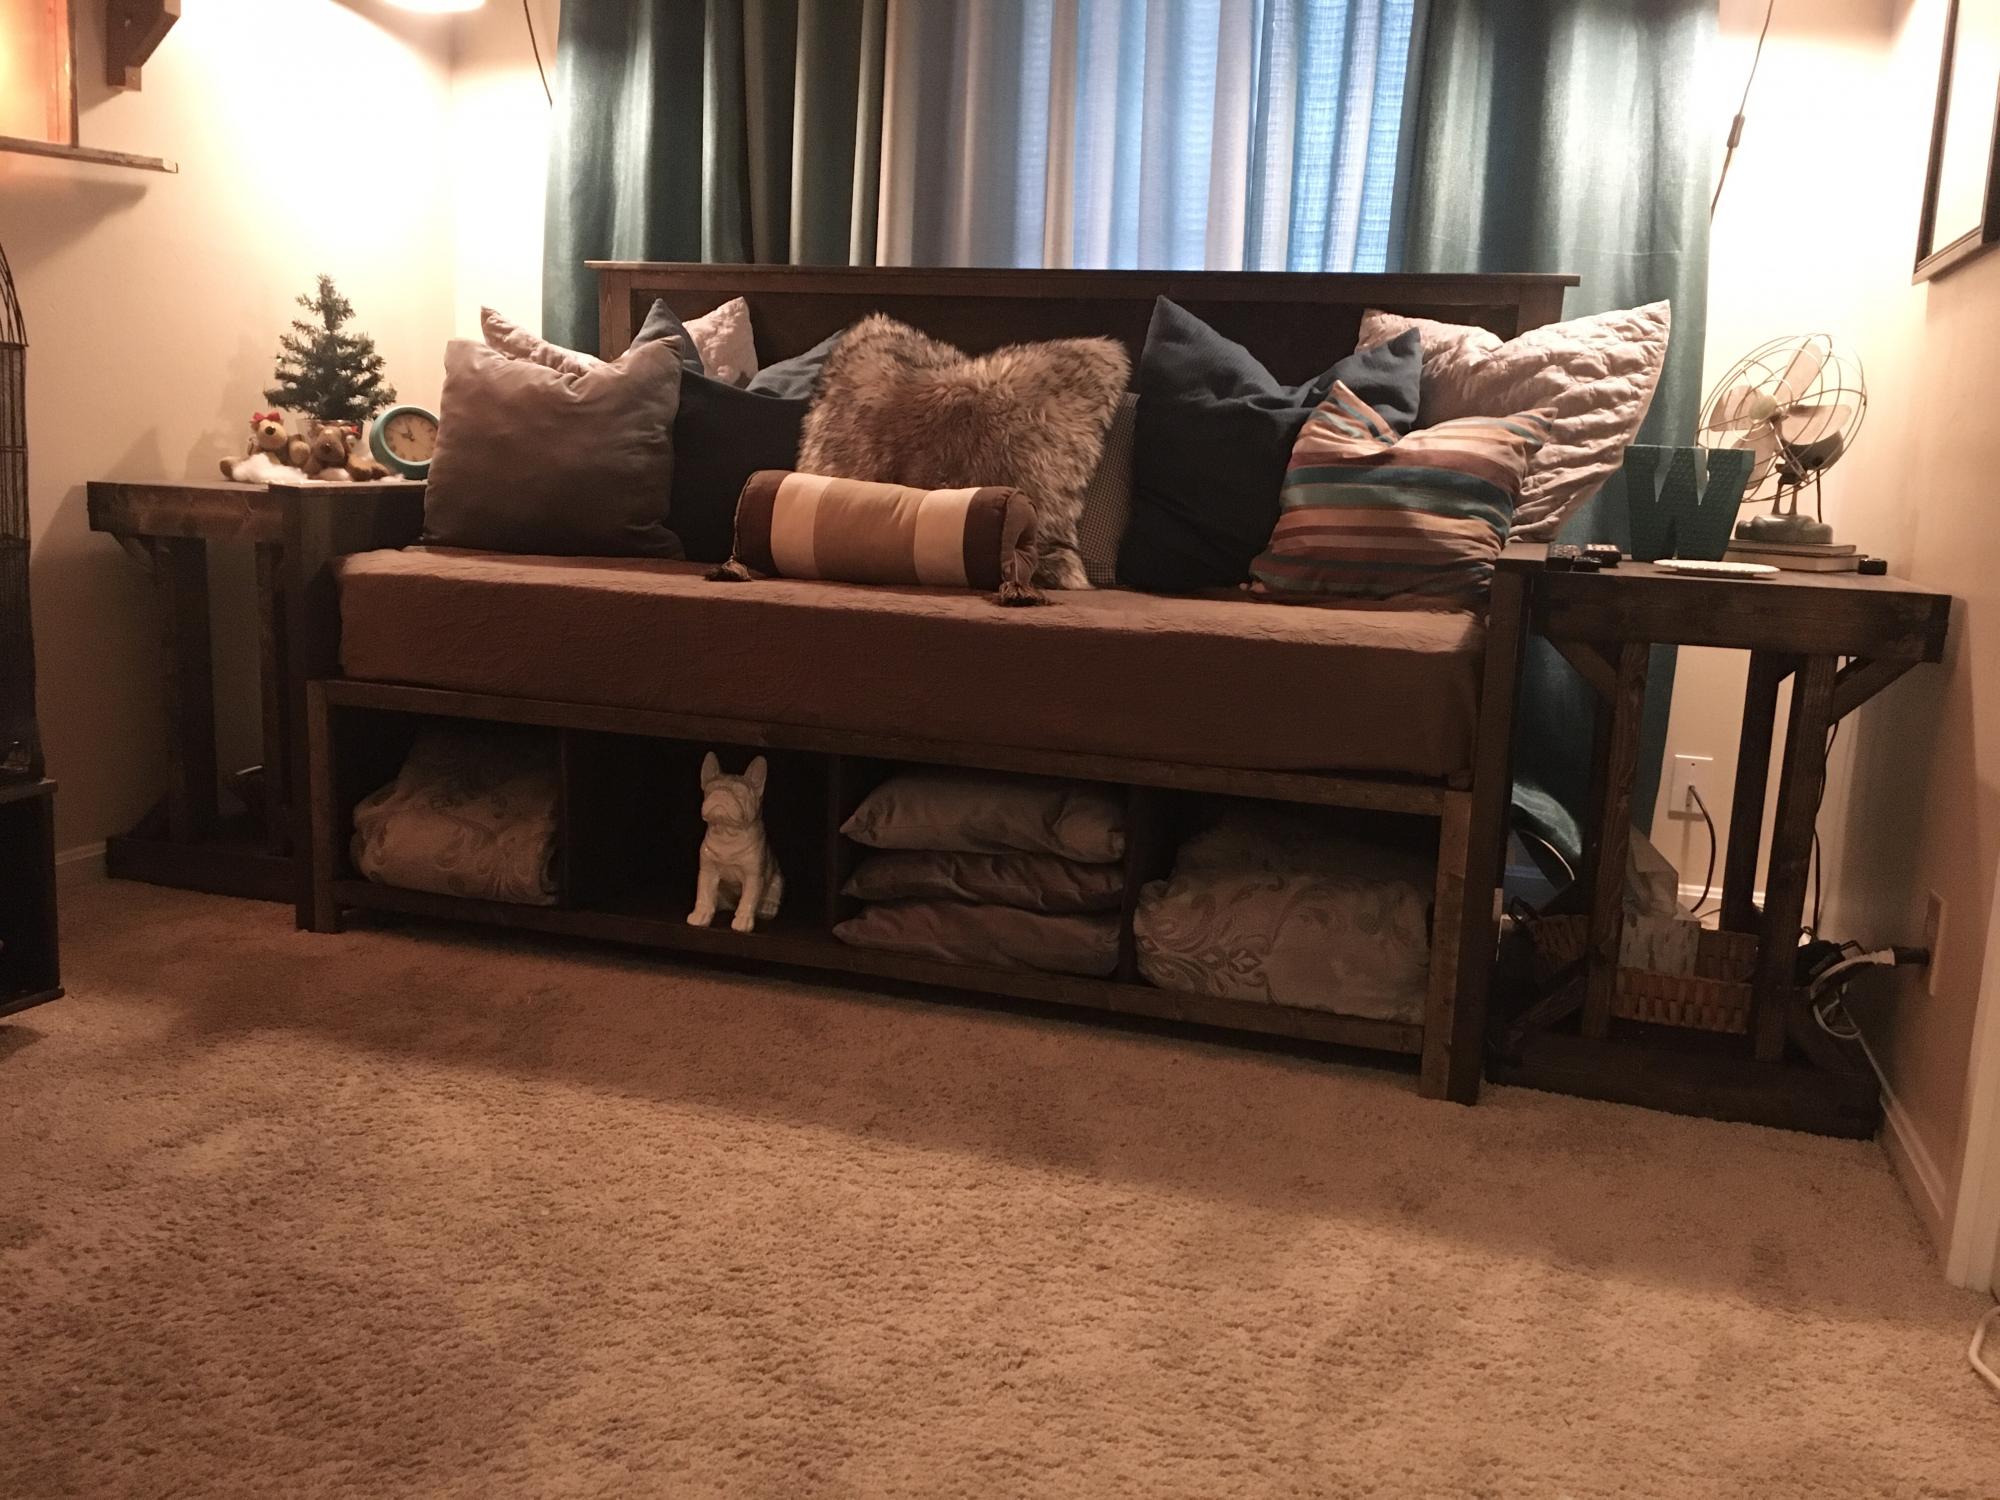
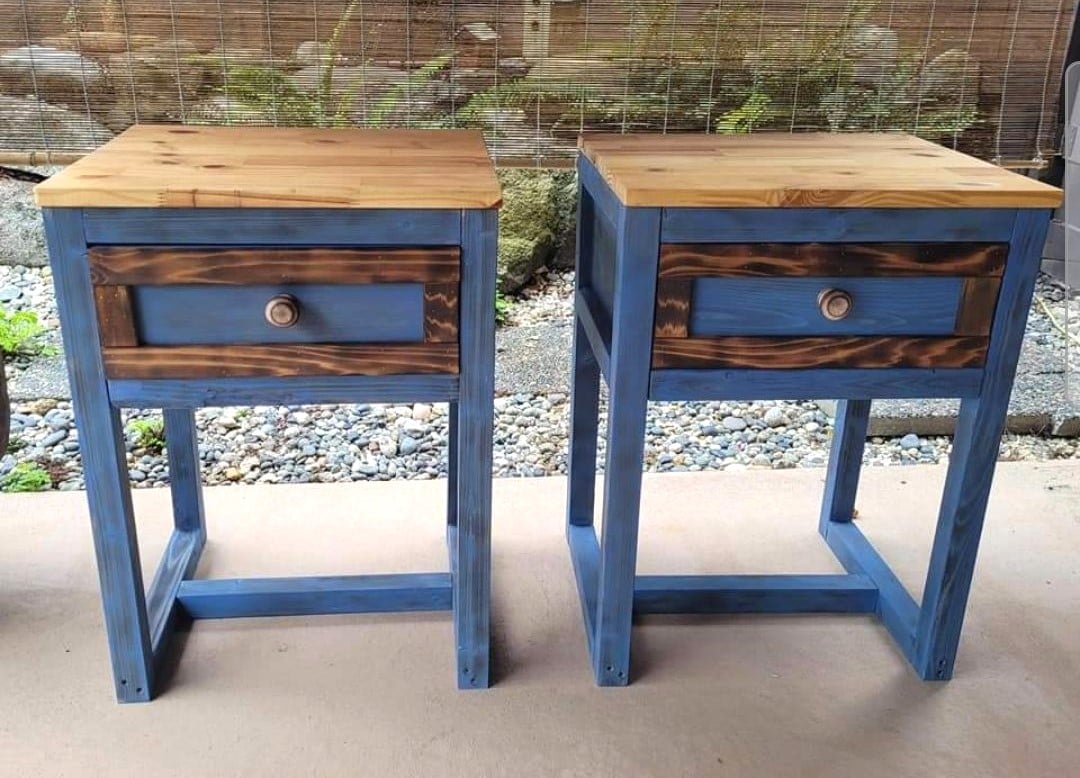
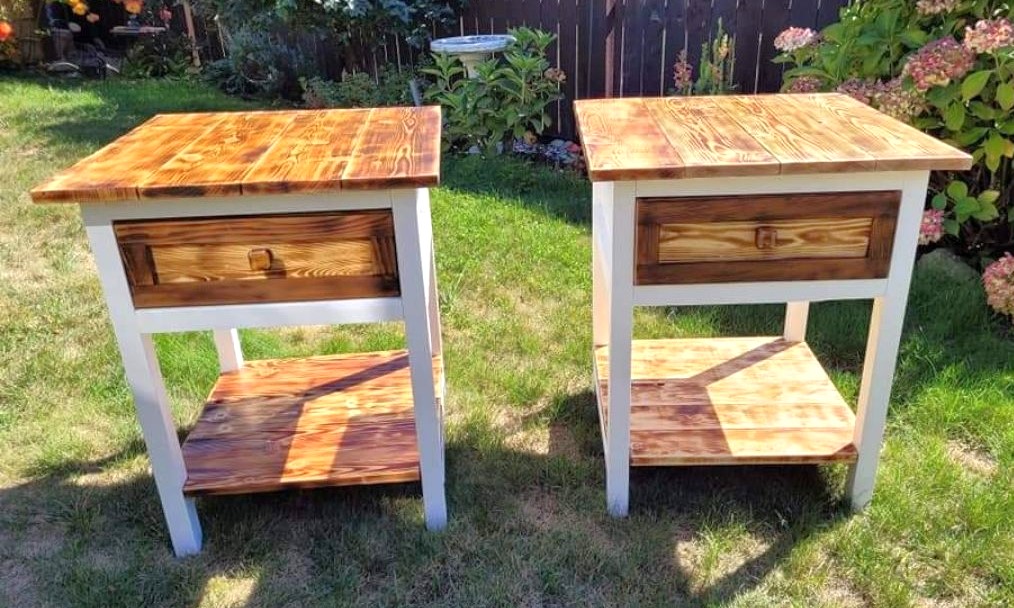
Perfect Teenage Desk!

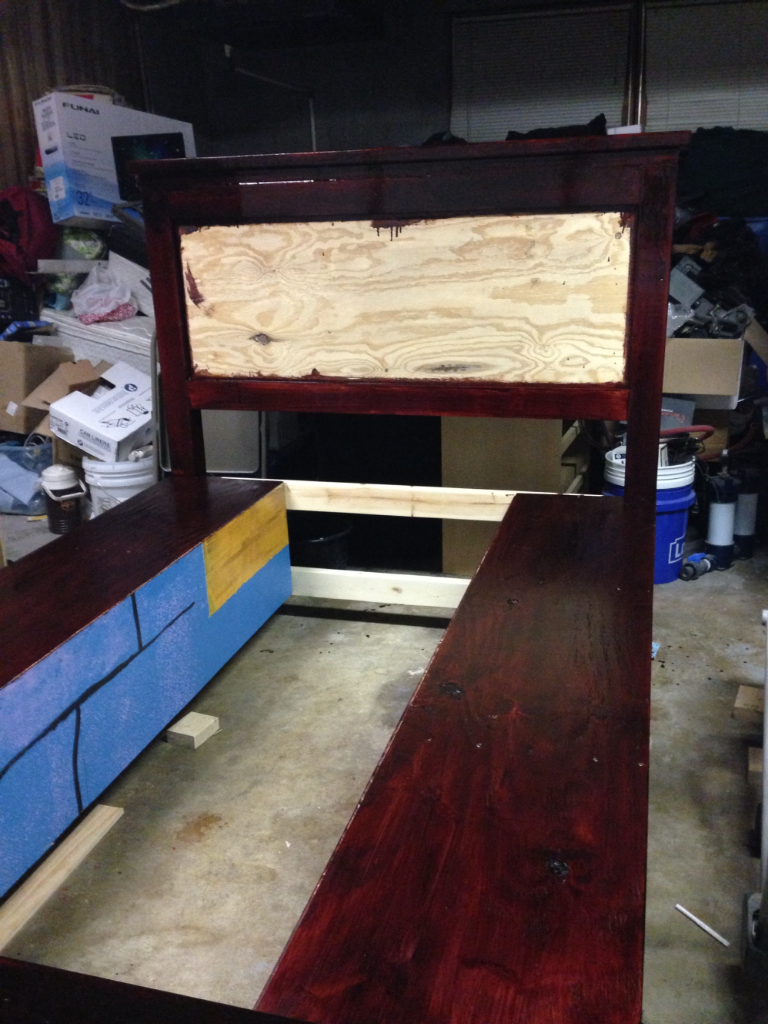
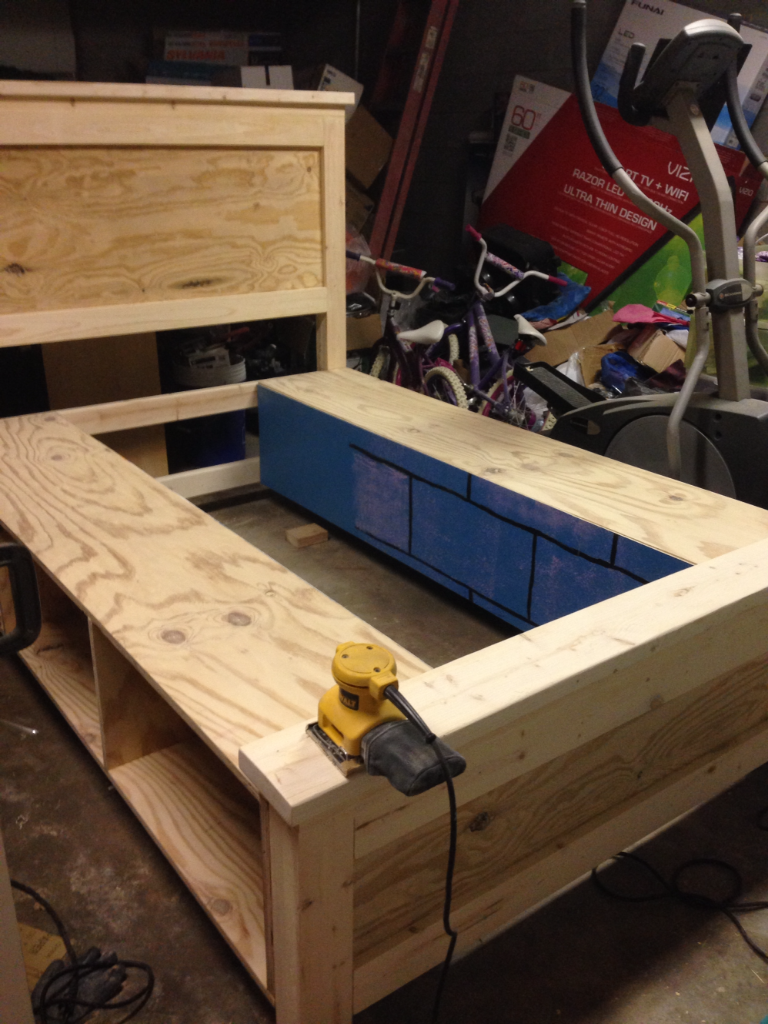
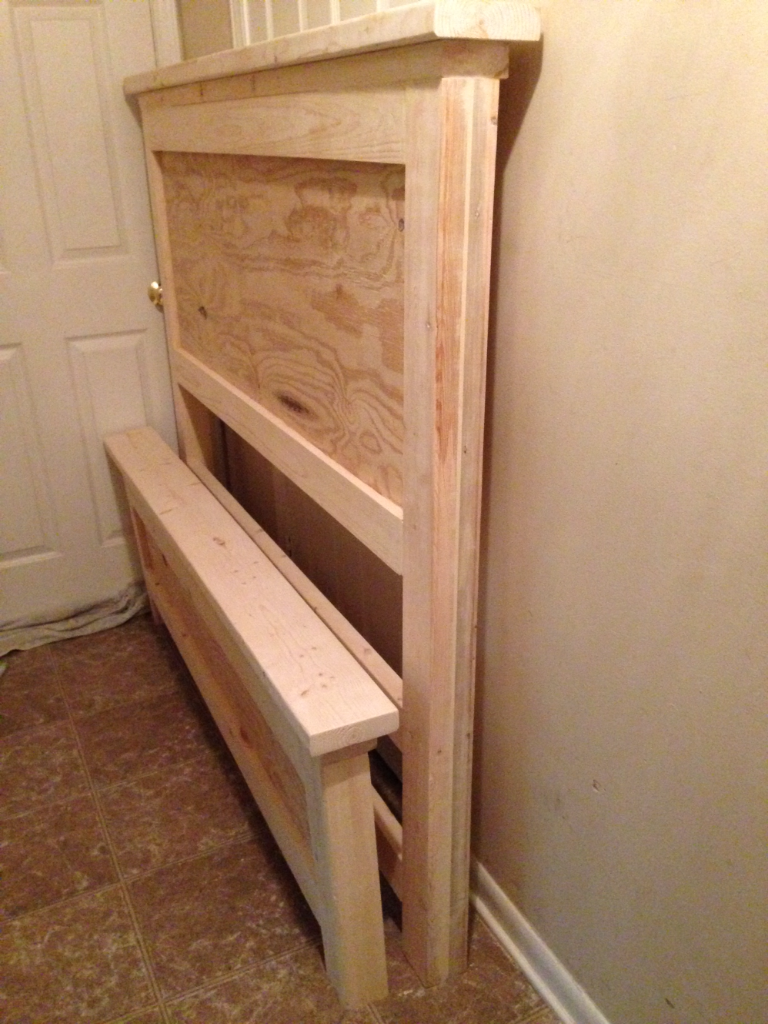
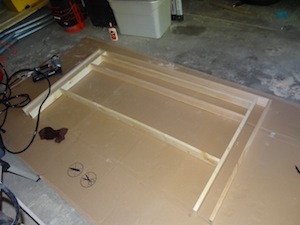
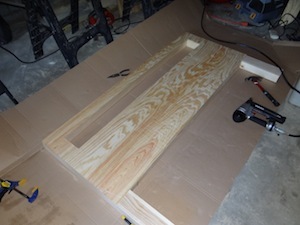
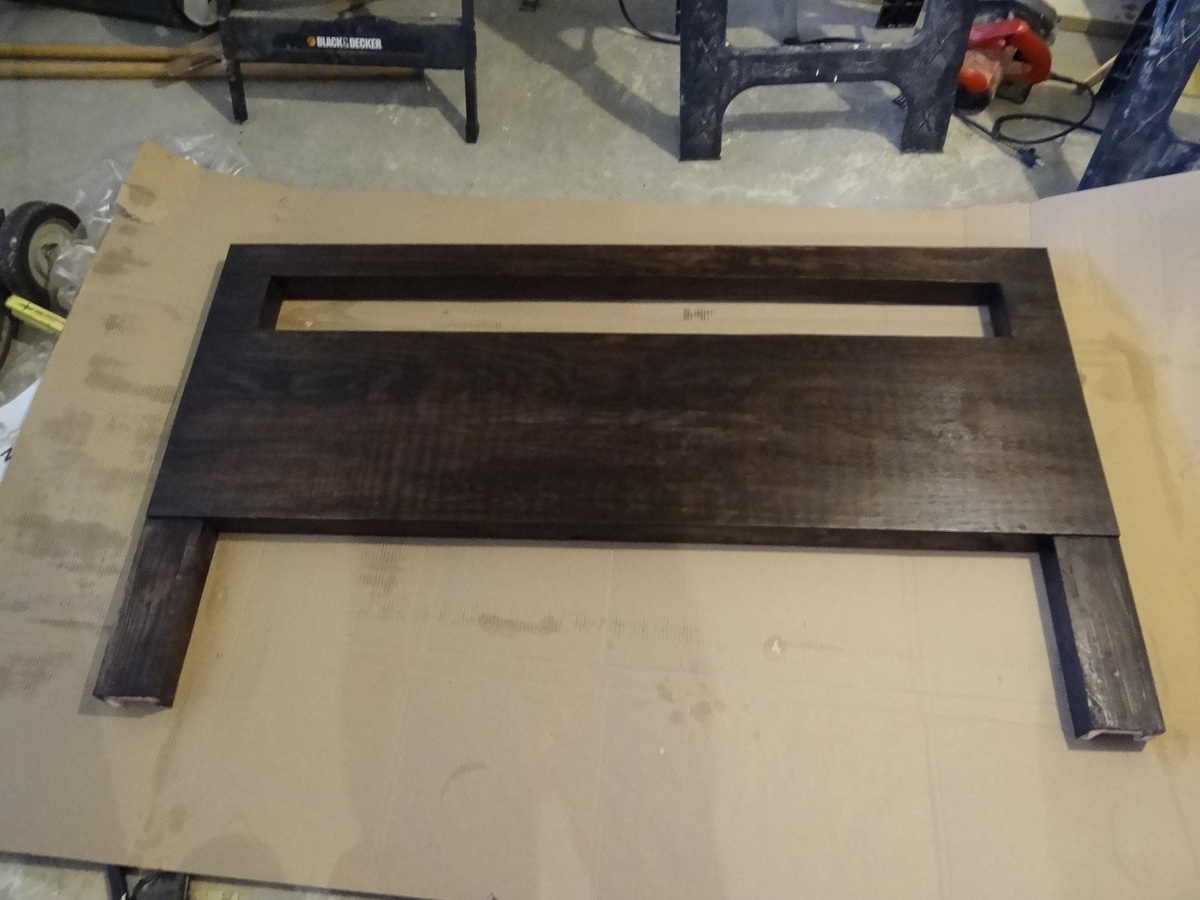
I built this desk for my 15 year old daughter. We needed to size it so that a neat yard sale find seat could fit under it. I also added supports for the legs at the bottom. It just didn't feel sturdy enough for me. Large, single drawer was painted on the inside to match the color of her walls, pulling the whole look together! Lots of fun to build!
Built from Plan(s)
Estimated Cost
FREE
Estimated Time Investment
Afternoon Project (3-6 Hours)
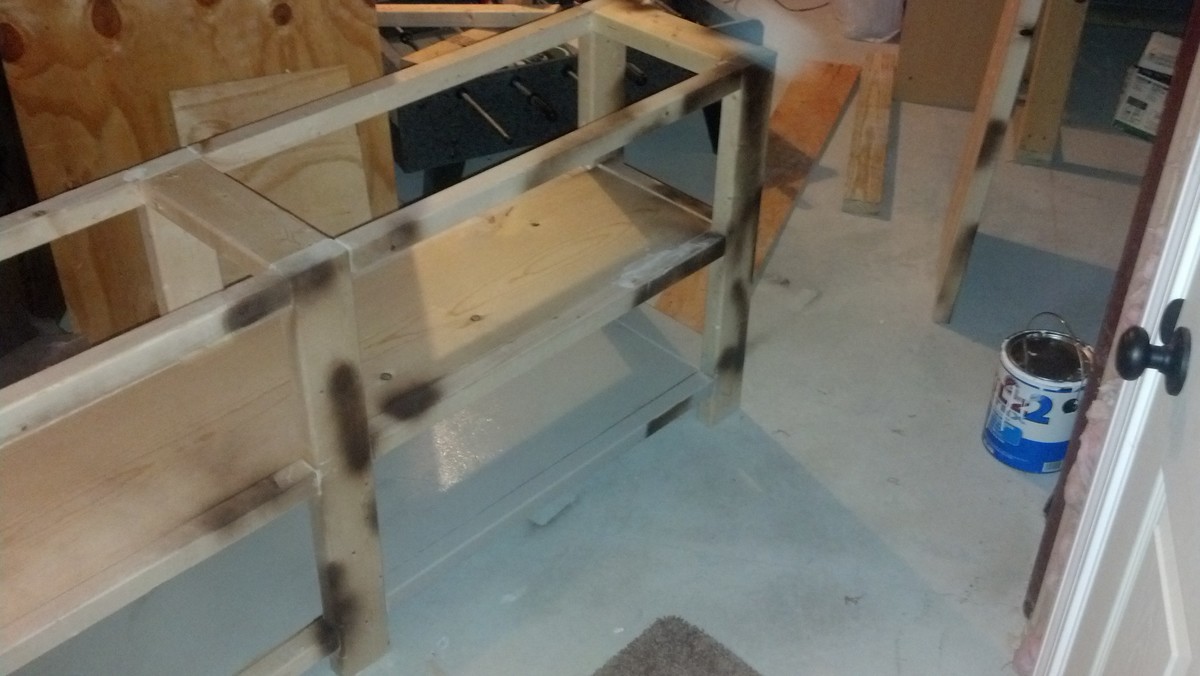
Finish Used
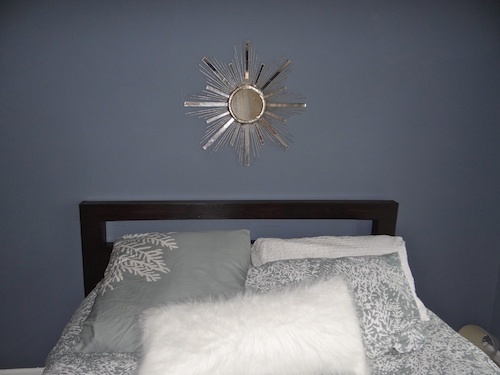
I used Glidden Cappuccino White for the main body of the desk and in the drawer, I used Glidden Spanish Olive. Both are in a satin finish.
Recommended Skill Level
Starter Project


Comments
kristen
Tue, 03/20/2012 - 16:48
Turned out great!
Love your daughter's desk! And I also love that it was FREE. The Hubs always wants me to throw out the scraps and I just can't, especially after seeing projects like yours :)
In reply to Turned out great! by kristen
tracysmith
Tue, 03/20/2012 - 22:05
Thank you Kristen!!! I love
Thank you Kristen!!! I love dipping into the ole scrap bins... of course, I have three of them..LOL I also use the stuff that I can't make into a project out in the Ghetto Fire Pit so we enjoy it any way we can!!! Someday I'll have to take a pic and post it on Ana's site somewhere.. I doubt anyone will want one but it works for us!
Ana White
Tue, 03/20/2012 - 23:07
Me love!!! It so well named
Me love!!! It so well named - perfect is many ways!
In reply to Me love!!! It so well named by Ana White
tracysmith
Wed, 03/21/2012 - 08:38
Thanks Ana! I always love
Thanks Ana! I always love getting compliments from you on the projects I've done. Actually, I love getting compliments period, but thank you very much! Couldn't have done it without you! :-)
shelbyannec21
Mon, 12/21/2015 - 15:08
Great Job, can you help me!?
I love how you changed the design alittle on this, I am trying to build something very similar to what you did for my vanity/dressing table! I noticed on yours the front aprons are not noticable how did you do that? I want your exact design, and my dimensions are 29" w X 16" d. Thank you in advance!