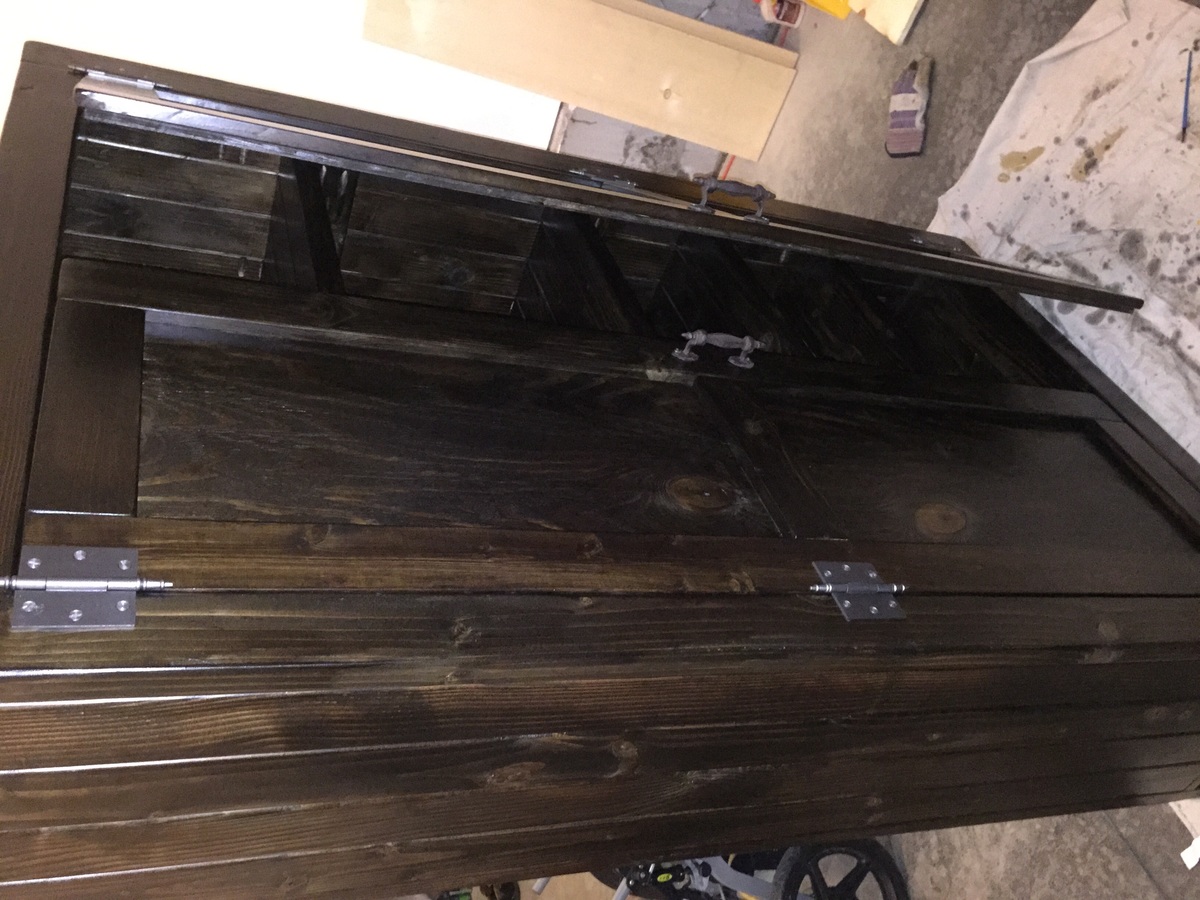
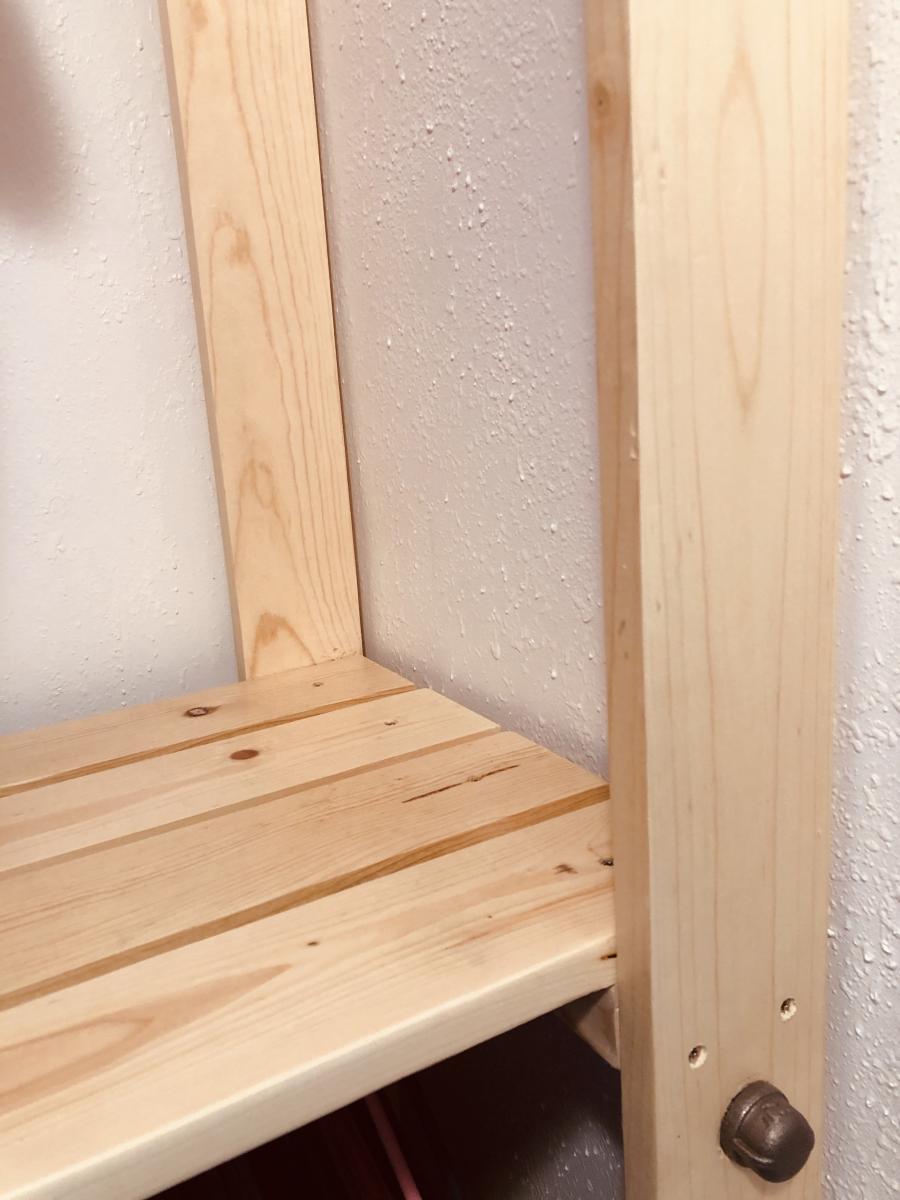
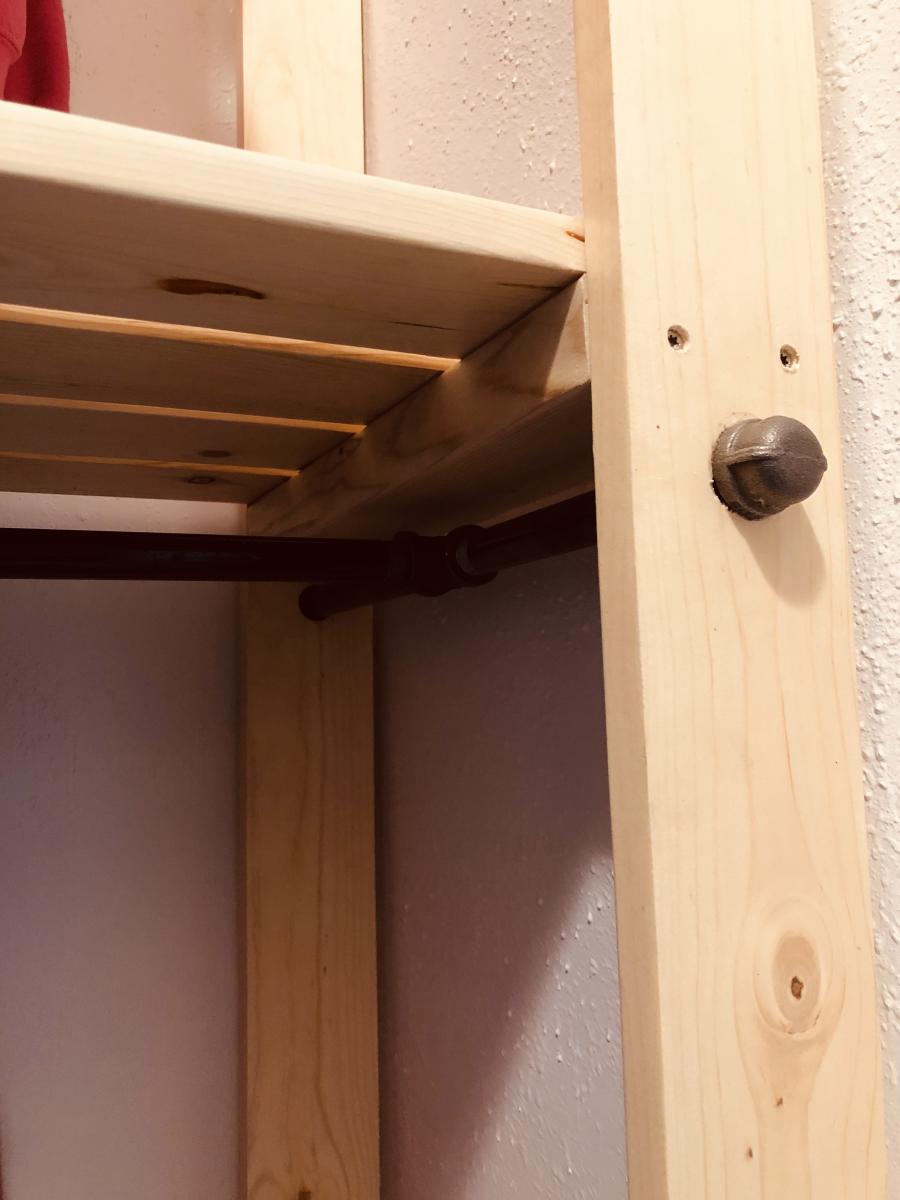
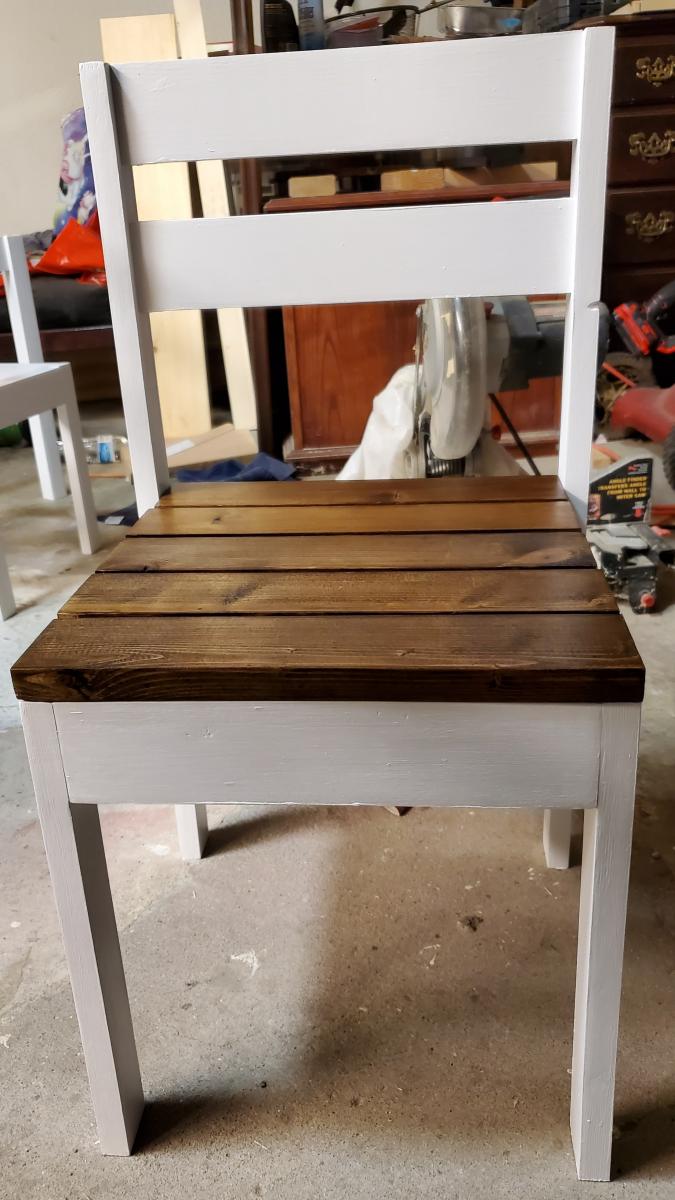
4 dollar stackable kids chair
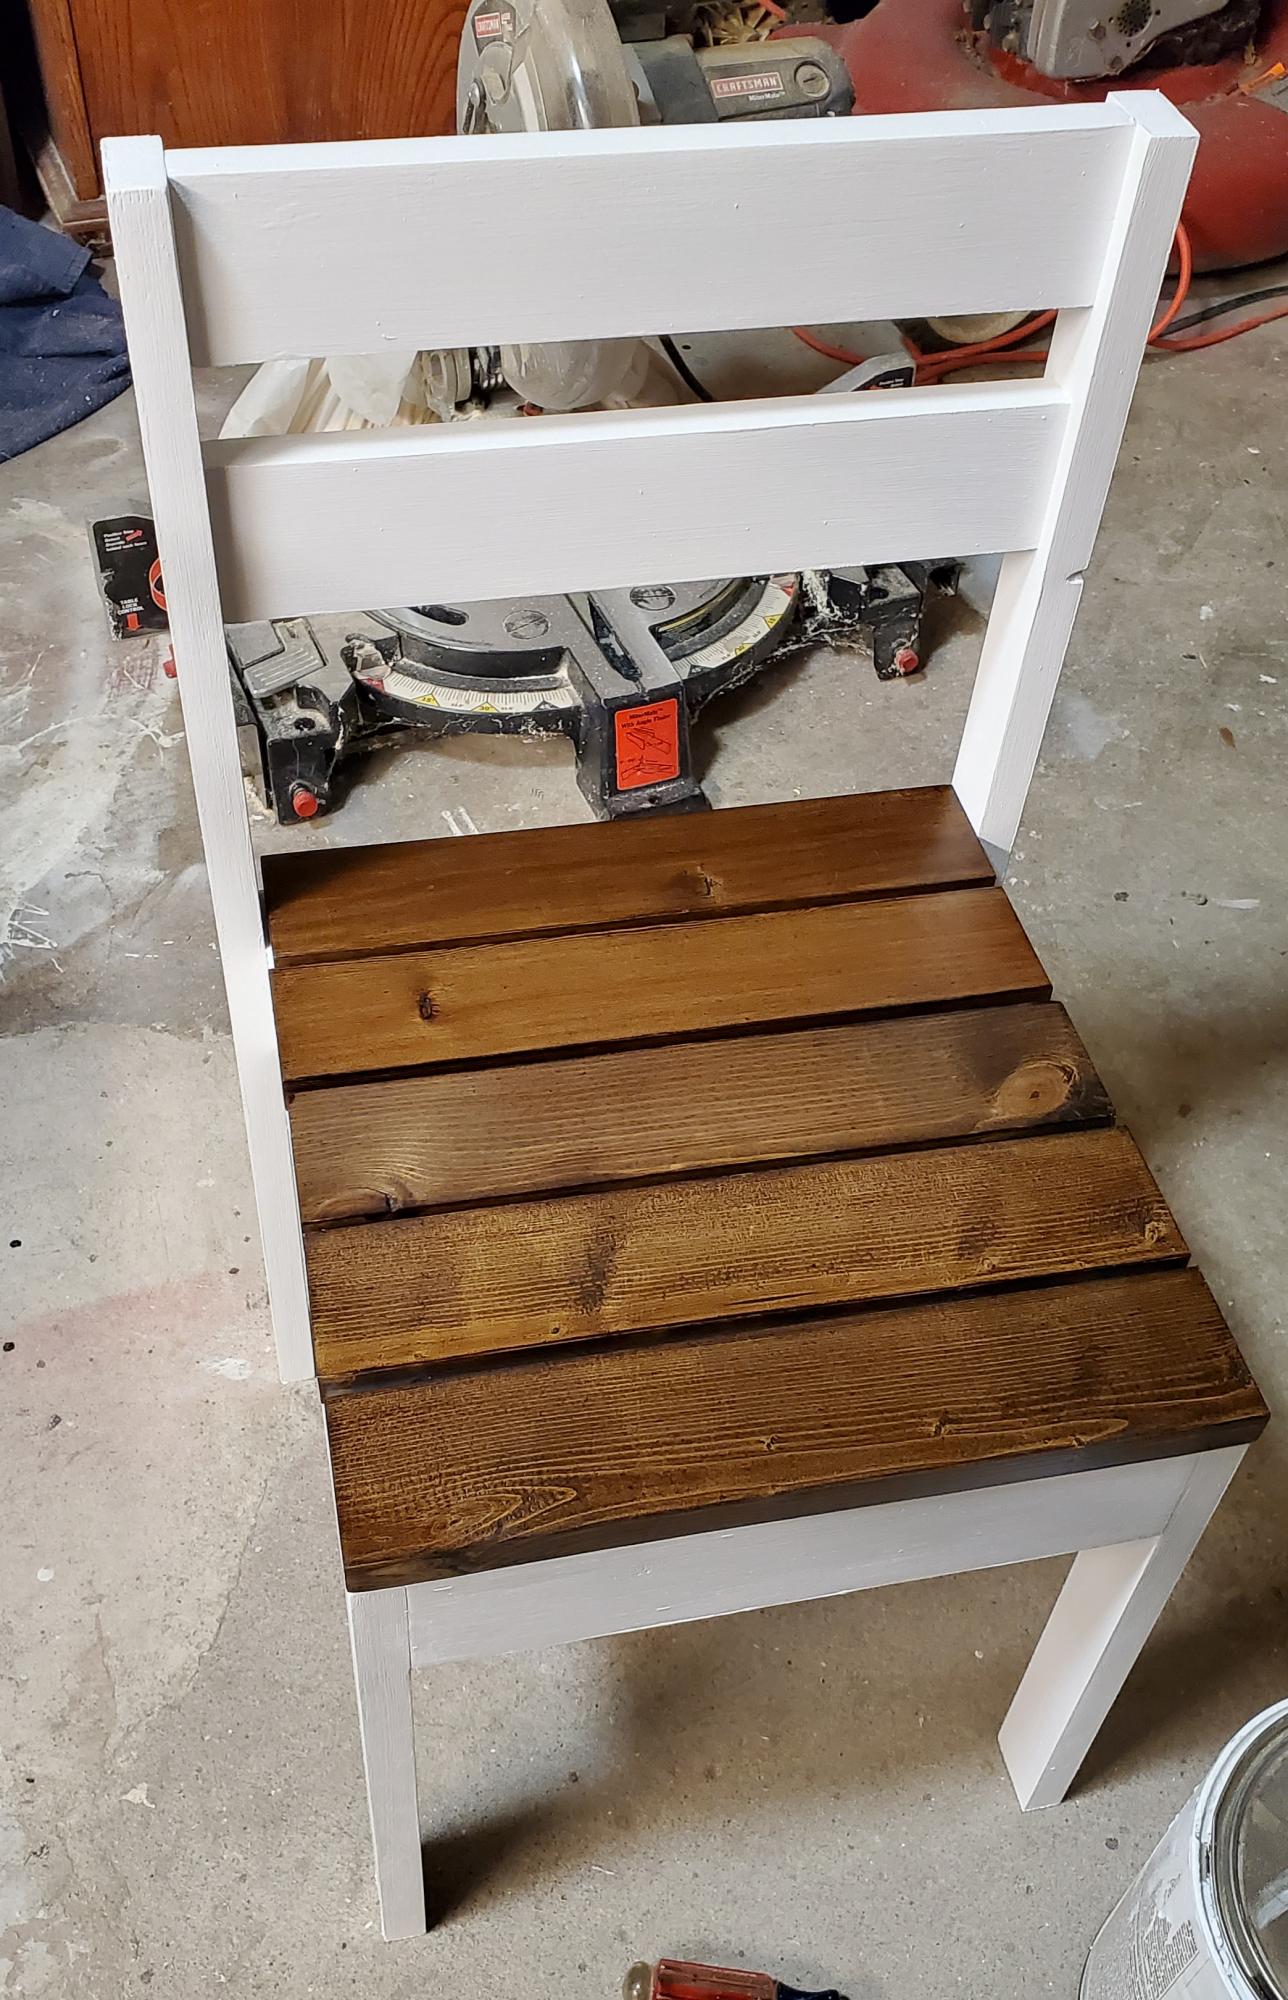
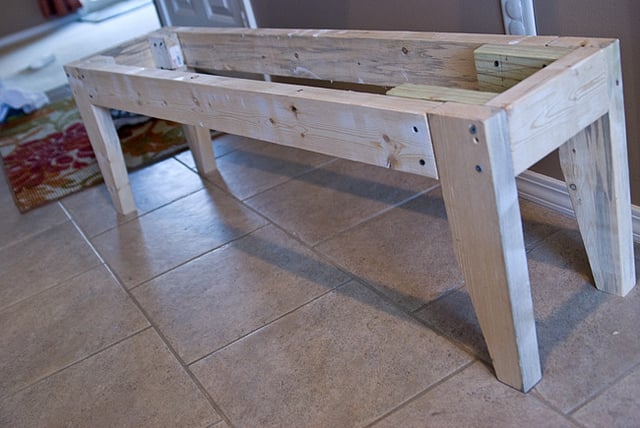
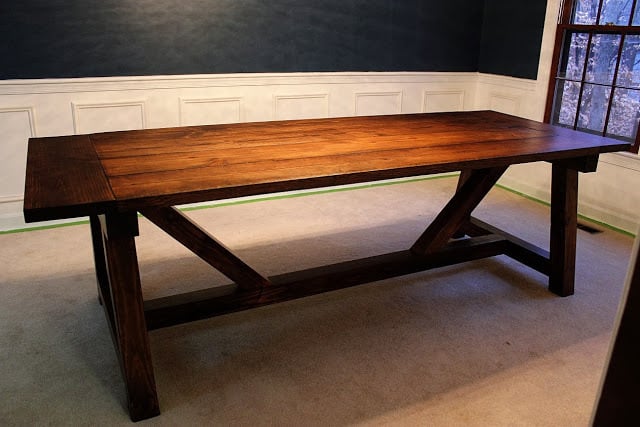
I made some slight modifications here by not using furring strips as I like the straight edges which increased the price slightly.
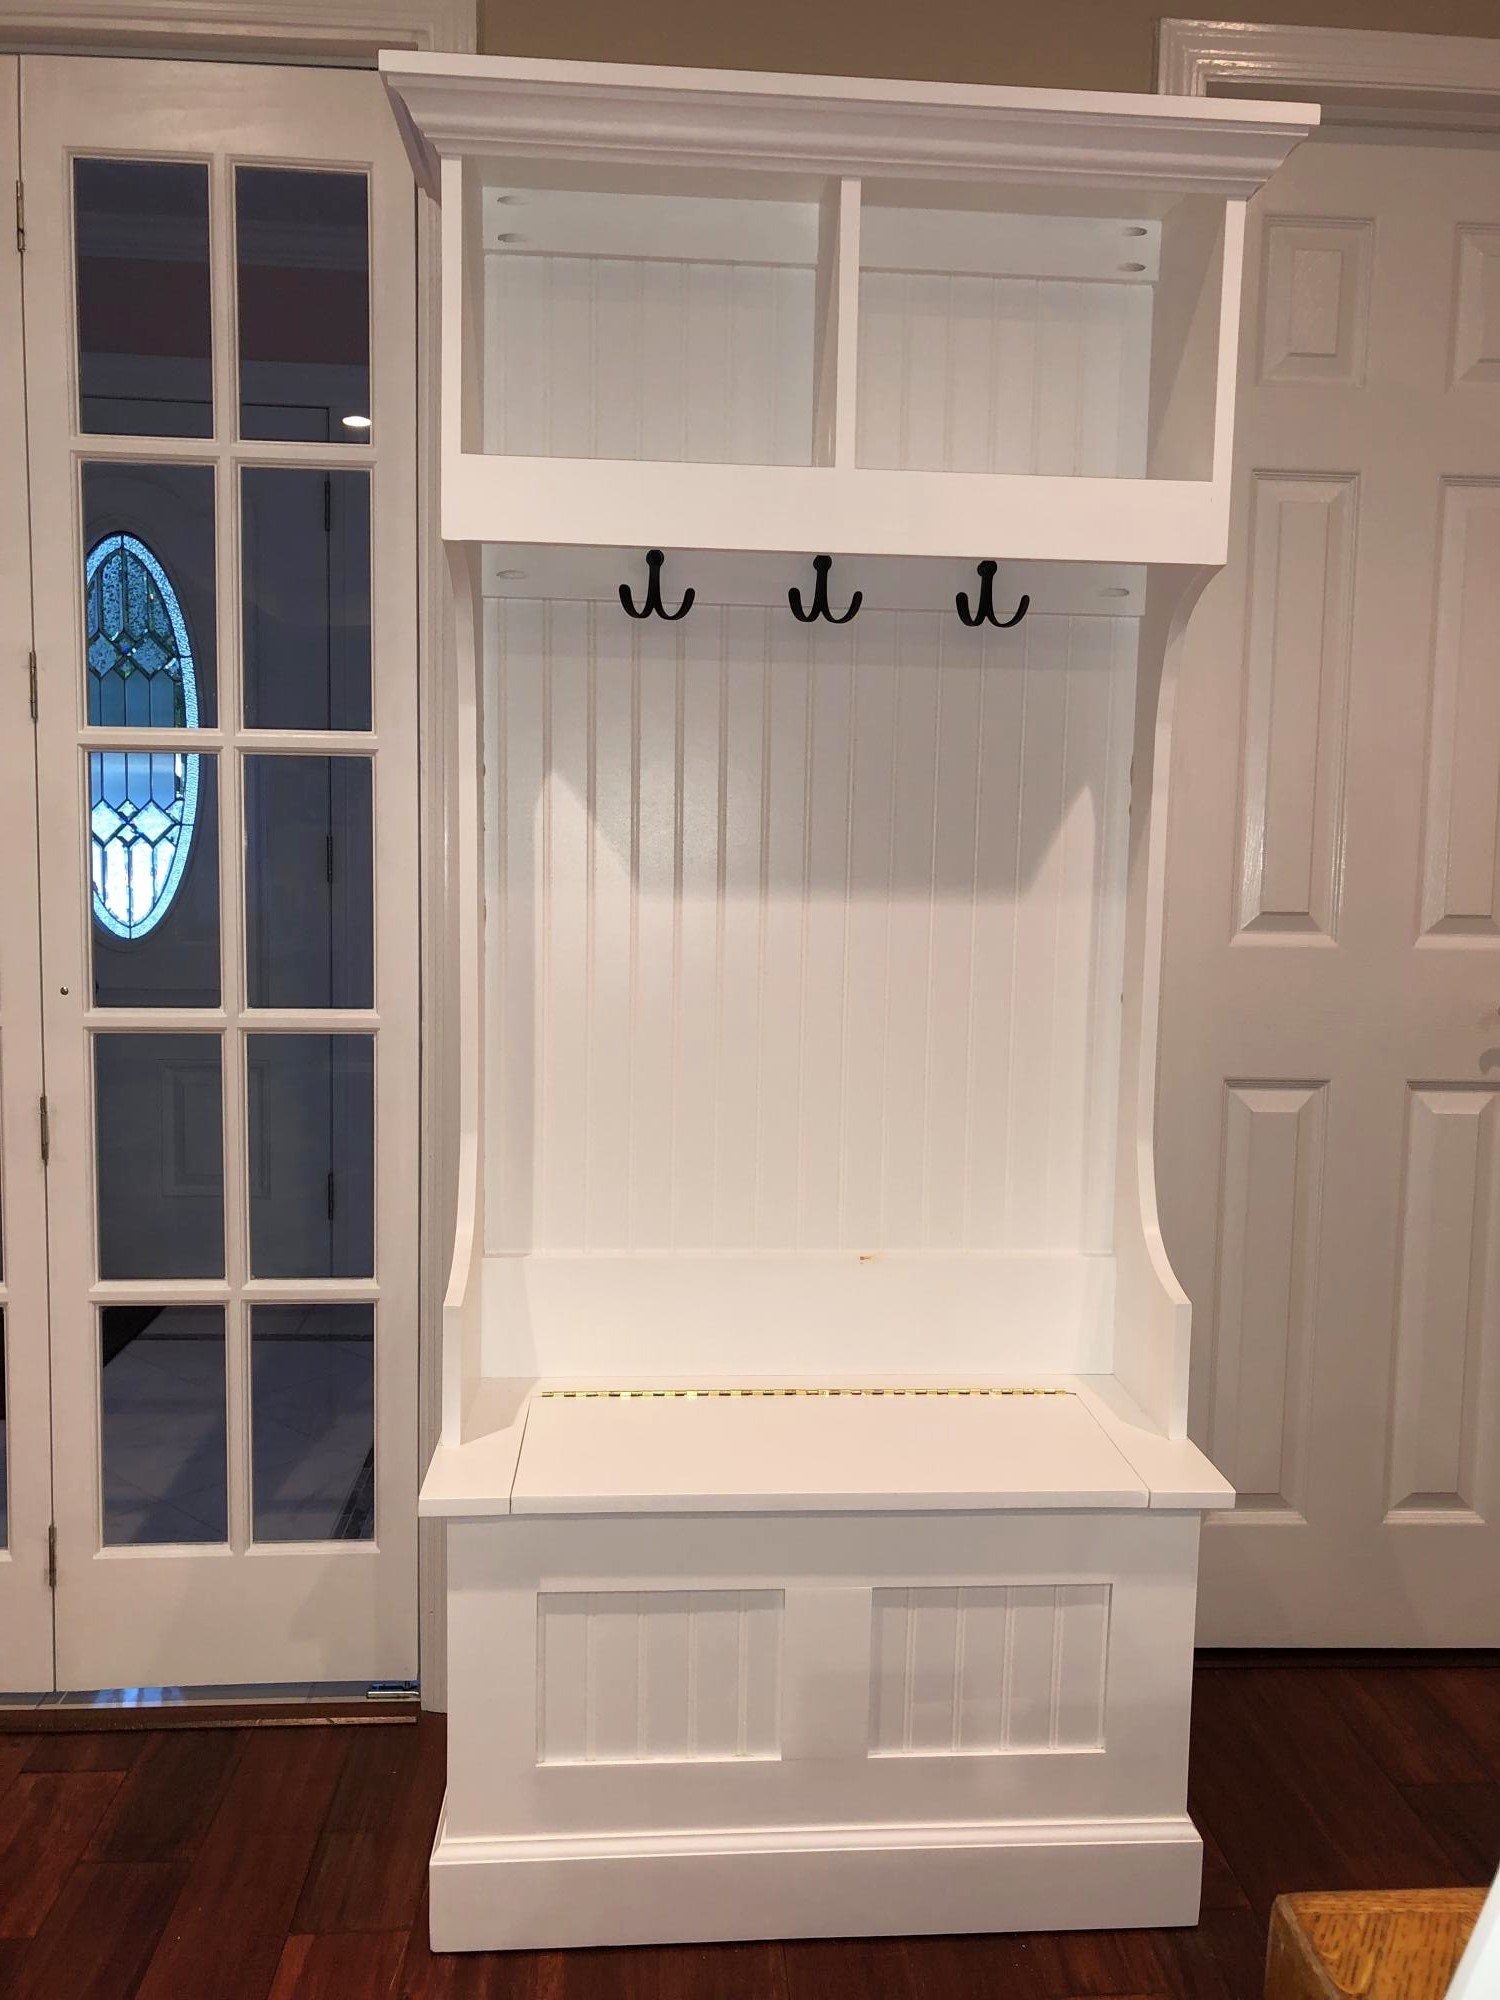
Built from Plan(s)
Estimated Cost
20
Estimated Time Investment
Day Project (6-9 Hours)
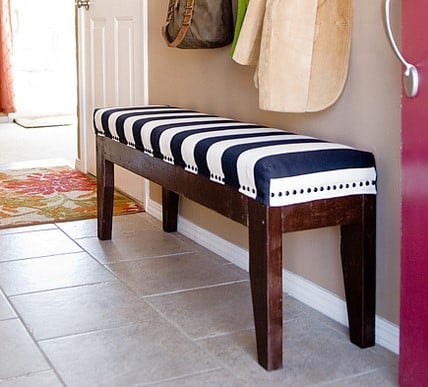
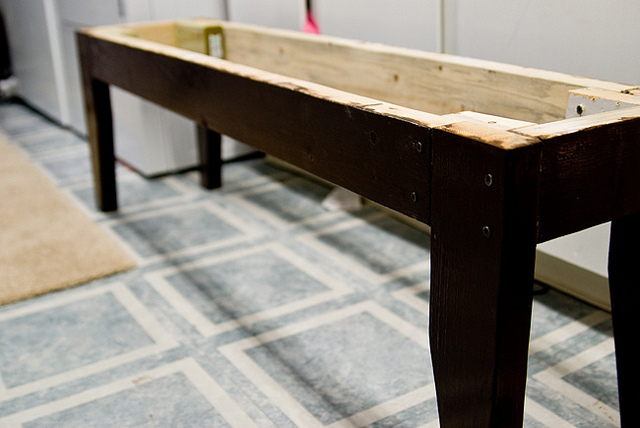
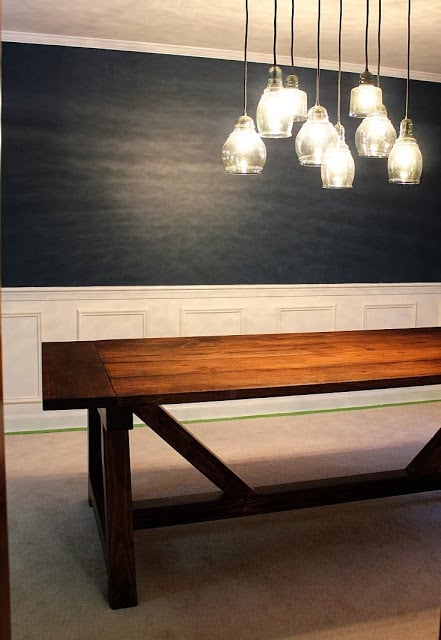
Finish Used
Dark walnut stain and perfect white paint.