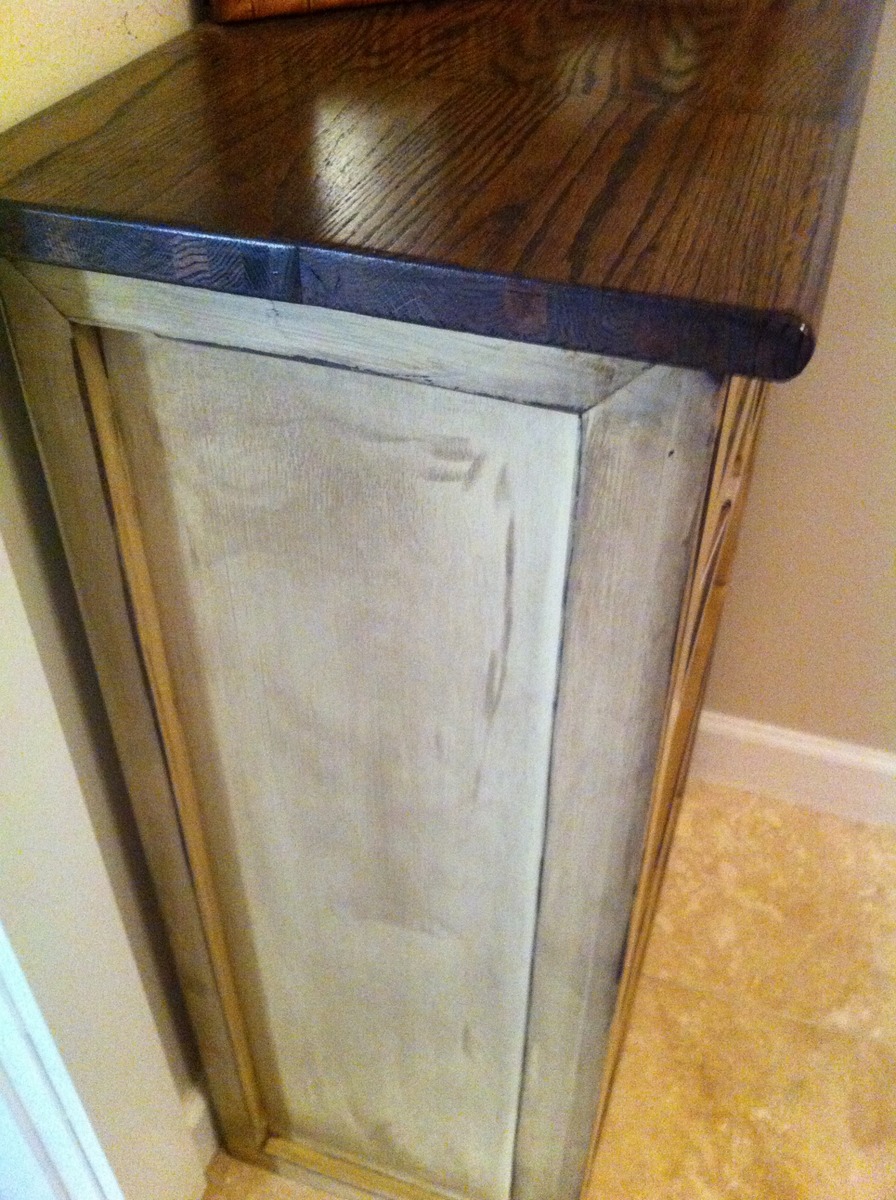
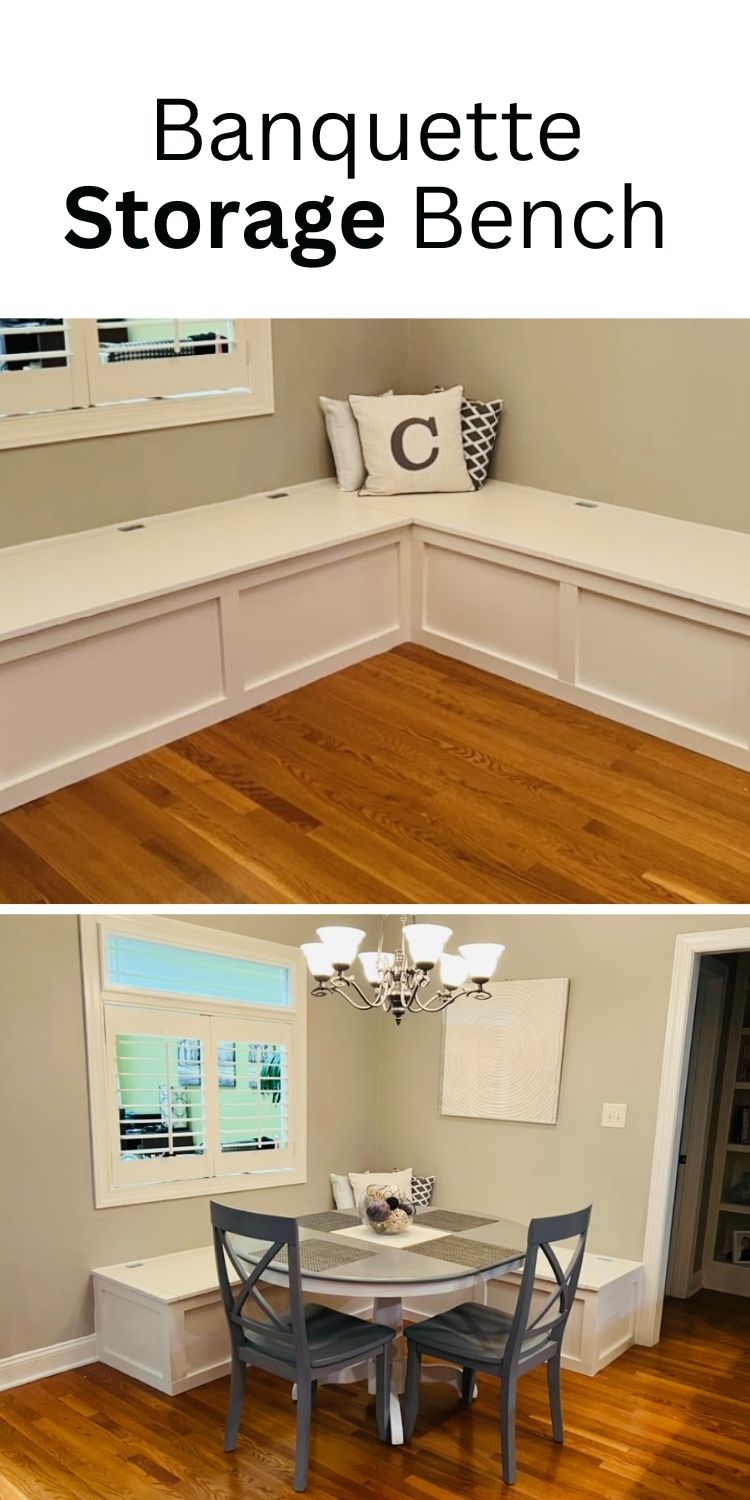
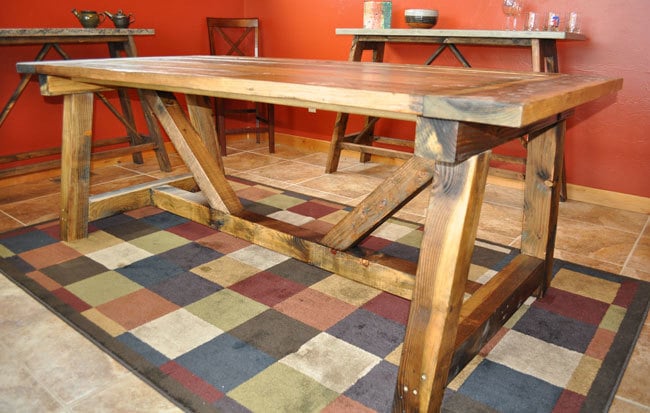
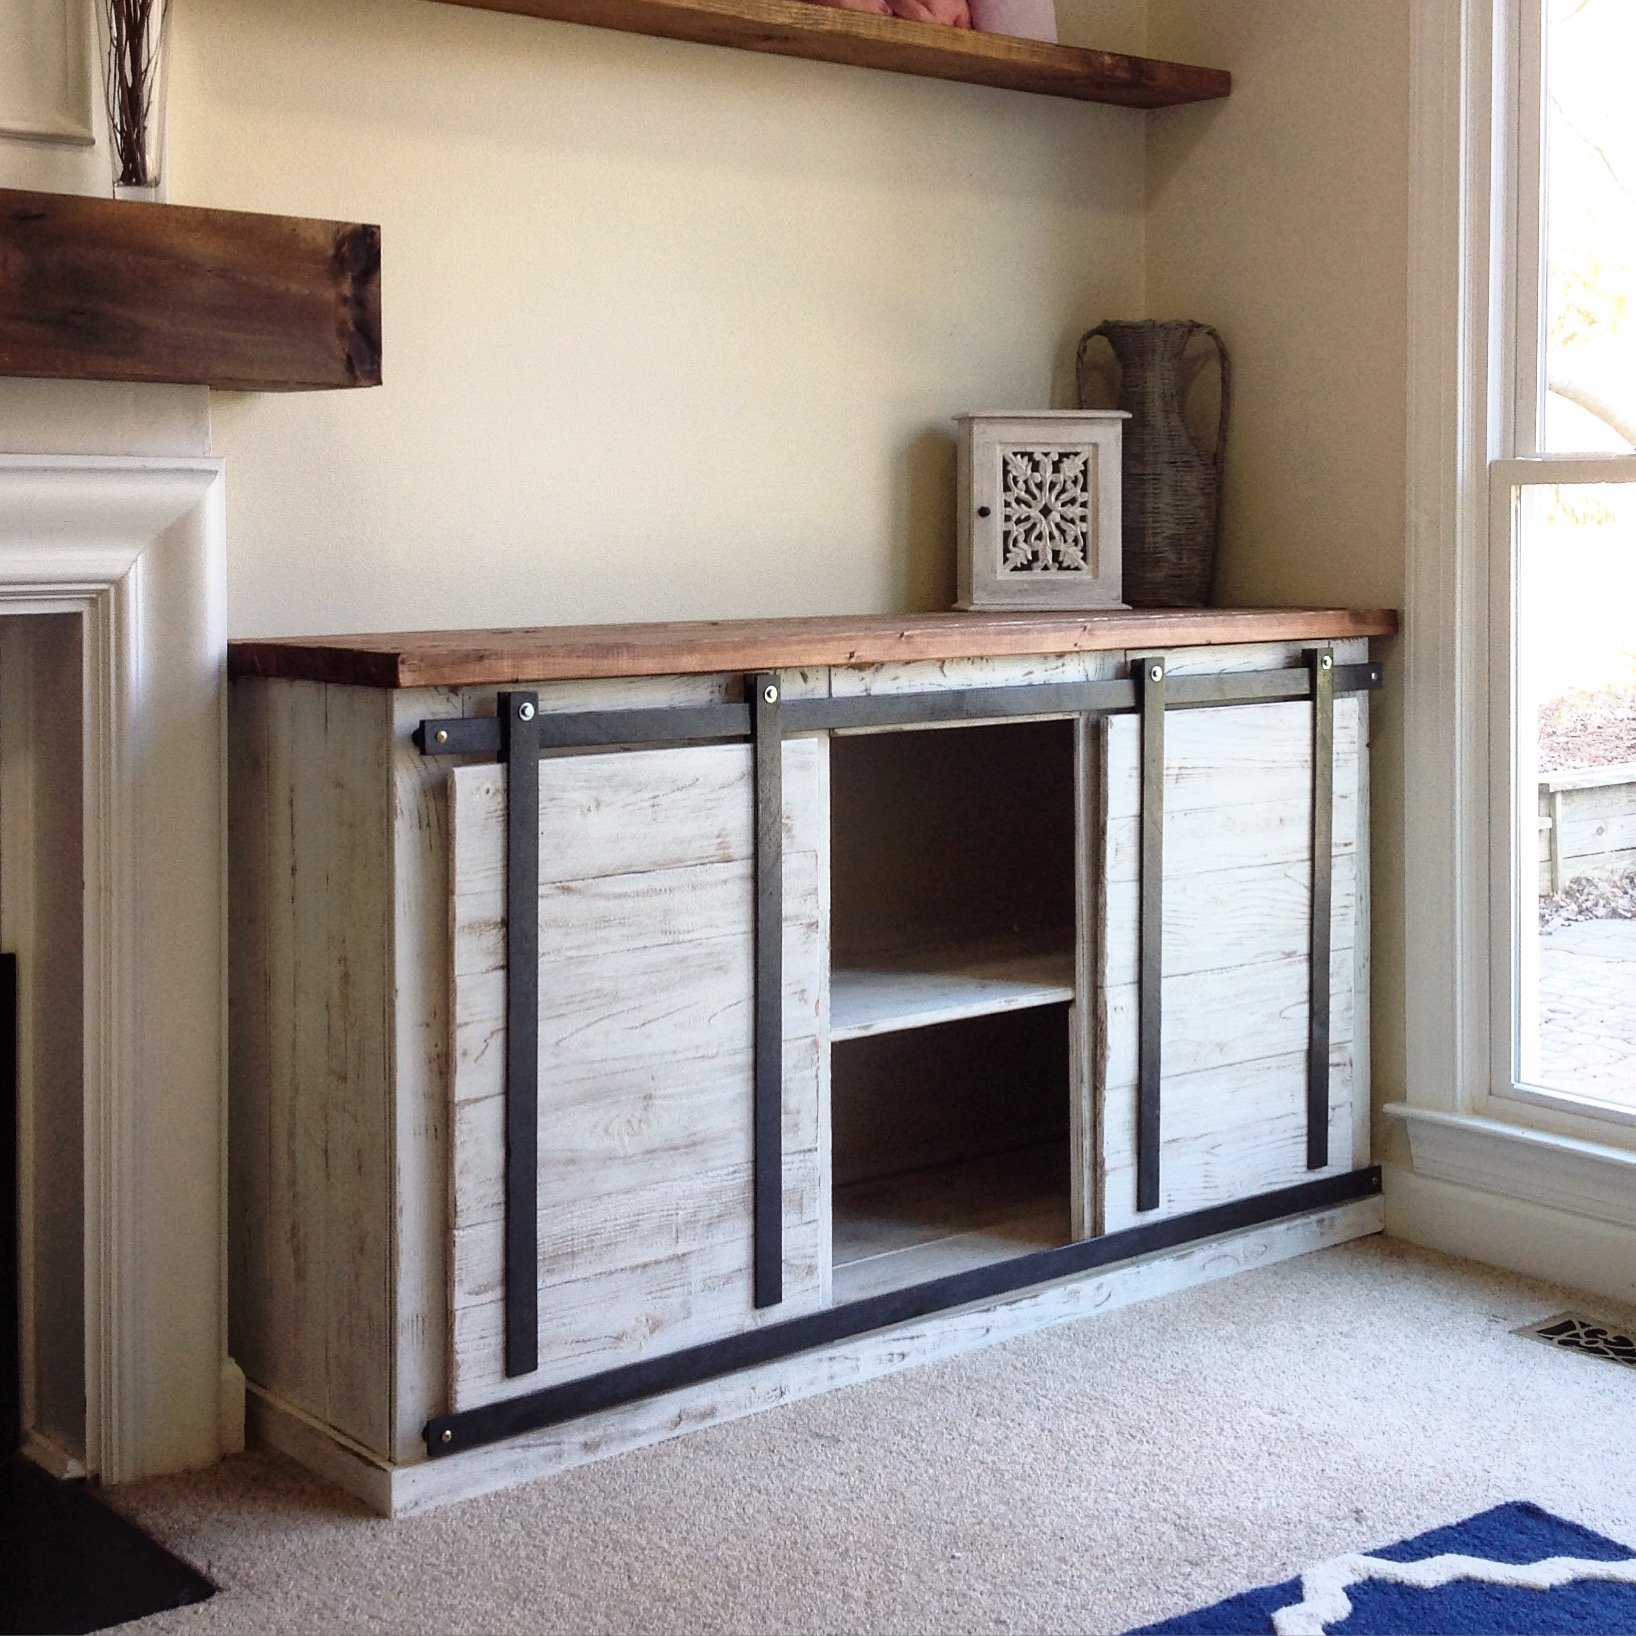
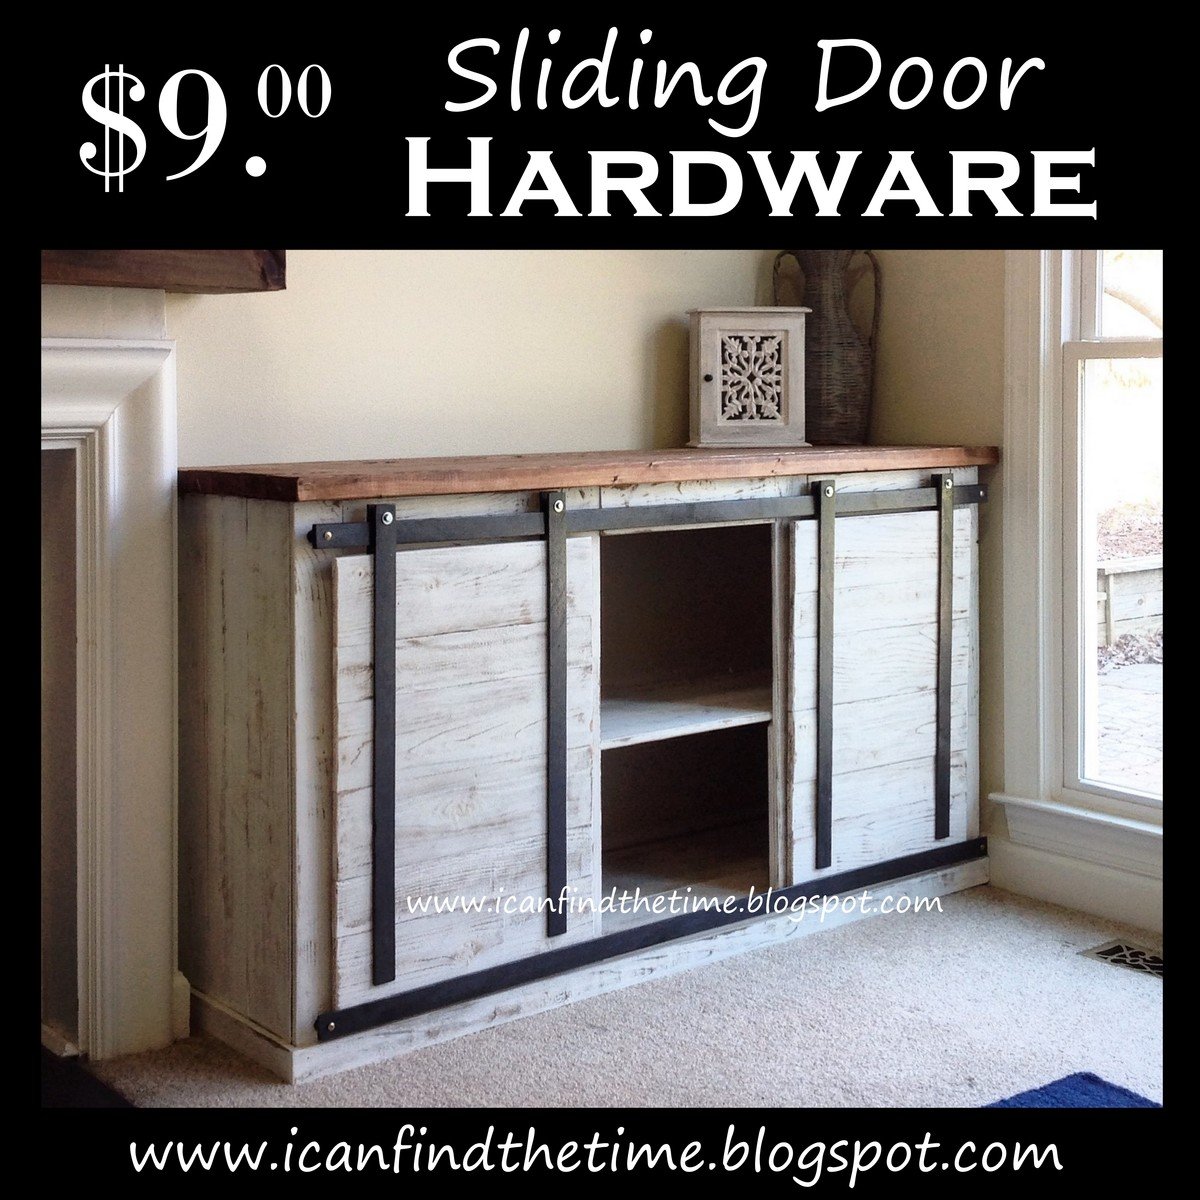
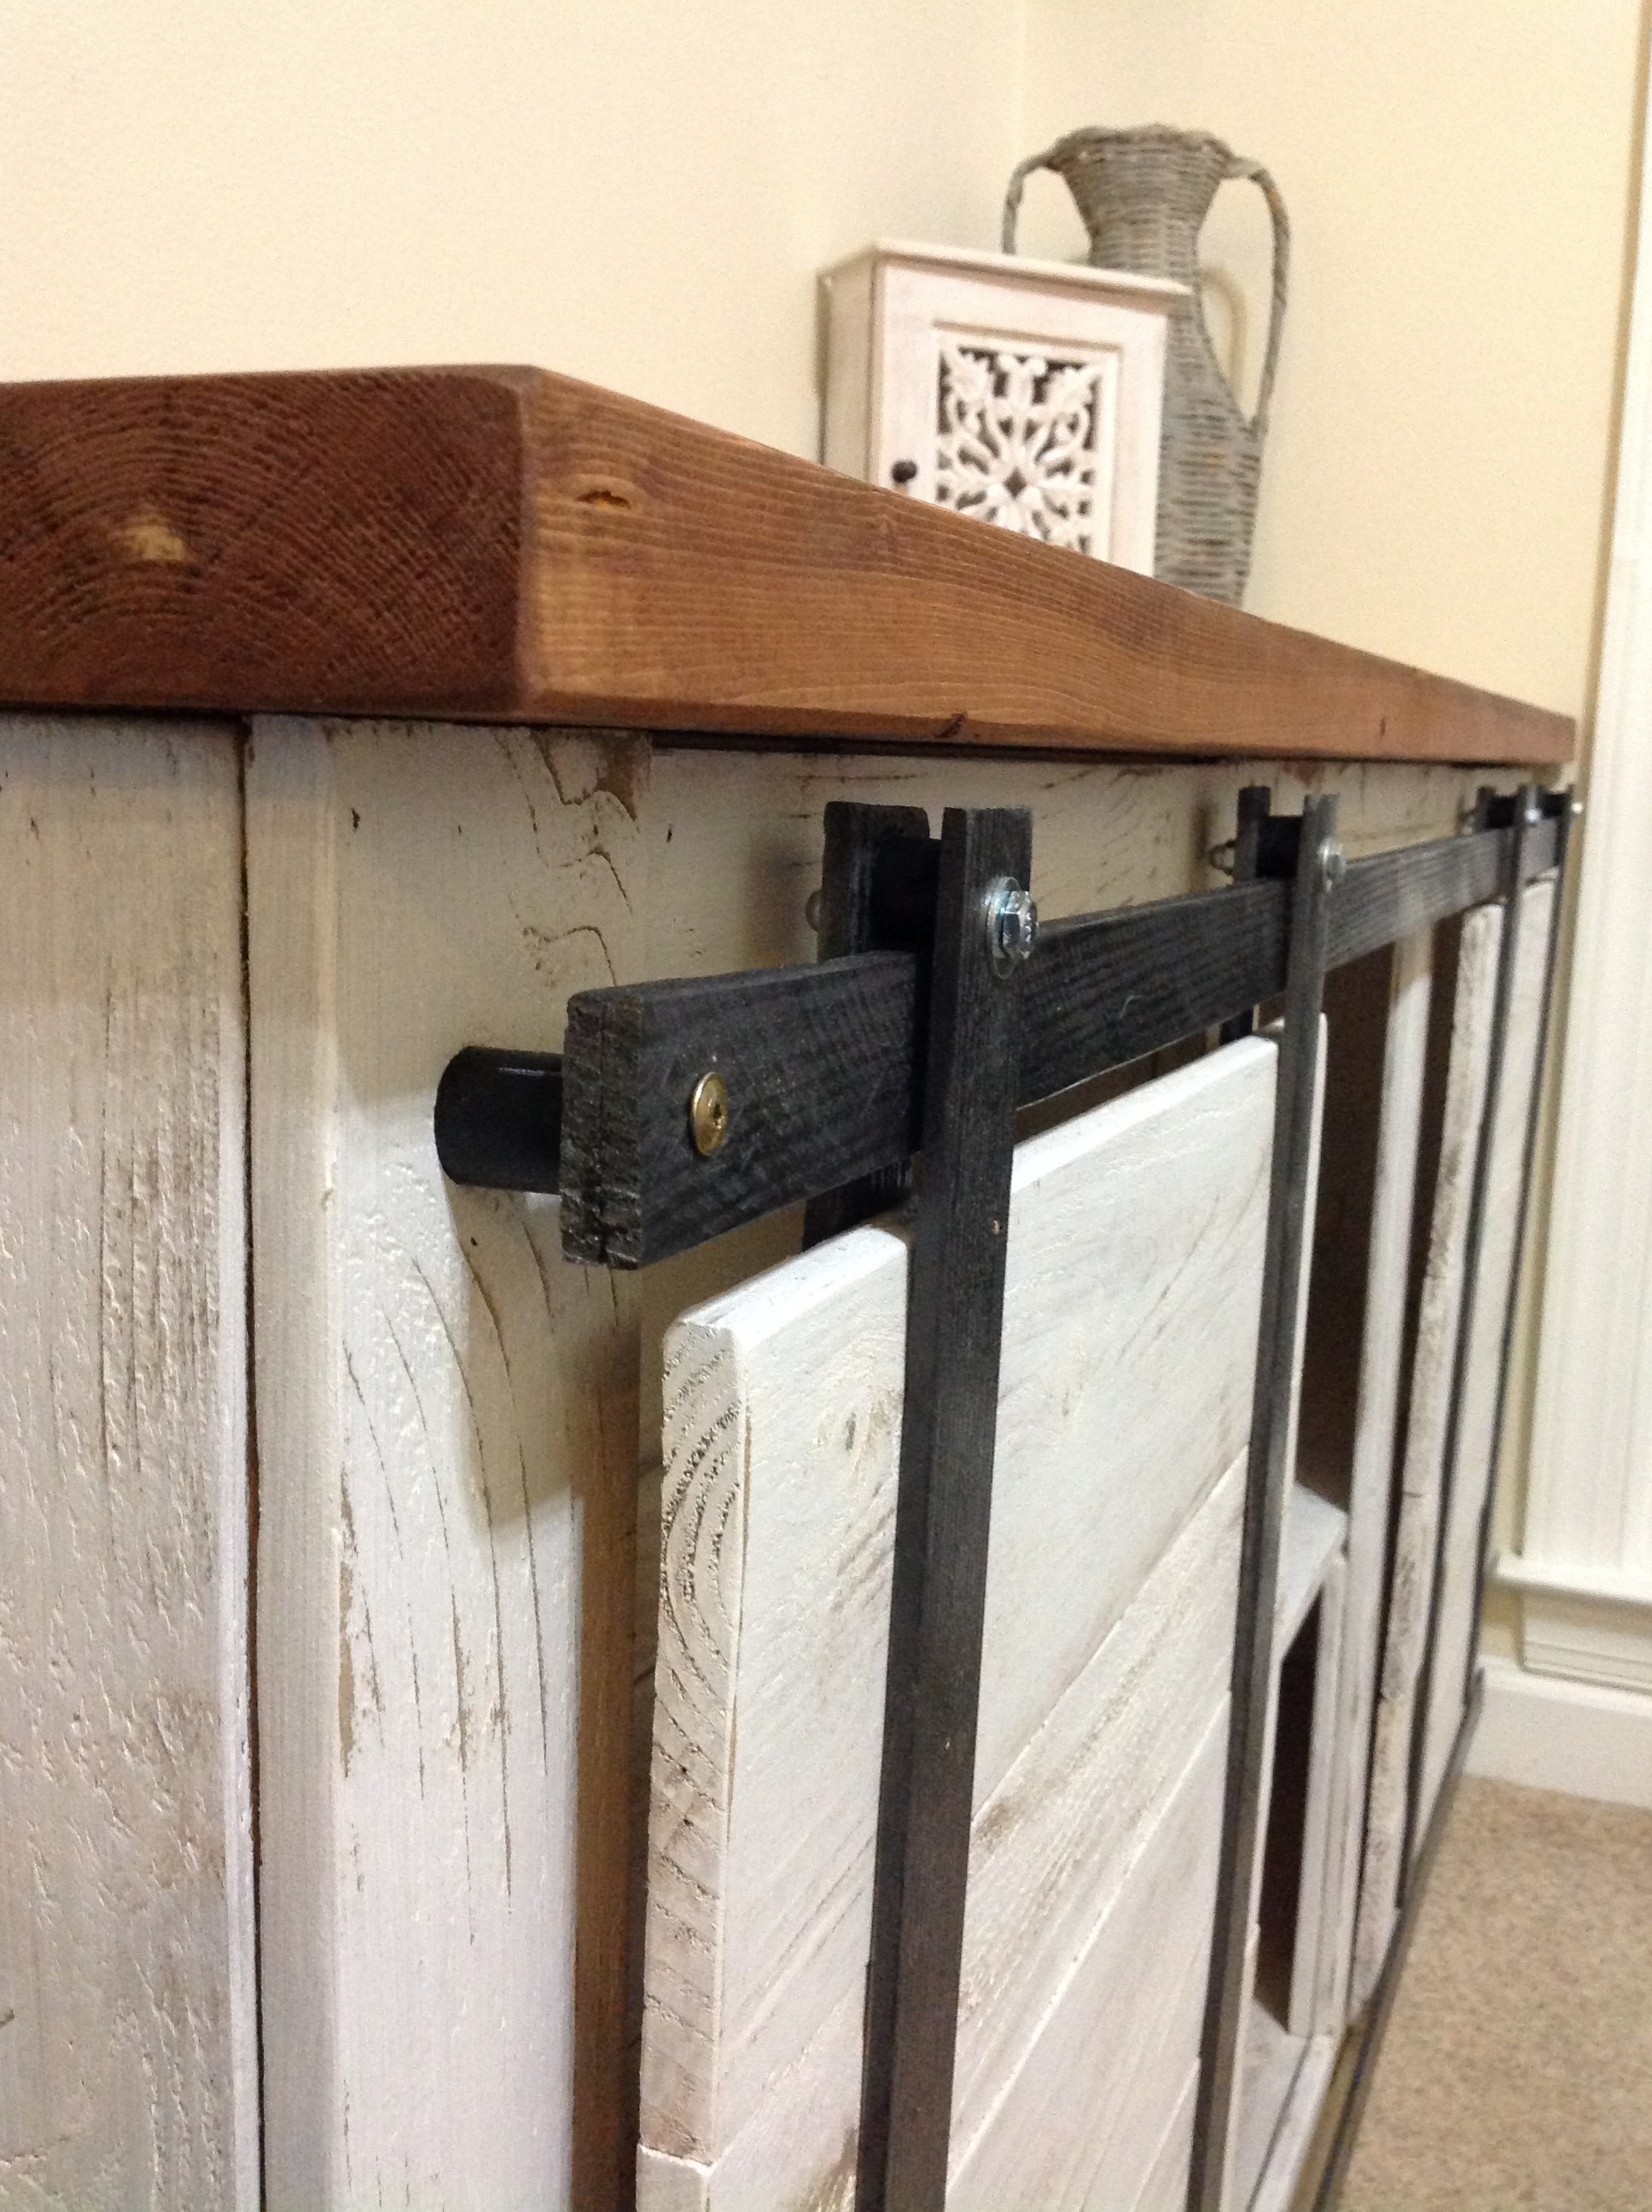
Bathroom Storage Cabinet
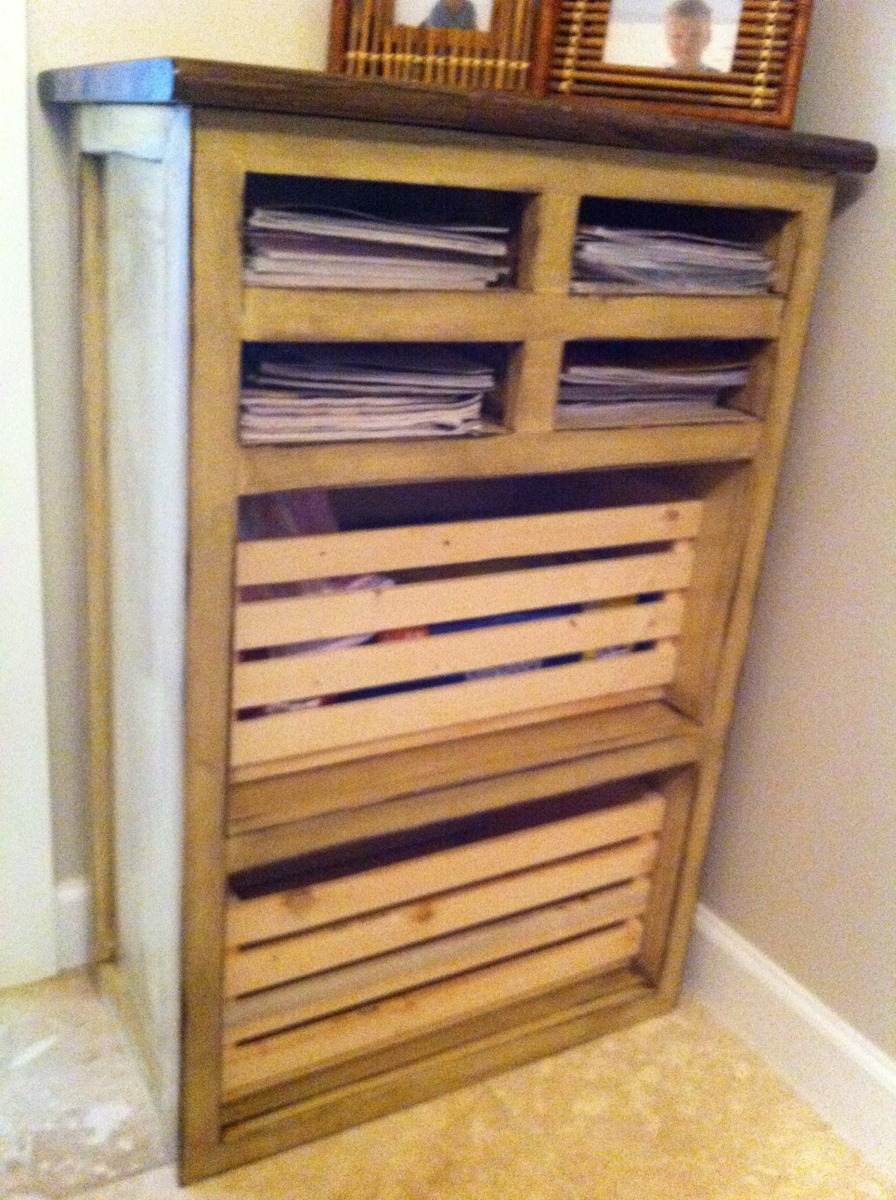
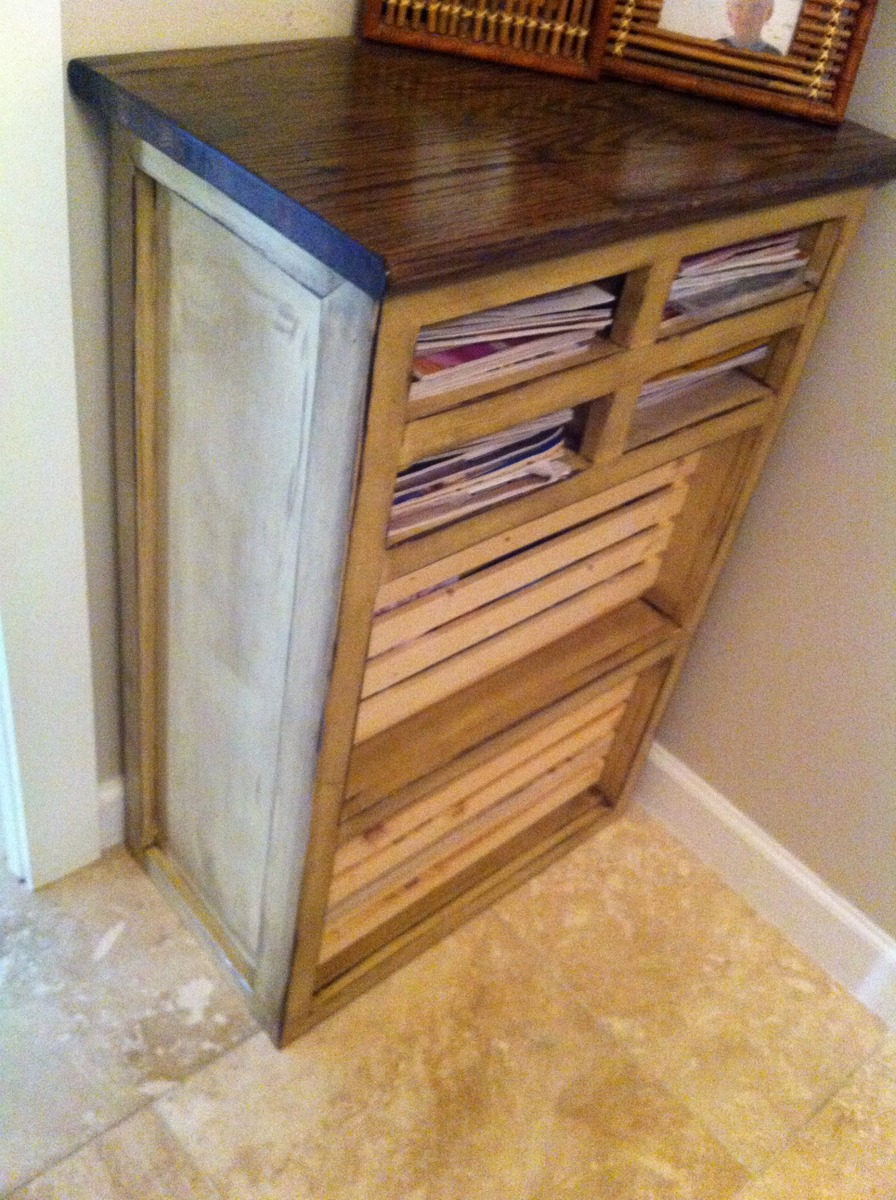
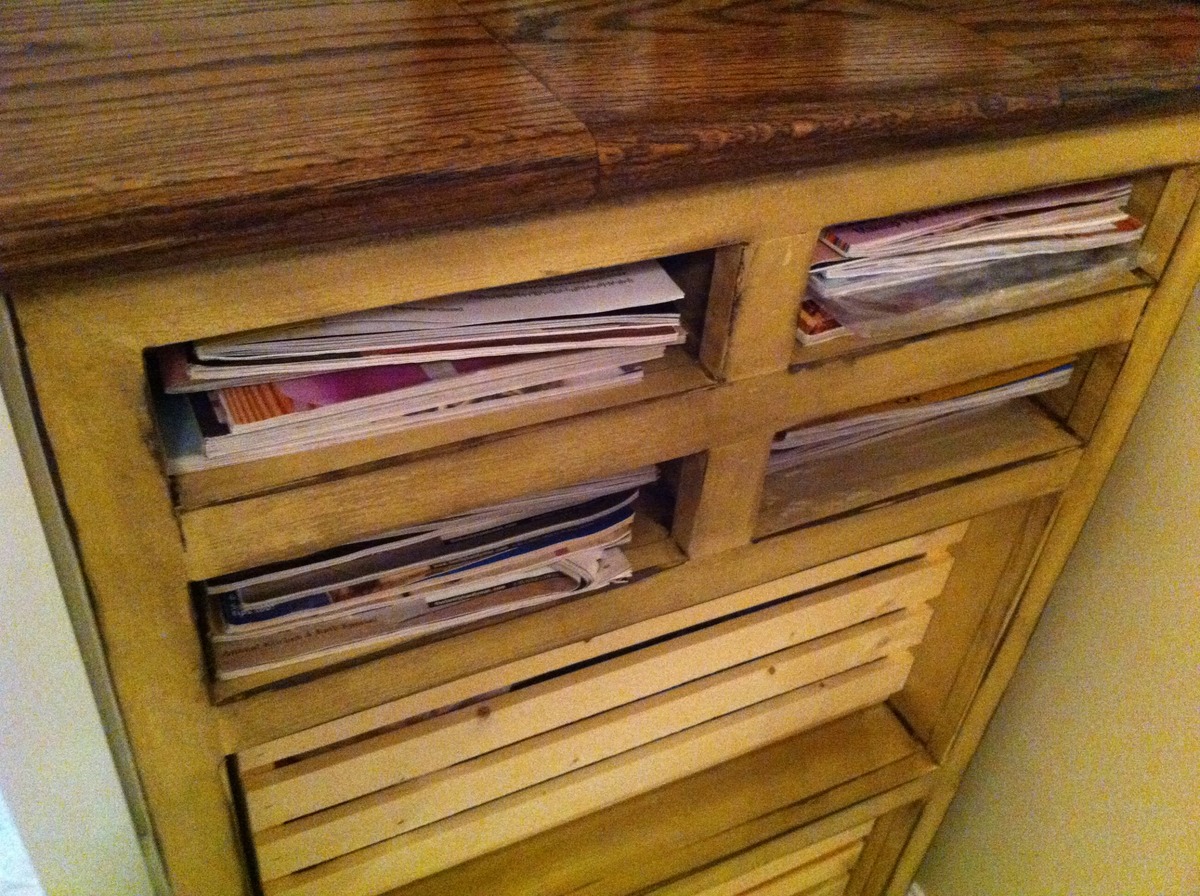
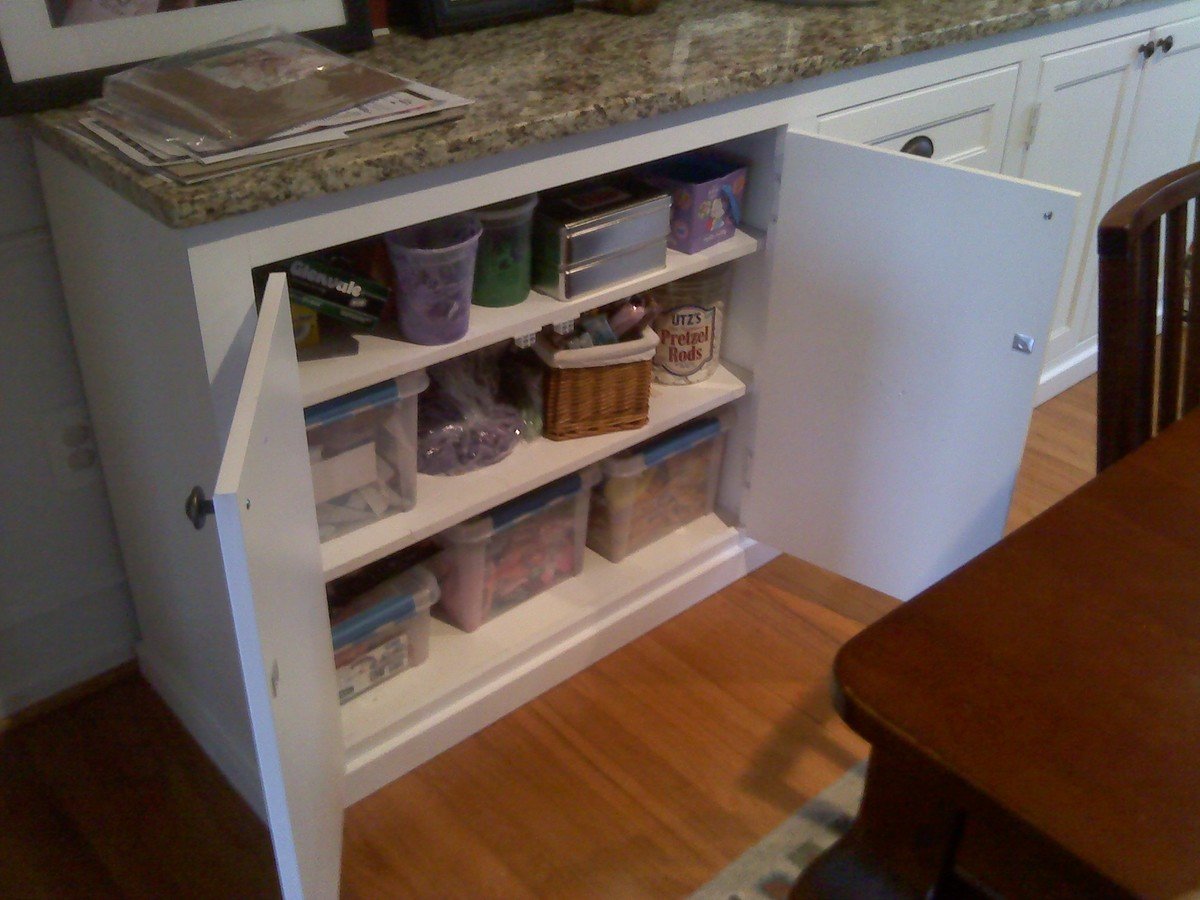
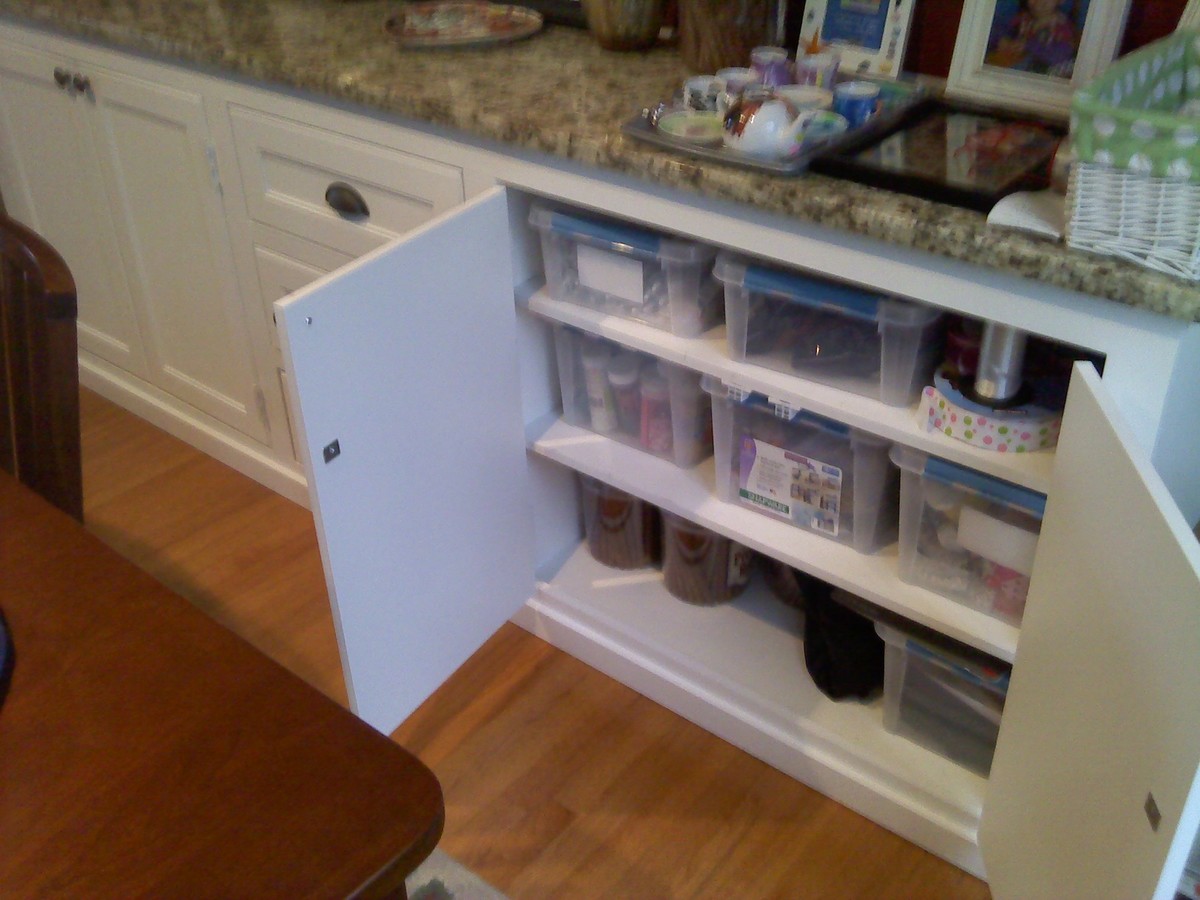
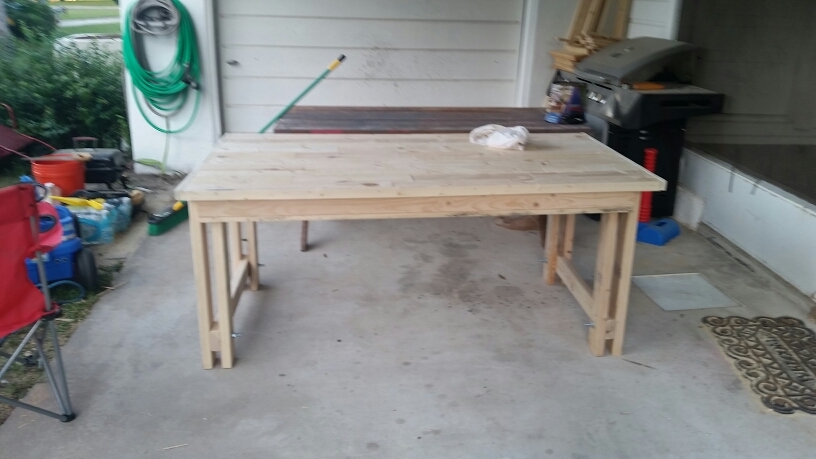
I built this cabinet to store magazines and diapers (towels when the time comes) in the small 1/2 bath.
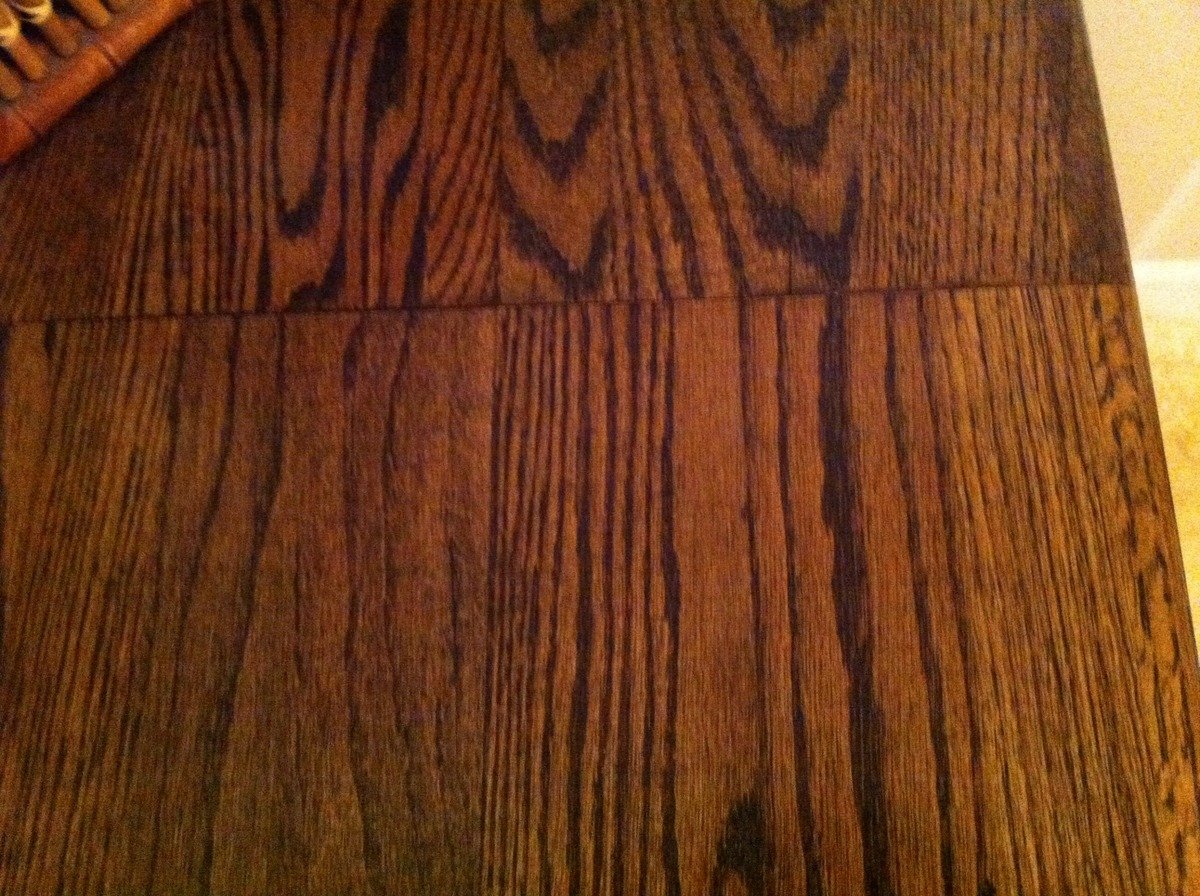
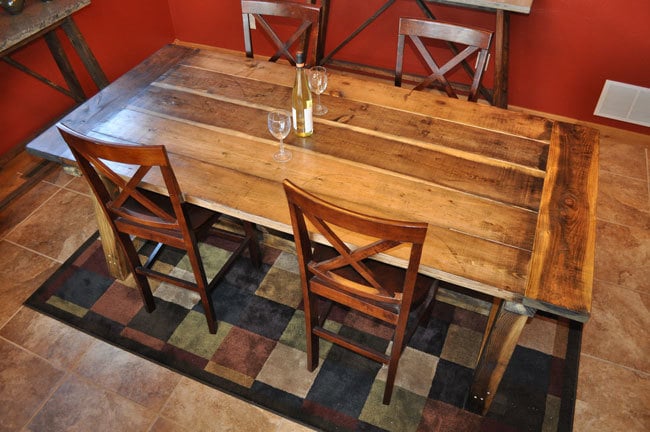
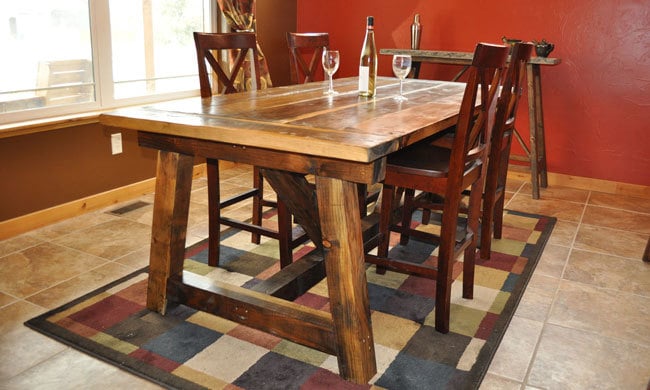
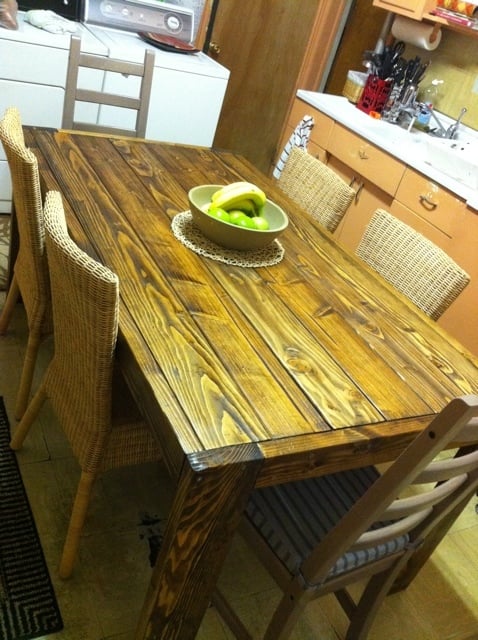
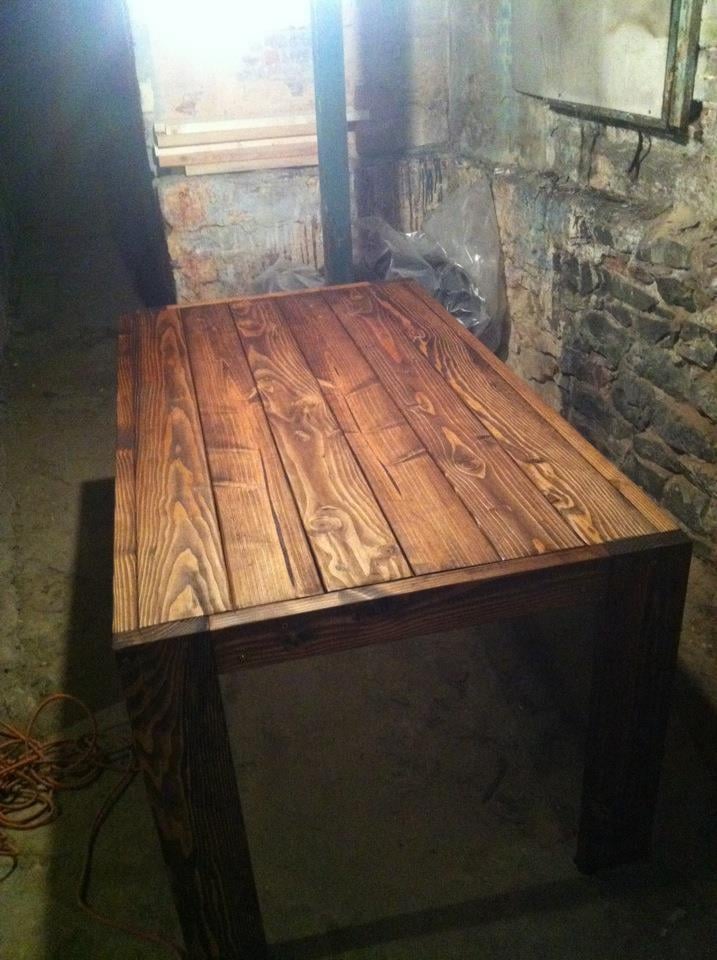
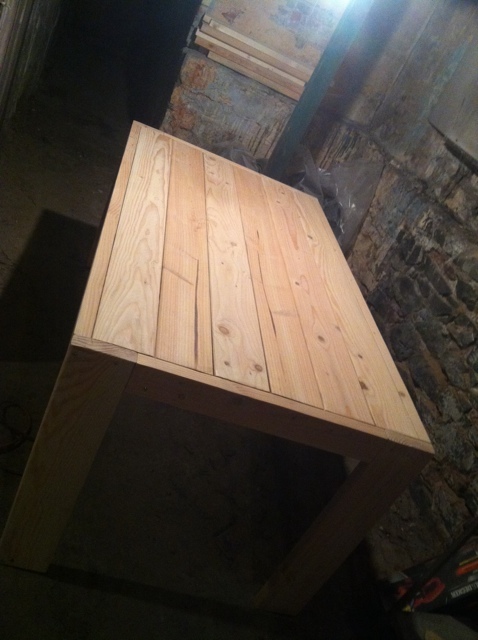
The top was made with left over oak pieces from when I ripped out the carpet and 2x12 stairs and replaced with oak treads.
Estimated Cost
$20 (already had the treads)
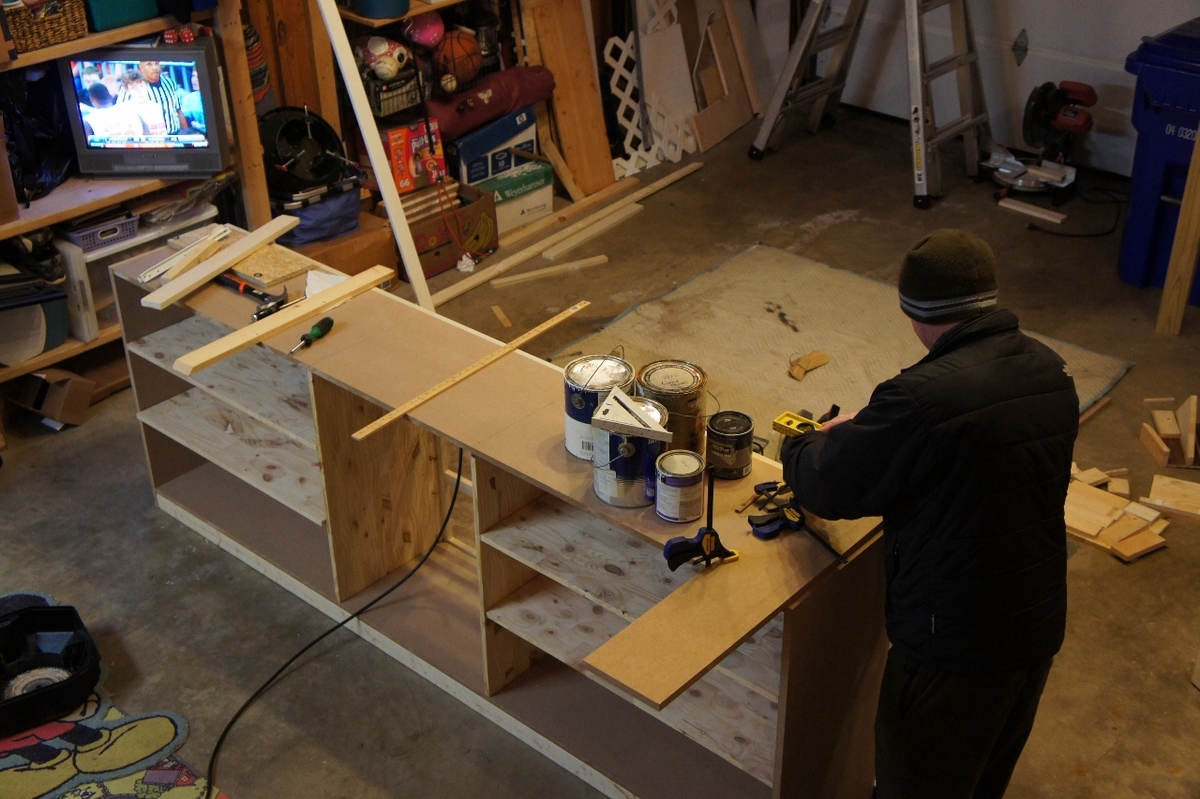
Estimated Time Investment
An Hour or Two (0-2 Hours)
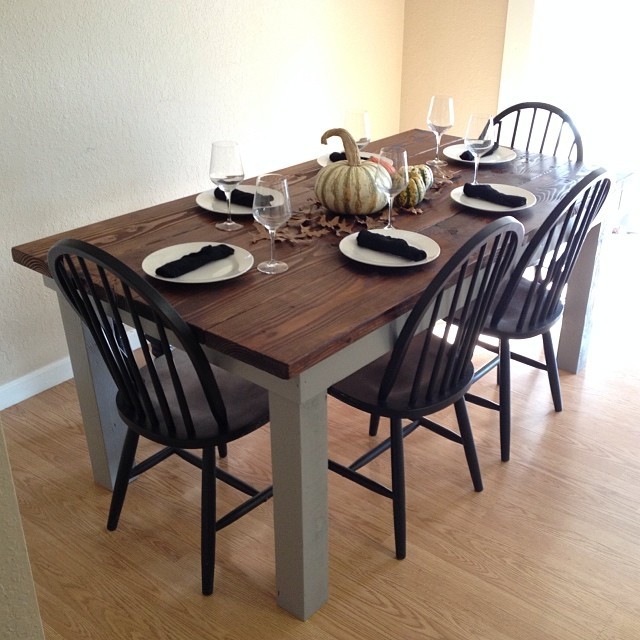
Finish Used
jacobean stain on top, pale sandy beige paint with jacobean stain used as glaze on body.
Recommended Skill Level
Beginner


Comments
Debi G
Wed, 07/27/2011 - 11:15
LOVE it!
I just created something similar. The way the top and body coordinate, and how the top cubbies are sized make this a stand-out.
Something similar would work for my classroom, too.
The Quaint Cottage
Thu, 09/08/2011 - 19:59
Building Plan
I finally added the build plan to the blog.