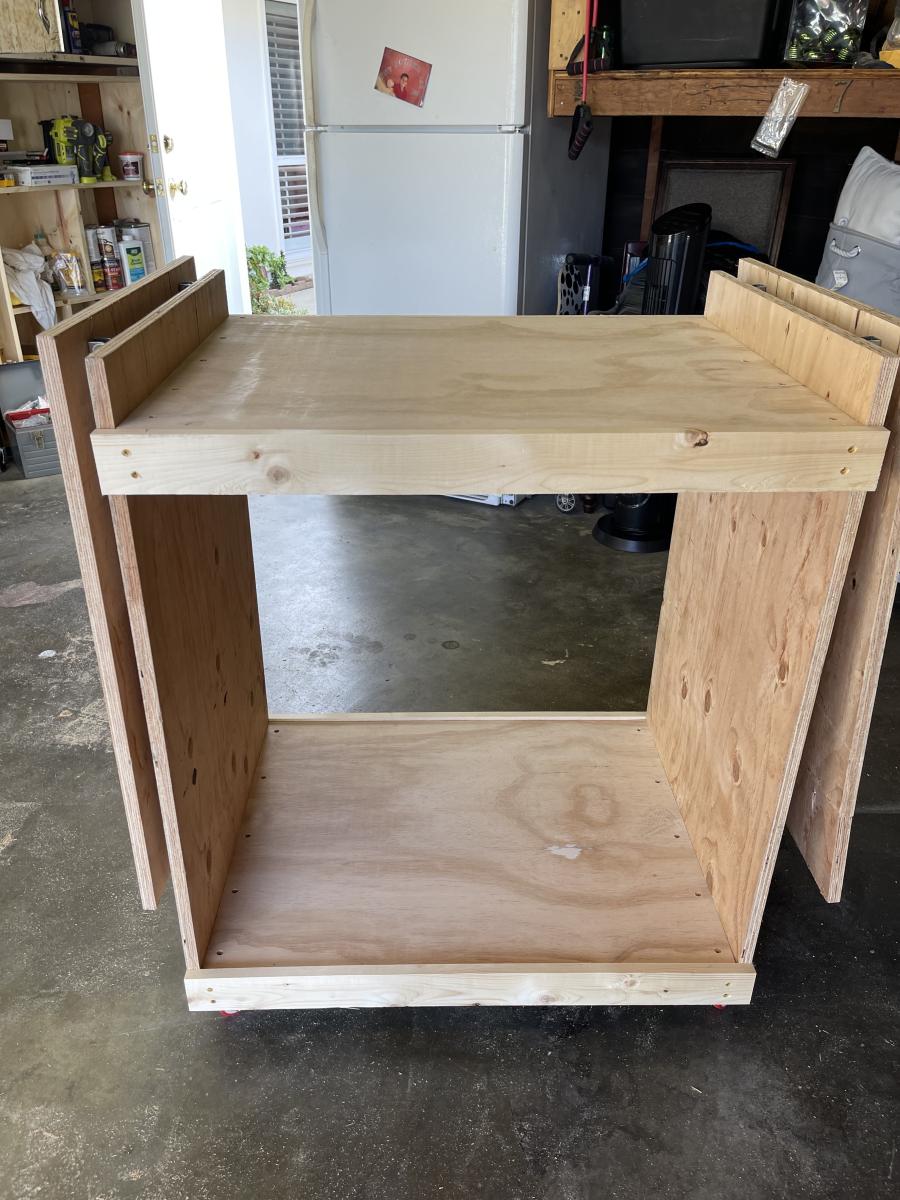
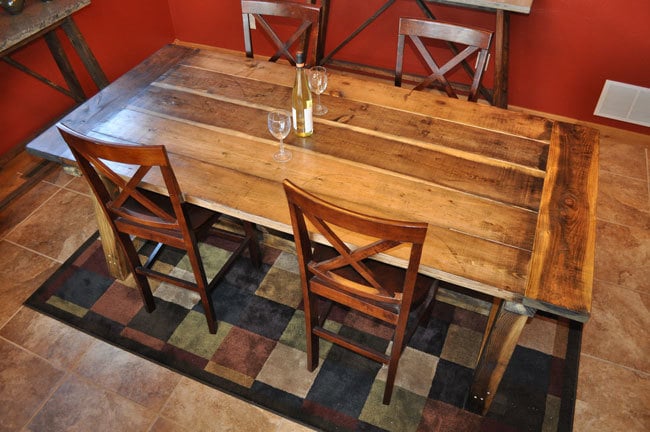
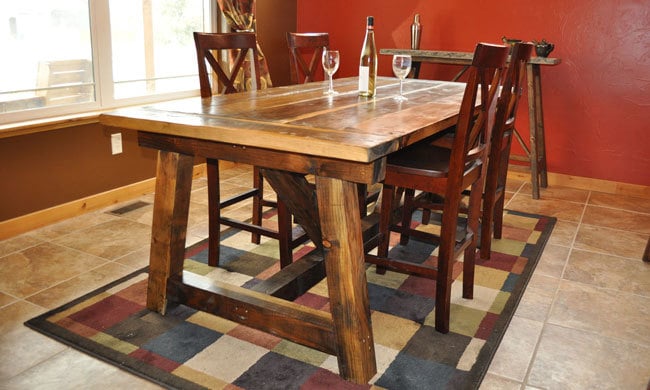
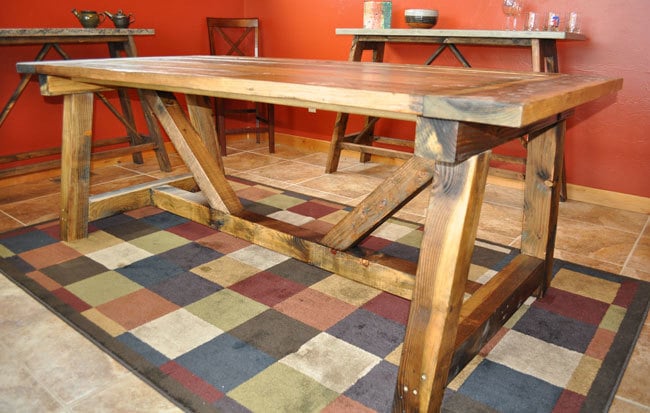
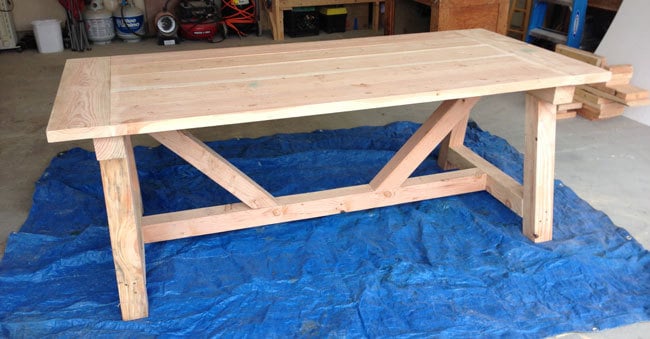
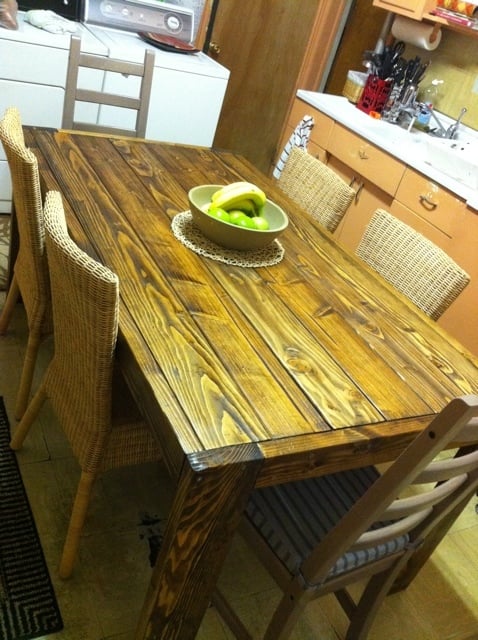
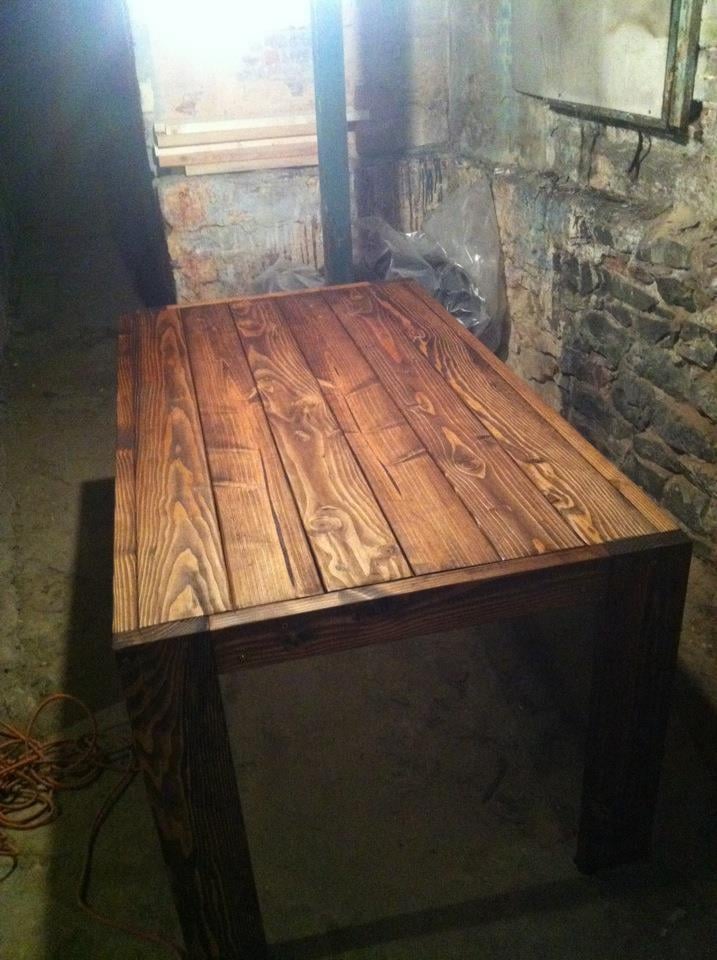
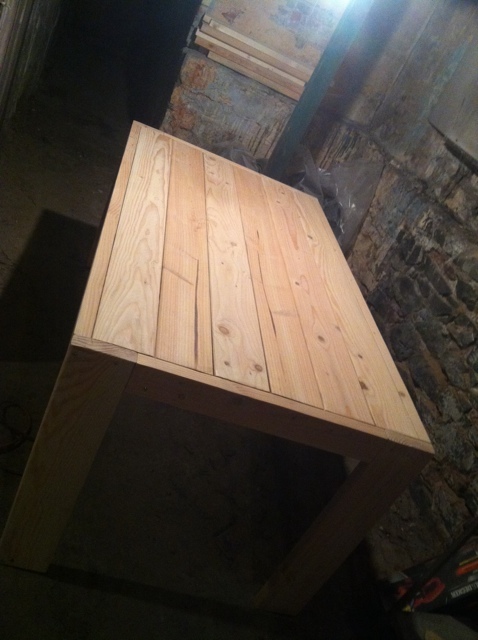
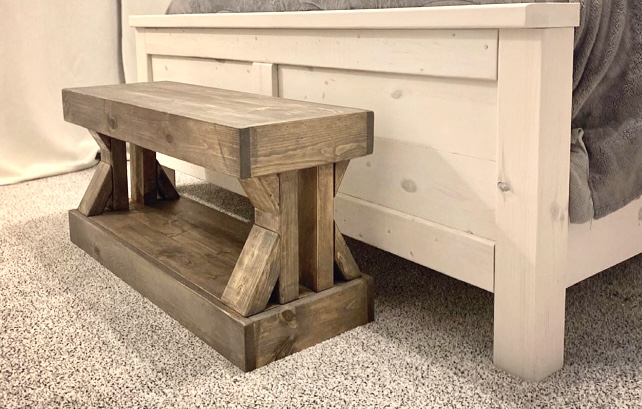
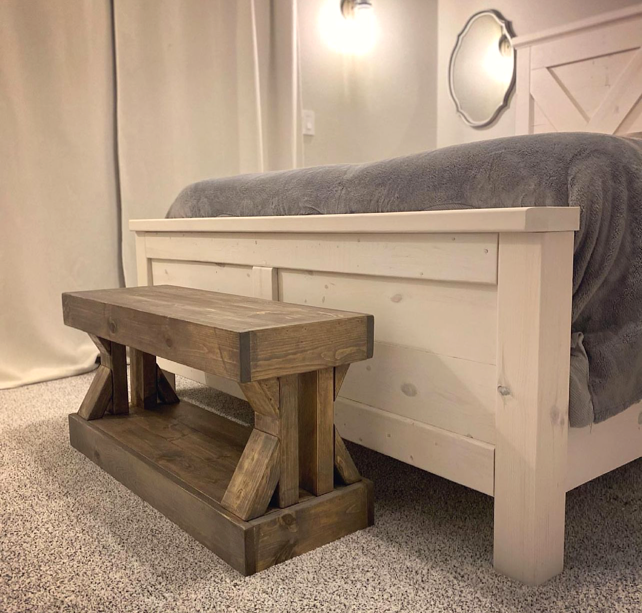
Rustic X-Console Table

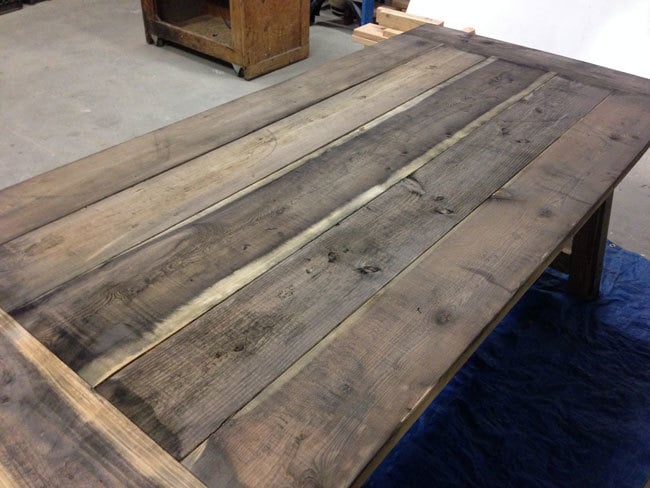
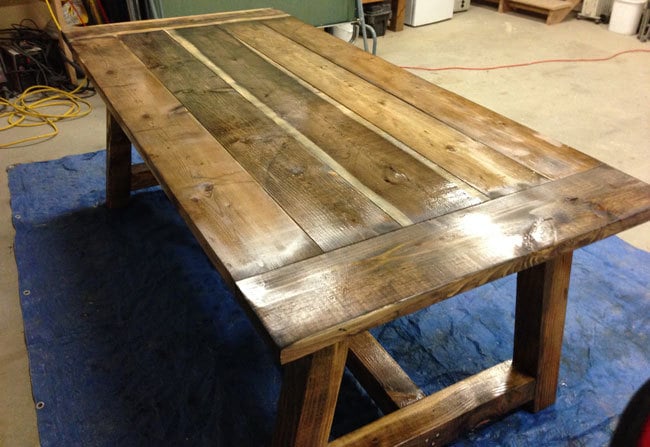
Rustic X-Console Table made from just 2x6s striped in half to make the legs instead of using 2x4s and cutting down a 2x6 to 1 1/2in cuts to make 1x1 stripes. I used 3/4in sanded plywood for the shelves. Everything was put together with Kreg jig screws and wood glue. Stain was applied using an air compressor and spray gun to spray a even coat of stain in sections at a time, while the stain is still wet, I wipe off the excess stain with a clean rag leaving an even wood stain finish results. This cuts the staining from what would normally take hours of painful hand staining to just minutes with a spray gun. After the stain drys, I go over the table with either fine wool pad or 1000 grit sand paper to remove any rough spots. I then apply the polyurethane with the spray gun as well. Once that dries, I go over the table again with 2000 grit wet/dry sand paper leaving a ultra smooth even finish. I use a total of 6 (2x6 white pine boards) striped to needed sizes and half of (4x8 sanded 3/4in plywood) for this project. I had to modify the demensions for the different sizes of cuts, but overall saving money instead of buying the individual 2x4s,1x1s, and solid pine boards. It takes a bit longer but well worth it.

Varathane Satin polyurethane water based