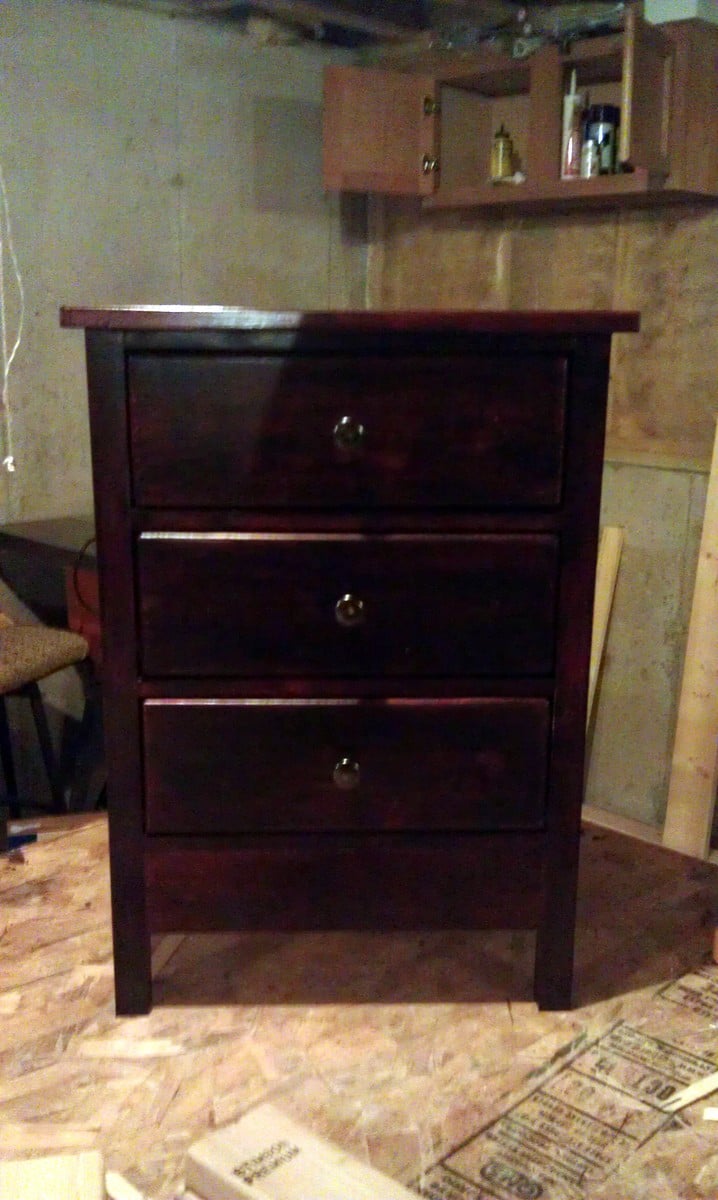
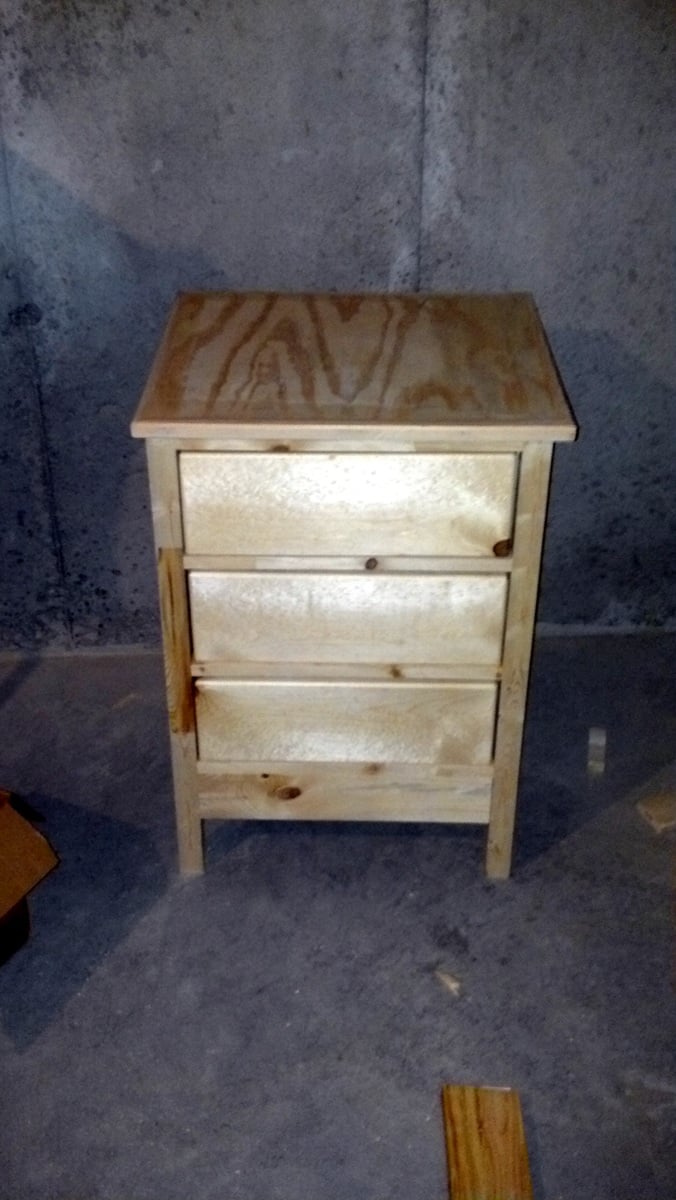
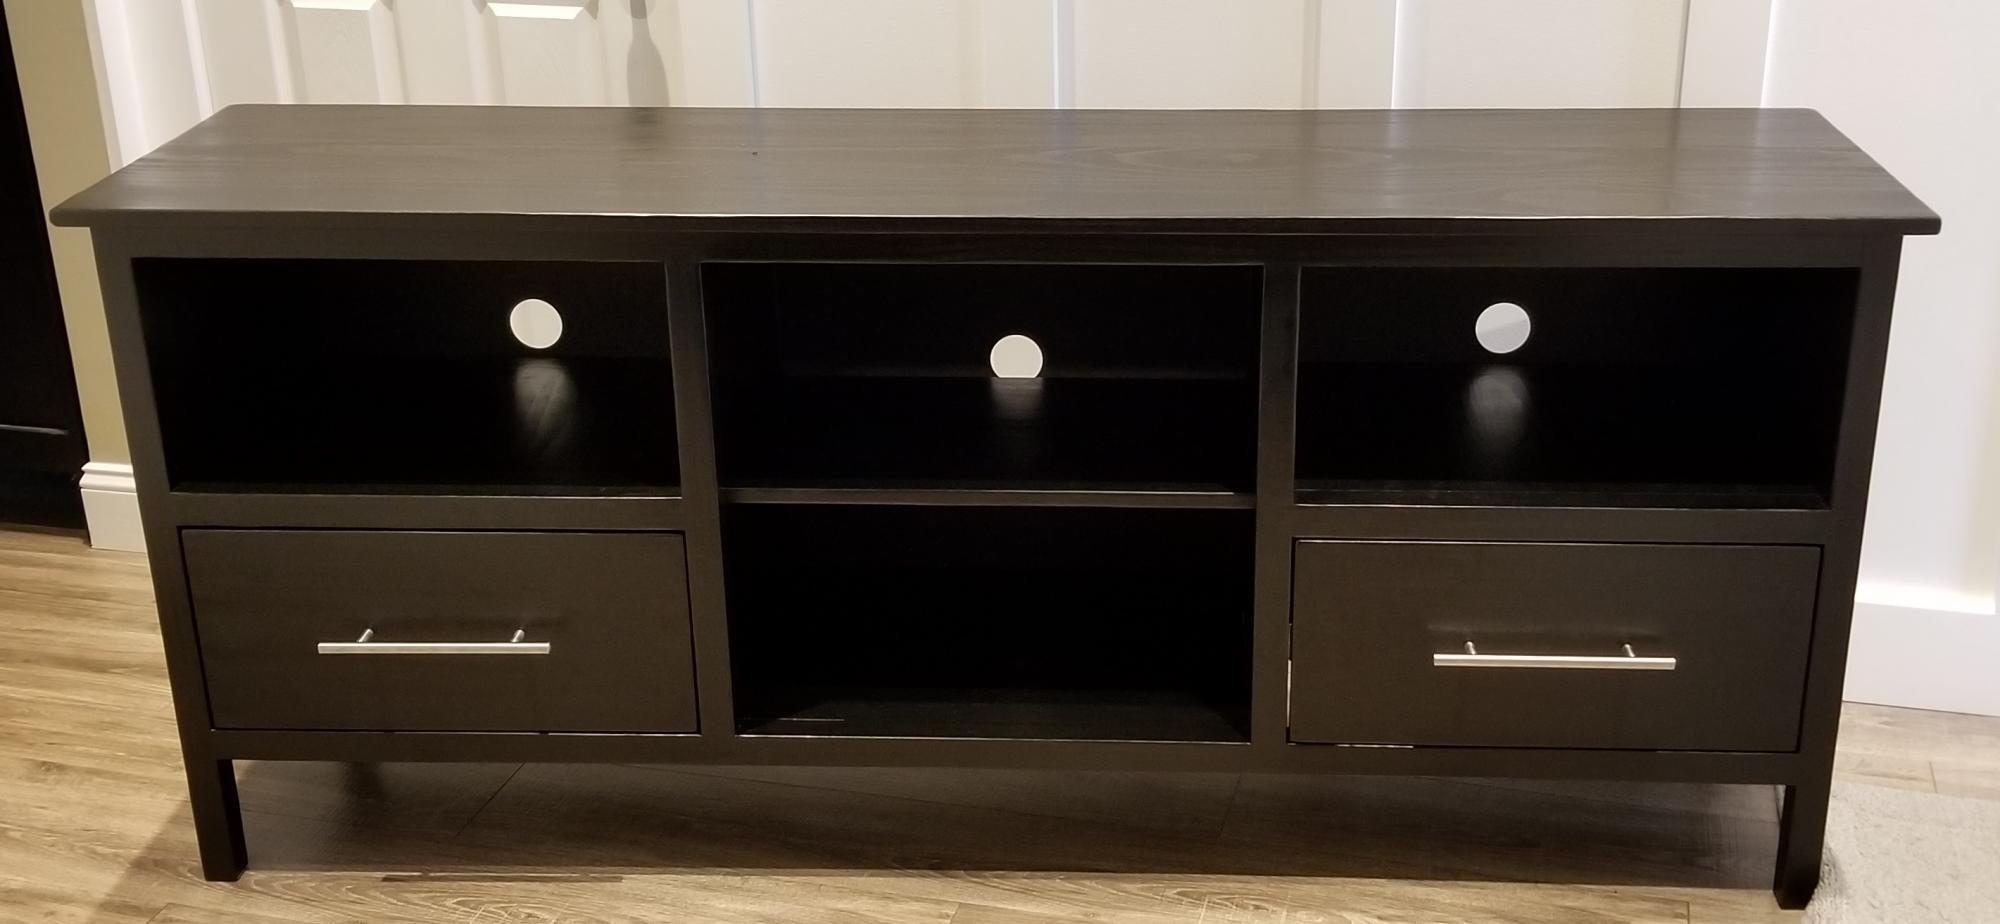
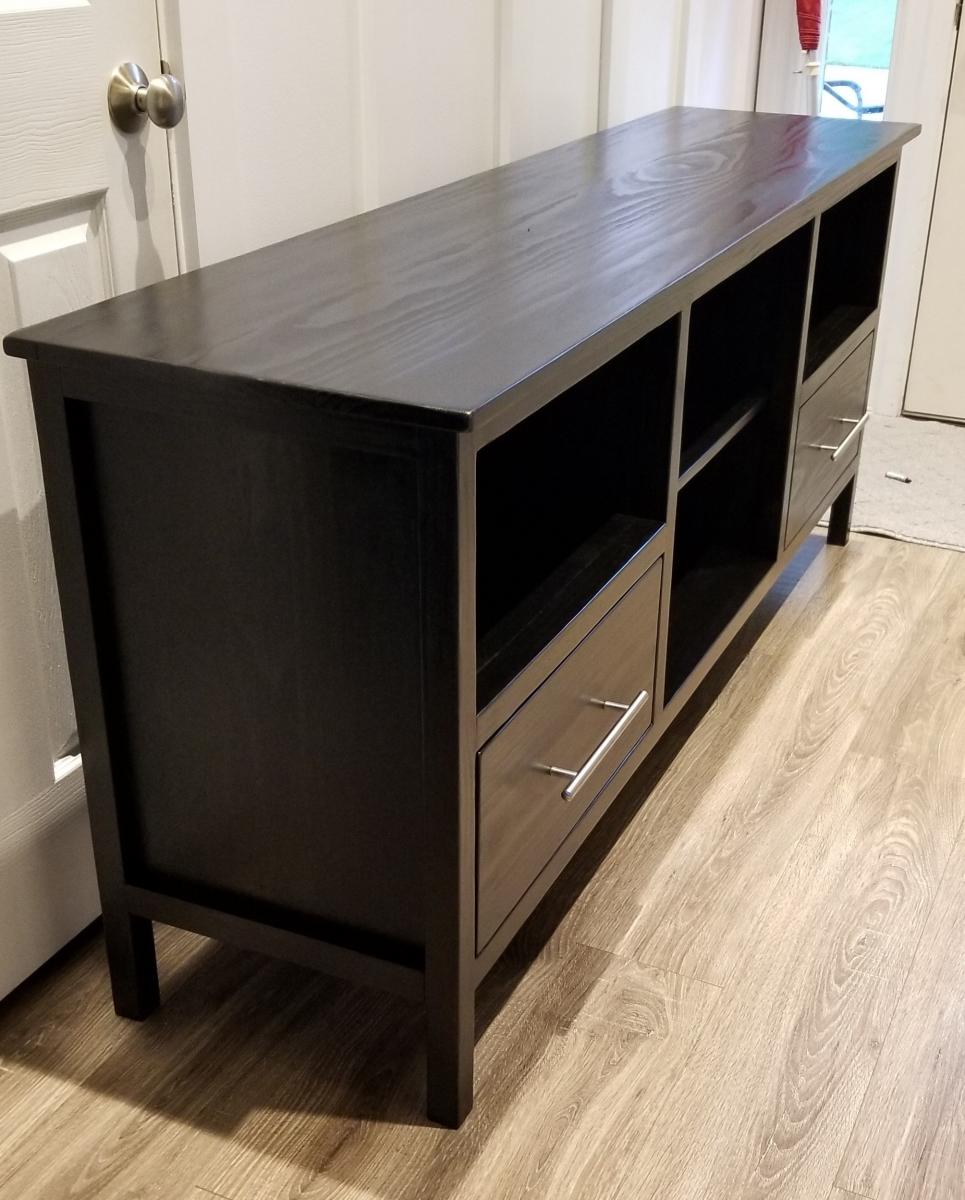
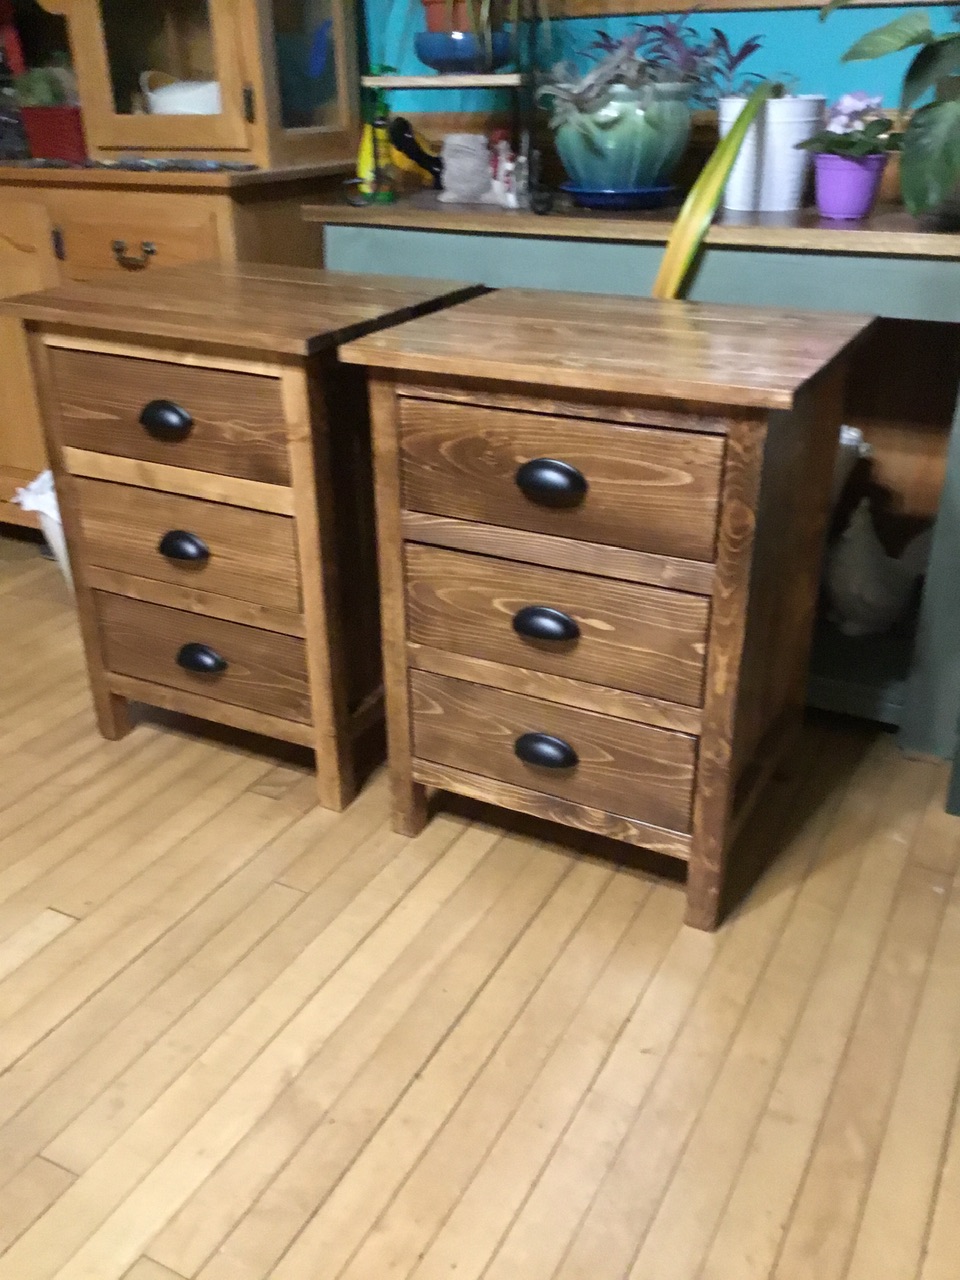
Farmhouse bedside tables
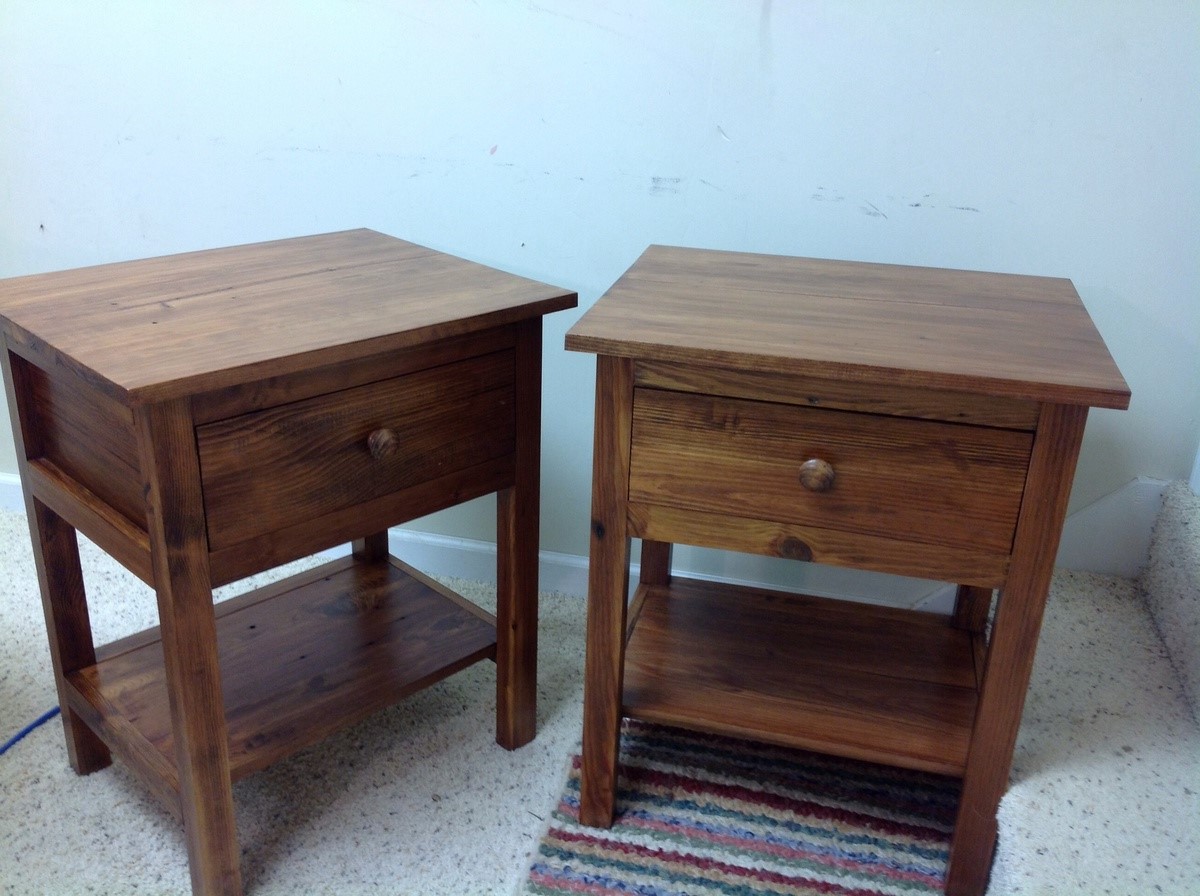
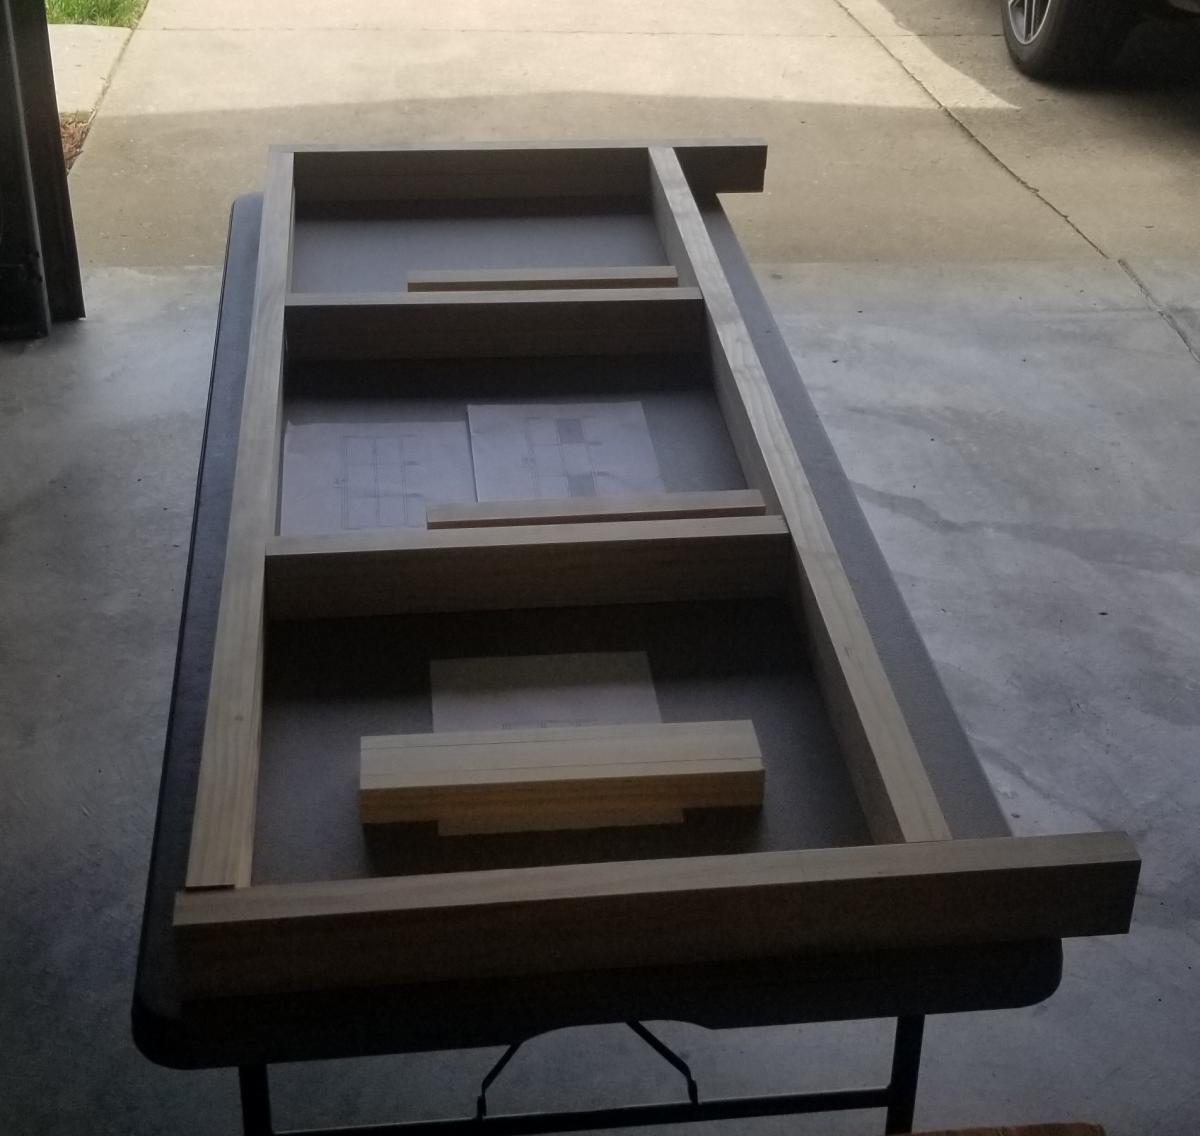
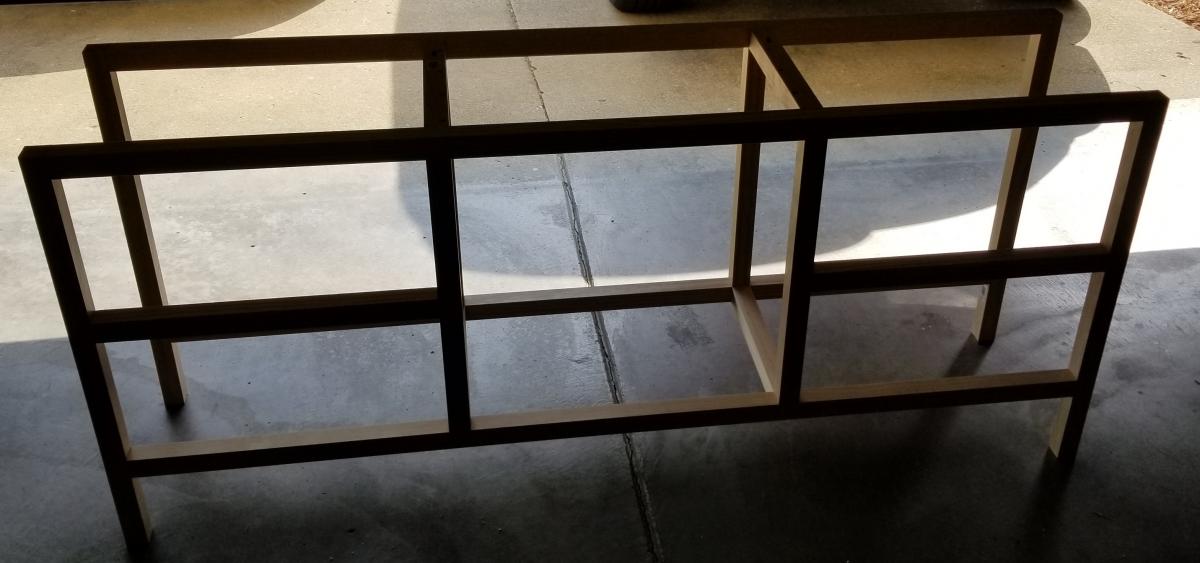
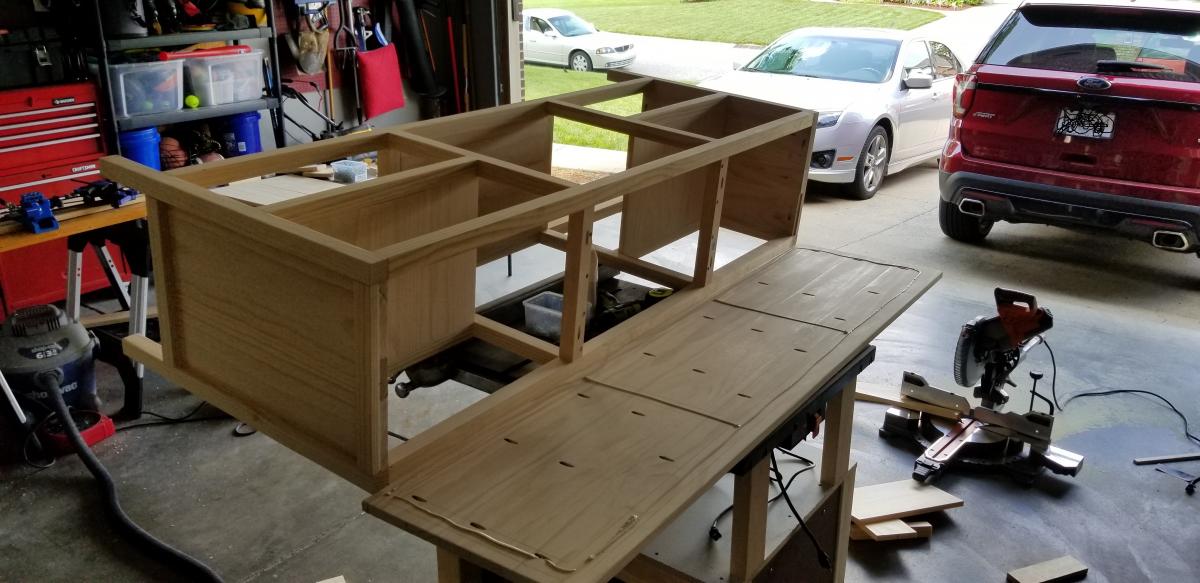
Made these out of left over antique heart pine flooring. Definitely not for beginners. Lots of small pieces, good for using up scraps! Made to match a Reclaimed wood headboard made from the same wood.
Estimated Cost
Next to nothing. Leftover flooring scraps.
Estimated Time Investment
Week Long Project (20 Hours or More)
Finish Used
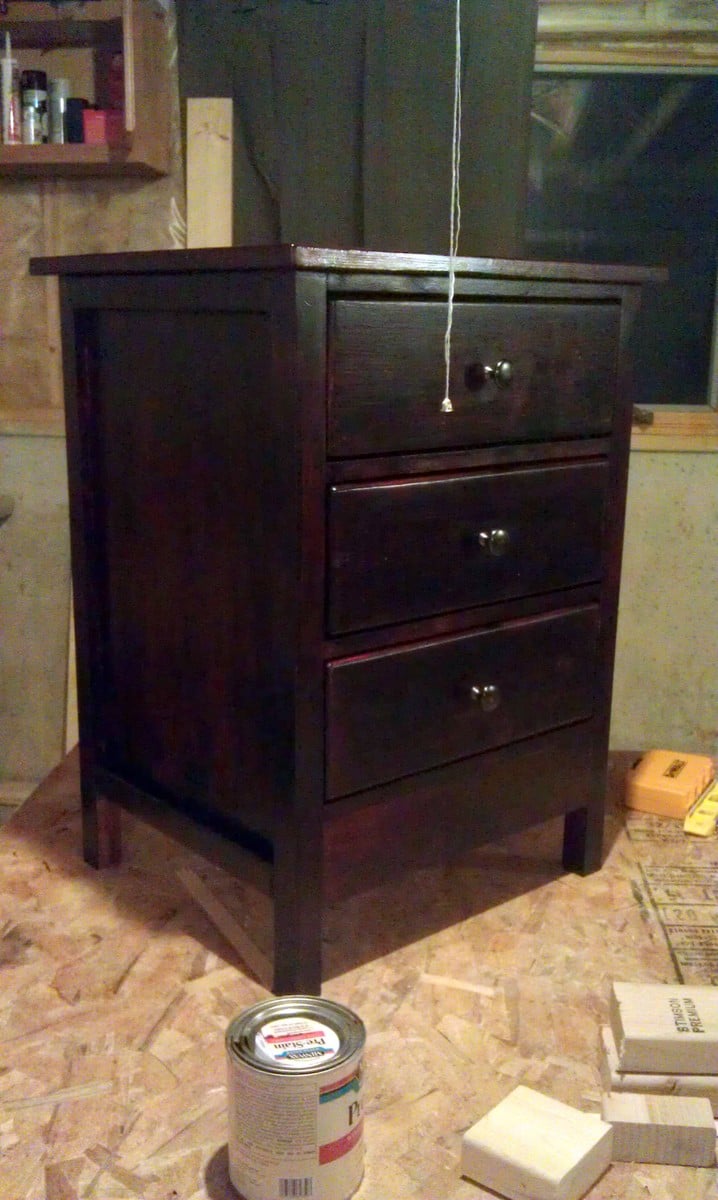
Mixed my own. Dark walnut, red mahogany, golden oak, and a little cherry.
Recommended Skill Level
Advanced