Flat Wall Bookholders
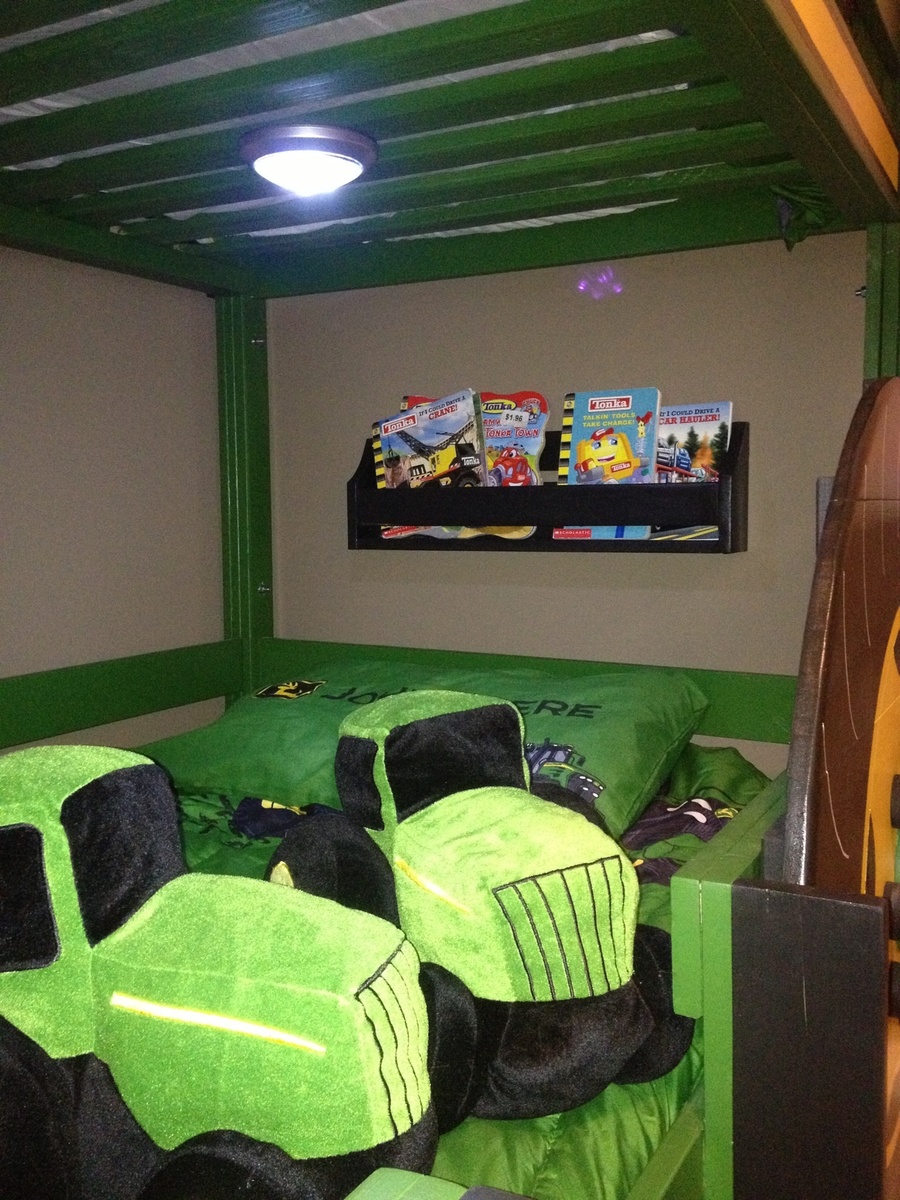
These flat wall bookholders are the perfect little shelves to add storage for books to my boys' new tractor bunk bed. What a great simple plan!
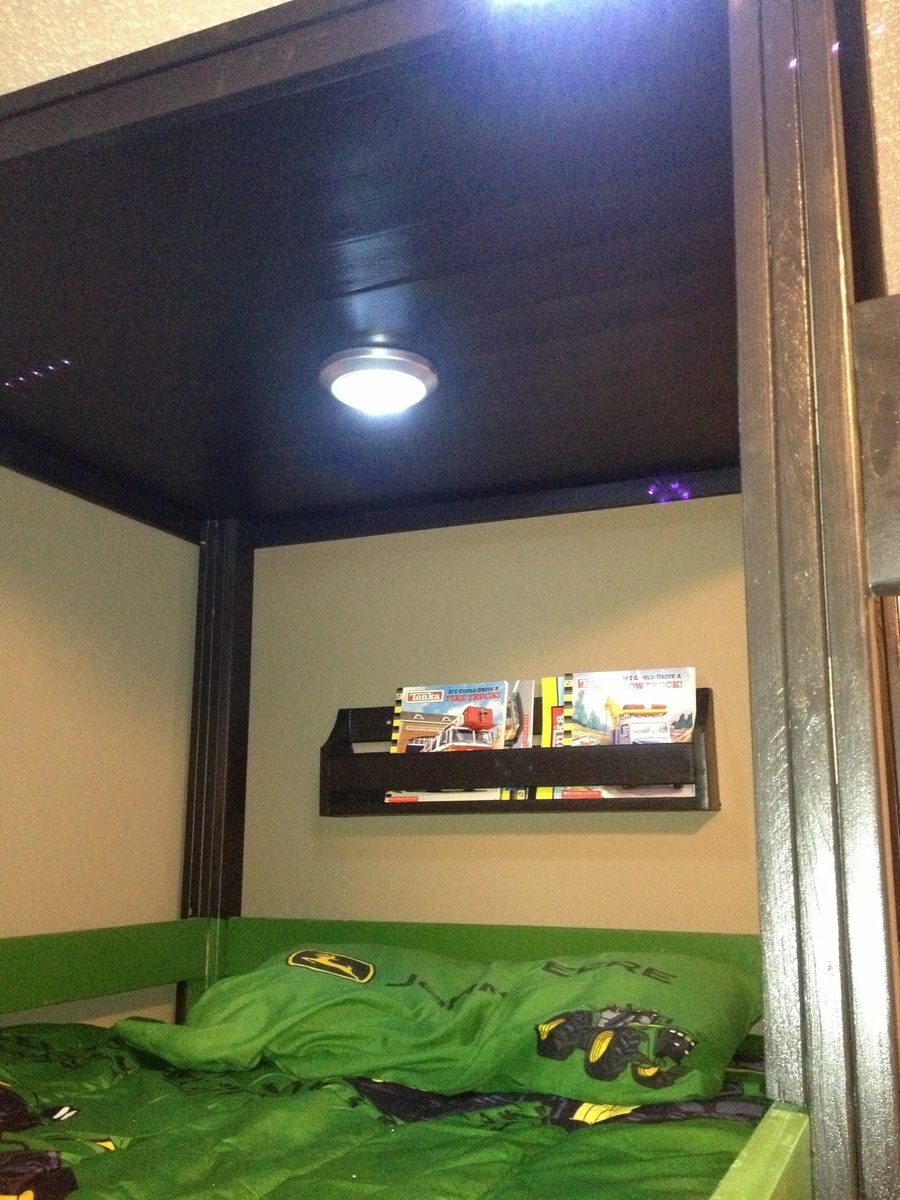
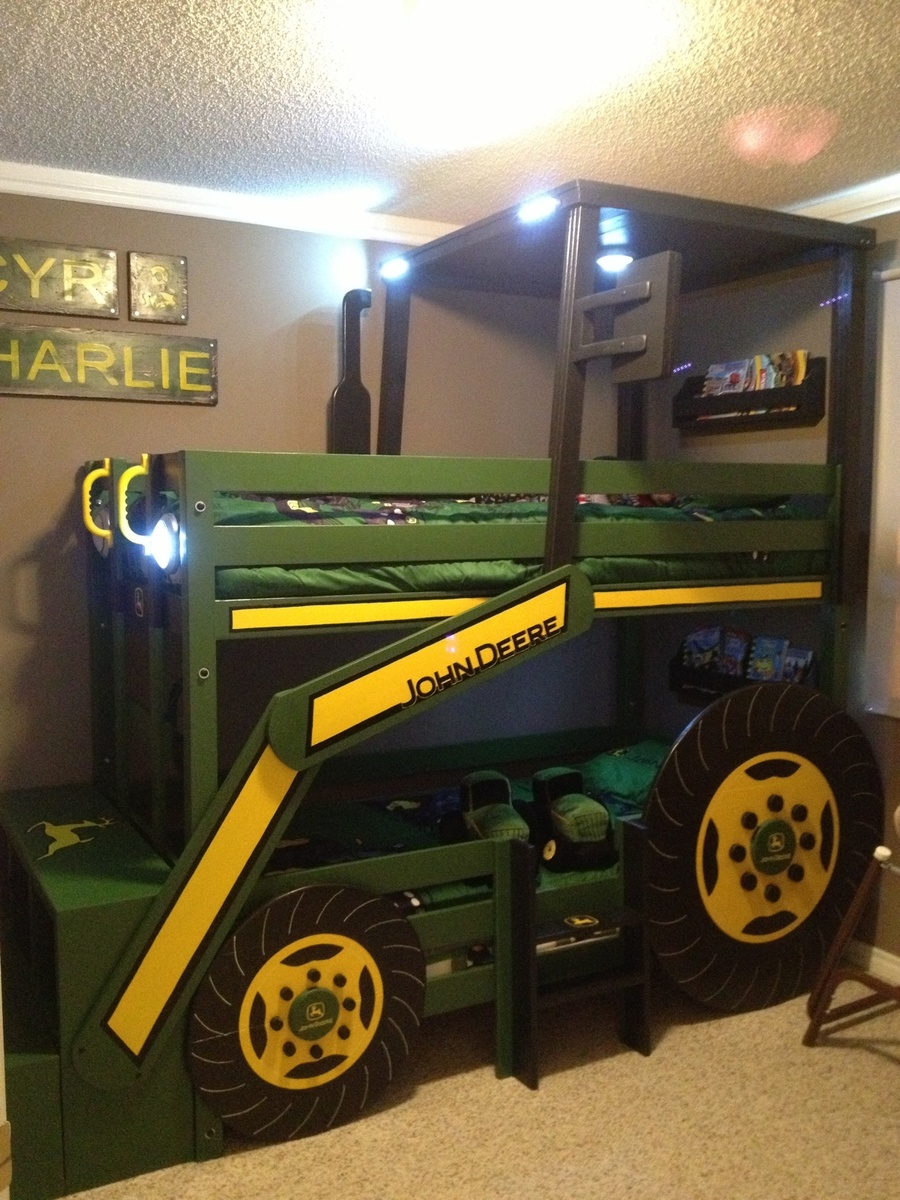

These flat wall bookholders are the perfect little shelves to add storage for books to my boys' new tractor bunk bed. What a great simple plan!


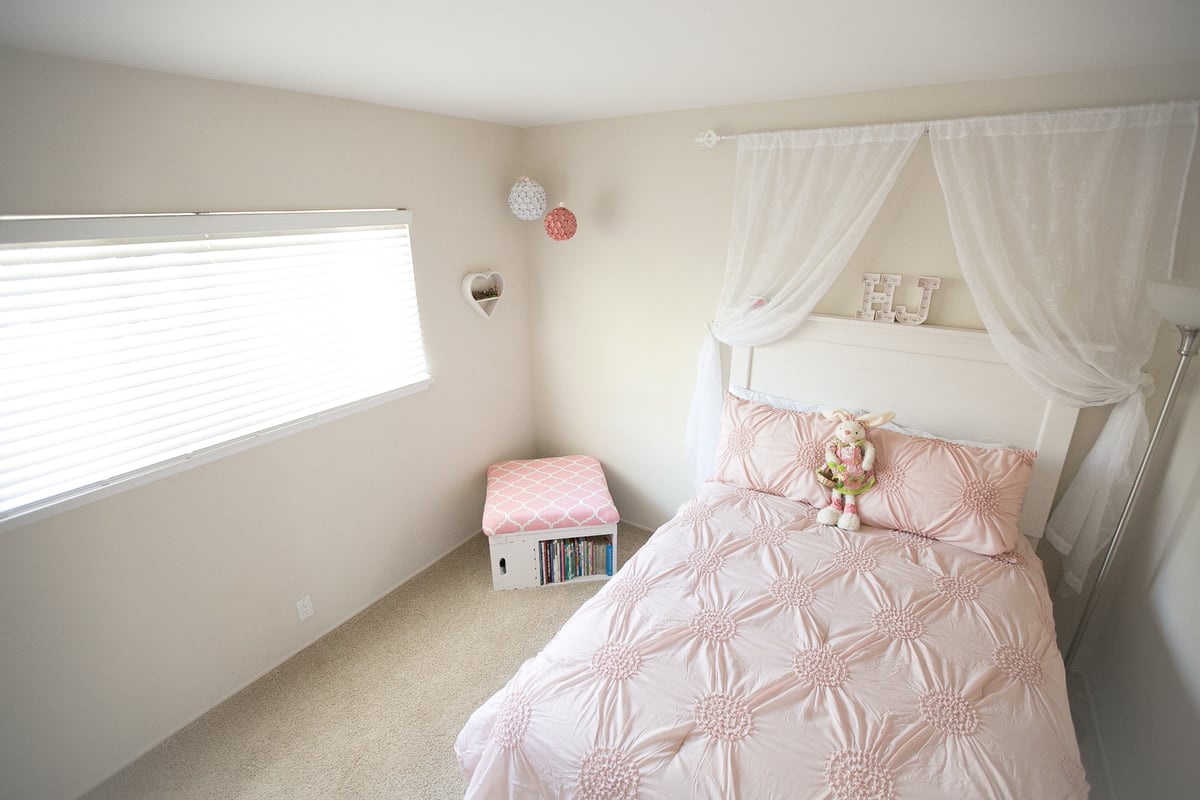
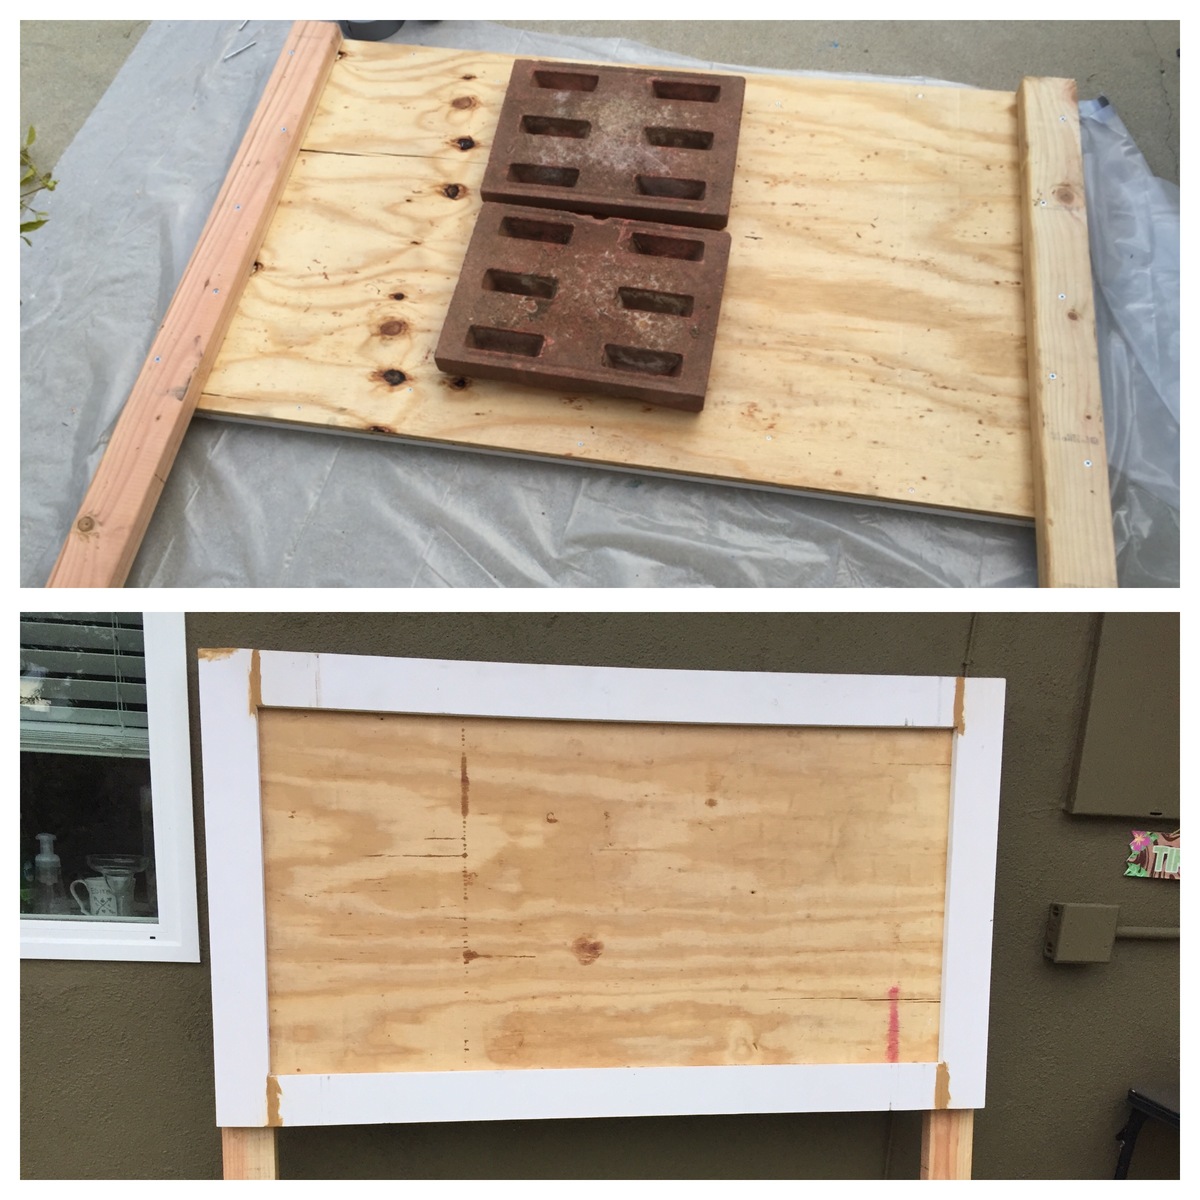
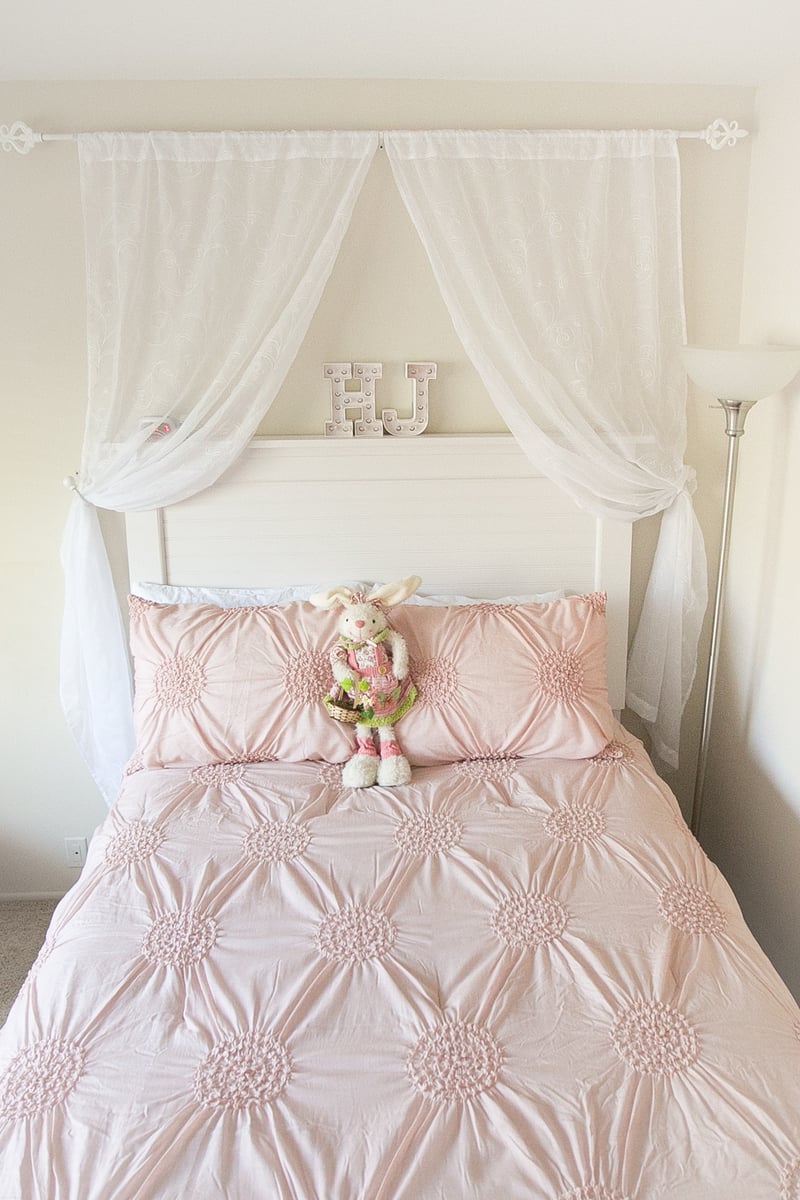
My very first big project! My 6 year old daughter was in need of a new bed and a room makeover so I decided to build her a headboard which then turned into a whole new room!!!
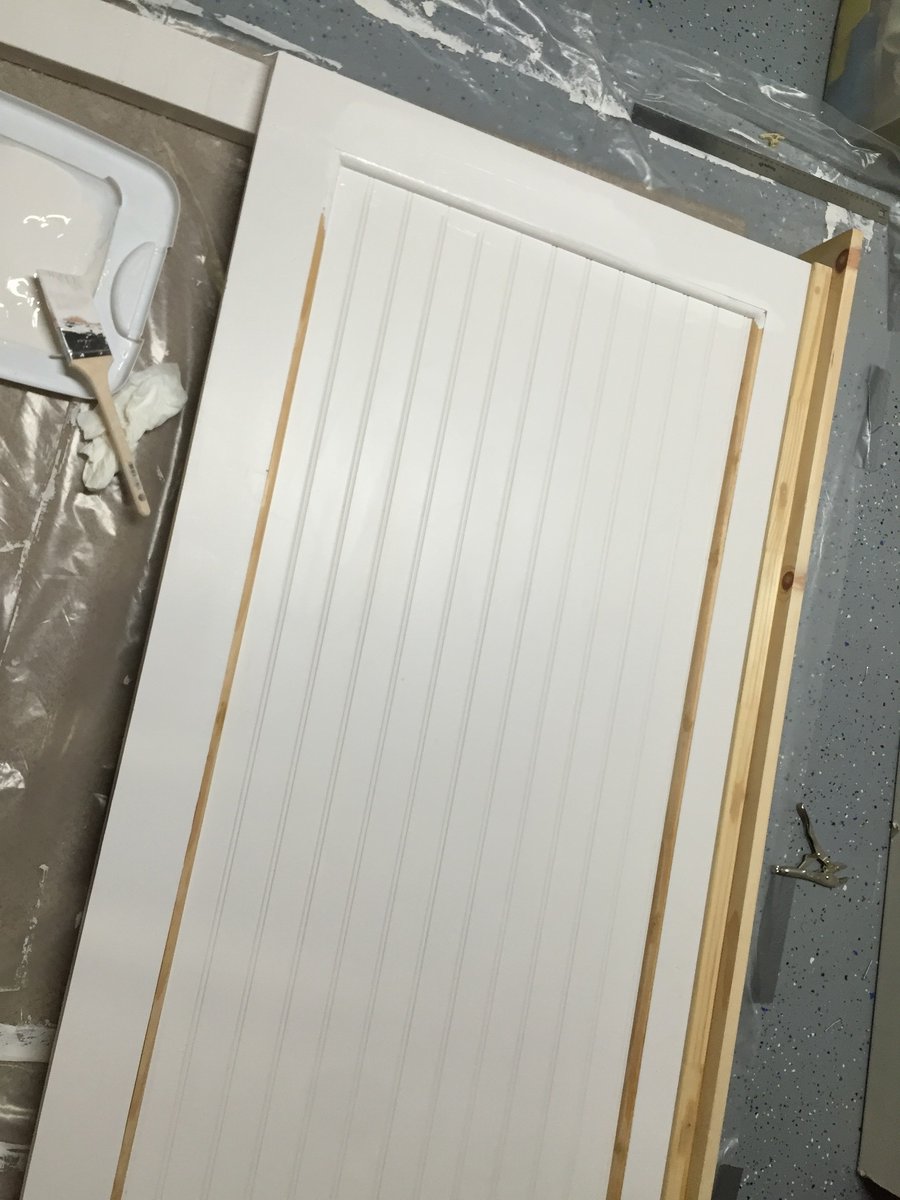
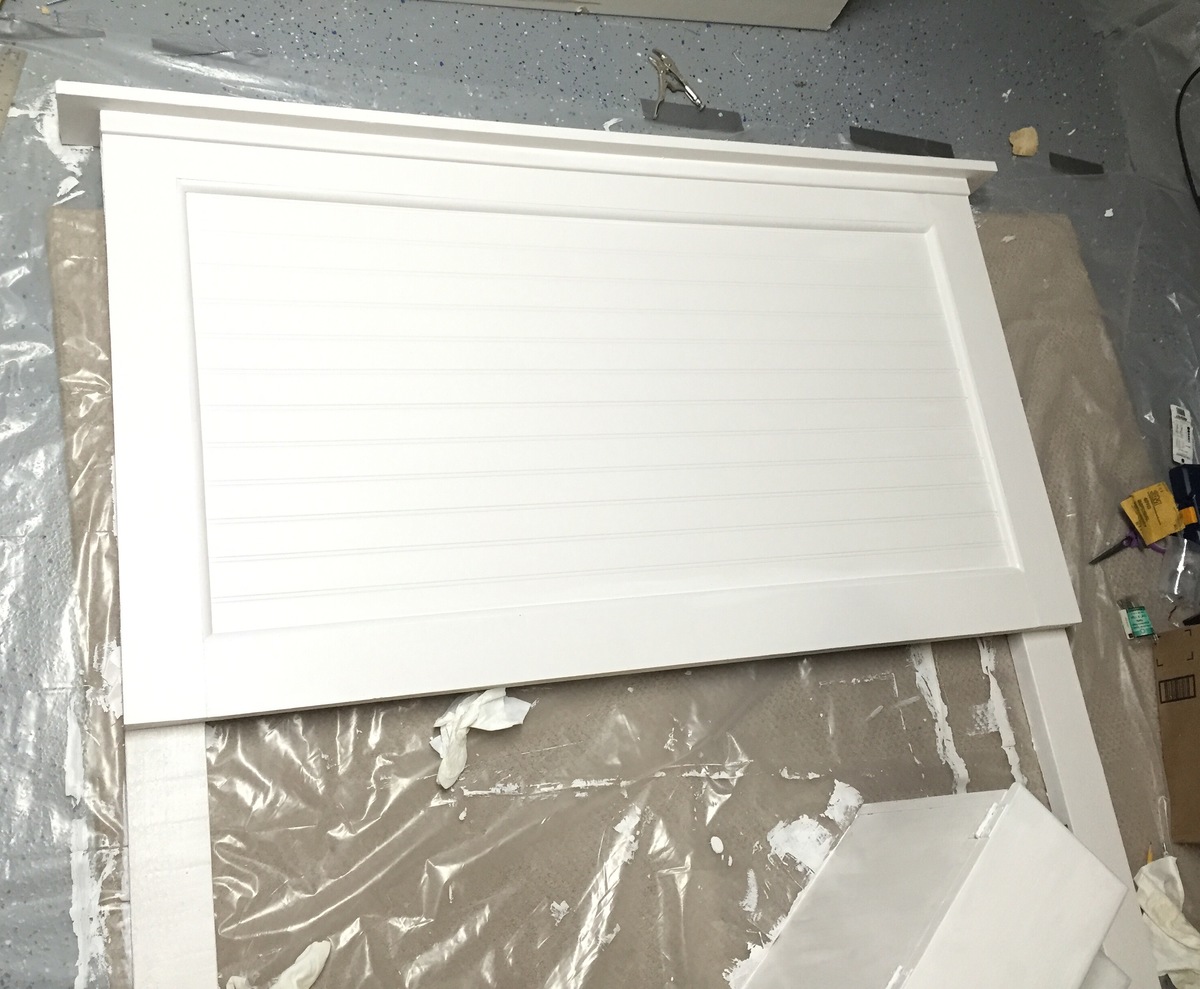
I really wanted it to it to have some dimension to it so I added some moldings and a mini shelf to the top of it. I basically just designed it myself, based on what some of the $1000+ pottery barn ones look like and spent hours at the hardware store finding the perfect moldings.
For the main backboard I used plywood, however to keep it light I used a sheet of molding and added a round edge to make it seamless.
My my daughter was so excited Mommy built her whole room.
In reply to Beautiful! by Ana White Admin
Sun, 10/16/2016 - 23:50
I am so excited!!! And fully addicted to your site. Thank you so much! You're an inspiration!!!
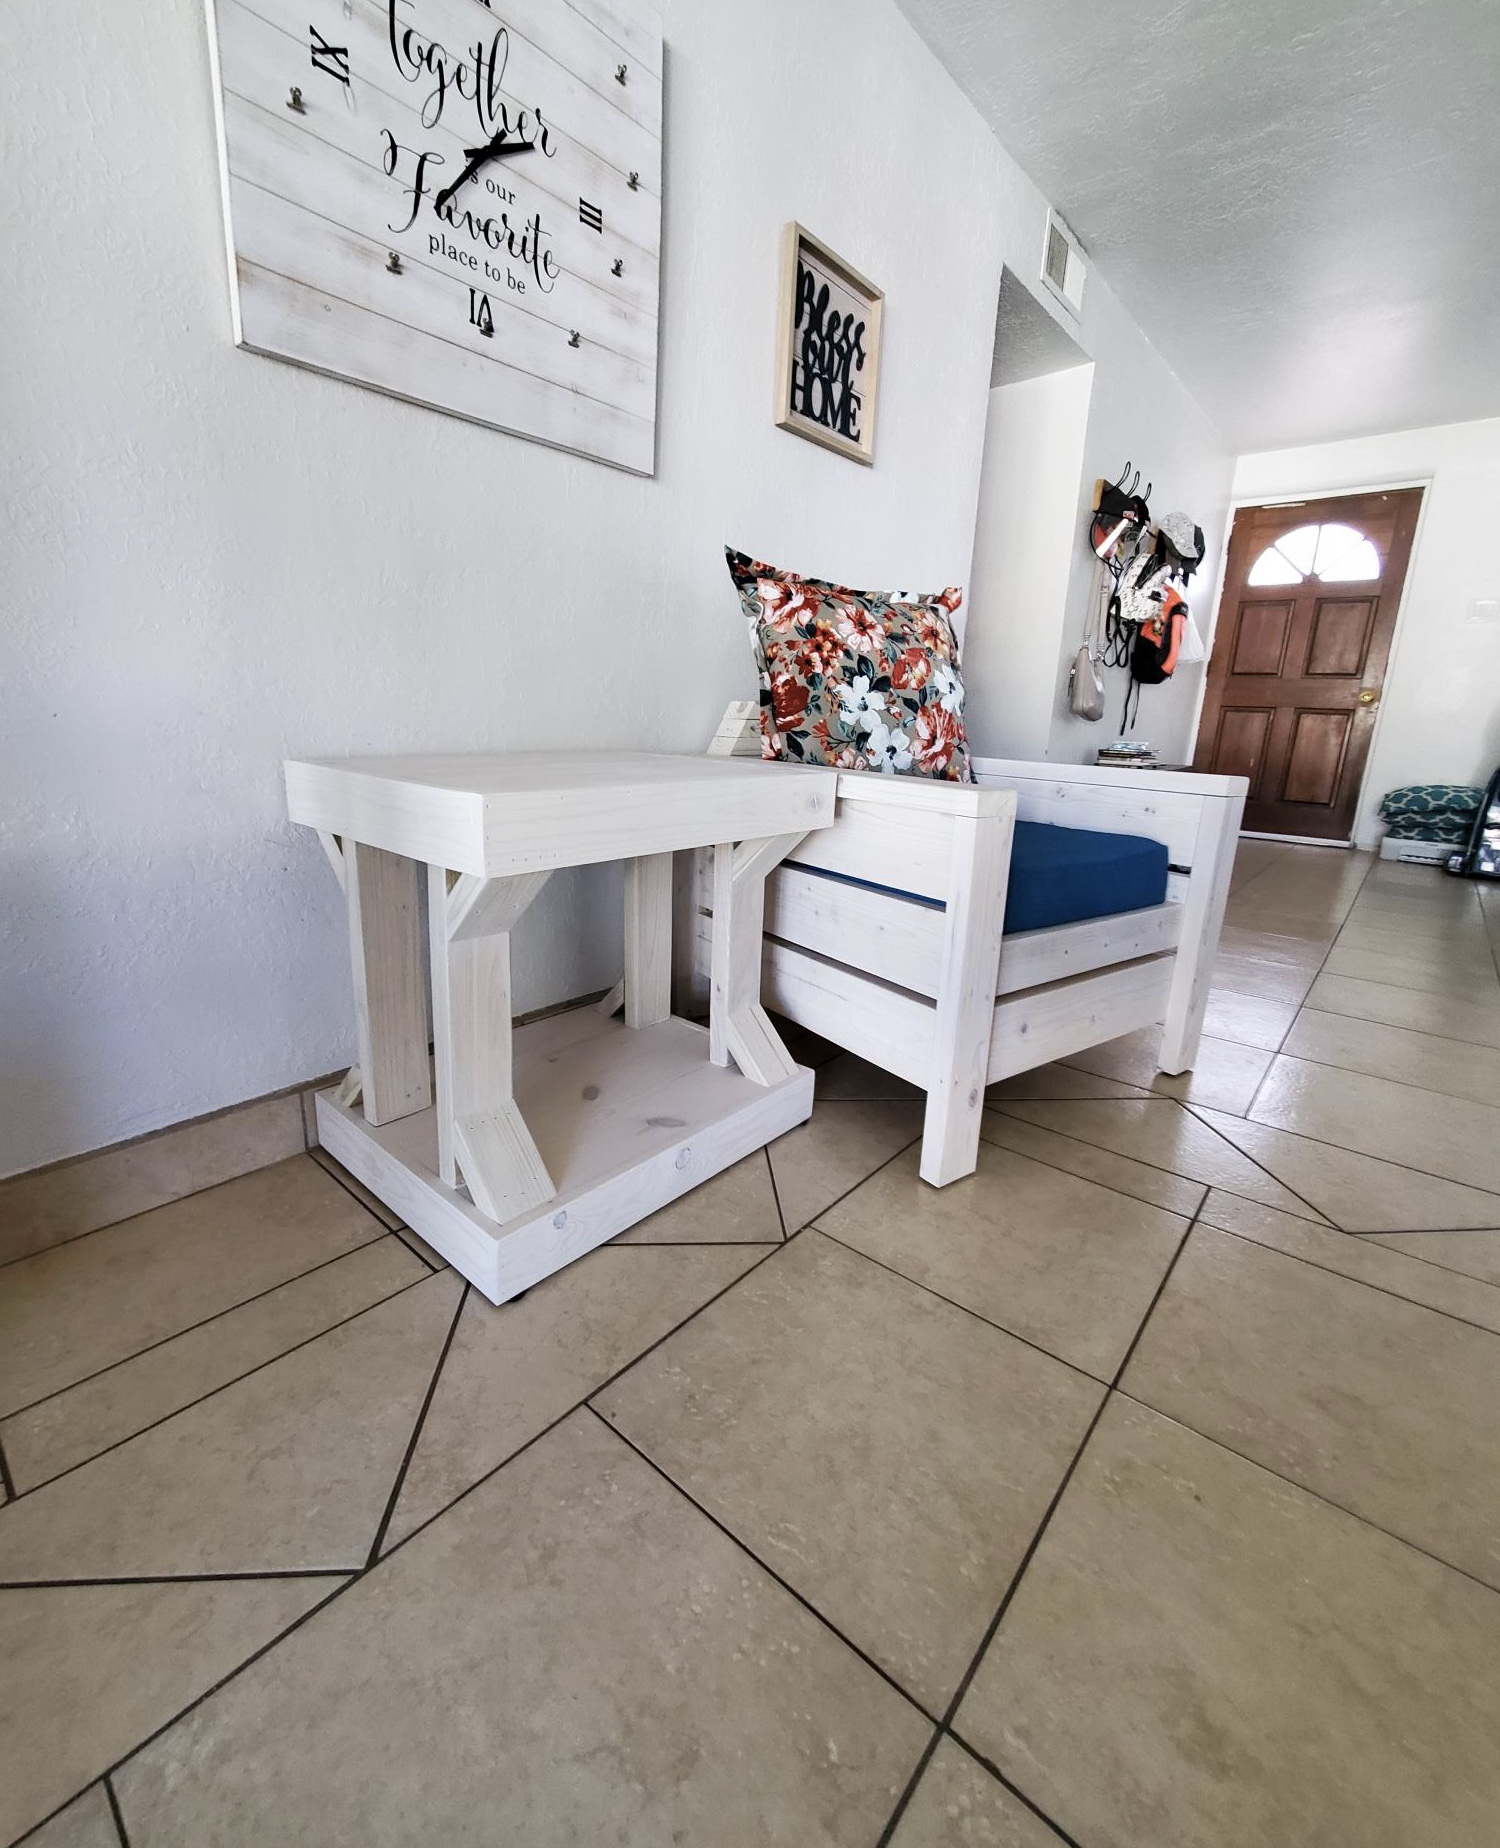
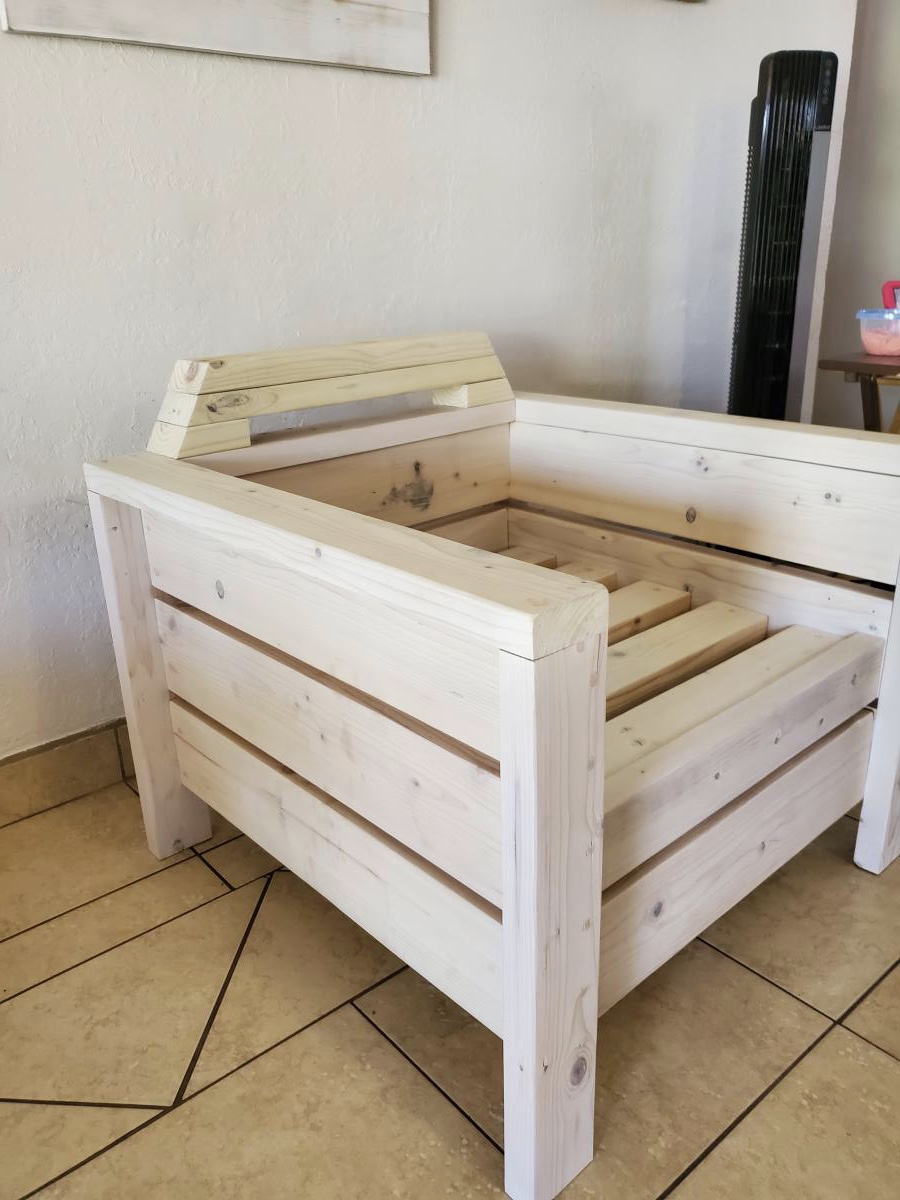
I built this modern chair and end table. I will be building one more chair to complete the set.
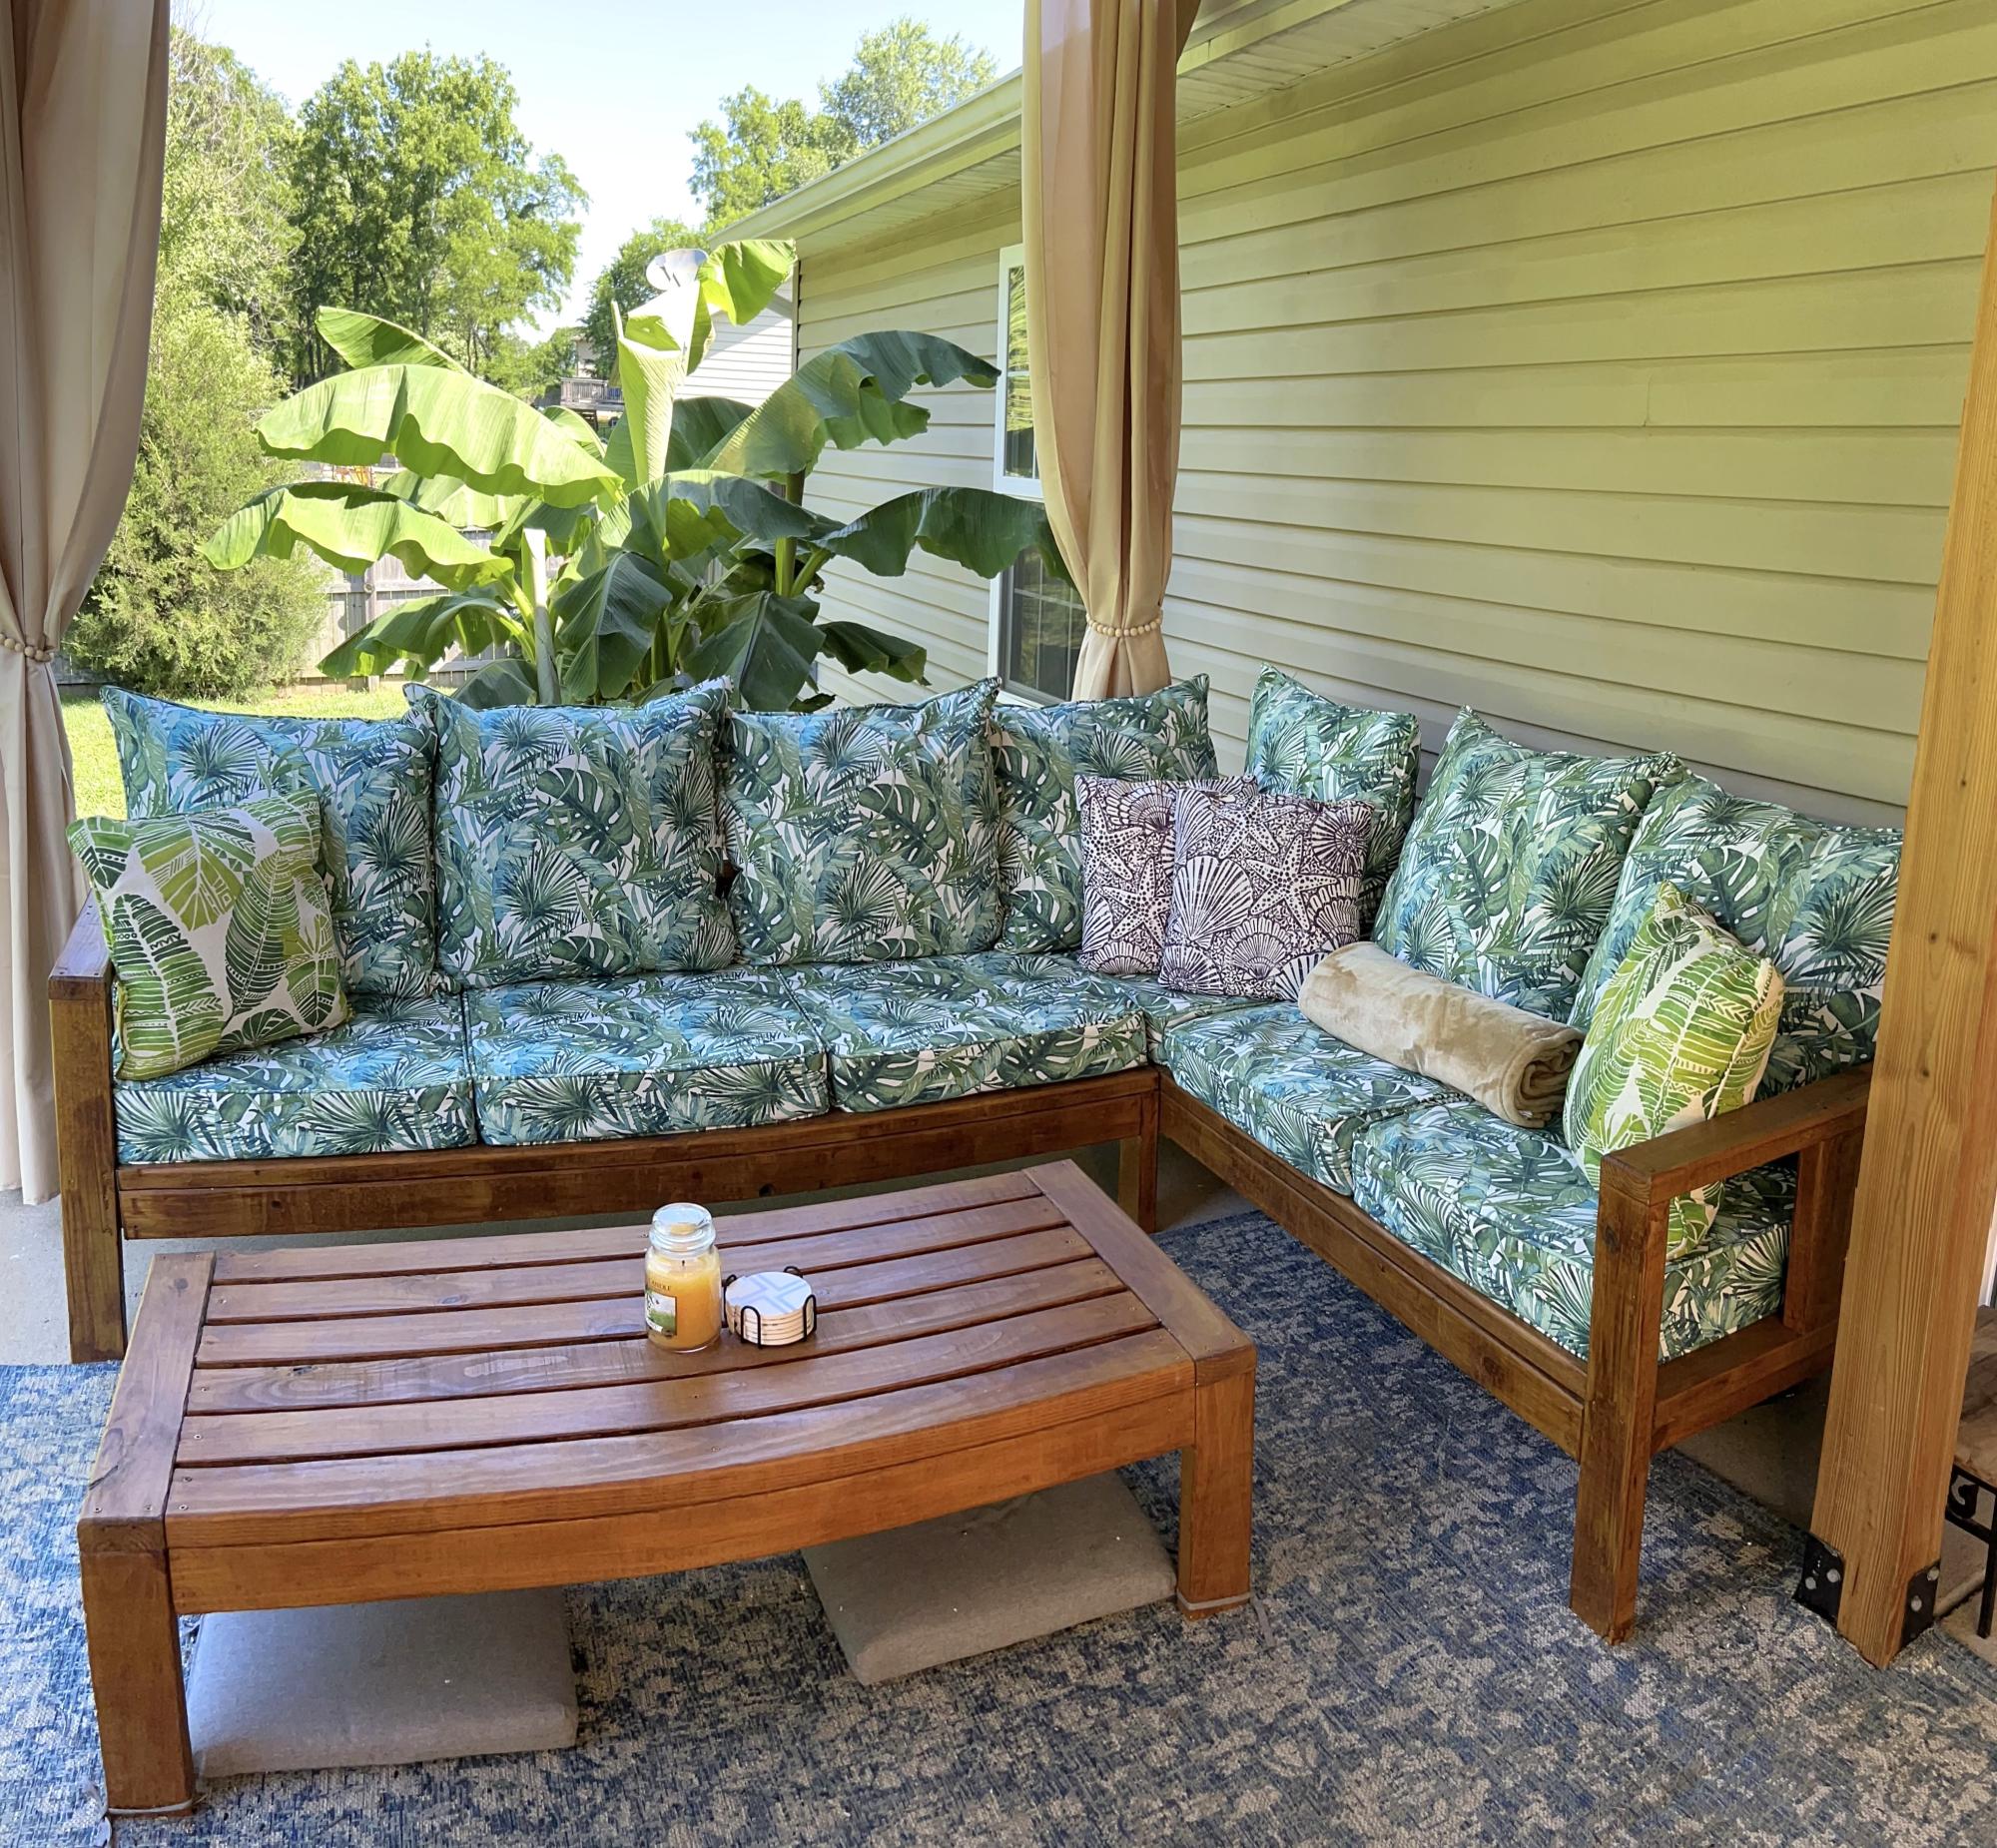
Outdoor sectional and coffee table.
Austin Spencer
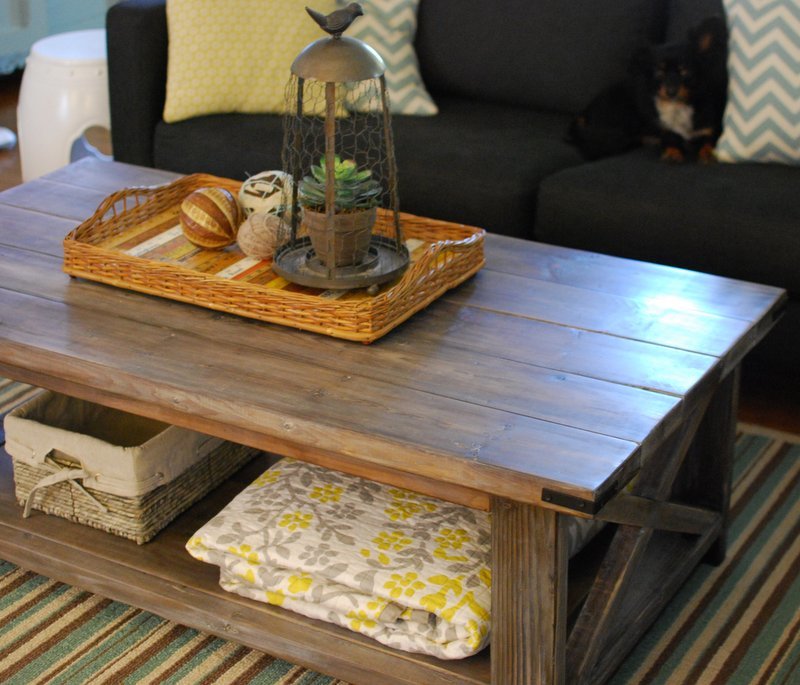
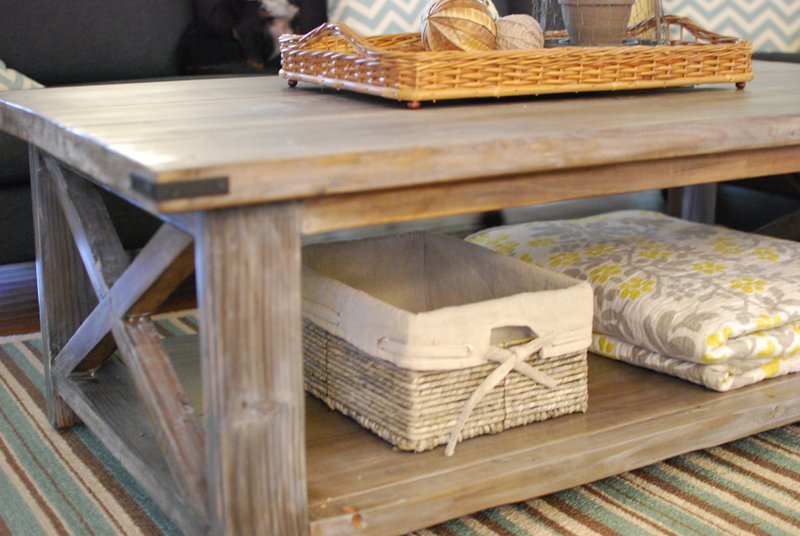
Thanks to the beautifully written as well as the example build post by Hilary, I found this project easy to build for a beginner like myself. I followed the plan as written and can't wait to start my next project.
Sun, 03/08/2015 - 14:24
Hi,
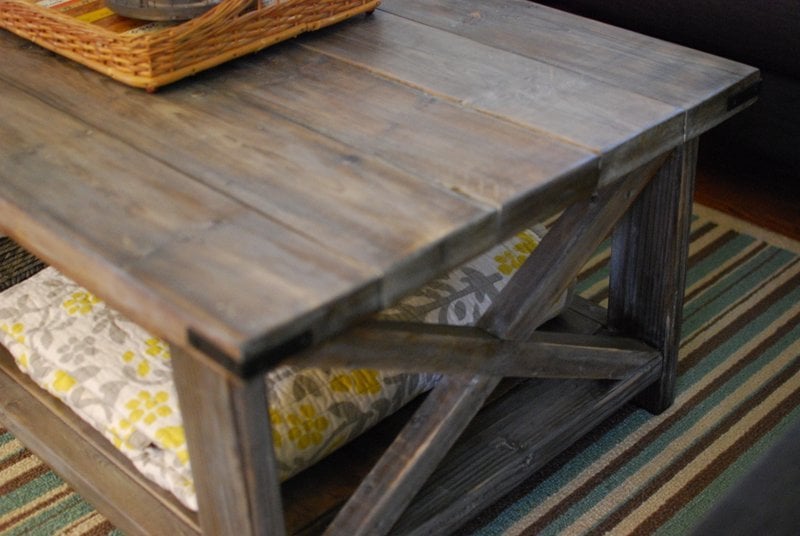
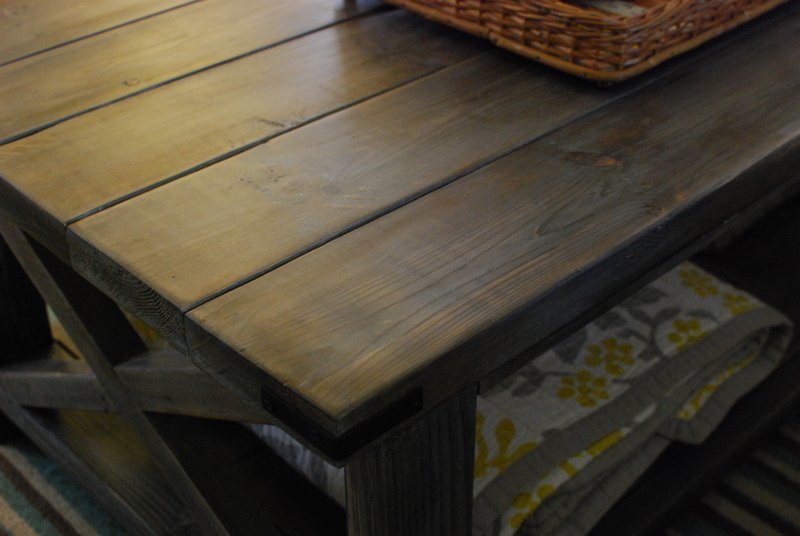
I was wondering what the metal accent pieces are and where I can purchase them.
Thanks!
Brooke
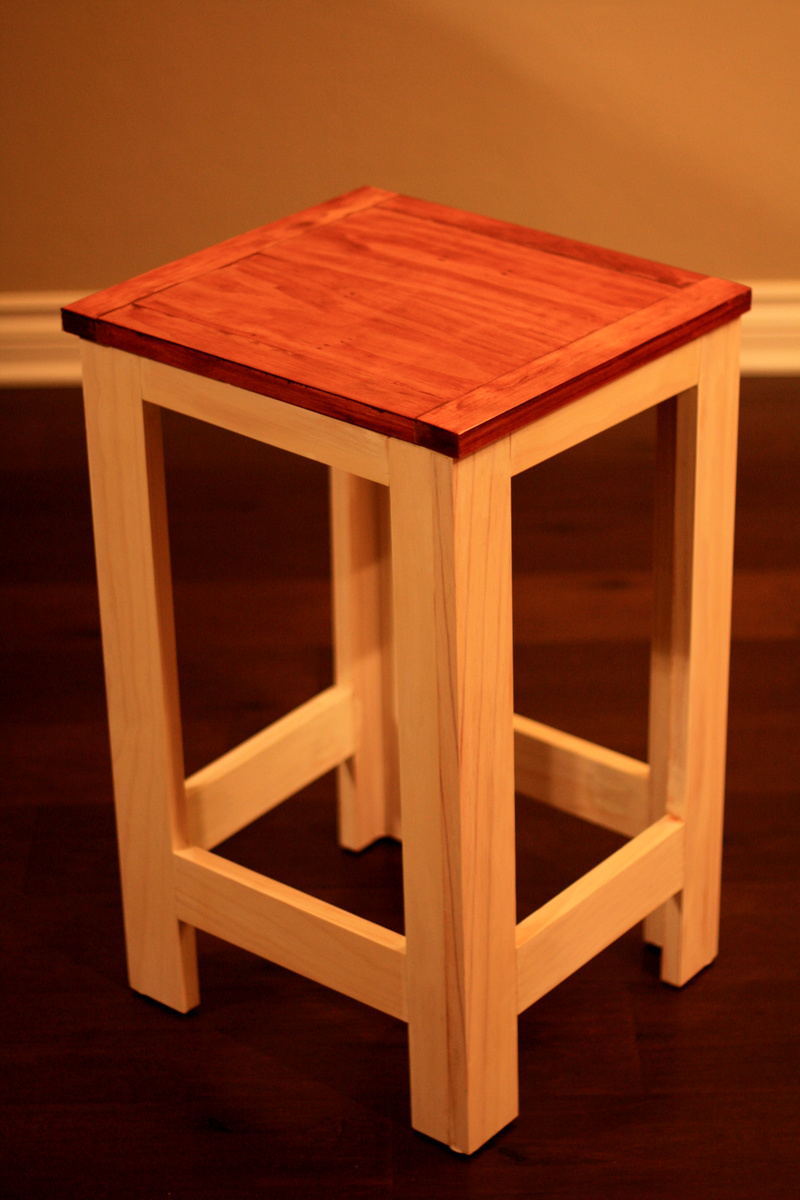
This was my very first woodworking project! My girlfriend and I built it as a learning experience, and to use as a work stool in our "workshop" (aka garage). The wood we used was pine. We were so happy with the results we've decided to build more. Thank you Anthony DeCesare for posting the plans, and Ana White for many more amazing designs.
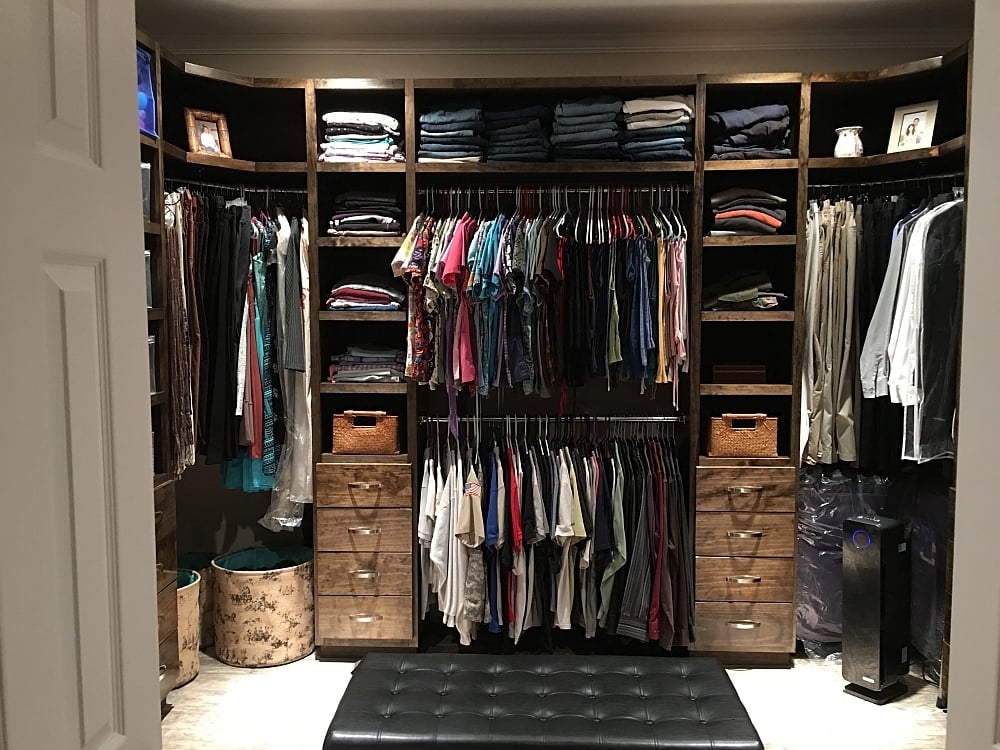
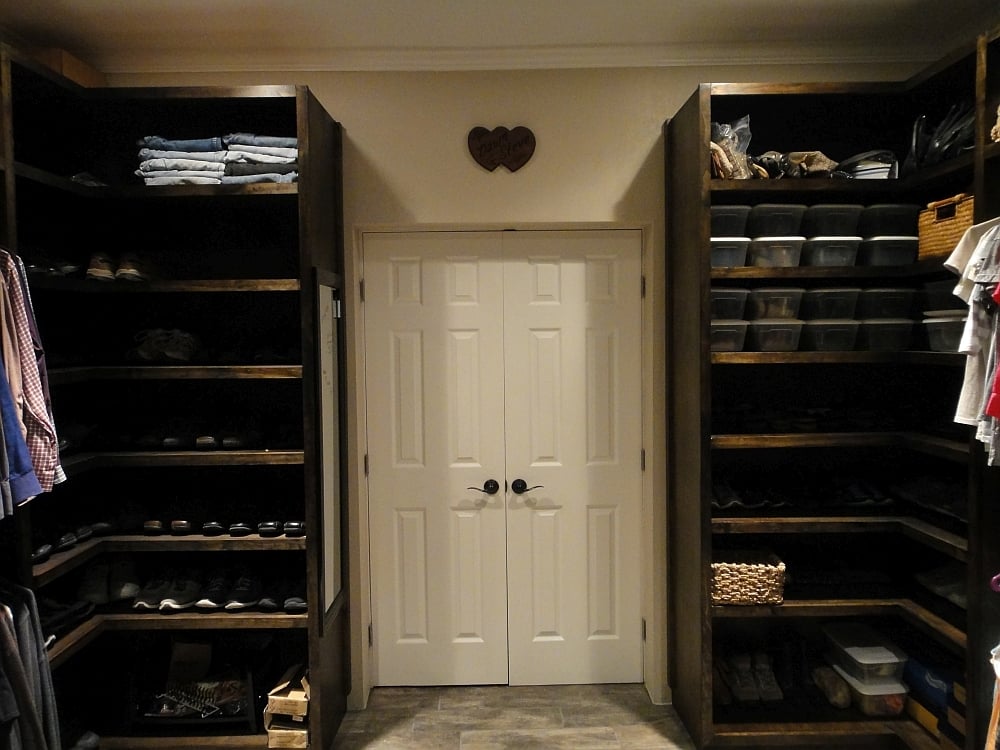
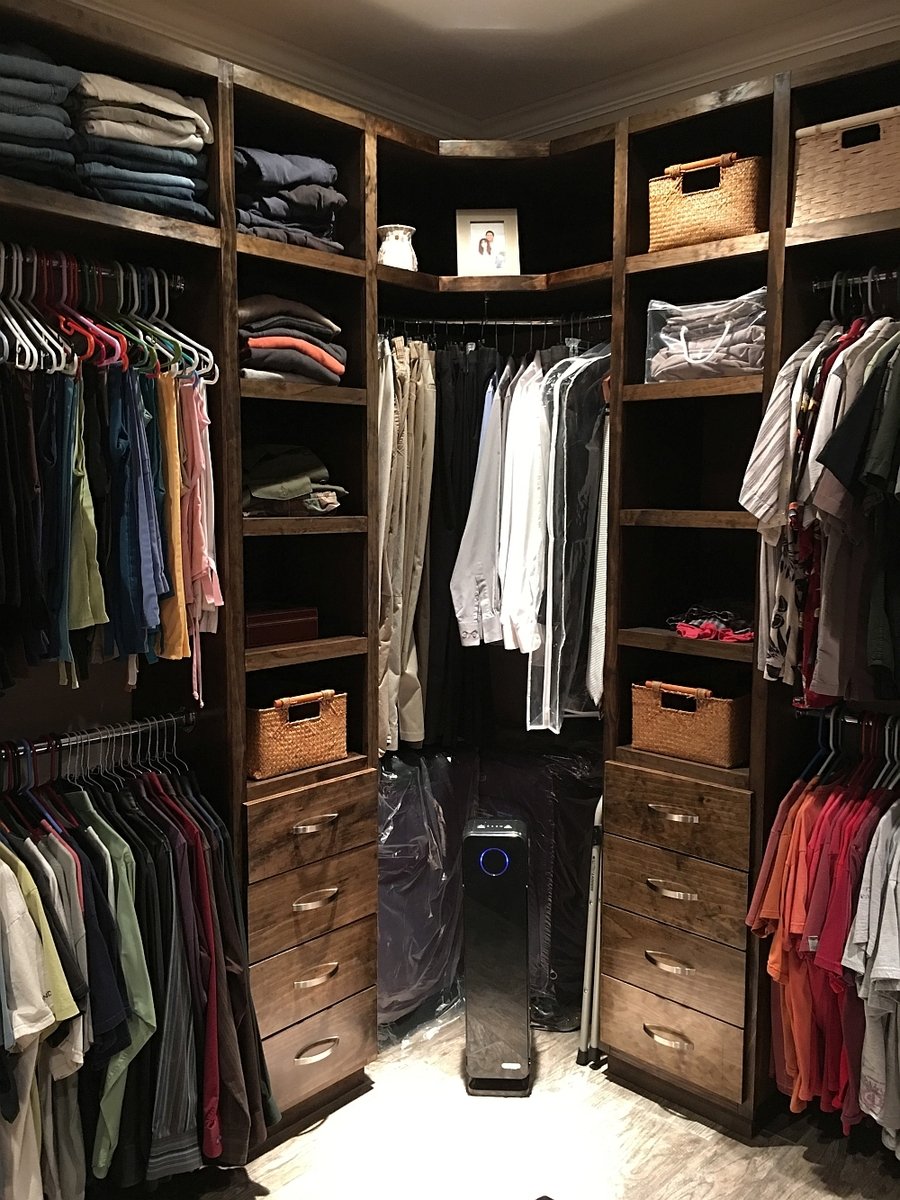
I expanded on the plans I found at Ana White and made this closet. They are 8' high, and made from Birch plywood and 1x2's from my local Home Depot. I ended up using 12 sheets of plywood and 18 1x2's. Sanded and stained with Minwax Jacobean and Satin clear on the unit and semi-gloss on the drawers. I intalled soft-close drawer slides that I found on Amazon for $120 for 15 pairs which included the rear mounting brackets, which I highly recommend using as they save you a ton of labor and make it much easier to install the slides.
What I like most about my work, is that I found regular hanging rods that were too expensive or just plain did not fit the end sockets. I used galvanized fence rod typically used for the top of chain link fences, and simply brushed them with 0000 steel wool and then polished them on my buffing wheel. If you want the brushed look, simply don't buff them. What was best about using fencing rods, was that it cost about a dollar a foot and was much stronger than buying the actual chrome rods which were over three times more money.
For the corners, you will see that they are three angled rods, which you can not buy anywhere. So, I purchased 1" galvanized electrical conduit. and bent it with a tubing bender. I simply measured what I needed, and put two 45 degree bends in the rod, installed 1" sockets on each end, and a center rod support for the middle. These two were polished with 0000 steel wool and then polished to a chrome finish. They look amazing, and the best part is that it cost $6 for a ten foot piece, which was more than enough to do both corners. You cannot beat the cost of using fence rods and electrical conduit for closet rods.
I plan to install a small drawer island in the middle later as I require a need for more drawere space.
Thanks to Ana White for the help. I already have a few more next projects lined up using her ideas here.
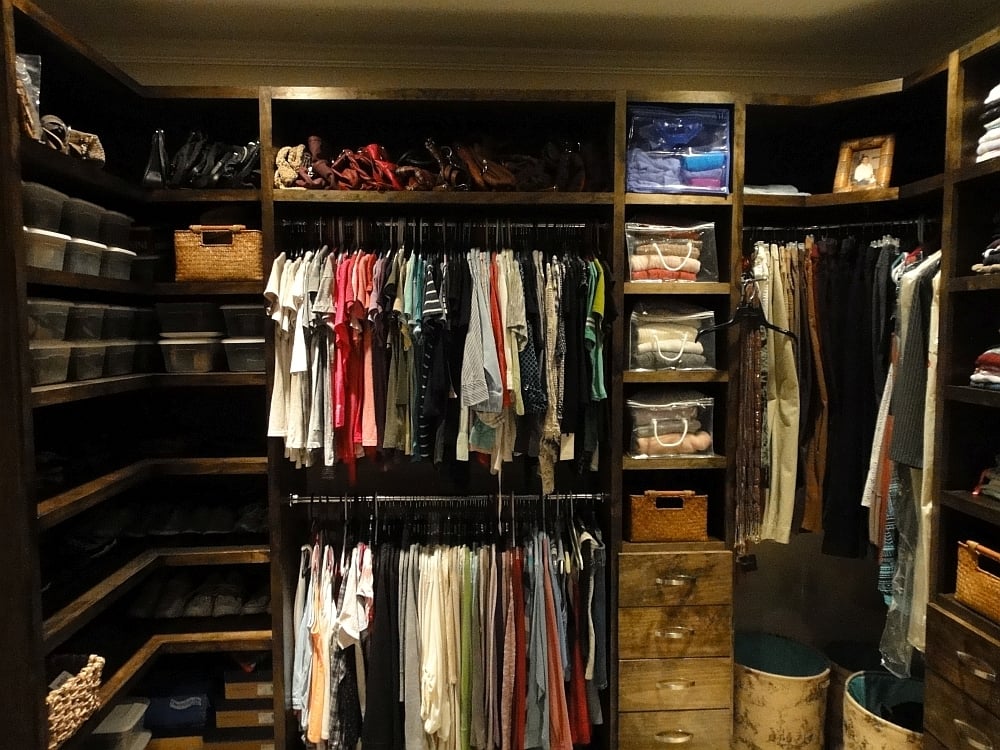
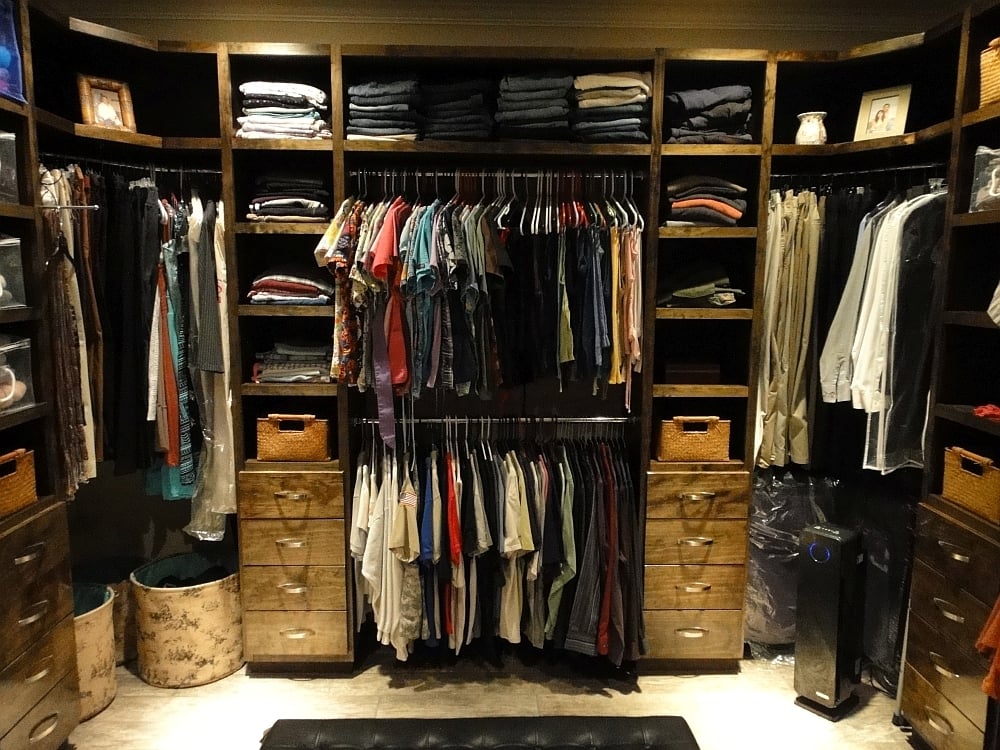
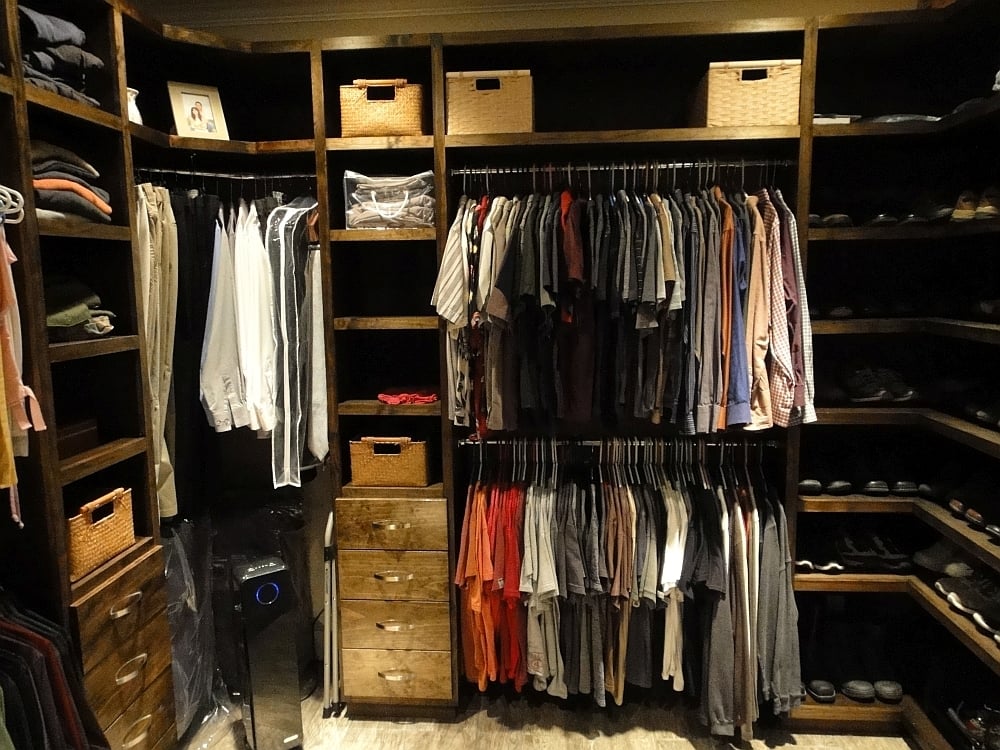
Tue, 10/18/2016 - 10:26
That is one lucky wife and one heck of a build! Thanks for sharing:)
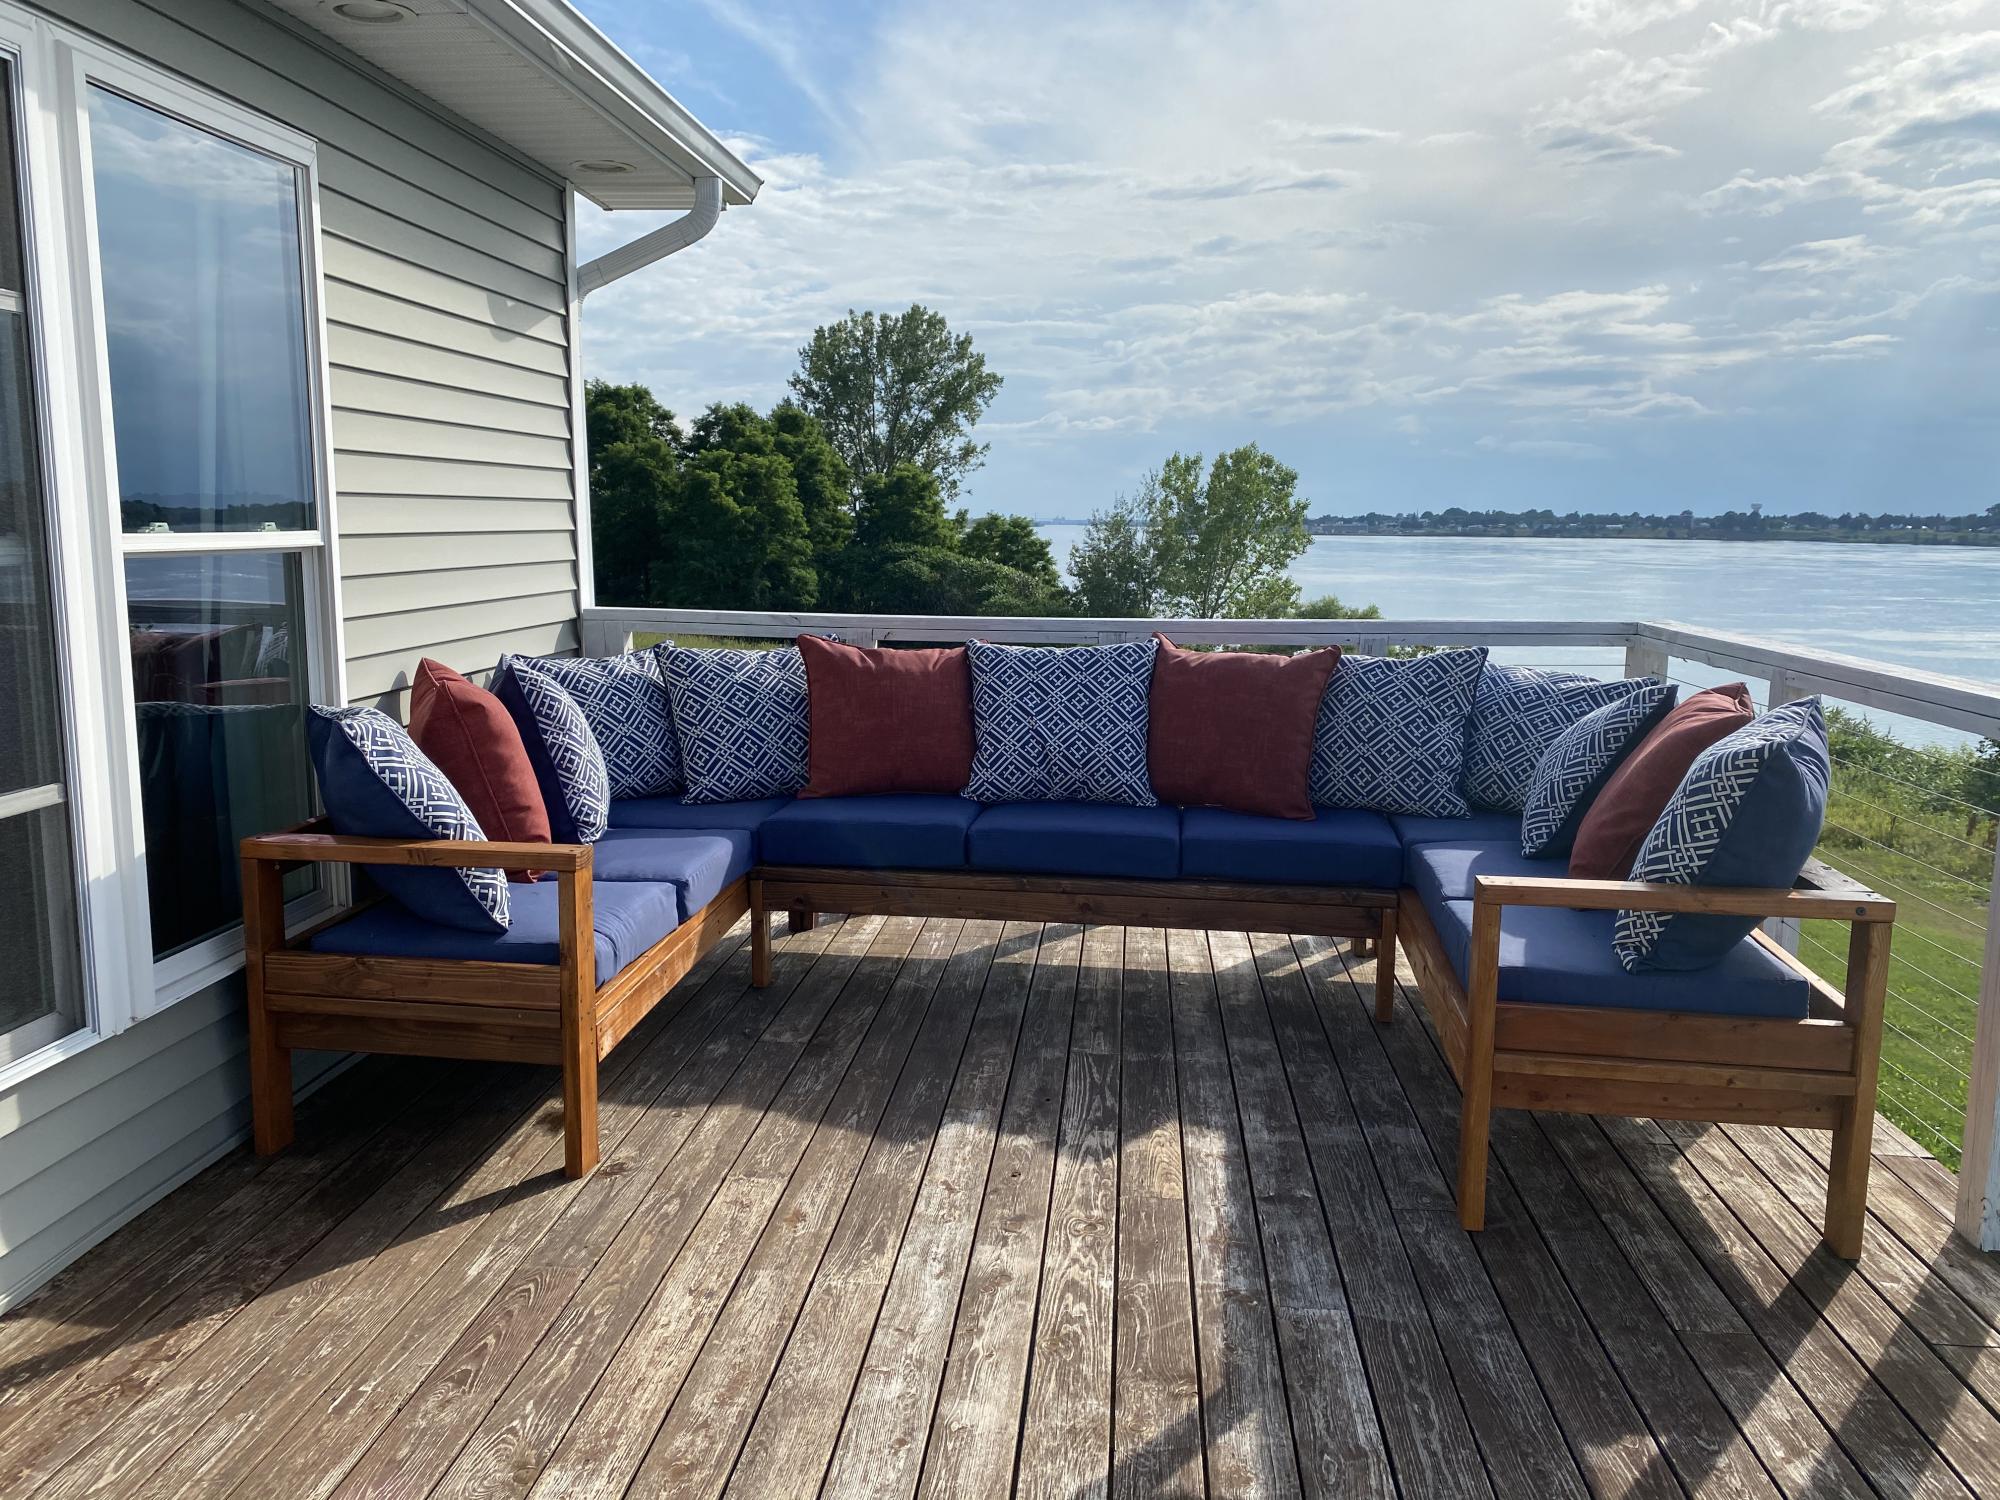
I love my new outdoor sofa! Was a great quarantine project with my teenage children. Finished it off with a ton of cushions from Lowe’s.

I like that these simple laundry basket holders can be used as a single, side by side or stacked.
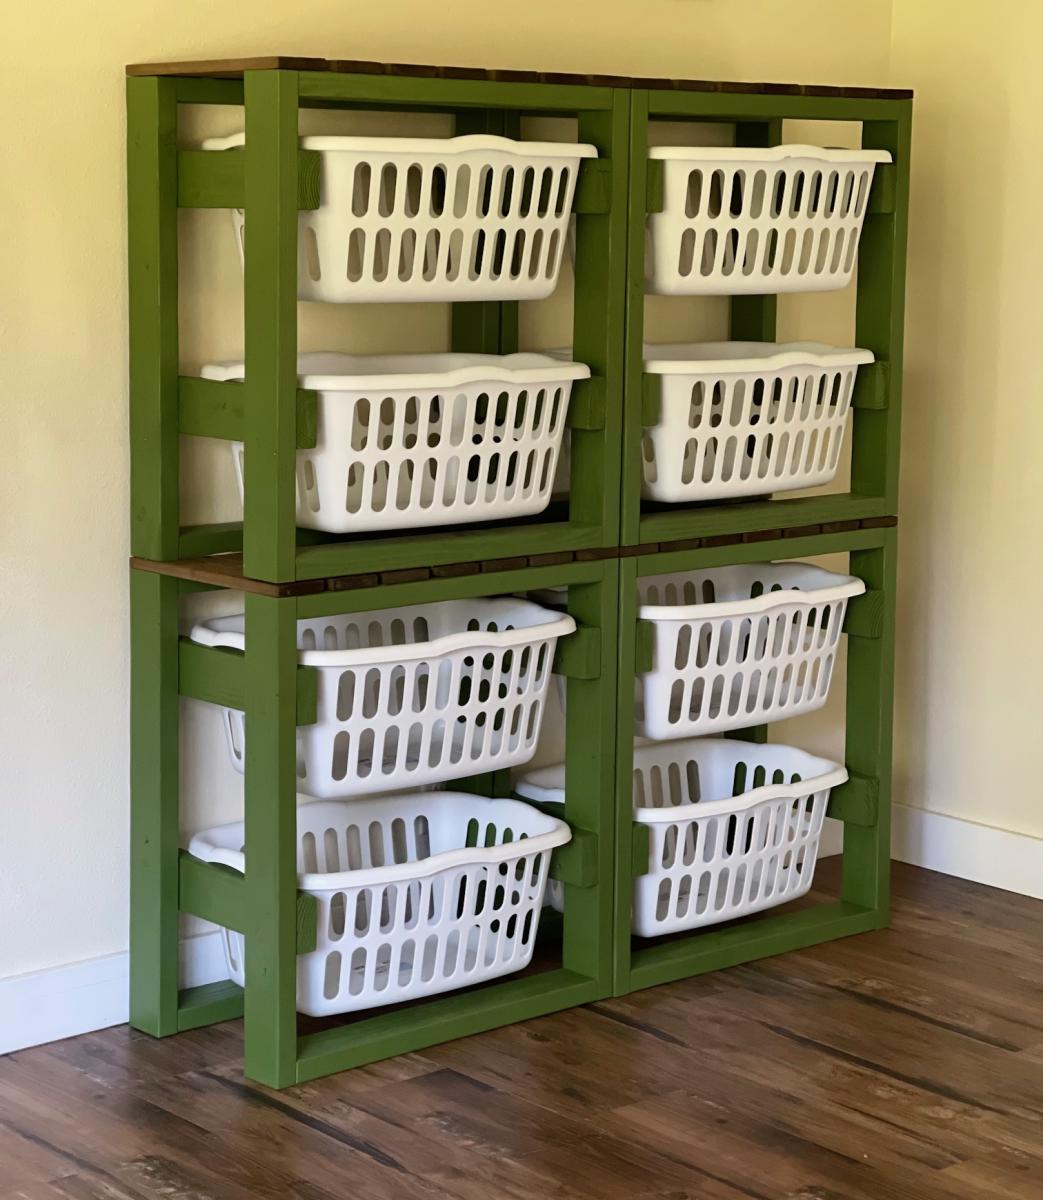
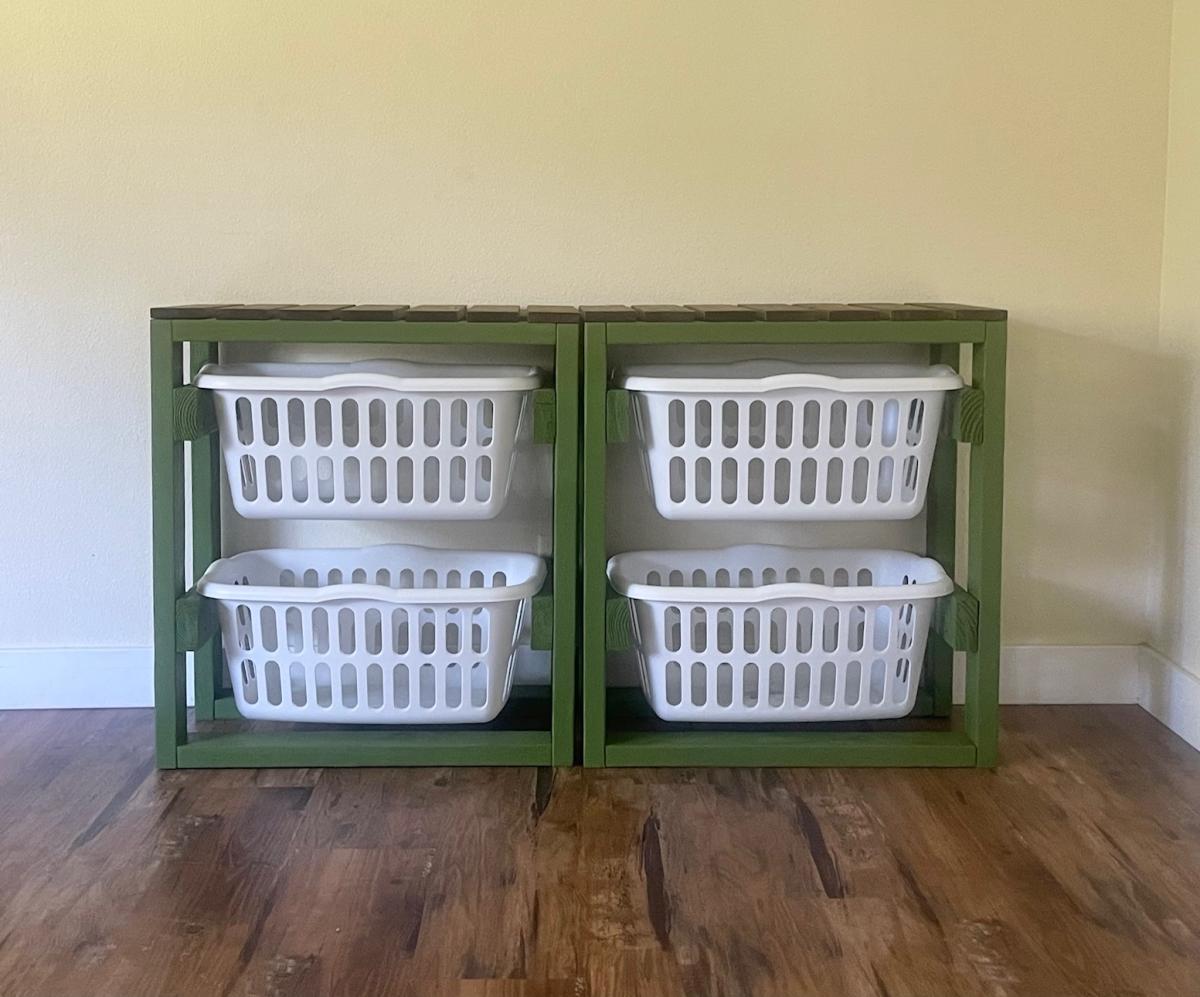
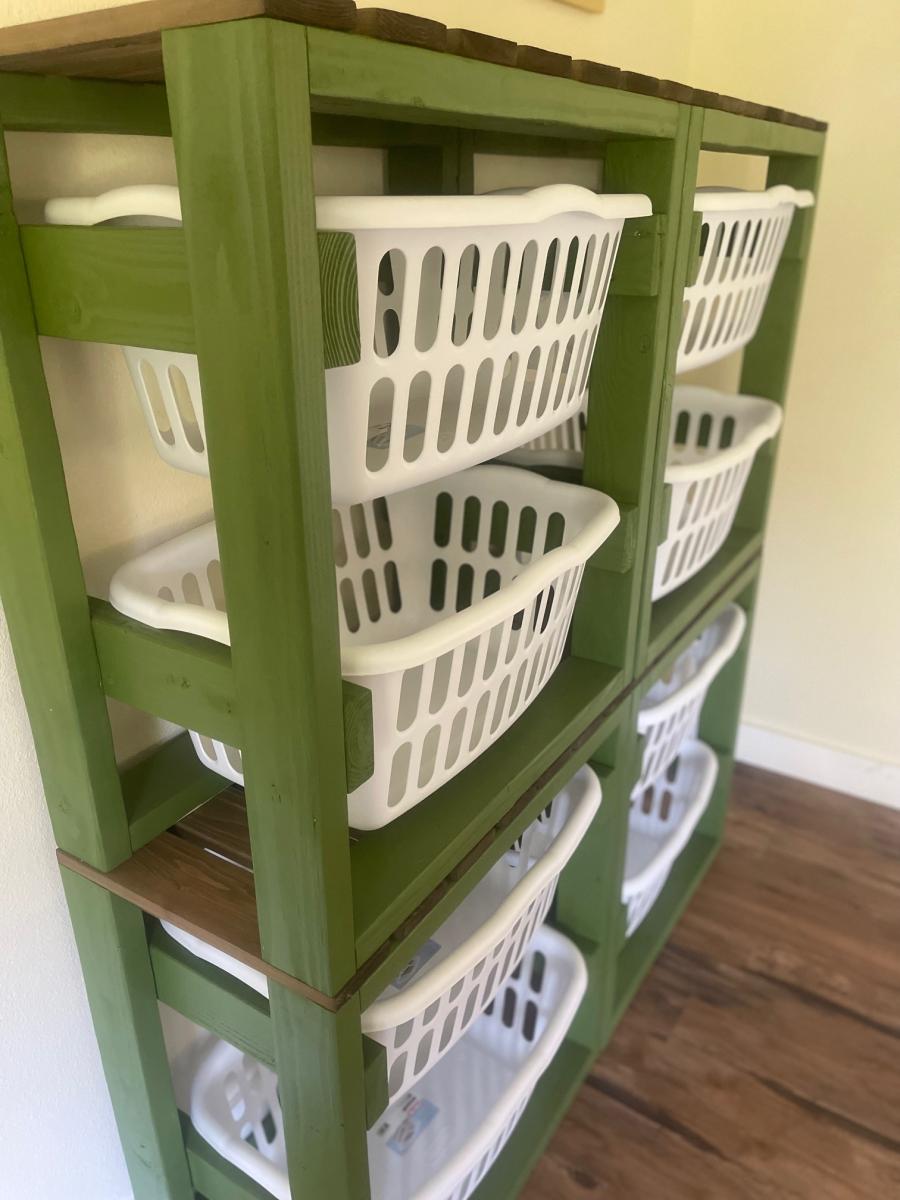
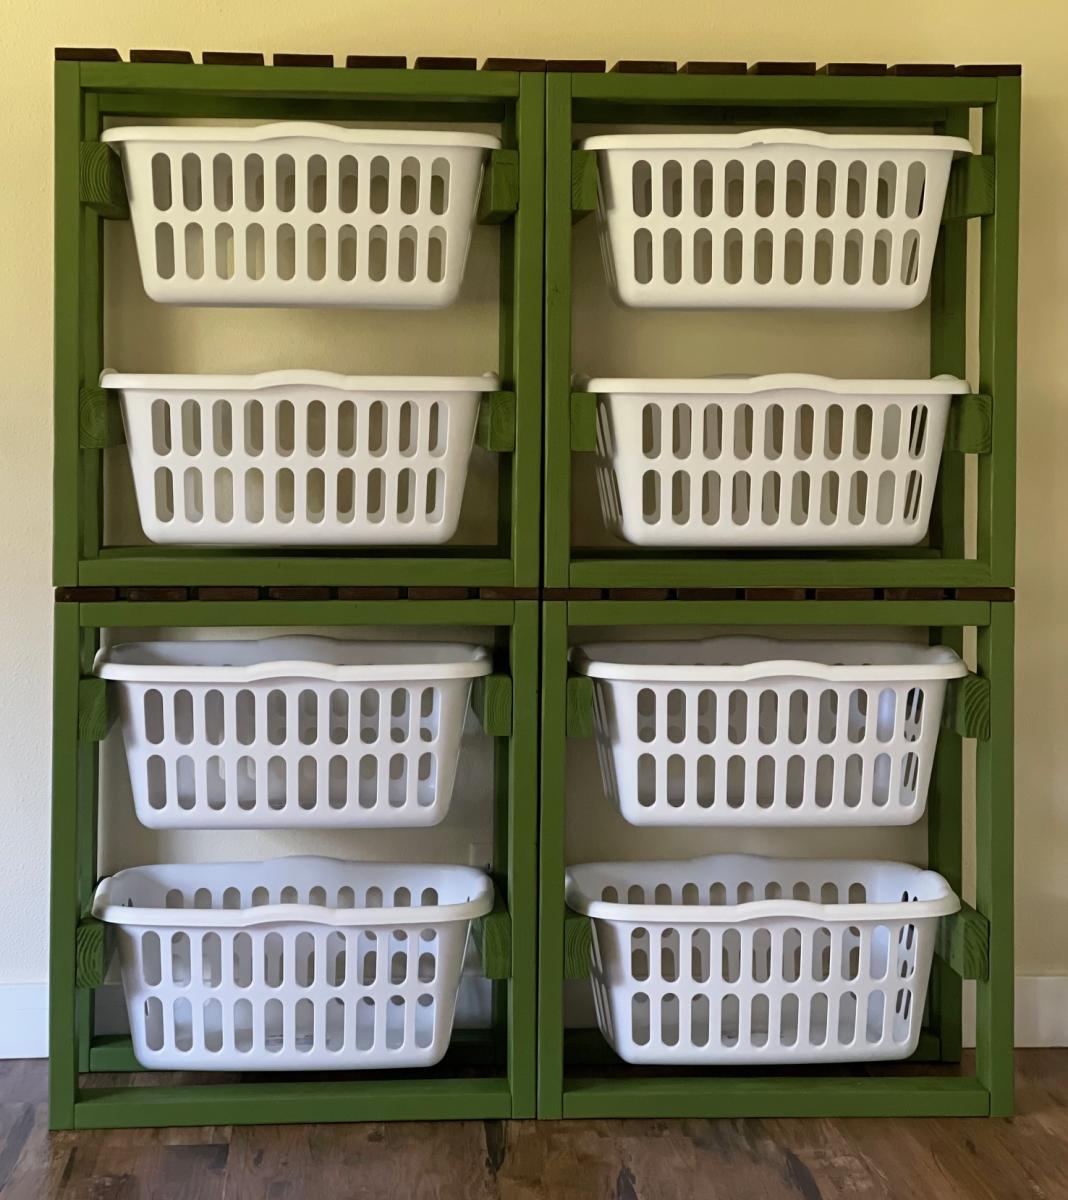
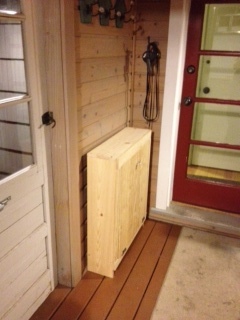
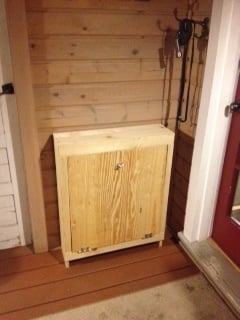
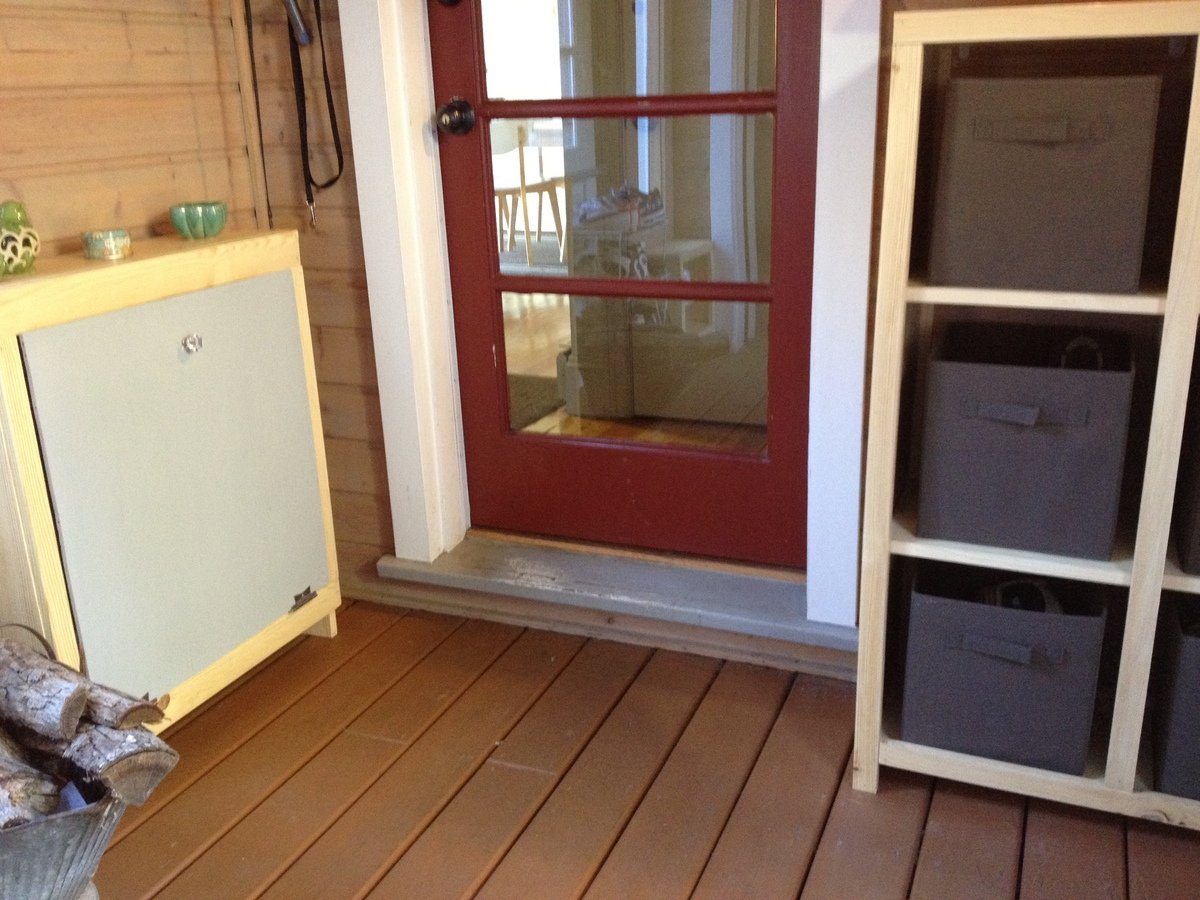
Second wood project overall. First with a power-saw. Just found Ana-White - love it and thanks for sharing it all! I had to change the dimensions of this one to fit the space we needed it for. It holds two paper bags side by side to hold all of our recycling. So much neater then our plastic bin we had.
Looking forward to the next project...
Sun, 11/29/2015 - 11:57
The bottom looks different as well. I'm trying to avoid having to use a jig saw for the bottom. Would you mind sharing if and what modifications you made to the bottom? Great work!
Cara
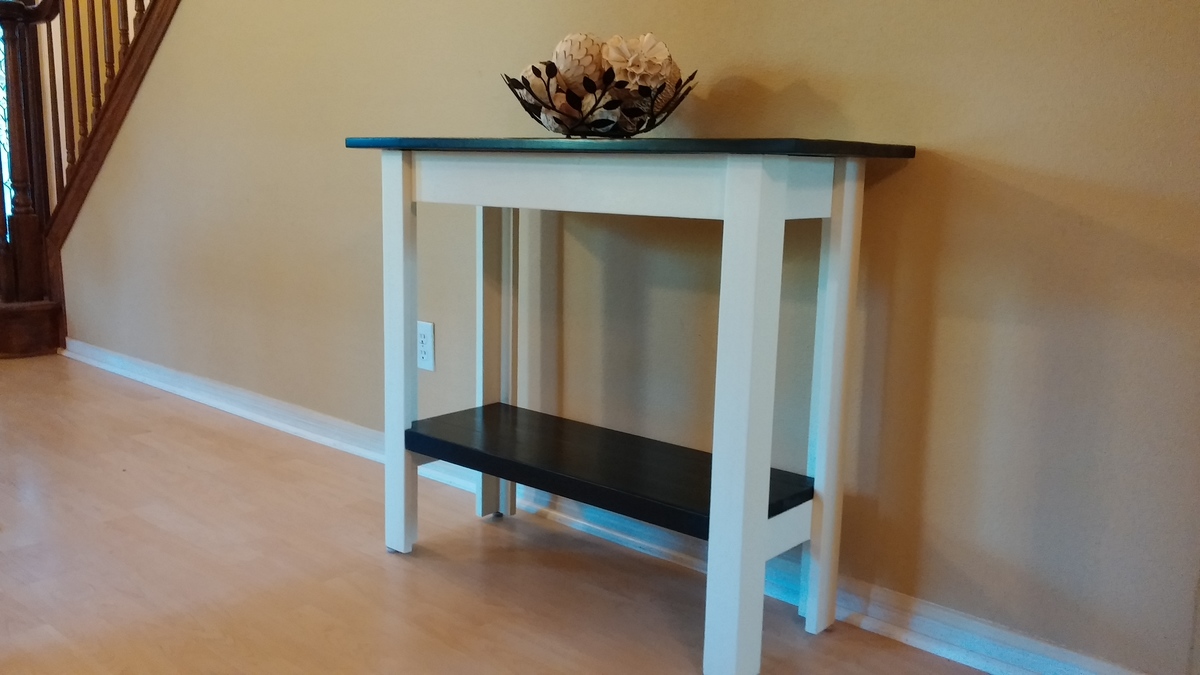
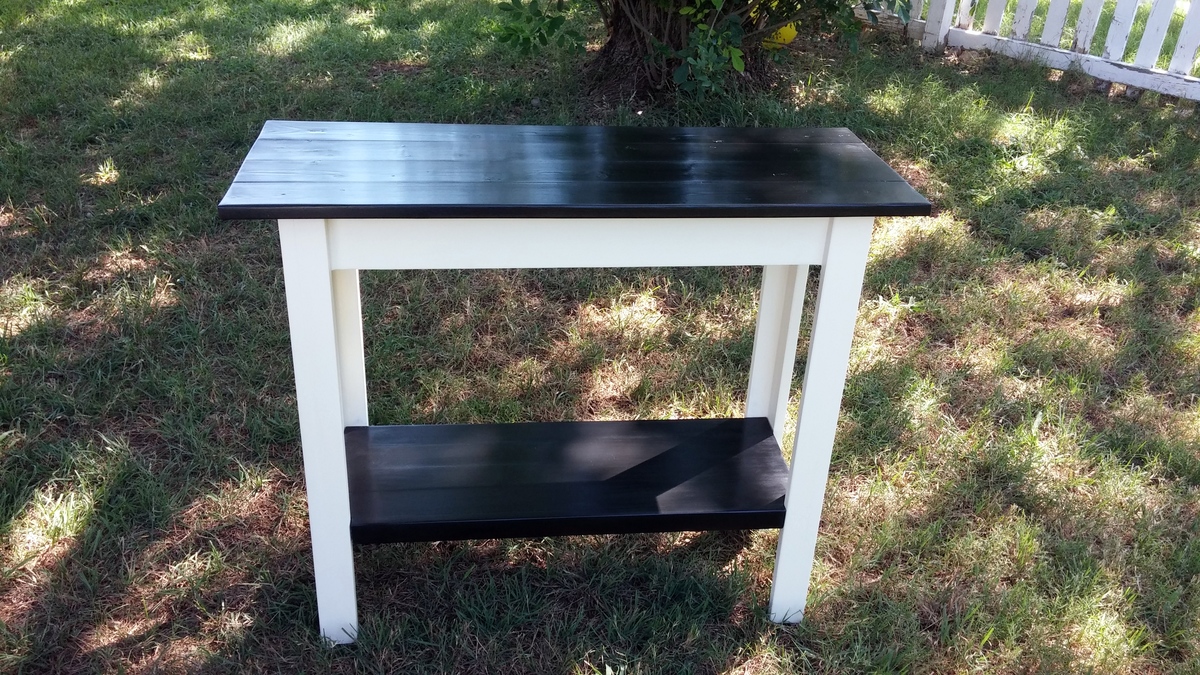
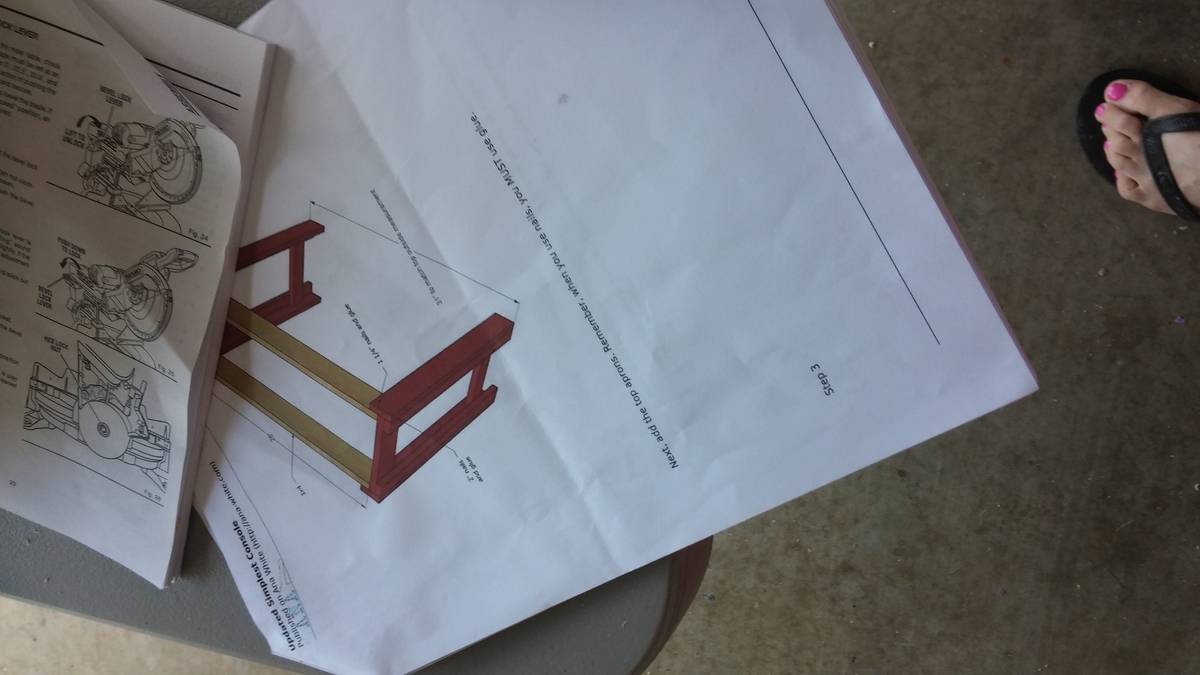
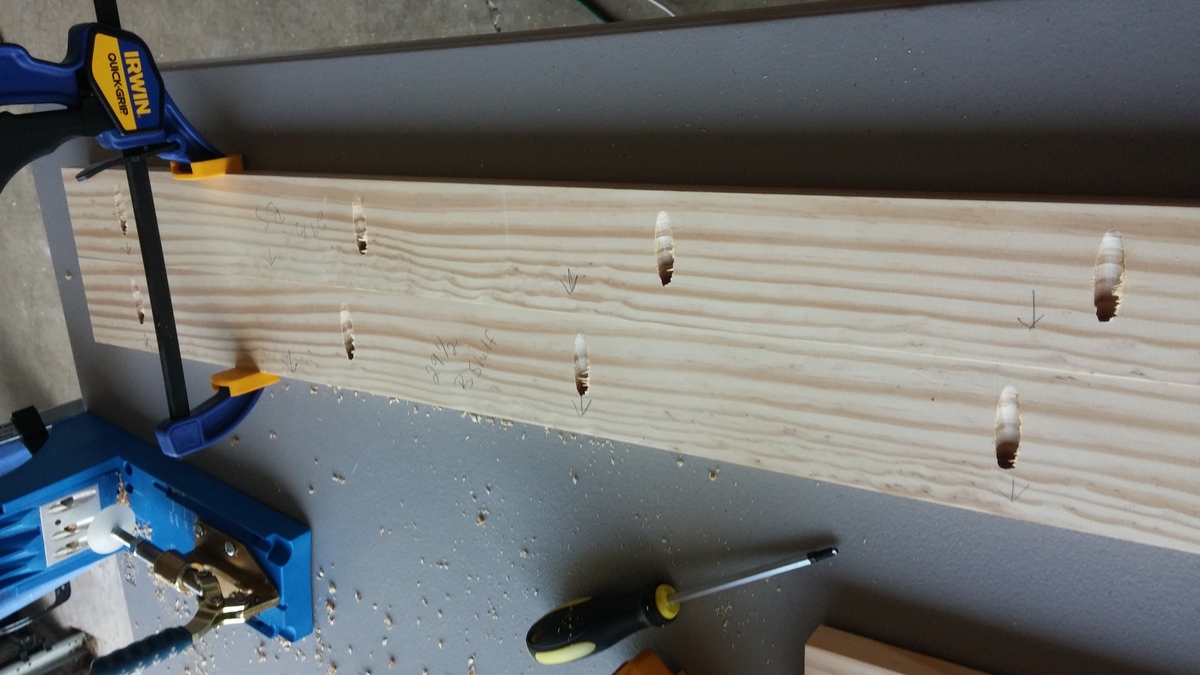
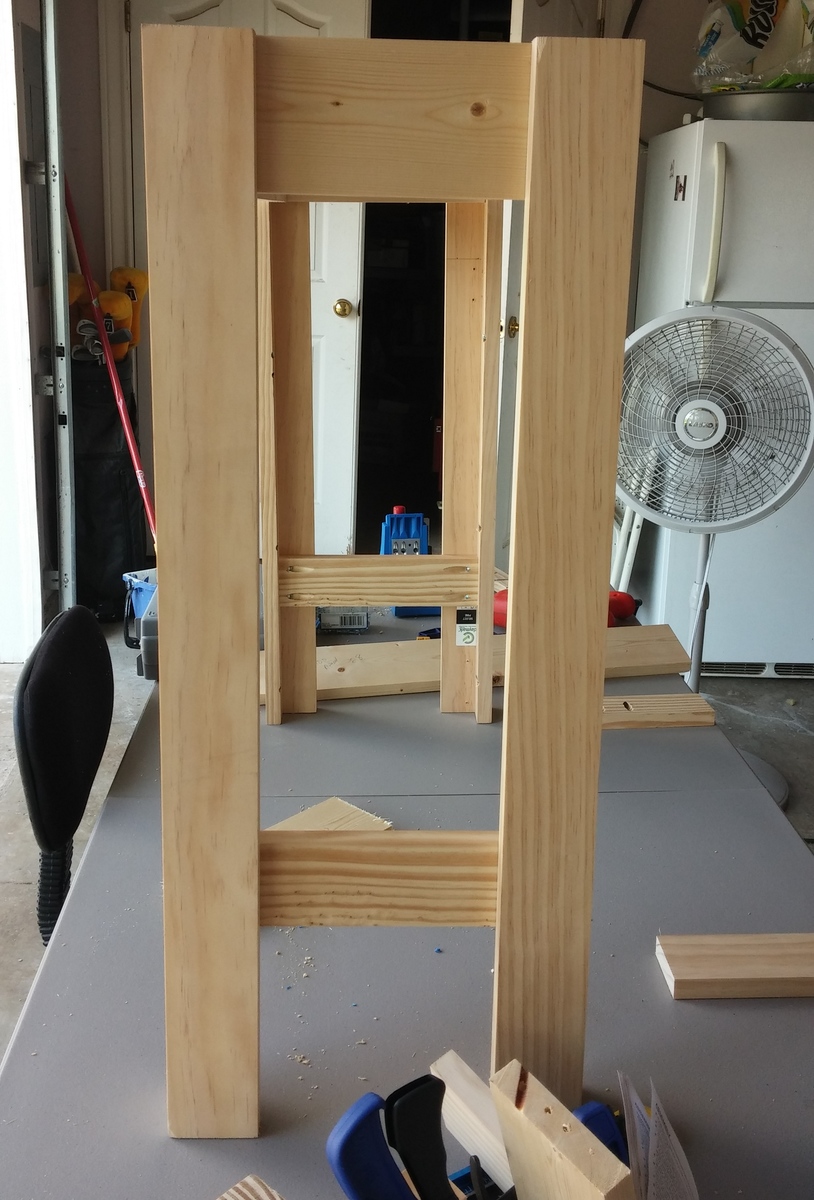
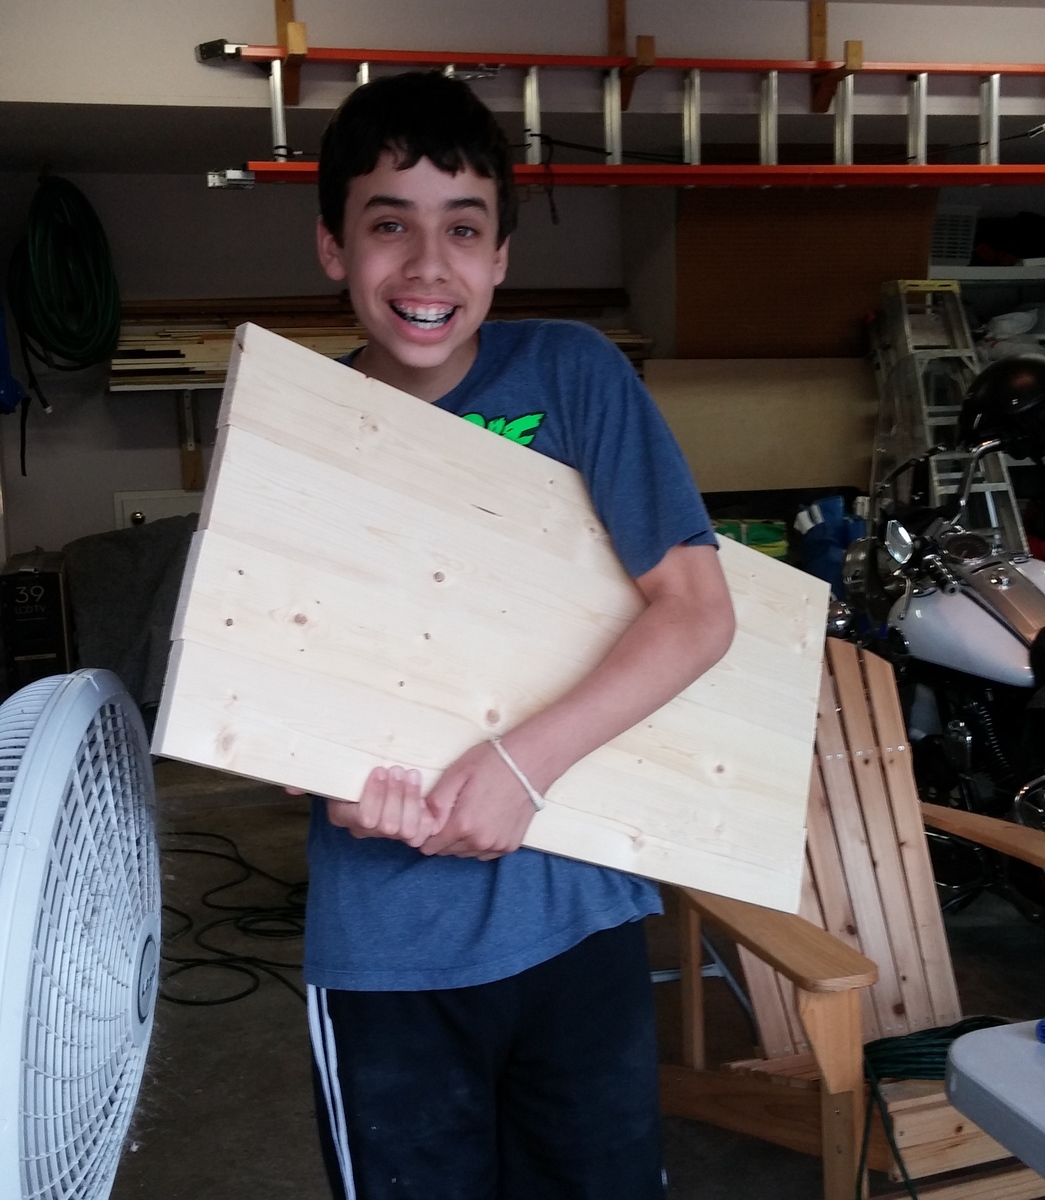
This project was very simple but an excellent experience. With a lot of patience on the finishing, it turned out absolutely beautiful too! The wood cost was higher because Home Depot was out of several of the size boards in the cheap pine and I didn't want to wait till I found them to start. I began the project with our trusty circular saw, but was quickly frustrated trying to get nice square cuts (and even lengths) so back to Home Depot we went. We came home with more wood, a 12" Sliding Compound Miter Saw and a Kreg Jig, which increased my cost just a tiny bit. But boy was I a happy girl! Especially since they are all mine (maybe I'll share w/the hubby and kiddo)! :o) After that, it went together very quickly. I added a 1" apron on the bottom shelf which hid the bracer - just tapped it in with the finishing nails. I also added screw-in padded feet, which means it sits nice and even and I don't have to worry about it scratching the floor (or the bottom of the table getting damaged). The only thing I did not enjoy was filling in all the pocket holes from the Kreg, which took forever. I definitely learned how important pocket hole placement is, as I ended up having to paint the legs instead of staining them (as originally planned) so I could hide all the huge holes. But it turned out better than expected so I'm happy this happened. I also recommend attaching the top, the top bracers and the bottom shelf after sanding and filling all the holes if using a Kreg. I actually attached both the top and the bottom shelf after I'd stained and painted. This allowed me to get in all the crevices and kept the stain out of the paint and the paint out of the stain! A few touch ups once I attached the top and put in the bottom shelf and voila! Sealed it with the wax and am thrilled with the finished product. And the best part is, my son is finally interested in building and even started his own table! Thanks to Ana's site, our build list is growing every day! There are just not enough (cool) hours in the day to build during our 100 degree Central Texas summer!
Sun, 07/13/2014 - 21:15
It is beautiful!! That extra time taken in finishing definitely shows. :)
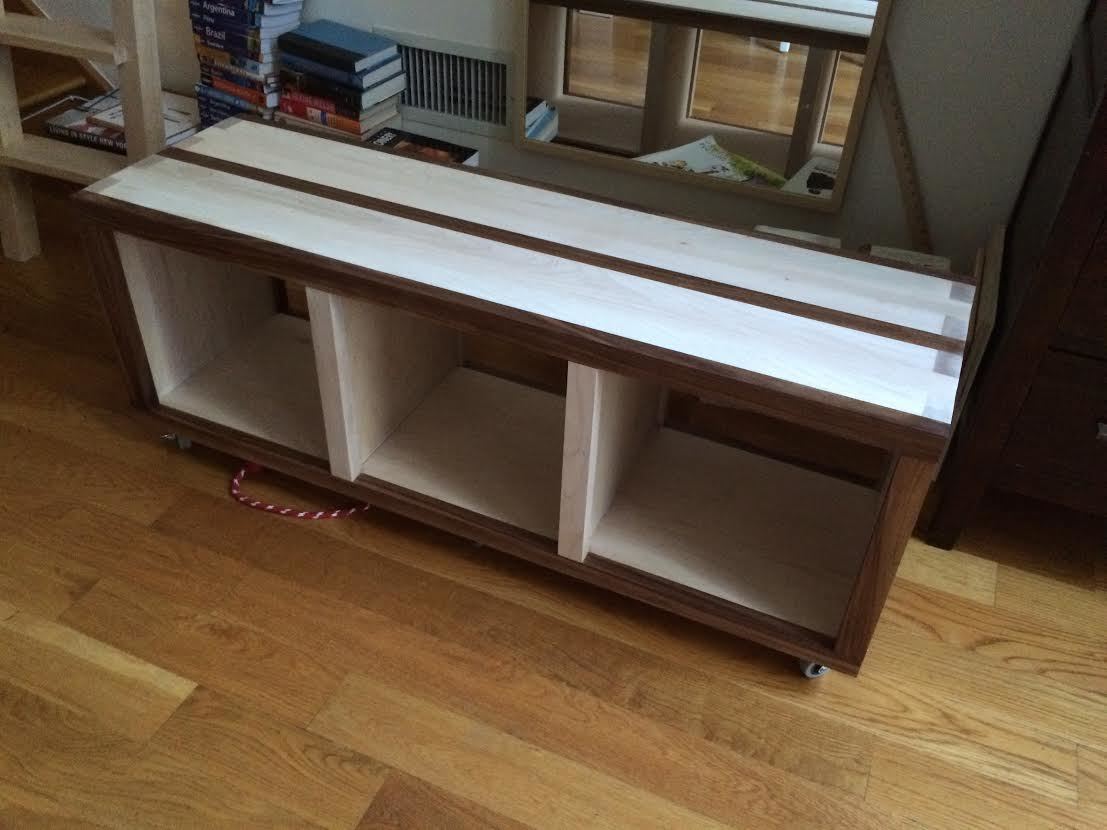
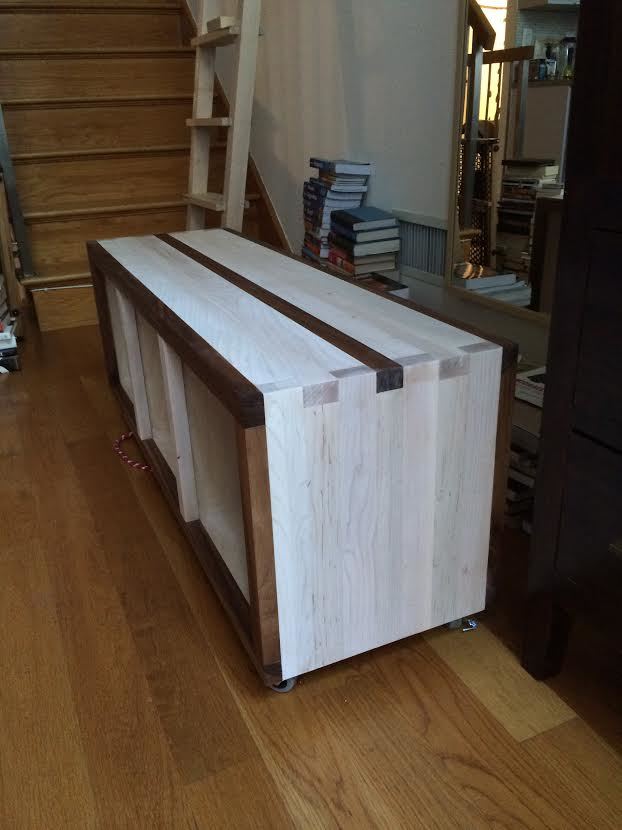
I loved these rolling cubby plans, so I used them to build one of my own! I needed a bench that could "nest" itself within some open shelves, but be pulled out to provide additional table seating.
I built this one from maple and walnut, because I like the bright, white color of maple against the brownish/gray of walnut. I very much dislike shiny or dark woods, so I went for an ultra matte wax finish. I used a liming wax for the maple to keep it bright and white (maple tends to go yellow when finished with a "clear" or "natural" finisher), and a clear wax for the walnut.
I found some non-marking casters on Amazon, but that was the tricky part. The bench needed to be high enough to create ample storage, yet not too tall that it was uncomfortable to sit on. SO I went with s smaller caster, but needed to use six to support the weight of the bench and three occupants. Final bench dimensions are 19" H x 47" W x 17 " D.
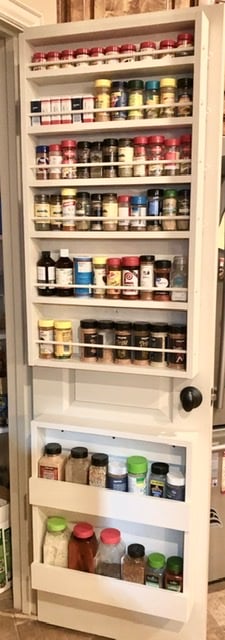
This is a great project to clear up space in the pantry. I followed the Ana-White plans for the upper rack and then decided I needed more space for my larger Costco spices. For this I followed the plans for the top 23” but with 2 shelves. I gave myself extra depth by using 1x4’s instead of dowels. I work very slowly, so both portions took me about a day apiece with sanding, painting, etc. My favorite tool is now the Kreg jig. Totally worth the $40.
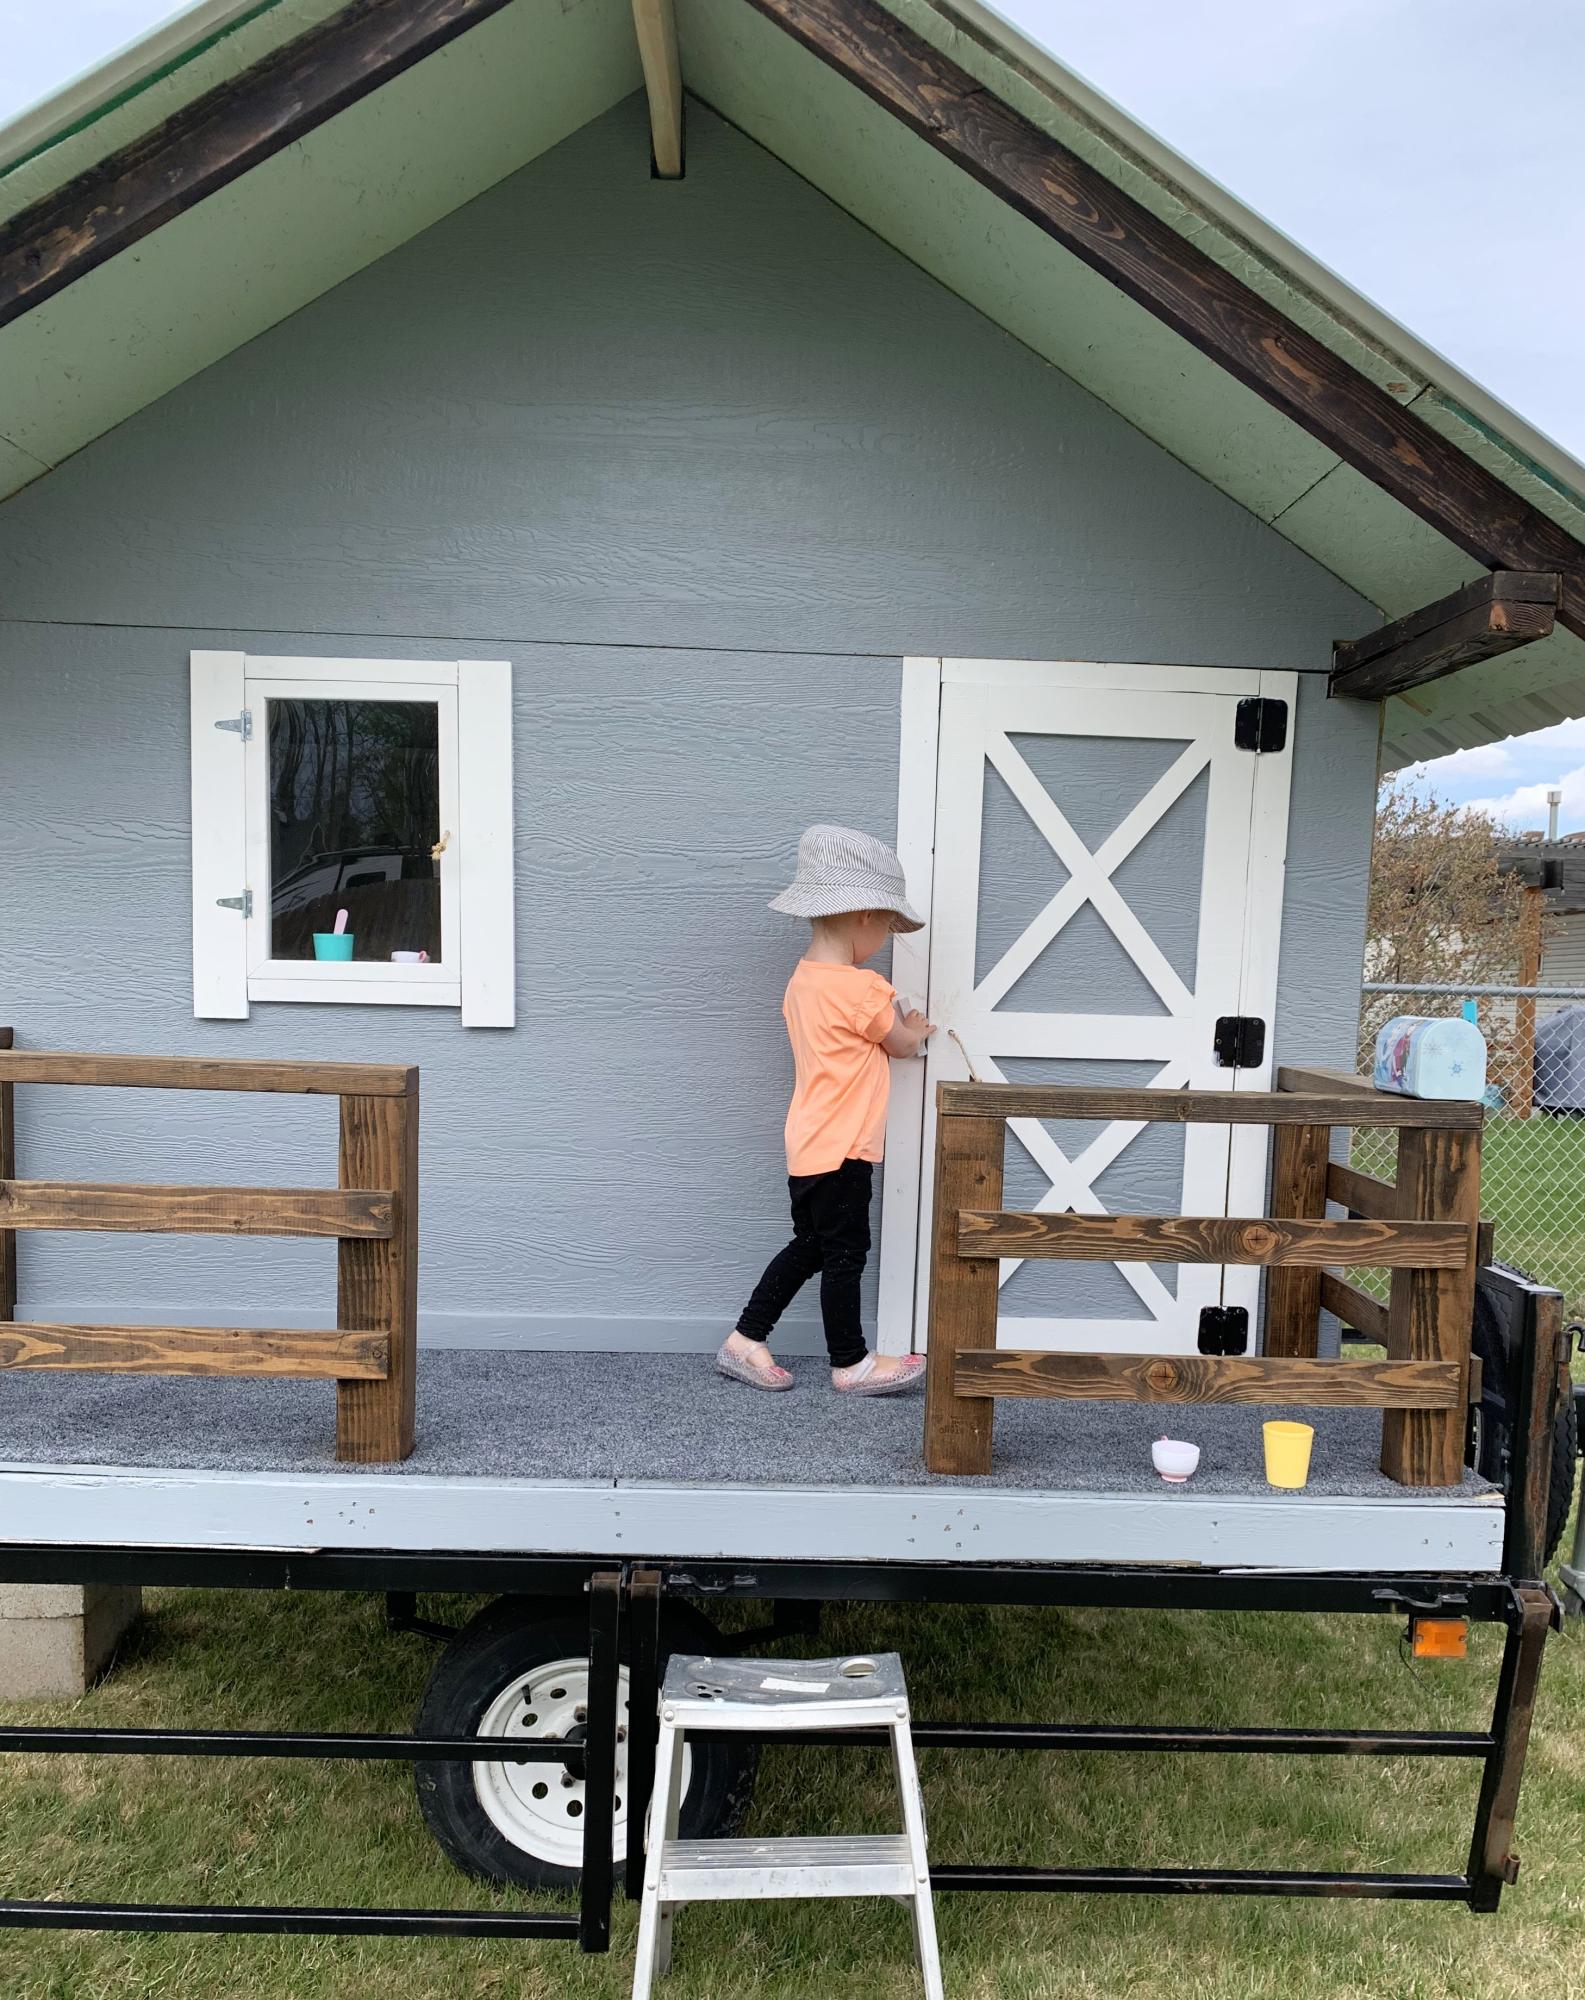
I had just retired and wanted to make a playhouse for my 2 year old grand-daughter. I always wanted one as a kid and wanted to build one for my kids but never found the time.
This was made mostly out of scrap wood that couldn’t be used to build a house and I was lucky enough to get permission to take whatever I needed. Learned a lot doing it. Thanks to my boyfriend for letting me borrow his nailer.
Cindy
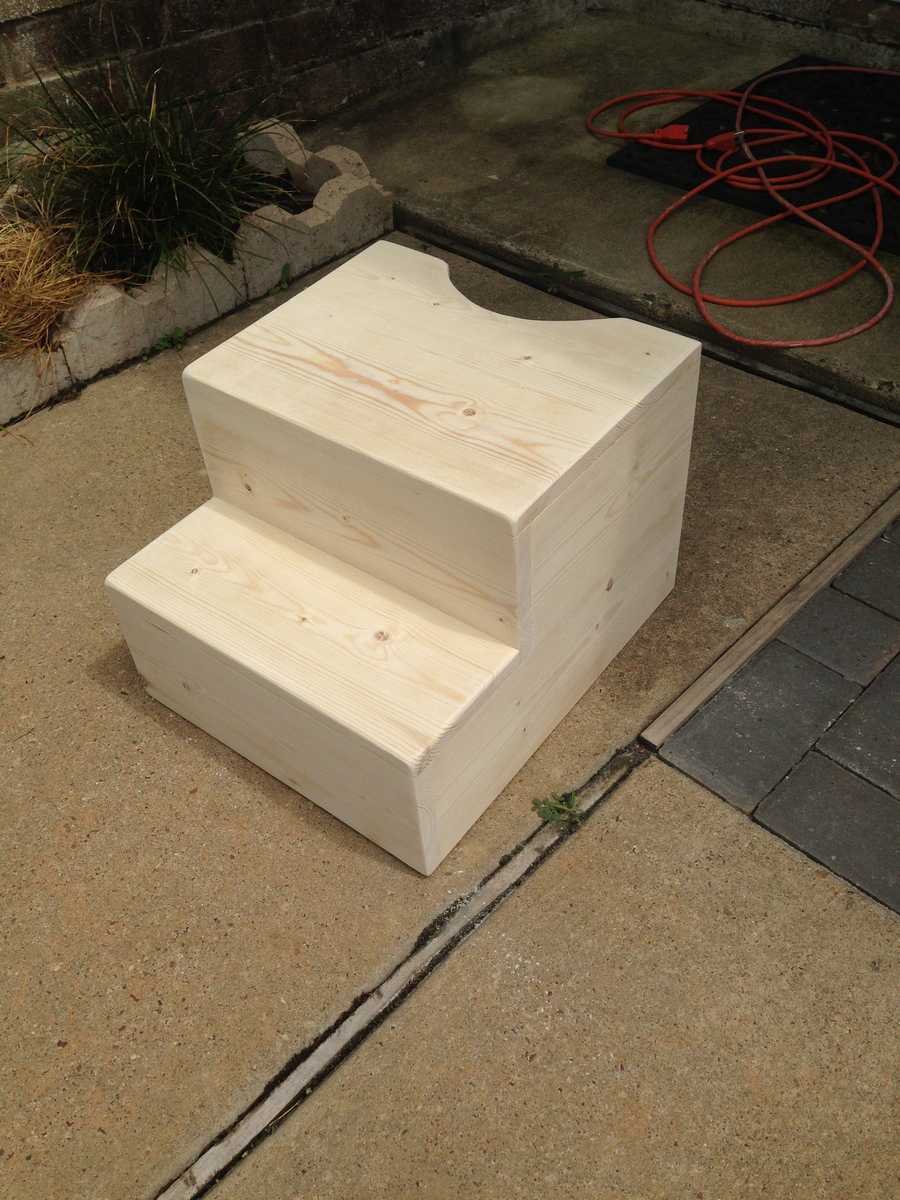
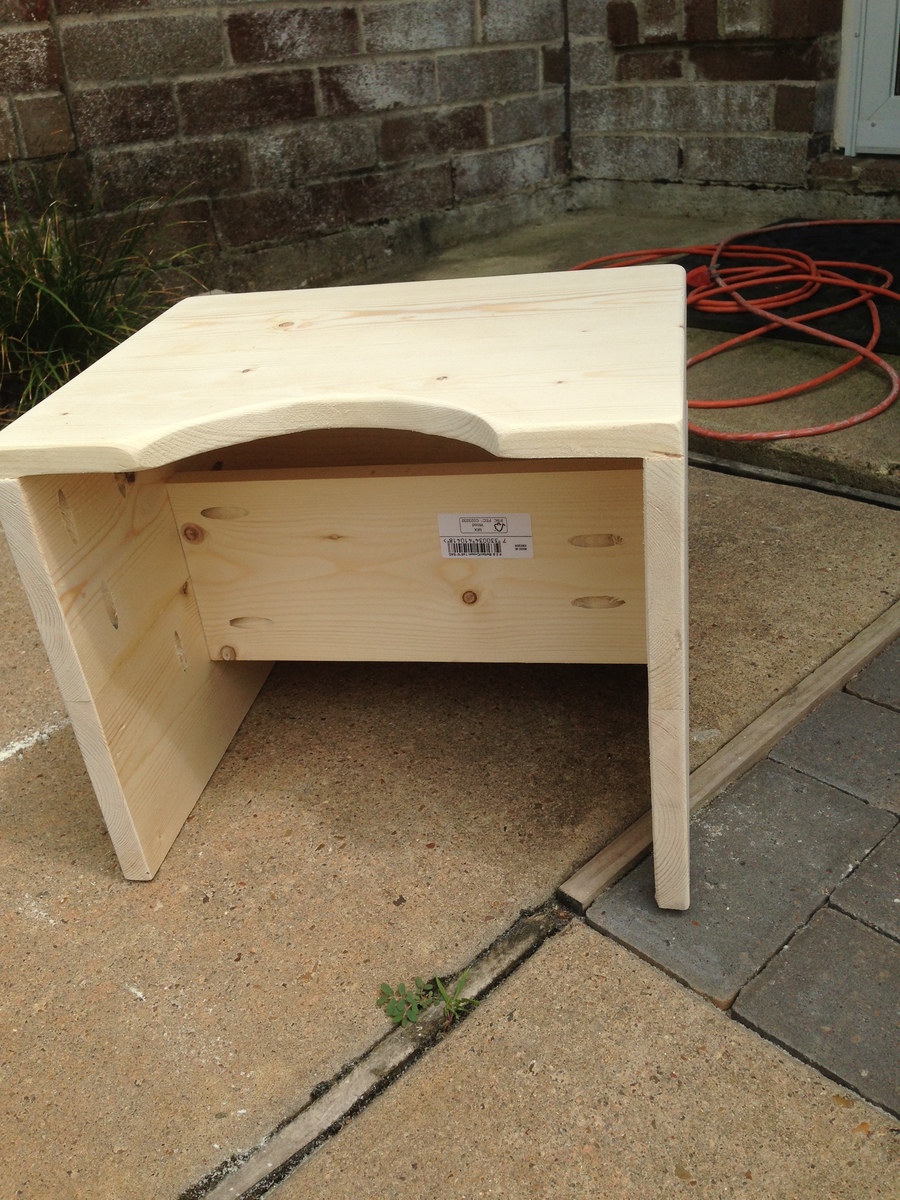
This was my first project at building some sort of furniture. we wanted a stool that really fits out toilet bowl shape, the height, etc. and 2x6's worked perfectly. I could have bought 2x12's for the sides, but it would have cost significantly more and with the inside support board it is plenty sturdy.
I bought 2# 2"x6"x6 foot coarse pine boards from Home Depot (not the expense Select Pine boards. They cost about $6 each. Then I bought a 100 count package of Kreg 1.25" coarse screws.
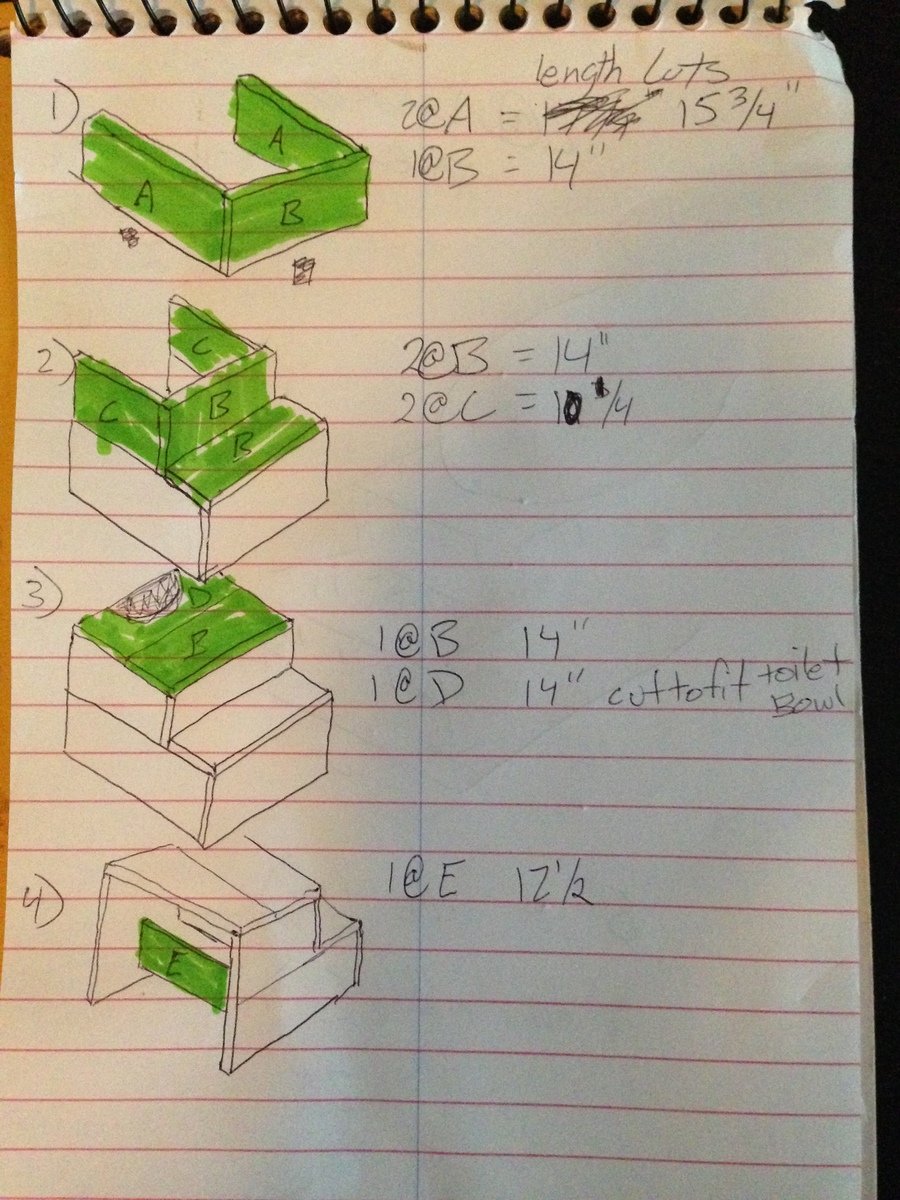
Cut lengths
2 @ 15 3/4" for lower sides
2 @ 10 1/4" for upper sides
5 @ 14" for steps and fronts
1 @ 12 1/2" for inside support
I used my Kreg Jig and connected all the pieces along with wood glue. I sanded the whole thing down after and tried to round/smooth the corners.
Tue, 03/01/2016 - 10:29
Does anybody have plans for a potty seat. I would like to build a childs chairs that has a ptty
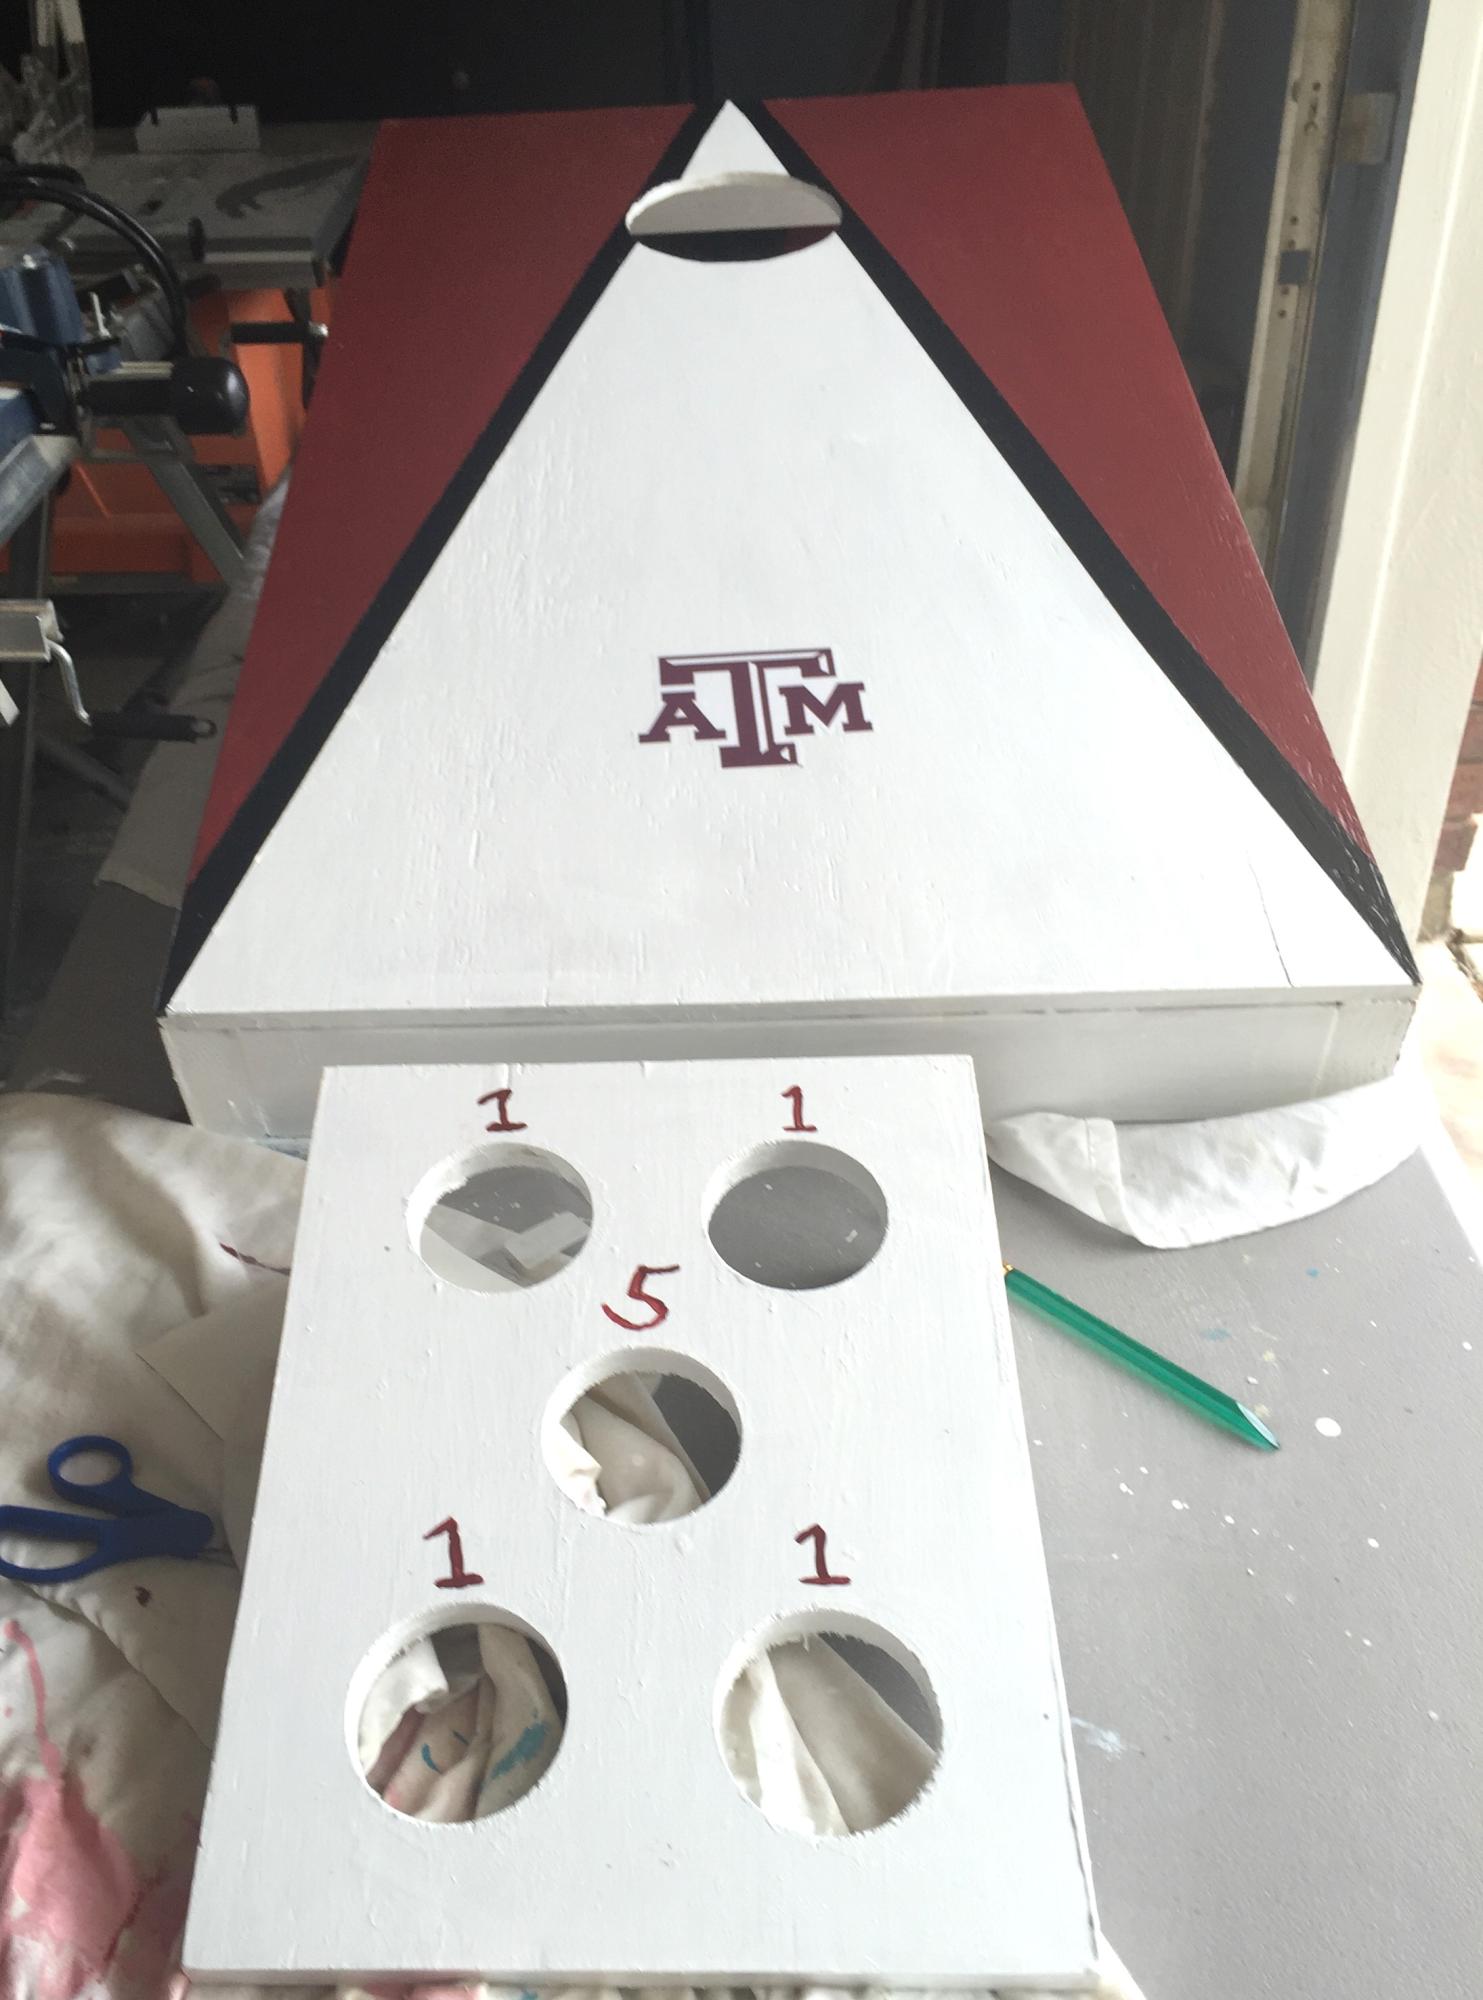
Built this for my son in law. Texas A@m cornhole game and a bonus washer game with the left overs
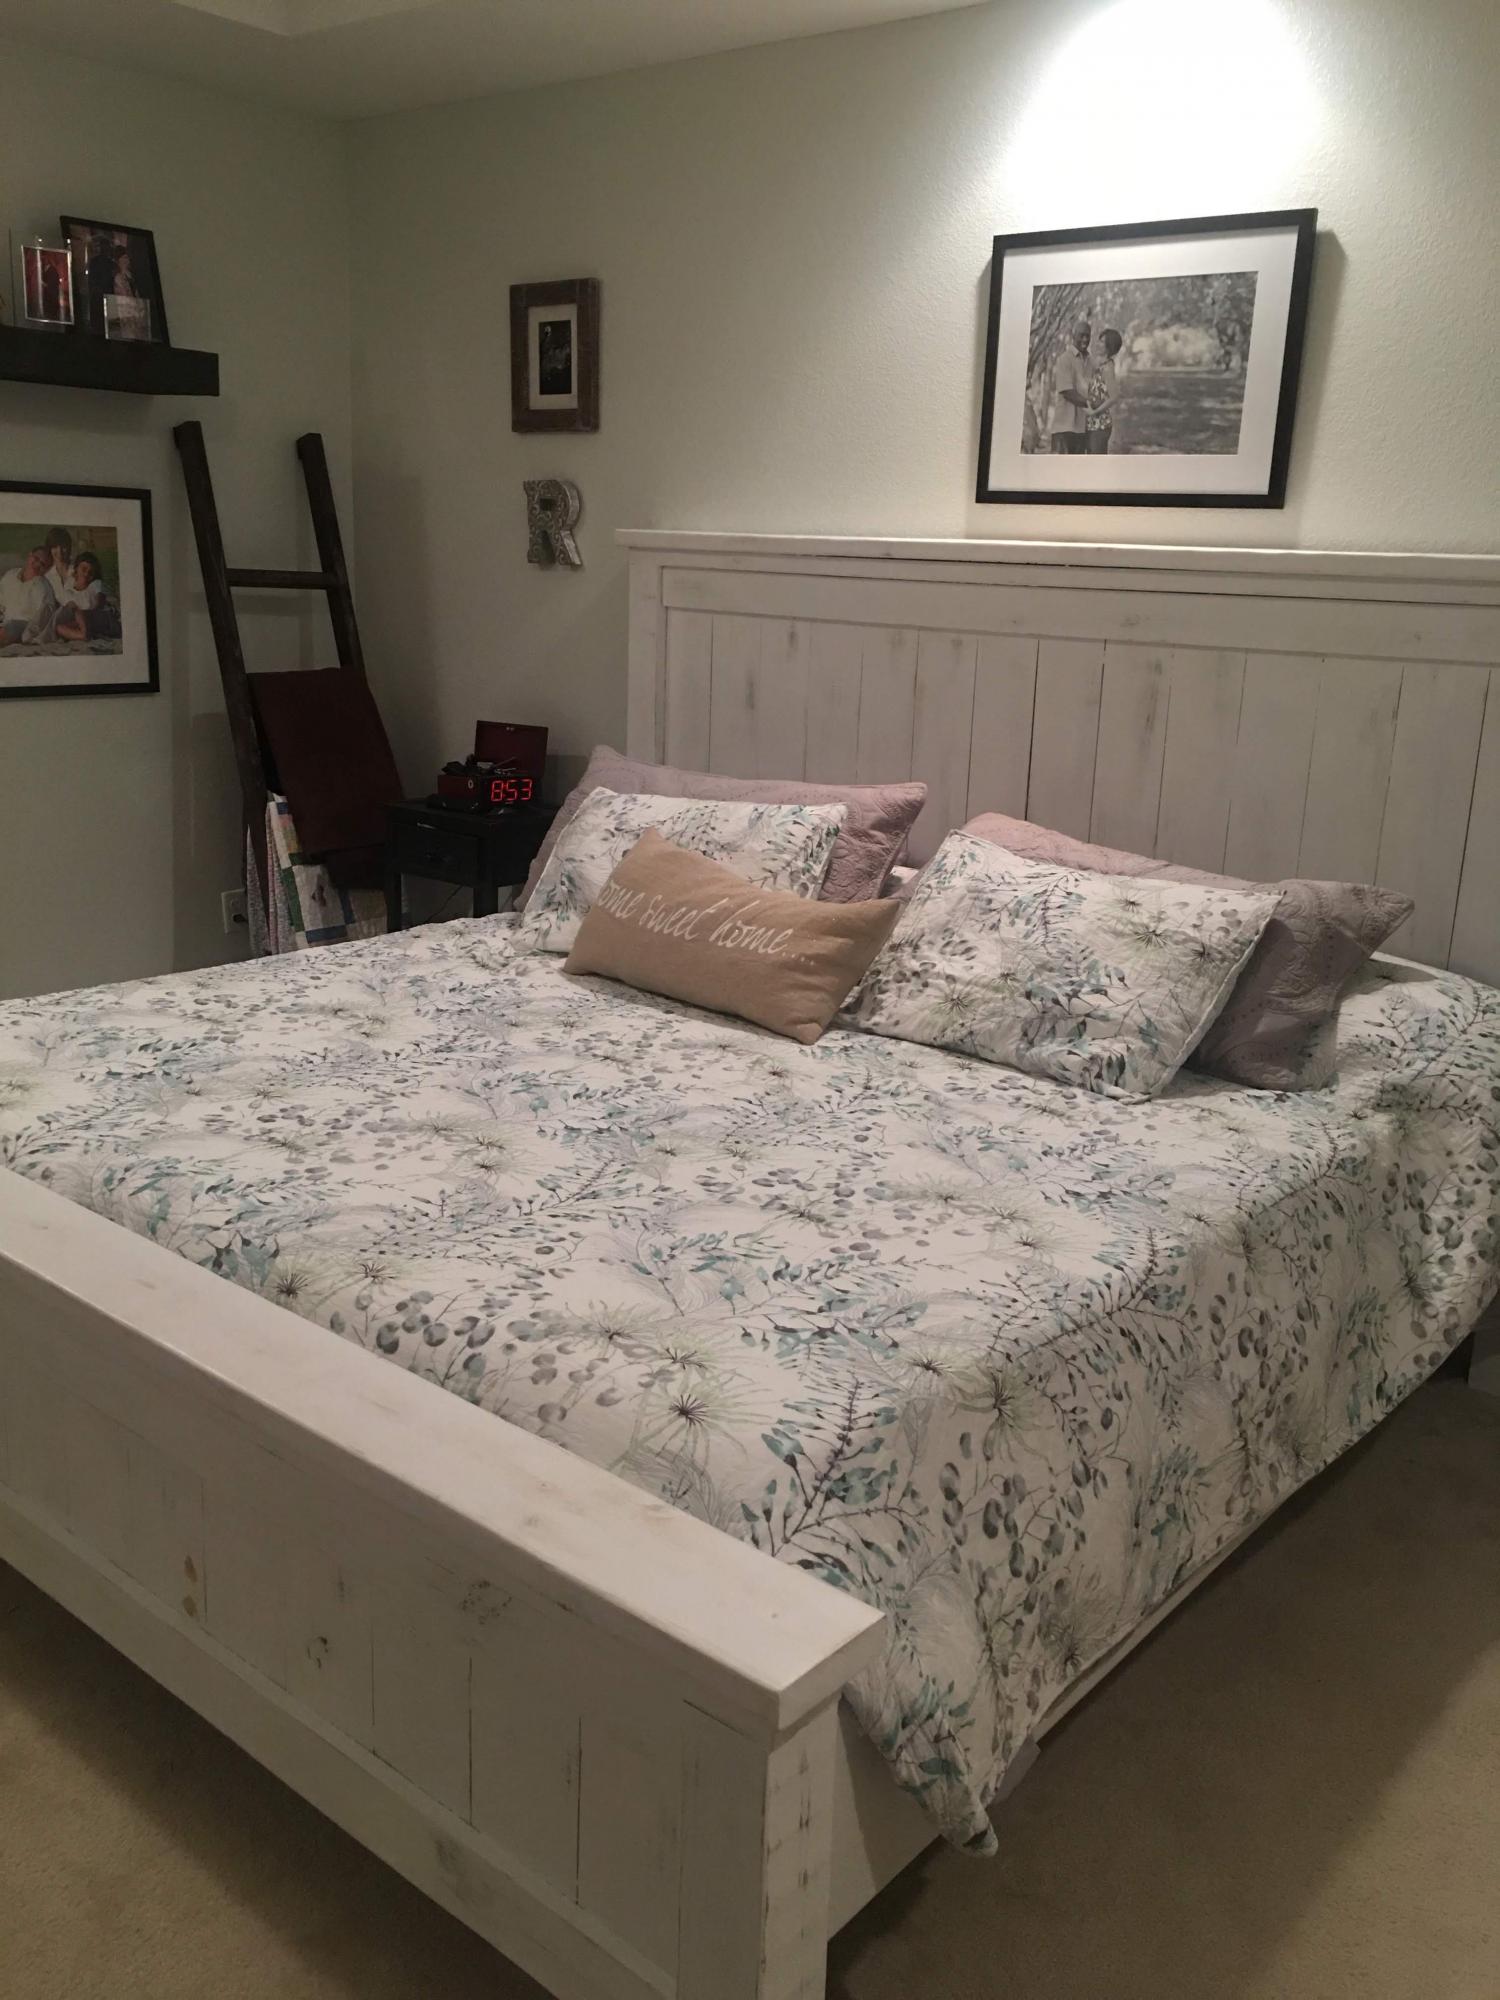
LOVED building this bed!! Been wanting a bed frame forever and came across this. I will say, the only thing I would change (if I build another) is using brackets to attach the support slats.. I wanted to cry when I had to drill through the front of the footboard 😂😂 and attaching them to the head of the bead proved challenging as well, just because the thing is so massive!! I’m fairly new at this, so, I must say... not too shabby!! Thank you Ana White!! You are my spirit animal❤️
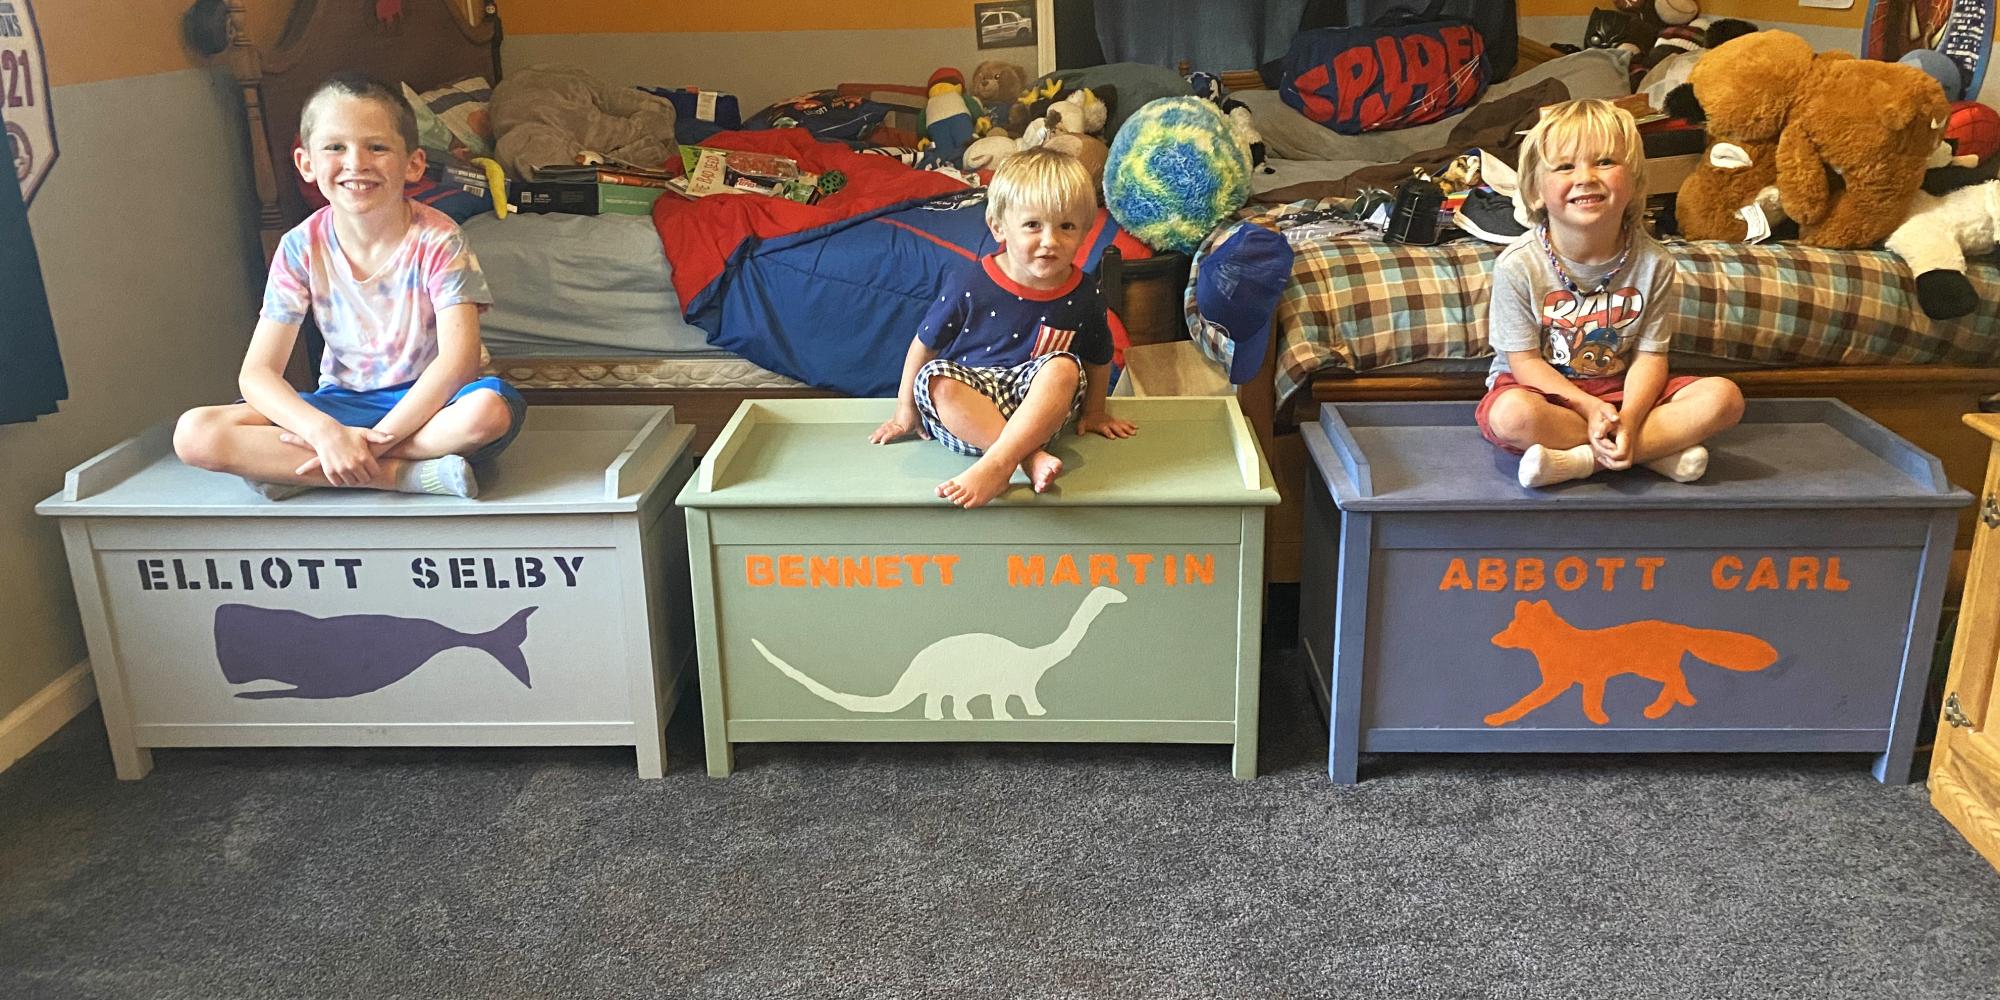
I found your toy box plans in 2016 when I was expecting our first son. We have now made all of our sons a toy box from the same plans. I build the boxes and wife does the painting and detailing.
Eric Reeners
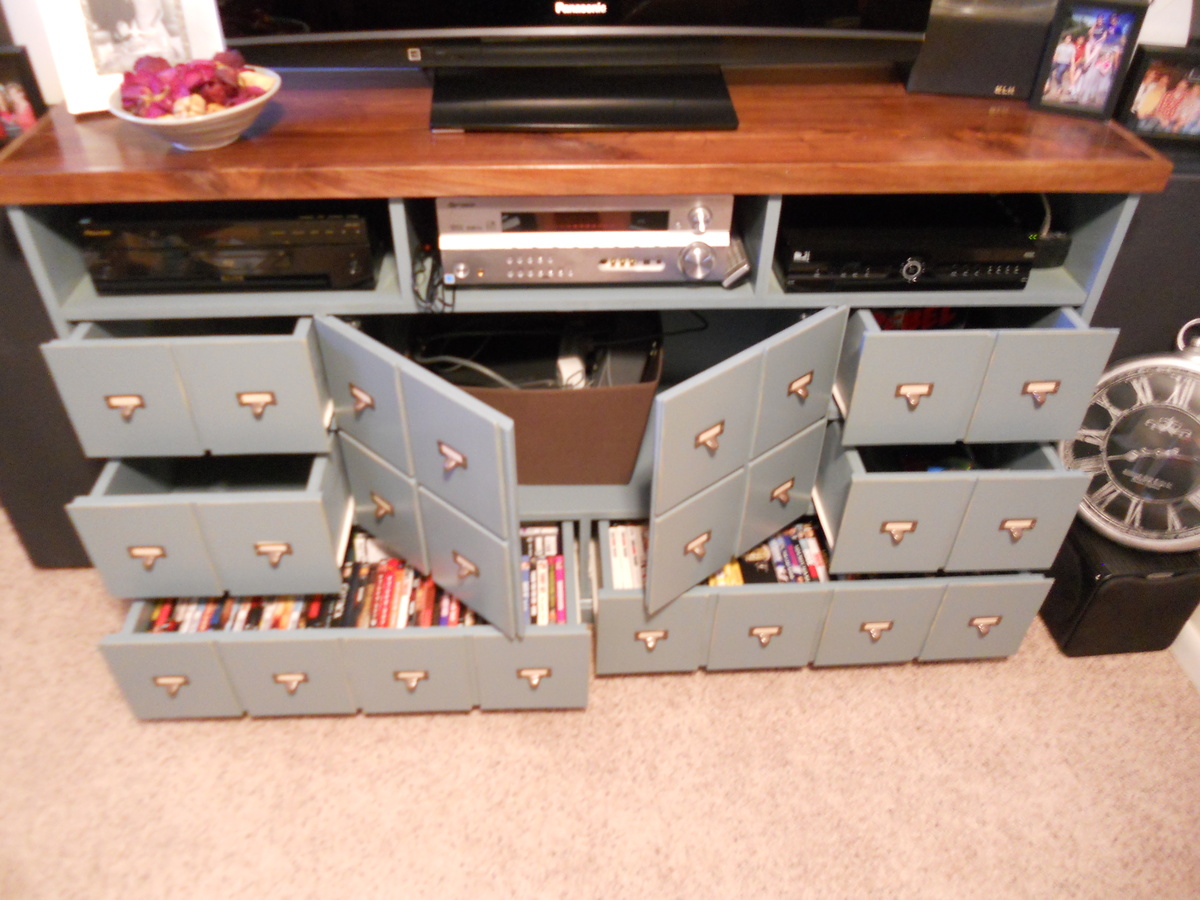
My husband and I decided to make an entertainment center from the Apothecary Console plans. We mostly followed the plans, but wanted it to be taller than the original in case we want to use it in a dining room as a buffet in the future. To do this we just added another level of drawers. I wanted the drawers on the bottom to be wider, so each of them is four false front's wide. The wood on top is walnut from some trees my dad cut down over 25 years ago. We wanted more of this to show than would have if we followed the original plan, so we put a two inch trim piece around it. I really wanted card catalogue drawer pulls but couldn't find any that were dark that were at all "cheap"...so I bought gold ones online and spray painted them with a "hammered" spray paint which worked really well.
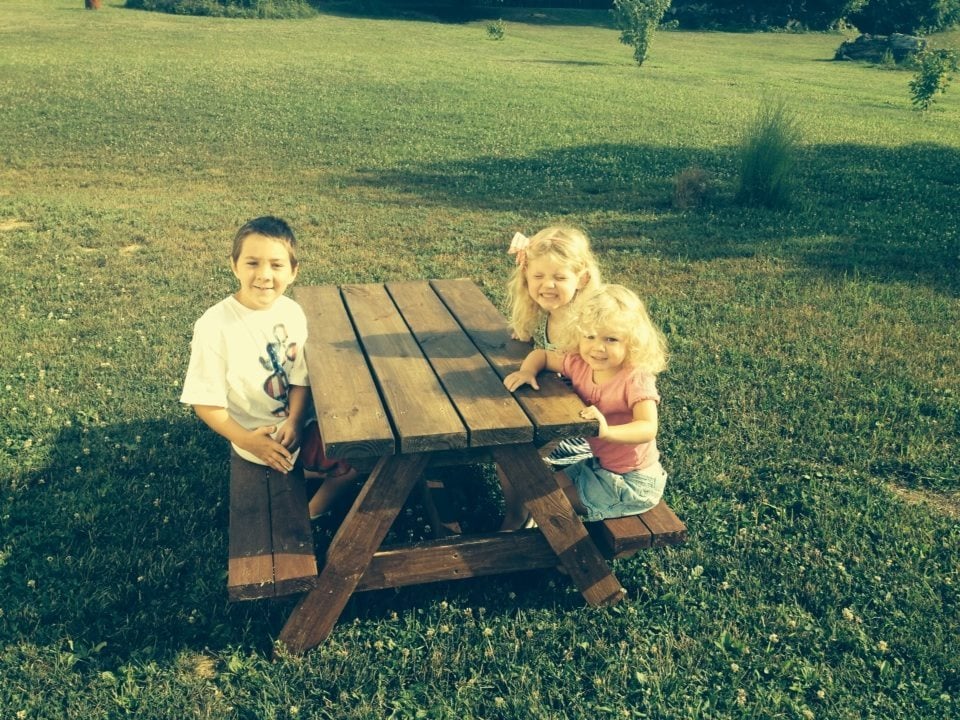
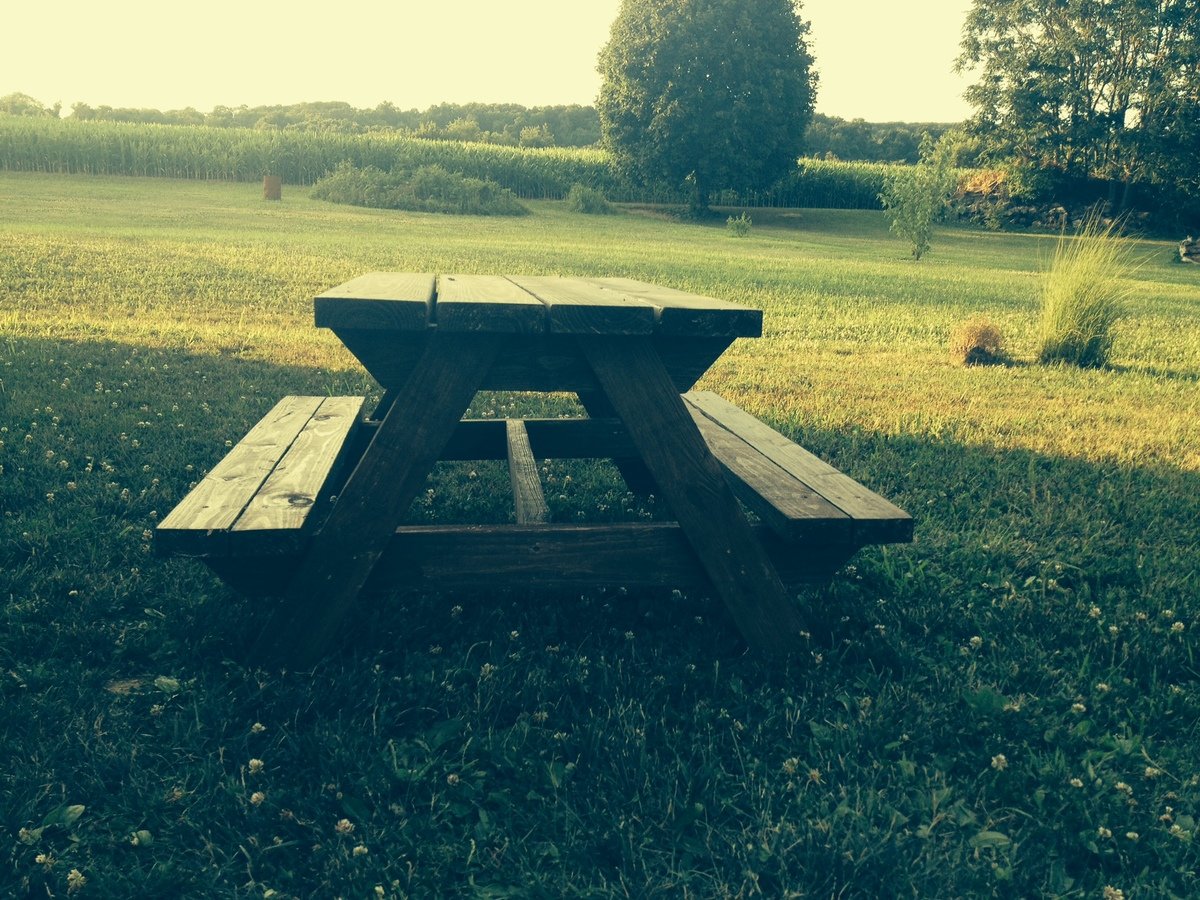
I built this table in one day by myself. Well, just me and these three kiddos. We were at Home Deopt selecting wood at 9am and by 7pm they were sitting on a finished table. Thank you so much for the easy to follow plans, Anna!

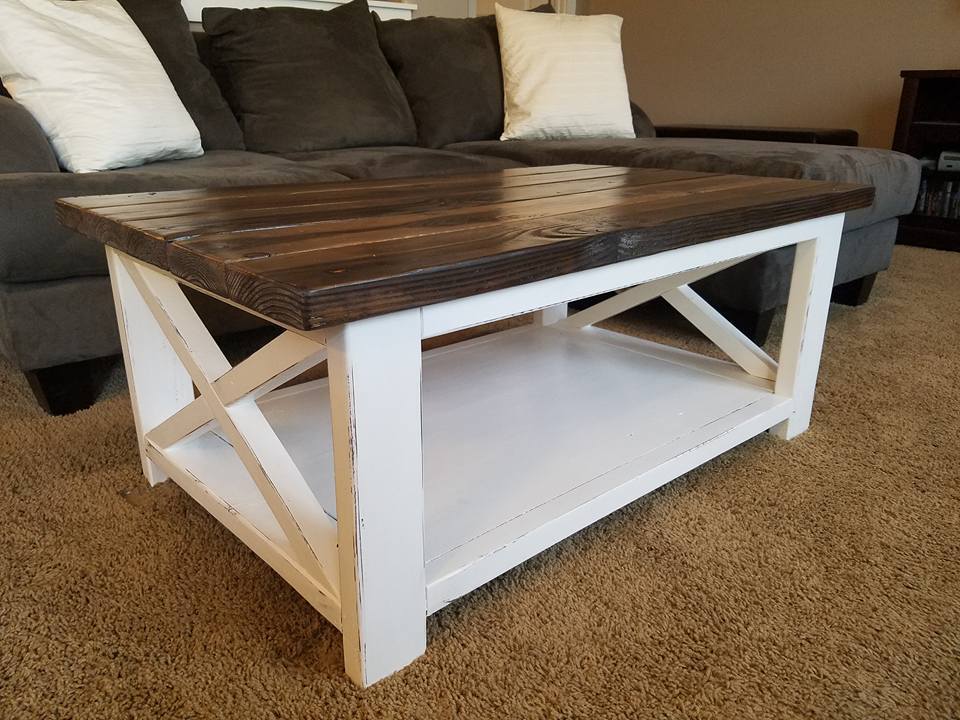
I had already built the Rustic X End Tables, and 3 years later I finally built the Rustic X Coffee Table to match! I shorted the length by 8" and coated the whole piece in a steel wool and vinegar solution. I then went back and used White Adirondack chalk paint by Folk Art for the base. I sanded the edges lightly for the distressing and put 3 coats of Minwax Matte Polyurethane over the entire piece for the top coat. I ended up putting 2 large wicker baskets underneath for extra storage and it is perfect!