Community Brag Posts
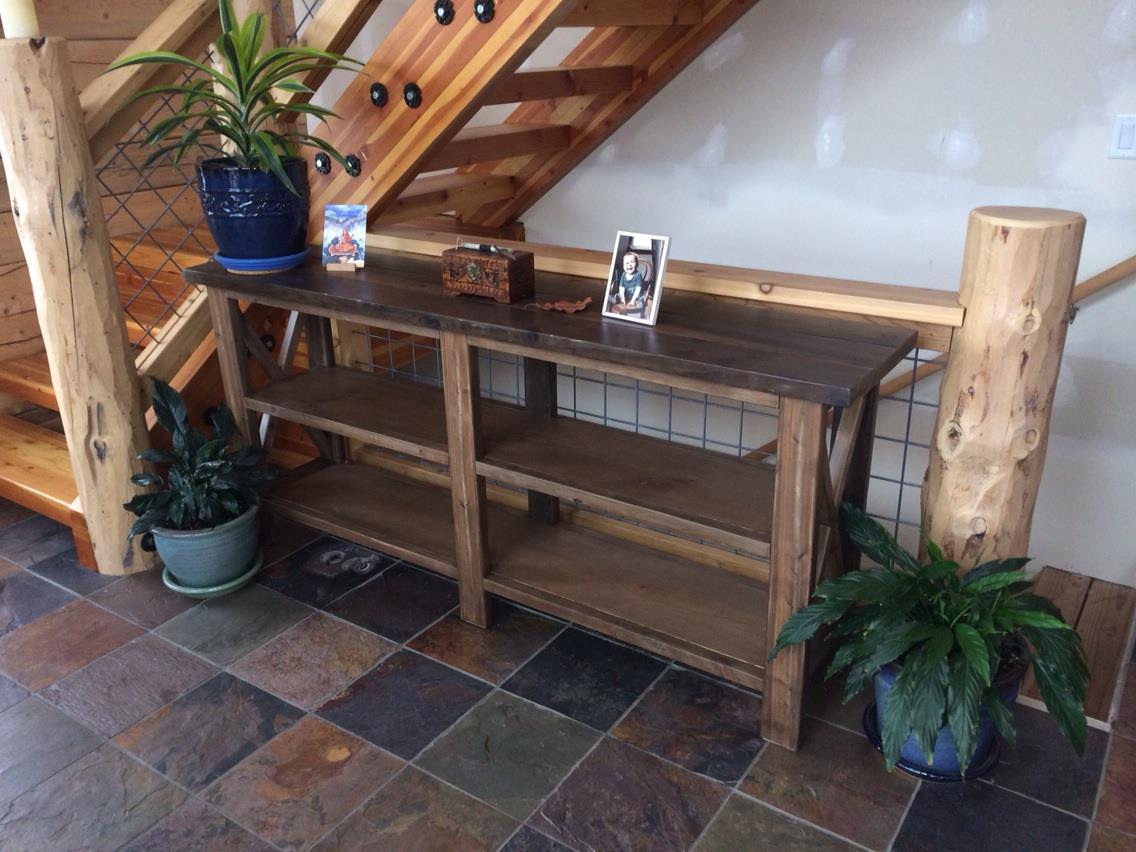
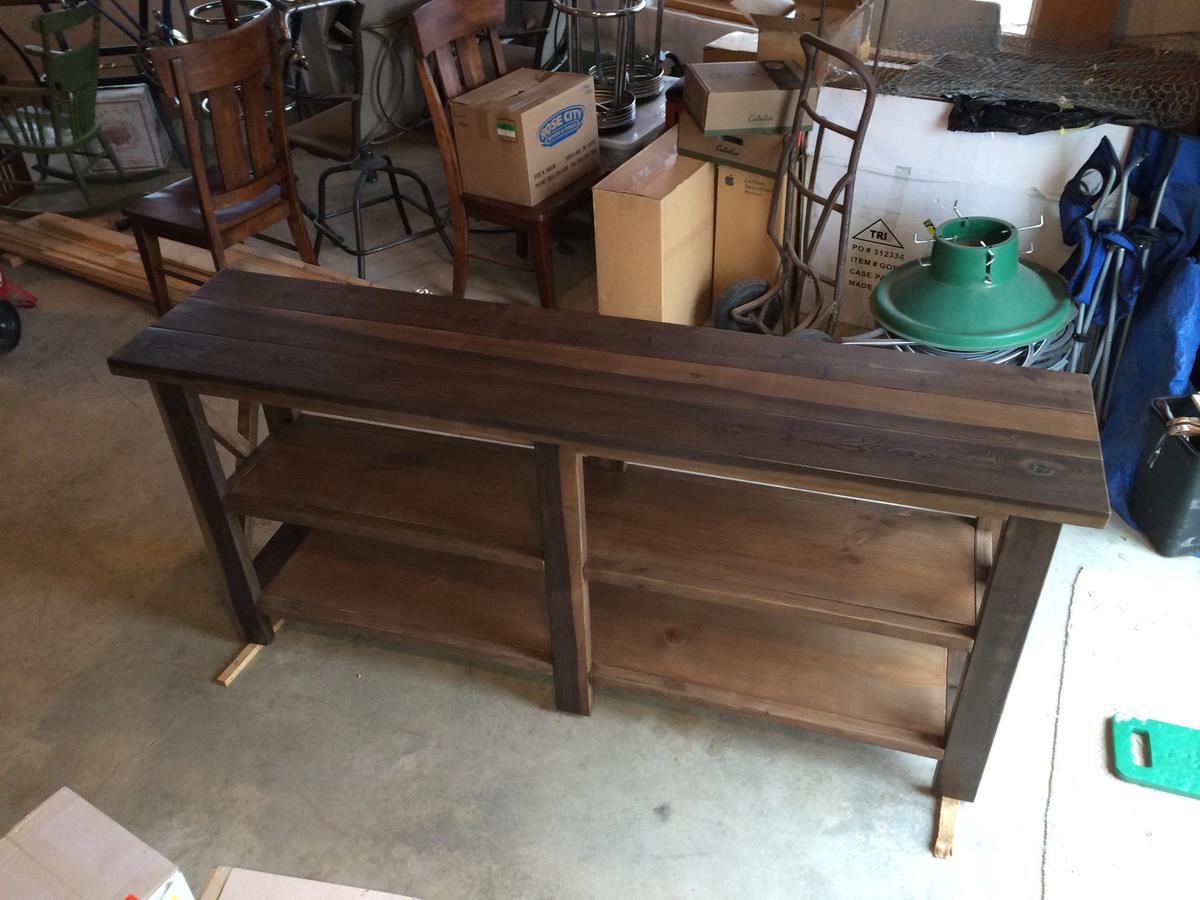
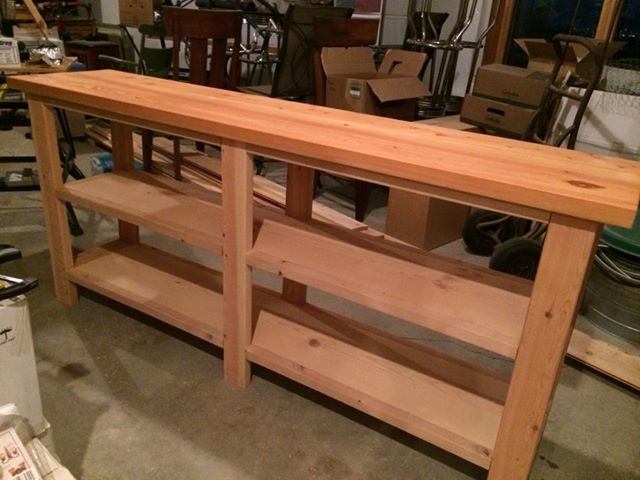
Workbench Console Project
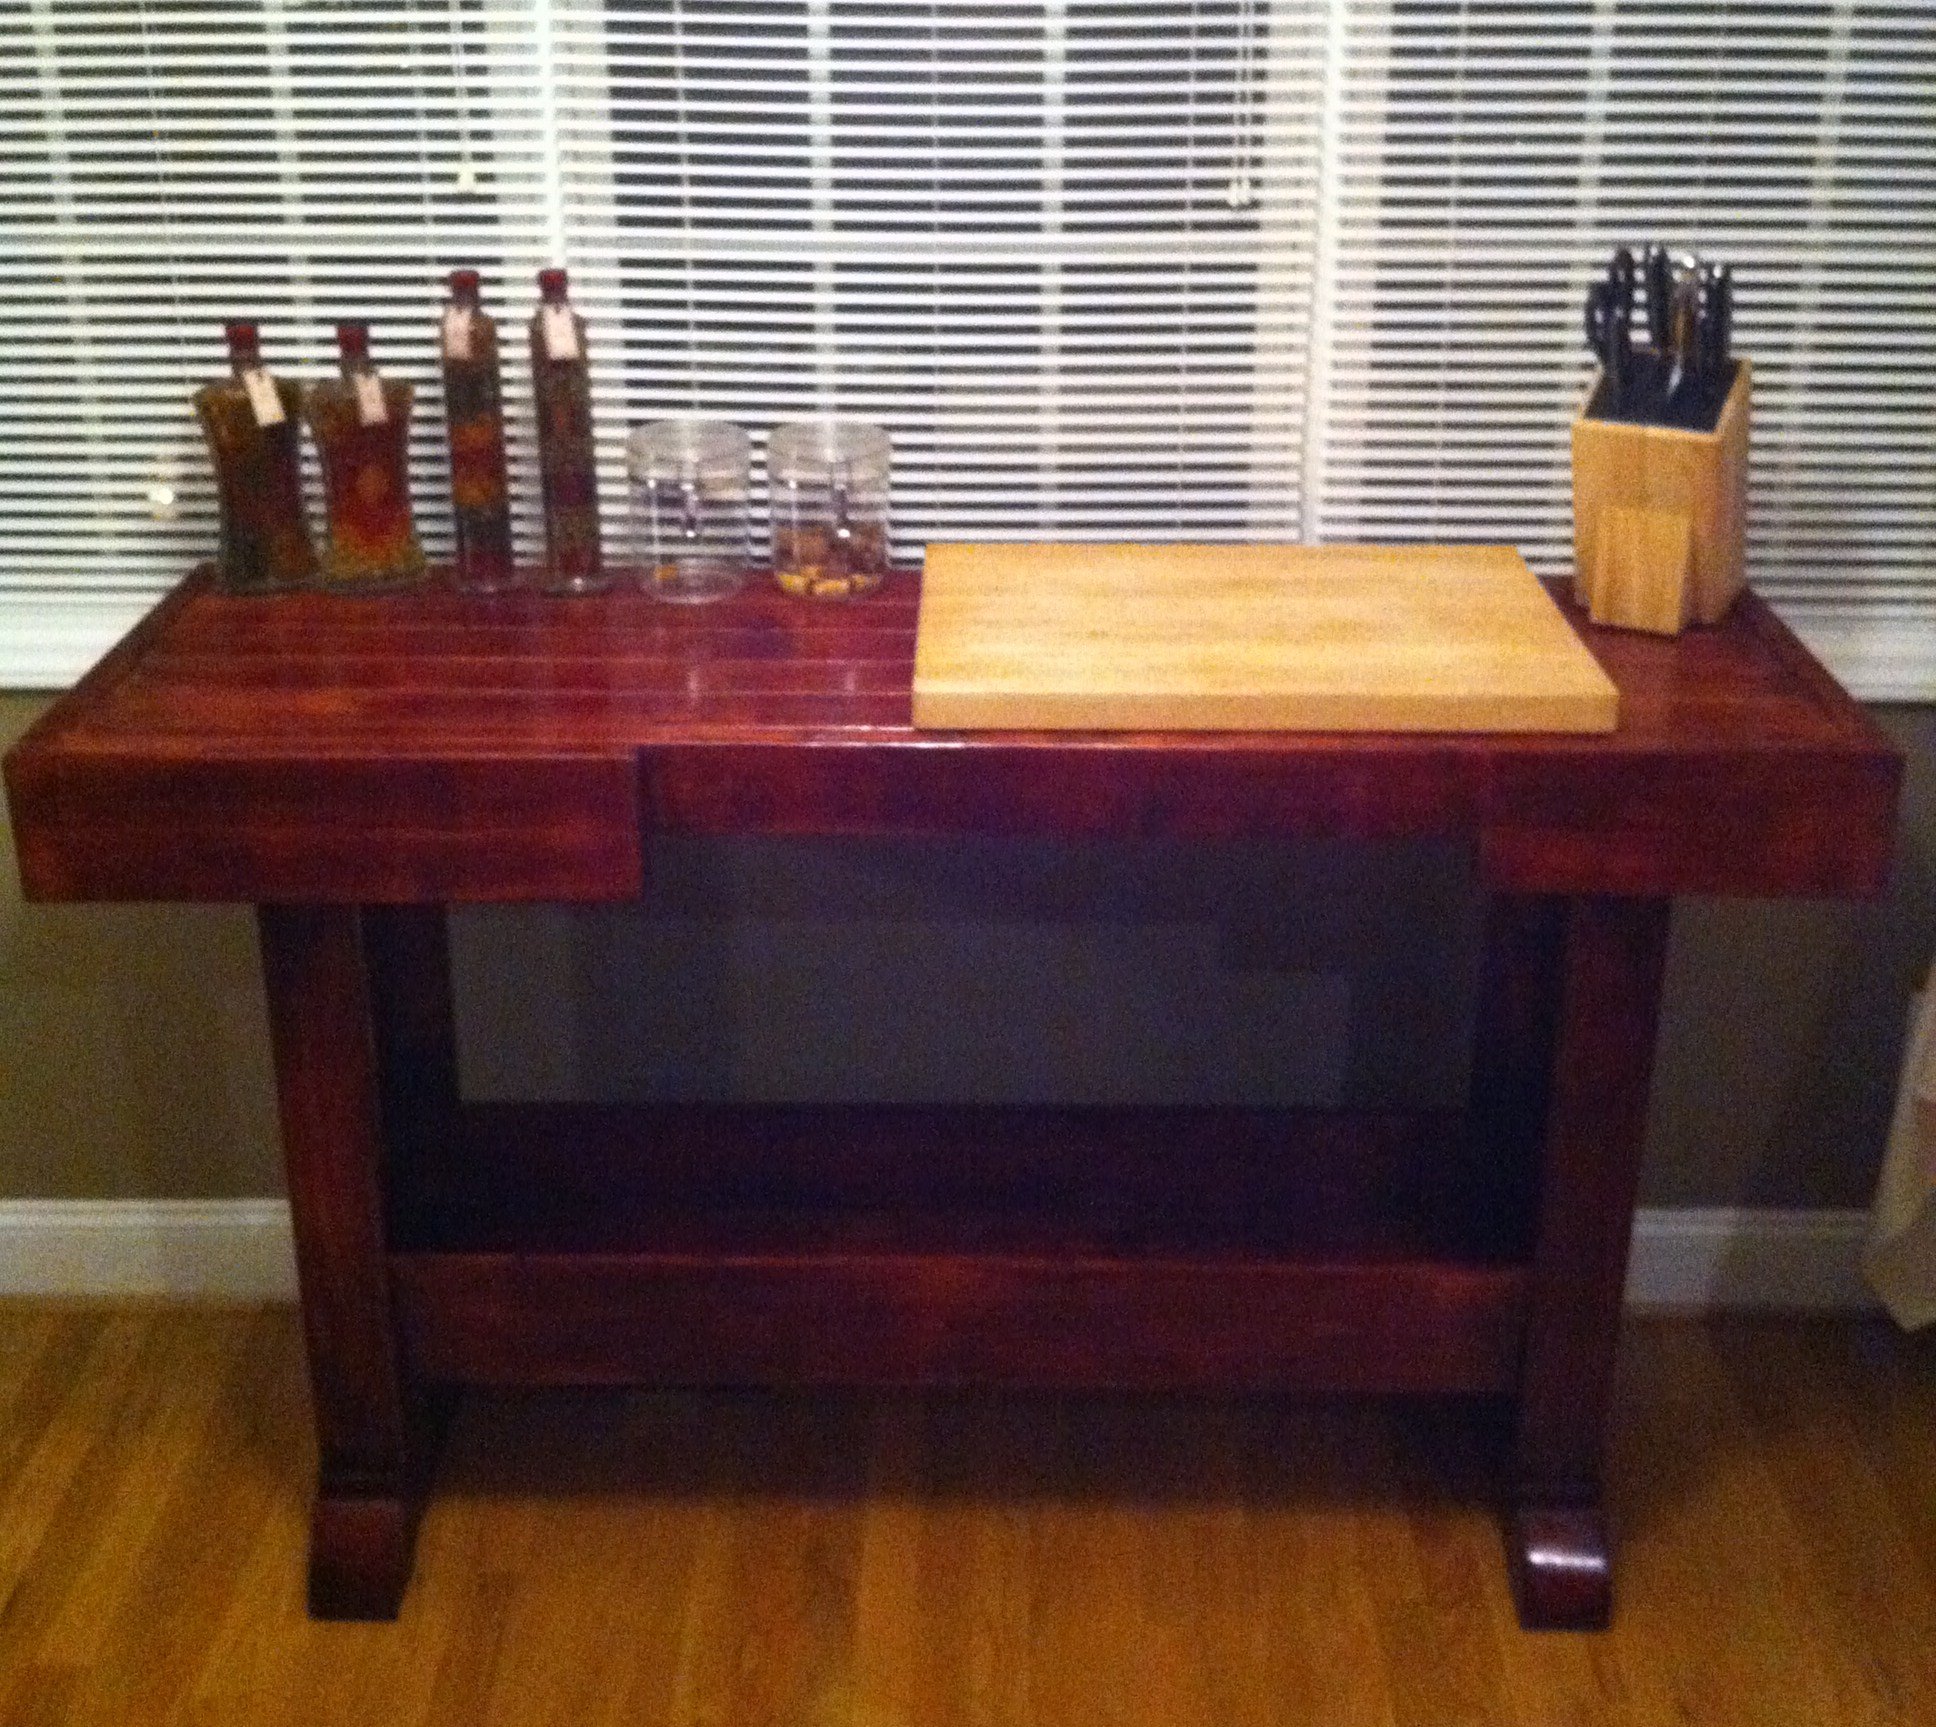
This was a fun and relatively easy project. Thanks Ana for all you do!
Built from Plan(s)
Estimated Time Investment
Week Long Project (20 Hours or More)
Finish Used
Minwax Bombay Mahoghany (3 coats)
Recommended Skill Level
Intermediate
Comments
Tue, 01/24/2012 - 09:49
Kitchen island
This is great. You did wonderful for a first project. I could see this as a kitchen island...Thank you for sharing...
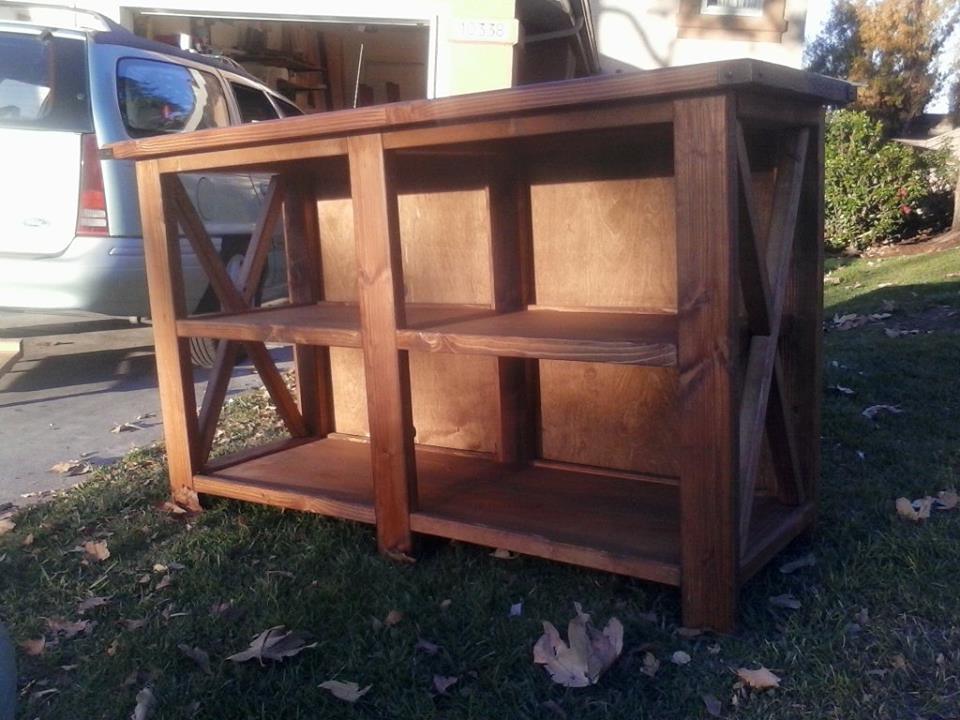
X Console Table stained in Early American

X Console table made slightly larger then the plan specs. Also added a backing with some holes since the customer is going to be using this as an entertainment center.
Built from Plan(s)
Estimated Cost
$100
Estimated Time Investment
Day Project (6-9 Hours)
Finish Used
Early American, Satin Polyurethane, Finish Paste
Recommended Skill Level
Intermediate
Comments
Wed, 12/11/2013 - 12:11
false back to hide cords
I'm a huge fan of using a false back on the bottom storage areas to hide cords - just leave a small gap at the bottom to drop those cords through and you don't have visible holes showing the wall behind.
Sun, 01/25/2015 - 06:55
Measurements
Hi could you please post the measurements you used to build this. I'm wanting to build as an entertainment center as well. Thanks!
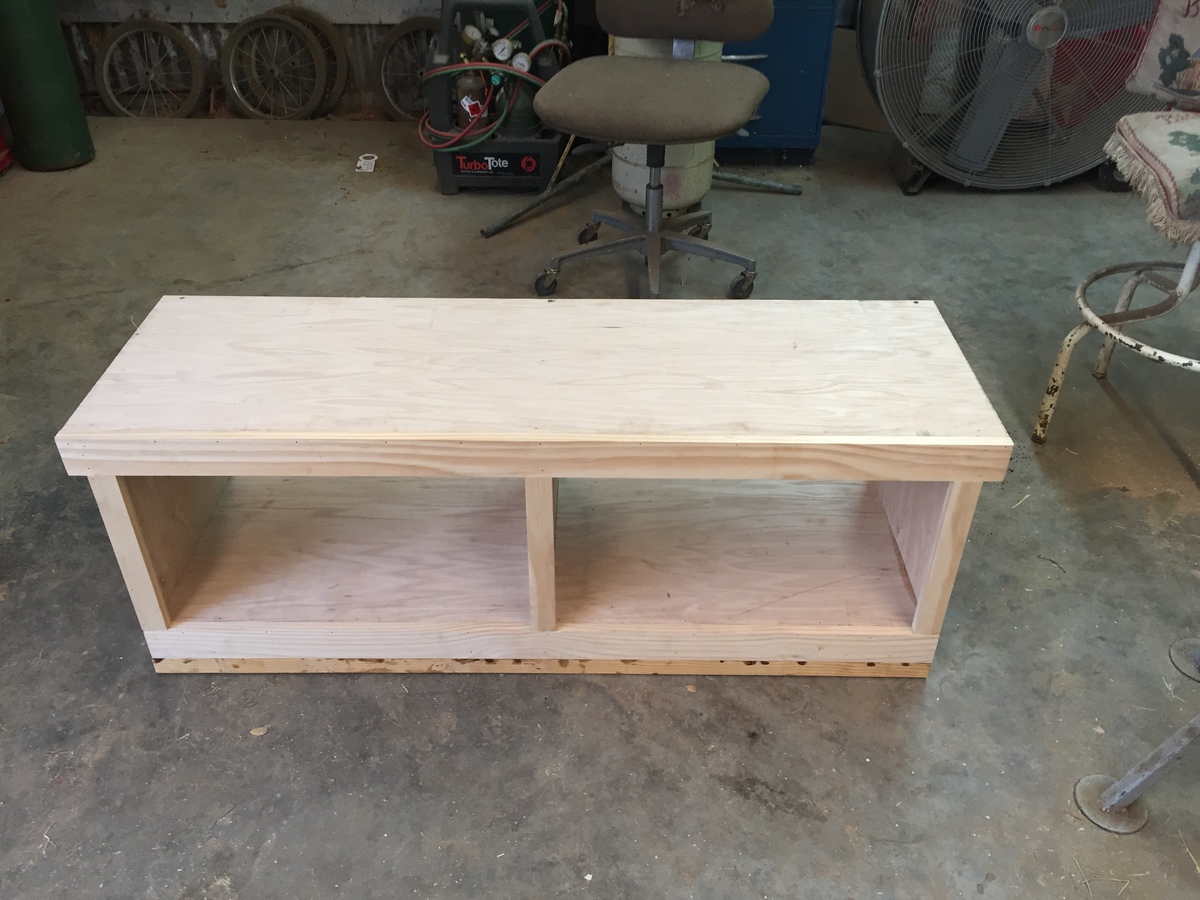
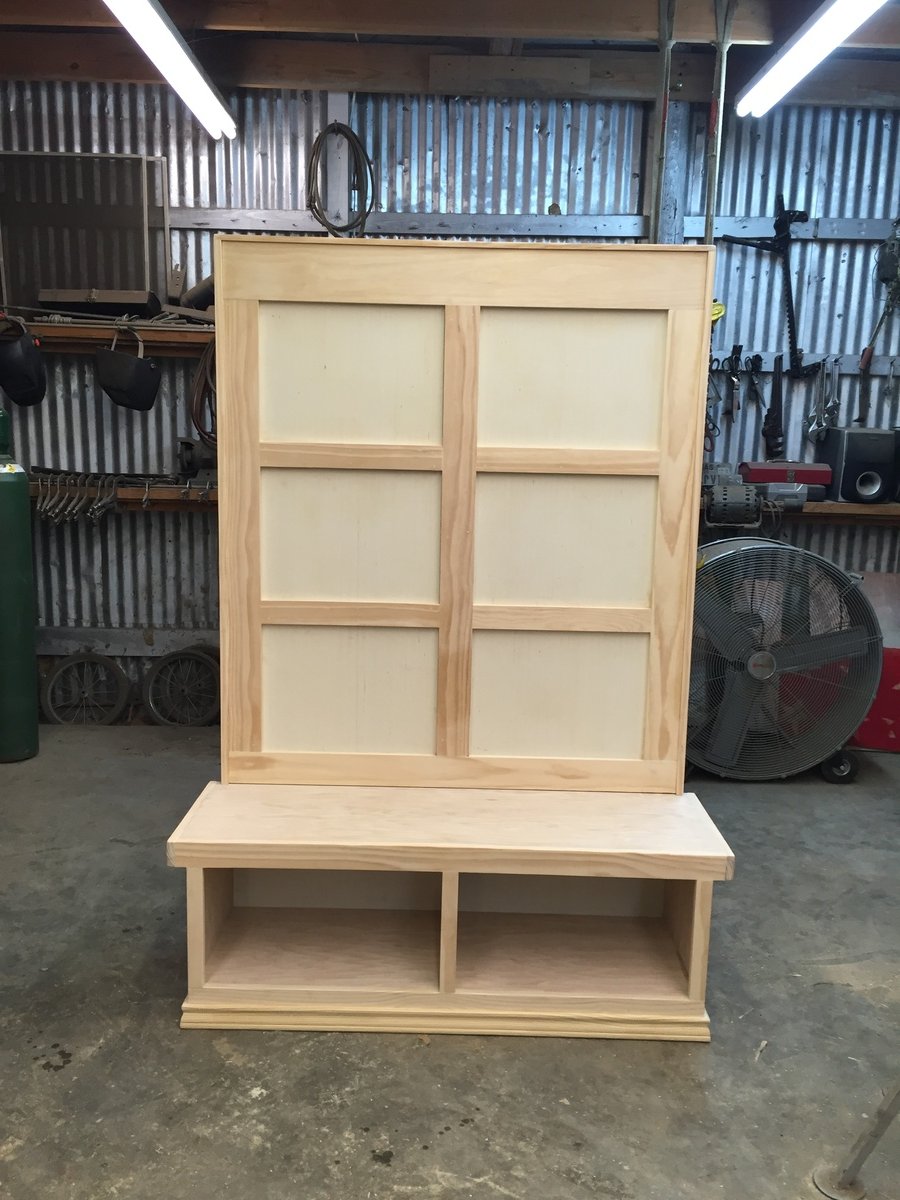
Hall Tree
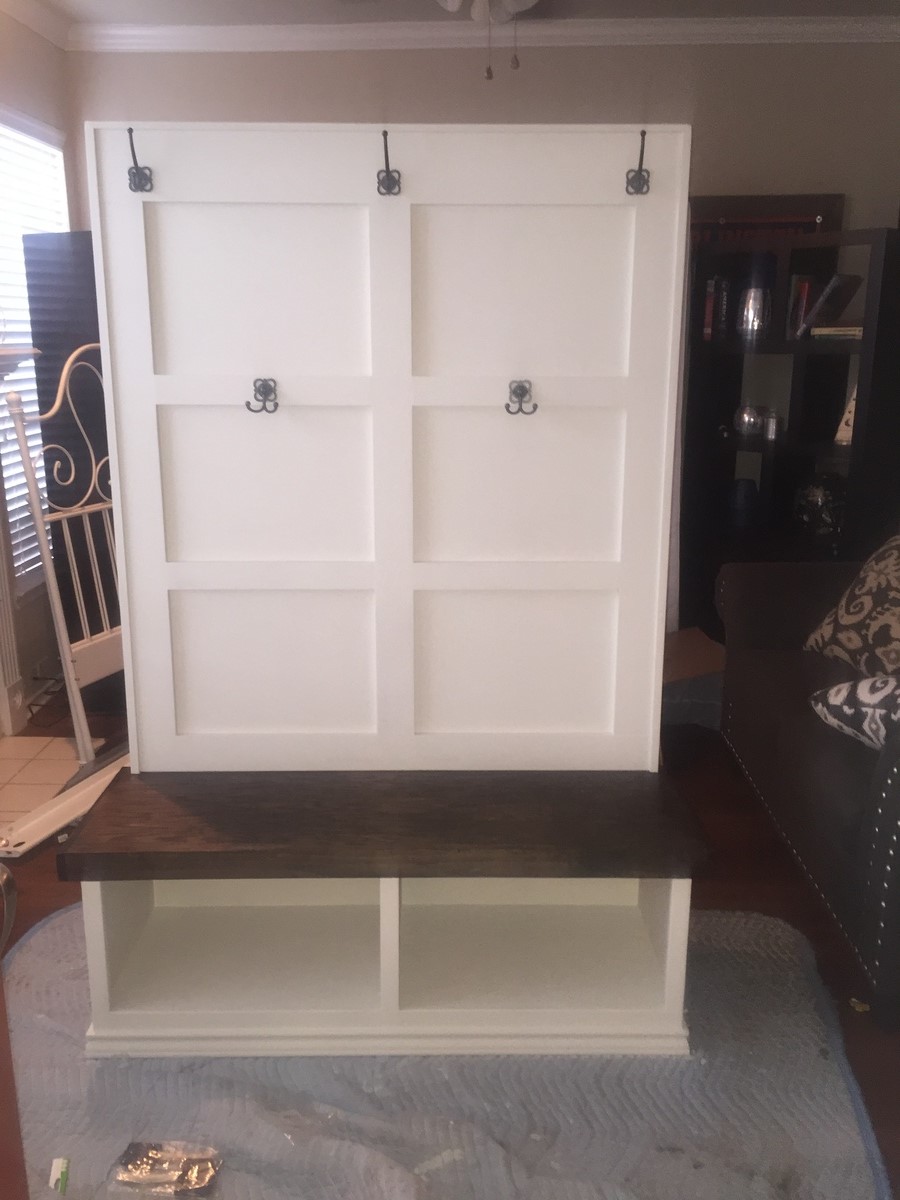
Changed the plans to fit some stuff that I already had. I routed the box together instead of using pocket hole jig. Turned out great have had several people wonder where I got the idea.
Built from Plan(s)
Estimated Cost
200
Estimated Time Investment
Weekend Project (10-20 Hours)
Finish Used
Chalk Paint and Dark Walnut Stain
Recommended Skill Level
Beginner
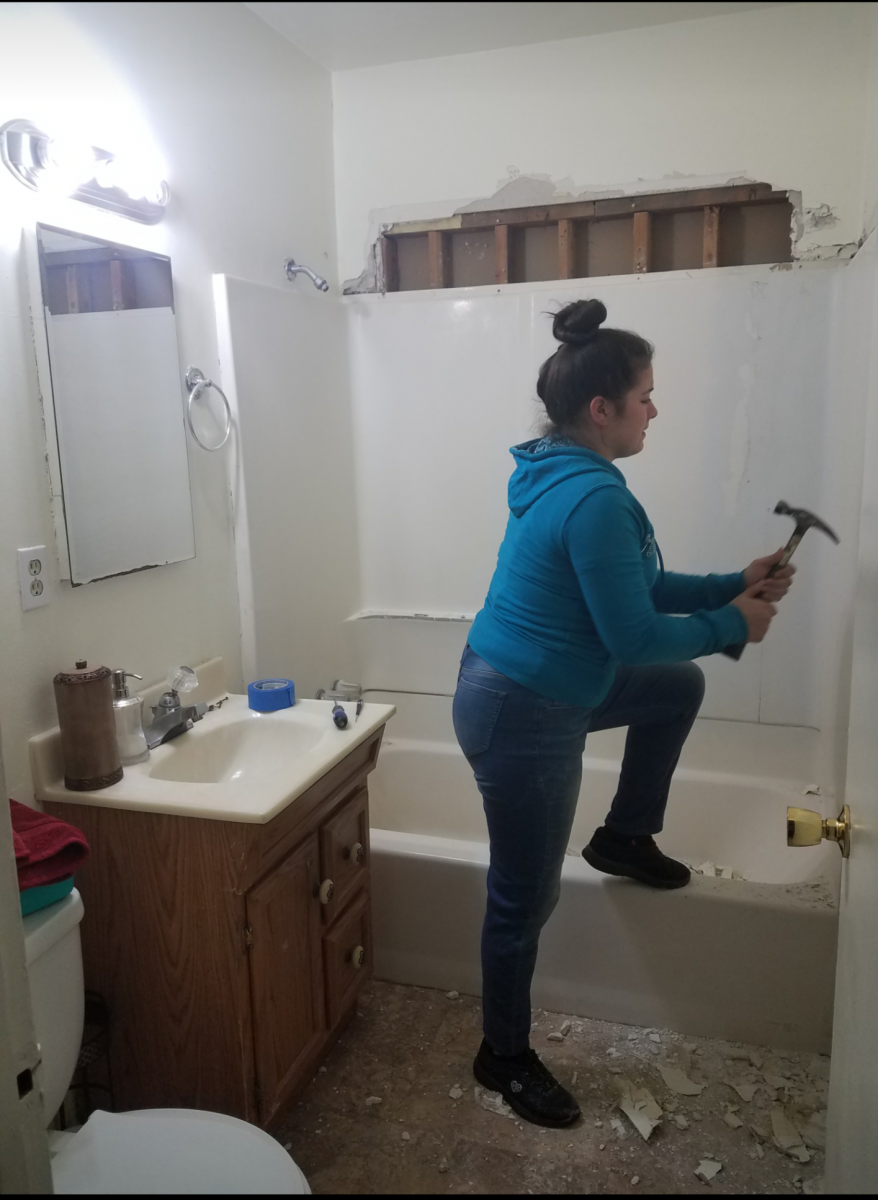
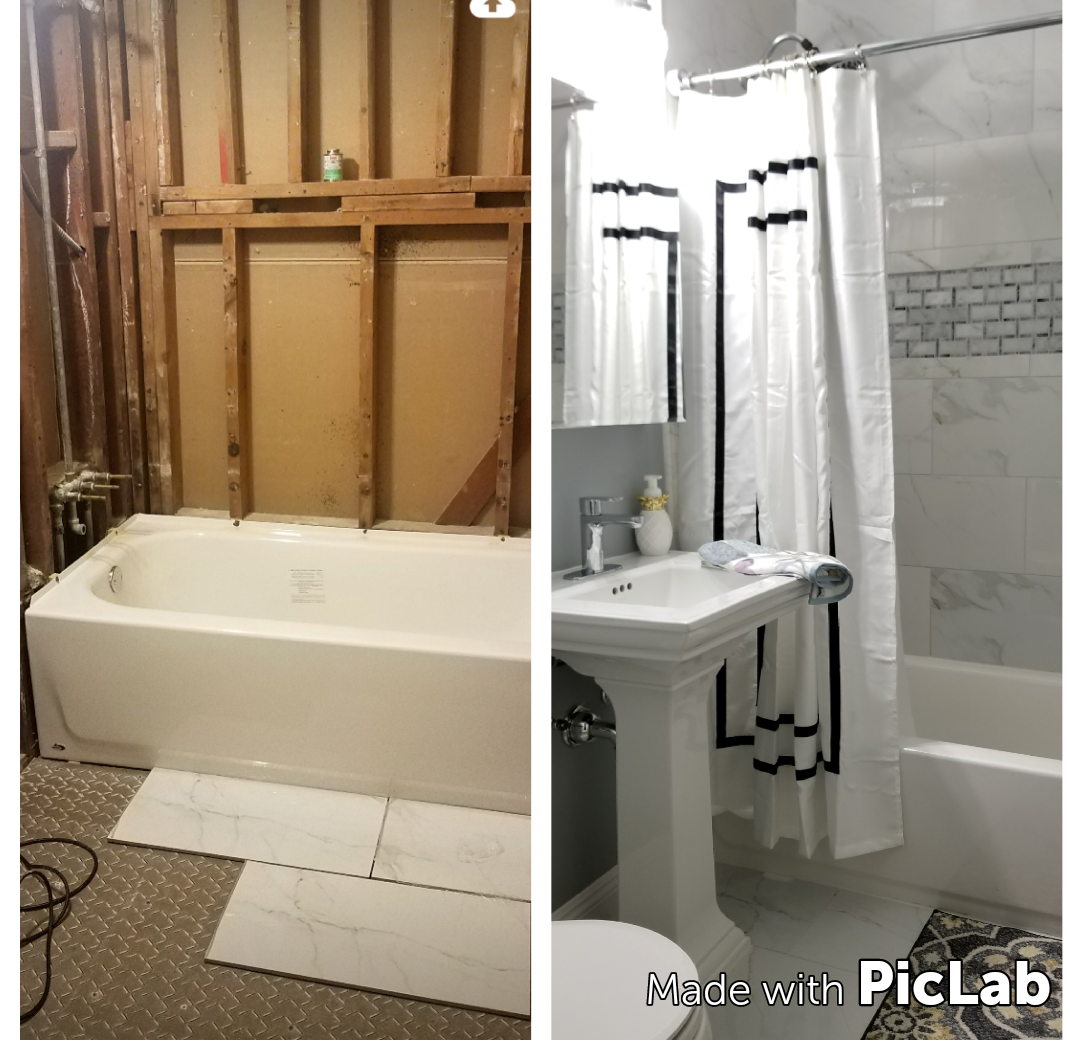
My diy Bathroom remodel.
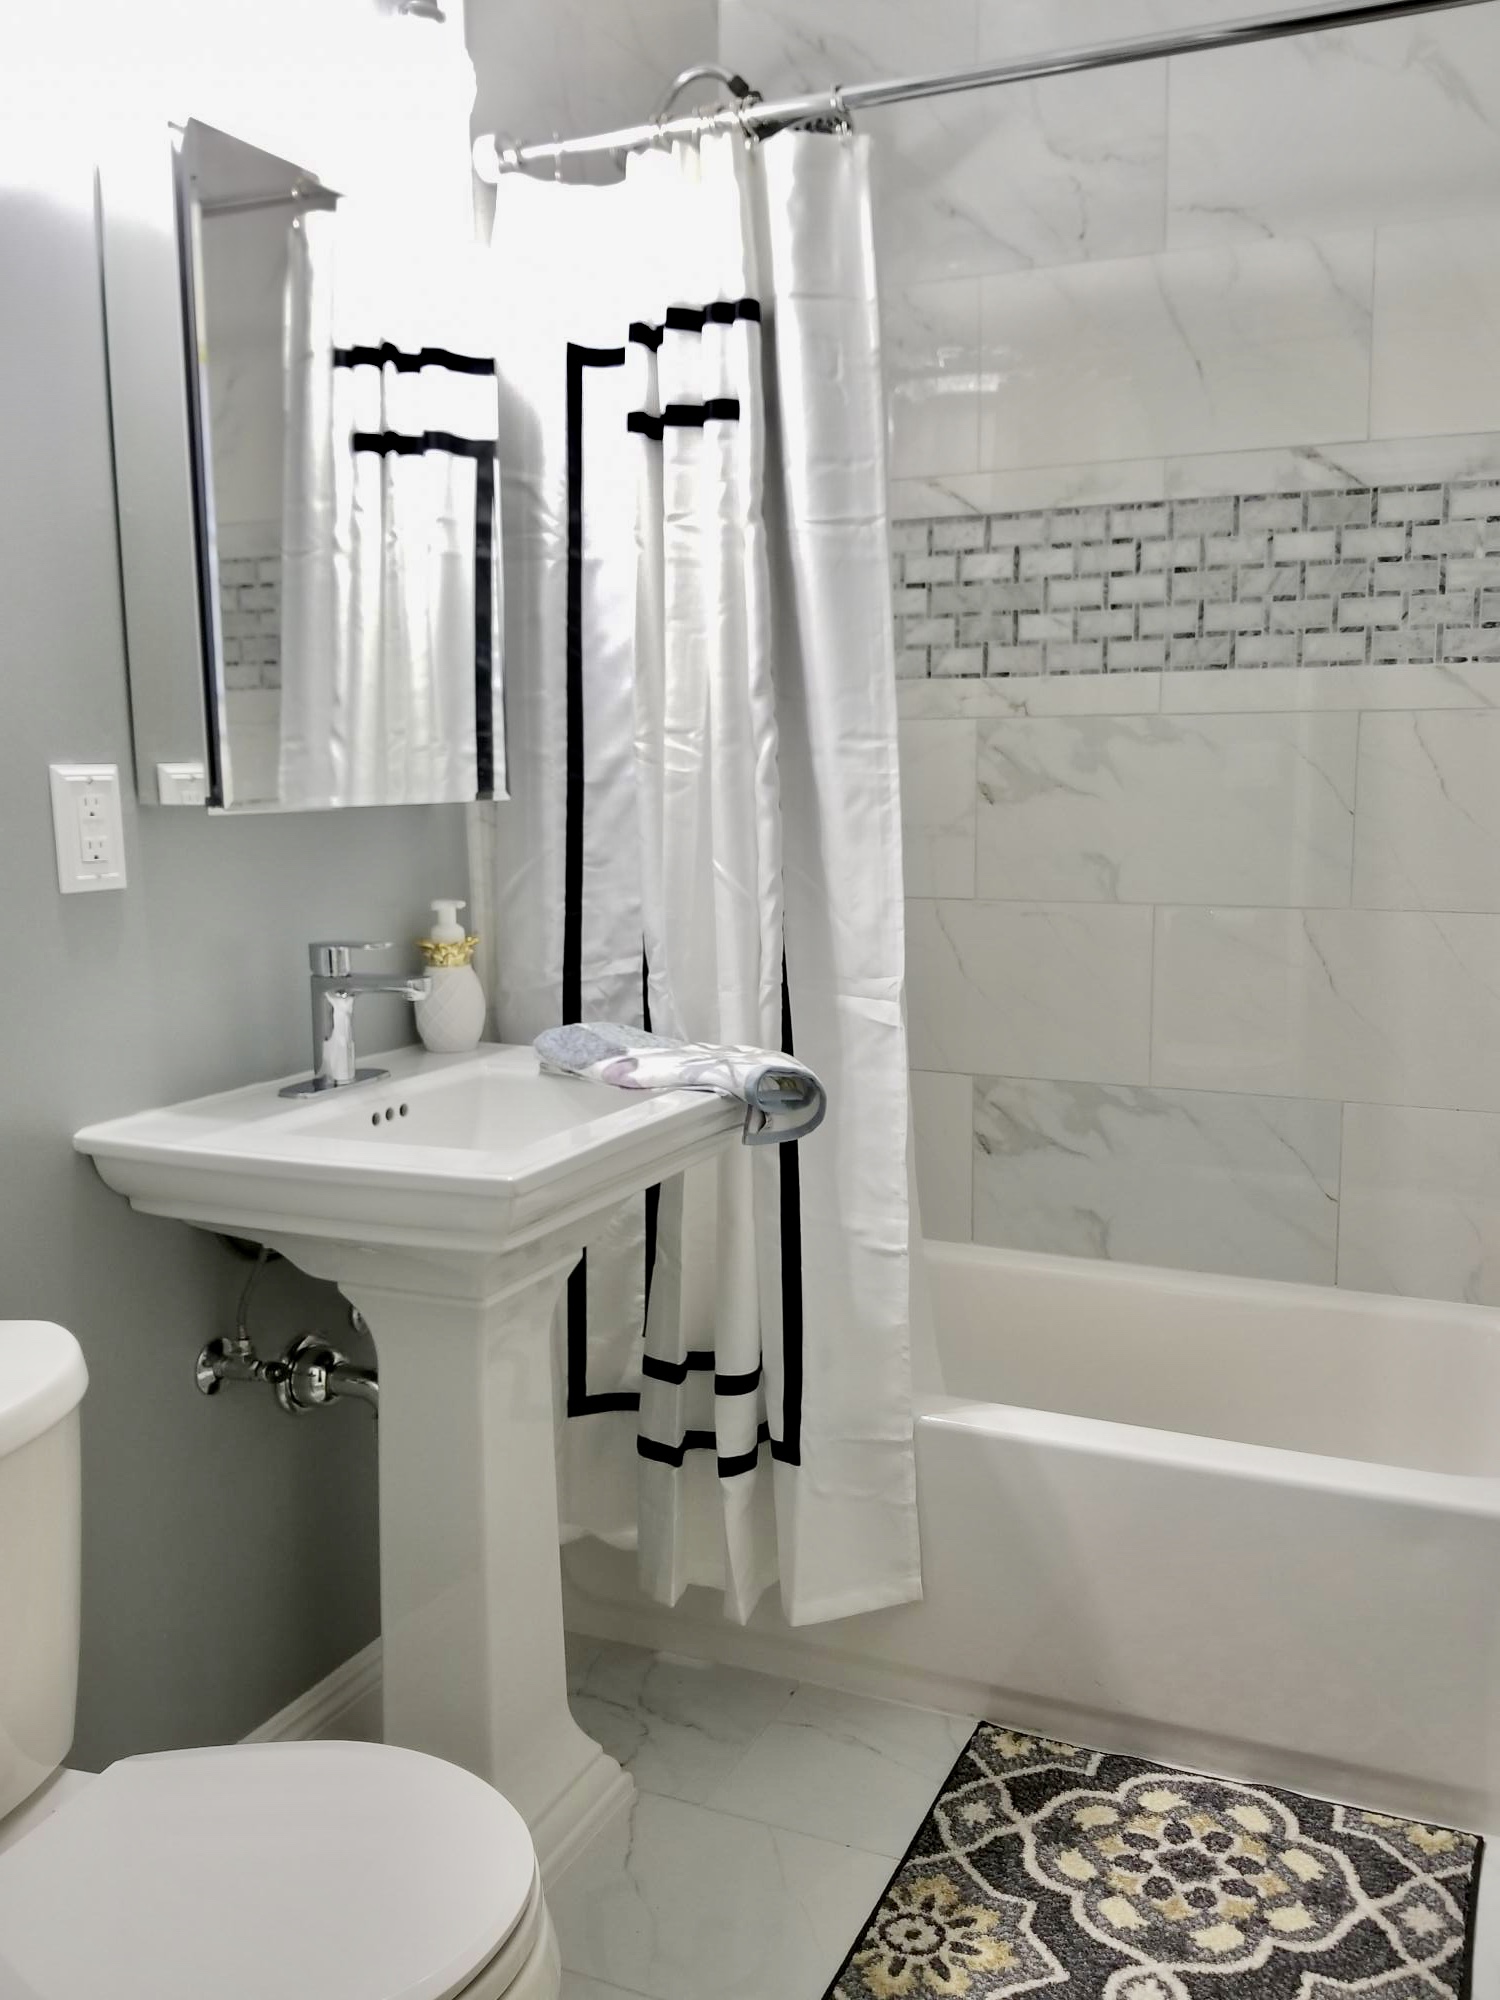
I got a water leak behind the shower walls. And I started calling for Bathroom remodel quotes..but the pricing quote wasn't not even close to what I had I'm in my budget.so I decided to watching YouTube videos..and I got my design inspiration from the Pinterest app ...and I decided to start my own Diy Bathroom remodel. The rest is history.
Estimated Cost
2500.00
Estimated Time Investment
Week Long Project (20 Hours or More)
Recommended Skill Level
Beginner
Comments

Wed, 10/02/2019 - 22:55
Amazing, looks like a whole…
Amazing, looks like a whole different bathroom!!!
Planter Box
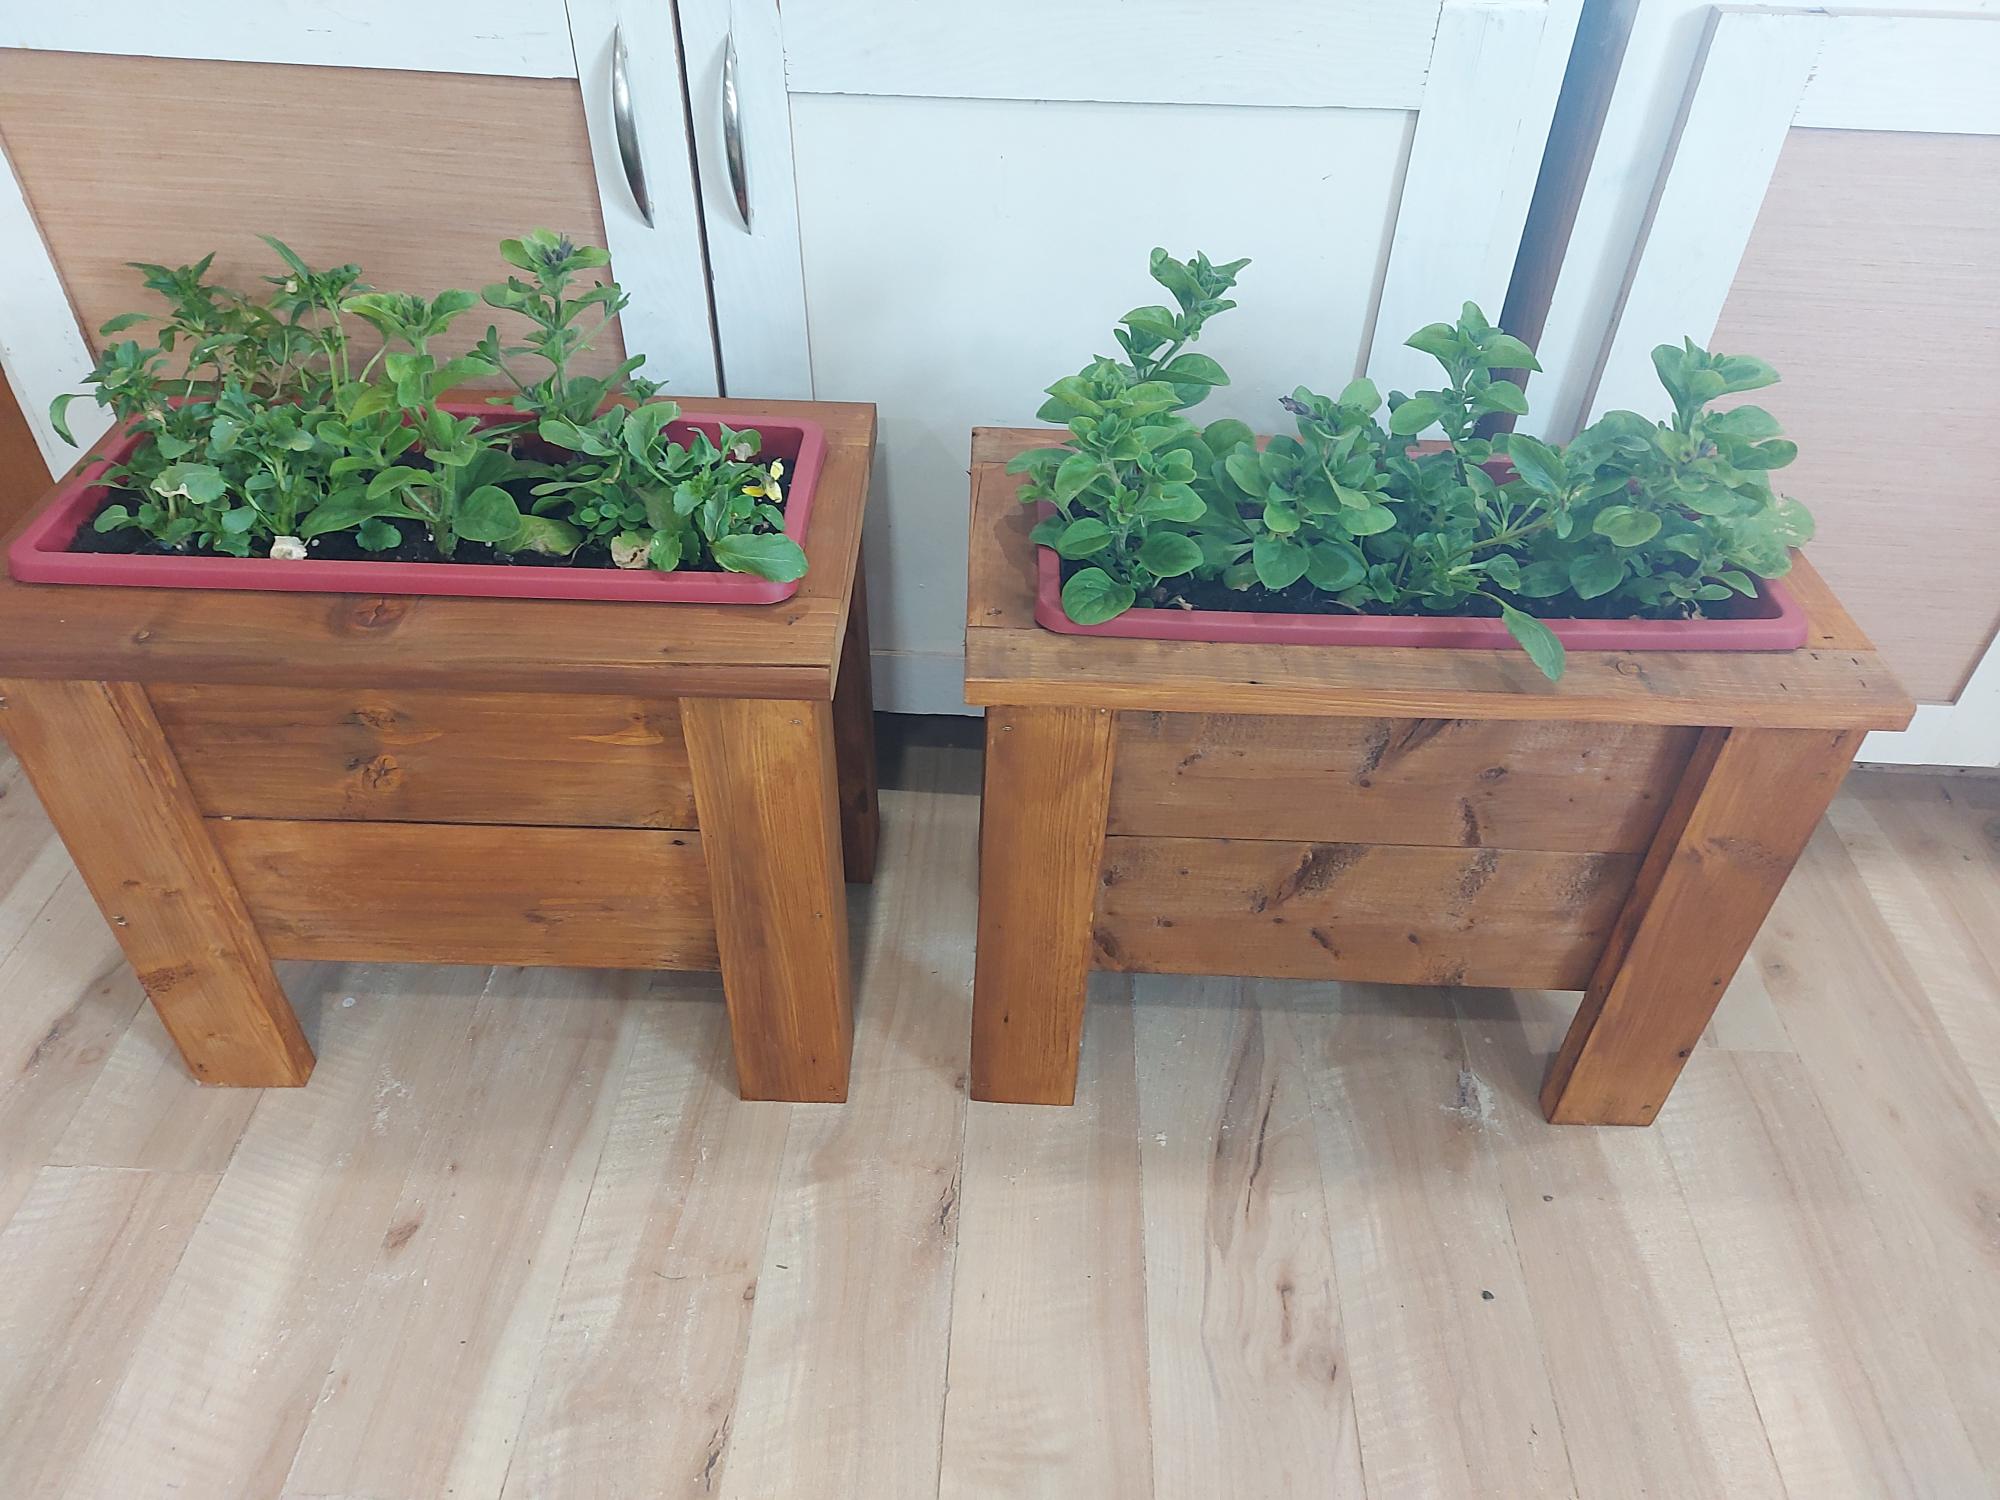
Made these to fit Dollarstore pots. These plans were so easy to follow and adjust for pot size. I used scrap wood and sealed them with a stain sealant. I love your plans!
Denise
New Brunswick, Canada

Built from Plan(s)
Comments
Tue, 06/13/2023 - 08:51
LOVE THESE!!!
Brilliant, please send more photos to [email protected] if you get a chance. I'd love to see more angles after you get them in place!
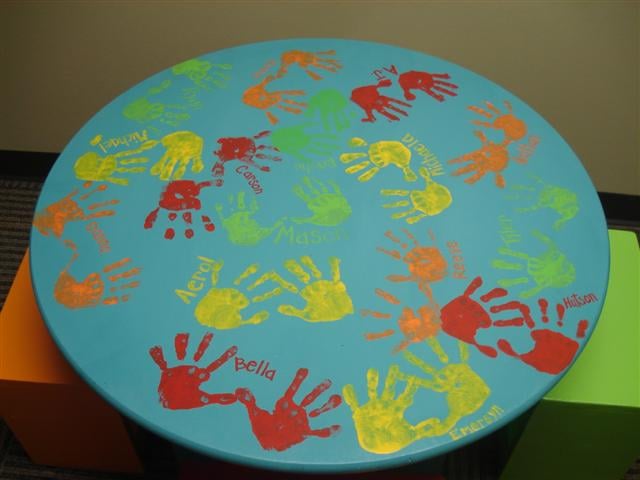
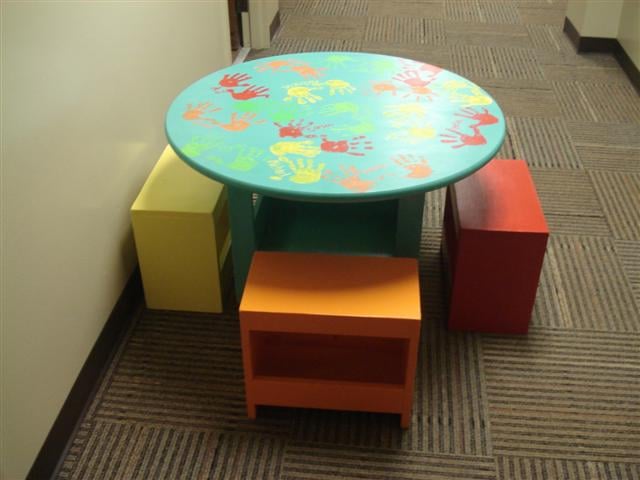
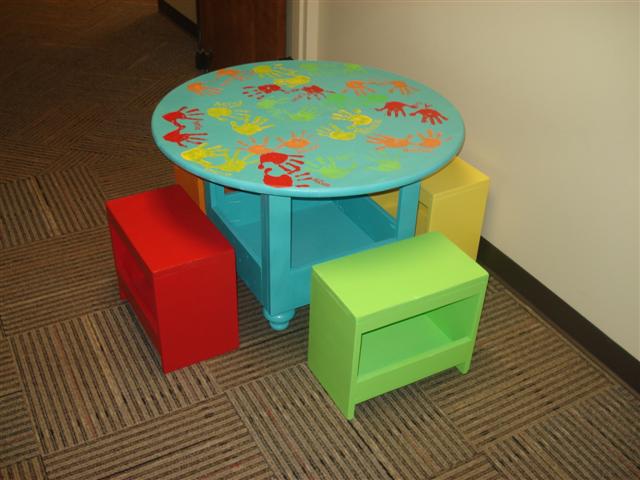
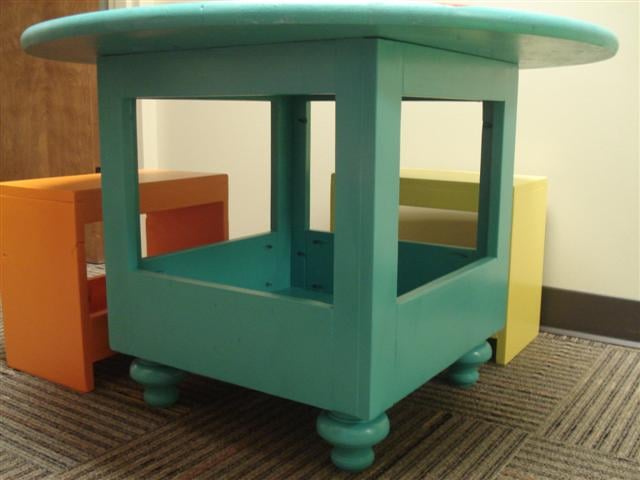
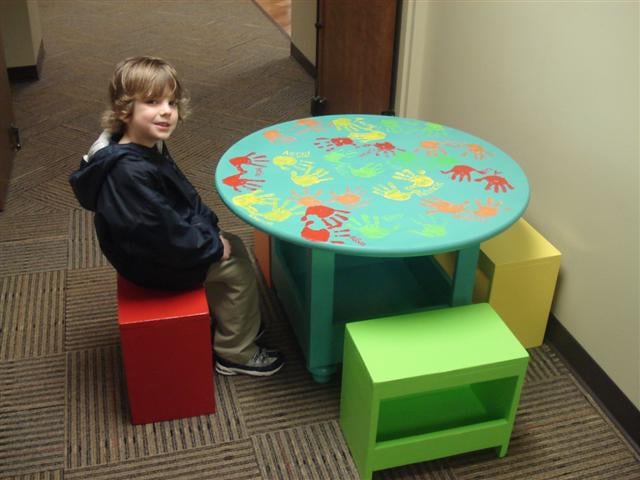
Kid Table & Stools
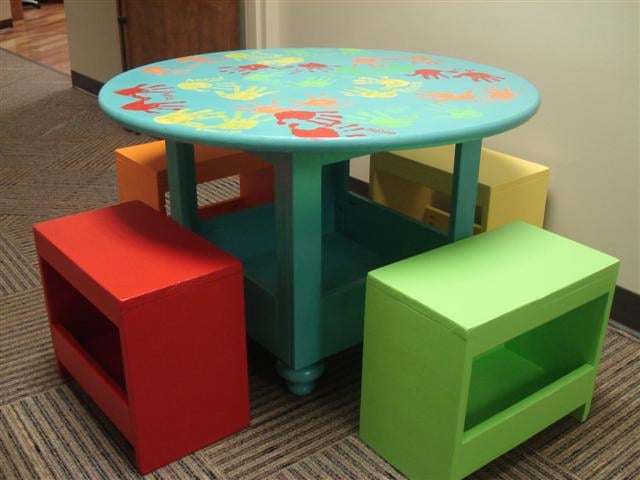
My wife and I did this table and stools for our son’s class art project. We did something similar last year and they auction the items off in a fund raiser in March. More details and information on the blog – www.atouchofarkansas.com.
Built from Plan(s)
Estimated Cost
$100.00
Estimated Time Investment
Weekend Project (10-20 Hours)
Finish Used
Extra paint we had from other projects, so the estimated cost includes buying paint, but if you have some already, obviously you can take that off the total costs.
Recommended Skill Level
Beginner
Comments
Tue, 07/03/2012 - 09:03
Part of a class I am taking
Part of a class I am taking involves this particular subject and I am researching for information to use in an upcoming report. Your post is really helpful; do you have any others on this topic?
http://www.britecarpetcleaners.com/
Console Table
Modified slightly for increased height, slightly larger gap between shelves and more underneath clearance (for Roomba Vacuum).
Very easy to make, used Google Sketchup to calculate new angles for X's based on the modified size of the console.
Most time consuming part was repeated sanding and final poly-whey coats.
Built from Plan(s)
Estimated Cost
$100 - Not including Kreg Jig & Screws.
Estimated Time Investment
Week Long Project (20 Hours or More)
Finish Used
Finished with Tea, Oxidizing Solution (Steel Wool & Vinegar) and three coats of Poly-Whey. Looks fantastic, and I'm hooked. Farmhouse Bedside tables next on the list!
Recommended Skill Level
Beginner
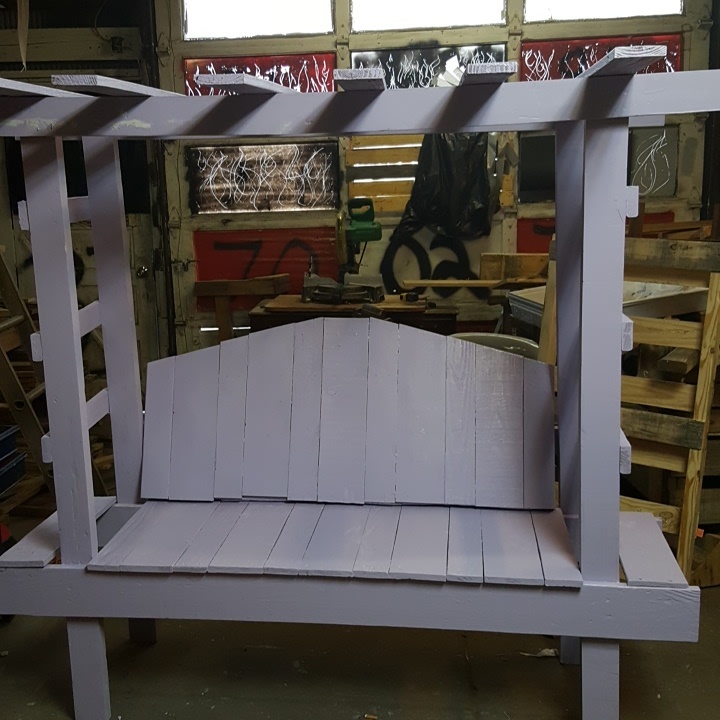
children's arbor
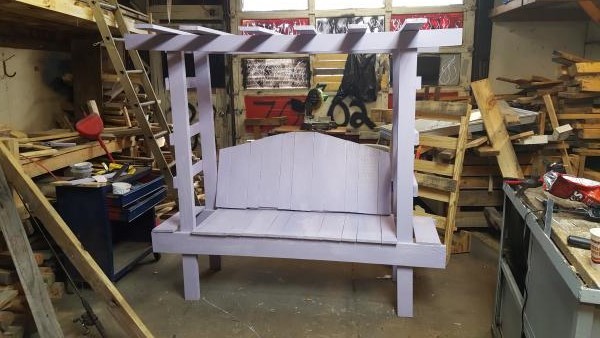
I built this a bit larger for a older child or adult. Measures 5'3 high by 5'10 long. This is my first Anna White project. I am a 44 year old woman who just last year never held a saw. I am finding my calling. I never knew how much I would love doing this!! I may also add, as my money is super tight, I made this completely from pallets. I don't have but a few tools, but found with a drill and miter saw that was the only tools that I needed.
Estimated Cost
$15
Estimated Time Investment
Weekend Project (10-20 Hours)
Finish Used
I had a dark grape paint that I added white to.
Recommended Skill Level
Starter Project
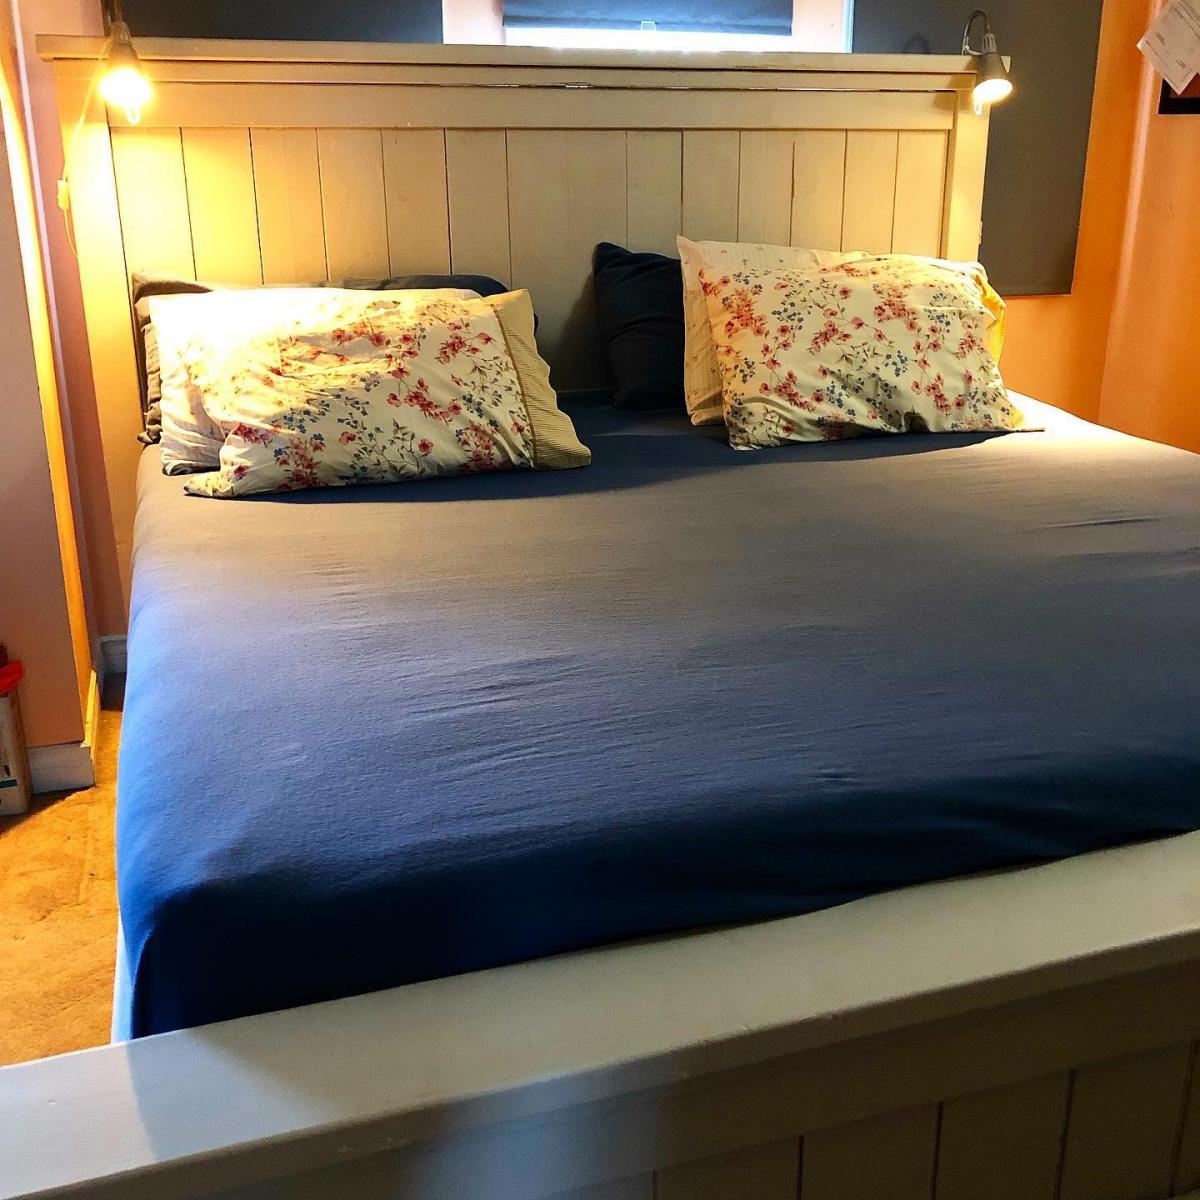
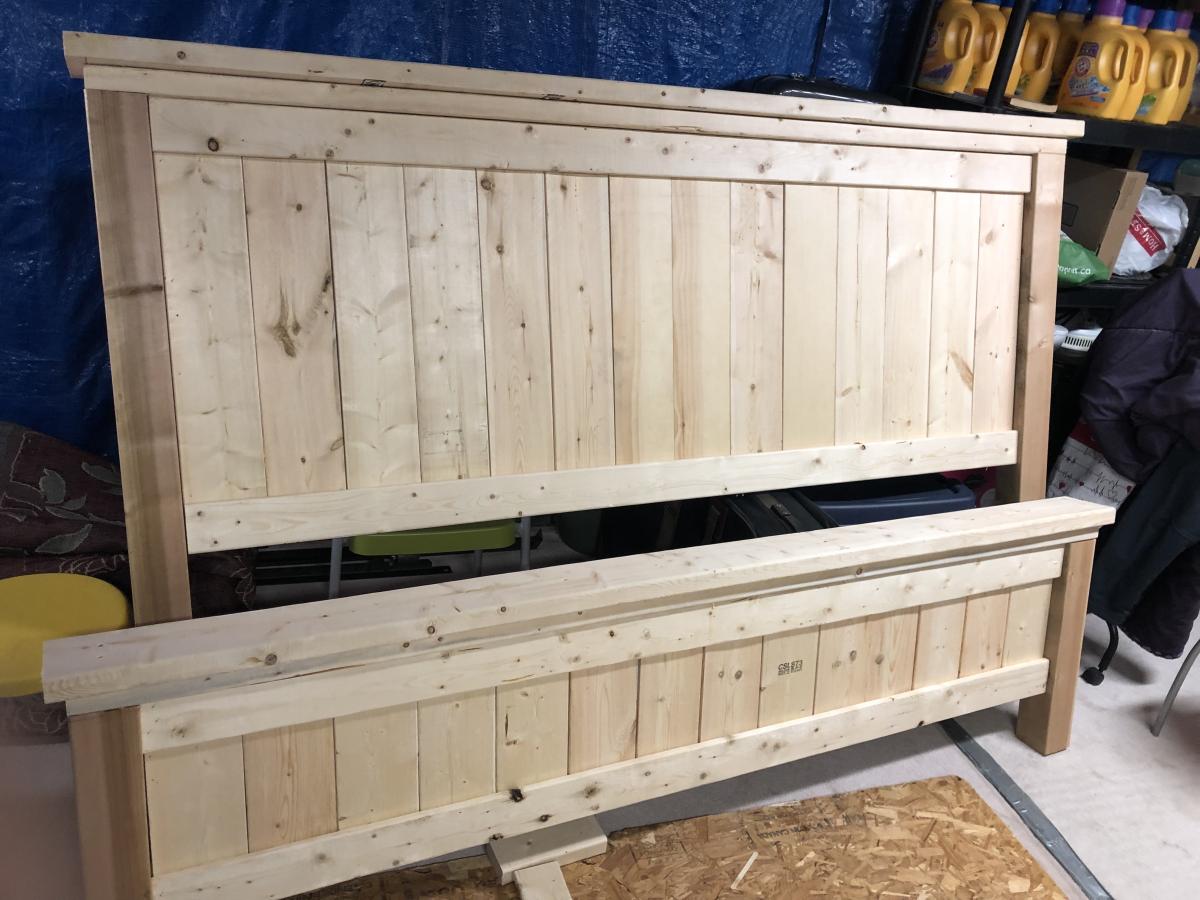
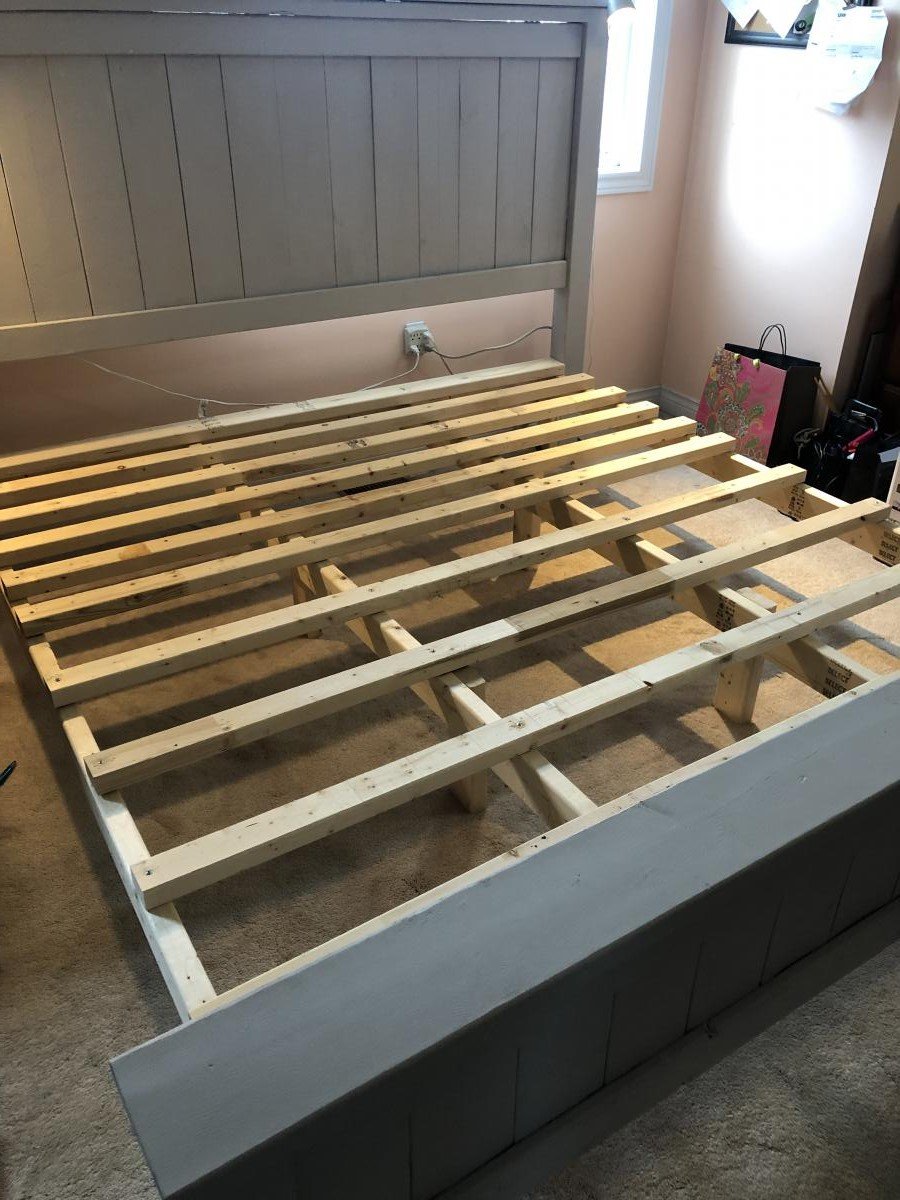
Farmhouse King Size Bed
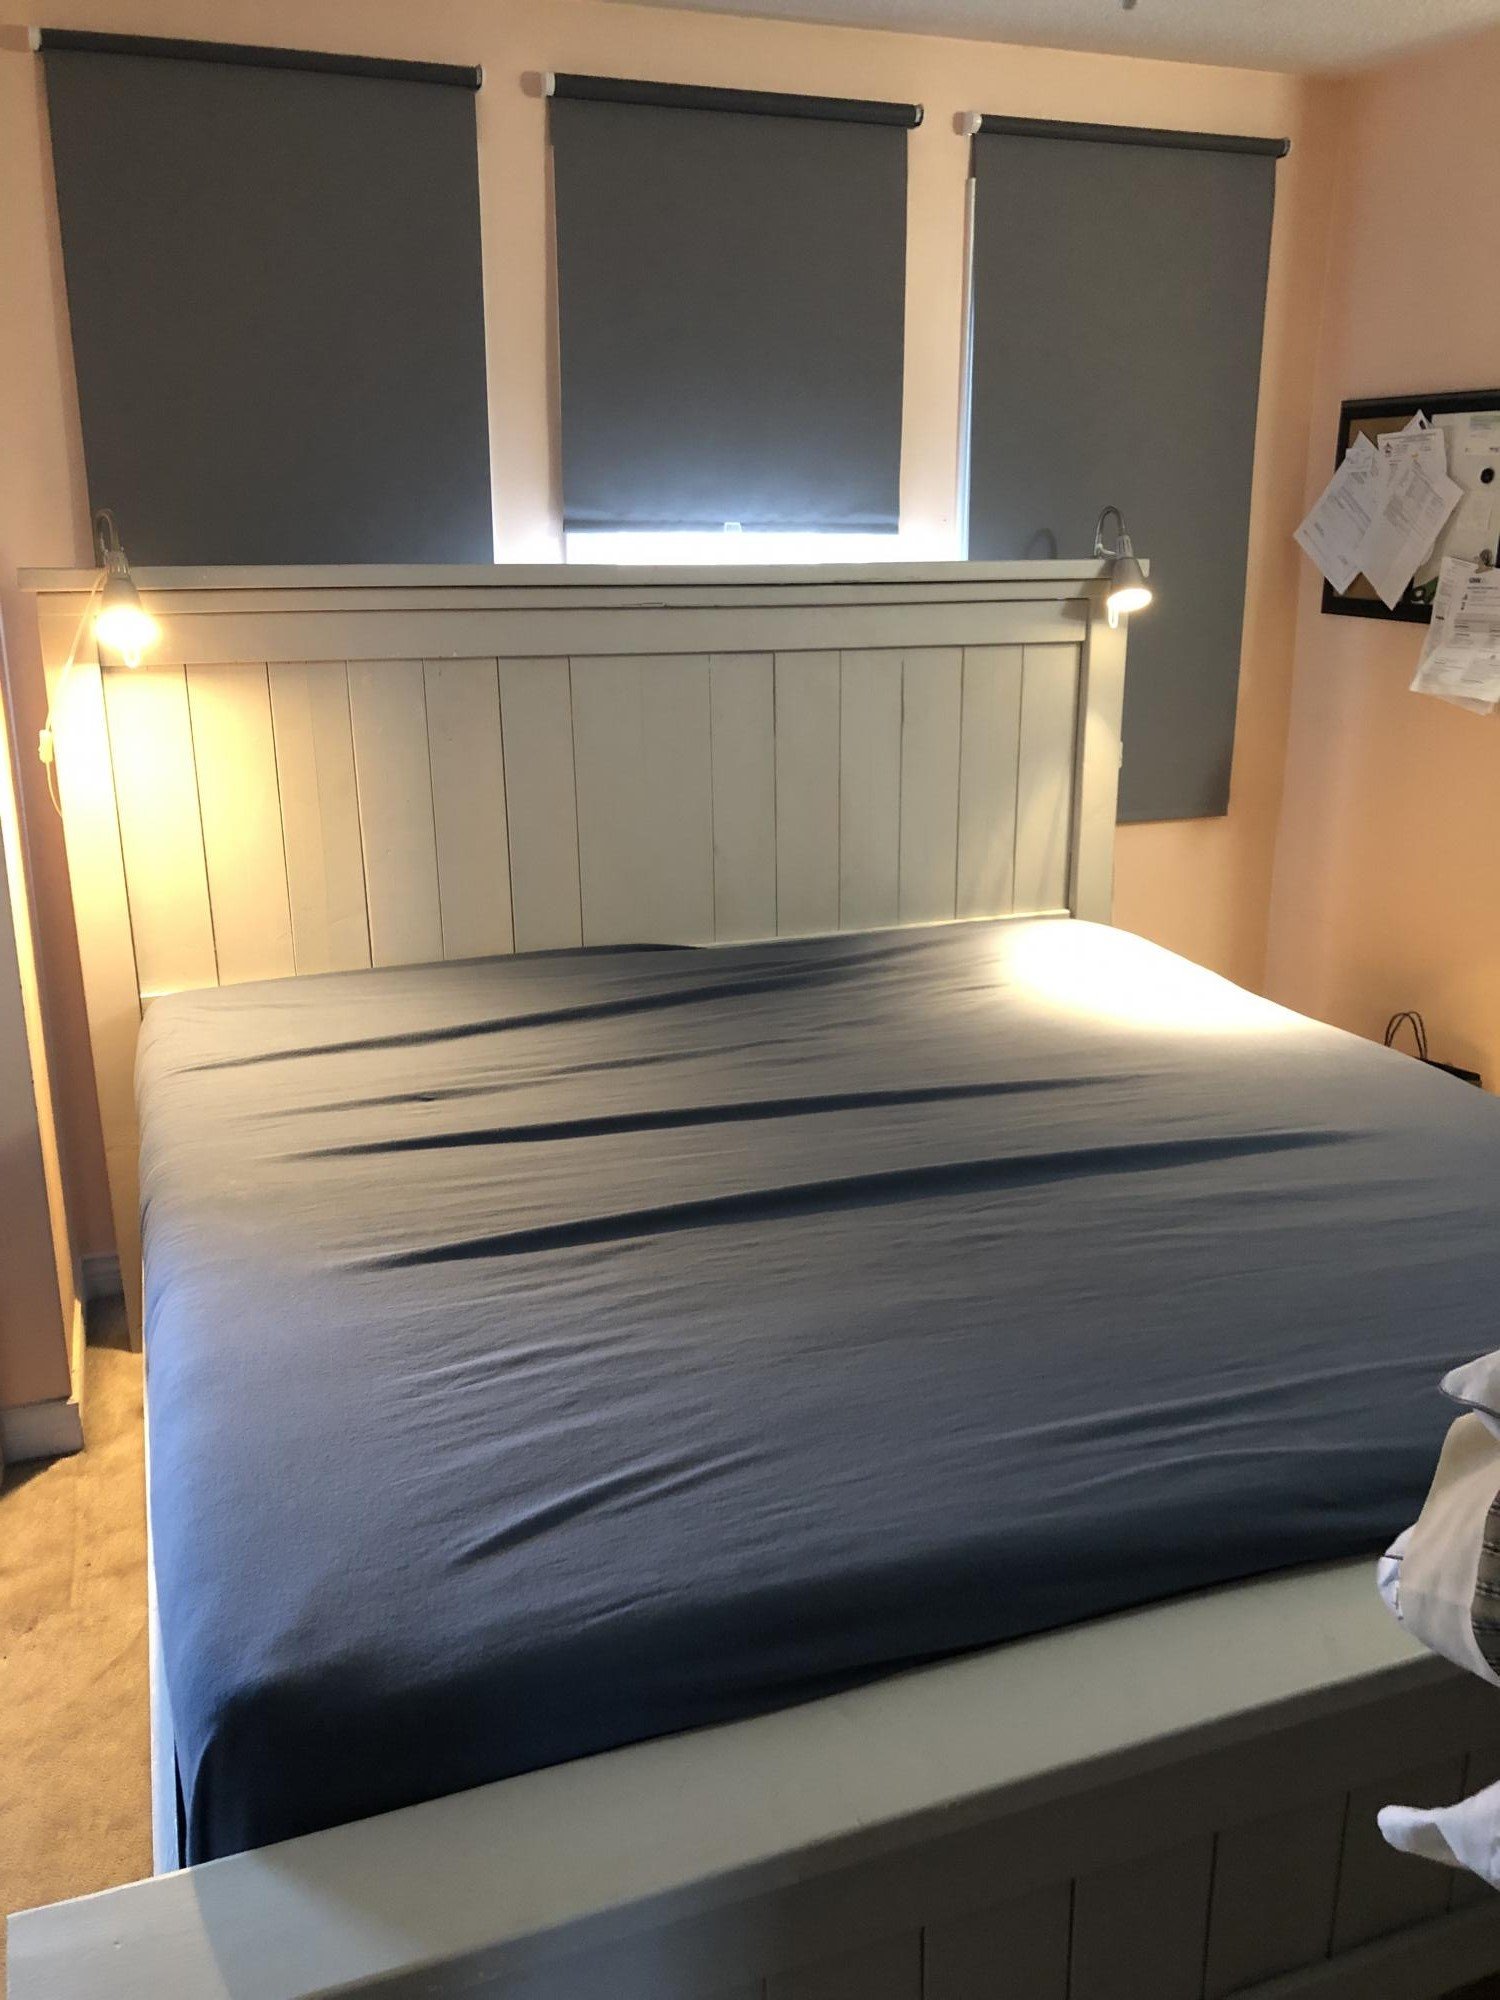
Finally replaced our old queen size bed frame. It took me 2 weekends to finish the project. We bought a Nova Comfort memory foam.
Built from Plan(s)
Estimated Cost
C$150.00
Estimated Time Investment
Weekend Project (10-20 Hours)
Finish Used
Behr light grey paint
Recommended Skill Level
Starter Project
Comments
Tue, 11/05/2019 - 10:38
Thank you for entering your…
Thank you for entering your bed!
We are so excited to let you know your entry won a random draw $100 gift card. We will email you all the details as well!
Thanks again! Ana
Hall shelf Unit
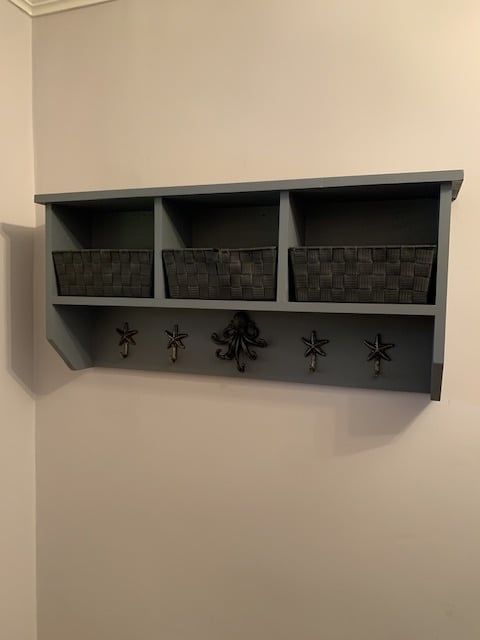
I actually used a partial plan from a previous Ana-white photo and plan. I used some nautical hooks to finish it off.
Built from Plan(s)
Comments
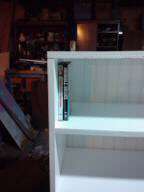
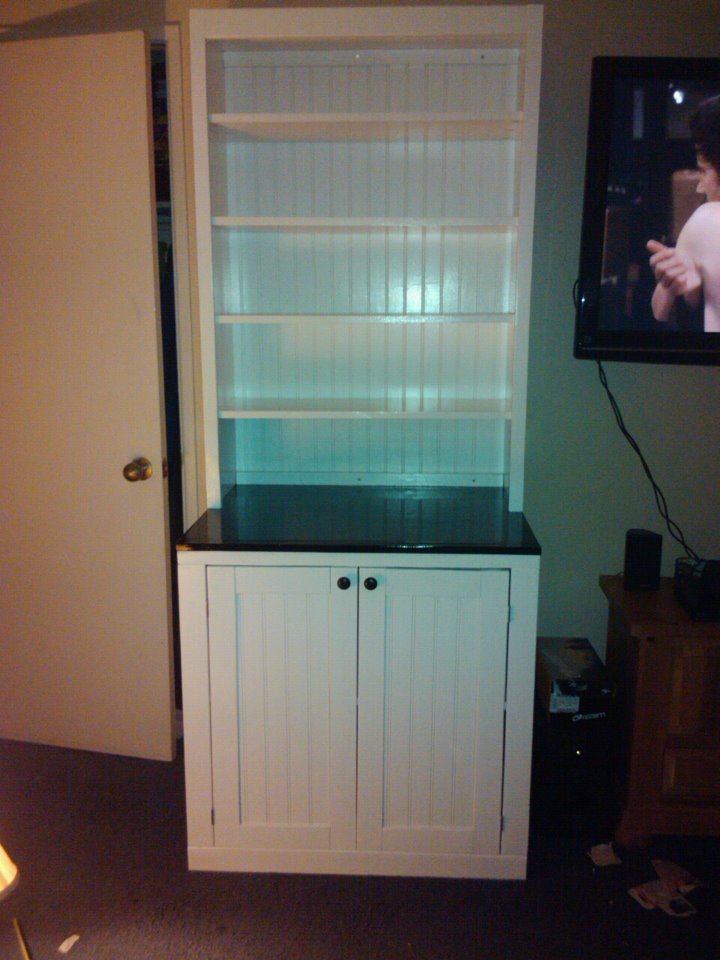
DVD hutch

Living in a small house, 1100 sq feet, really needed an area devoted to DVD storage, then I thought, why not build my own Entertainment center? This is 1 of 6 pieces.
Built from Plan(s)
Estimated Cost
35.00 combined with logan base total 75.00 including paint!!! such a great price!
Estimated Time Investment
Weekend Project (10-20 Hours)
Finish Used
Stained a lot, 2 coats of White KILZ waterbased latex primer, with 220 grit sanding in between each coat. Think this is VERY important, as it gives you a wonderful canvas to work with.
2 coats of Behr Premium Ultra White High Gloss, again light sanding between each coat.
Modifications: 32 inches wide, 12 inches deep, 5 shelves, each 8.5 inches high, customized to fit dvd's, puck light inserted on top shelf, beadboard to the backing, 1x3 used as trim across top, put together with Kreg
Recommended Skill Level
Beginner
Comments

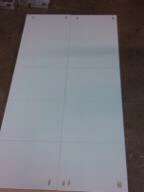
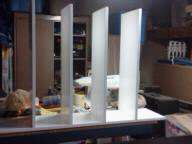
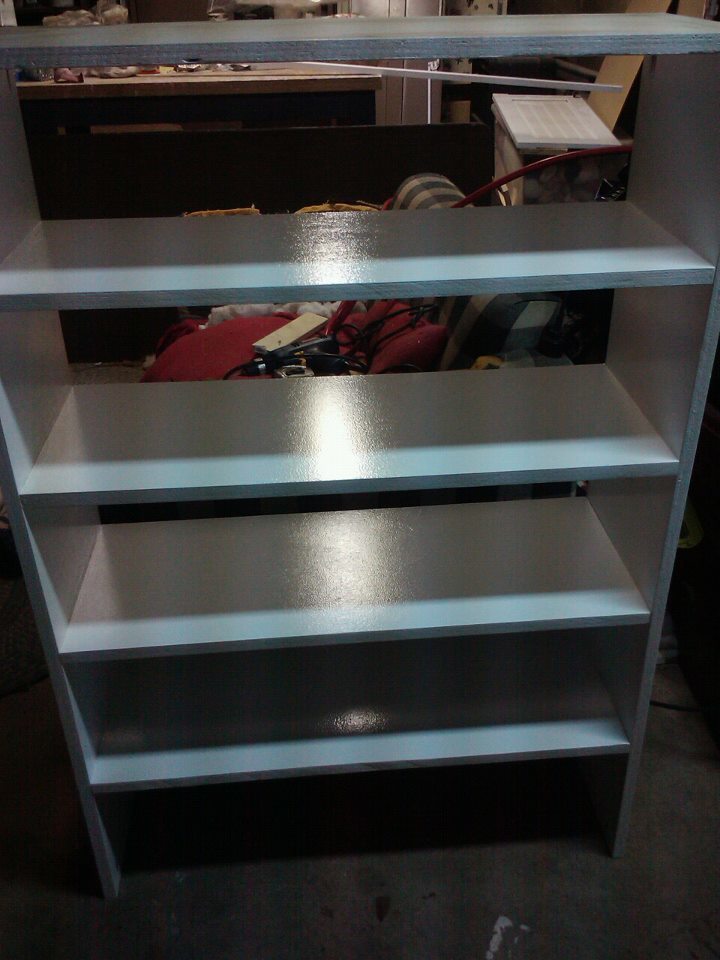
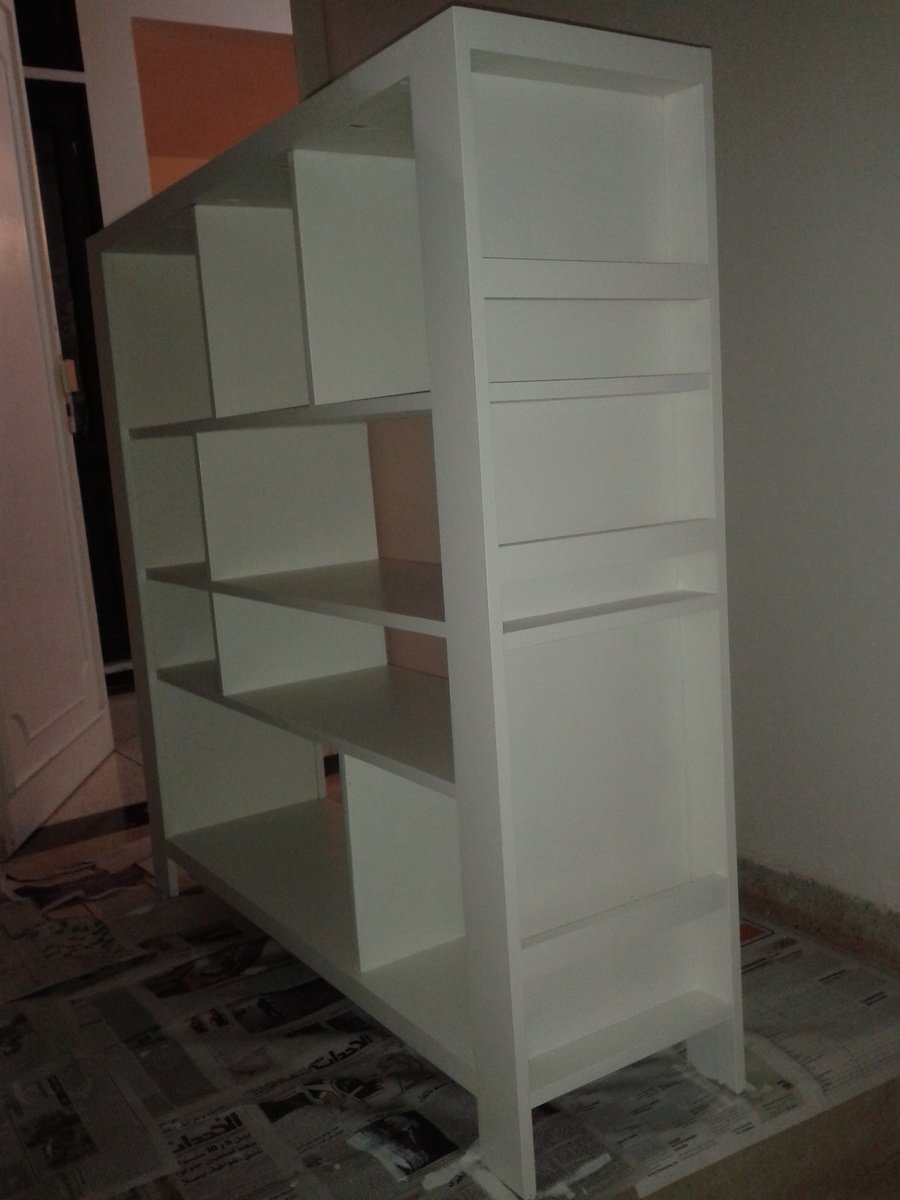
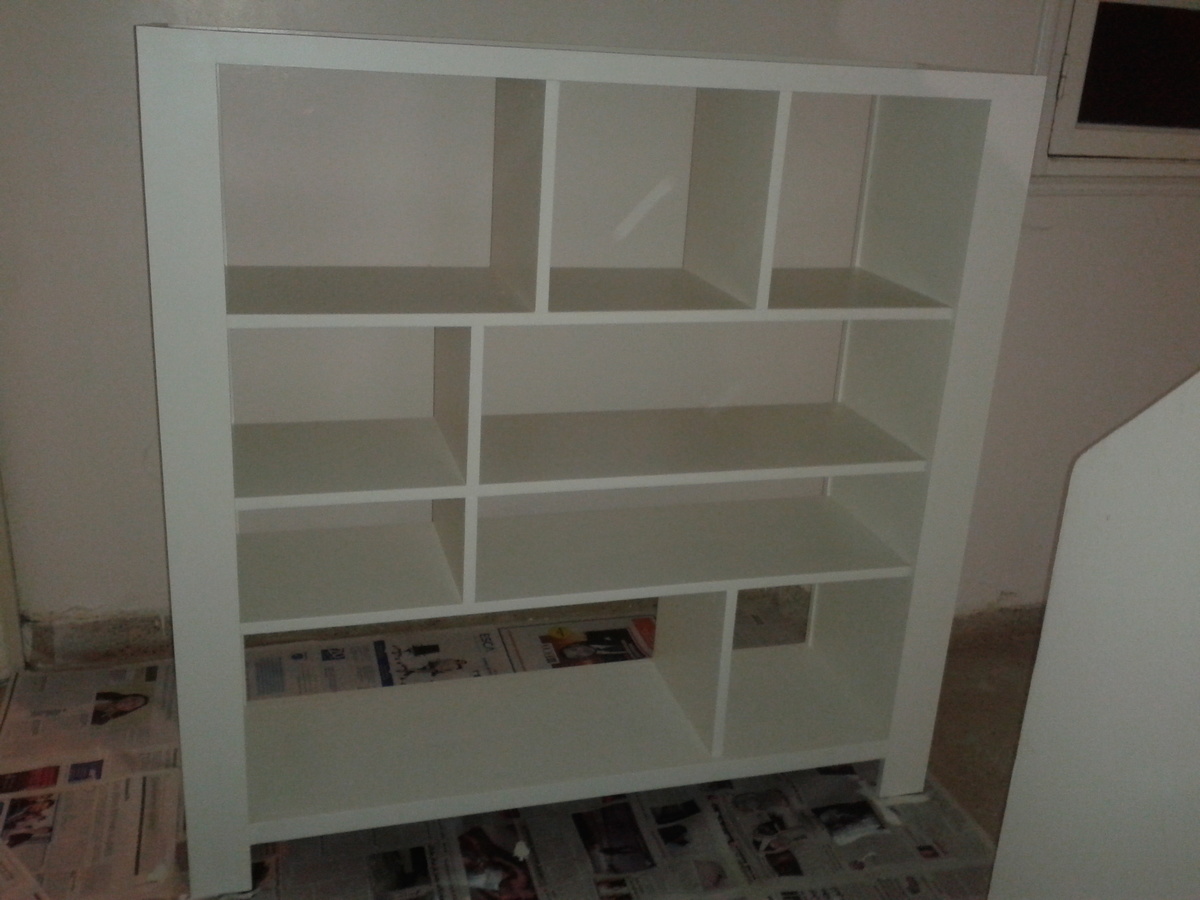
compartment depot bookshelf
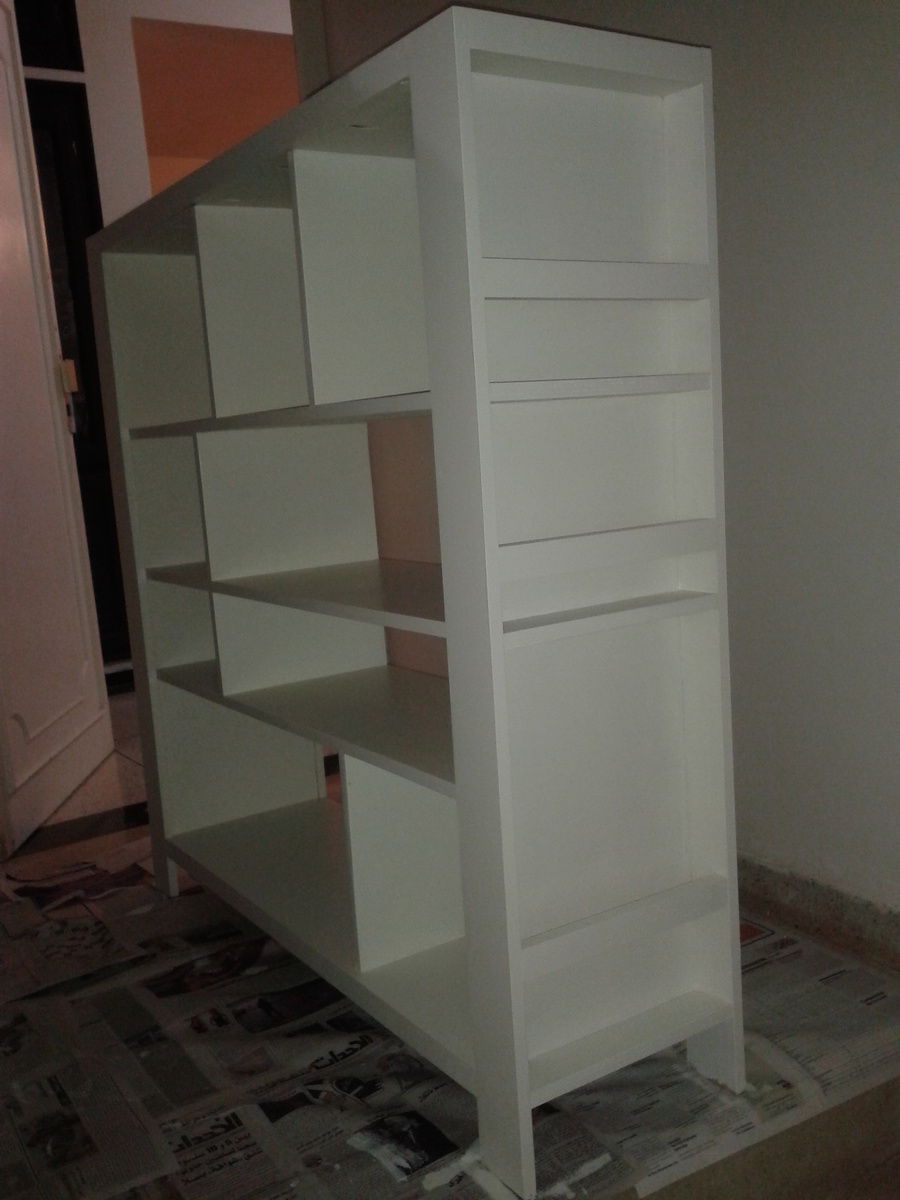
This is my first serious project that I dedicated to my wife so she can arrange her many books and personal things. I used the undercover jig from wolfcraft (same as kreg jig).
Built from Plan(s)
Estimated Time Investment
Week Long Project (20 Hours or More)
Finish Used
white satin paint
Recommended Skill Level
Intermediate

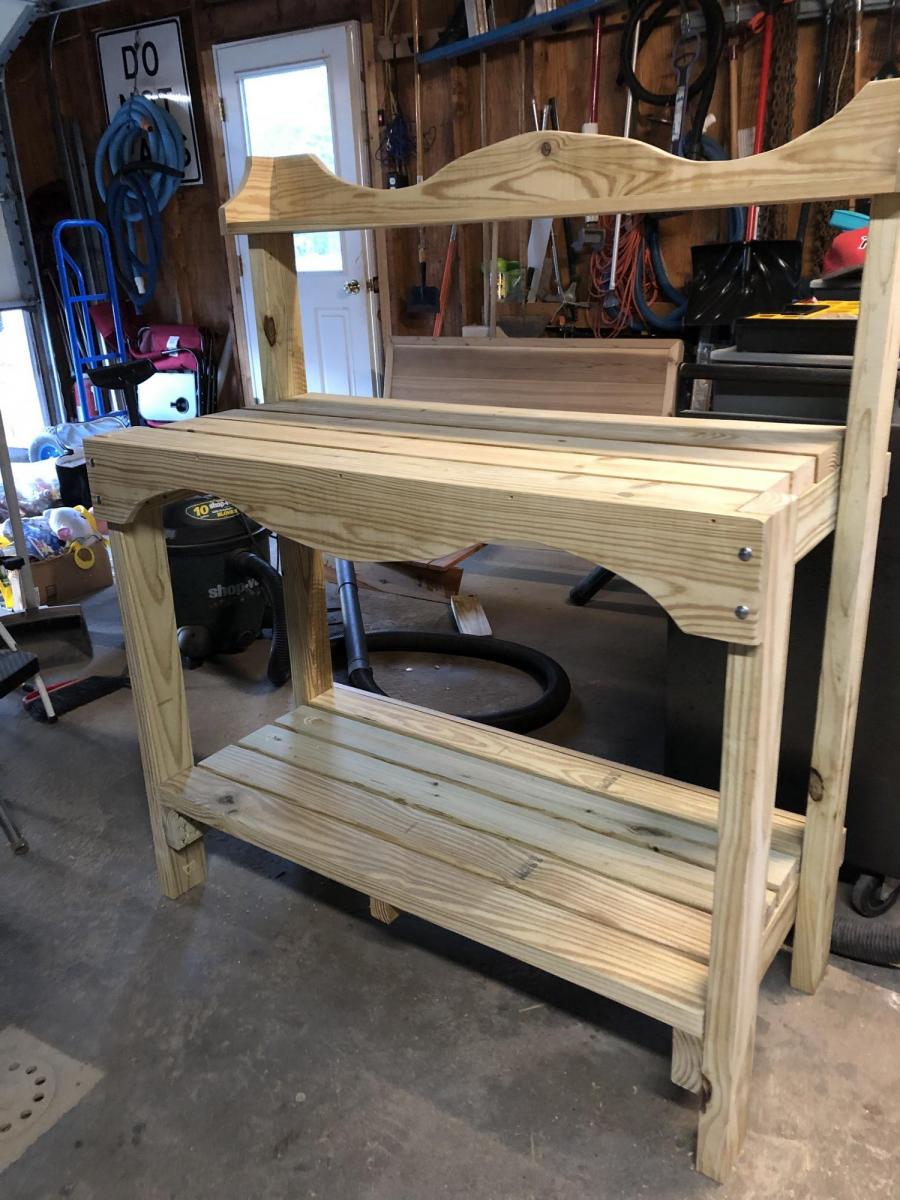
Potting Bench
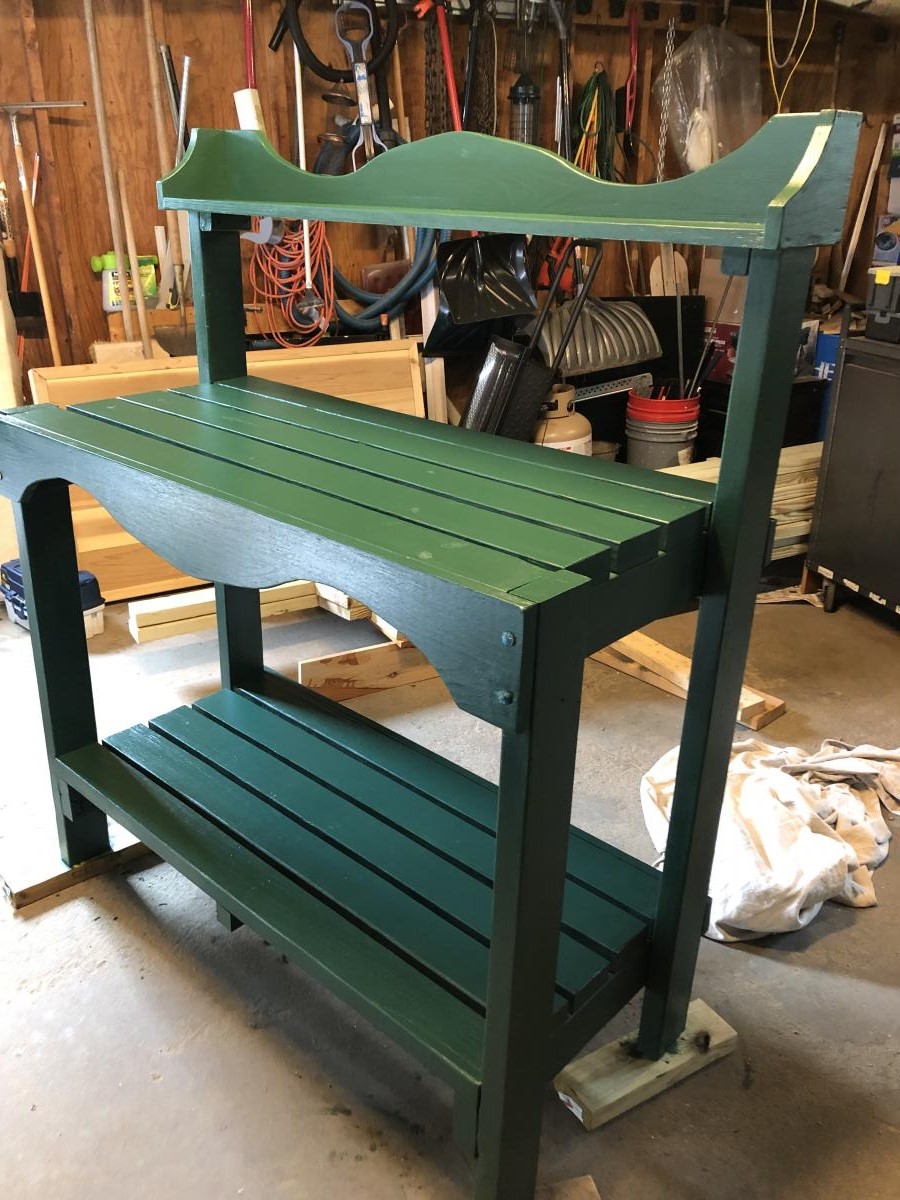
I built this for a dear friend’s wedding. The showed me a picture of what they wanted and I modified your plans to make it look the way they wanted. I used treated lumber so it would last on their deck. Finished with Cabot solid oil-based stain. I’m not a fan of solid stain as it was very humid and it took sooo long to dry. Also I love see the wood grain.

Built from Plan(s)
Estimated Cost
$80.00
Estimated Time Investment
Weekend Project (10-20 Hours)
Finish Used
Cabot Oil-based Solid Stain
Recommended Skill Level
Beginner
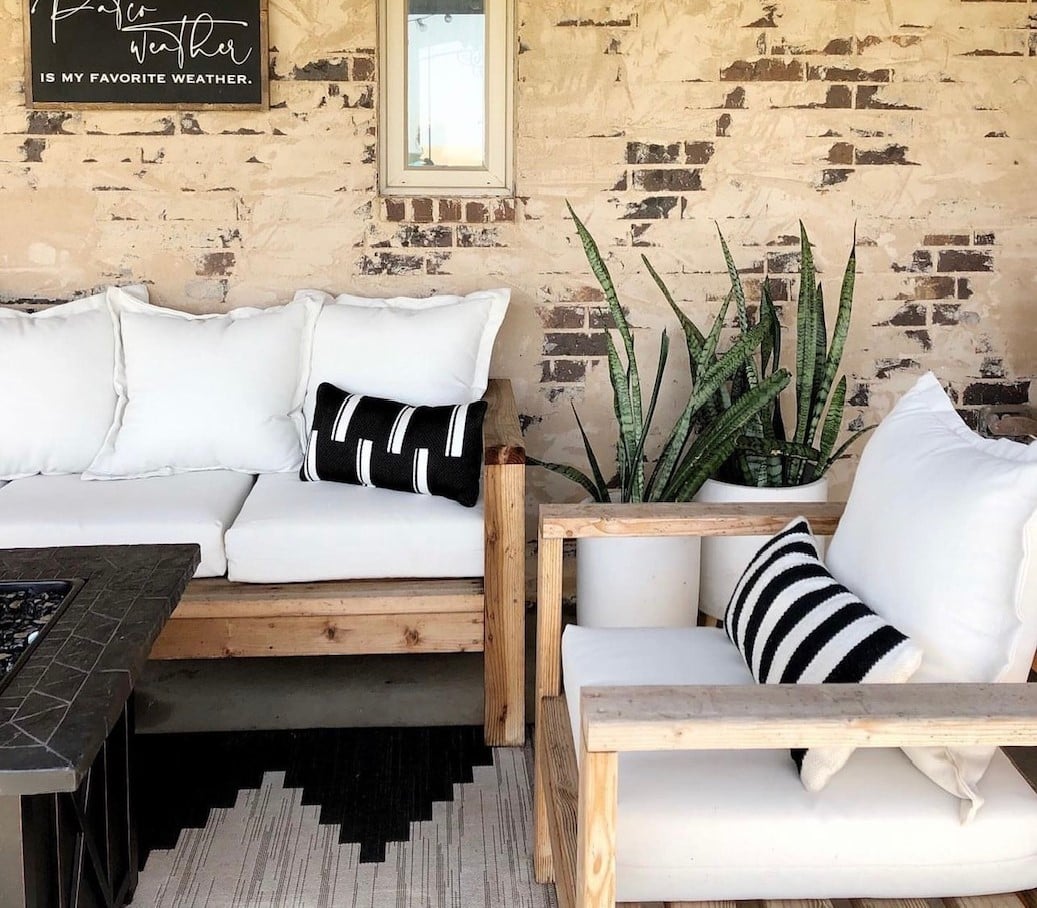
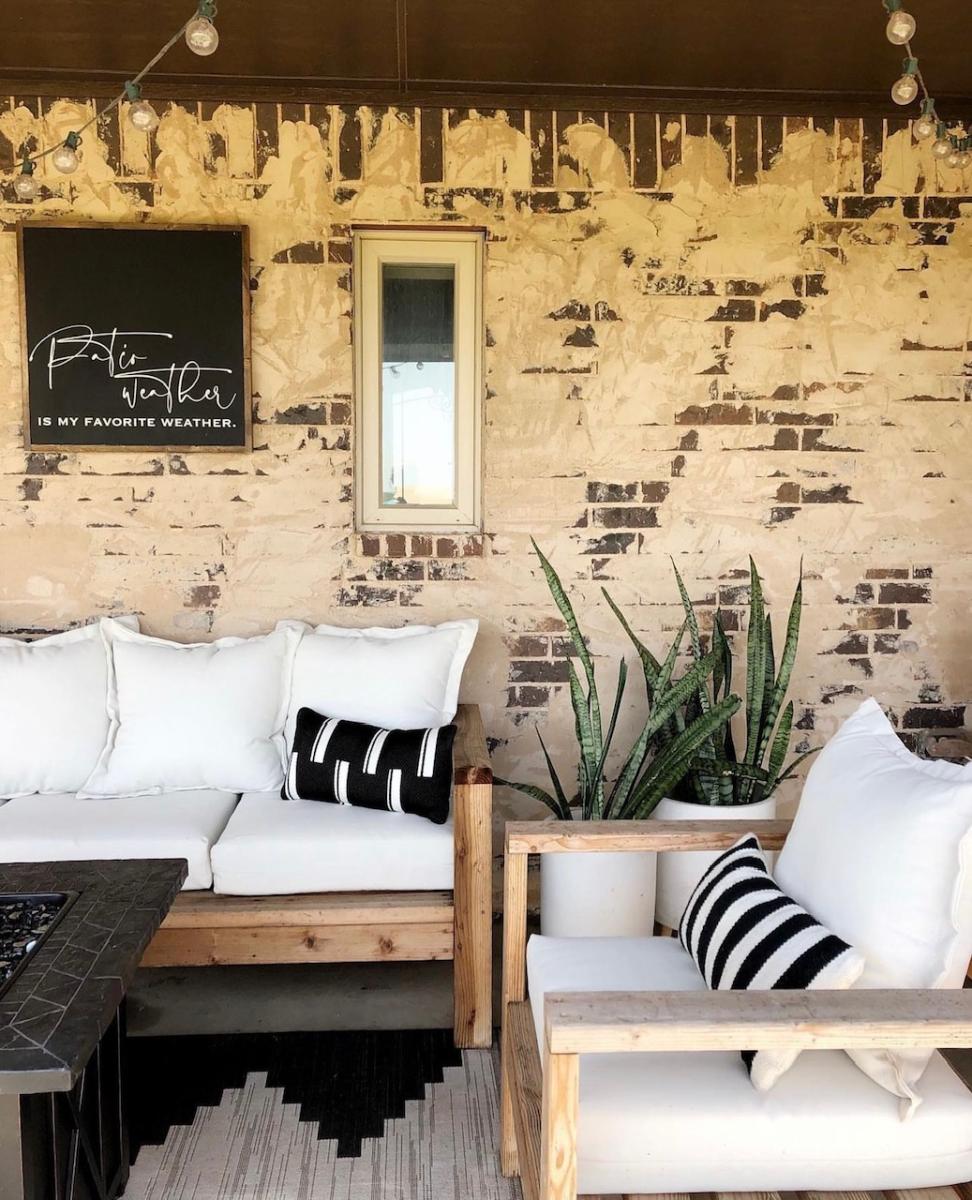
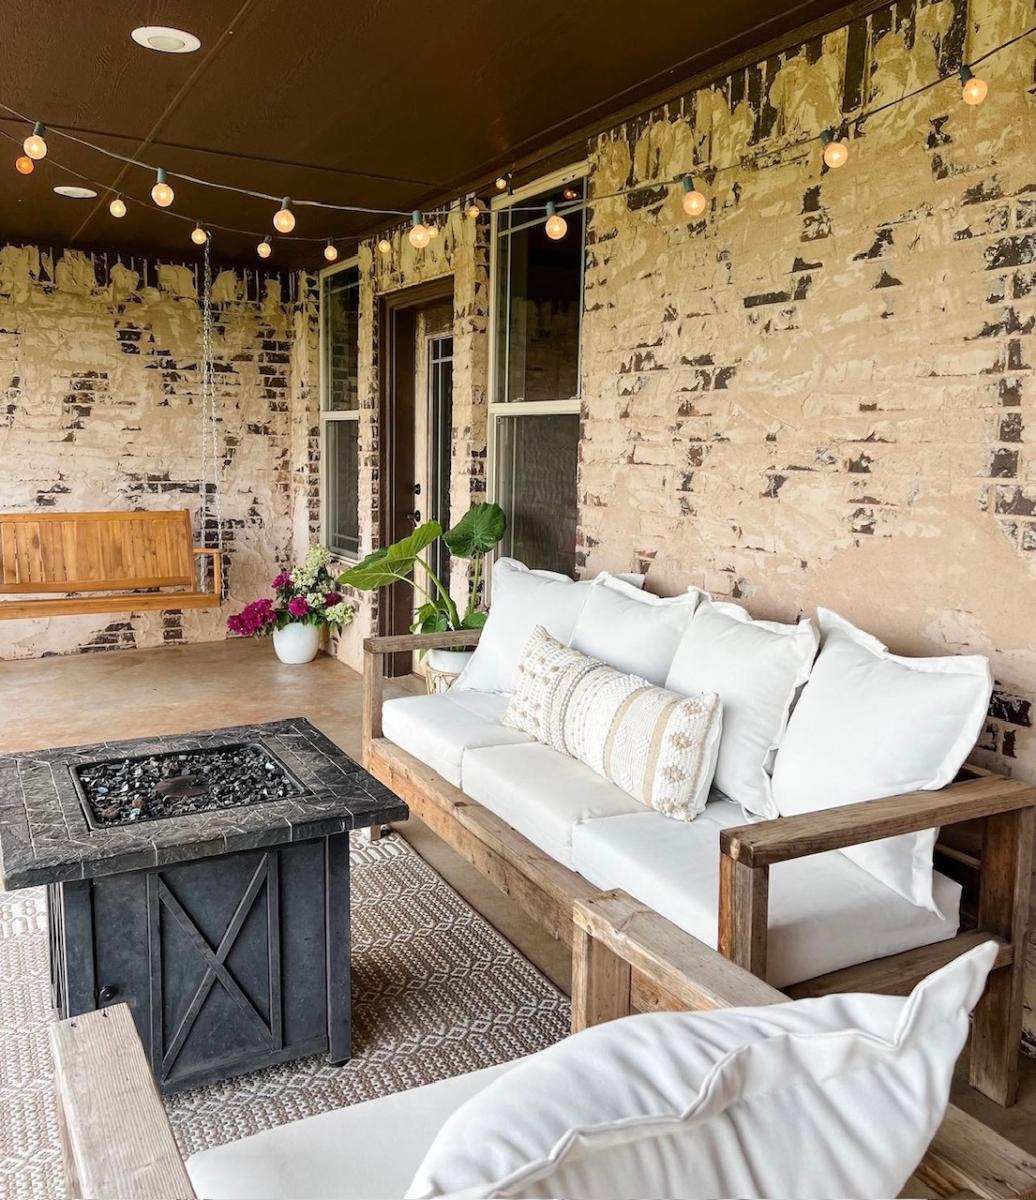
DIY 2x4 Outdoor Sofa
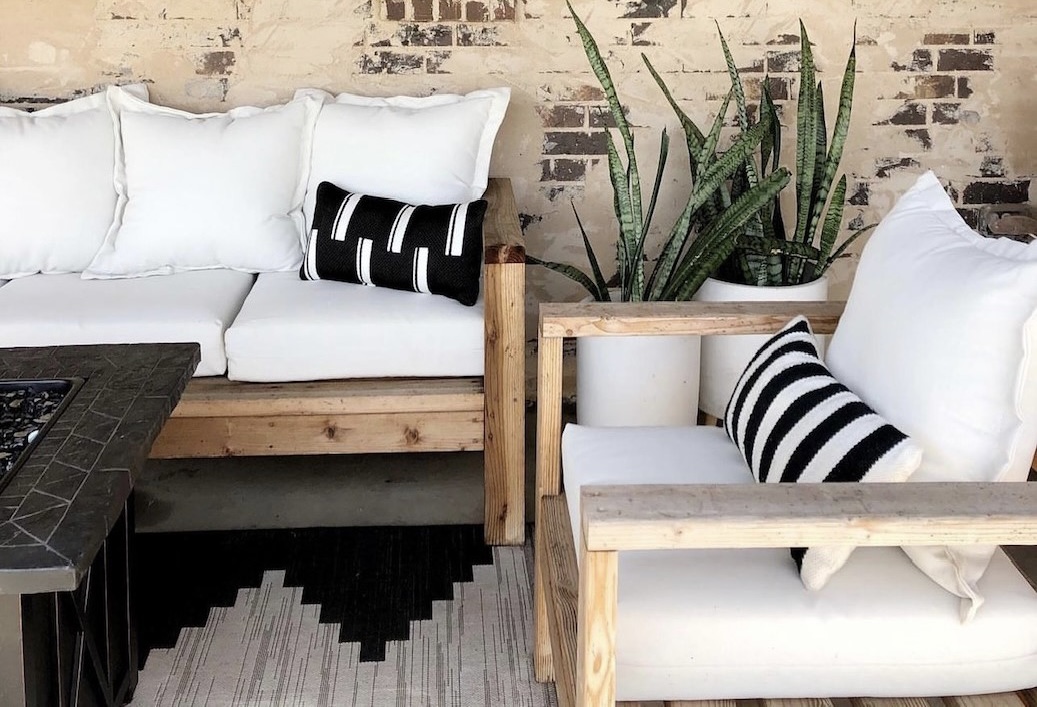
How cute is this new patio sofa I made out of 2x4s??? I used Ana White's plans and tweaked it just a little. I could not be happier with how it turned out and proud that I did it myself.
Built from Plan(s)
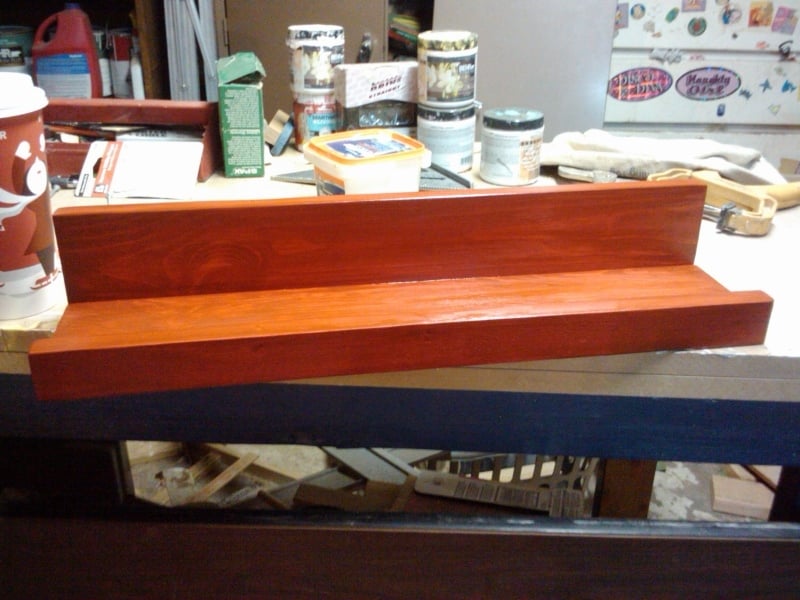
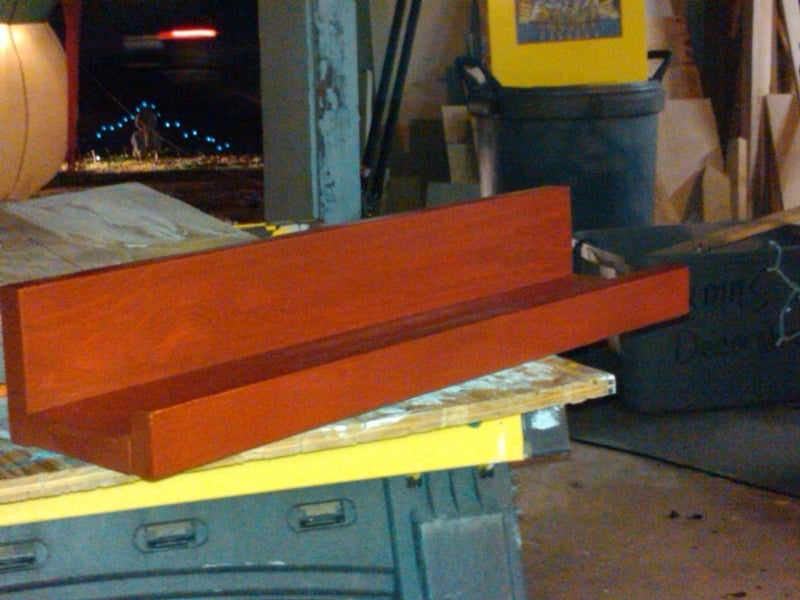
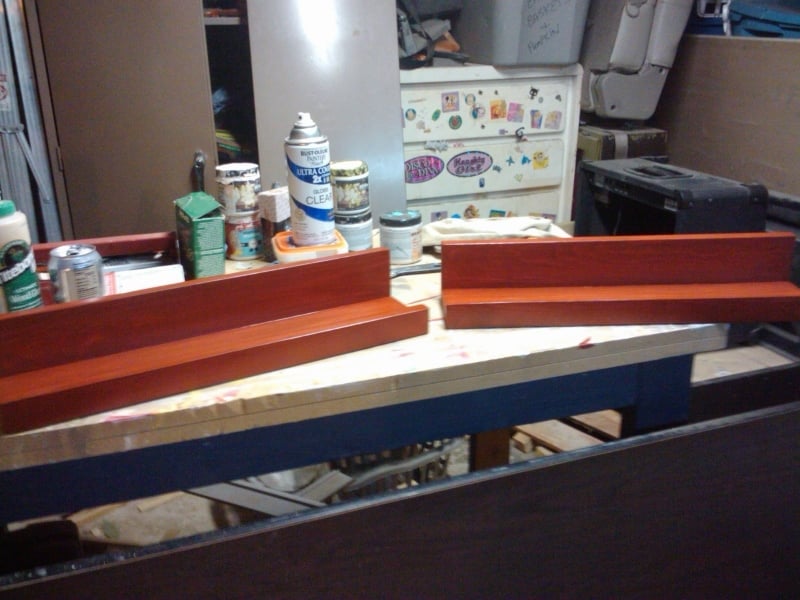
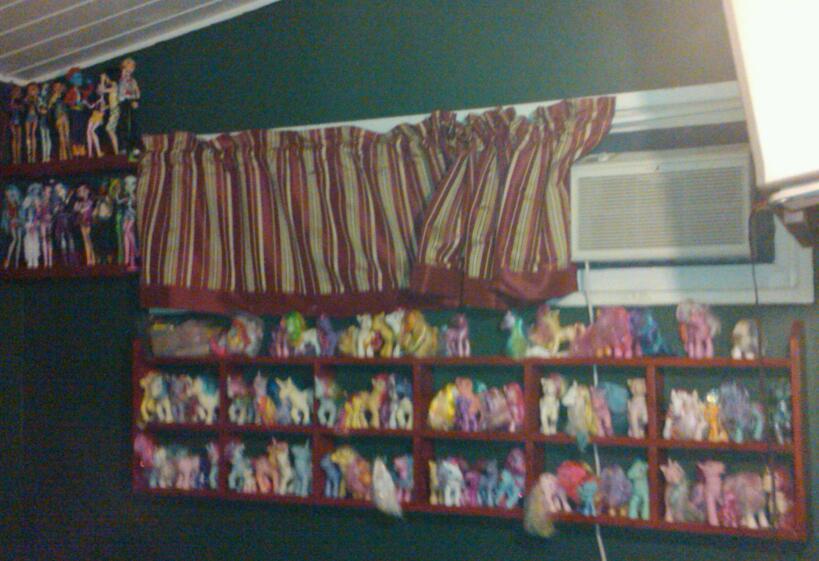
Five Dollar Ledges for Doll Display
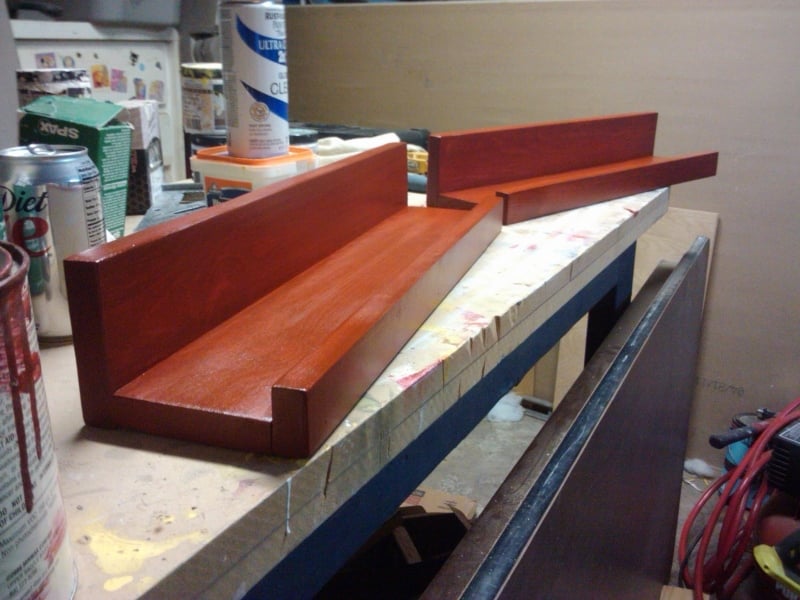
These shelves are great because you can make them any size you want! As you can see, these were made to hold my daughter's monster high collection, took advantage of dead space between the wall and the window. I put these together with my Kreg Jig so they're very sturdy. I couldn't buy shelves as nice as these, TWO OF THEM! for under 10 dollars. If you're thinking of building these, stop thinking, start doing, they're well worth your time and effort.

Built from Plan(s)
Estimated Cost
5.00, used leftover stain and poly, screws left over from other projects
Estimated Time Investment
Day Project (6-9 Hours)
Finish Used
Sanded smooth, stained with 3 coats, light sanding in between each coat, of China Red Minwaxs, with 25% Black Onyx mixed in. Top coat is Polyurethane x2 coats. My daughter's favorite color
Recommended Skill Level
Beginner
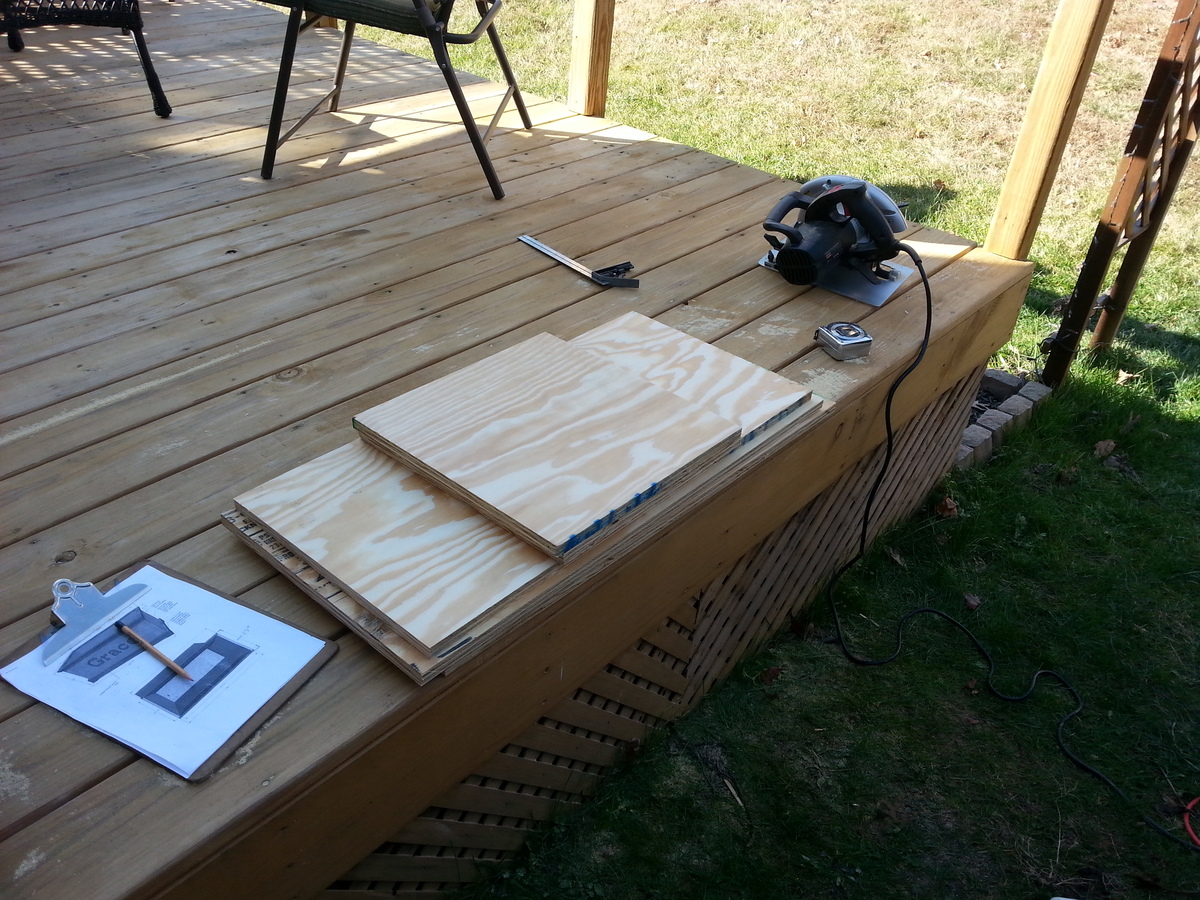
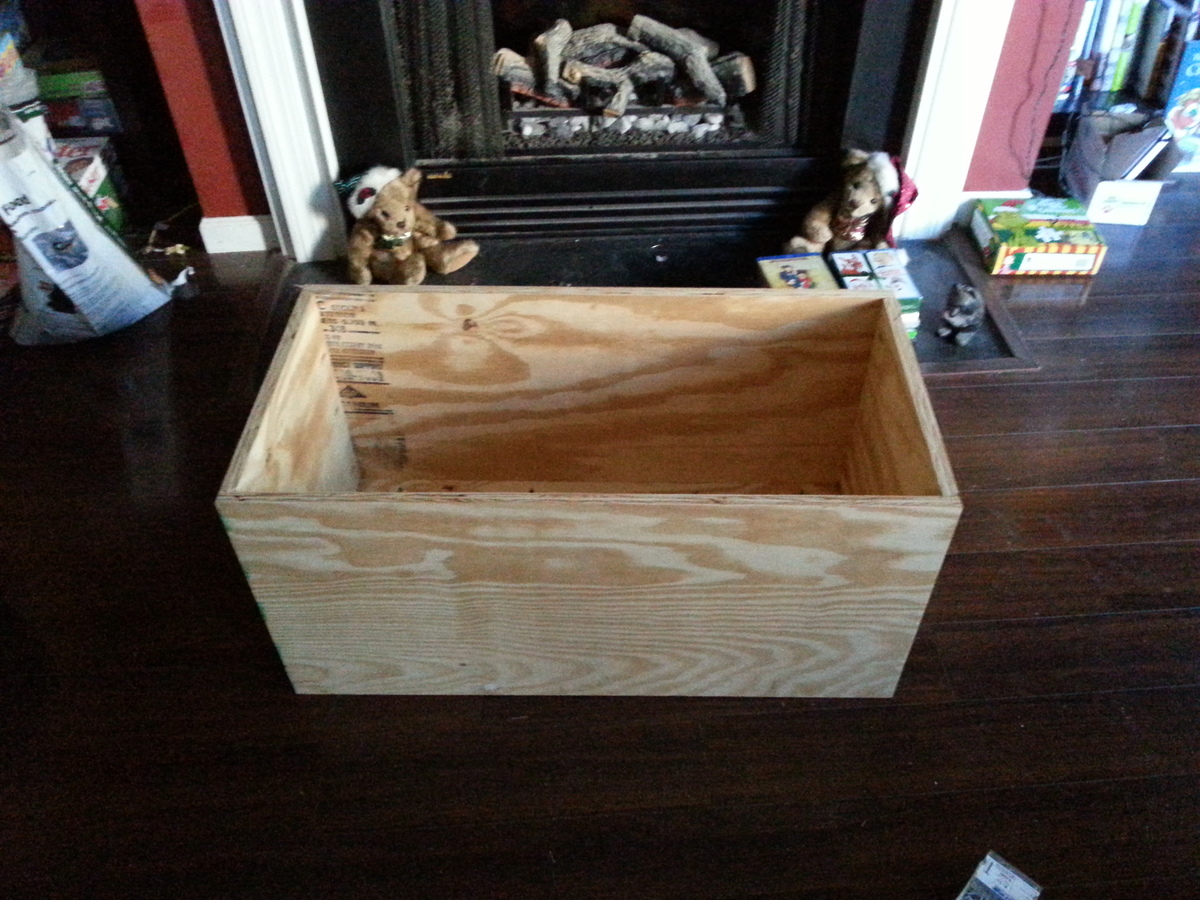
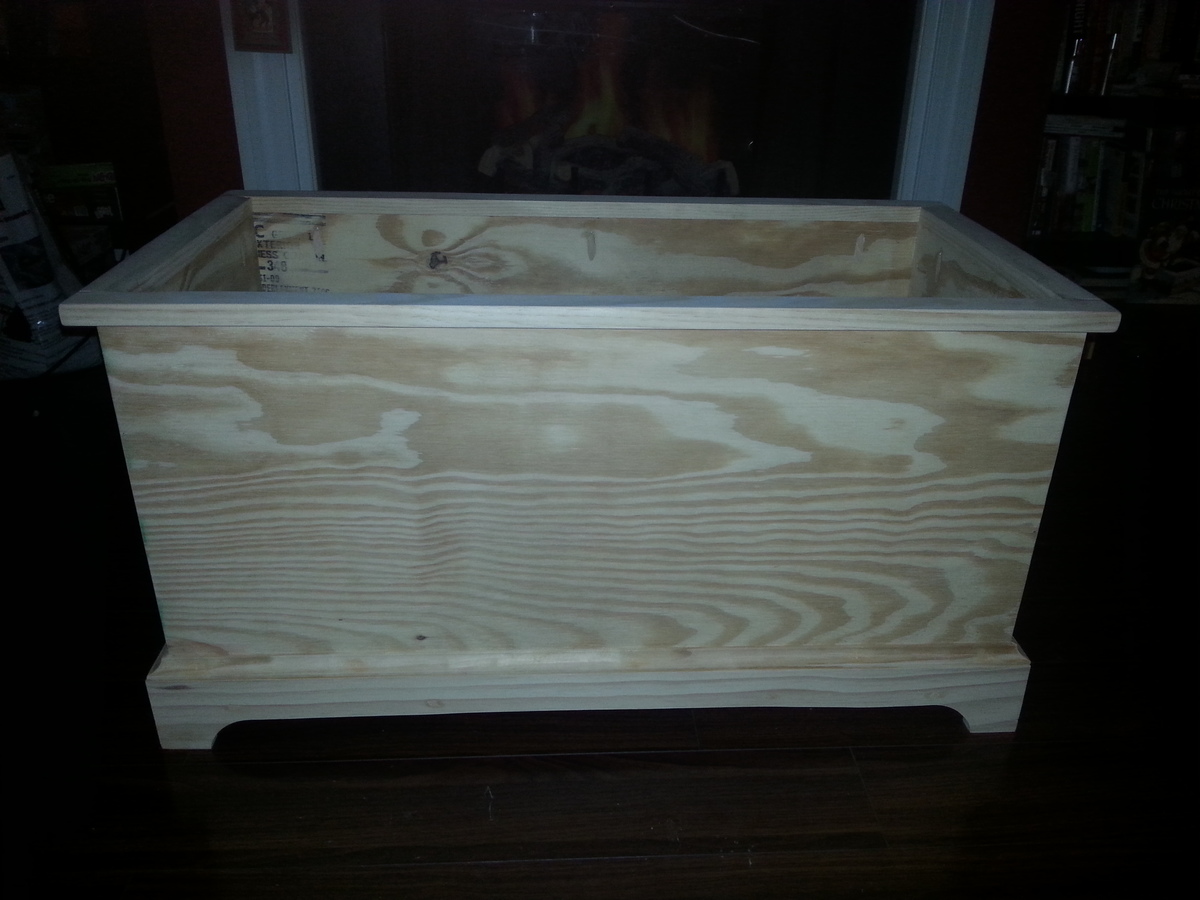
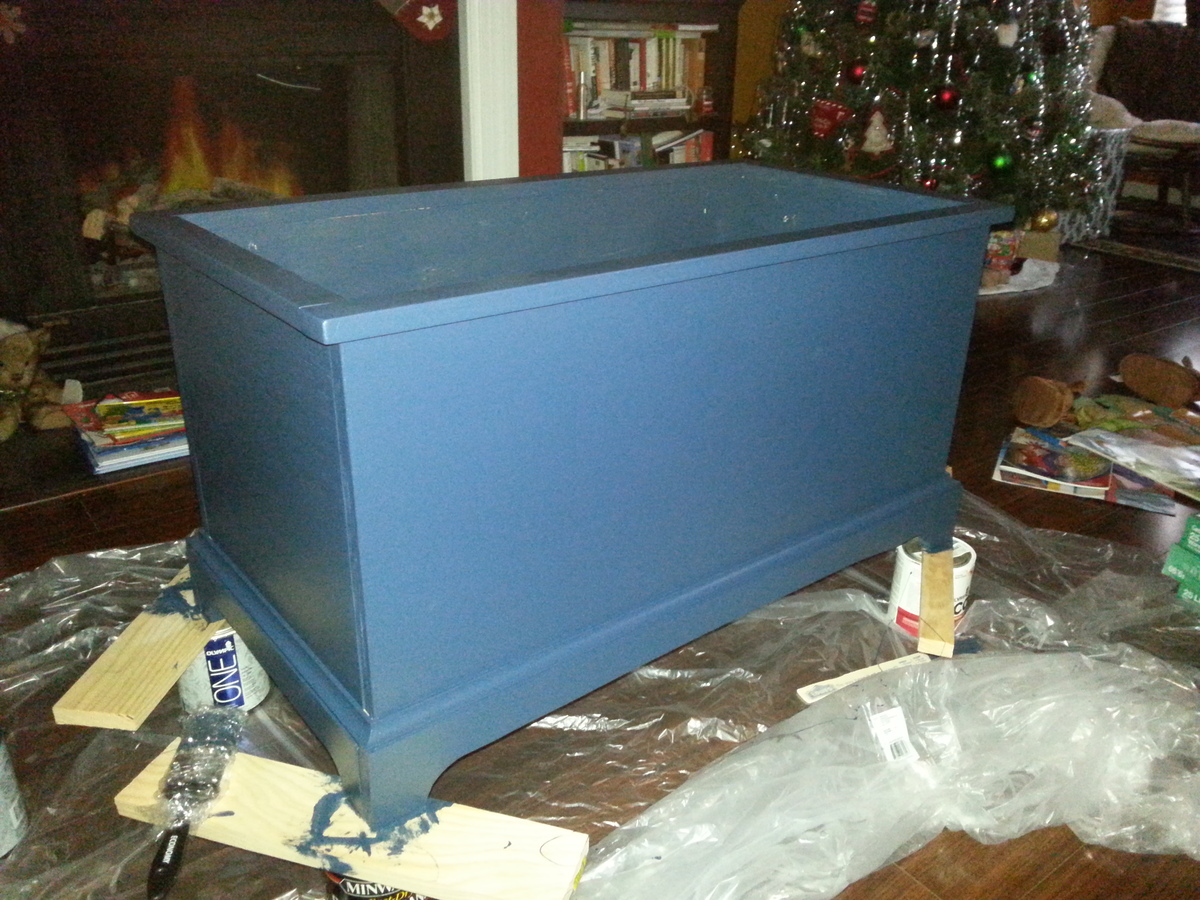
Toy box
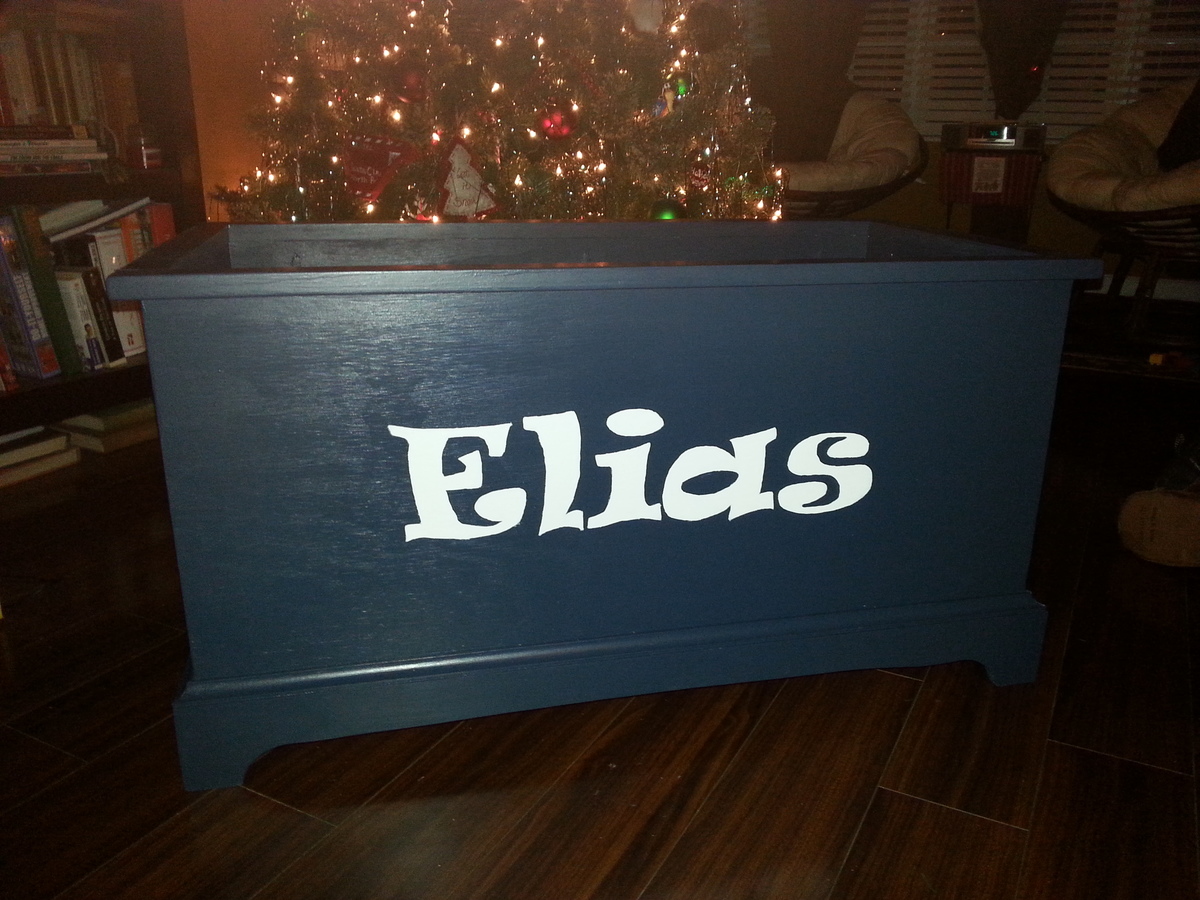
I have been wanting a good size toy box for my son and after finding this project here, I decided to build one for him for Christmas. Eli is going to be so excited!
This is a pocket hole version.
Built from Plan(s)
Estimated Cost
$75
Finish Used
Cavalry blue satin paint from Lowe's. Basic white in semi gloss letters
Recommended Skill Level
Beginner
Comments
Mon, 12/23/2013 - 10:07
Saw
Thanks...I couldn't place the brand.
By the way...Eli will probably love the toybox. I made one last year for my daughter, and stuck her name on it using wood cutout letters. I added a lid, so I don't have to look at her ever growing collection of stuffies...
I made mine with a "MasterCraft" saw, a budget brand similar to Craftsman in terms of price and quality...
HD
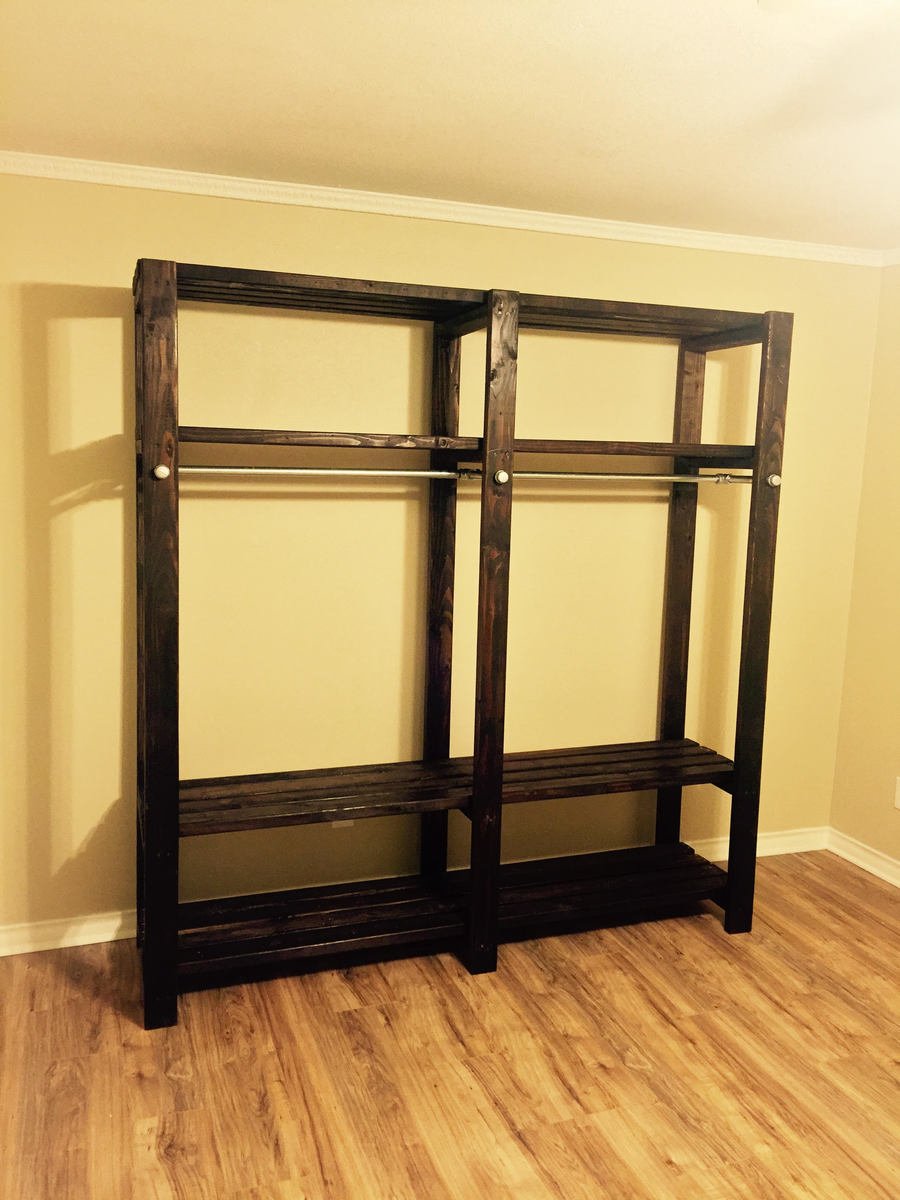
2X4 and 3/4" Pipe Industrial Closet
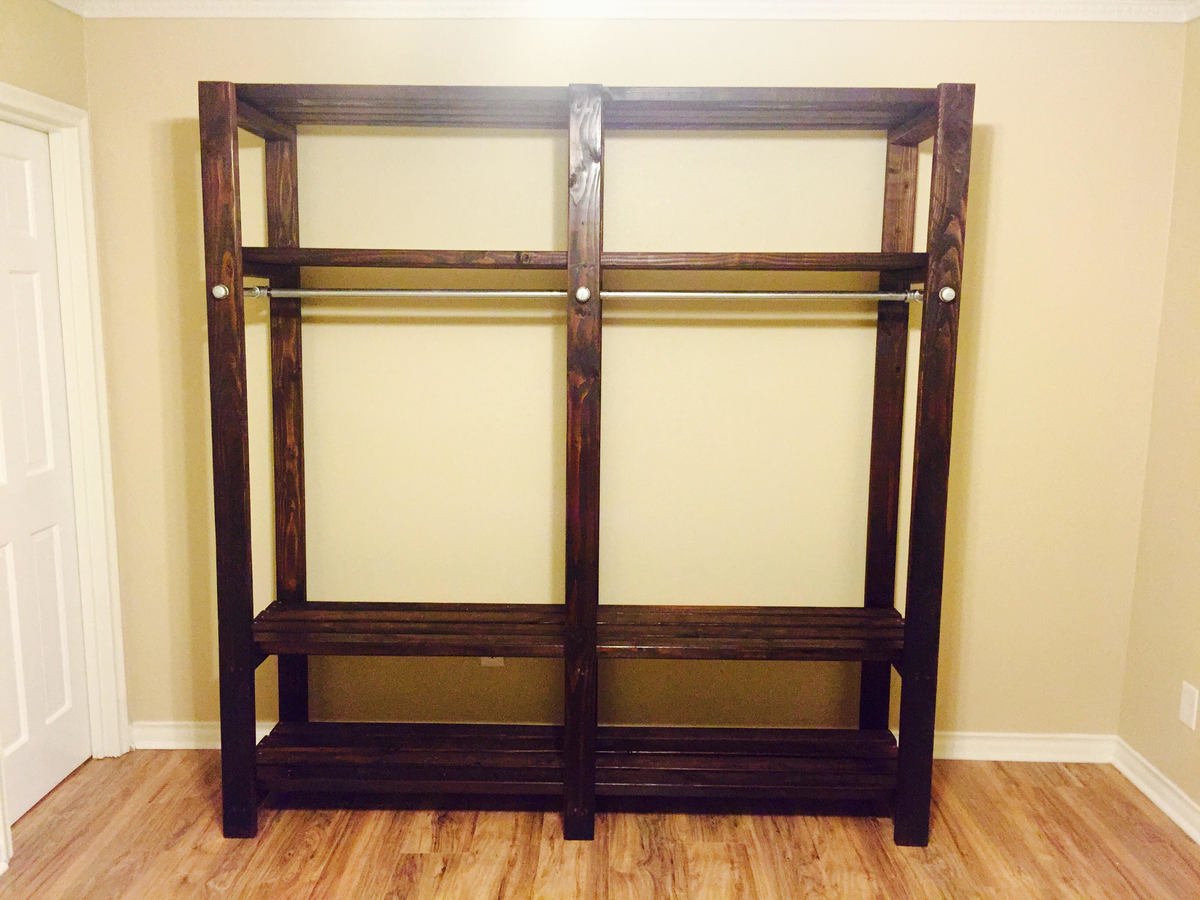
I built this closet for a room in a newly renovated house which was improved from a 3BR to a 4BR but the new additional BR didn't have space for a closet. The entire closet is made of only cheap 2X4's and galvanized pipe found at the local hardware store.
The user didn't need the middle shelves so I modified the original plans to make it shorter in width but 4 inches deeper by using 10" nipples instead of 8". I sanded and stained all the 2X4's first before doing anything. Then I created the 3 legs first (end boards - 82" inside boards - 17.5"). Once the legs were ready, I cut the boards for the shelves at 79" (4 boards for each shelf, evenly spaced out). Before putting the shelf on the legs, I laid each leg on the ground and unscrewed one side of the shelf and added wood glue in the hole, then screwed it back in to increase stability. Next, drill the pipe holes evenly and connect the pipe. Once the pipe is connected, place (4) 79" 2X4's evenly distributed on each shelf and drill 2 screws from the boards into the bottom of the legs on both ends and the middle to stabilize the shelf. From here, I took some pledge and wiped it down which smoothed down the surface. The longest part of the project was making sure the stain was dry and evenly applied.
I recommend using a miter saw for straight and smooth cuts and take the time to sand the wood (even the ends after you cut it).
2X4 Studs - 28
10" 3/4" Galvanized Pipe - 6
36" 3/4" Galvanized Pipe - 2
3/4" Galvanized Pipe T - 2
3/4" Galvanized Pipe Cross - 1
3/4" End Caps - 6
Pipe Wrench for tight connections
2.5" Screws (Drill pilot holes for everything)
1 1/8" drill bit for each hole
Stain - Minwax Espresso
Wood Glue

Built from Plan(s)
Estimated Cost
Less than $200
Estimated Time Investment
Weekend Project (10-20 Hours)
Finish Used
Minwax - Espresso
Recommended Skill Level
Beginner
Comments
Mon, 02/29/2016 - 12:35
My Project
I accidently added this project without logging in so it shows it as Guest. Is there anyway to assign it to my username so if there are questions, I will receive a notice about it.
Mon, 02/29/2016 - 12:36
My Project
I accidently added this project without logging in so it shows it as Guest. Is there anyway to assign it to my username so if there are questions, I will receive a notice about it.
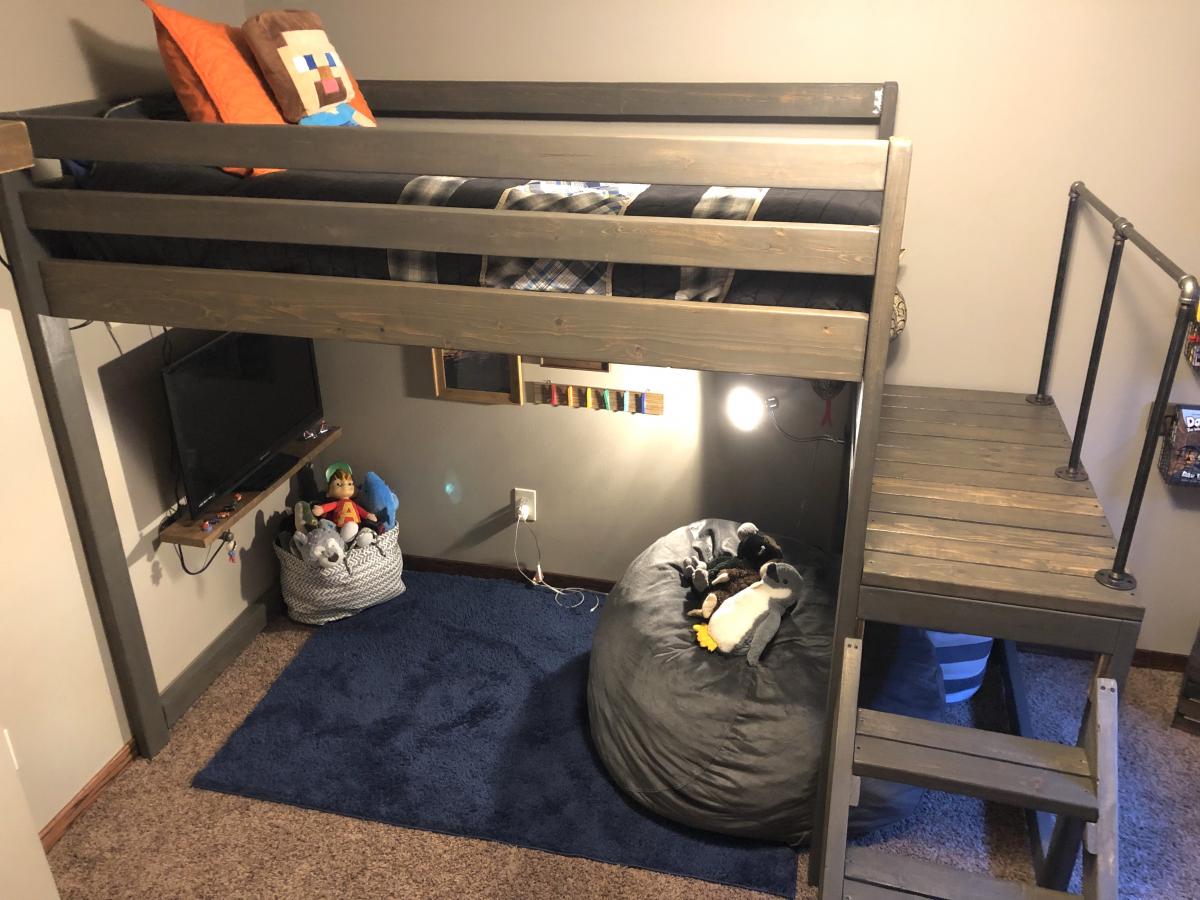
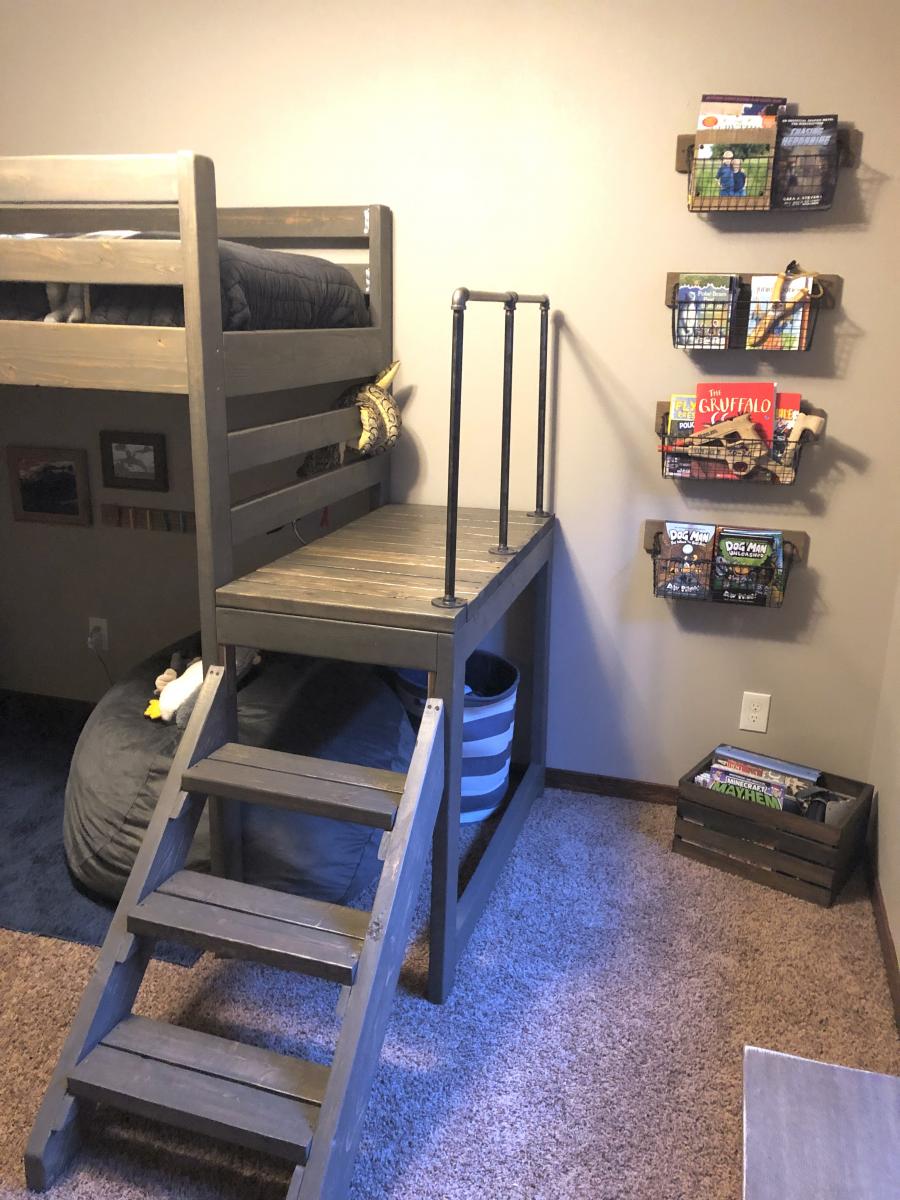
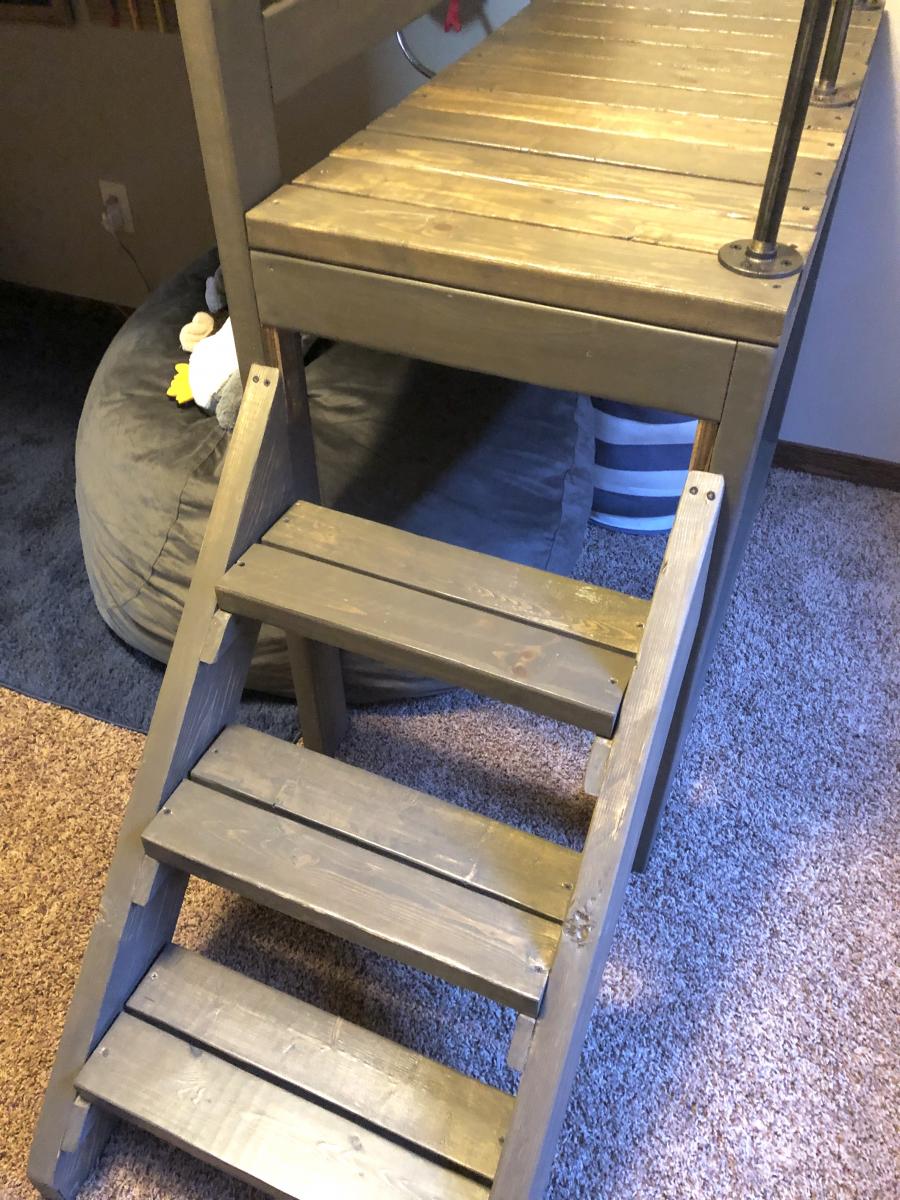
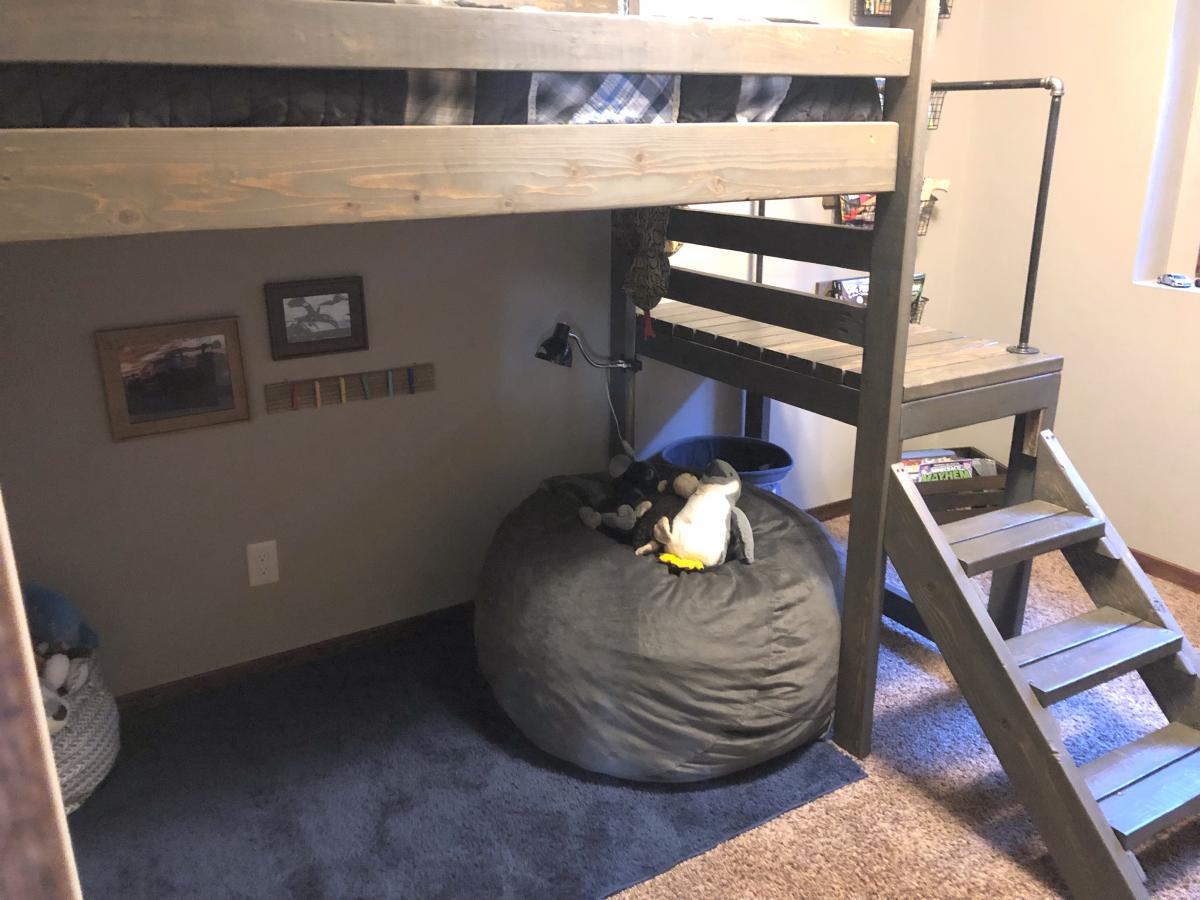
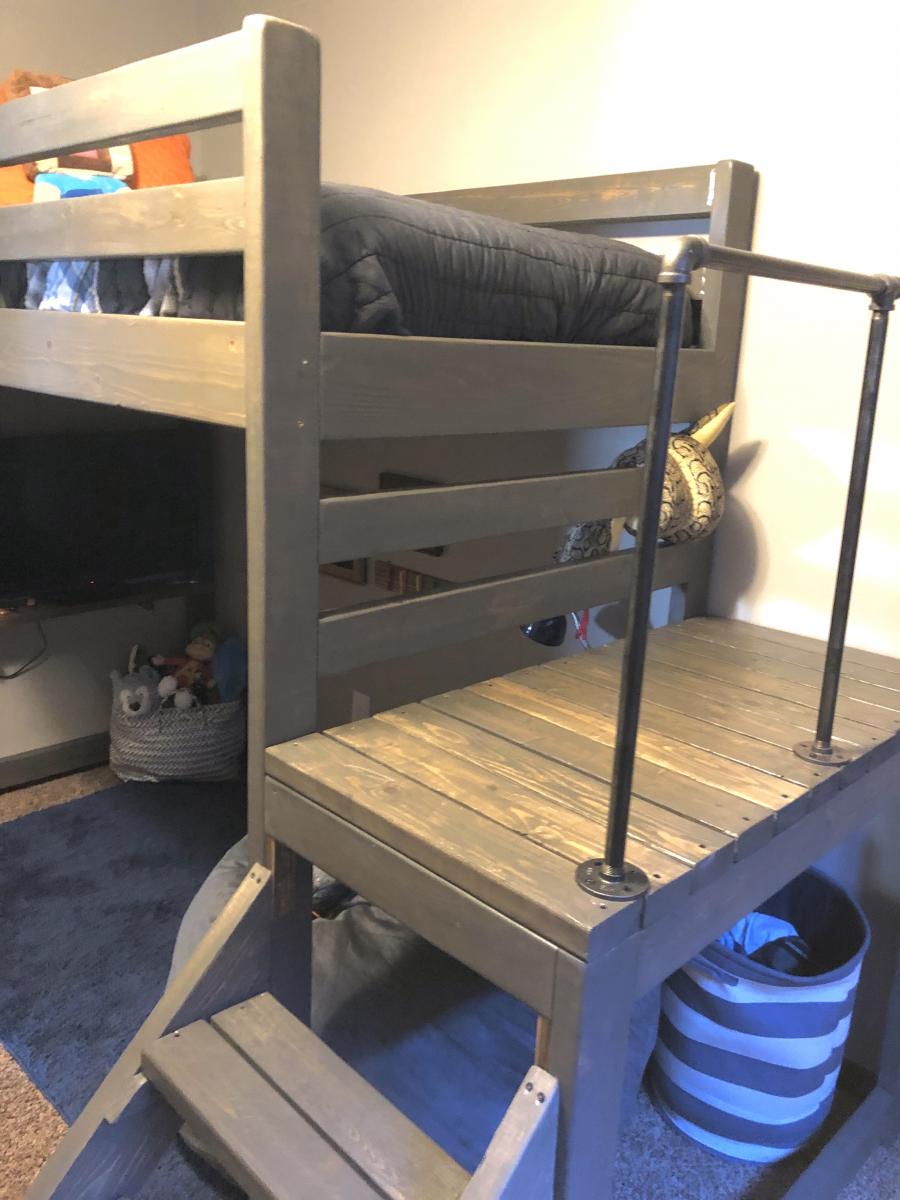
Camp Loft Bed
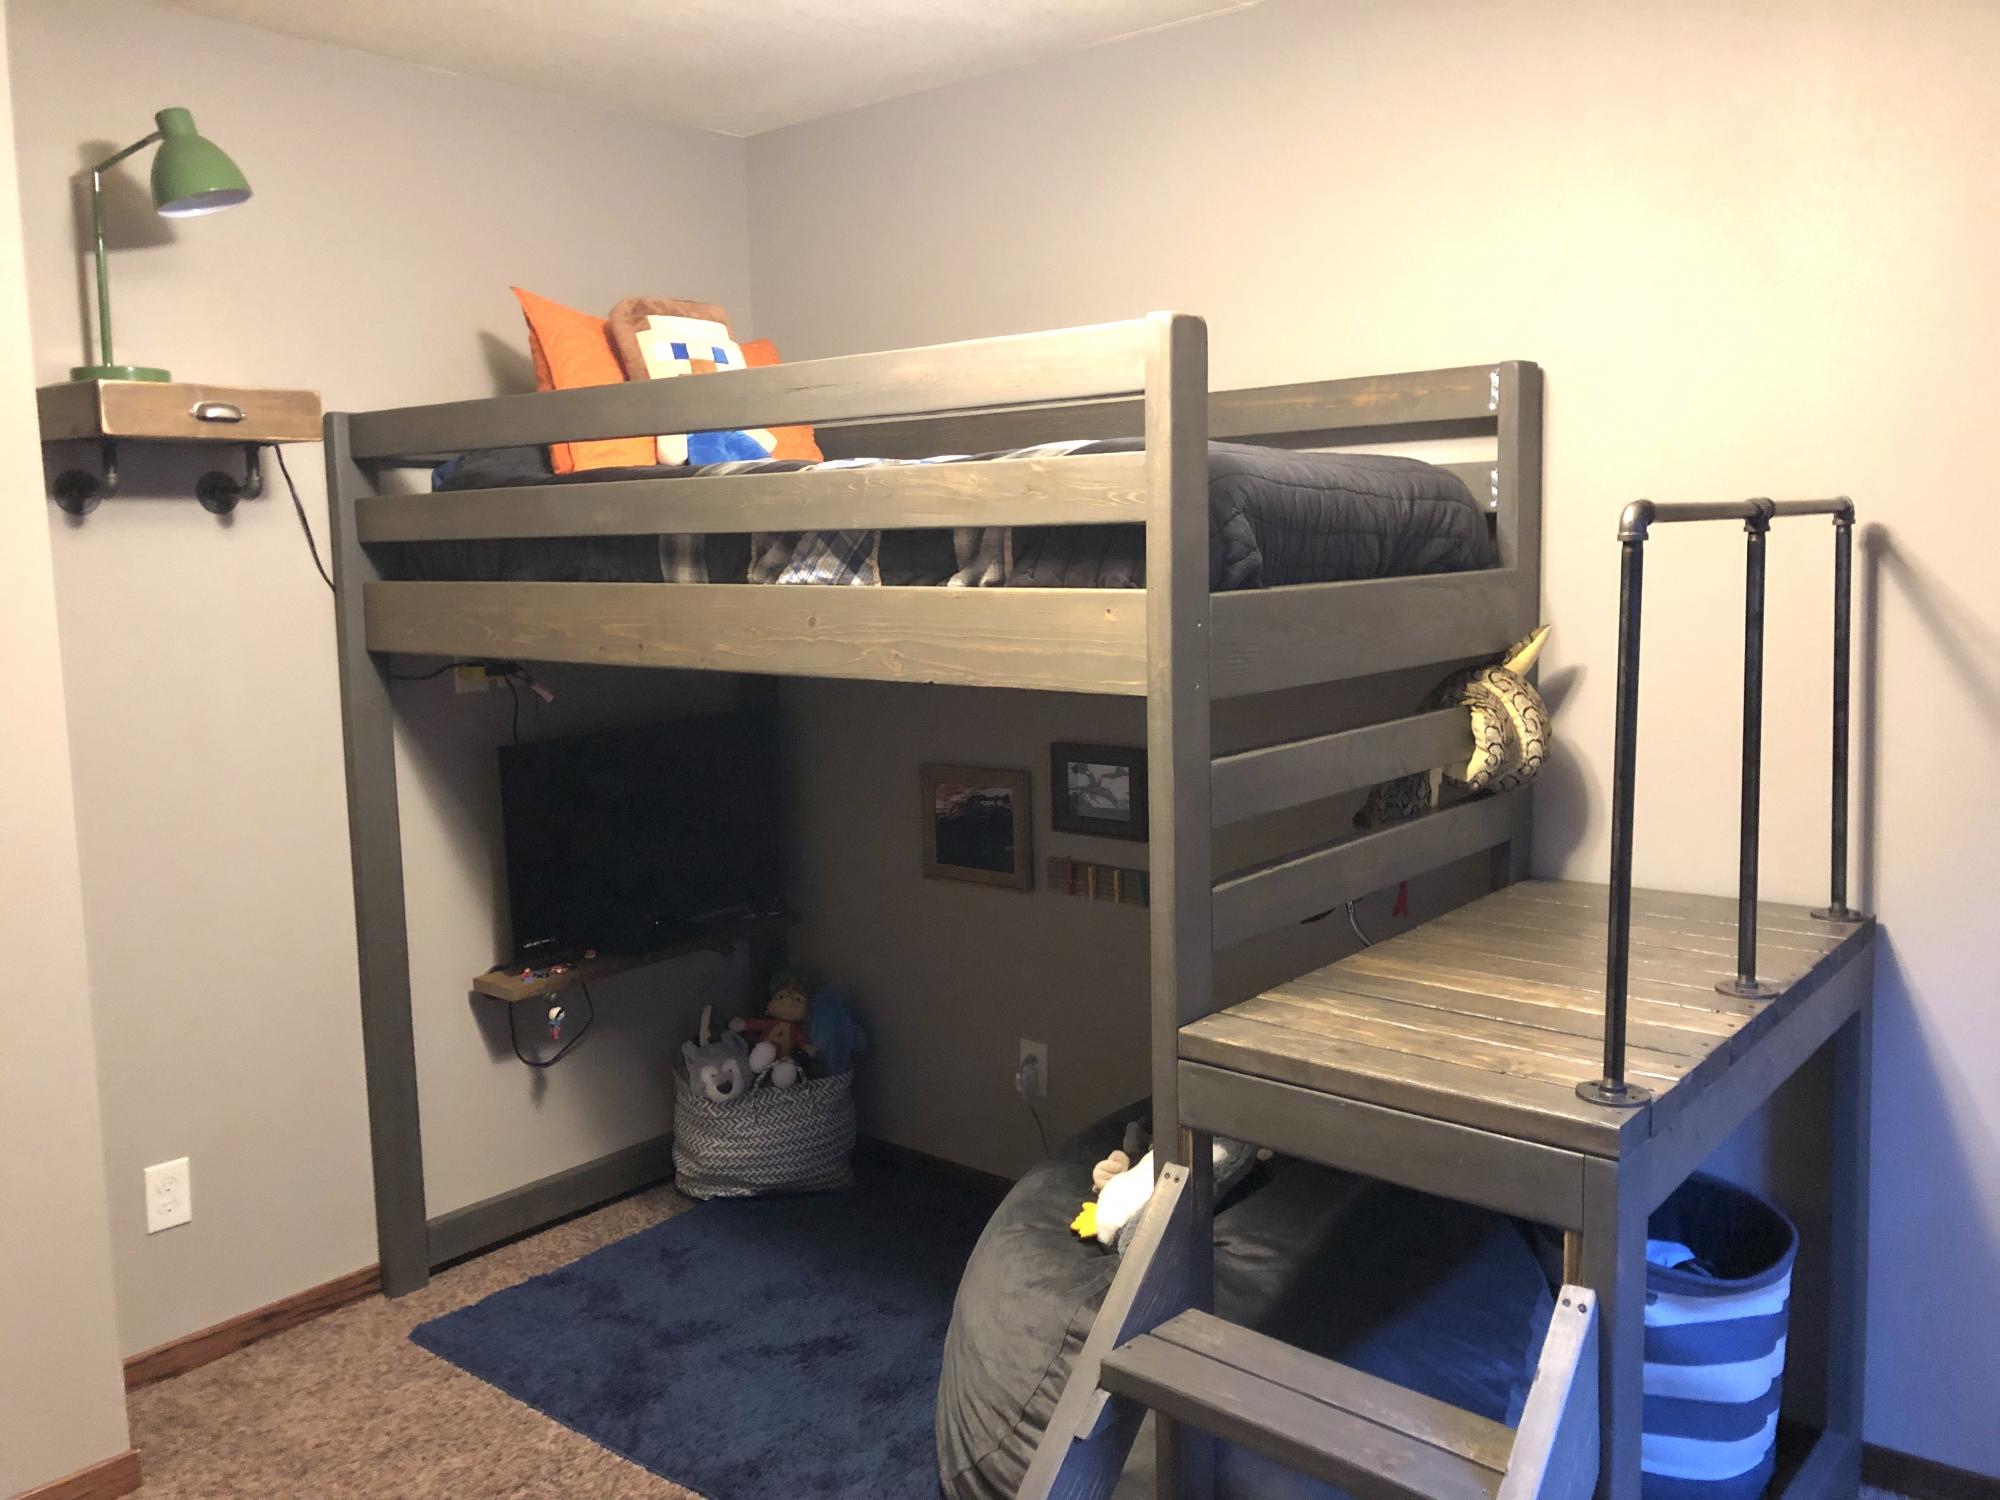
I built this bed for my 8 year old son's room "face lift." His only request was to have a place to hang out, but being his room was so small, that was a struggle! The loft bed allowed us to make a cozy little hangout - the poor guy can't get rid of his siblings now!
I added a few extra inches to the height of the Camp Loft plan, I also added the pipe hand rail for additional safety and give his room a little older boy vibe! It was a very easy build, the staining/sealing took the longest. The stairs make it much easier to change sheets and getting up and down for those of us who aren't 8 year olds :).
Built from Plan(s)
Estimated Time Investment
Day Project (6-9 Hours)
Finish Used
I used a mixture of Varathane Weathered Gray and Minwax Special Walnut. It is about 3/4 Gray and 1/4 Walnut.
Recommended Skill Level
Beginner
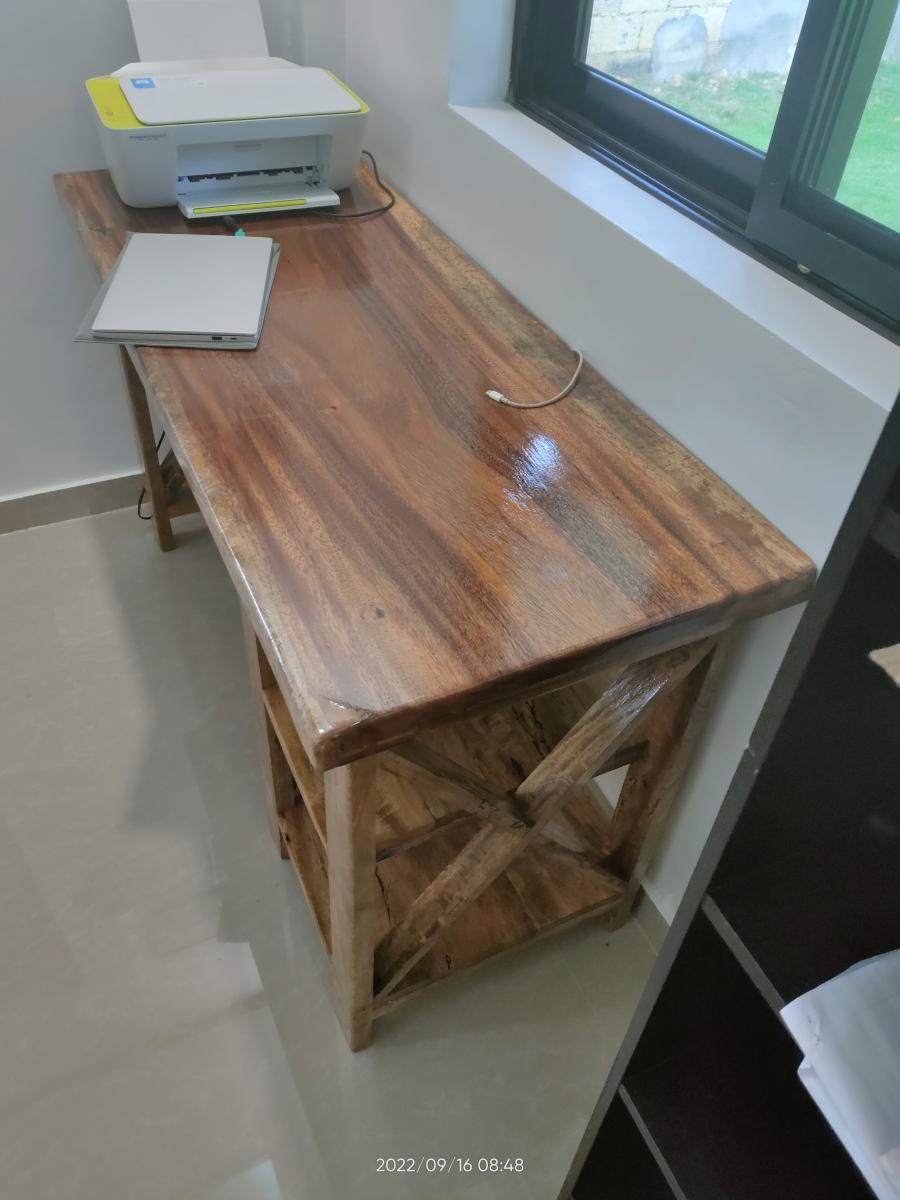
X Desk with Exotic Wood
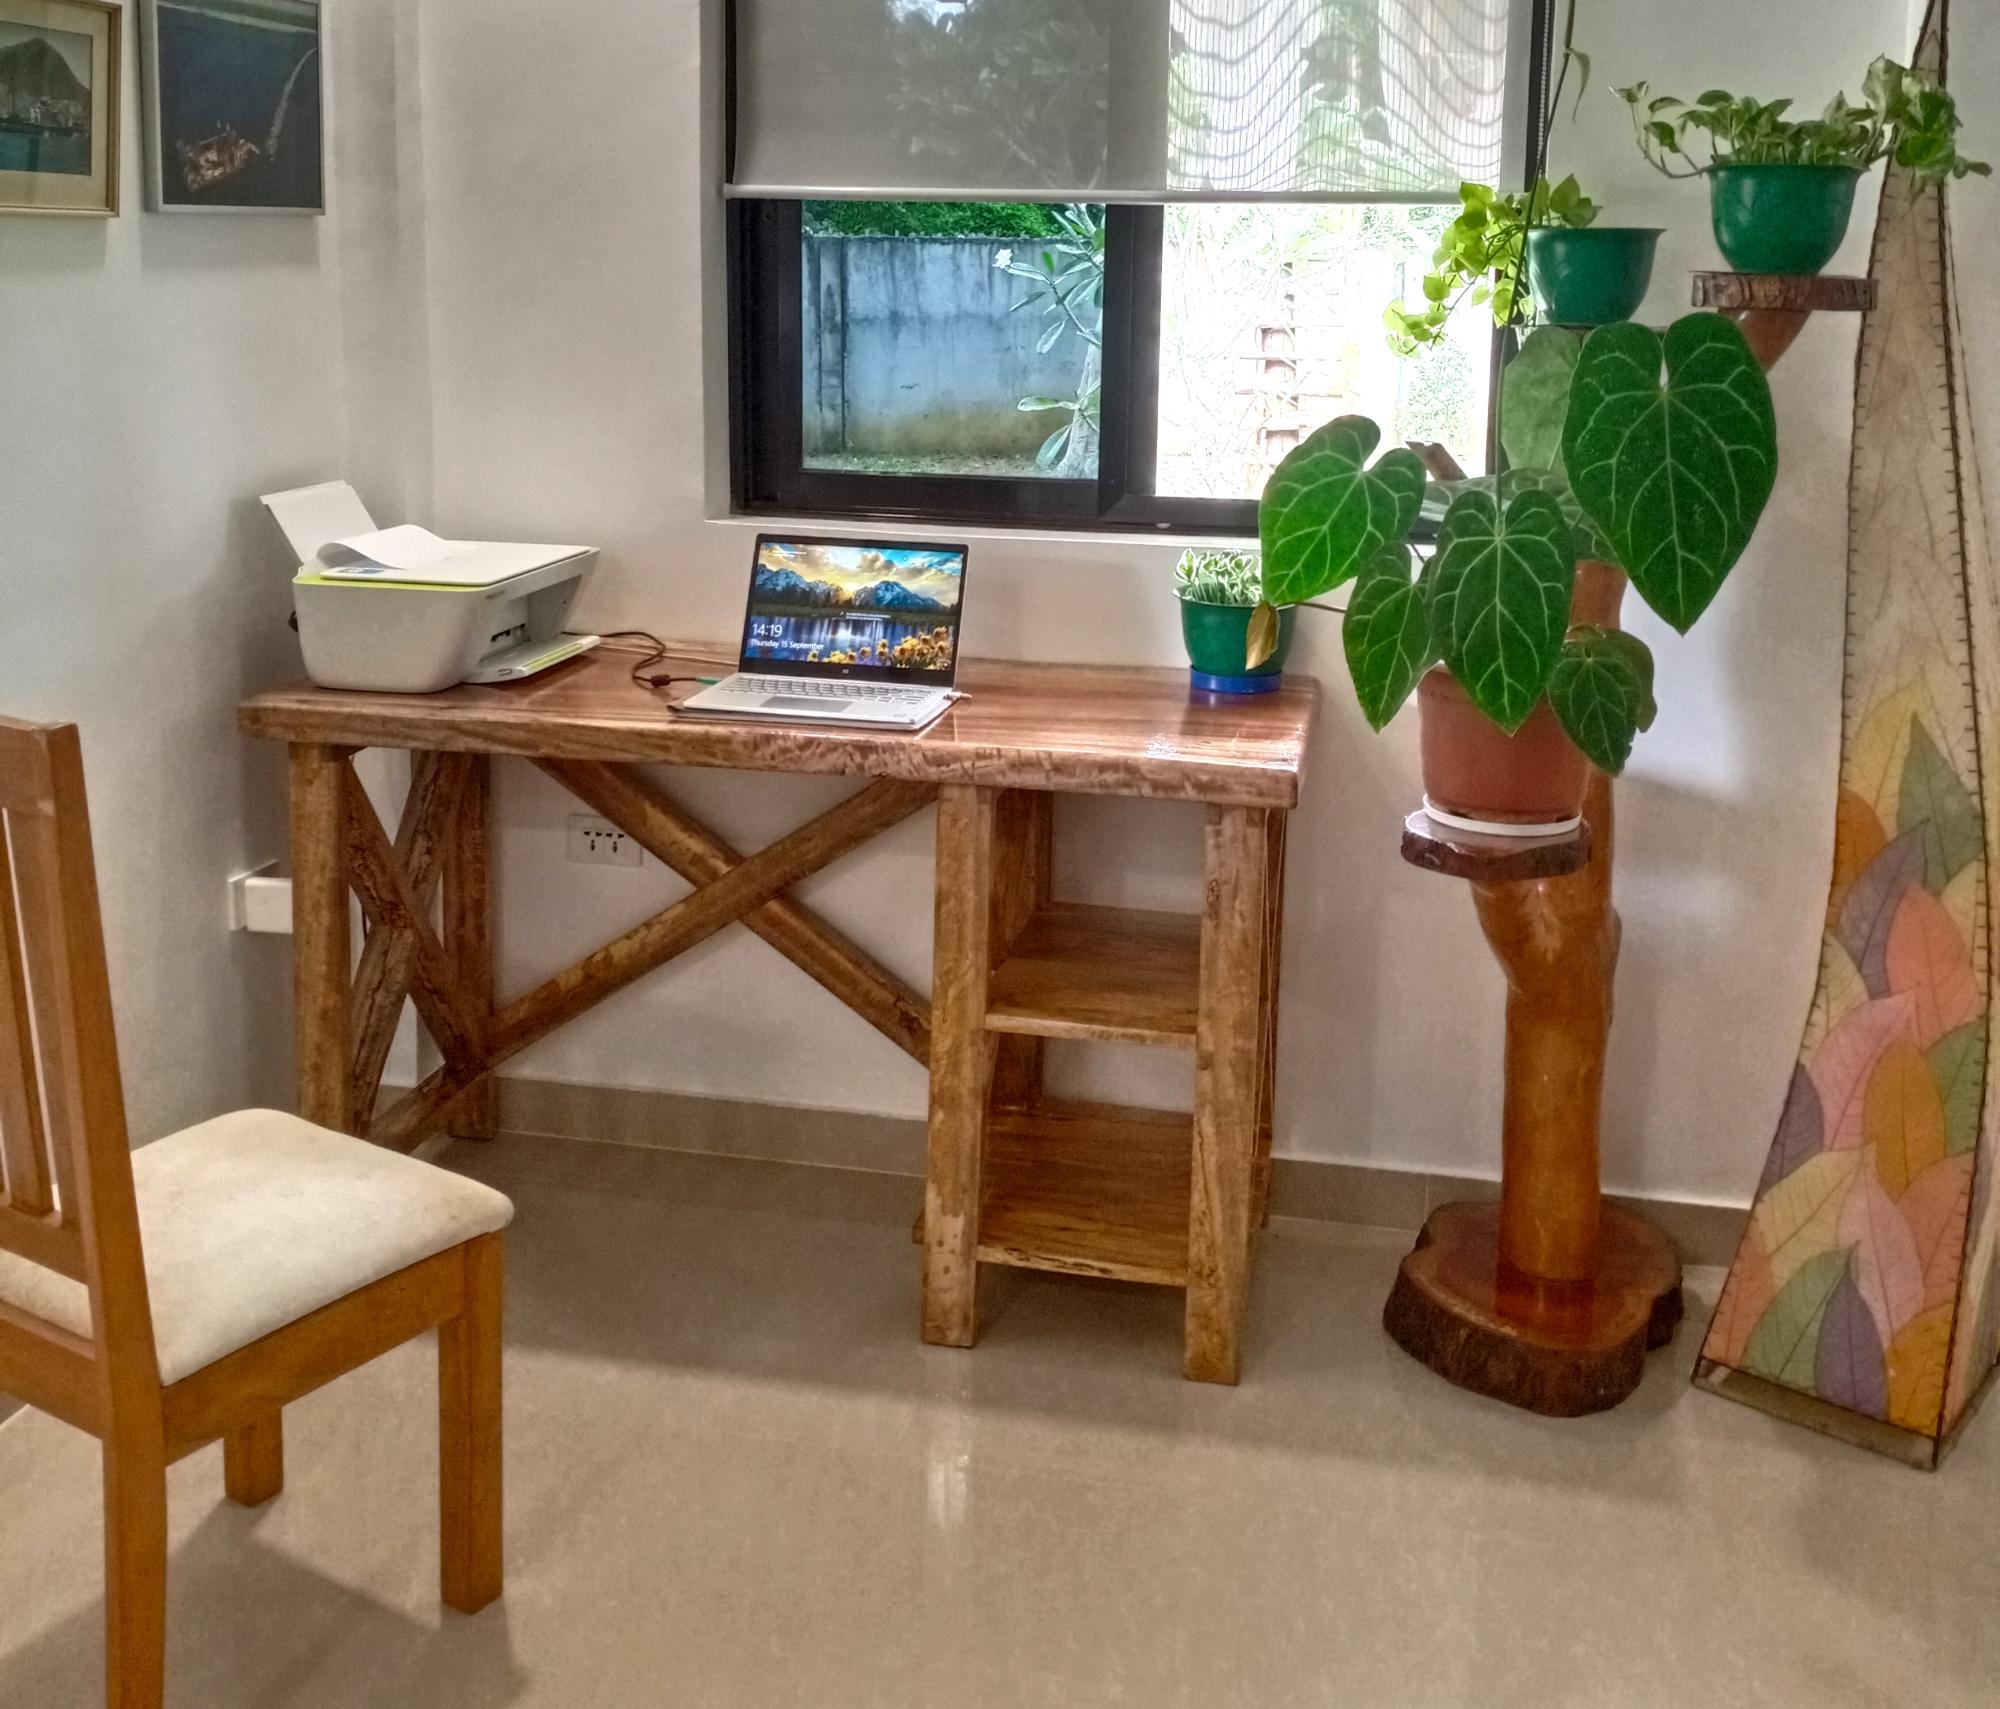
Desk from Mango wood and the top is acacia
@douwe_adema
Built from Plan(s)
Comments
Ana White Admin
Wed, 06/07/2023 - 11:19
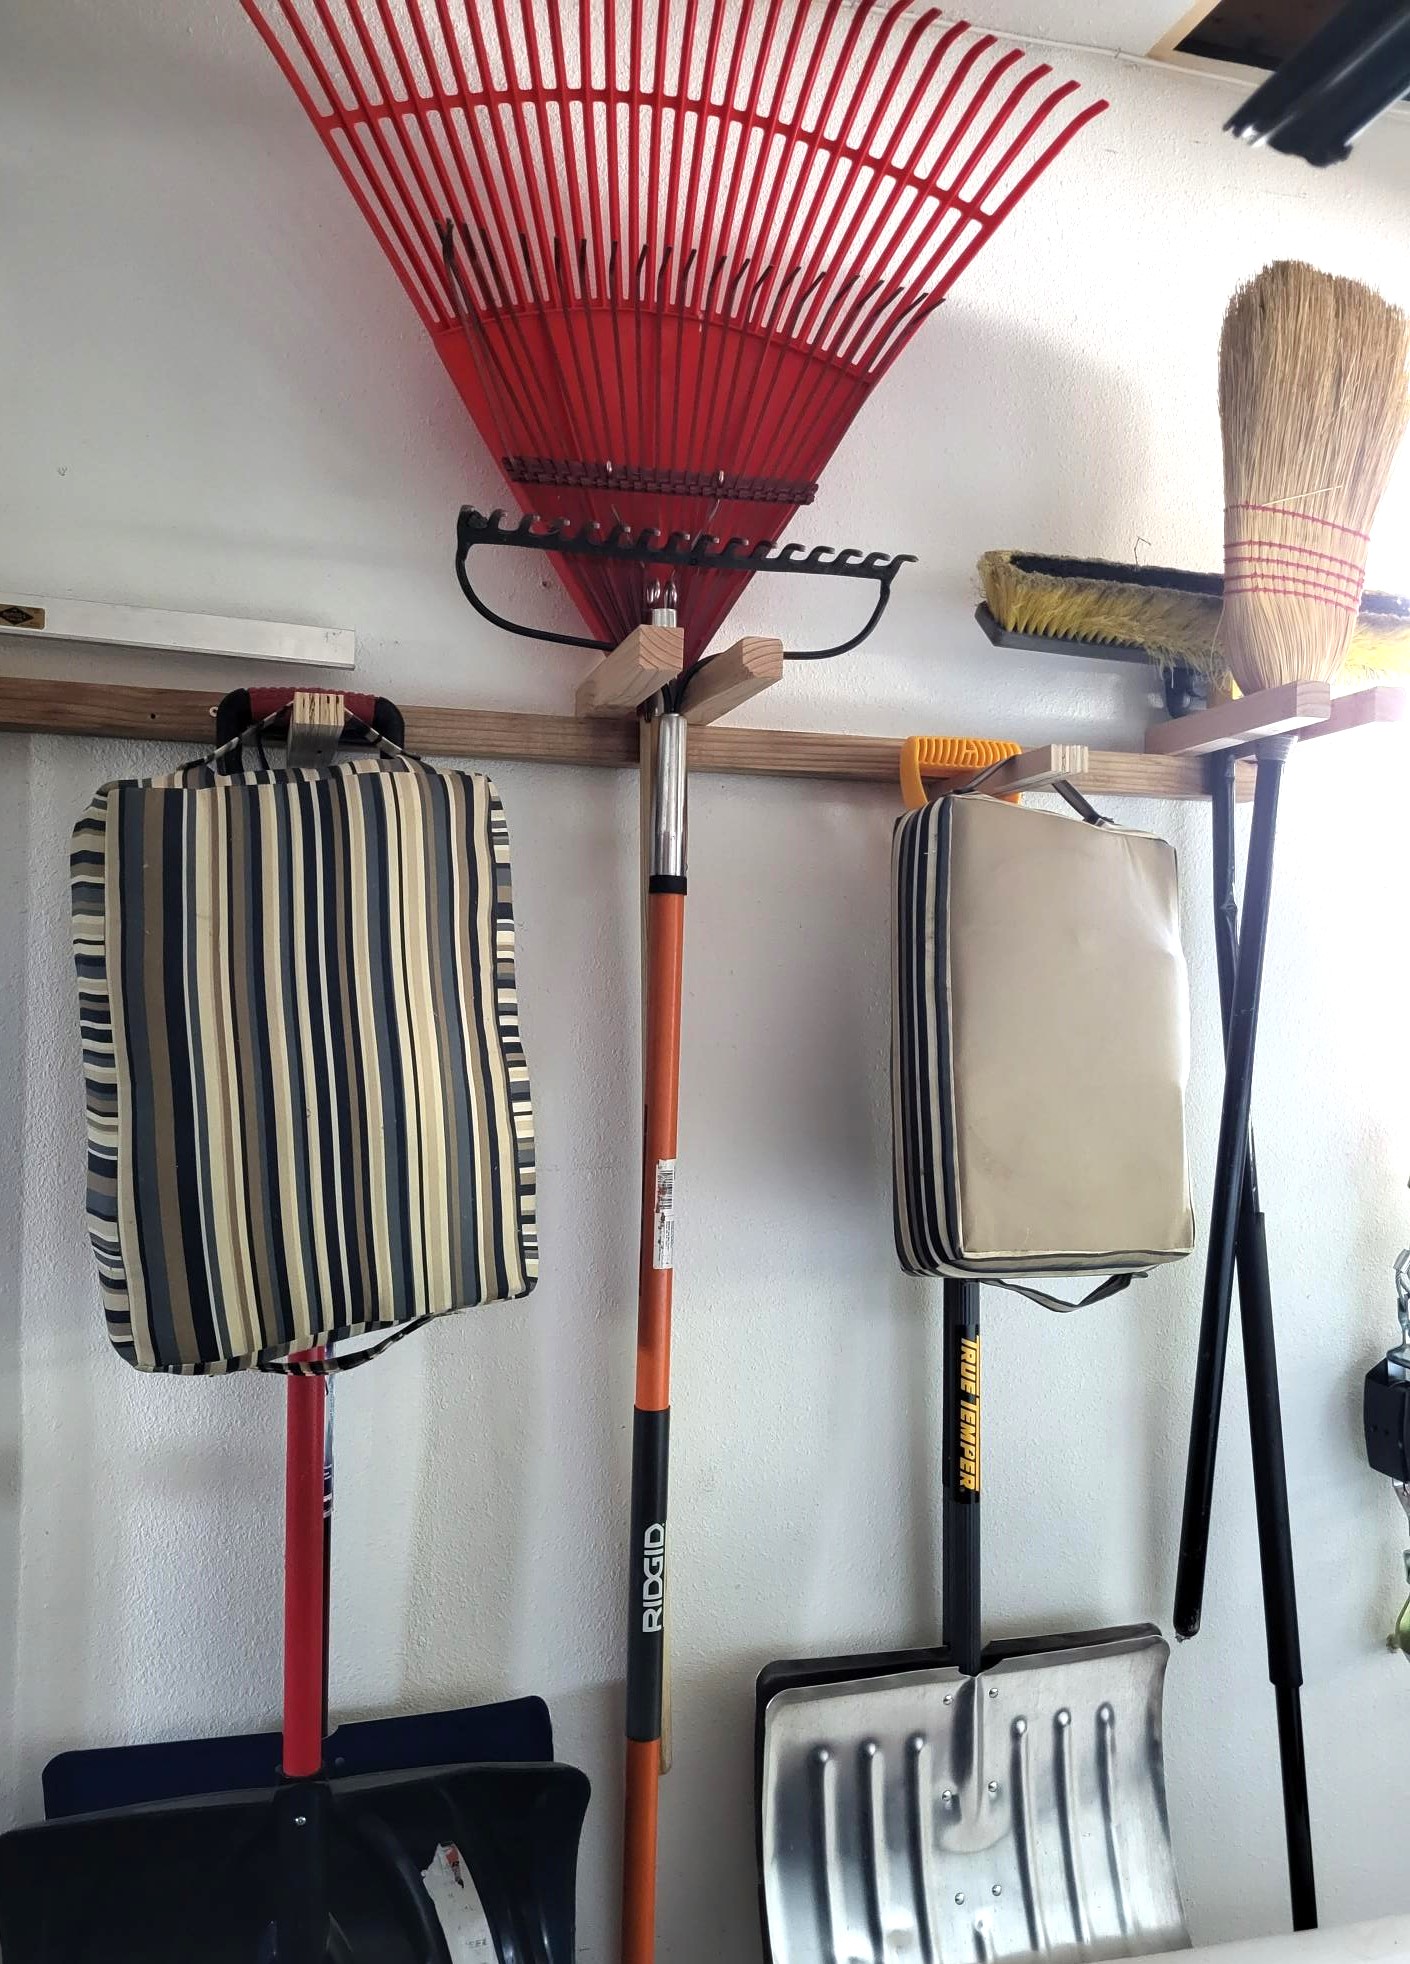
Great garage organization!
It looks great and functional! Thanks for sharing.