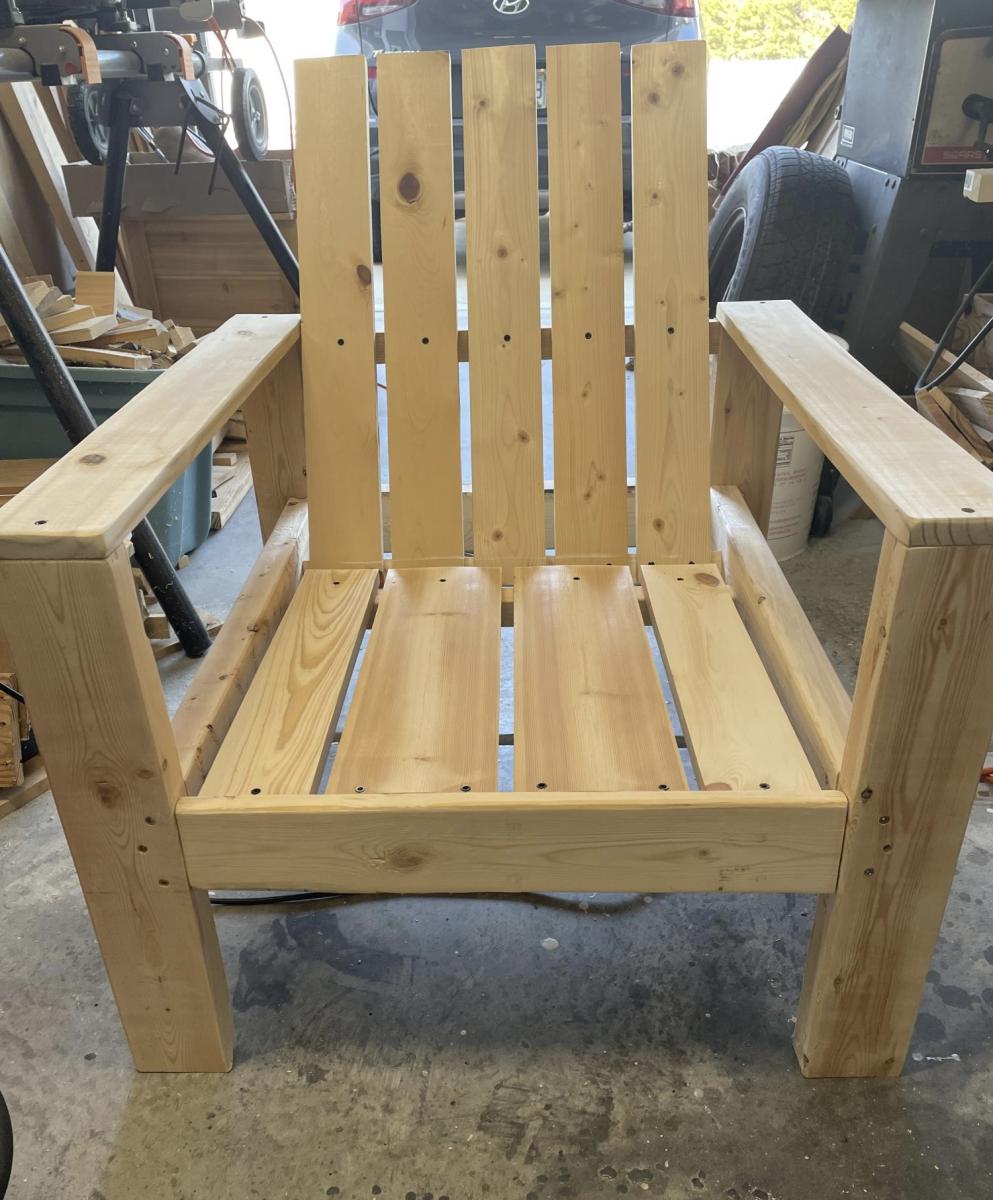
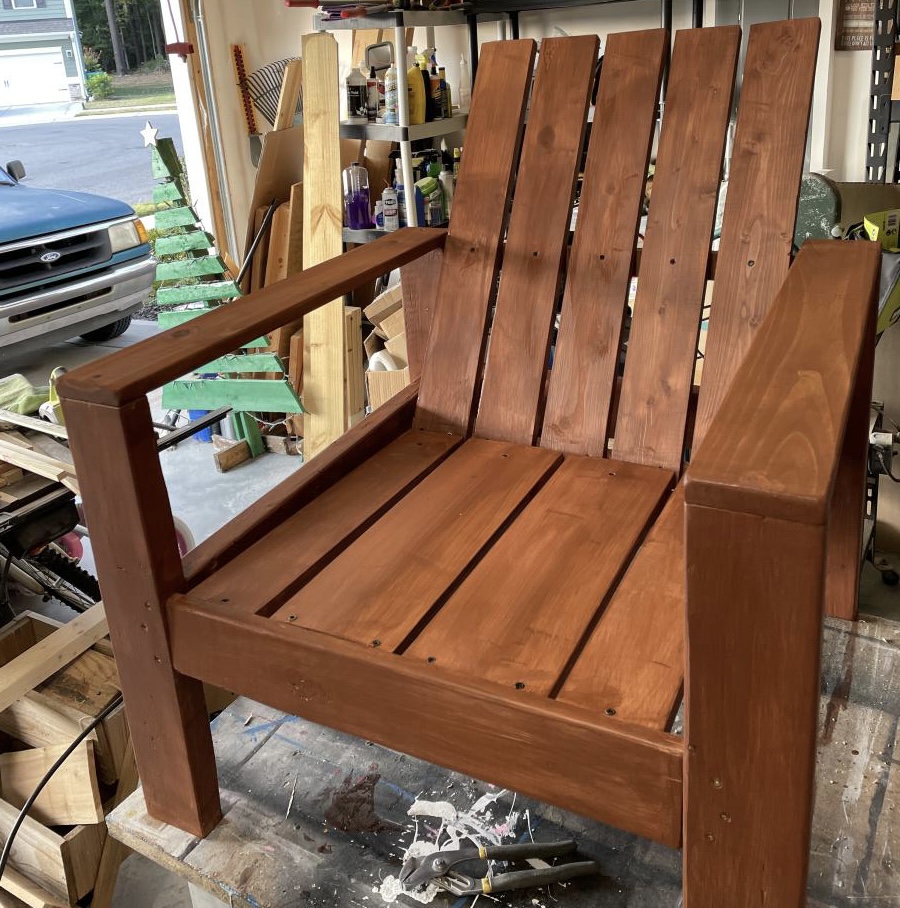
Simple Modern Outdoor Chair

Made first chair for the firepit area, hope it holds weight!!! Plans were very easy to follow as usual.
Built from Plan(s)
Made first chair for the firepit area, hope it holds weight!!! Plans were very easy to follow as usual.
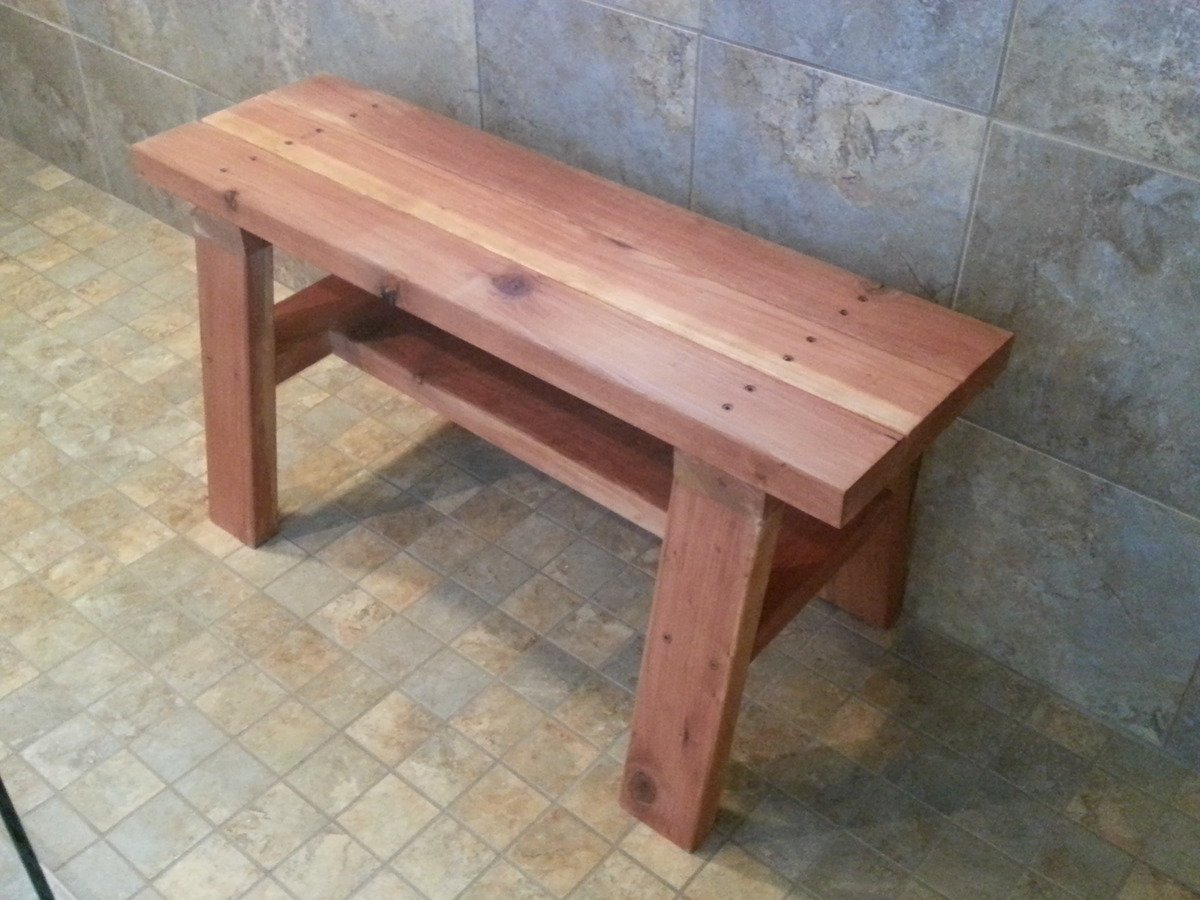
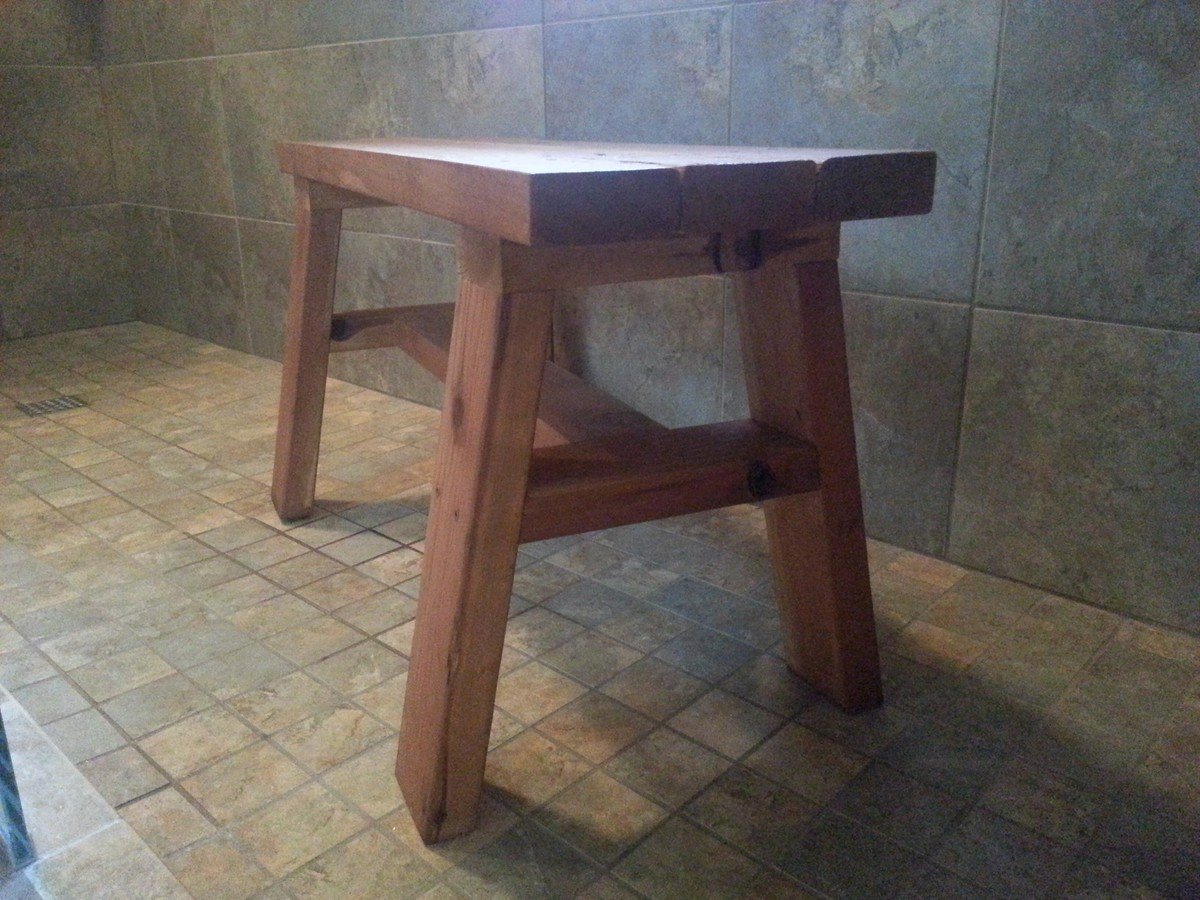
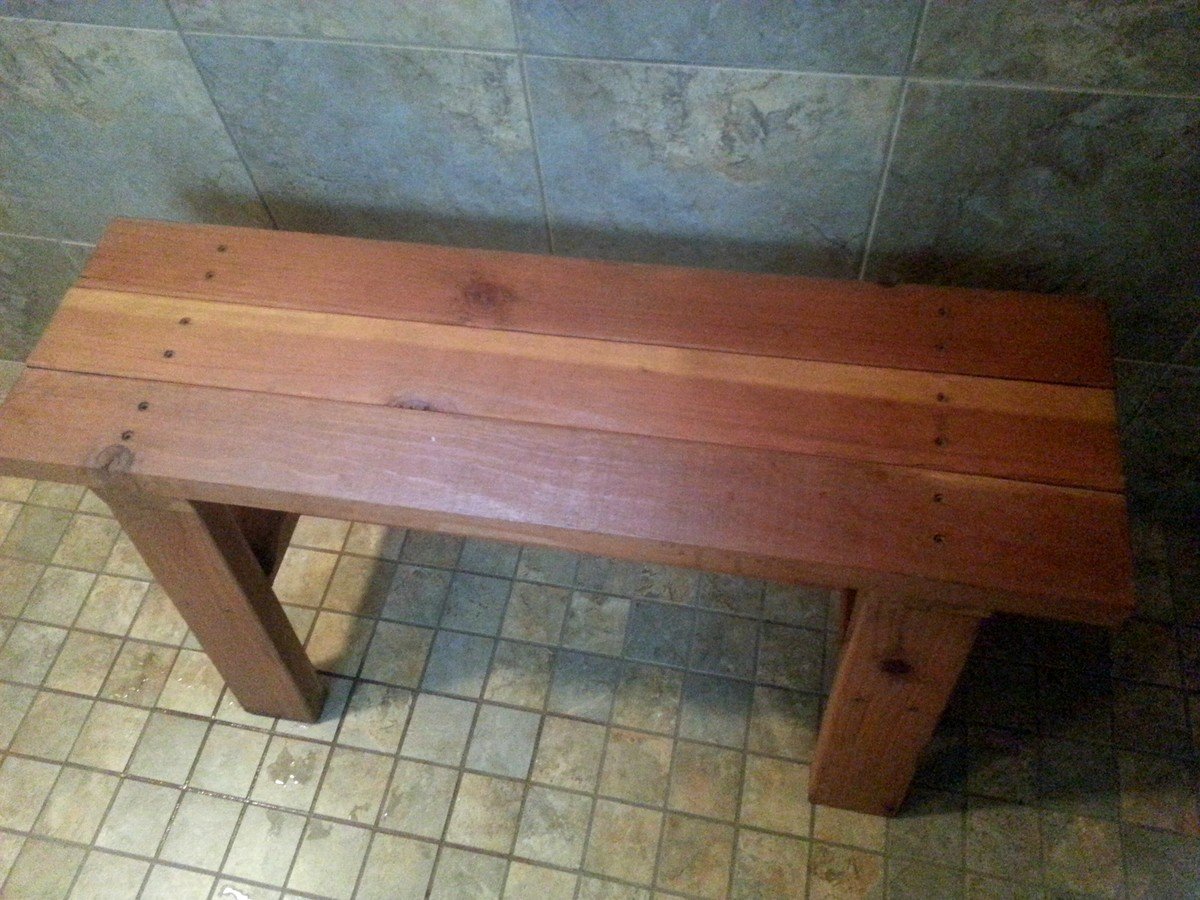
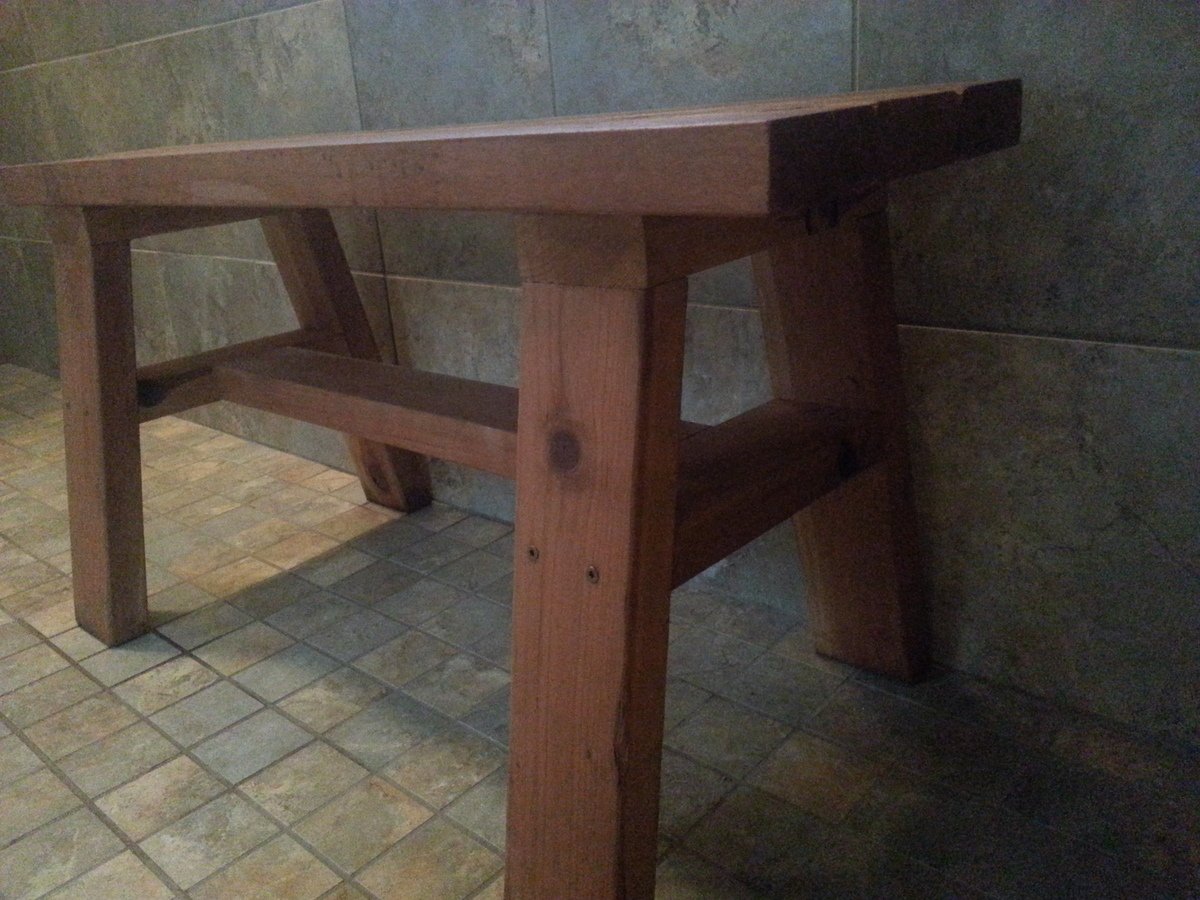
I wanted to build a small shower bench. I used the Providence Bench Plans and just made it a bit smaller with a few adjustments. This bench is 35" long and 18" tall. I did not use the cross supports on the bottom because it was so short. Also, you will see that I turned the bottom stretcher and side supports flat/horizontal. I put the screws for the seat boards through the top down just because this was the easiest way for me to do it. The plans did not show in detail how to attach the seat boards from the underside. It just said "finally, the seat boards." I guess they probably used a pocket jig. I bought a pocket jig and used it in the couple of places, but this was my first time using it. I used brown, coated decking screws in the places I did not use the pocket screws. This was my first attempt at building anything and my first time to use a pocket jig. I used a natural wood stain and Behr Weather-Proofing since it will be in a wet area.
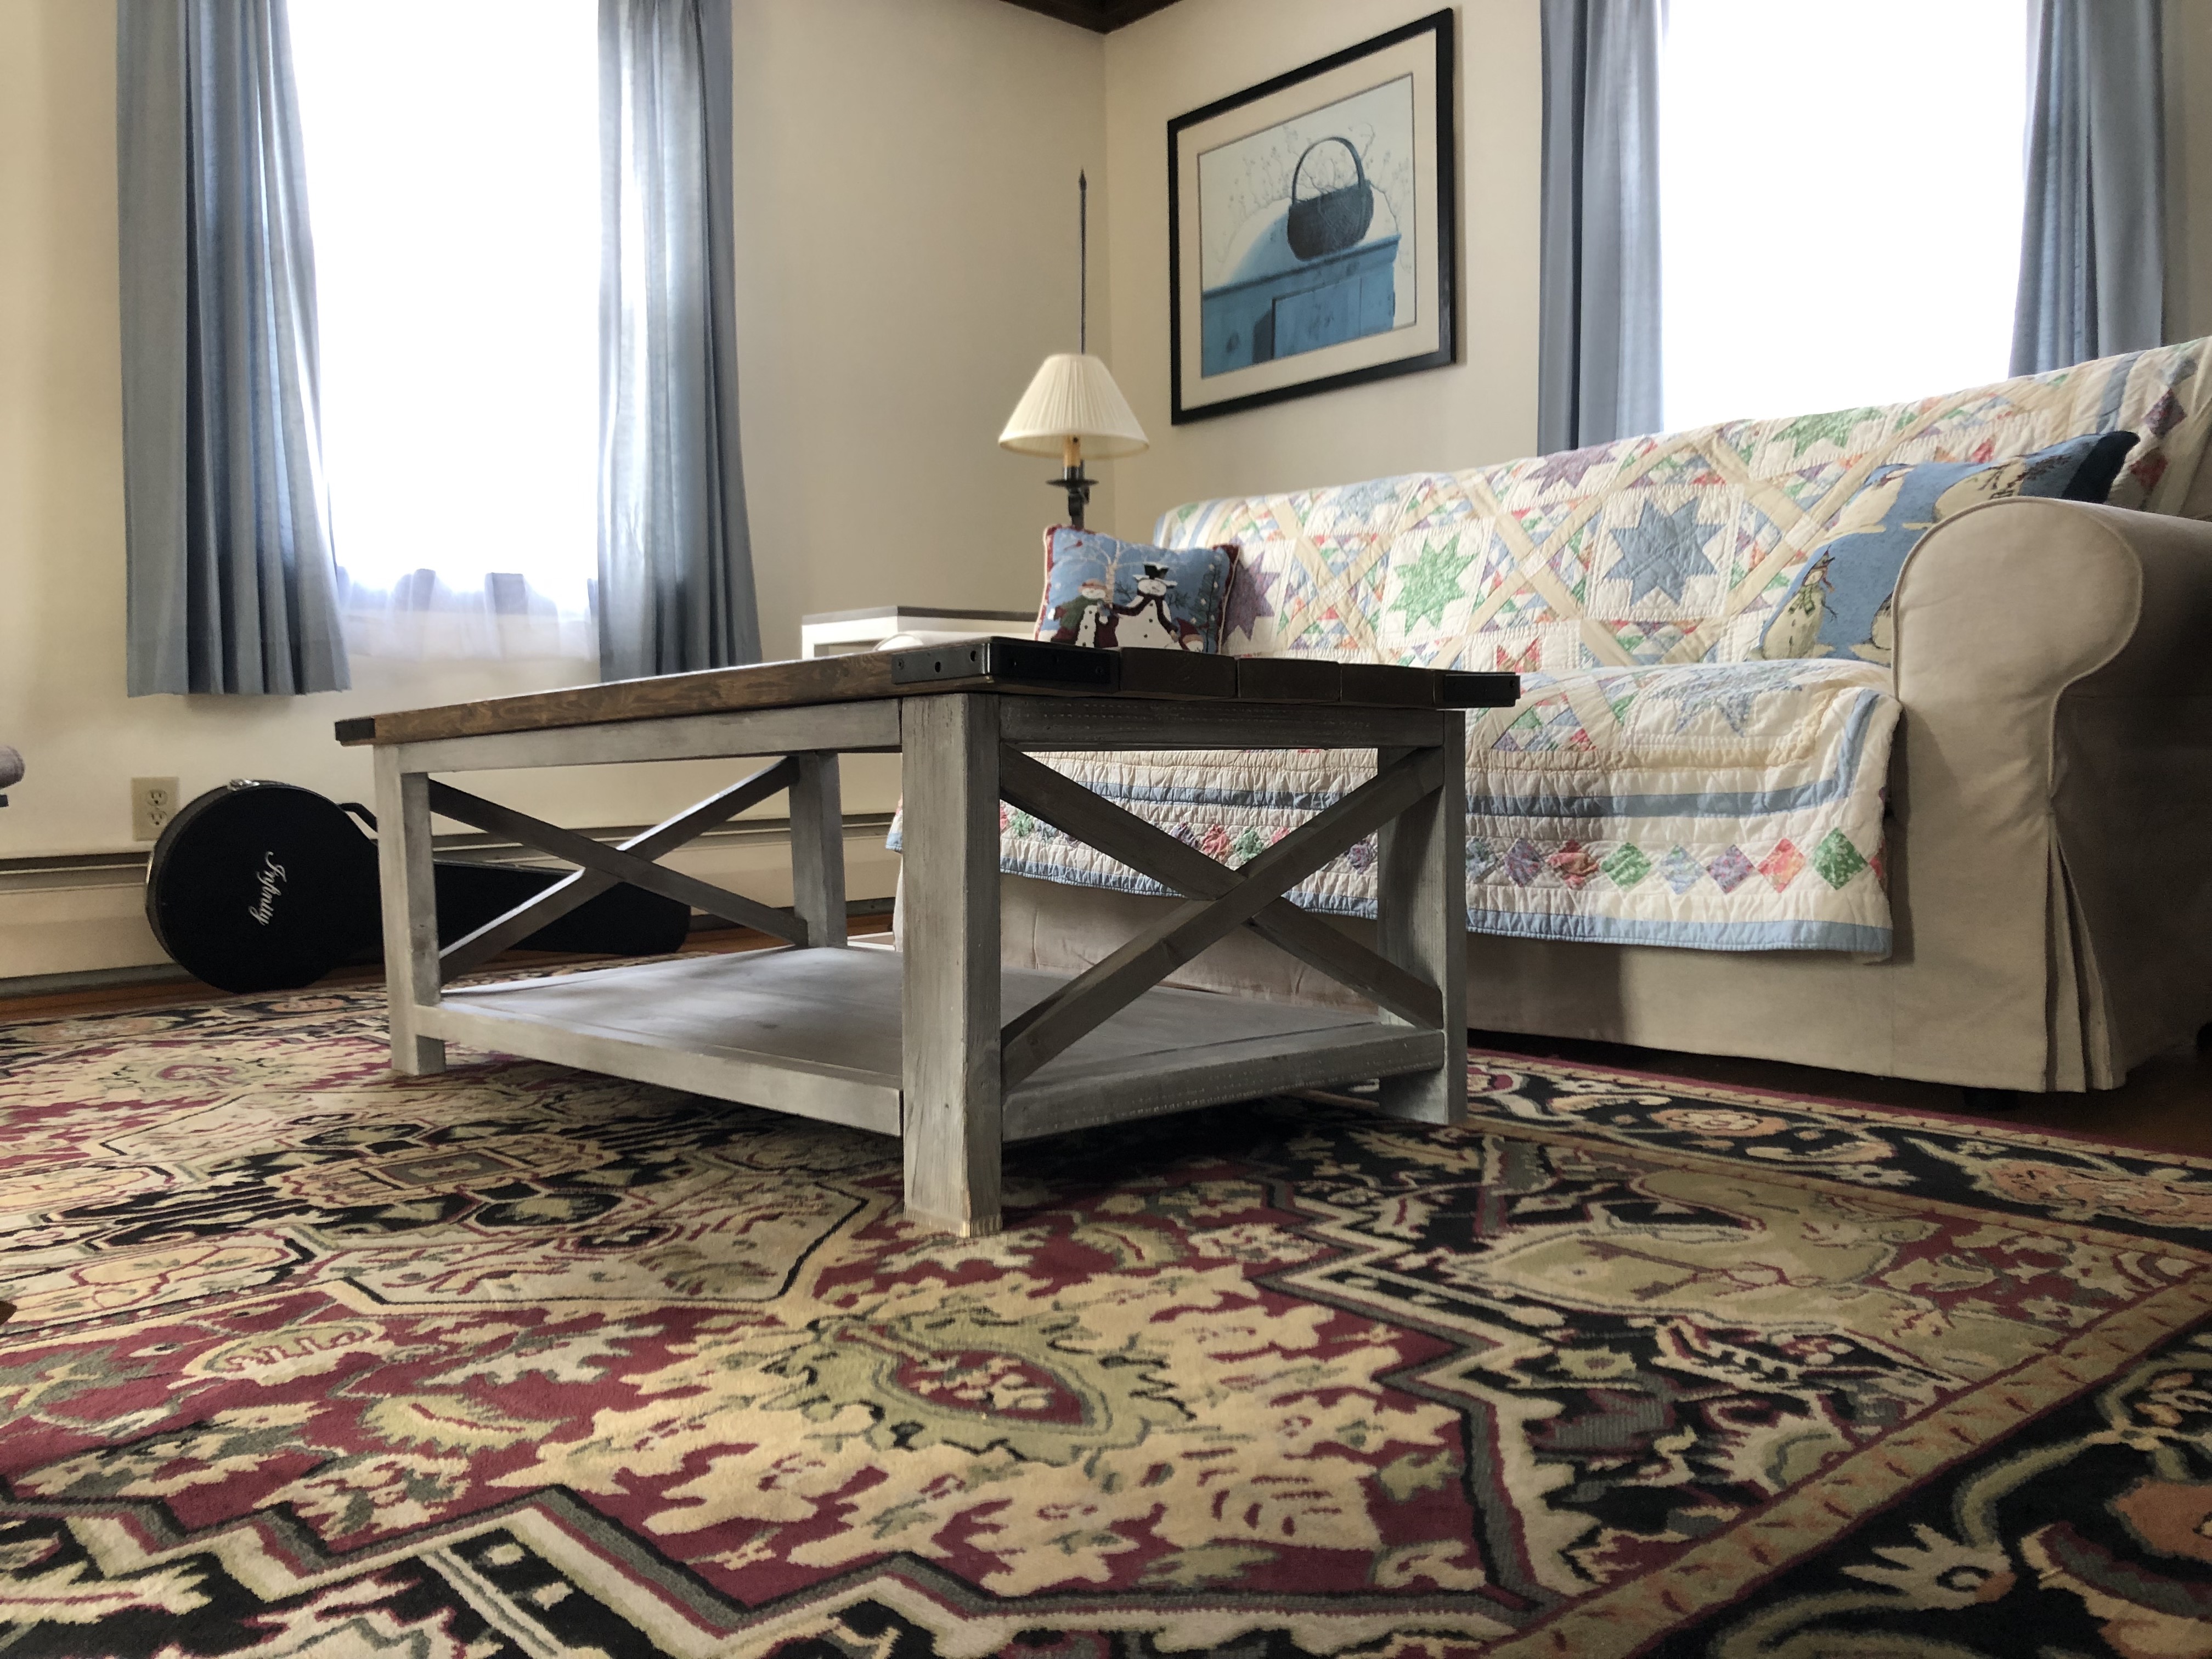
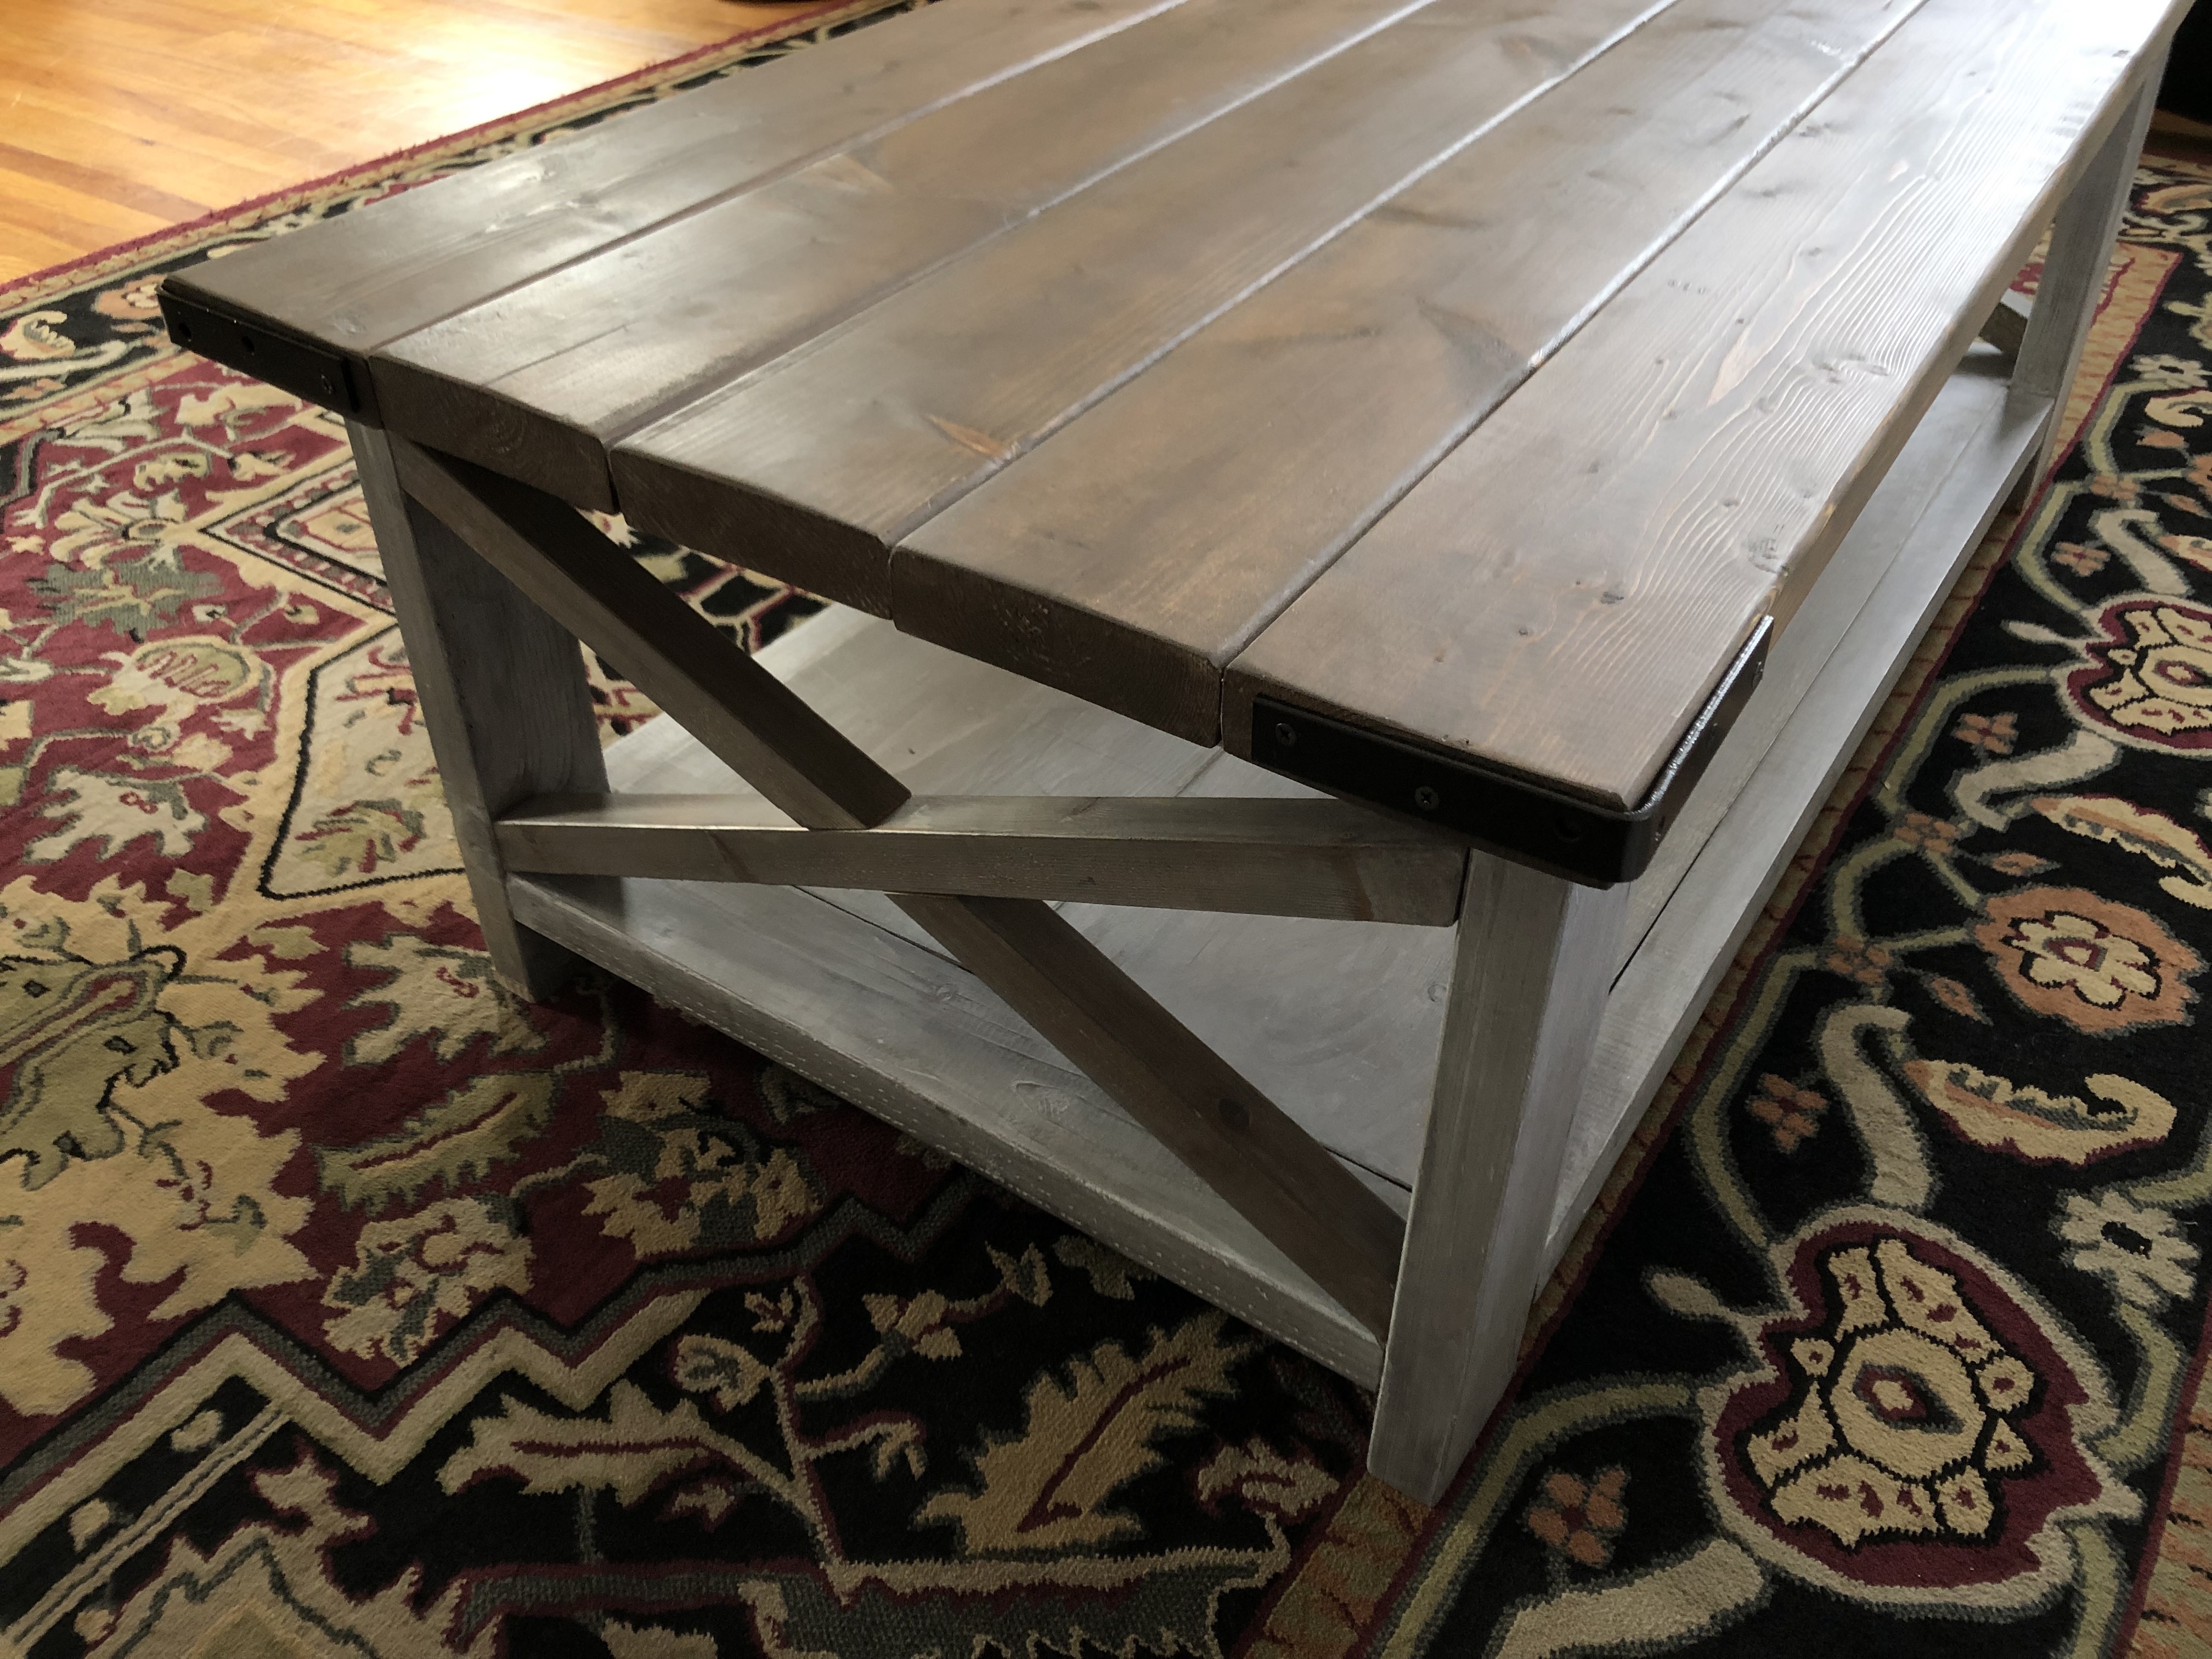
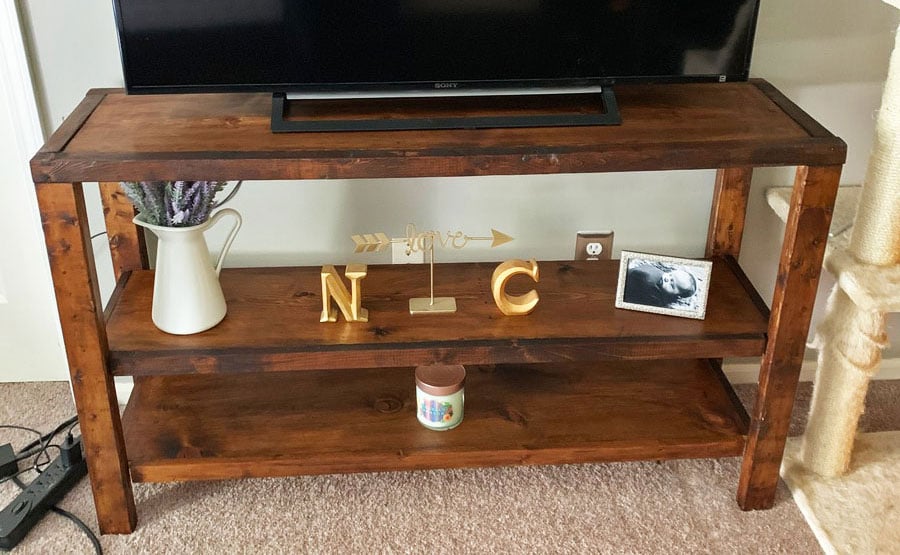
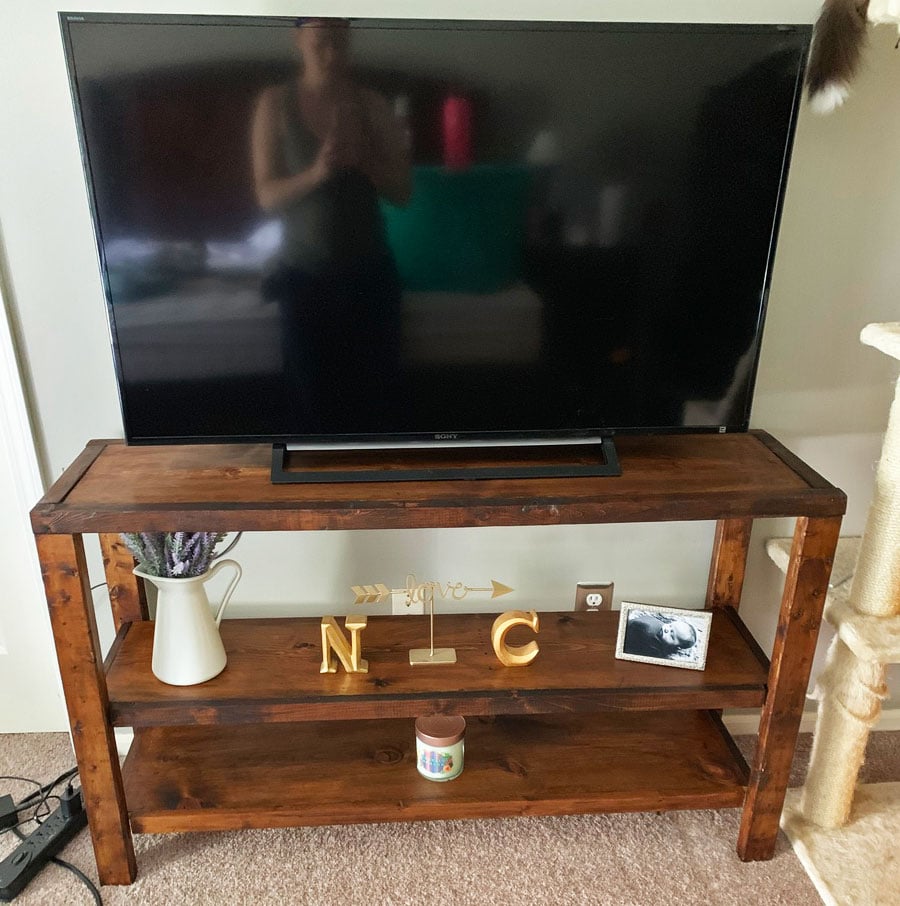
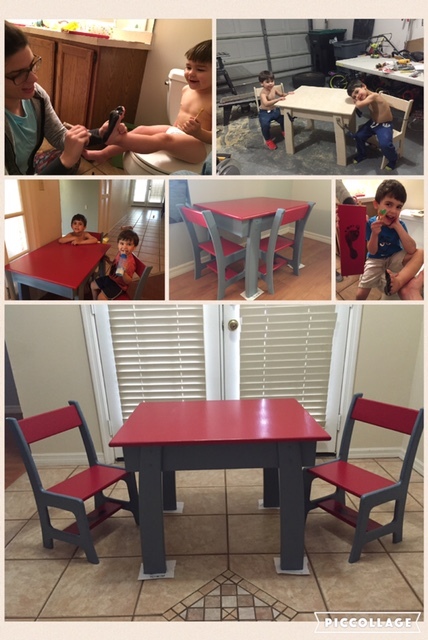
This was a challenge for me, since those 2x6 top boards were slightly twisted and or cupped. I love the X detail and that was fun to put together. I found some "L" brackets and spray painted them for the ends. I stained all the wood first, before assembling.It's a gray/brown stain, one of my favorites. I decided to white wash over the stain doing all of table except for the top. I used a wax finish.
Love it, many times my ukulele, mandolin, banjo and fiddle are all tucked away underneath.

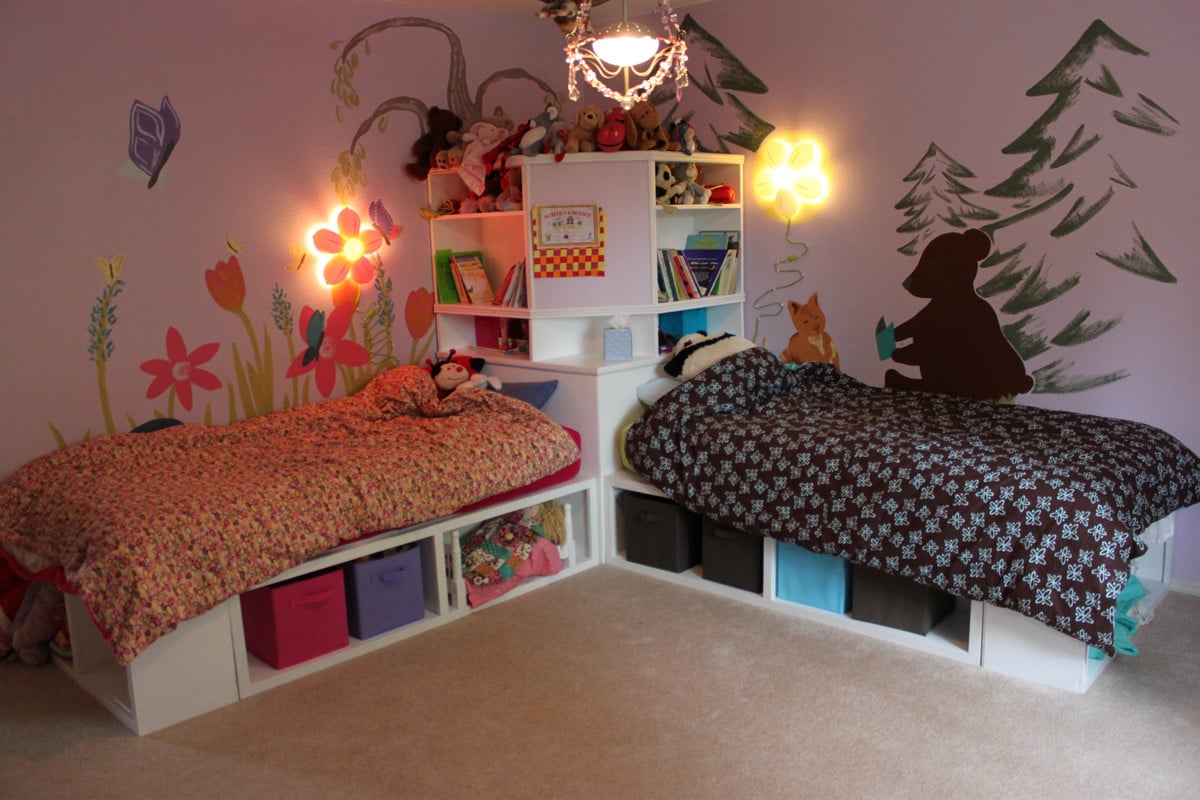
When we moved into our new house, I figured it was time to replace my girls's mattresses on the floor with actual beds. so I set about making the twin storage beds with corner unit. I primed all the wood prior to cutting and assembling, and that made things go much faster. Assembling the corner unit was tricky, since i really didn't want to have sanding and much paint in their bedroom. (i loaded in the beds first and the corner unit a week later). I added trim that wasn't on the plan, and also used the magnetic paint on the center area, although it makes a weak magnetic surface. All in all, I LOVE the way it turns out and no one can believe that I built it and didn't buy it... (although it seems obvious to me when you look closely LOL)
Fri, 11/04/2011 - 11:42
It looks great, and I love what you did with the walls! Free hand with paint, or decals? Either way, its darling and clearly gives each girl her own space.
We have the same lamps - quite popular :)
I am trying to figure out a clever way to put three girls in a (huge) room and I think something like this or a bunkbed combo would make it fun and new for them..
Sun, 01/08/2012 - 18:36
Where can I find the plans for the top half of the corner unit.? Your beds are exactly what I want for my girls. Thanks for sharing.
Mon, 10/08/2012 - 17:25
I see the plans for the beds and for the top part of the corner unit but what about the bottom part. please HELP I'm I totally missing it?
Mon, 10/08/2012 - 17:25
I see the plans for the beds and for the top part of the corner unit but what about the bottom part. please HELP I'm I totally missing it?
Mon, 10/08/2012 - 17:25
I see the plans for the beds and for the top part of the corner unit but what about the bottom part. please HELP am I totally missing it?
Mon, 01/18/2016 - 06:30
The links to the top and bottom of the corner unit seem broken; is there still access to these plans? Thanks for your help!
Fri, 11/18/2016 - 17:24
I have been round and round where are the plans for the Hutch?
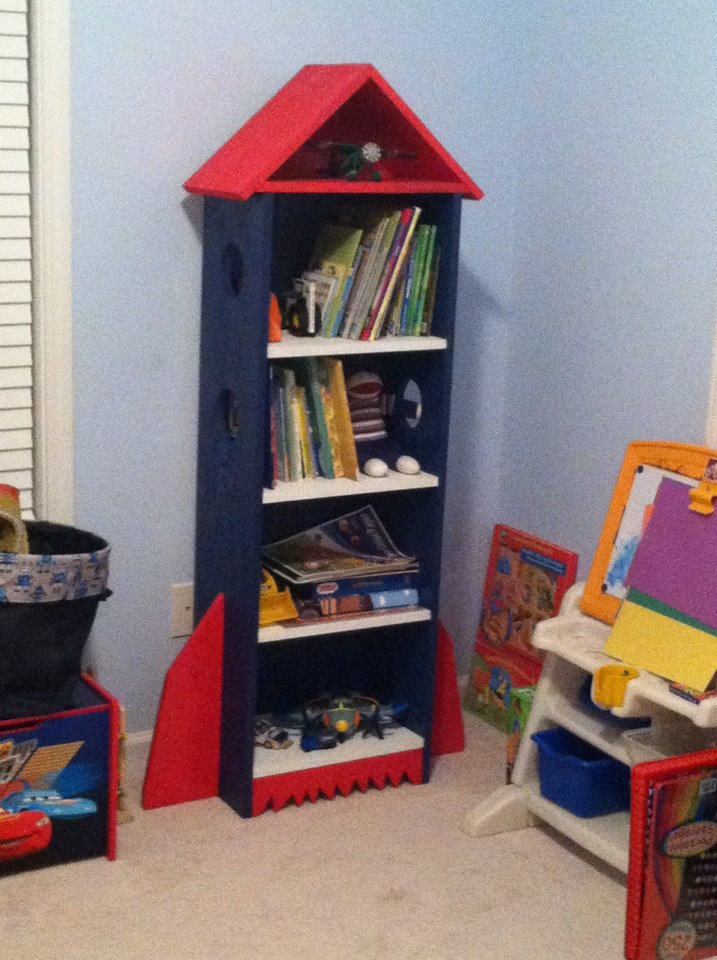
This my first woodworking project. It is far from perfect but turned out okay!

Sat, 05/04/2019 - 13:43
Love it! This is gorgeous, what a great first project.
Thank you for sharing a brag post, we appreciate it!

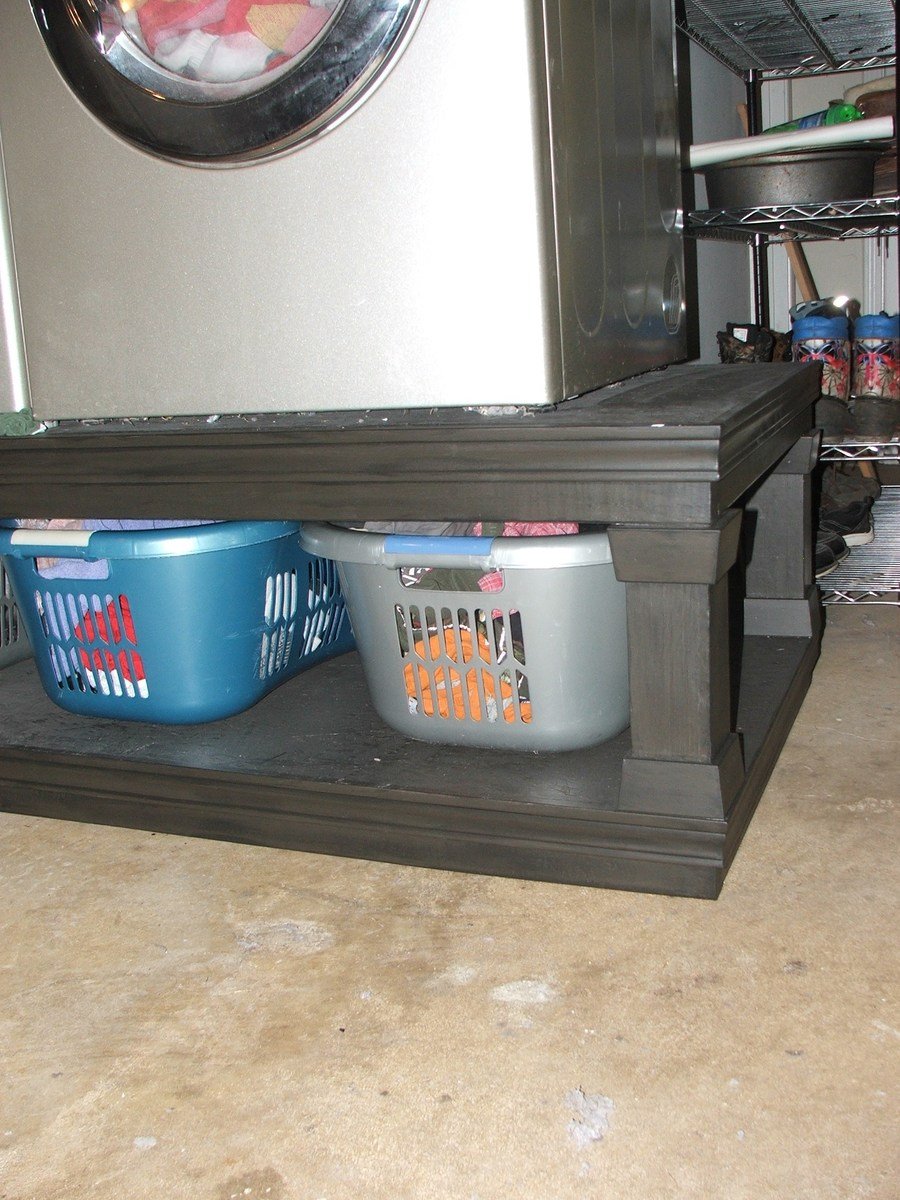
Used the plans here, but adjusted to fit my own hampers and to use all scraps on hand, including leftover primer and paint. Completly FREE build!
Sun, 12/04/2011 - 08:22
This looks awesome!! Very curious to know how you like it and do you have any problems keeping the washer on the pedestal. Are the washer and dryer mounted to the pedestal, if so how? Have been looking at lots of these plans but none of the comments talk about using it.
Wed, 02/01/2012 - 11:37
As long as the washer has been well levelled with the bottom levellers attached and your floor and pedestal are level, there really shouldn't be a problem. I did make the pedestal larger because I was a little nervous also. So far no problems whatsoever.
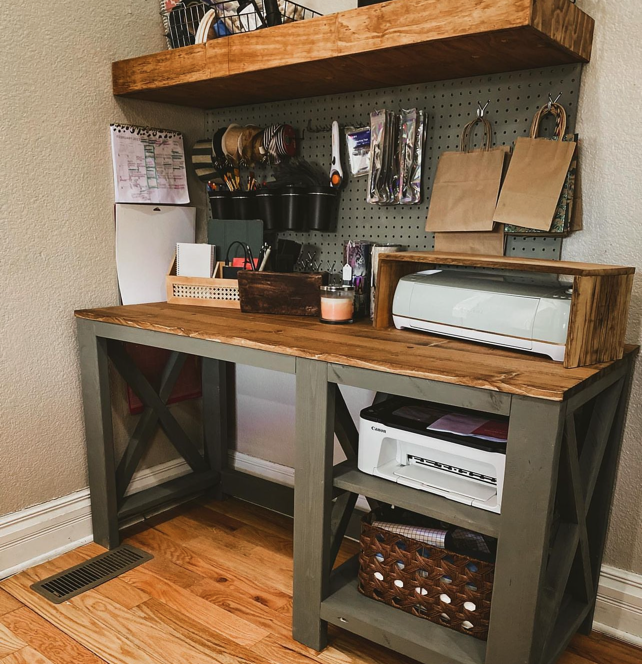
"It’s screaming creative clutter 🤣😅 but at least I got it built! Thank you so much @anawhitediy for the desk plans 🖤"
Andrea Howell
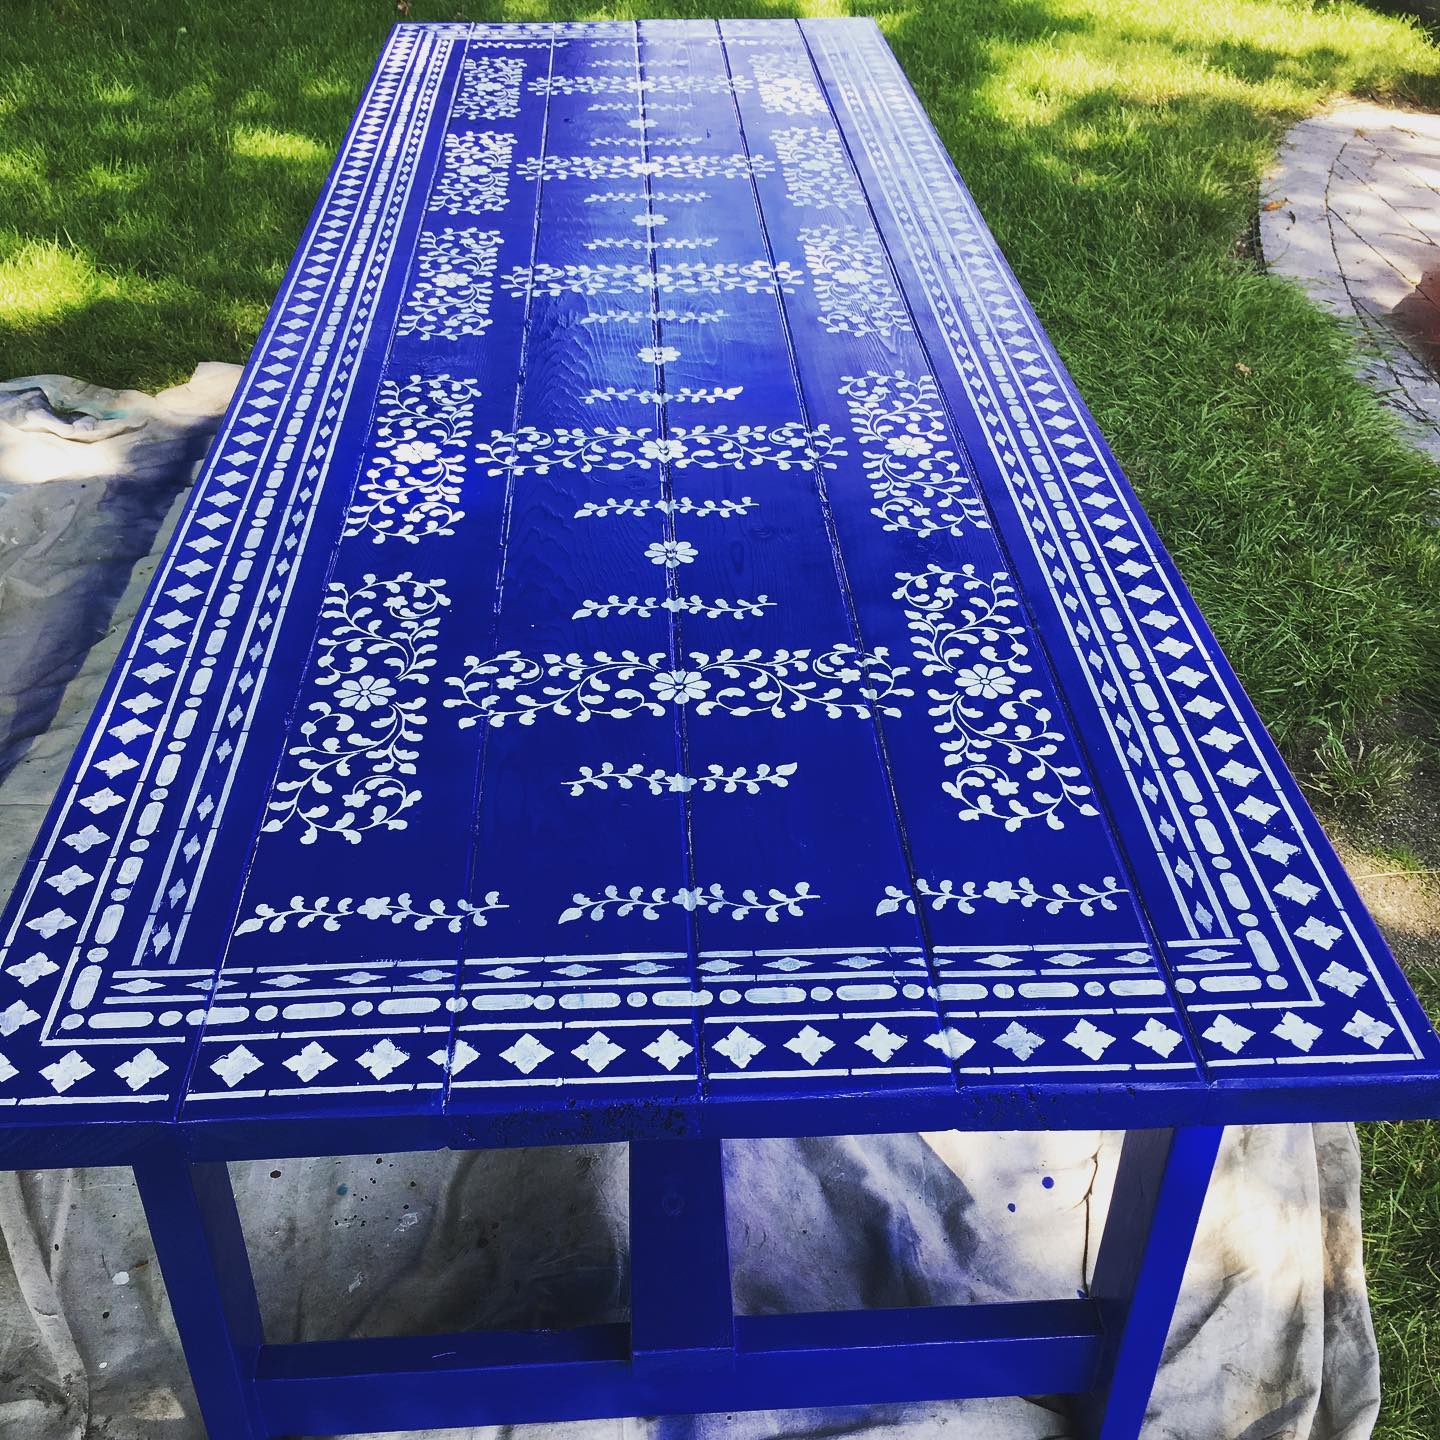
We used Ana White's plans beginner farm table plans to build this table and can't recommend these plans more! Thank you Ana! The build took my husband and I two hours to build. The sanding, sealing, painting, stenciling, and finishing took several days, but the actually build was VERY easy and straightforward. We're total beginners, so we were very happy. The stencils are from Cutting Edge Stencils and are called "Indian Inlay Furniture Stencil Kit by Kim Myles."
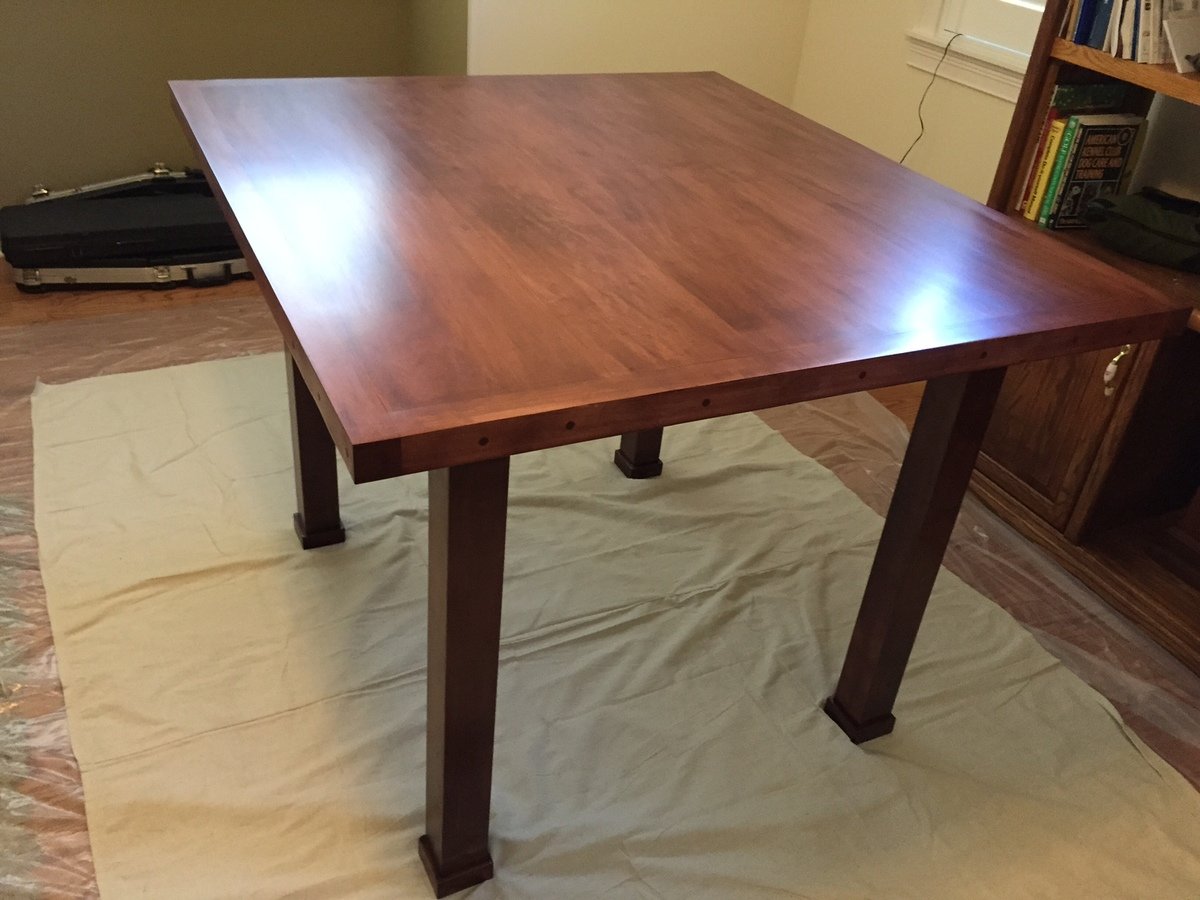
Built this counter height pub table from MAPLE PLANKS. Did the base using 3" * 3" * 36" MAPLE turning blanks (for making baseball bats) and all 3/4" maple 1 * 4's for the stretchers and the top was edge glued 1 * 8 and 1 * 10 planks ( with 1 * 3's glued and screwed underneath). Ran 1 * 3's 360 degrees around the edge .. giving a solid 1.5" surface to attach the 1.75" * 1.75" maple trim pieces. Top is HEAVY ... finished with a light cherry stain and General Finishes waterborne polyurethane. Table turned out better than I had expected. Built over 2 weekends. Used a drill press to do all of the counter sink holes the same depth. Bought the press for $125 at Lowes .. nice tool to have on hand. Makes precision drilling .. especially in hard wood .. a snap.
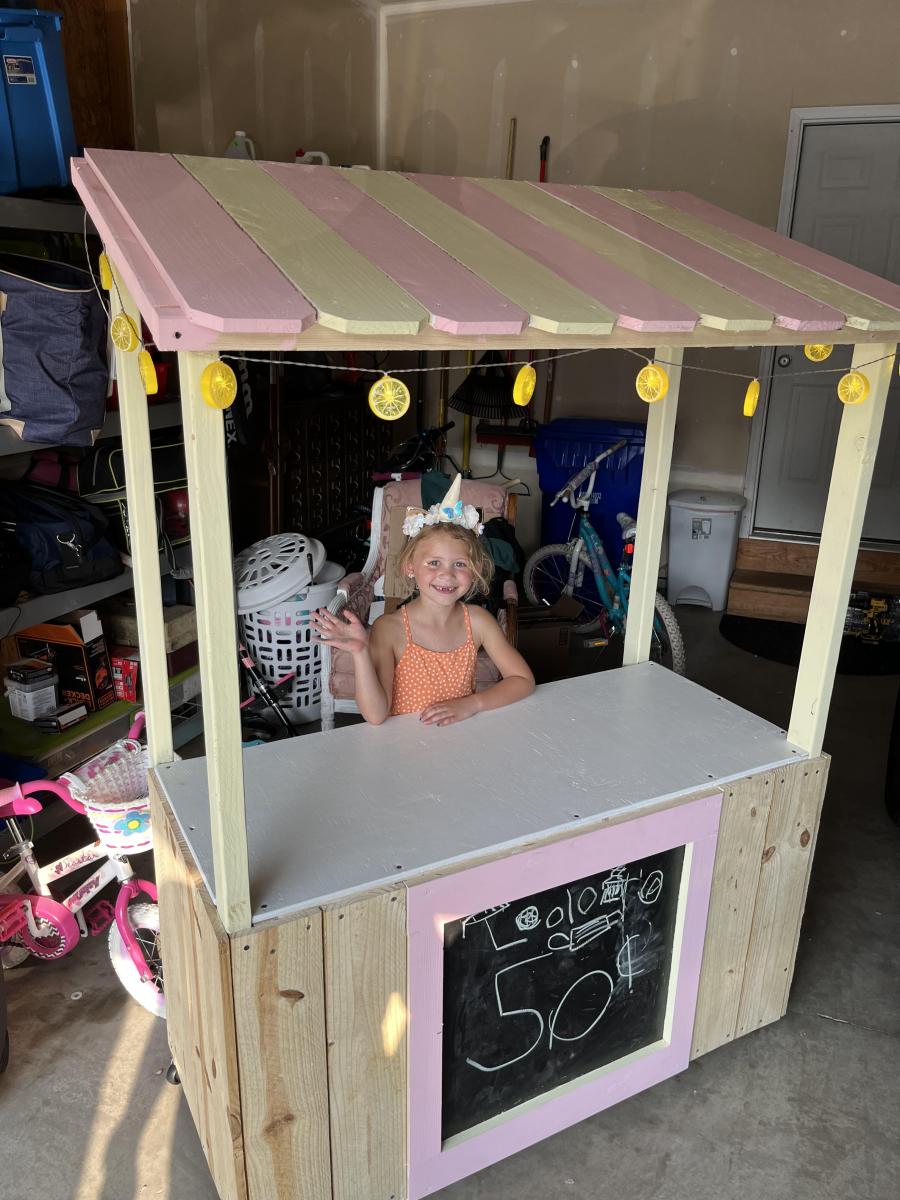
DIY lemonade stand with awning
This was a really fun project. I wasn't able to build it int time for the WWFC donation but suggest everyone do it this year (2016) around November.
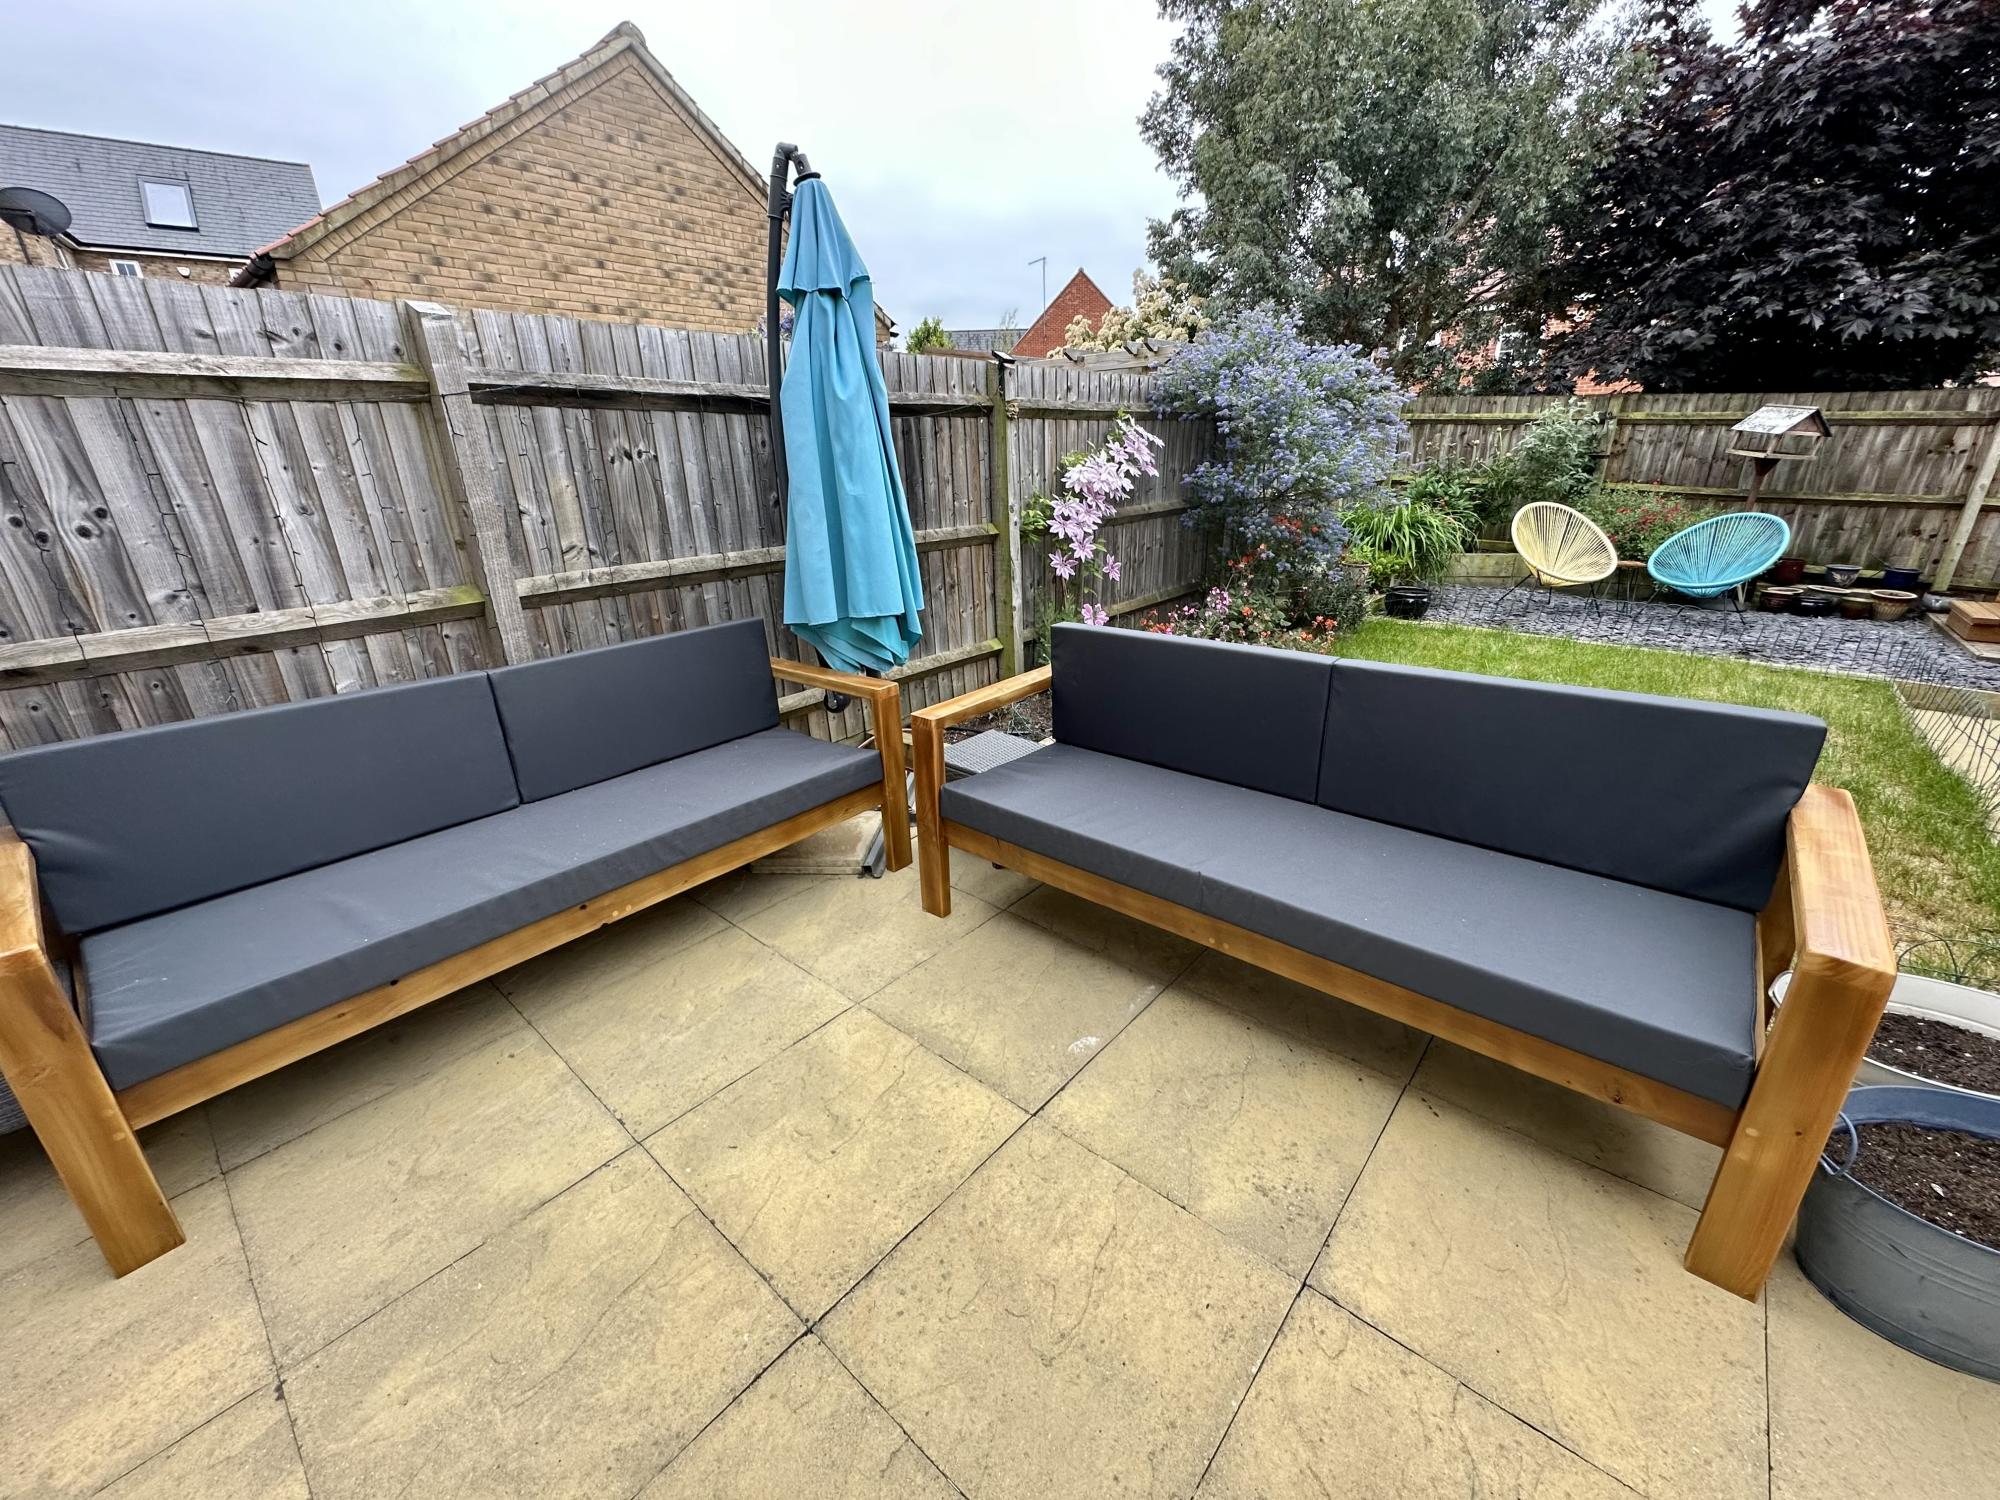
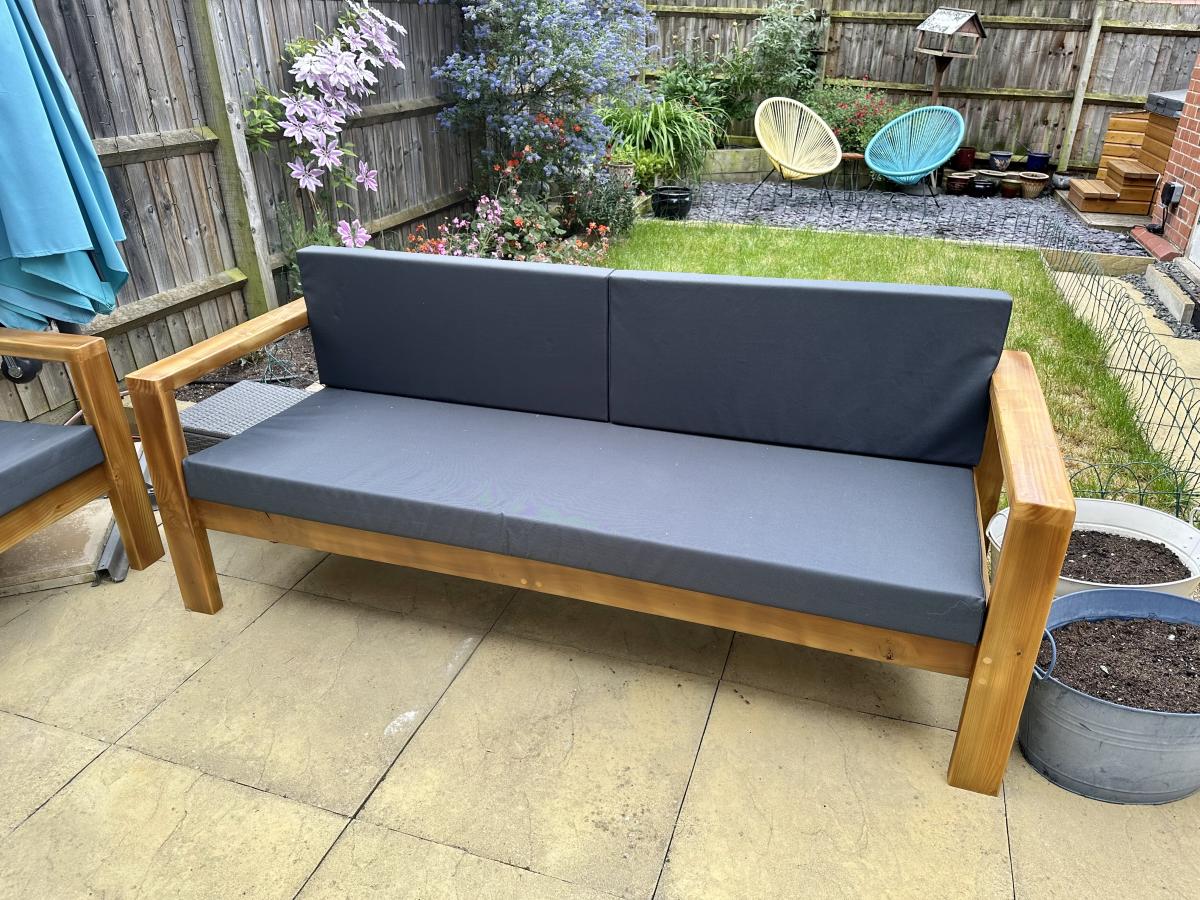
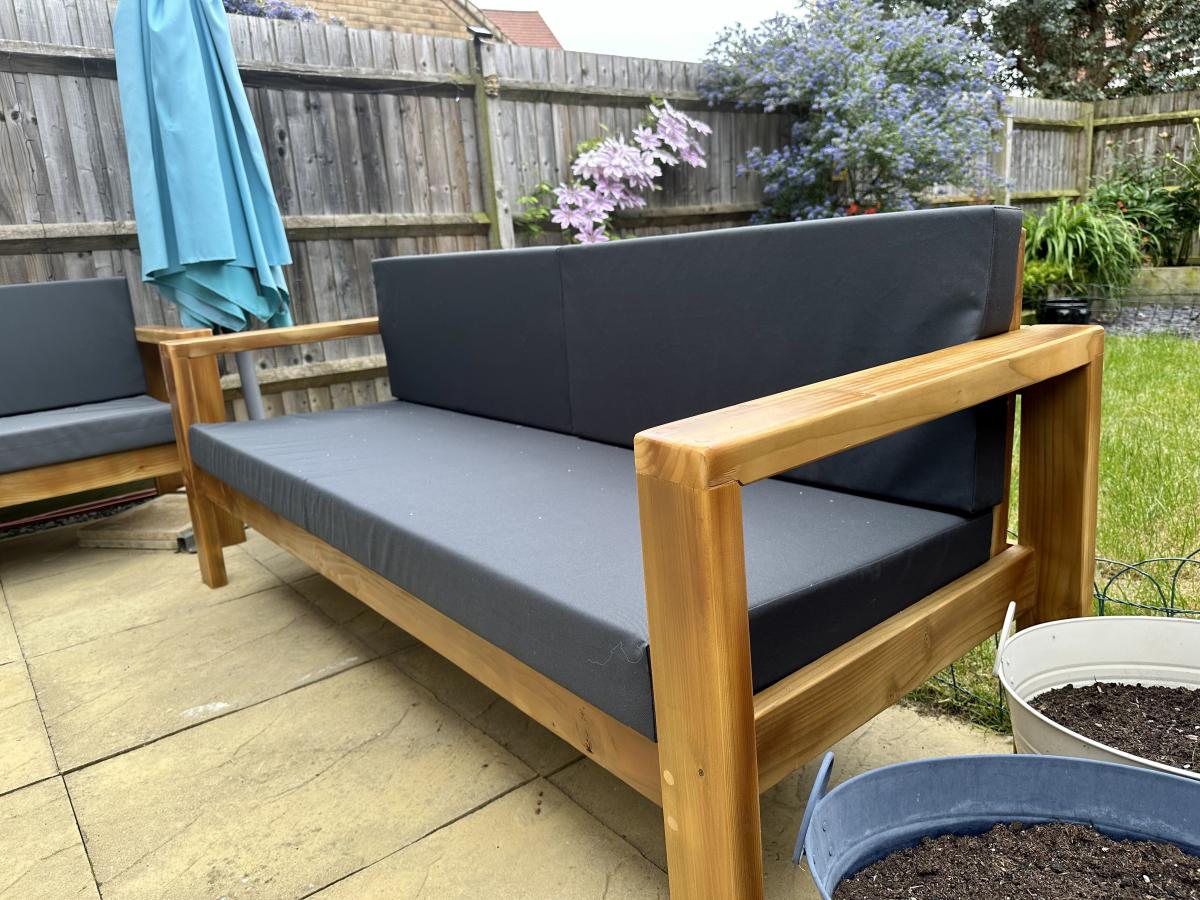
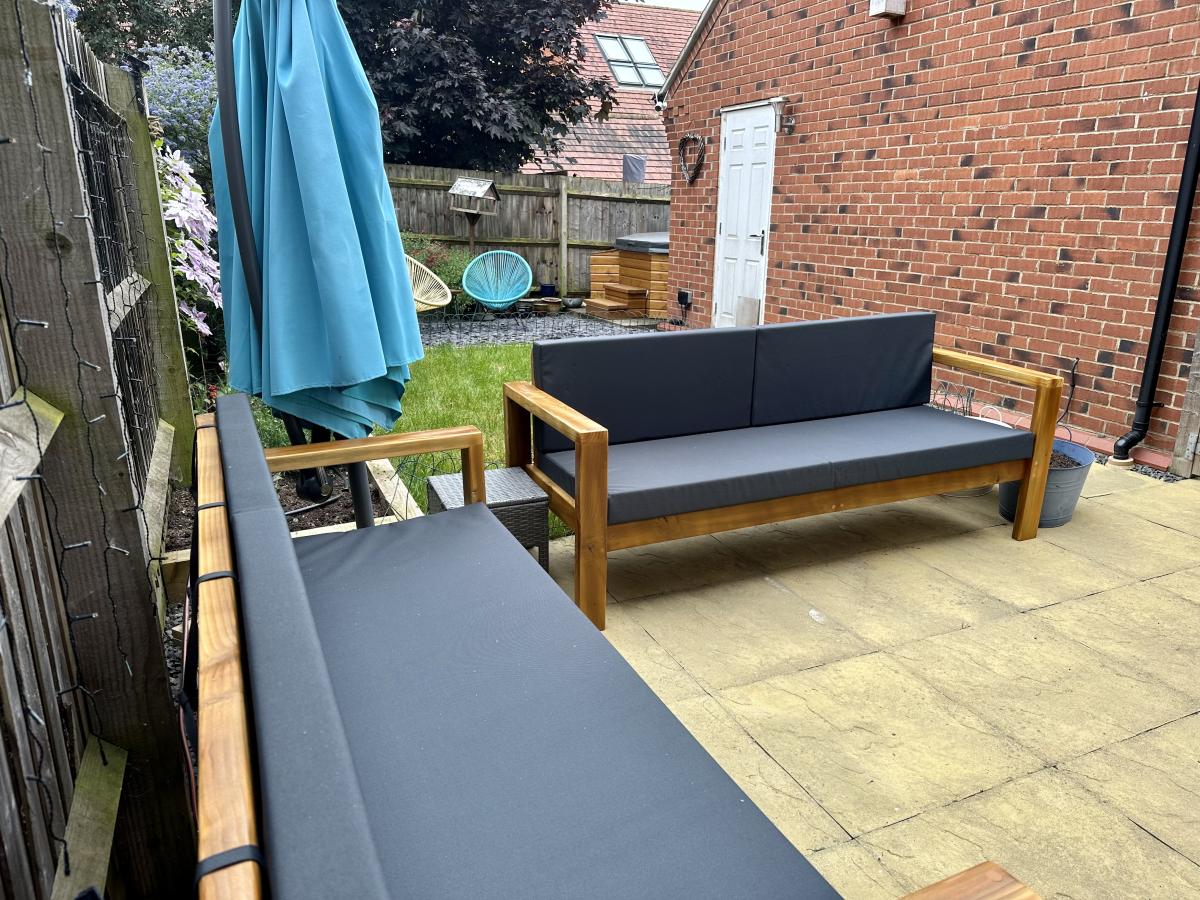
These were inspired from a few different projects of Ana’s, great fun to build and have transformed our patio area
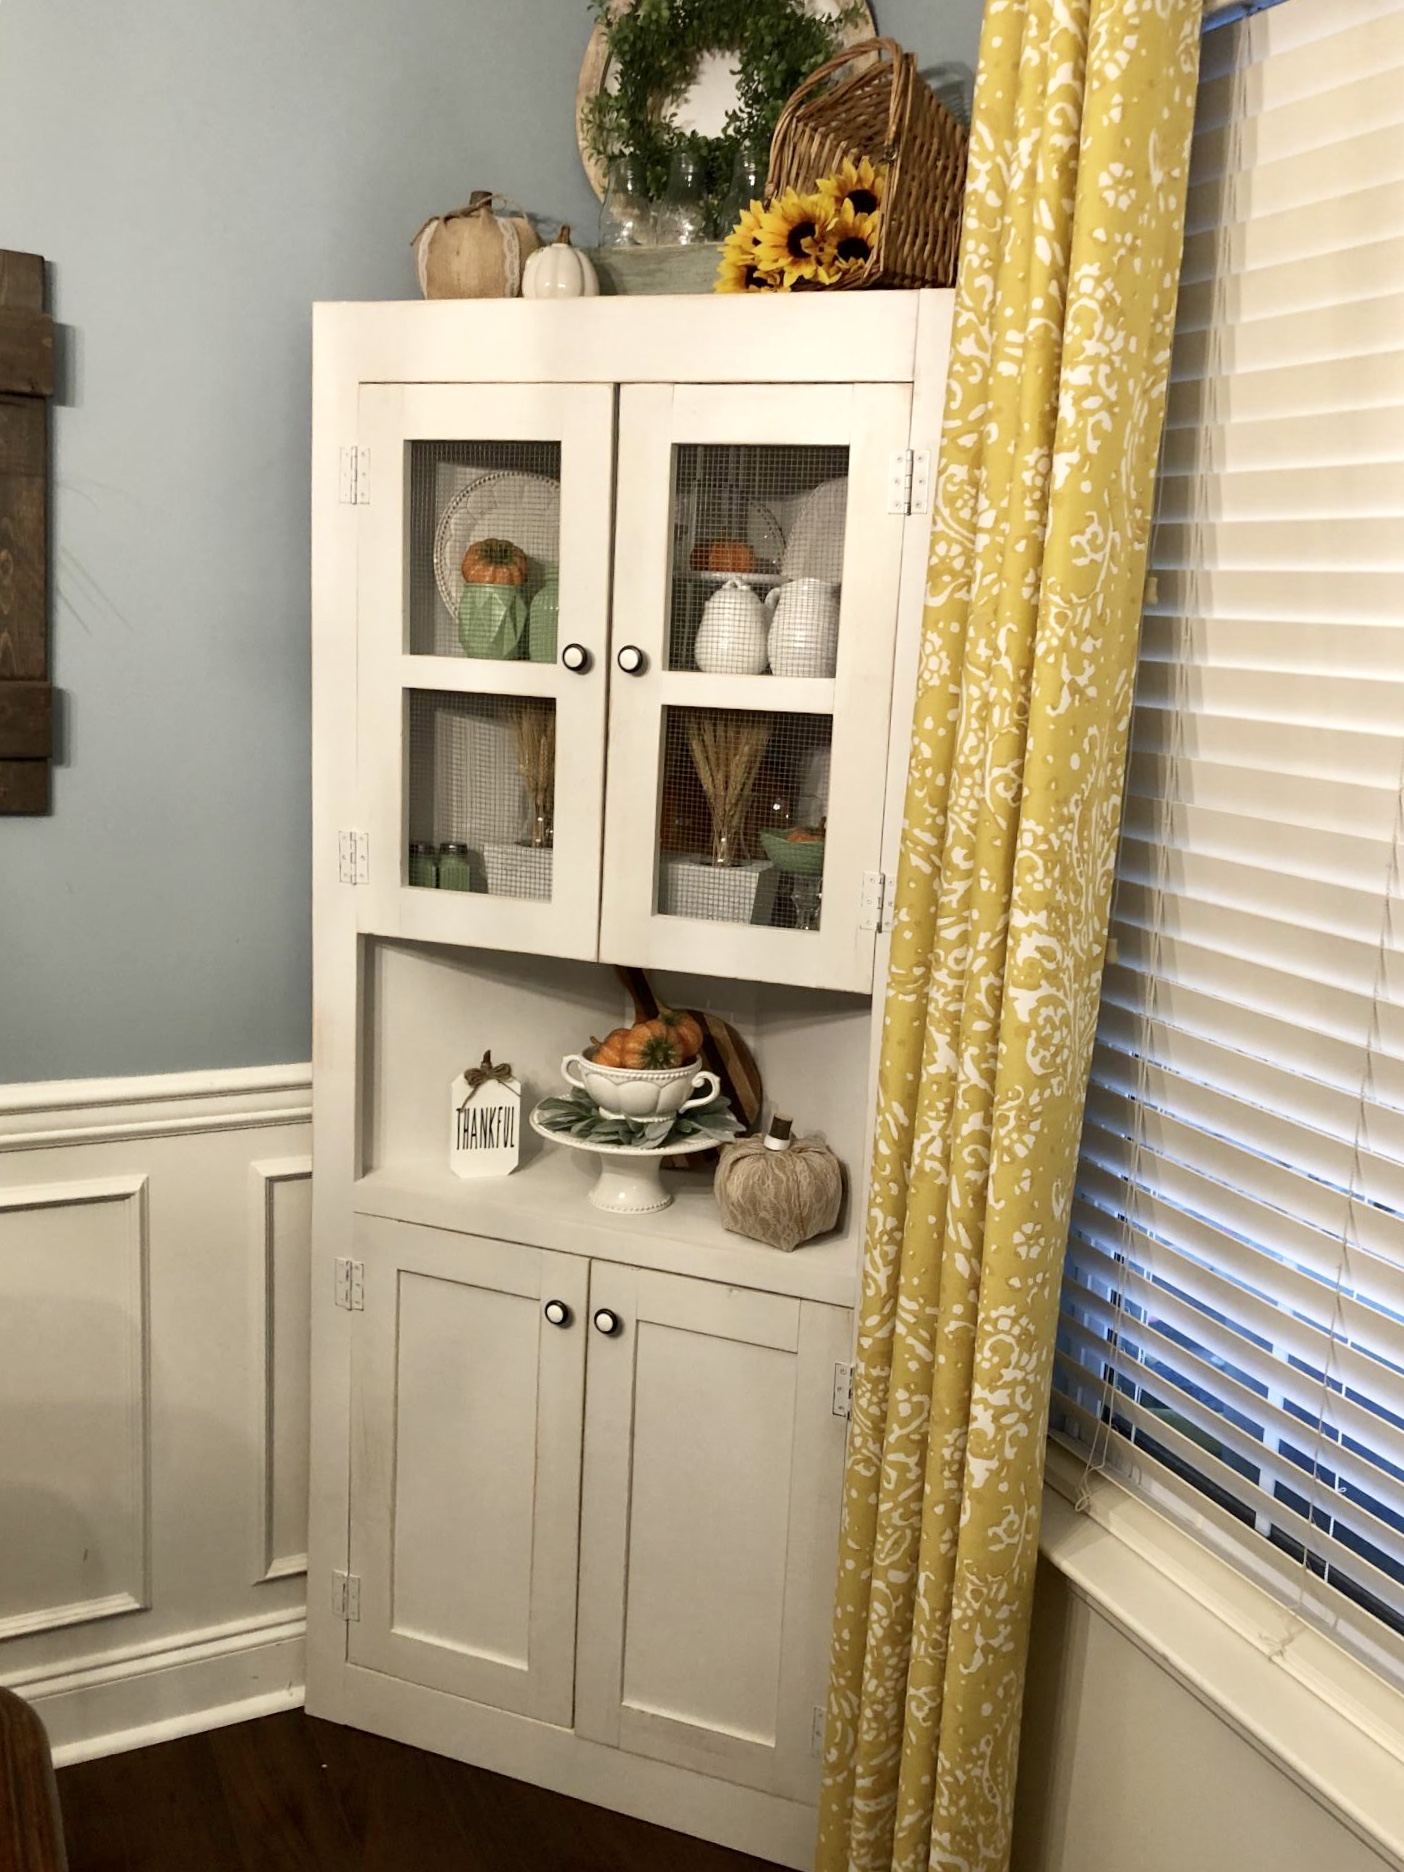
Wanted a corner cabinet for awhile and found Ana’s plans!! So easy and love my cabinet❤️
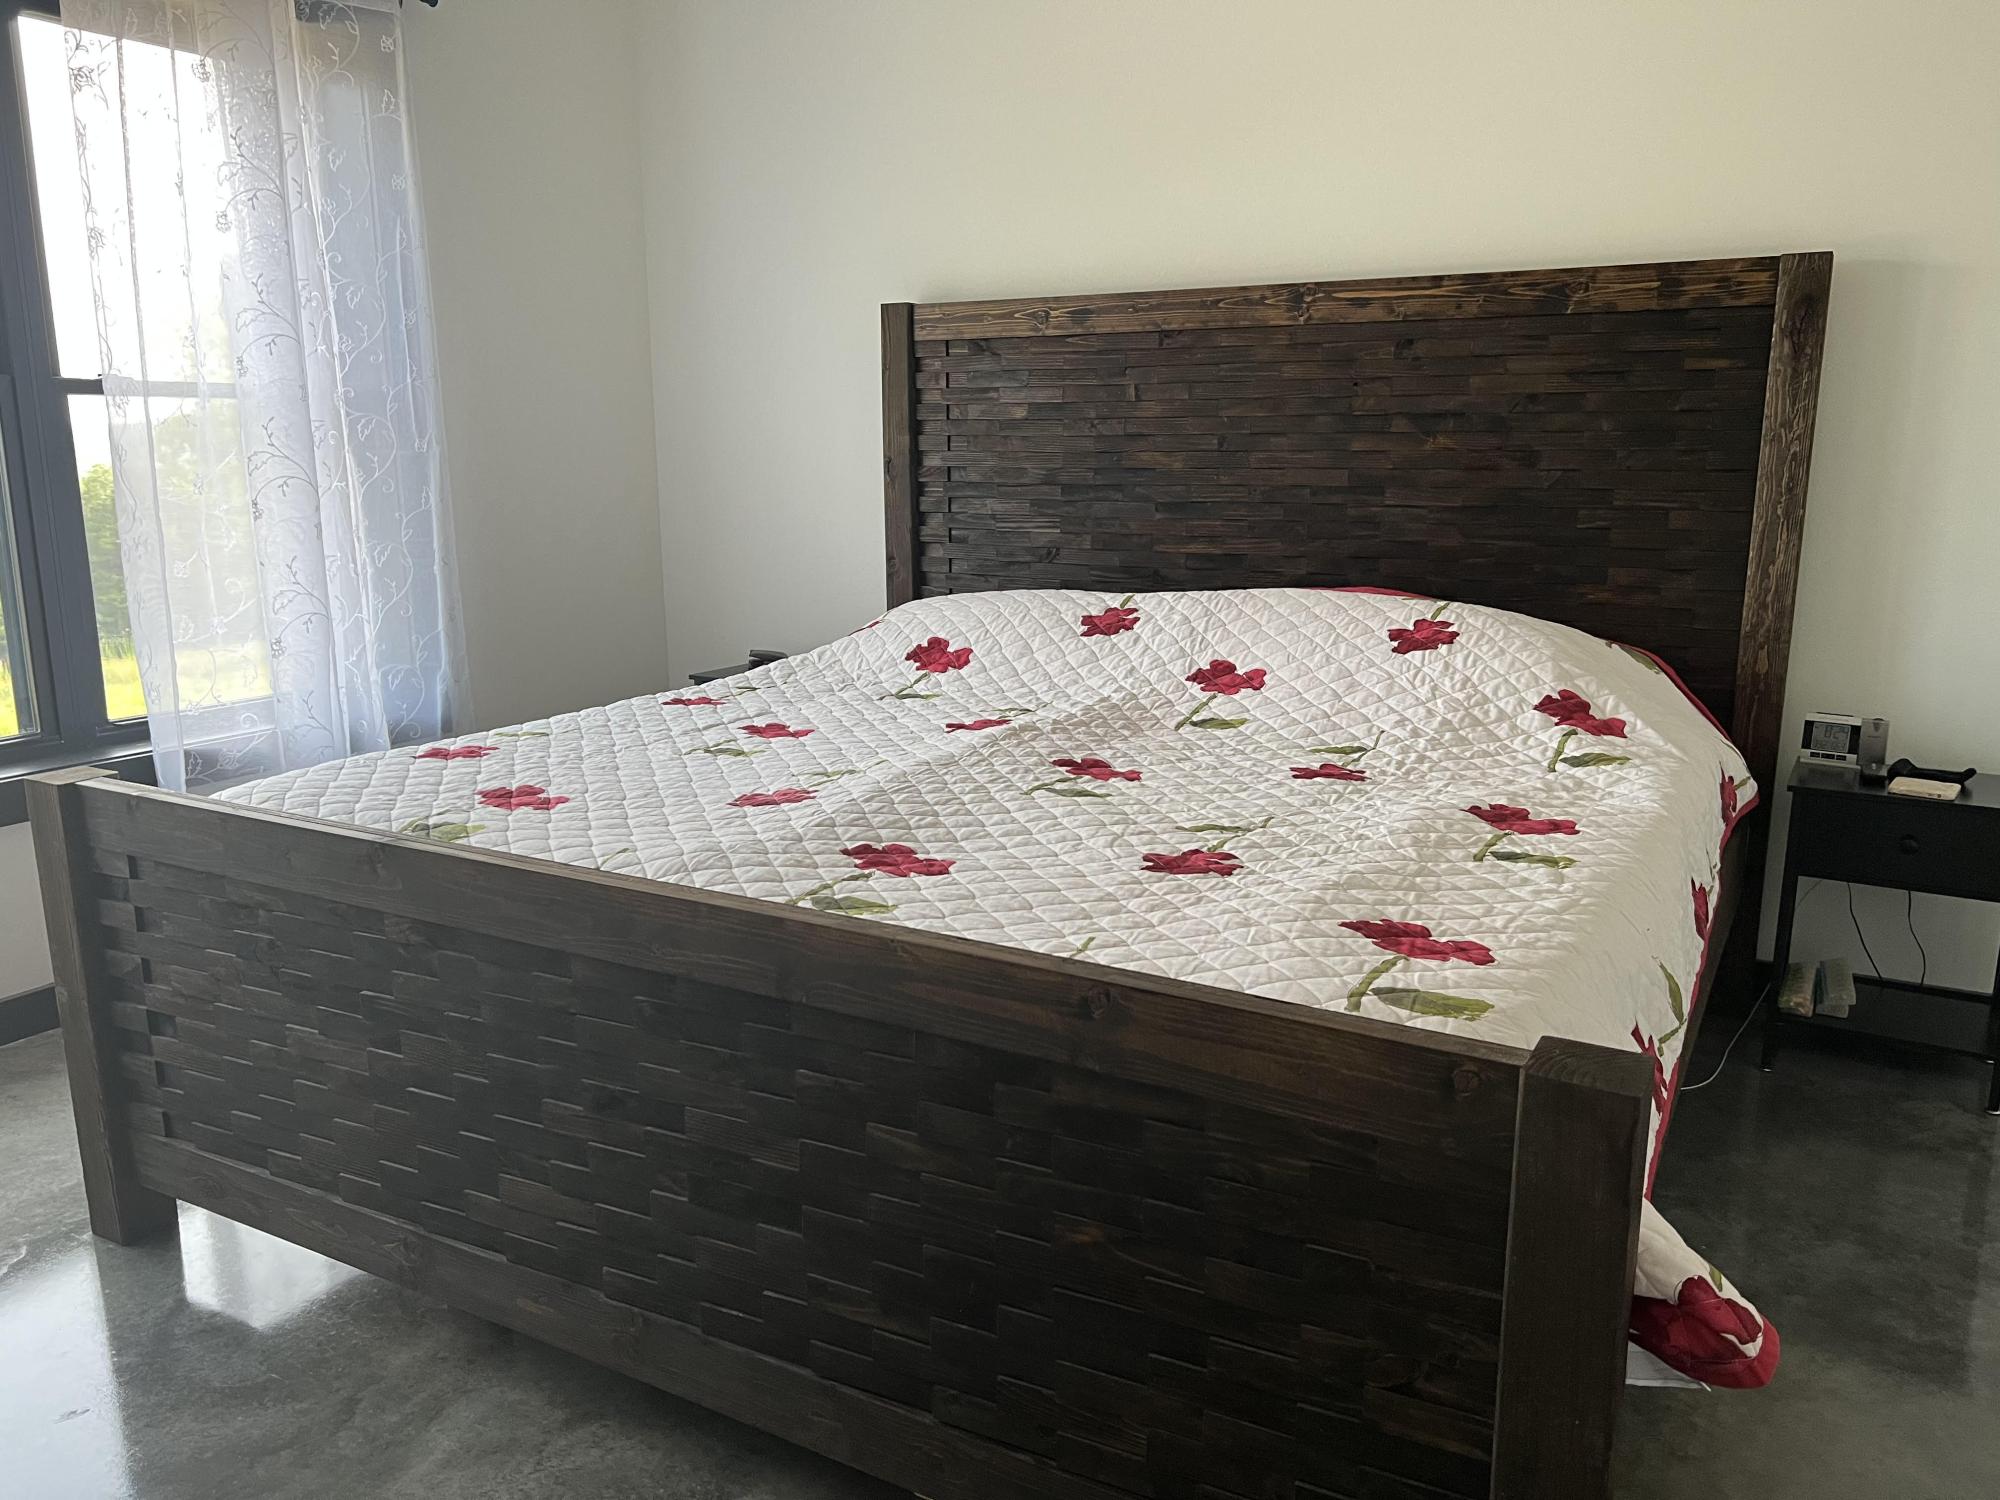
Check out our new King size bed! Thanks to the plan by Cassidy– King Size Bed posted on Ana White’s website. We adapted our design based on the size of our mattress and personal preference on the height of the headboard and footboard. Lots of fun making it!
Easy beginner project.
Mon, 02/06/2012 - 12:17
Absolutely awesome! Love all the extra details you added!
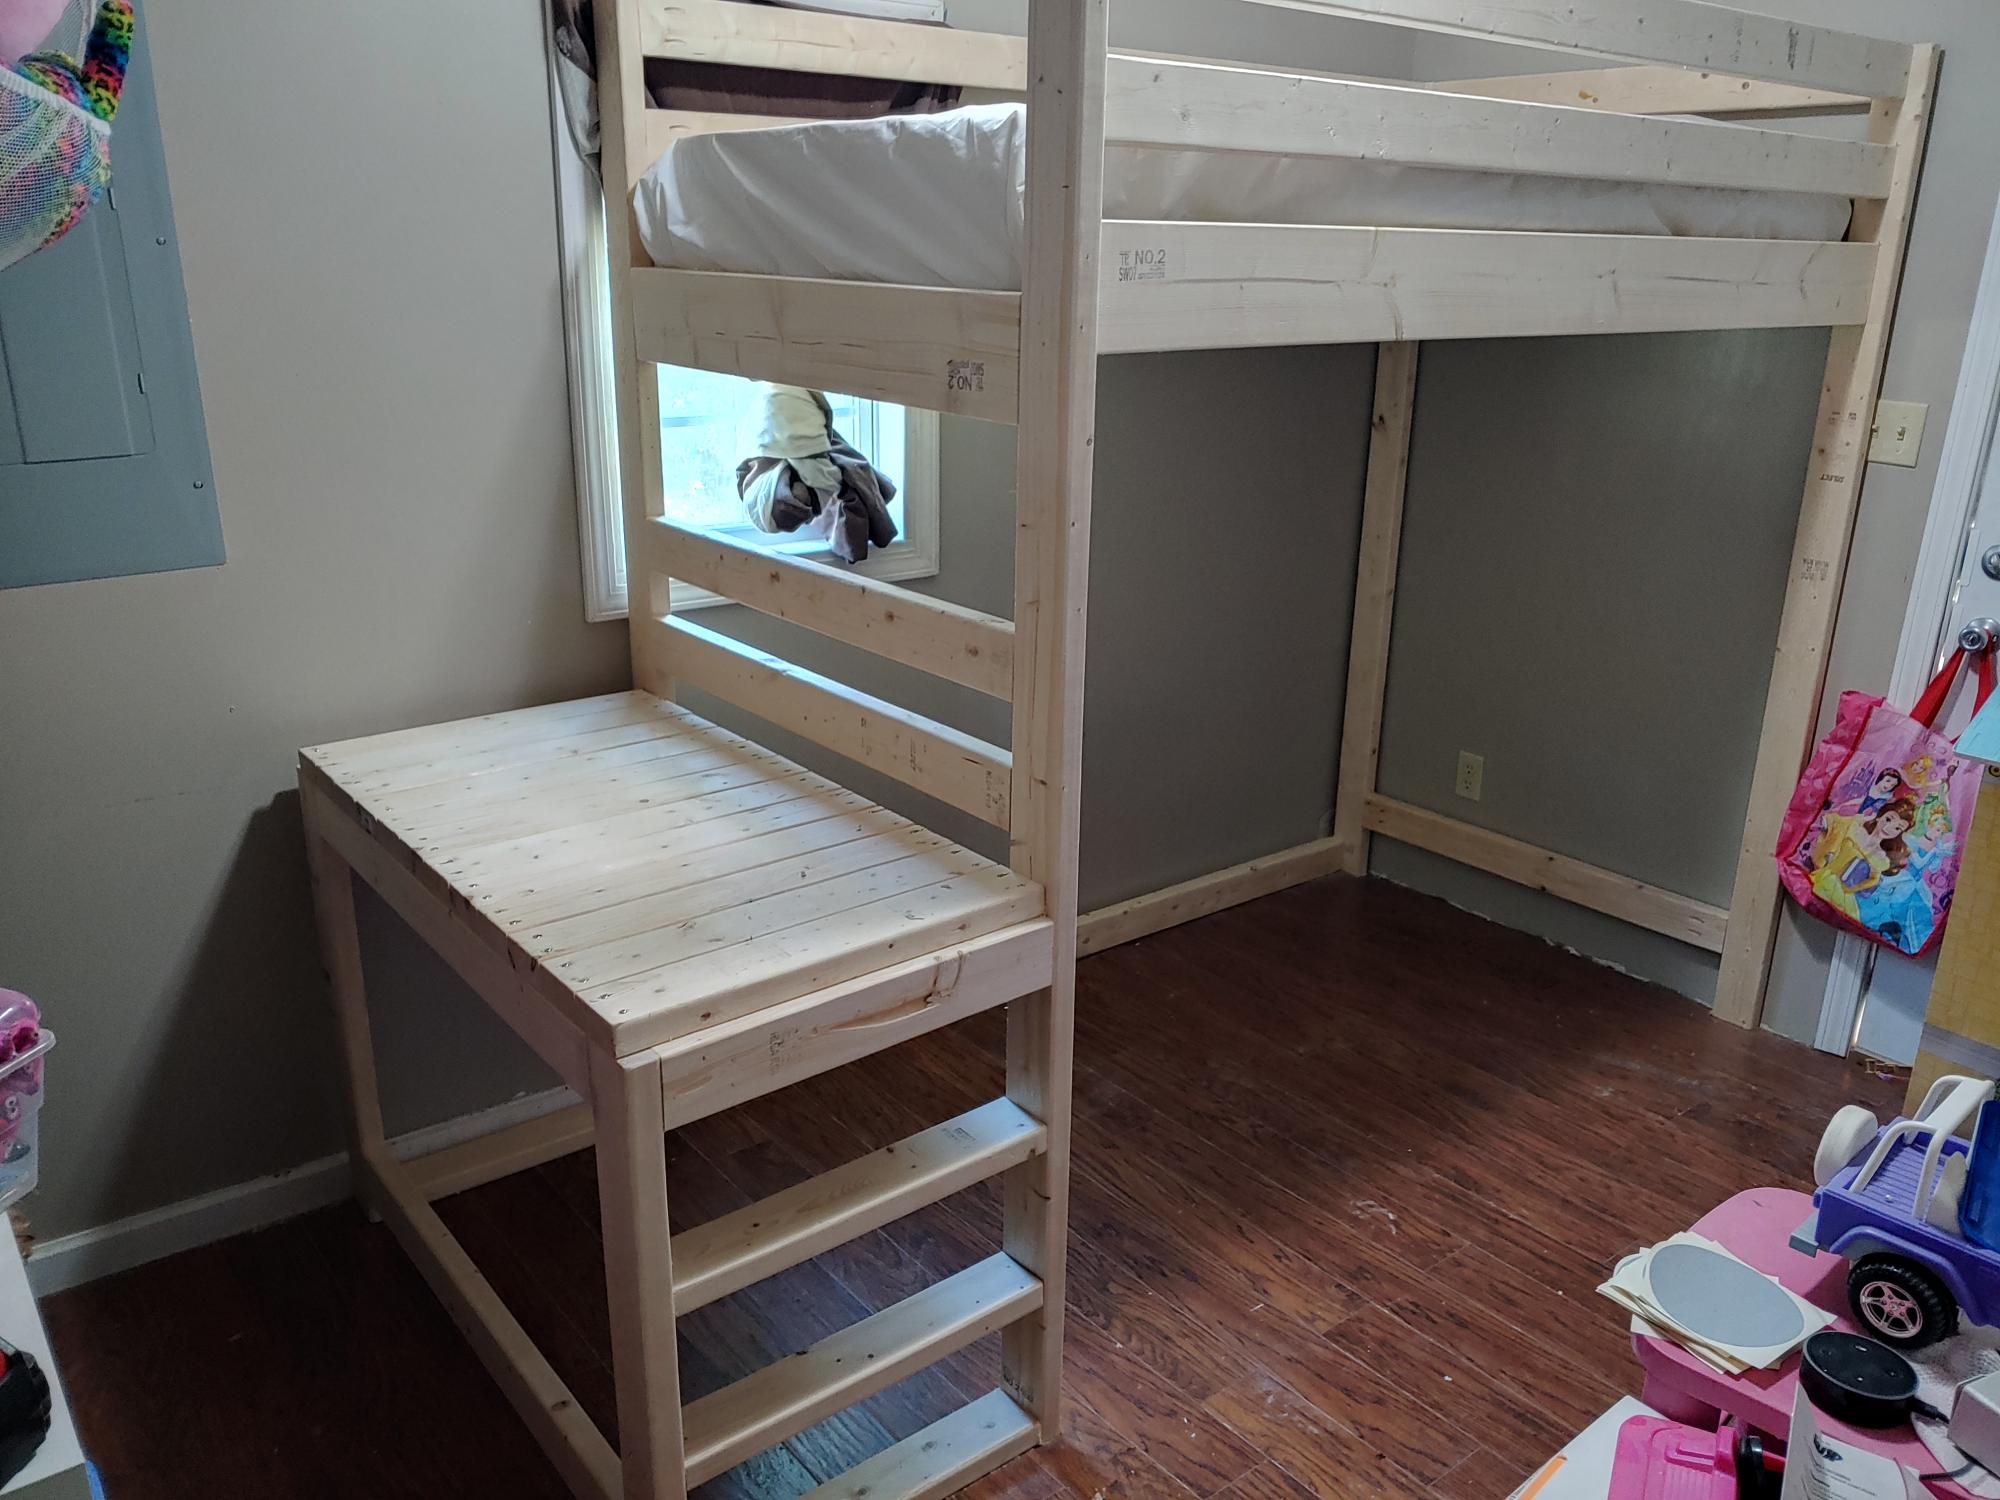
I modified a few things to fit my needs. I did a small ladder instead of steps to save room. I added a 2x4 down the middle with brackets to add extra strength for mattress area. I used my kreg drill bit to make holes for the 2x2 to also help with strength. I am a big guy and the bed was solid so no issues with weight. I added 8 inches to the main post to add height underneath for a doll house, book shelf and some other things my wife wanted under there. Excellent plans and my daughter loves it.
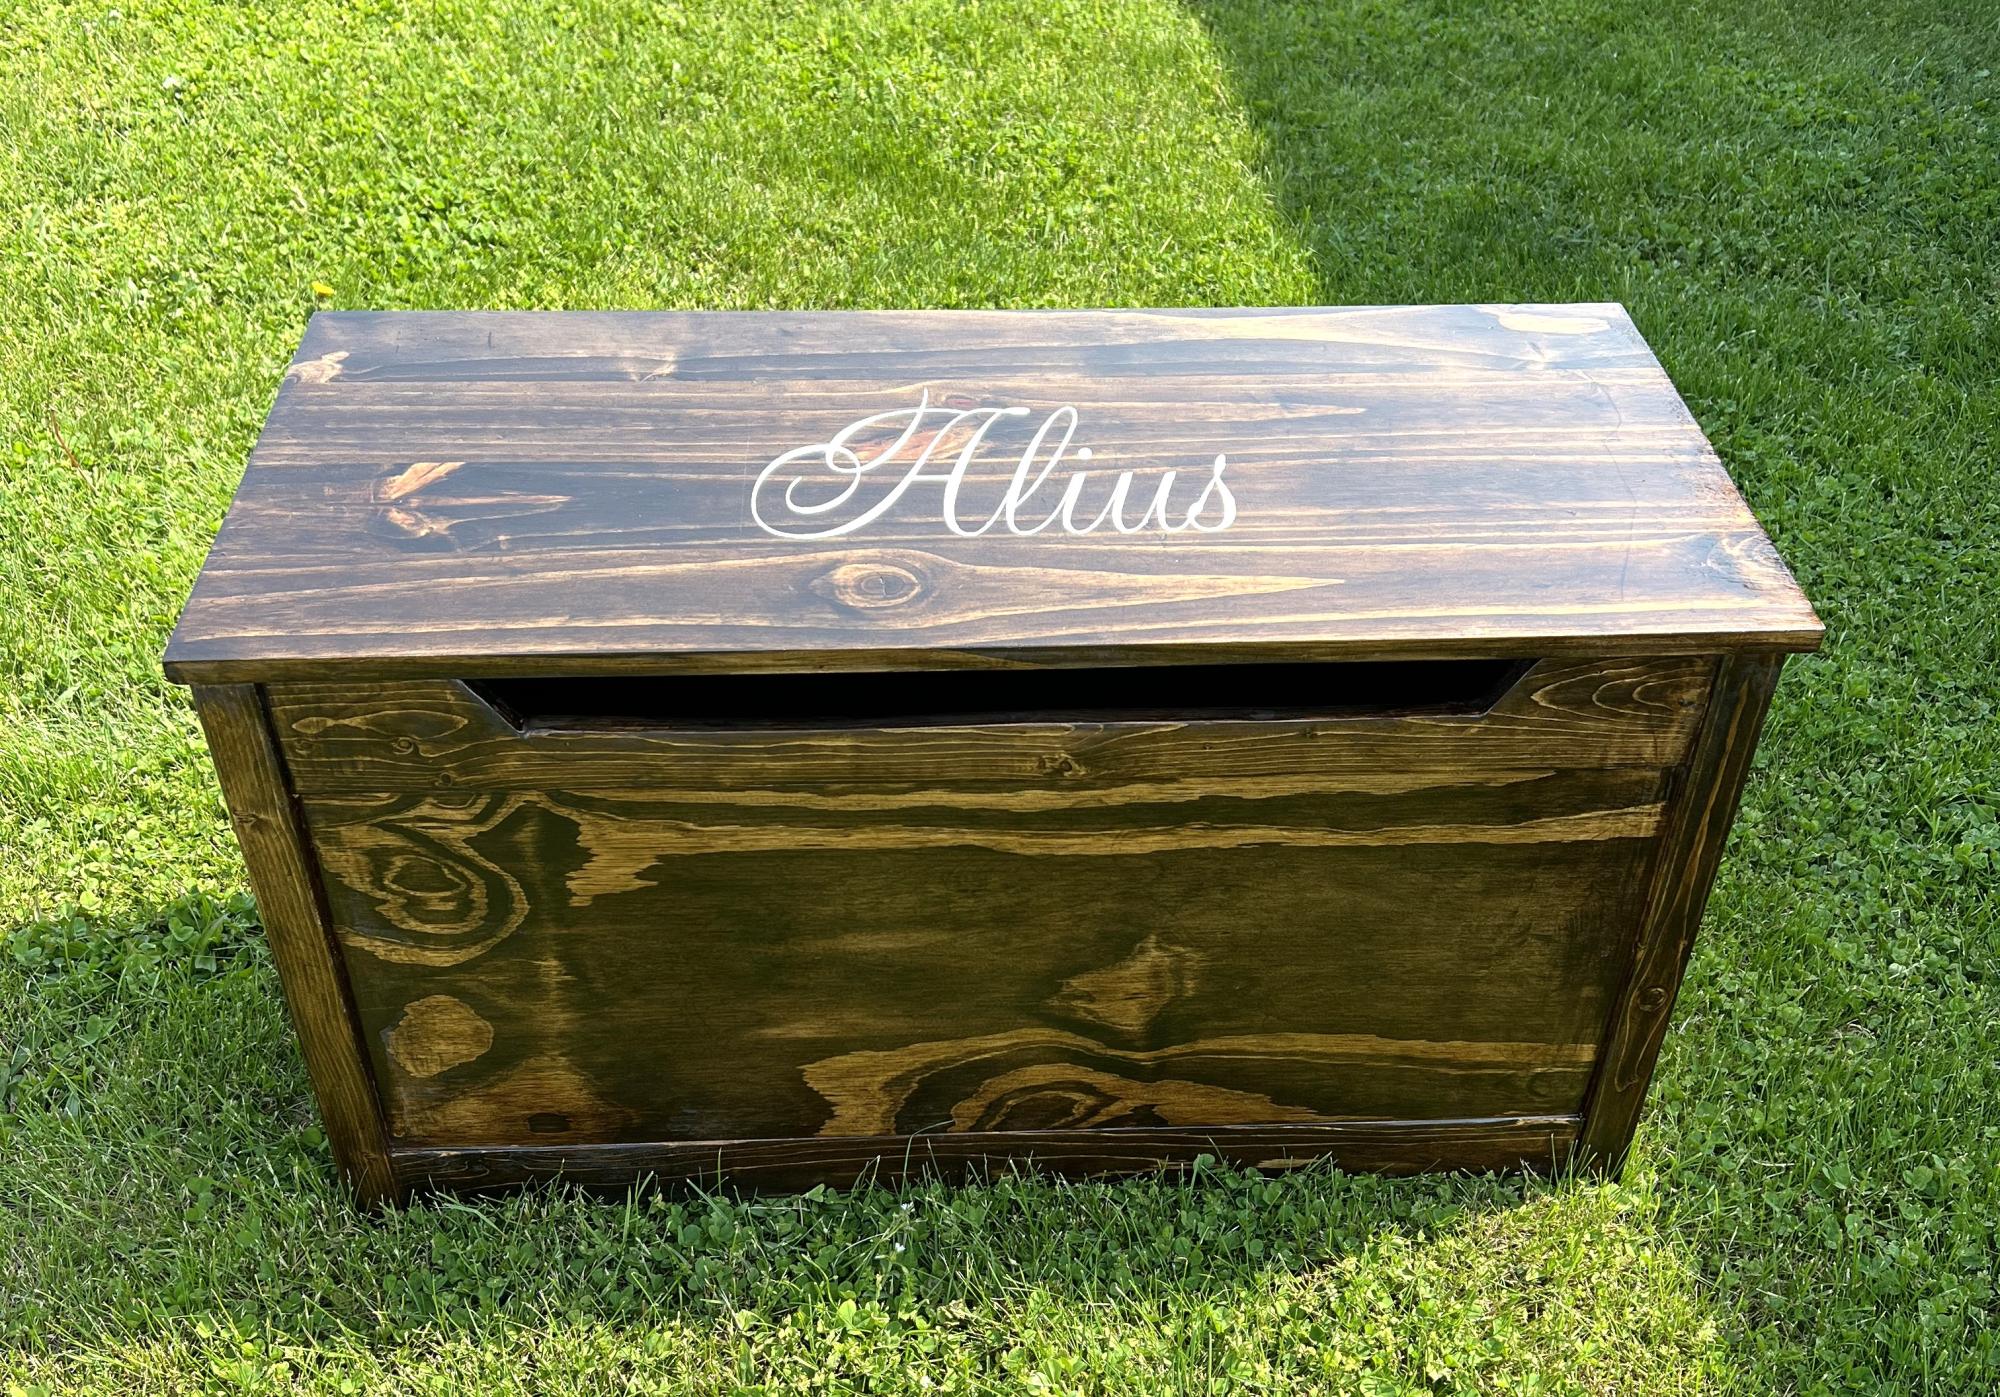
I made 2 of these toy boxes Yor my friend that have twins. They love them and want me to make 2 more for 2 other children.
Kim Myers
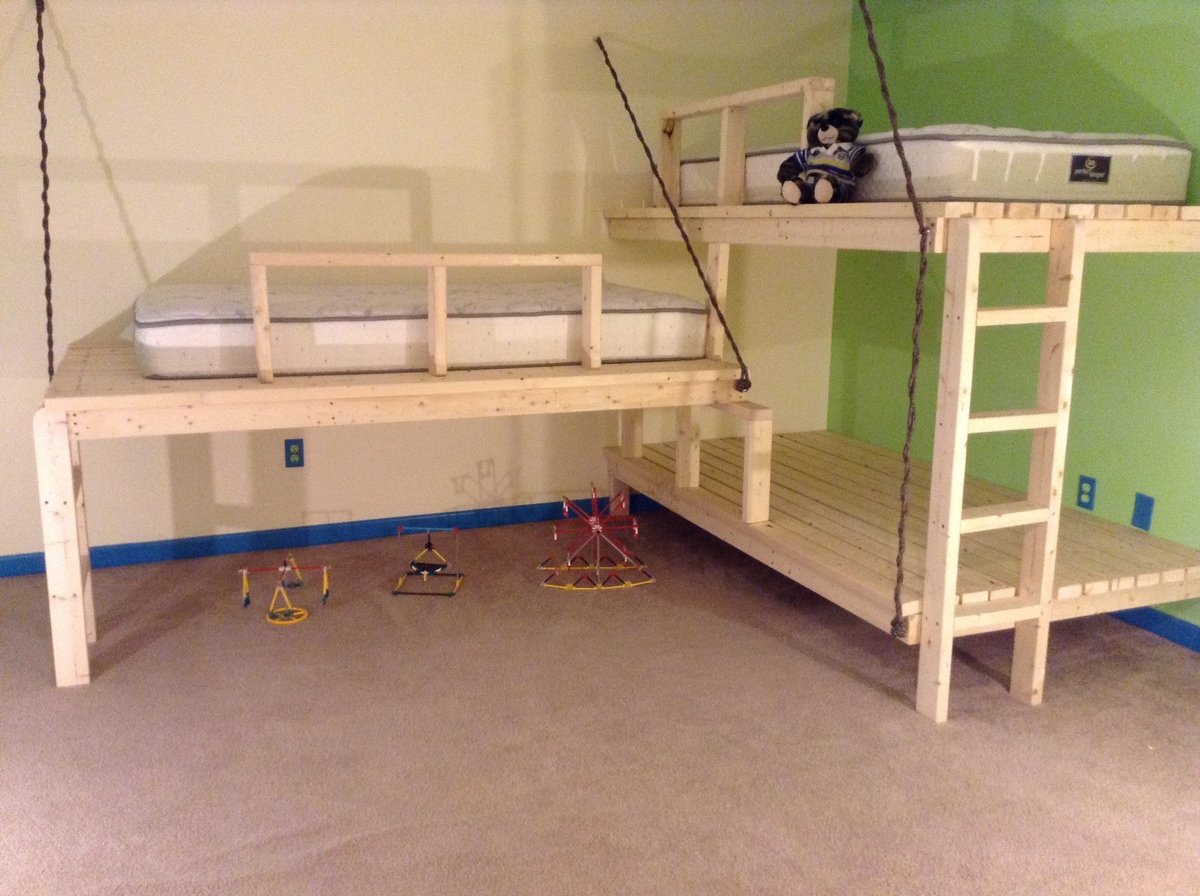
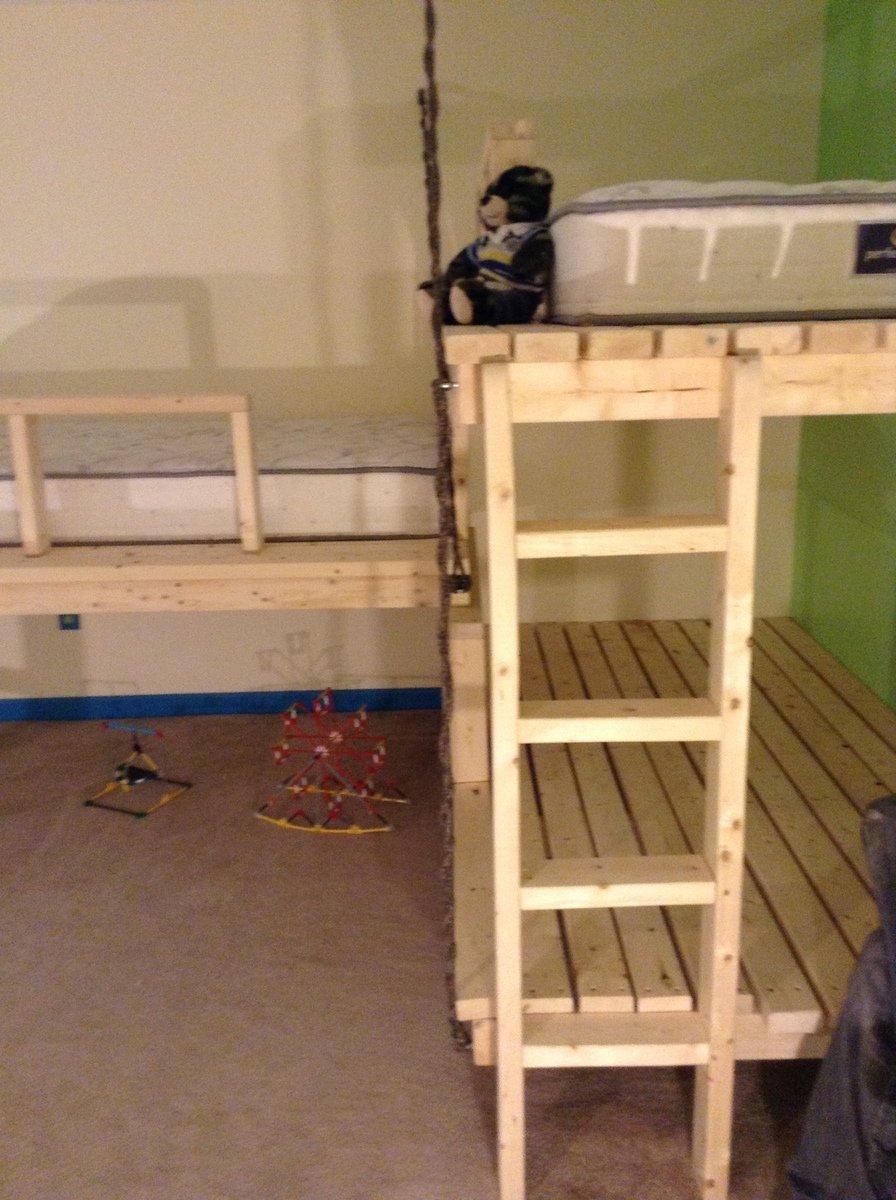
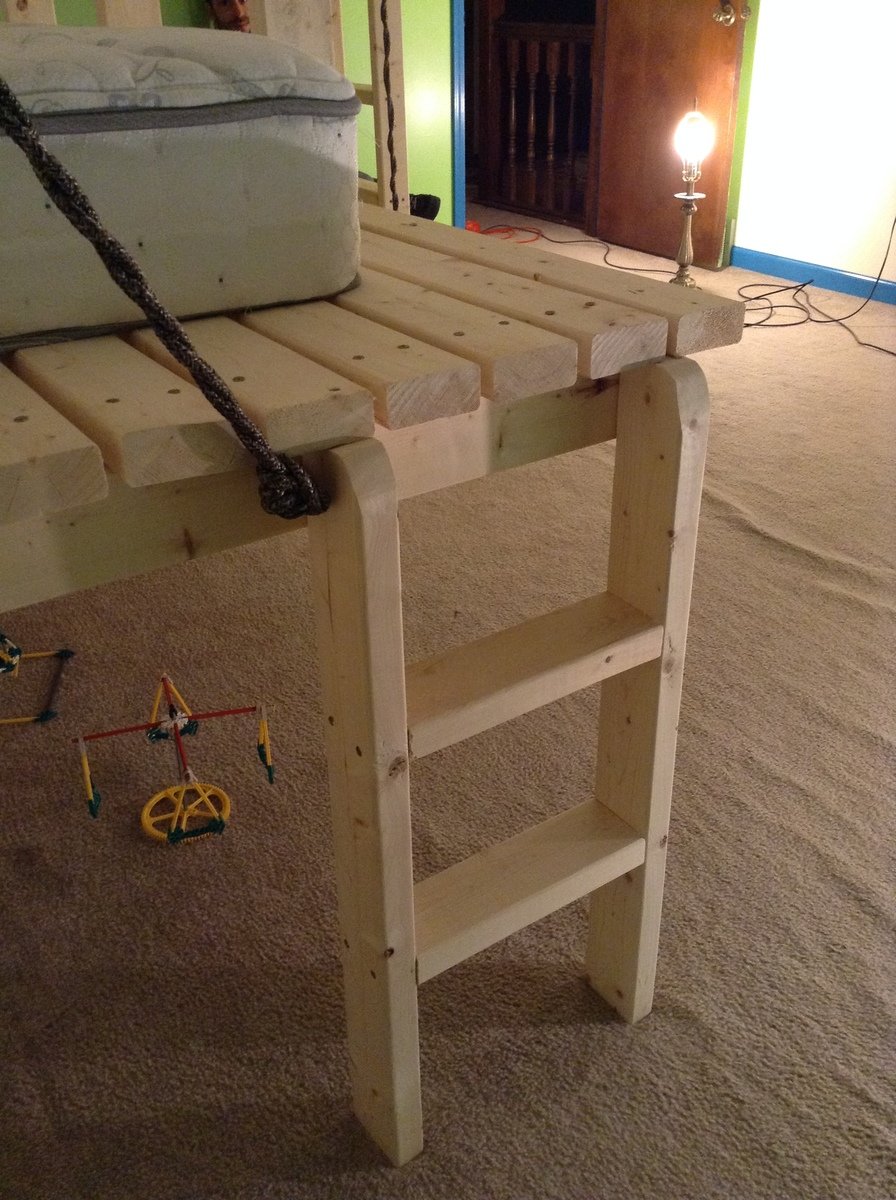
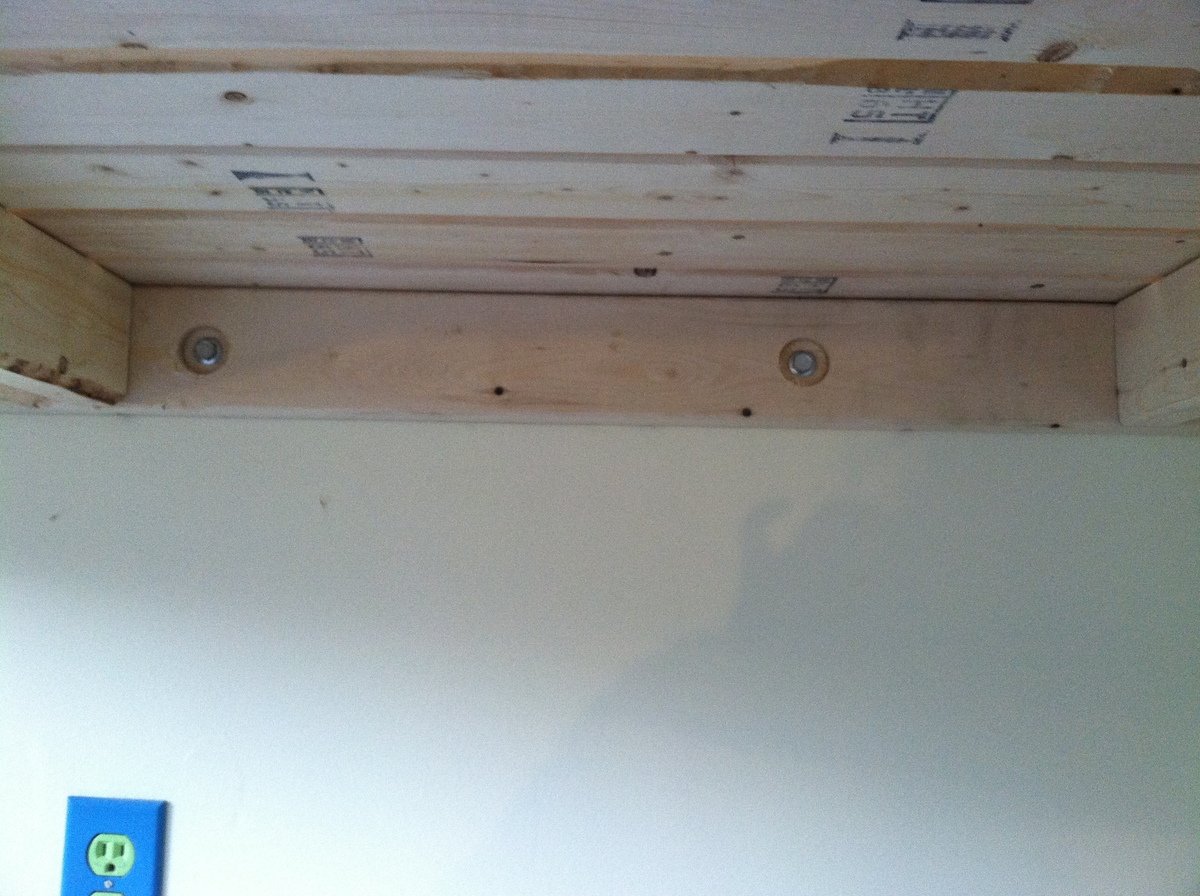
Inspired by the hanging day bed- everything was built as directed- then 5in X 3/8in lag bols used to secure to wall, as well as eye bolts and rope. Extra support added with ladders & 2X4's. Could have been a 1.5-2 day project but we kept breaking bits, missing tools, running out of screws as soon ad home depot closed... so we did it in 3.5 days


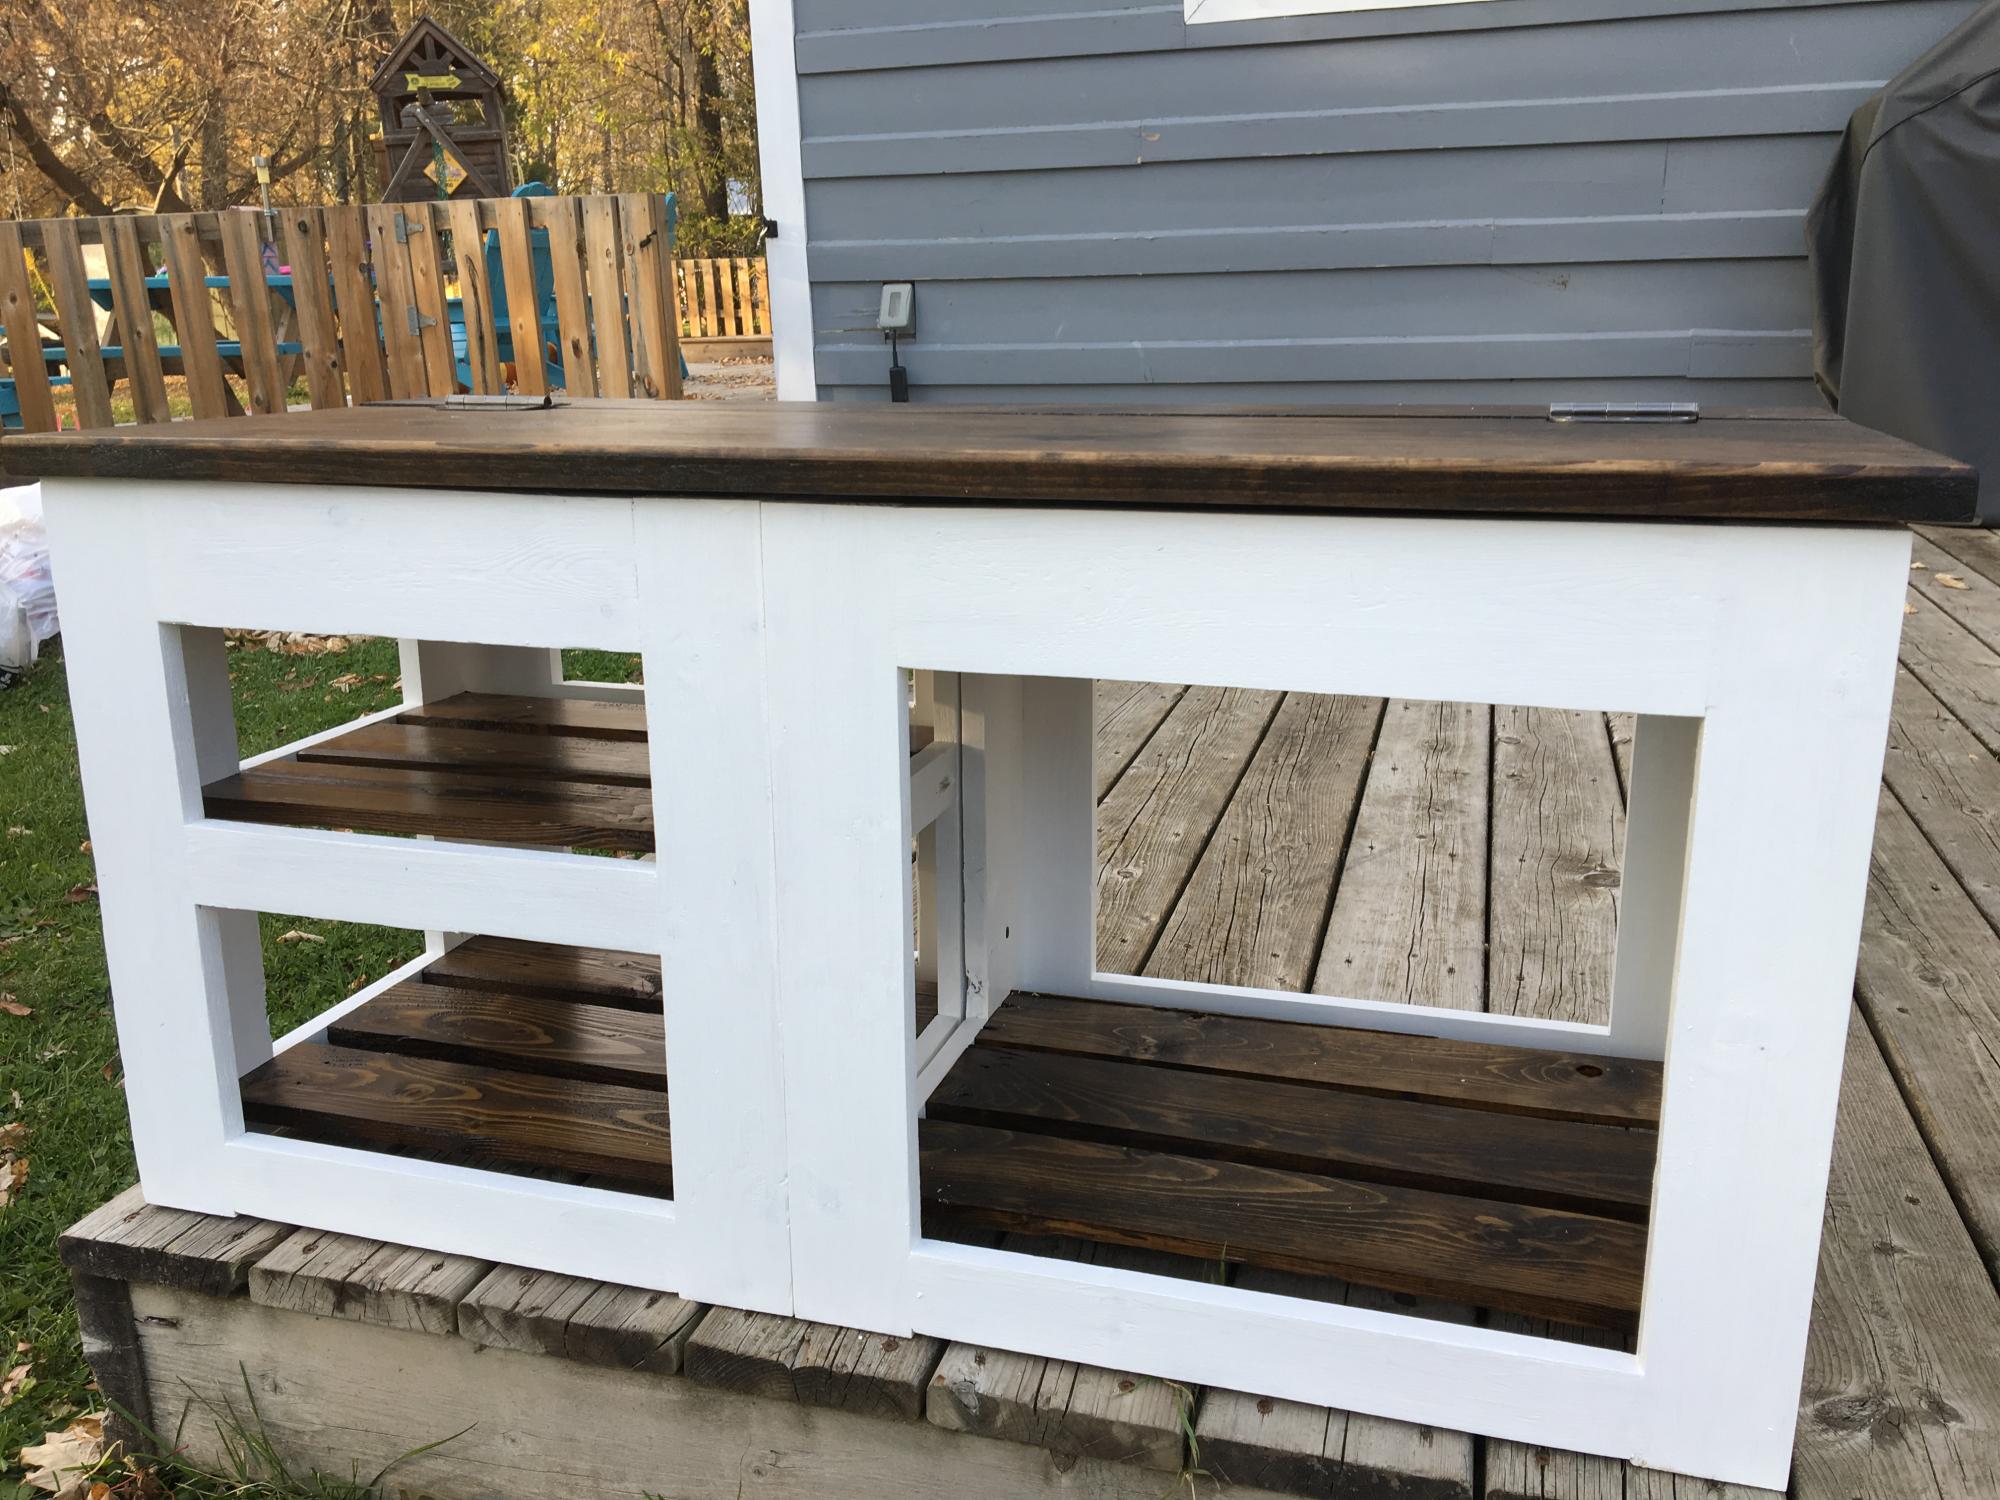
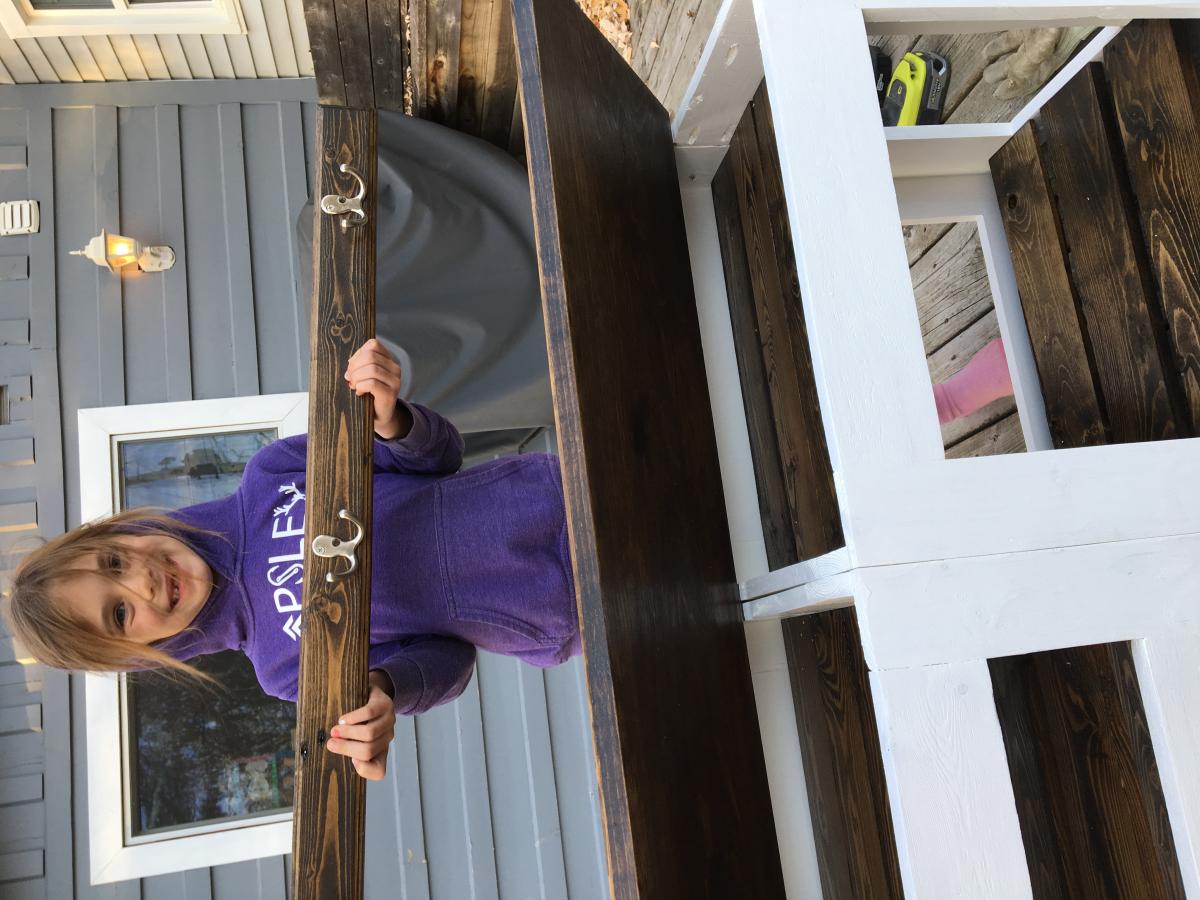
Loved your shoe bench so much that I’ve made two now for friends. Each one is a bit more custom depending on the length of their hallway and size of their family! I’ve also modified the bench as well to make storage for mitts and toques. Such a great functional plan!
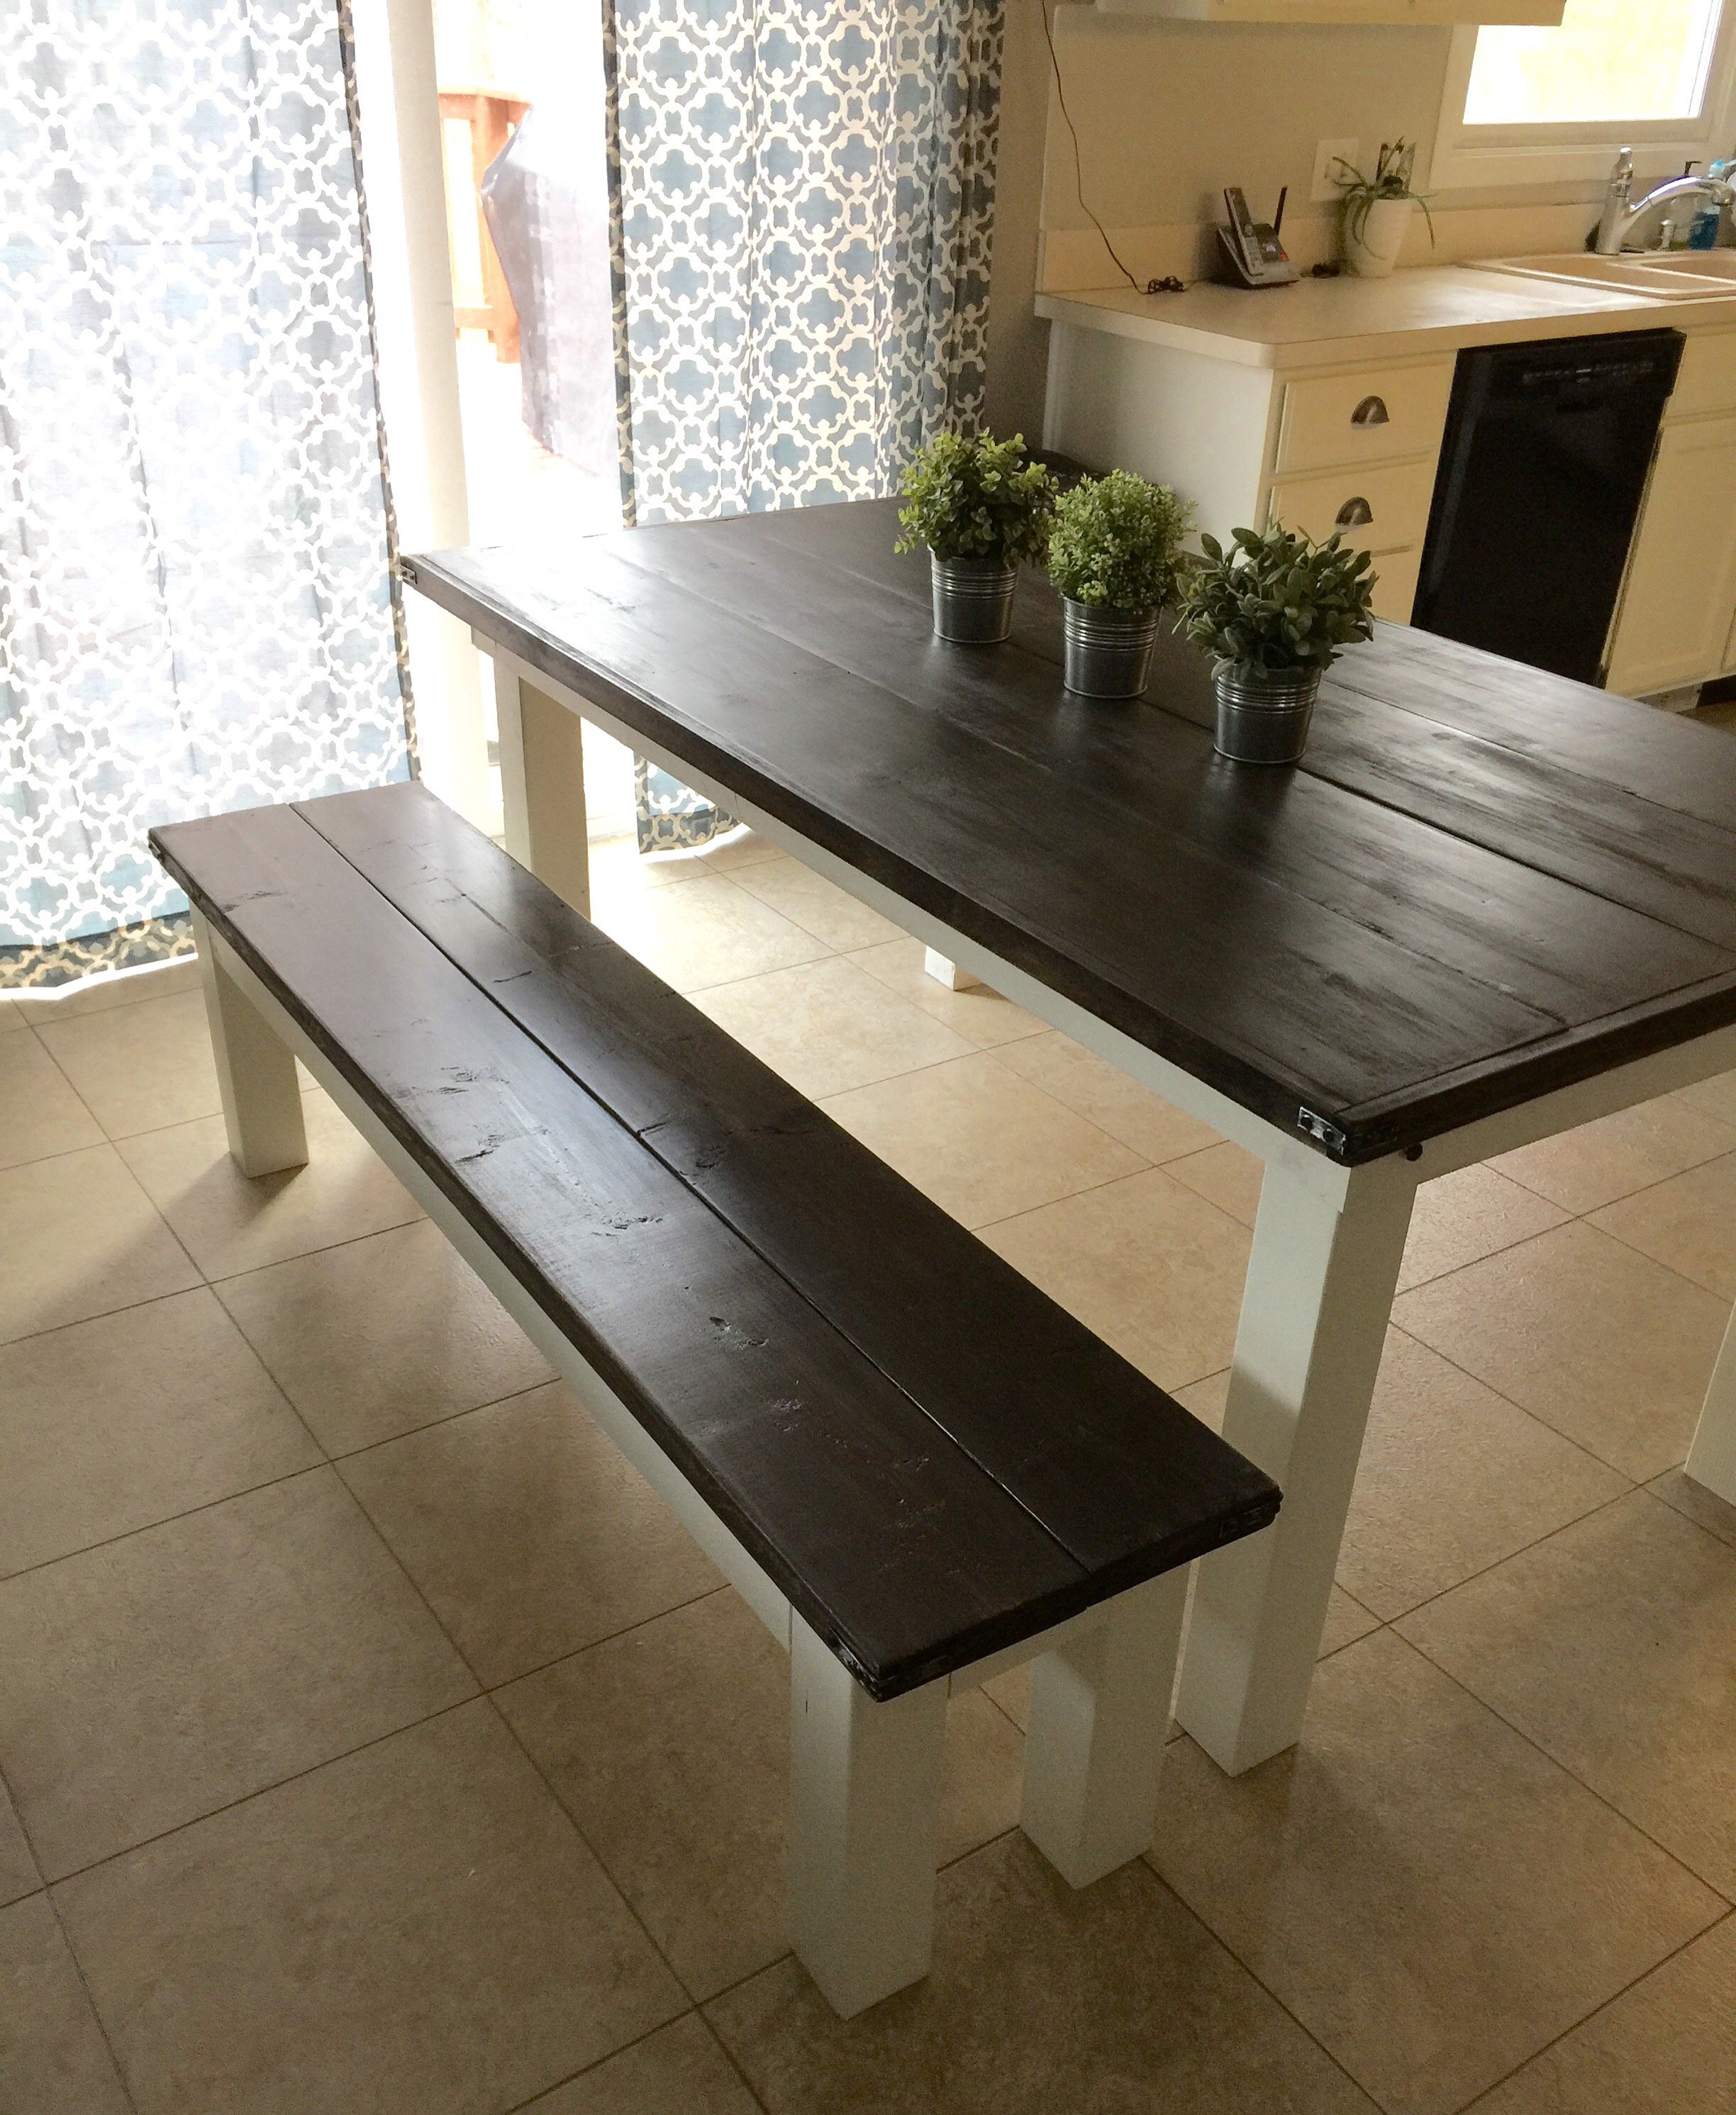
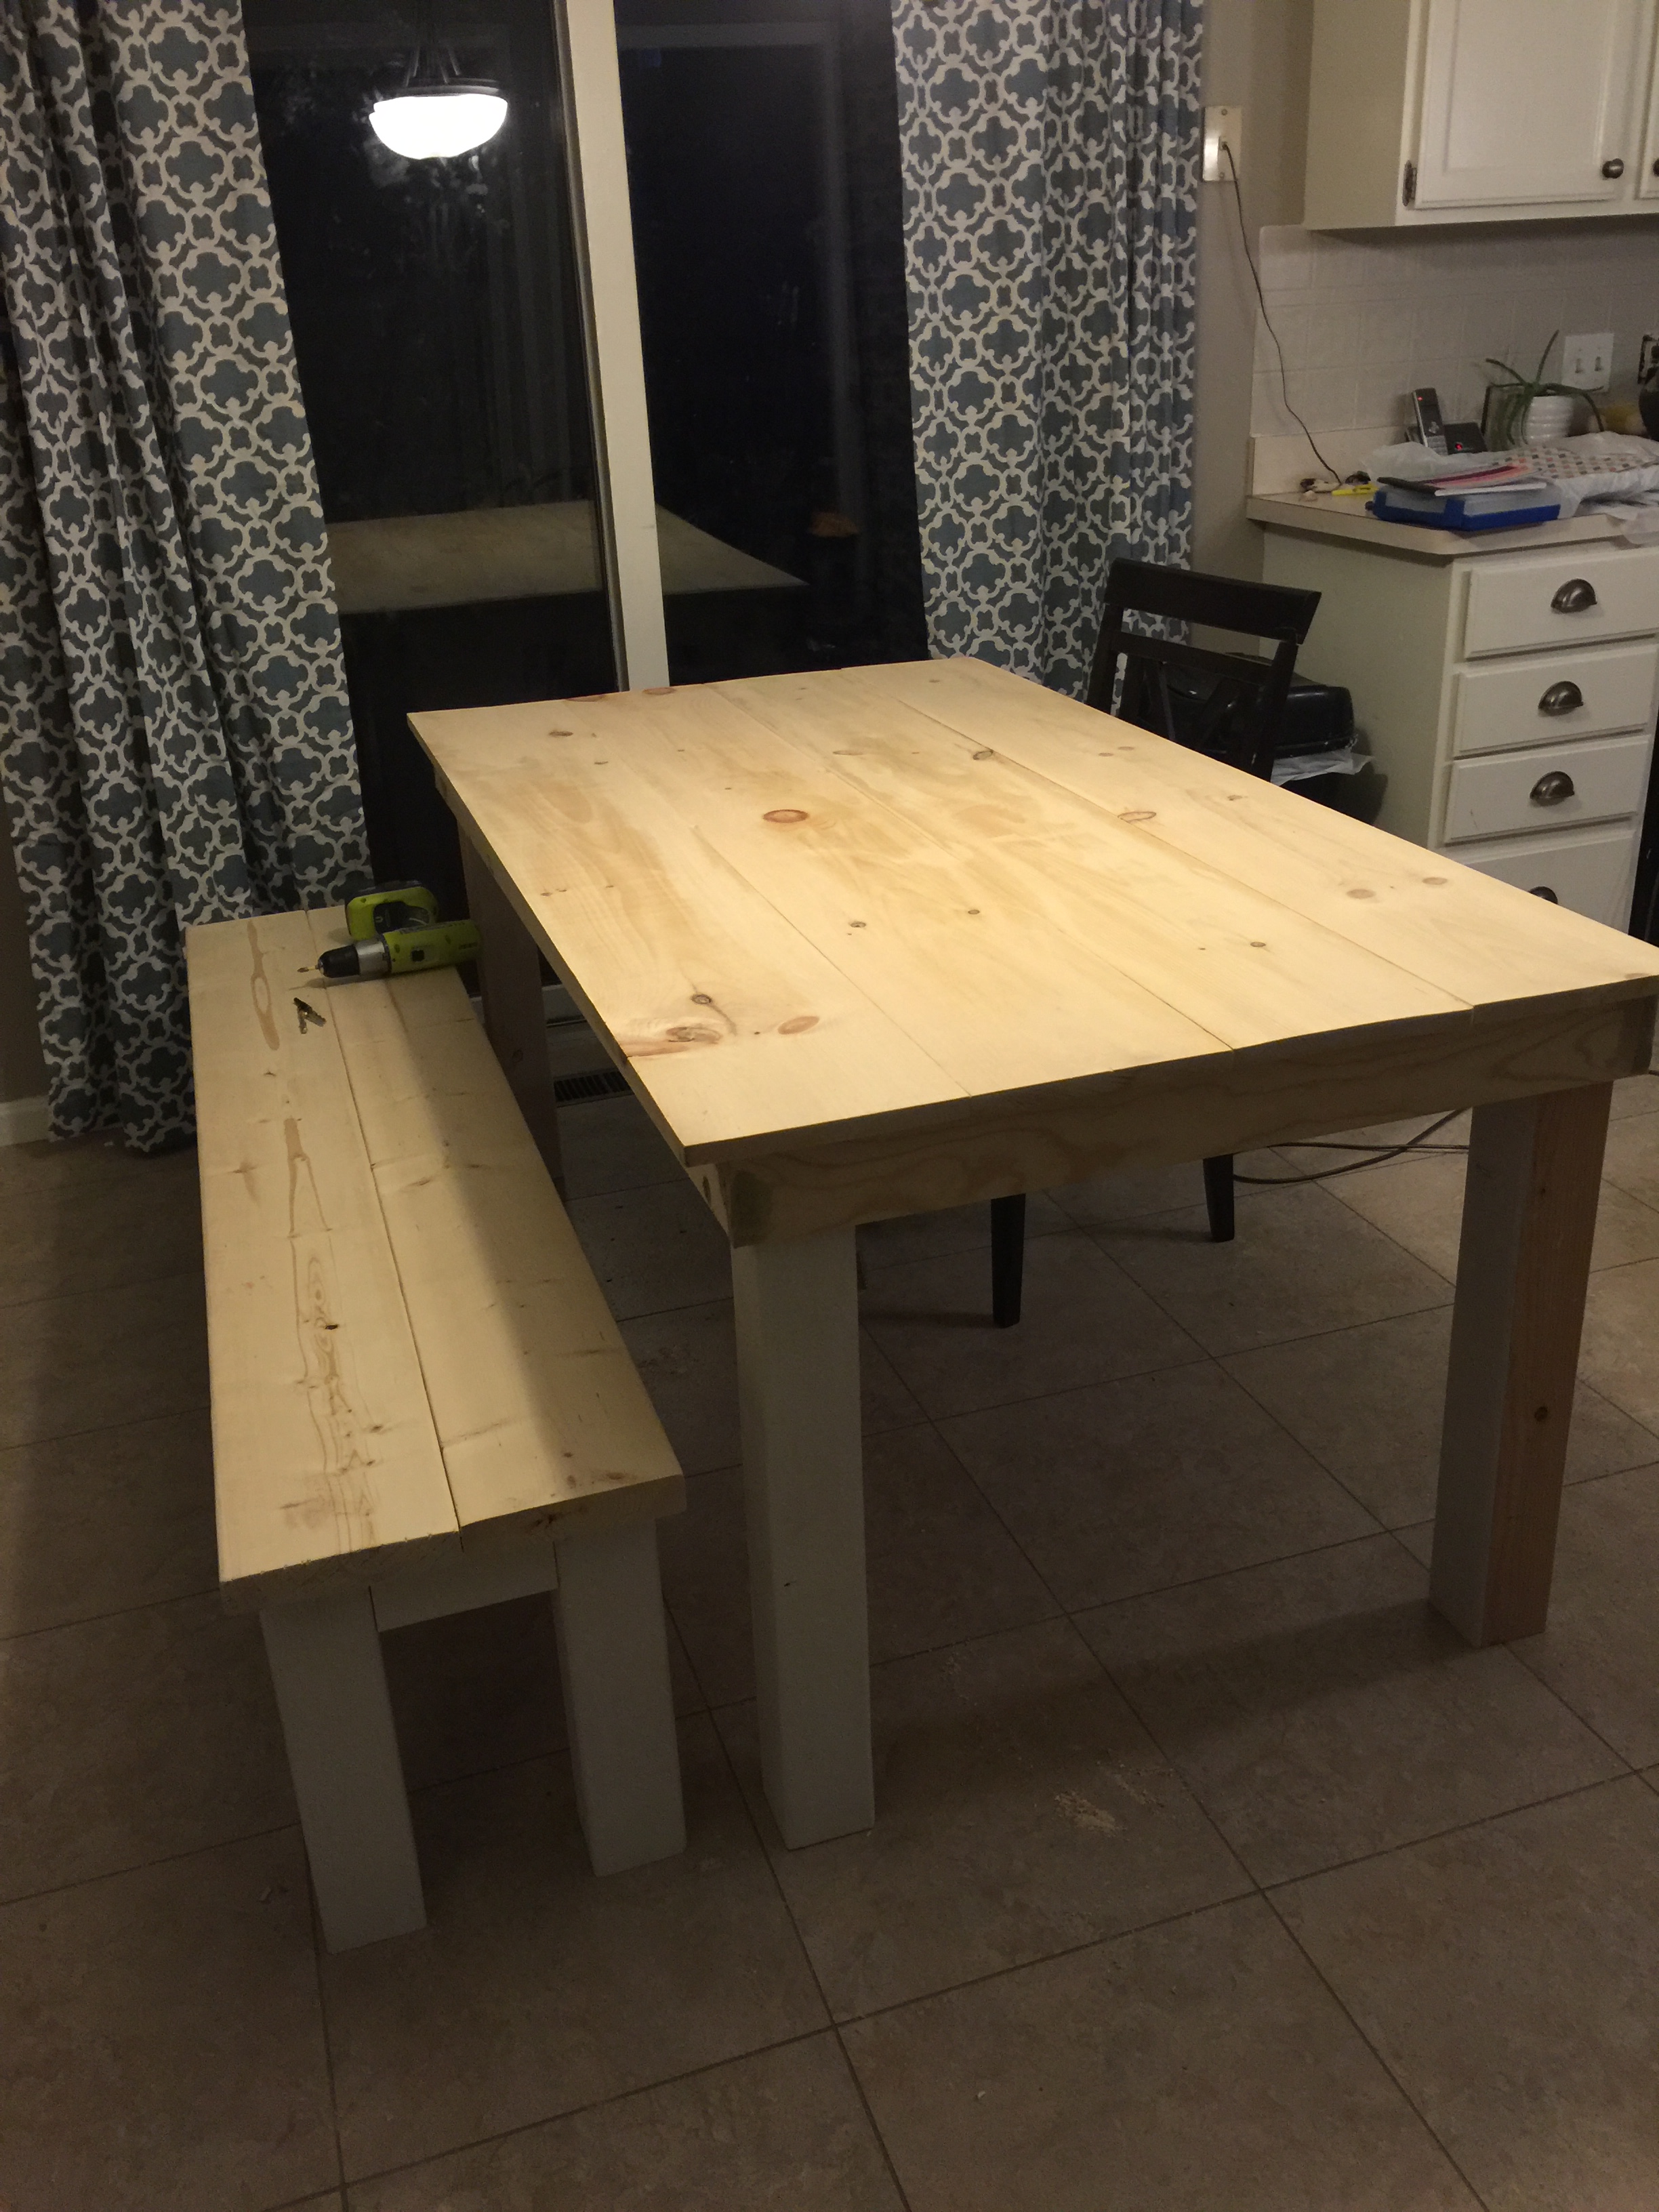
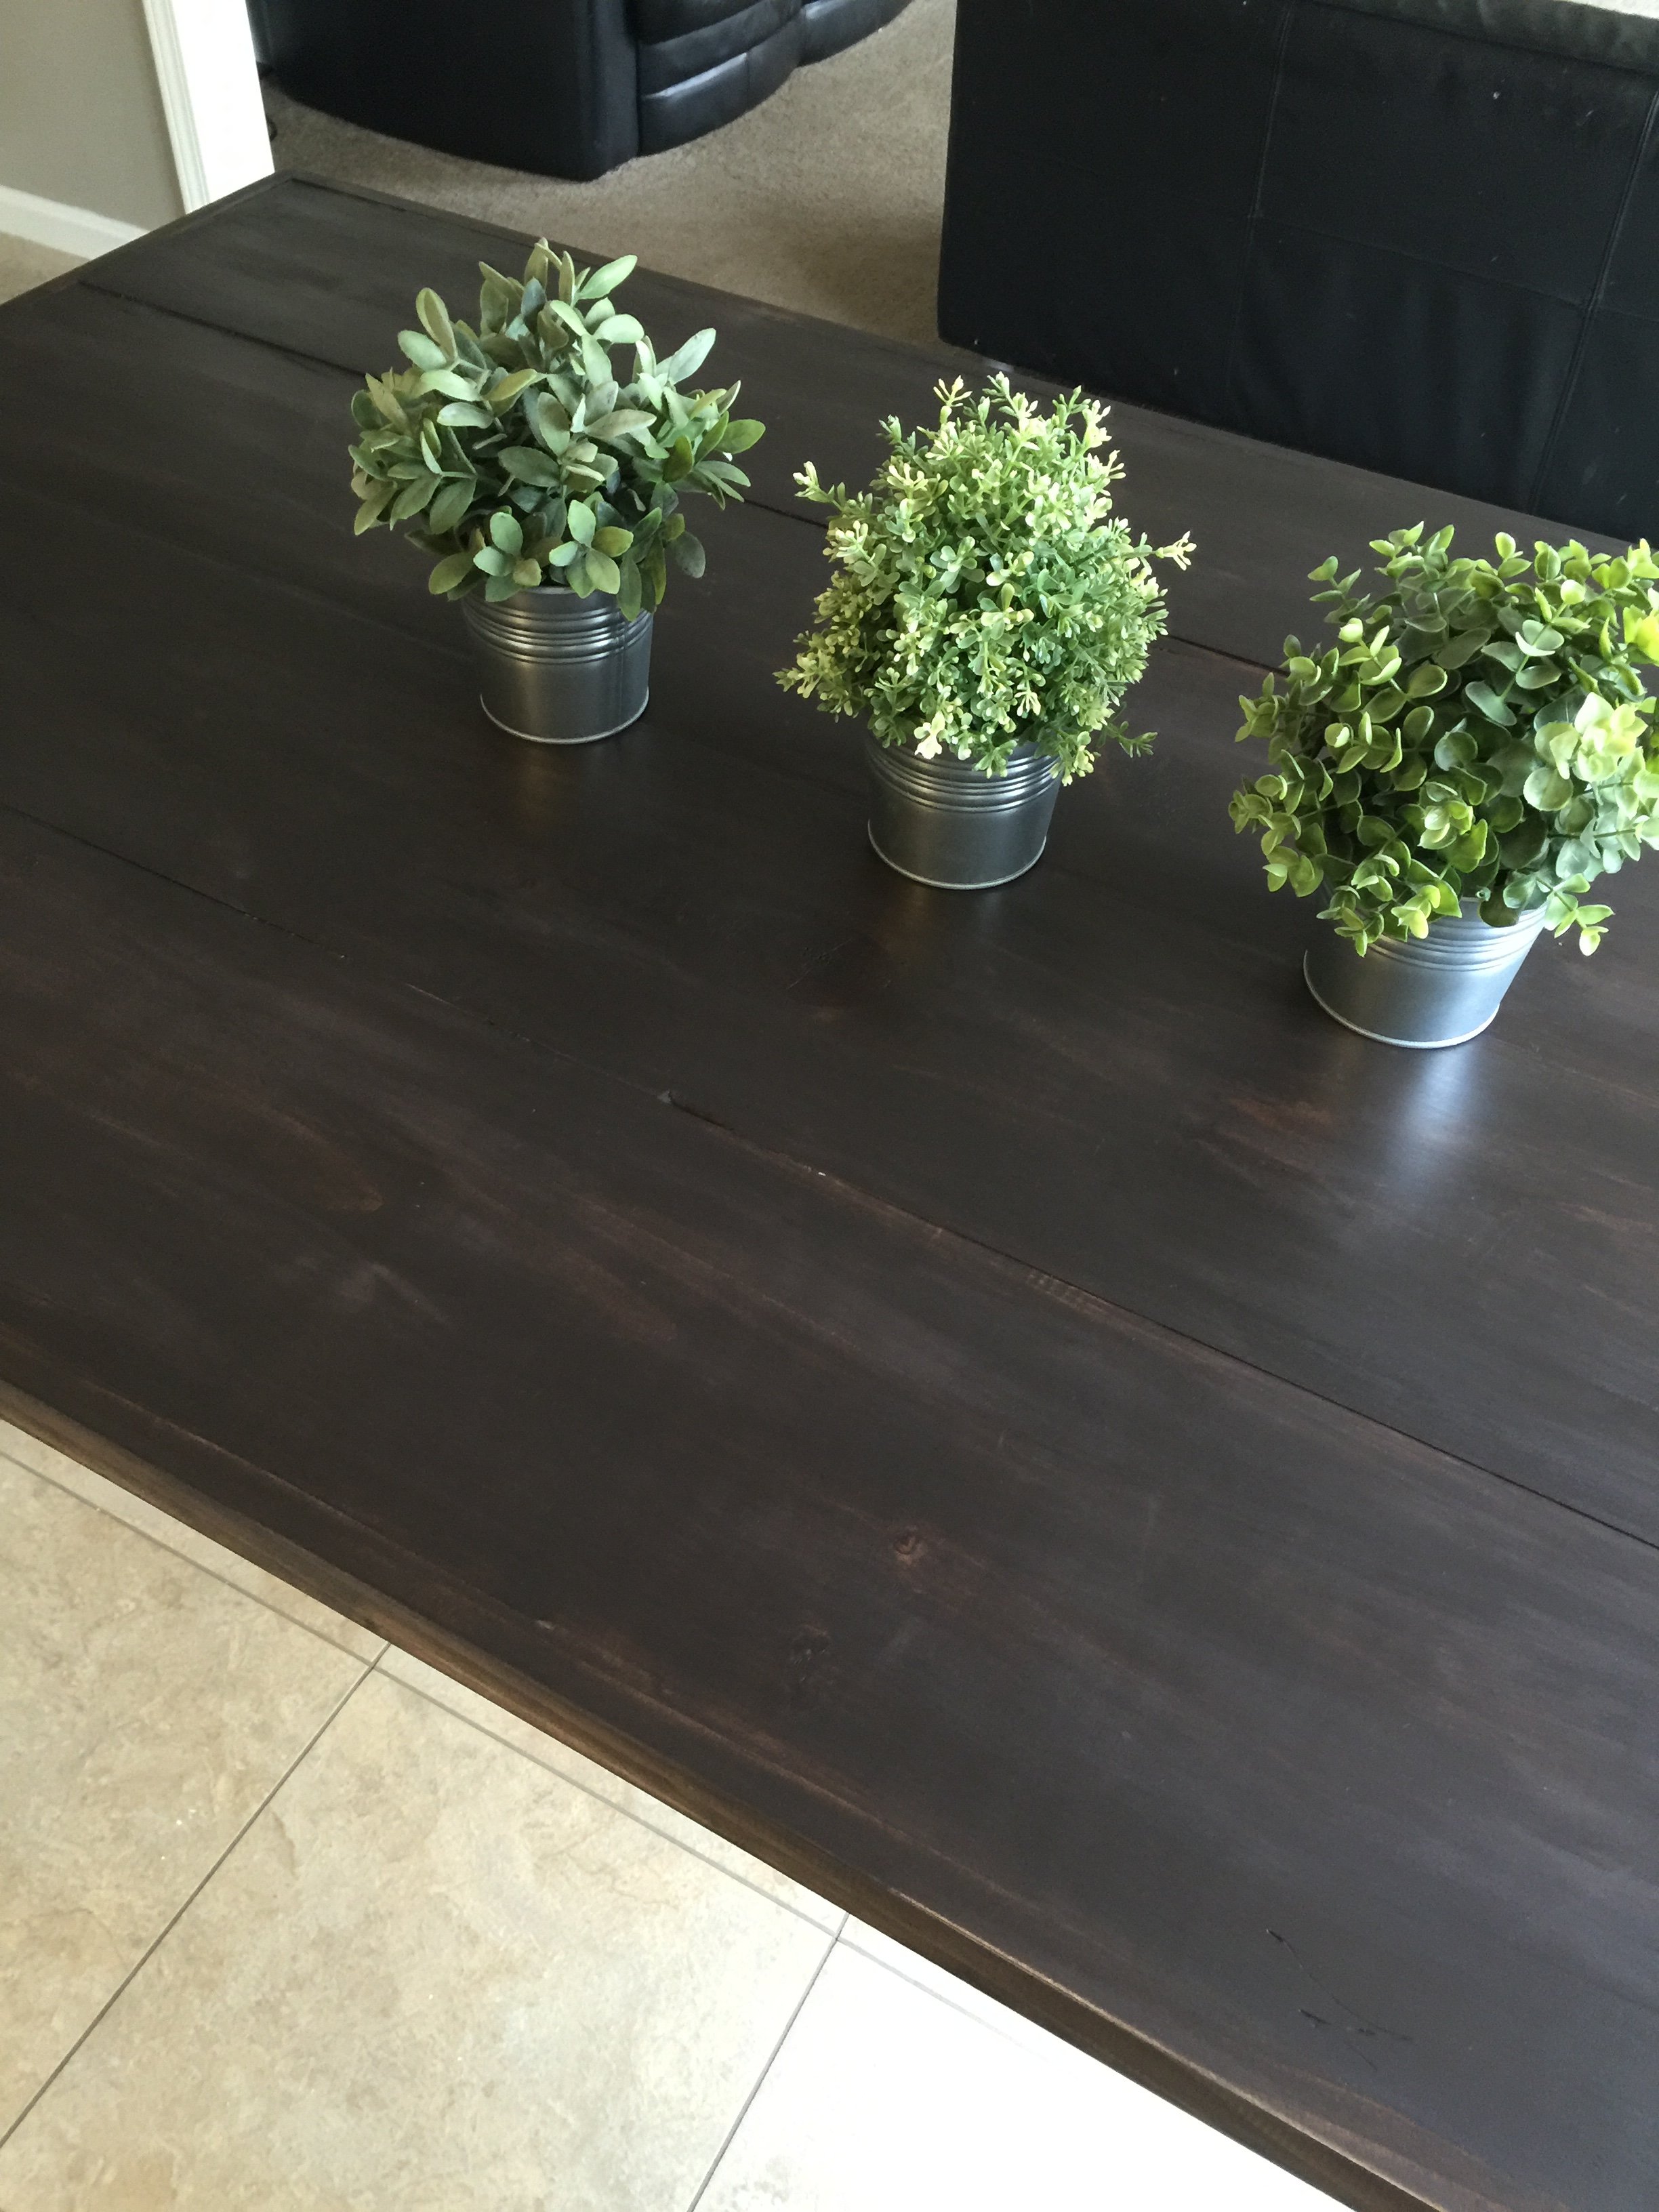
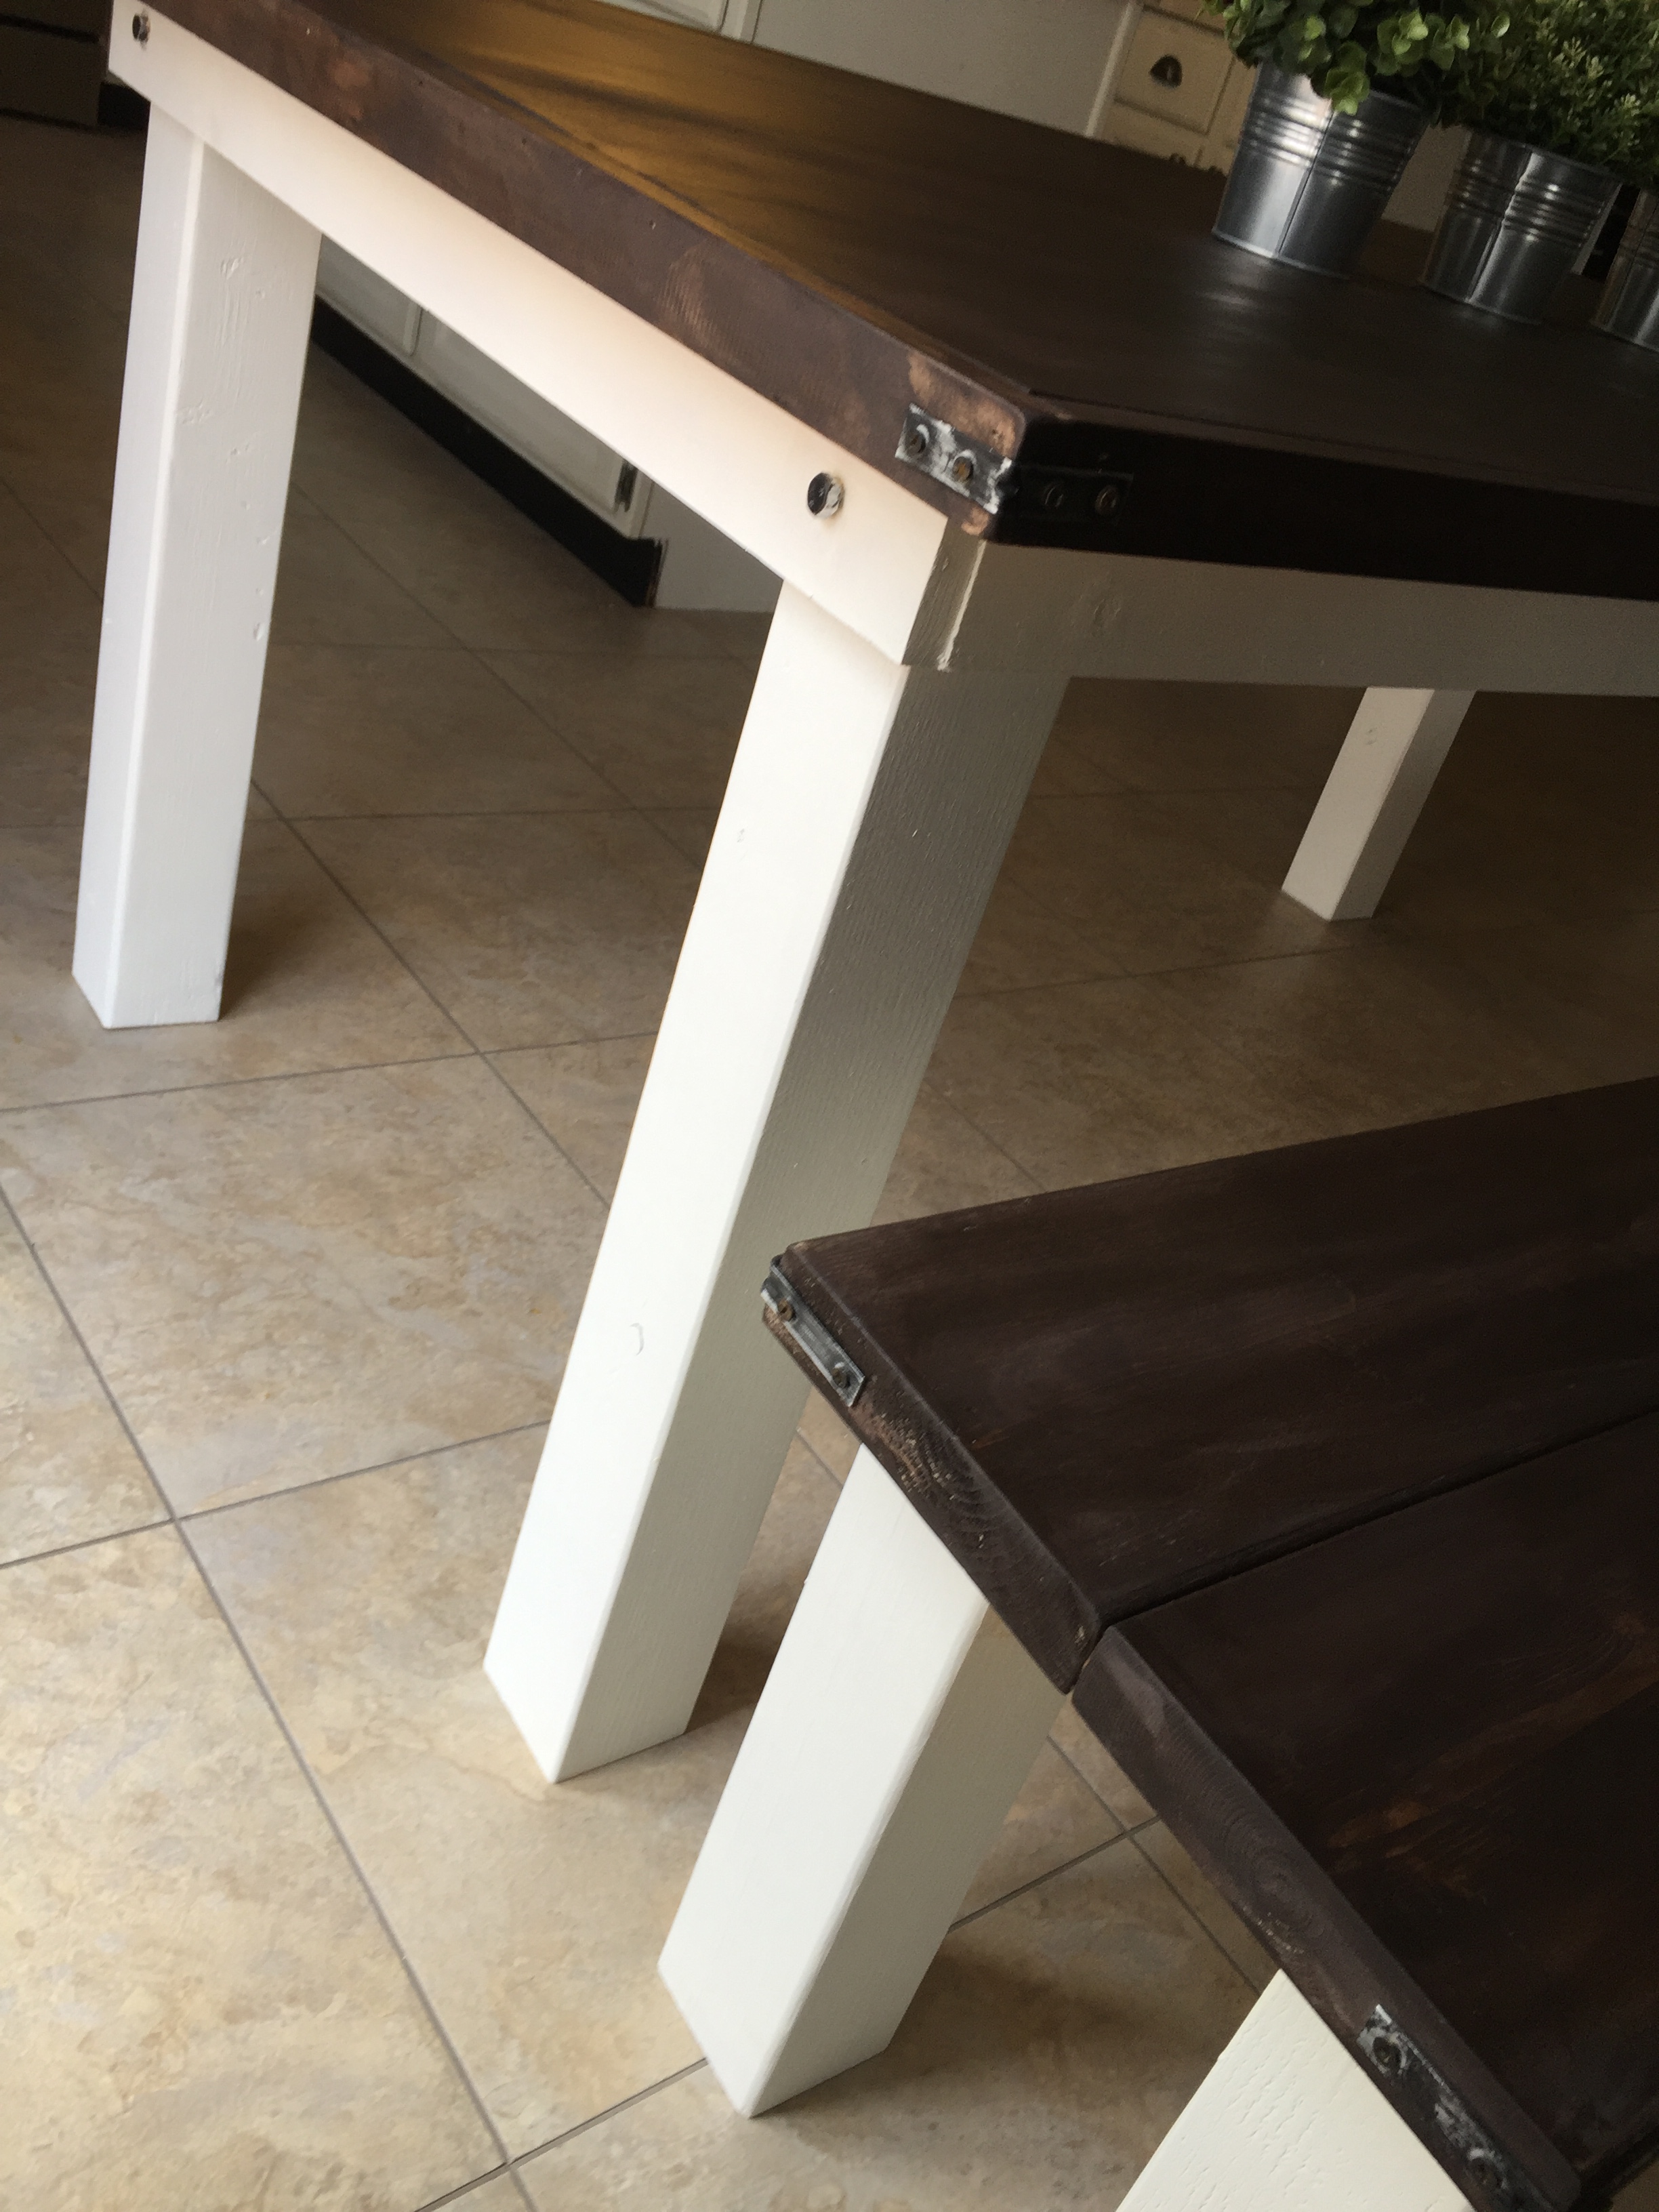
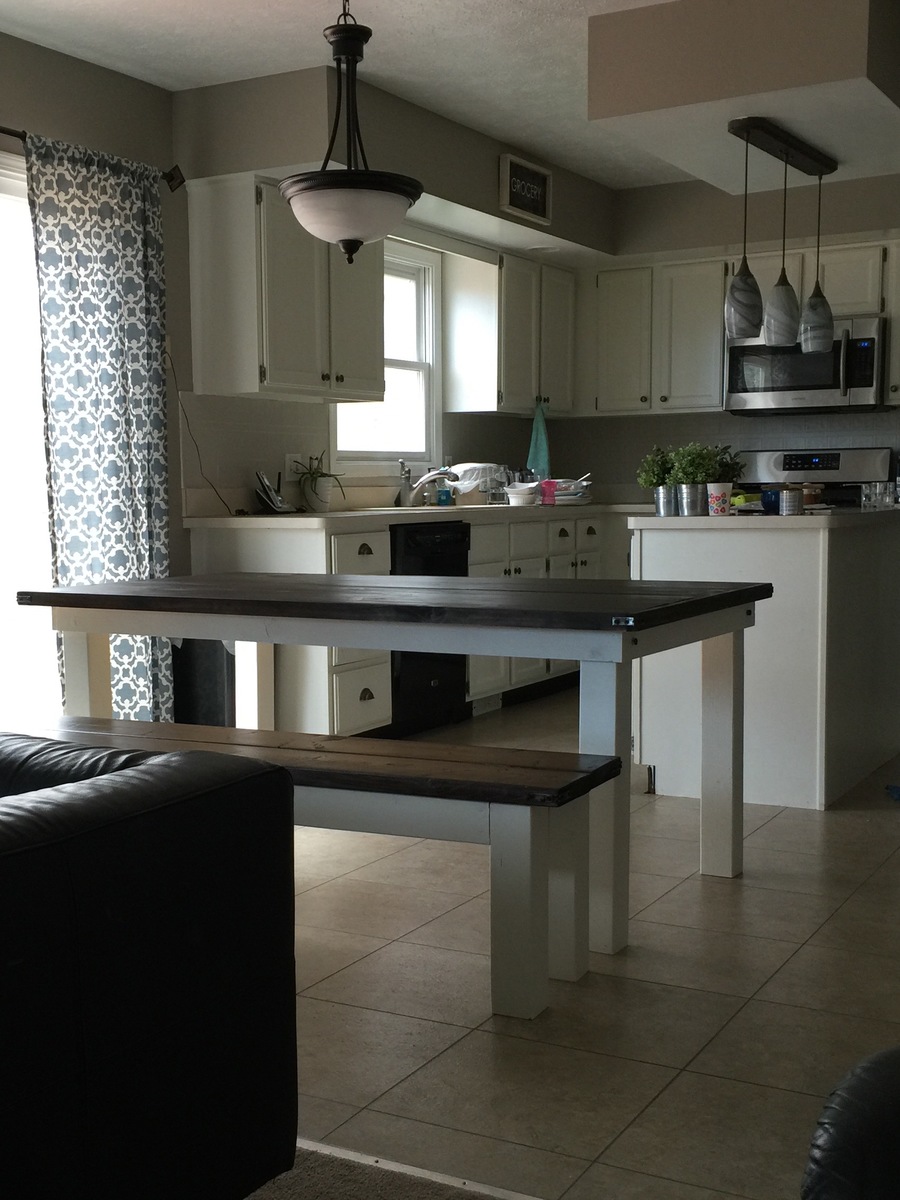
I have been eyeing up plans to build a table for awhile, but wasn't sure exactly what I wanted. I like this plan because it's a beginner plan and is pretty simple to follow. I have built a few smaller projects, but this was the first big piece. I love the way it turned out.
Things I changed: I made it a little shorter (table top is 68 inches) to accomodate the size of our kitchen. I used 4x4 legs - I like the chunkiness of thicker sturdier legs. Used 2x8 for the bench. Again, I like the thickness over a 1x. I did use 1x10s for the table top, but I added trim (1x2) to make it look chunky. I would have just used the 2x10, but b/c they have rounded edges, and I didn't want gaps for crumbs to have to clean out. I wouldn't have minded this for a dining room table, but we're using in kitchen with 3 small children. The 1x10s are squared off so they fit together better. And adding the 1x2 trim gives it the chunky look I added the corner brackets and lag bolts, mainly for decorative style I used kona stain and white paint.
Used 4 coats of satin poly. I built both piece in a weekend, but I would say it's more of a week project on a realistic timeframe.

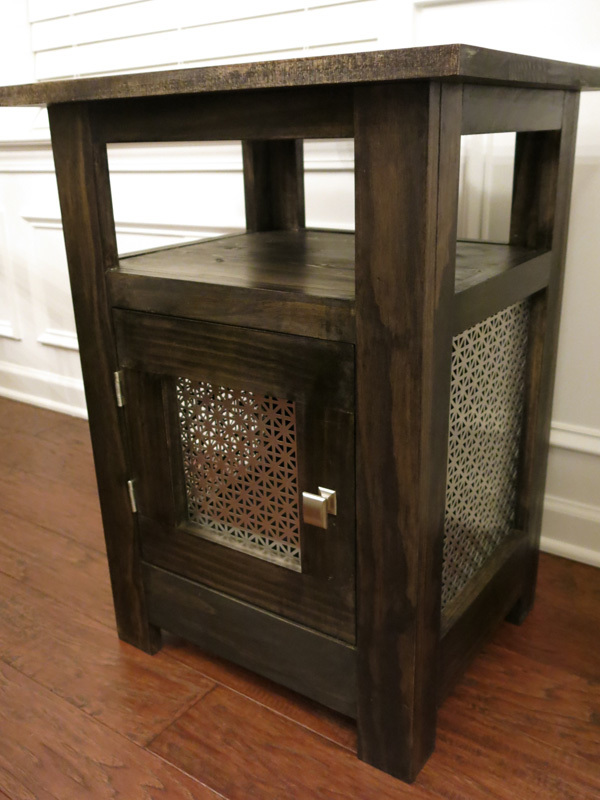
Based this nightstand on the Kentwood nightstand design but wanted to add a shelf. Also made a bit smaller and decided to use a metal mesh for the door and side inserts. Everybody who has seen it loves it.
Wed, 01/08/2014 - 16:49
I love this and it's exactly what I have been looking for! Nice job!

Comments
Ana White Admin
Mon, 02/13/2023 - 13:28
Super firepit chair!
Looks fantastic! Thank you for sharing.