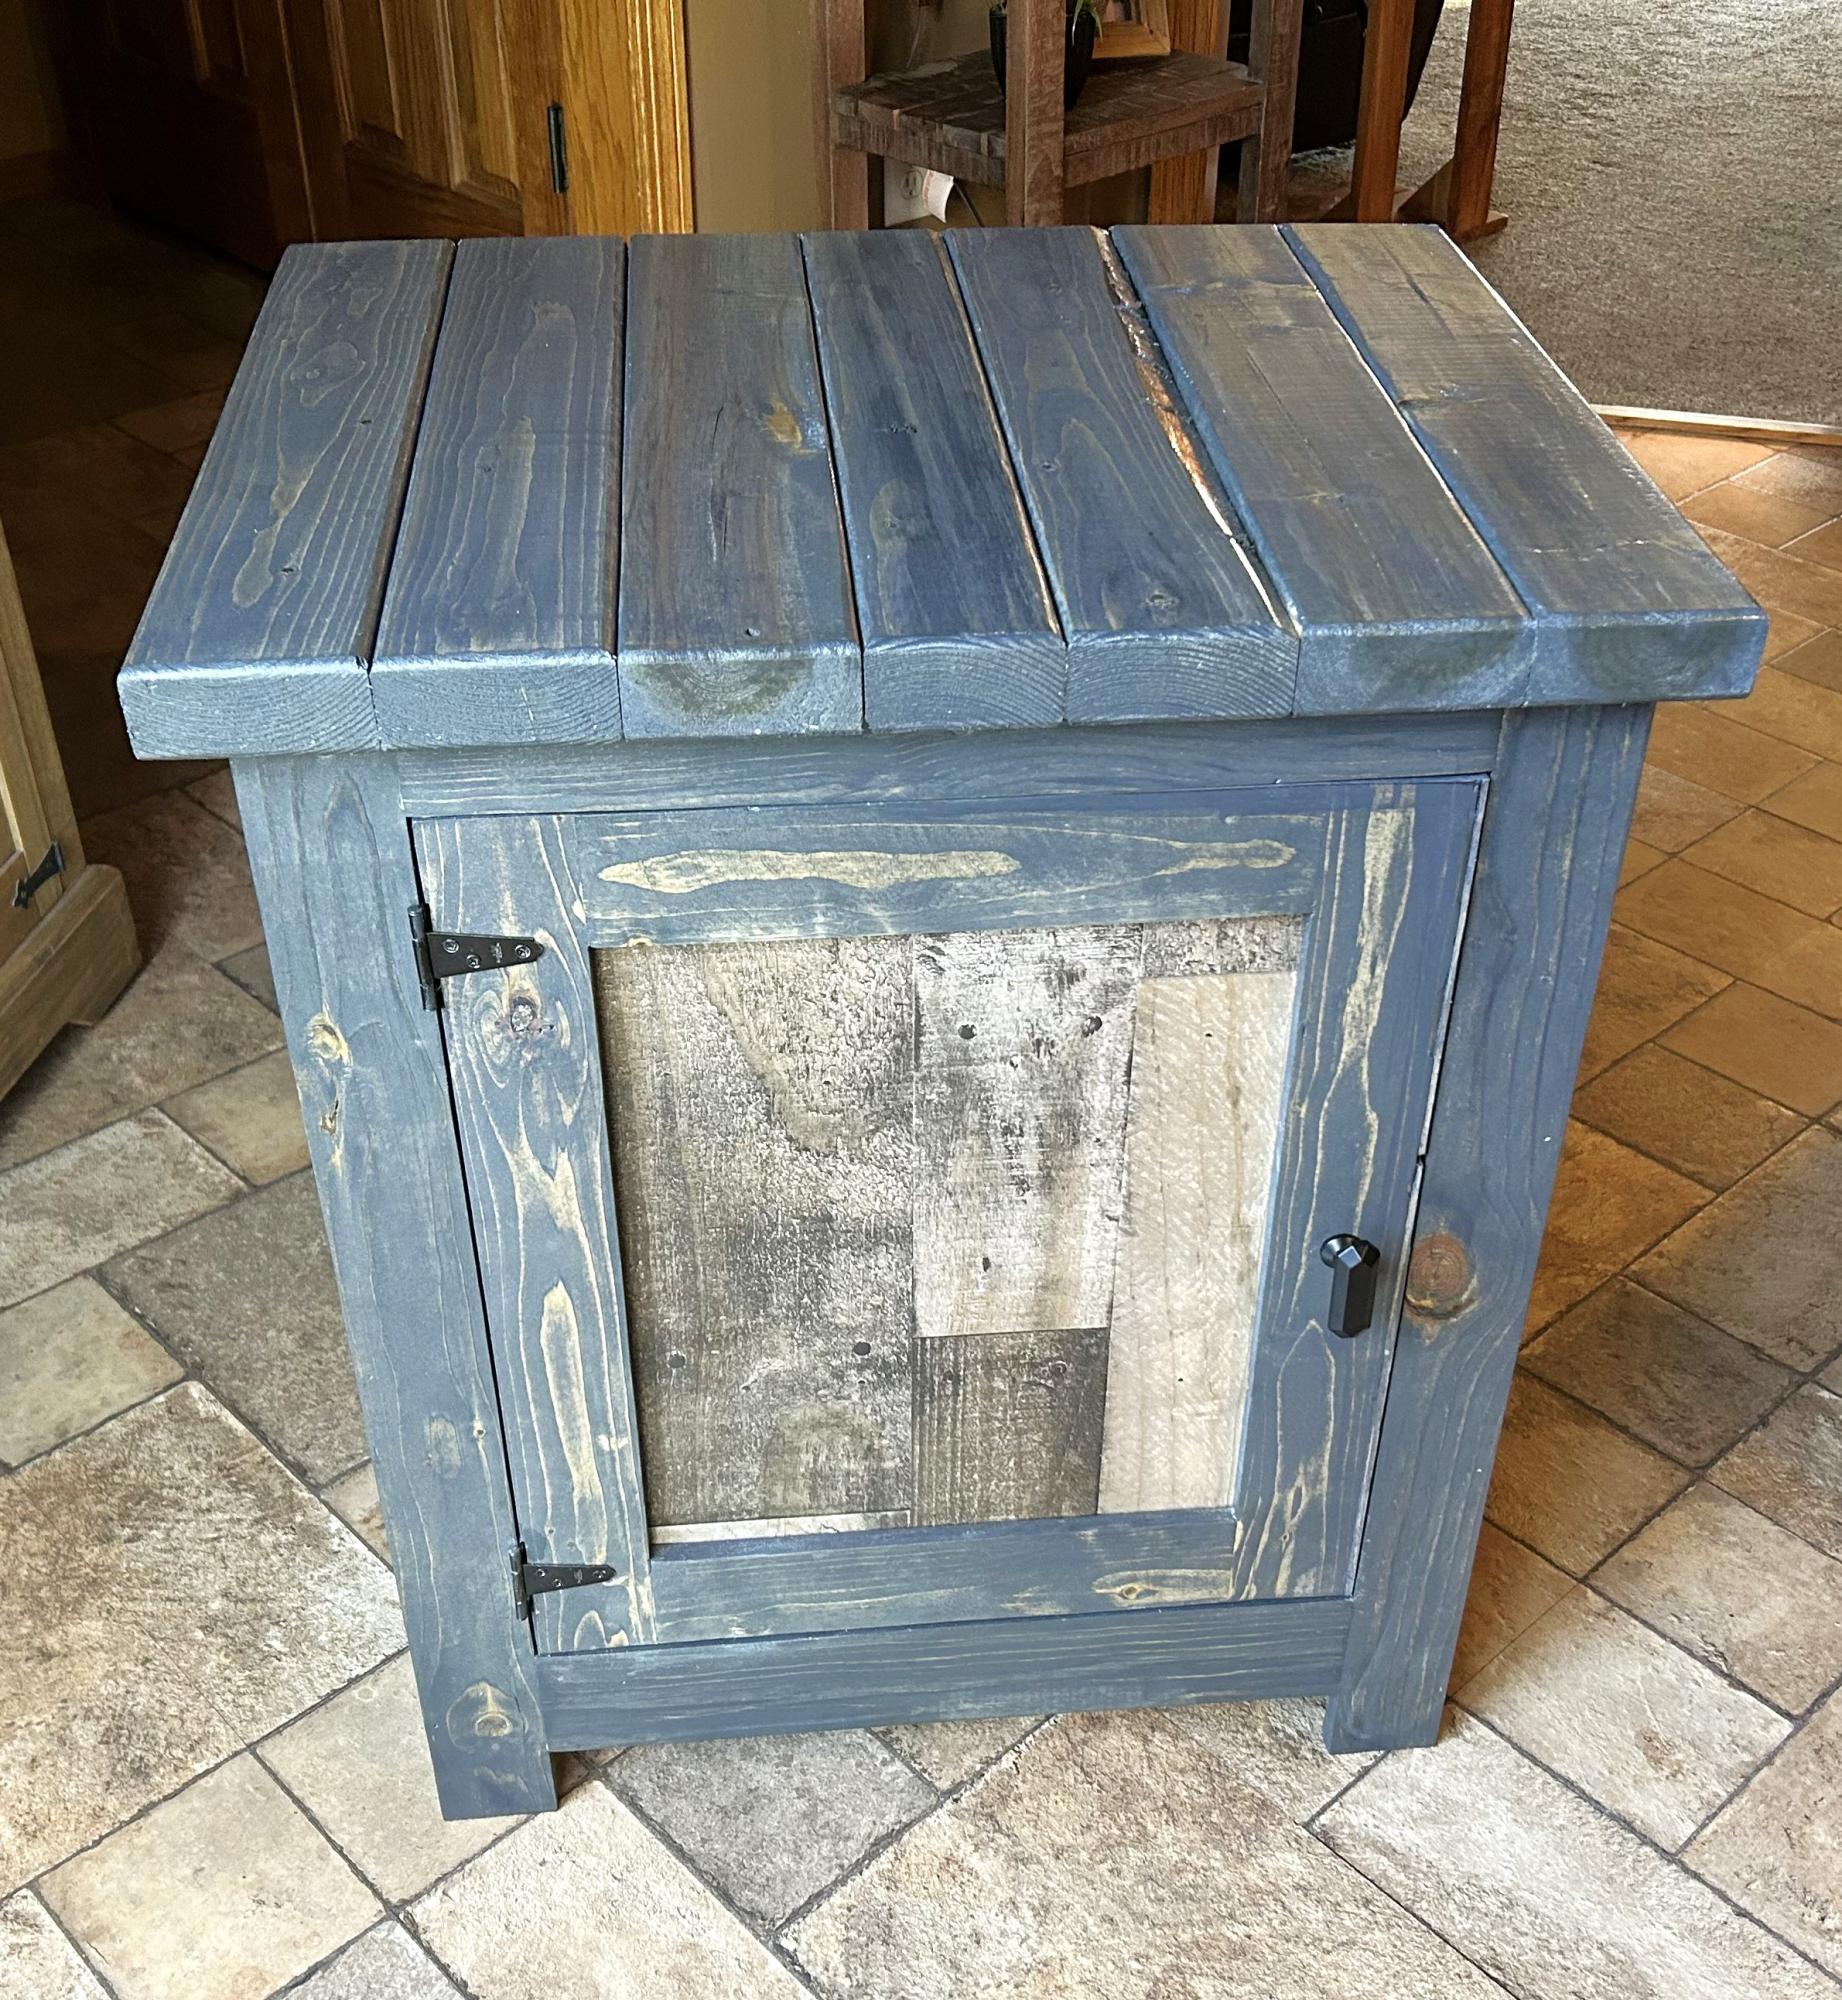
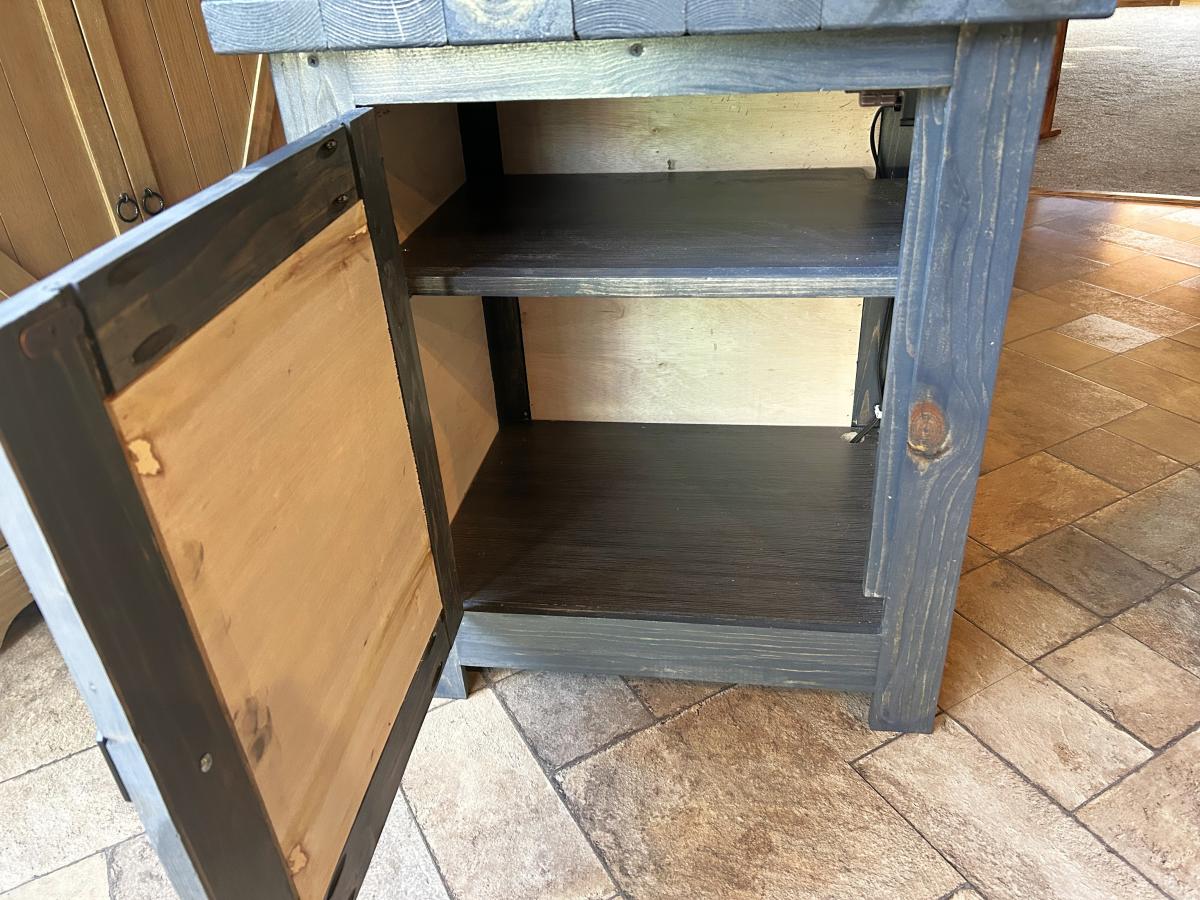
Rustic Sideboard
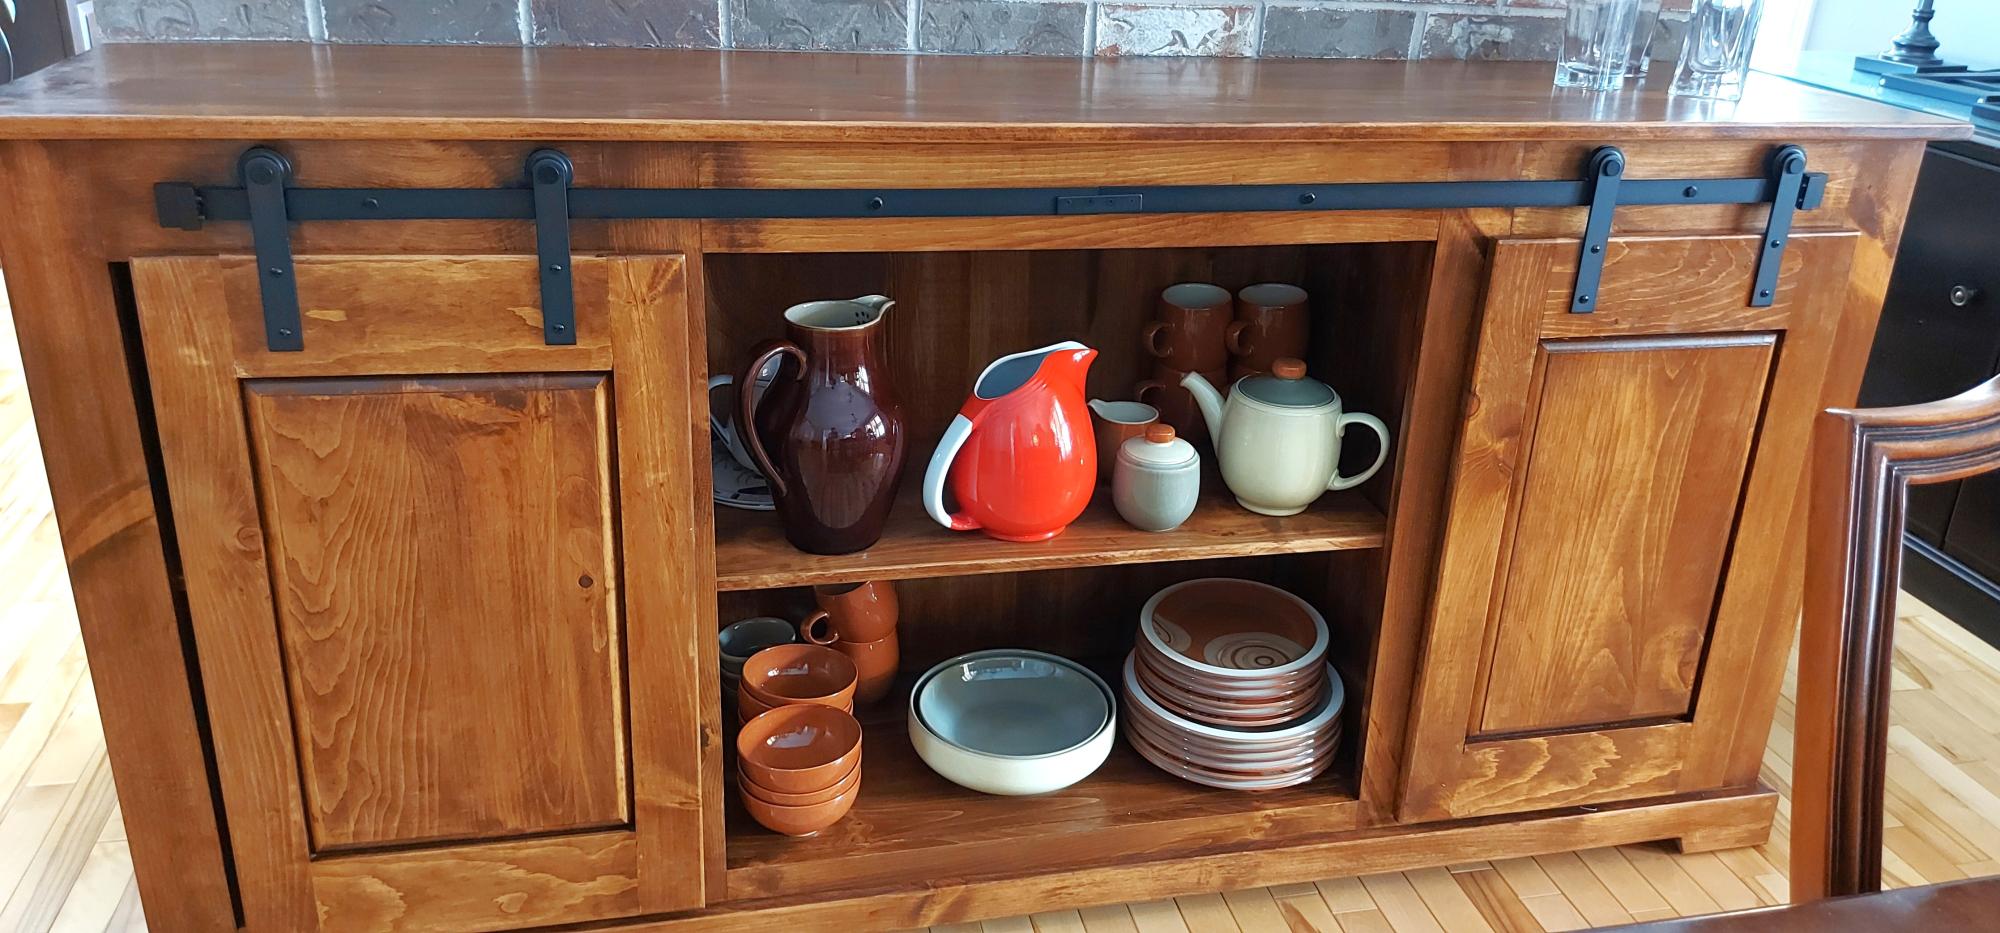
This was one of your online plans, with a slight change to the front of the doors. Great project, made from pine, stained, and varathane applied.
Wade MacMillan
Built from Plan(s)
This was one of your online plans, with a slight change to the front of the doors. Great project, made from pine, stained, and varathane applied.
Wade MacMillan
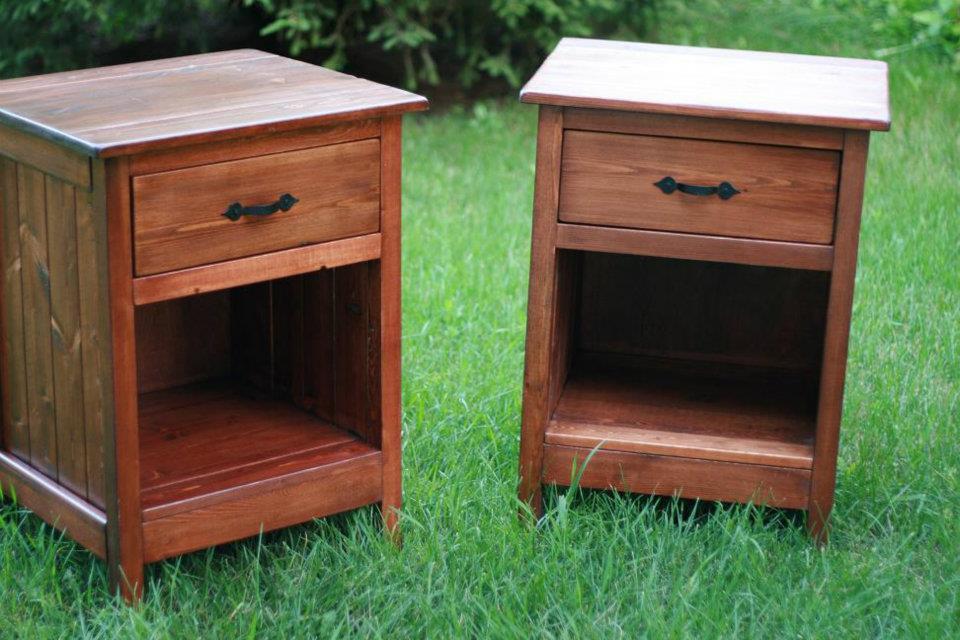
I used the plans for the Reclaimed Wood bedside tables but I didn't want to make all those drawers (being a beginner) so I settled on one. It took me fairly long to complete but really it should have been only a weekend project. I love the way they turned out.
Fri, 07/20/2012 - 20:16
I too fear drawers.
Your bedside tables have turned out beautifully!
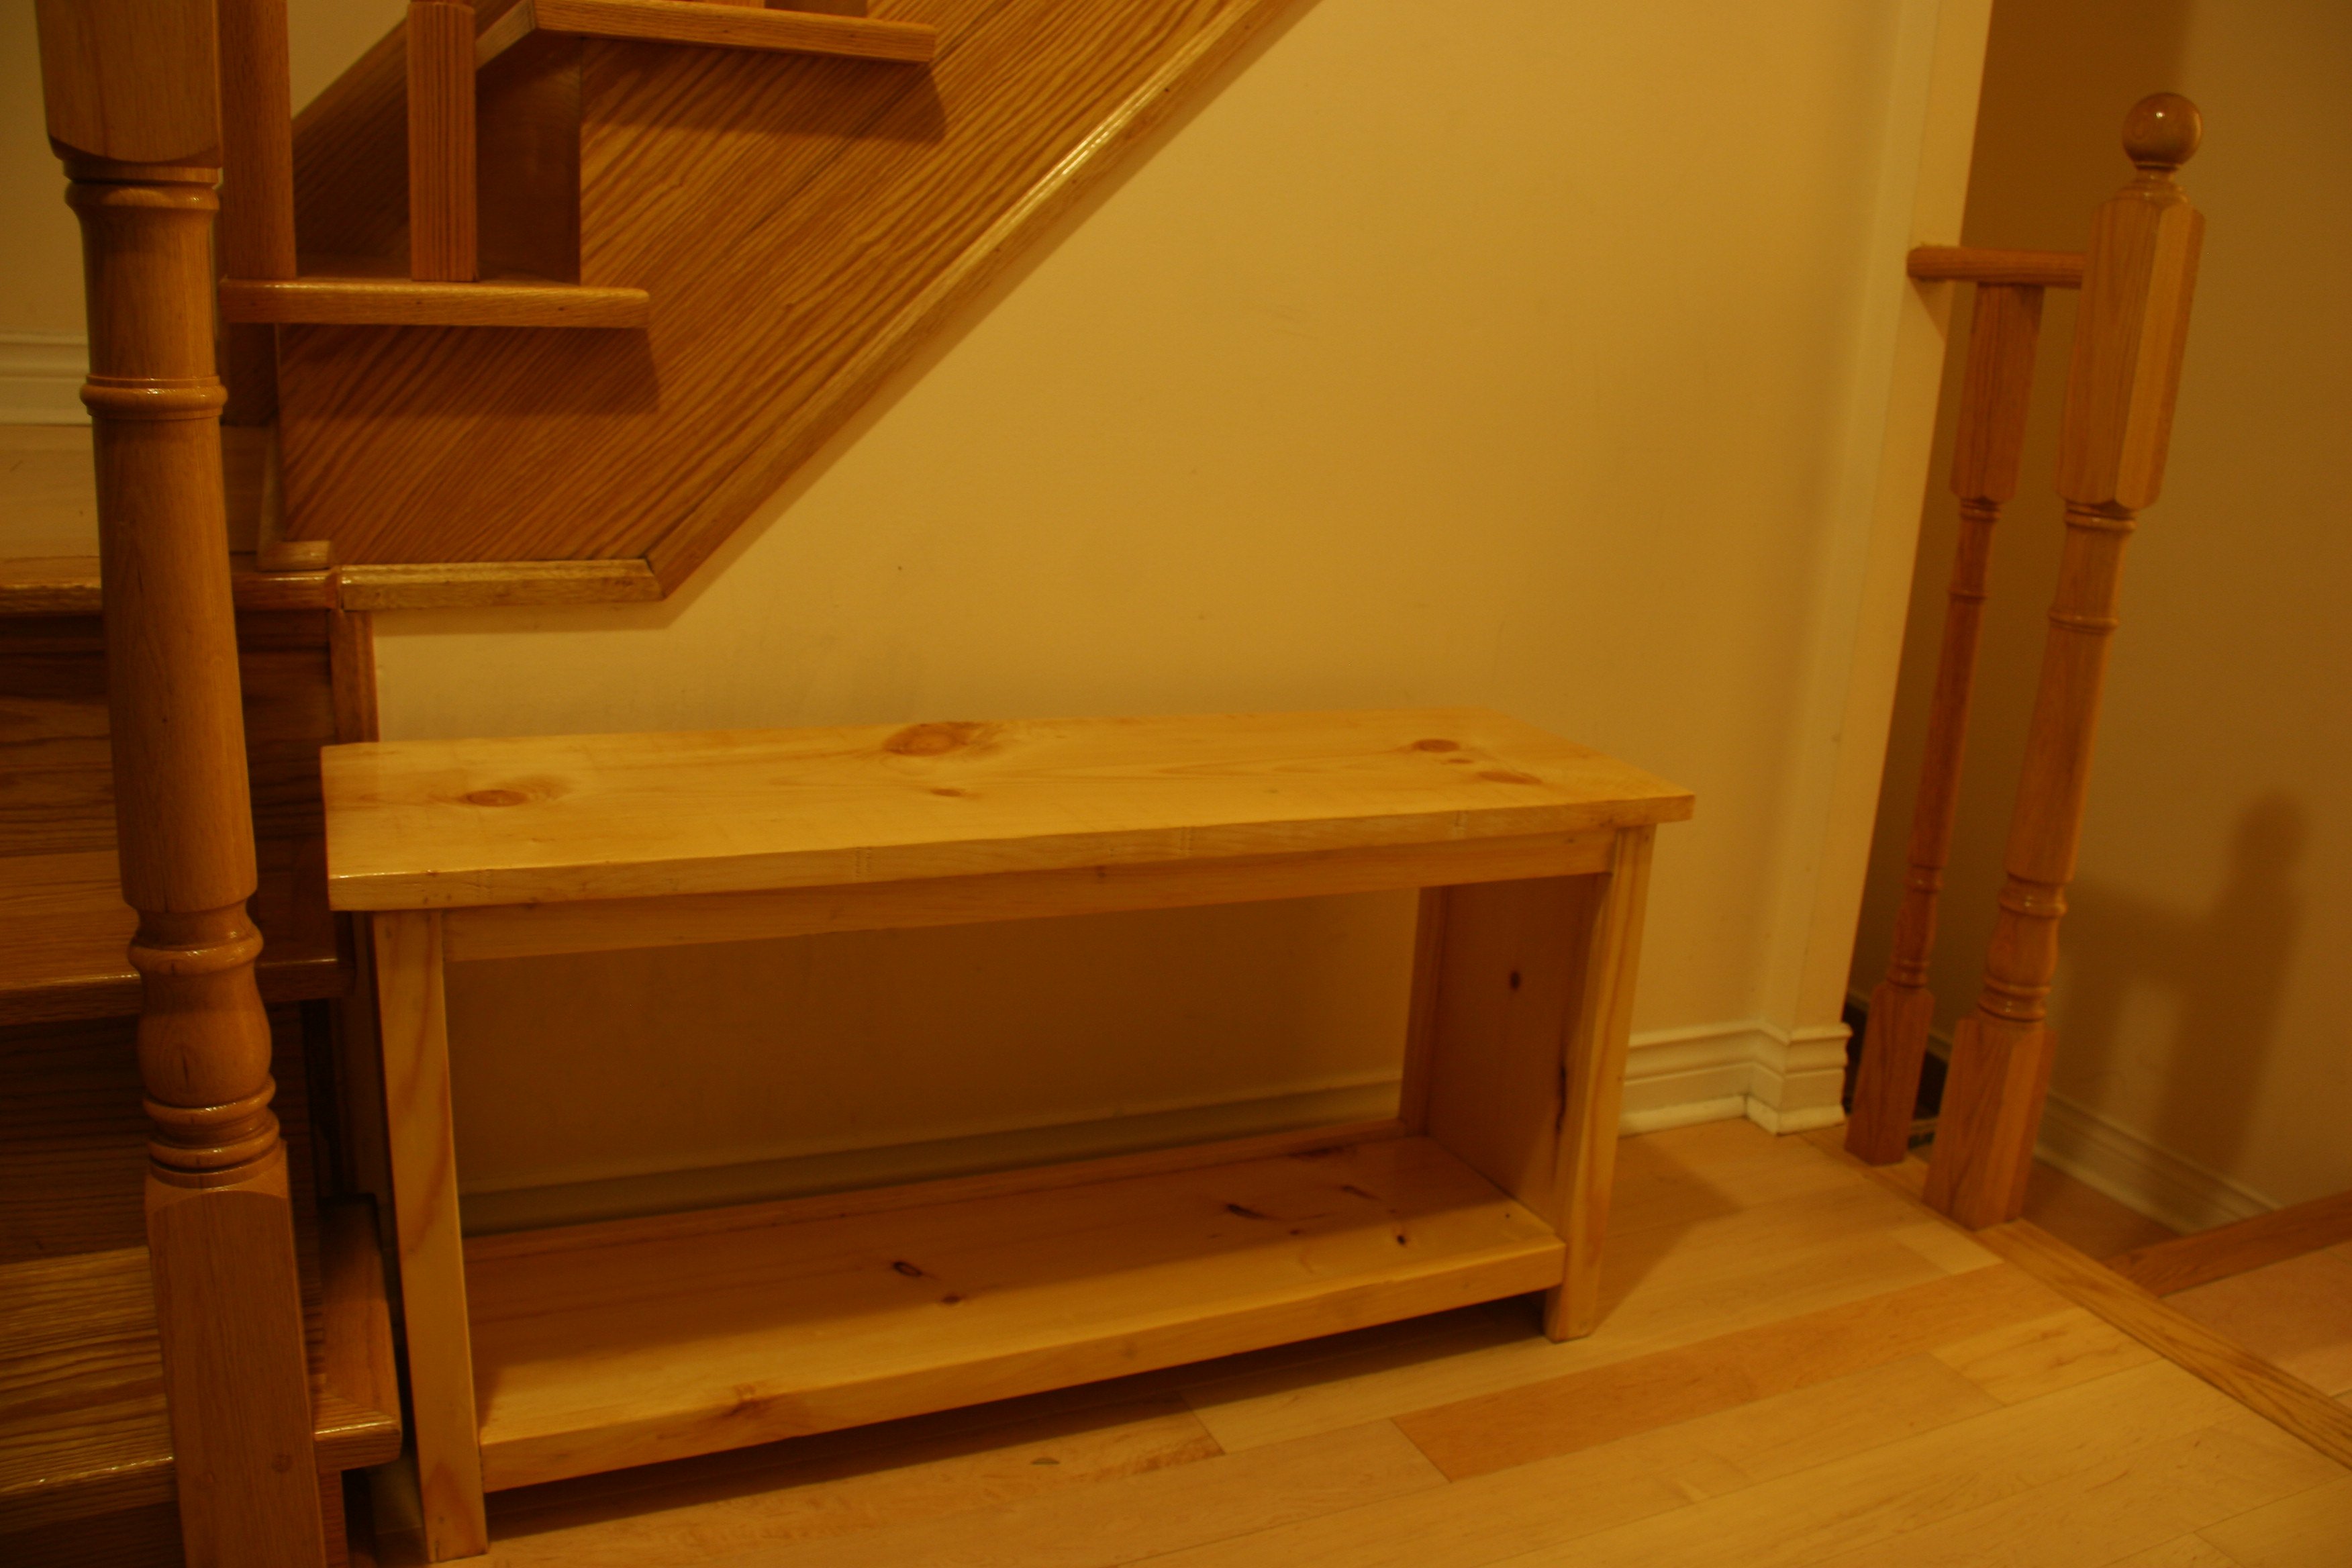
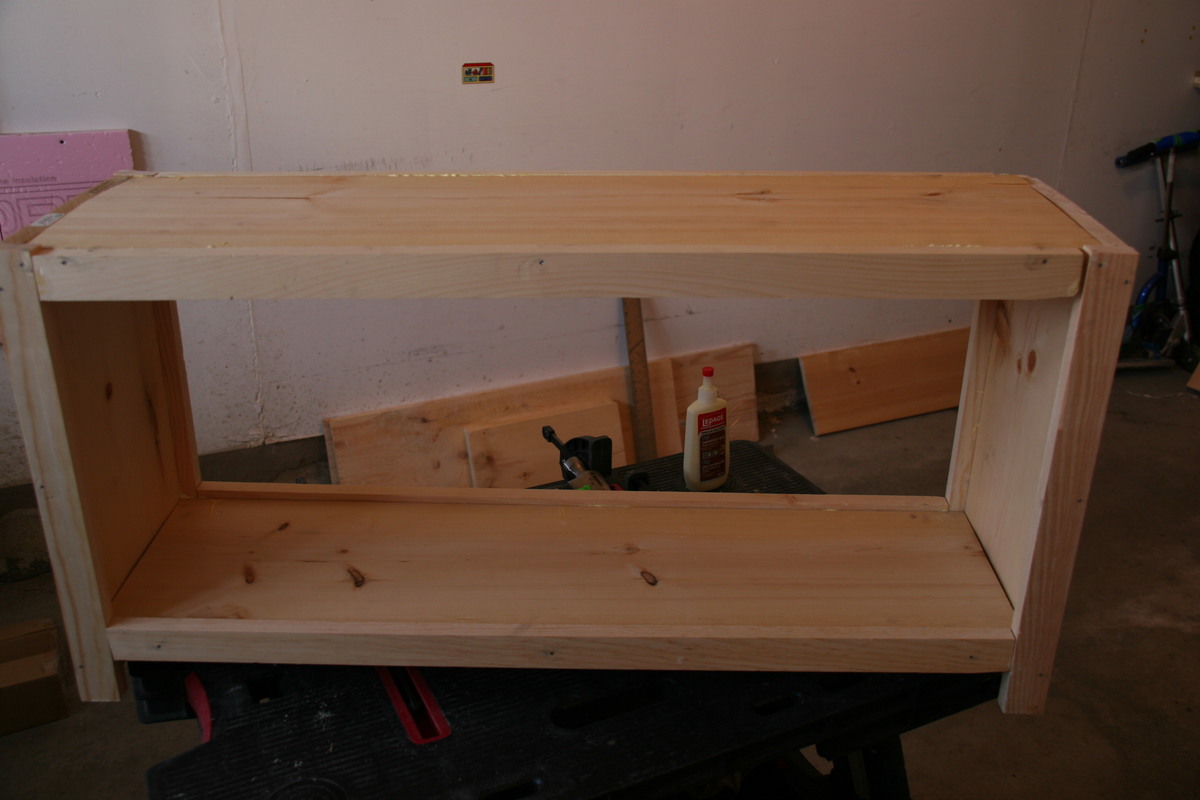
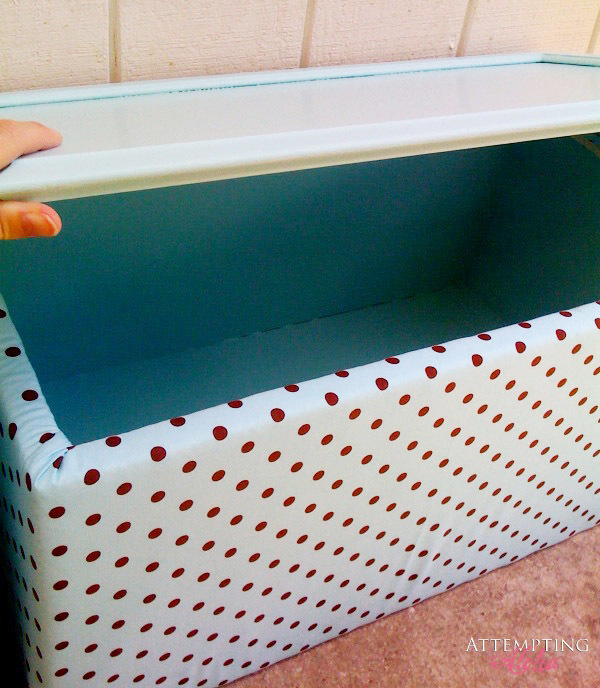
This is my second project. I based it on the "simple easy storage bench". I made this for my wife, she requested an entryway bench as you enter the house from the garage. I'm glad I was able to finish it just in time for Mother's Day :).
I learned a lot by doing this project (e.g. hiding nails, wood fillers, warped wood, sanding, to name a few). There's still a lot of things to learn, I'm hoping to be able to practice more.
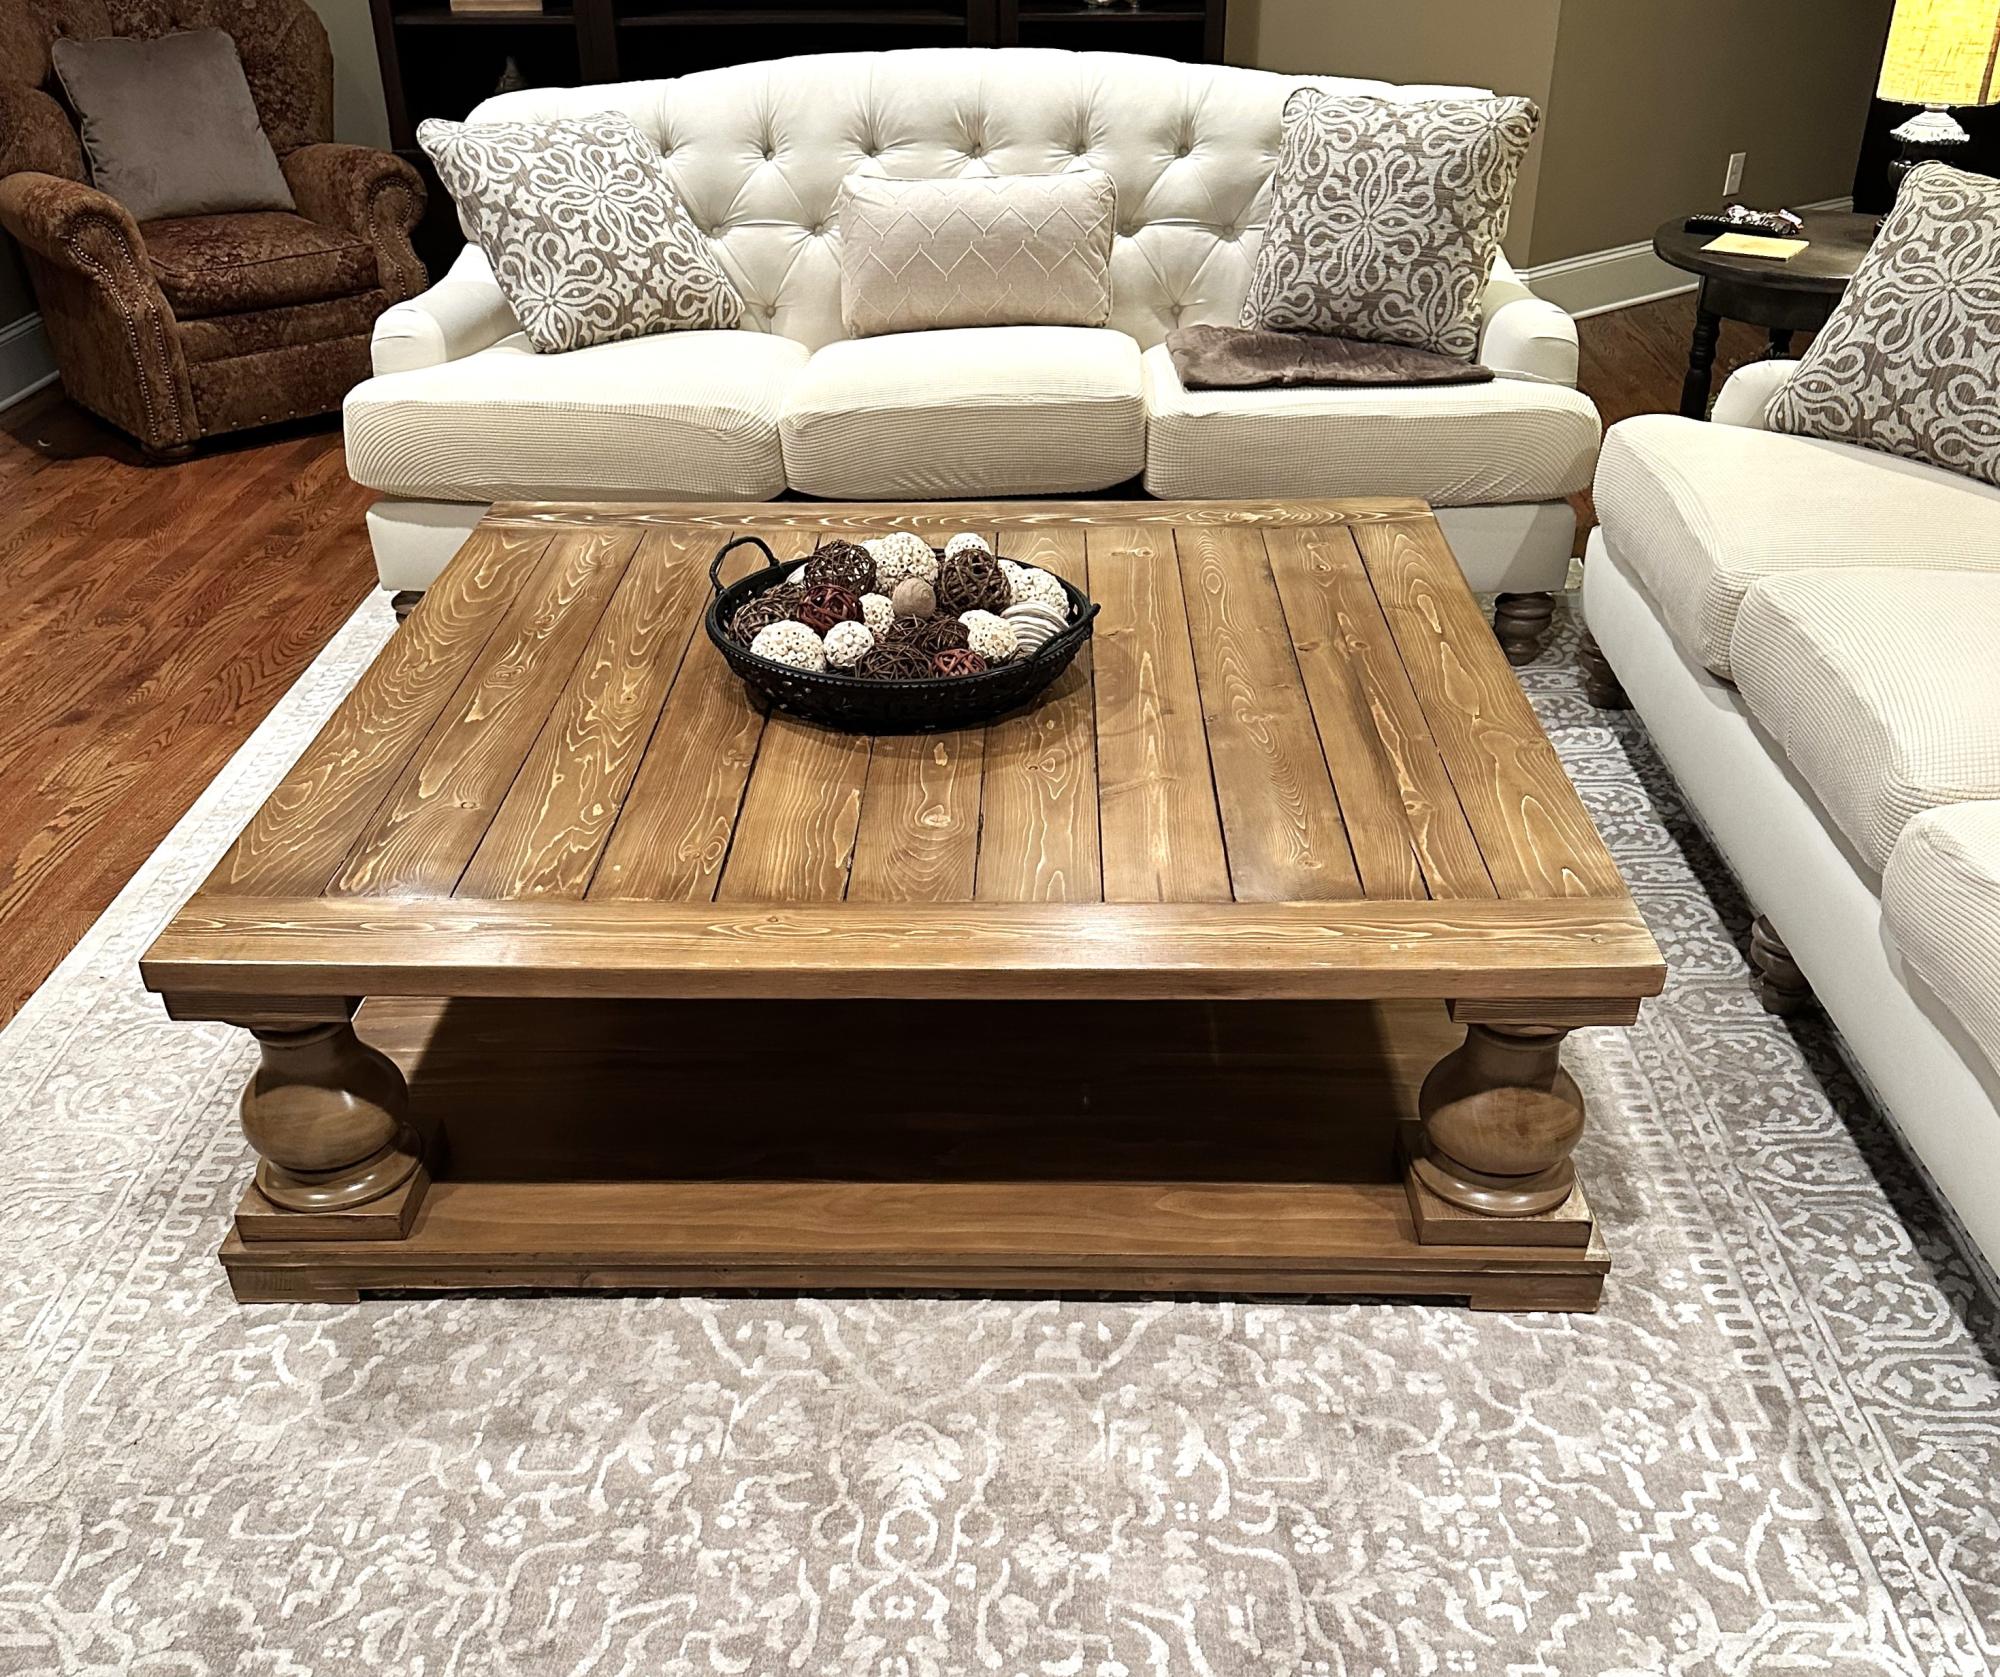
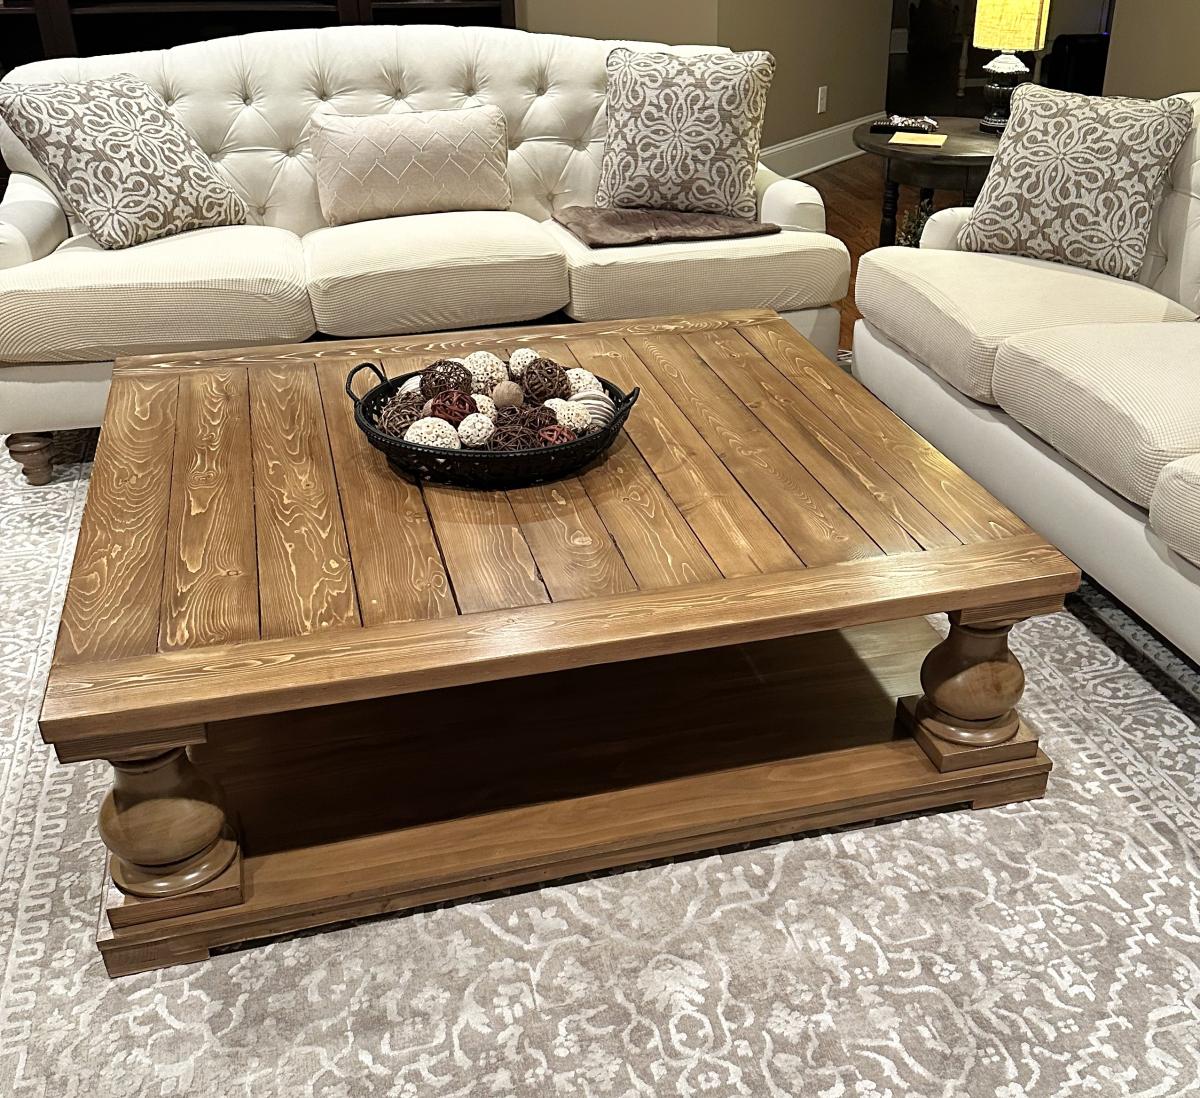
I just completed this table. It is 5’ square and very heavy. The table is a combination of paint/stain and poly. It took me almost a month to complete and the help of friends and family to flip it back in forth front and back so I could work on it. I am very happy with the finished project ♥️
Cindy Lunn

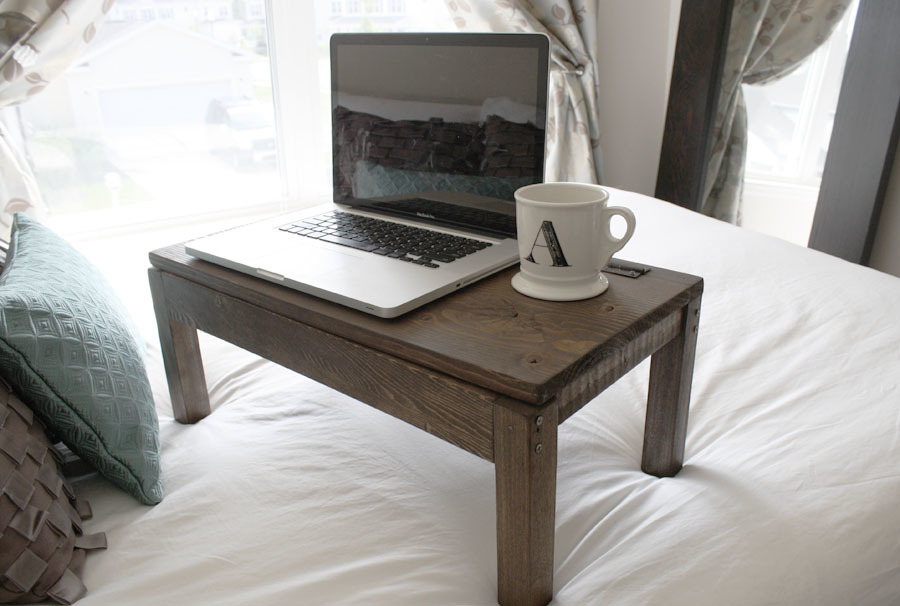
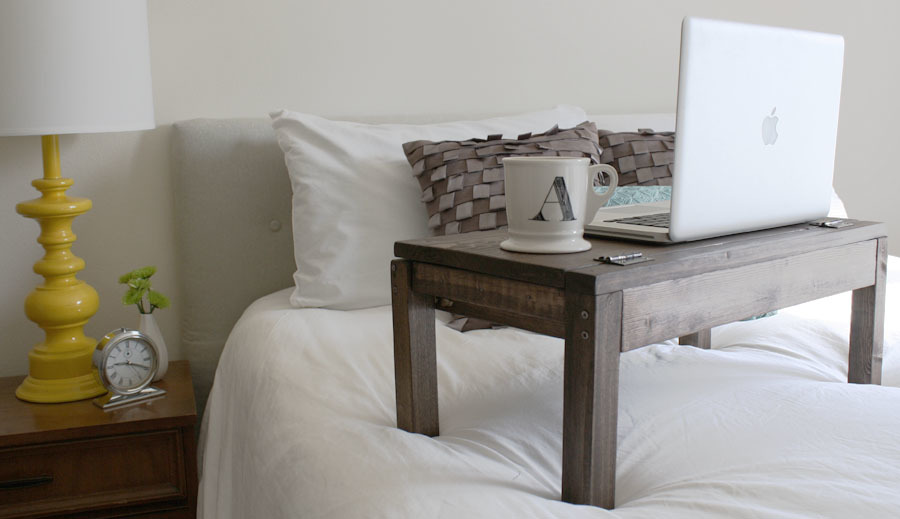
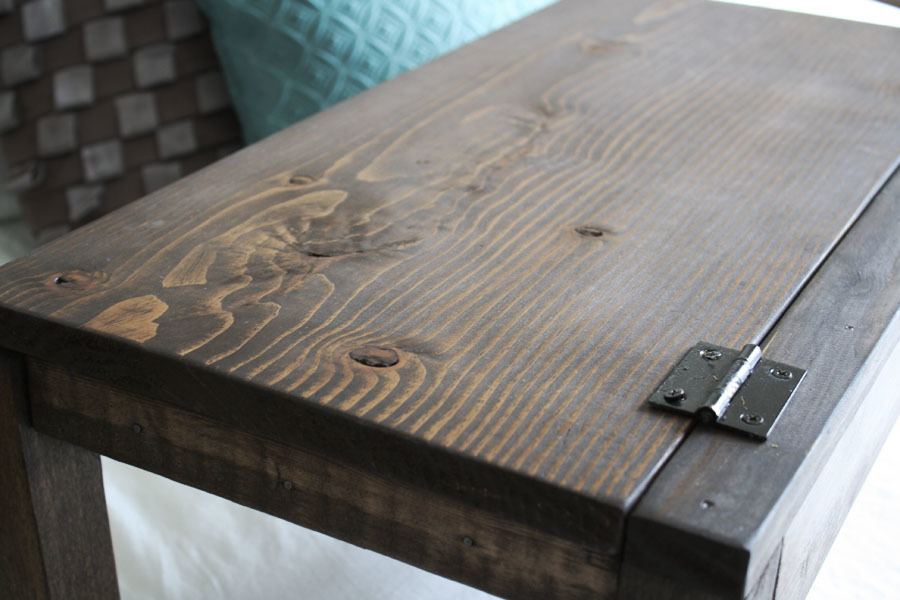
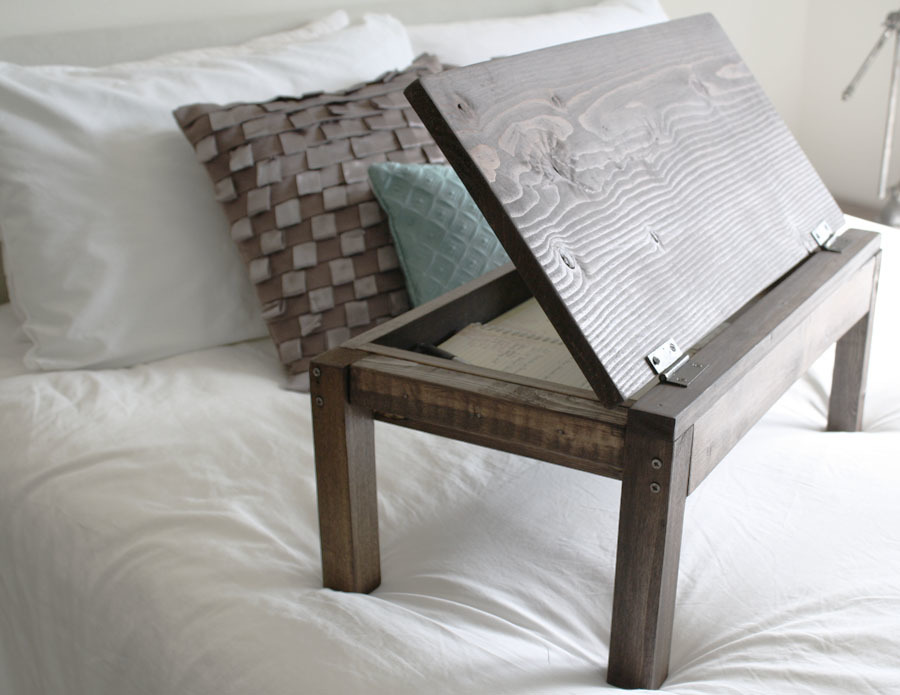
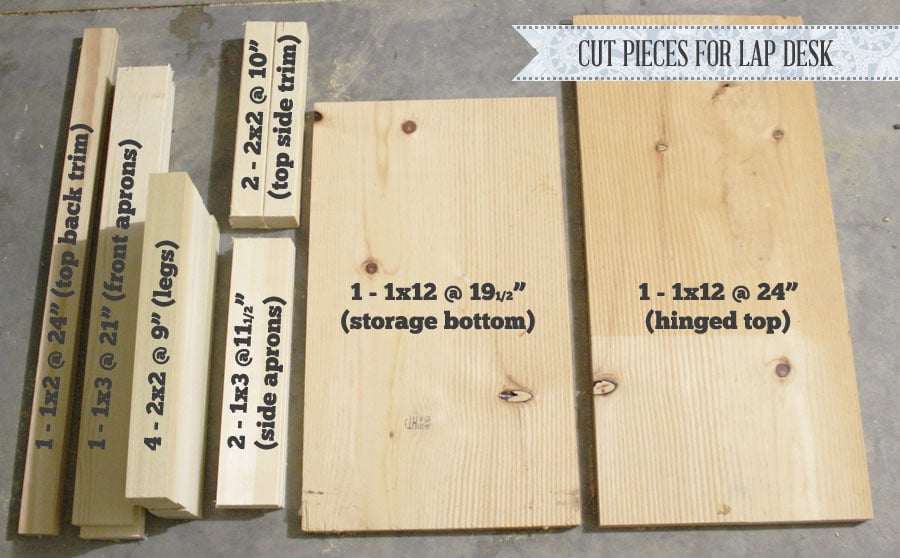
This was a really quick and easy build. I built it with two bucks and two hours with some scrap wood I had laying around. The only thing I bought was a package of 2 standard hinges ($2). Also, I deviated from the plan a little by not including the lower storage compartments (didn't want it to get too heavy), making the legs 4" shorter (so it's more comfortable to use in bed), and not building the storage dividers under the flip-top lid. Check out more info by clicking my blog link!
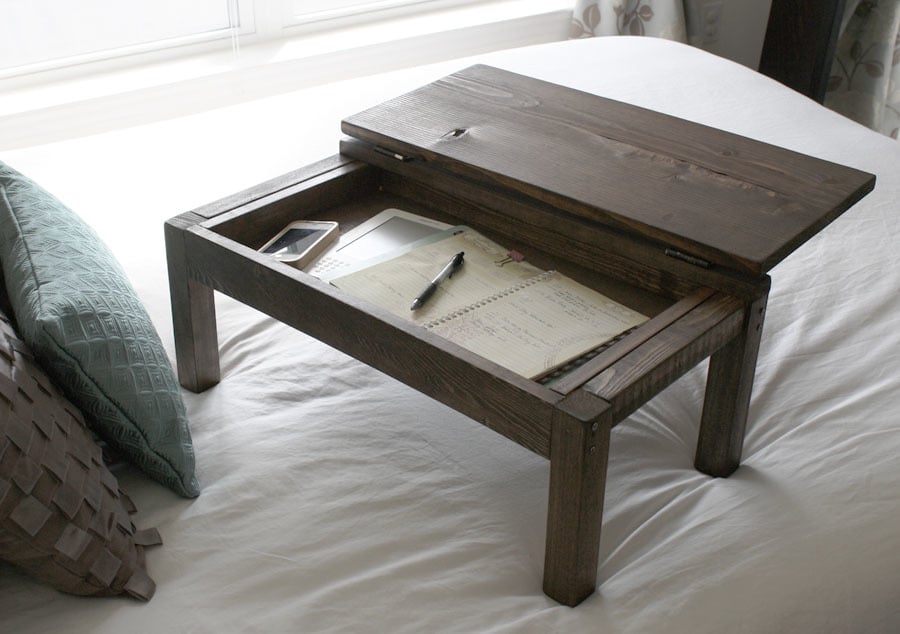
This was my first woodworking project. Thank you Ana for providing the plan and making it easier for me.
Thu, 05/15/2014 - 07:43
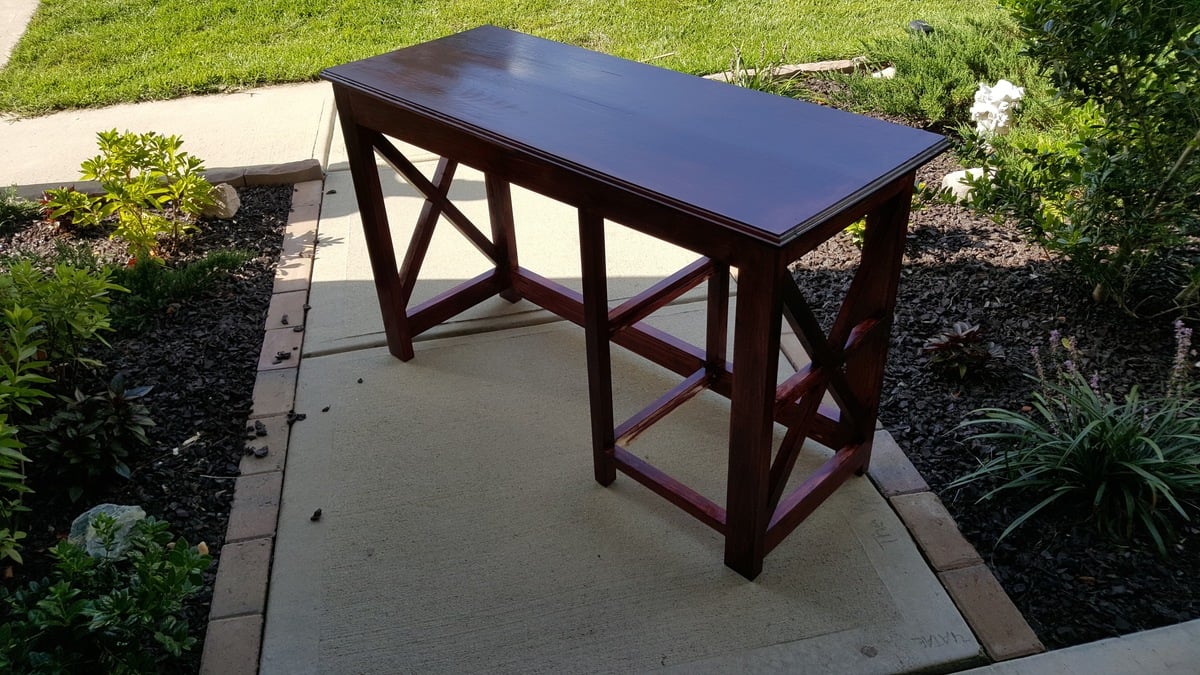
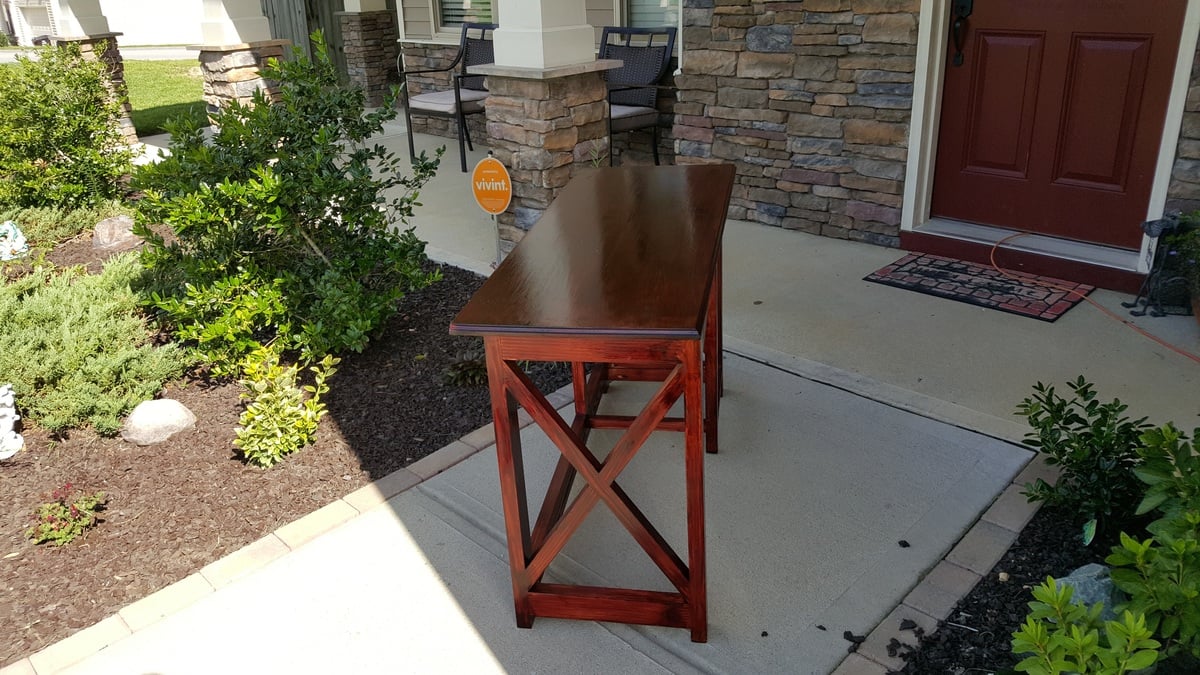
This was a fairly simple plan and I'm thrilled about how the table looks.
This was a fun project and the plans were perfect.
I really liked the plans and did not change from them too much. The top is pine 2 X 4's and color is bluish grey minwax stain aged barrel.
Perry


This was our first project! We built it exactly like the plans. We finished it with a clear satin poly and we are thrilled with the results. Next we plan to paint the room.
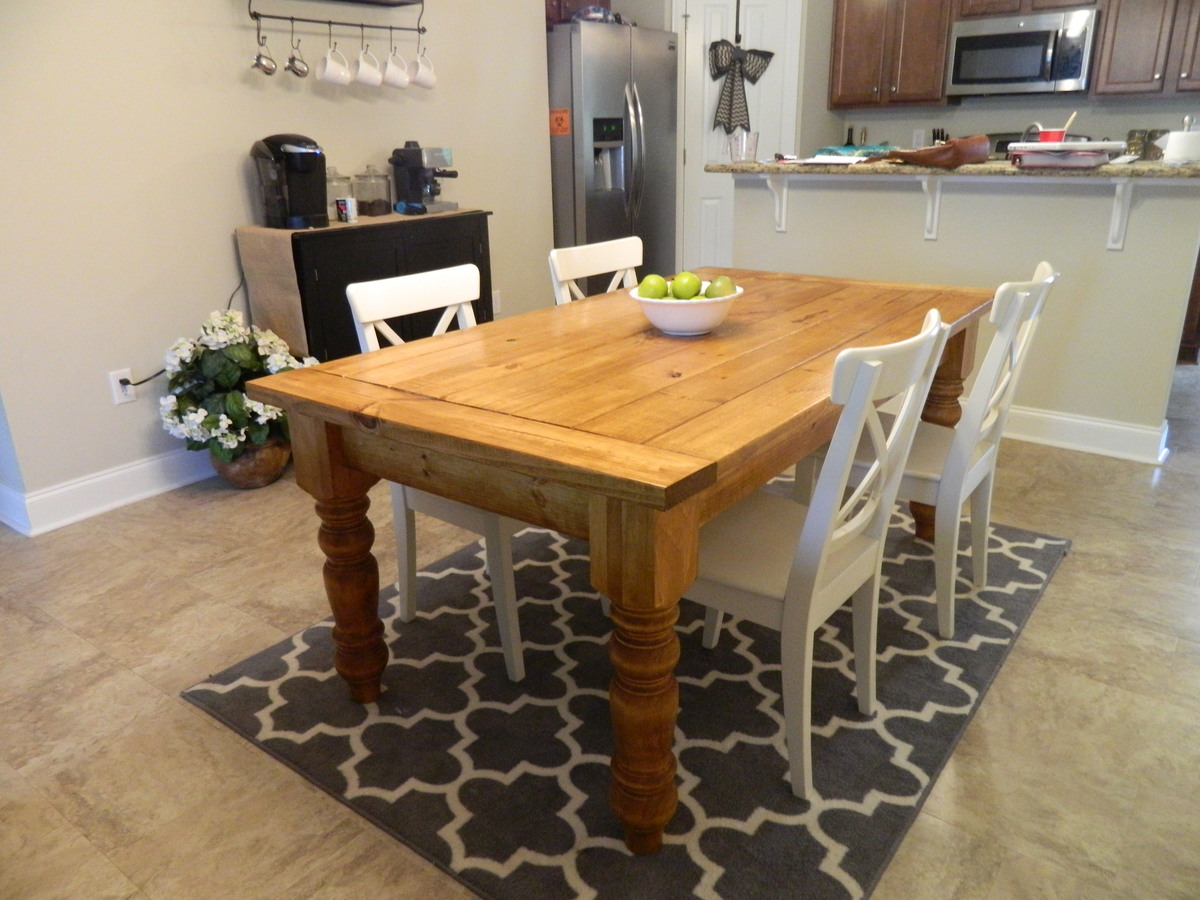
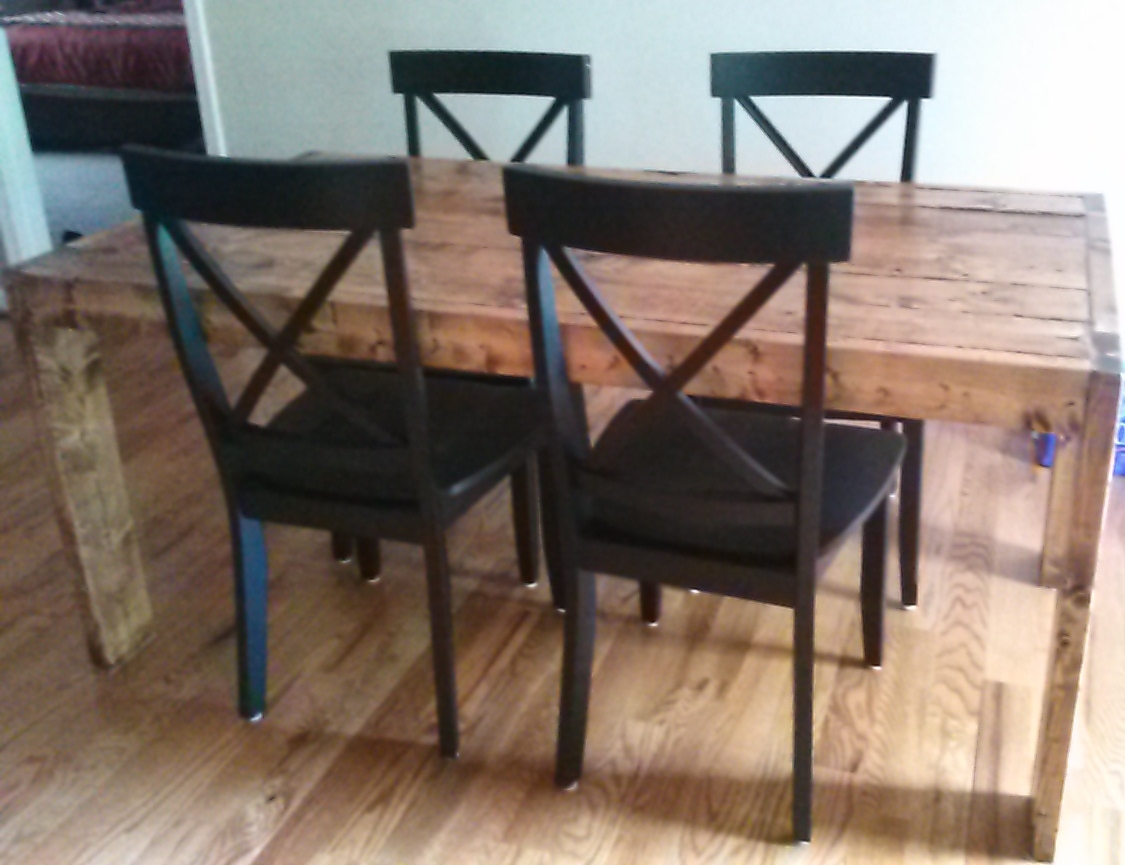
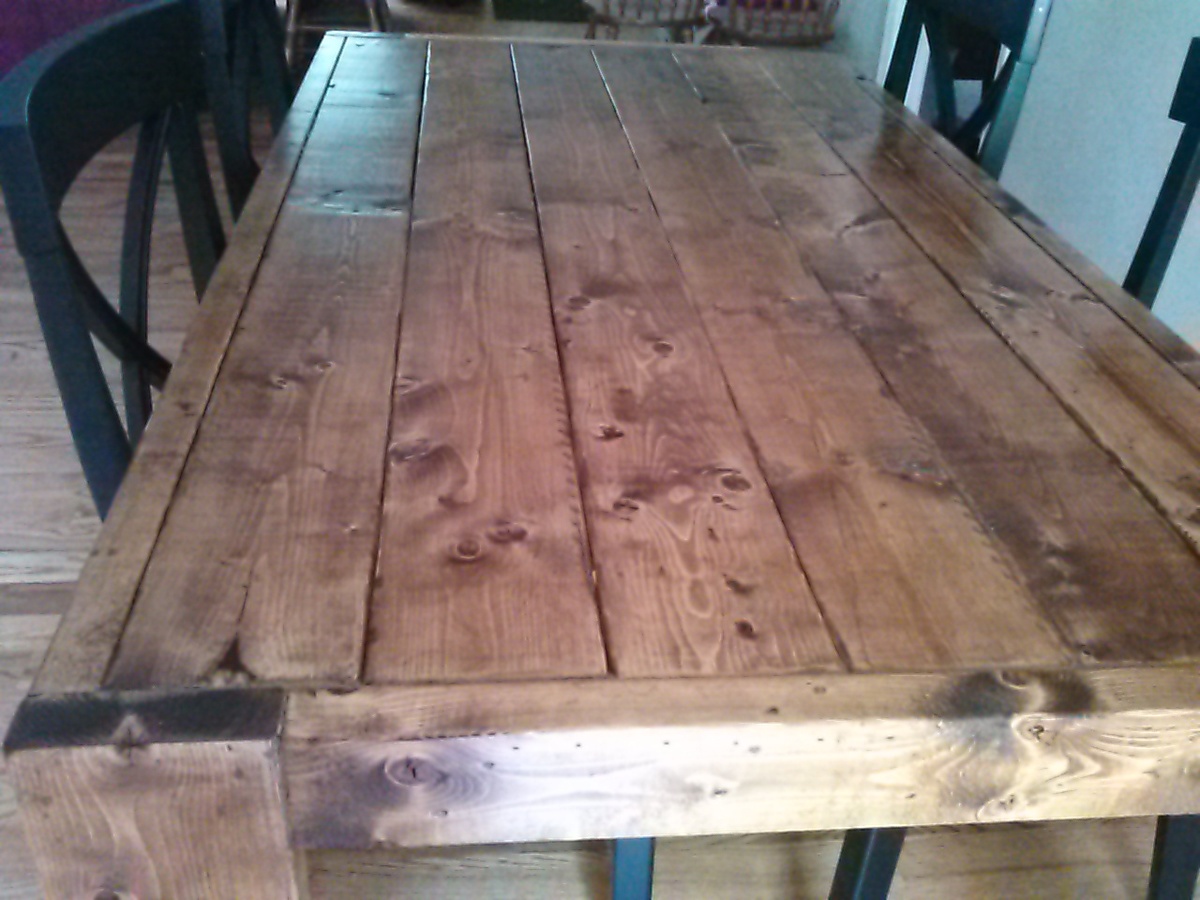
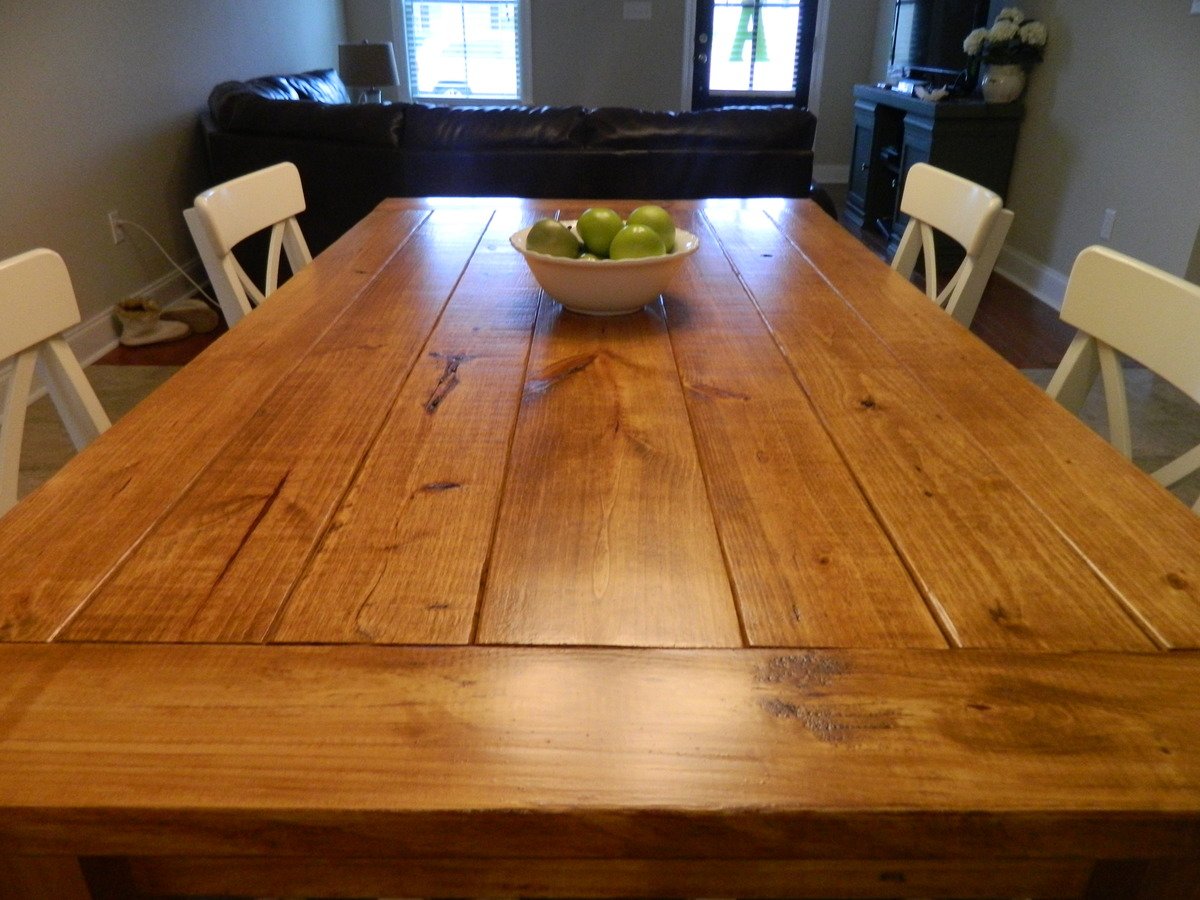
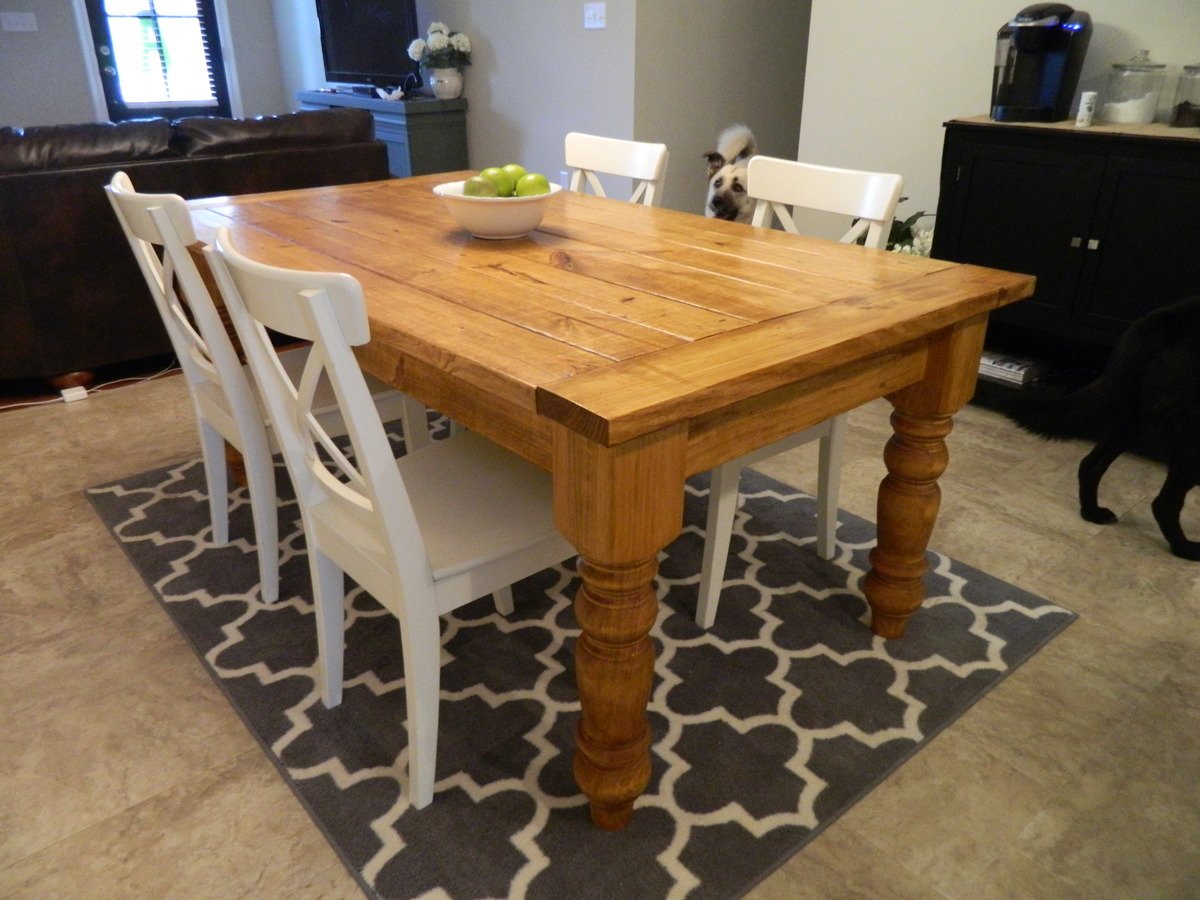
I love building my own wood furniture so that I can have beautiful pieces of furniture in my home while saving money! And while this project definitely cost more than the others I have done, I am so glad I splurged on the table legs. They ran me about $260 after tax and shipping costs, but I really think they give the table that extra OOMF! So a total of about $300 is nothing compared to a price tag at Pottery Barn or Restoration Hardware!
I chose this stain because I really wanted something to contrast with our dark leather couch and white dining chairs and this stain was even more perfect than what I expected it to be.
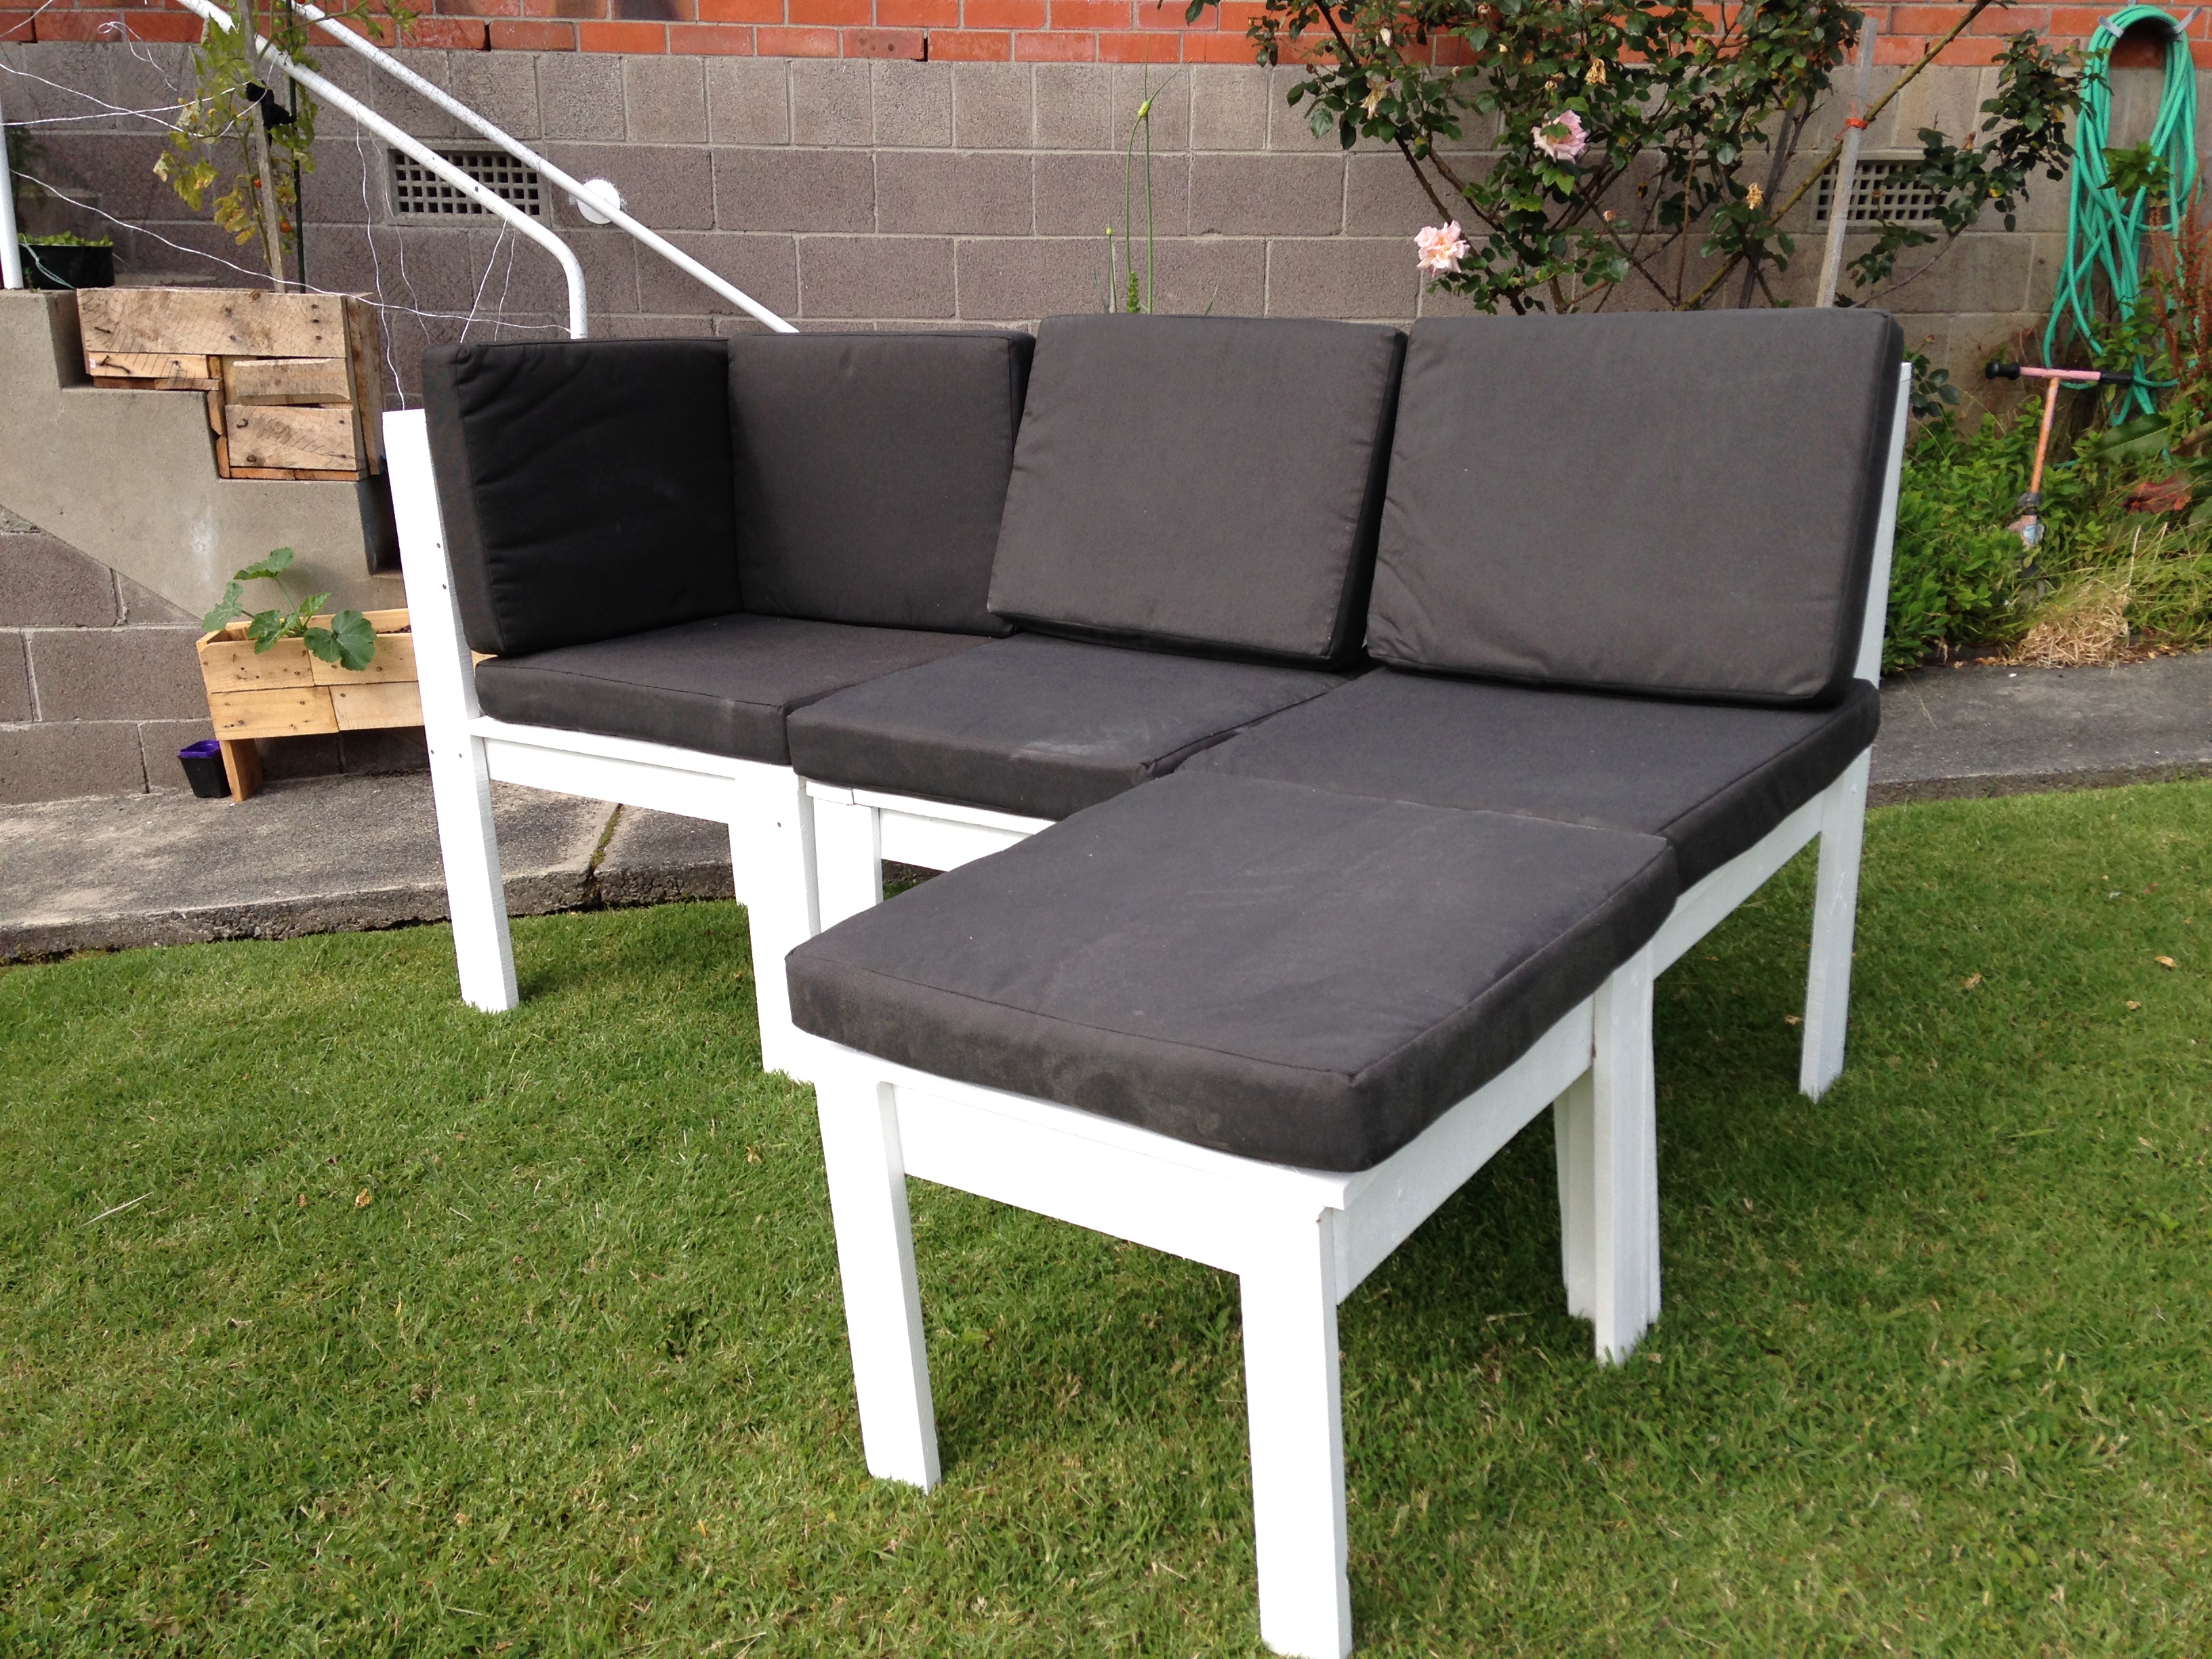
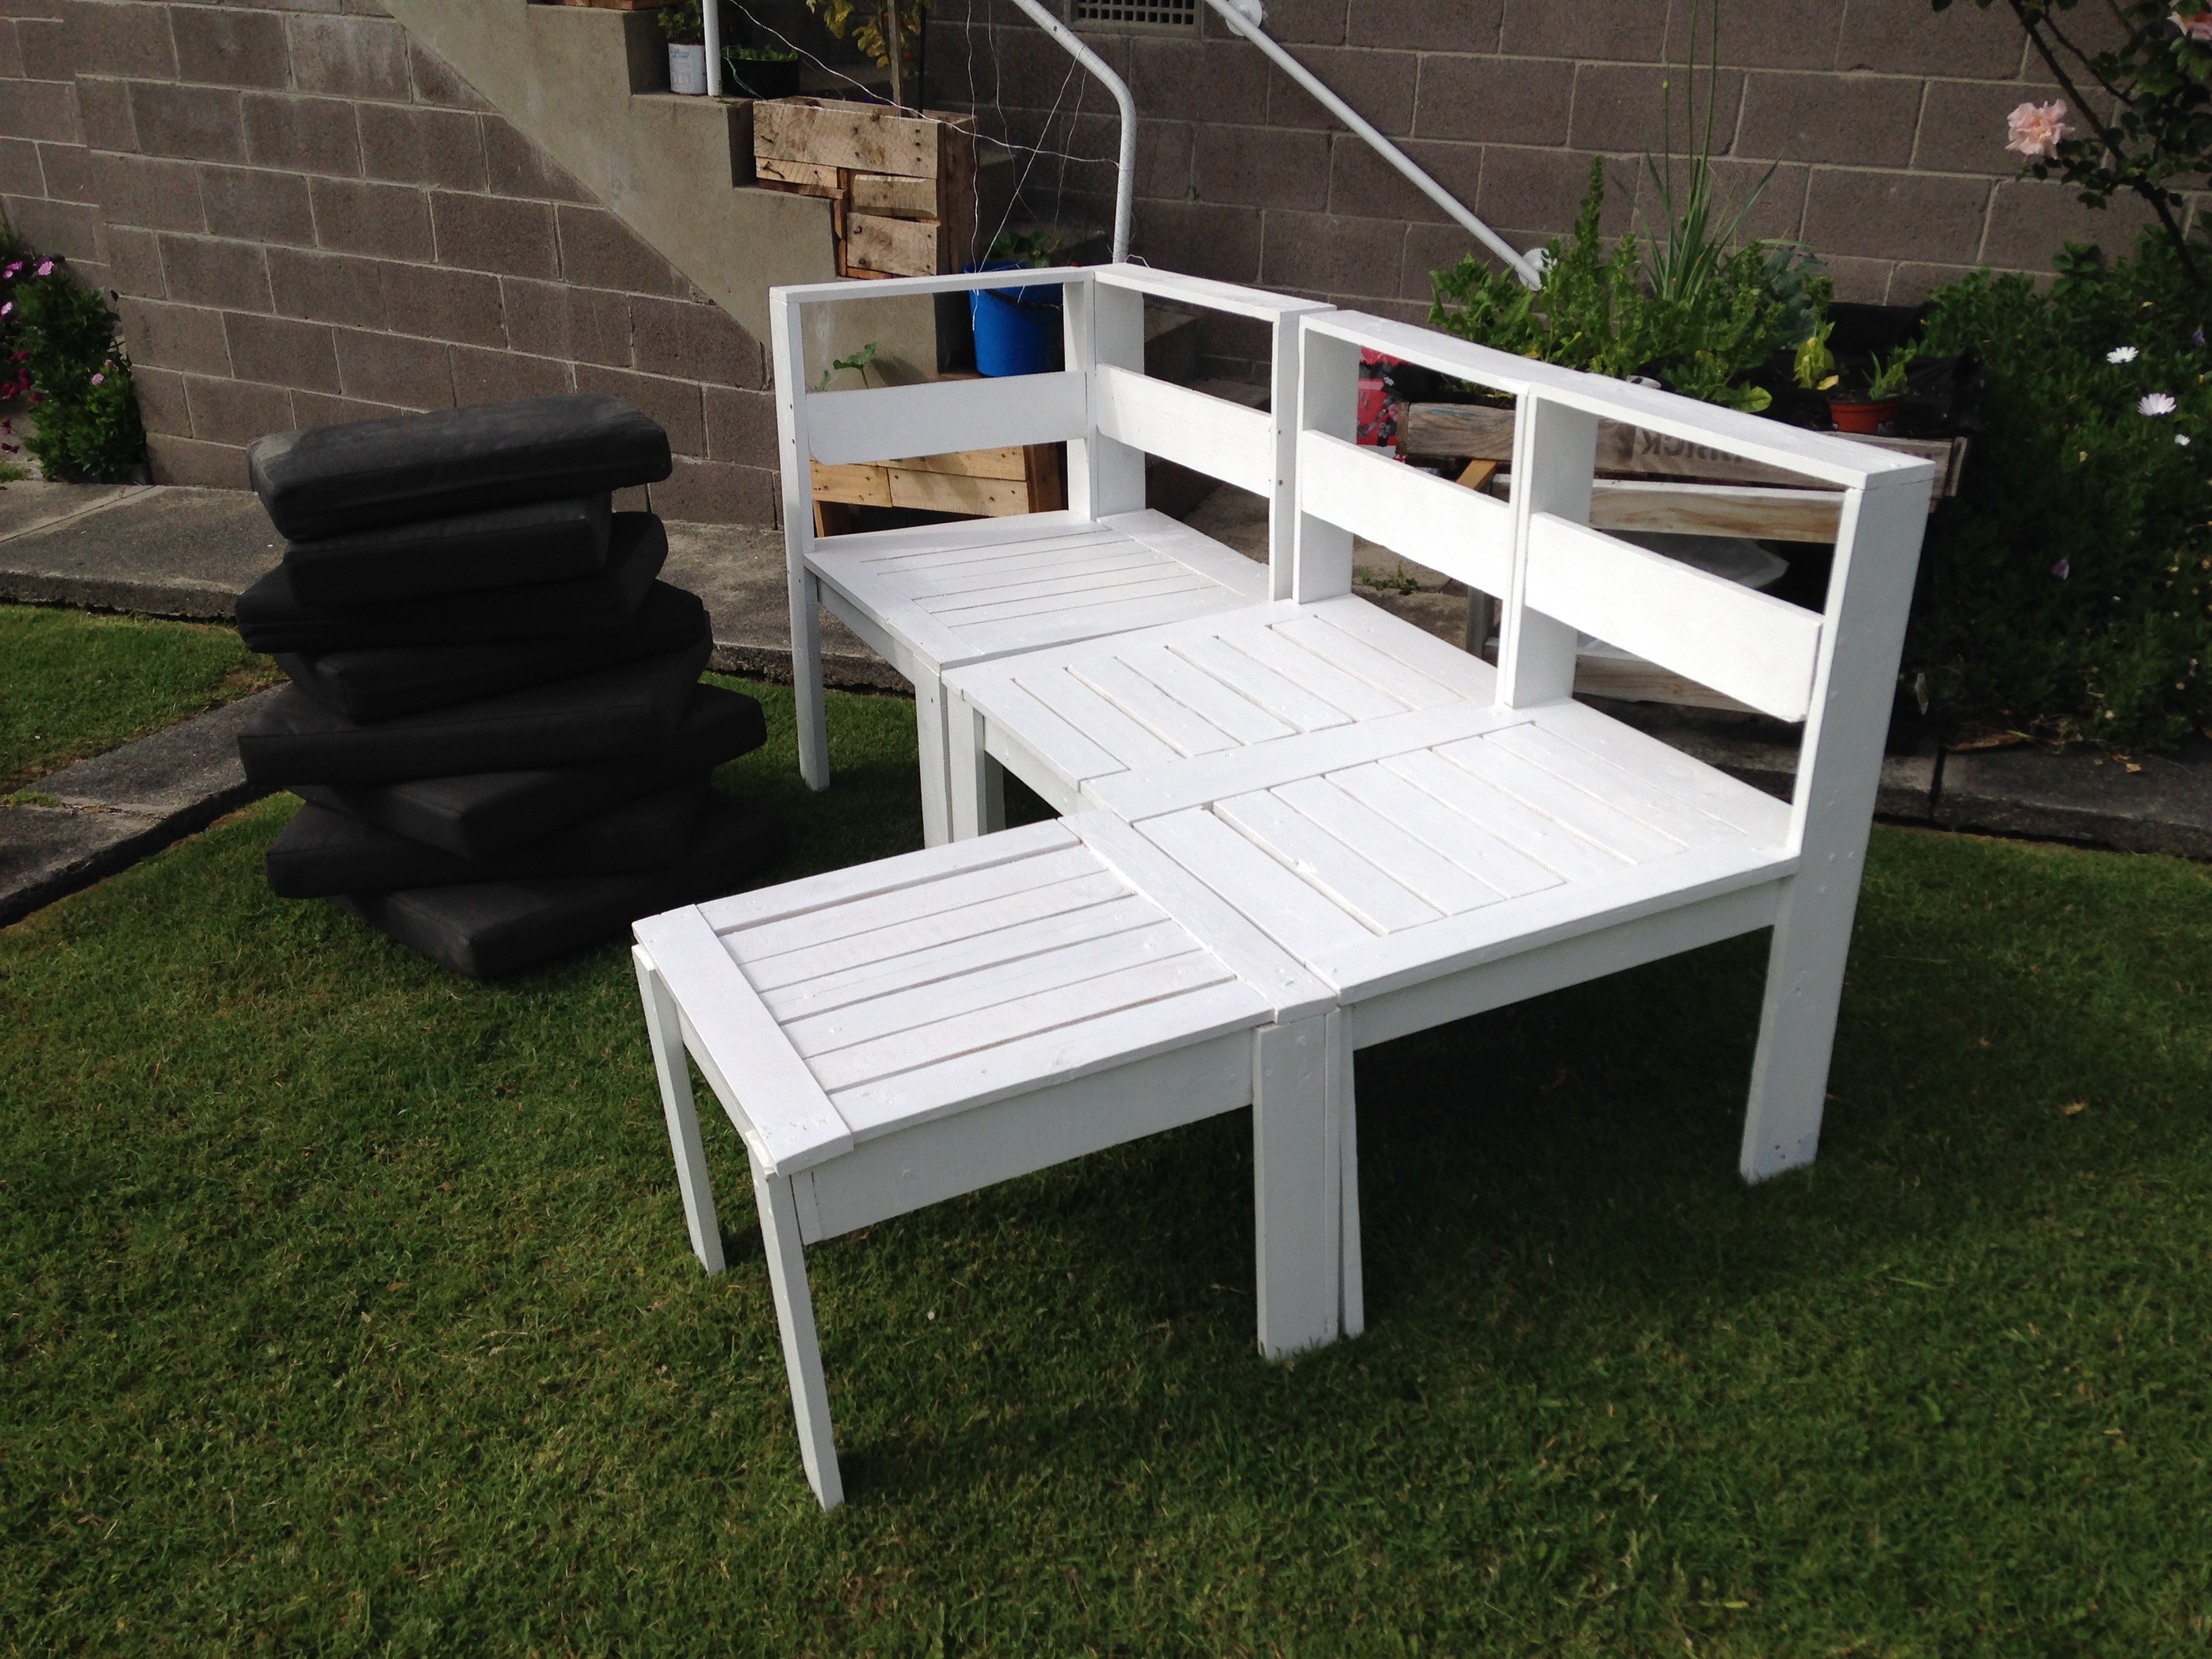
I made the sectional from pallet wood
Needed extra wood for legs to be stable. I made these under the house, and unfortunately had to take apart to get out! luckily i used screws.
I made to measure after getting the outdoor cushions first.
Taught me heaps
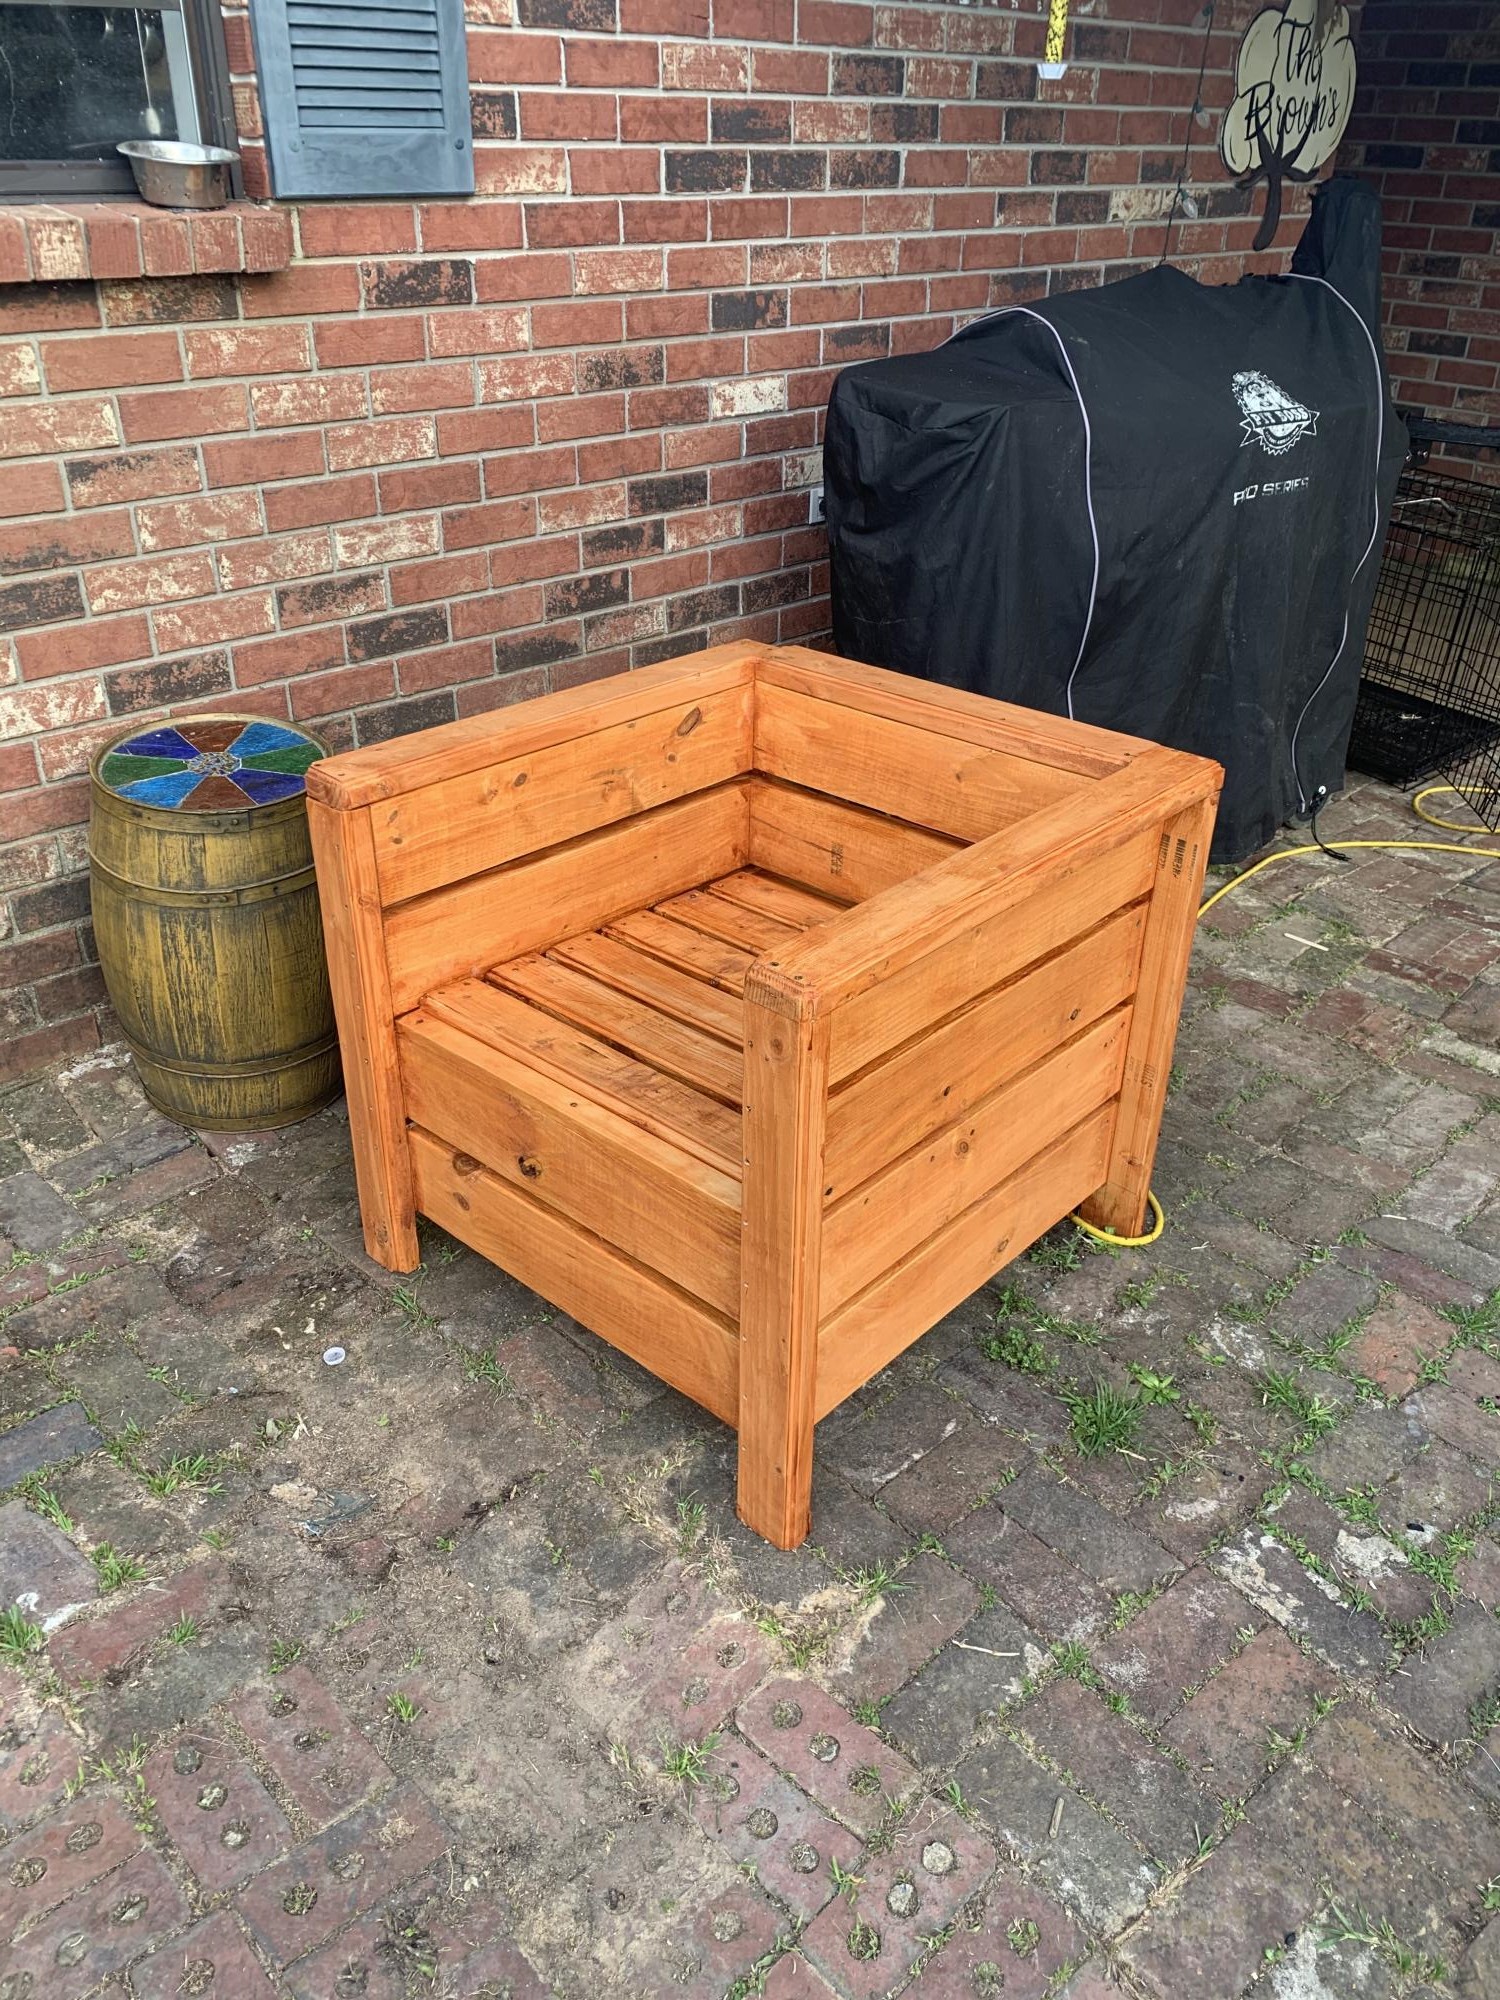
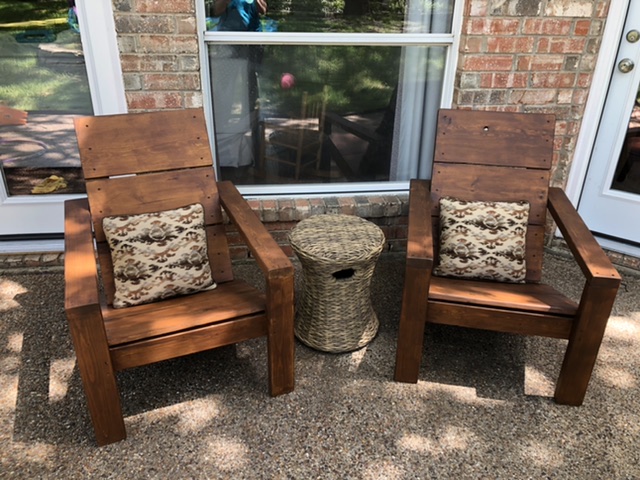
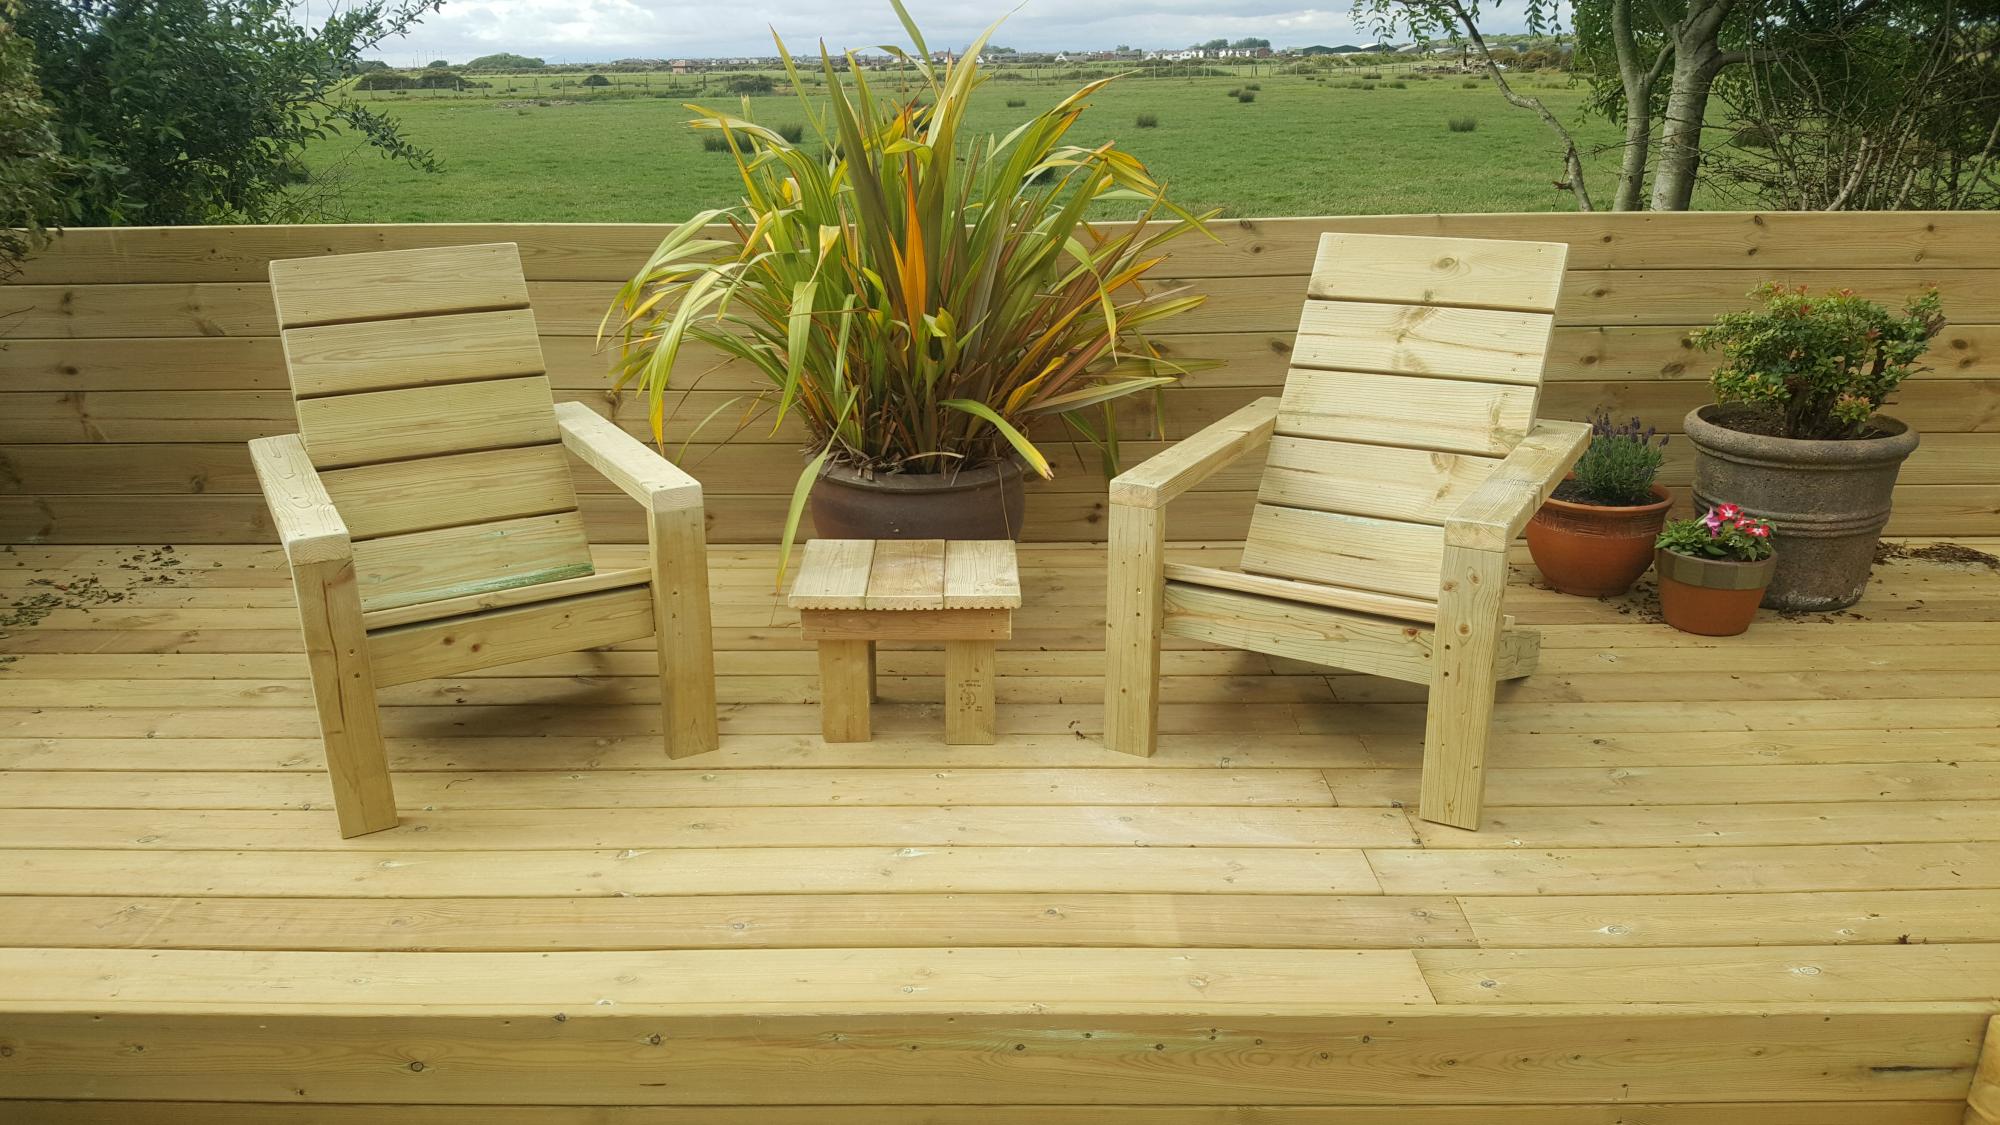
I made one of these chairs the the back hit me to low and was uncomfortable so this one I the legs 5 1/2” longer. This is my second project and took half a day but I am very happy with the outcome and started a second chair to match.
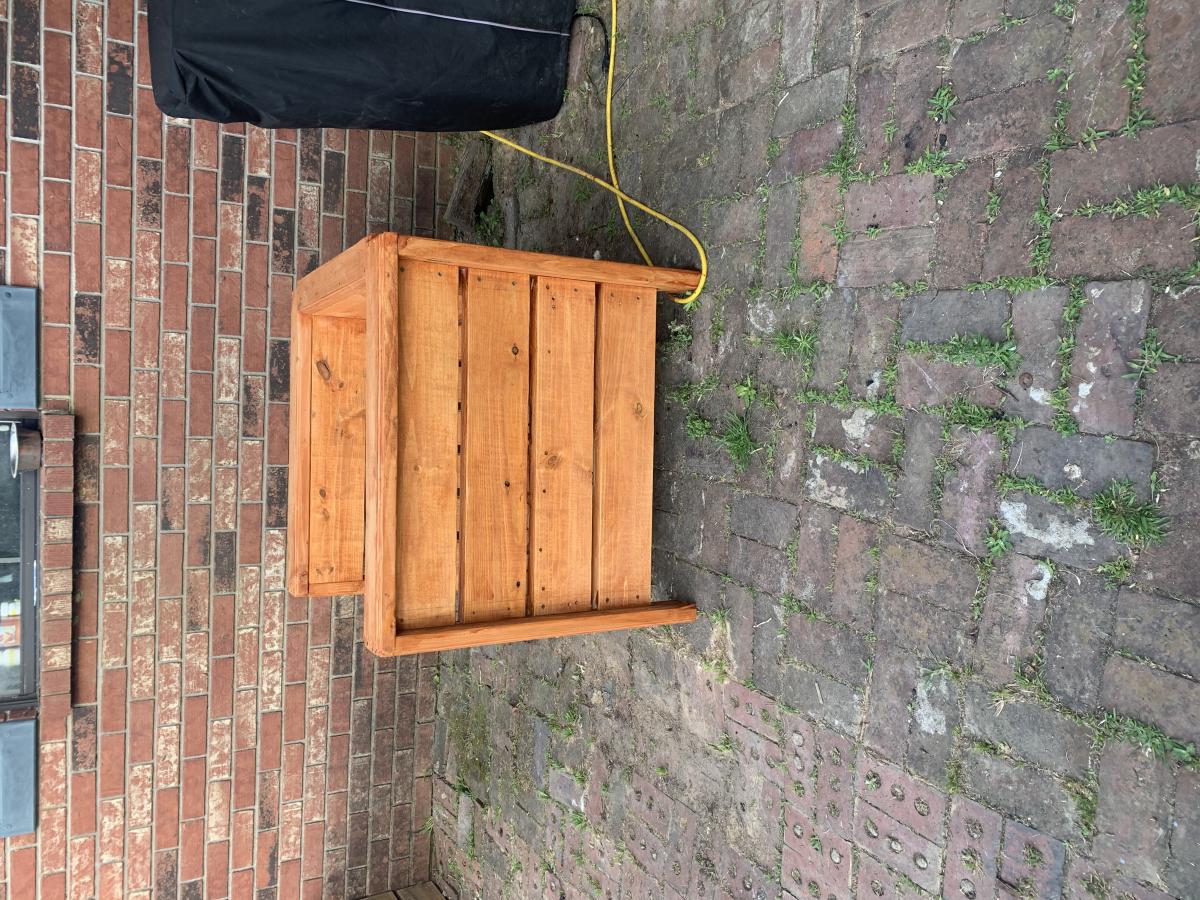
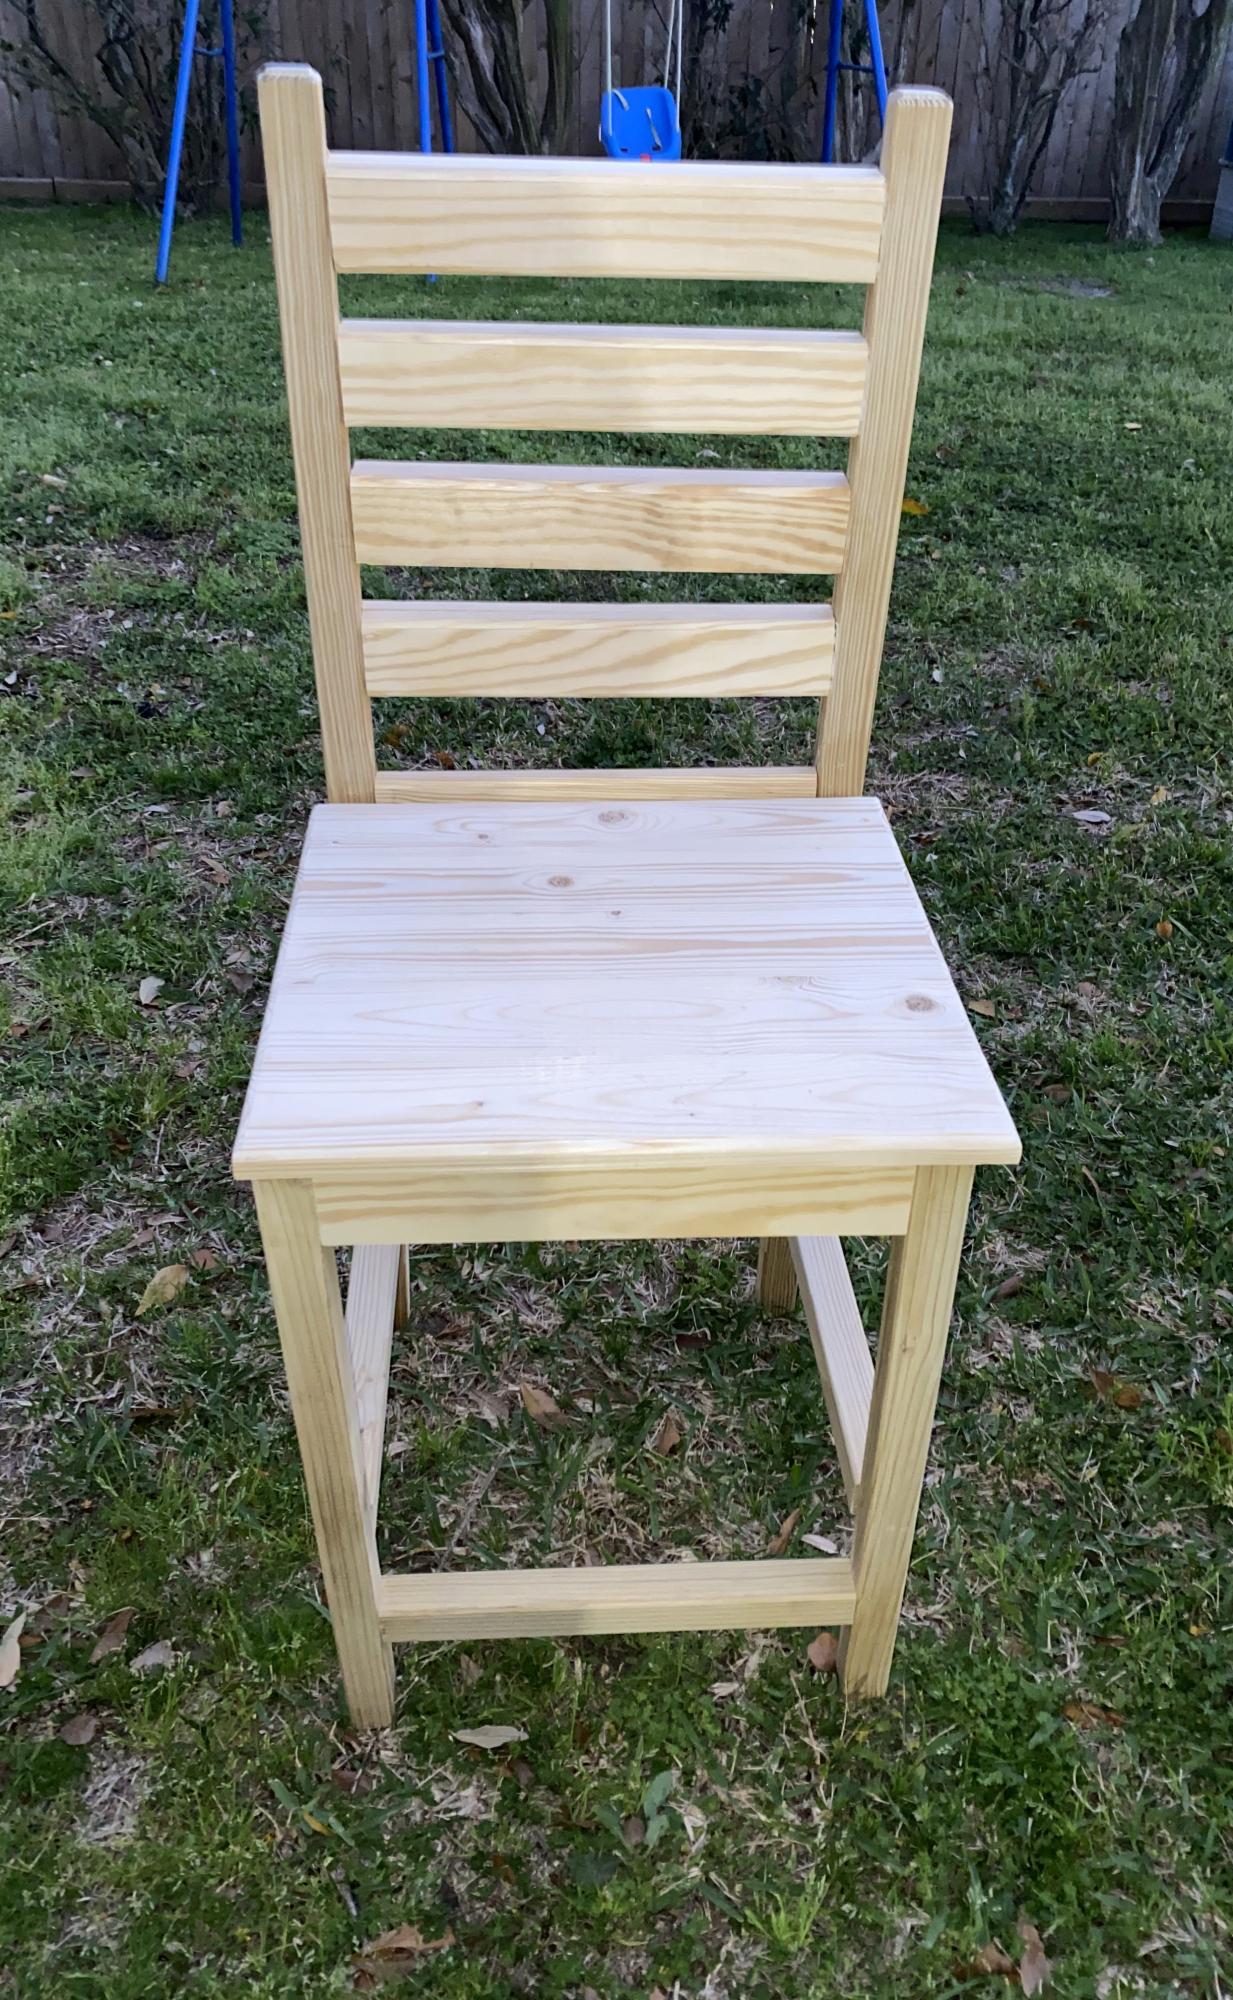
Still needs a finish but I couldnt wait to share.
Danny
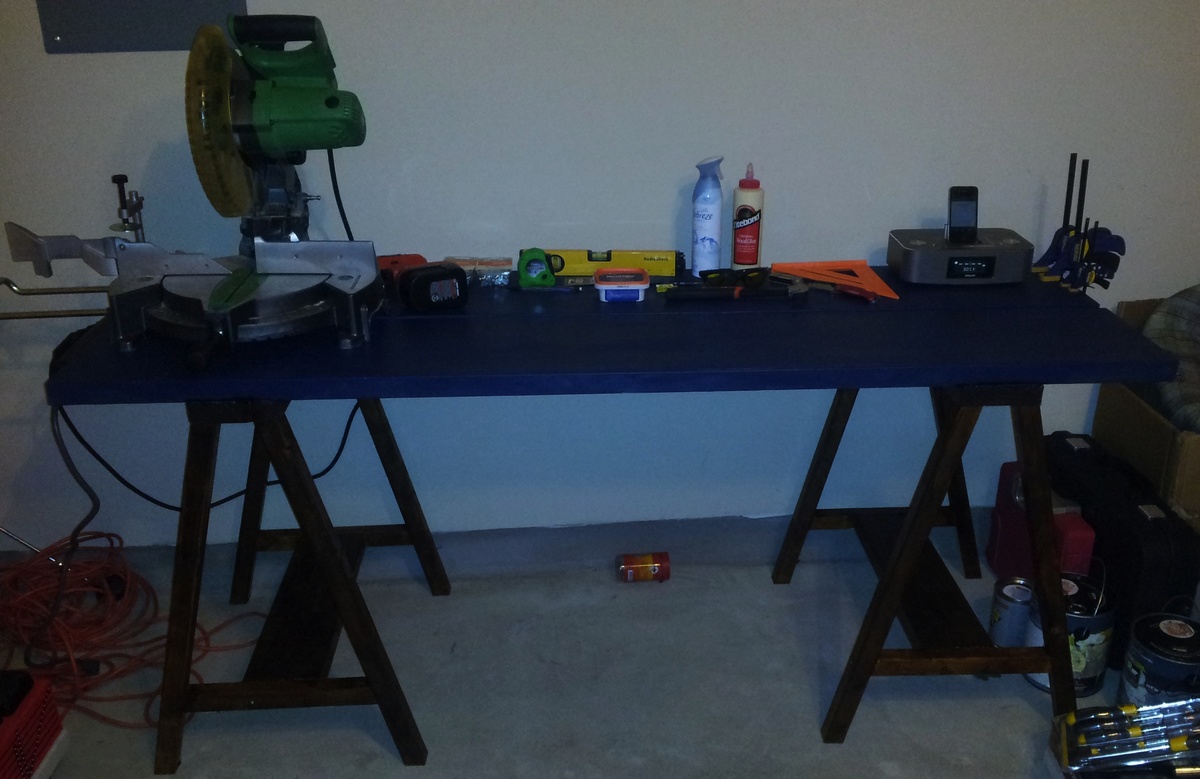
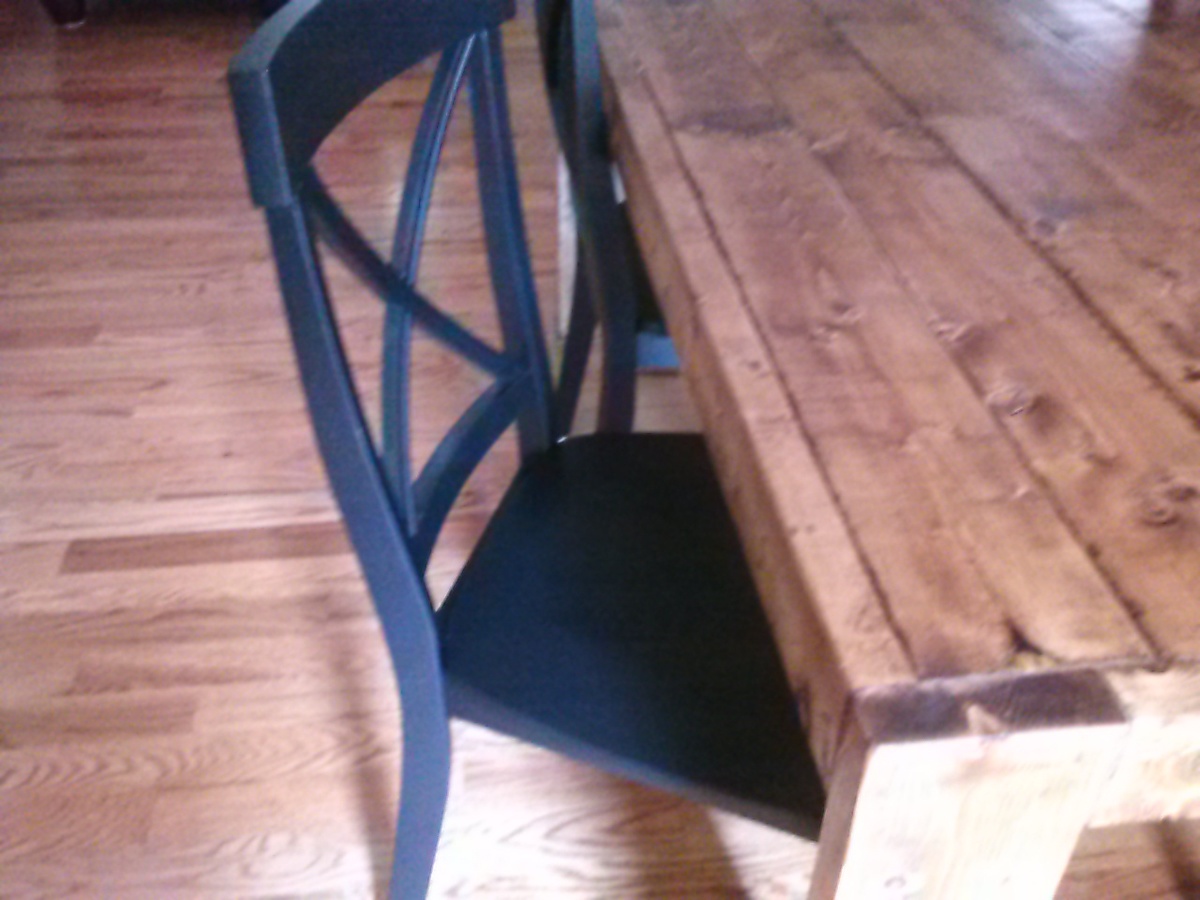
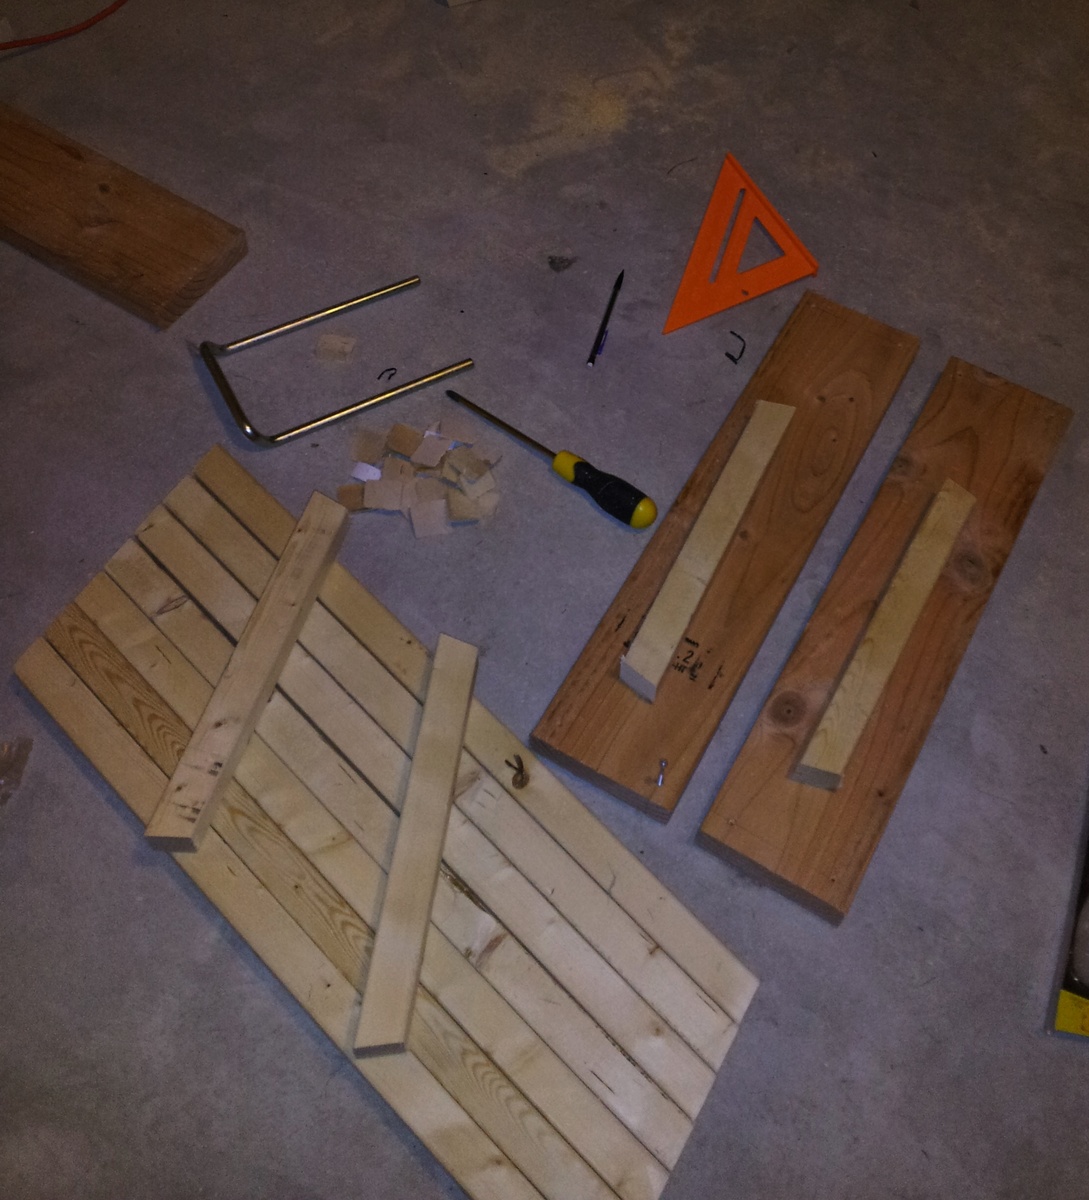
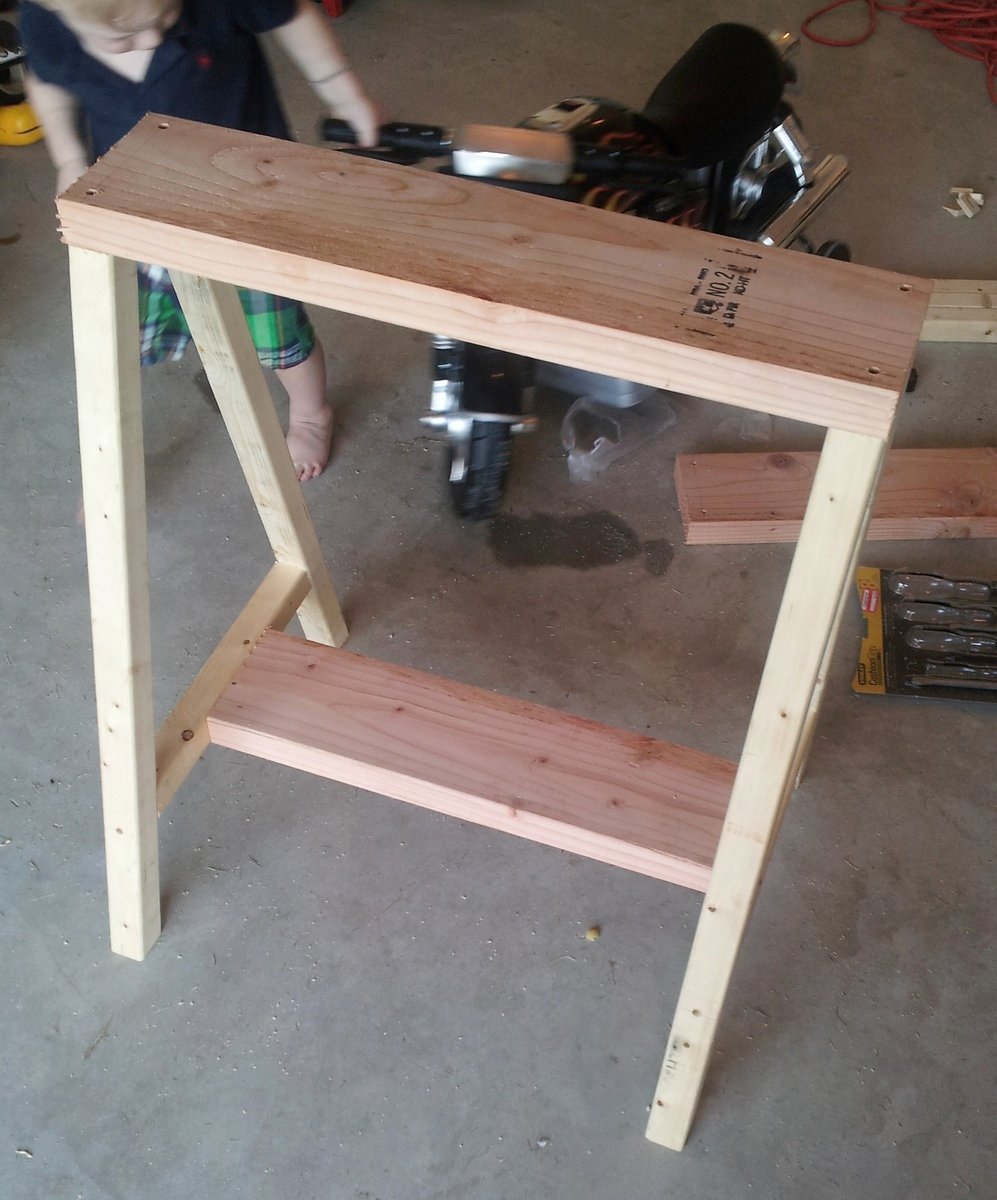
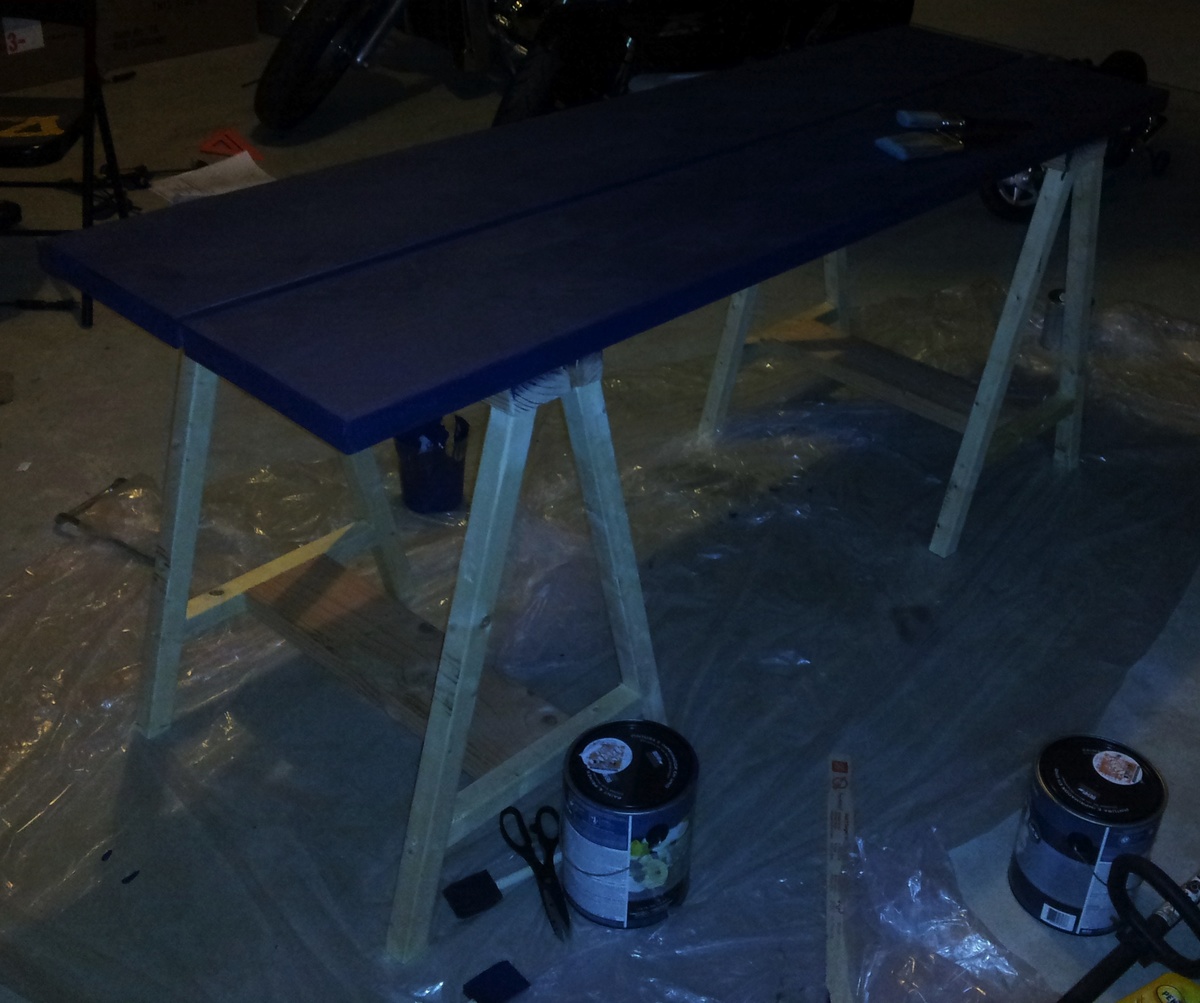
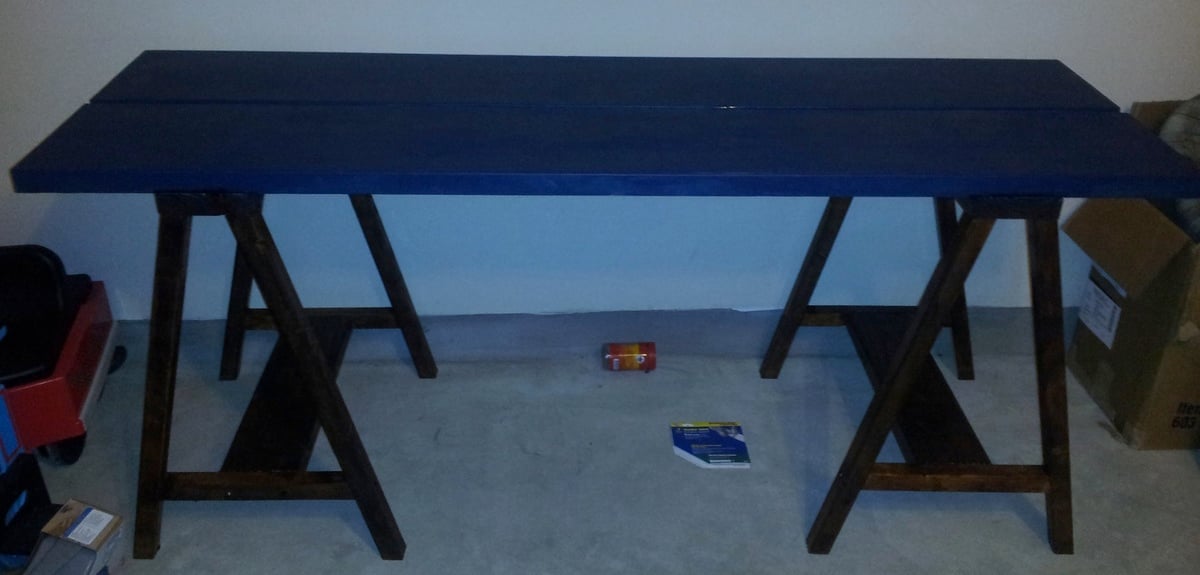
This was my first project off of Ana's site. I followed her simple sawhorse table plans verbatim. The only thing different I did was use a self-made chalkboard paint for the top (instructions under the finish section) and added screws to the left side to mount my power strip with (easy on and off for everything on the bench). I made the top a chalkboard top so that I could write notes on the table and mark measurements for various projects. Costs were $30 for wood (some leftover), $8 for paint, $2 for screws, and $5 for surge protected power strip. If you have any other questions please let me know.

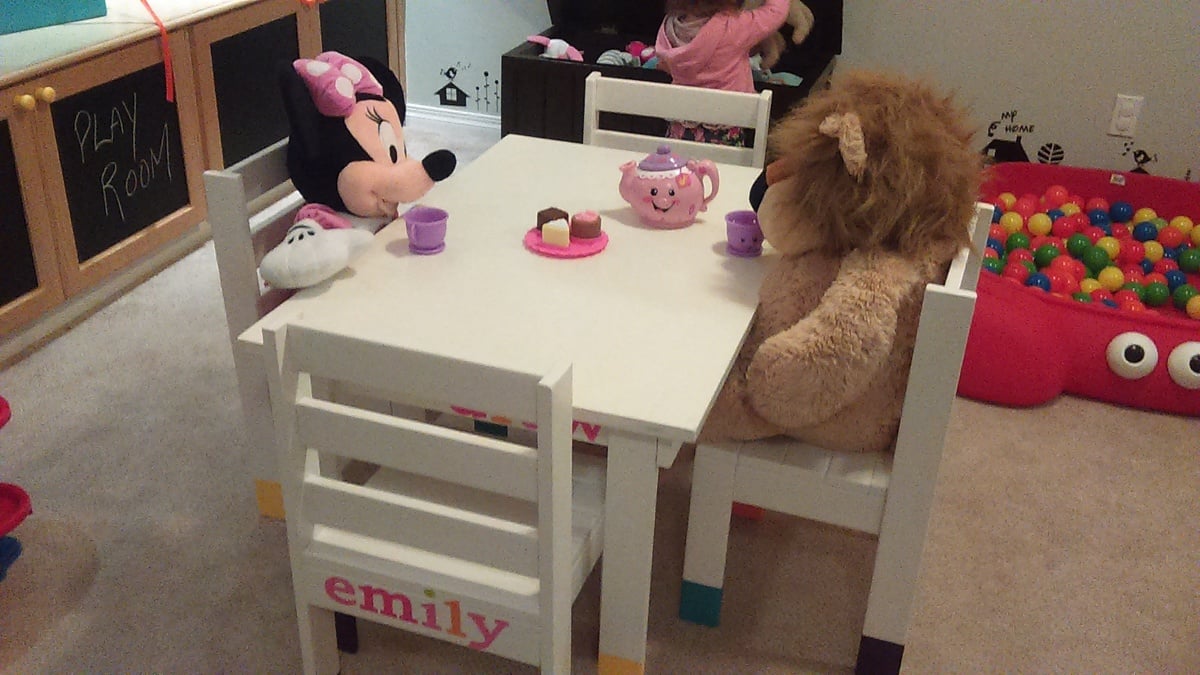
So we had our grandchild Emily needing a play table and chairs, a limited budget, an old play table but no chairs! Ana White to the rescue! We made 4 chairs and painted them and the table to match. As you can see Emily has made lots of new friends over tea!
Hi Ana
Just wanted to say thanks for the plans. Here's how ours came out!
Ben.
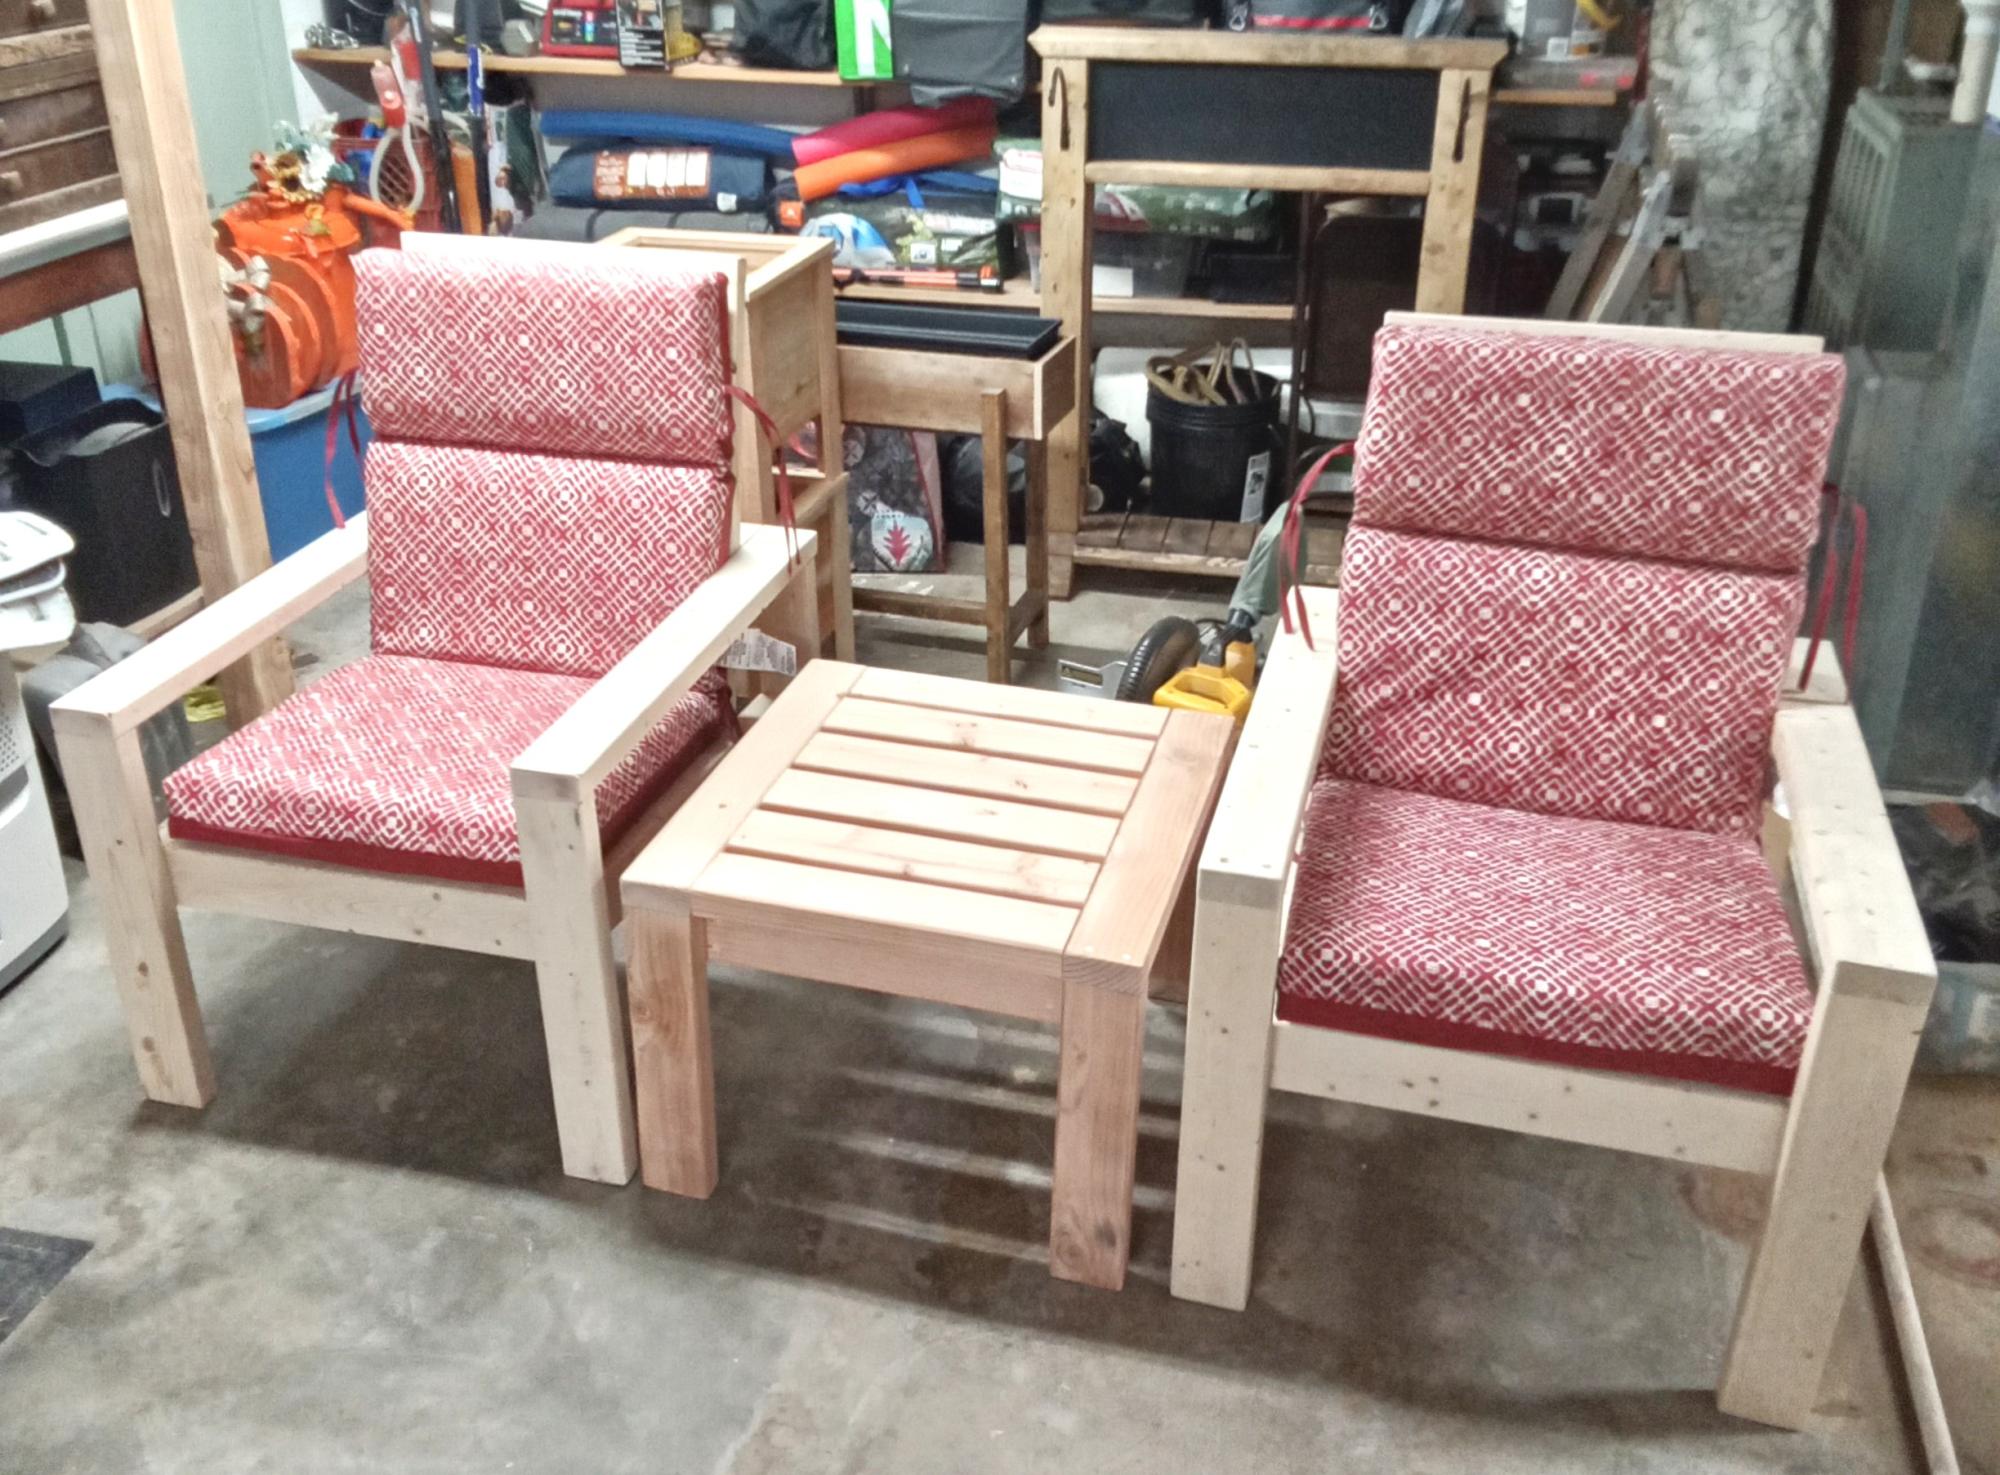
Done the 2x4 chair and table, I think it turned out well. Bought the cushions at Lowes.
Ray and Sandy

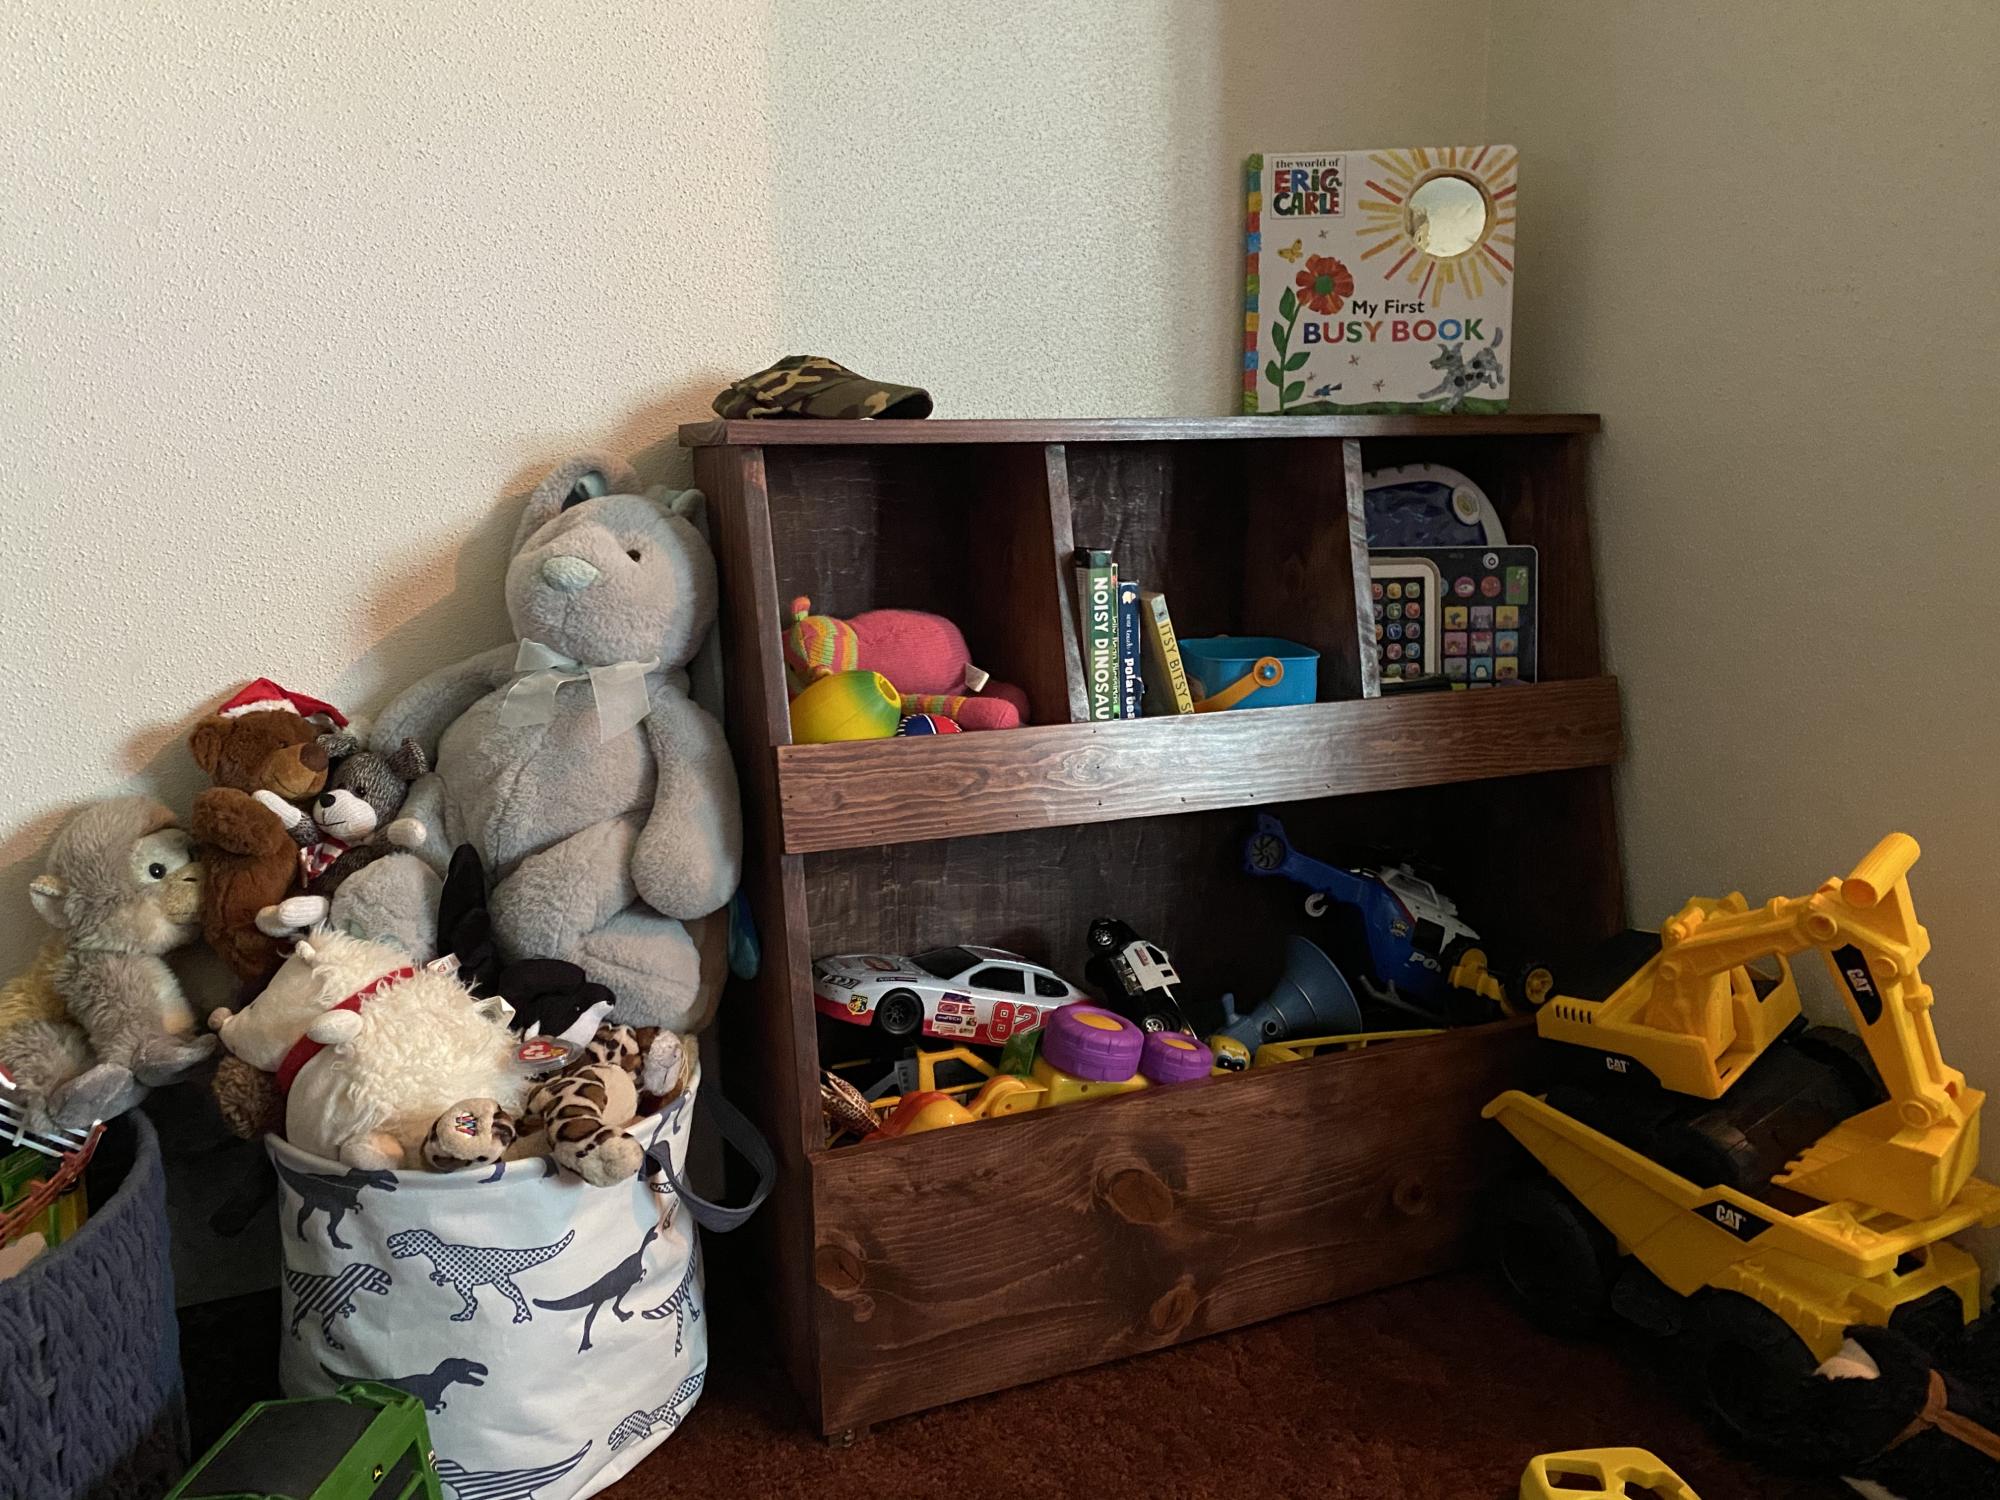
My 11 year old son made this library cart for our homeschool books. He followed Ana's plans with a few changes on dimensions. I love how it turned out, and it is a perfect addition to our school room. We kept the cost low by using some wood and paint that we already had.

We have 3 (almost) teenage boys and needed the storage of the Brookstone bed for their sport gear, etc. I built 2 of them and my 15 year old built his. I can't get over how easy they were to build! This was the first building project I ever made and they turned out beautifully! The headboard took about 2 hours to build and the bed about 5 hours. I was pretty slow though, checking and double checking measurements, glueing and clamping like crazy, being careful not to rush. Still, 7 hours to make the bed and a couple hours to paint, not a bad days work! The lumber cost $144/each so we were happy with the cost of the beds. I would highly recommend furniture movers underneath them. I used 4 huge ones under the ends of the 2x2 supports and small squares under the legs/headboard. They move so easily with them! Thanks, Ana, for a great plan!! We are so thankful and love our new beds!!
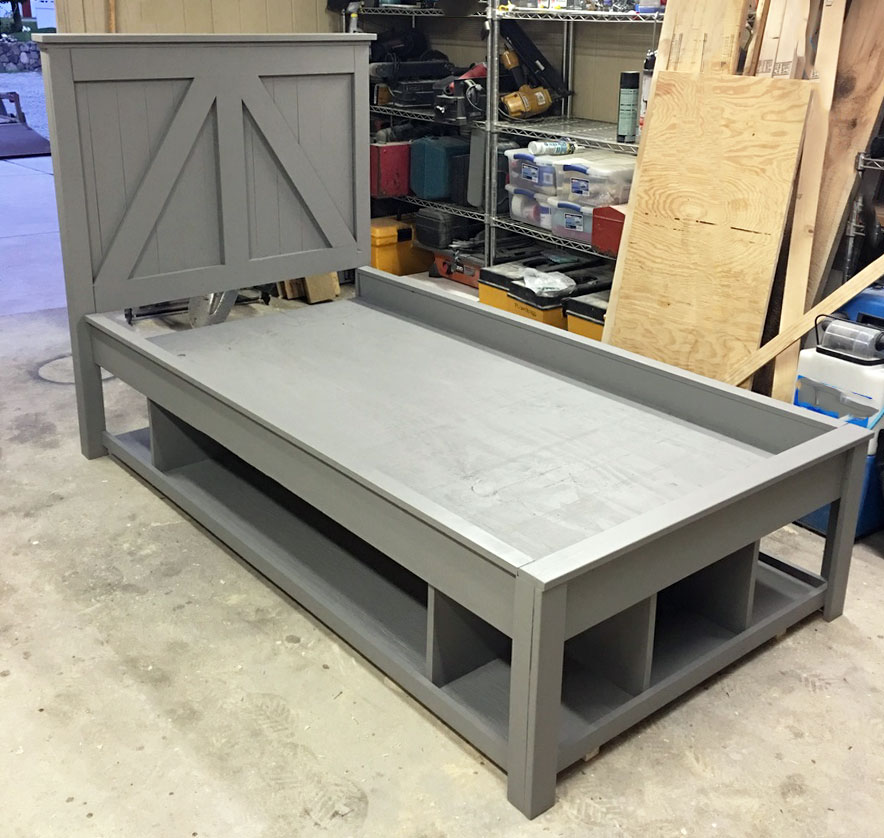
This design turned out to be perfect! It was super simple and easy to build! Easy to follow plans! Great beginner project!