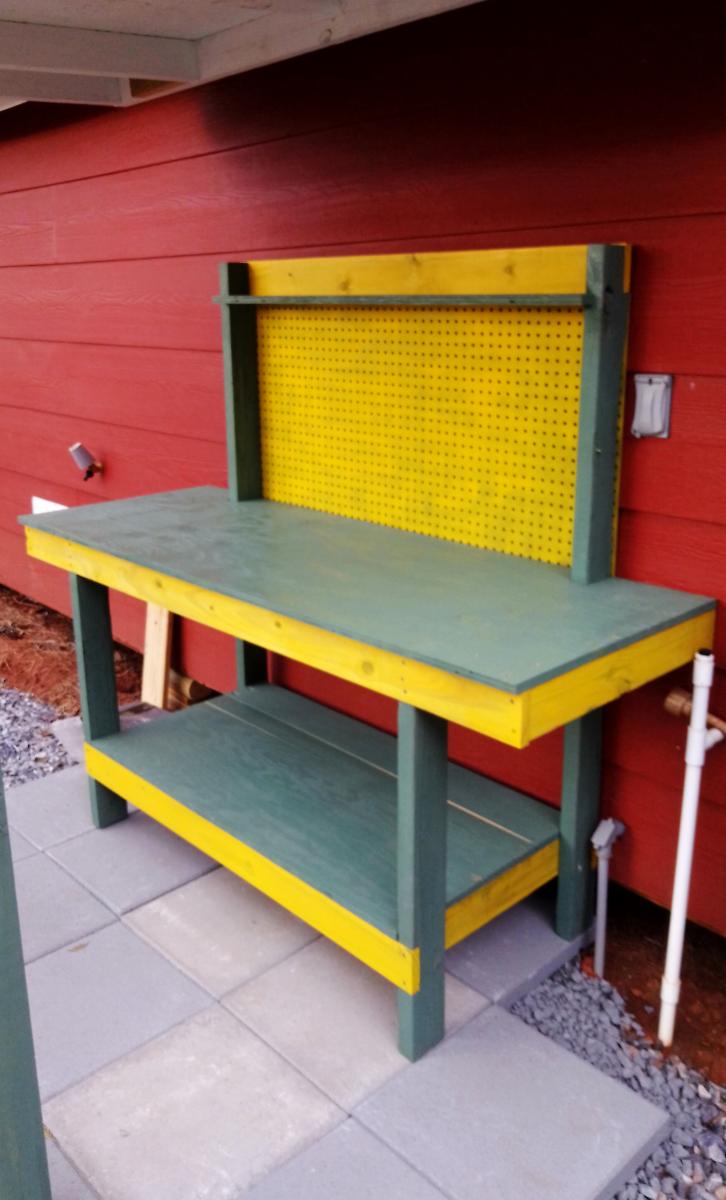
Expanded Potting Bench
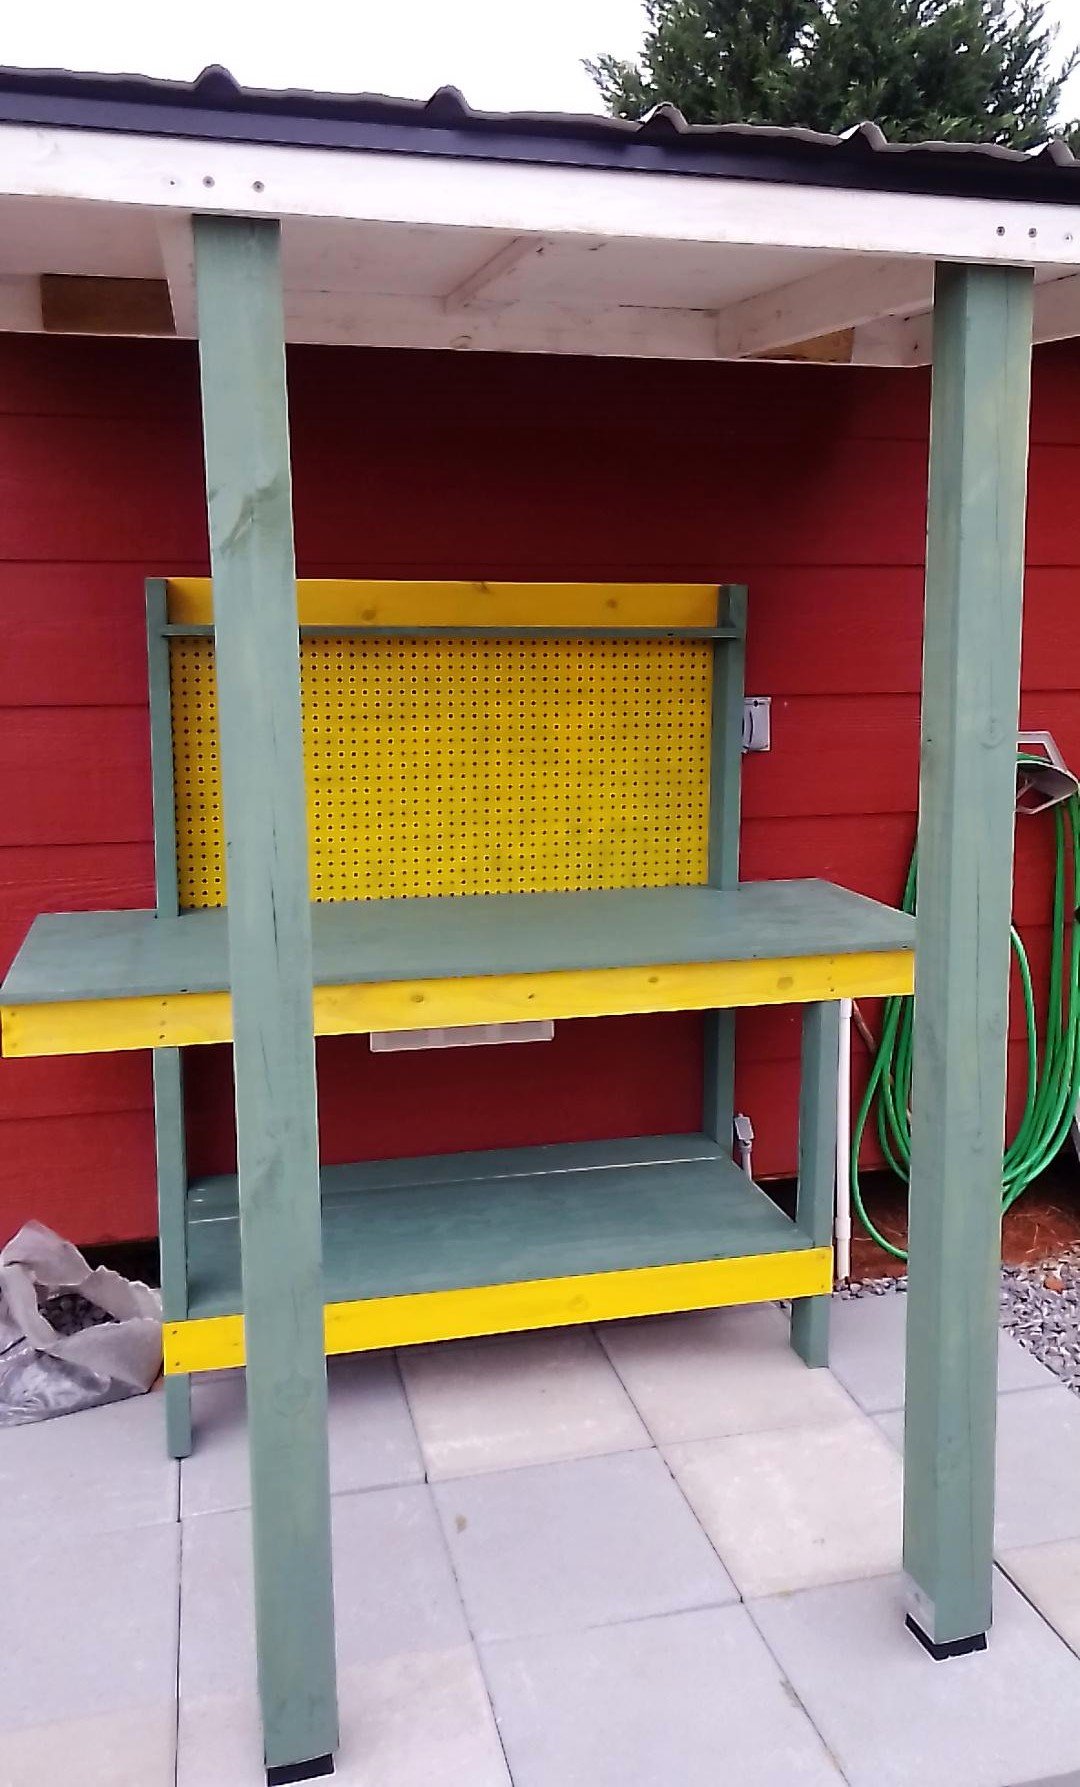
An expansion of the 2x4 potting bench.
Built from Plan(s)
An expansion of the 2x4 potting bench.
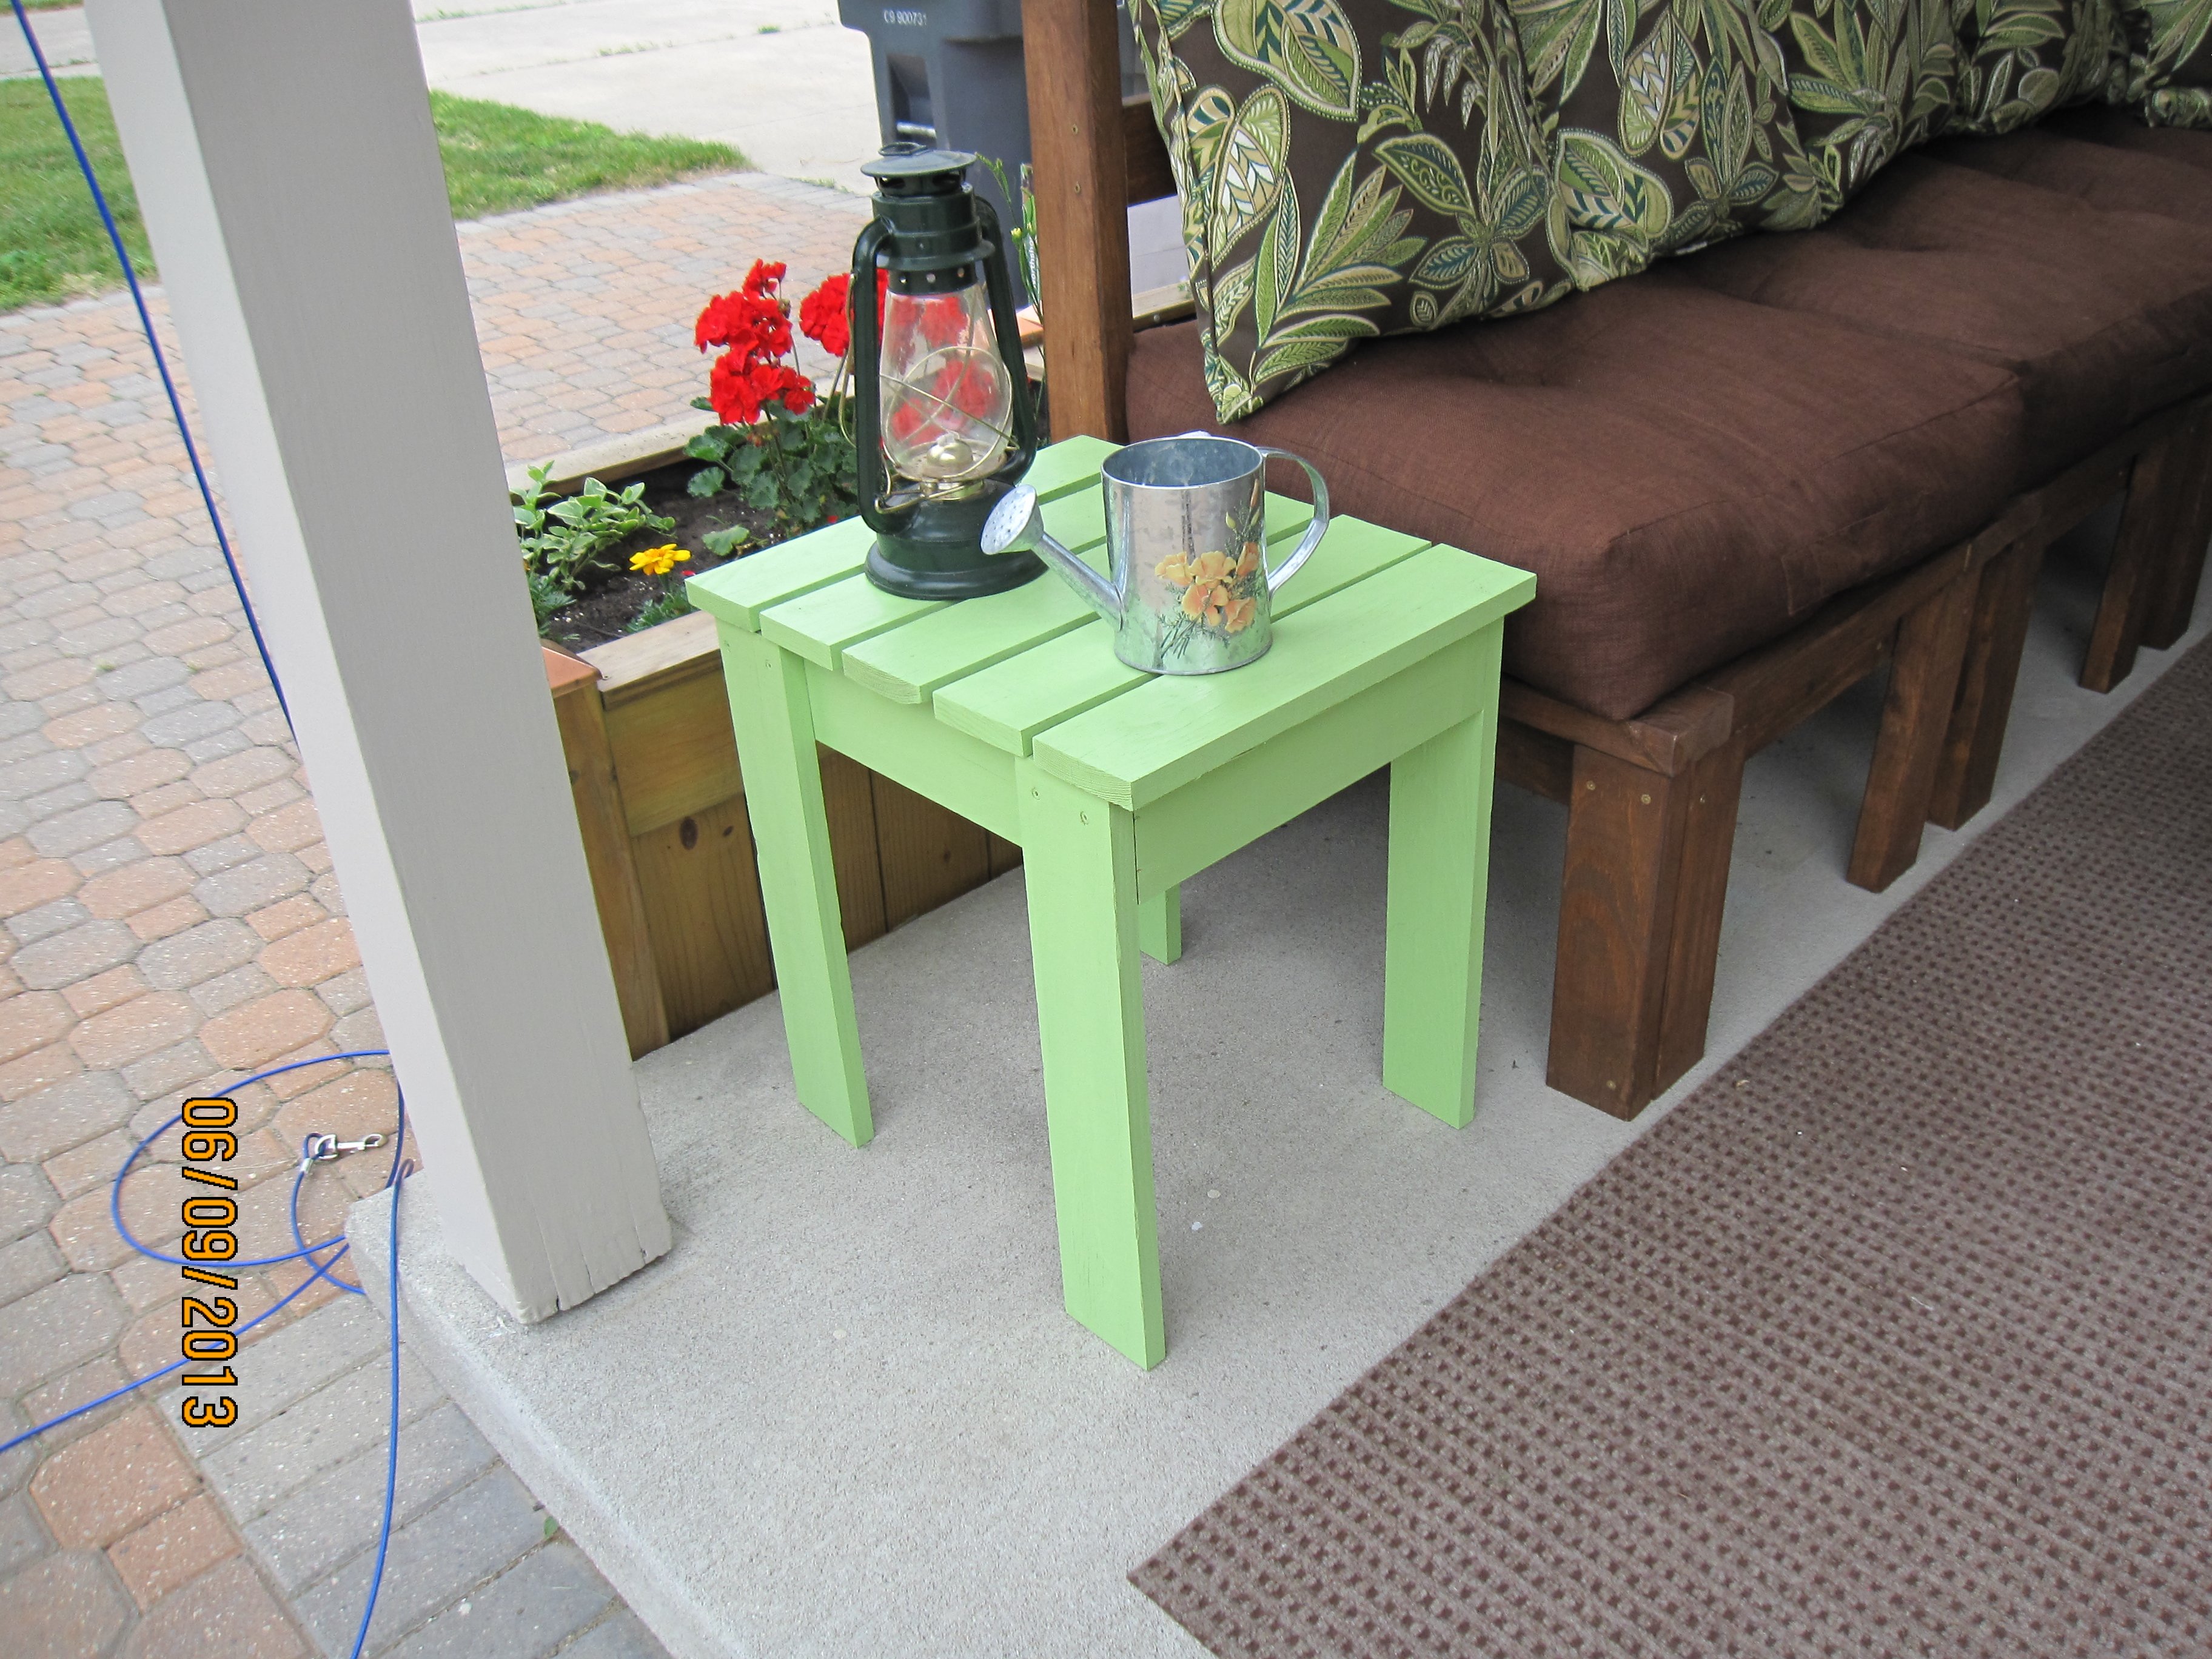
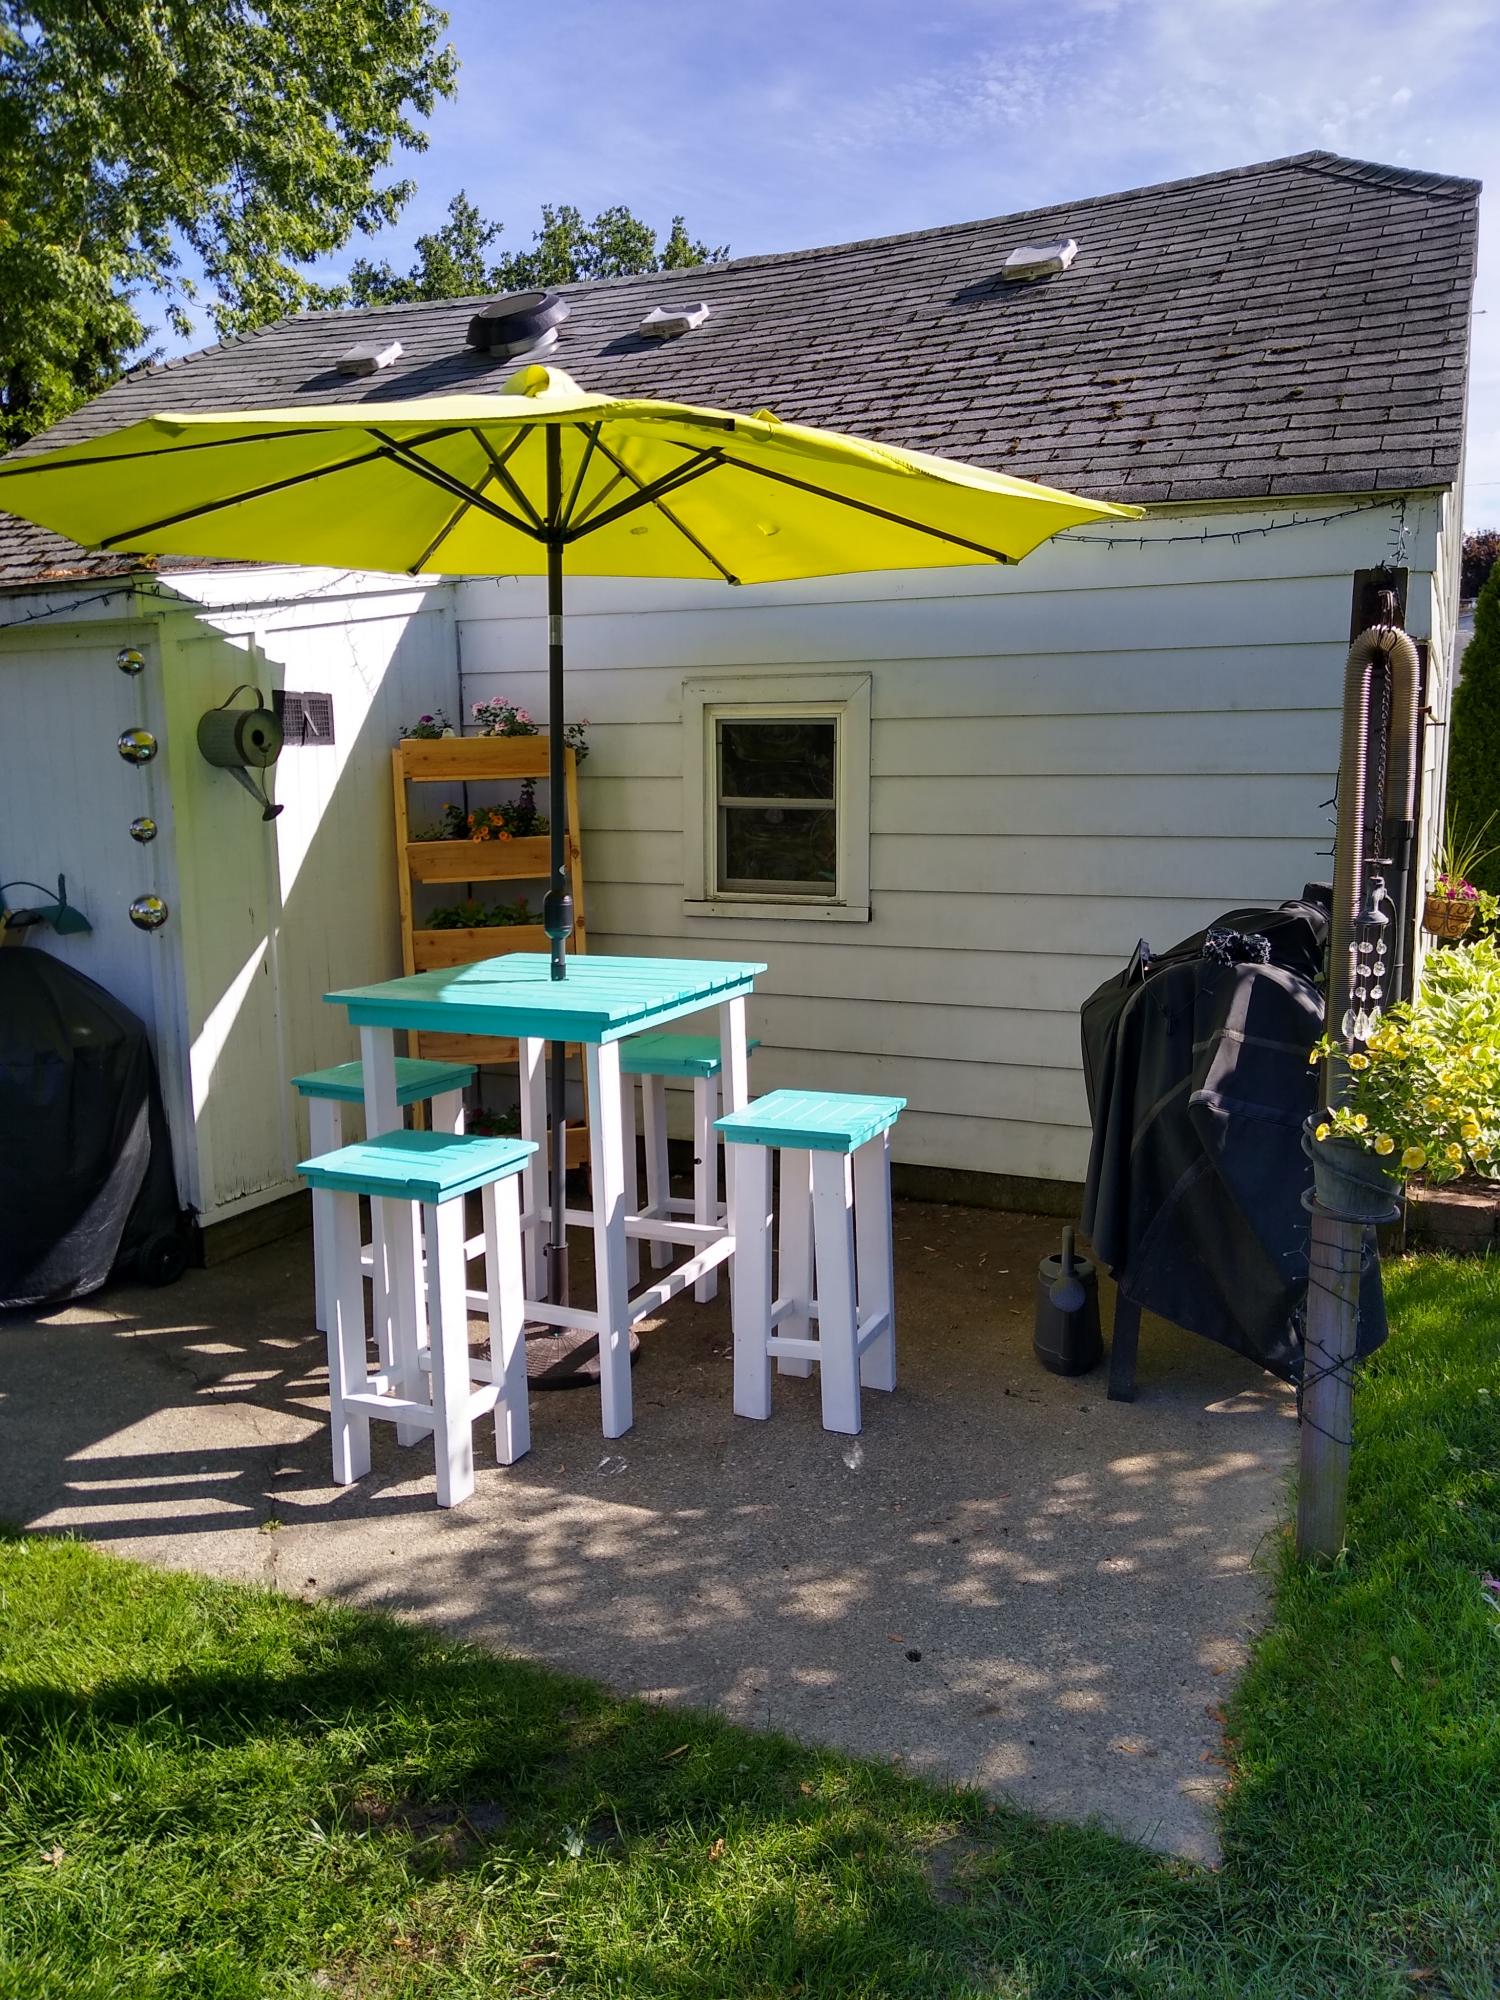
I didn't use any plans but the Outdoor Ottoman comes really close. Needed an end table to go with our Outdoor Sectional that my husband and I built. While he was at a ballgame I whipped this up. Still have to sand and stain this as well as the sectional, but will probably do it as a winter project. We bought the 1x4s a while ago when we bought the 2x4s for the sectional so I wasn't exactly sure of the cost. I think I used 2 1/2 pieces of 8' lengths. Who would have thought a couple of years ago that so many of us would have attempted to build furniture and then even without a plan now and then?! Ana rocks! :)
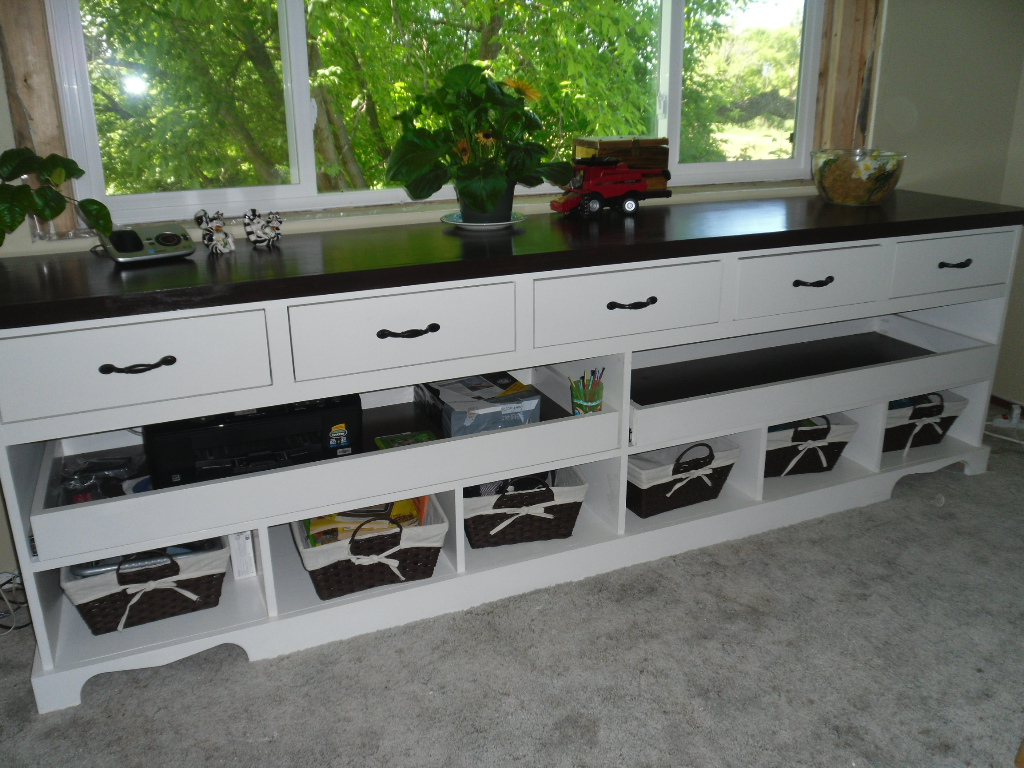
This is our first build. Instructions were easy to follow but we didn't go much on the bottom center drawer runners!
I love the second layer of slide out drawers we use for the printer , paper and electronic gadgets!

Wed, 06/25/2014 - 05:37
Love this. What great mods and you even tackled drawers for a first build?! I'm too chicken and still haven't tried. Especially love how you used slide outs in the middle. Clever!
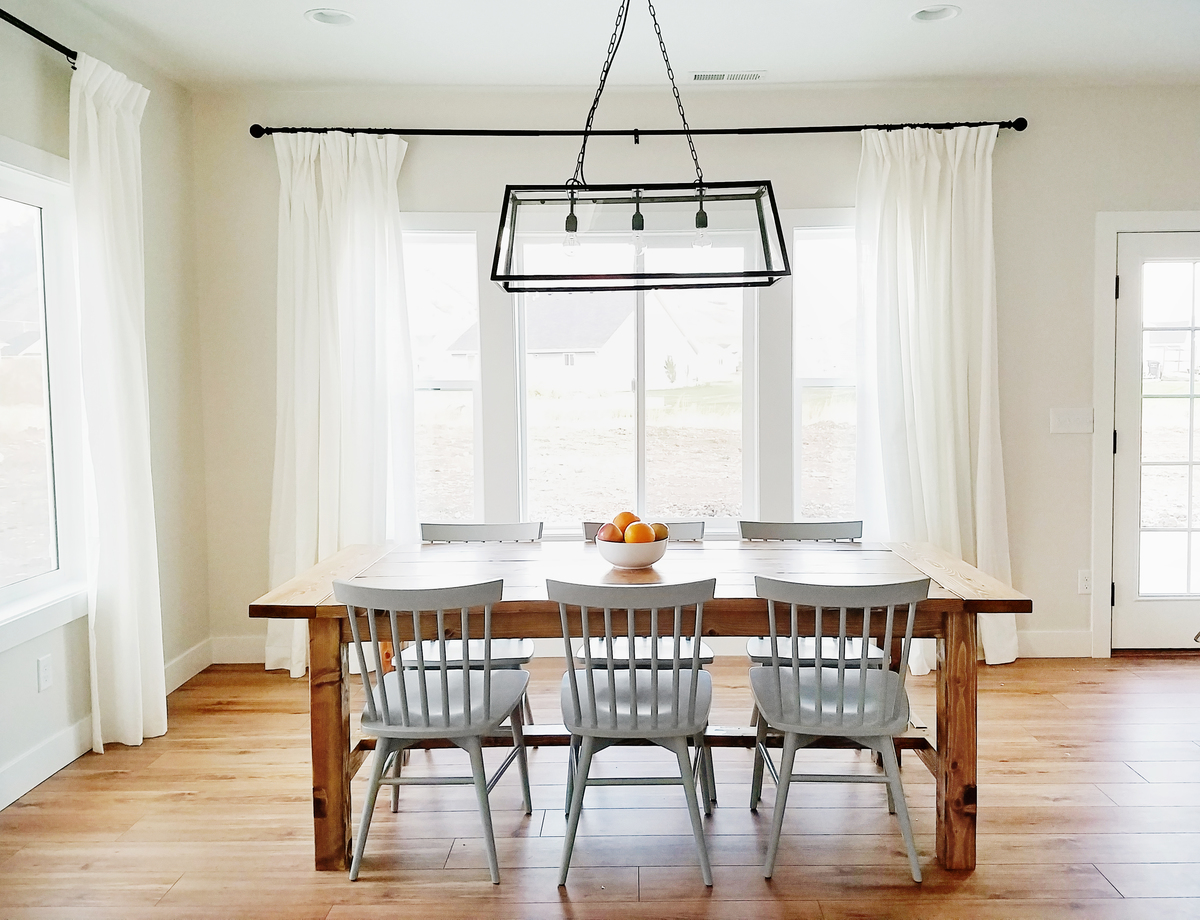
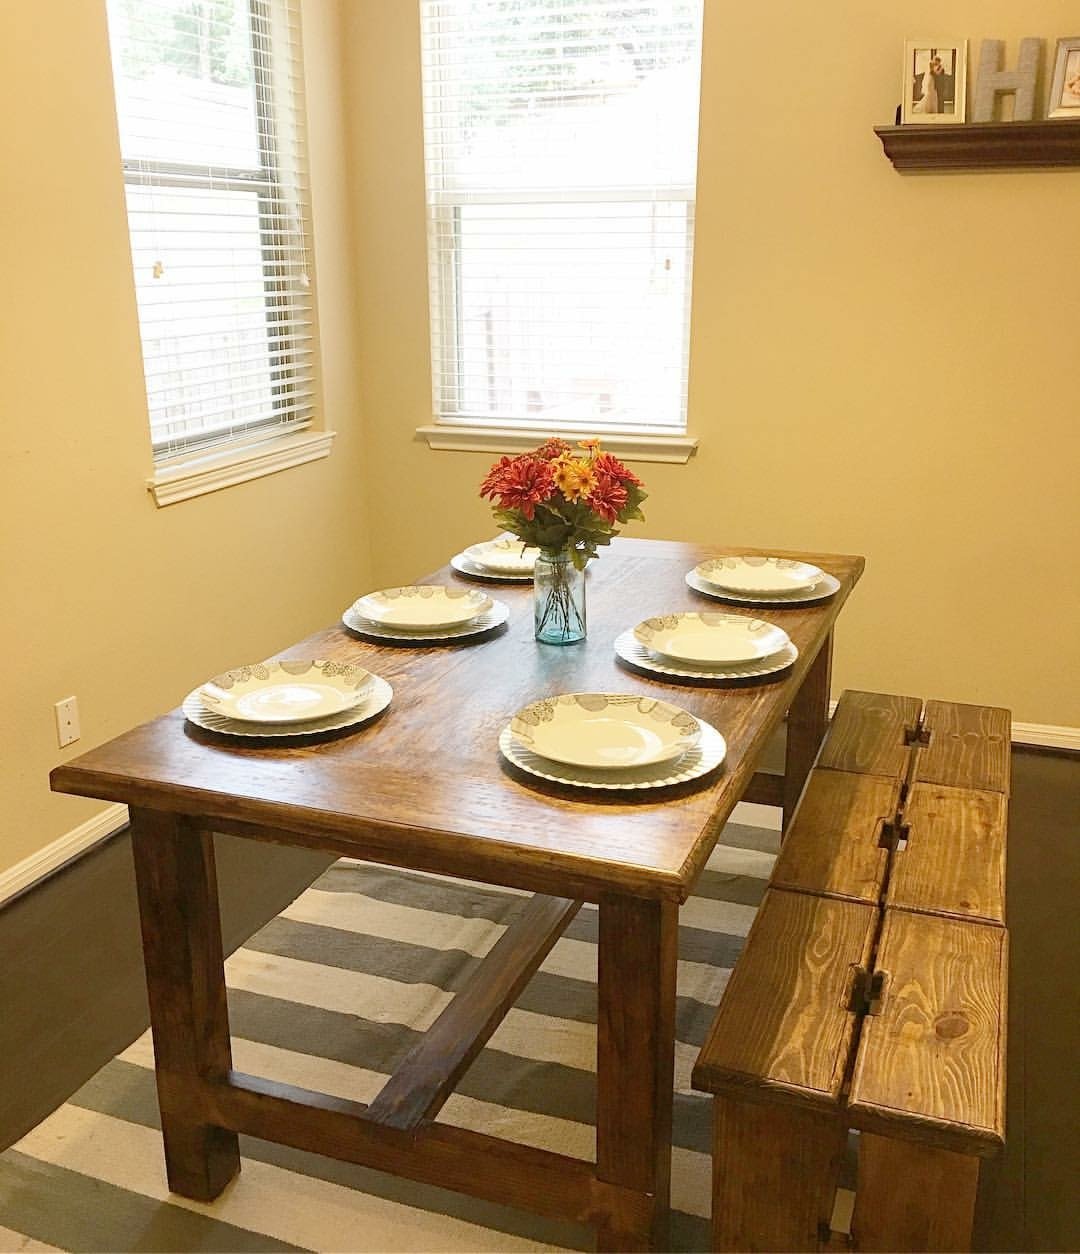
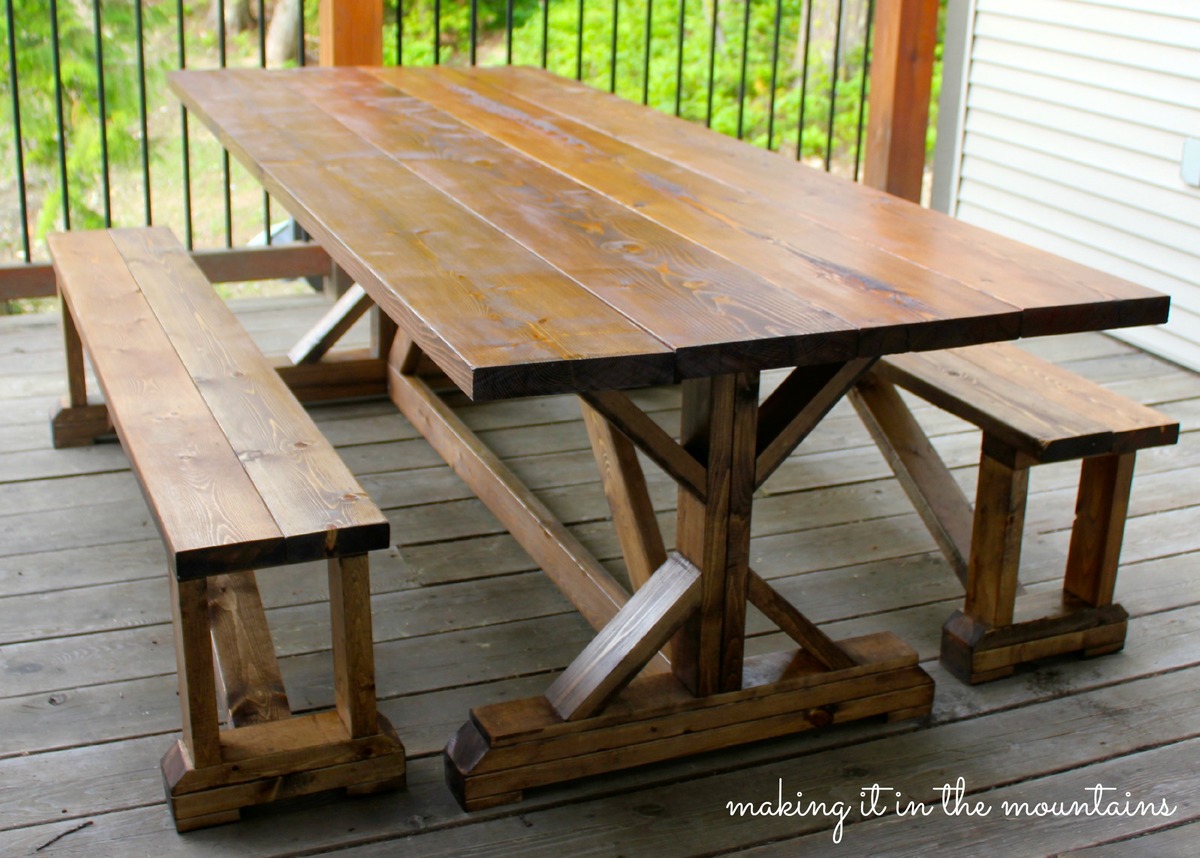
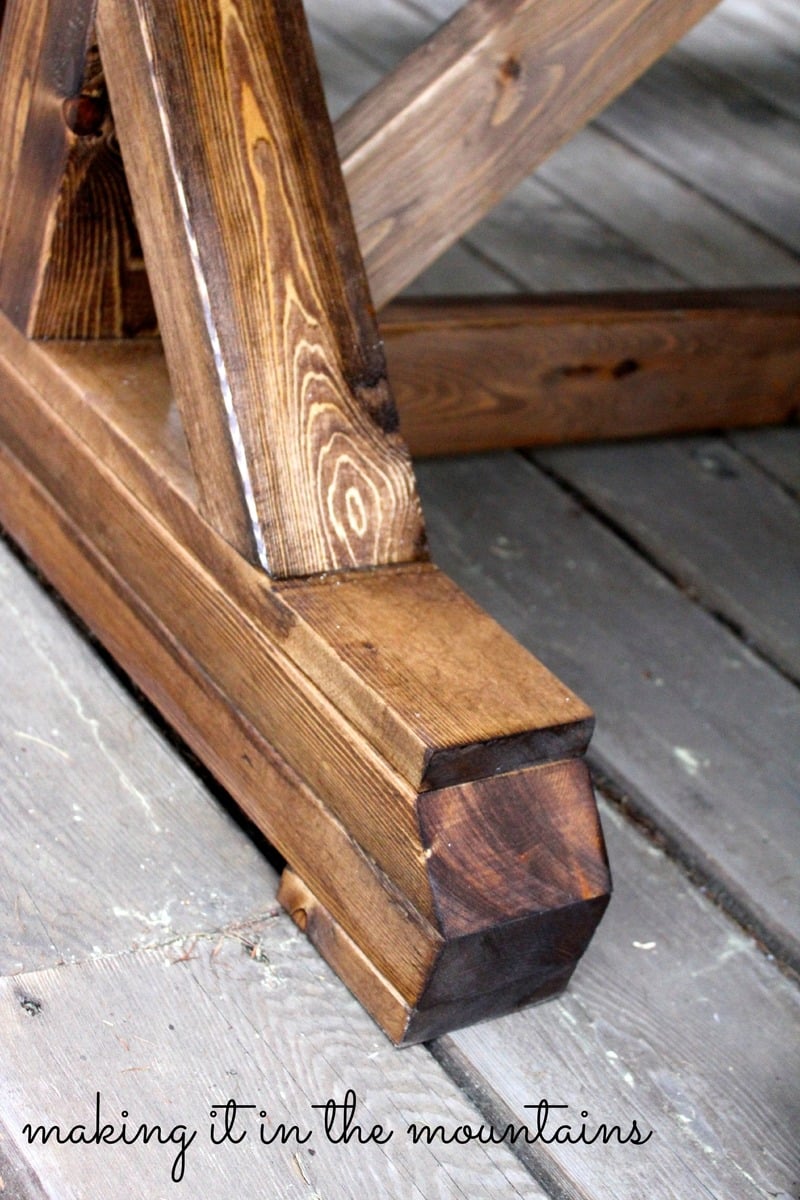
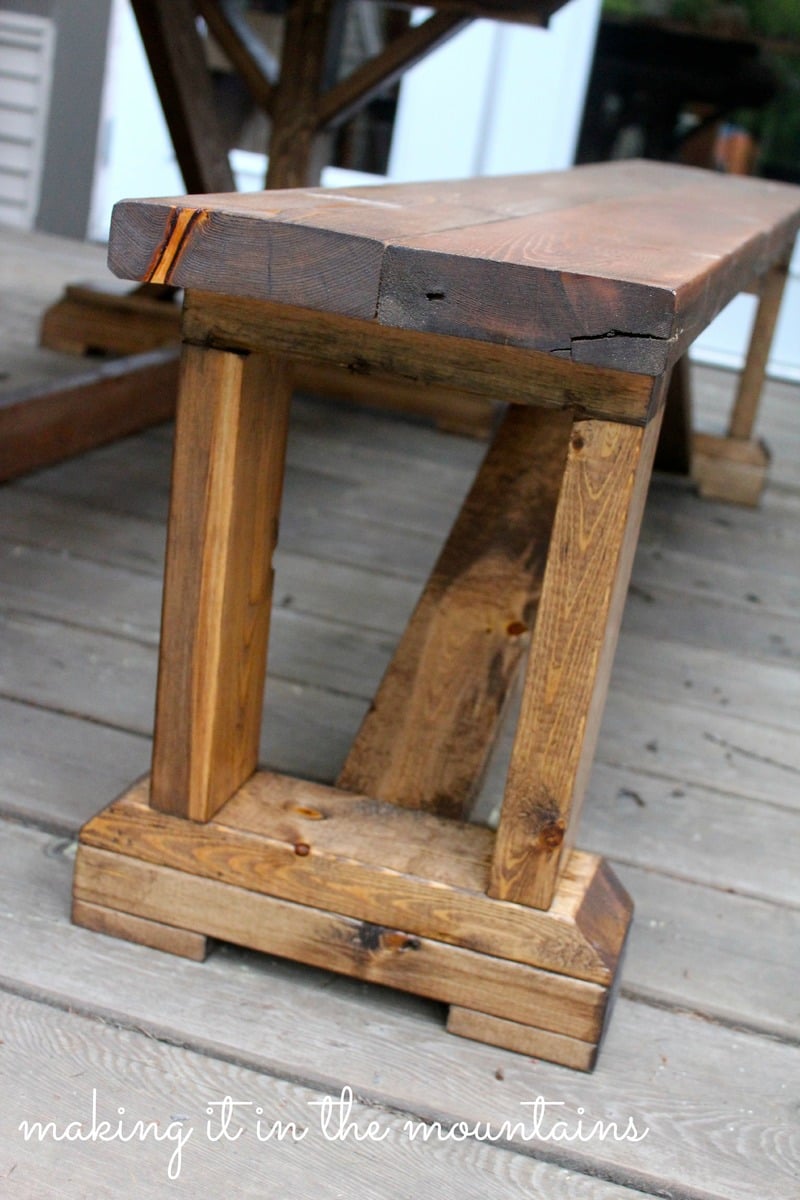
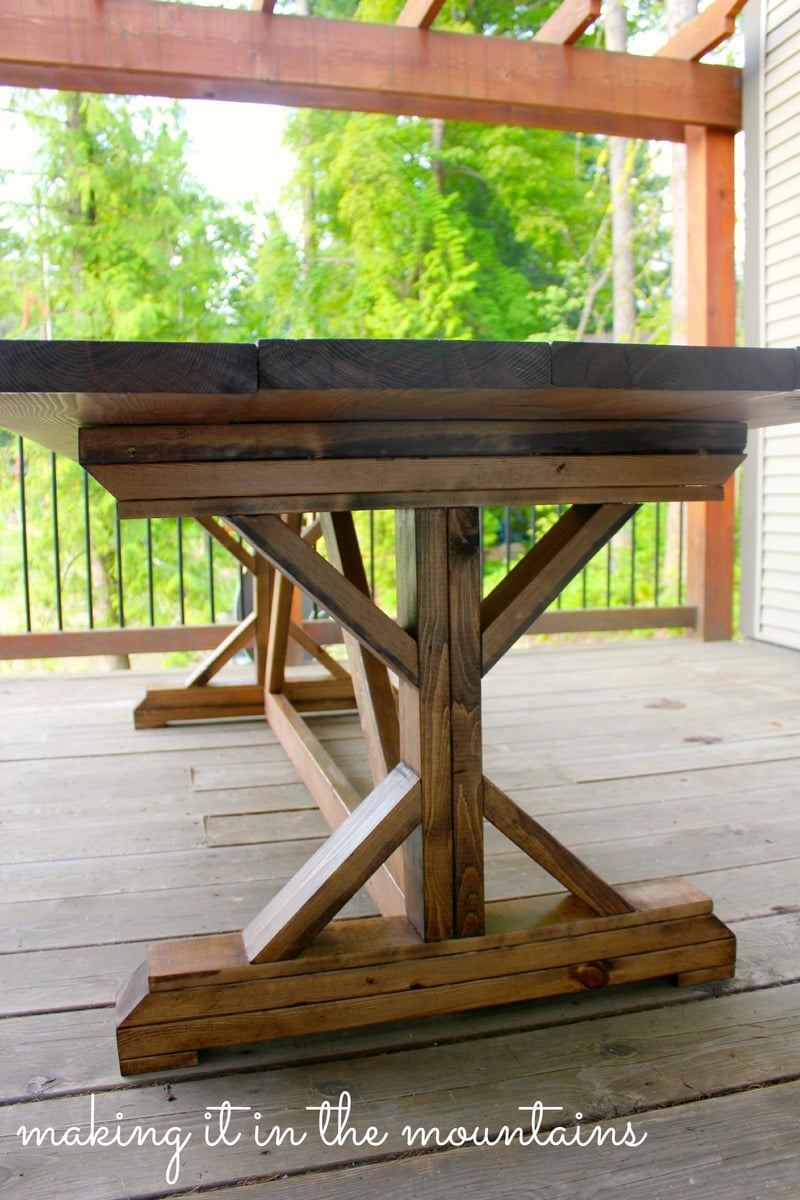
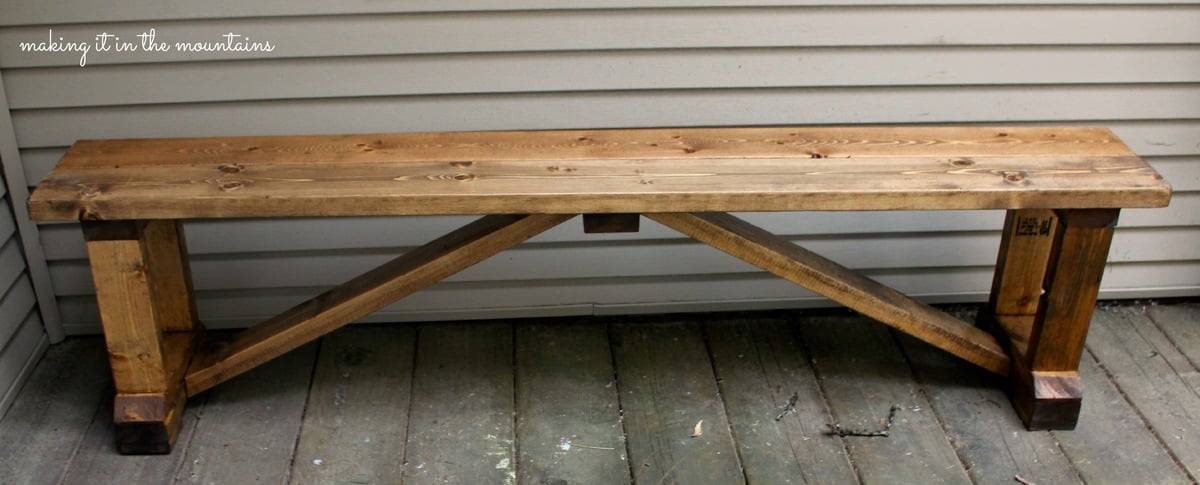
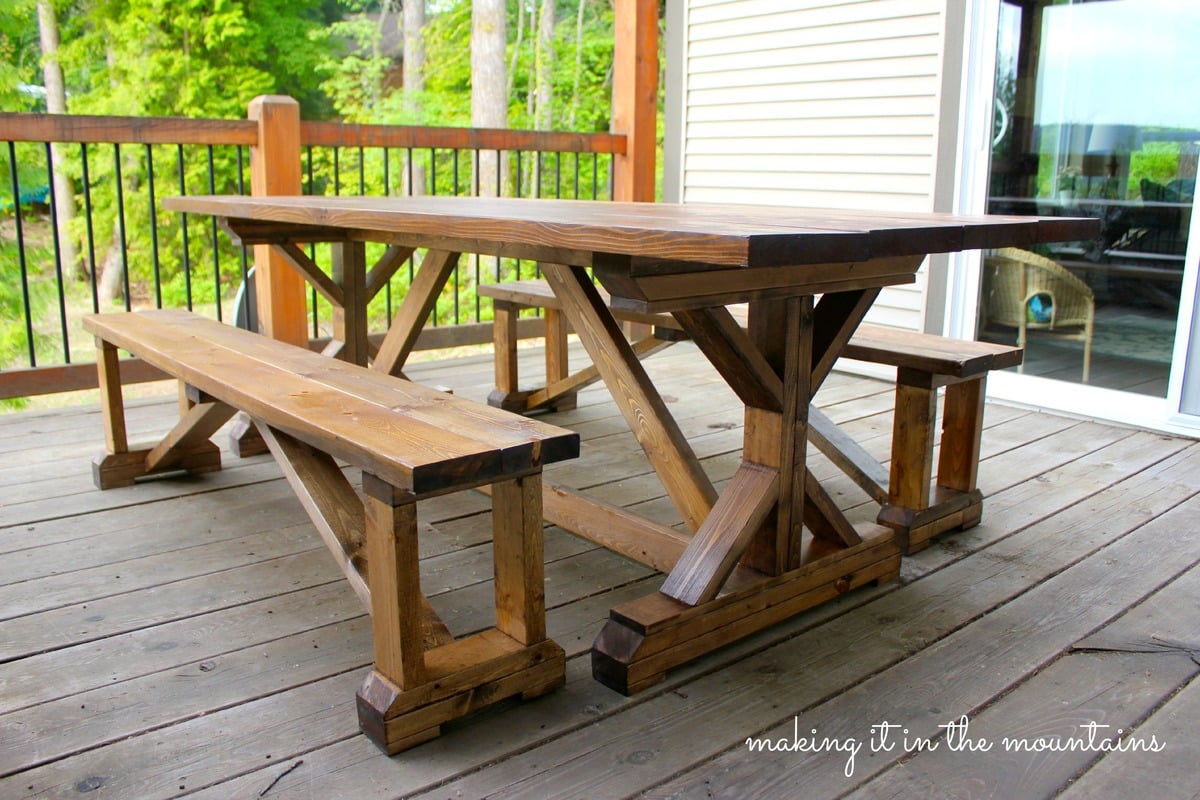
We love the look of farmhouse tables but we wanted to try building our own rather than spending over $1500 on one.
We saw this tutorial on pinterest and we decided to make it our first woodworking project, we love how it turned out!
Wed, 09/21/2016 - 20:22
You did a great job, can't believe it's a first project! What's next?:)

Thu, 09/22/2016 - 09:15
Truly amazing first project! Can't wait to see what's next for you guys! Ana
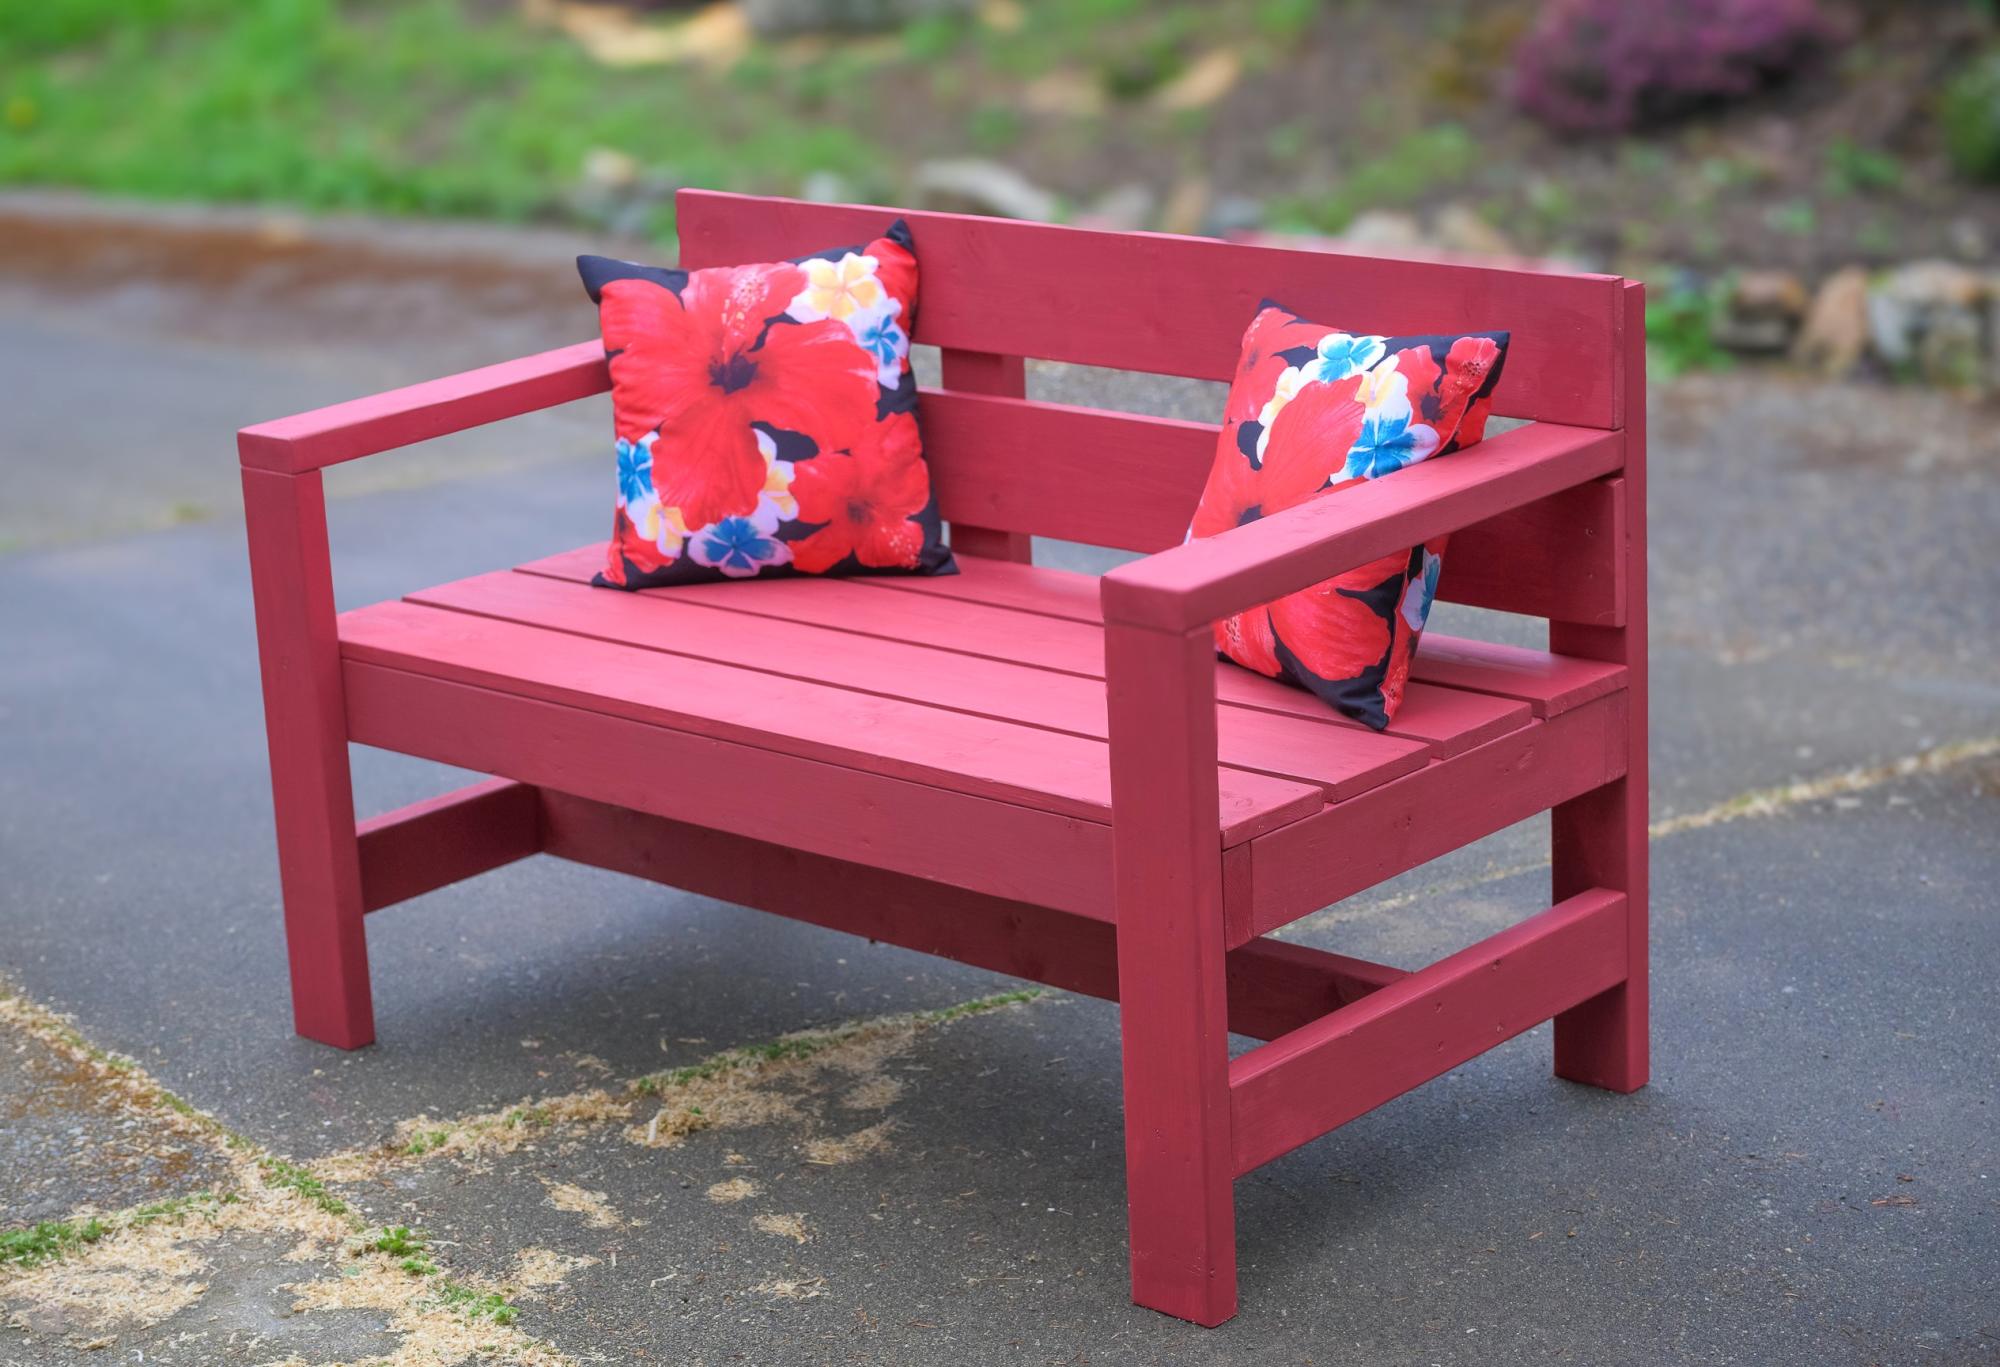
I am new to this. I used your plan but reduced the lenght by 24 to make a 2 seat Garden Bench. I used softwood and painted with this outdoor paint. Thanks for inspiration and plans. I am located in Victoria, British Columbia, Canada.
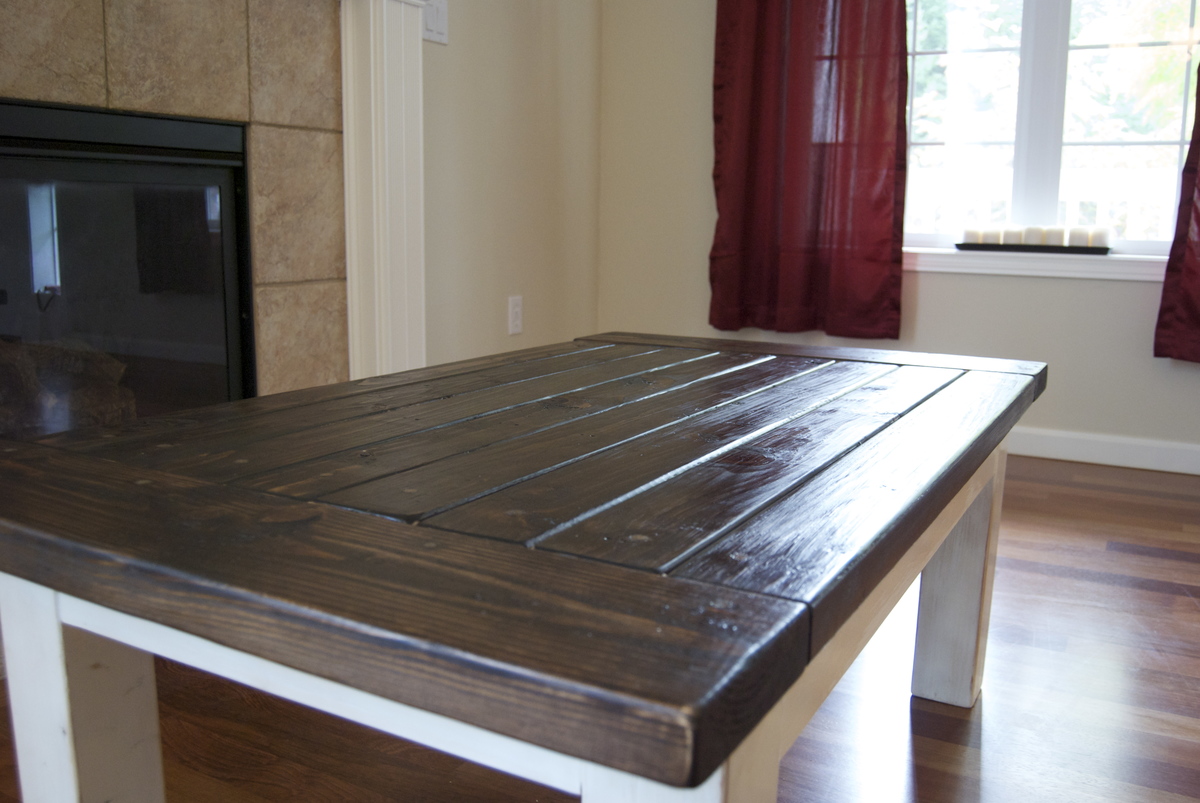
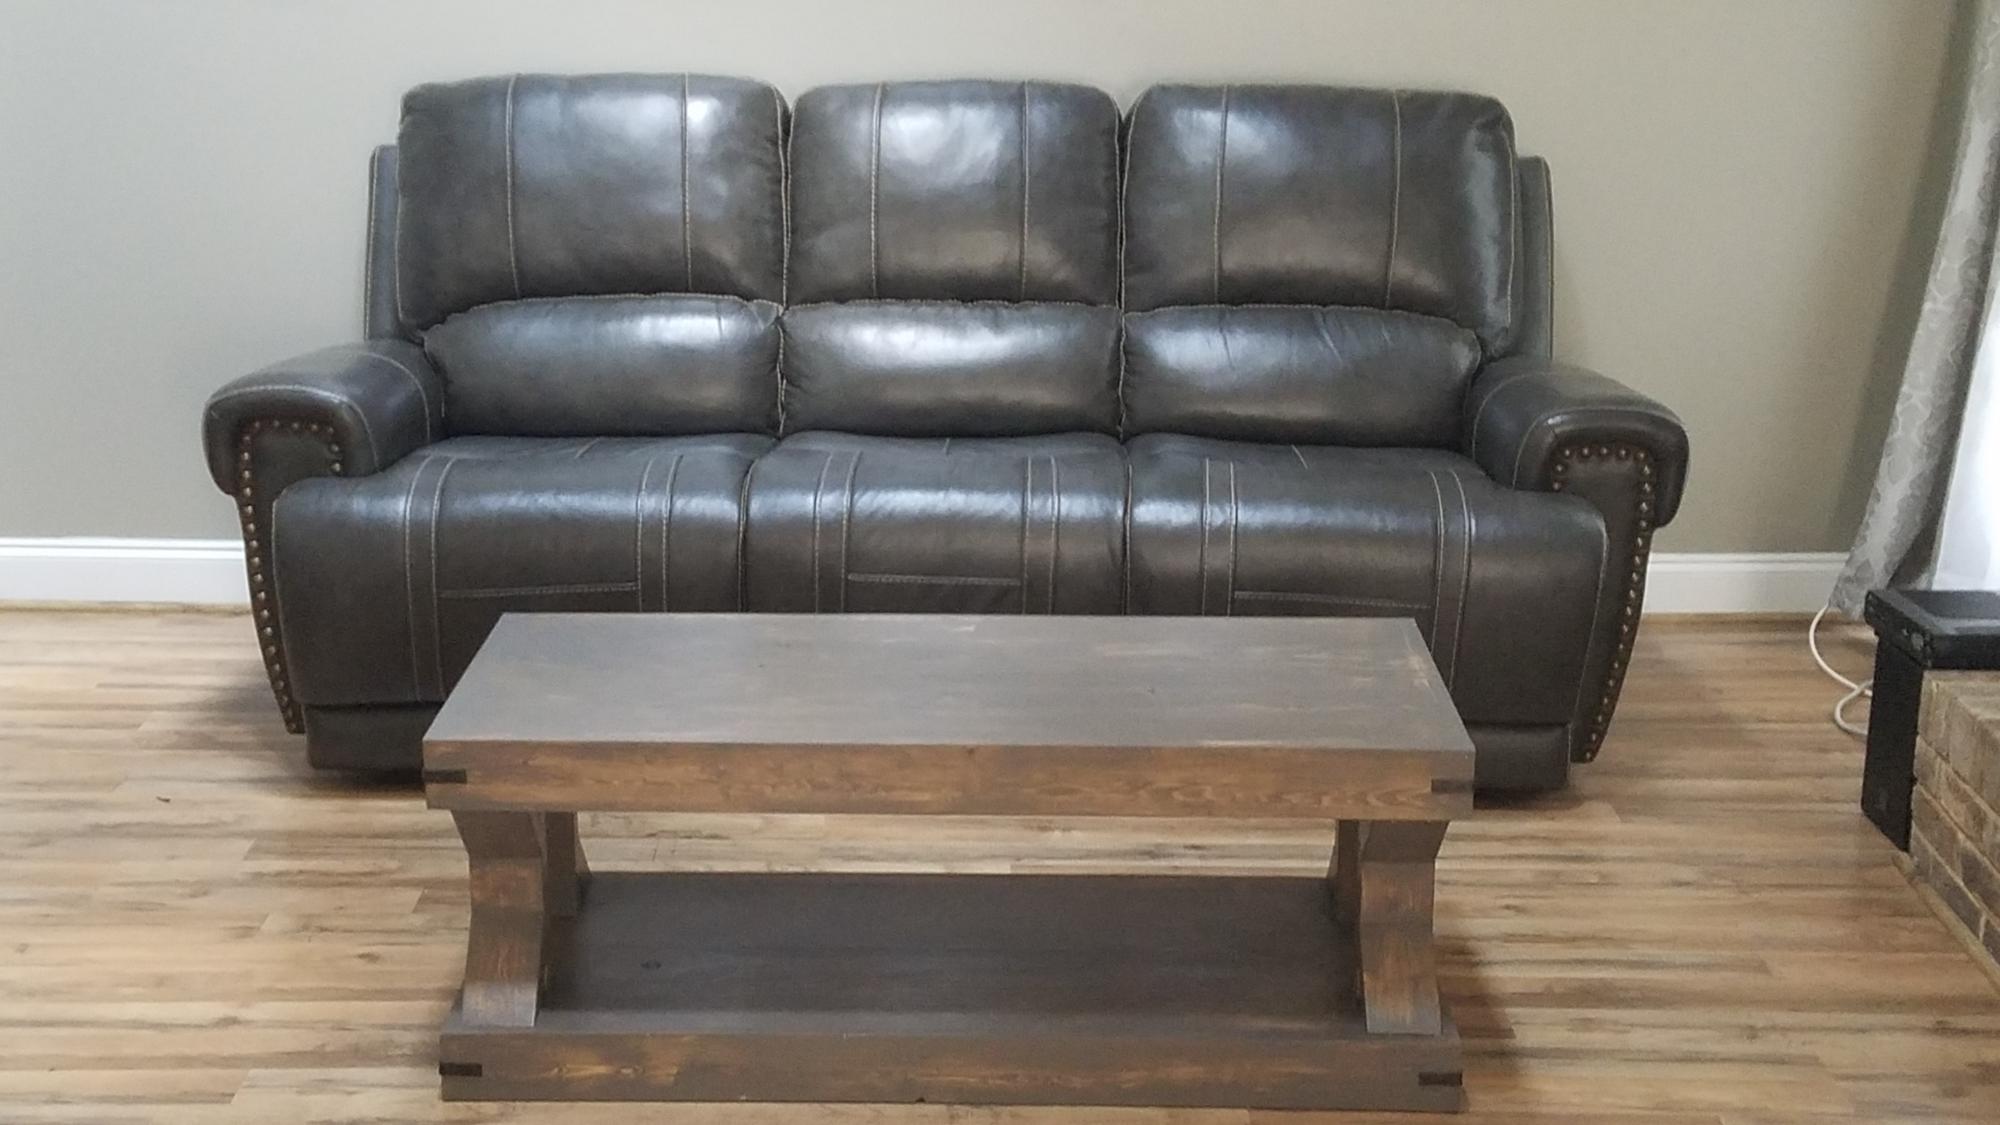
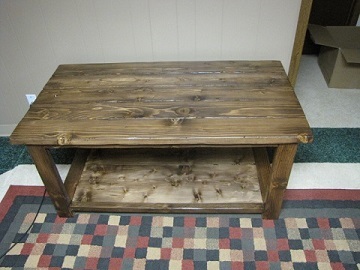
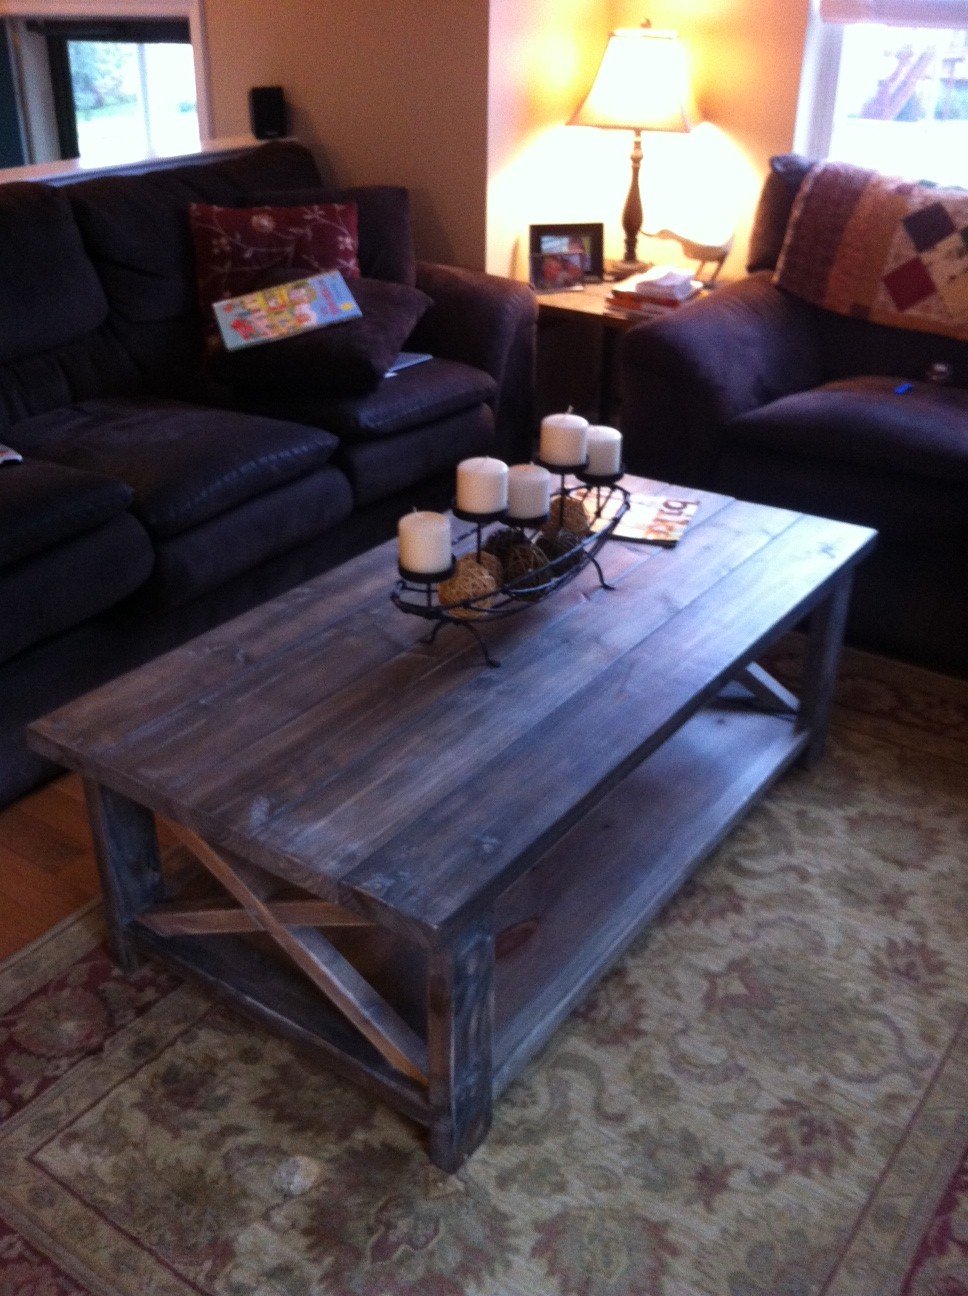
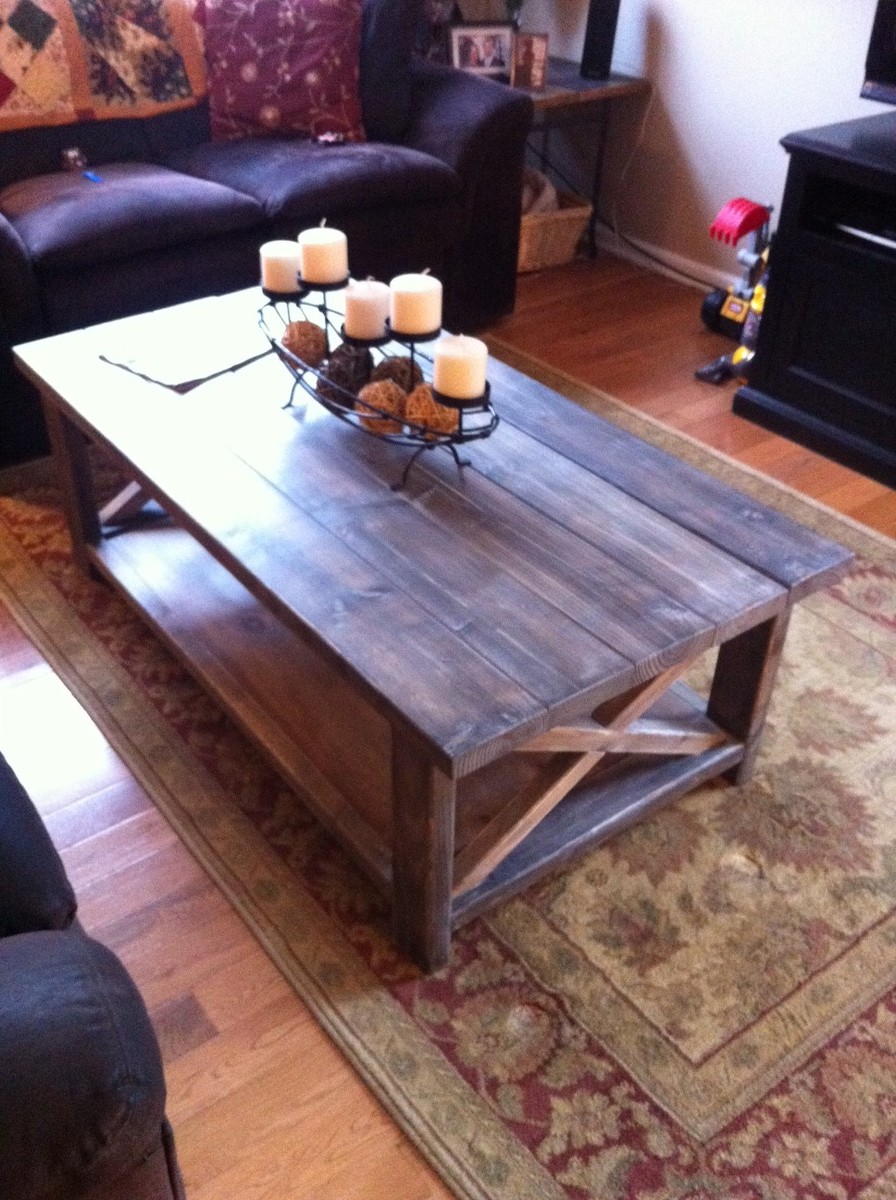
After the high of finishing my first build (http://ana-white.com/2012/08/farmhouse-table-rustic-table), I was quick to find my next fix. My mom was so impressed with the table, she trusted me to build her another piece of furniture for our very empty new home. She liked the look of this coffee table, so I adjusted the dimensions to meet her needs and away I went. It was pretty fun and not too difficult. It was a little more time consuming that I had anticipated, but that was mostly due to the two different finishes on the legs/apron and the top.
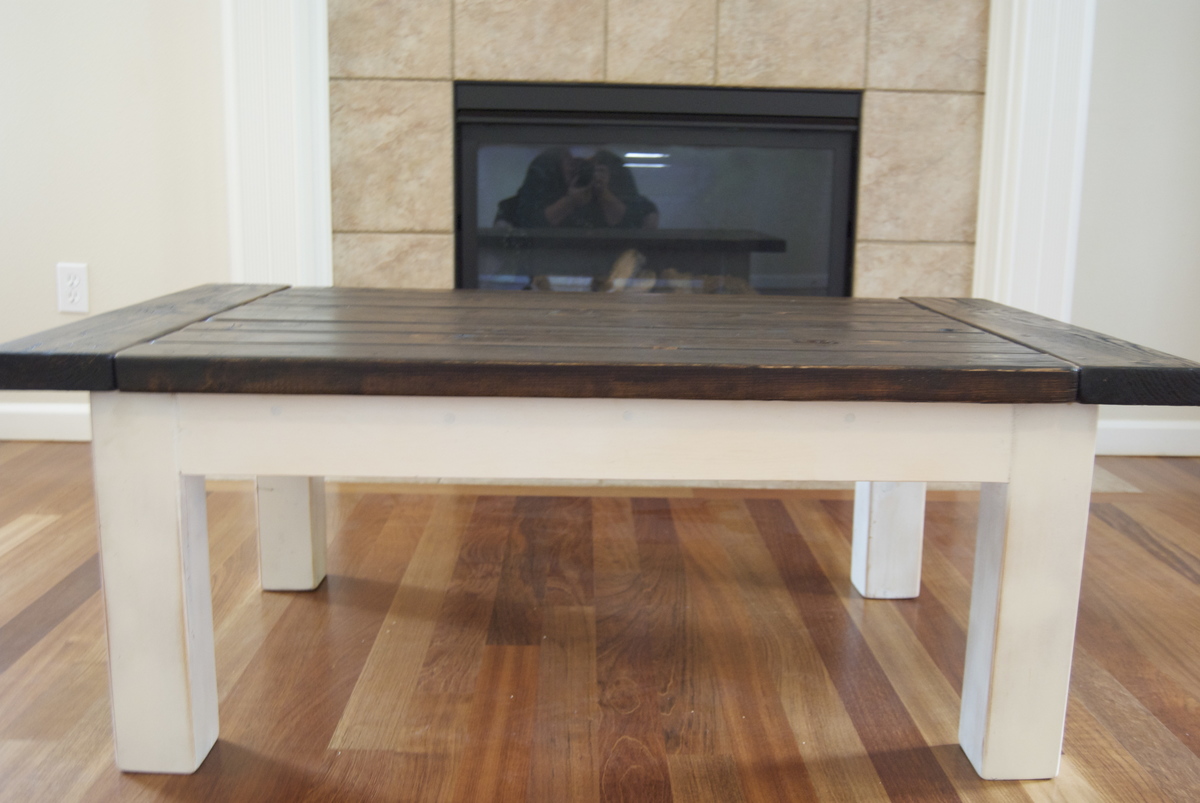
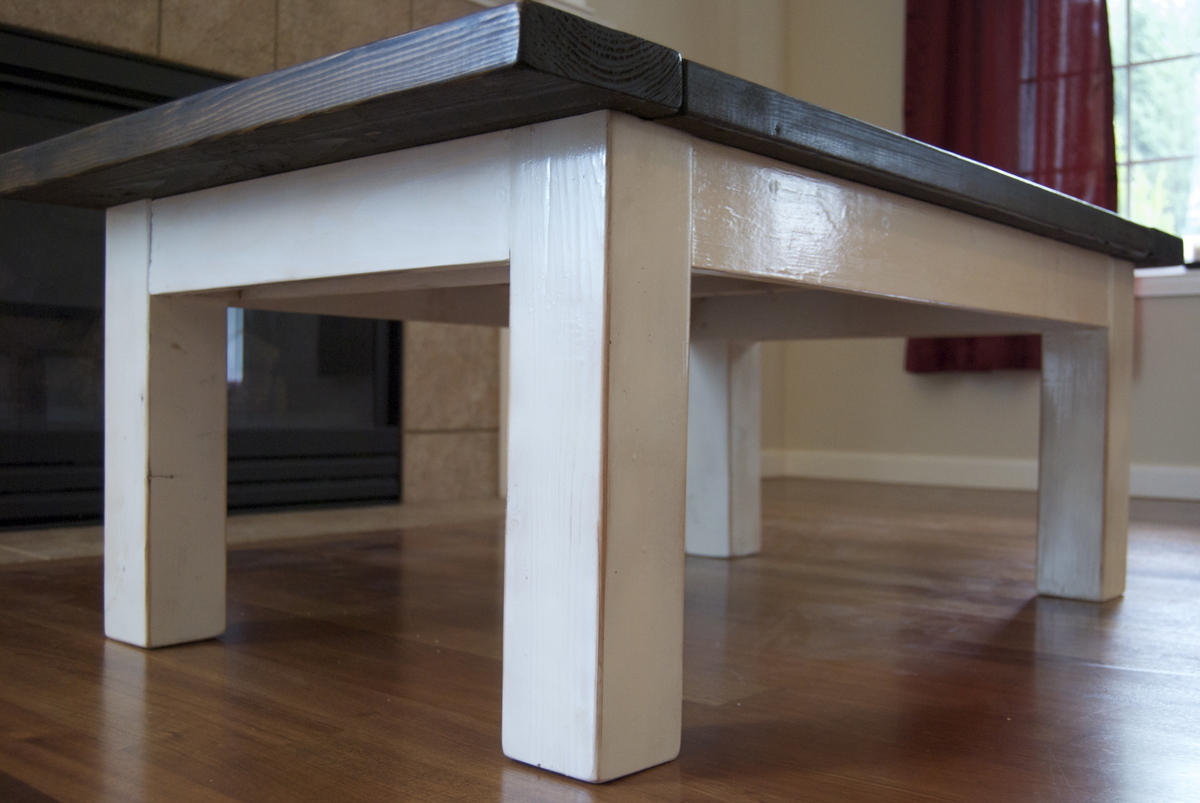
I cannot believe how easy and inexpensive it was to get the Pottery Barn look for SO MUCH less!
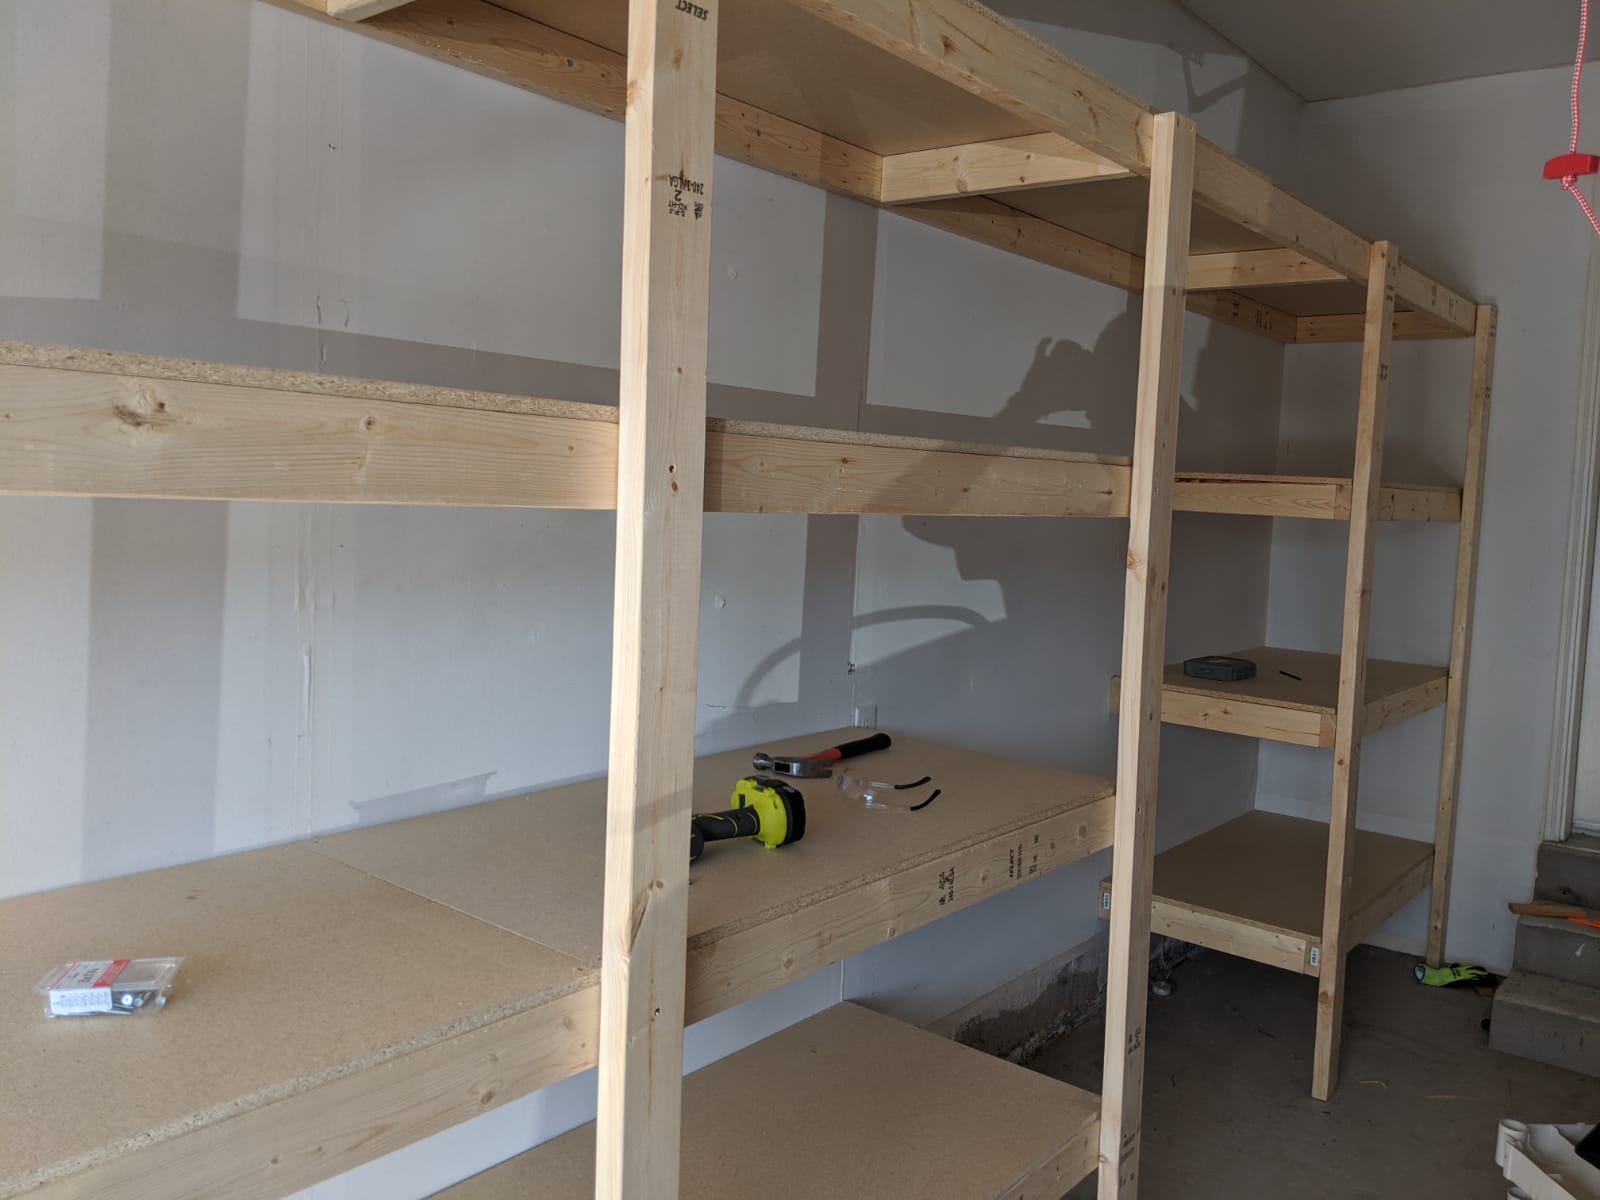
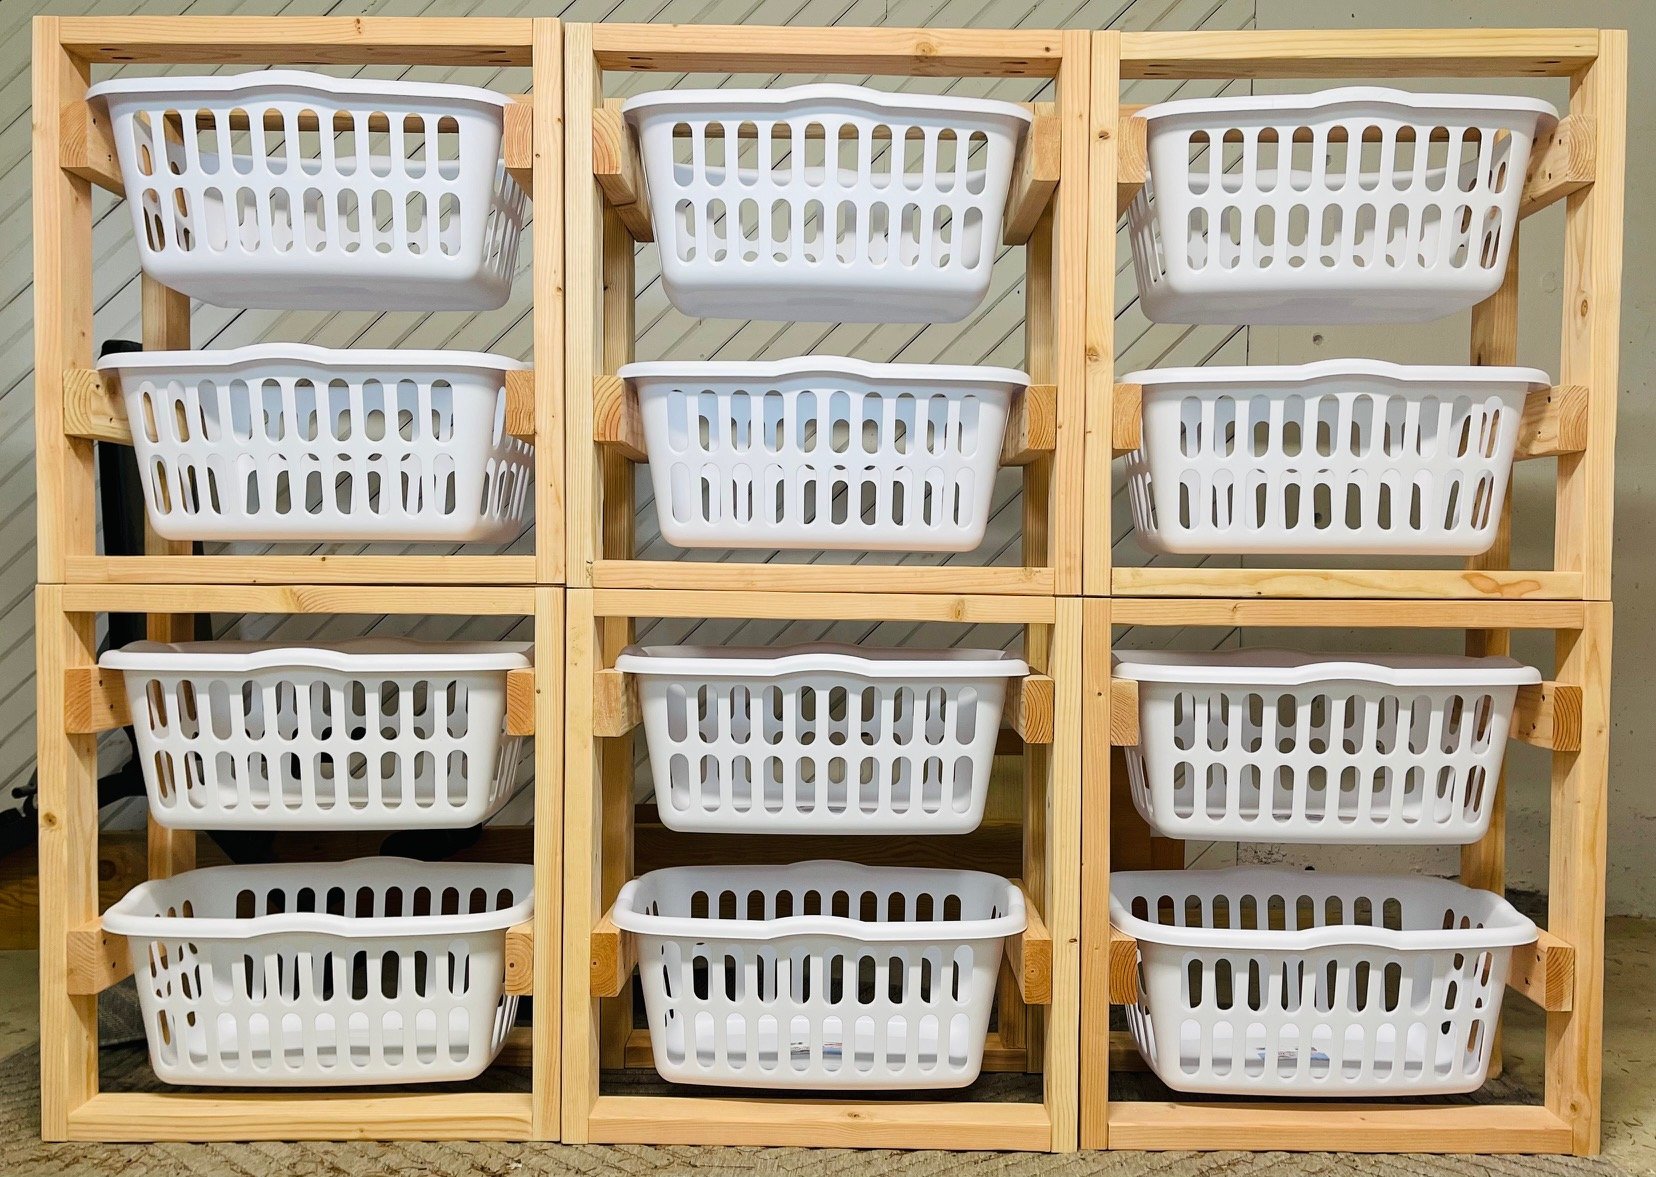
Garage Shelf inspired from Ana's Ryobi workshop design
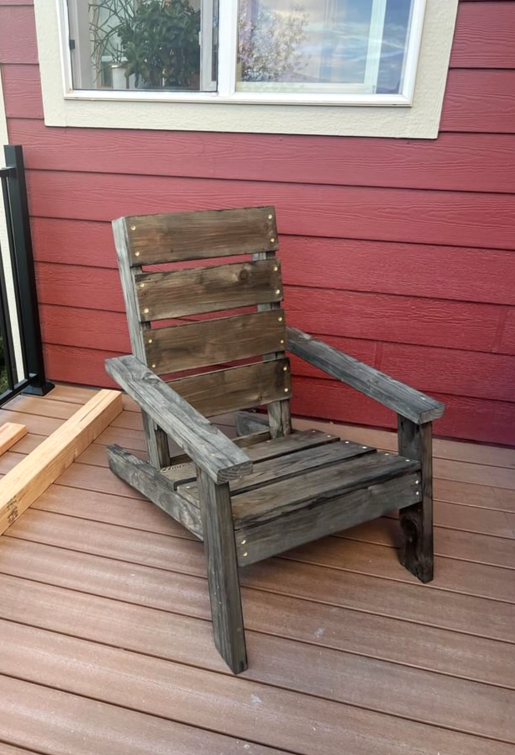
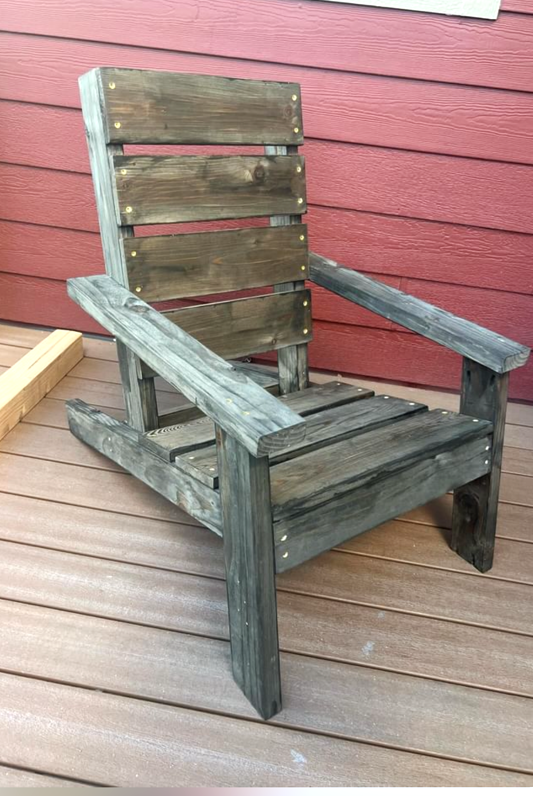
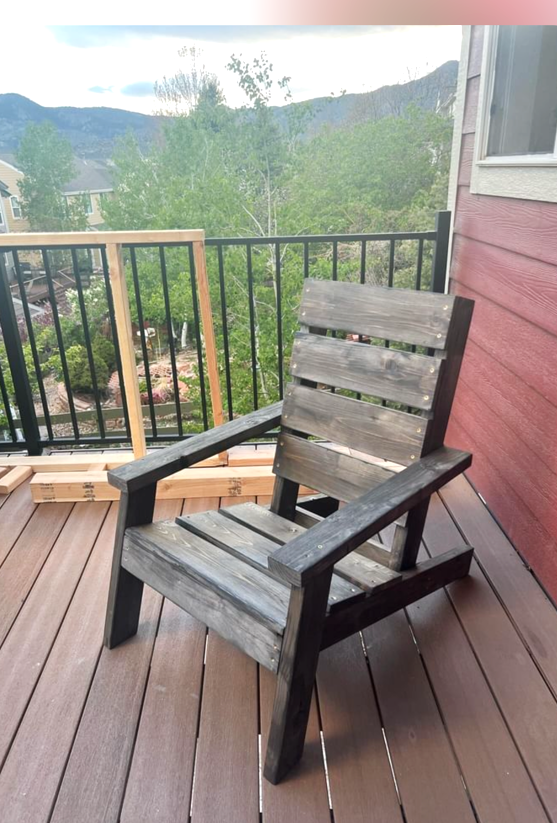
DIY Adirondack Chair
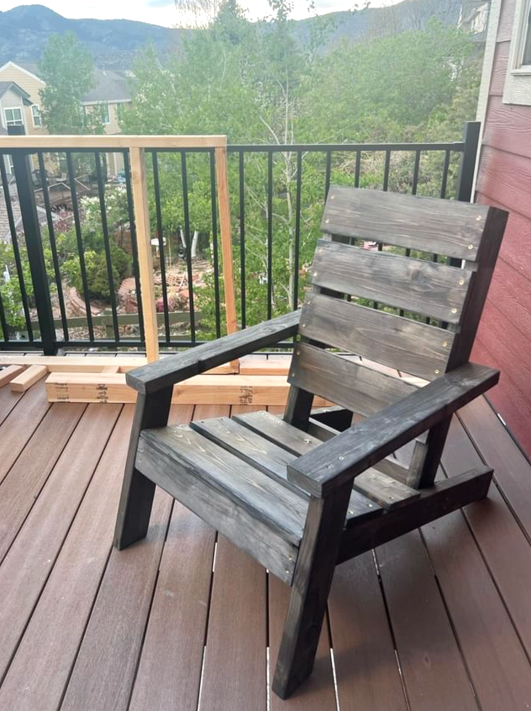
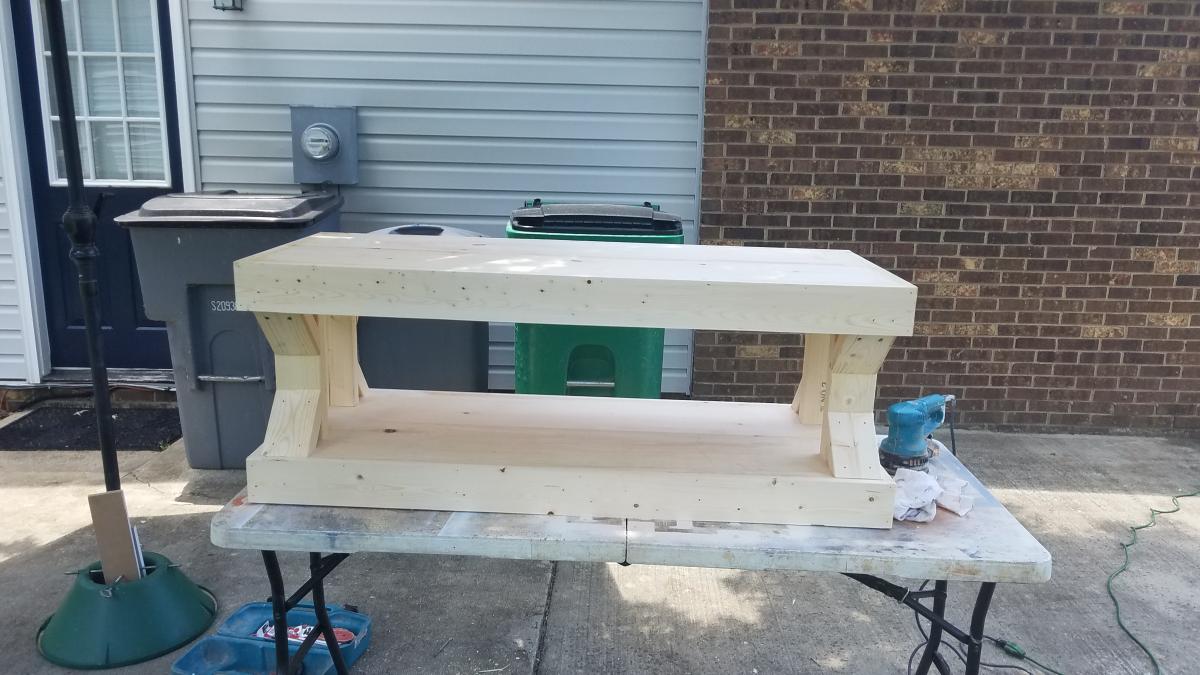
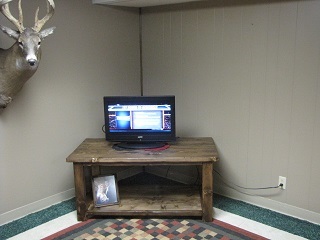
I modified the rustic x coffee table plans. I did not need a coffee table, but I loved the looks of this plan. I actually needed a TV stand for our basement, so I made this instead. I kept all of the dimensions the same except I made it 4" taller. I also took out the side "x's".
I used regular pine boards from Lowes. I bought a Kreg Jig, Kreg clamp and screws to get started, so my initial cost was pretty high just gathering all my supplies, as this was my first build.I wanted a rustic, worn look, so I chipped the wood, made fake cracks, etc.
I used Minwax Walnut Gel stain, and then went along the edges, over the cracks and knots with an Ebony stain. 2 coats of satin poly.
Can't believe how well it turned out. Next project is going to be the matching end table. Don't laugh at the size of the tv, it is all we have for the basement. We will be planning on getting an 55" for it and the kids to enjoy.
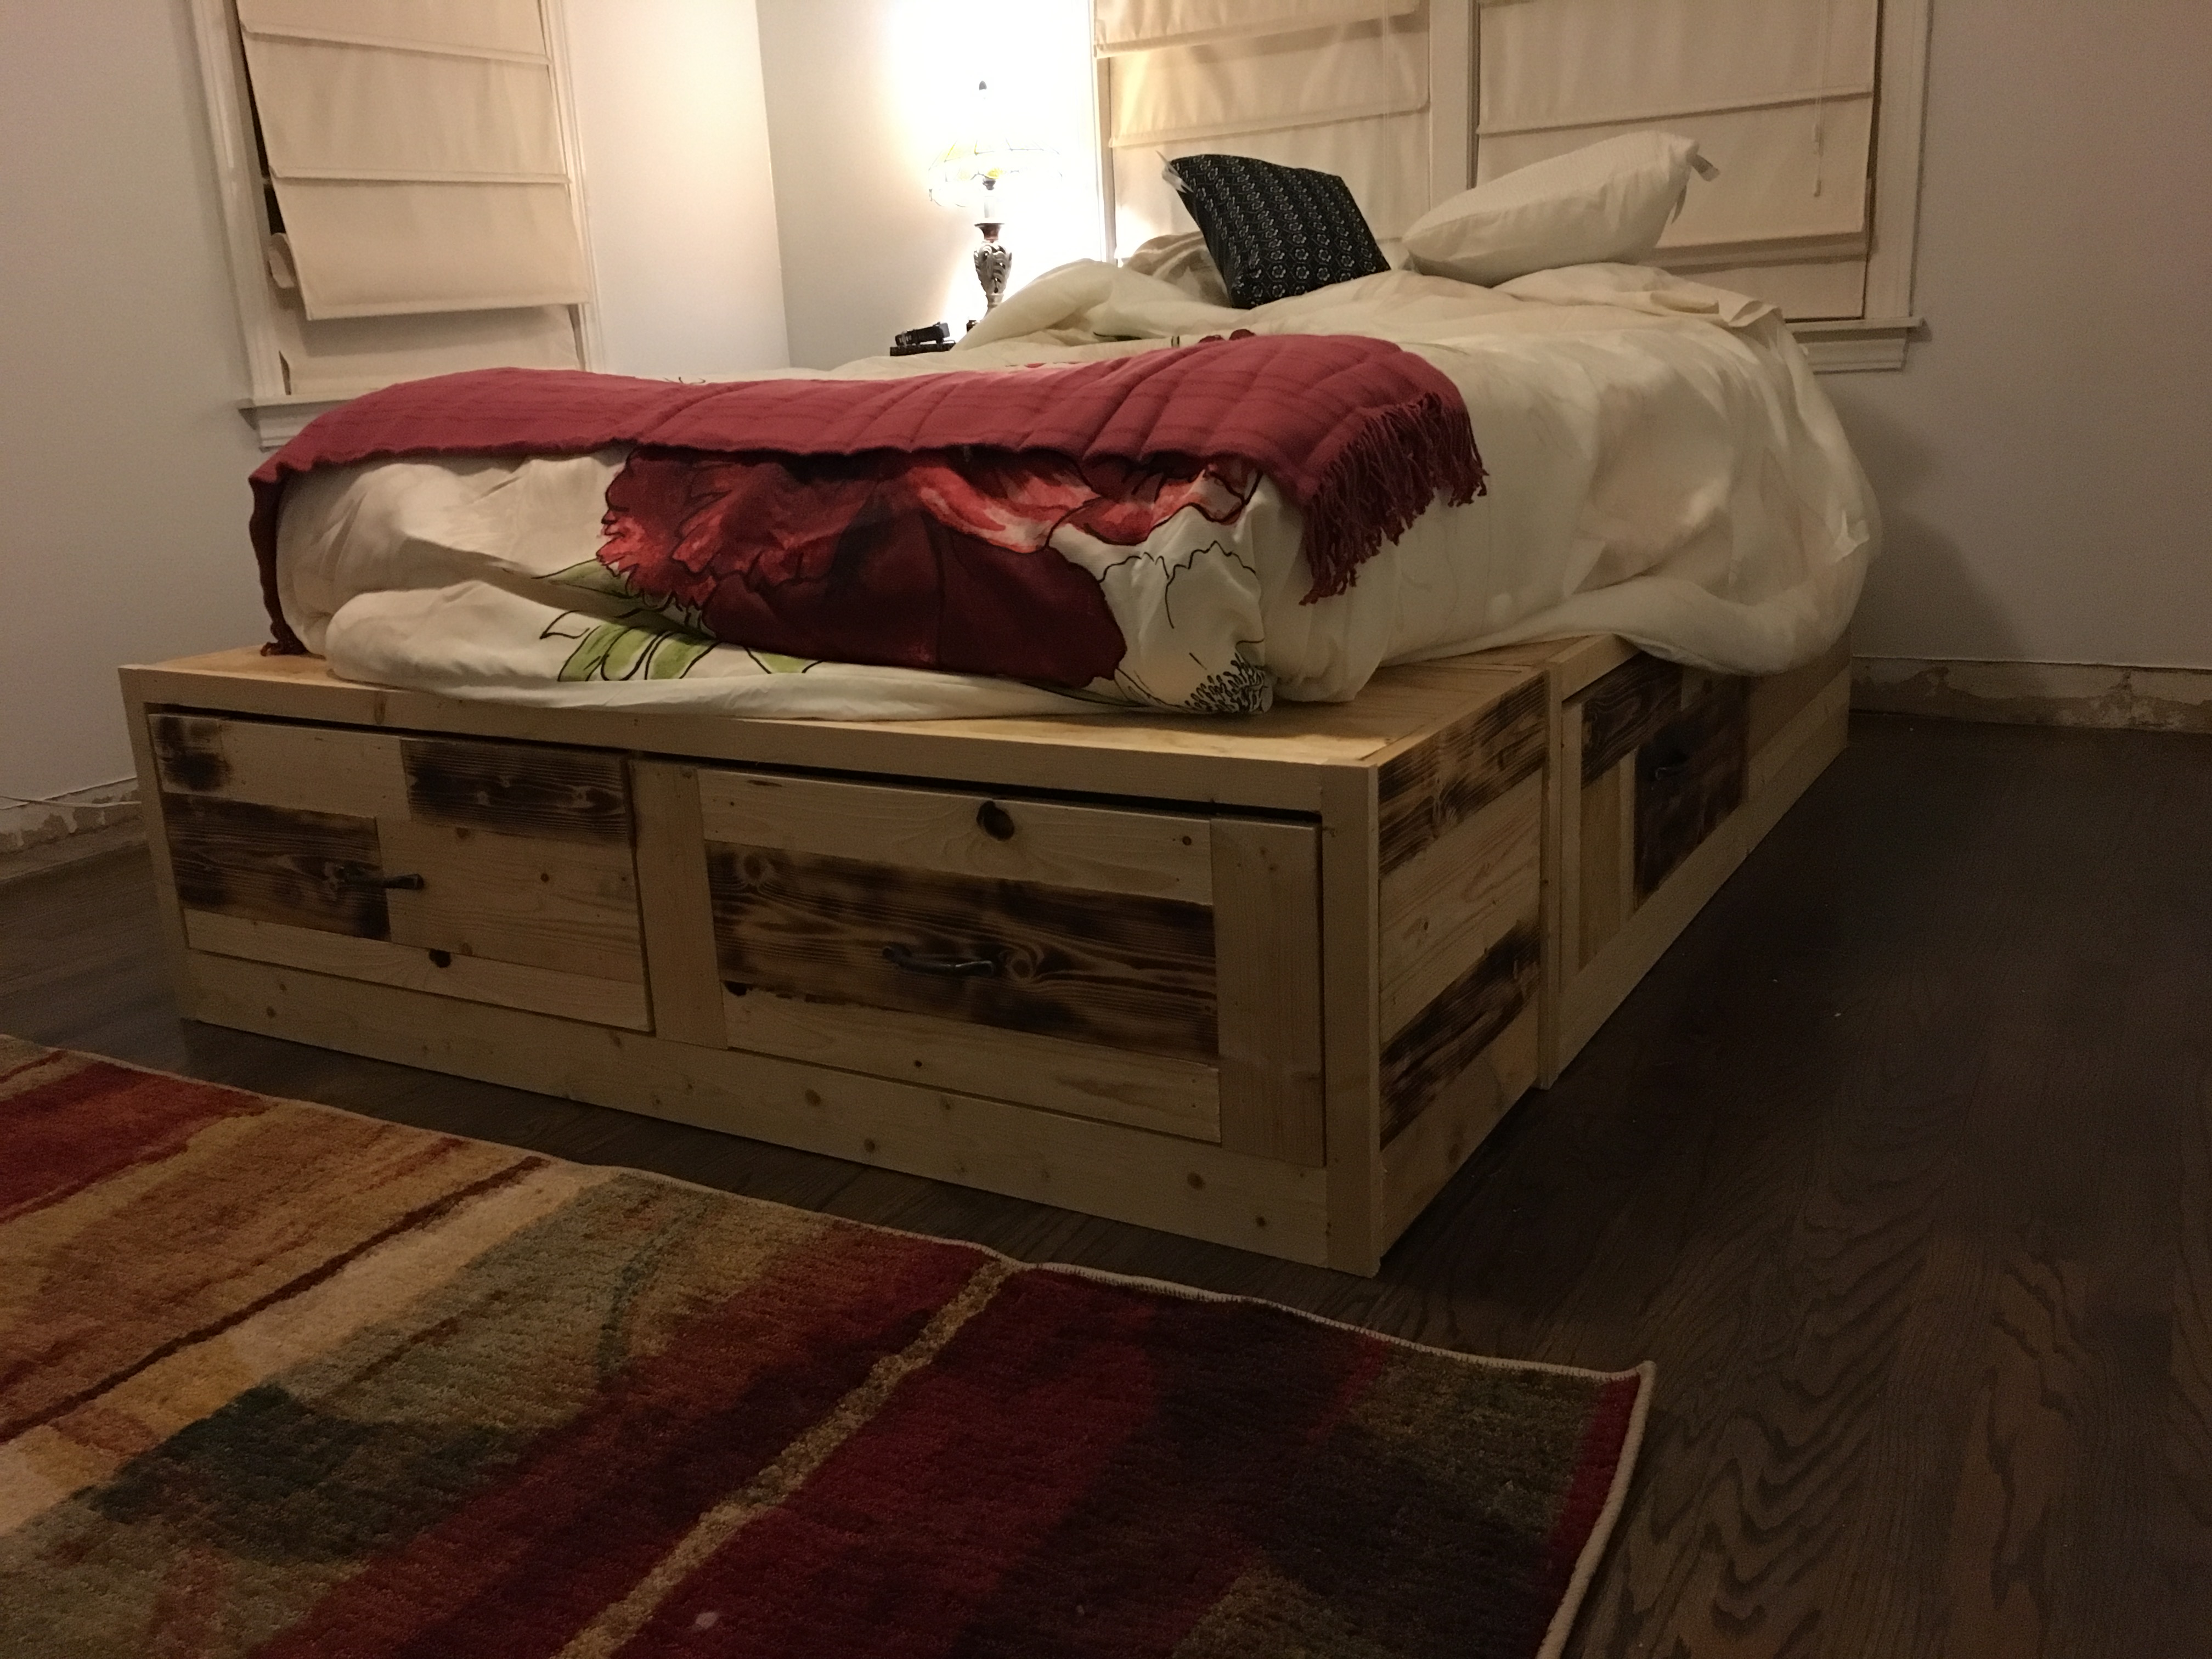
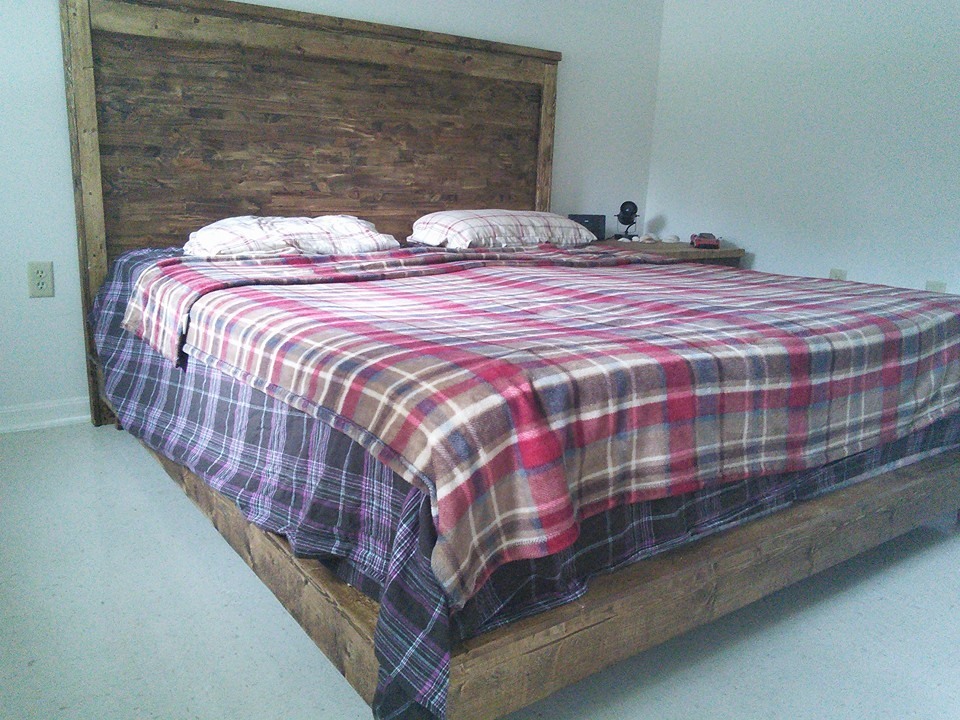
This bed is perfect for my small house. I used plywood for the drawers and made the 10" deep. I also burnt the wood paneling instead of using a dark stain. I'm so happy with how it turned out!
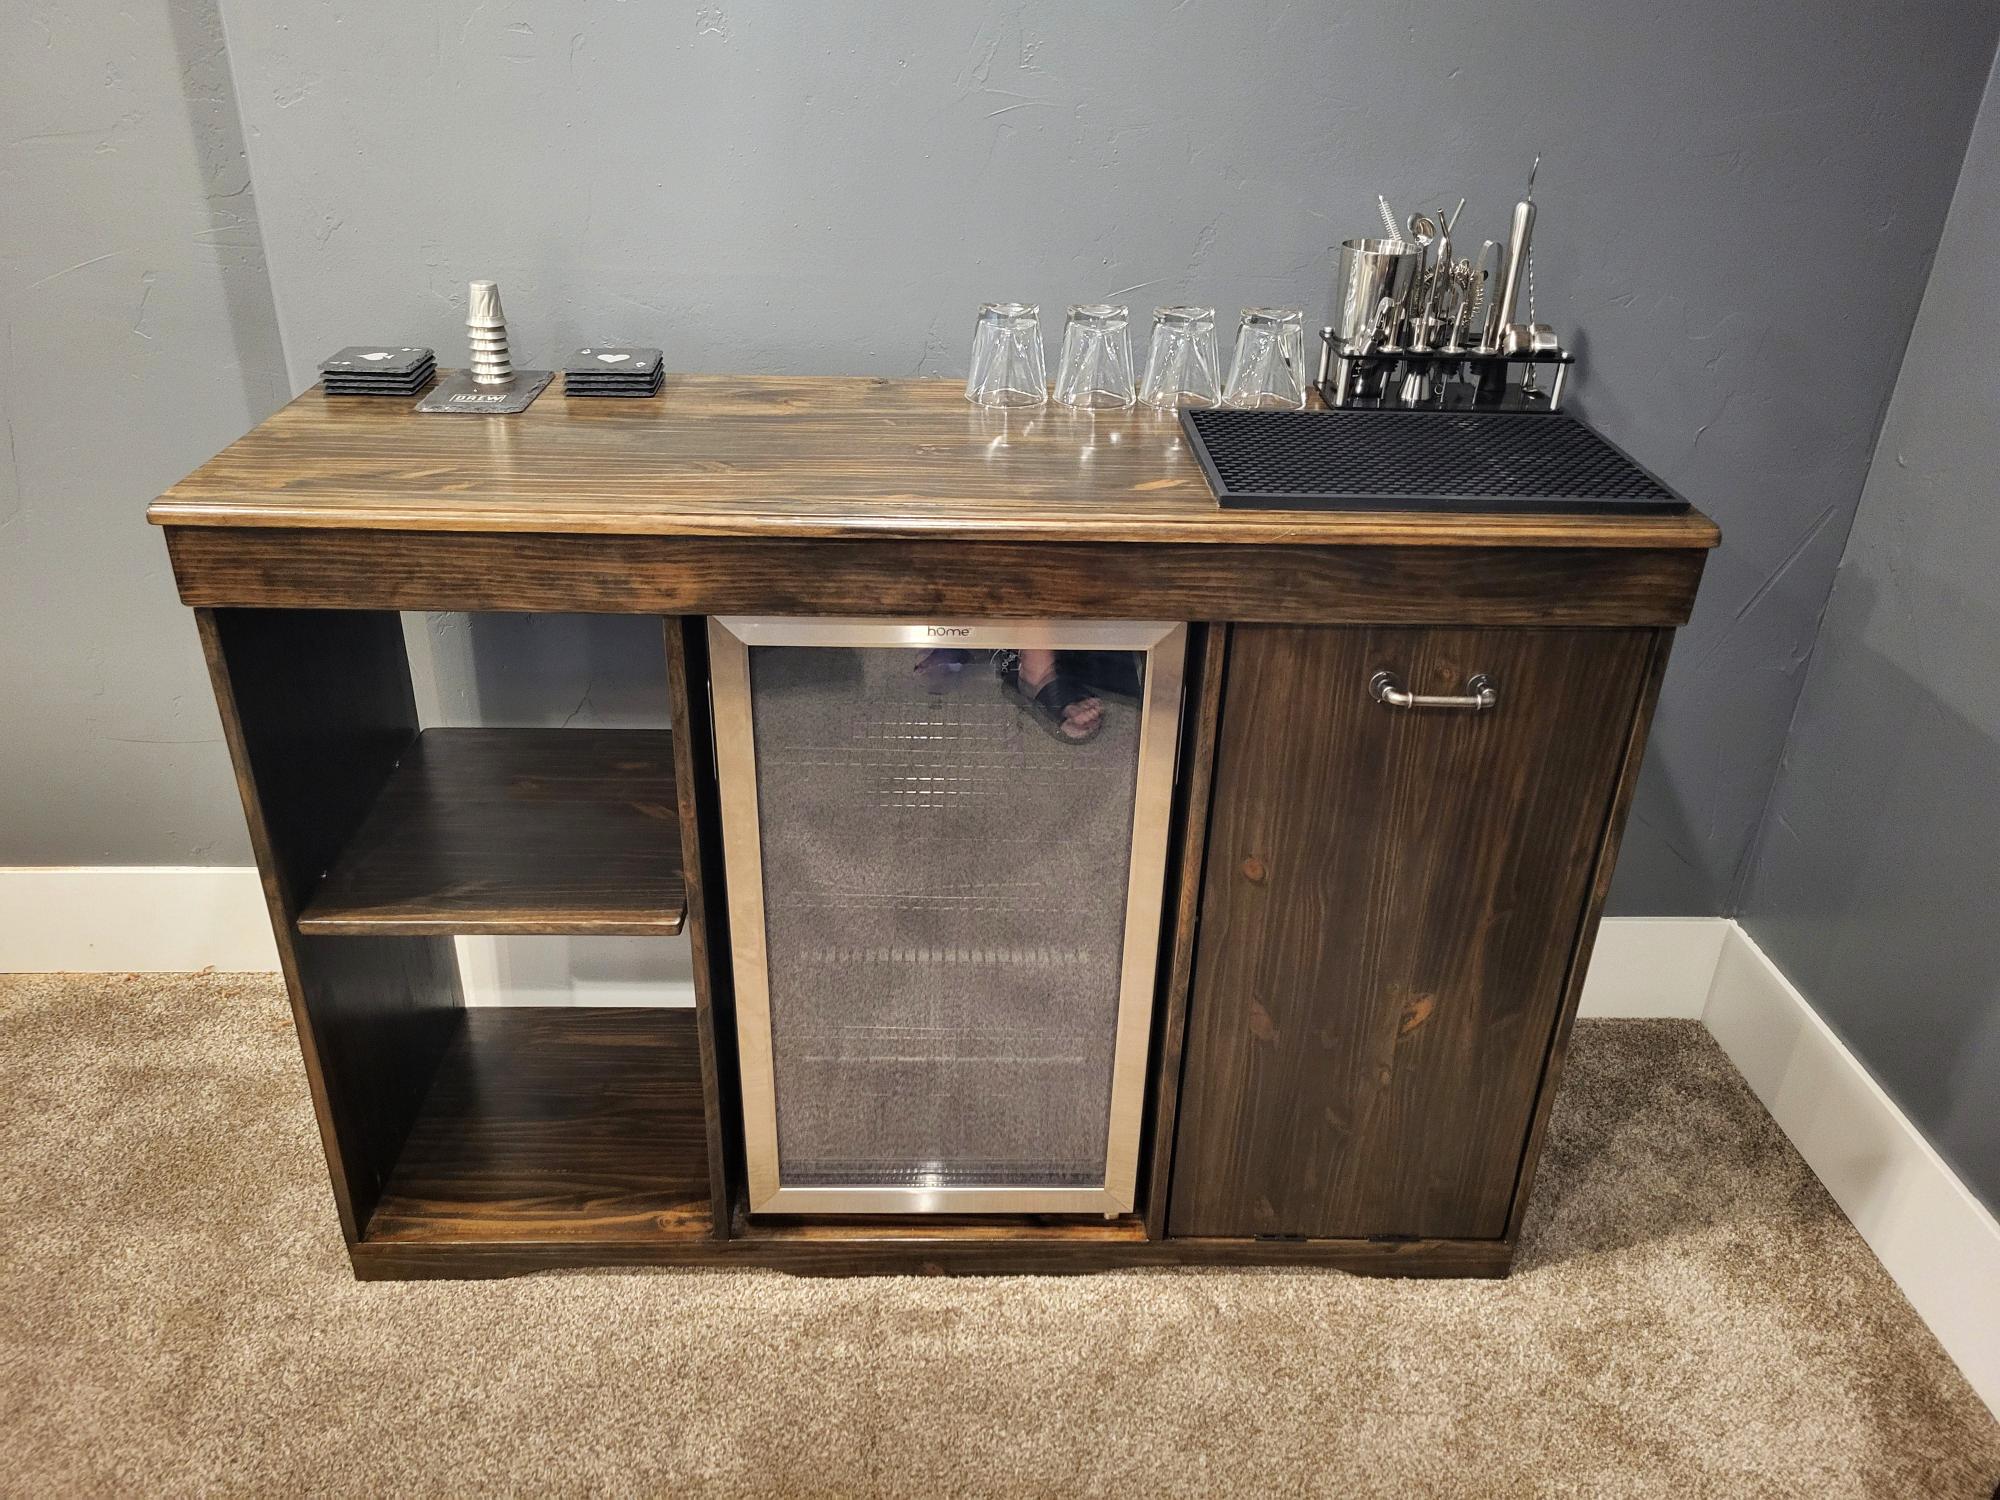
Waste tilt out, wine fridge, and storage shelf.
Drewsmith1549
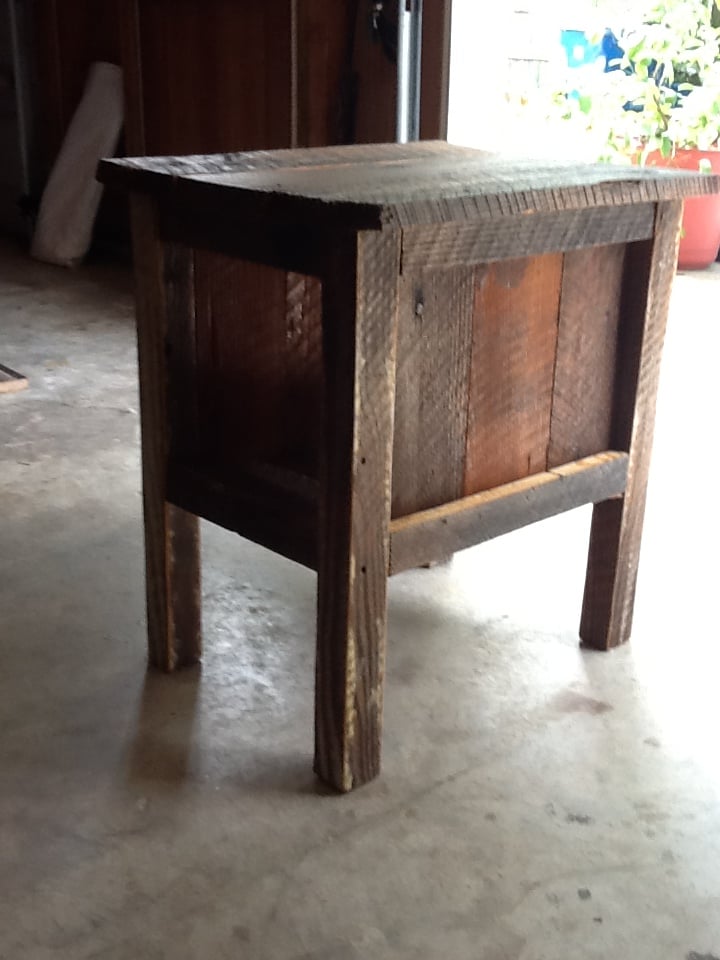
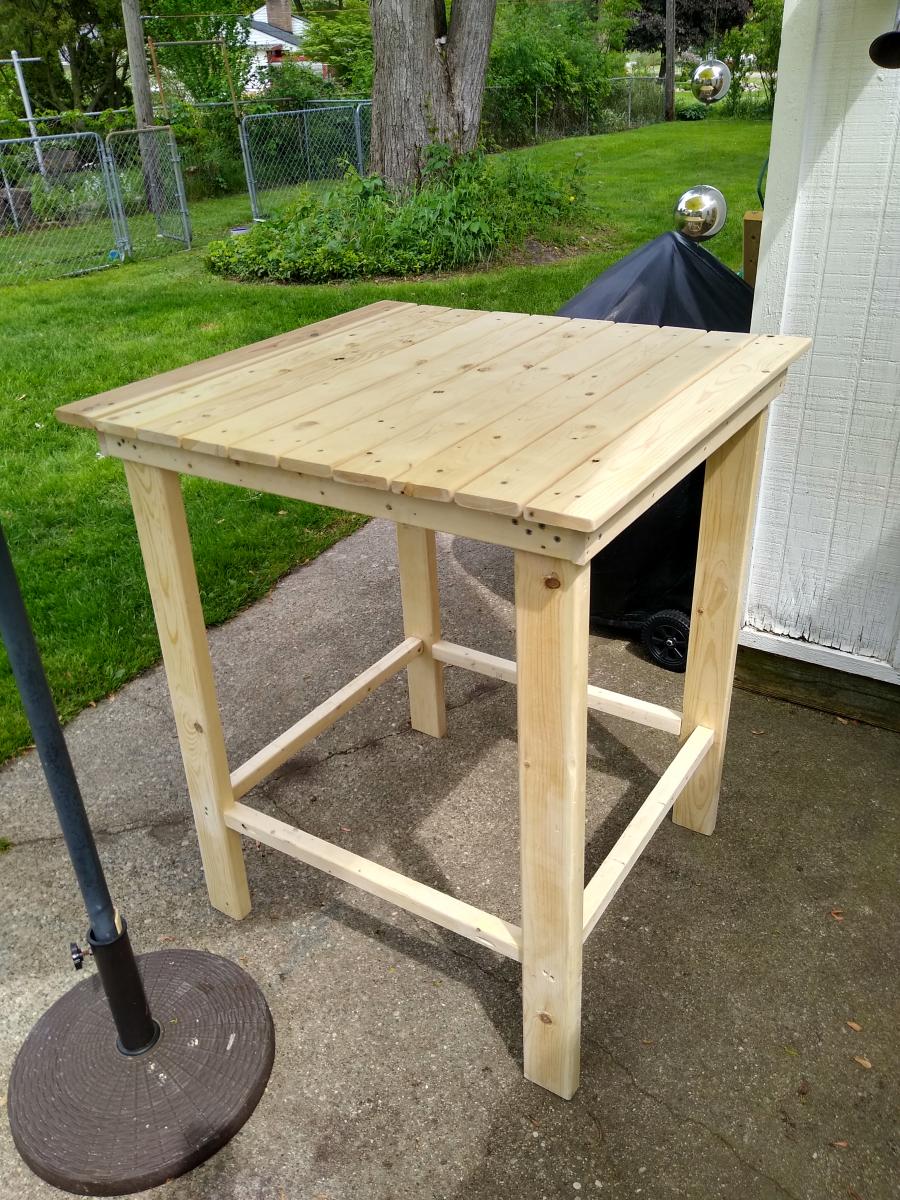
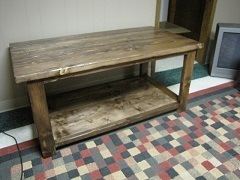
I was given old reclaimed wood from a house built in the 40's or 50's. Old rough cut pine 1x12's. I cut the wood to size to match the plans, however, I did have to modify the plans due to the actual true dimensions of the wood. After assembly, I appled 2 coats of shellac to the entire table. It may need a few more coats, but not wanting a glossy finish, I left it alone. Splinters were and are an issue, and the shellac did help to hold down the splinters.
Not having the 2x2 legs required glueing the 1x's together and glueing a veneer to the sides. If i had the legs the project would have taken less time.

Sat, 09/08/2012 - 14:30
I love what you did with this, and that you used salvaged wood. The legs would totally fool me, I'd never know that they were pieced together!

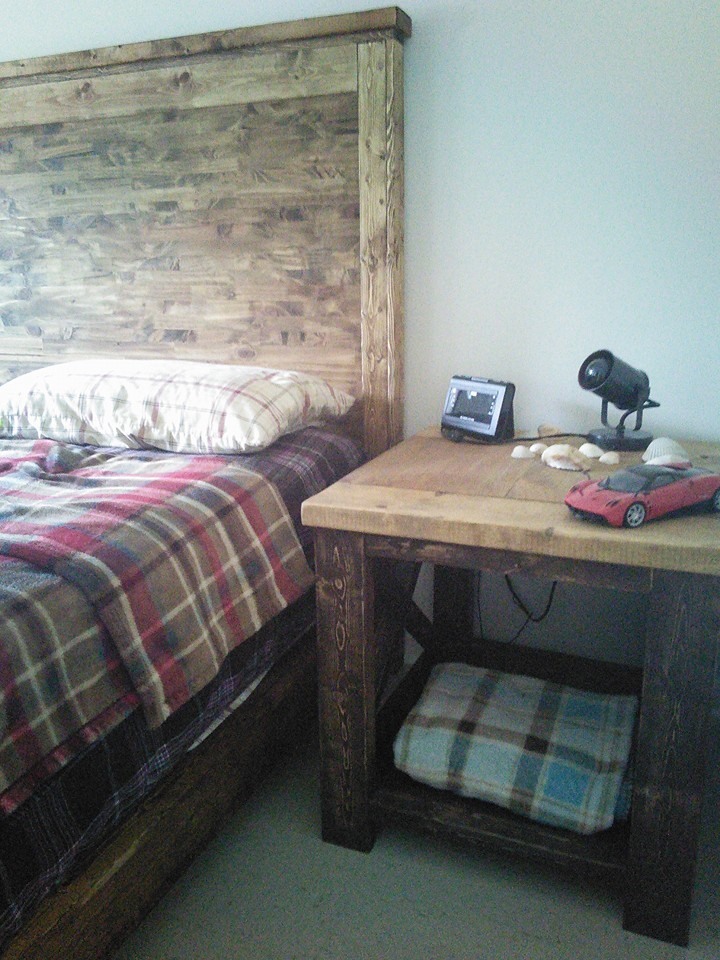
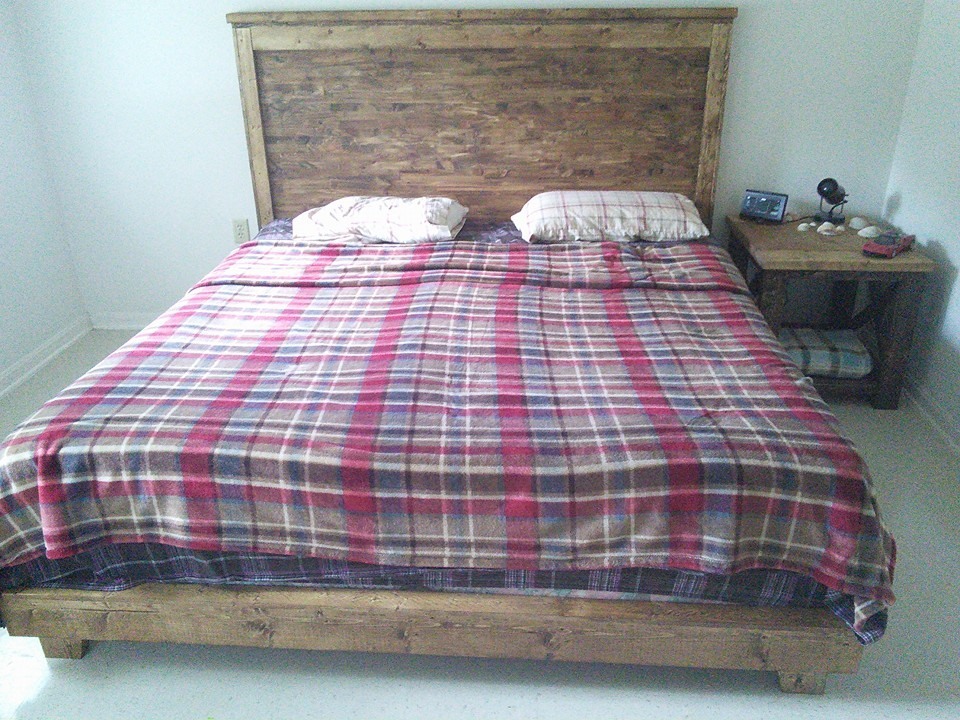
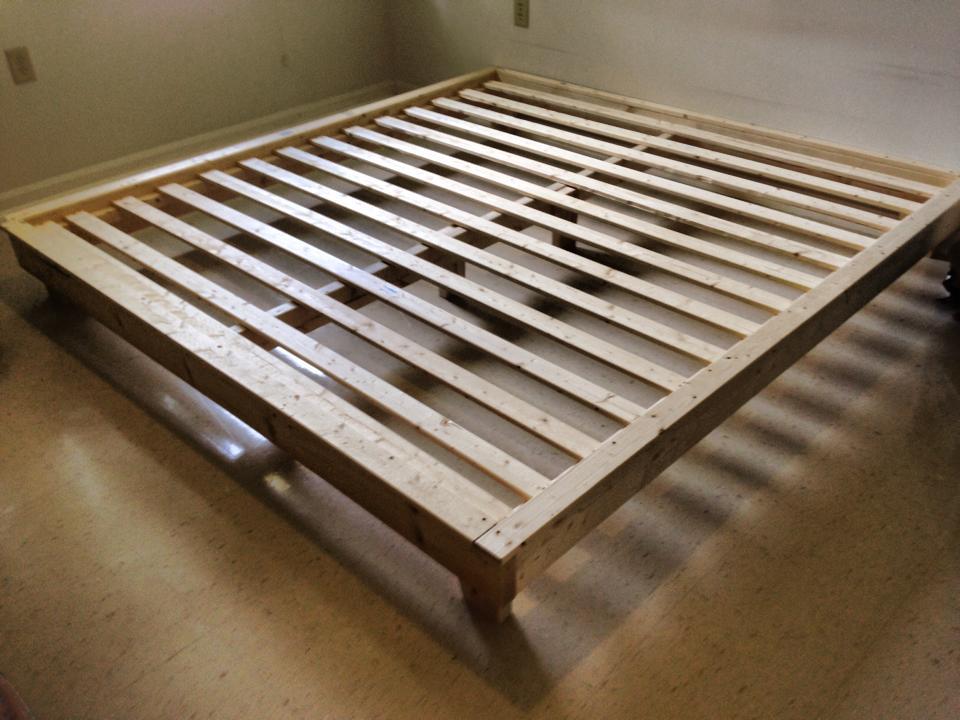
i made this king size head board using Ana's website and for the bed frame i used Shanty 2 Chic's website. i just had to convert the measurements to king size when cutting the boards. thats a rustic x leg end table next to the bed, i built using Ana's website also.
First time building for re-sell. I sanded everything before assembly and used pocket hole contruction so I wouldn't need to fill holes. Each one will be finished per customer request. Each unit takes about 2 hours to build start to finish.
This was the best piece I have made so far, I had some trouble getting the angles right with the x's but in the end it worked out great and everyone can't believe its just plain old wood! Keep up the great work!
Moving on to the end tables!

Wed, 09/26/2012 - 22:46
Fantastic work! It looks gorgeous. What kind of poly did you use?
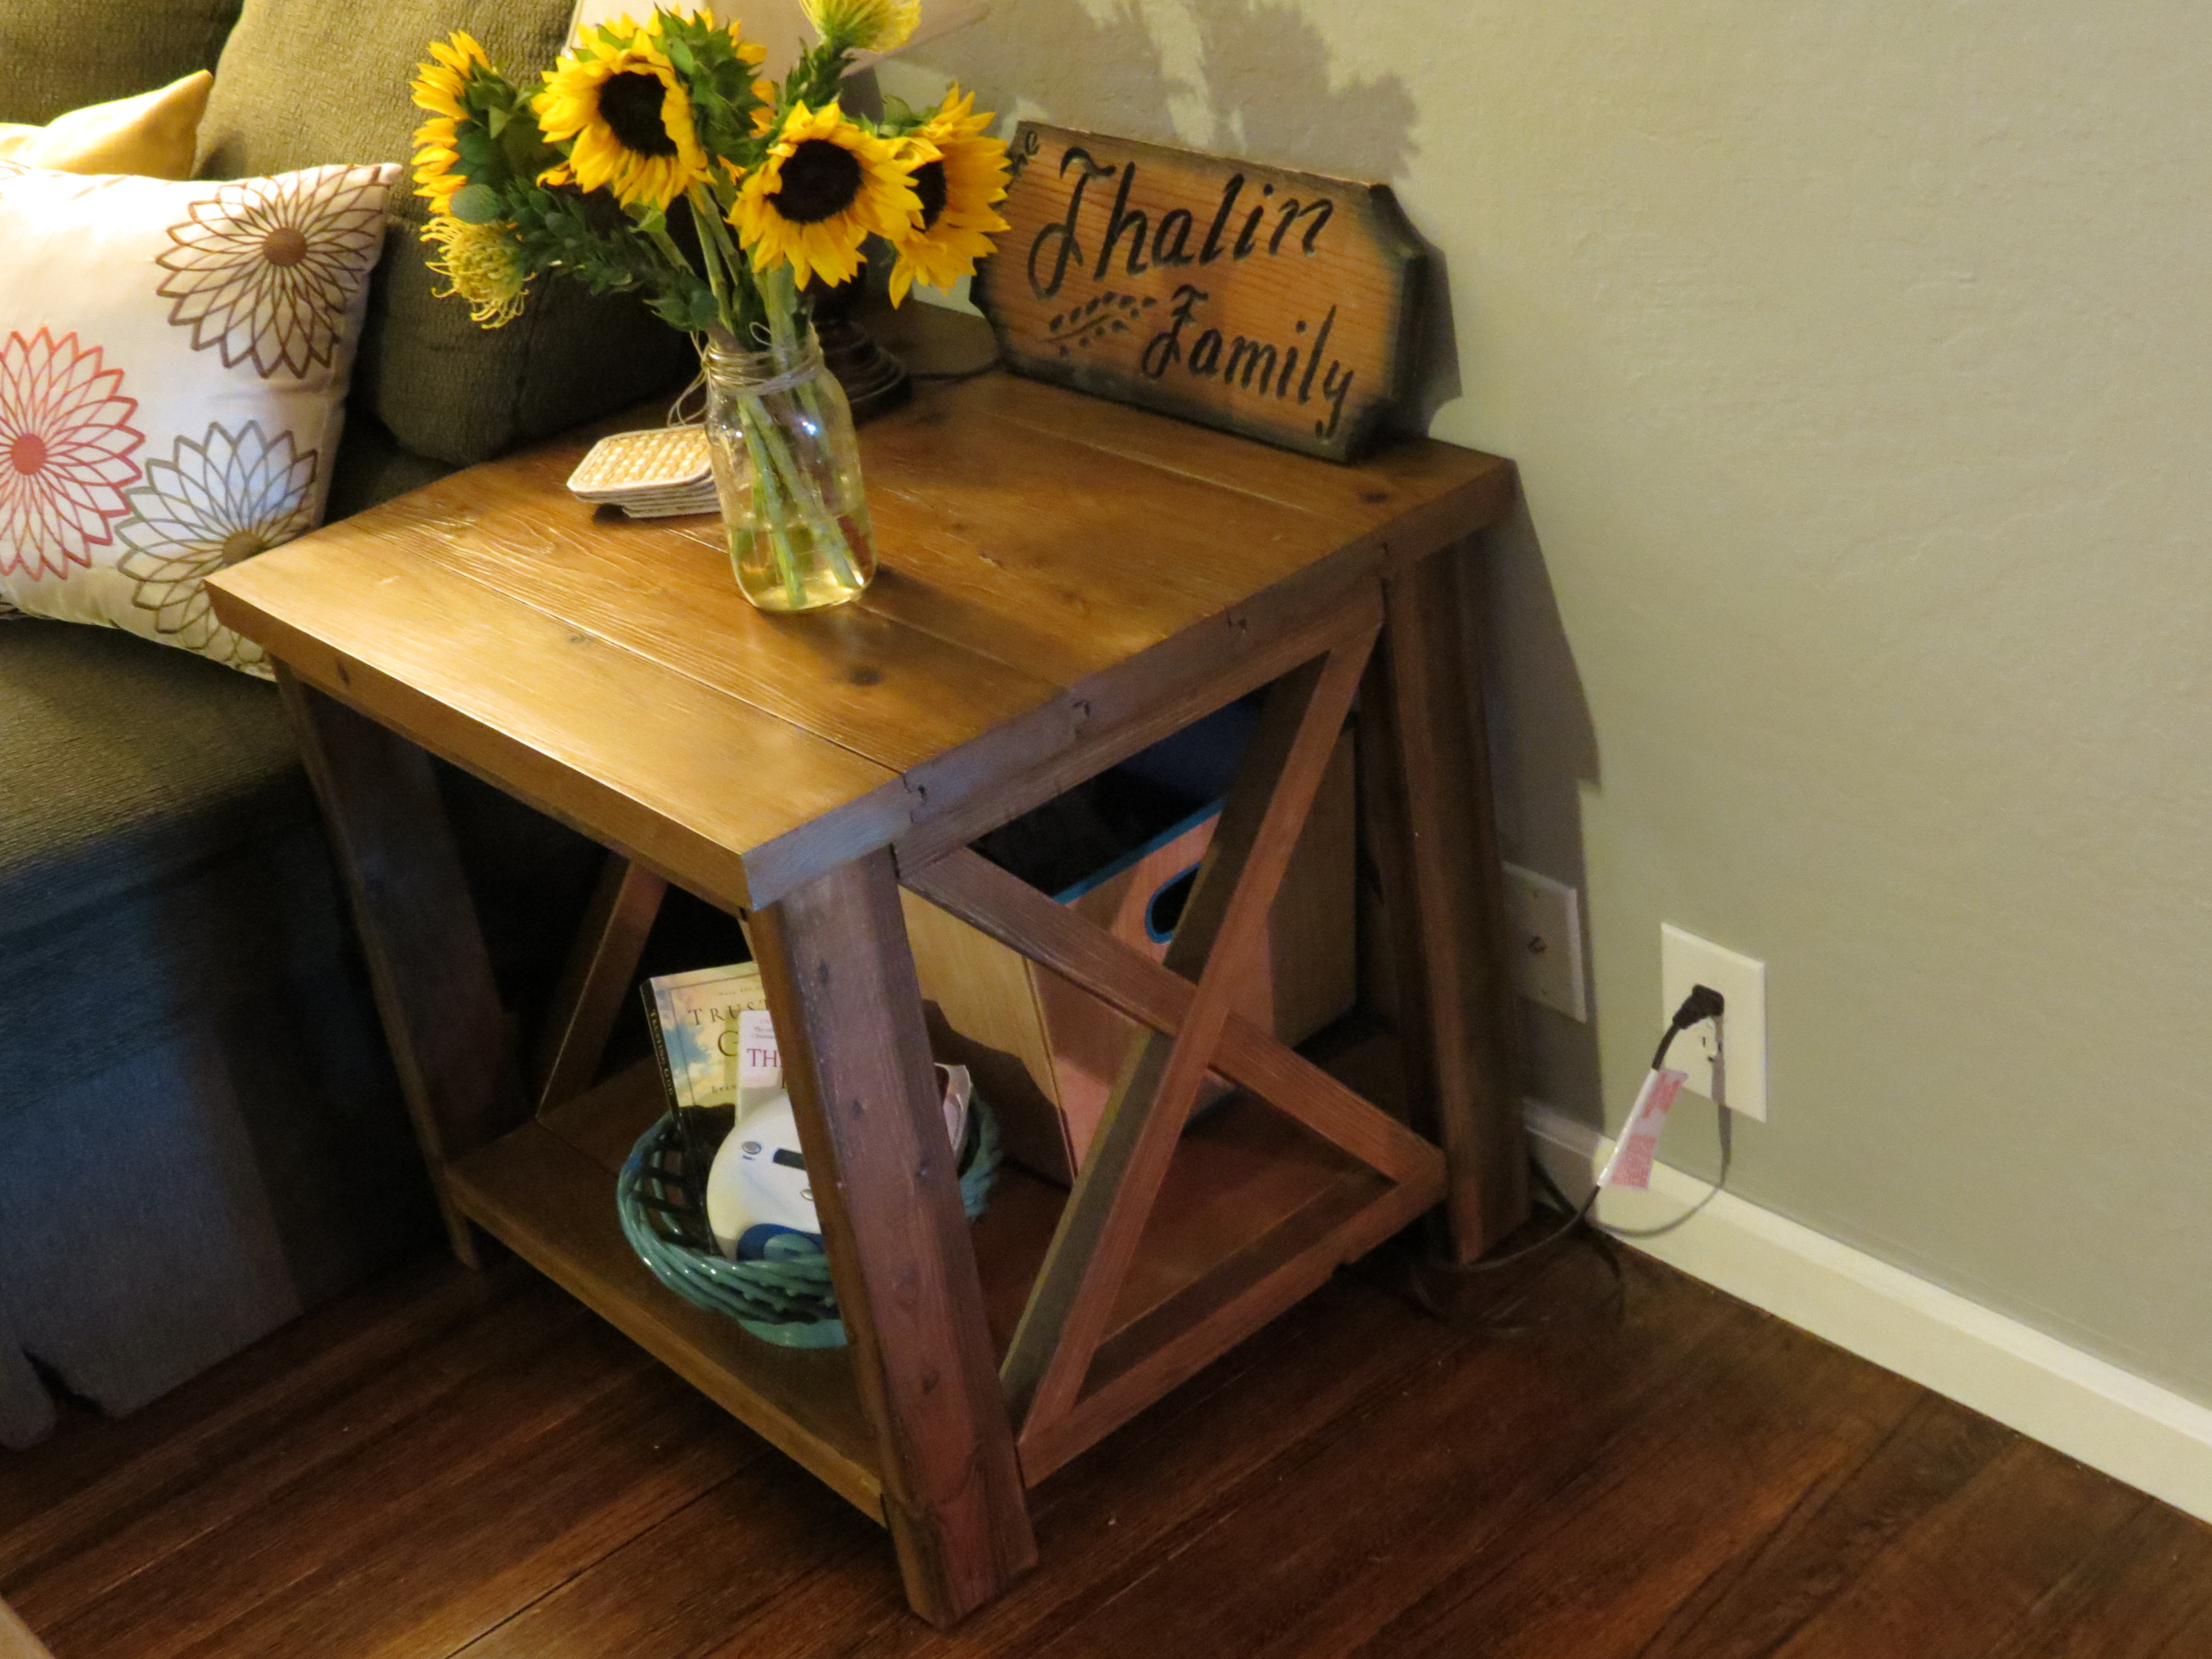
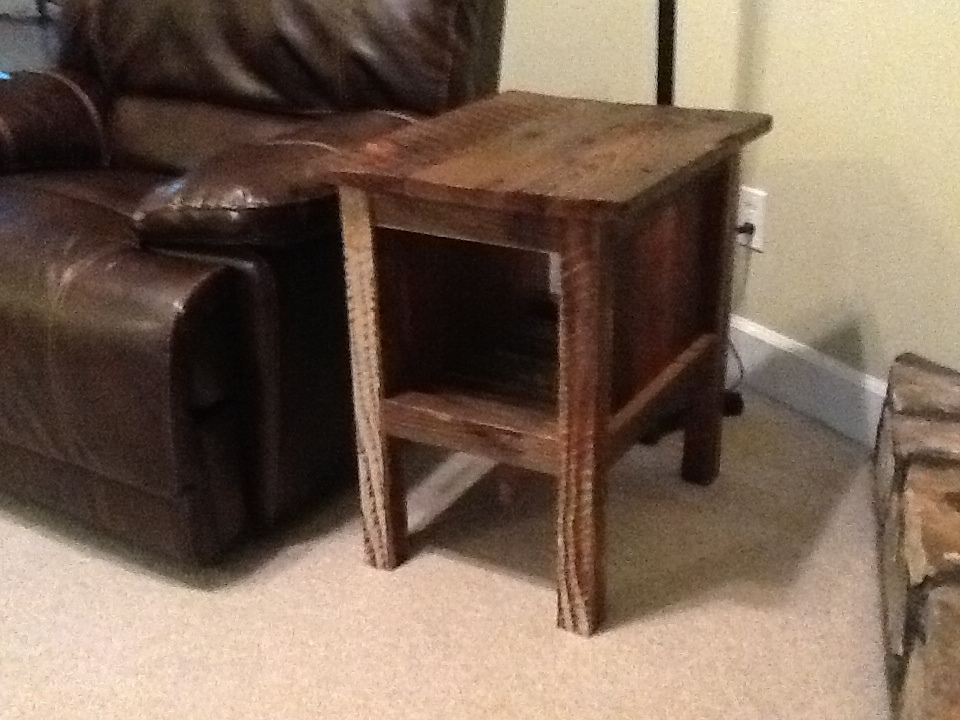
This was my first project from Ana's site and I have to say I was quite pleased how it turned out. This is a very sturdy/heavy duty end table that I am sure will last a very long time. I made mine essentially straight from the plans except changed the X's a little bit to compensate for my limited miter saw.
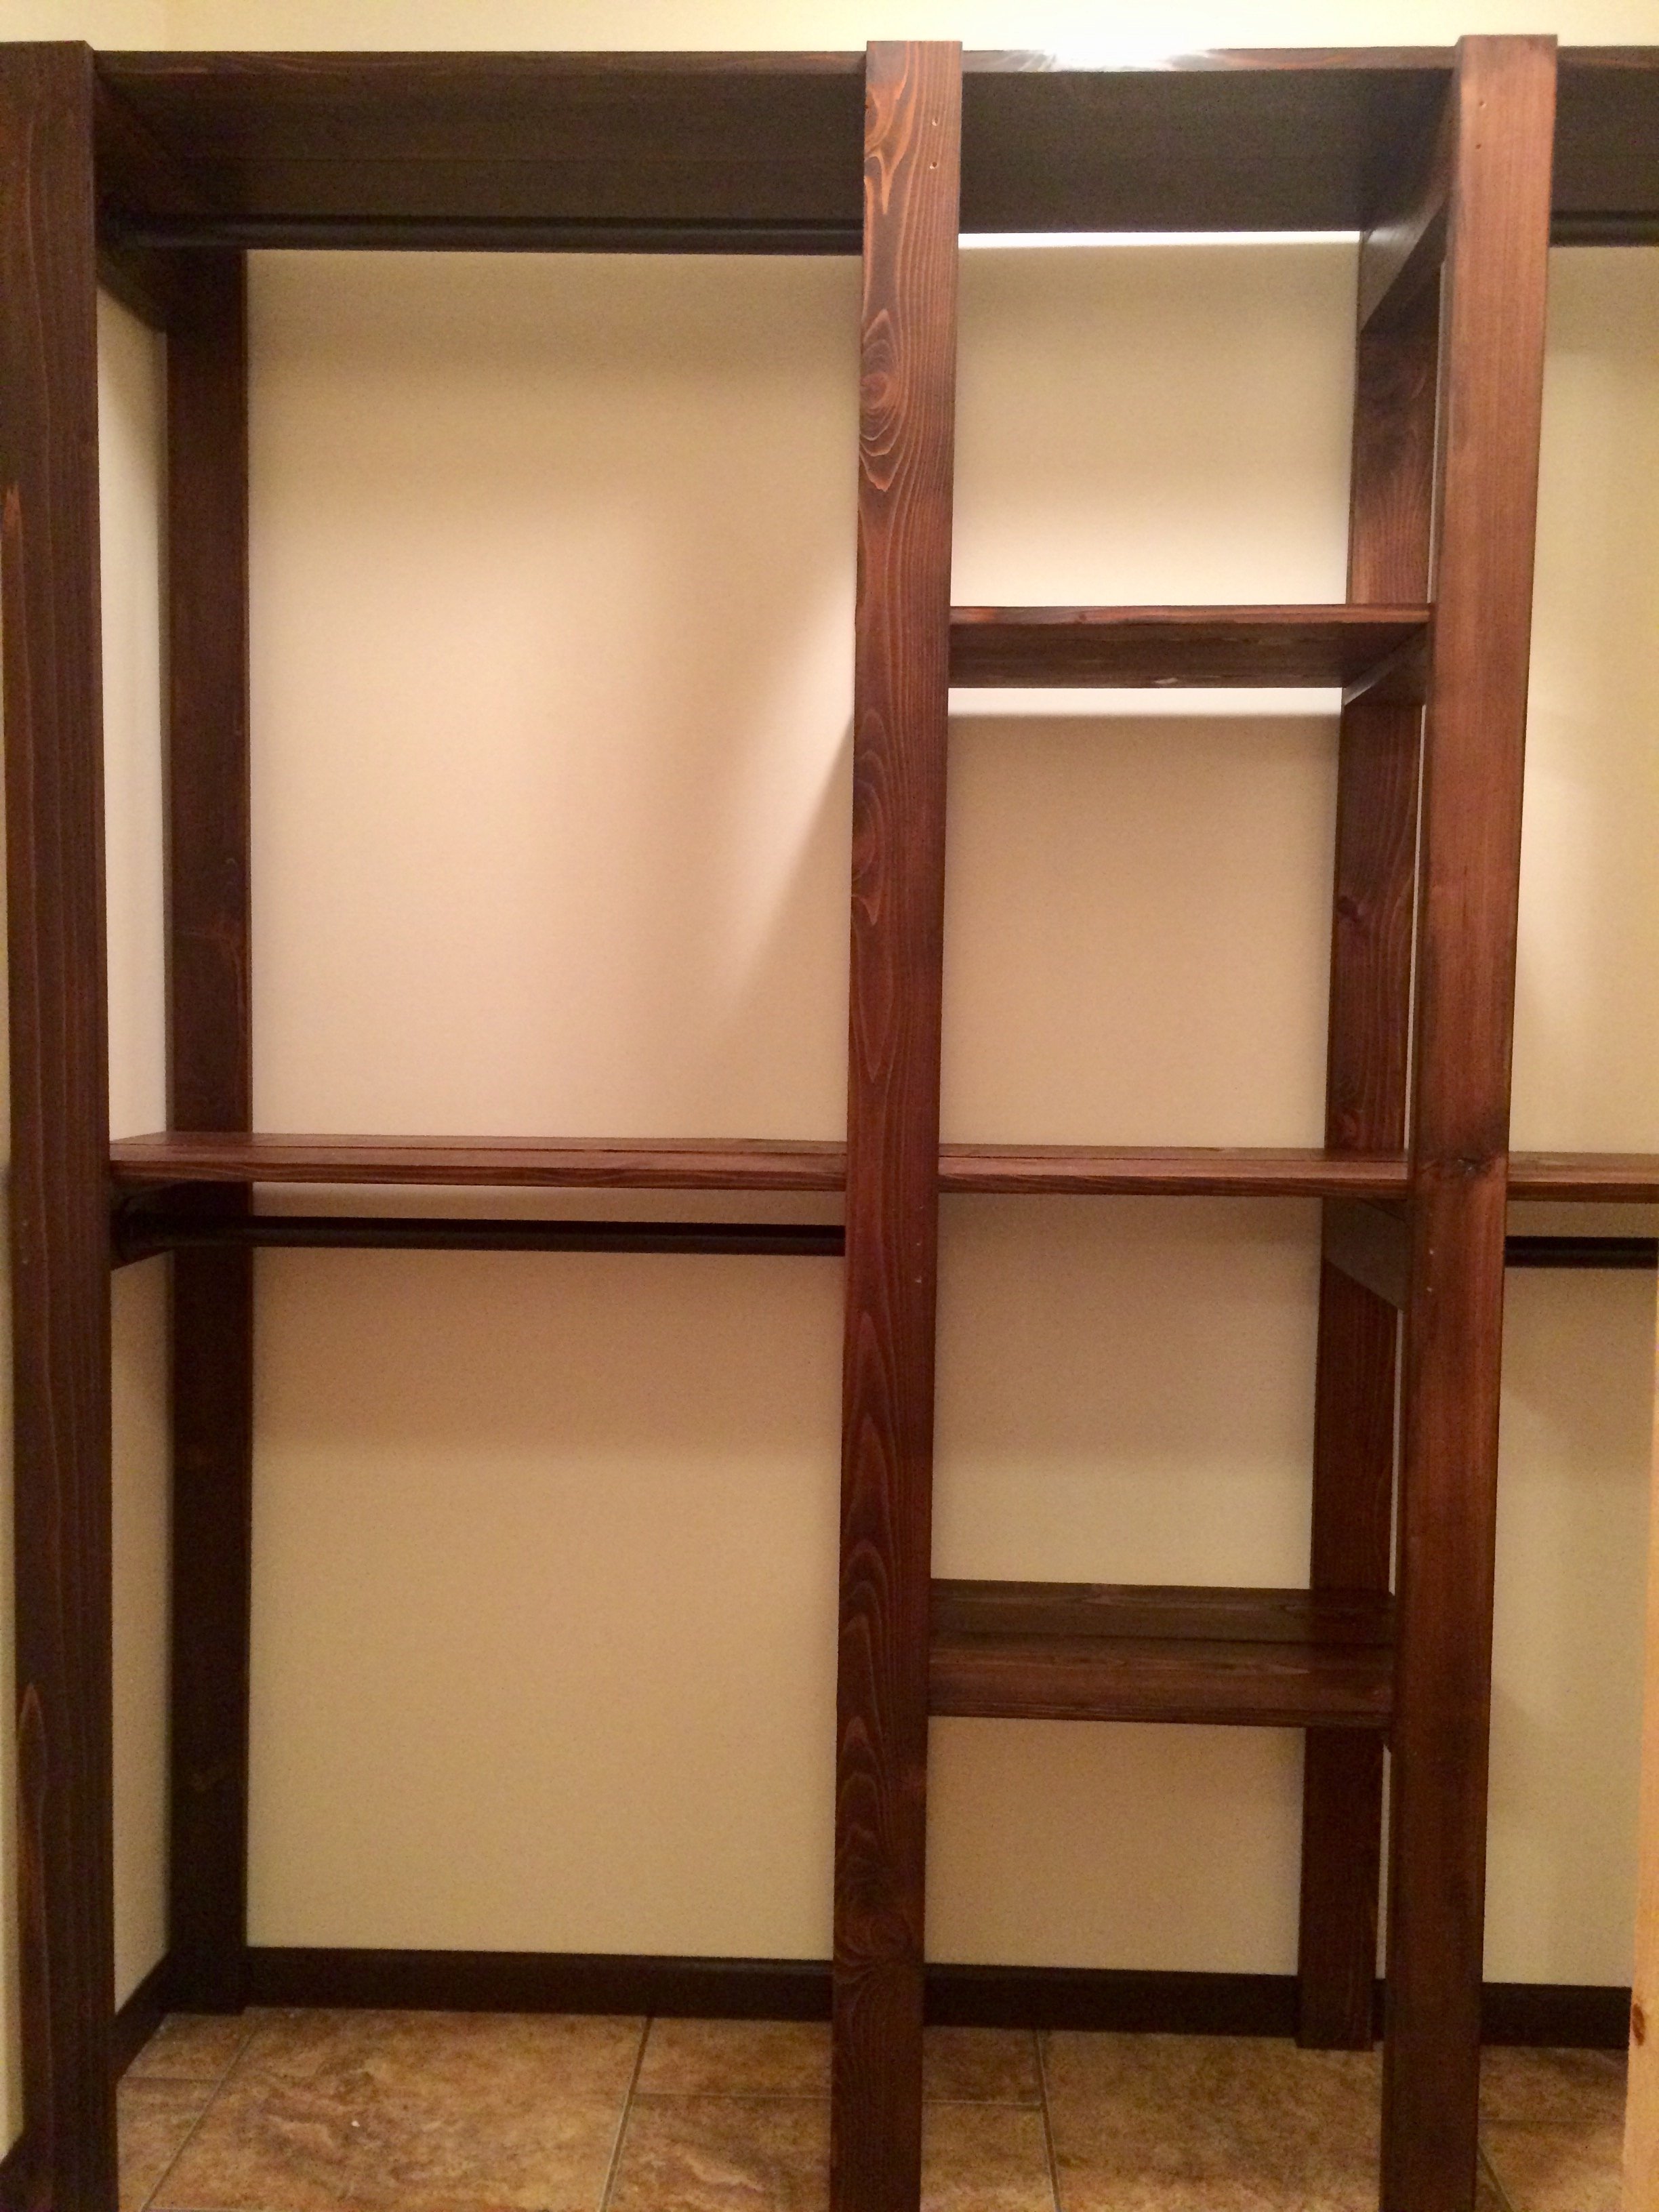
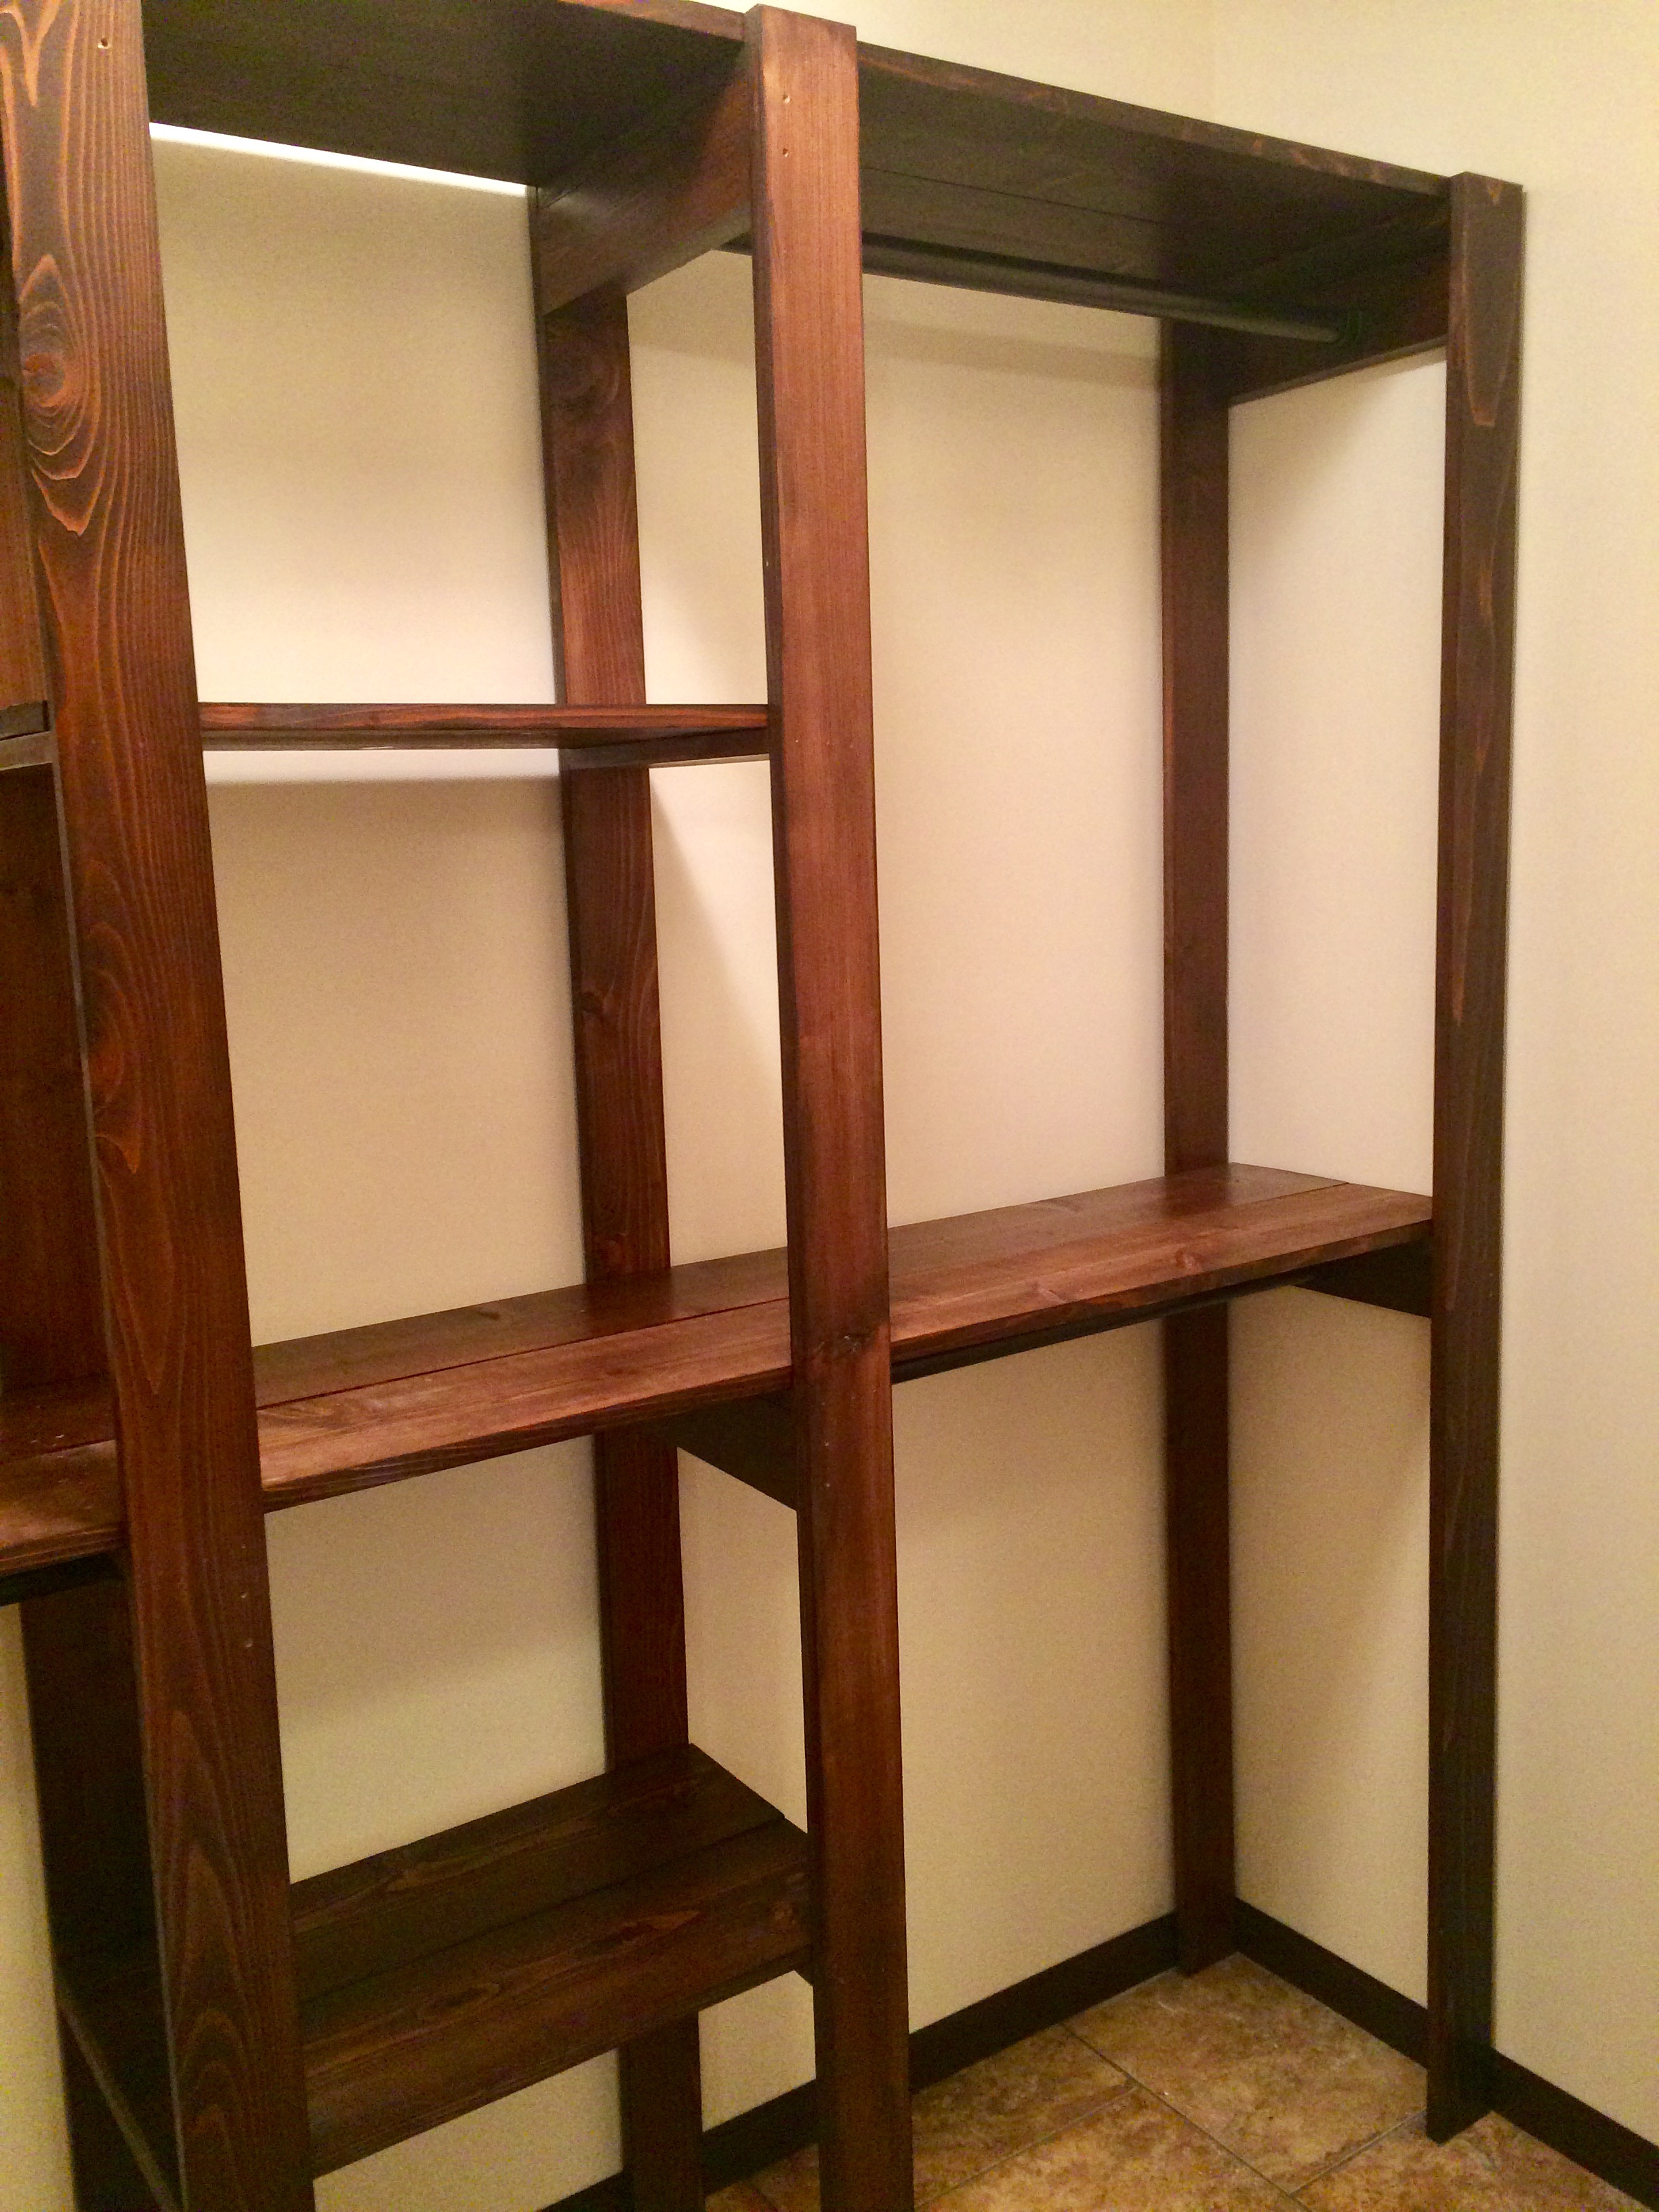
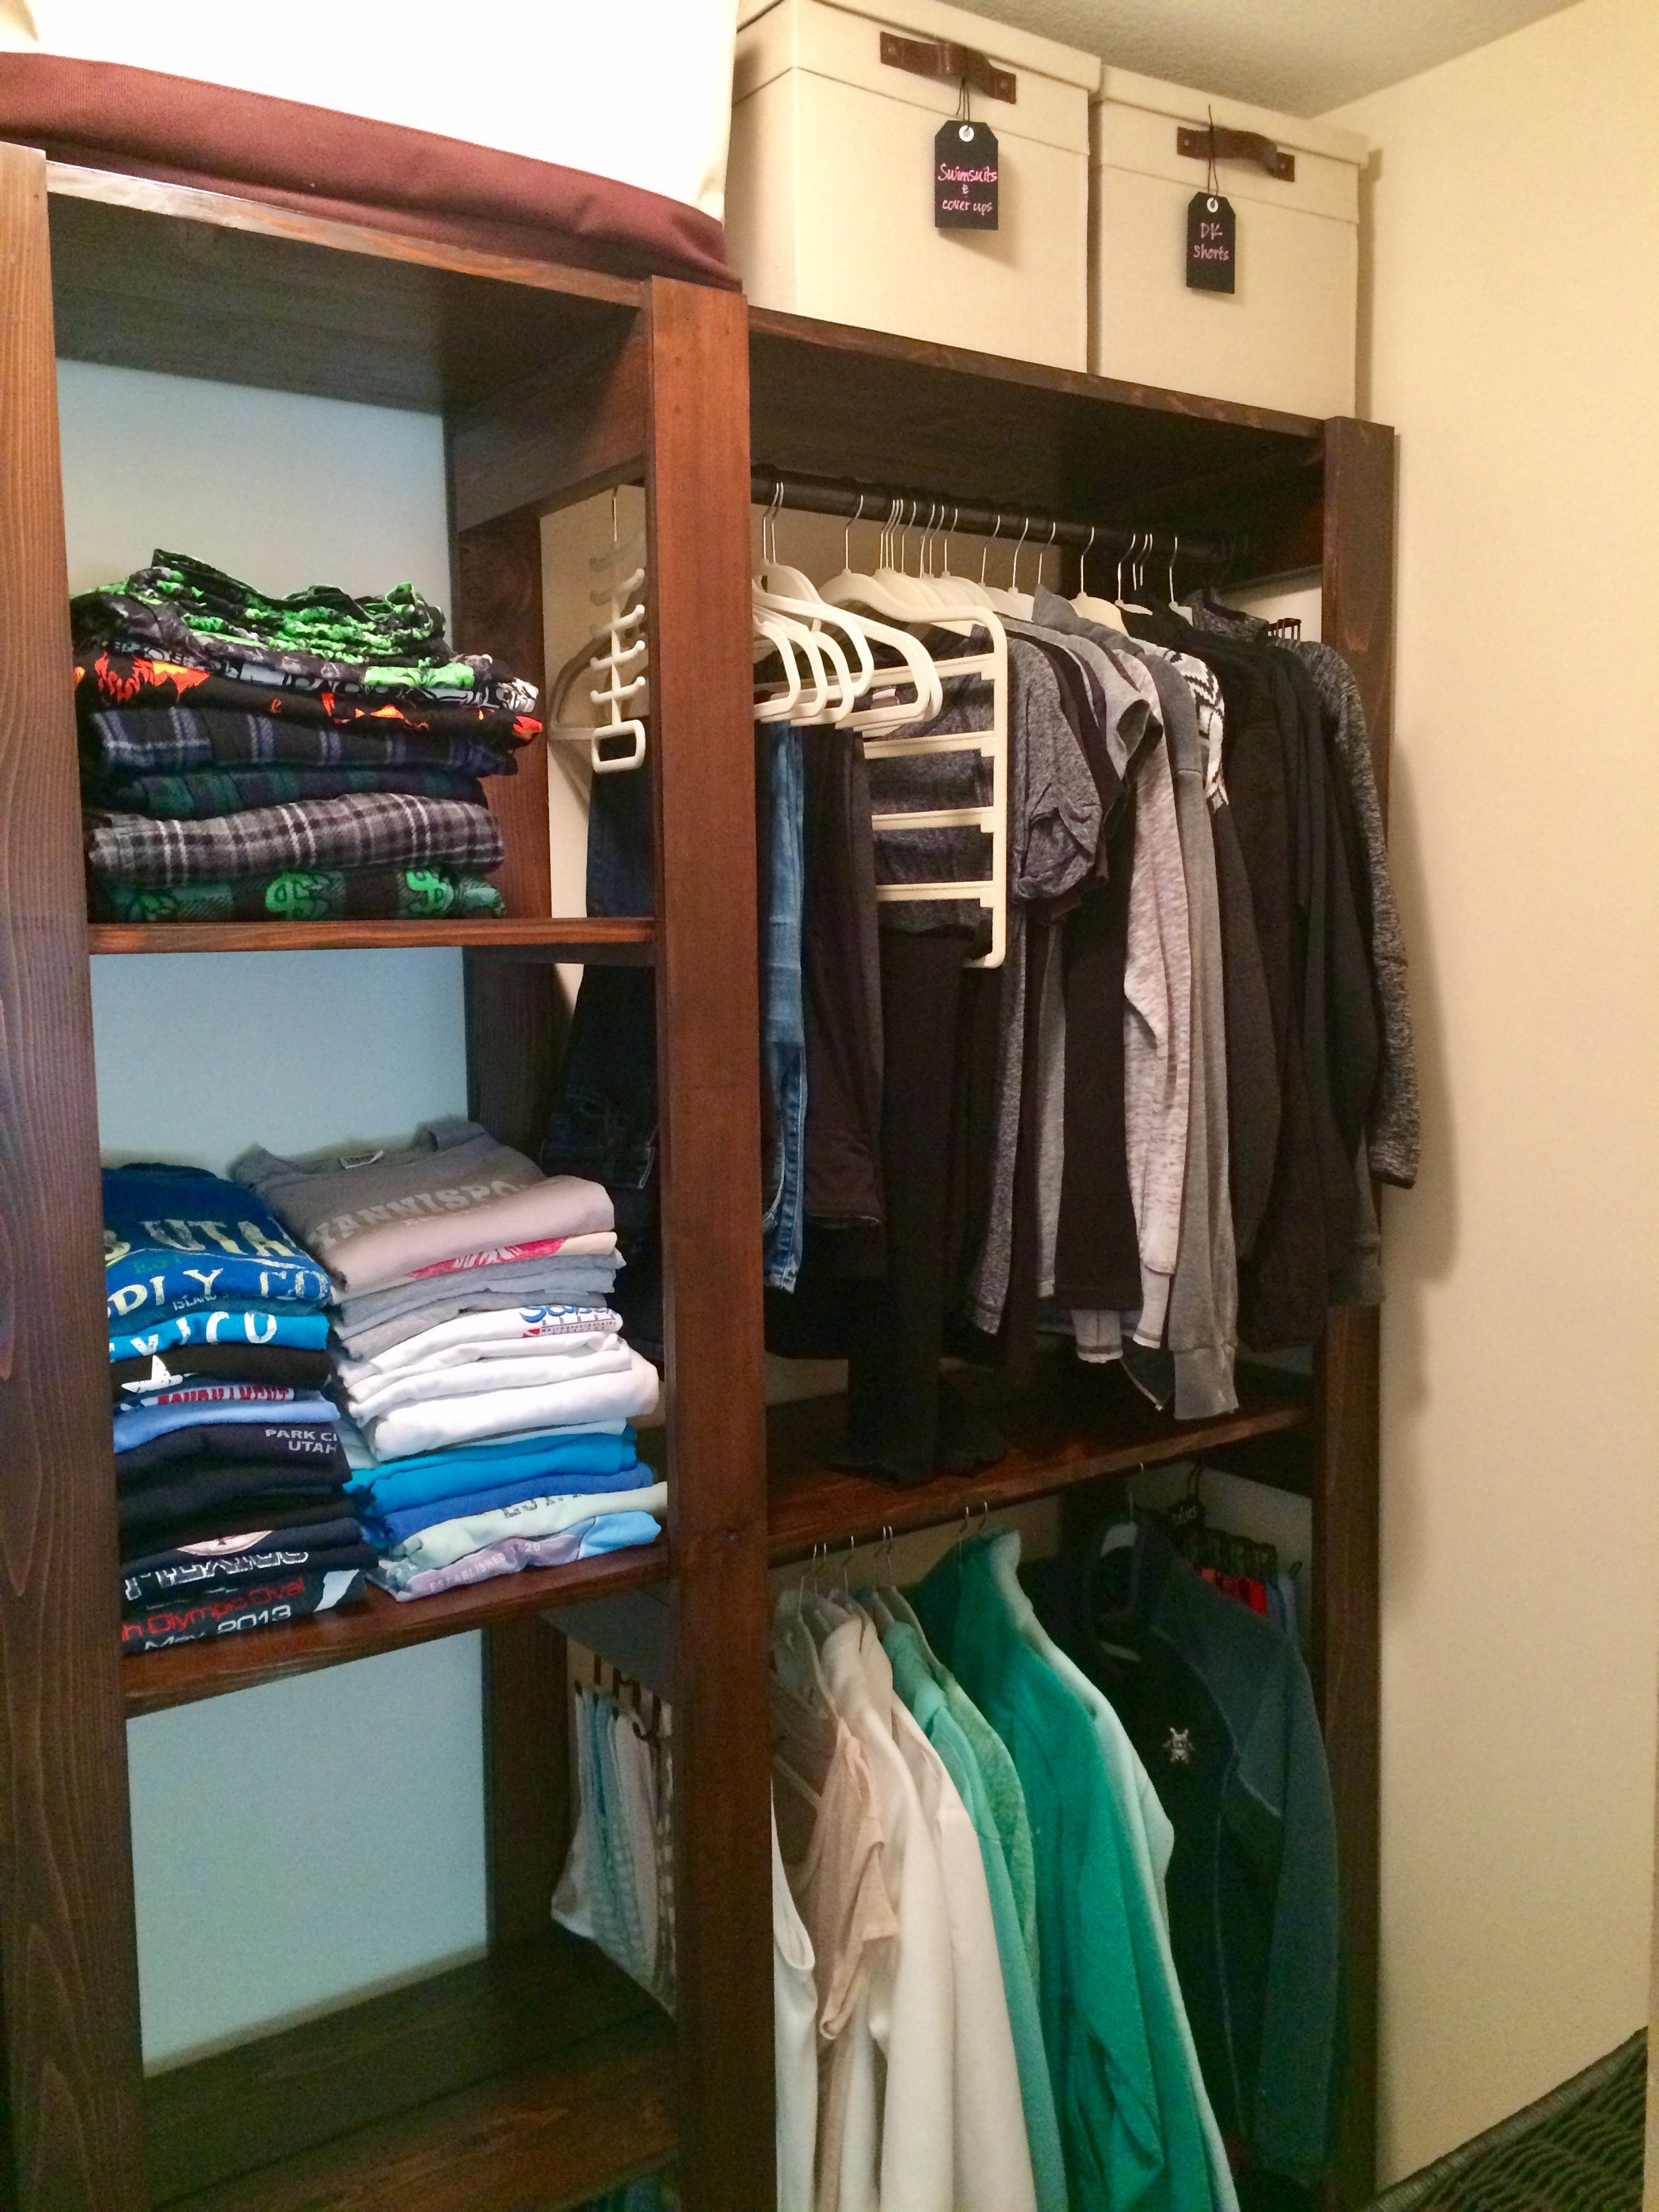
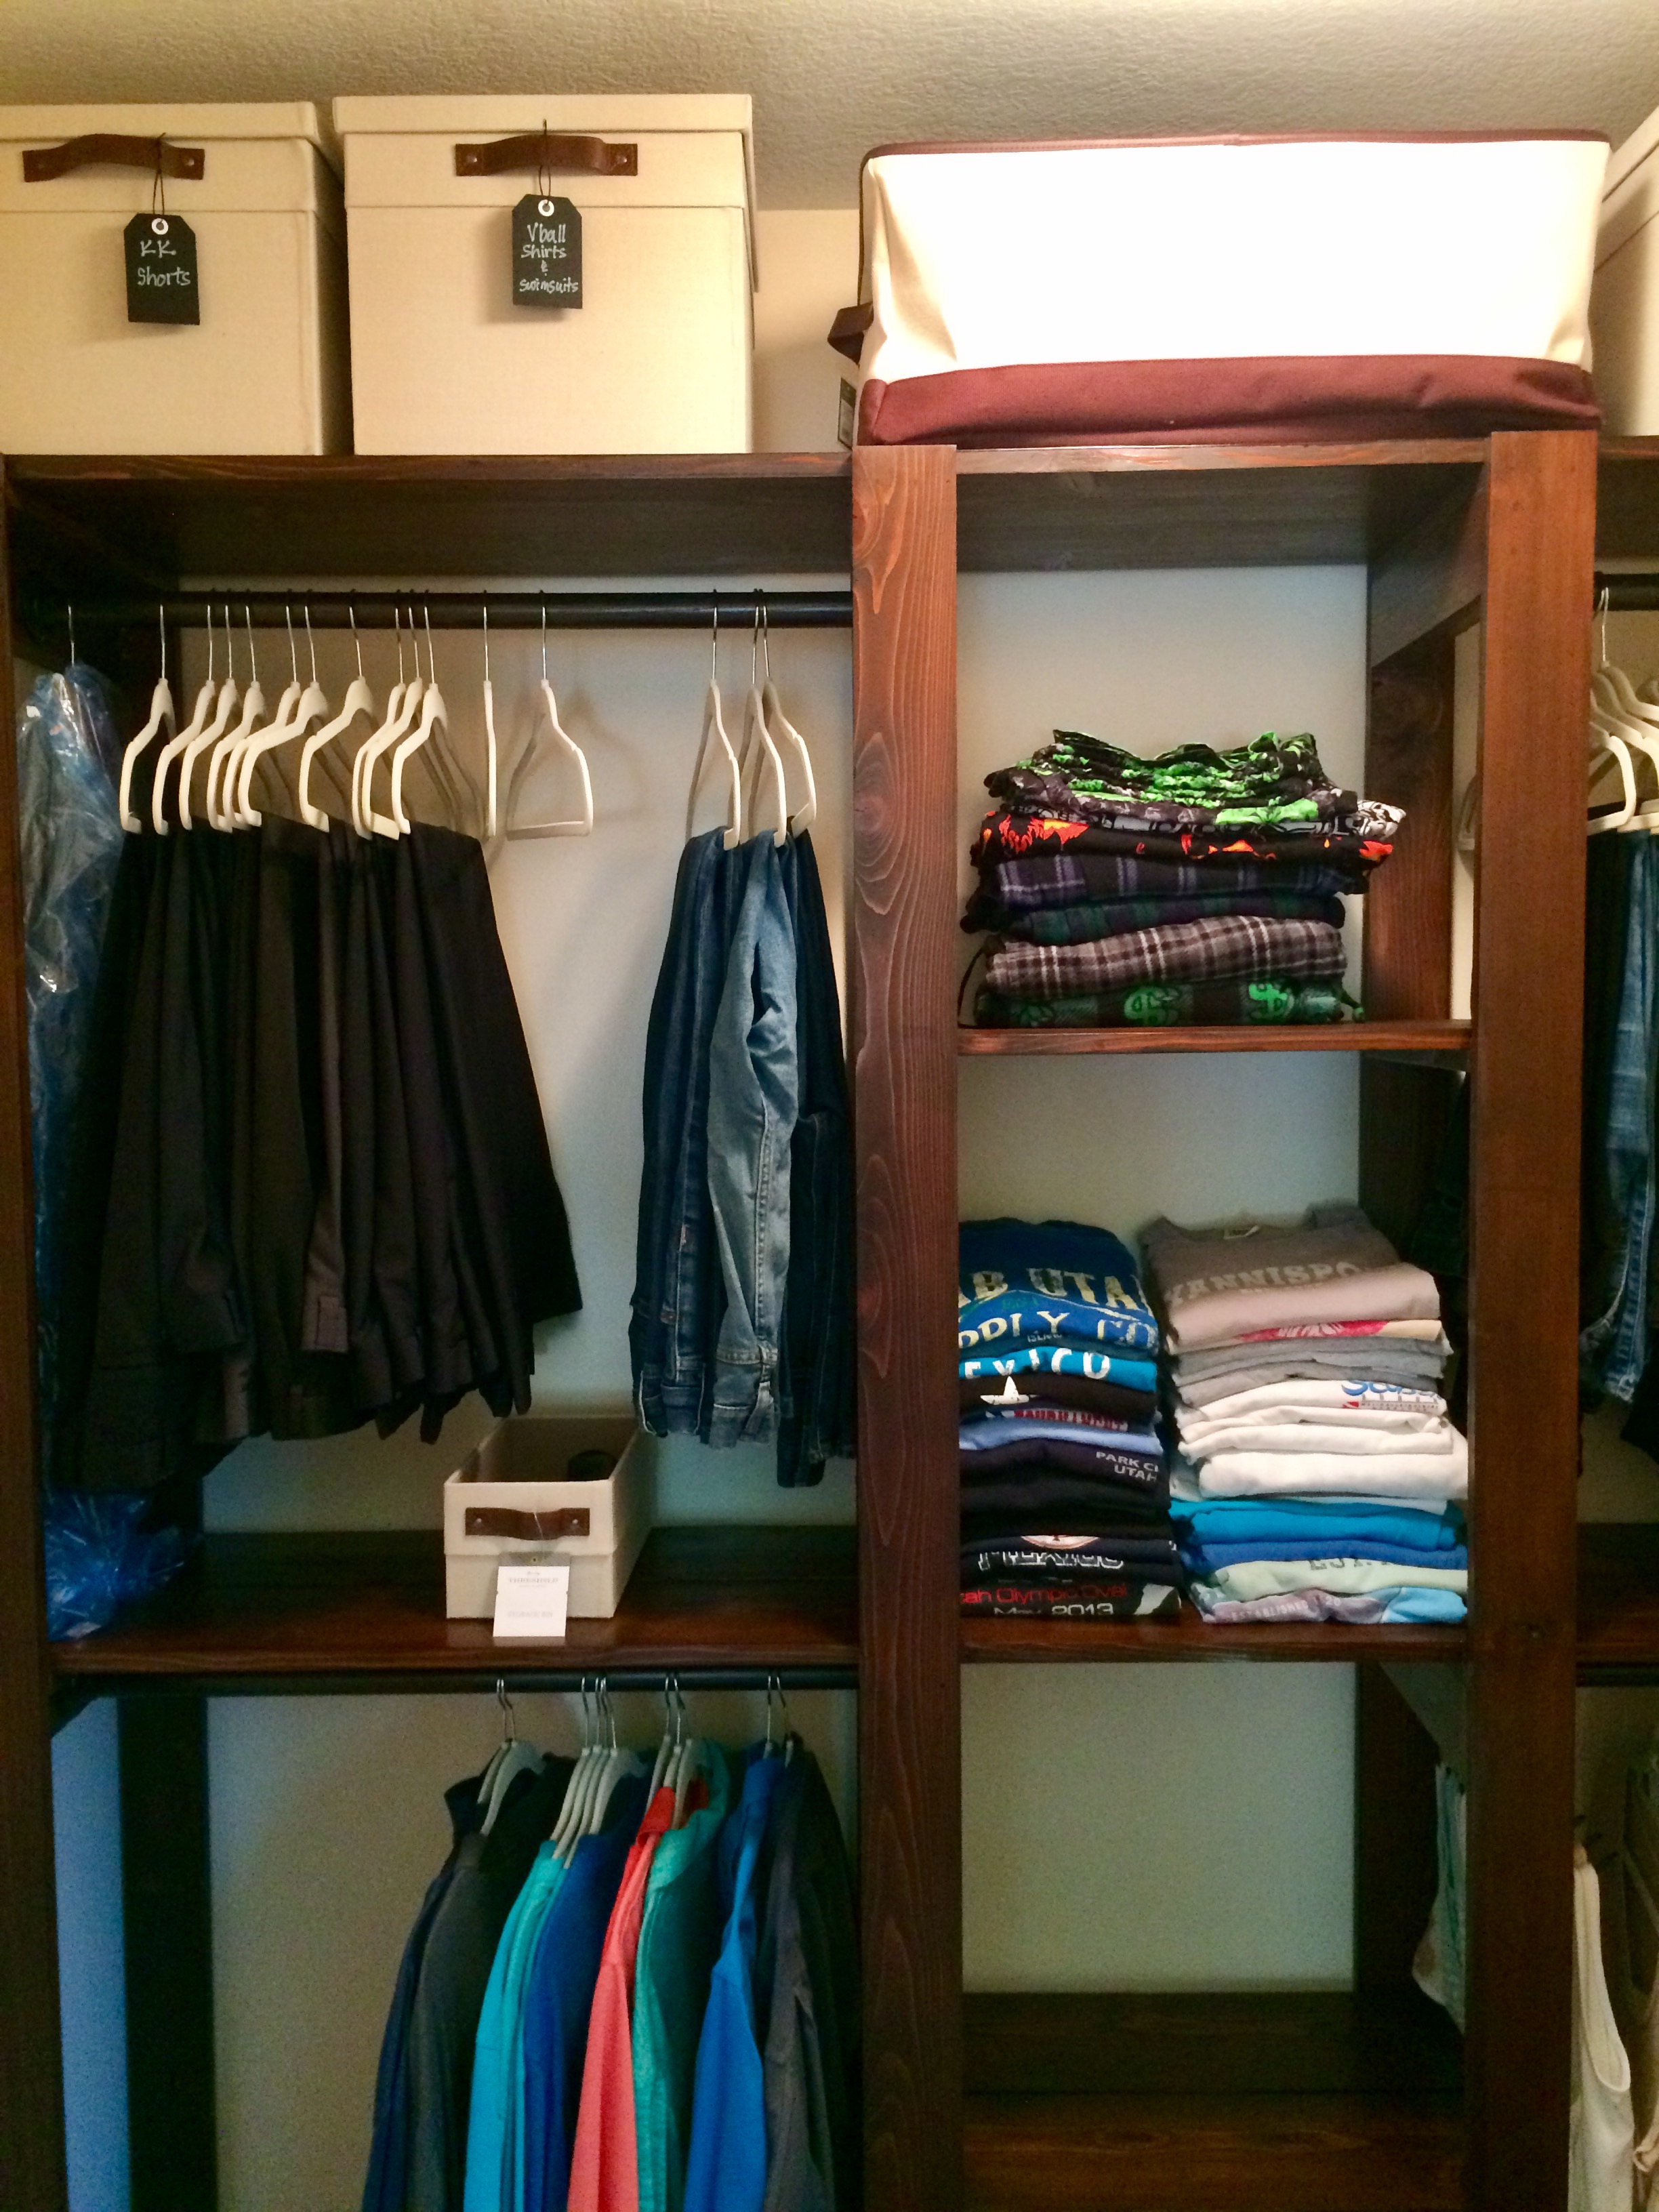
Our master closet had been empty for a long time due to "analysis paralysis", couldn't decide what to do... until I saw this plan. My husband was gone for a week and I was able to surprise him with an almost finished closet when he got home! I stuck with closet rods instead of galvanized pipes because I knew that would be his preference. I love it! Now to build something for all our shoes...
In reply to Awesome! by Ana White Admin
Thu, 10/06/2016 - 20:19
Thank you and thanks for the plans!