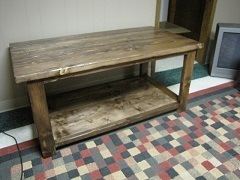
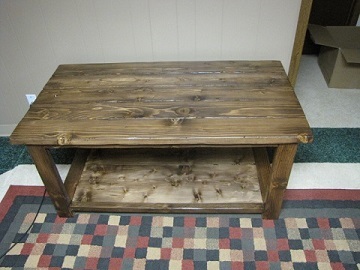
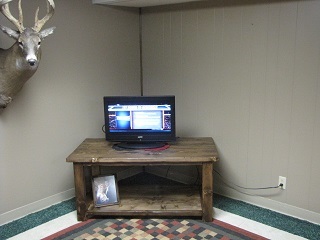
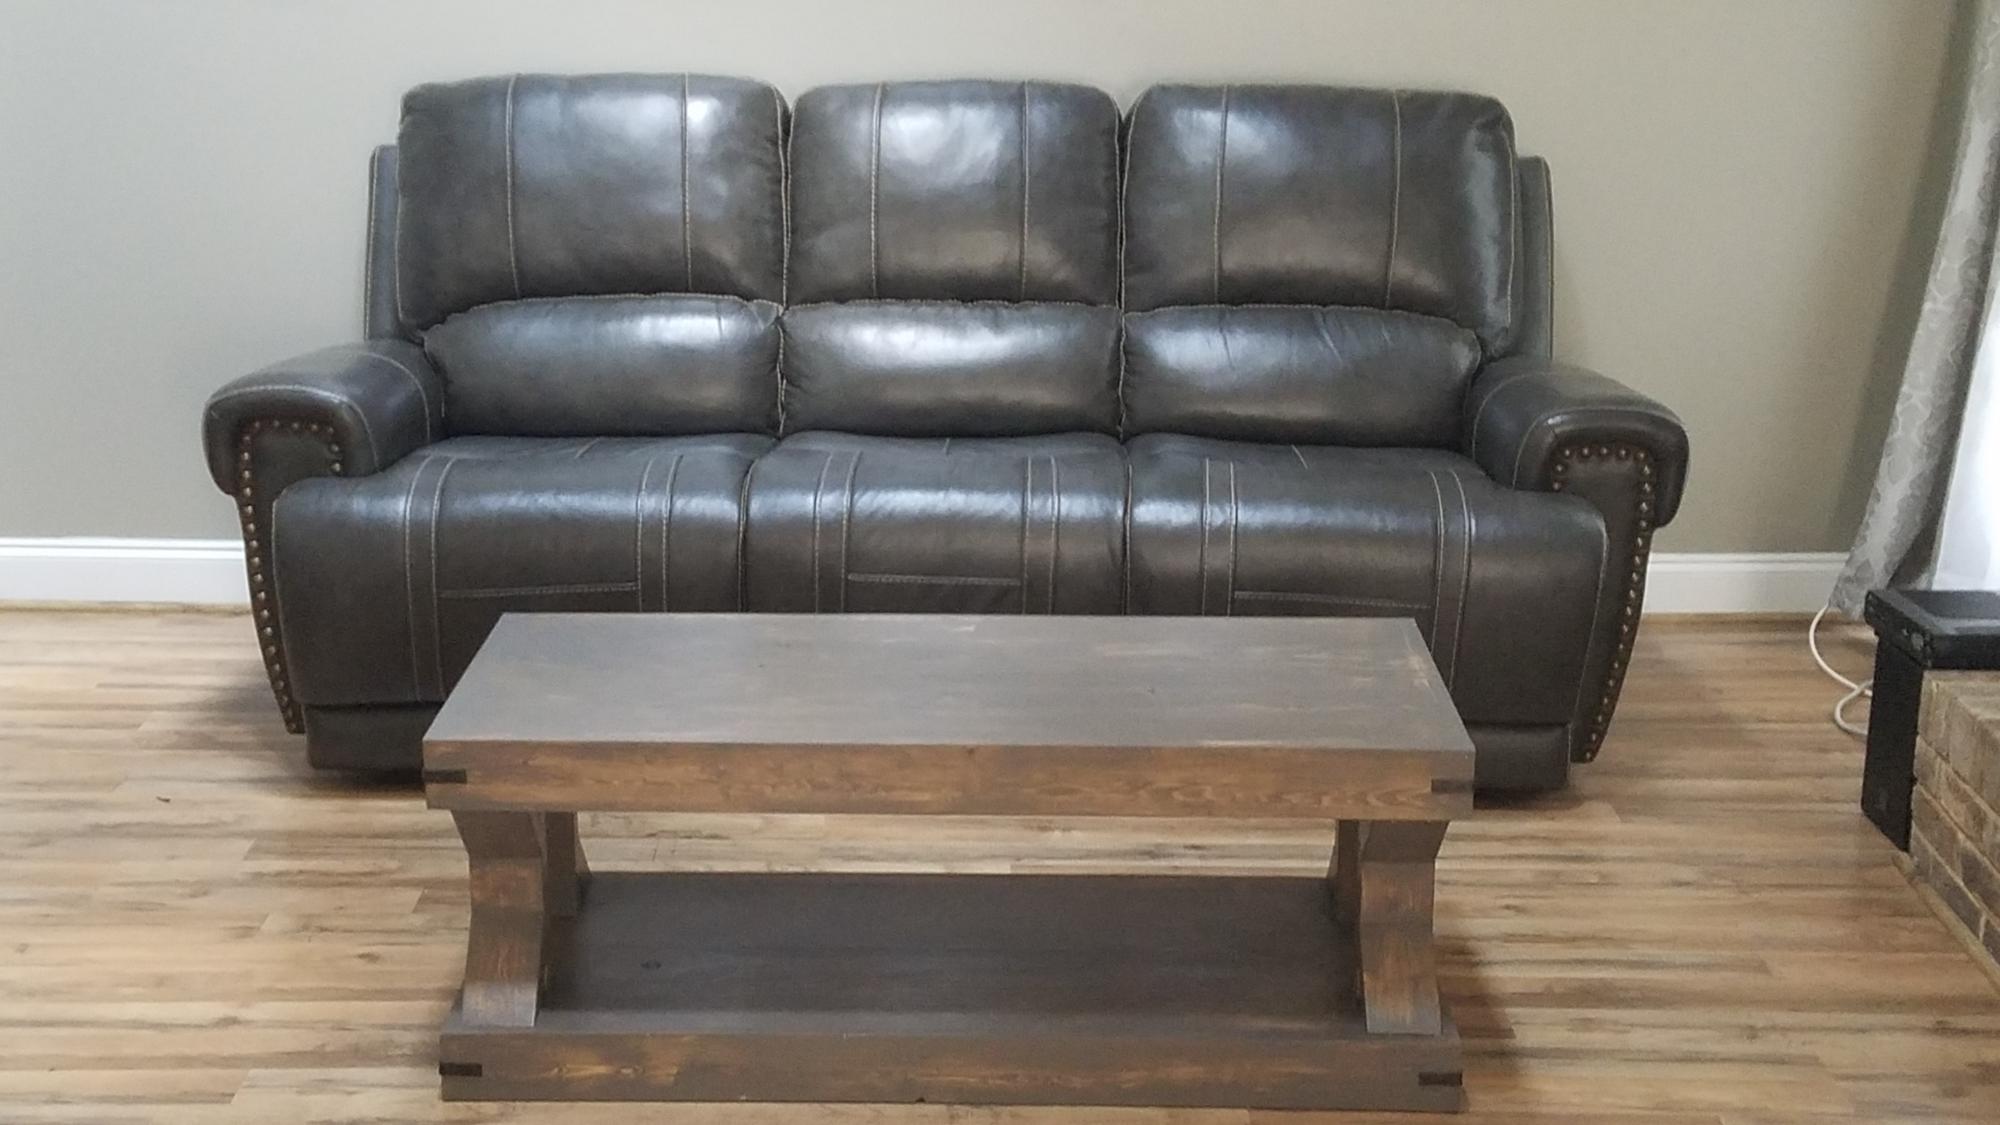
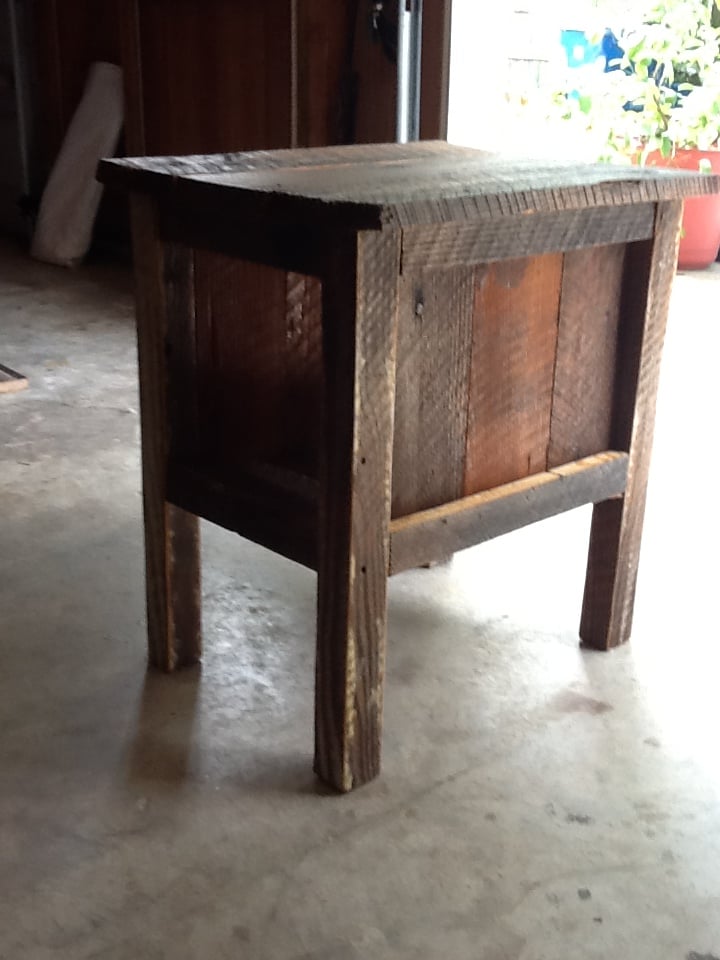
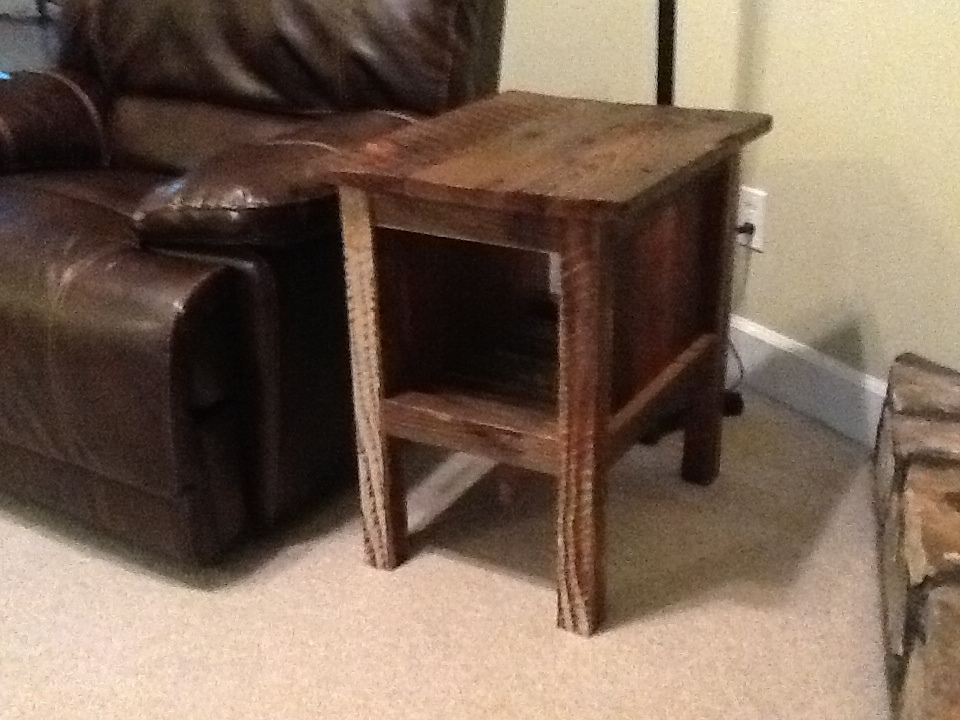
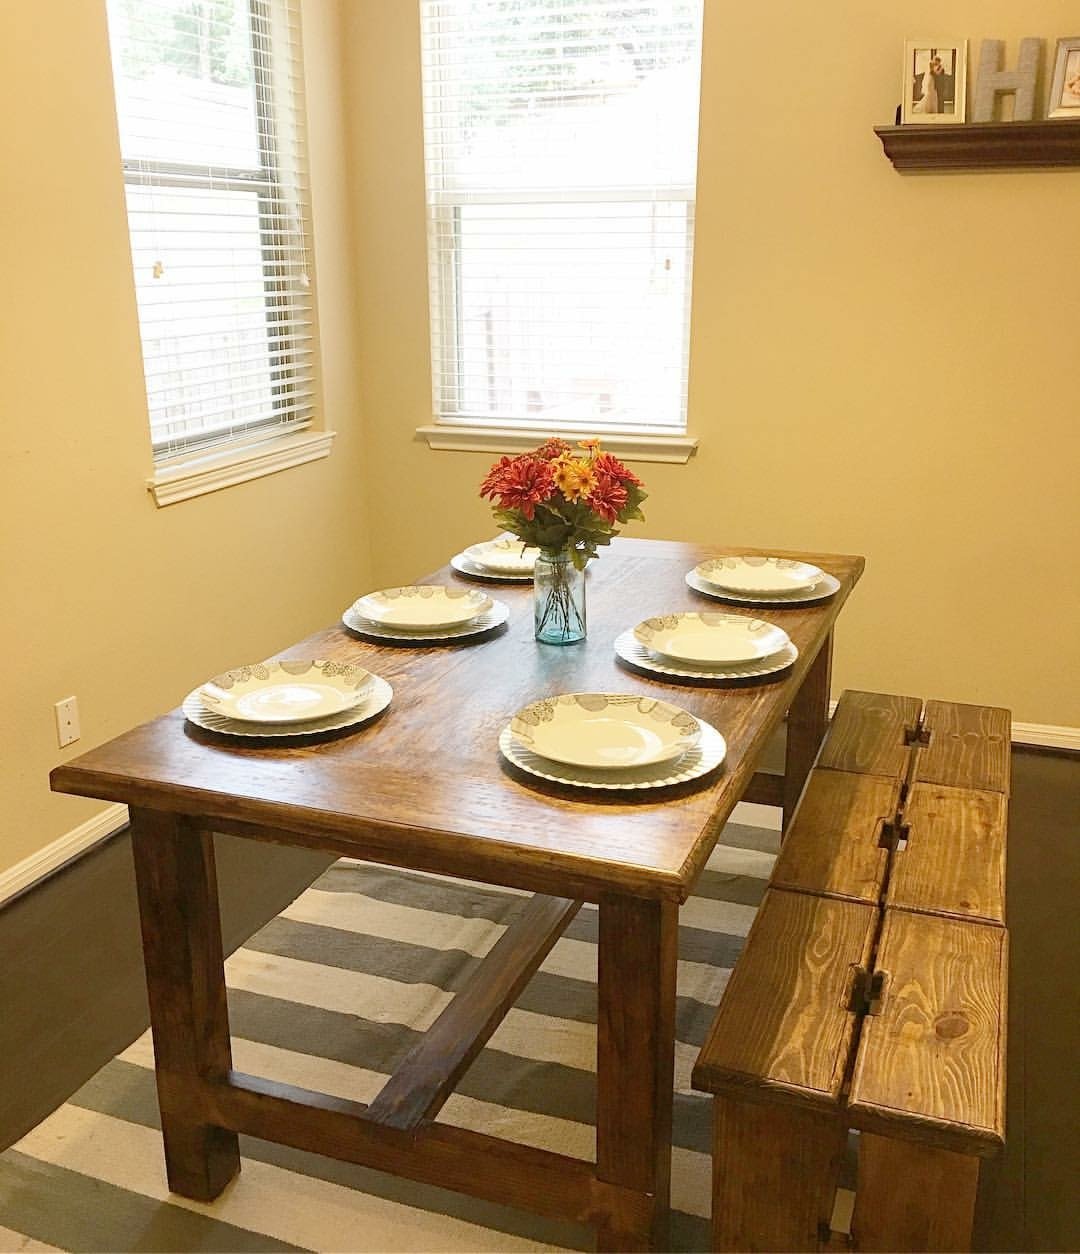
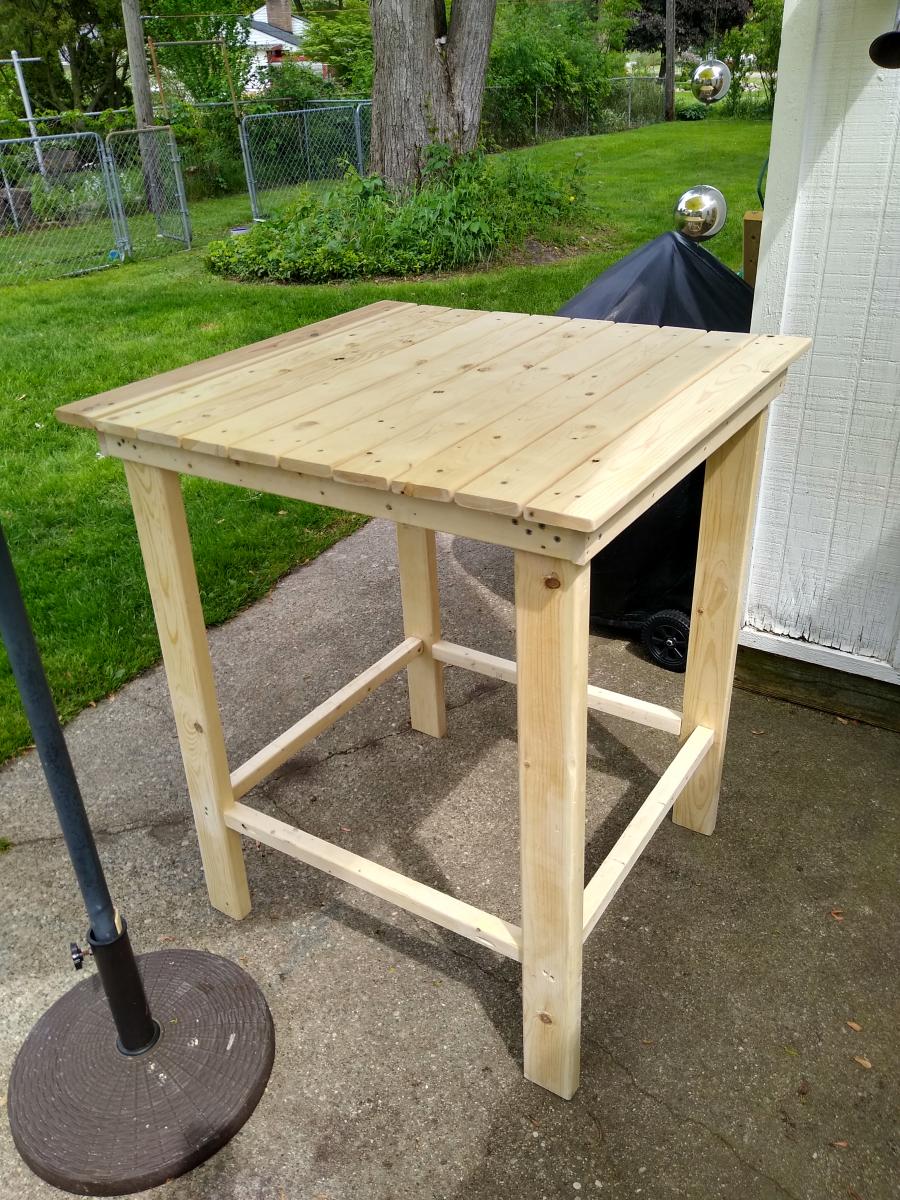
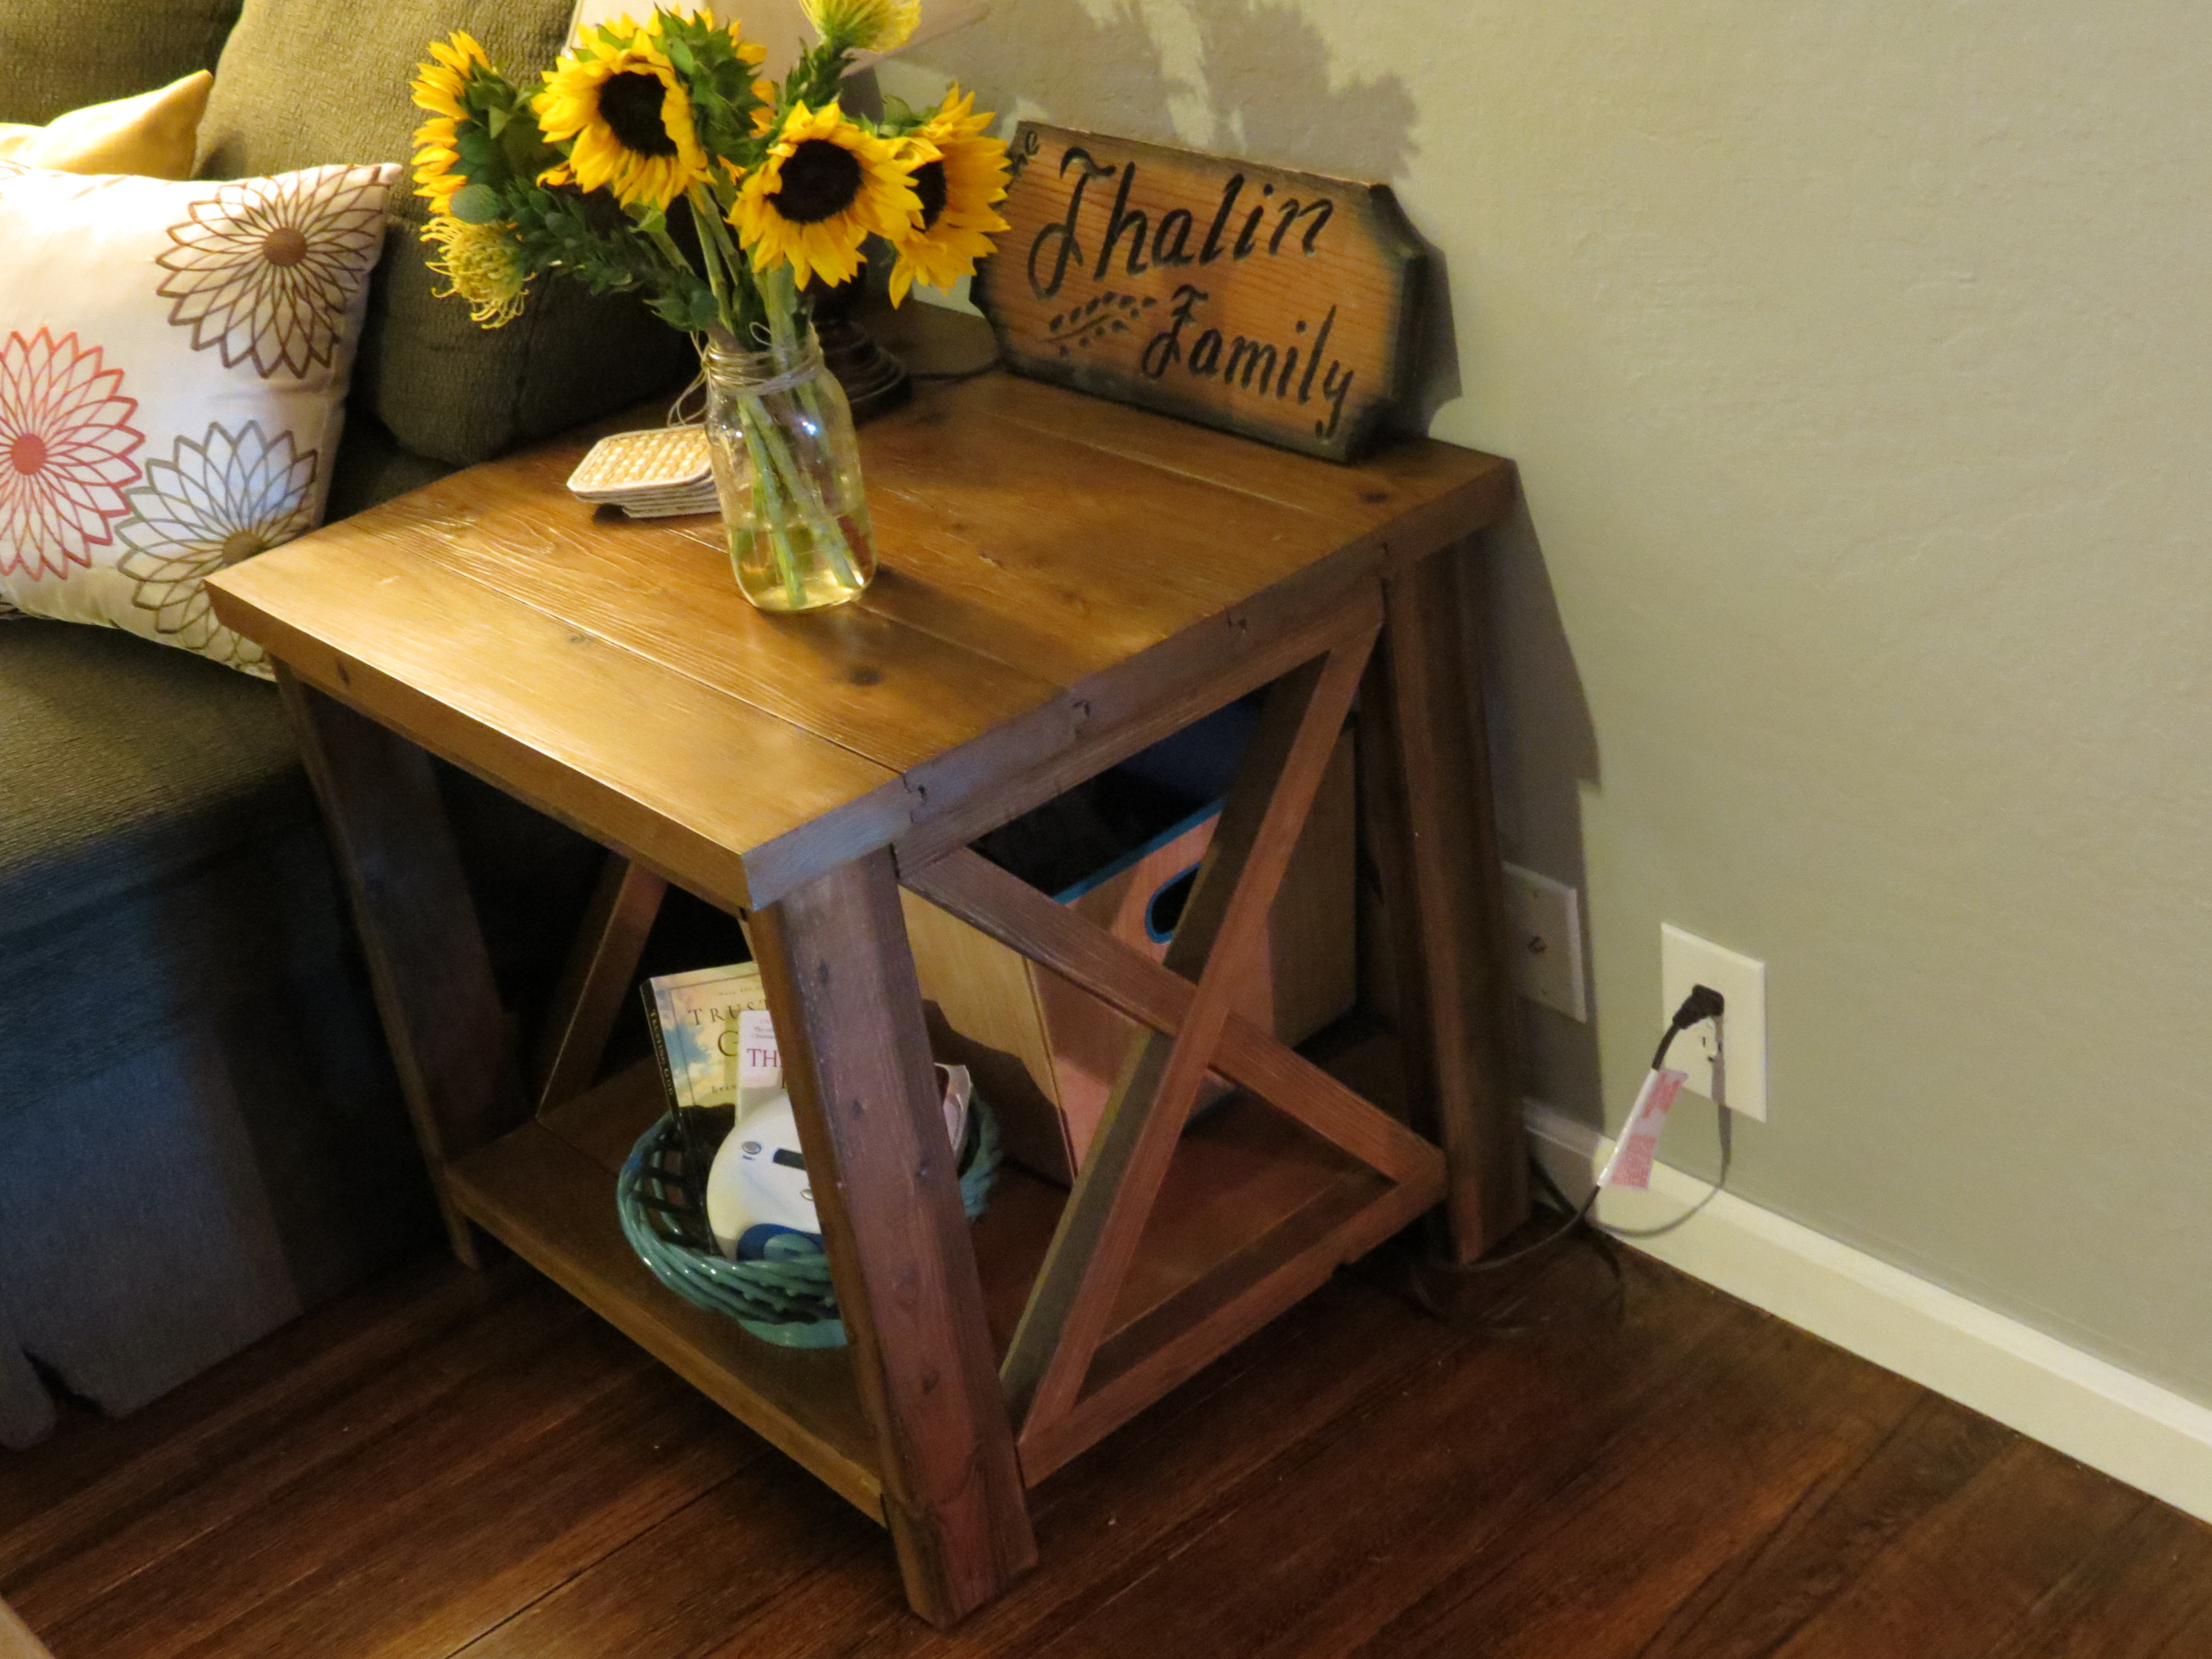
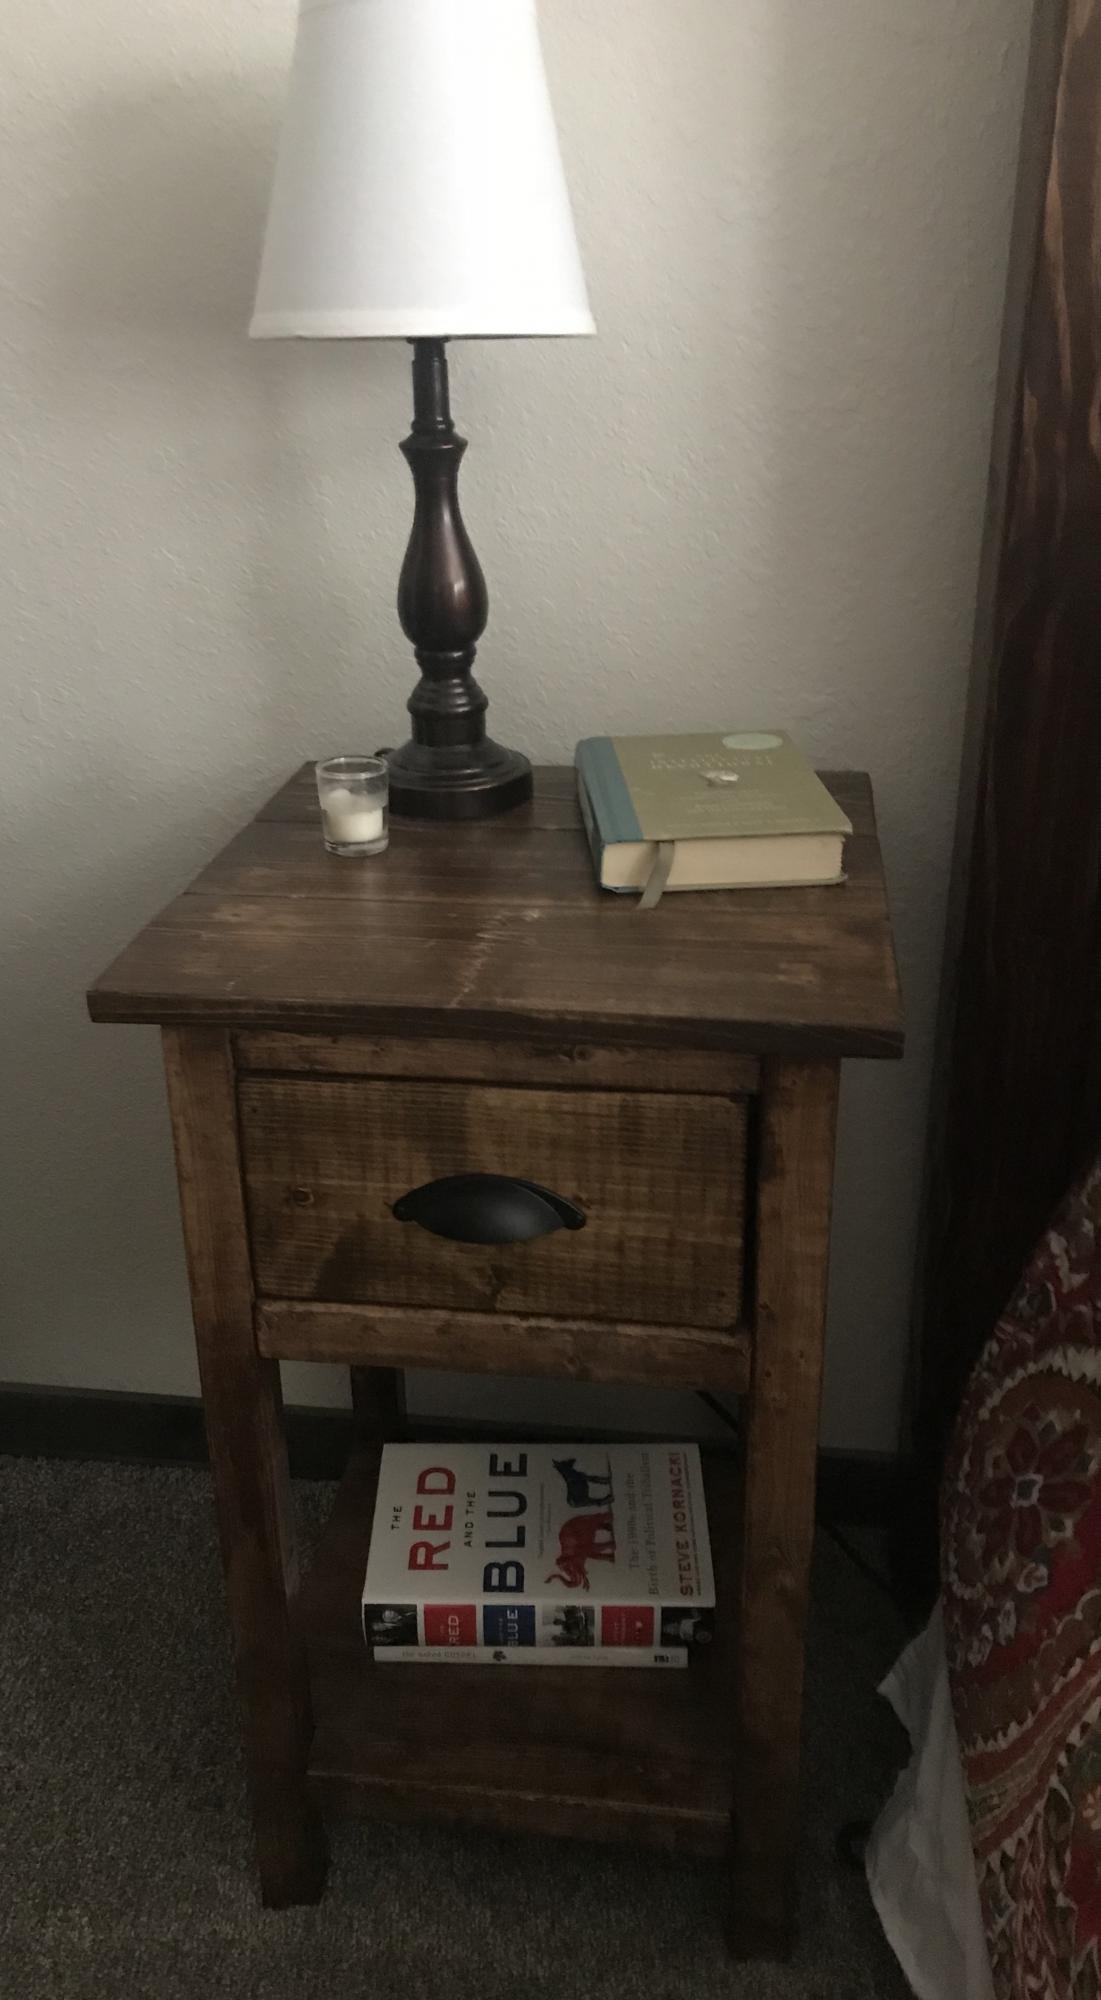
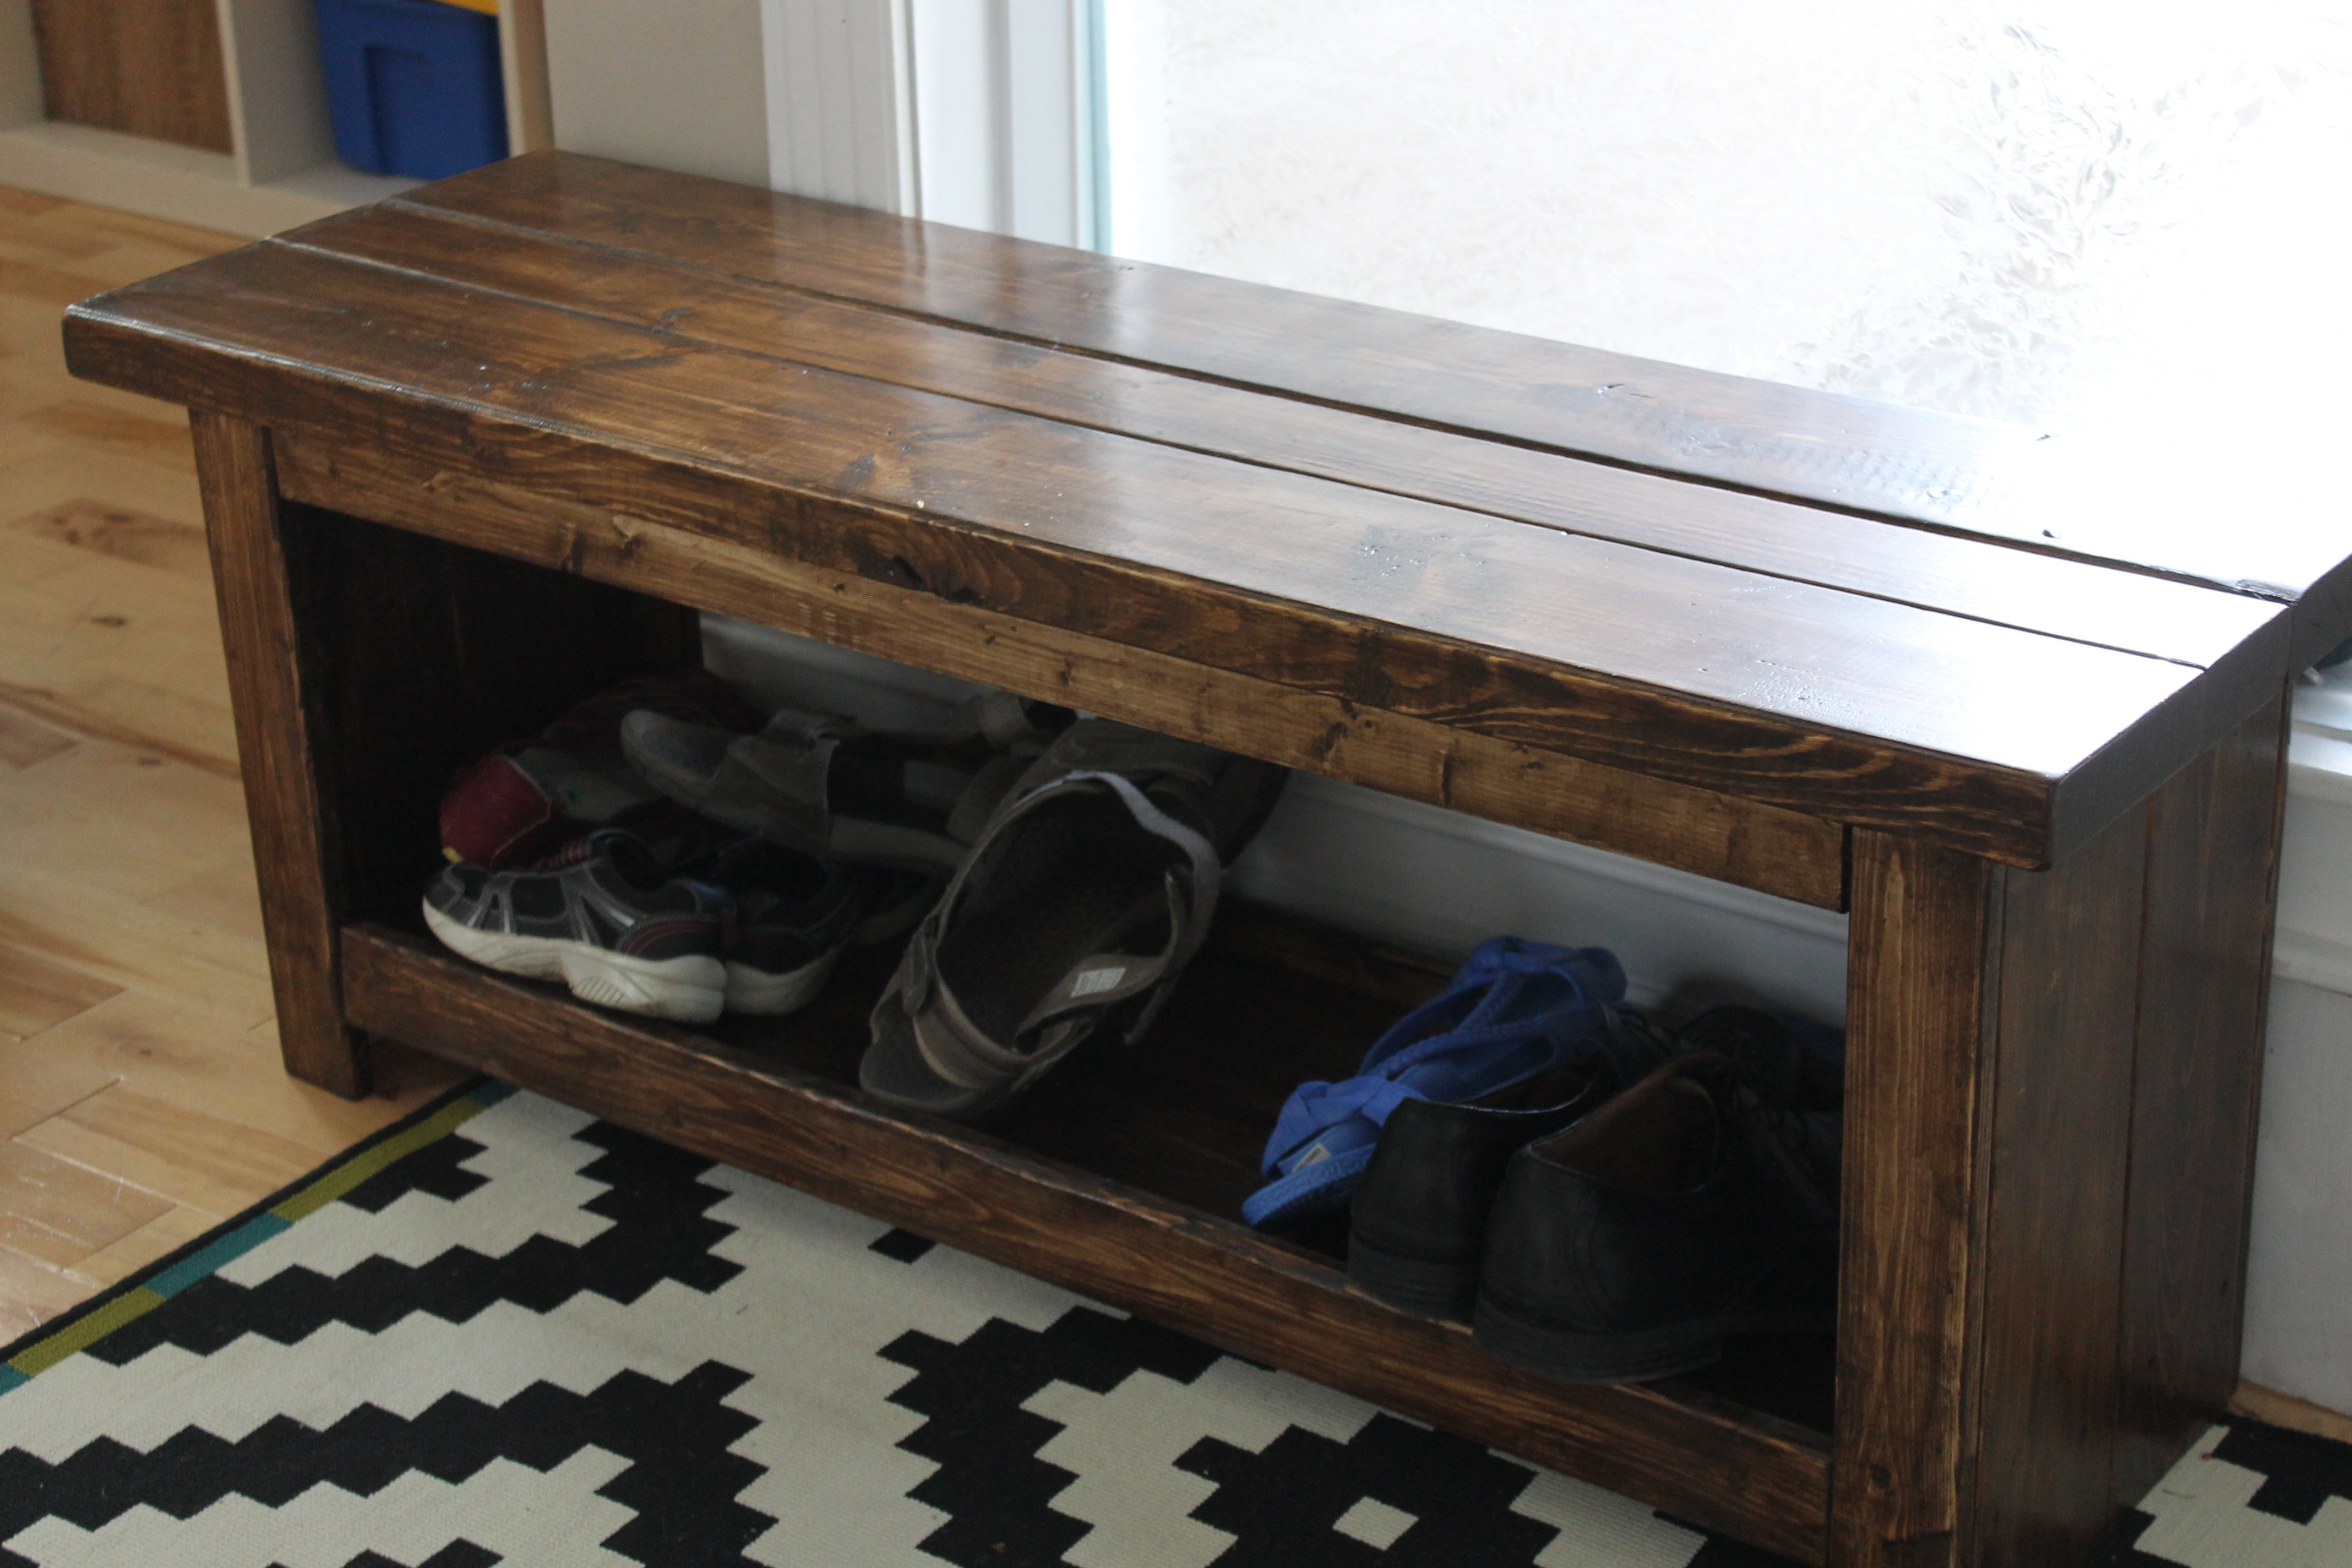
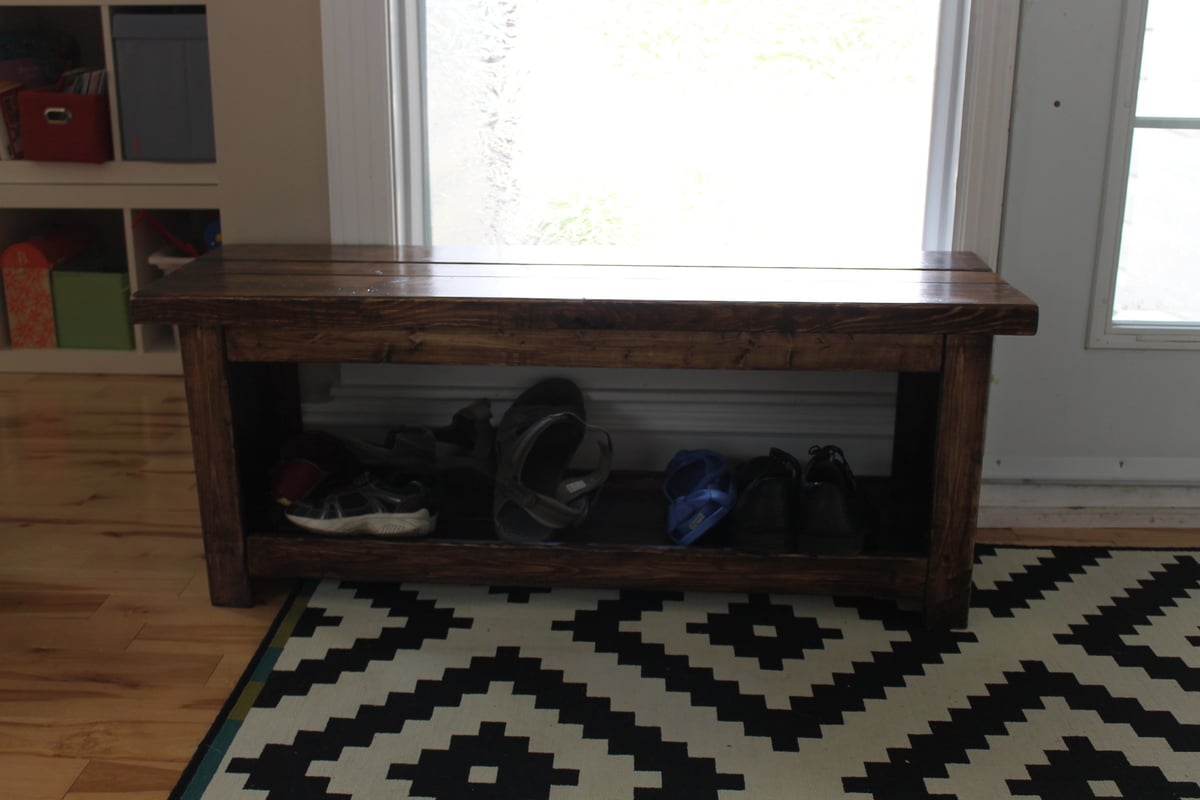
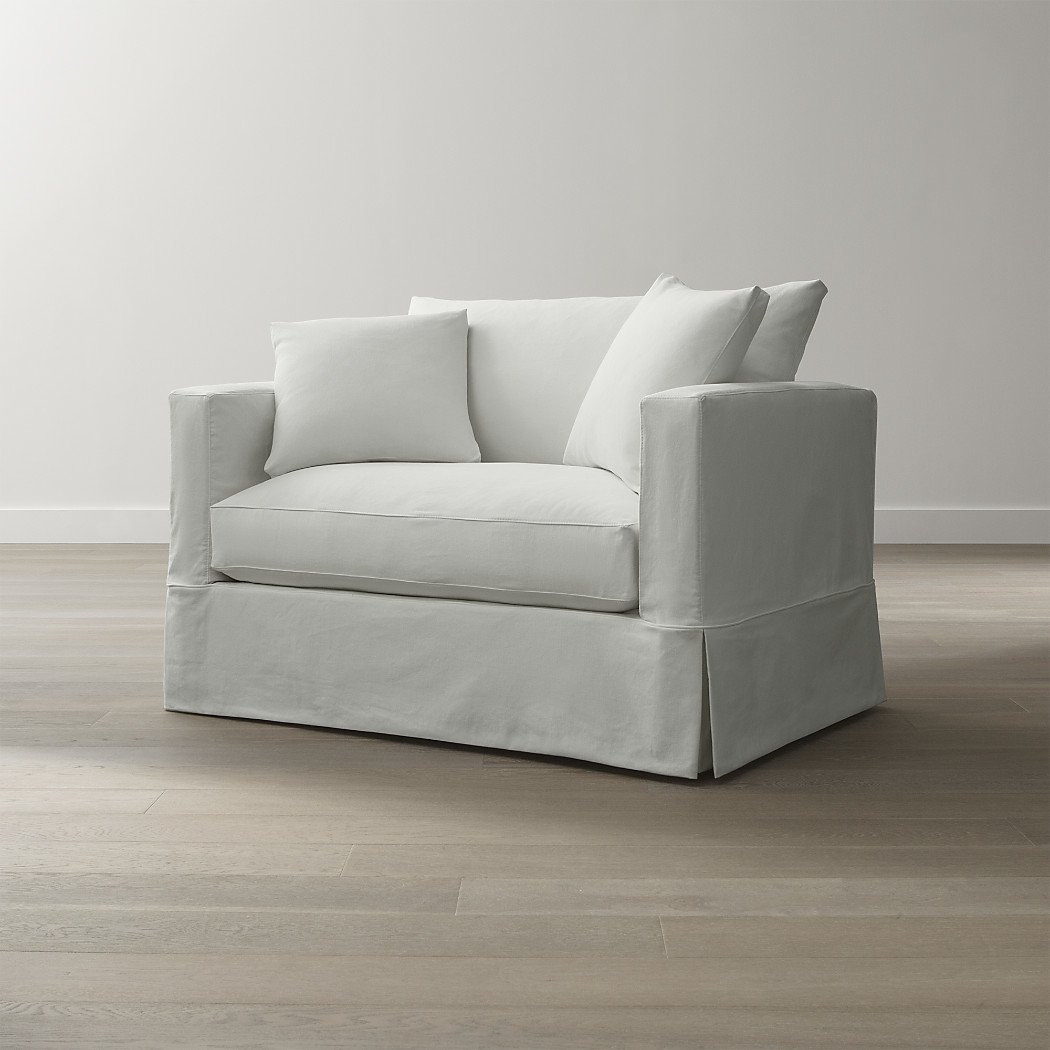
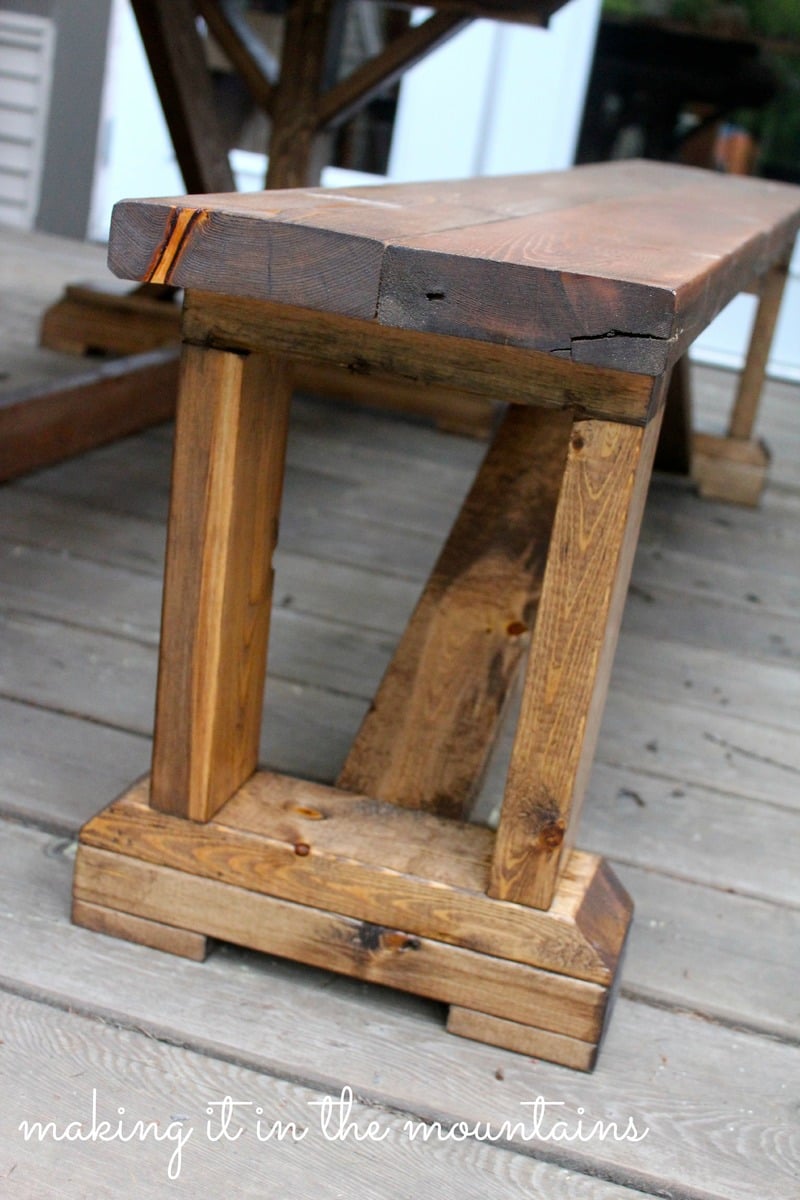
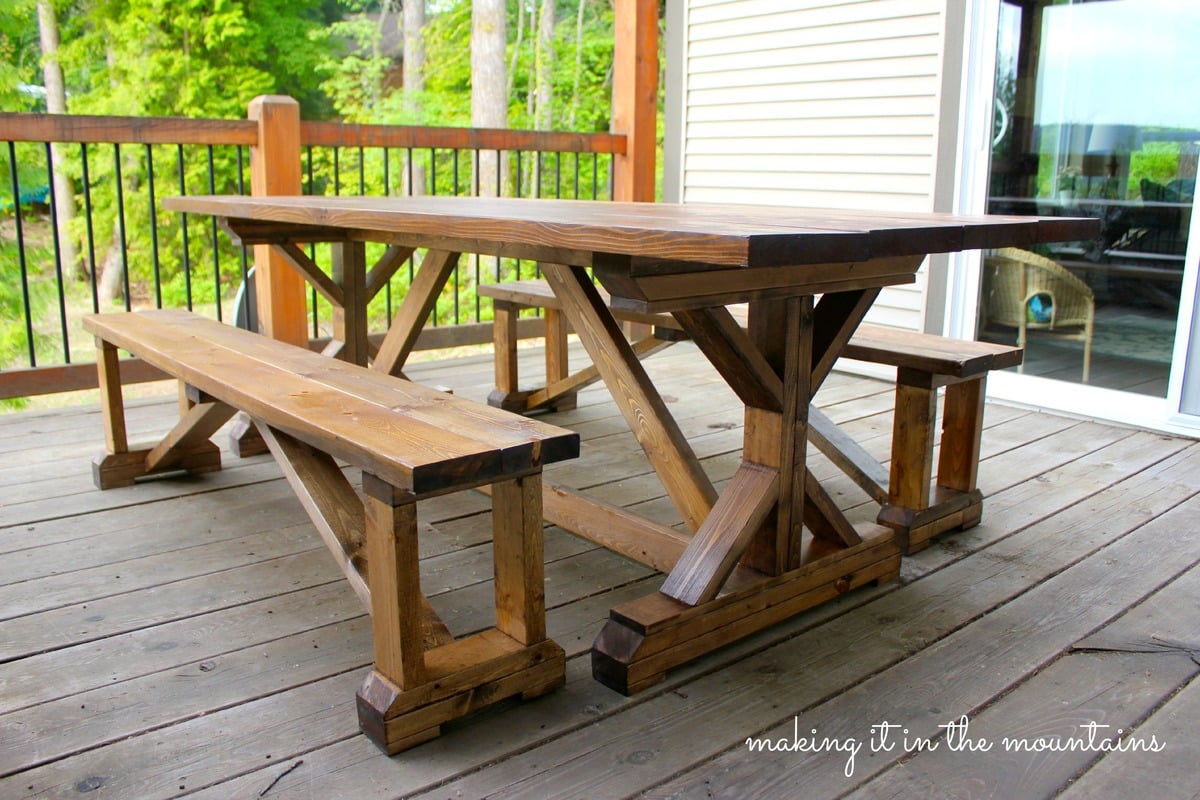
DIY Pottery Barn Inspired Table
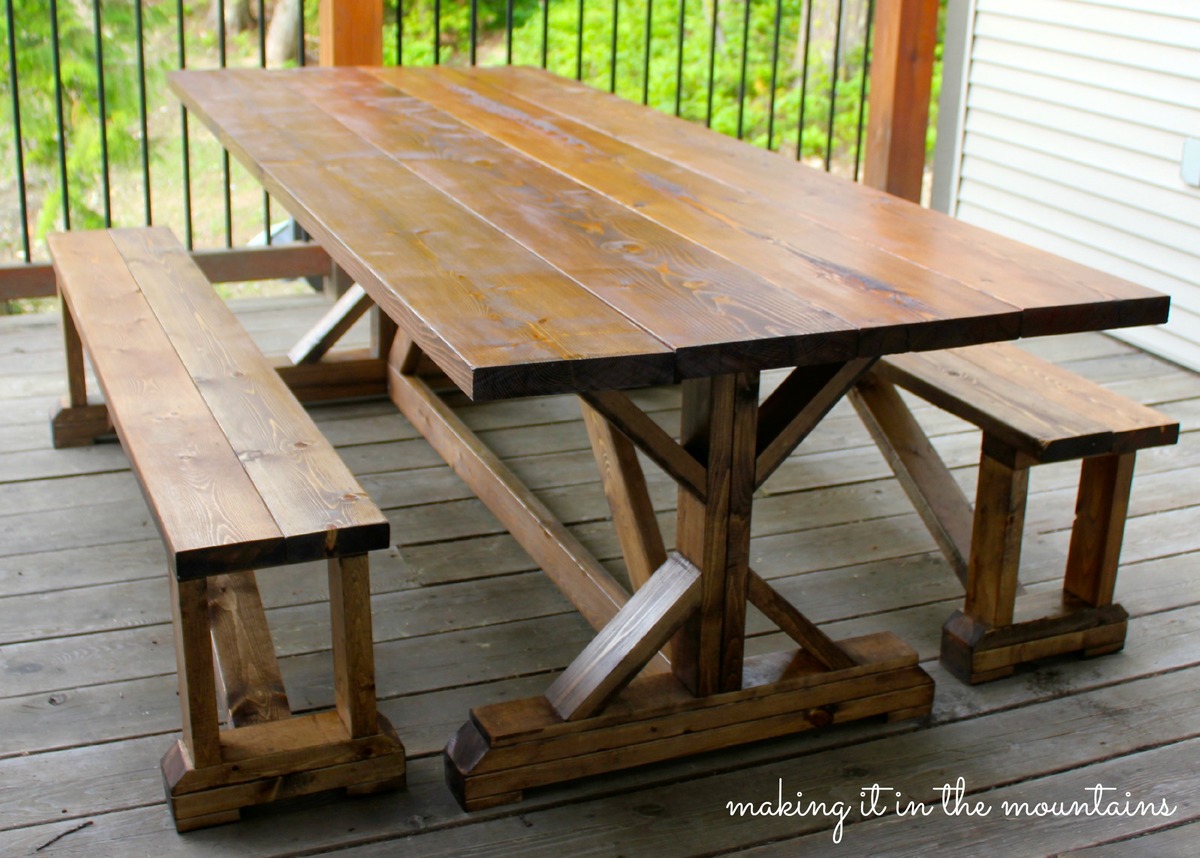
I cannot believe how easy and inexpensive it was to get the Pottery Barn look for SO MUCH less!
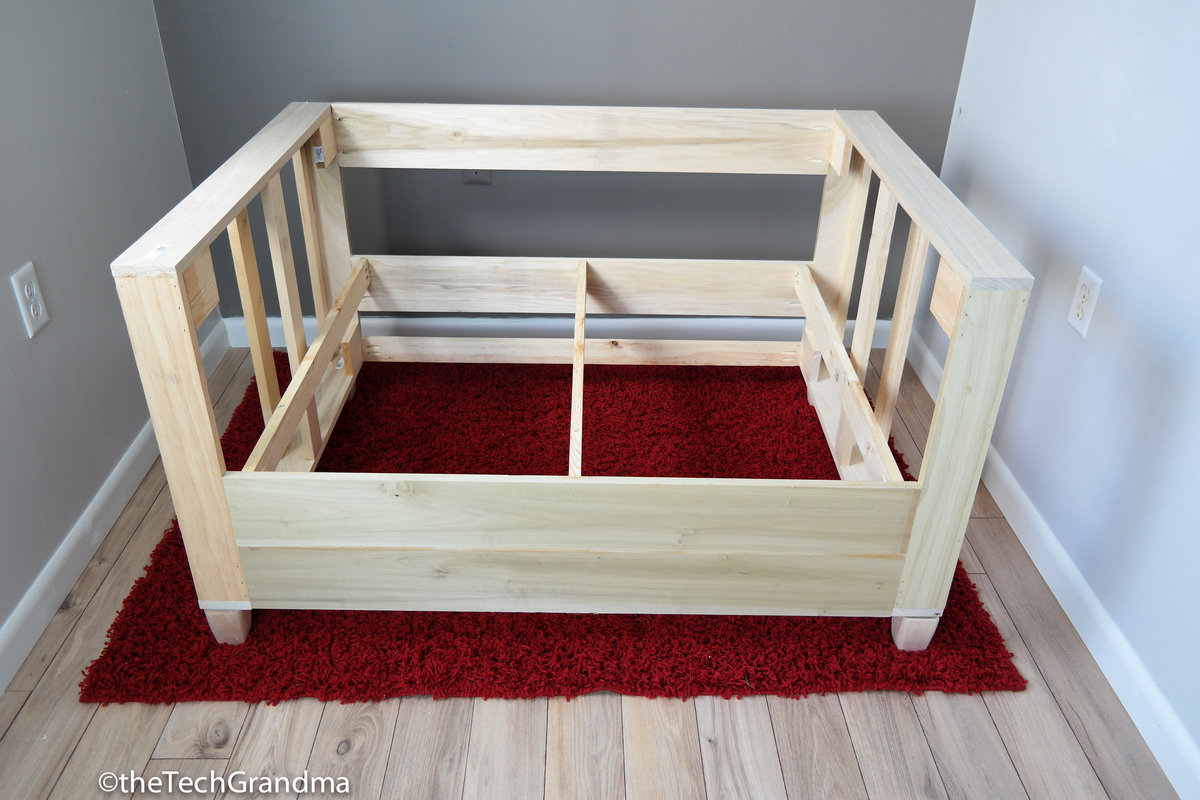
Built from Plan(s)
Estimated Cost
$150
Estimated Time Investment
Weekend Project (10-20 Hours)
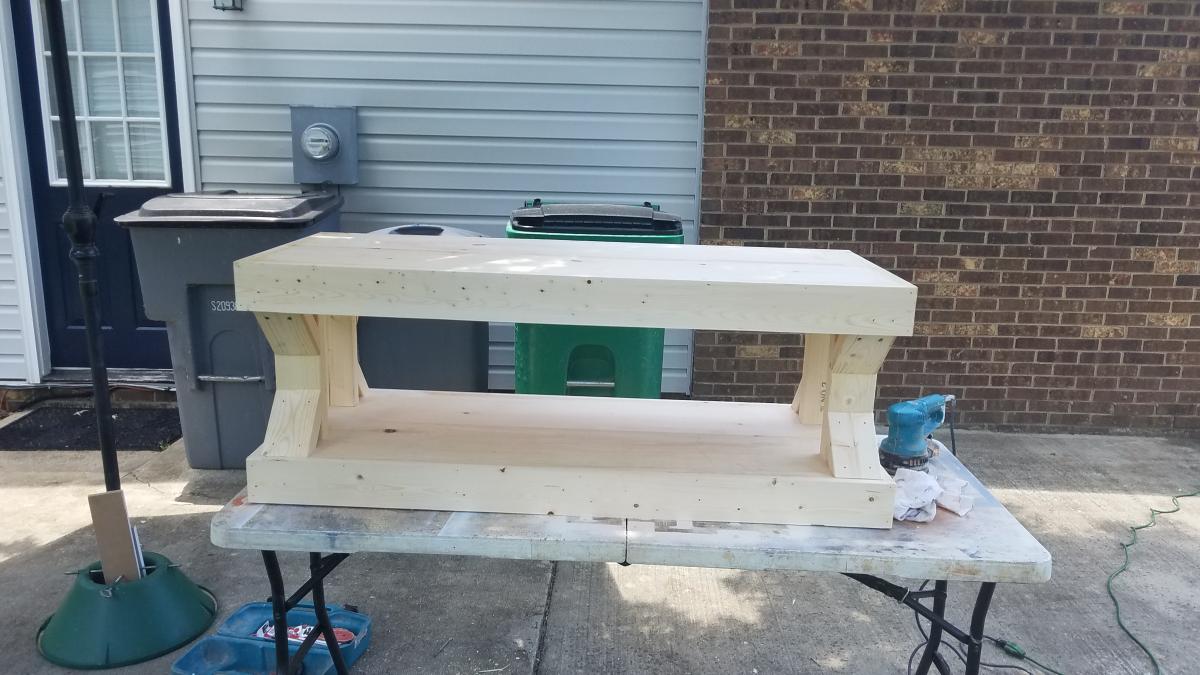
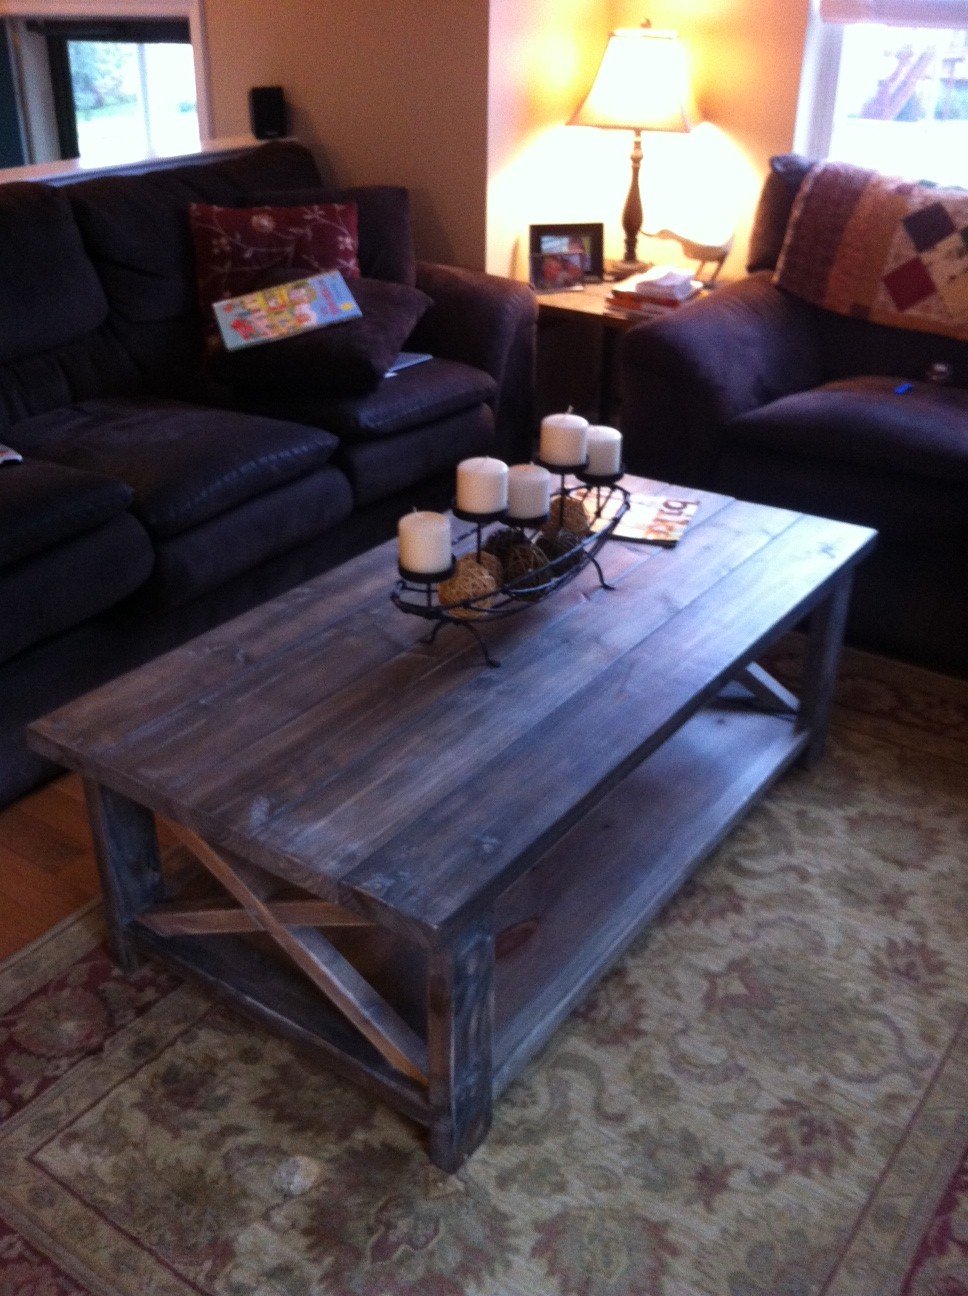
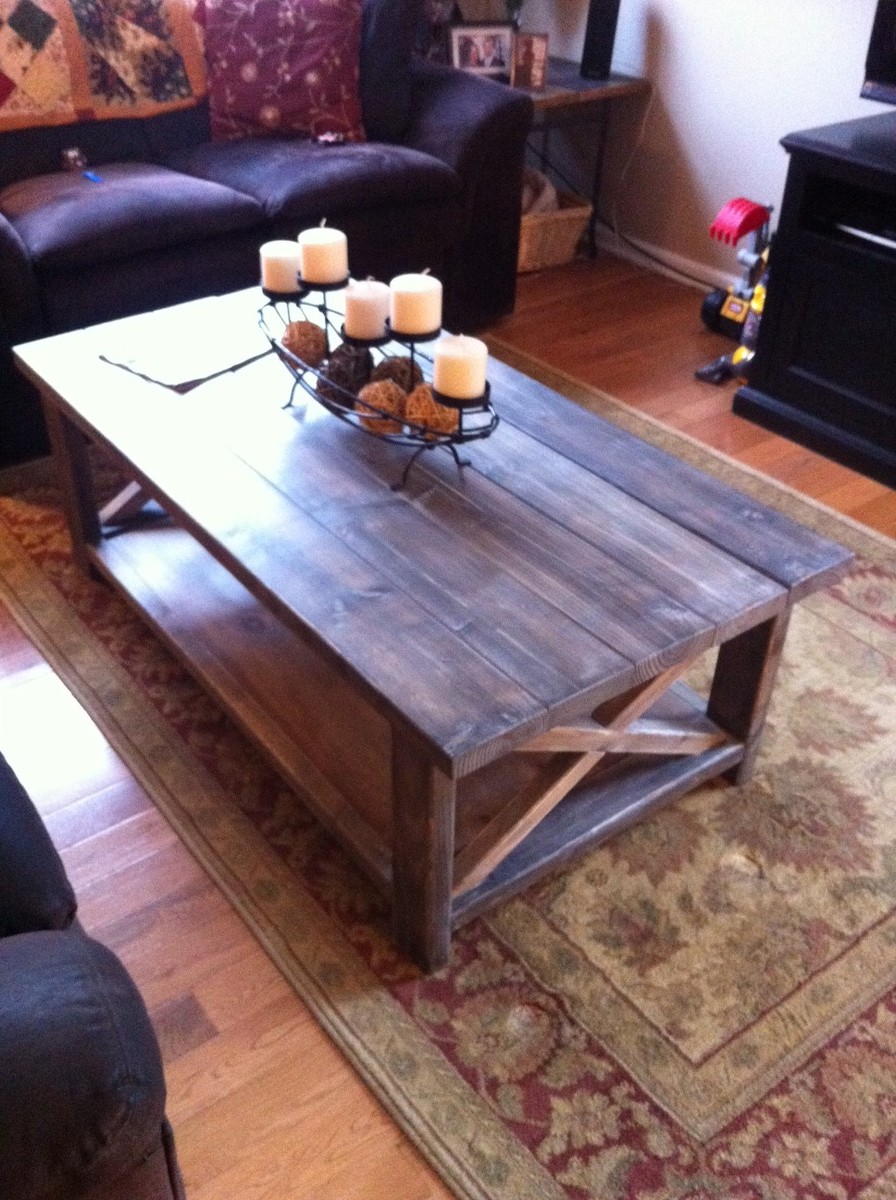
Finish Used
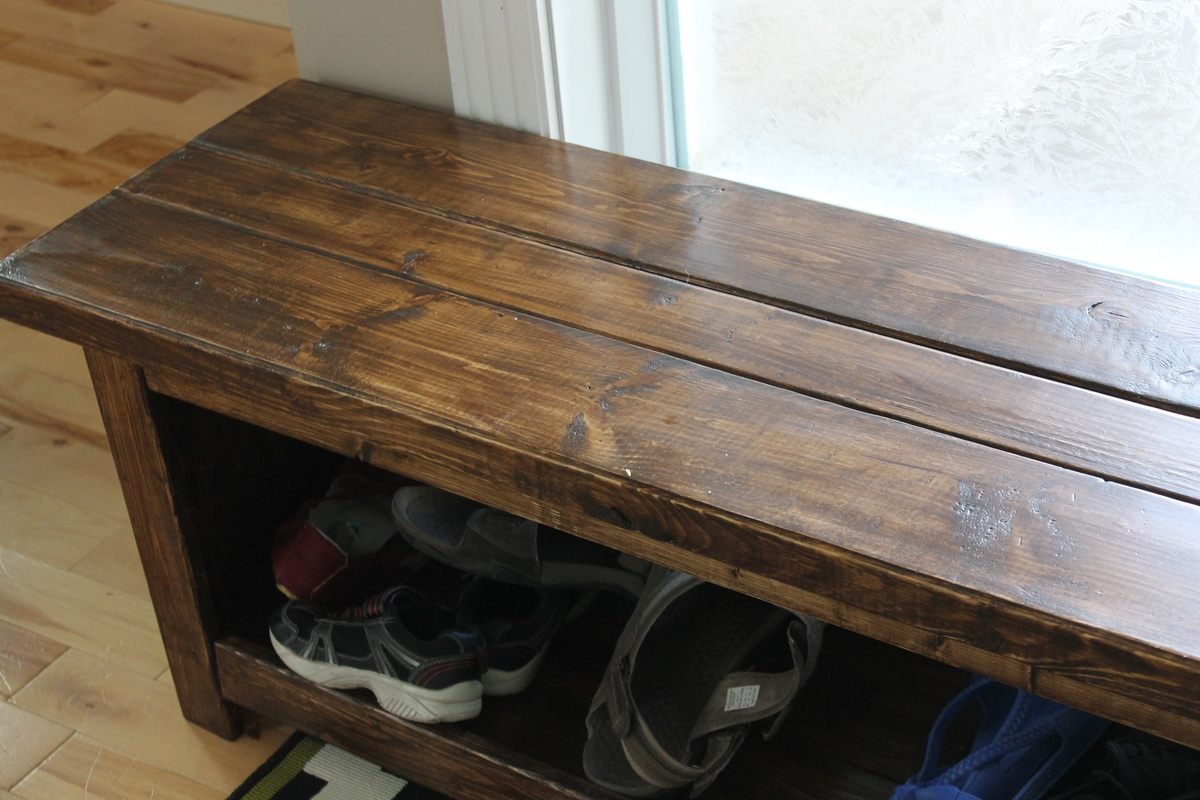
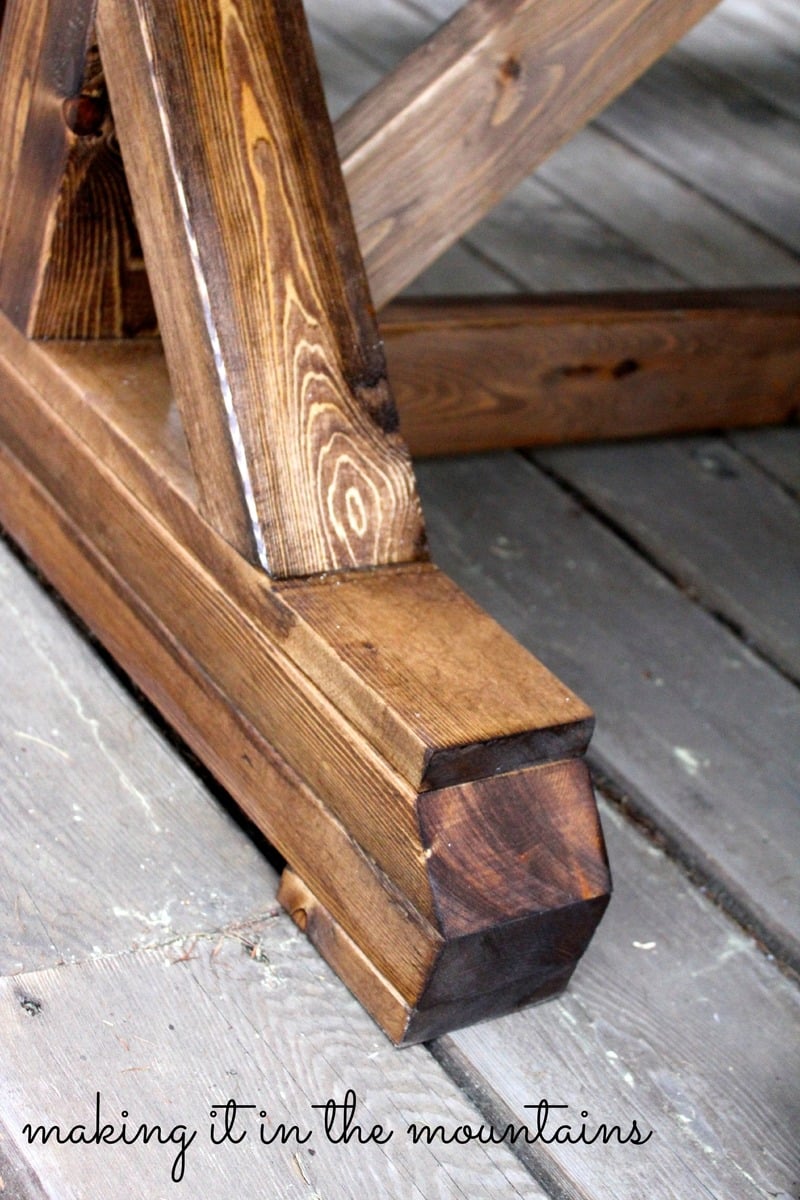
Minwax stain in Special Walnut and Minwax exterior finish.
Recommended Skill Level
Intermediate