Modern Adirondack Chair
Love this chair. I used old fence planks for the seat. Super easy. Clamps are a girls best friend.
Built this from the plans on this site. I beefed up the top frame with 2 extra 2x4's
I built this desk as part of redesigning my homeschool room, and made a few customizations to better fit our needs. It's taller and deeper than the plans, which allowed for a larger work opening for a larger computer. It also gave me much needed extra storage space.
The cabinet is made from 3/4" and 1/4" PureBond birch plywood cut down to size using my Kreg Rip-Cut. The frame is built from pine 1x2s and 1x1s. The three cabinet doors are pine 1x6s and 1x2s joined together with biscuits, and trimmed to the correct size on the table saw. Because the secretary desk is deeper than the plan and the mail slots are small, I finished with stain and polyurethane prior to assembly. This saved a lot of frustration of trying to stain in tight spaces.
Thank you for the plans, Ana!
I used 2x3 and 2x2 because I had a lot laying around. The finish is steel wool vinegar mixture and tea. Dry brushed the chalk paint on than finished it with a satin poly.
I made the octagon picnic table in 2012, using redwood. We lived in California, then in Asia, and now in Australia. In 2020 I modified the table using a wine barrel, because the original legs had rotted.
We were in need of a dining room table--we were hosting Thanksgiving and finally wanted a "grown-up" table! We are huge fans of Restoration Hardware, but not their prices. The Shanty plan was exactly what we were looking for! We love the table, the size is great for our dining room--we left the top at 8 ft. The finish is also what we were looking for; it is something like a weathered barnwood look, though now that the dining room is painted it comes across more steely blue-gray. Still, it is exactly what we were looking for.
We also made an accompanying bench, which you can see peeking out from behind. That has not made its way to the staining process yet, but we are now in the process of building the sideboard and hutch, so we'll just stain everything at once.
It was our 3nd project using Ana's plans and we love it!
My fiance and I built this for my seven year old daughter's Christmas present. I have built several pieces of furniture before but this was our first major building project and I'm proud to say we made a great team!
We didn't make any major changes to the plan, we just chose to leave the wheels off the bottom and we added two boards across the back of the attic rooms so we would have something to attach the back too. We were lucky enough that this project coincided with my dad have his roof replaced and he had spare shingles, so her doll house has real asphalt shingles! They were actually a lot easier to add than I expected, we simply scored the back of the shingles with a knife and then they cleanly broke apart. We used a staple gun to attach the shingles we would be able to layer so you couldn't see the staples, but for those where the staples would have shown we used a hot glue gun.
The only issue we had was moving it around without my daughter noticing because it's so big! My fiance and I actually scratched up a door frame trying to sneak it under the tree after she went to sleep because it's so large (totally my fault, apparently I need to work out more). Other than that everything went smooth and it was fun to build and so exciting to watch my daughter freak out over Christmas morning!!!
Adjusted the plans to 7' length to fit room size.
Sat, 07/18/2020 - 11:00
What dimensions did you adjust to get this at 7 feet? It looks beautiful! We are new to building and 7' is what size we were looking for our dining room table.
Been looking for a while for some simple looking Adirondack chairs. I found these and they turned out great. Will be finishing them with a white paint. Thanks for the plans Ana!
After browsing through forums I came up with this idea...a versatile shop cart that I can insert my kreg jig and miter saw into...a stable base at a great working height.
I created this design in sketchup as well and will work on posting it as a plan if people are interested.
basically, the top is inset 3/4" to make room for the inserts. I created a work table insert (well two I split in half, so the kreg insert can take up the front half if I wanted to insert that.
Then I made the kreg jig insert
and the Miter saw insert
let me tell you...this came in handy right away as each of those inserts I made can be used without the cart as well and both inserts work tremendously!
I am really really happy with this and it is so useful. Started making the loft bed playhouse last night and the miter say and kreg jig were extremely useful at a good working height.
Mon, 02/25/2013 - 08:07
My intention for the top shelf is to hold small tools that I am working with while using the cart and the bottom is to store the cut pieces of lumber I am using for the project
Mon, 02/25/2013 - 10:33
Please post the plans. This thing would make a great shop cart or miter saw stand.
I have one other suggestion: you could also use it as a small assembly table. You have a 3/4" inset. Stick a piece of plywood inside the exactly fits inside. Then screw a larger piece of plywood to that one. (DON"T screw it into the top of the cart.) The larger sheet of plywood would overhand the shop cart edges by maybe a foot on each size, so you'd have a "small" mobile assembly table that might 3x4 feet or 3x5 feet across at the top.
Mon, 02/25/2013 - 11:20
I would also like to see the plans for this cart. It looks nice and compact and versatile.
Mon, 02/25/2013 - 12:10
@ david...I did make a workbench type top for it as well, just didn't post a pic of that.
I will get the plans together for this then and post it for everyone...I enjoy sharing with everyone so we all can learn and make quality things. I'll start working on that tonight.
Tue, 02/26/2013 - 10:55
here is the link to the plans
http://ana-white.com/2013/02/plans/versatile-shop-cart-workbench-inserts
Put this together after Christmas. Not too difficult of a project. Decided not to put casters on to save a little money. Can always add them later if needed. I think if I created it again I'd make more space for the rolls of wrapping paper and smaller space for the trays. We have a lot of wrapping paper.
This planter was so easy to build! super cute, fun, spring project.
I made this to fit the room and to help organize and cleanup the laundry / mud room. After searching for plans online I just sat down with pencil and paper and drew up my own plans, cut sheets and design from a combo of numerous projects I found in Pinterest.
Thu, 02/18/2021 - 15:43
Love the option of open and closed storage, it looks amazing!
In reply to Very cool design and build! by Ana White Admin
Fri, 02/19/2021 - 08:44
Thanks! We have some items like a steam mop and electric broom that go in one of the enclosed storage areas. I can post plans, construction pics and cut sheet if there is a place to do that.
After completing the table and being very happy with it, I had an overabundance of confidence making this bench. That probably is why it was so frustrating when things didn't go so well.
I made a few errors but two really stick out to me. The first was making the pedestals too much like the table pedestals. I screwed and glued an extra piece of wood on top of the bench pedestals (just like there is on the table) before I returned to the plans. This was not an easy fix and involved crowbars, chisels and cutting the heads off of stripped wood screws. Lesson: READ THE PLAN!
The second error relates to why the bench is a shade or two darker than the table. We used the same can of stain, but neglected to use wood conditioner. It appears that the wood conditioner (or our failure to mix the stain well enough) on the table made the stain much lighter than we expected. We have since fallen in love with the table's color; however, the bench came out the color we had originally expected for the table, which is much darker. We are going to do a test at some point to determine whether it was the wood conditioner or just the poor mixing that lightened the table. One other possible explanation is that we got the wood from a different place. This wood did seem a bit softer, in case that makes a difference. As a result of this color difference we are going to literally sit on it (the bench) for a while and decide whether we will strip and re-stain the table. It seems easier to re-do the table darker than lighten the bench since all we would need to remove is the poly. We're not in a hurry though. We might end up liking it well enough like we did the table. The bench almost matches our son's highchair, so it almost looks intentional. Lesson: TEST THE STAIN FIRST!
Fixes and stain-color aside, the bench was not terribly difficult to make and the plans (when I bothered to read them) were very easy to follow. I'm looking forward to bringing these lessons to the next project. My wife is requesting Adirondack chairs. Fortunately for us both, Mrs. White has shared some very good looking chair plans. Stay tuned.
Wed, 02/27/2013 - 14:38
I think you did a great job! Personally, I hope you do not redue anything. I like the two tone!
Thanks for the inspiration! This was my first full blown creation and my wife loves it. Cannot wait to do more!
This is my Son's crib that I built about a year ago. I have the plans for them but I need to get on my desktop to get the plans. But it's built to be a convertable crib like the expensive cribs you can buy. If i remember correctly I had less that $150 in material. With all the sanding and it being the first time I had made one I had about 100 hours into it.
This was my very first experience ever building anything. I’d barely used a saw before this! I probably did a few things wonky, and it has some flaws. BUT it’s level and doesn’t wobble!!
Hello There!
This was my attempt at the Family Tree Nesting Birds sign that Ana made. I ended up painting everything instead of doing the foam for the leaves, but I just love how it turned out! I used old pallet wood instead of new lumber and gave it a really good sanding before staining and painting.
Gave it to my brother and sister-in-law for Christmas, and it was a huge hit!
Thanks Ana!
I used the Ana White Farmhouse Table plans. I made the matching bench with a backrest. For the top of the table and the bench seat I used a royal plum stain. I'm female, 54 years old and I do woodworking "Like A Girl". Enjoy
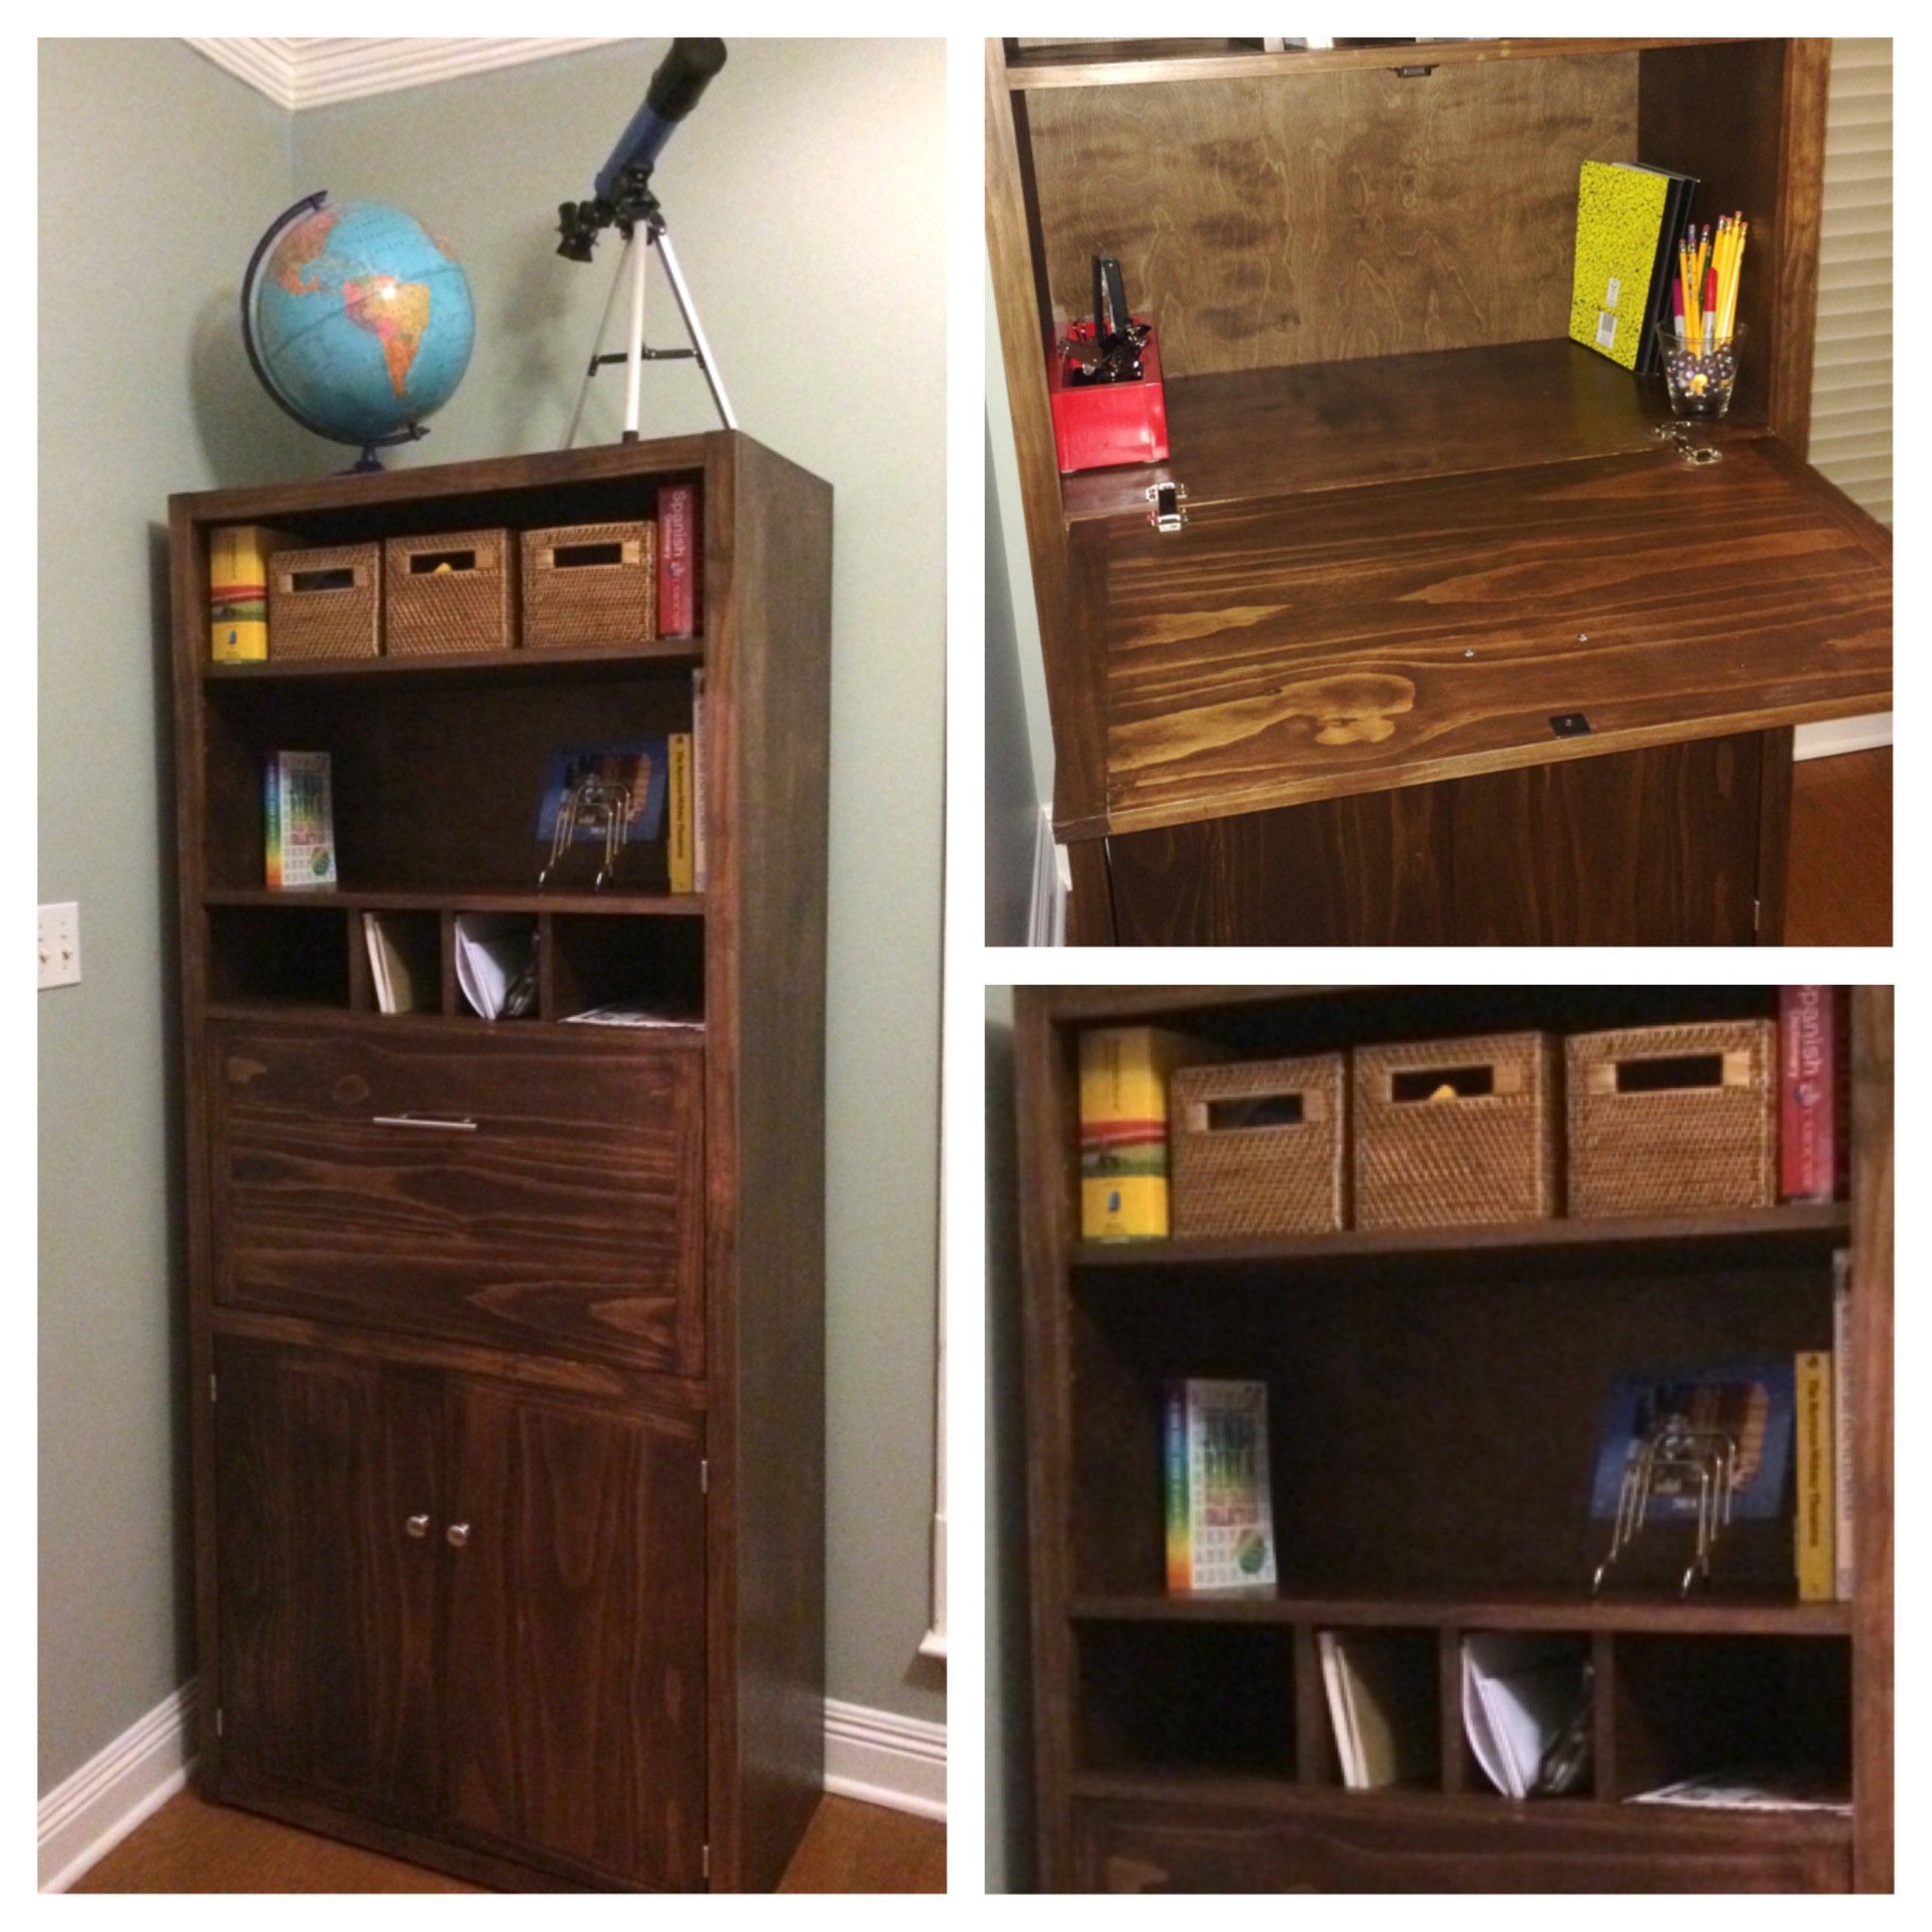
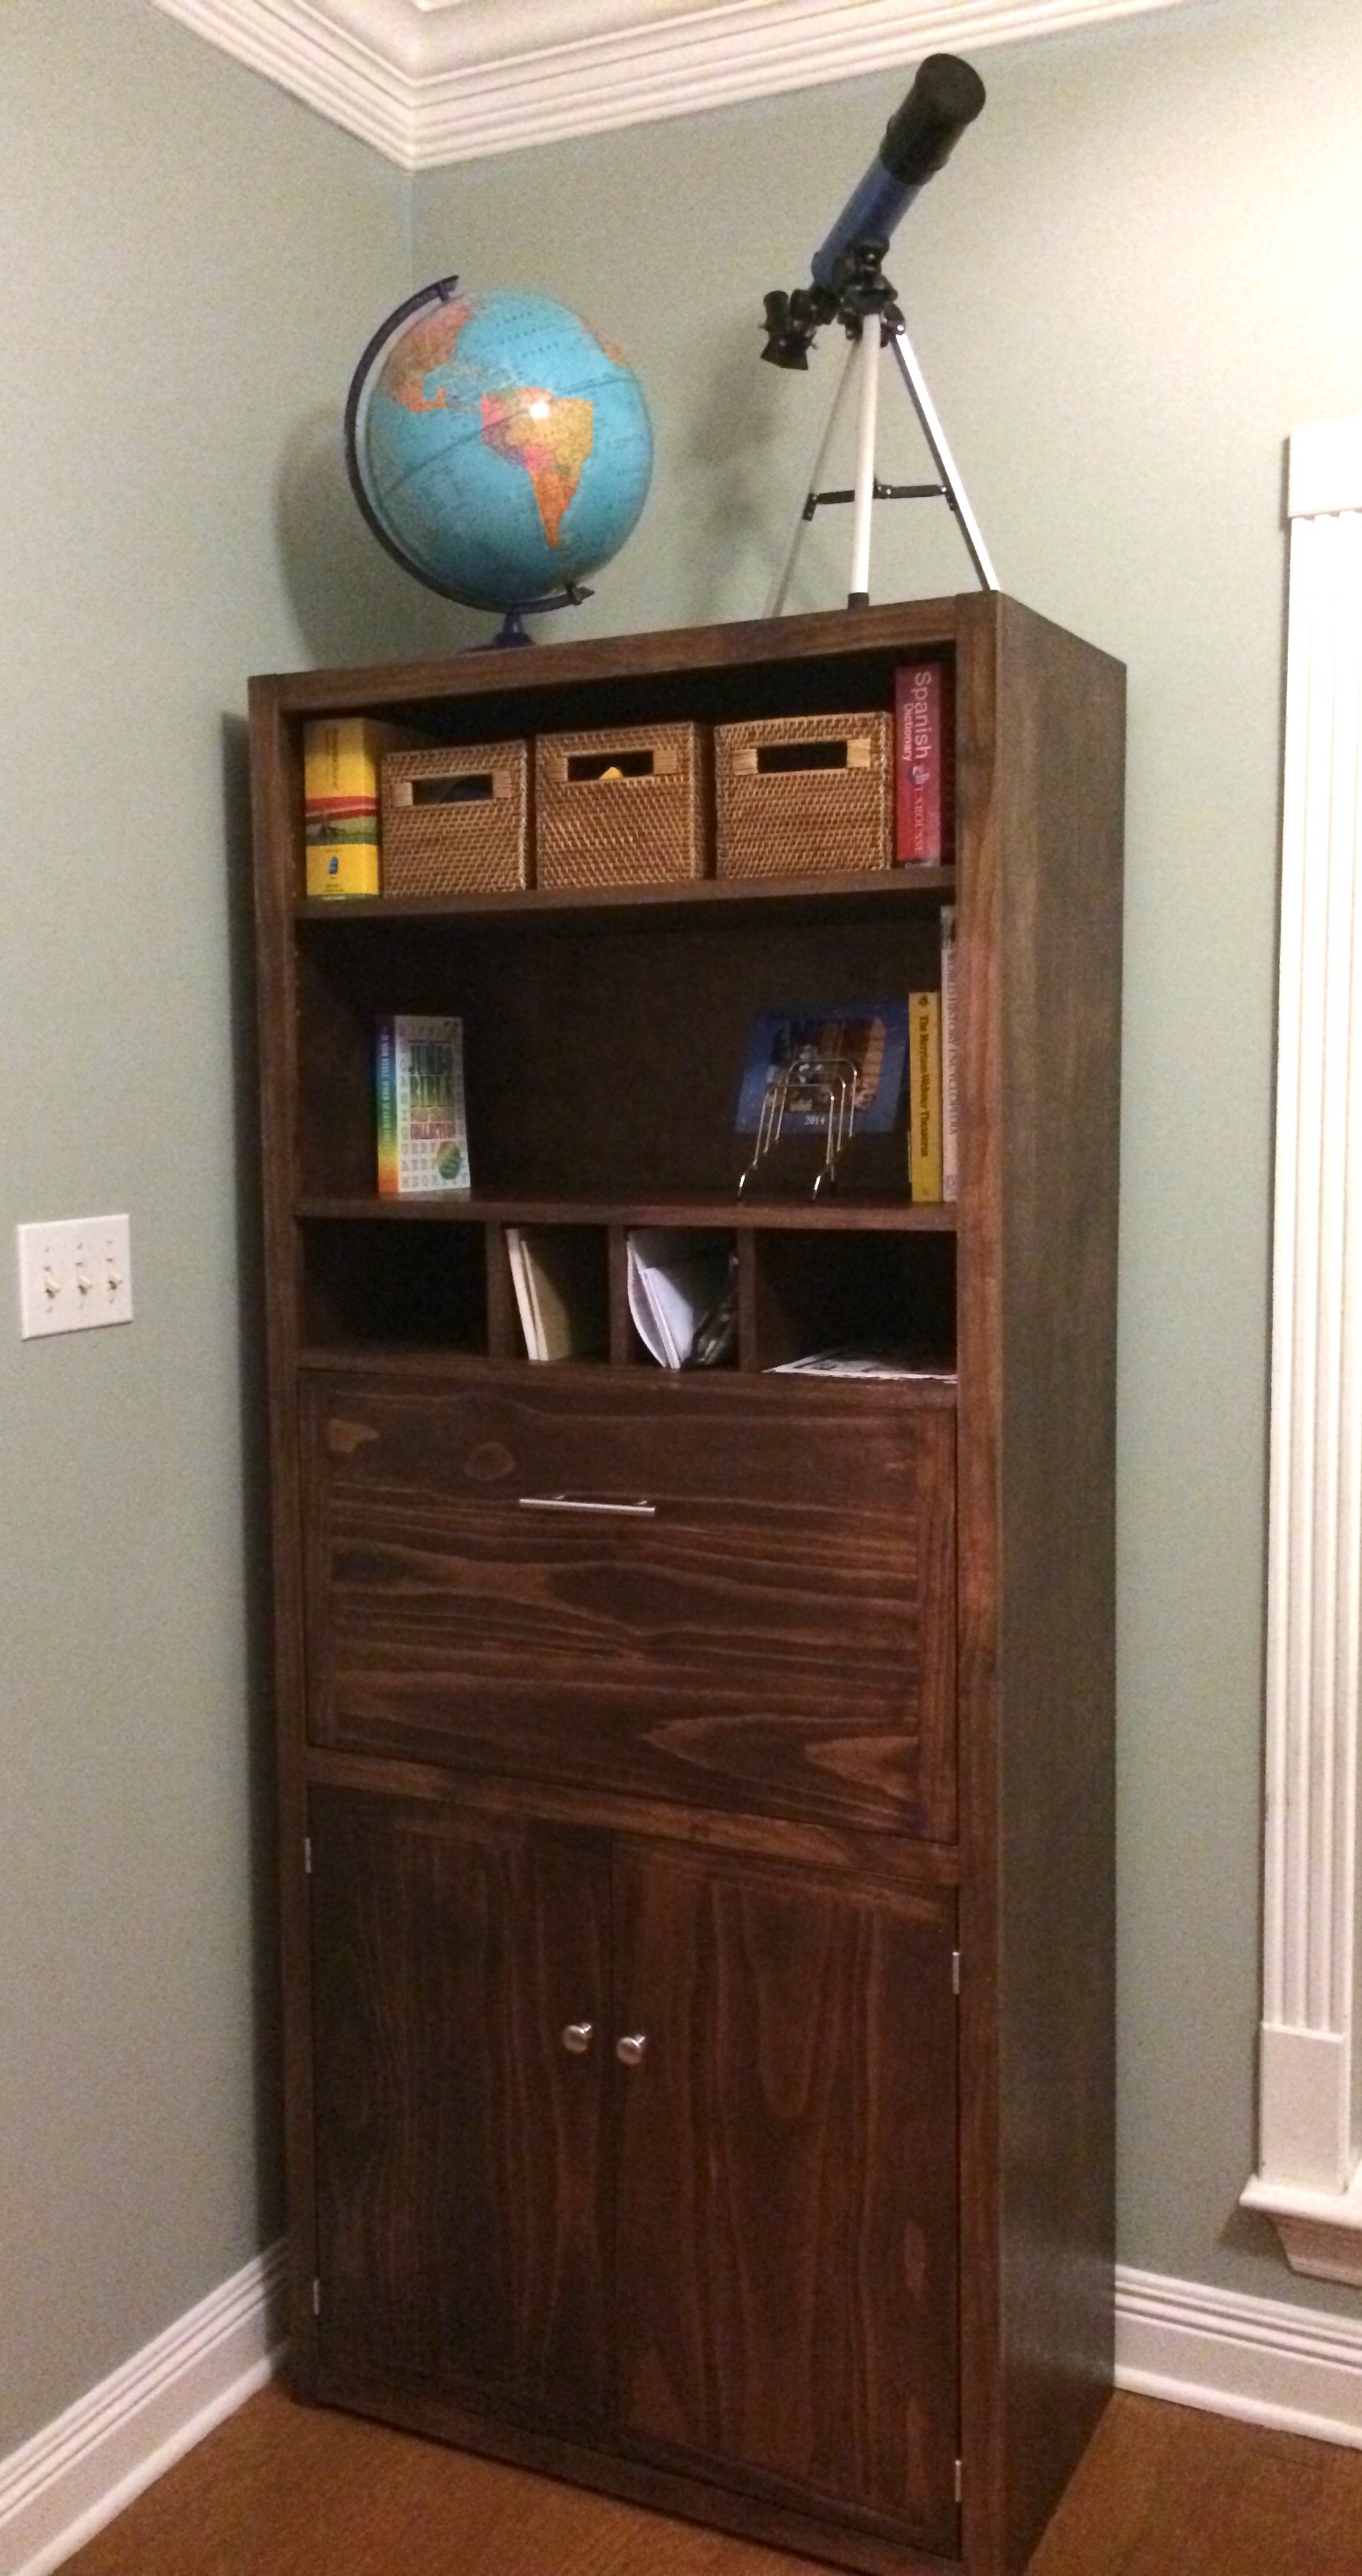
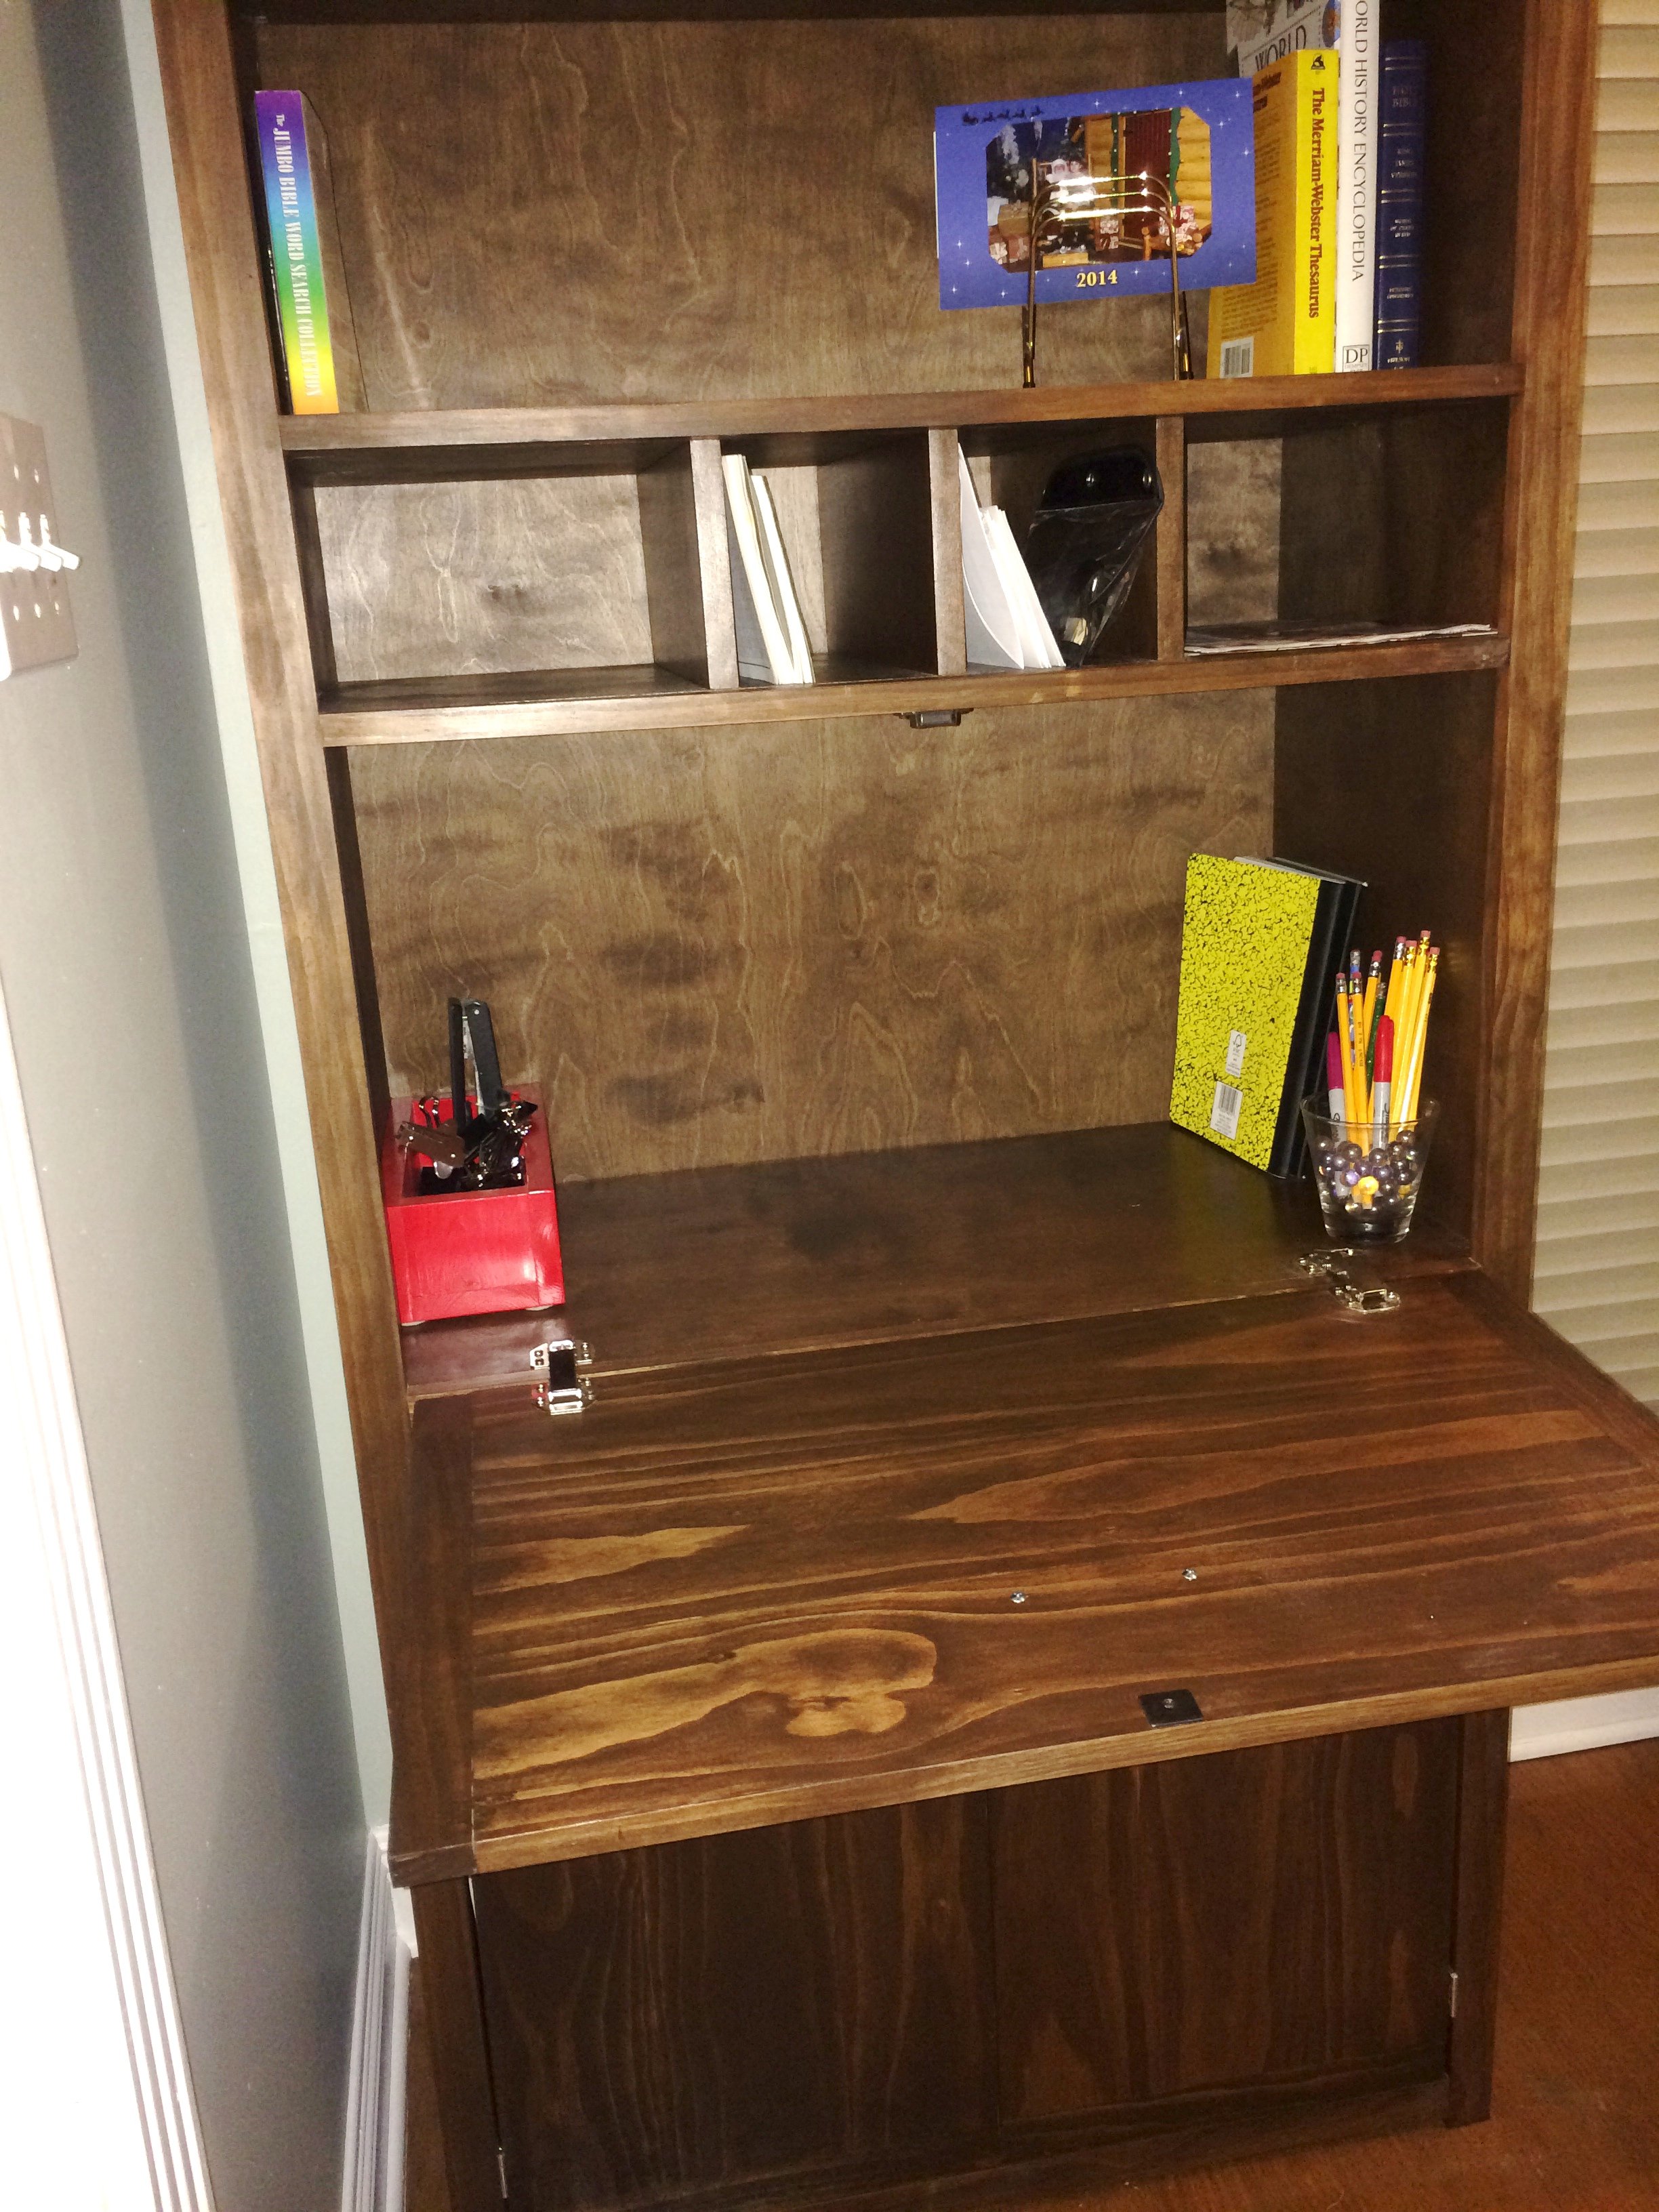
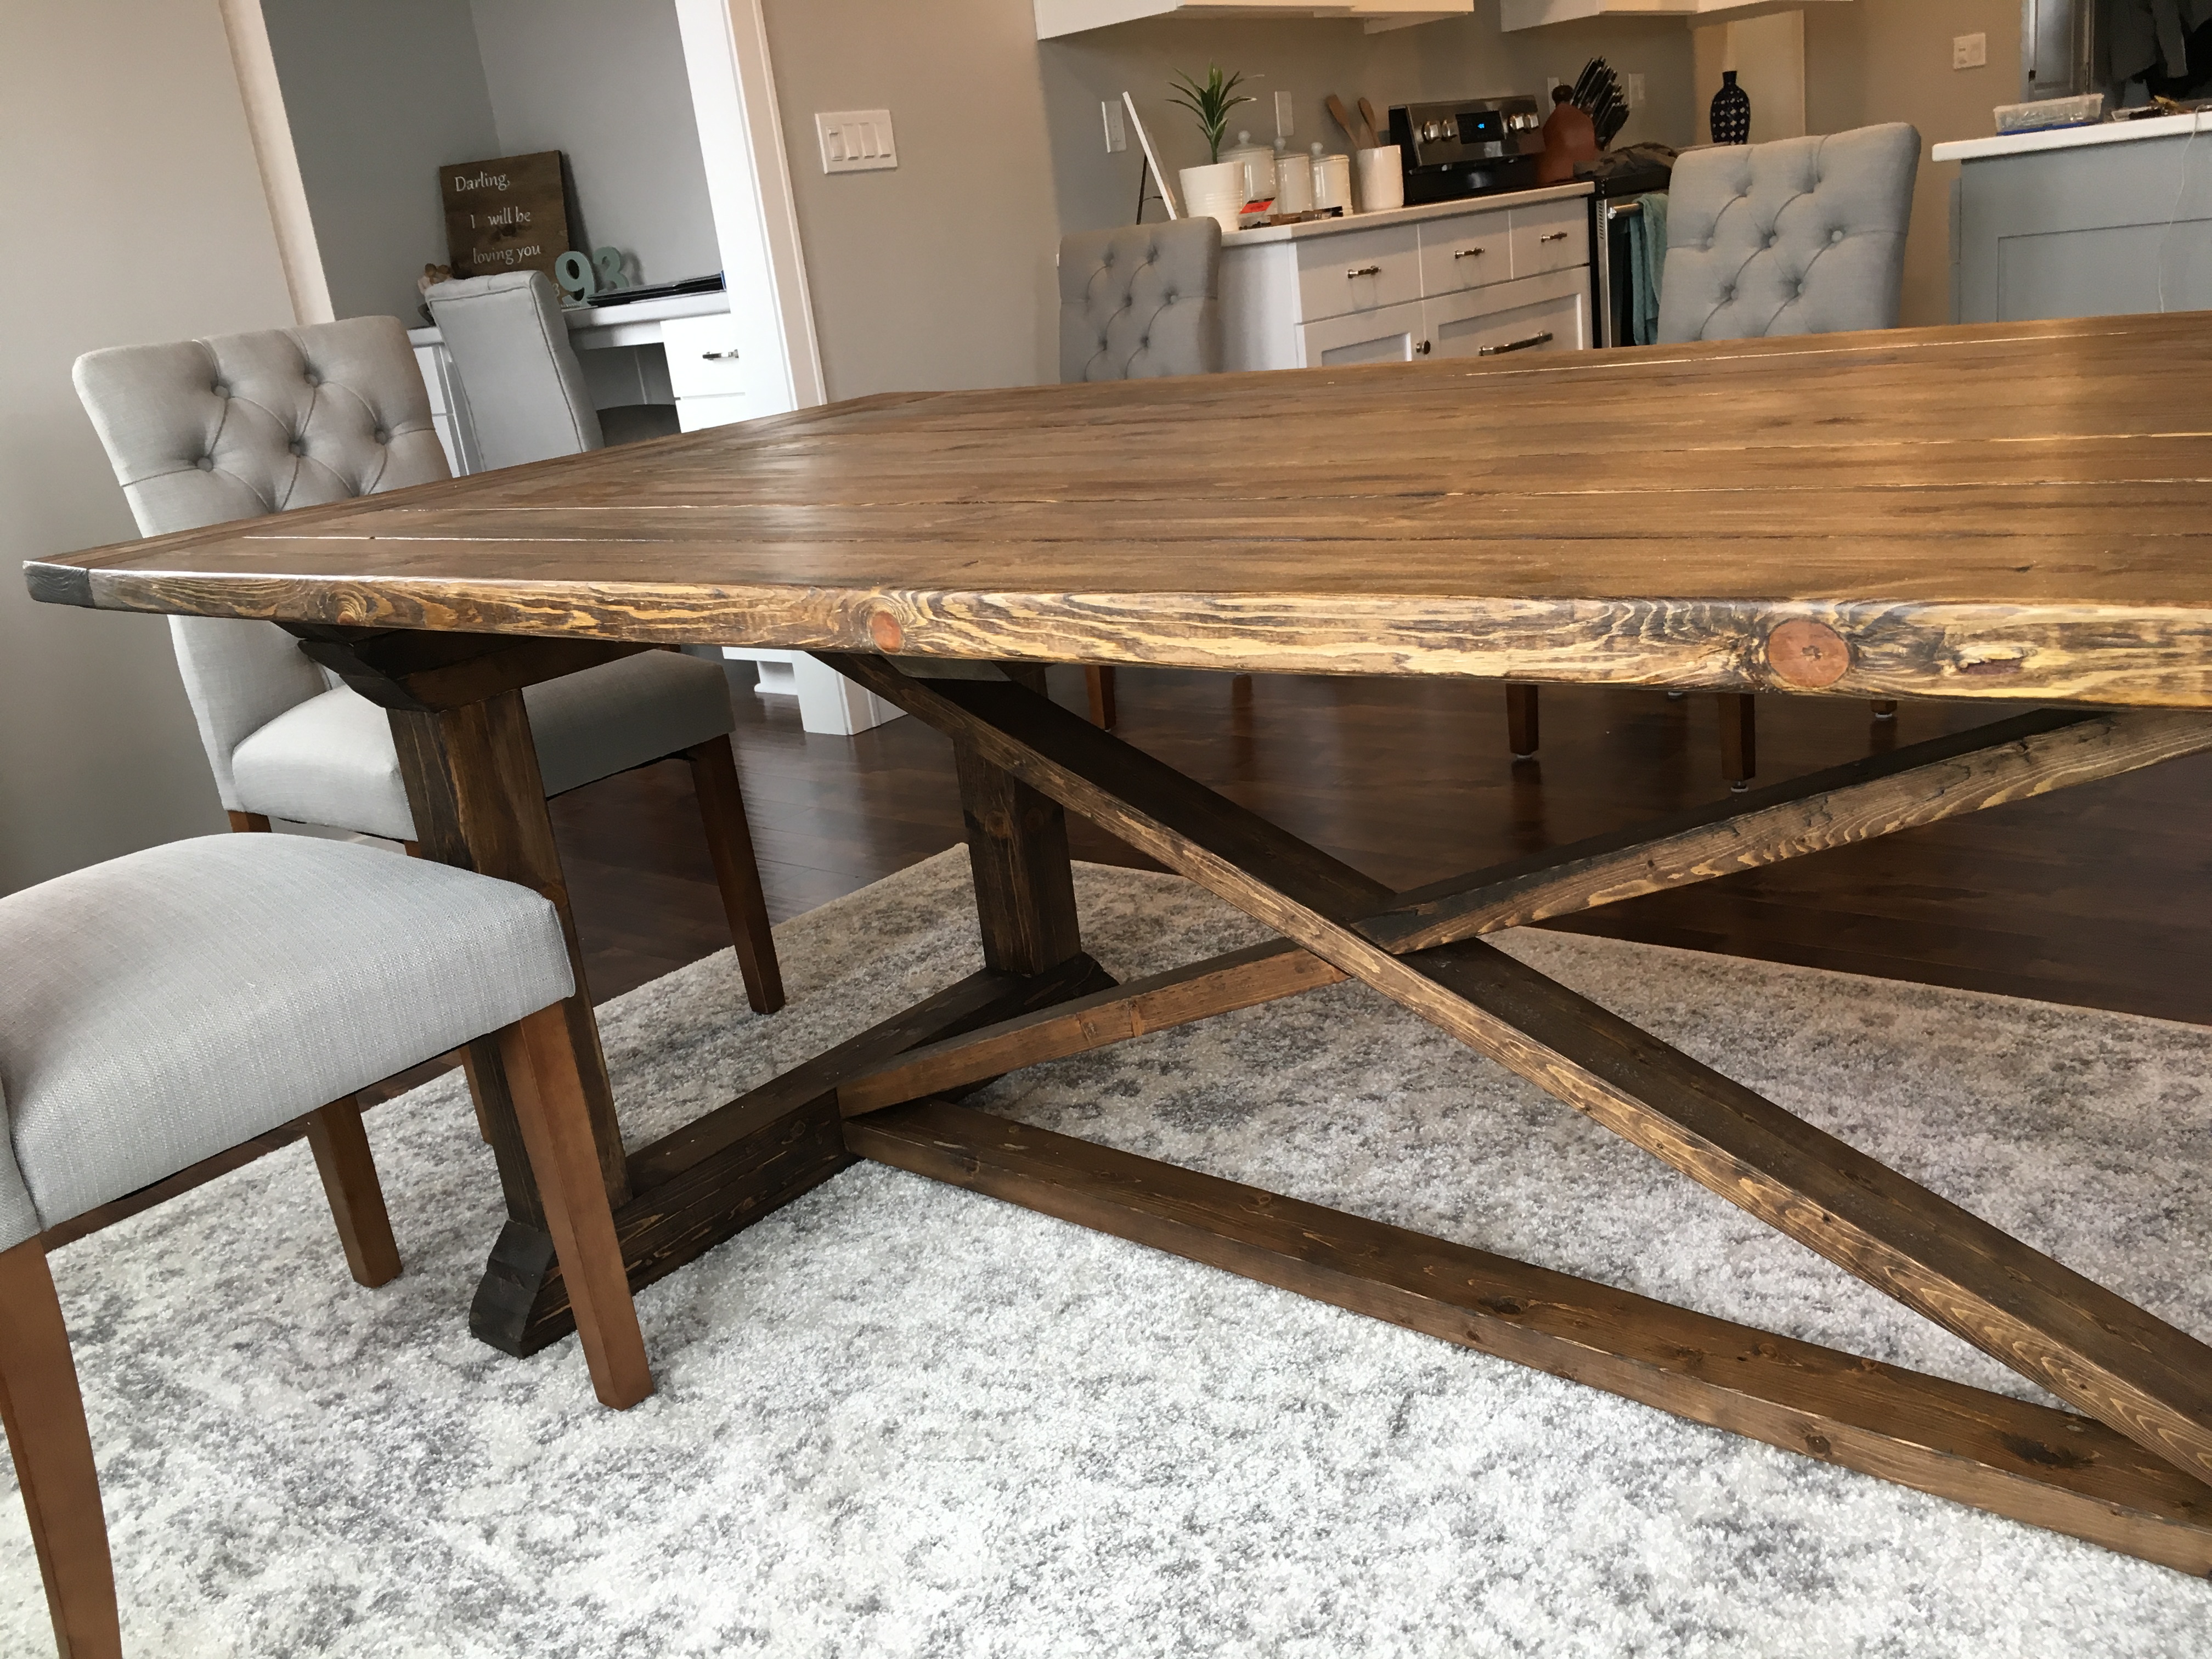
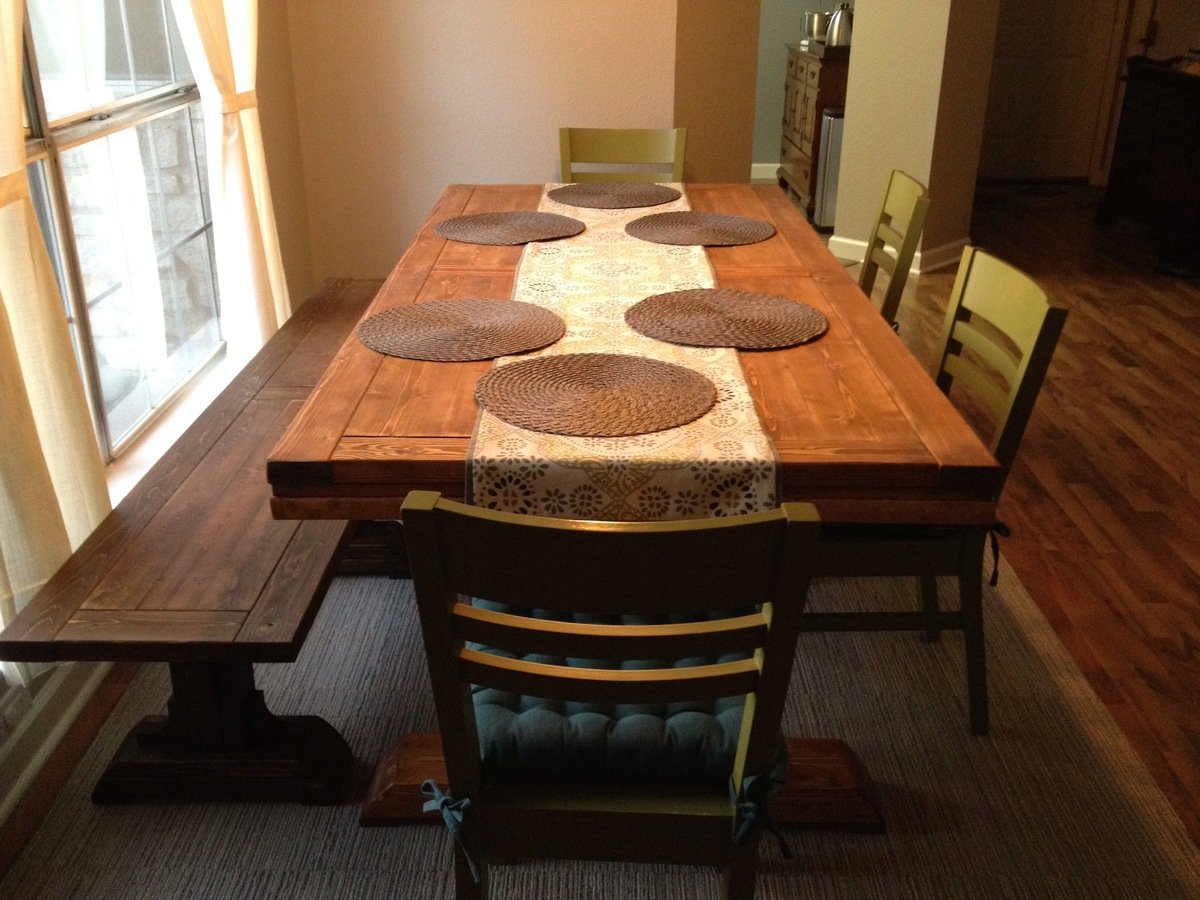
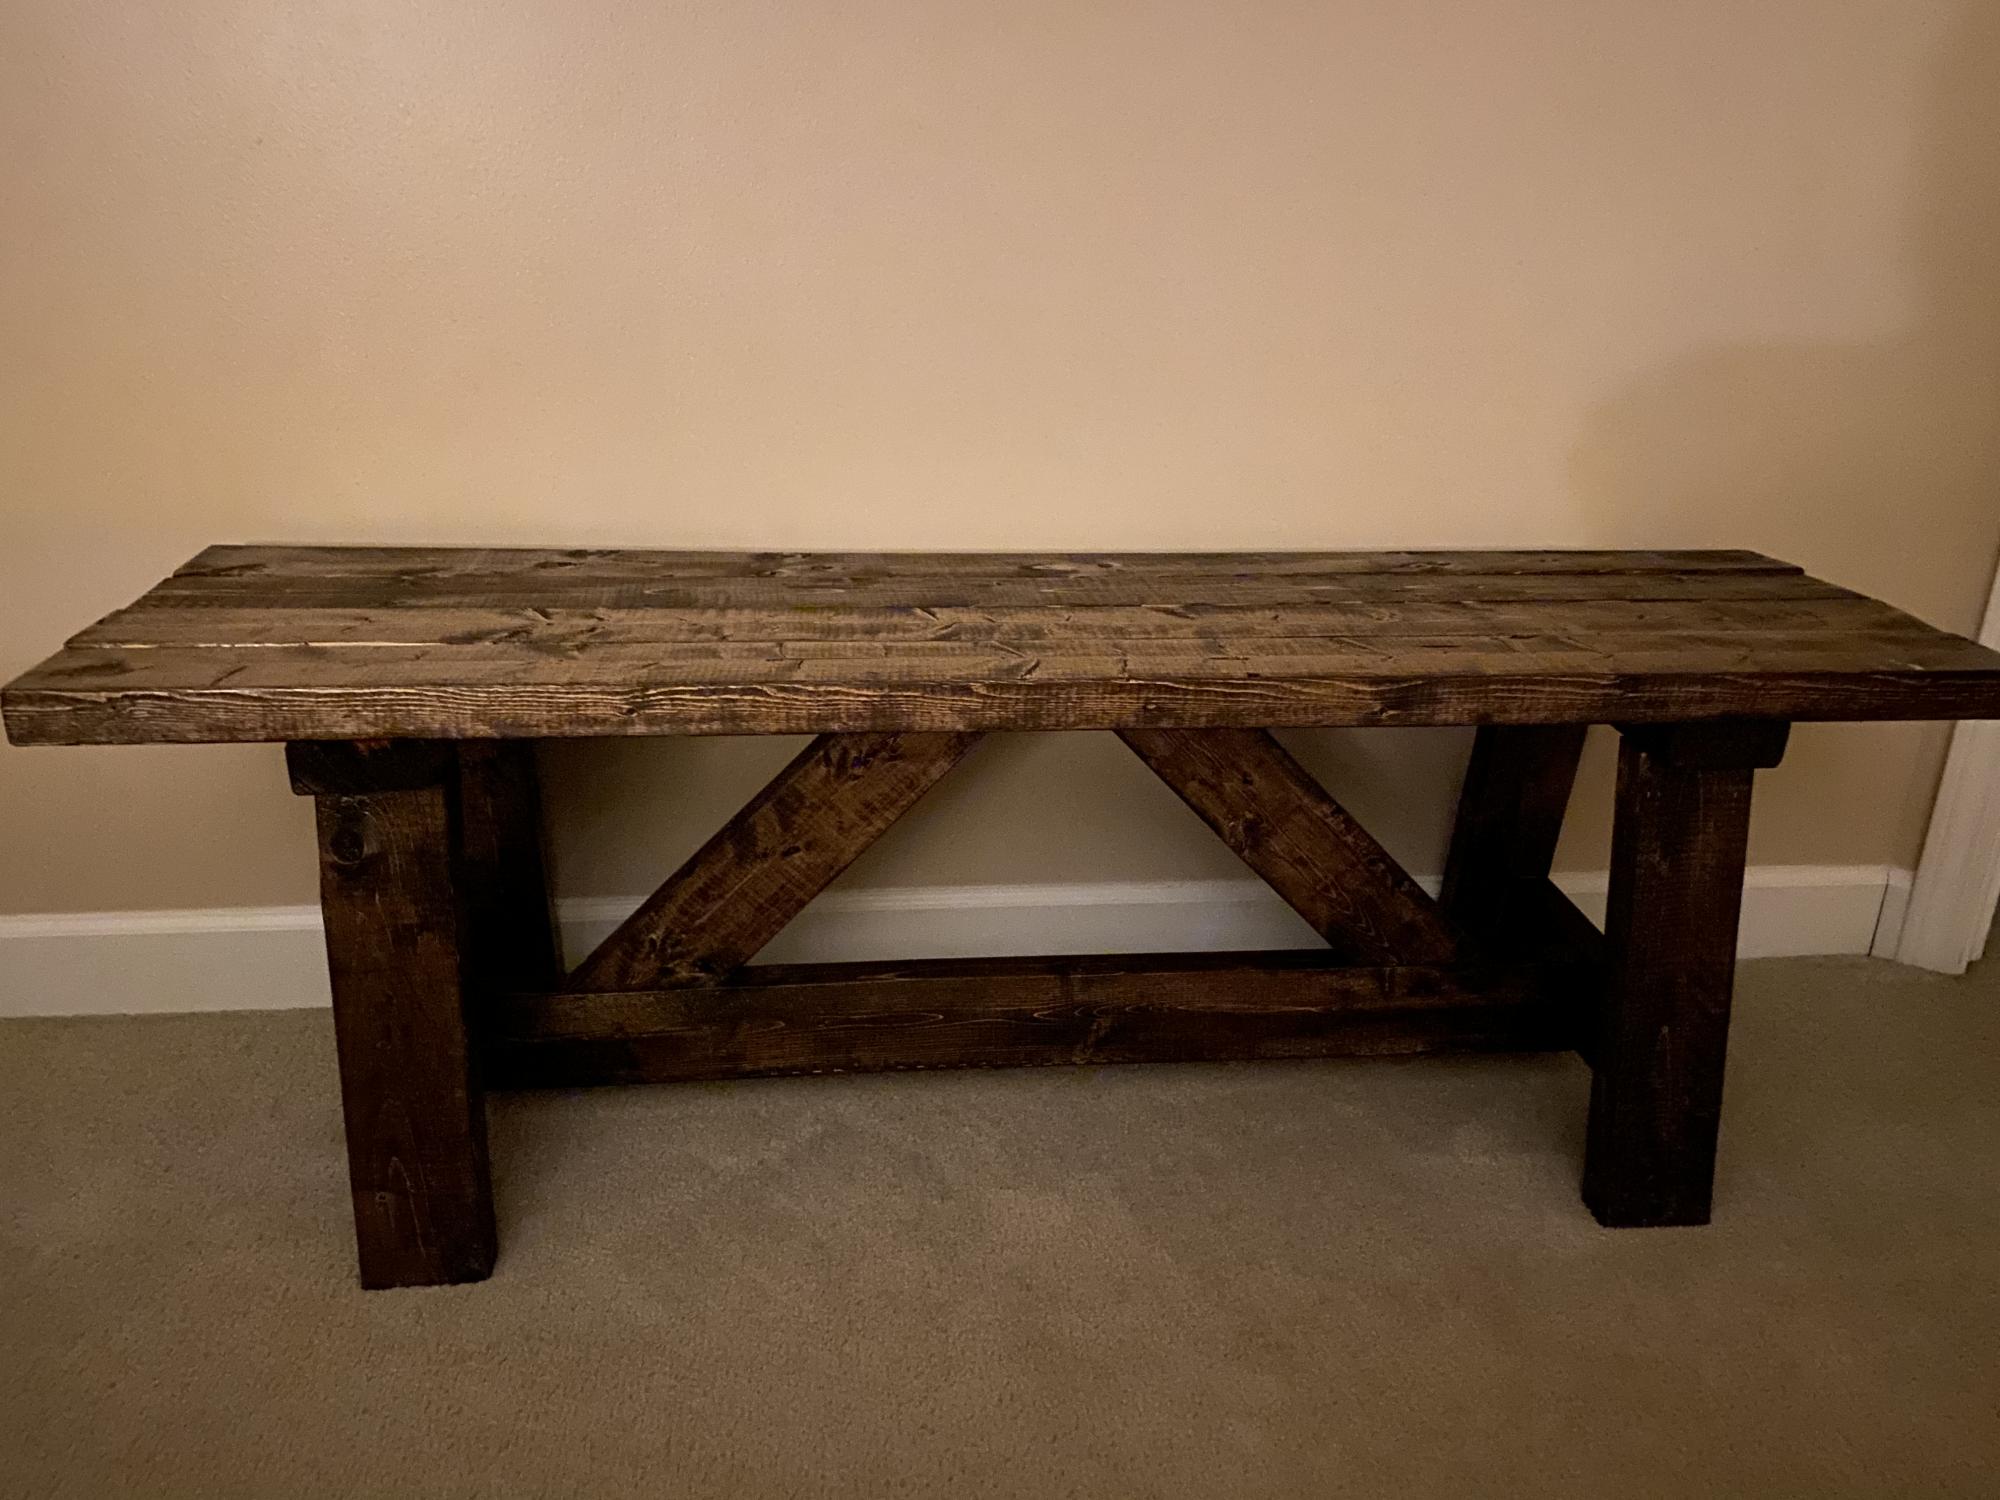
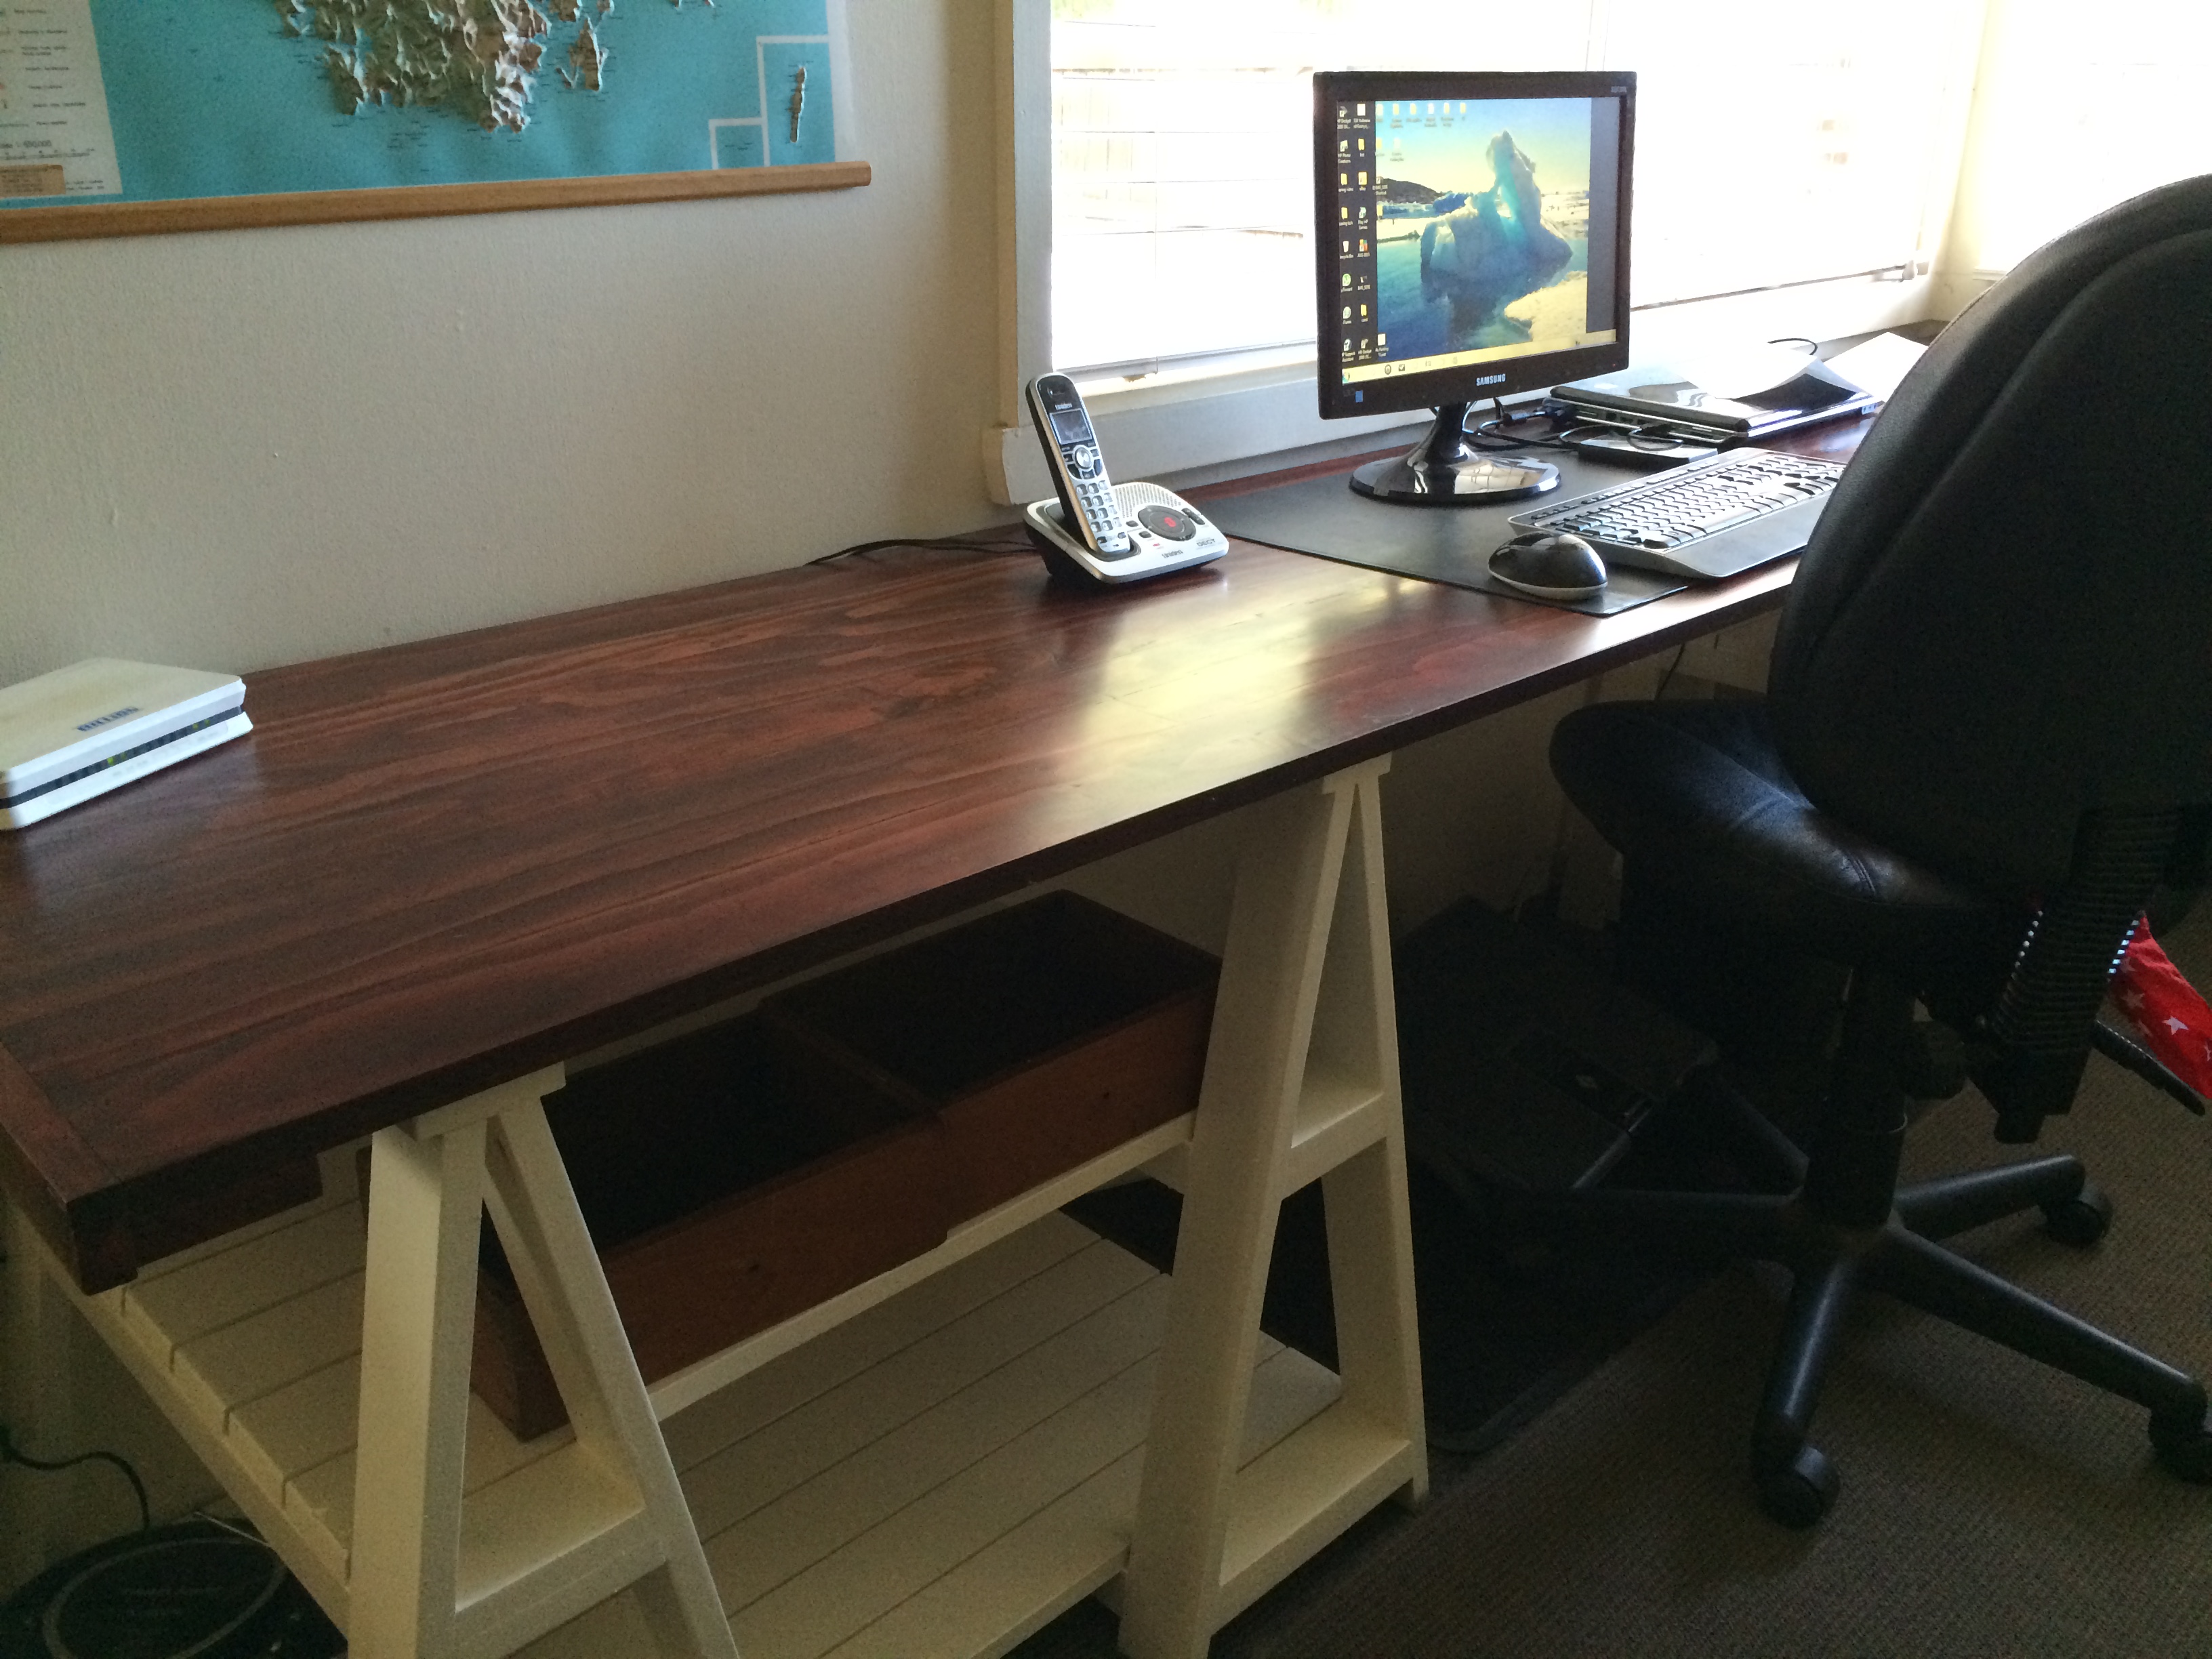
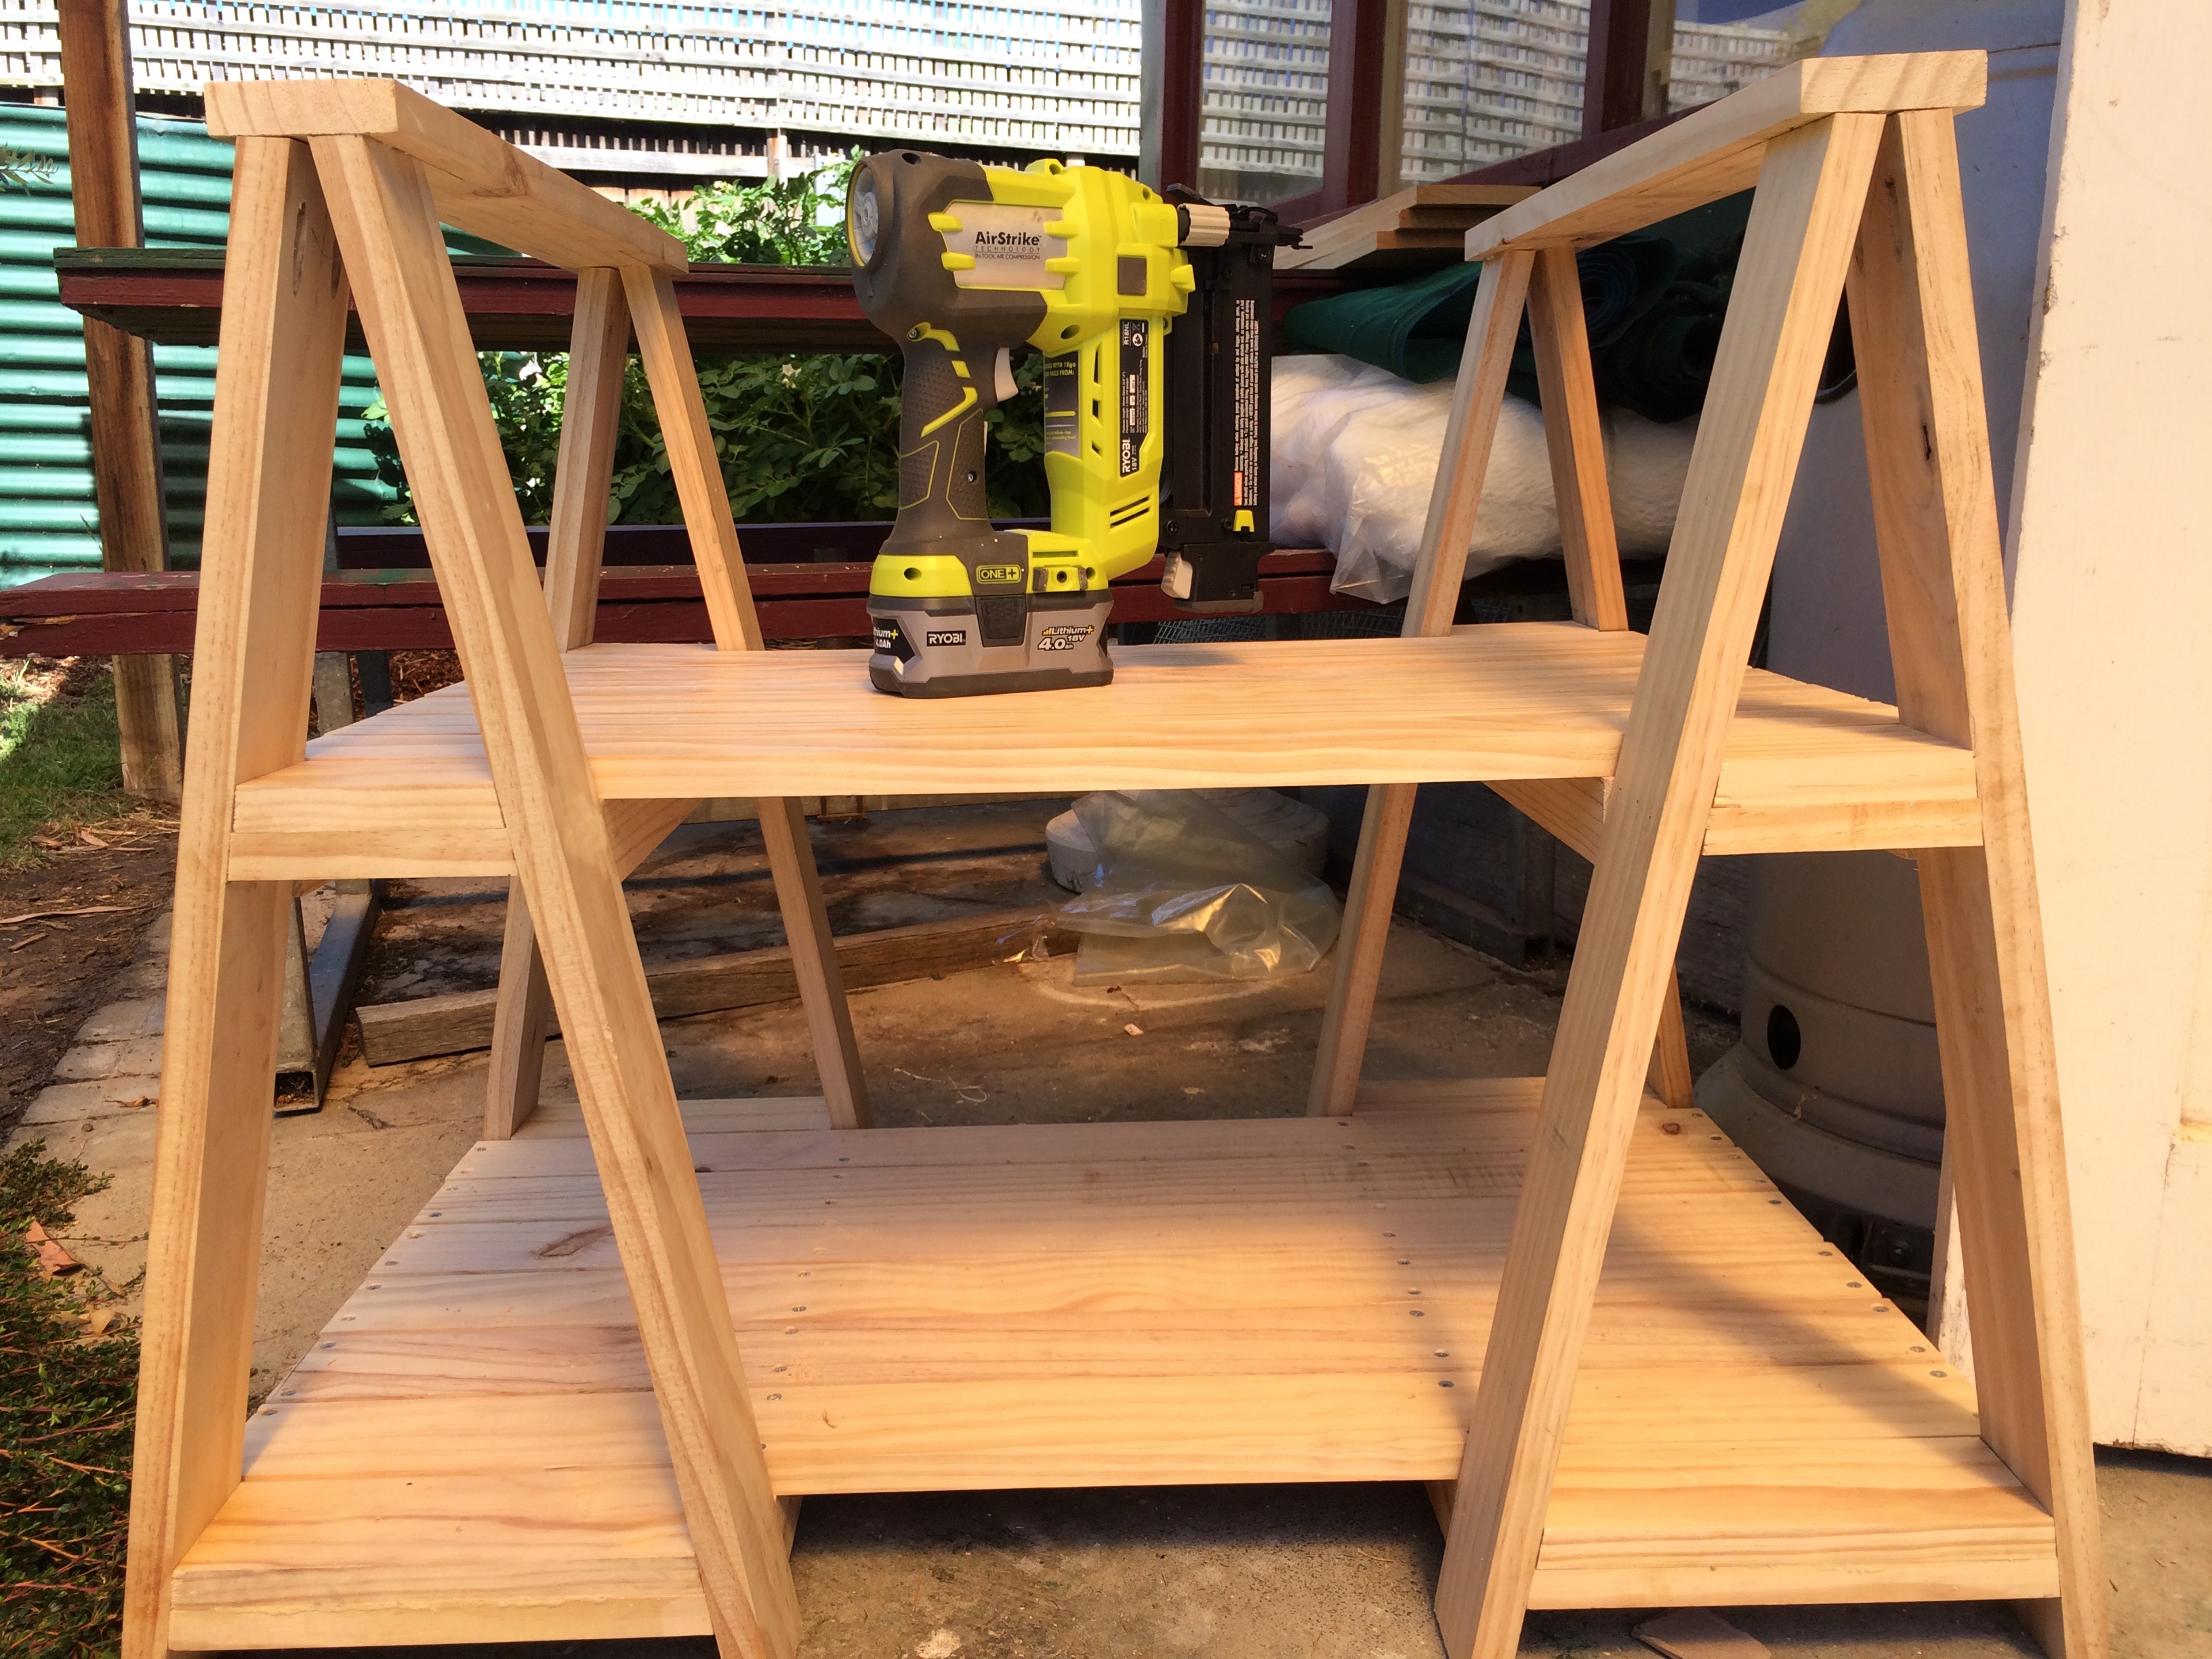
I was looking for a desk with sort of a "campaign furniture" style feel to it, and came across Ana's plan for the X Desk with Drawer.
I made a lot of changes from that starting point, some of which worked well, some of which didn't. In the end, my desk varies pretty drastically from the original, but I definitely have to give credit for lots of helpful tips and inspiration from Ana's plan!
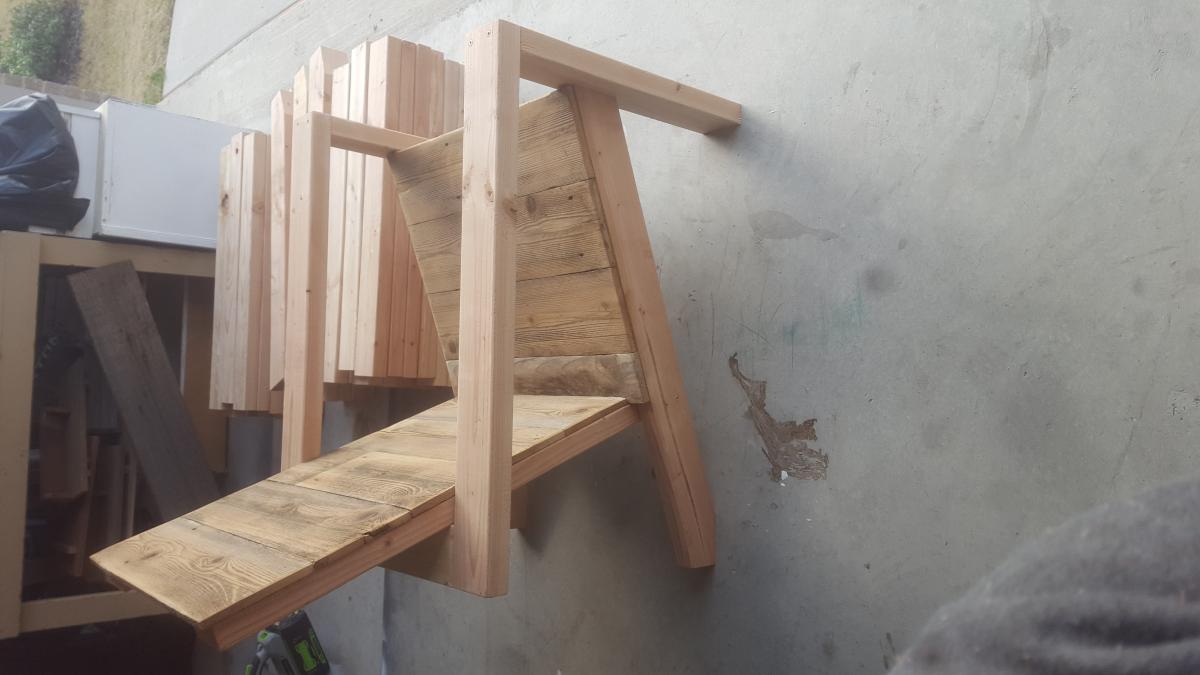
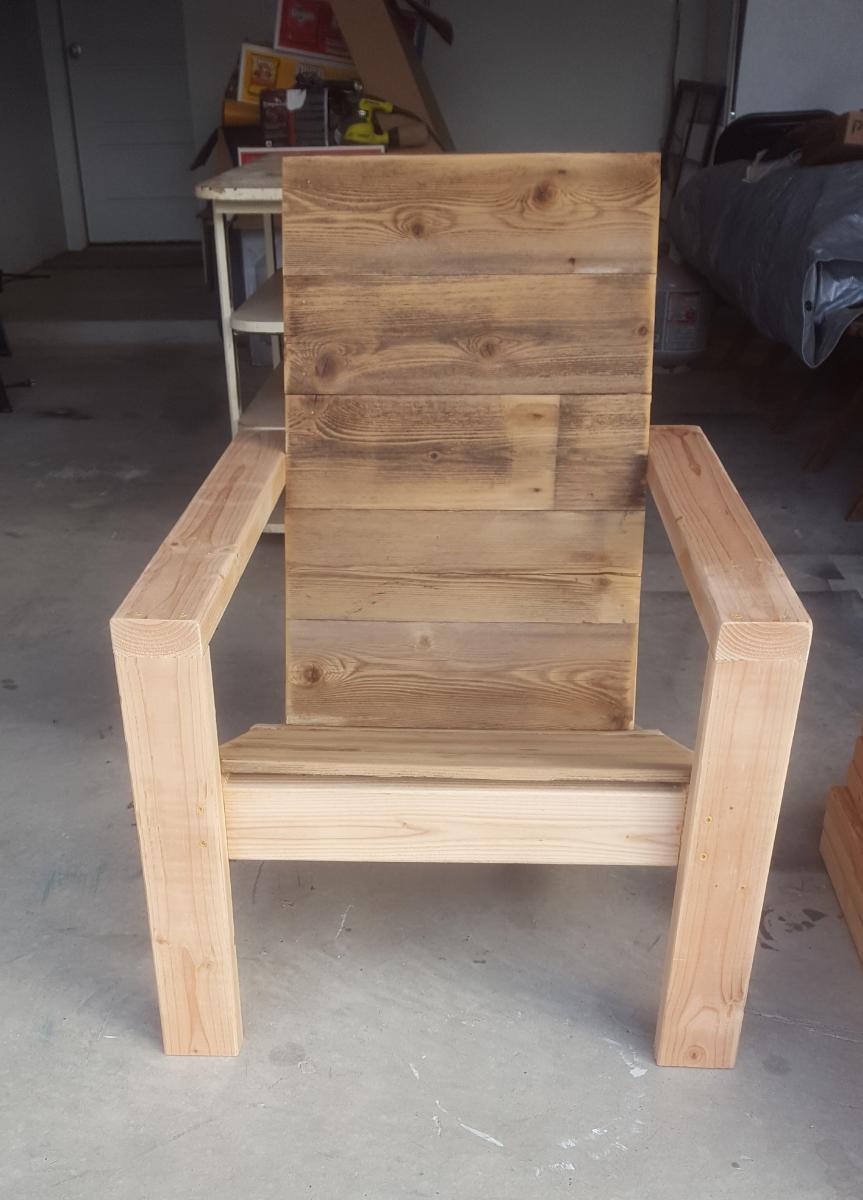
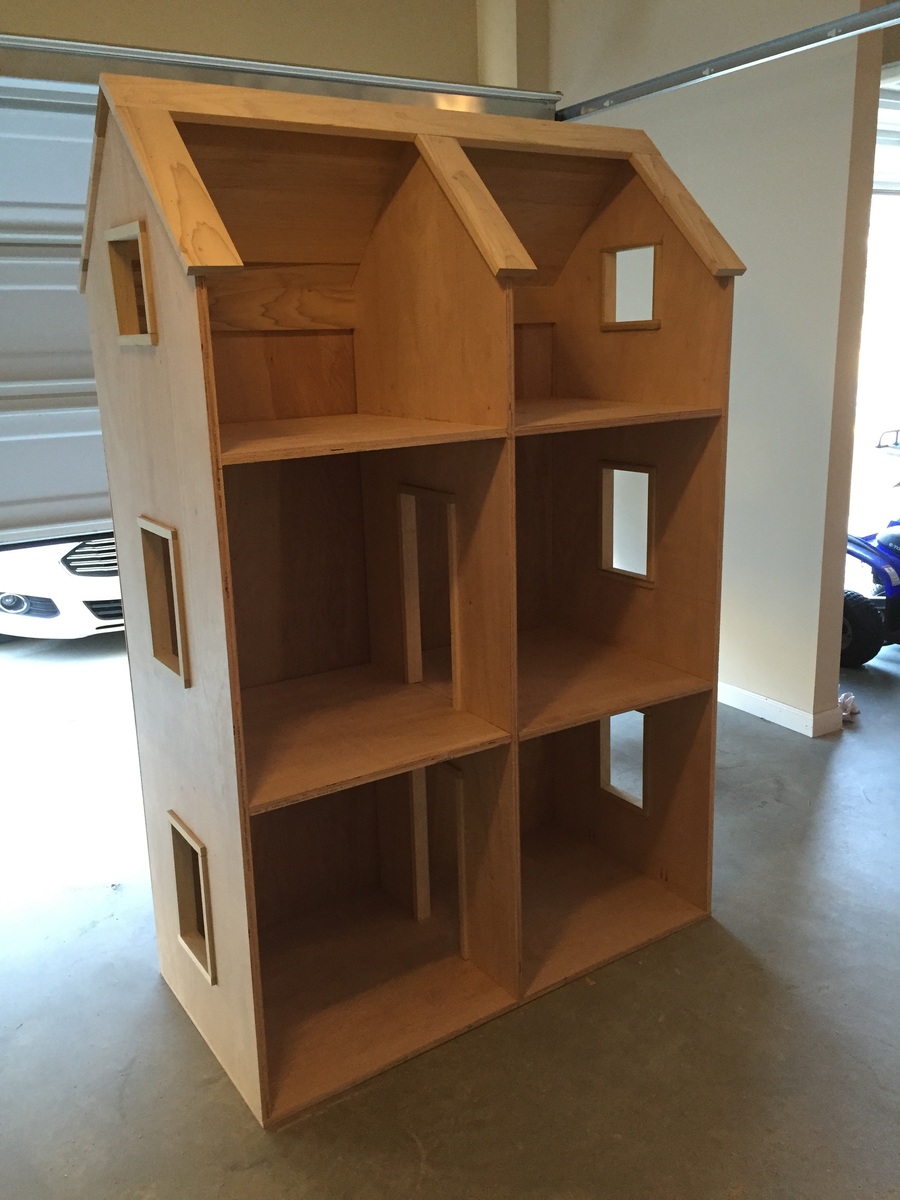
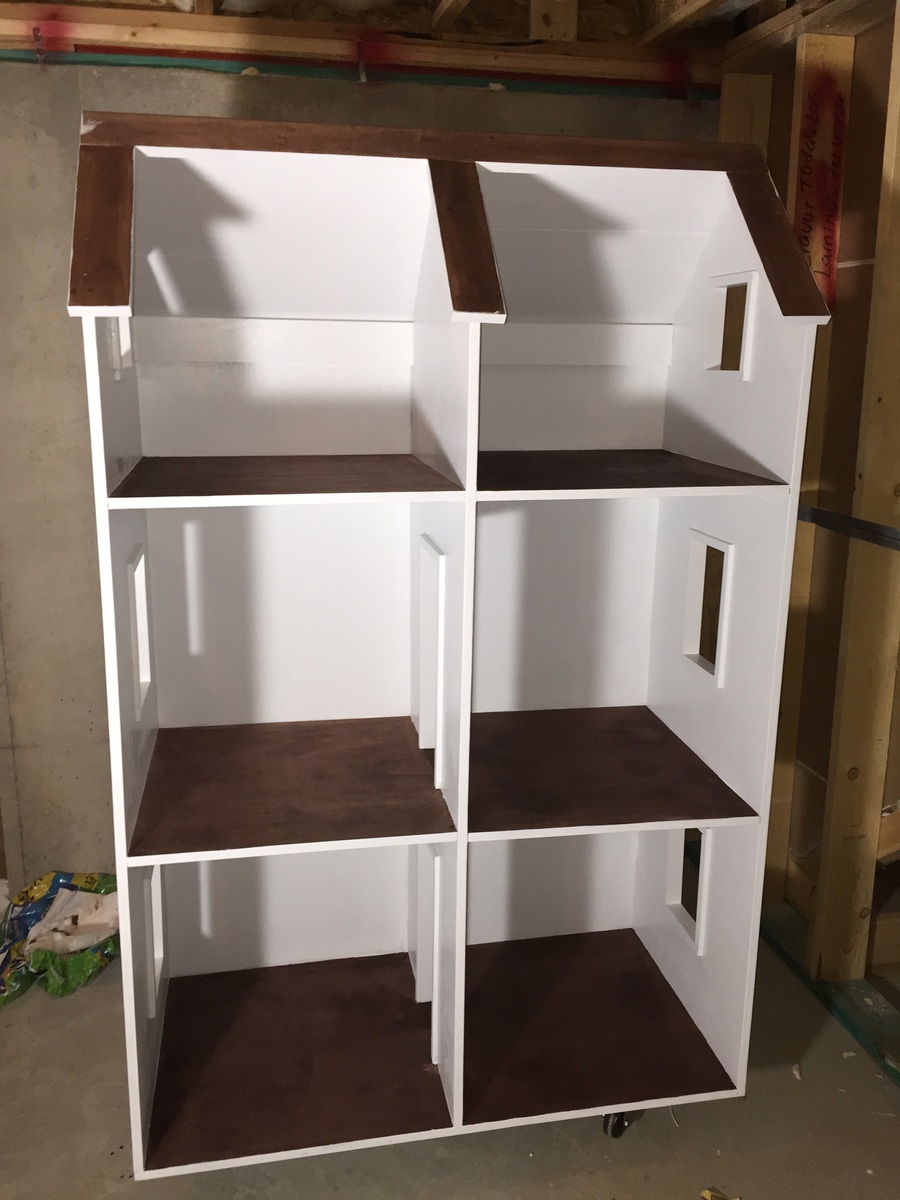
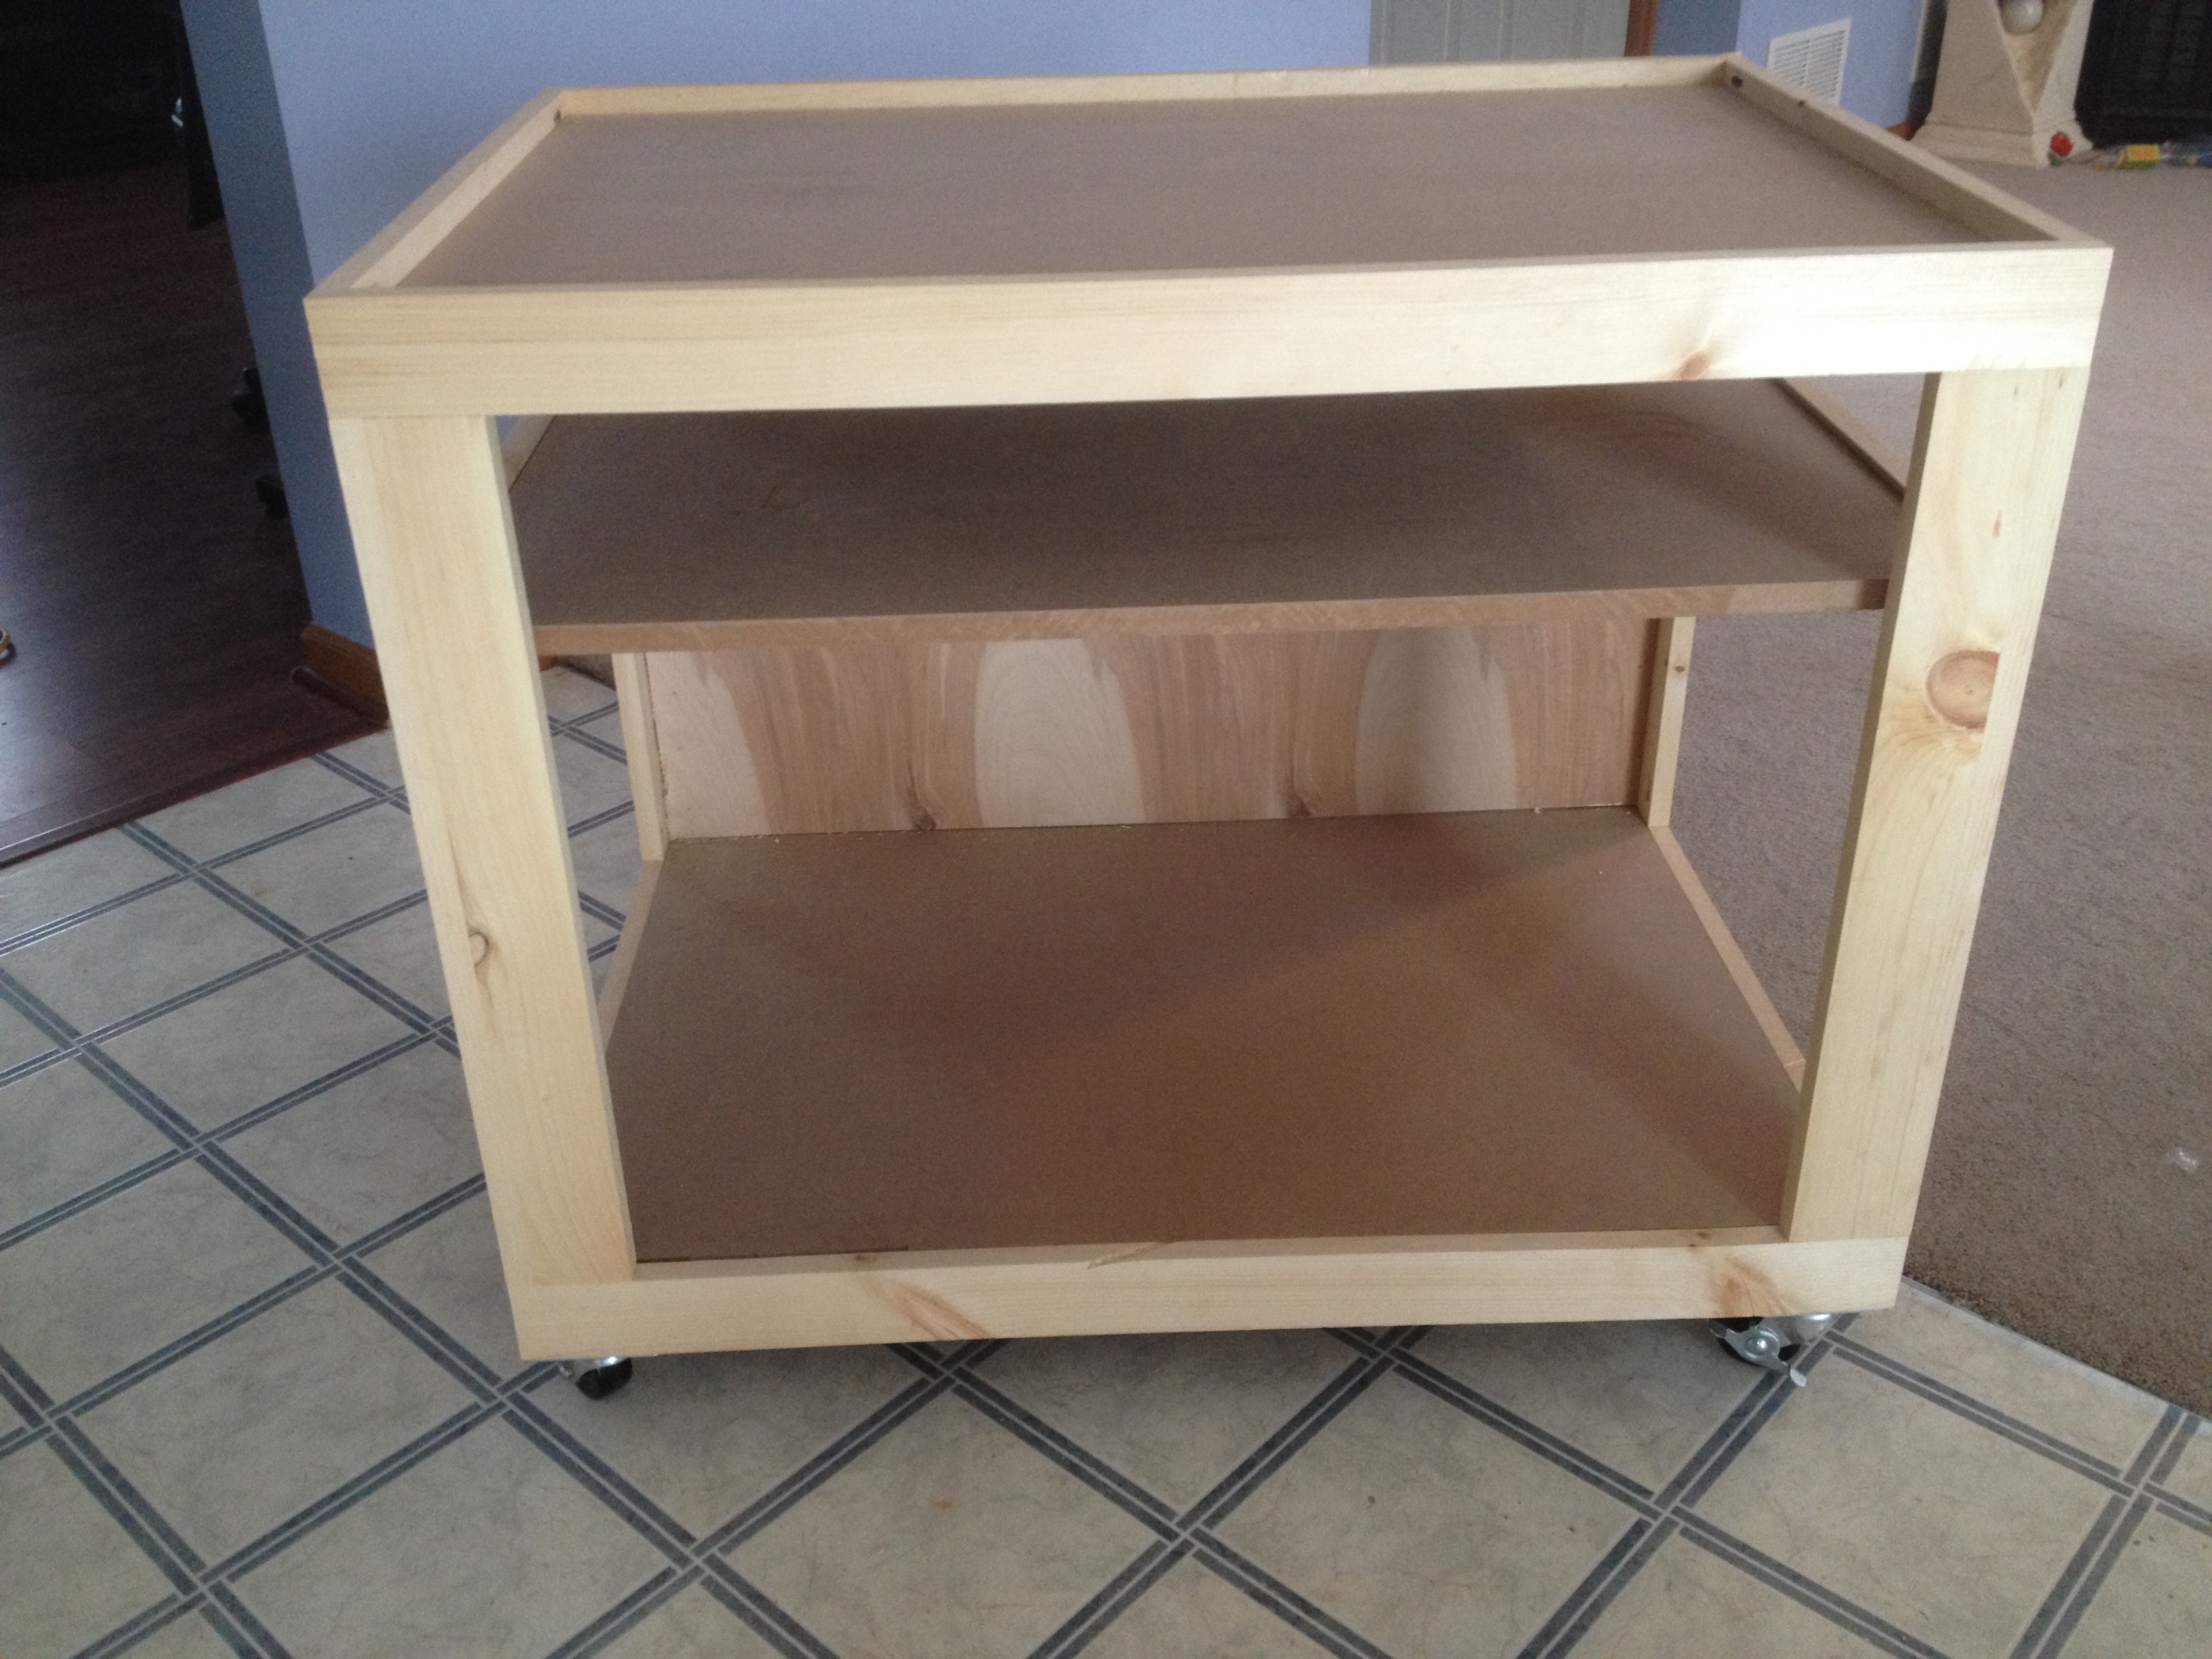
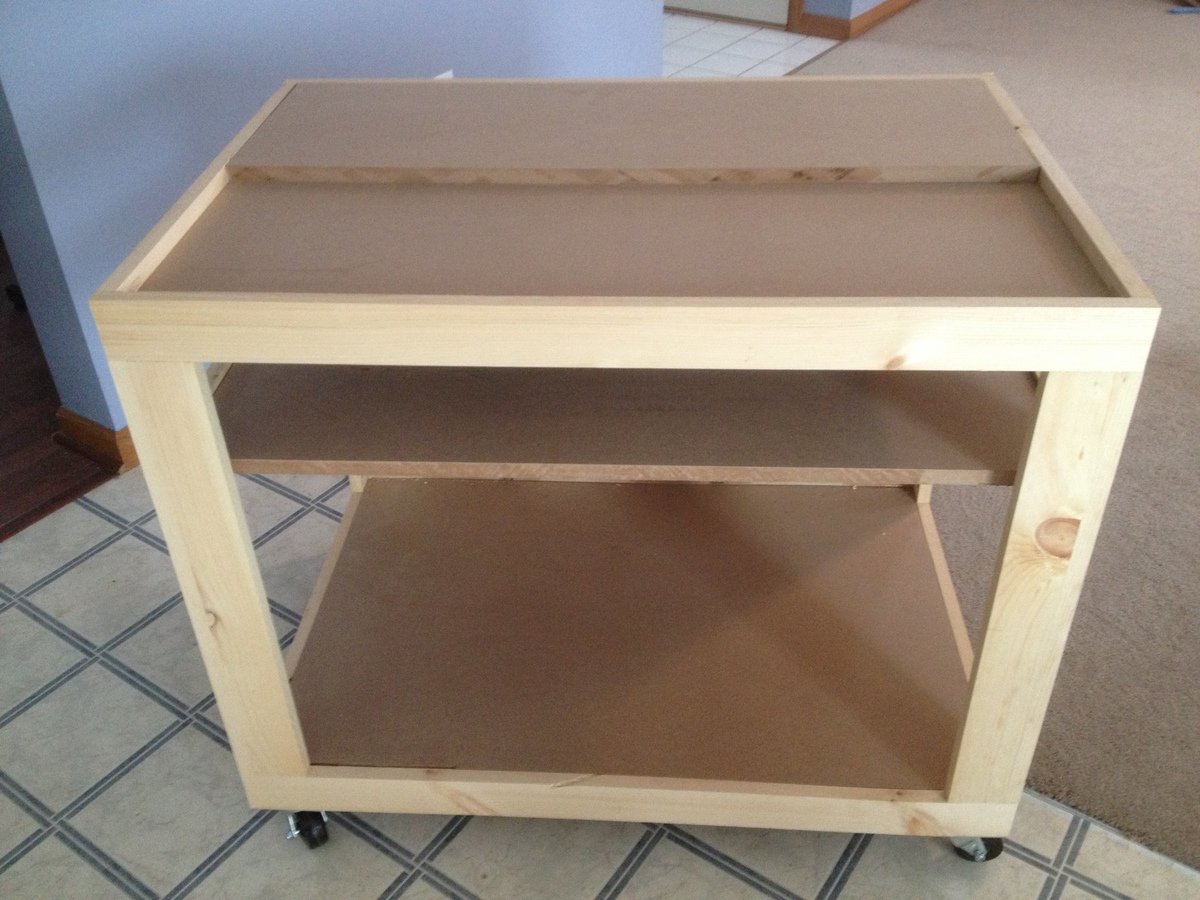
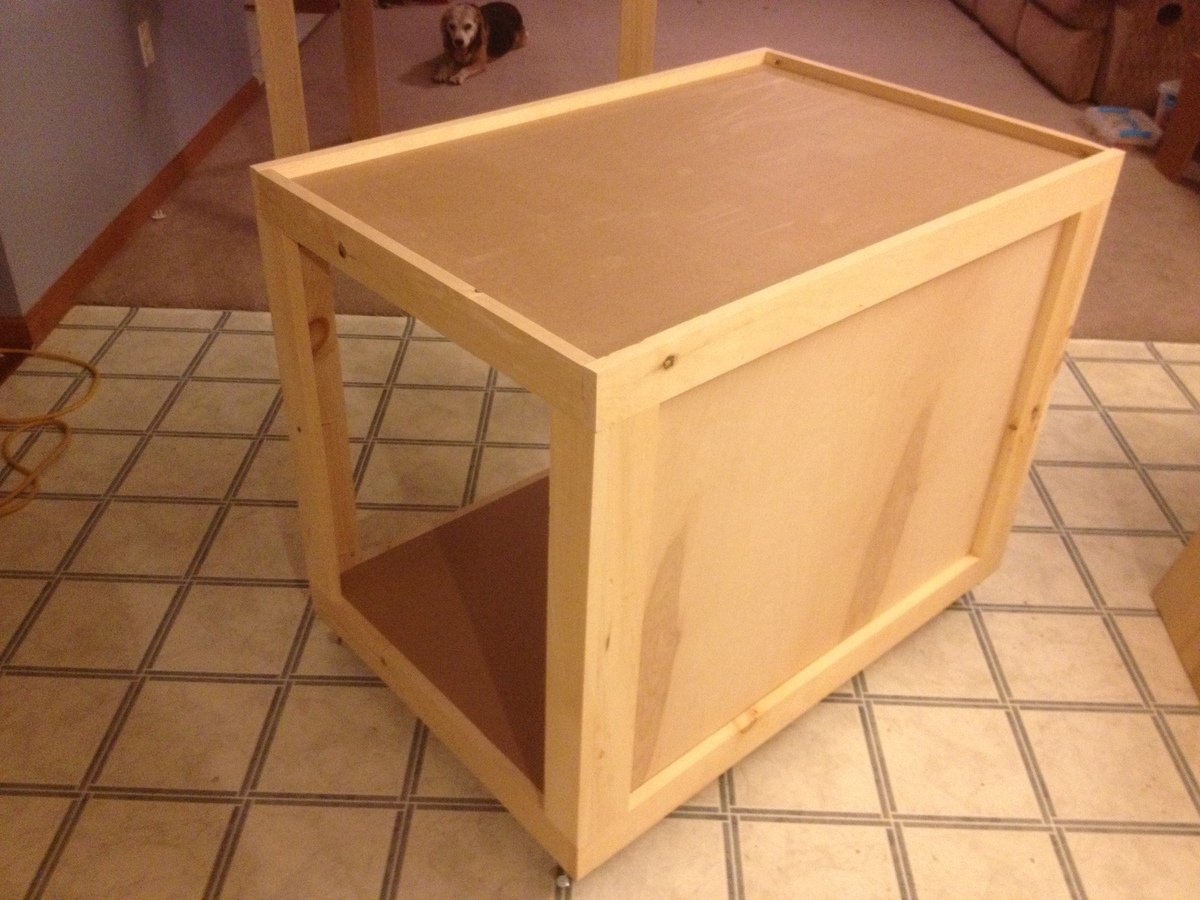
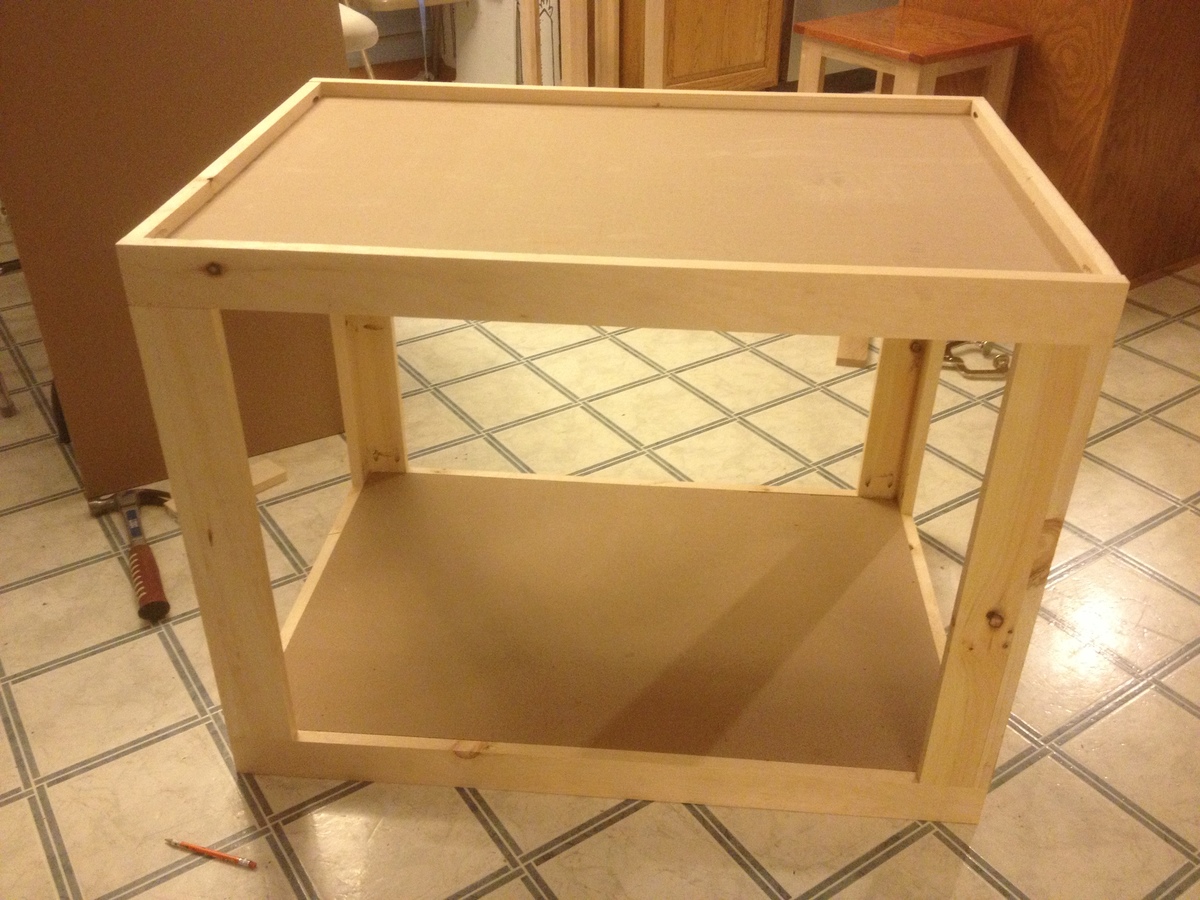
It's a little rough, but it's one of my first real builds, so I'm pretty happy.
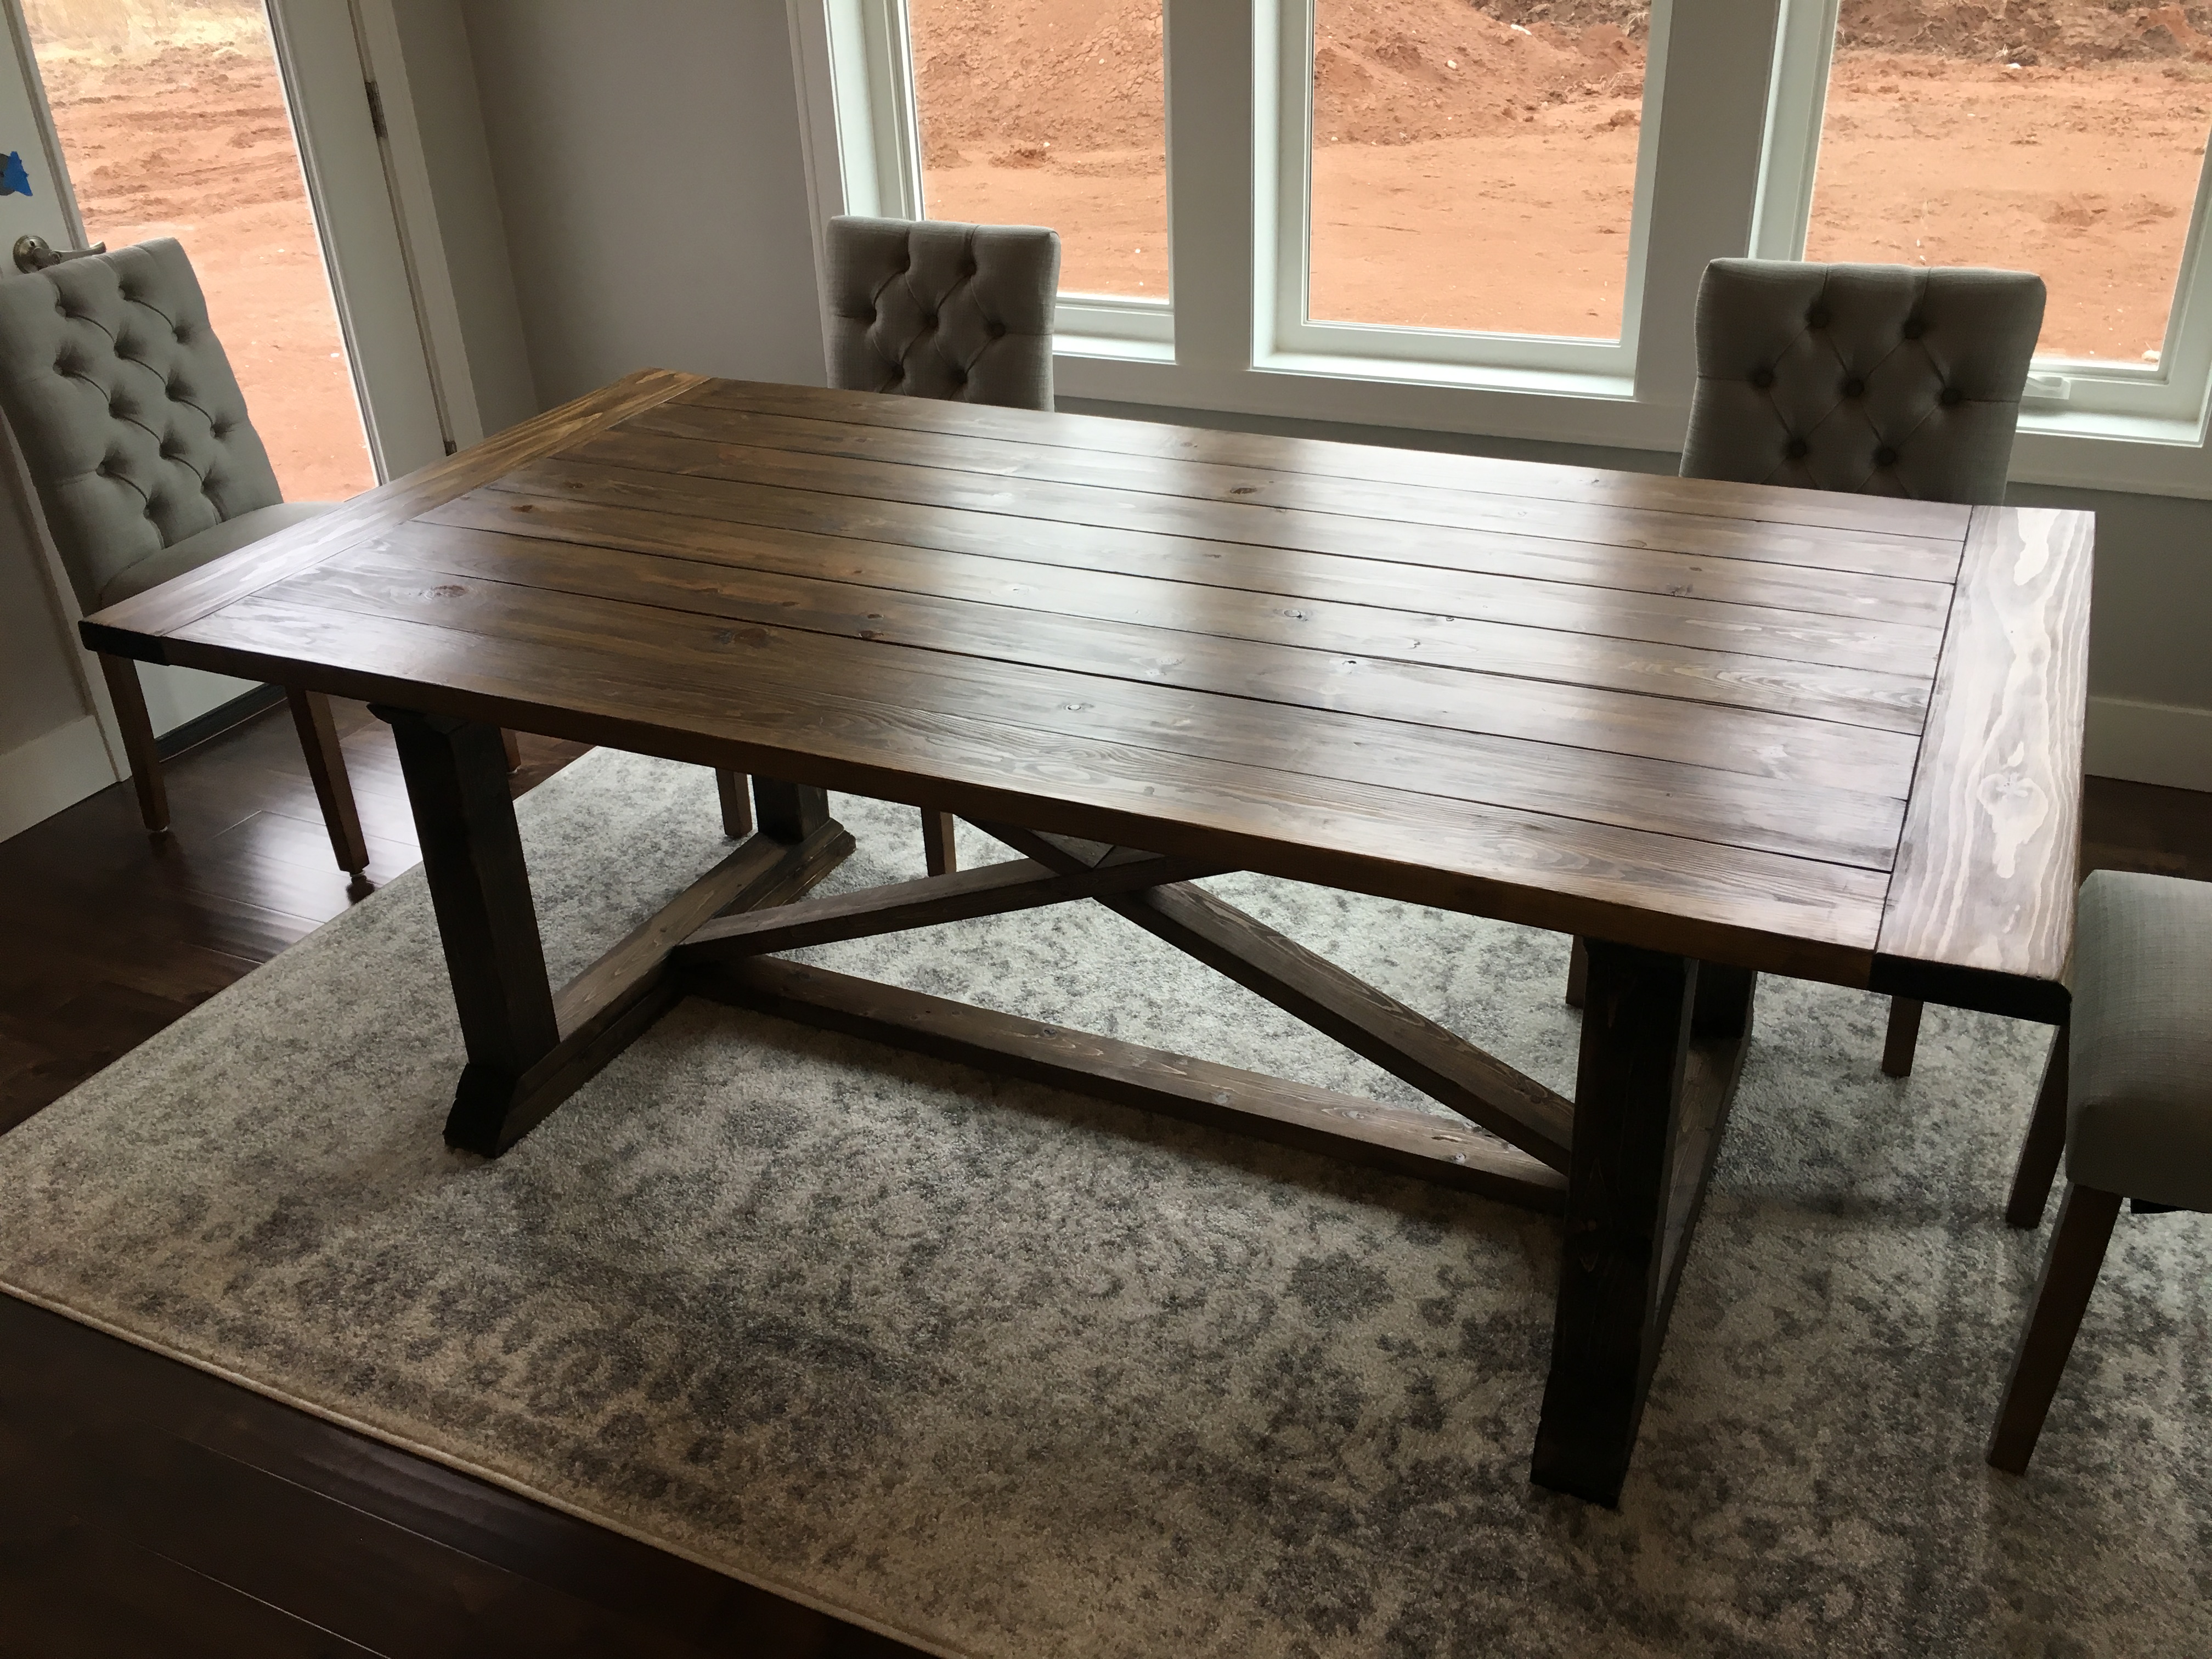
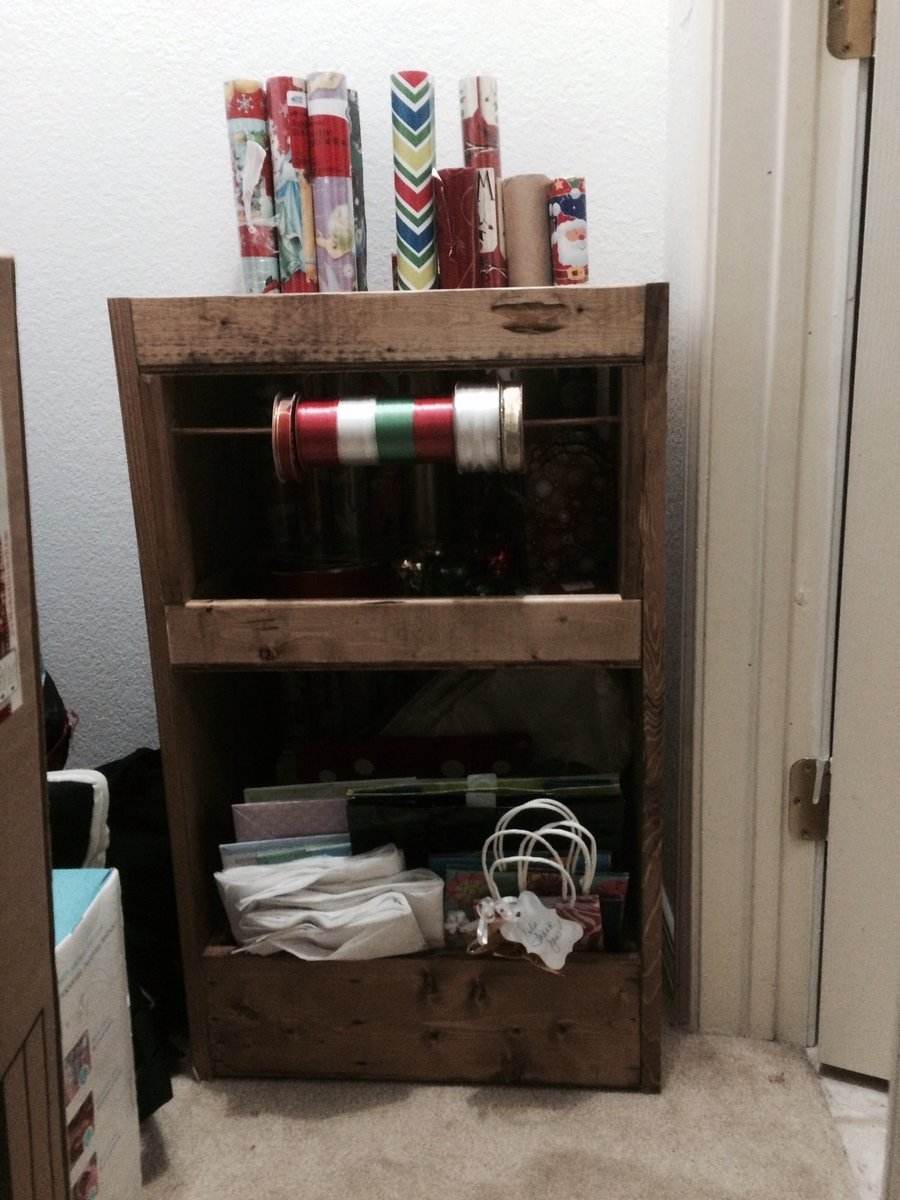
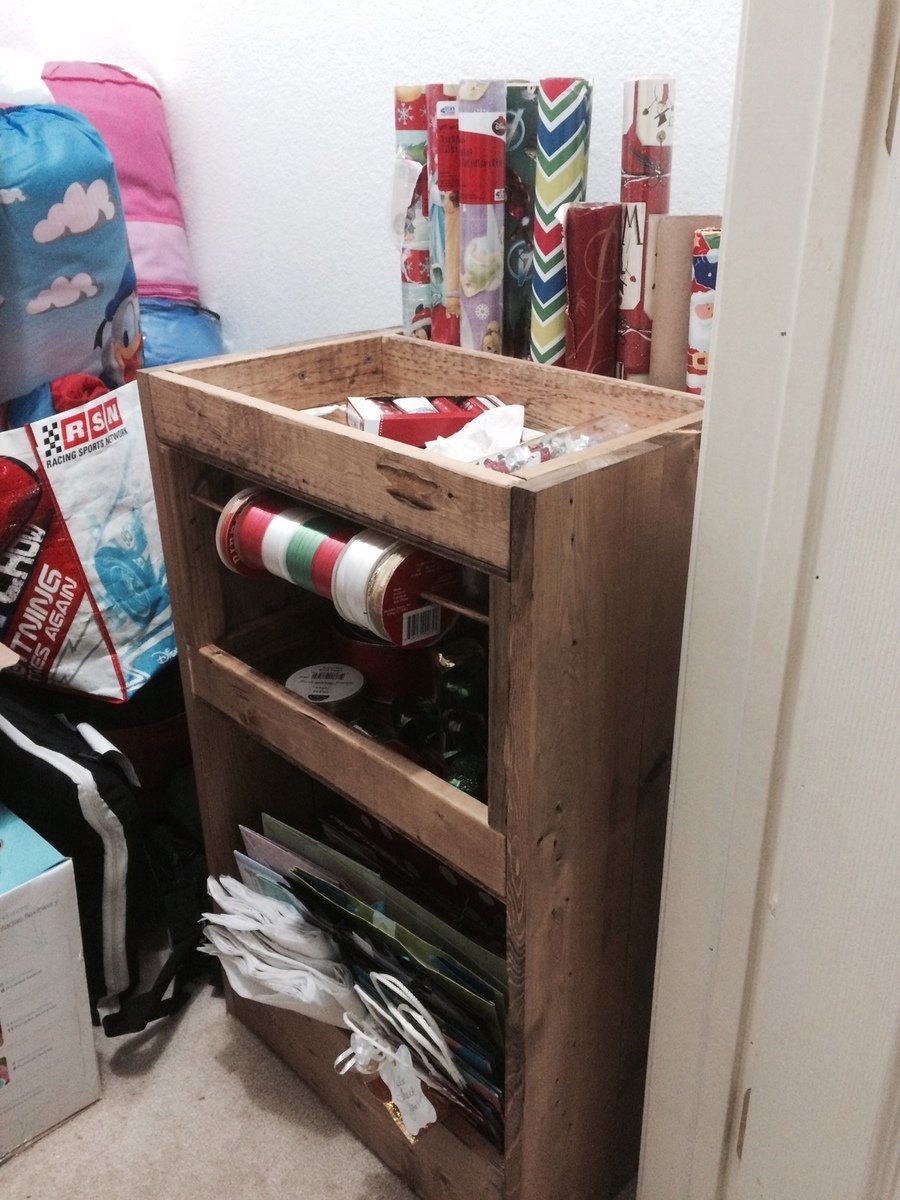
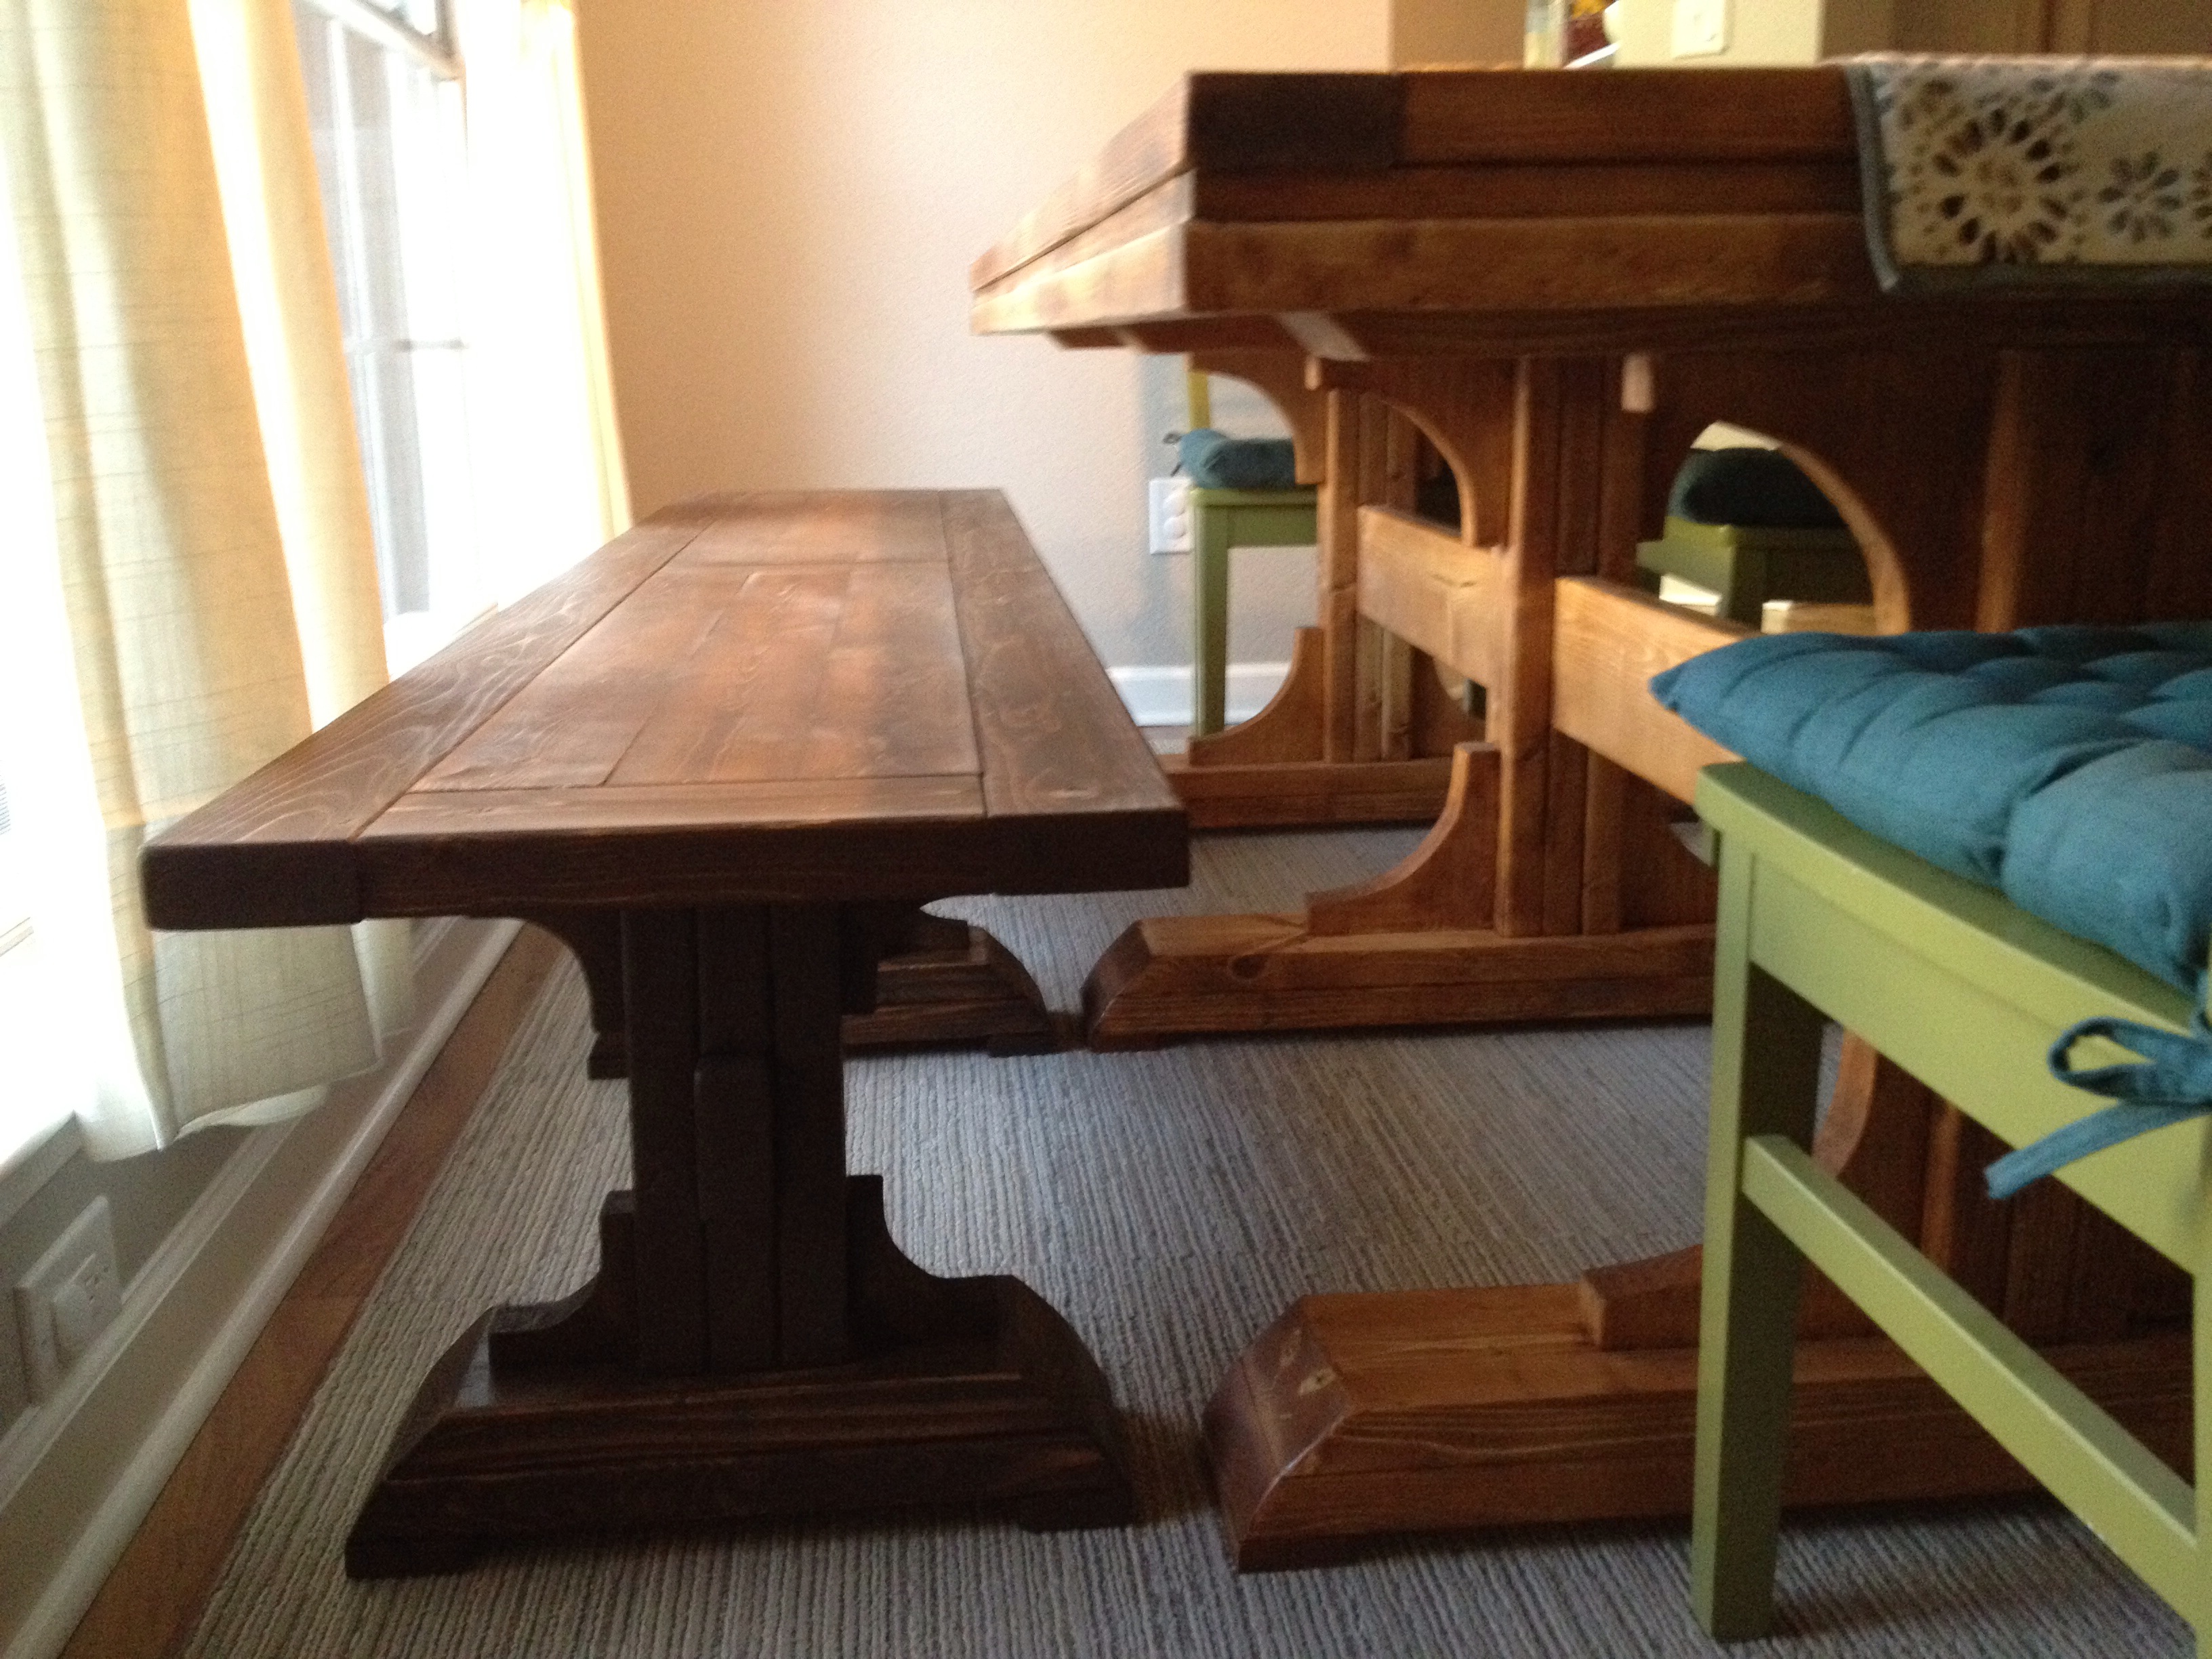
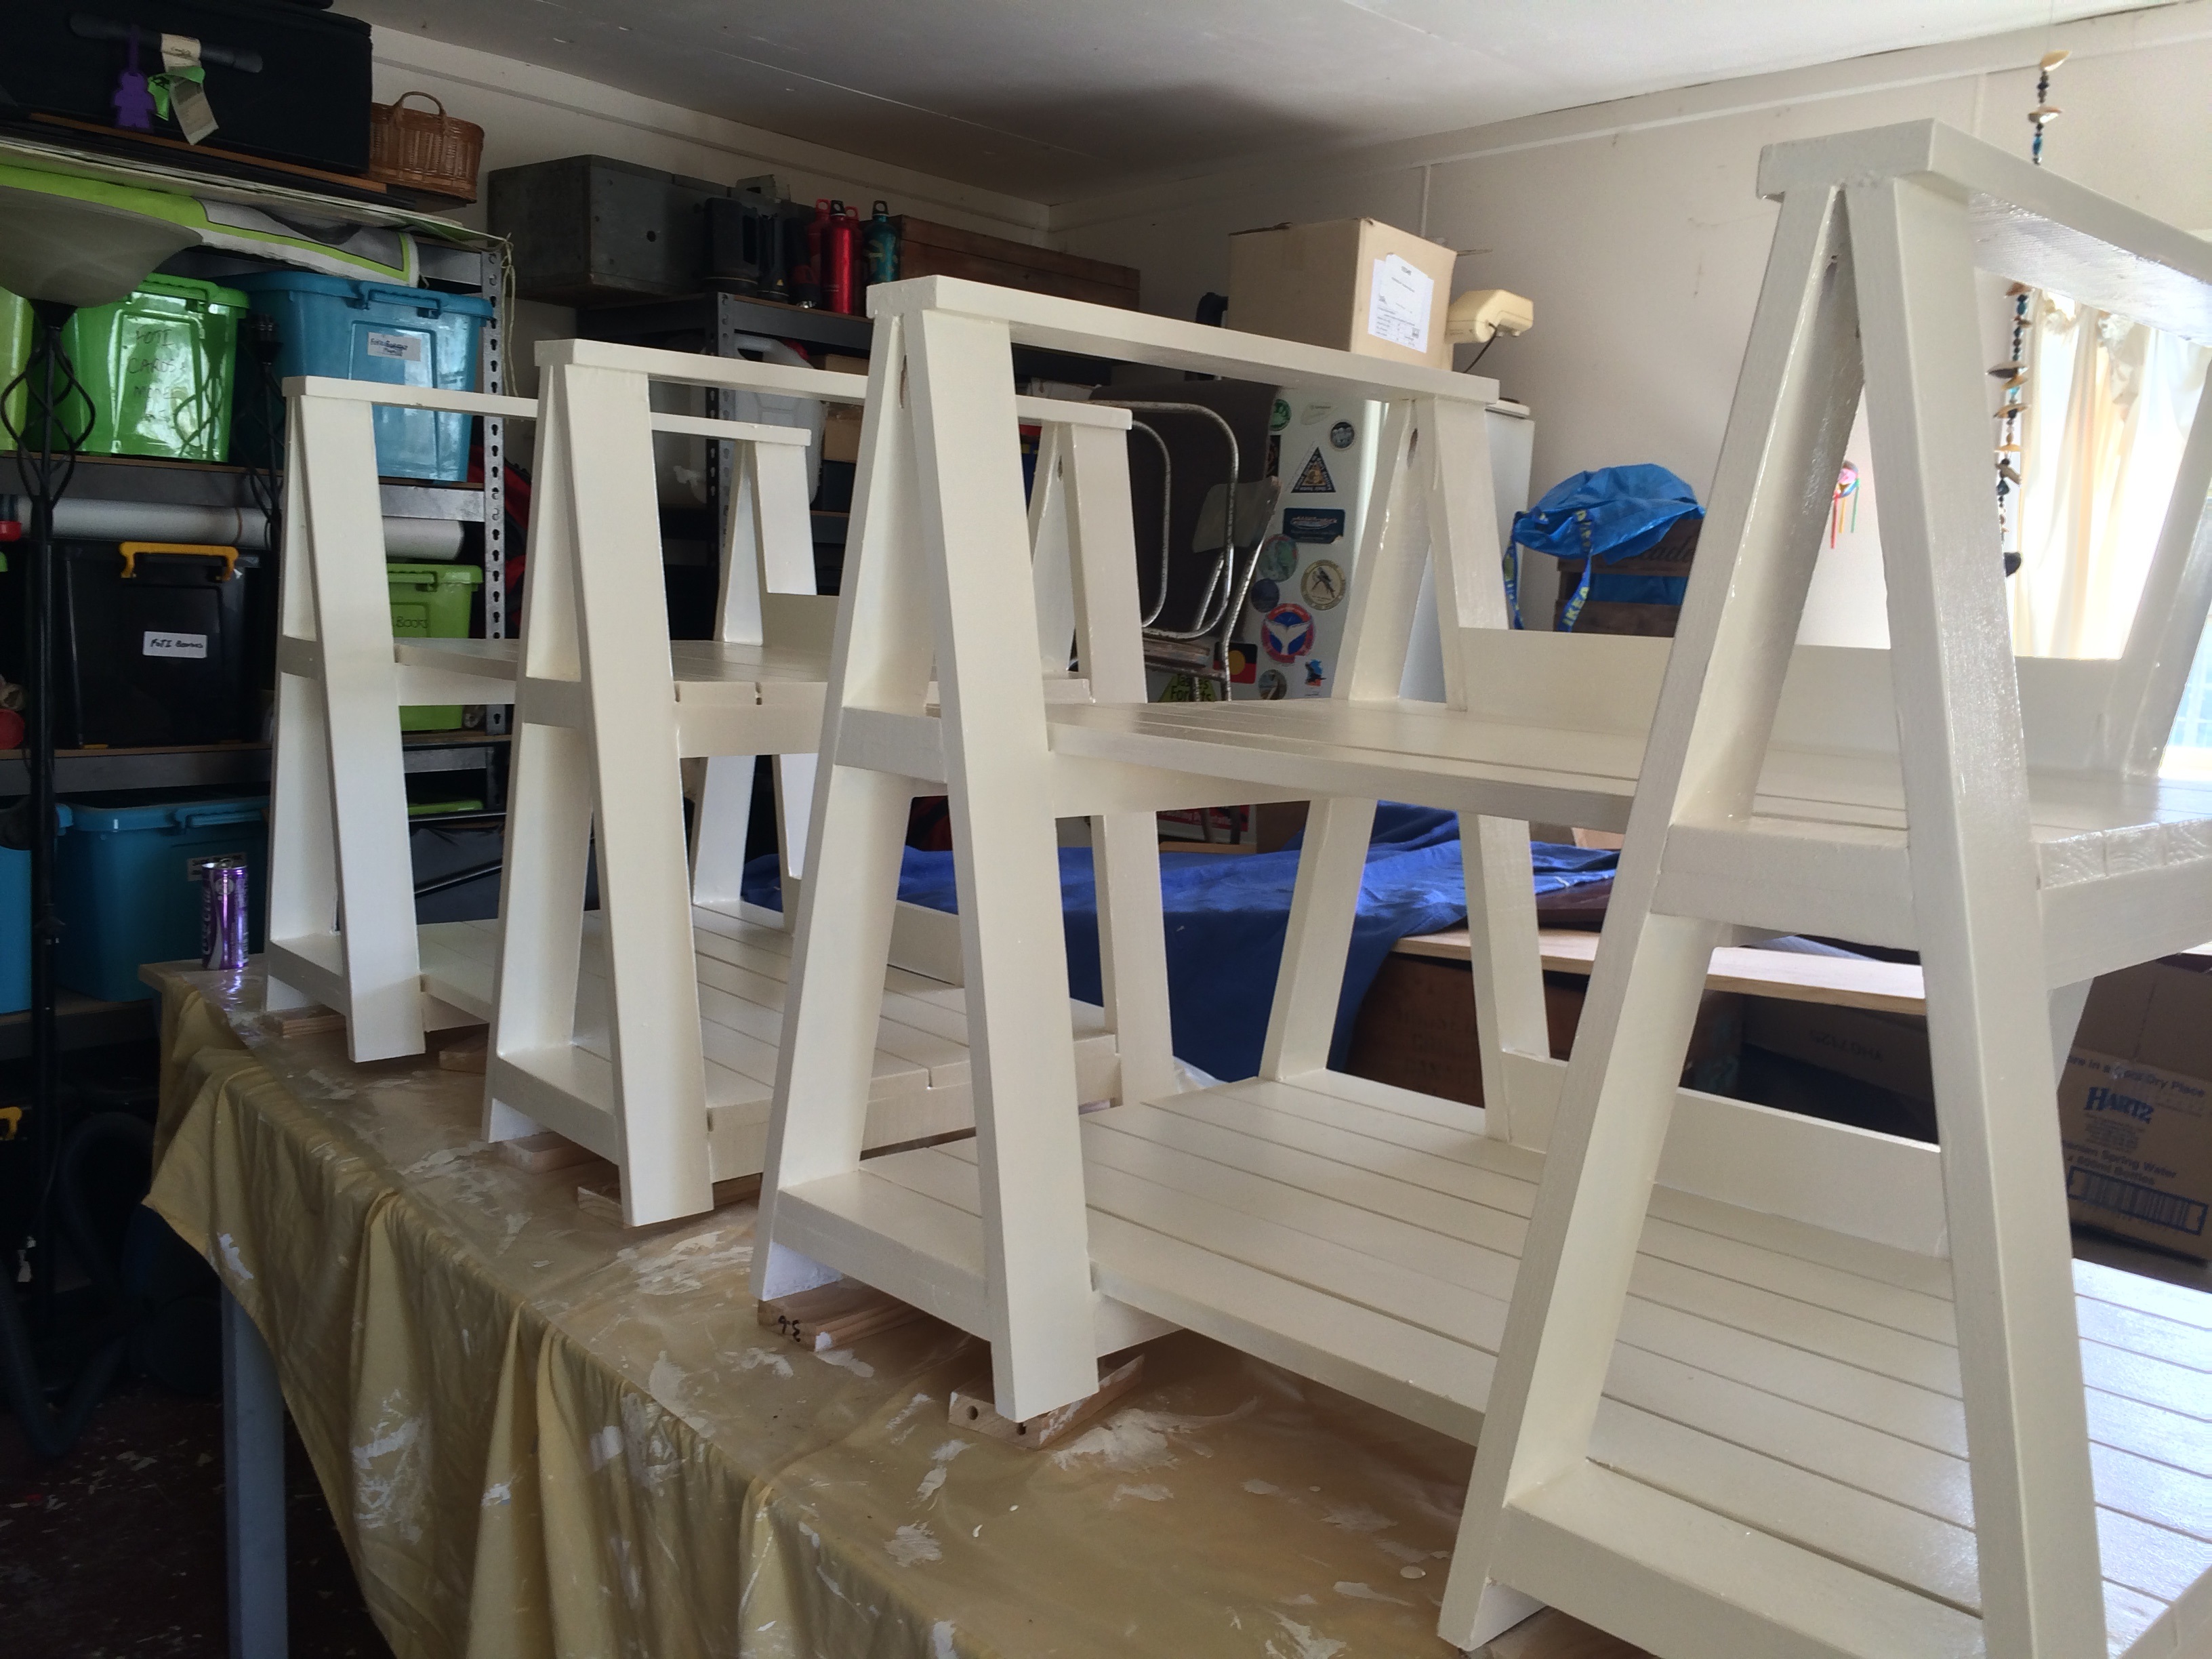
Note: picture does not show spreader on back legs, added afterwards. Drawers are out while guides dry, they normally sit flush with front face.
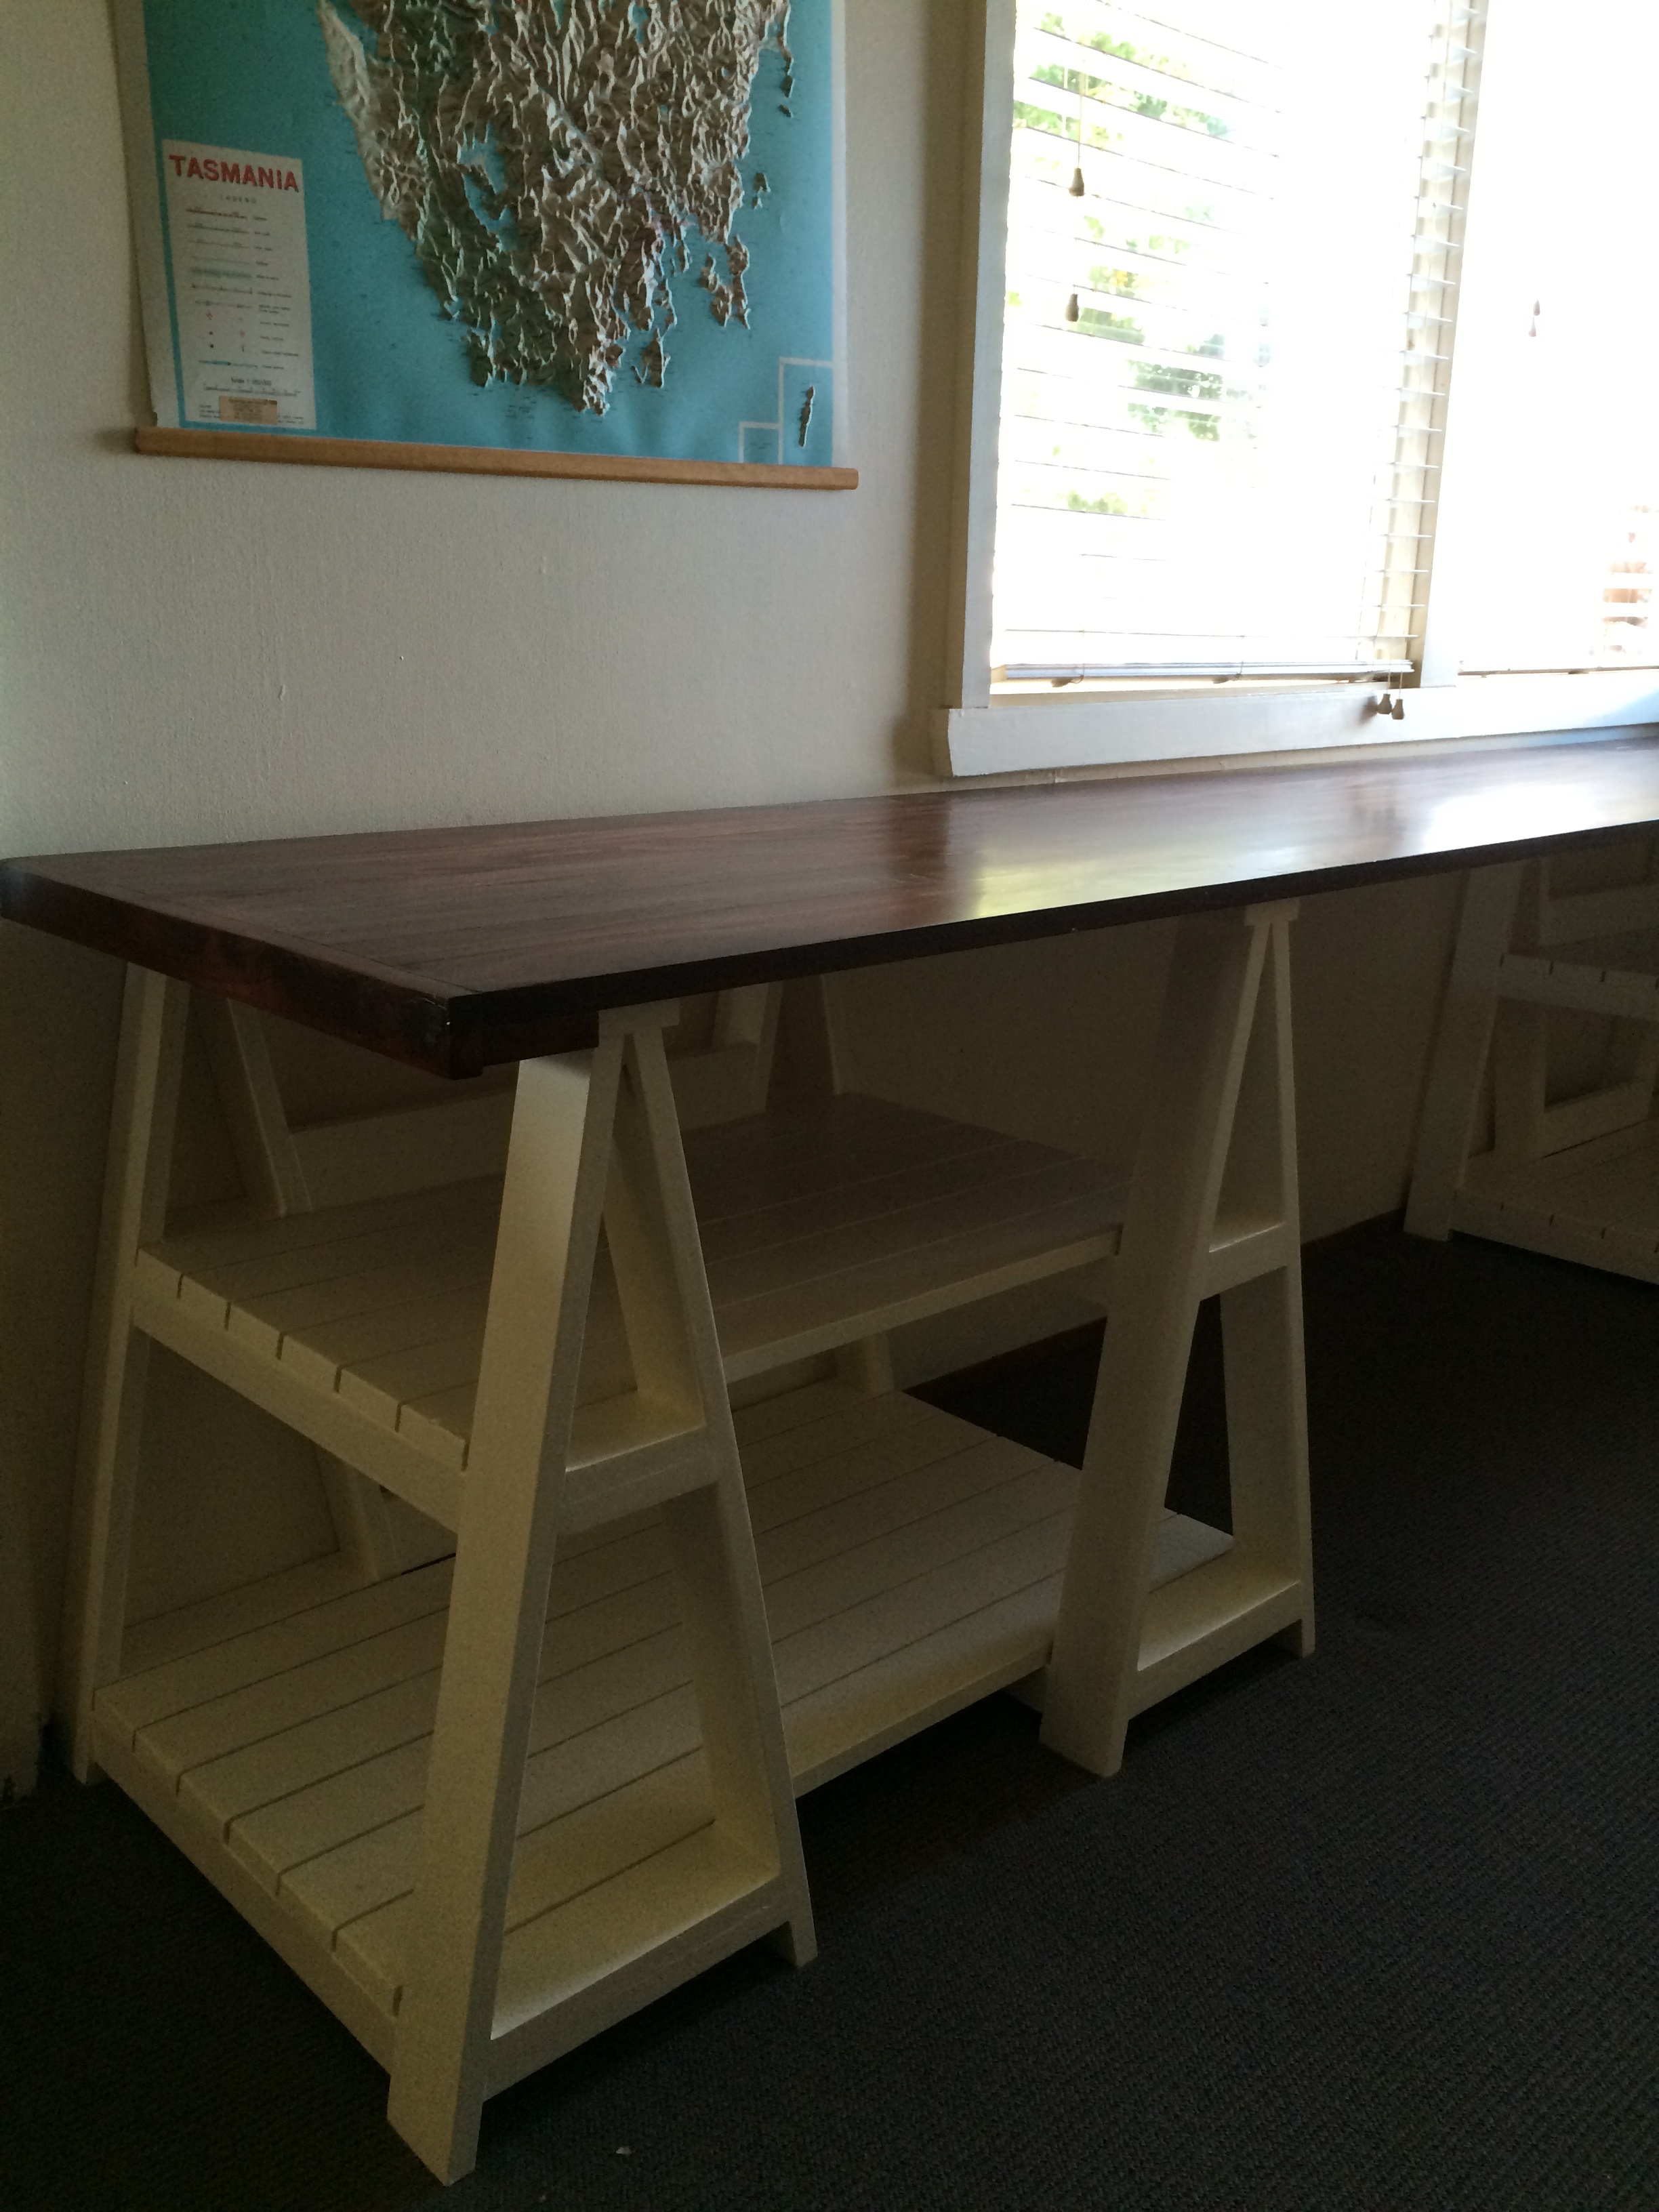
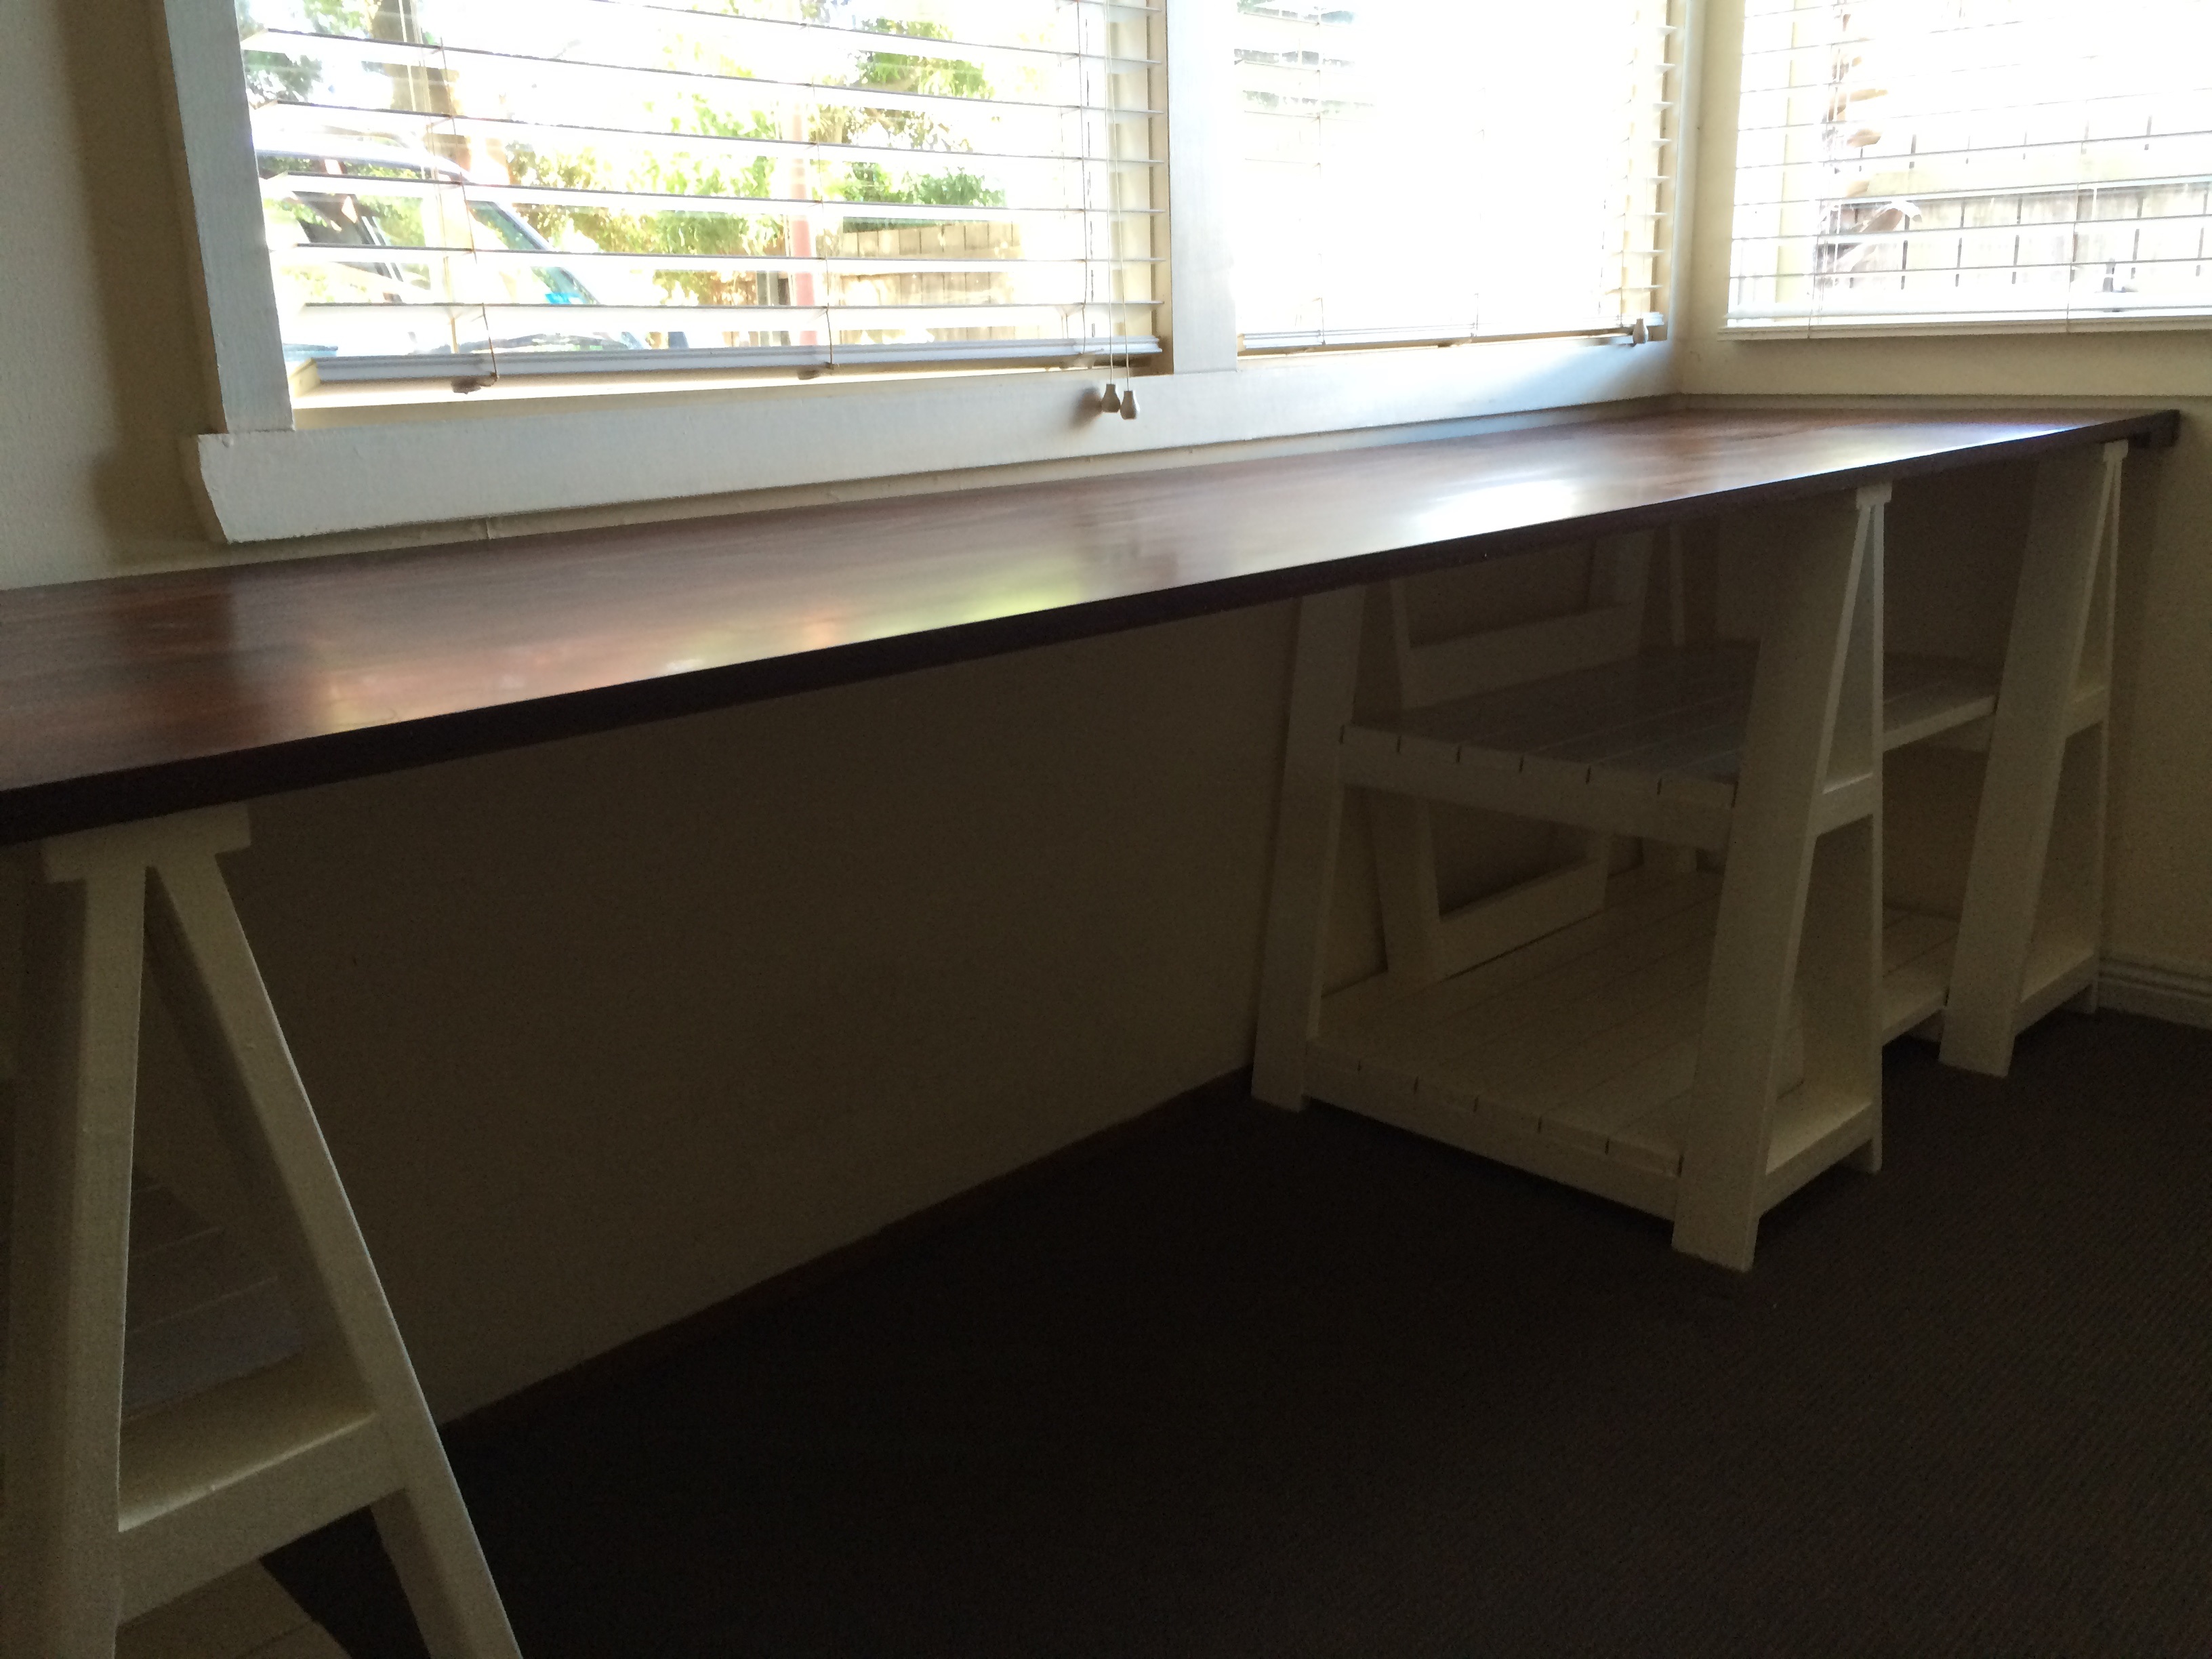
Made from pine, with poplar edging on front. Mostly pocket hole joinery. Finish is a light version of the Minwax Dark Walnut (looks lighter in picture than real life.) Lacquer coating. Pulls are from Home Depot.
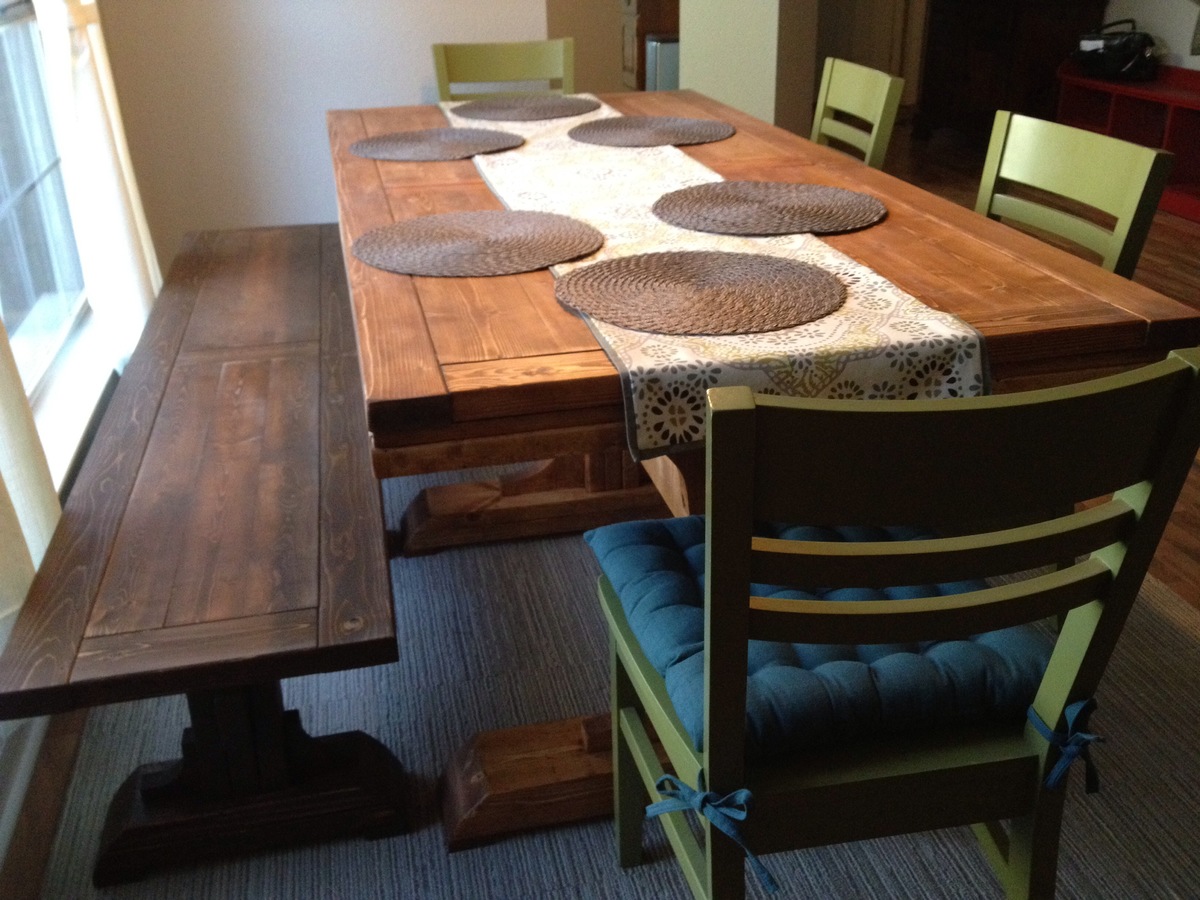
To give it an antique, campaign look, the edges are roughed up a little, the finish is left a little streaky/worn, and the holes for the drawers were cut out of the board by hand, and then hand-fit to the drawers.
I made this desk for my sister ( it is 3 metres long - sorry I am an Aussie dont know what that is in inches).
I glued 3 metre radiata pine together, planed, sanded, stained and varnished with polyurethane.
I made 4 sawhorses and then joined two of them together to make shelves.
Very happy with the result