Farmhouse bed - King
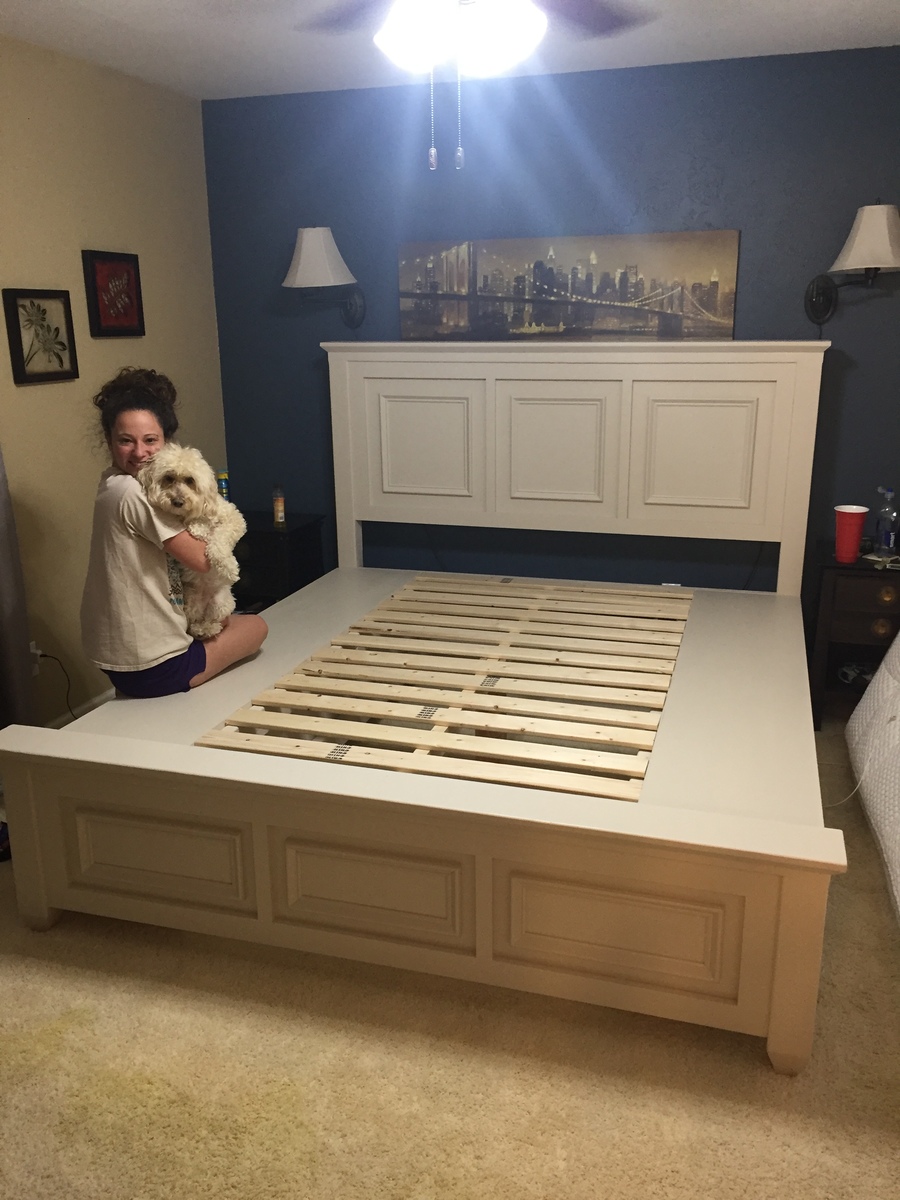
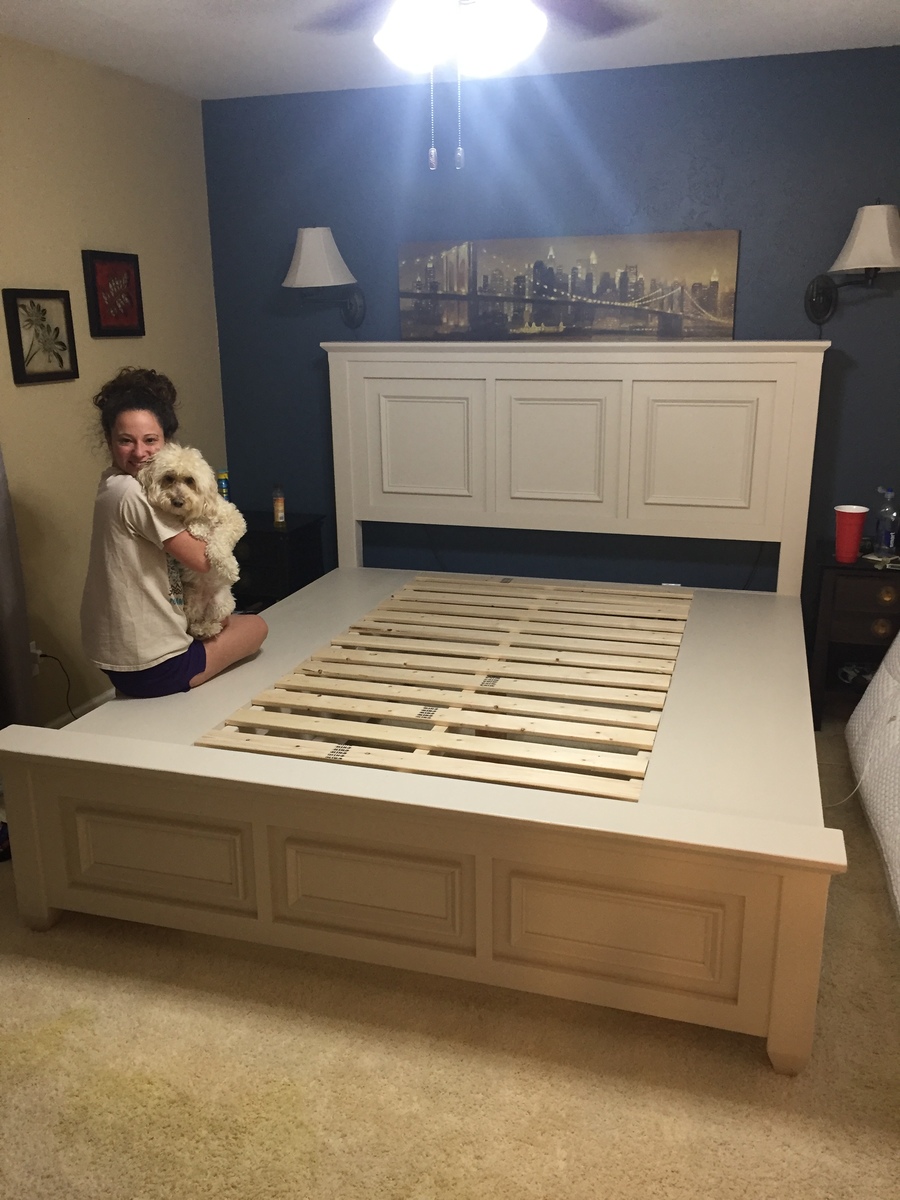
Farmhouse bed with storage sized up to a King
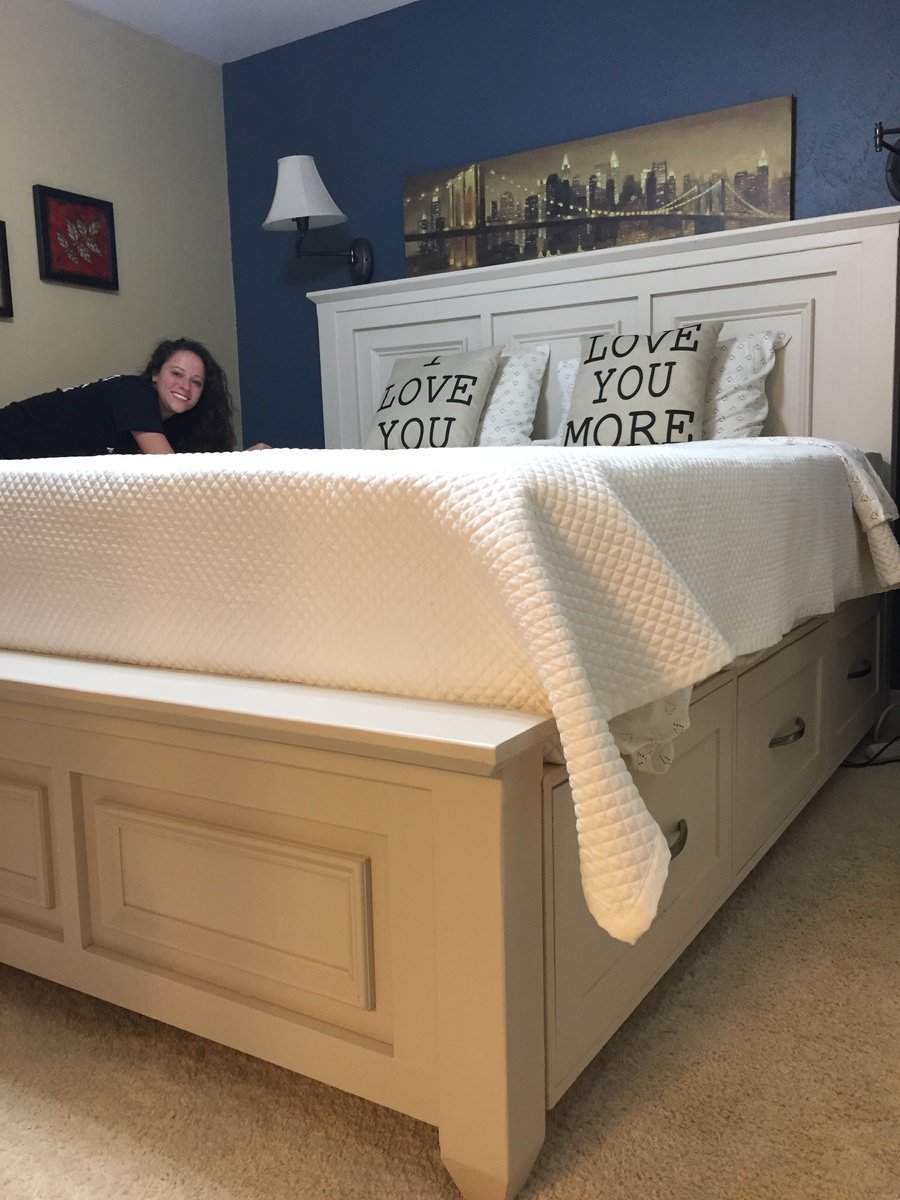
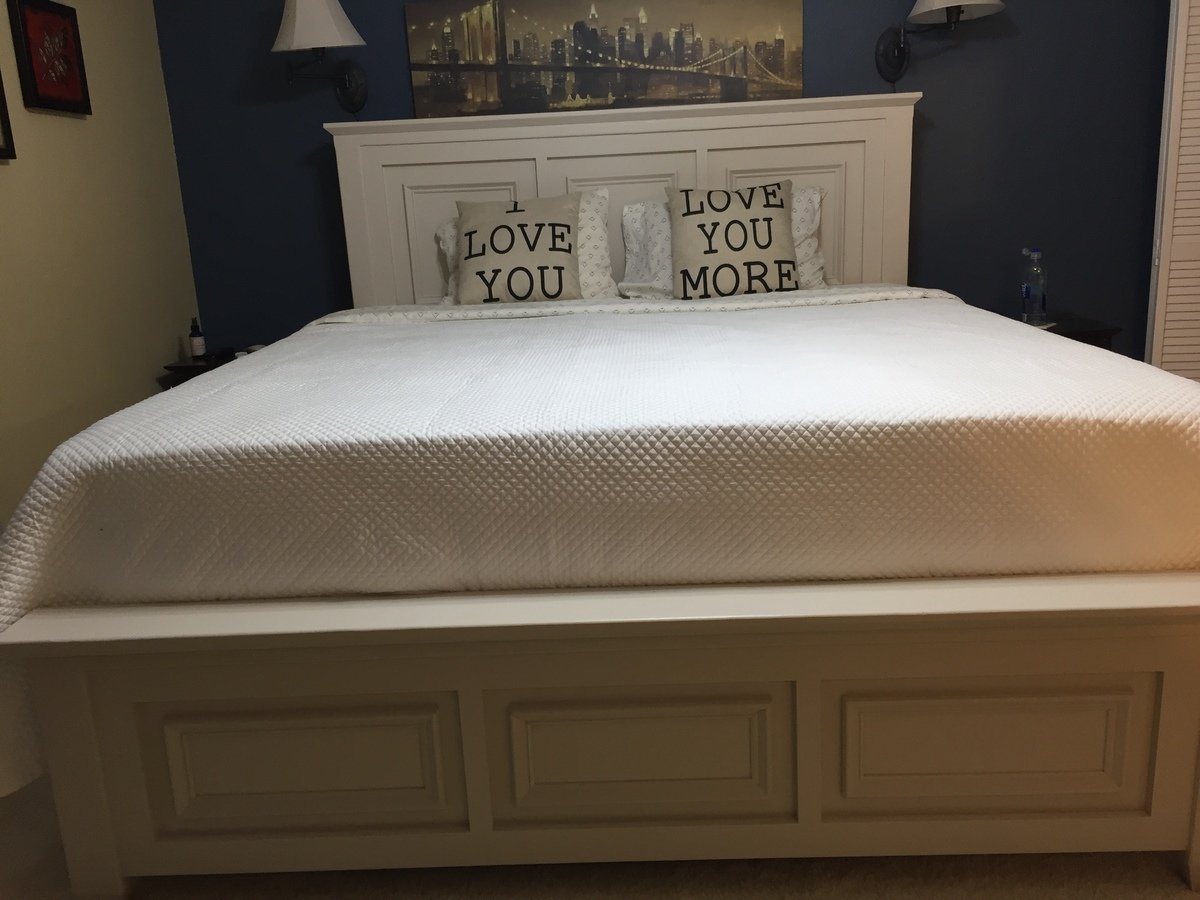

Farmhouse bed with storage sized up to a King


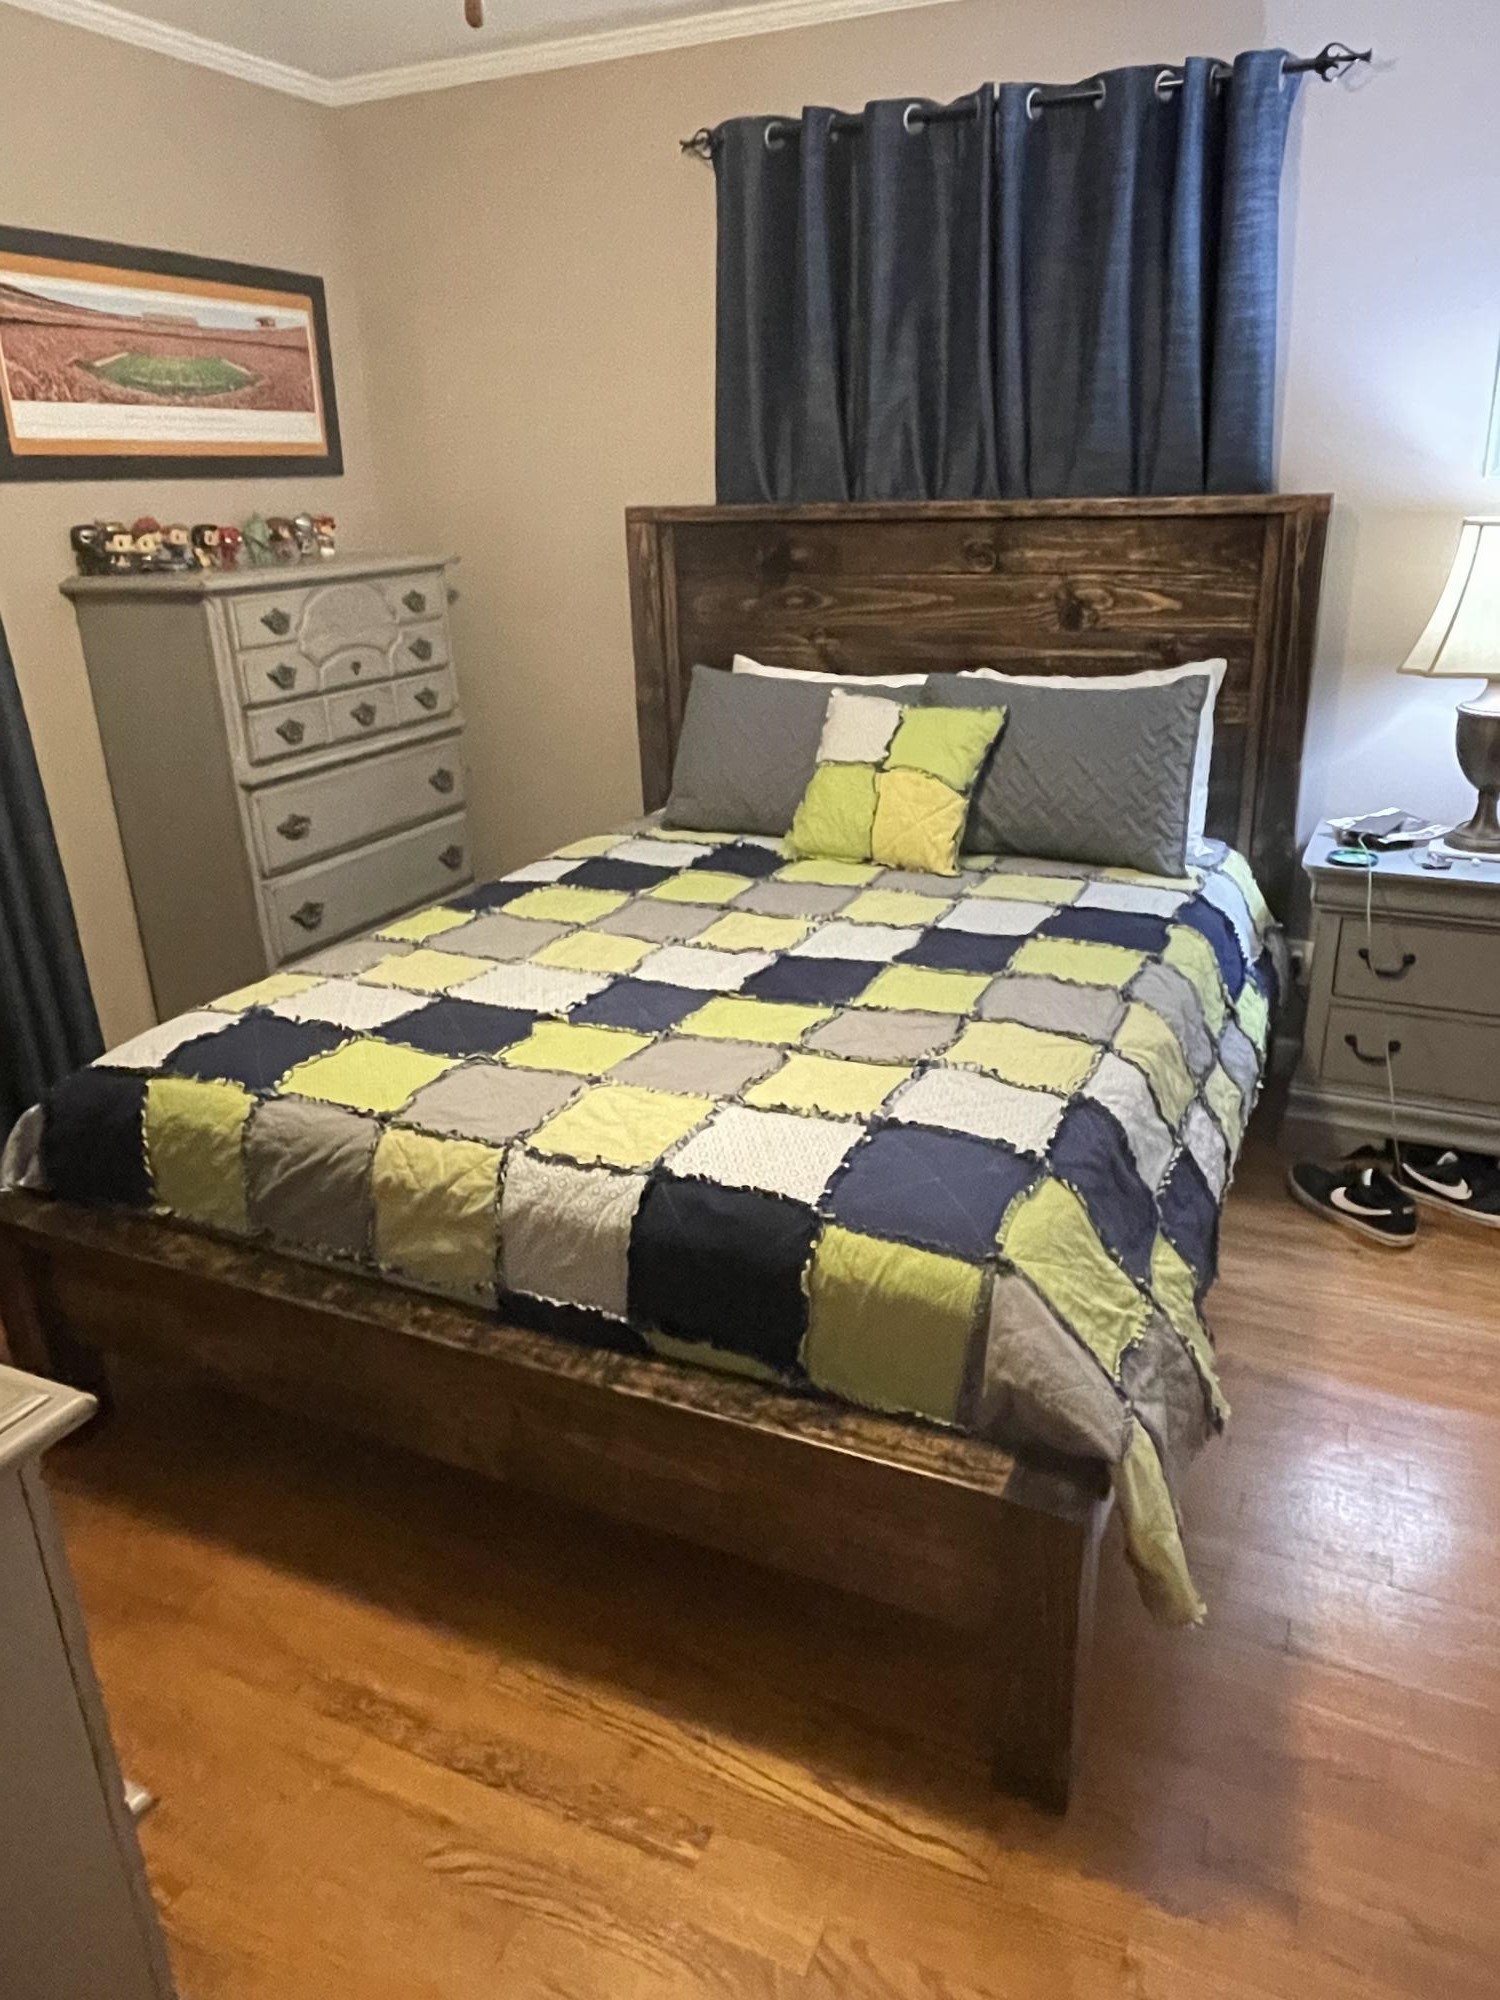
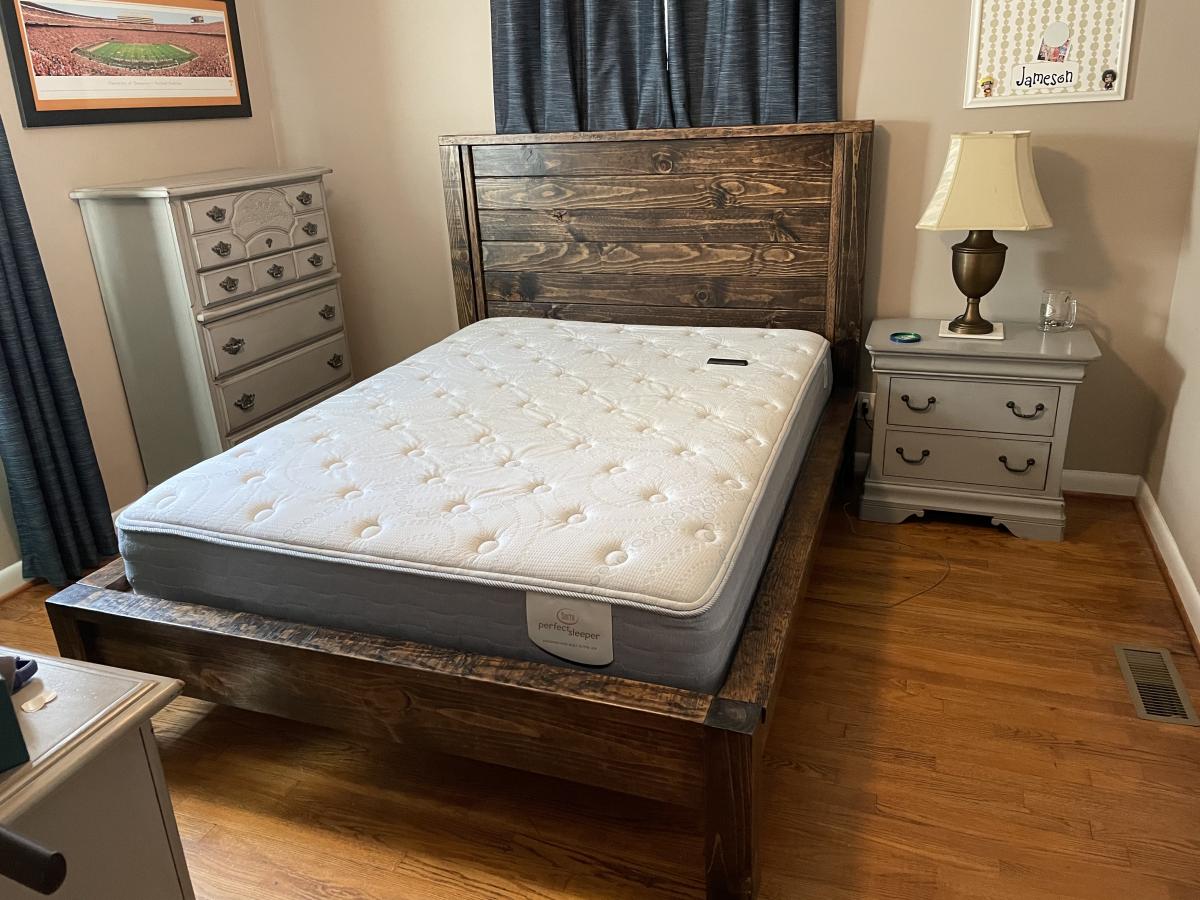
This was done almost true to plans. Instead of 2x6s, I used 2x8s, I raised the footboard and side rails up 2 inches, and bought bed rail brackets to make for easy disassembly when it needs to be moved. I did add a 1x2 strip on each side of head board to cover where the T&G meets the 4x4 (strictly personal preference). Solid and sturdy. My son is happy to get a more masculine bed. Just got it all in his room today.
Sun, 10/17/2021 - 18:21
That is very beautiful and masculine at the same time! Way to go, thanks for sharing:)
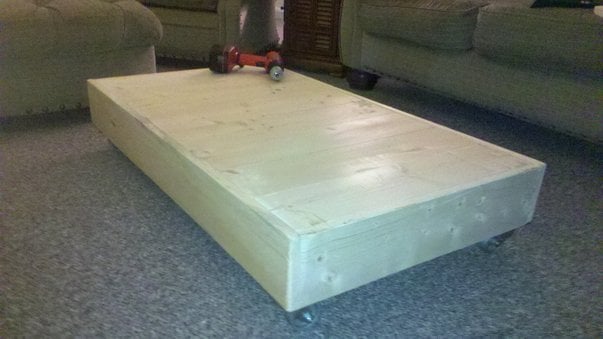
The Factory cart was really easy to put together.
I This project is definitely the most difficult I've ever built. I've done lot of drawer slides before, but for some reason this one was the hardest. I think the culprit was squaring, which was mysterious to me bc I'm careful to take a square constantly. Could've been bowed boards, too. But, after some patience and forcing the boards to do what the should, it worked. I did rip down 2x4's for strength b/c our stores do not carry the upgraded 2x2's and furring strips would just not have been strong enough for a dresser. My son is very happy to finally have a place for his clothes. Thanks Ana for these plans!
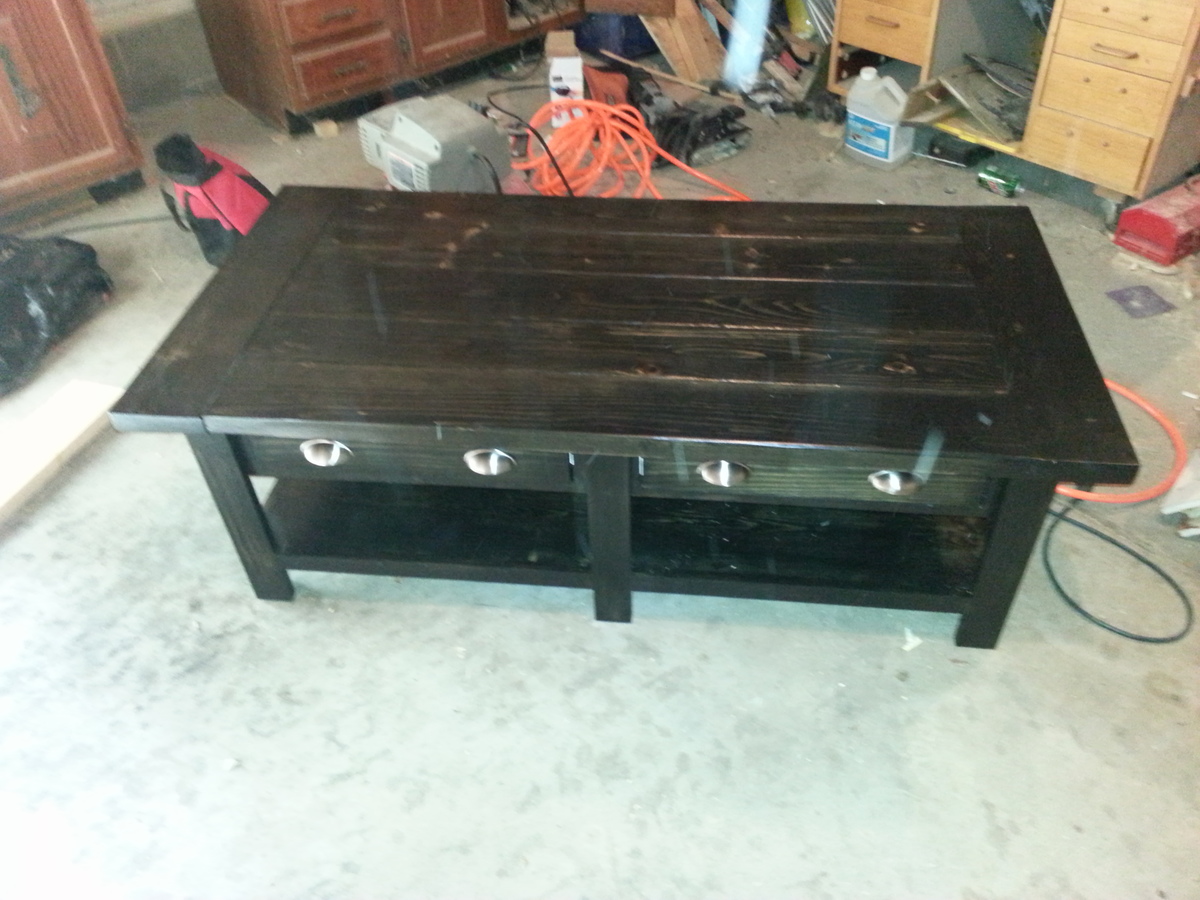
This was one of my first projects. I made it for my daughter who was moving to a new apartment and wanted to replace her college coffee table. It was fairly easy other than keeping everything square so the drawers worked correctly. I finished it with Rust-Oleum Ebony stain and Minwax Satin Poly (3 coats). All the hardware and lumber came from the Orange big box store
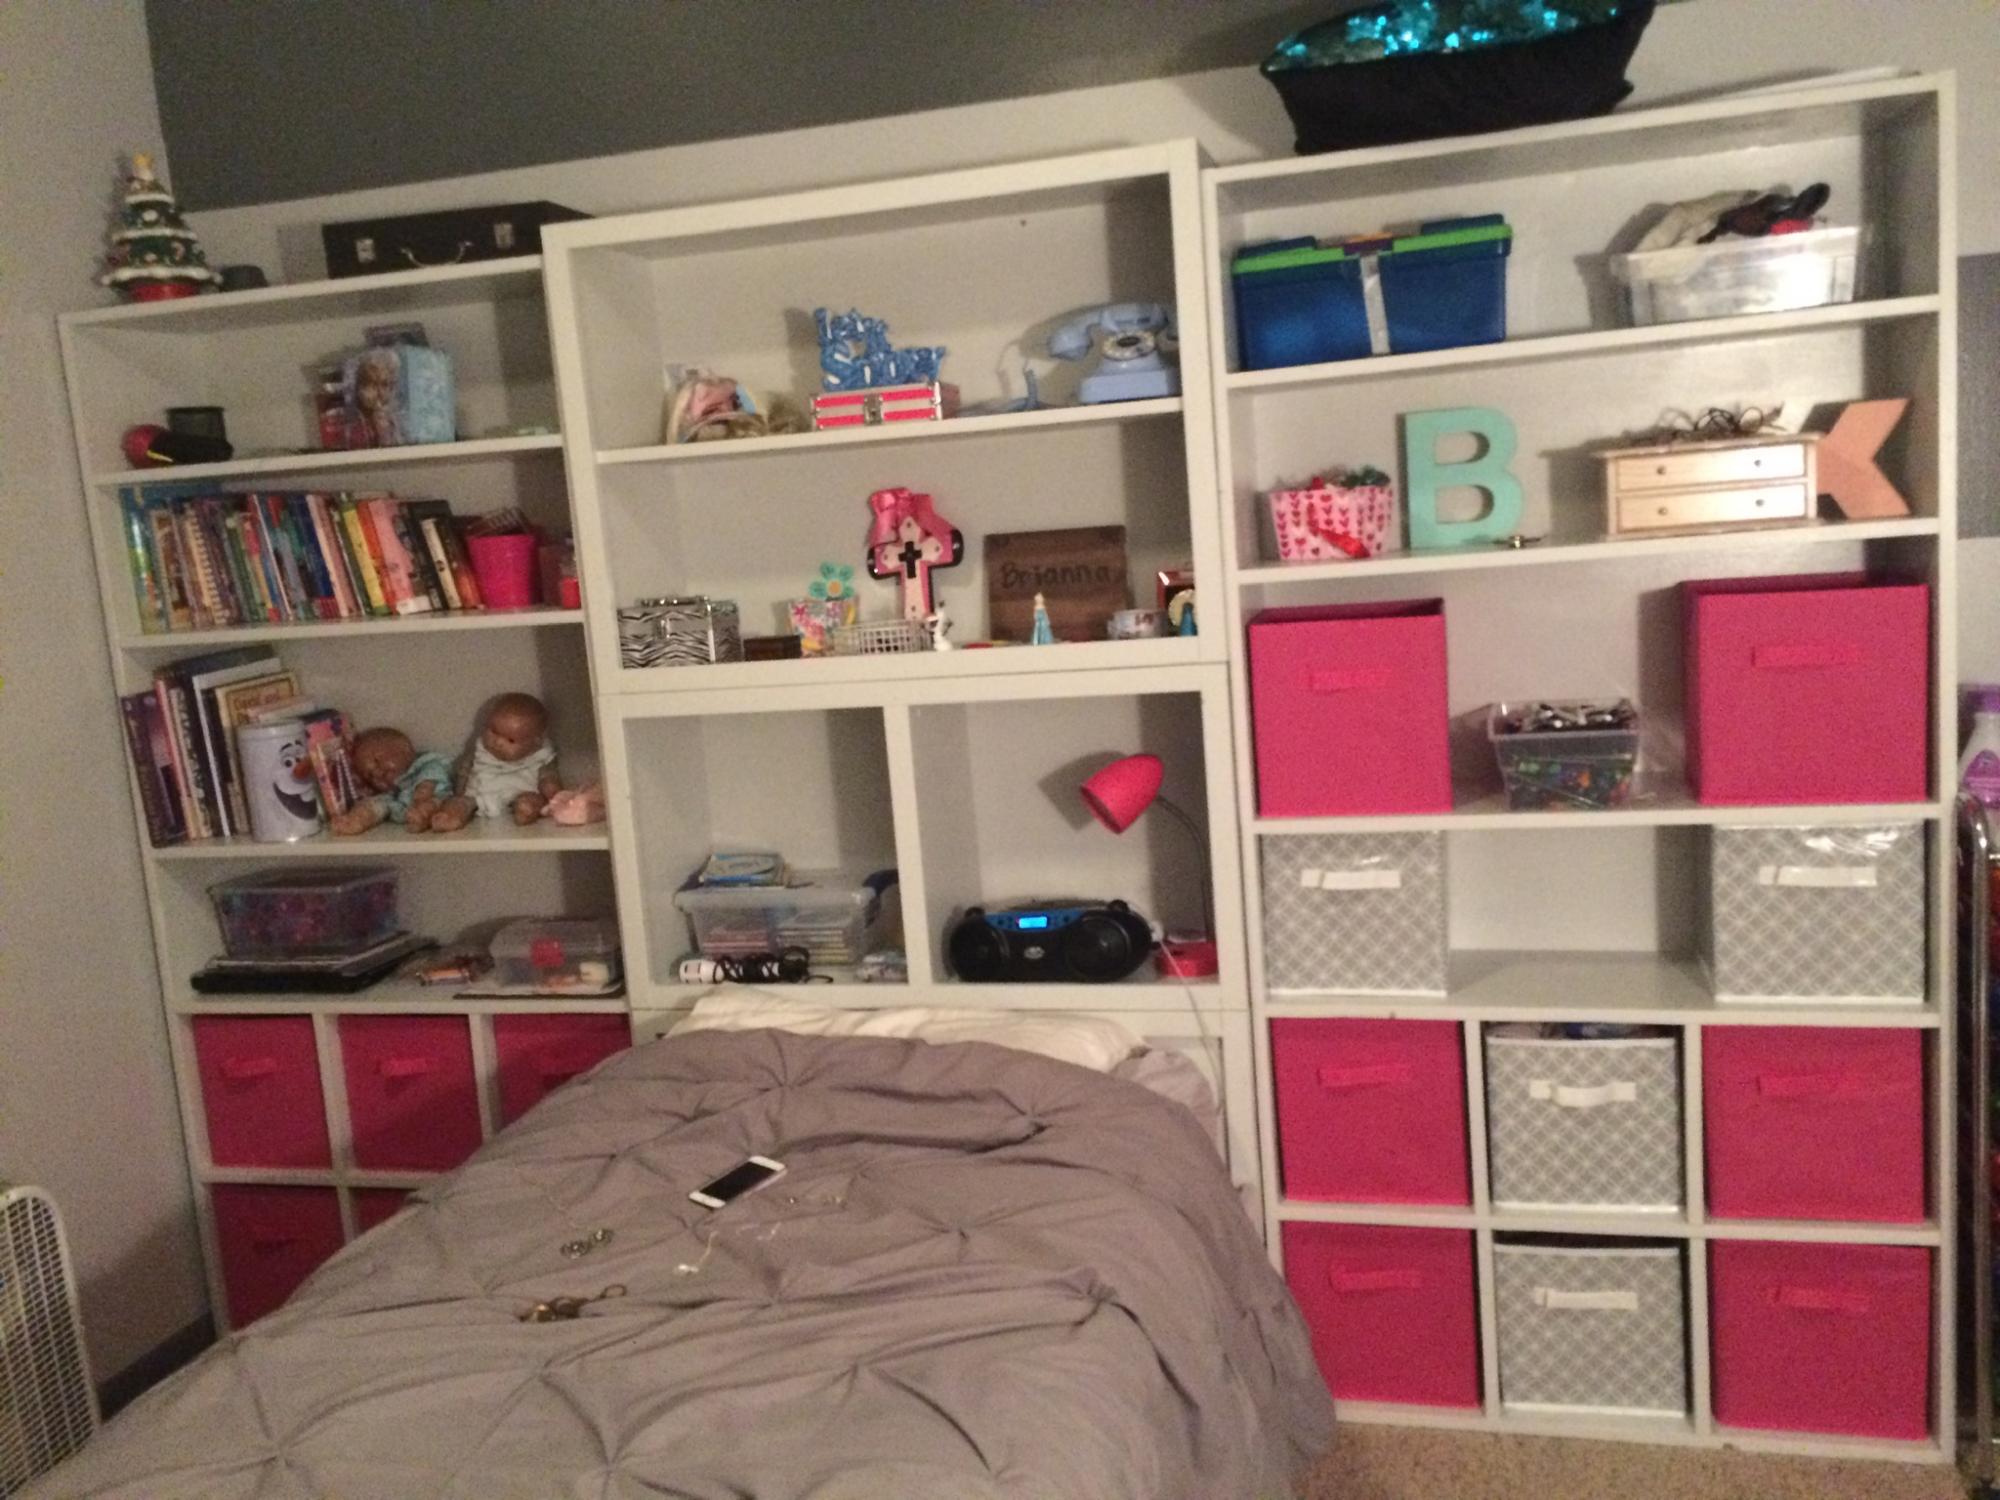
I built this for my daughter, she has a somewhat small room and this have her so much storage. It was so fun to make it too. We’ve never been able to afford nice furniture and I’d never made anything from wood before but with Ana White’s plans I was able to do it. I love wood working!! Thank you Ana!
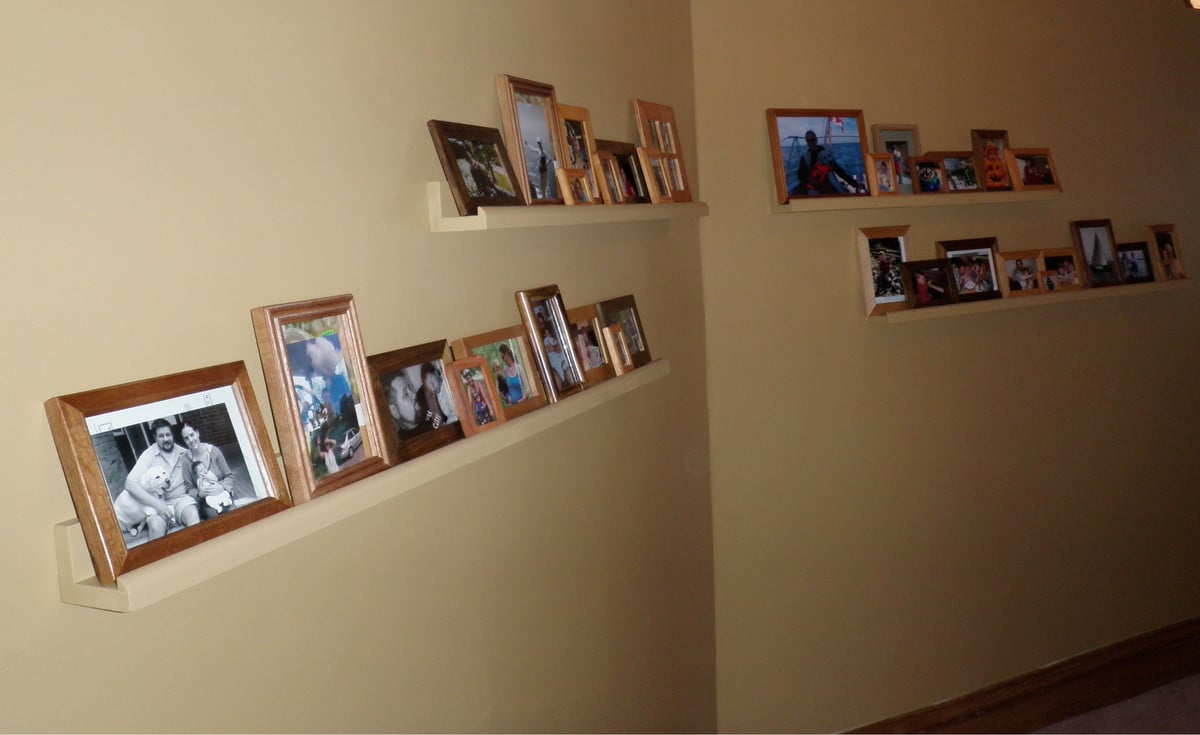
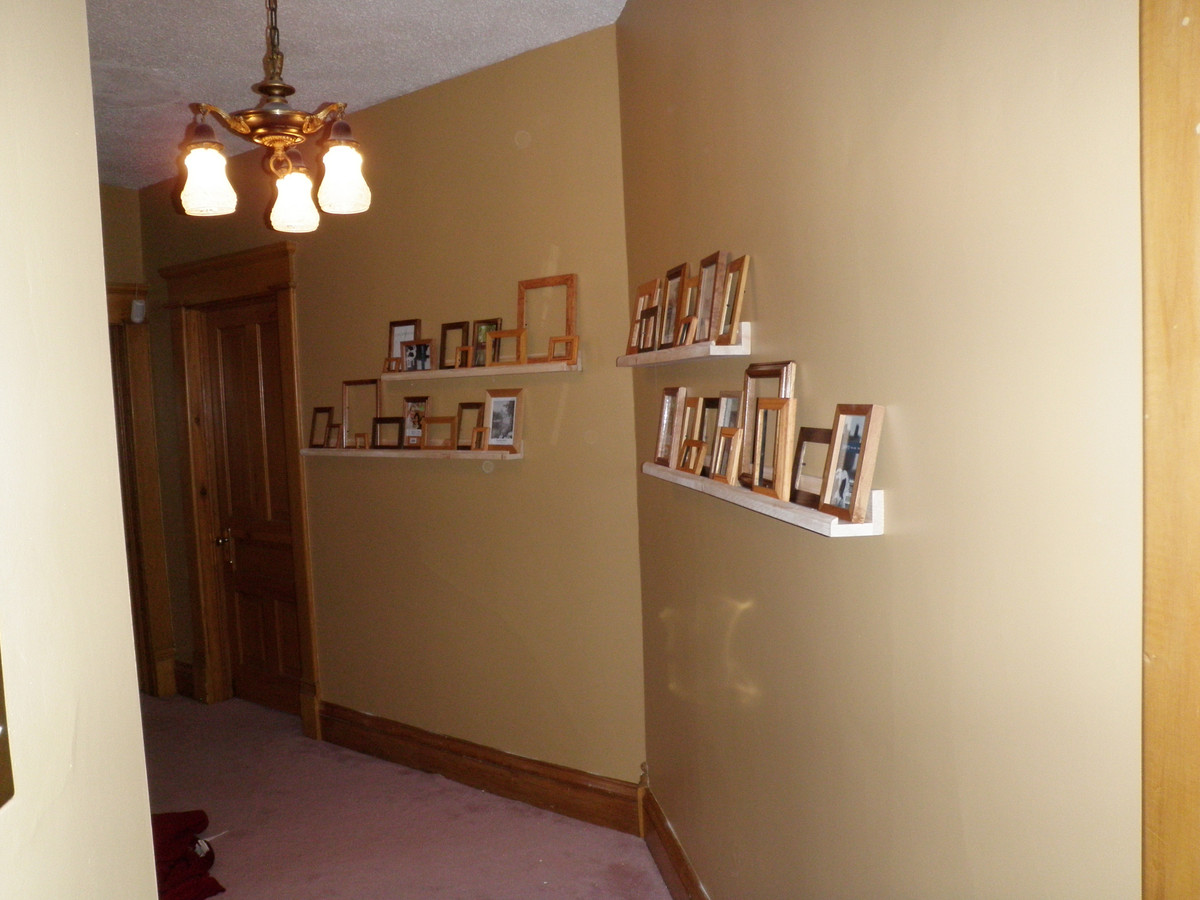
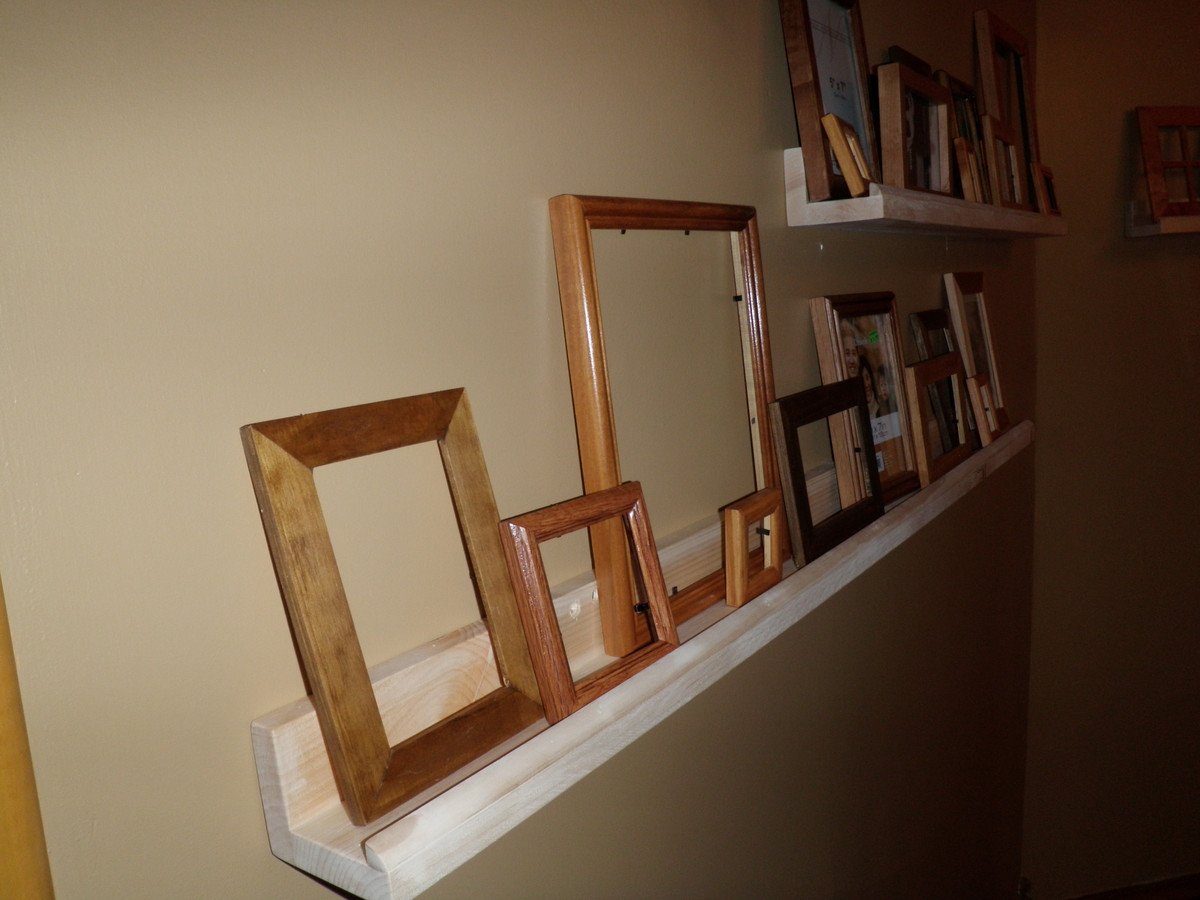
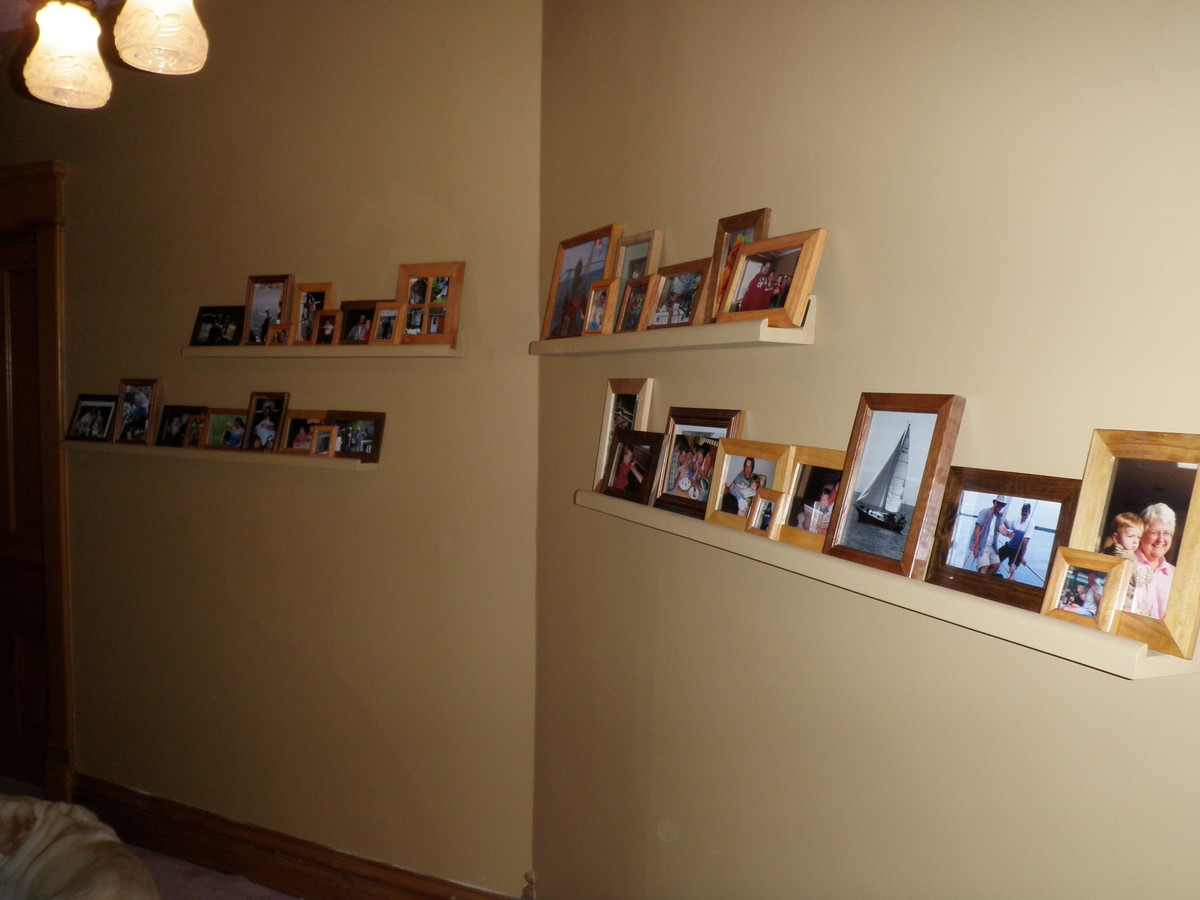
I was always a fan of the gallery wall, but not having a big empty space in any of my main rooms I didn't think I could have one. However, once I finally got my stairway and upper hallway painted, I realized the wall needed something and the gallery ledges would be perfect! Save the old plaster walls from being bashed with picture hanging nails too!
I build them out've 1x3's and a small 1/4 round for the front edge instead of a 1x2.
I made 2 3' long and 2 4' long and staggered them on the walls, as the walls are at a slight angle to each other.
I decided to paint them the same colour as the walls so they would blend in and the picture frames would stand out. All the frames are varying wood stain colours that go with the trim in the house.
I love having a place to put all the pictures I never find time to put up!
We have a rental unit and decided to fill one room with 2 sets of bunk beds. One is a twin over a full. The other is a full over full. Due to a duct running through one corner, and limited amount of space, I decided to build a set of stairs on the 17" gap. I used the simple bunk bed plans, but modified it to the style of the farmhouse. Also, I changed several of the heights of the foot/head boards. The full over full will have a ladder coming off the end and is in progress.

Decided to spent the lock down on my back deck.
Always wanted to try a little gardening but I don’t actually have a back yard only a common area. This was a perfect fit and awesome to build. I have never built anything before!


Sat, 11/06/2021 - 17:45
That's a great way to spend time at home, thank you for sharing!
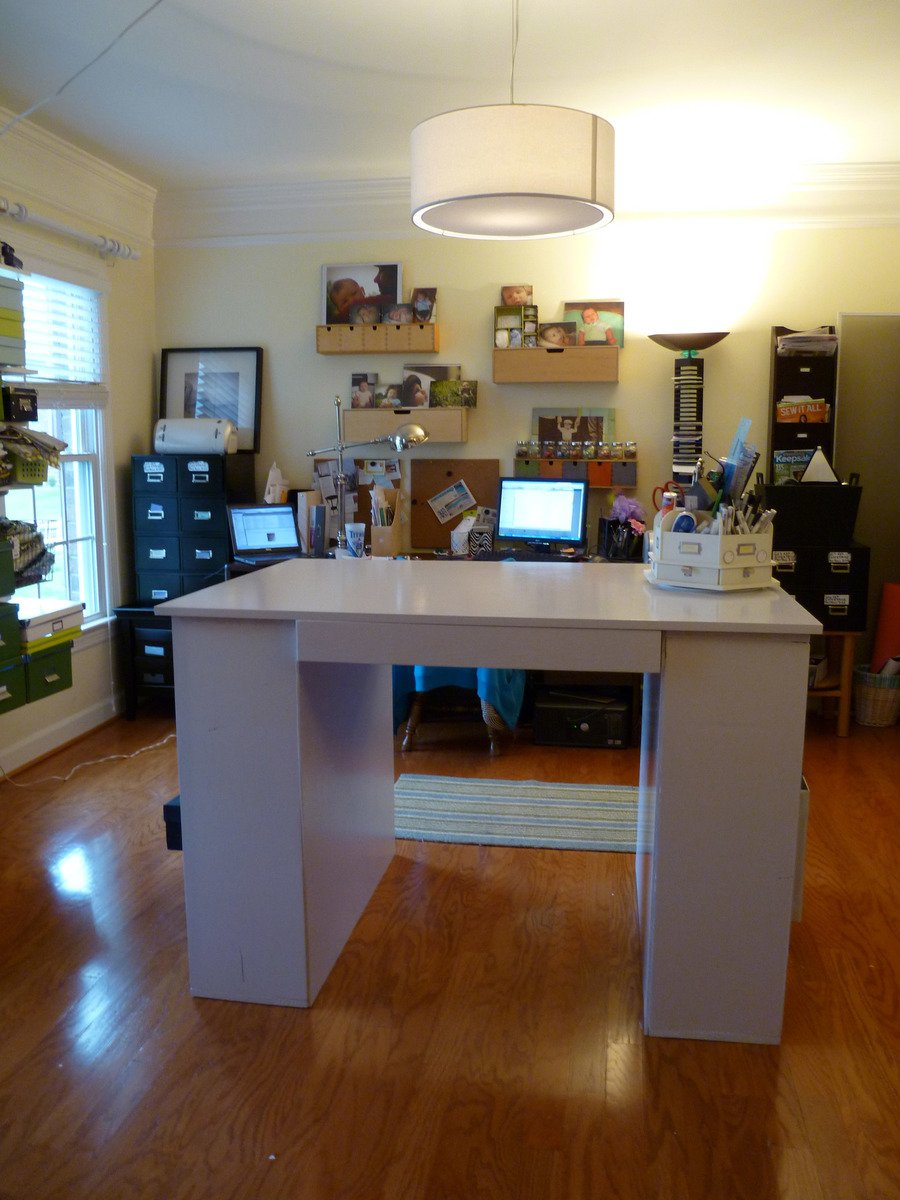
I emailed my husband the plans for this desk on a Friday night and said we HAVE to make this desk this weekend. I can't believe he actually went for it! Well it turned into about 3 weekends and some nights of painting. We also had some issues getting straight and square plywood and boards with knots in them. He also added some extra holes in the sides for me to adjust the shelves. We used an oil based white paint to finish the desk and looks nice and clean and shiny. I can't wait to get started on our next project! Please check out my blog for more details and photos and information on materials used, etc. (kitcats-studio.blogspot.com/2011/craft-table-made-from-plans.html
PS - {I had one more coat of paint on the drawers to finish so ignore the bare fronts of the drawers.}
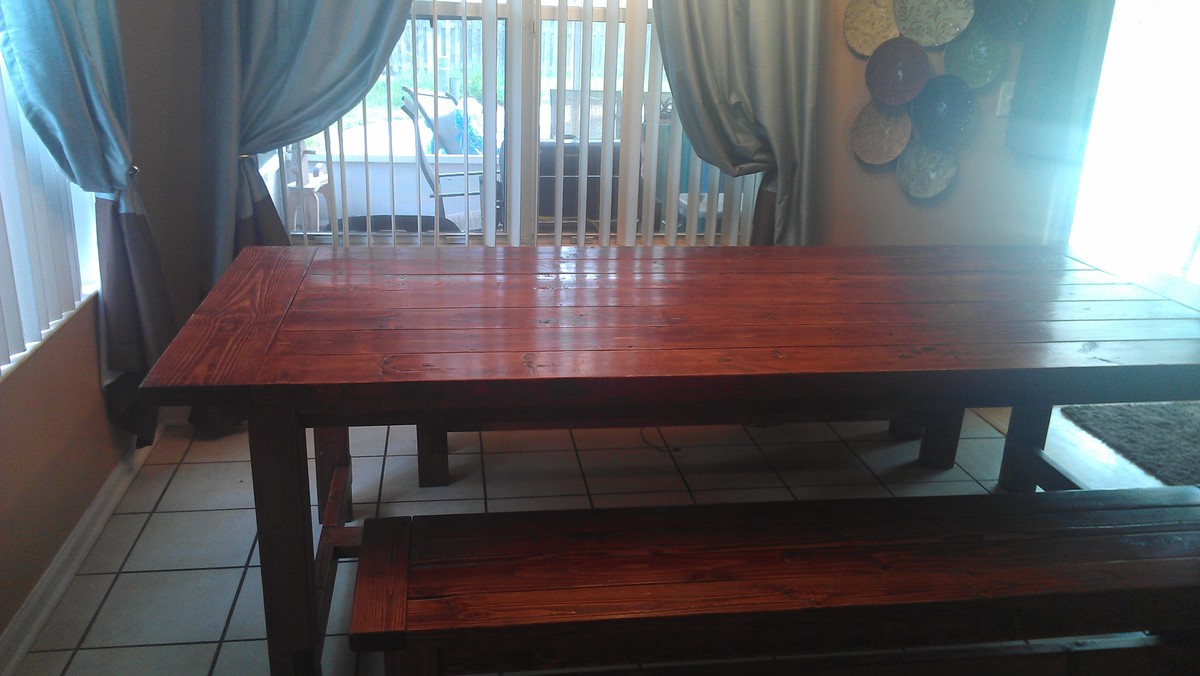
This is the first furniture building project that my husband and I have completed. It took us about 5 weekends to complete it- including finishing.
We started with the benches as recommended in some of the comments and ended up buying a pocket hole jig and redoing the tops of the benches before completing the table.
The stain is Minwax Red Chestnut and there are three coats of Minwax Fast Drying Polyurethane on it. We're so happy with it and can't wait to start the next project!
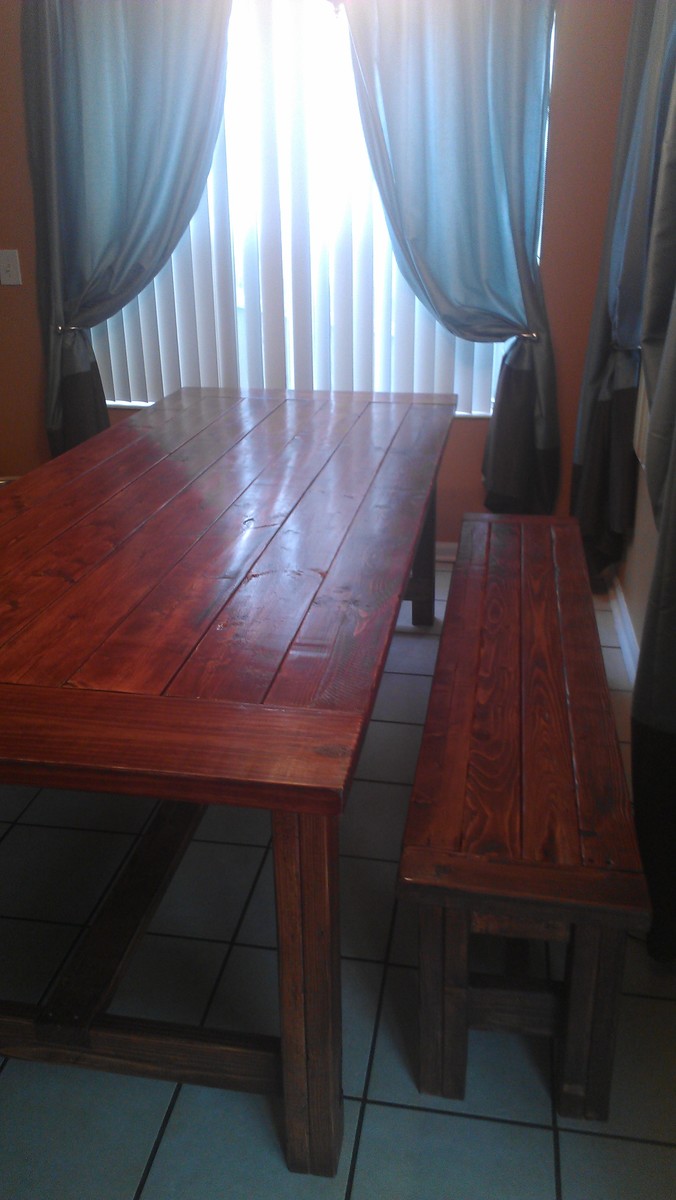
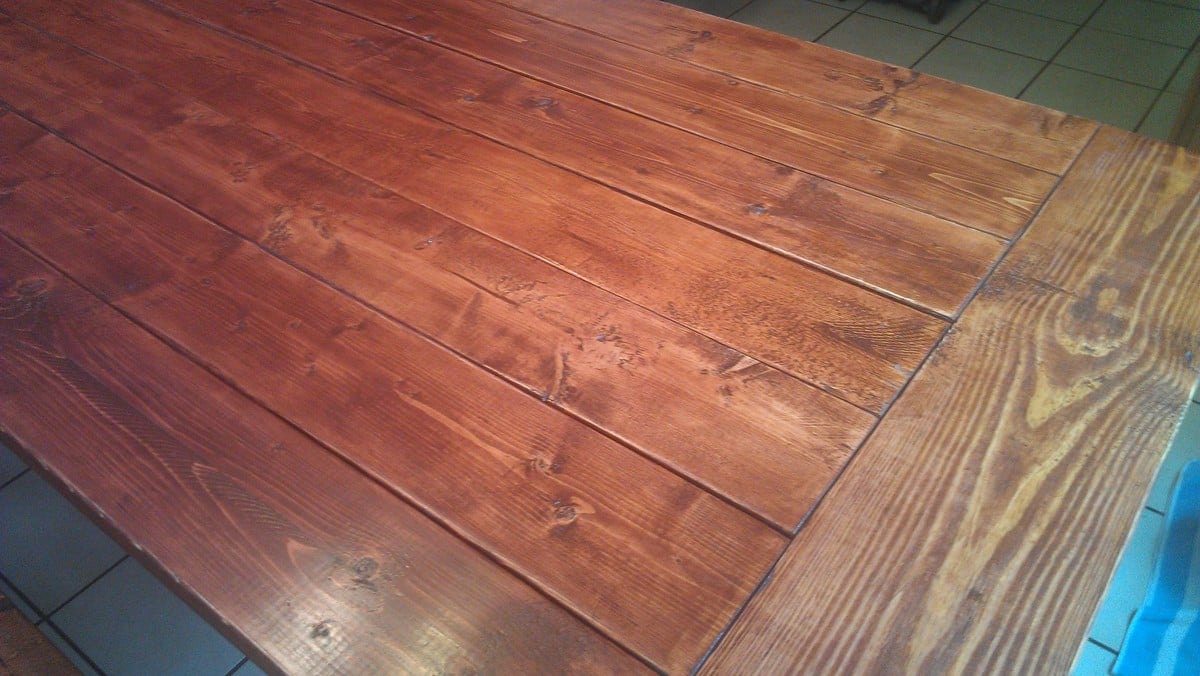
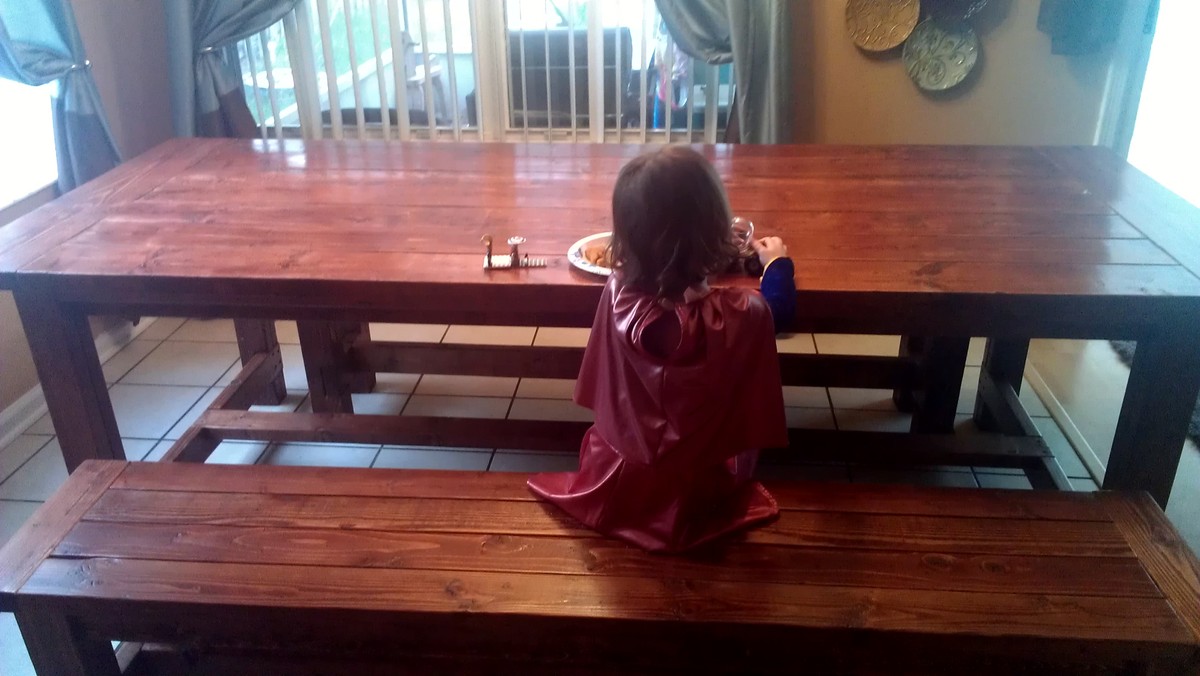
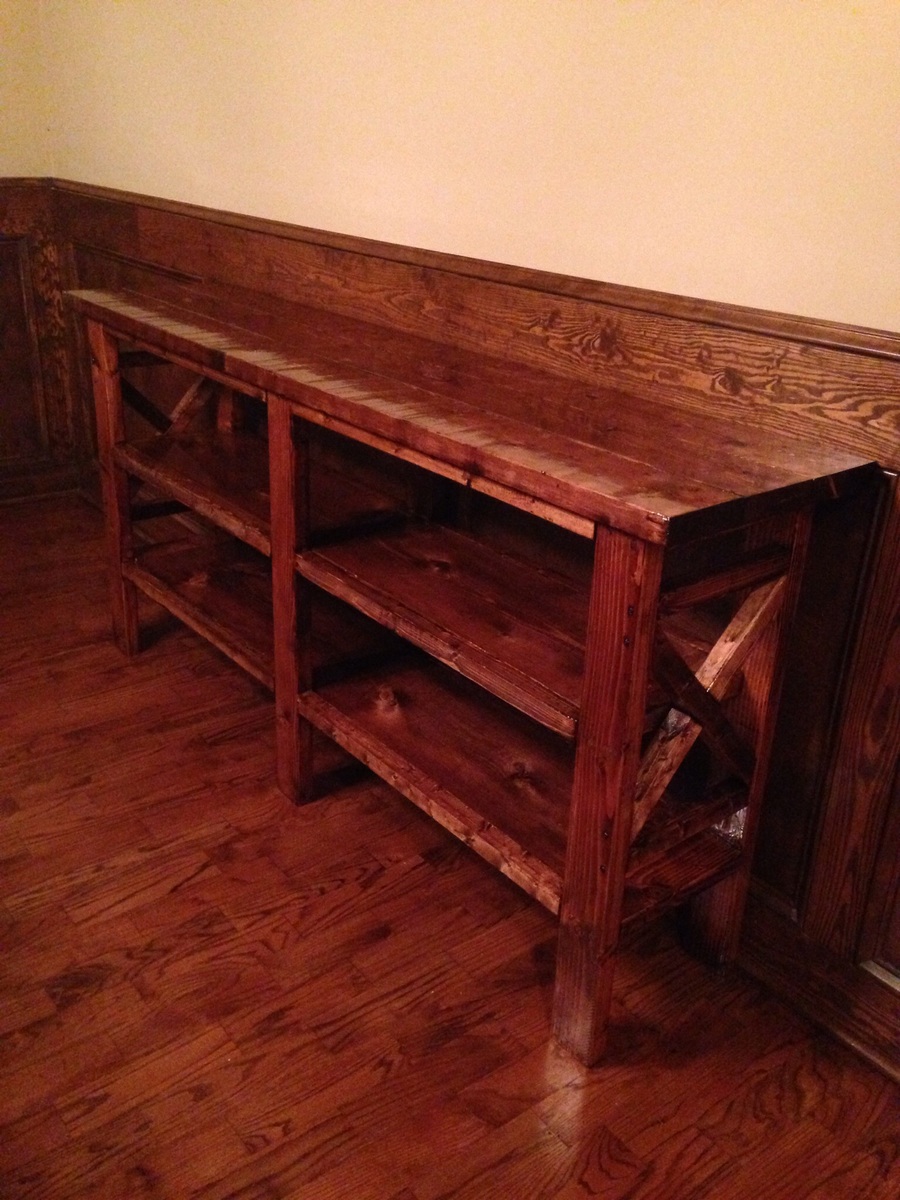
Built to go with my farm house table. It looks amazing.
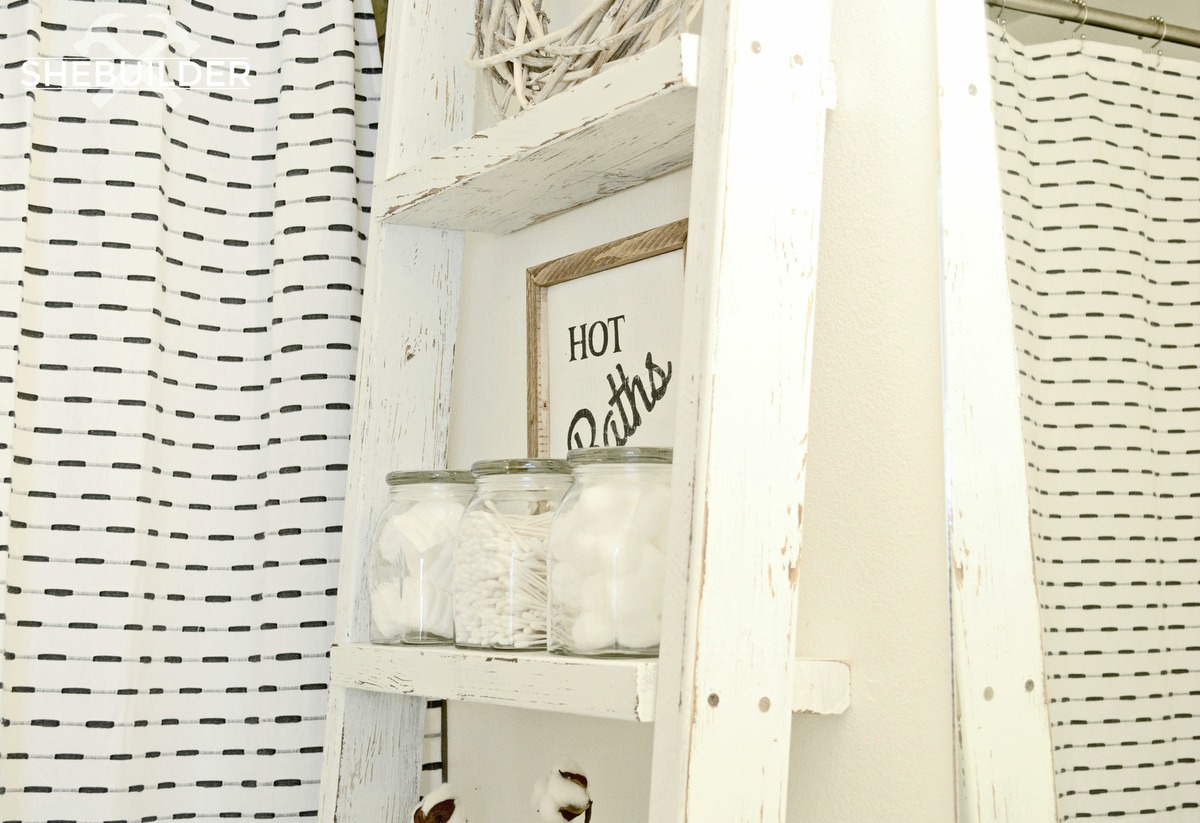
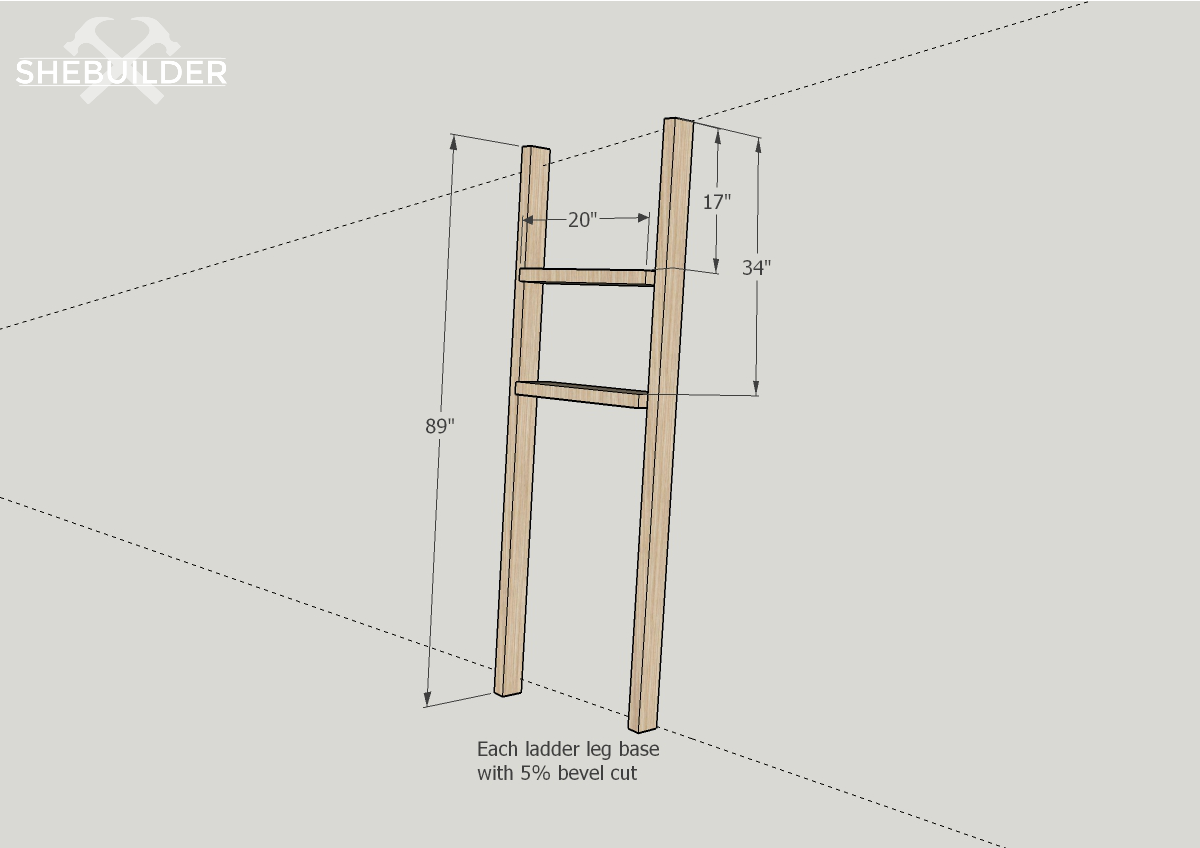
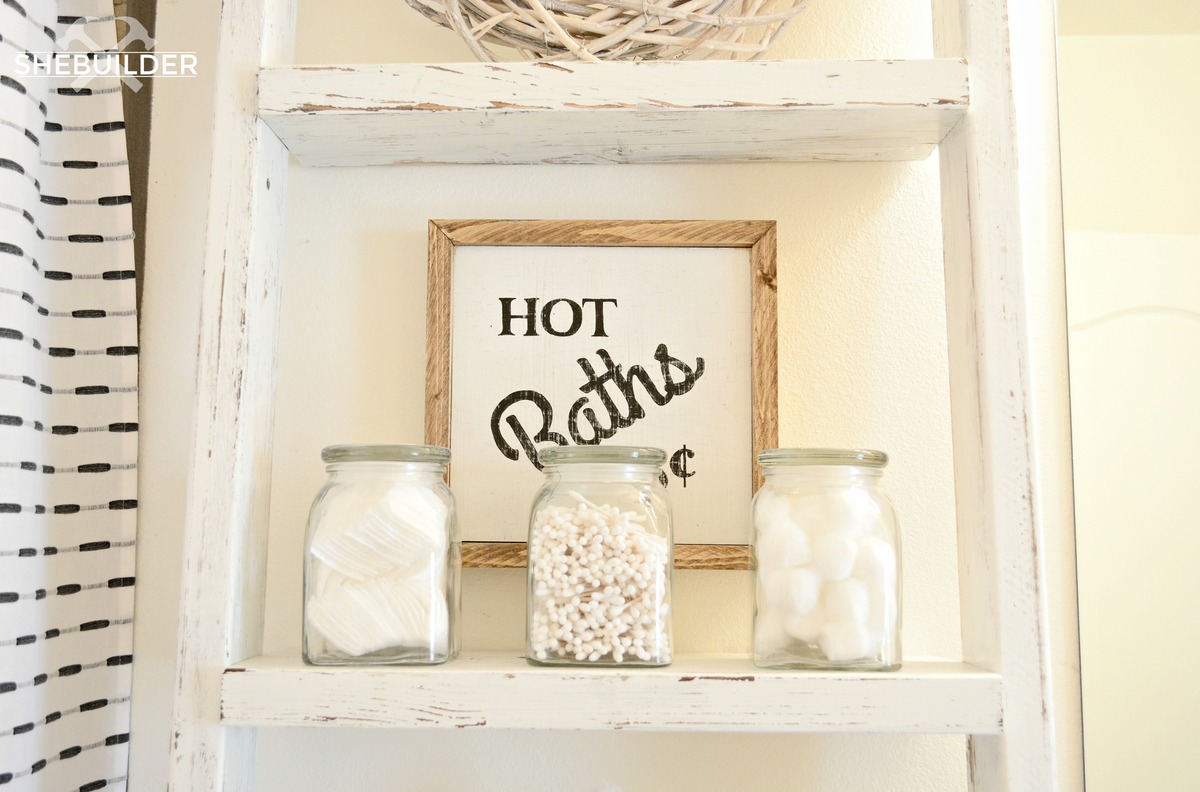
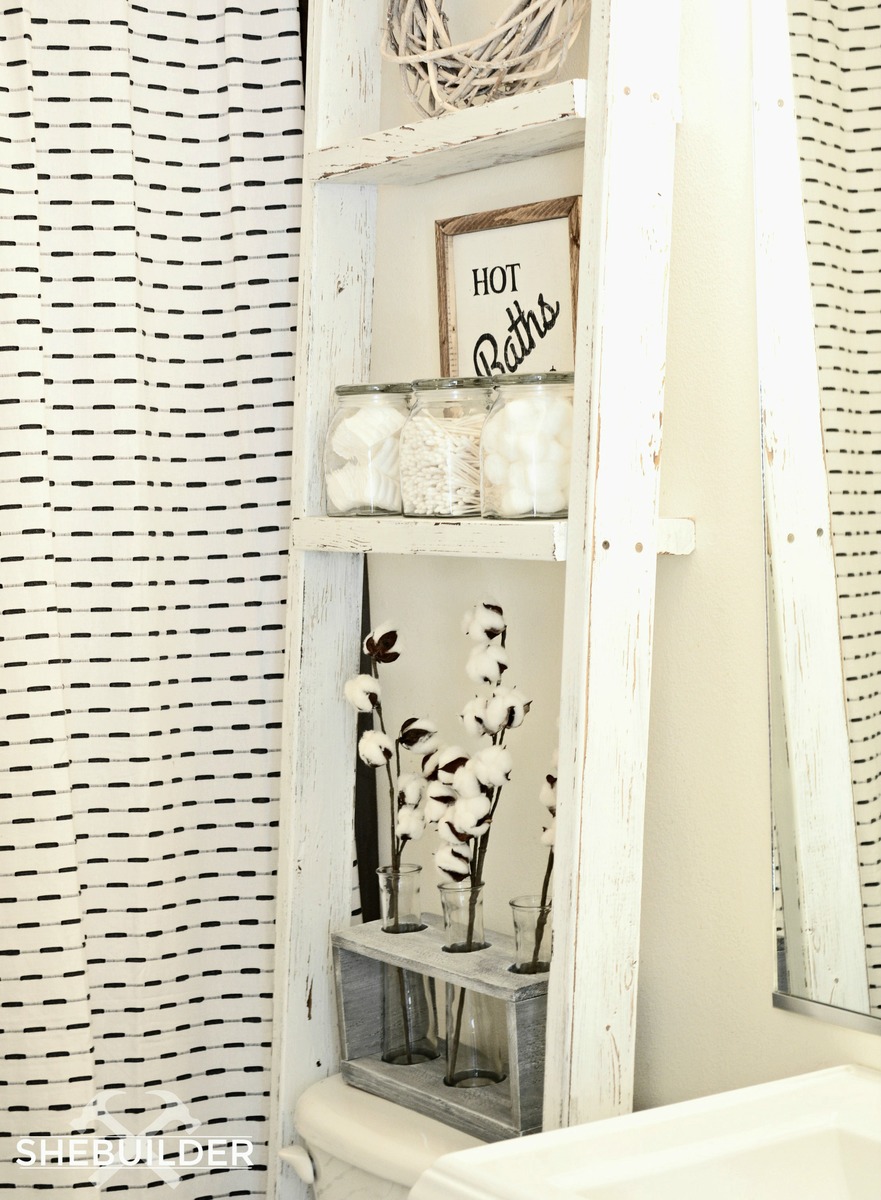
I was inspired by Ana's Over the Toilet - Leaning Storage Ladder to create my own! This build is about as easy as it can get! Just 3 easy steps. More pictures and details can be found HERE.
Let's chat wood!
Lumber:
(2) 8' - 2x4
(1) 8' - 2x6
(1) 8' - 2x8
Step 1:
Drill pocket holes into ladder legs.
Step 2:
Attach shelves with 2" wood screws.
You will attach your smaller 2x6 shelf at 17" from the top of each ladder leg and your larger 2x8 shelf at 34" from the top of each ladder leg as well.
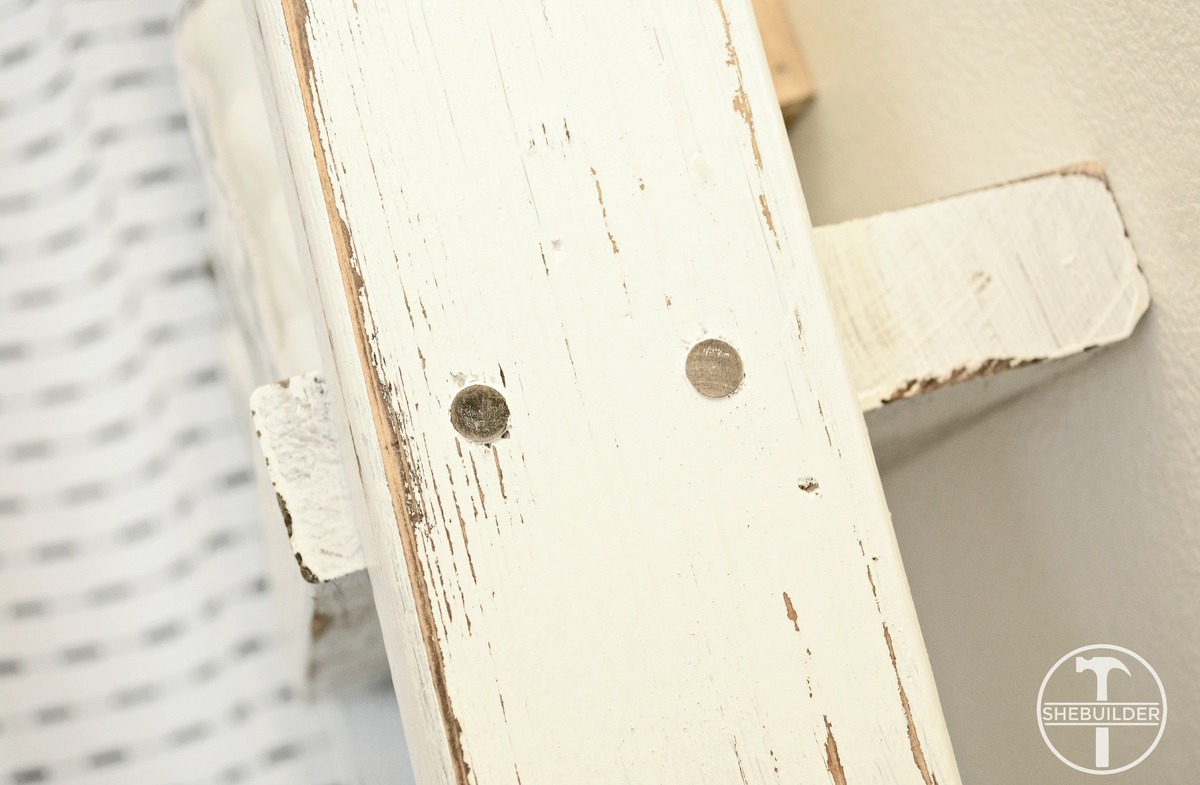
I plugged each hole with 3/4" pine wood plugs.
Step 3:
Sand and paint
Happy building!
Miranda
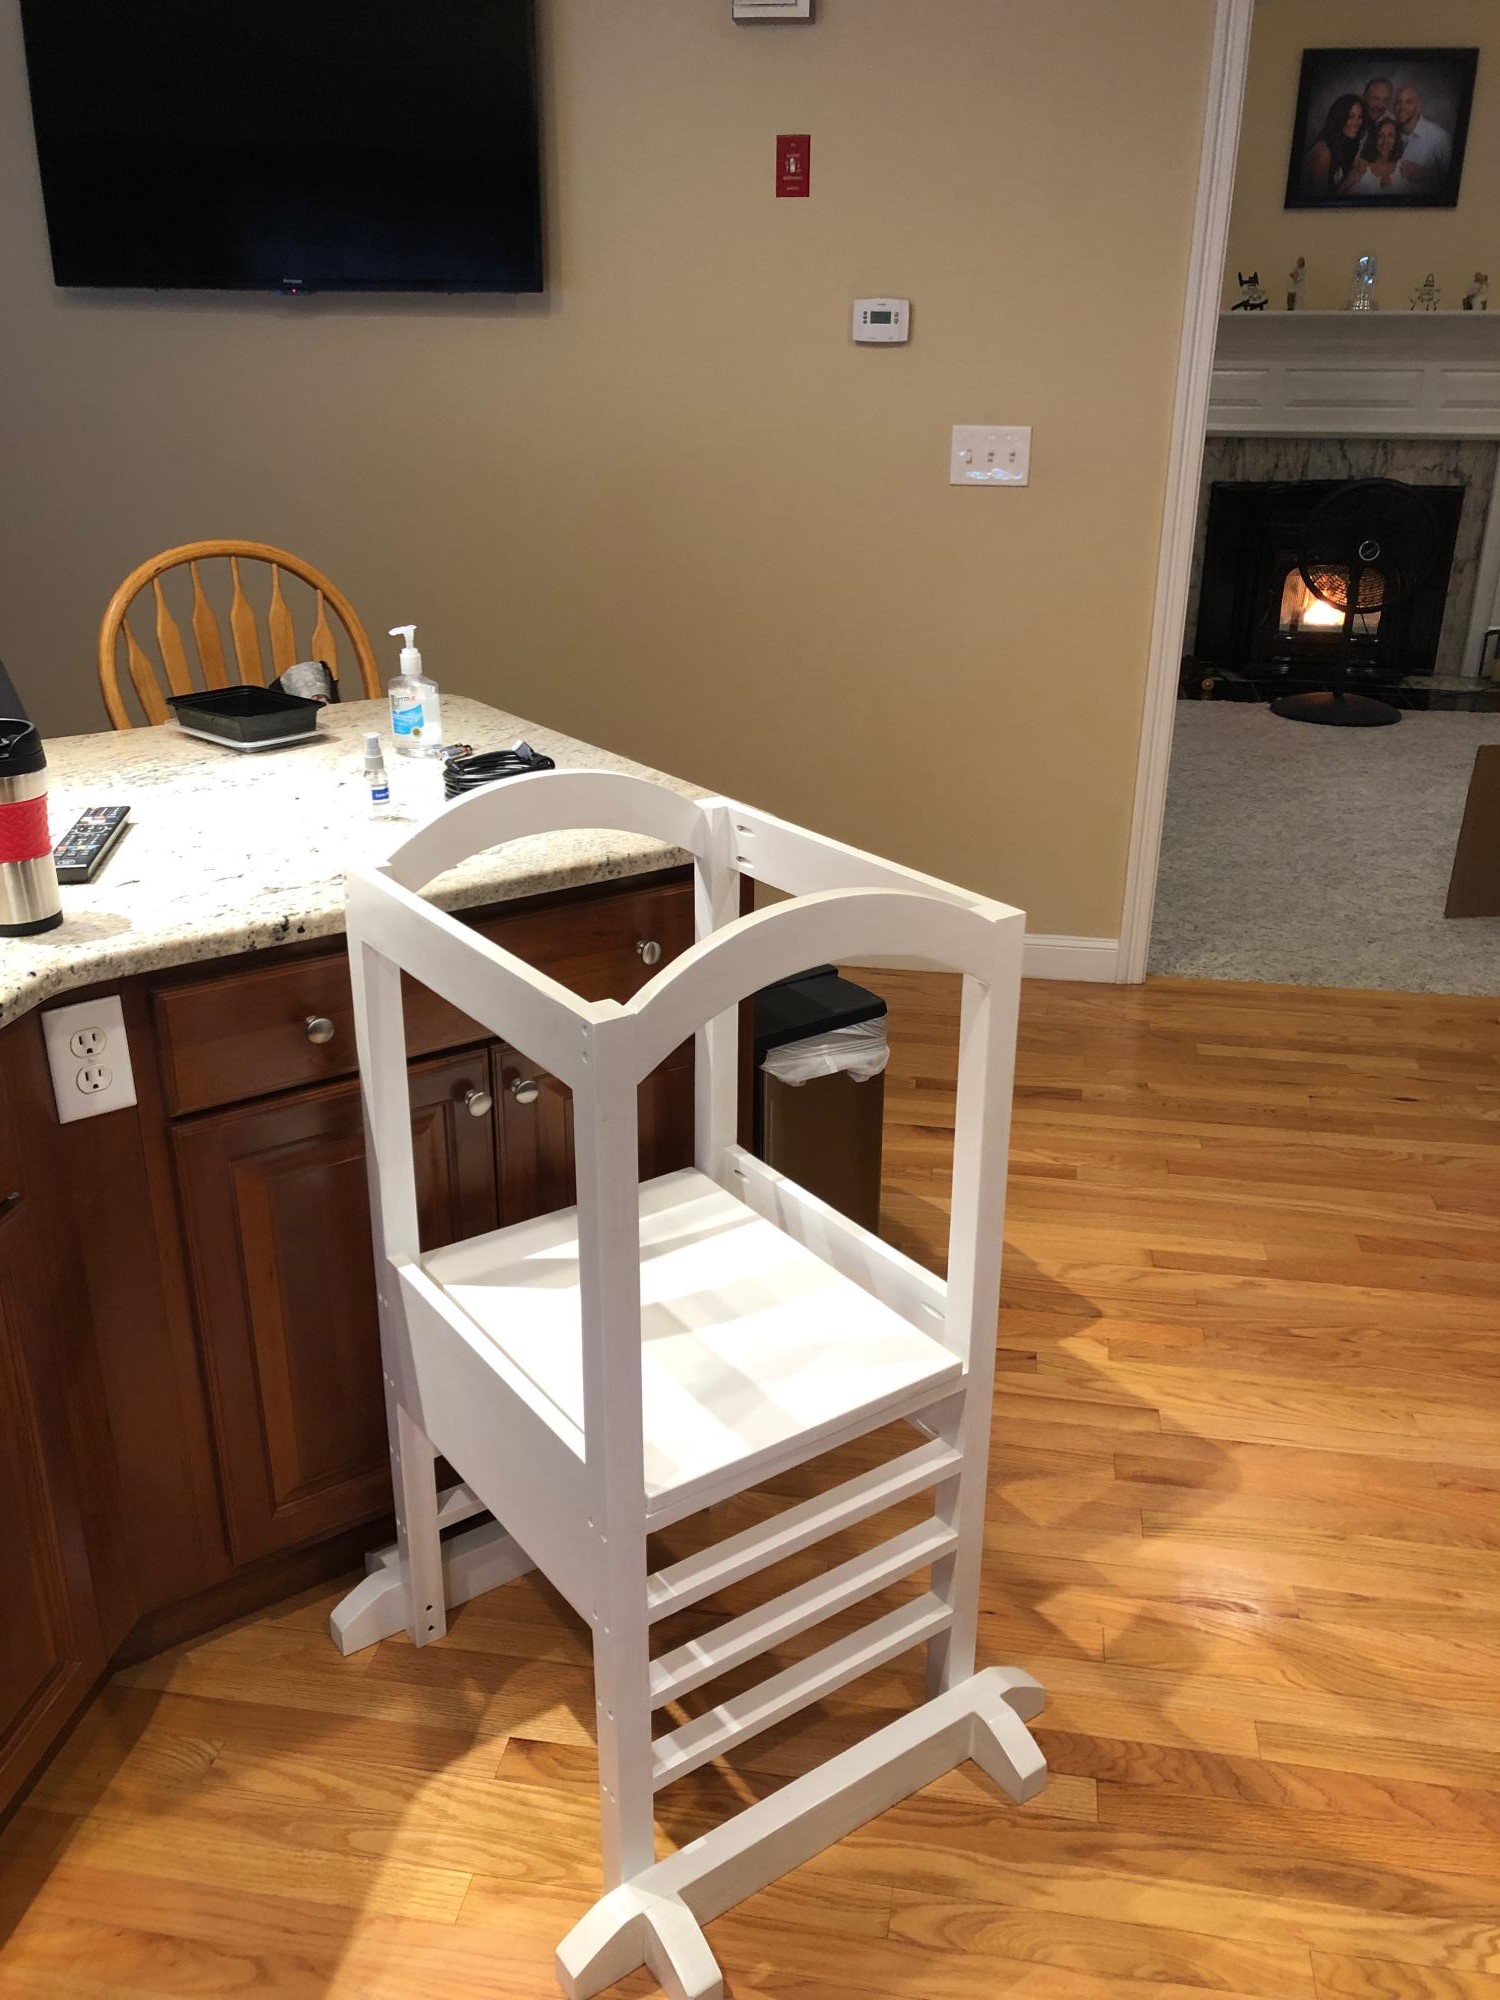
Built from supplied plan. Slight modifications made to curved rails and larger dimensional lumber used for corner rails.
This tower was built for my granddaughter Amara
Paul S.
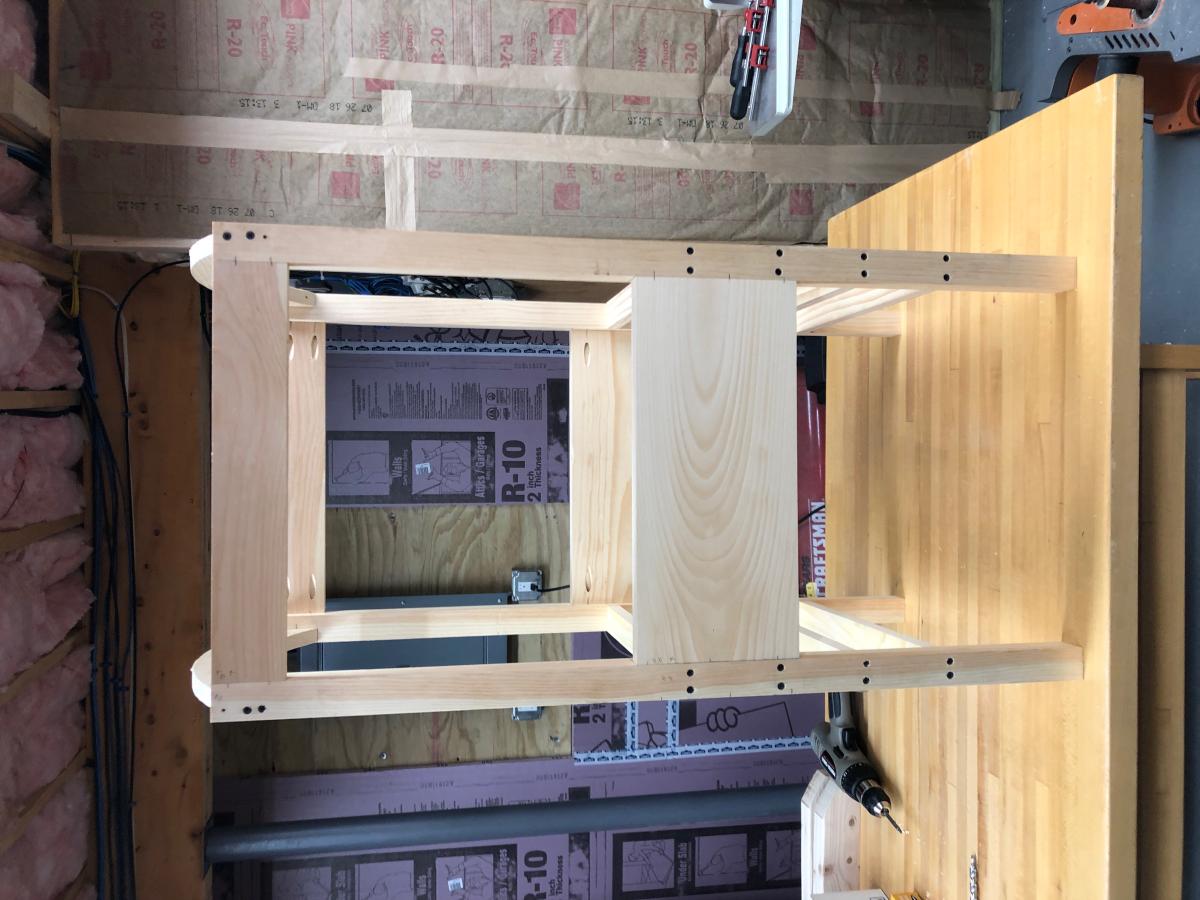
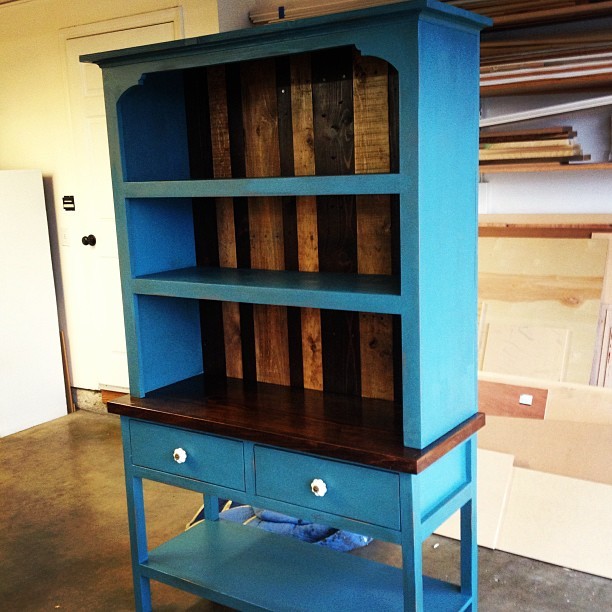
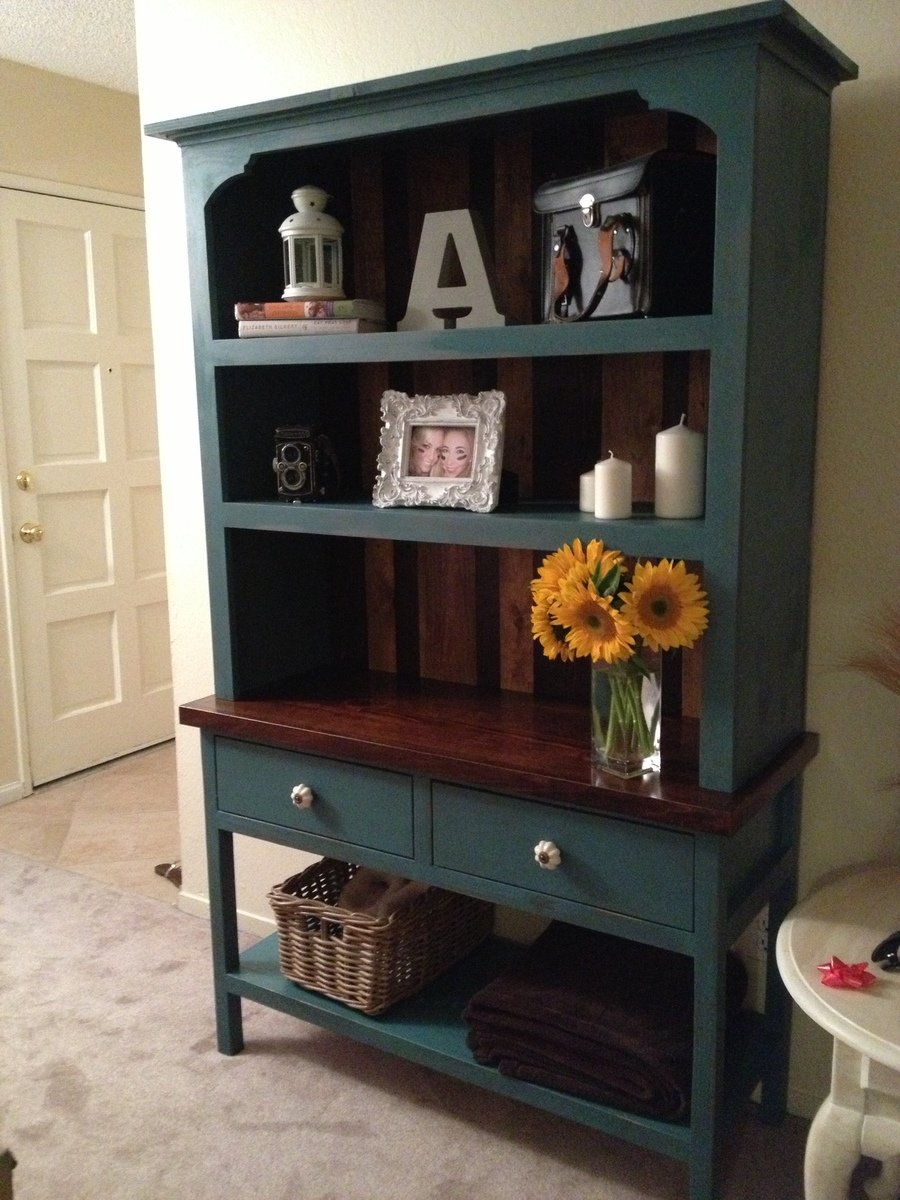
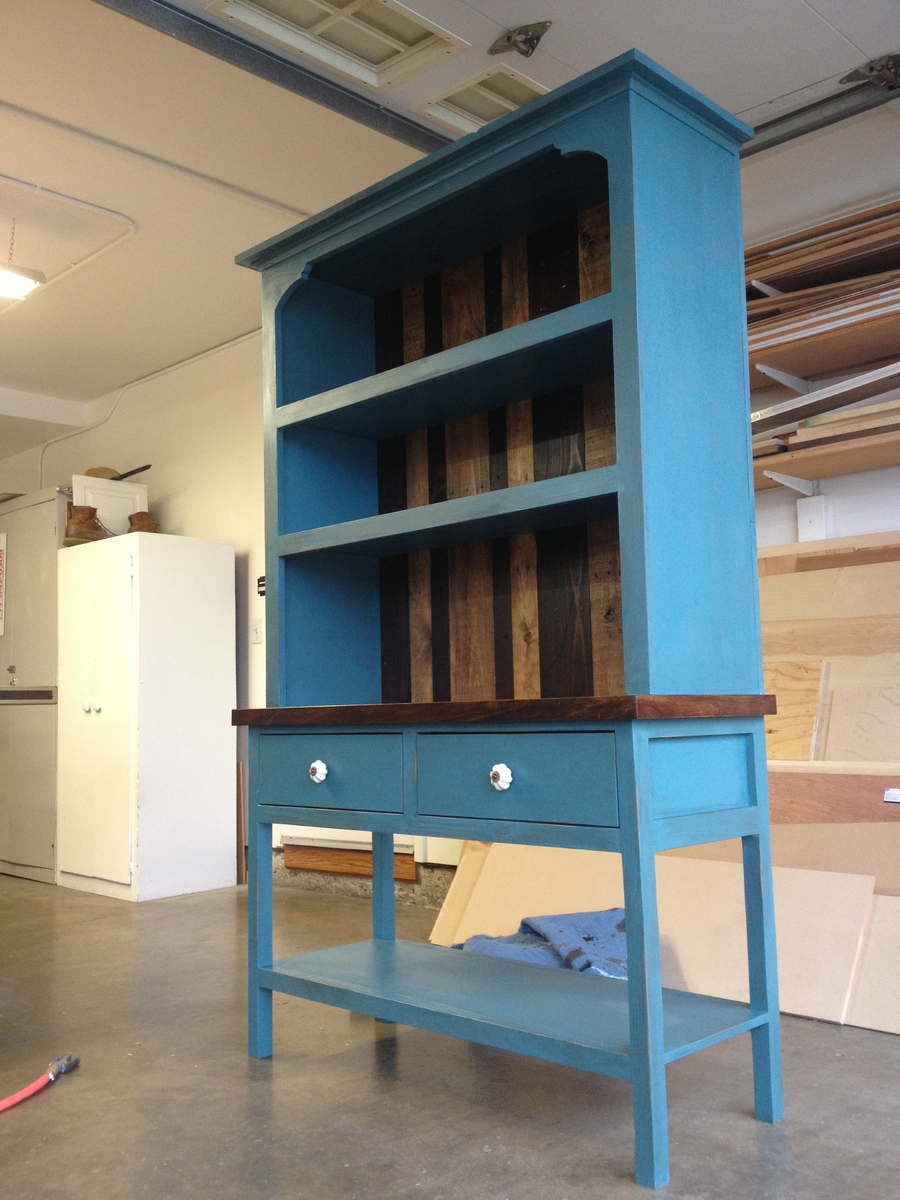
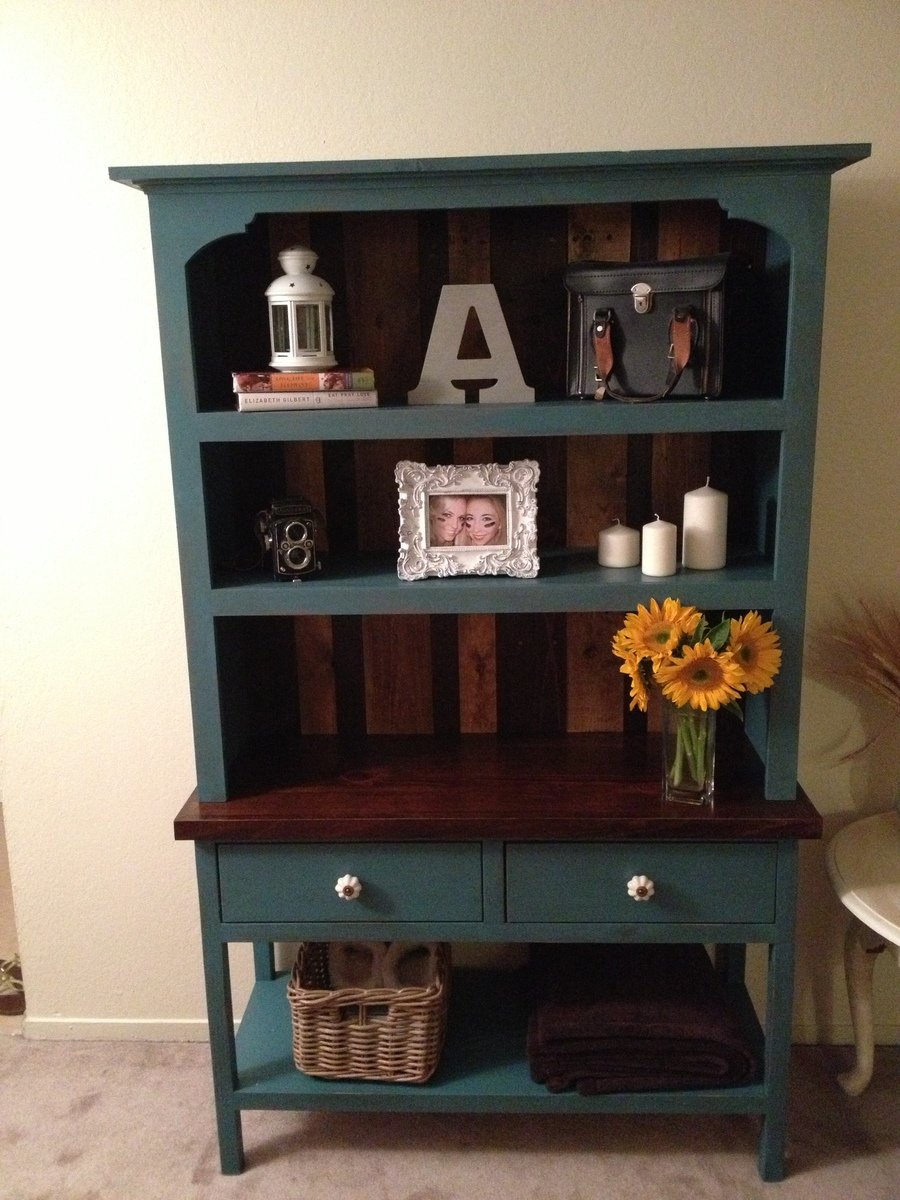
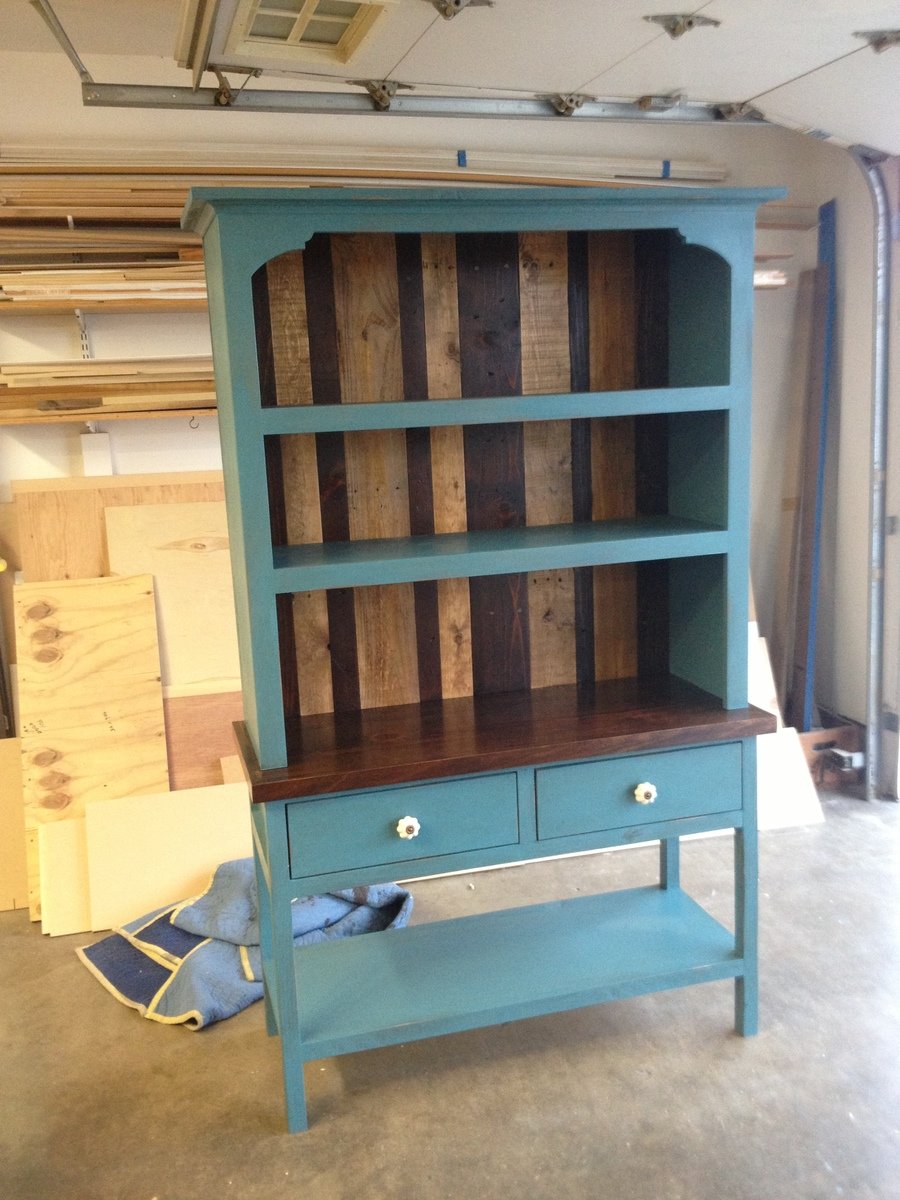
I built this hutch from Ana's book. I made a few modifications to the plans. The stained top and stained back planks are from reclaimed wood. If you build this hutch be sure to choose white knobs. I my opinion, its what makes those hutch pop. If anyone has any questions I would be happy to answer them. - Brad
In reply to WOW by Ana White Admin
Wed, 06/12/2013 - 18:15
Thank you Ana. I love your book and your website :)
Tue, 10/28/2014 - 07:25
Hello! I am currently building this console table and hutch. At the moment, I am stuck on attaching the console legs to the side aprons. The legs are not sitting flush with the side aprons. Did you have this issue with your 2x2's when attaching them to the side aprons? If so, how did you fix this issue? The directions say to attach flush to the aprons but mine won't be flush on both sides, only one.
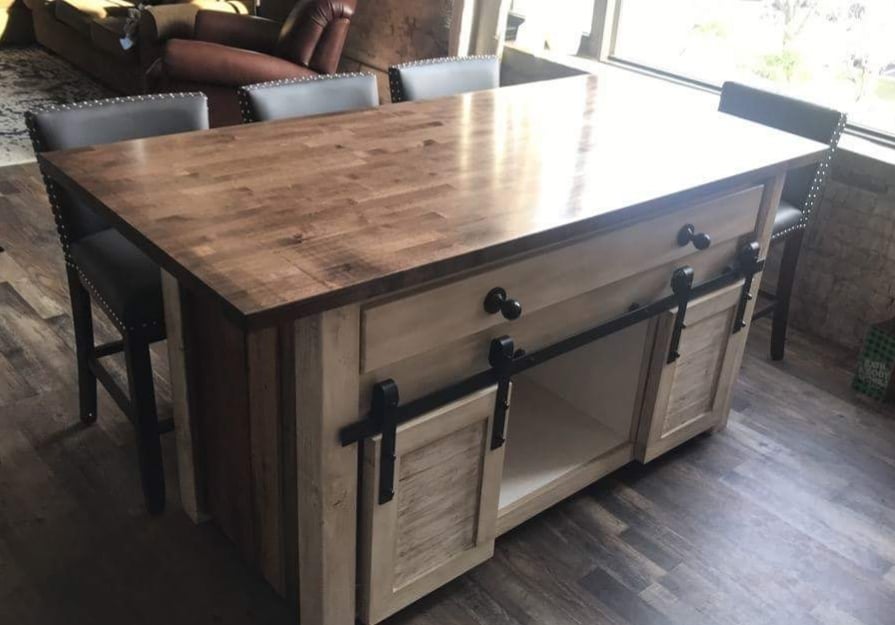
Custom Kitchen Island with a butcher block top and reclaimed pallet wood on the sides and back. Sliding barndoors cover the lower cabinets and hammered black gate knobs finish out the upper drawer.
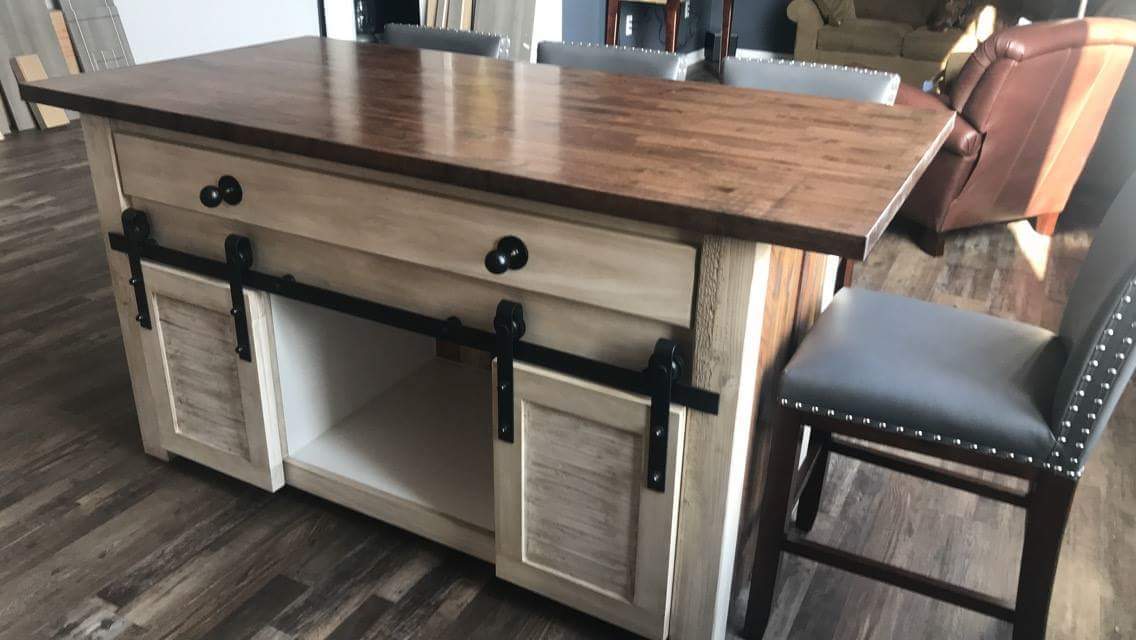
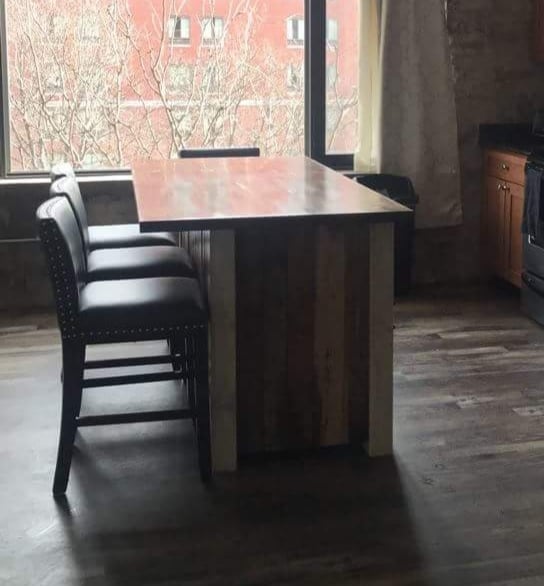
My first project from this website. Made it for my daughter's first birthday! Had a fun time with it. Caulked the joints for a cleaner look, it came out great.
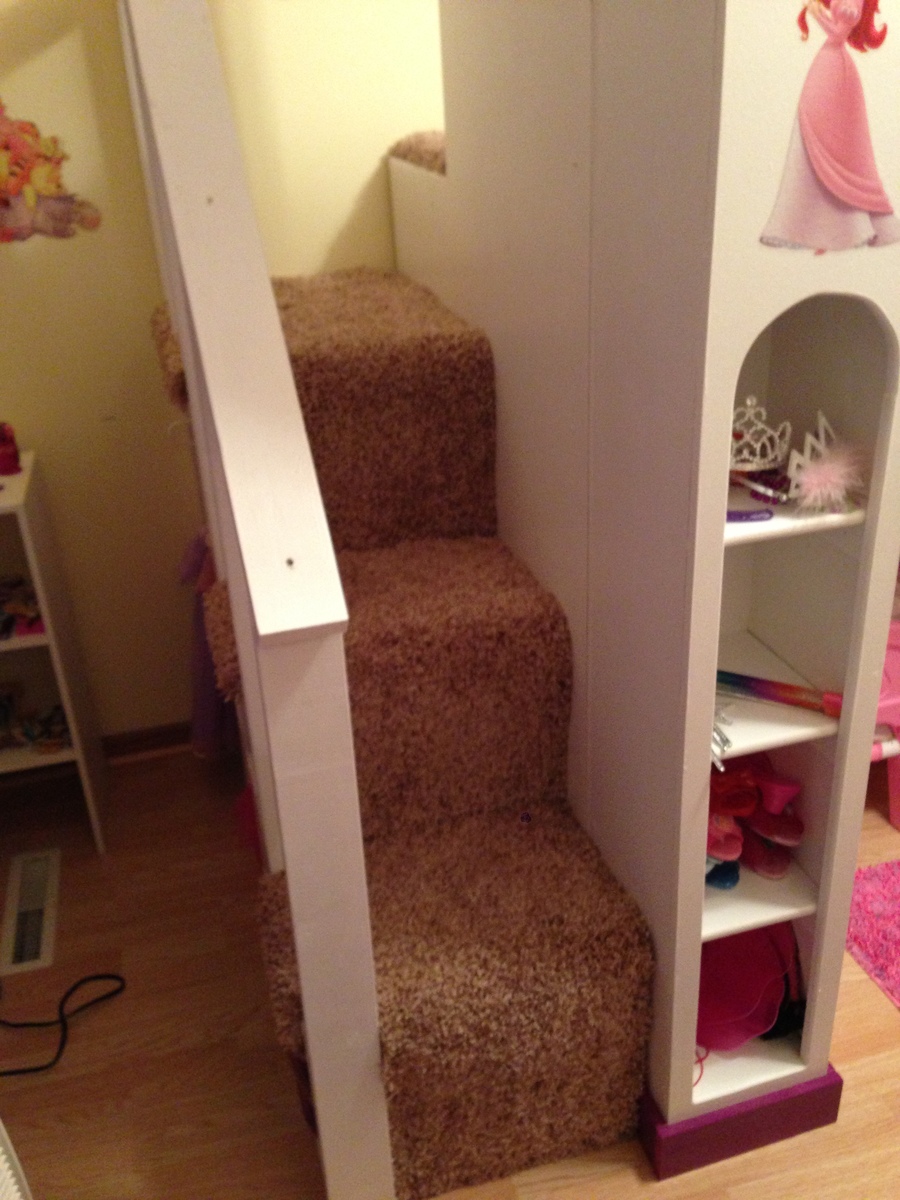
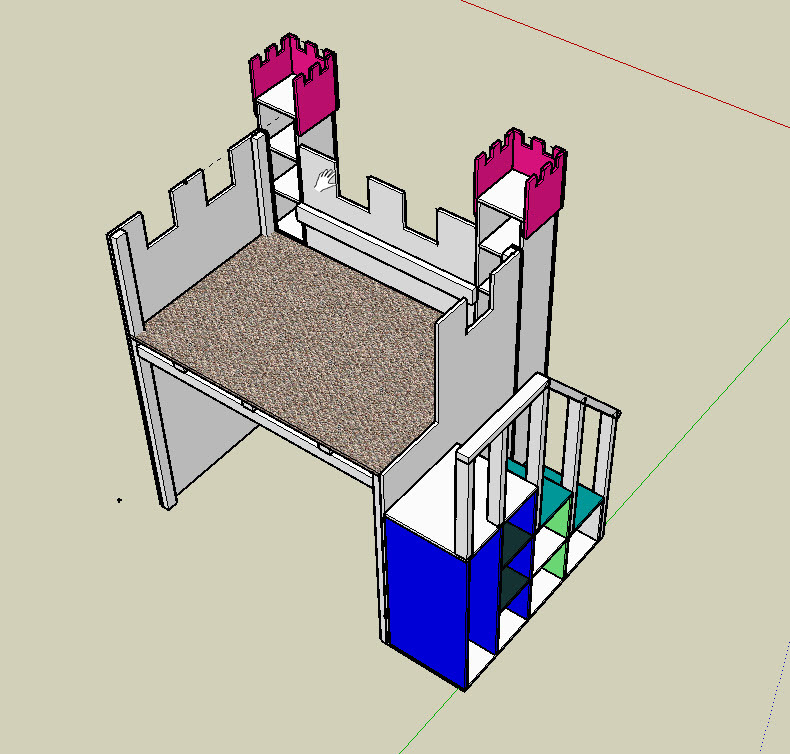
Our daughter has a very small room. She also LOVES disney princesses. So I wanted to build her a princess castle bed.... but how do you fit a castle bed in a 9x11 bedroom?
There were some plans on Ana's site (good plans), and others on-line. But many of these plans had the bed on the TOP of the castle, and we were concerned with her trying to make her way down if she needed to in the middle of the night.
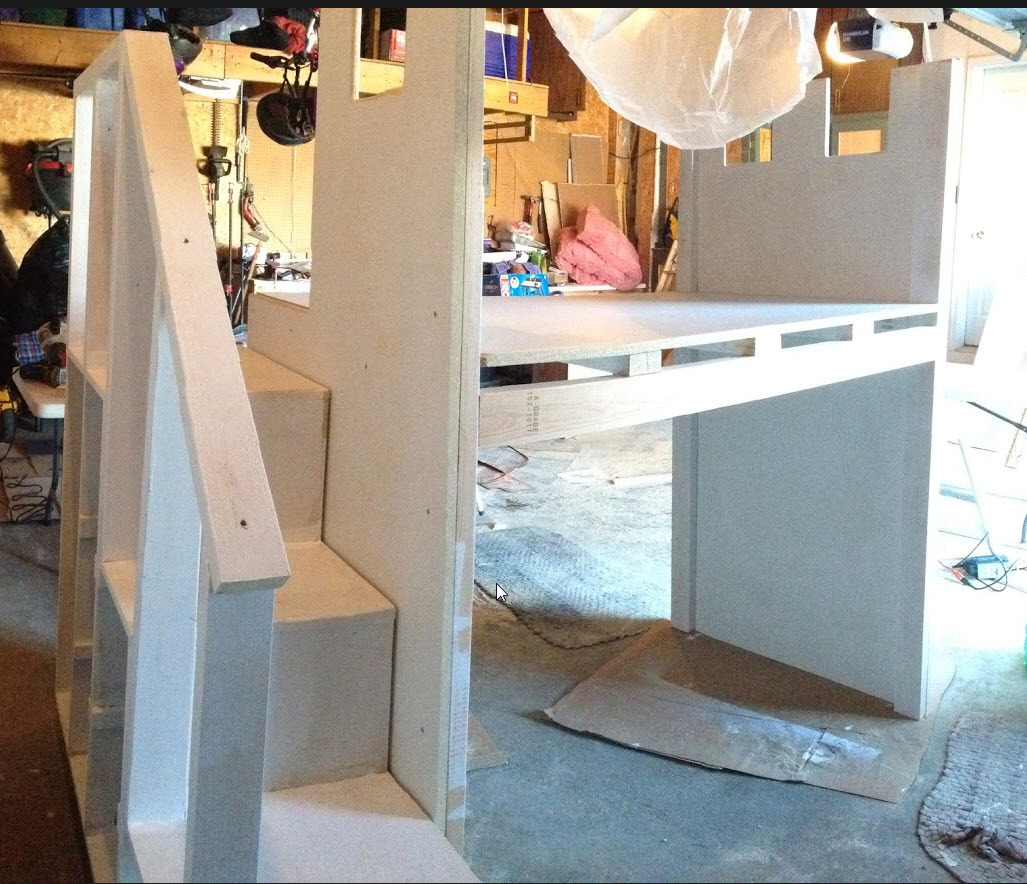
She also loves her Disney princess canopy bed that she has now... so if I could somehow build the castle around that bed, we'd be set. Which is exactly what we did.
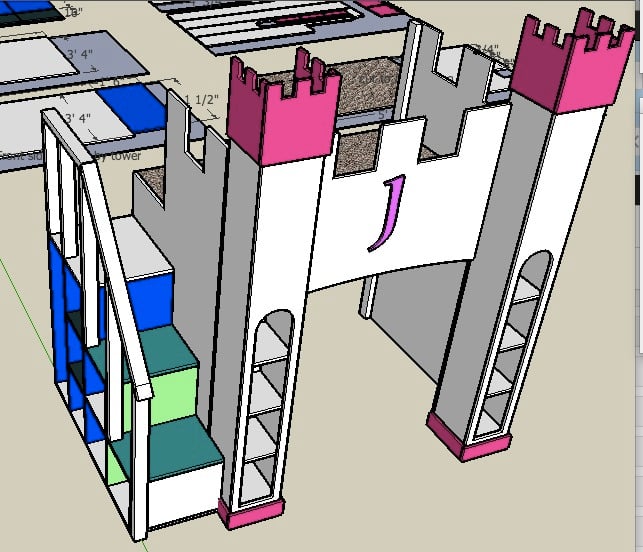
I reviewed several pictures online, and then designed this bed with Sketchup (I LOVE that tool).
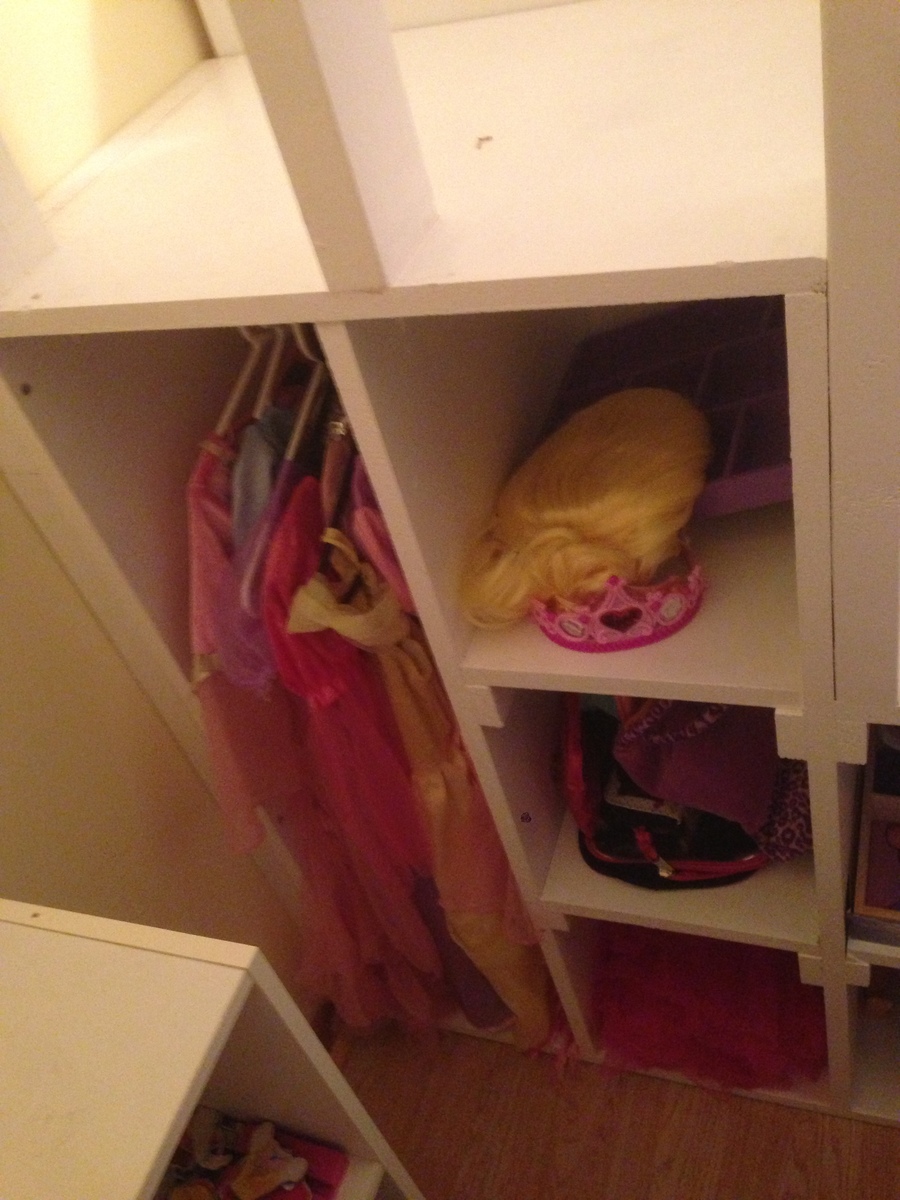
There is storage in the stairs, in the towers on the front down below, and in the back up on top. I also put rope lights inside around the ceiling over her bed for that 'Night light Princess glow."
There is also enough room on top for her bed if she wants to put it up there at some point in the future.
The idea for the decoration came from another poster who simply used the Vinyl Disney princess wall decals.
She loves it. Plus its big enough for daddy to read stories to her up in the loft at bedtime!
I've posted the plans on the sketchup warehouse... here is the link...
http://sketchup.google.com/3dwarehouse/details?mid=65f7fb029052c660cb6c…
If you can't find it with that search the sketchup warehouse for 'castle bed.'
Sat, 07/27/2013 - 16:17
Nice work. We worried about the height for our three year old, and if I were to build another (hah!) I would definitely make it lower. Carpeting the stairs is a good idea, I think I'm going to do the same. You've done well to cram everything into a small footprint. We're house-shopping now, and the tape measure comes with us. Gotta have 2.8m in the kid's room! Decals are great. My daughter went off hers for a while - nothing breaks your heart like a kid saying they want to give away something you worked really hard to build, even if you know they don't mean it. My wife put on some big wall stickers of a tree with squirrels and birds and suddenly she's in love with it again. Princess indeed (eyeroll).
Sat, 07/27/2013 - 20:53
Interesting your commented today :-) I am doing a similar project for my son for his 3rd birthday (this weekend) making a Lightning McQueen garage for his Ligthning McQueen bed...
Thanks for your comments... the castle project was fun. Its been fun to be able to even do these things now that I've visited Ana's site. And yes- I know its going to be a bummer when they no longer want the castle, or the garage (I had my son's bed in his garage tonight and not knowing better he hopped on the bed and jumped and bumped his head bad... now he's scared to have the bed in the garage- AND ITS NOT EVEN DONE YET!)
Thanks again..
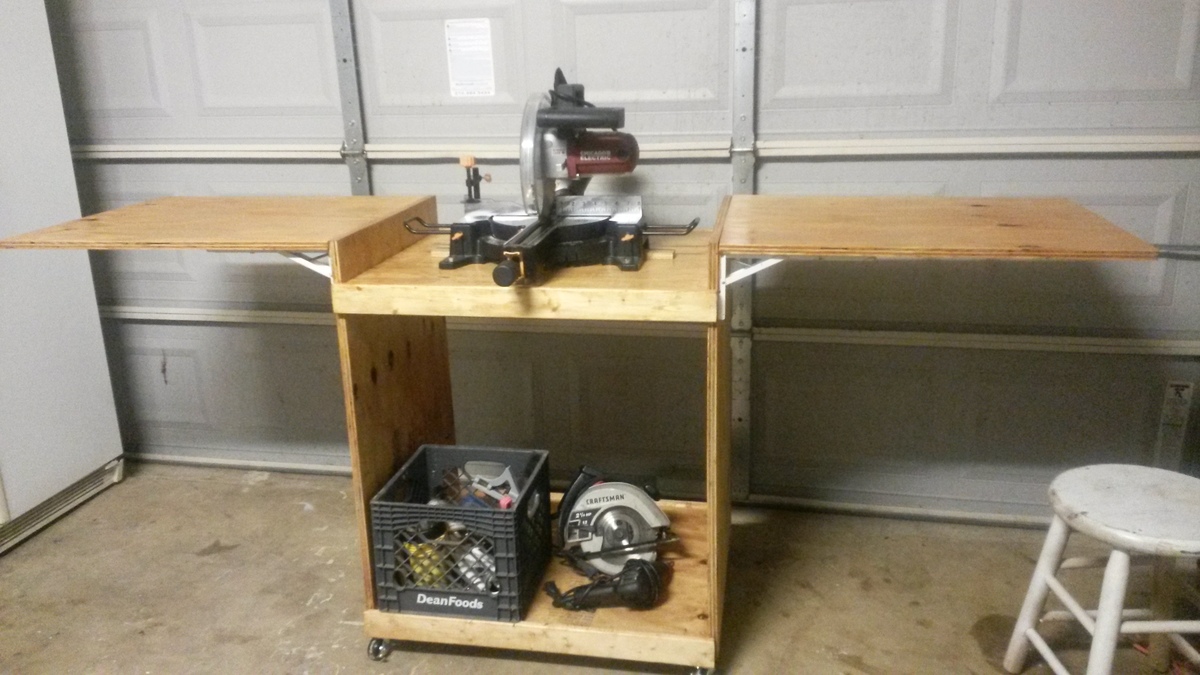
As a beginner I found this very easy to build. I took my time to make sure everything was measured and cut just right. I substituted longer screws for the brackets. The ones that came with the brackets seemed a little short. There's a trick to getting the screws in the brackets. The angled bar swings back to make it easy to attach the screws. Very happy with the finished product.
Wed, 05/20/2015 - 08:43
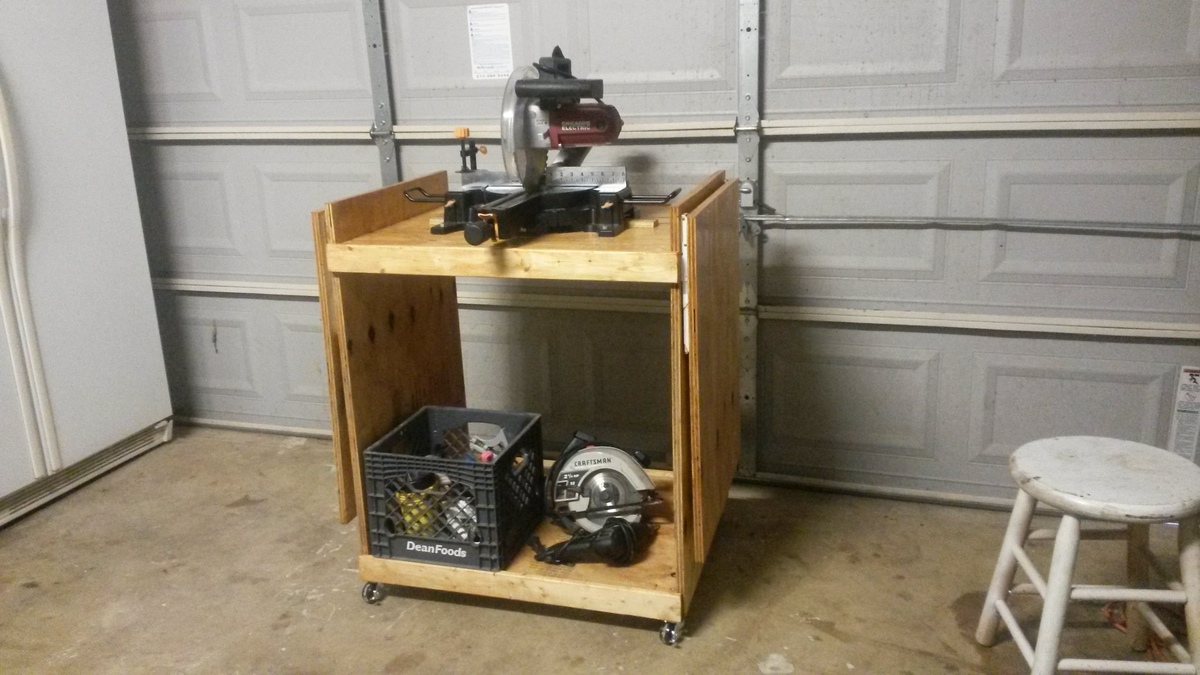
I went over a year without a miter saw stand/cart. Looking back it now that I have one, I kick myself for not getting one sooner. I have limited space for storage so I went with a store bought so that I can fold it up when not in use, but I really wish I had something that's always set up like yours. I also like the extensions that can fold down when not in use. Good job!