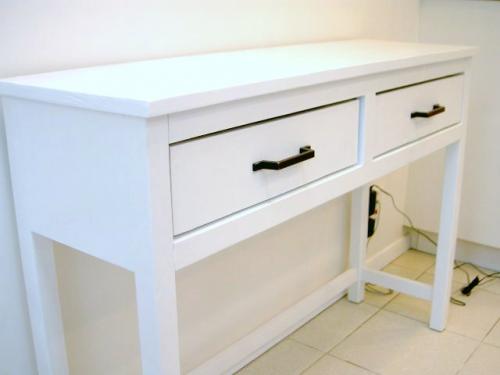
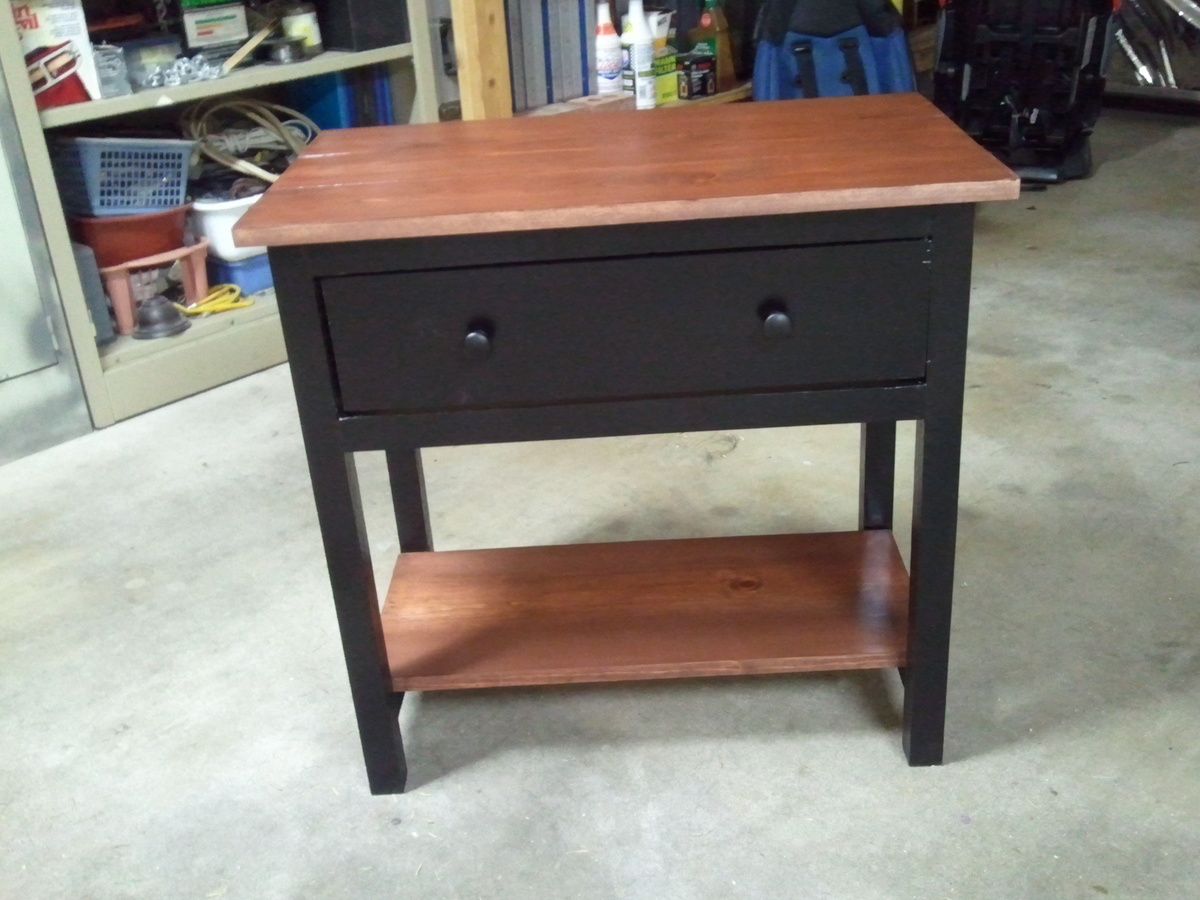
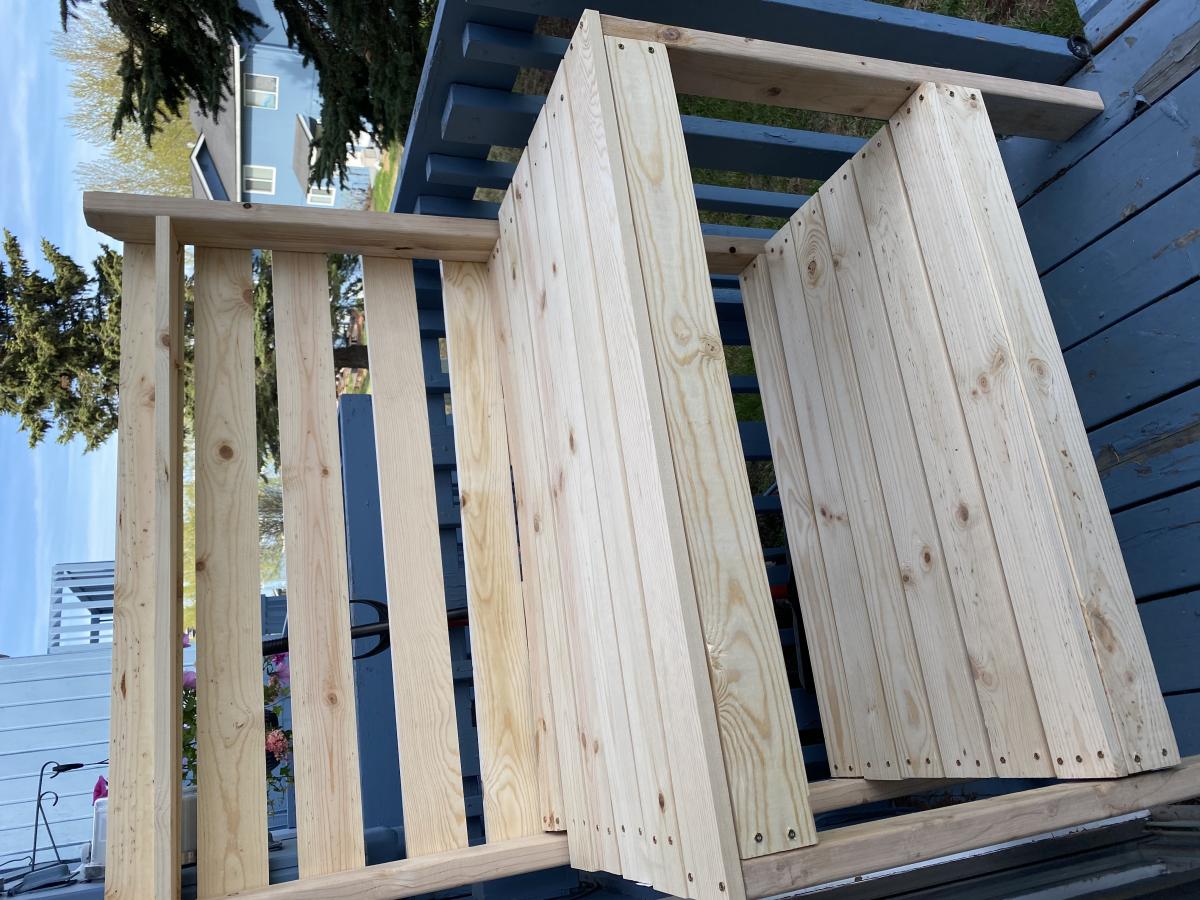
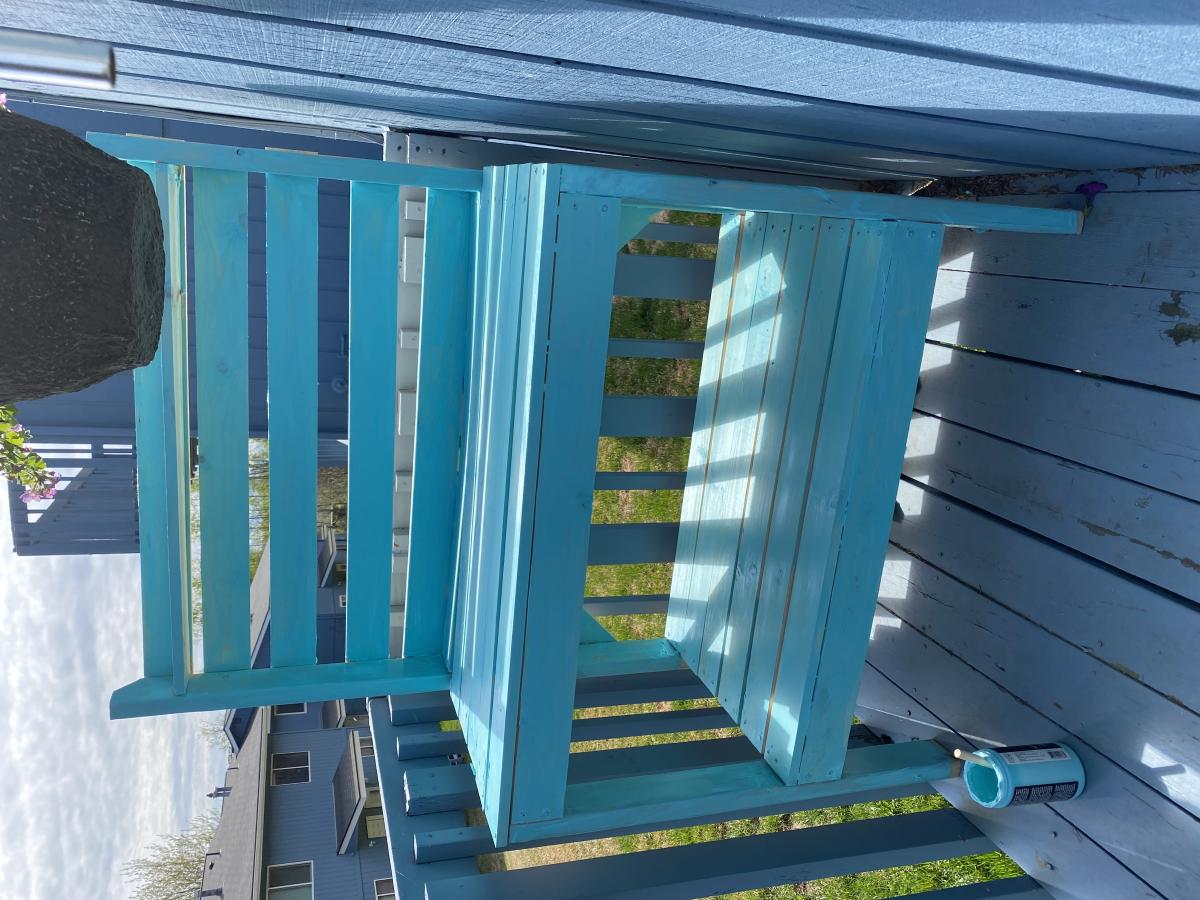
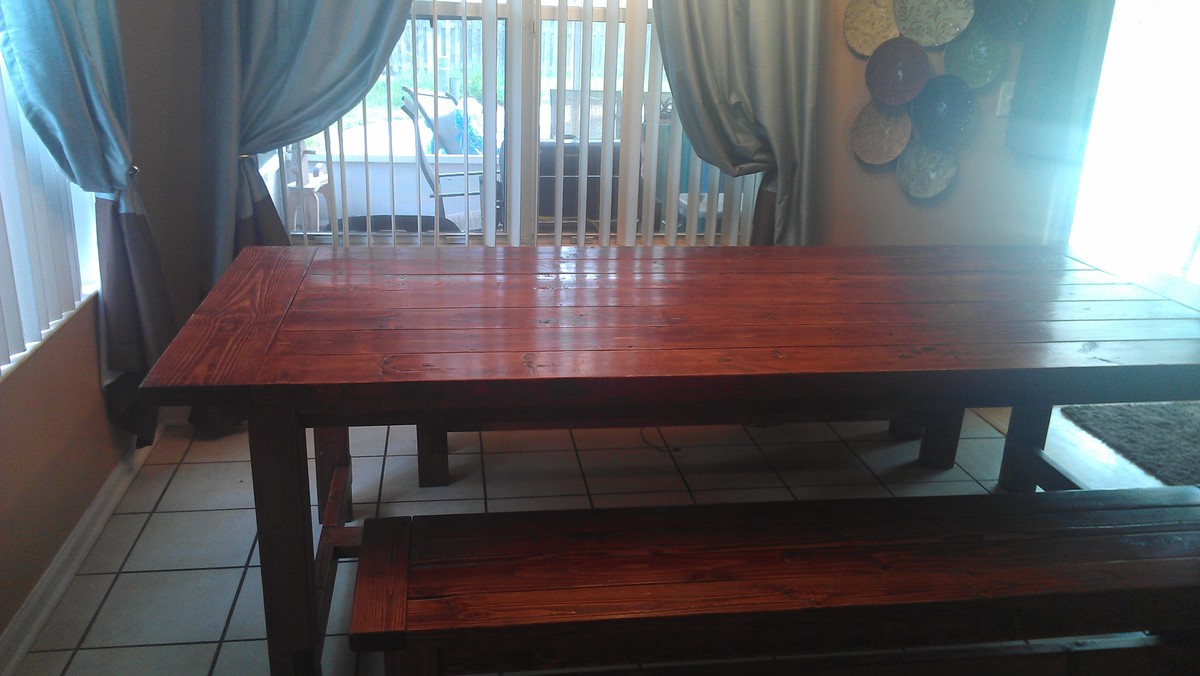
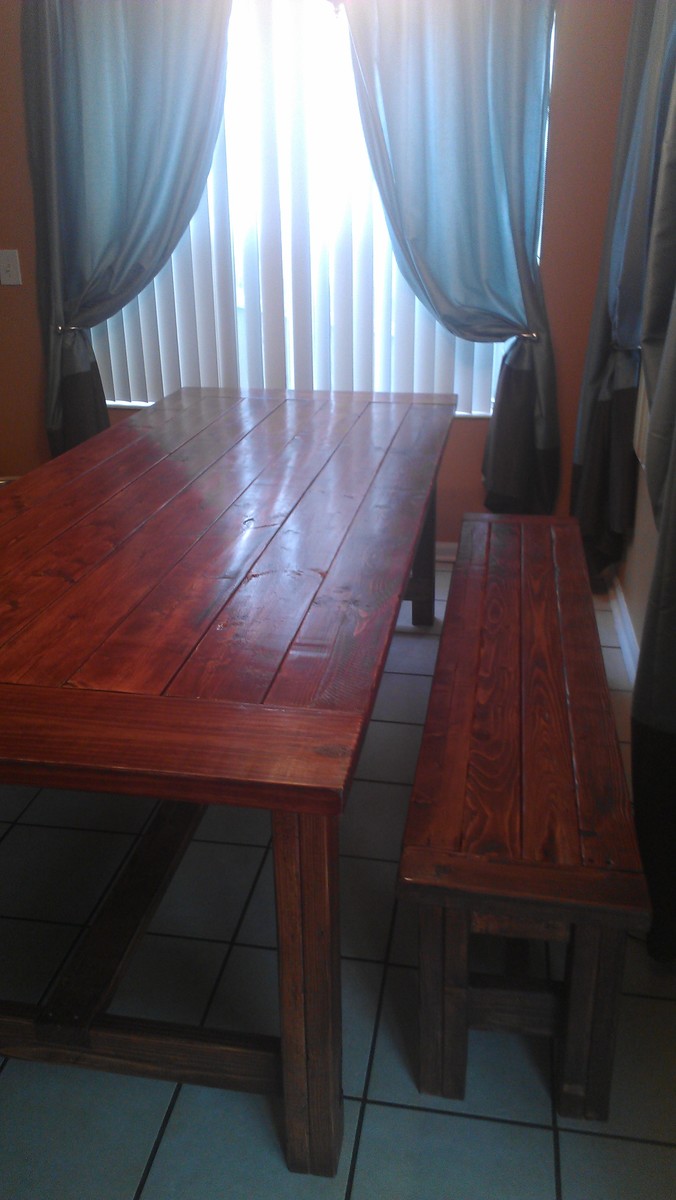
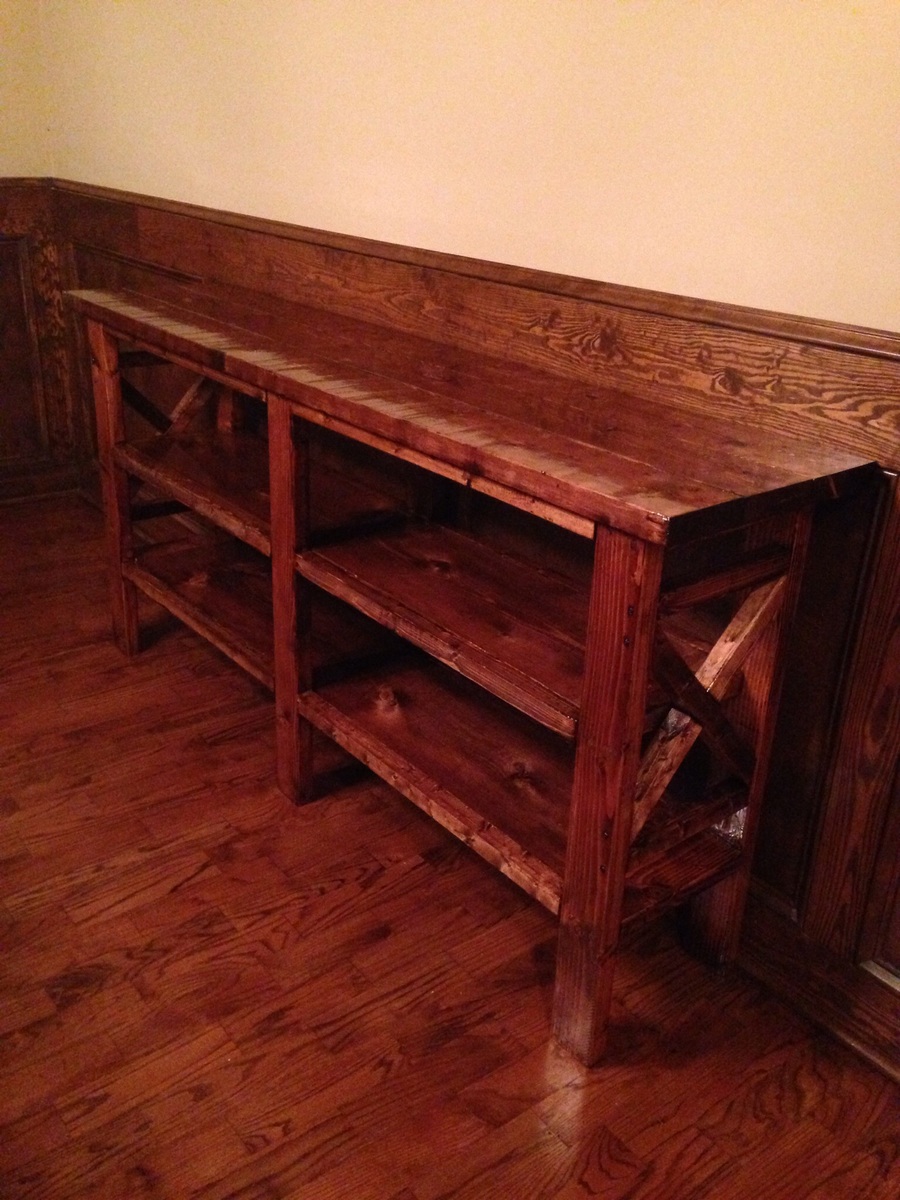
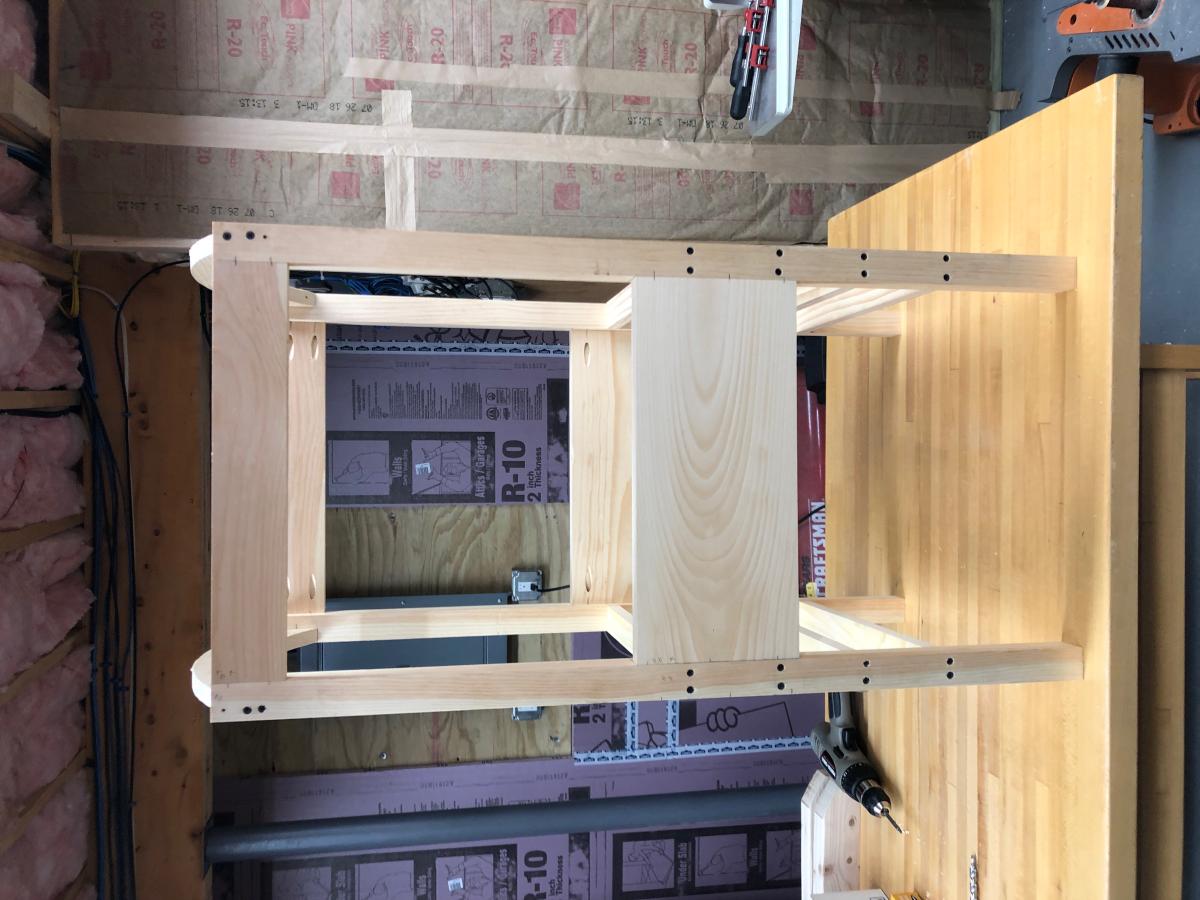
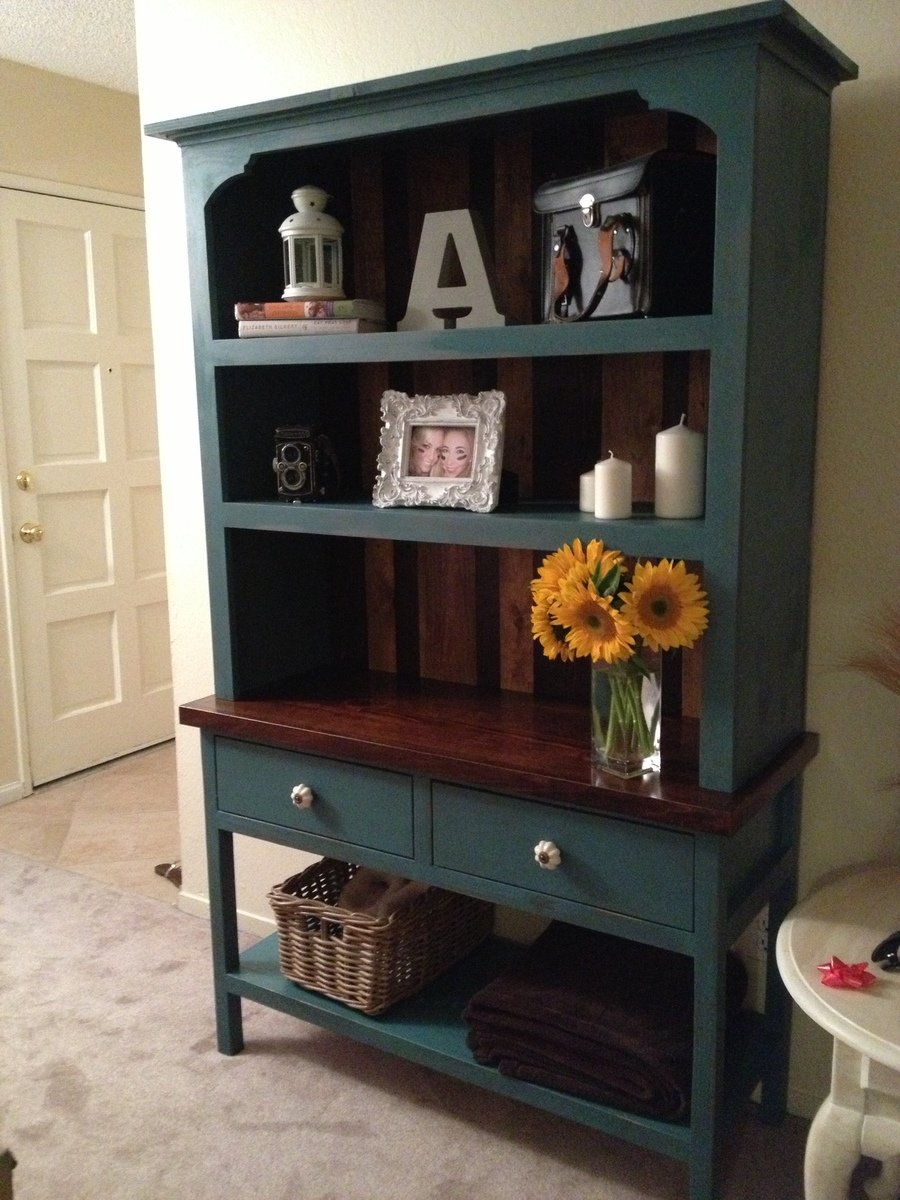
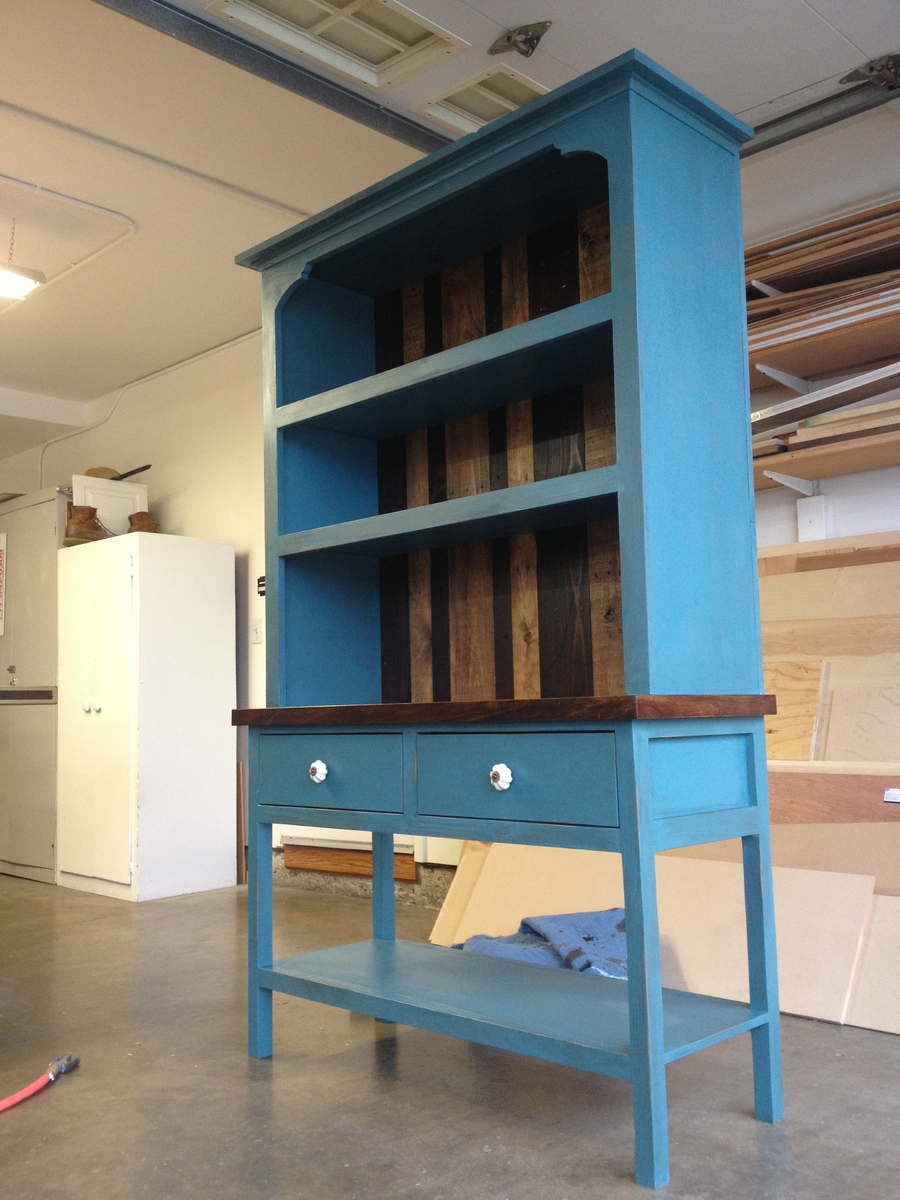
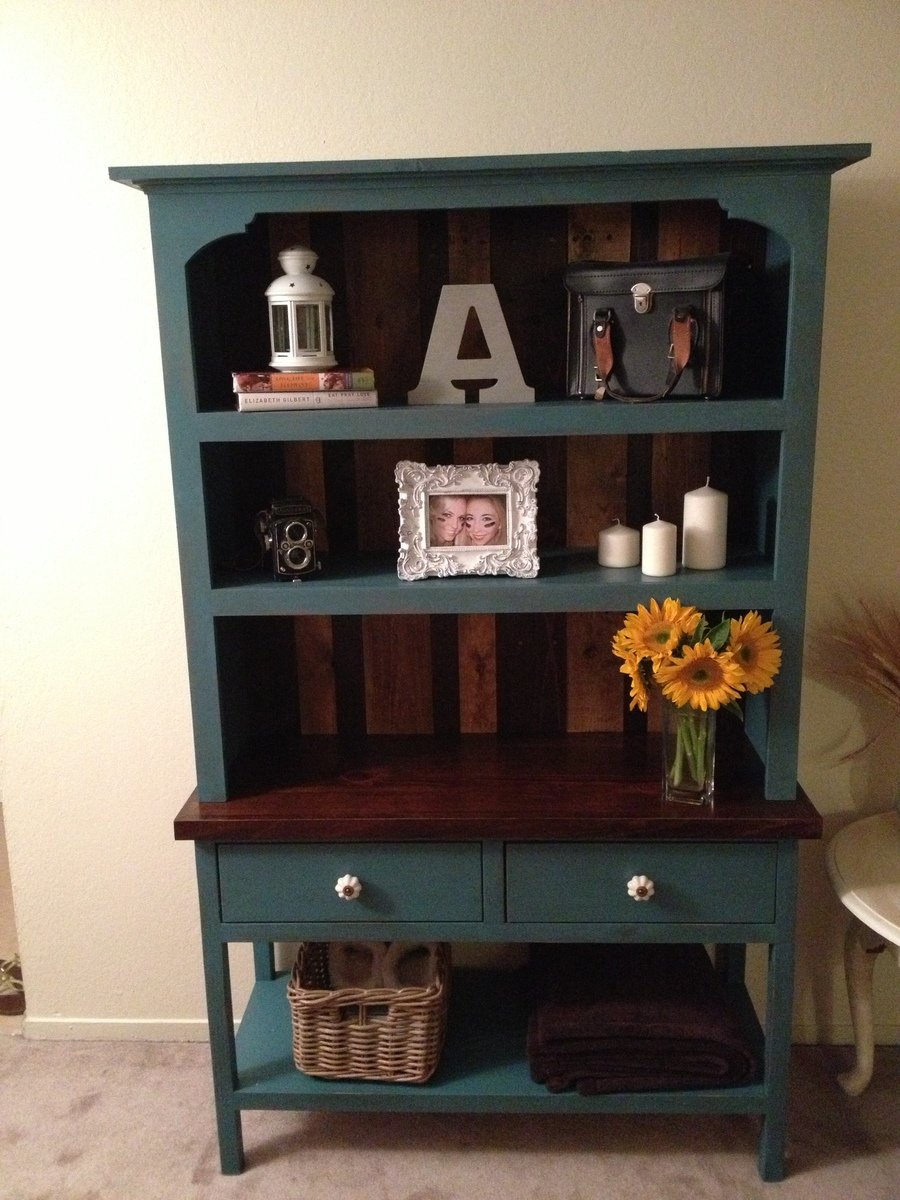
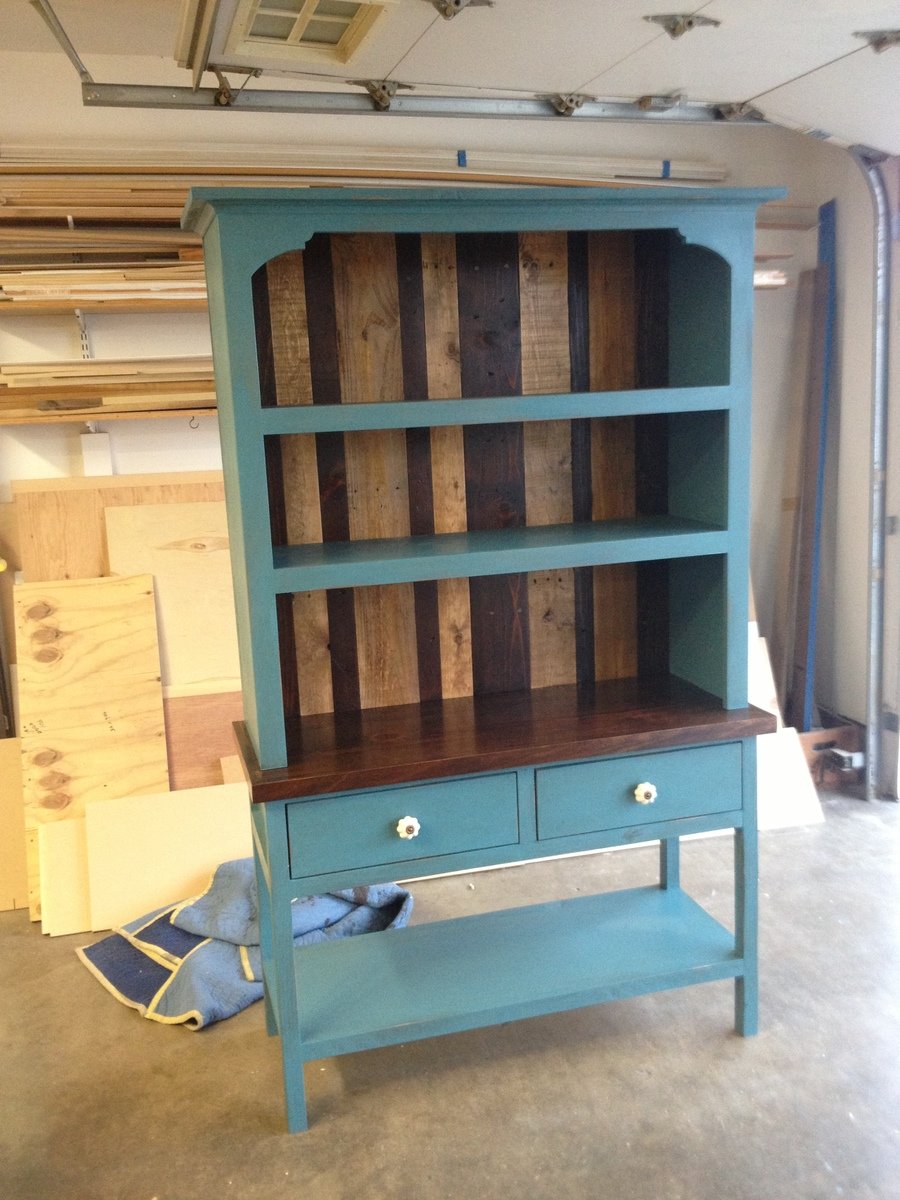
The Factory cart was really easy to put together.
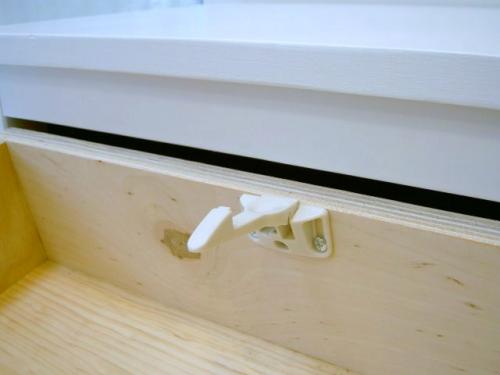
I used a pocket-hole jig to eliminate any screw heads on the exterior.
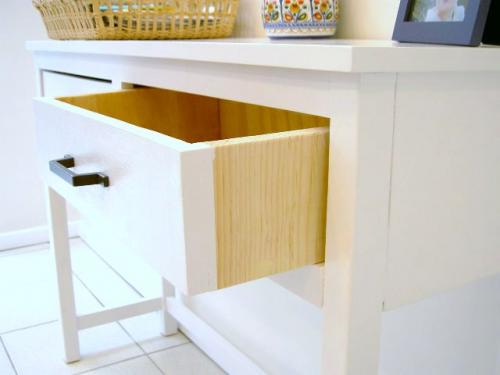
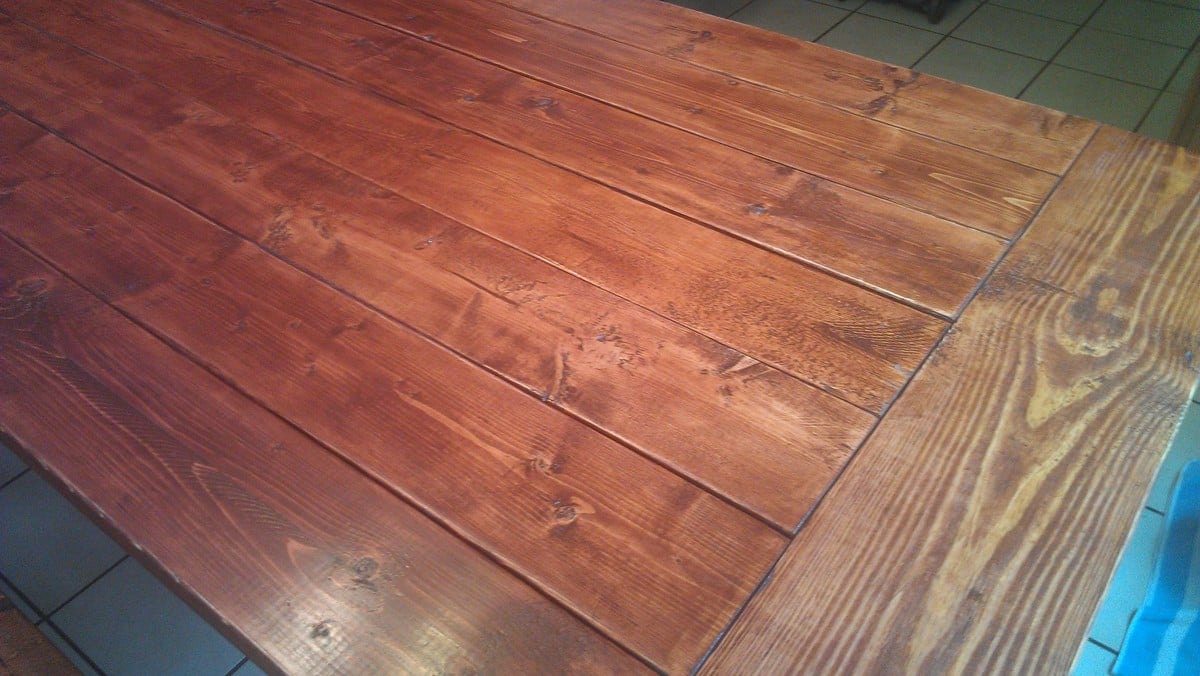
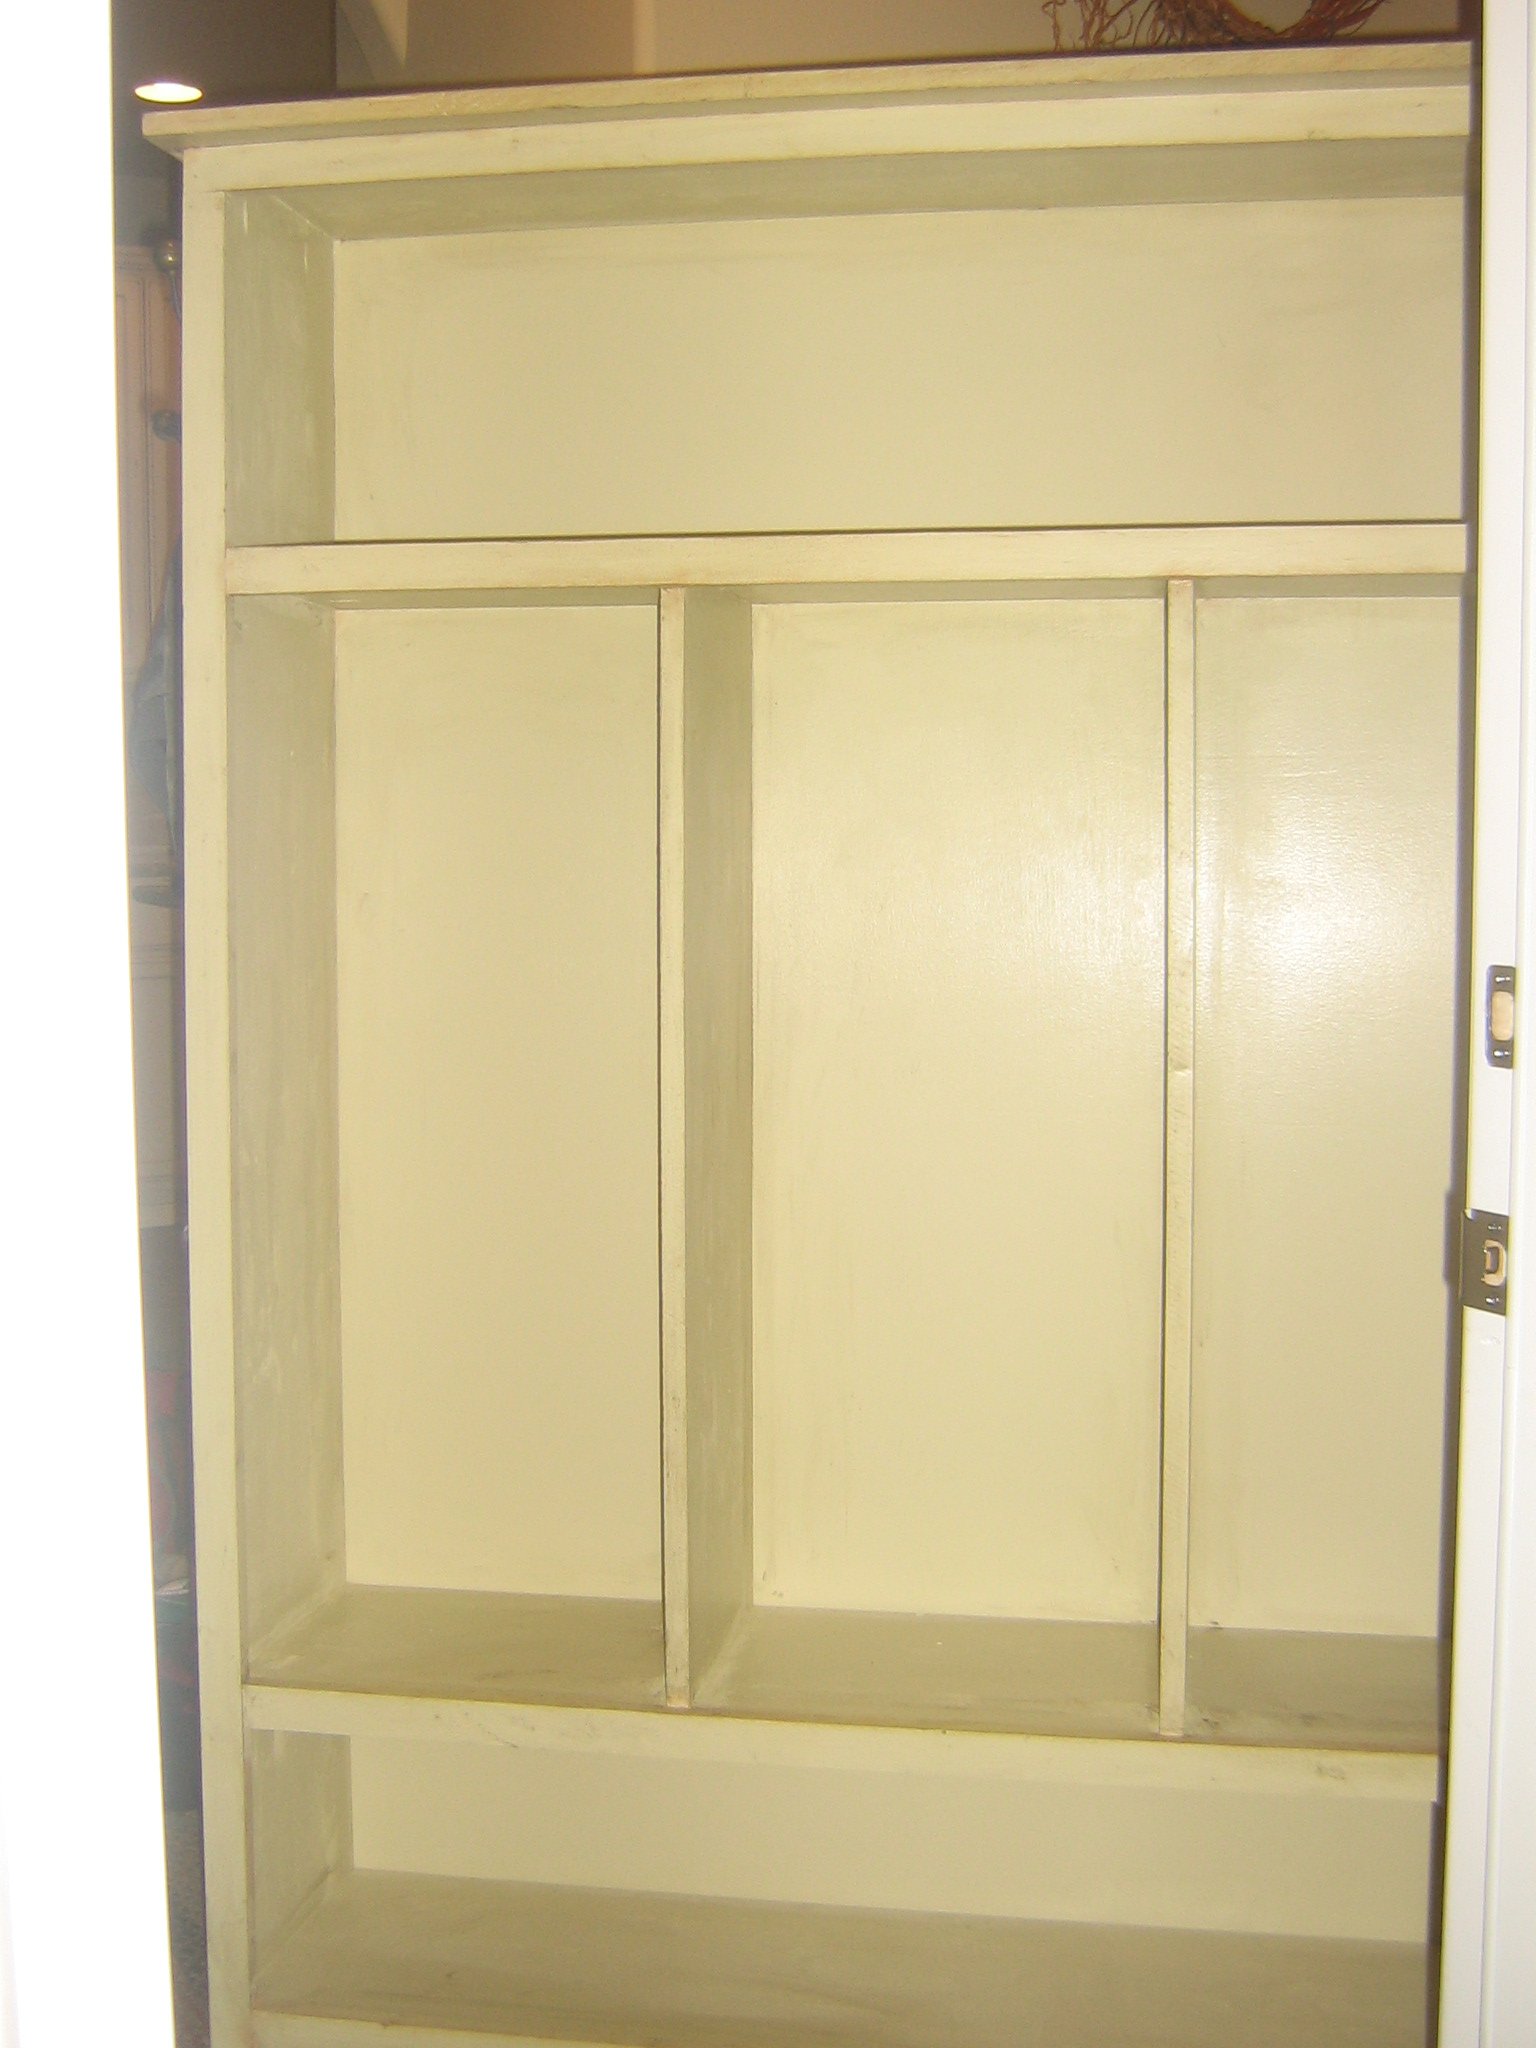
The wood I had was already distressed somewhat, but I figured that would add to the 'old' look when ultimately completed.
The most difficult part of this project was finding casters that I liked and that I could afford (those suckers are expensive!) I'm still not 100% sold on the ones I purchased, but will keep my eyes open when out & about for replacements!
The plans posted on Ana-White.com could NOT have been easier to follow.
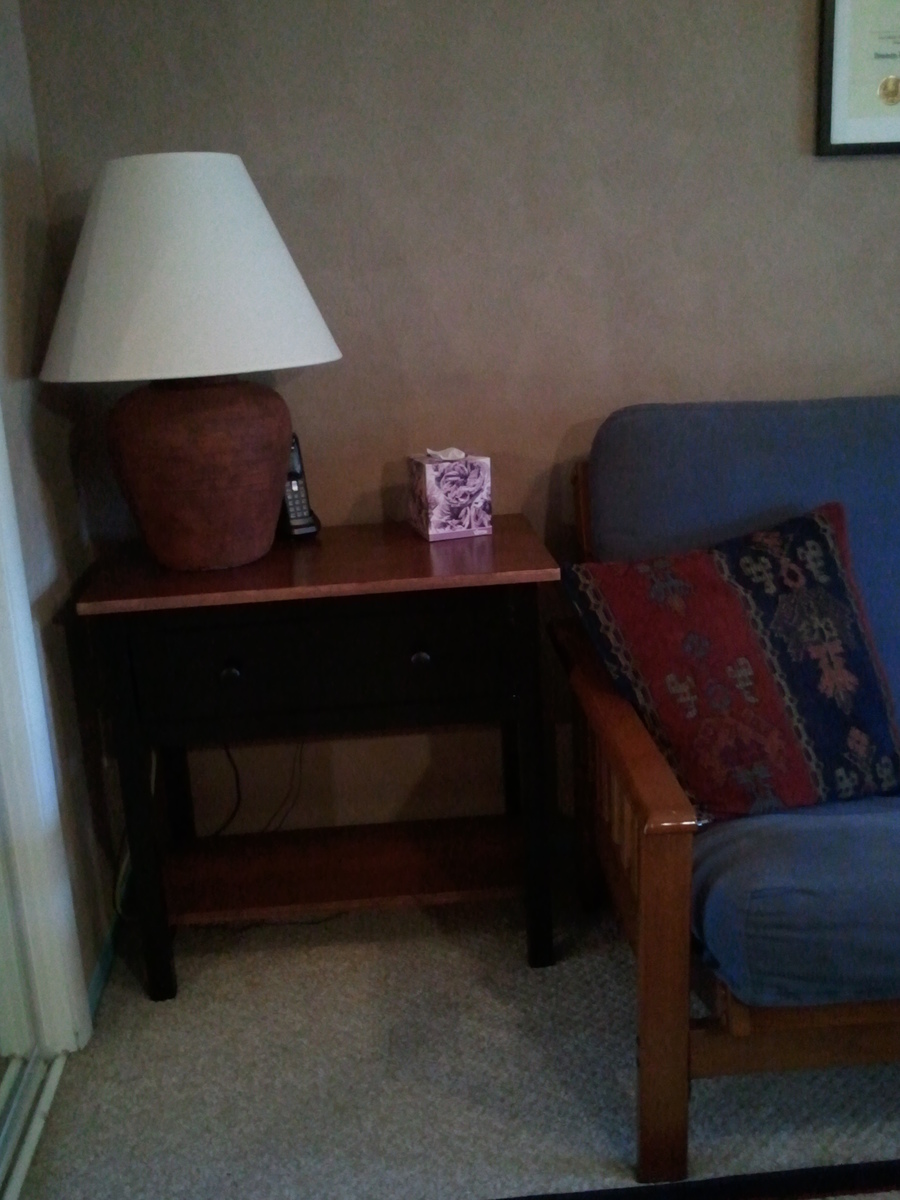
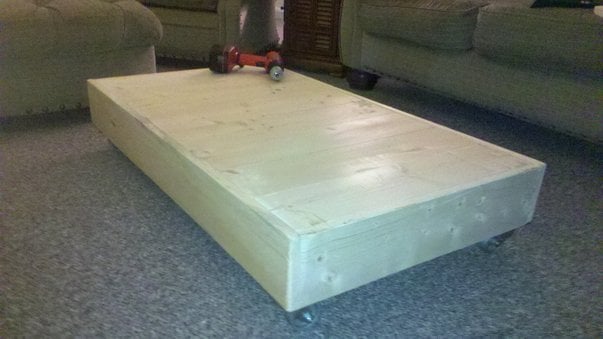
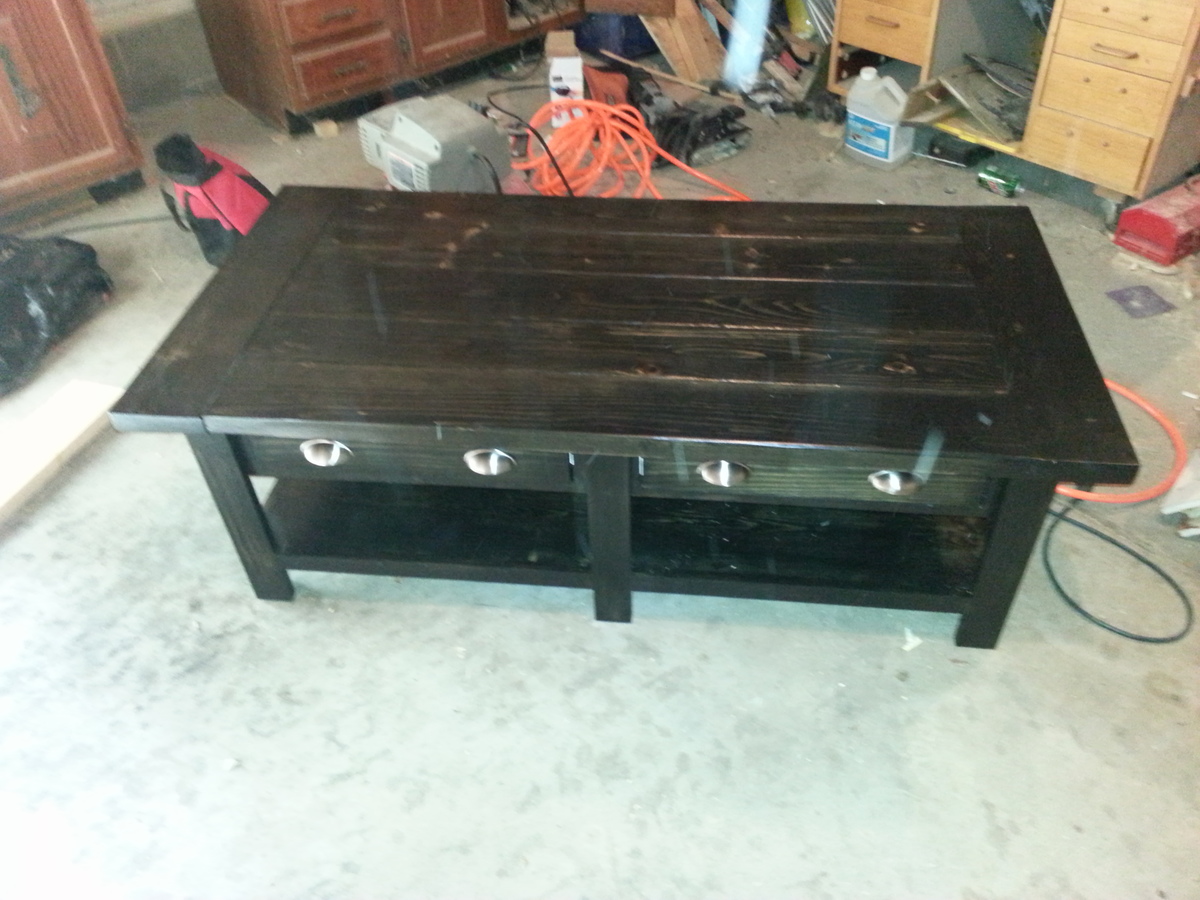
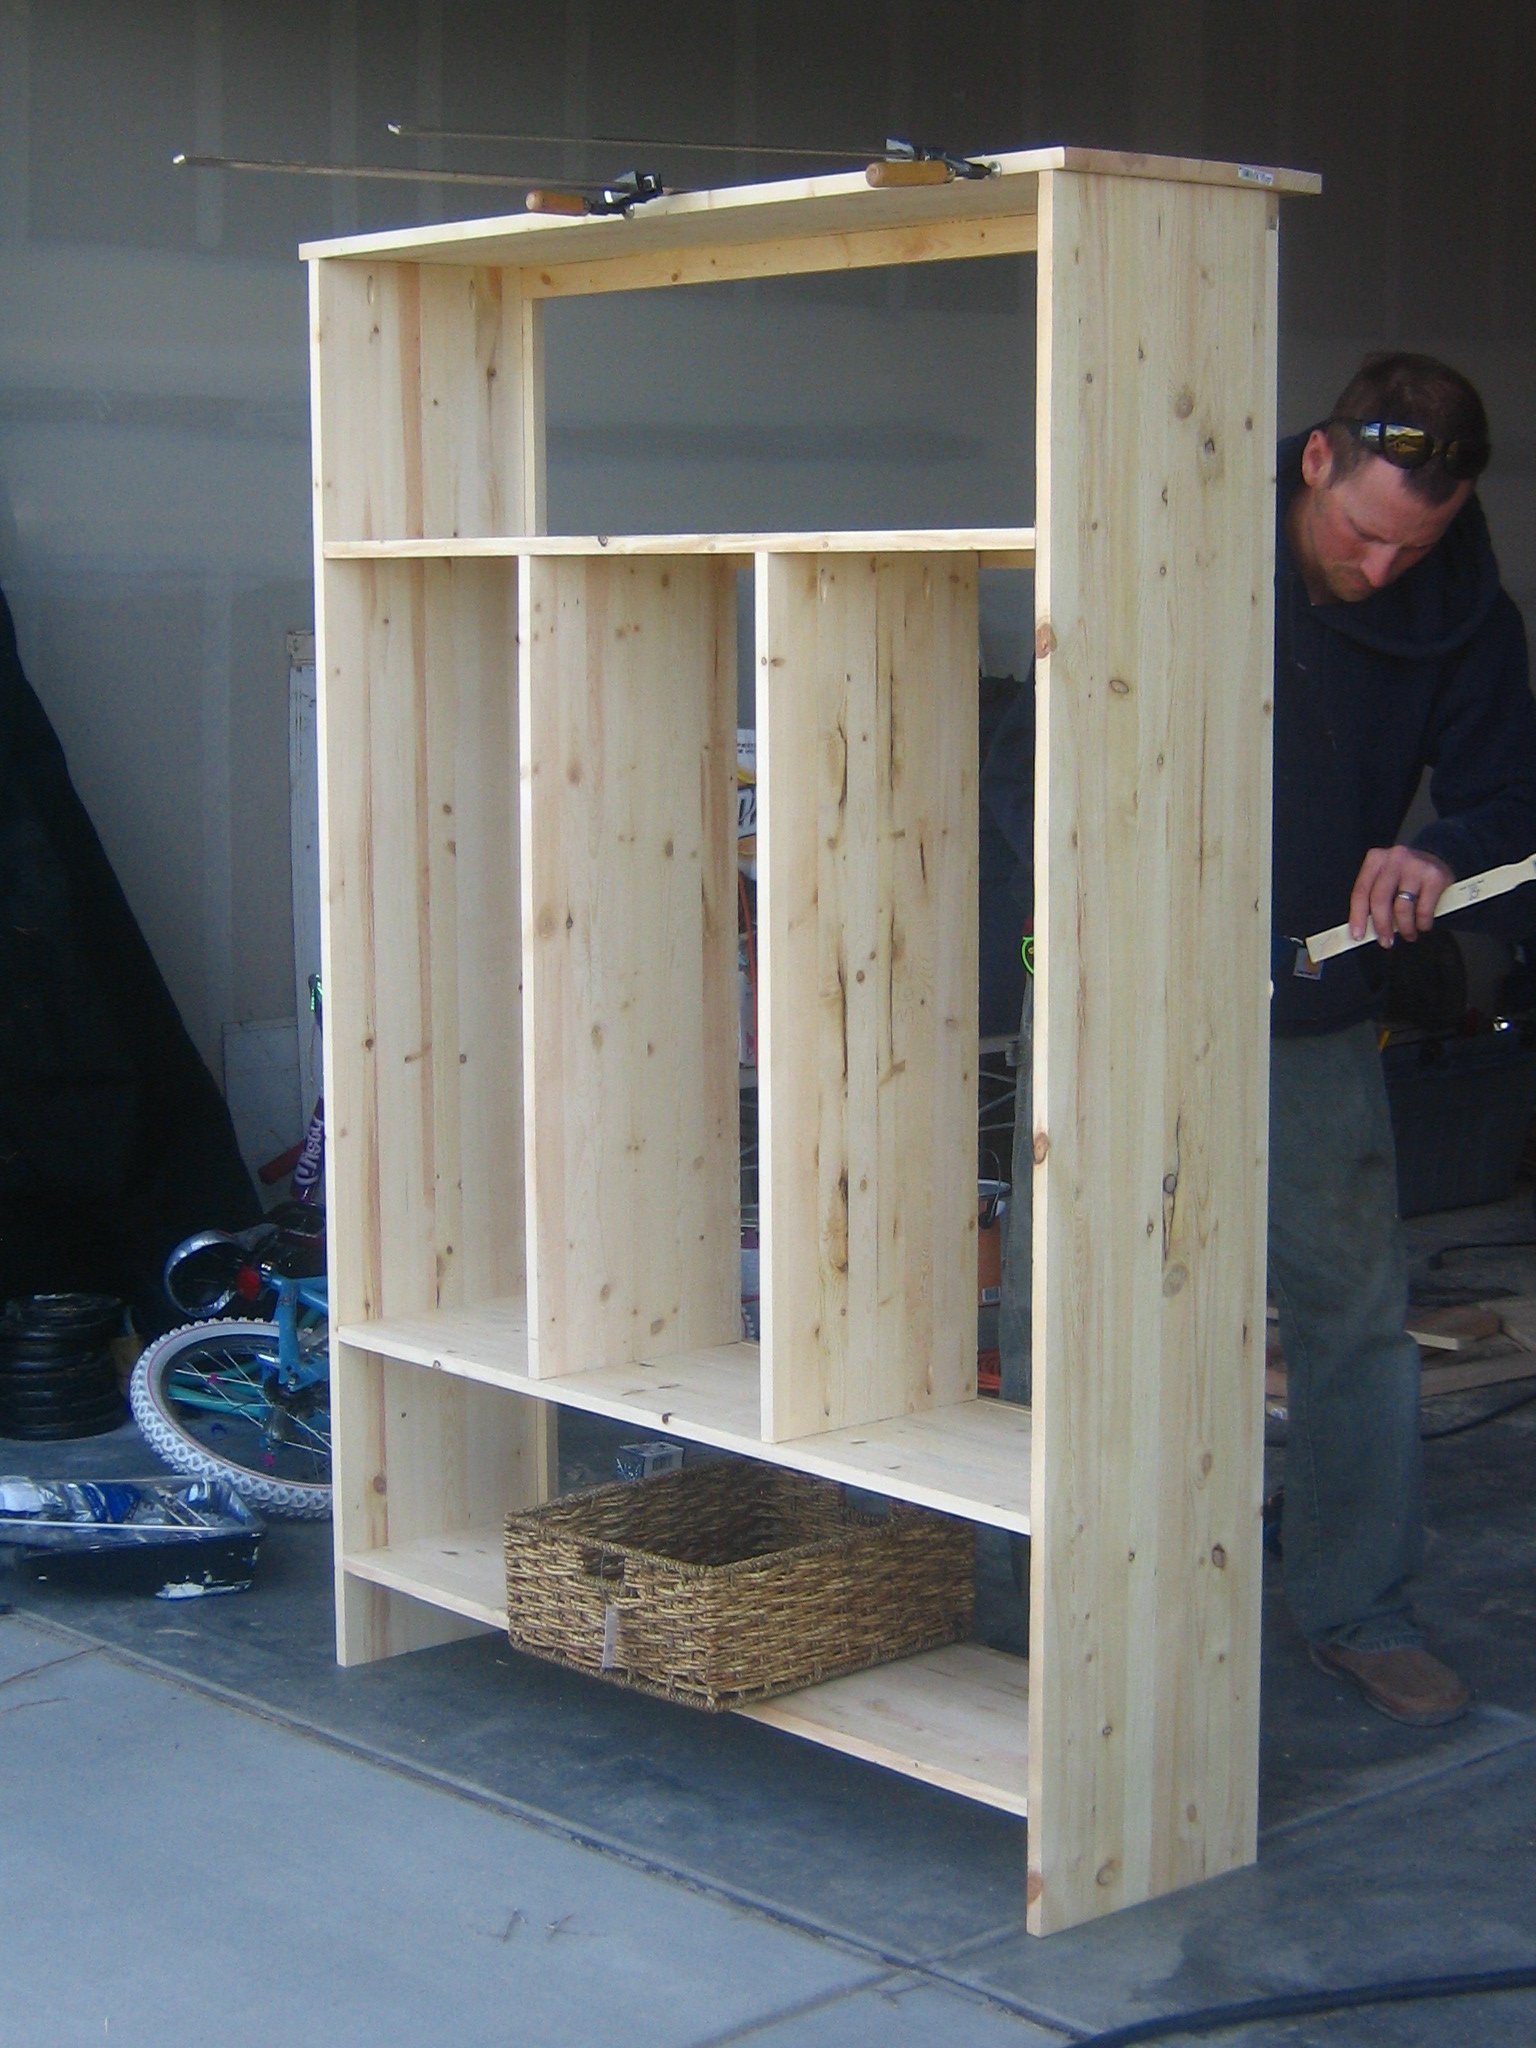
However, I should like to stress that this coffee table is EXTREMELY low to the ground. One of the first lines on the plan page reads: "This coffee table sits lower than traditional coffee tables." = understatement of the year! (my fault, I should have compared the posted dimensions with an existing coffee table to get an idea before hand)
The plans will make a awesome factory cart height factory cart, but a nearly-uncomfortable height coffee table (As is). In the attached photo, you'll note a foot-rest in the upper left corner as compared to the finished factory cart.
--again, the build was super easy & a LOT of fun because I intended the finish to look worn, I didn't have worry about scratching up the wood during the build. In fact, the kids are looking forward to helping me distress it later! I'll just have to increase the height of the sides to make it usable as a coffee table in our home.


Comments
TerDickison2
Mon, 06/10/2019 - 18:43
Backrest question
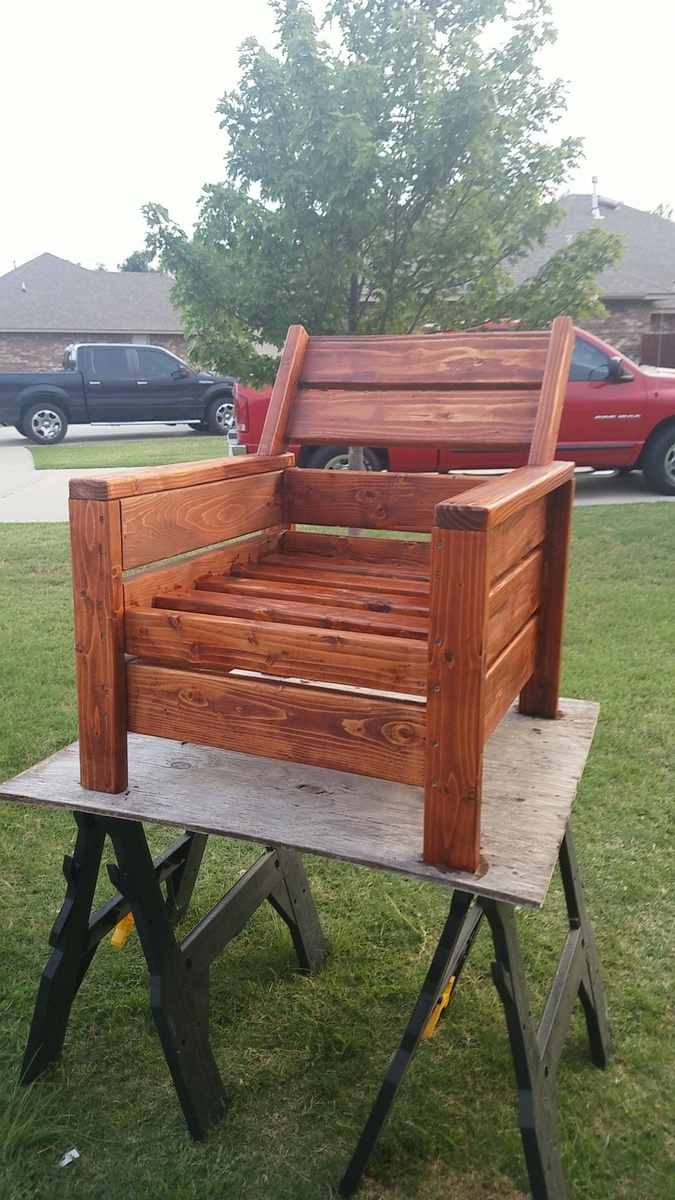
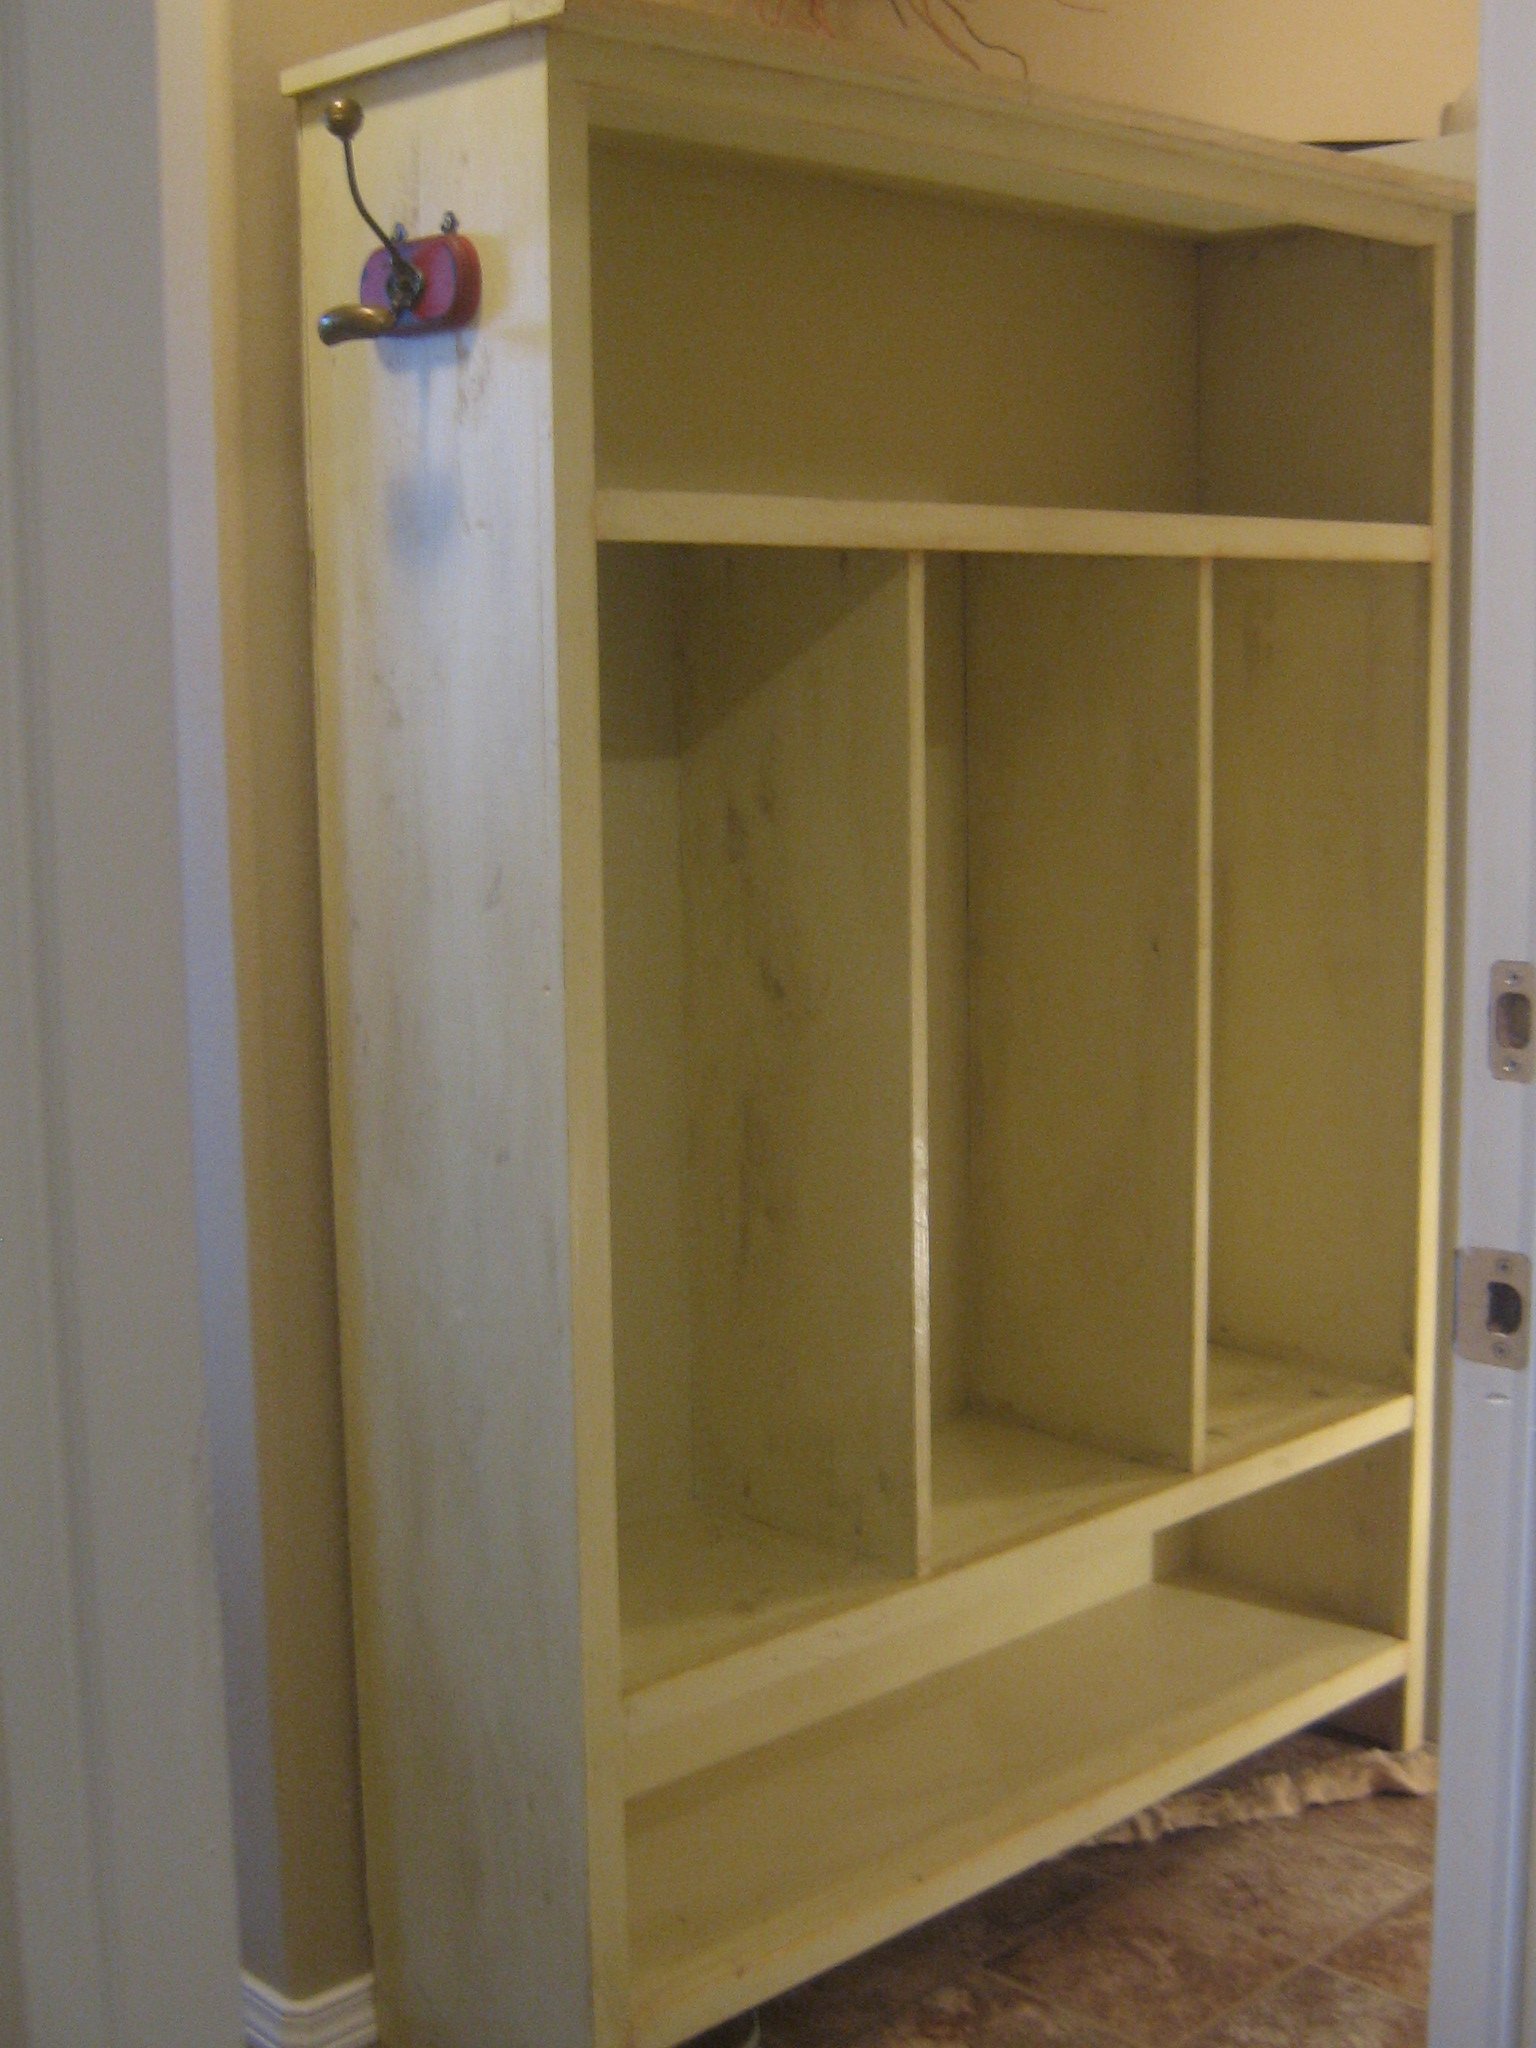
I really like the backrest. I built the chair as is from the plans but found it really needs the backrest. Can I ask how you attached the backrest screw-wise and what the angle is? It looks like the backrest might have been screwed on from underneath the armrests before the armrests were screwed to the body of the chair. Am I thinking in the right direction? Thanks in advance!
DCurtin
Sun, 02/02/2020 - 13:48
Back rest for patio chair
Can I get the design for the back rest?
Lesleysw
Fri, 07/03/2020 - 11:24
Can I please get the plans…
Can I please get the plans for the backrest?
Thanks!