Loft Bed With Stairs
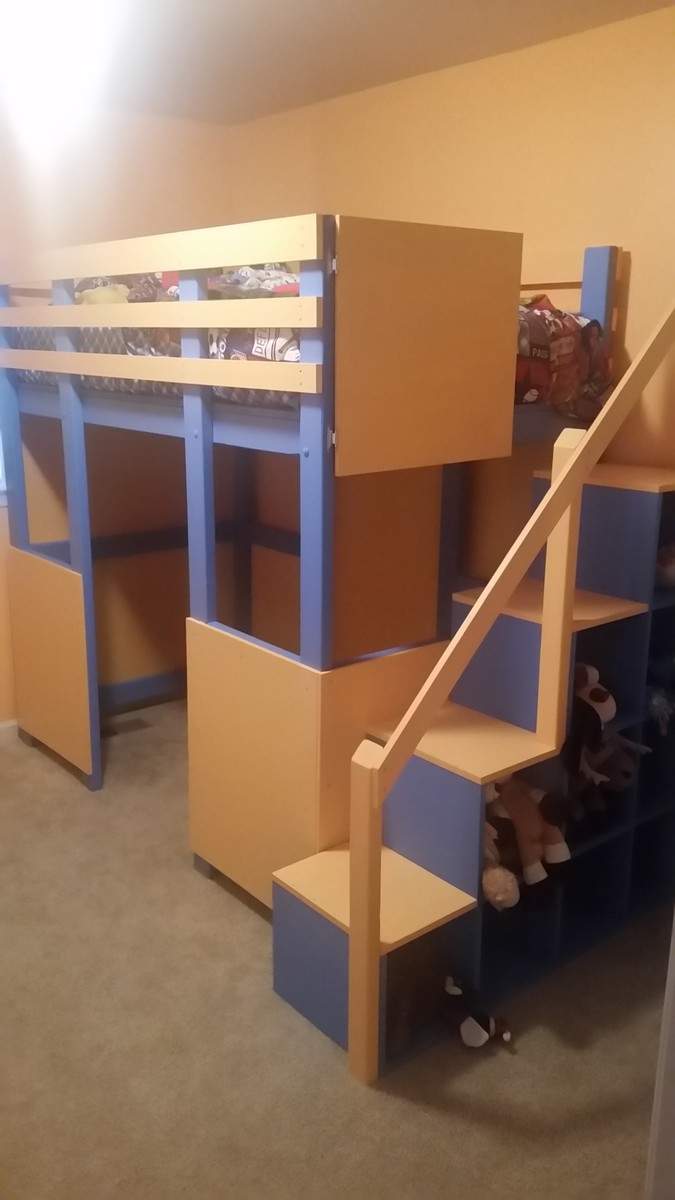
I built this for my 3 year old so I made stairs to replace the ladder.
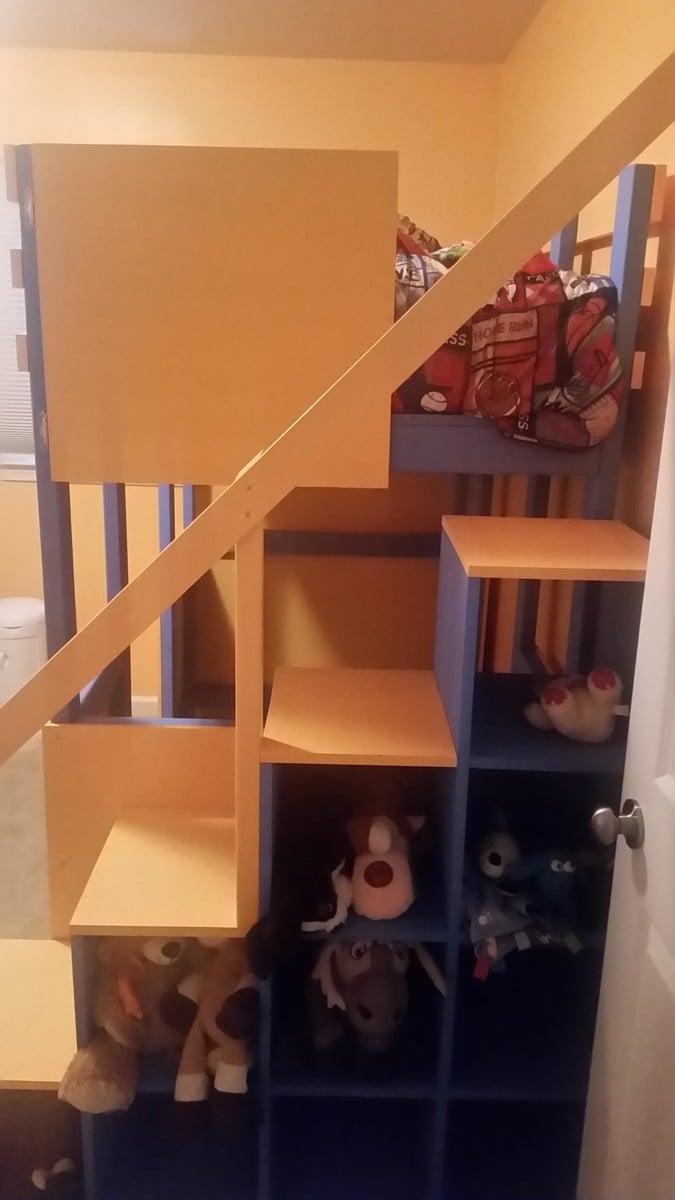

I built this for my 3 year old so I made stairs to replace the ladder.

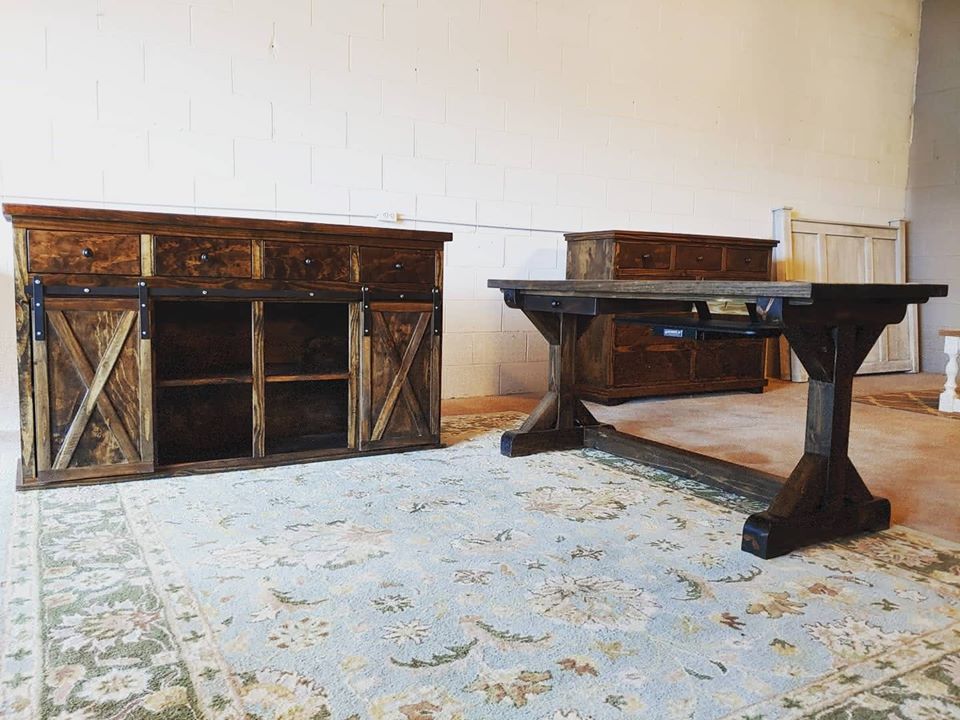
Built by Whitney Walters and shared on FB
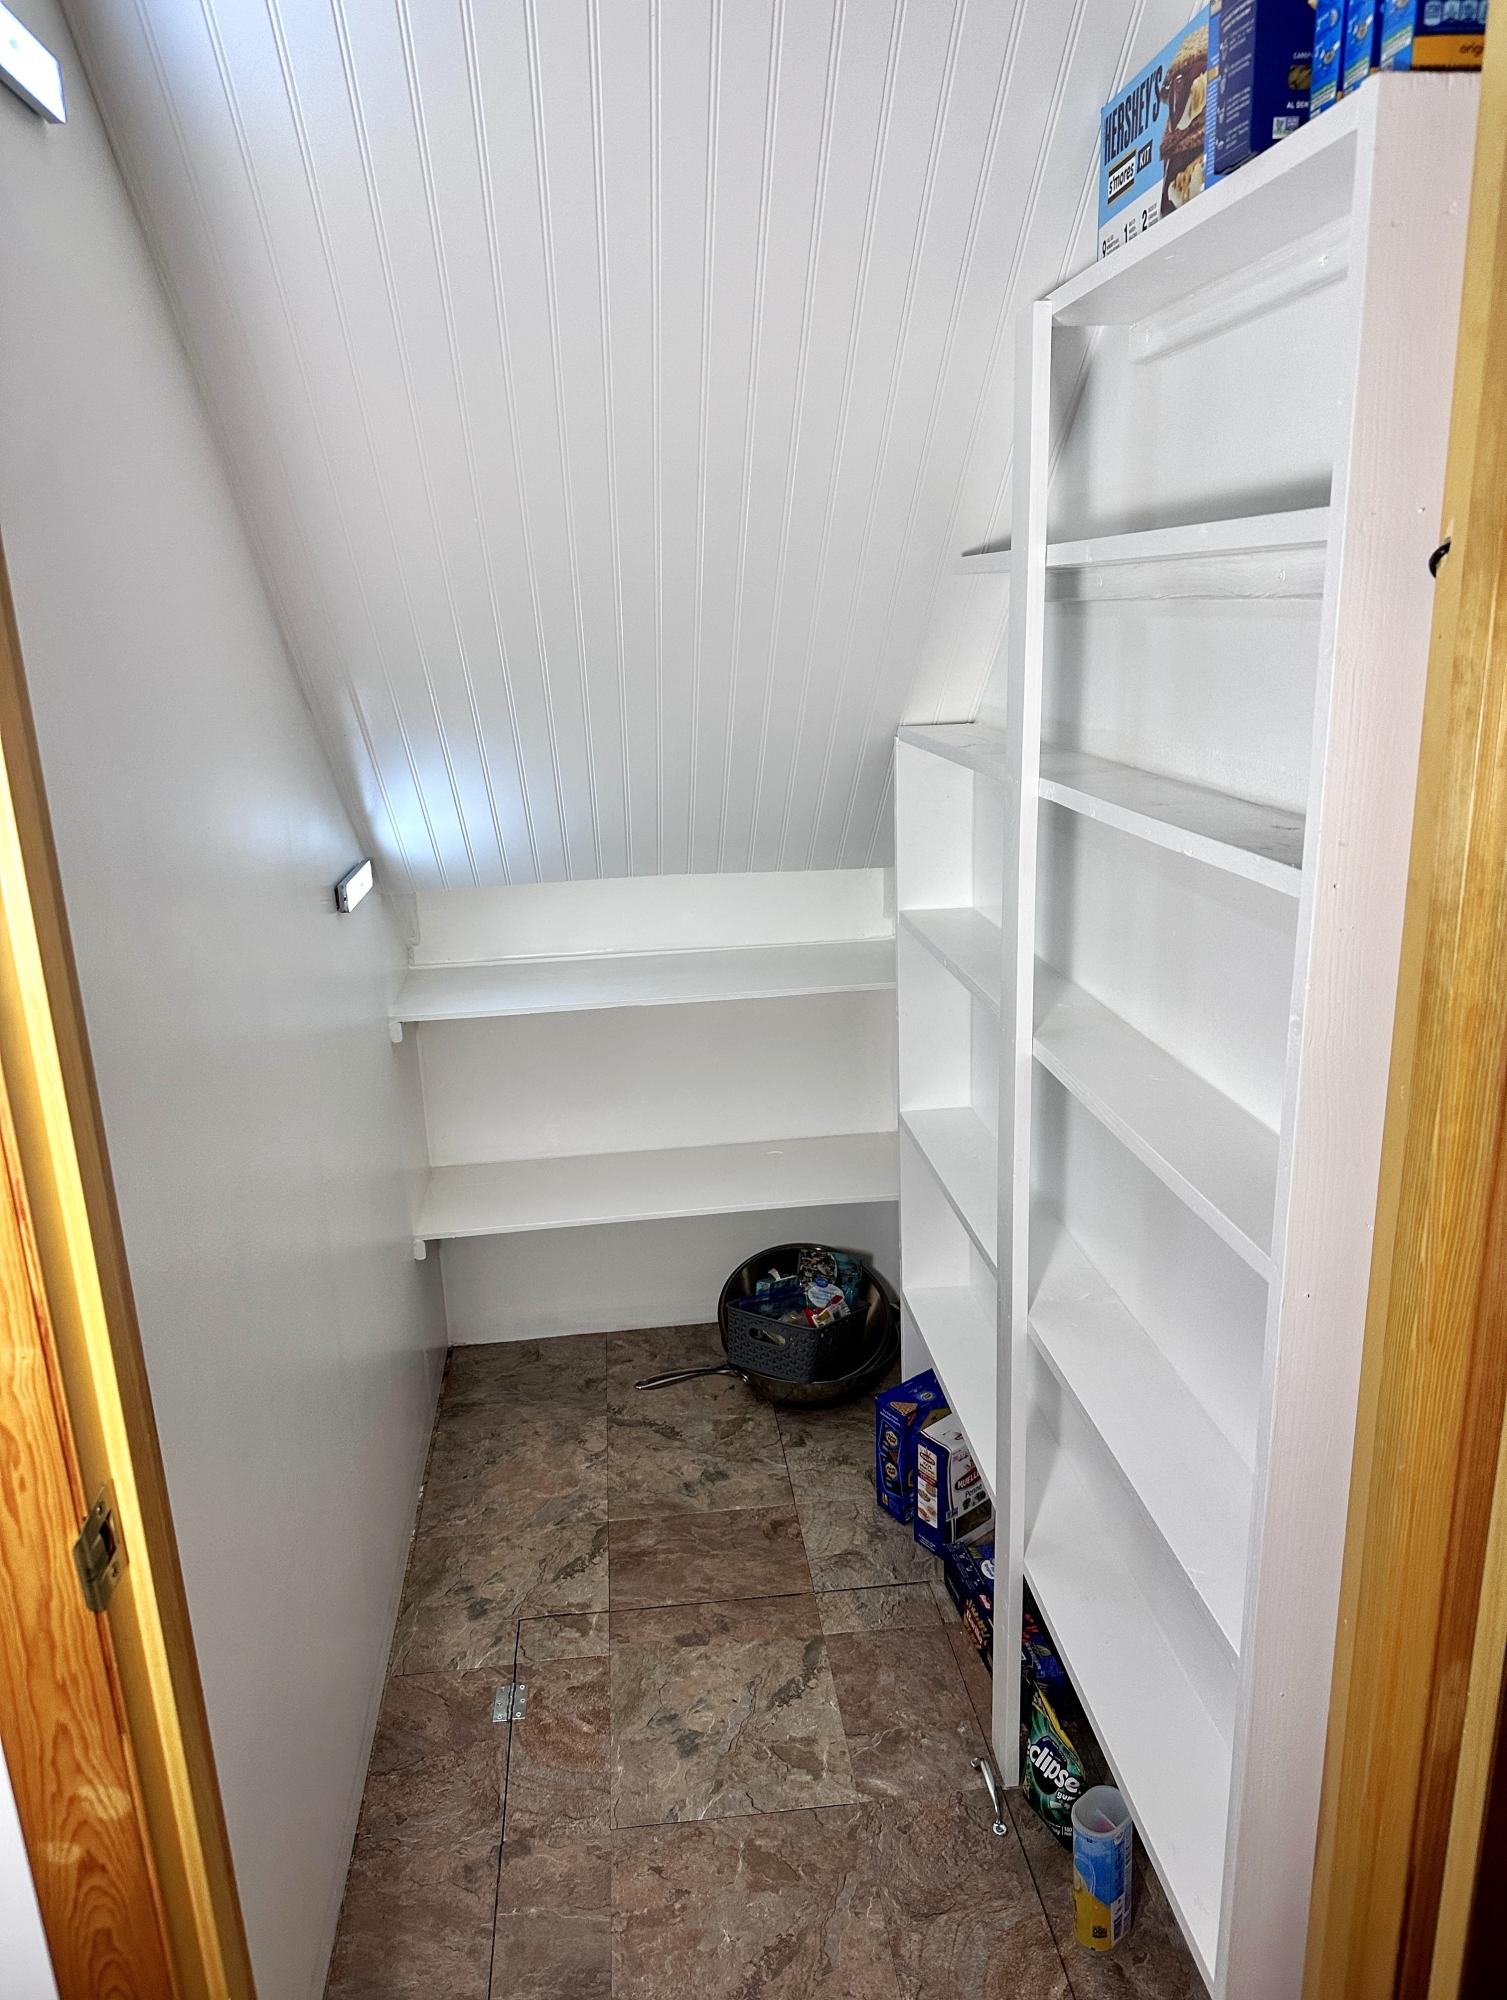
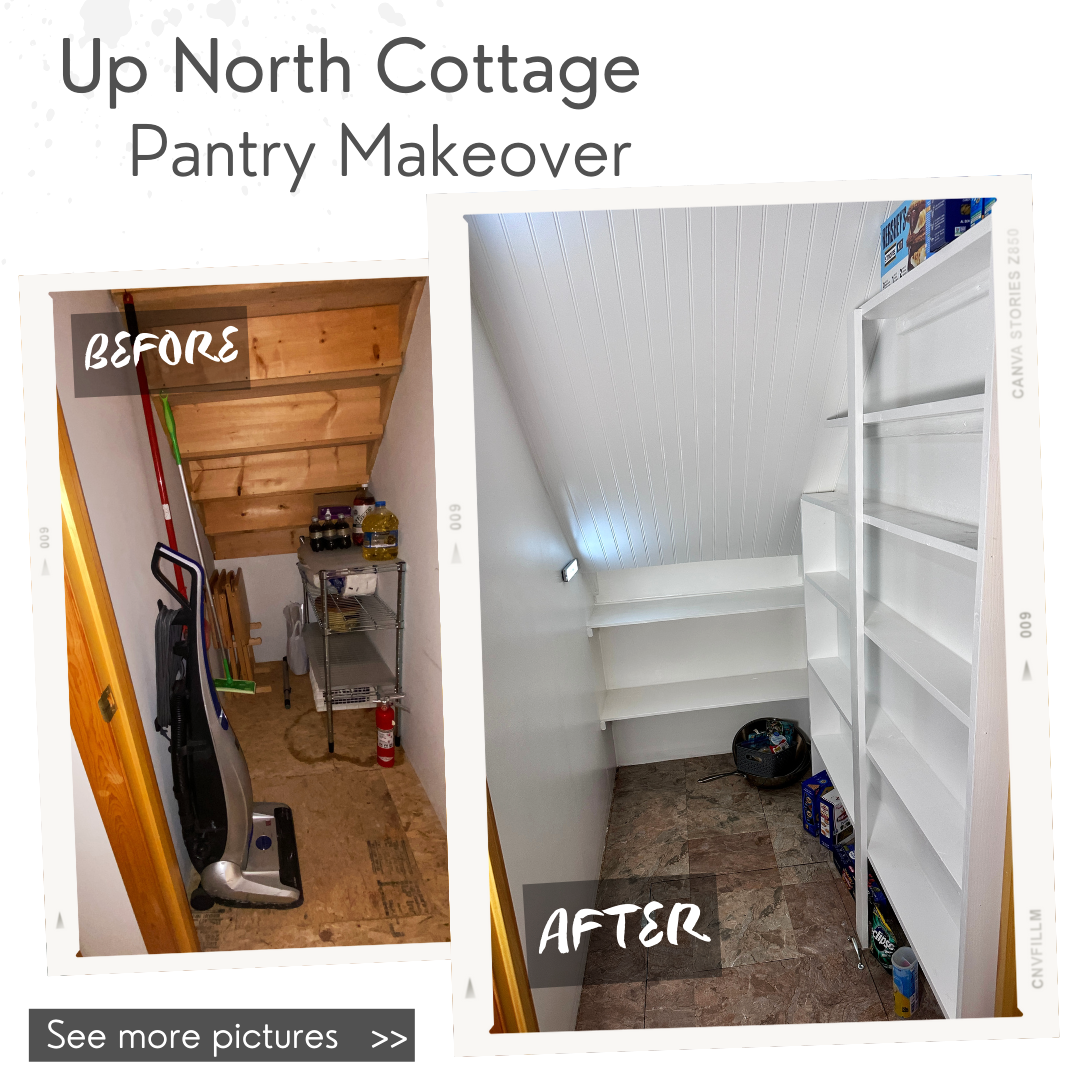
Our tiny cottage pantry is complete! We followed Ana-White's 2x4 Storage Shelving modified to fit.
Materials:
Paint: Behr Whisper White
Vinyl tile: Armstrong Terracotta Clay
Ceiling: Beadboard
Plans: Ana-White 2x4 Storage Shelving (modified)
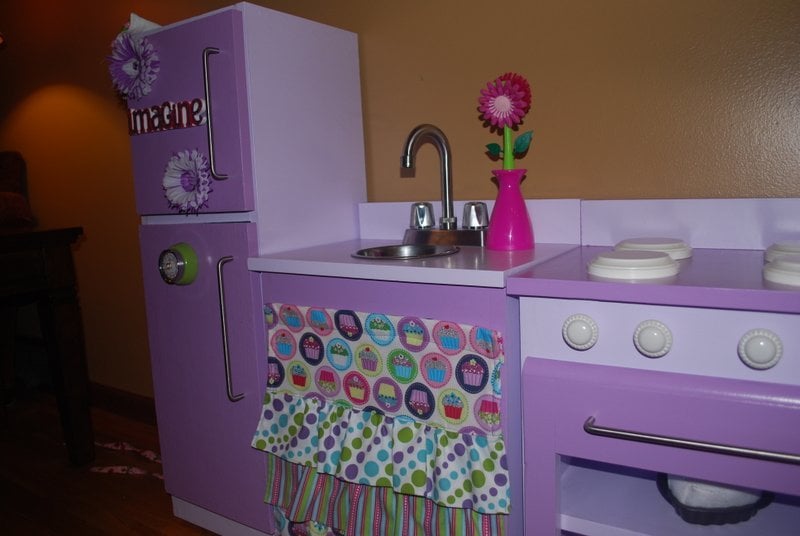
What do you want for your birthday? 'A purple kitchen'....
That's how it all started. My husband and I had no previous woodworking experience and we managed to build these guys.
The devil was in the details here! Building these didn't really take that long, It was the finishing and accessorizing.
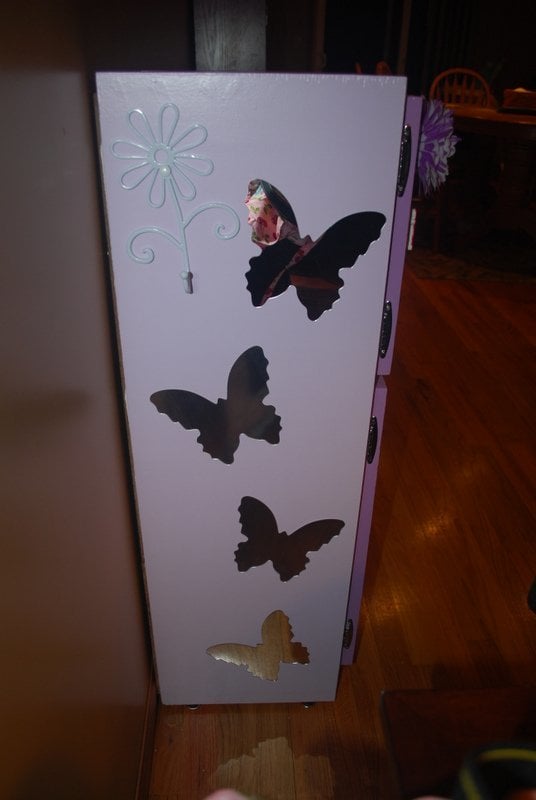
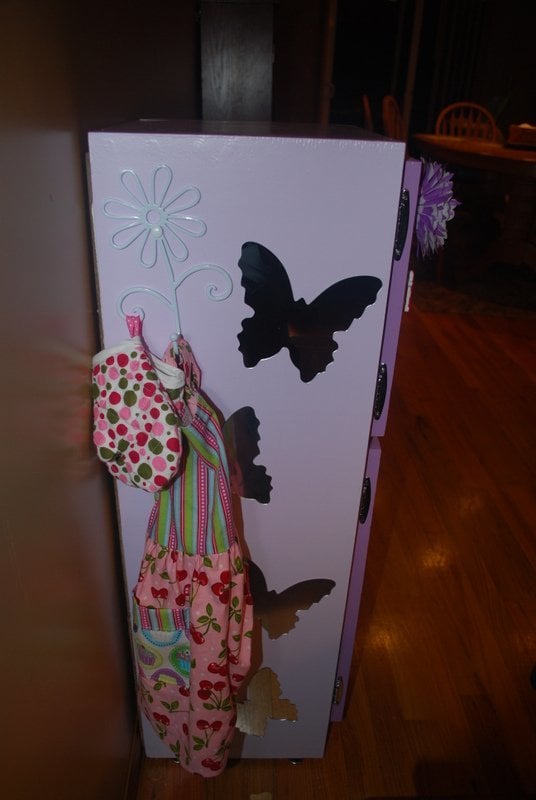
Thank God that I know how to sew/craft. I loved the ruffle curtain from crafting chicks so I made that. The apron and oven mitts were made from the same set of fabrics. I ordered the butterfly stick on mirrors on line....they didn't stick that well so we added double stick tape. The front of the fridge is magnetic primed. The flower magnets I made and the imagine was a primed wood precut from Michaels that I painted. Stove burners are plaques for wood burning. Stove knobs, brush, and flower hook all from Hobby Lobby. Bar faucet from ebay and the sink is just a bowl.
The lights were my husbands idea....the fridge lights are magnetic drawer lights that come on when the door is opened and off when closed - just like a real fridge! The oven light is a push button LED light.
My baby was thrilled to receive this. While I loved the PB kitchens, I really think this was much better because it gave my husband and I something to work on together and it was priceless to hear my girl tell everyone that Mommy and Daddy MADE that kitchen just for her!
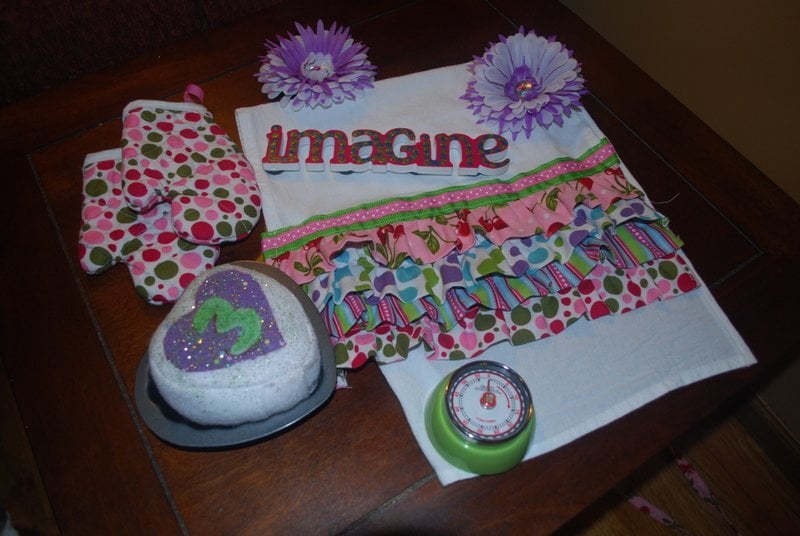
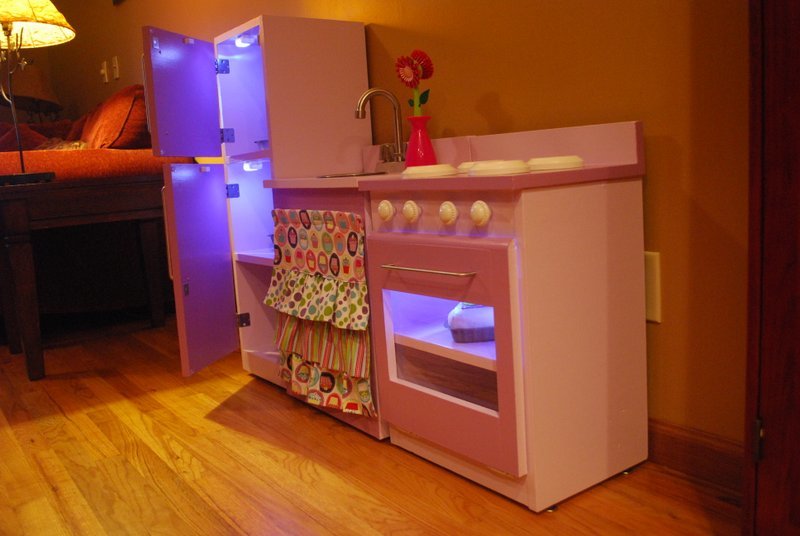
Sat, 05/05/2012 - 19:27
Love it!! You and your husband did a great job! Really love the light ideas.
Thu, 11/29/2012 - 13:11
Love the color scheme and will be doing similar on the one I am working on now thanks to your posts!! How did you cut the stove door?
Wed, 12/12/2012 - 18:13
Do you have a plan for this, or know where I can find one? I would love to make this for my toddler girls.
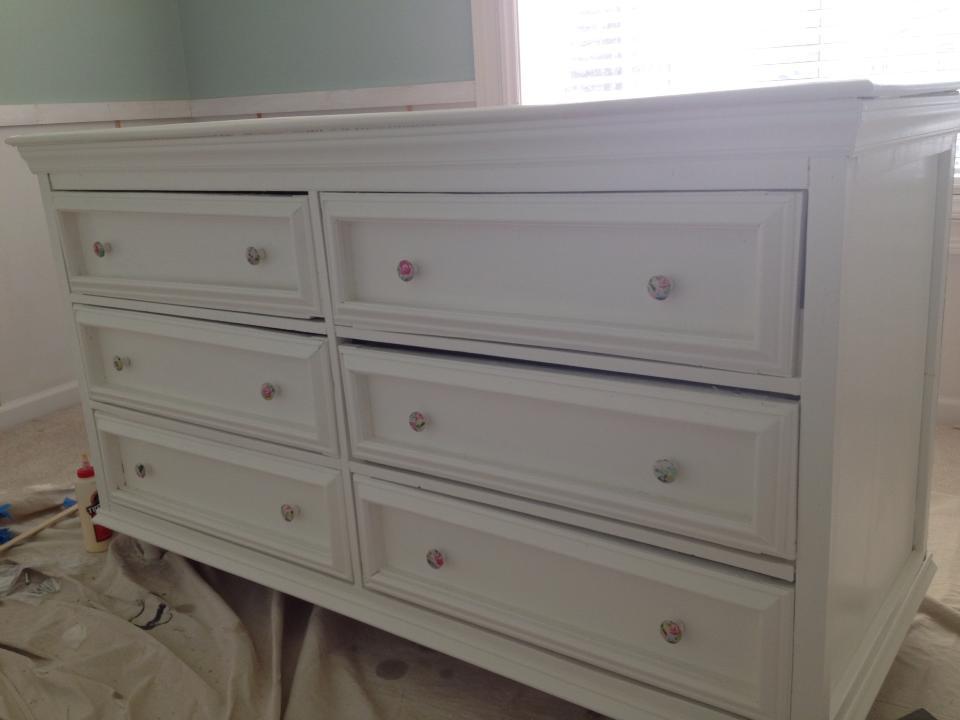
This was my most ambitious project yet - and I did it during my 2nd trimester of my first pregnancy! I knew I wanted a dresser that would double as a changing table & fell in love with the Madison as soon as I saw it. This is no small project - those drawers were certainly a learning experience! Wish I'd paid more attention to the 1x2s (& sprung for top pine to try to get a straighter frame). We're happy with how it's turned out & can't wait to start using it for our daughter when she arrives in May!
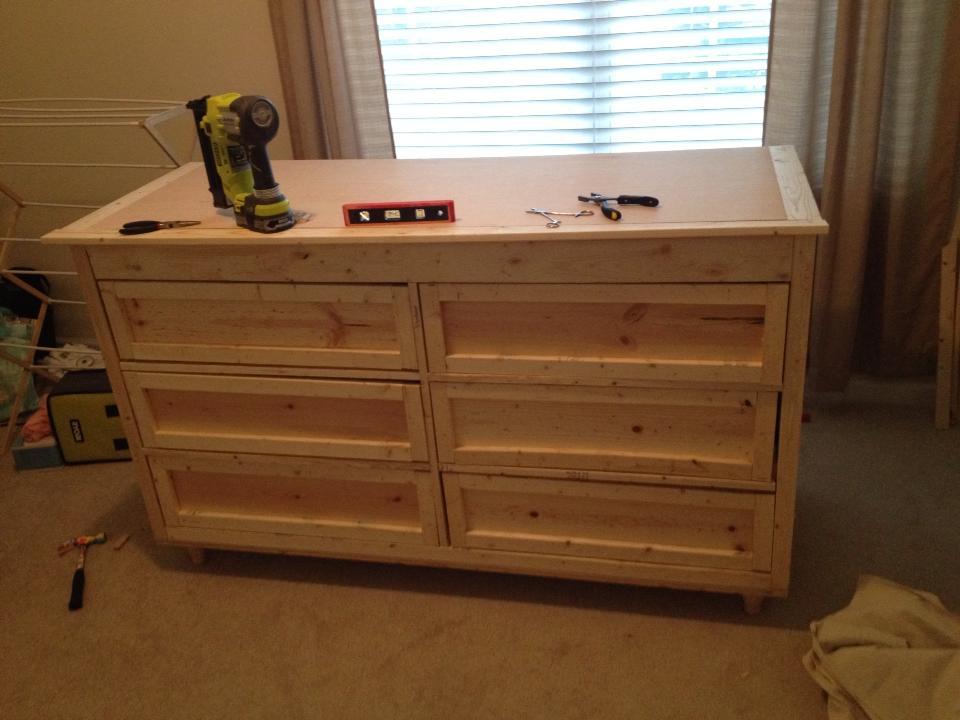
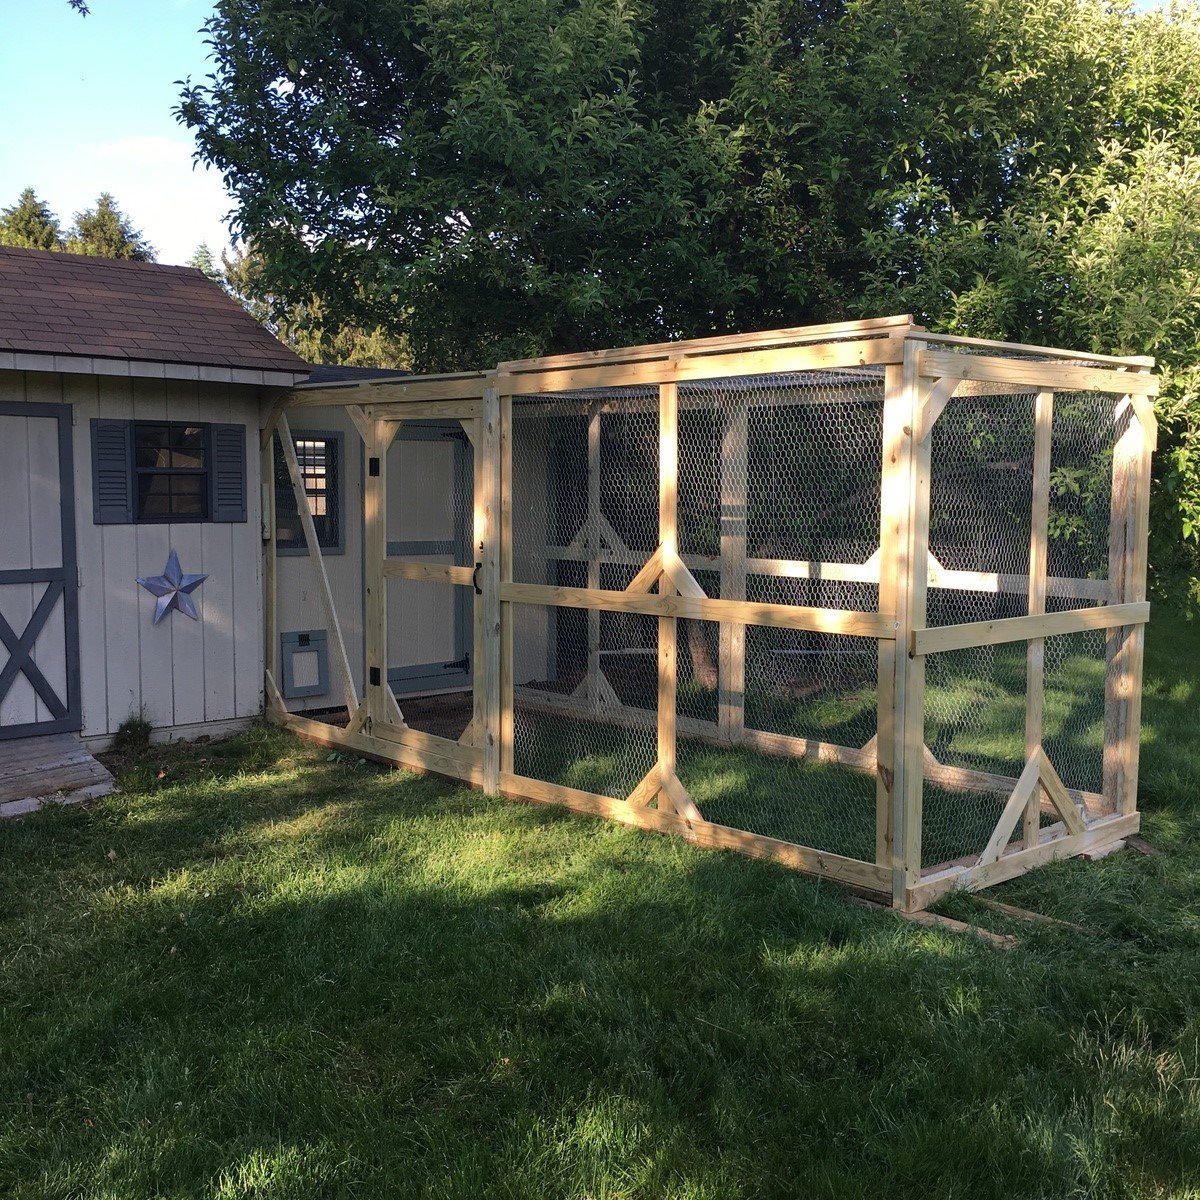
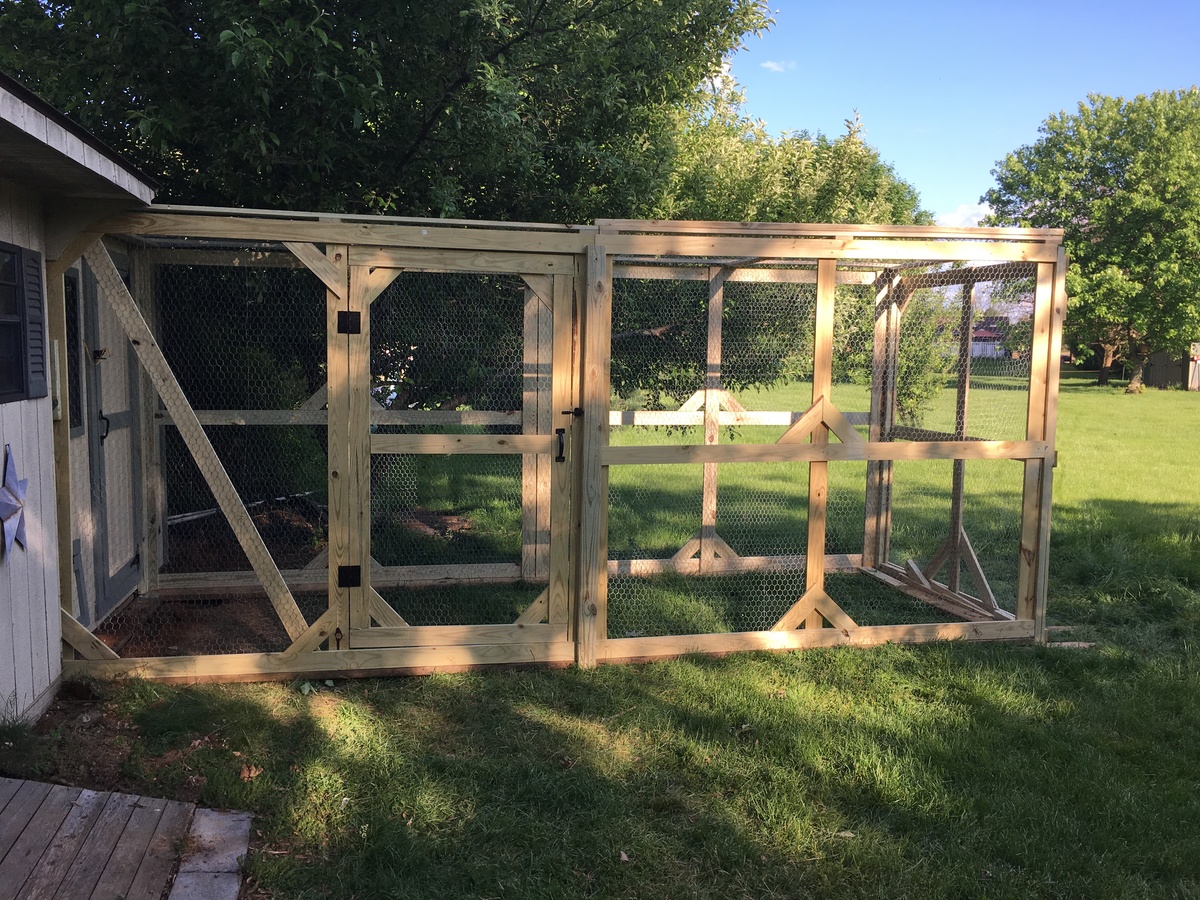
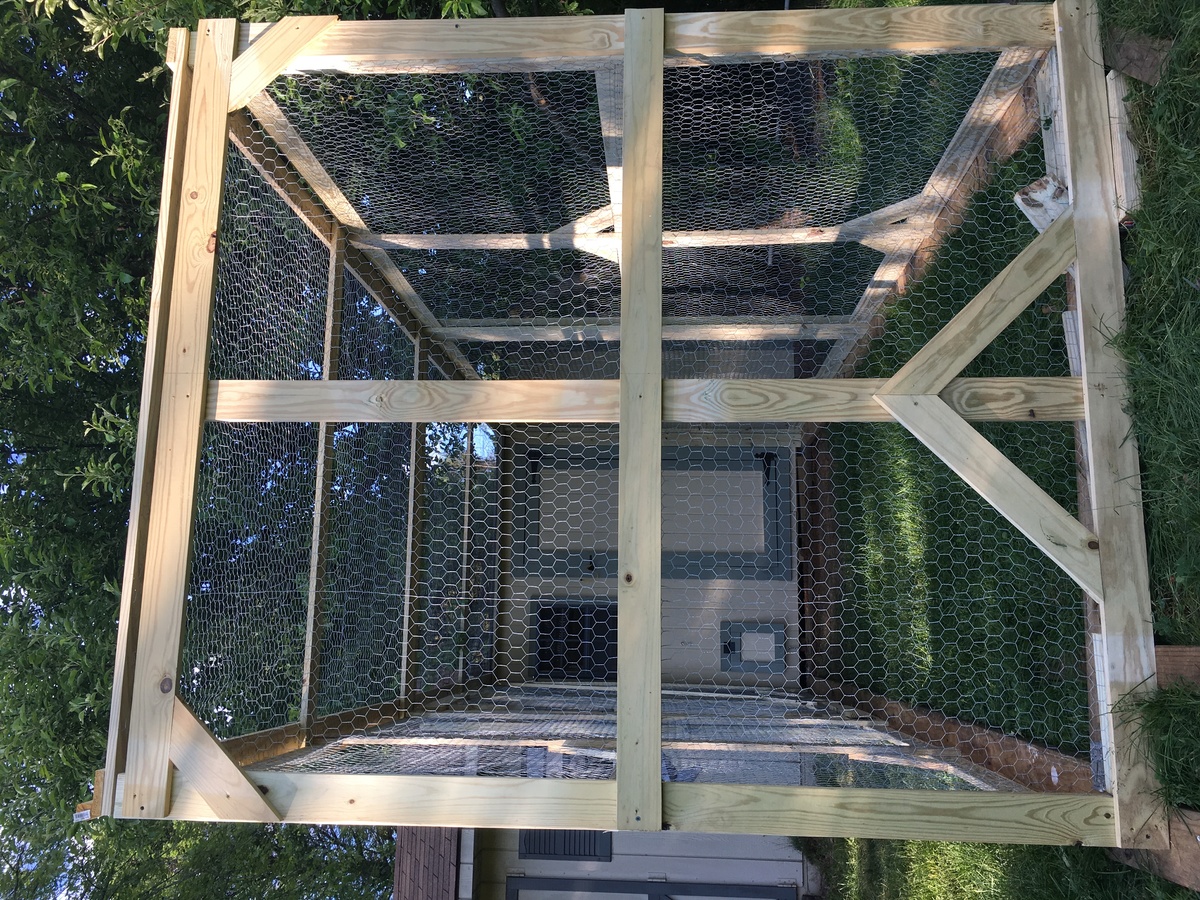
Or use the same plans with the exception of I extended the height so I could actually walk into the run fairly simple to assemble I would strongly recommend an air compressor staple gun or you'll end up with four arms like Popeye
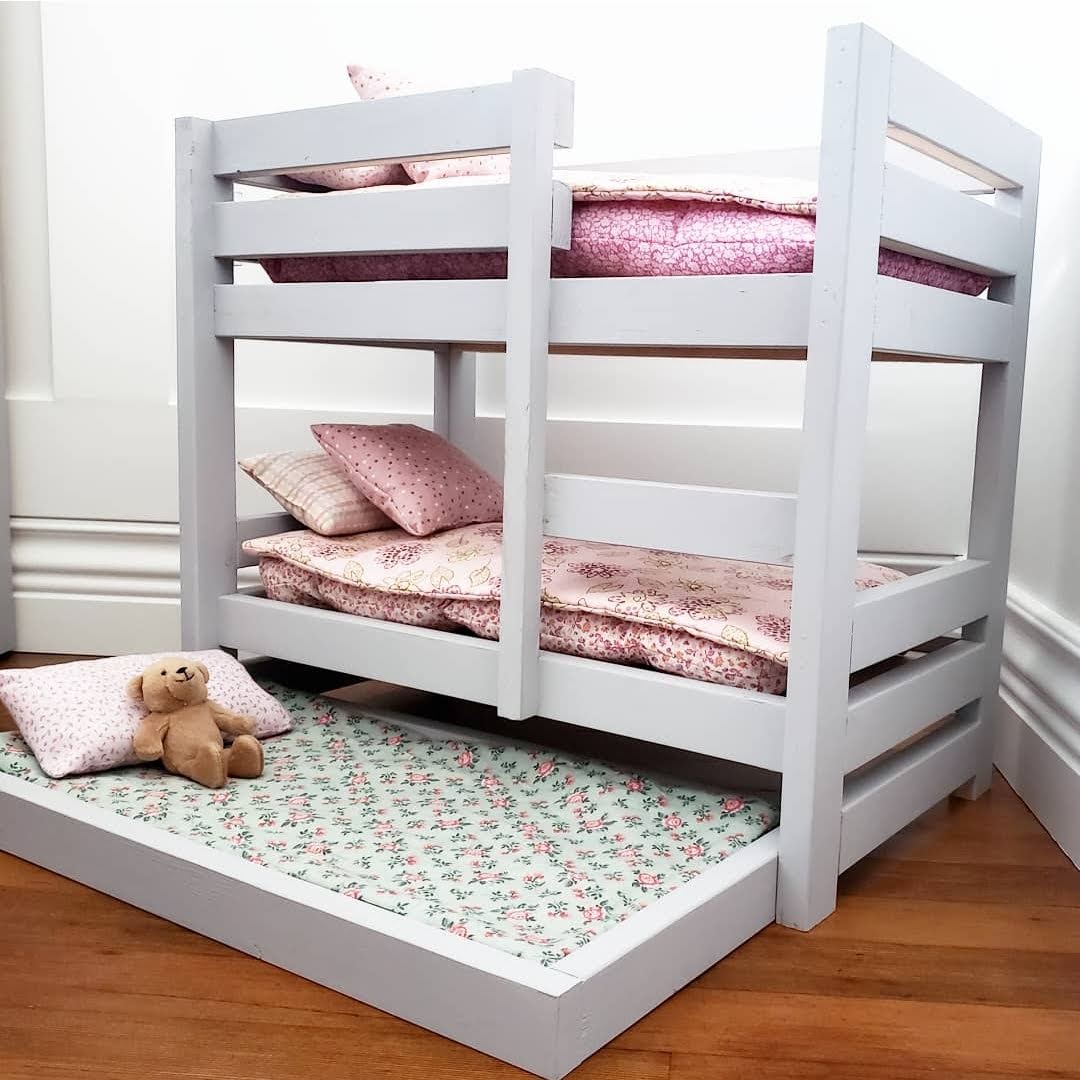
Followed Ana White's Doll Bunk Beds for American Girl and added a Trundle Bed using a few small modifications. Ana's plans were easy to follow and I was able to complete this in an afternoon.
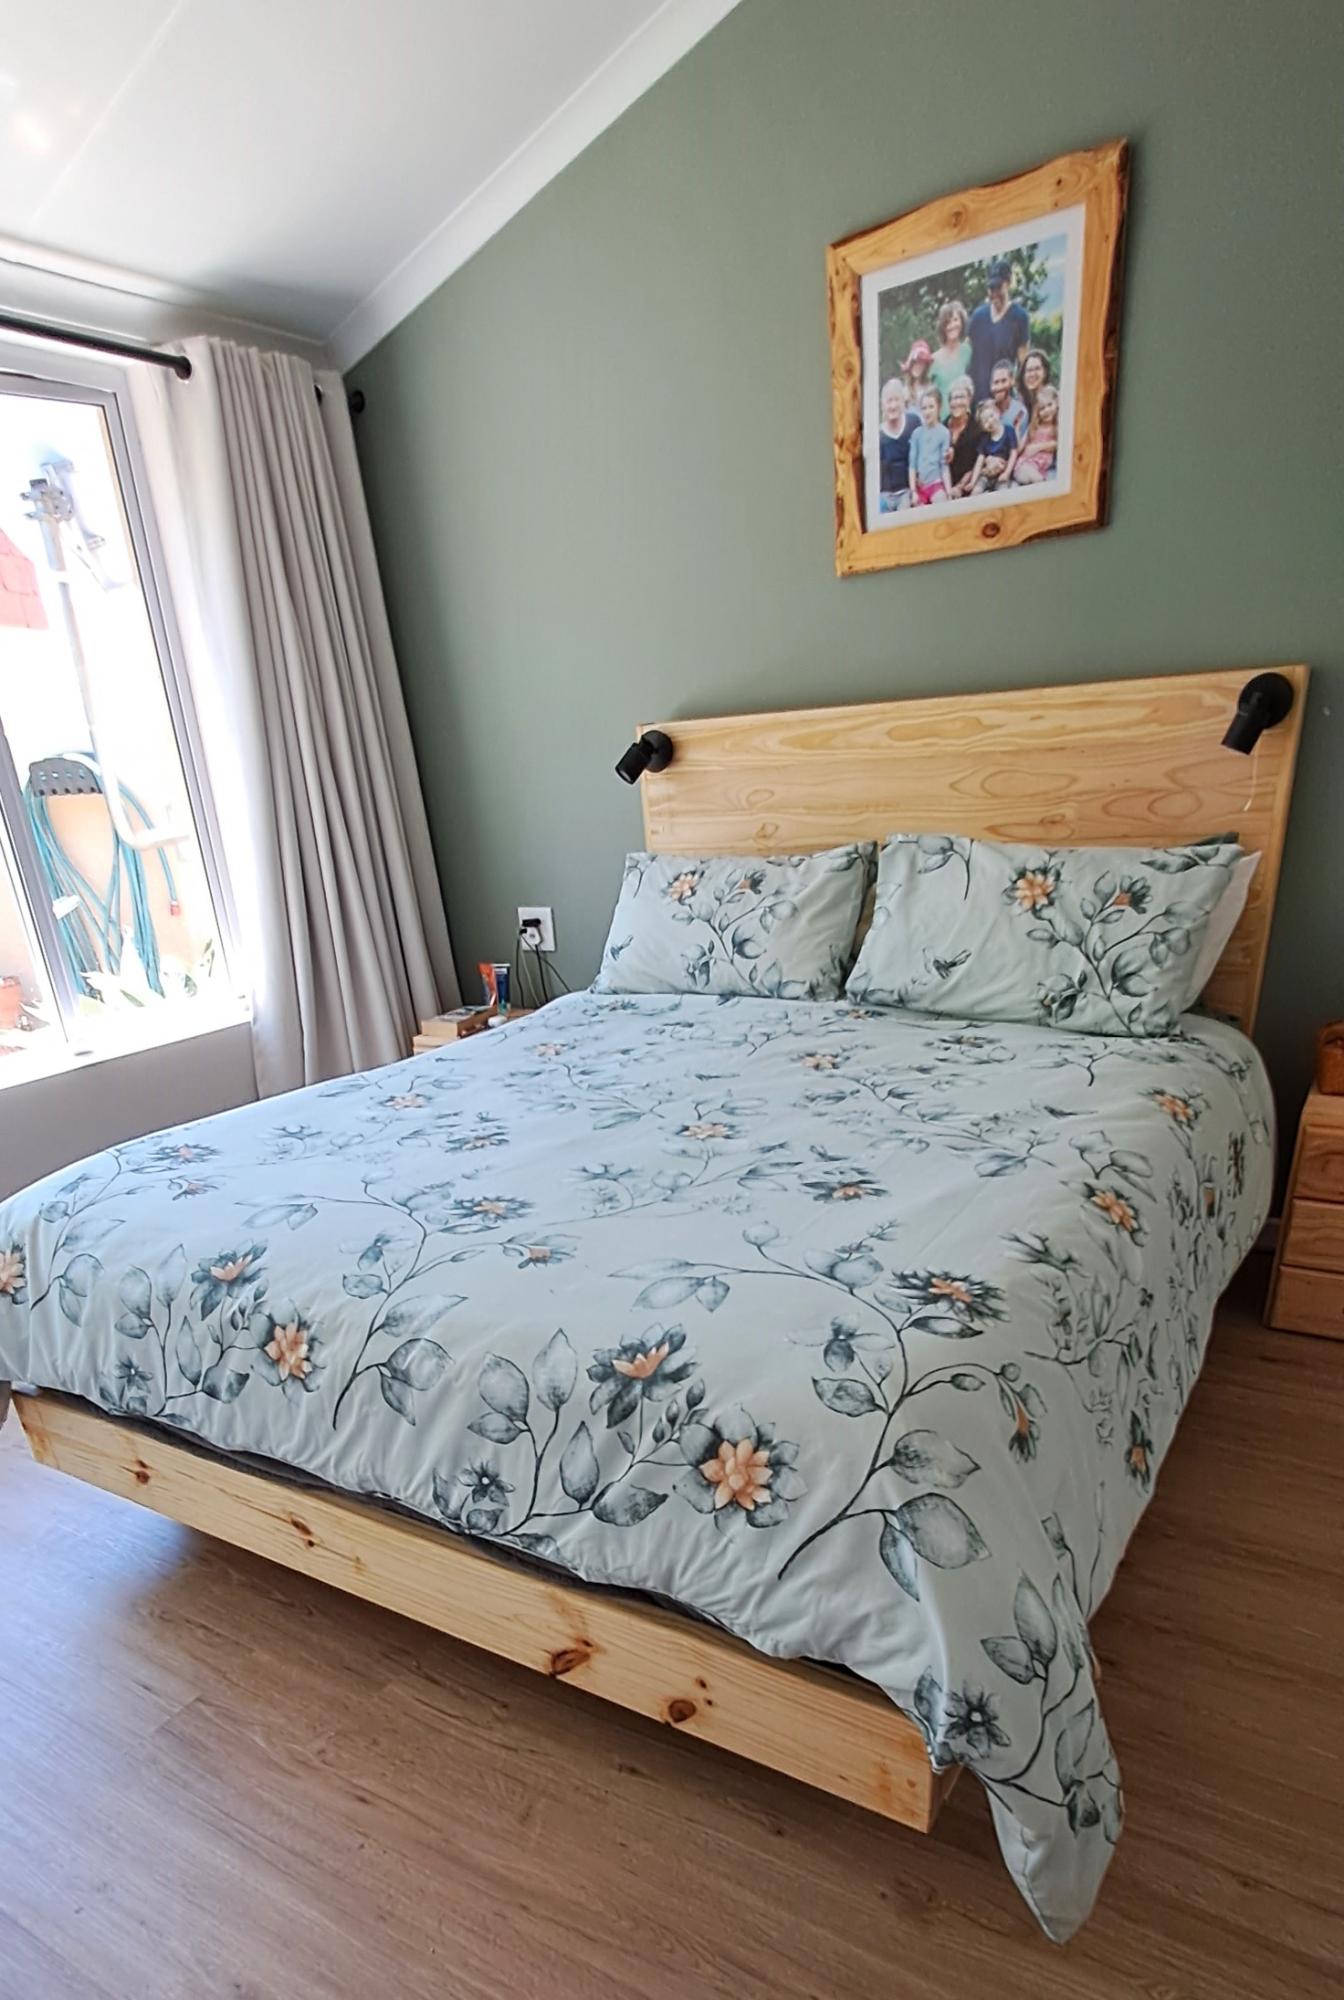
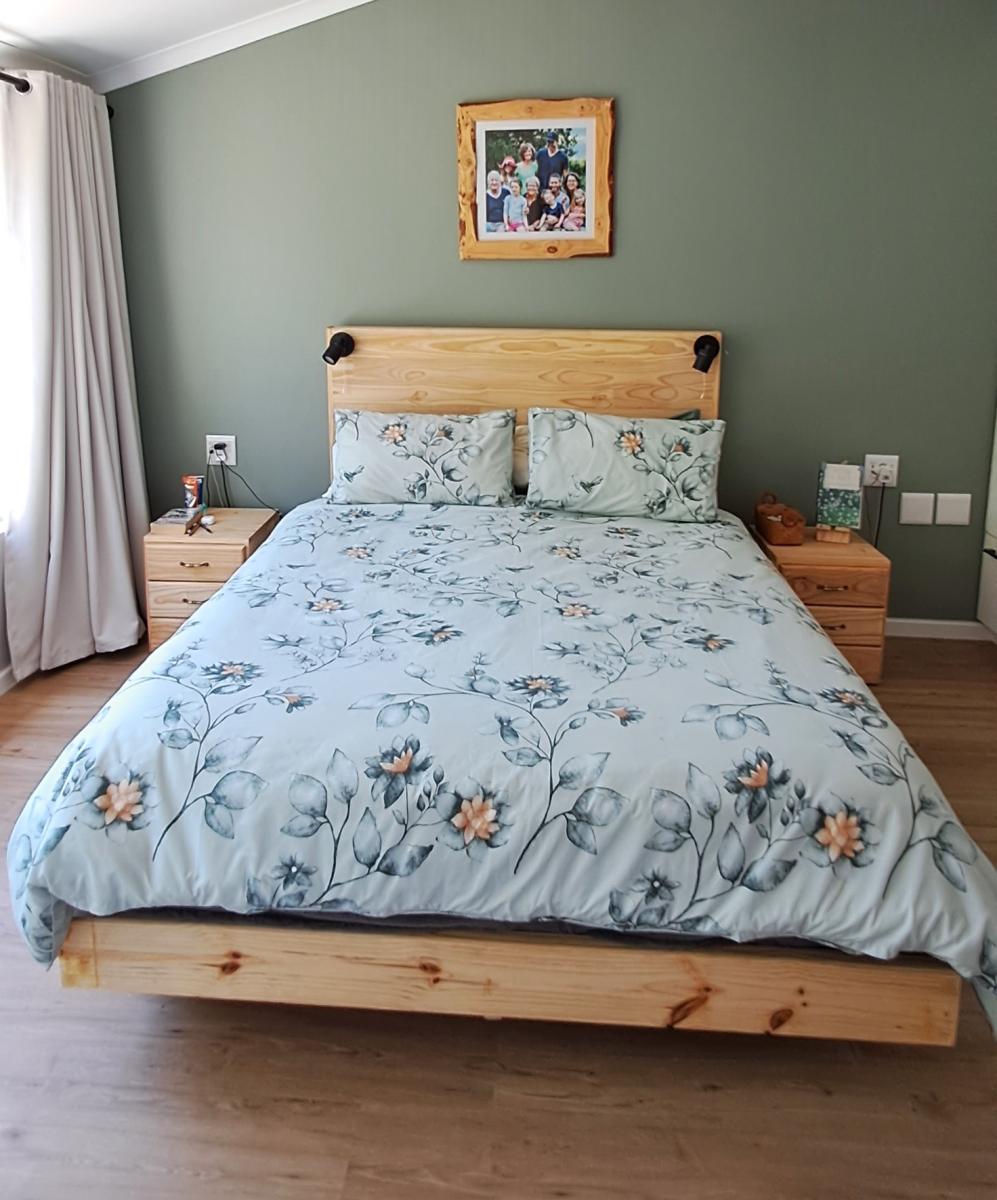
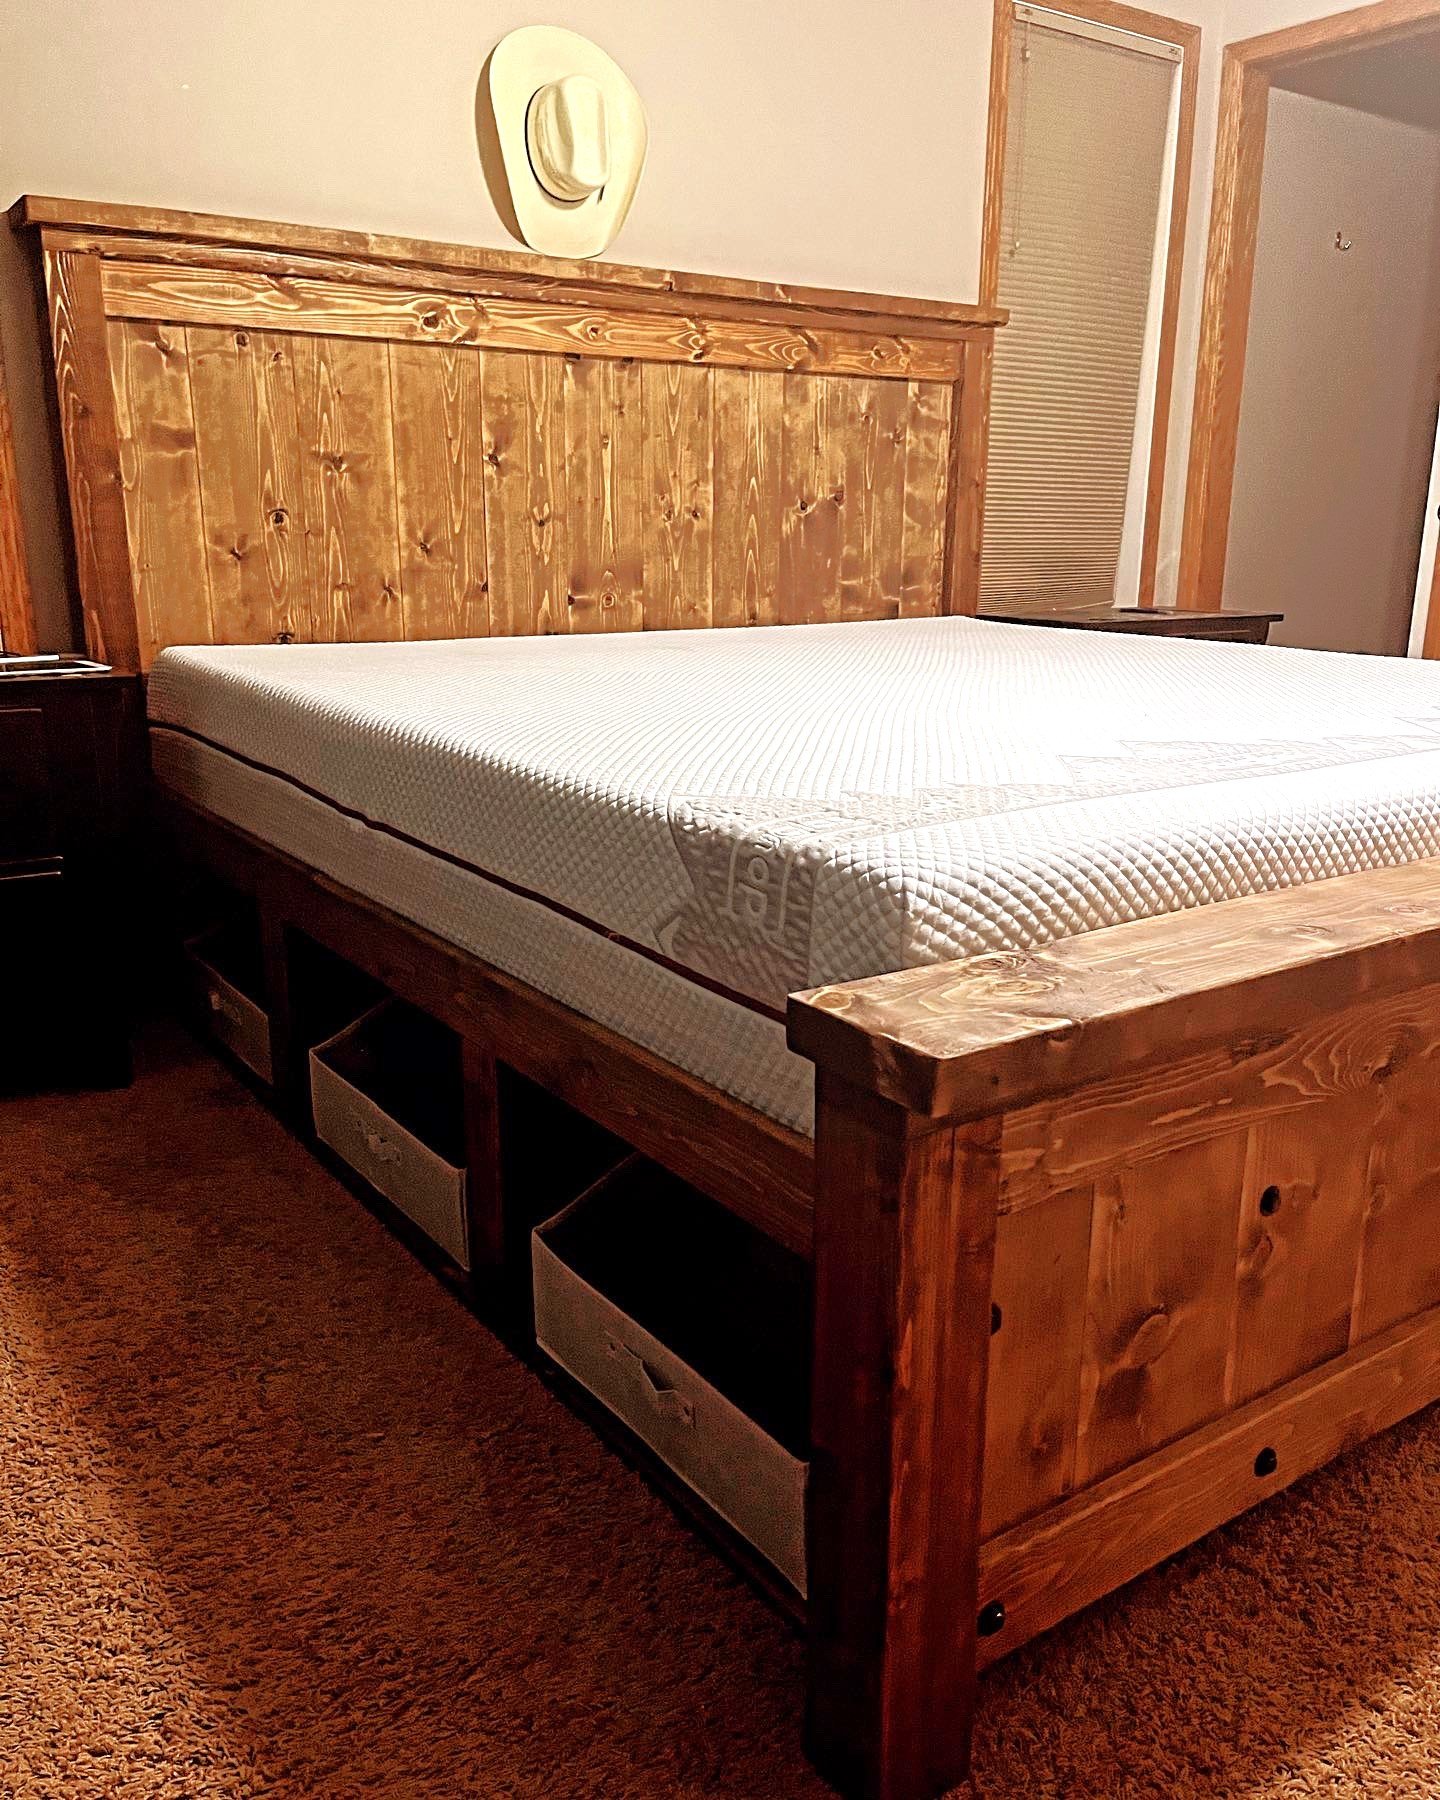
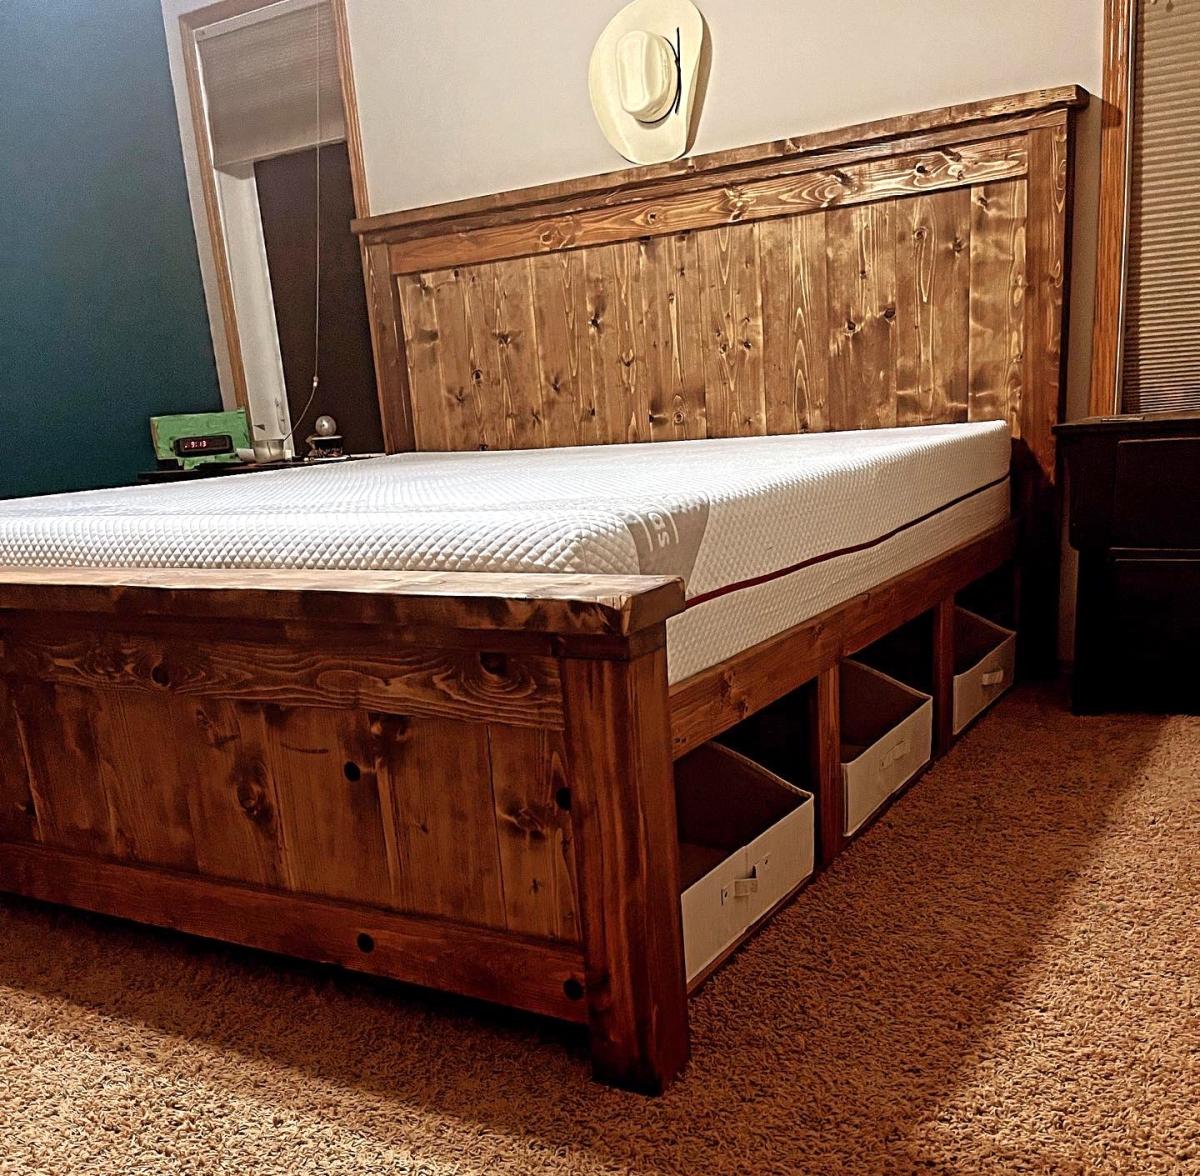
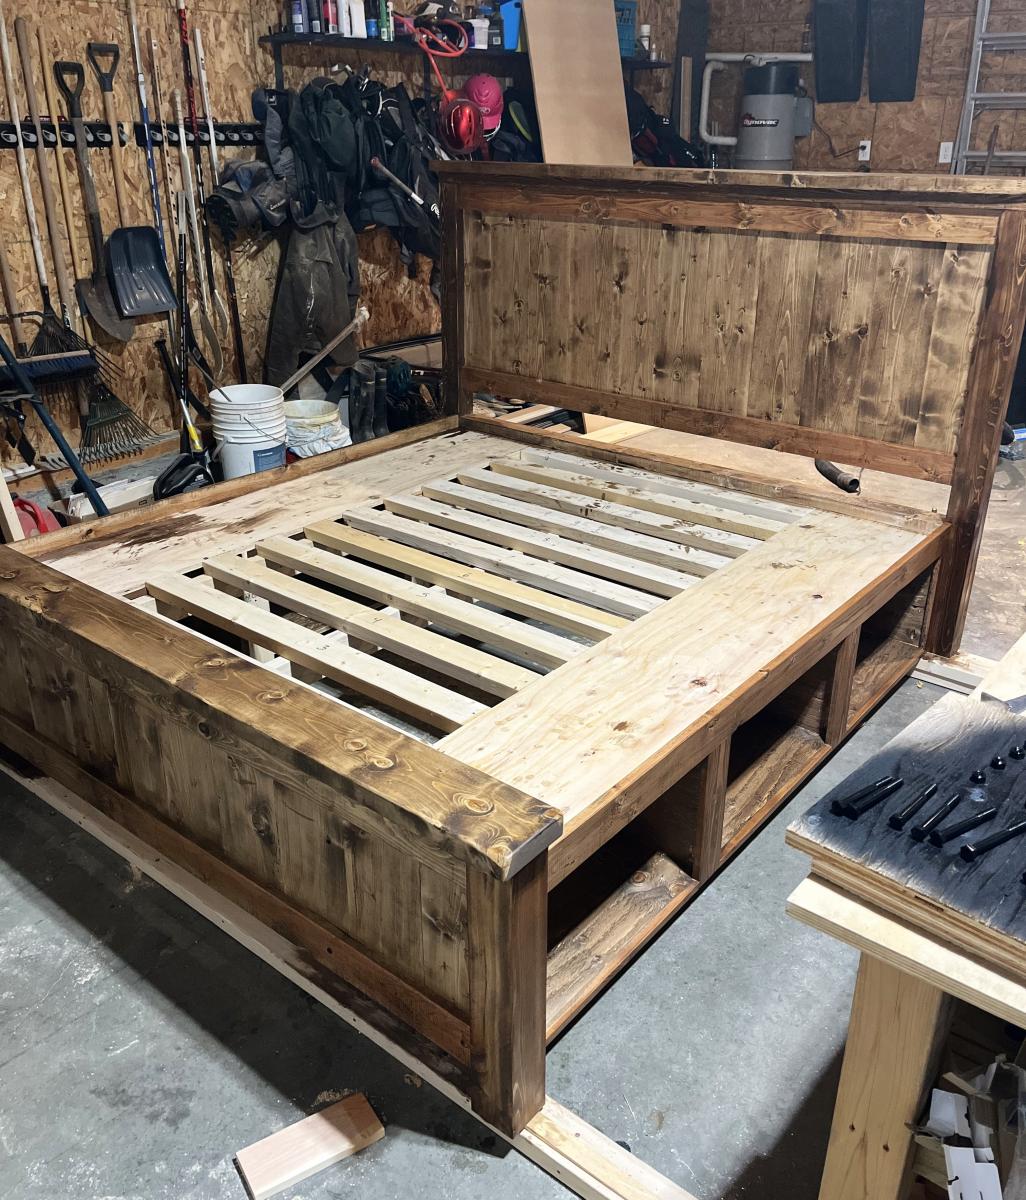
My Midcentury Farmhouse Bed. Finished at last. Managed to convert your imperial measurements to metric.
Brian
Johannesburg, RSA
Mon, 10/16/2023 - 10:53
Thank you for sharing your beautiful build, it looks great!
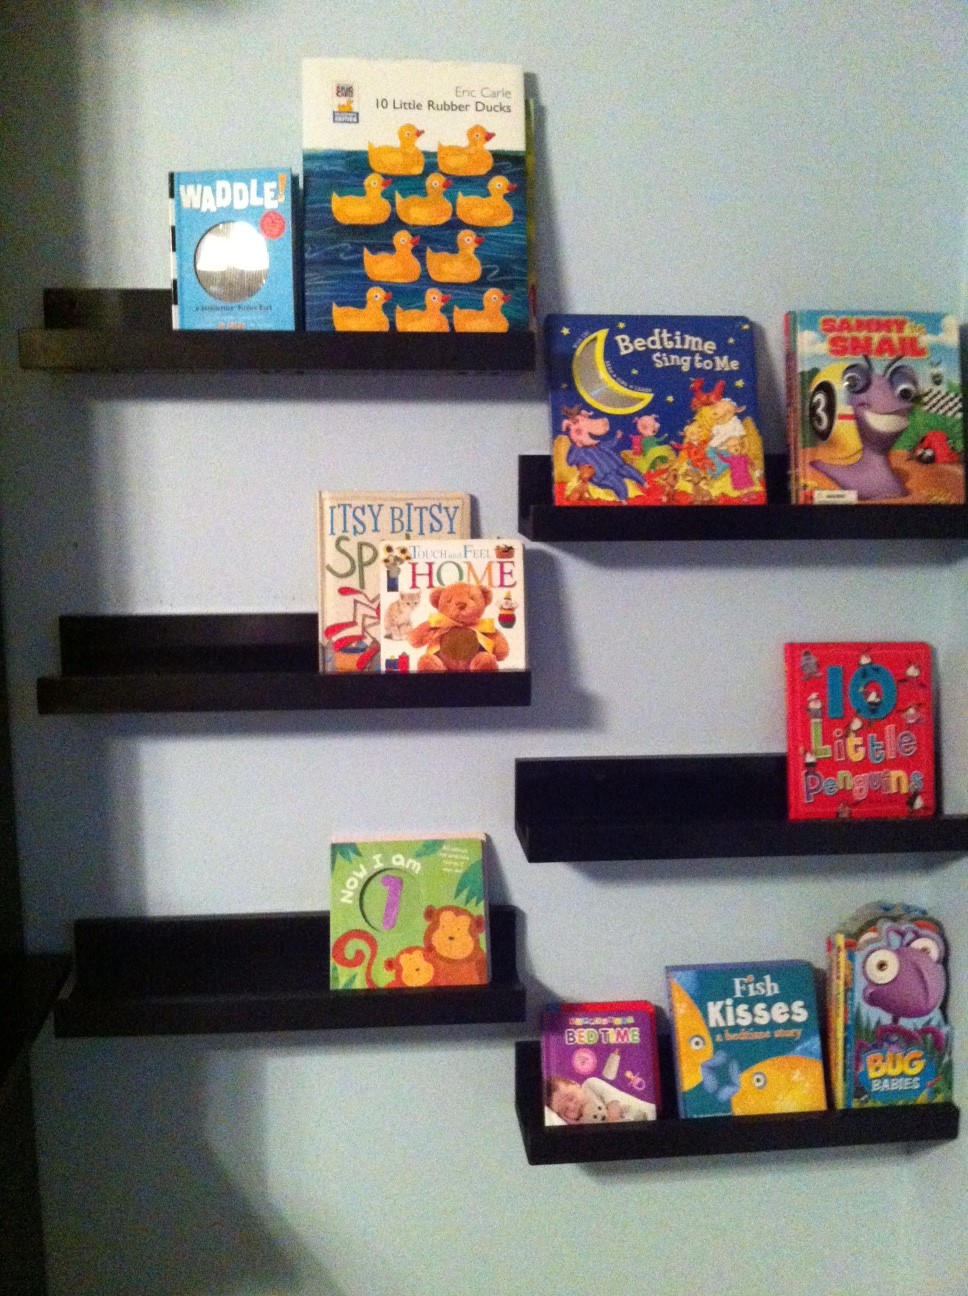
My husband made these for our God son's 1st birthday gift. He loves them so much. We can't wait to make these for our daughter's nursery as well. These are so easy & beautiful to make.
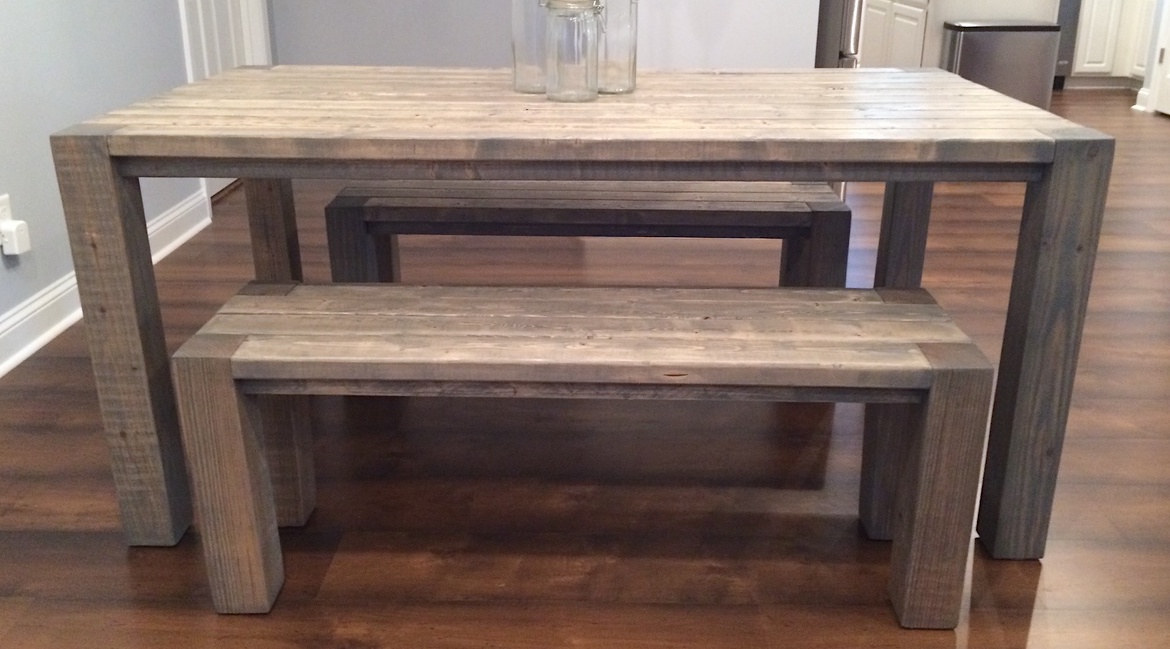
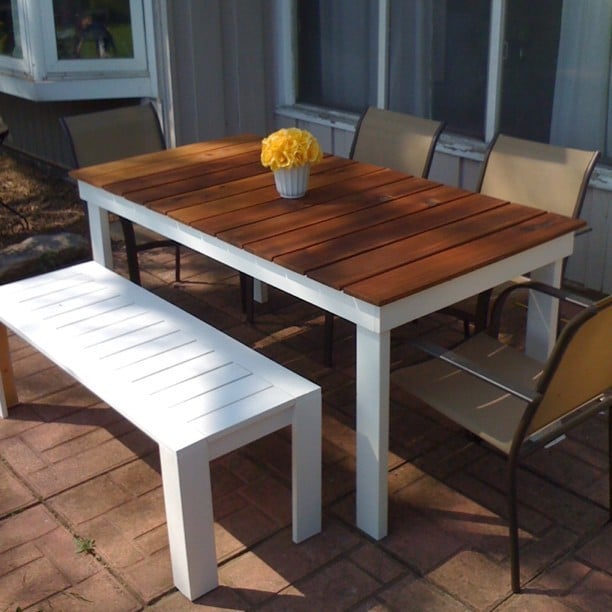
My husband is deployed and I just decided to start building, to keep my mind busy. I built this table & benches, sanded, stained it & had it in my nook in just 6 days!!! I worked on it every night when the kids went to bed. Thank you Ana White!! :) I will be using this site quite a bit to keep me busy!
Tue, 02/25/2014 - 00:56
Thank you for the idea, i am definitetly going to use your design on a future project of mine.
Tue, 02/25/2014 - 00:56
Thank you for the idea, i am definitetly going to use your design on a future project of mine.
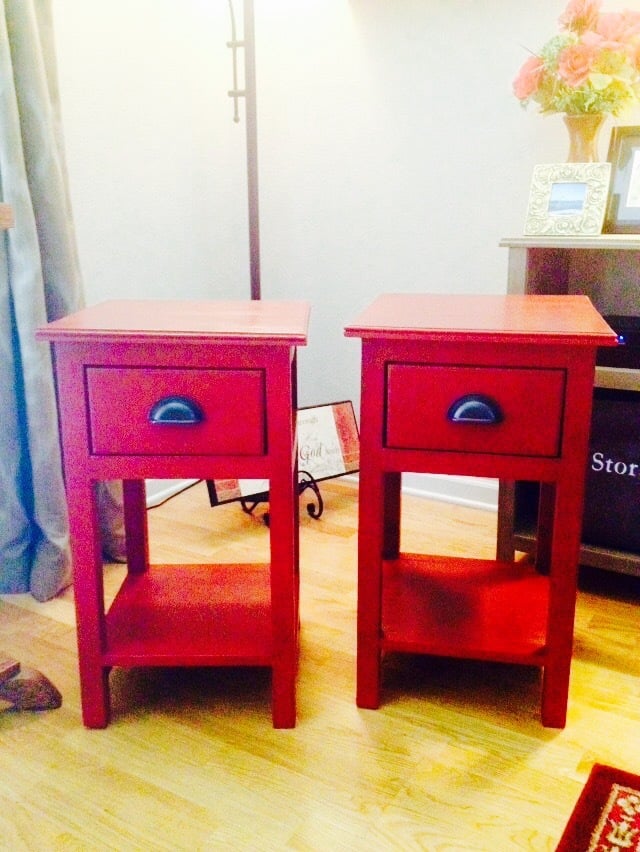
. They were made exactly according to the above referenced plans.
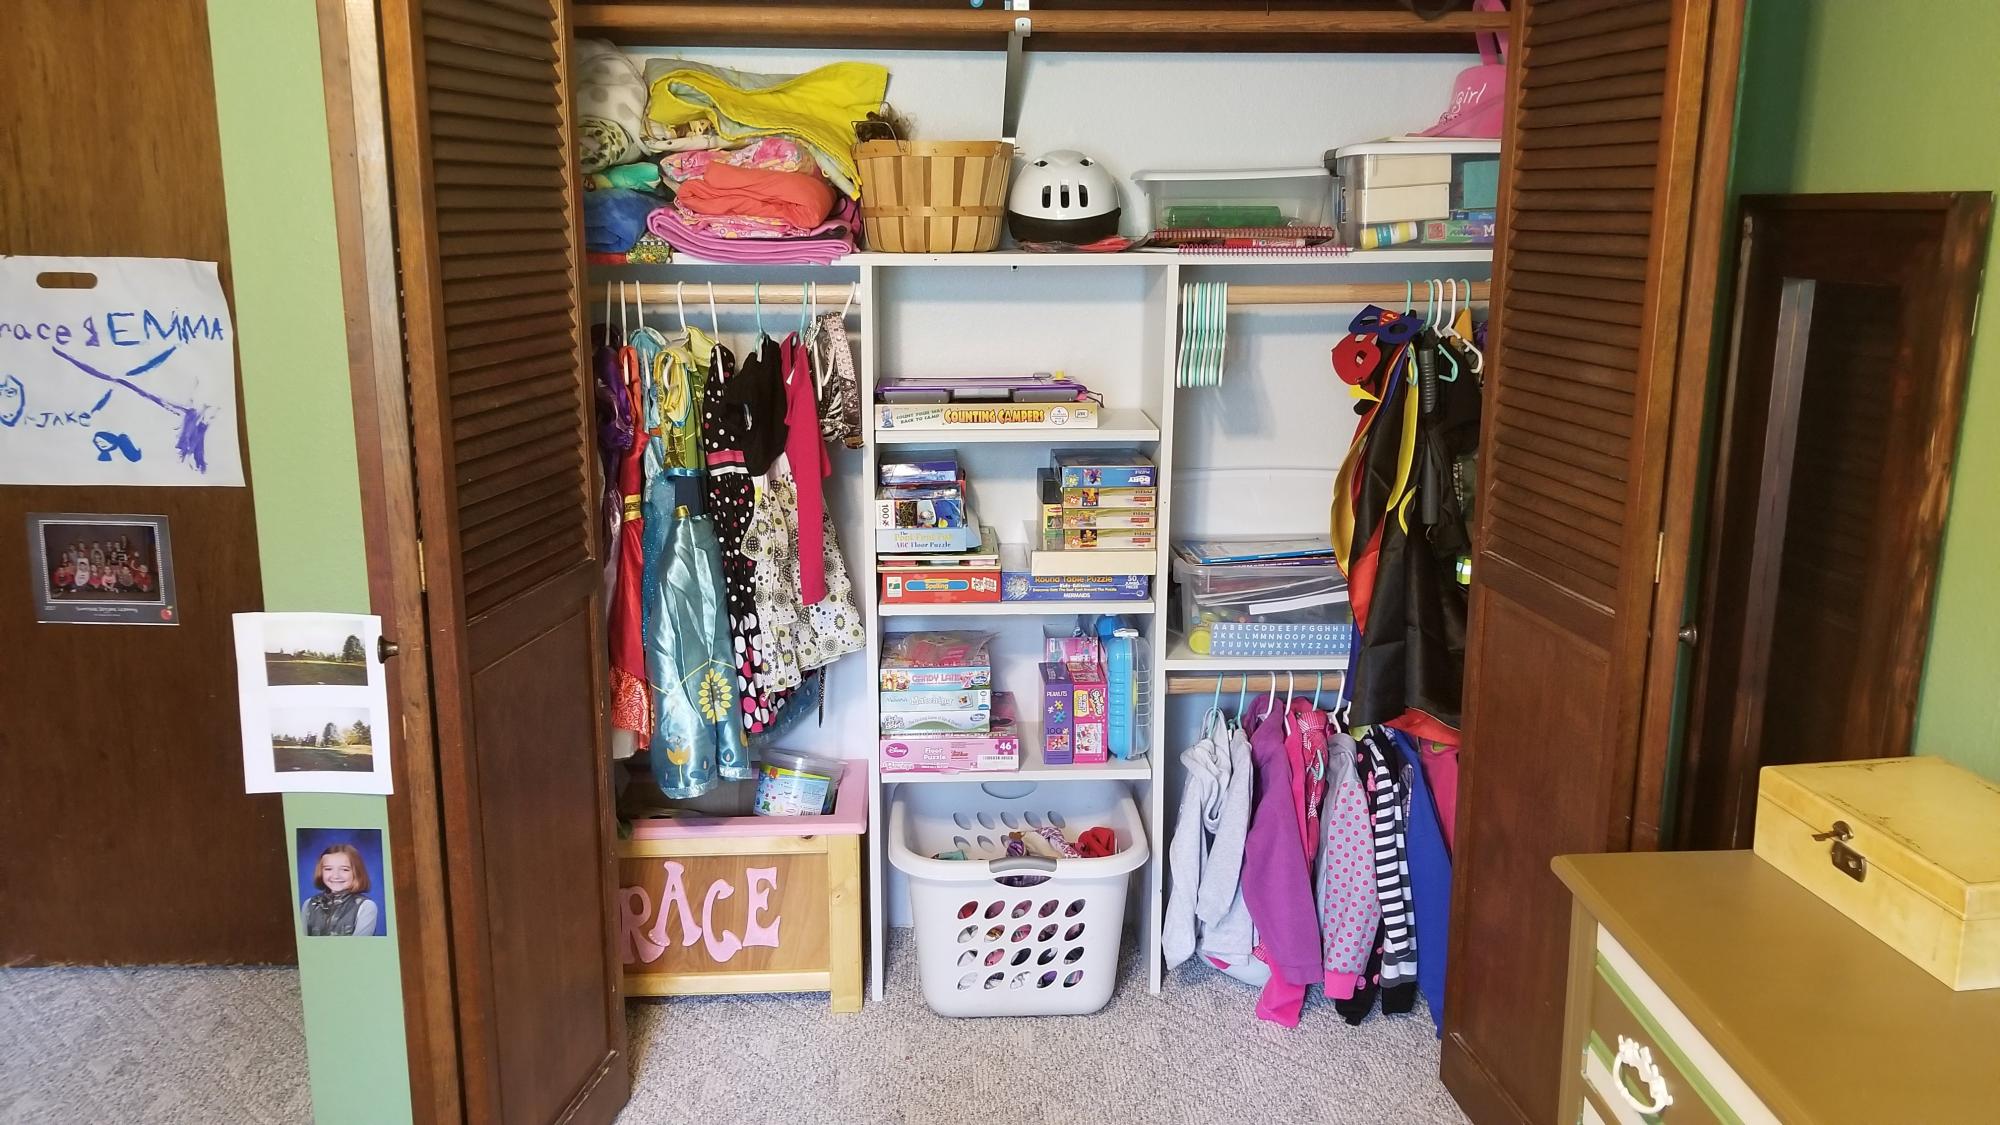
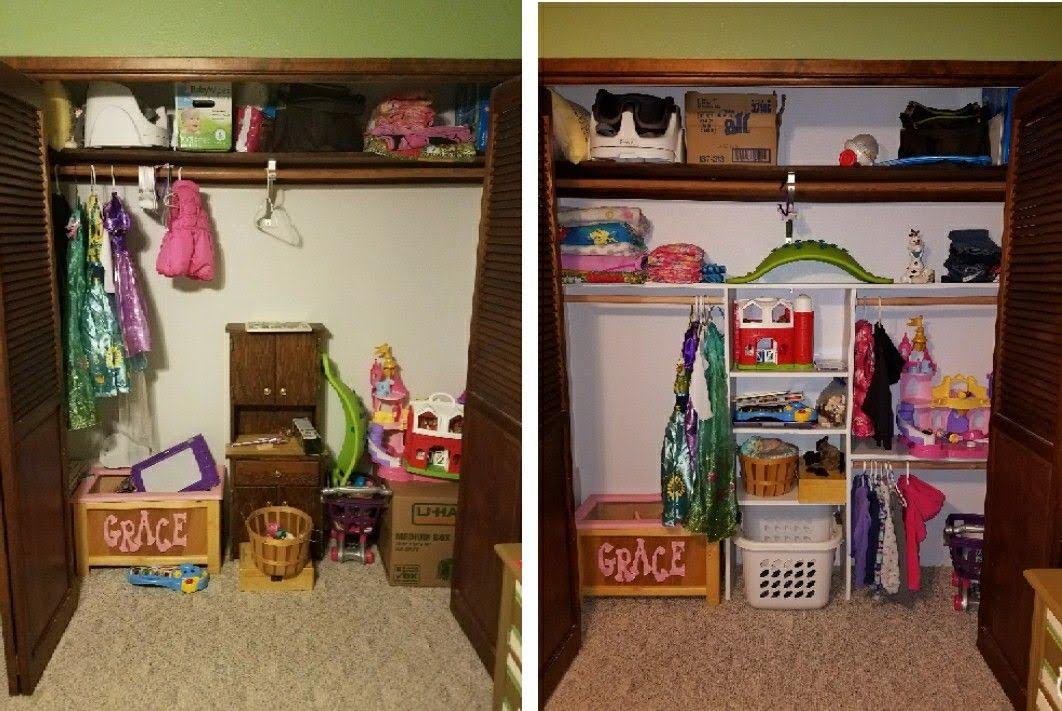
My daughter's closet was a nightmare and helter-skelter with a lot of wasted space after we moved into our house. So I decided one day I was done with the mess and built this to suit her needs. I used 3/4 plywood, closet rods cut to size, and adjustable shelving. When she's bigger, I can pull the shelves out if needed for taller closet hanging but for now this works pretty good. She's kept it pretty clean 3 years later.
Santa Claus made our lucky girl a farmhouse bed for her new doll that was an exact mini-me of Mommy and Daddy's king farmhouse bed. Not just that, her grandmother was genererous enough to sew a new blanket and pillow for both our daughter and her dolls using some quilting materials left by her late-great grandmother. She also created a doll mattress some padding material that was used by our daughter's late-great grandfather.

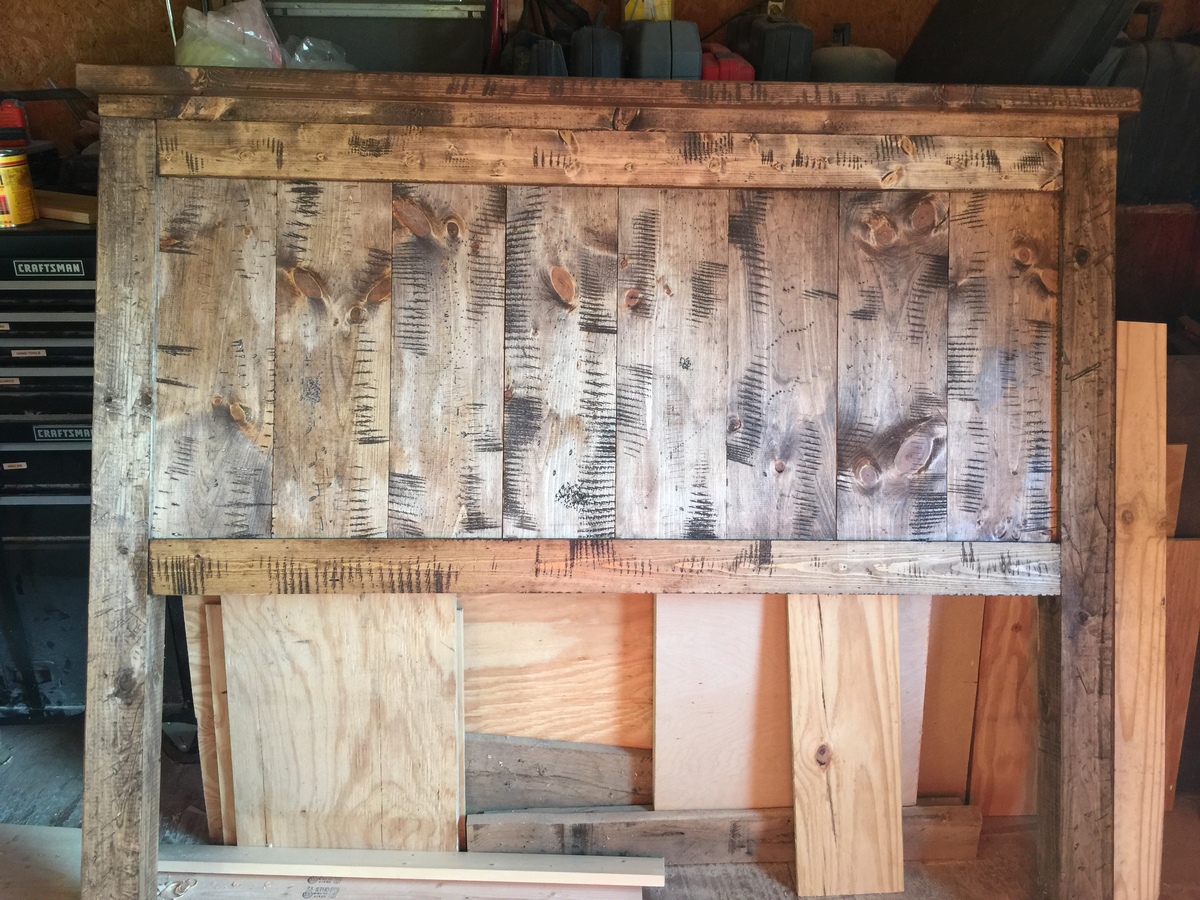
Not a hard project.
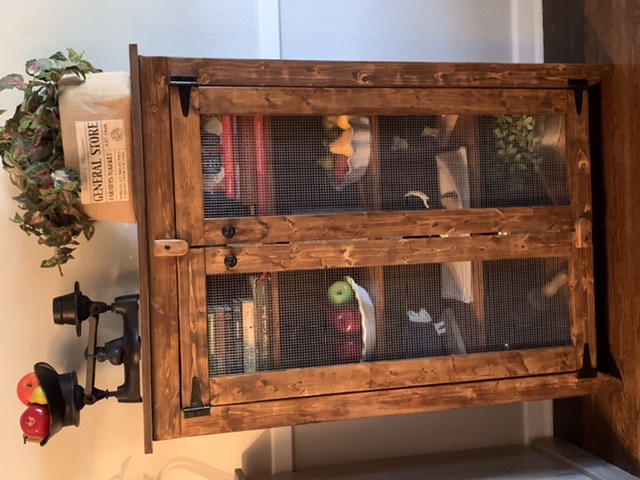
My husband and I loved this plan and created a few original touches. Like many other of Ana’s plans, we enjoyed making it.
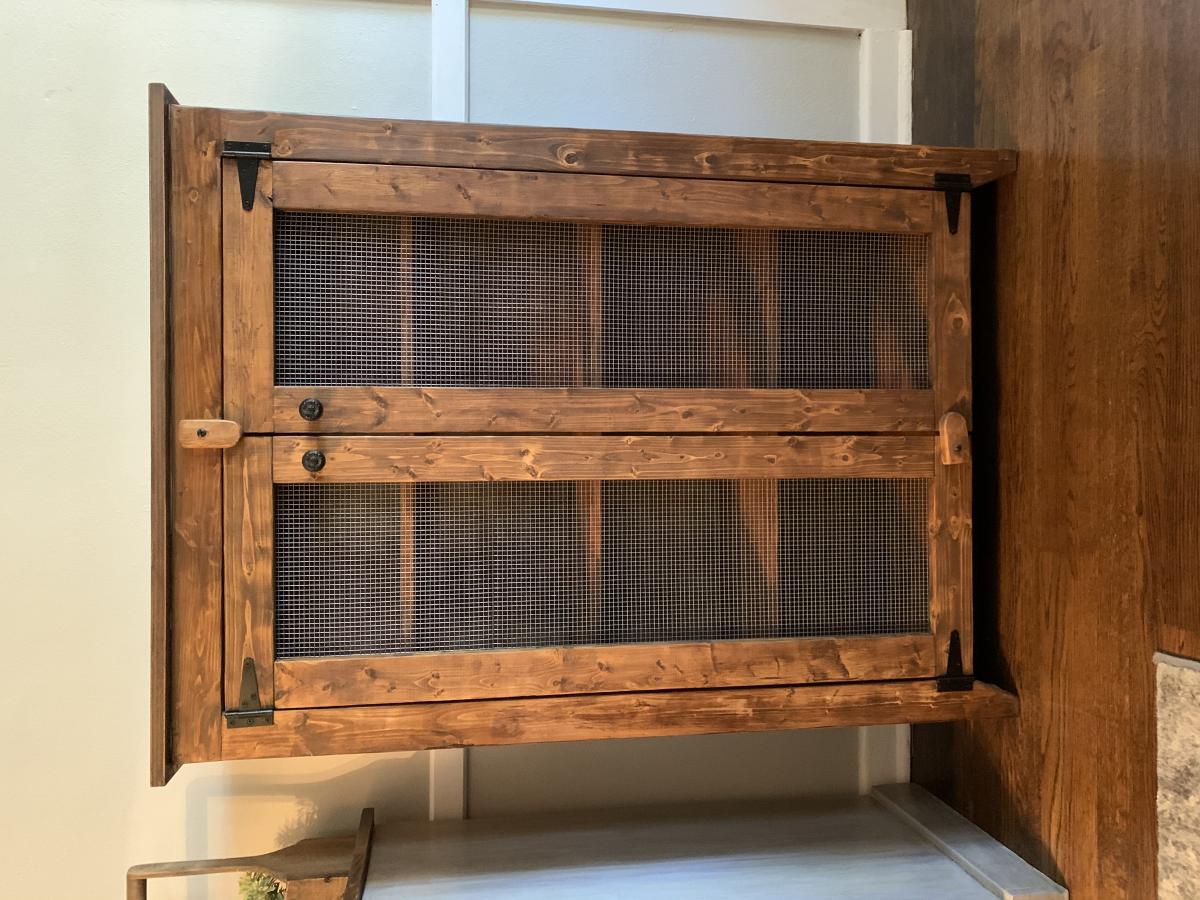
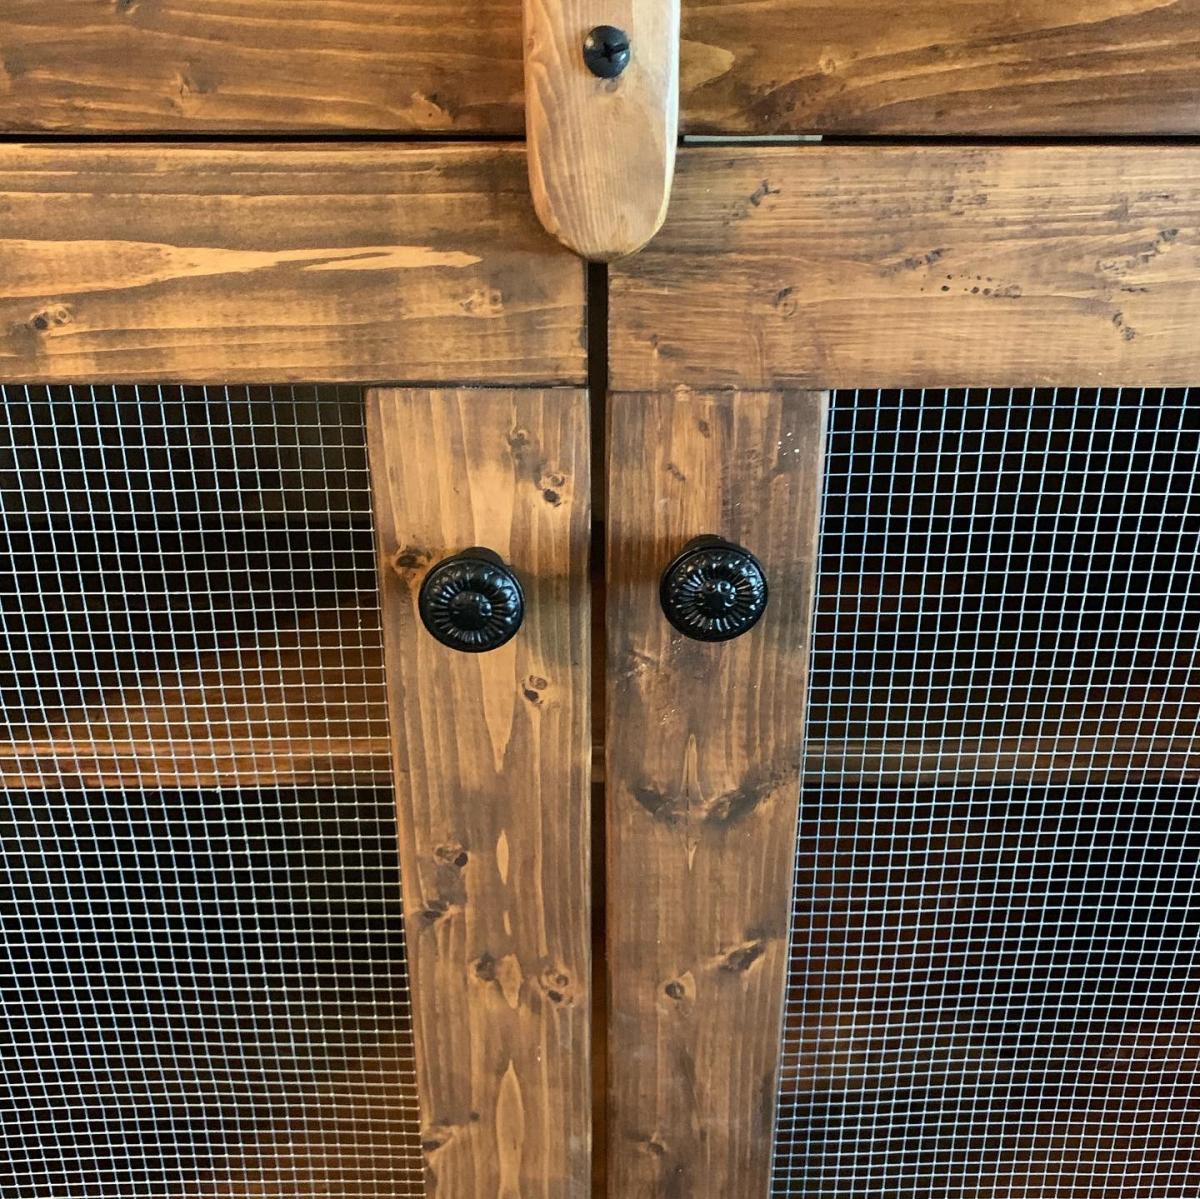
I made these for a friend and just loved how they turned out. I liked the stained and black combo it turned out pretty good. I will be making some more for my son and and friend of his along with the sofa as an addition.
@kurt_lansing
I'm SUPREMELY impressed with how well these came out. And just to beat the dead horse.... paint your stuff before you put it together. I didn't and it is a MAJOR pain painting between the slats, man. Major. I'm a little impatient. And impulsive.
Thu, 05/17/2012 - 04:59
Ana, thank you so much for the plans, this site, everything. You're an incredible part of this universe.
Mon, 04/01/2013 - 19:13
did you install the legs on the inside of the table top? from the pictures it looks like you did, I like the way it looks and how you finished the top with stain the rest with paint.
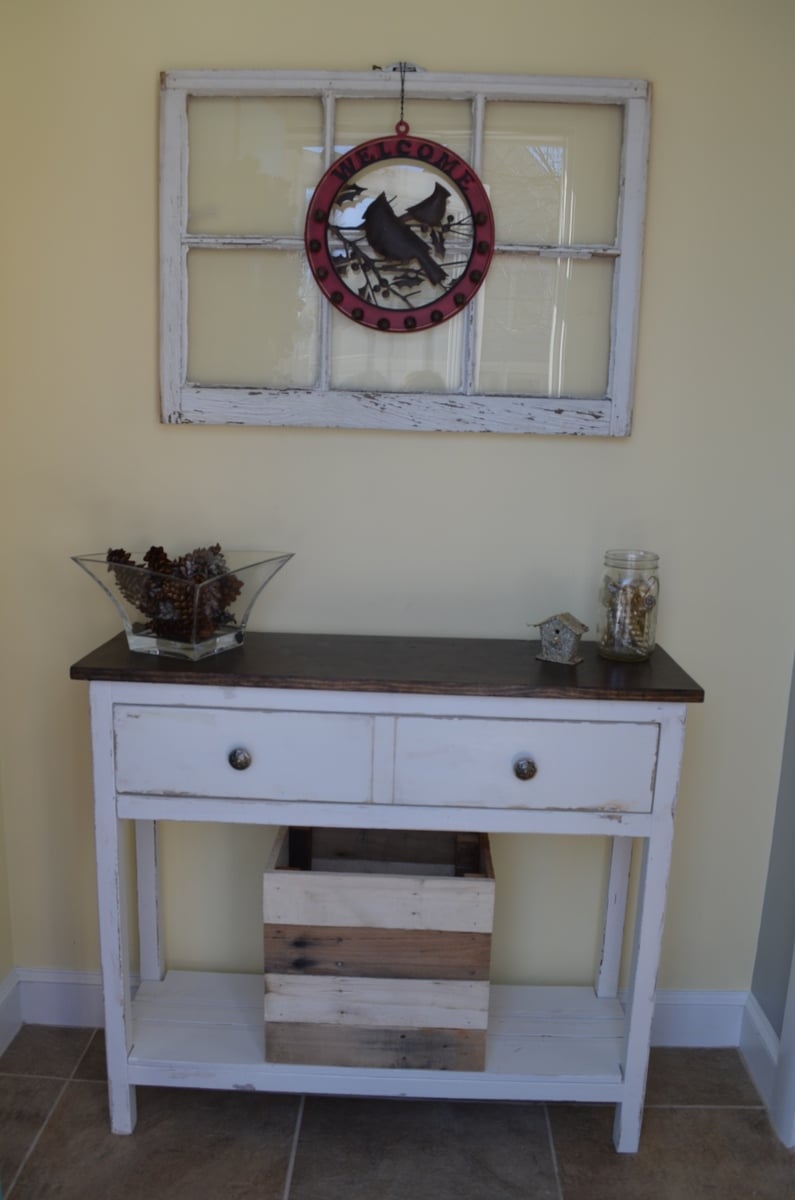
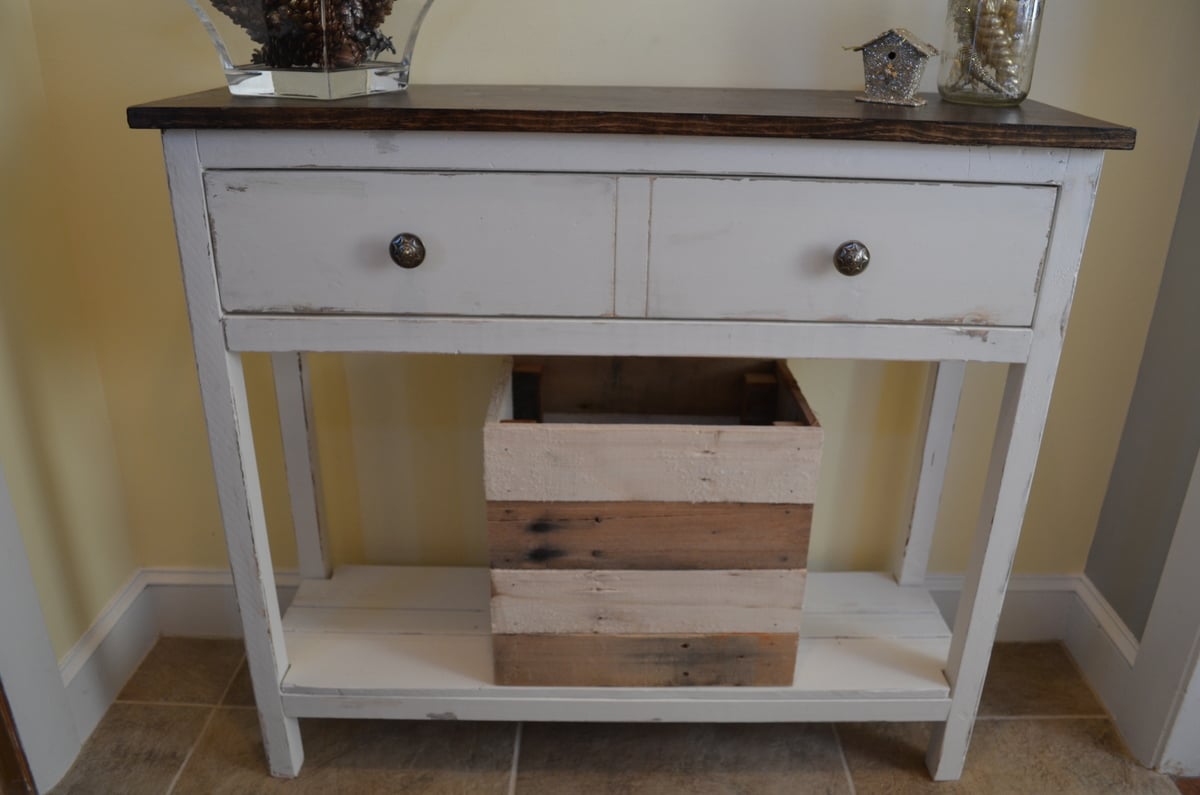
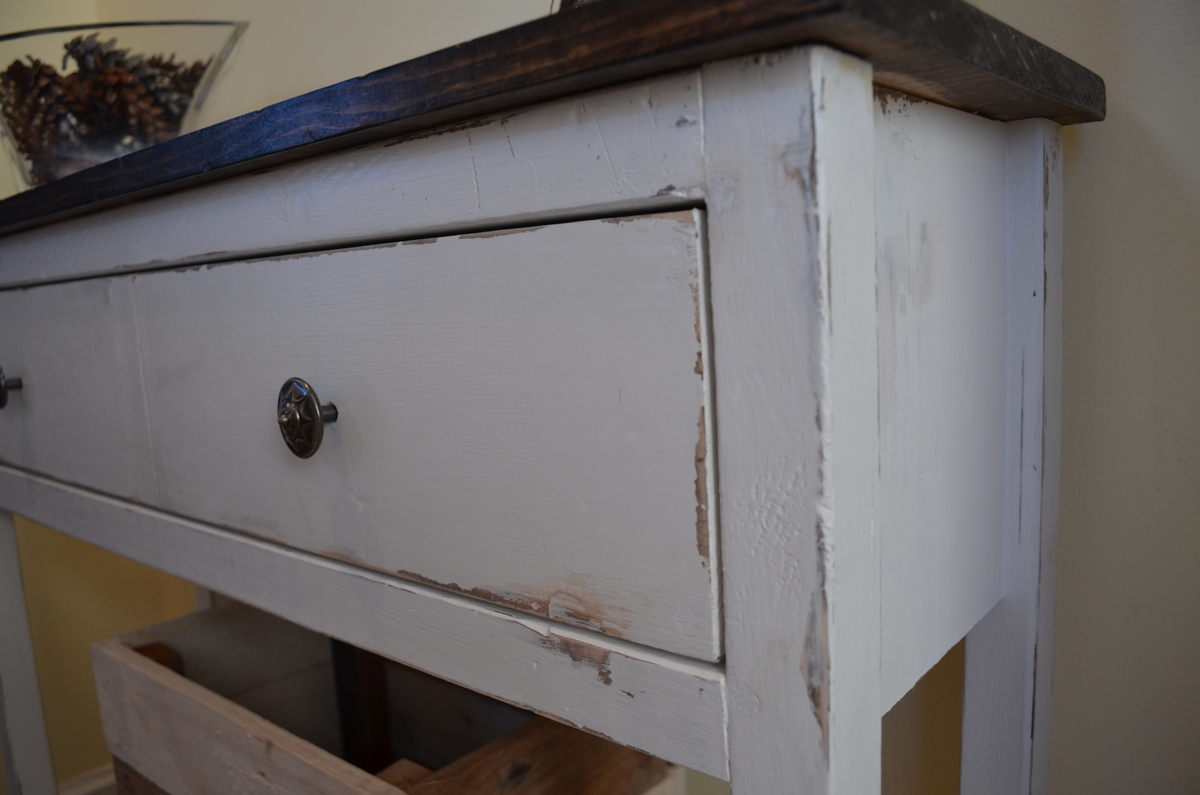
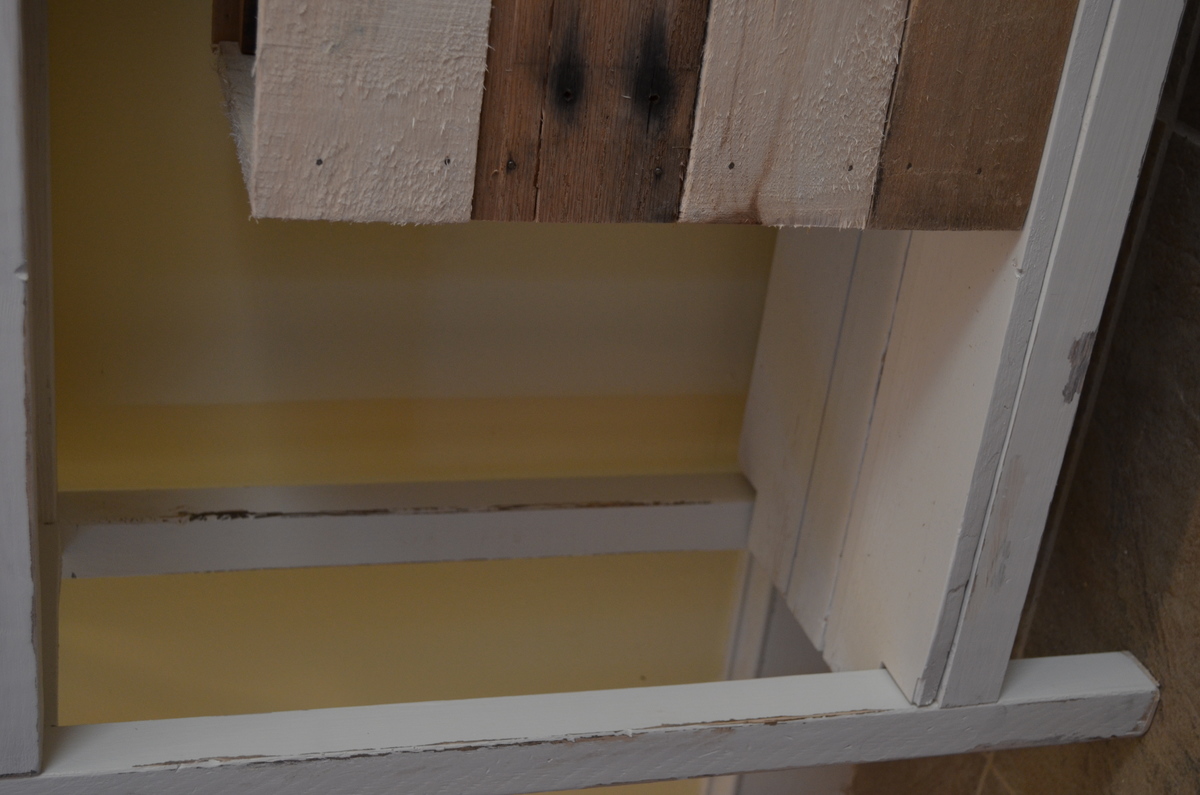
This was my first real project where I did everything on my own, start to finish! No help from my husband. I needed a very small and narrow table for my entryway which is very small. This is the first thing you see when you open the front door. The top board is a 12" board, it fits perfectly in the space. I distressed it to give it a nice rustic look and it looks pretty authentic. The crate below is made of recycled pallet wood and will be used for shoes or umbrellas... I'm very happy with the way it turned out for being my first project (it's a tiny bit wobbly..the leg's aren't perfect, oh well!). And it only cost about $30 for the lumber (not including the stain, paint or finishing wax which I already had). Definitely beats trying to find something in the store!
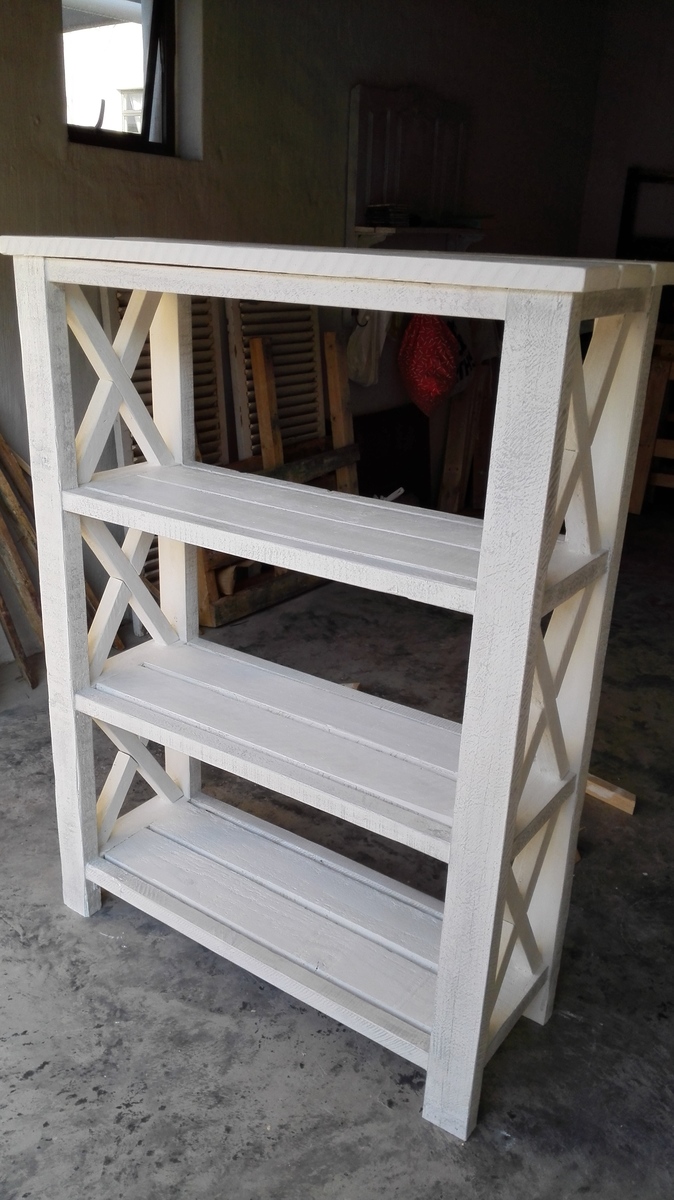
I love the look of this bookshelf, thank you so much for the idea.
I definitely recommend to cut the crossing boards each at a time as they differ even if in milimiters.
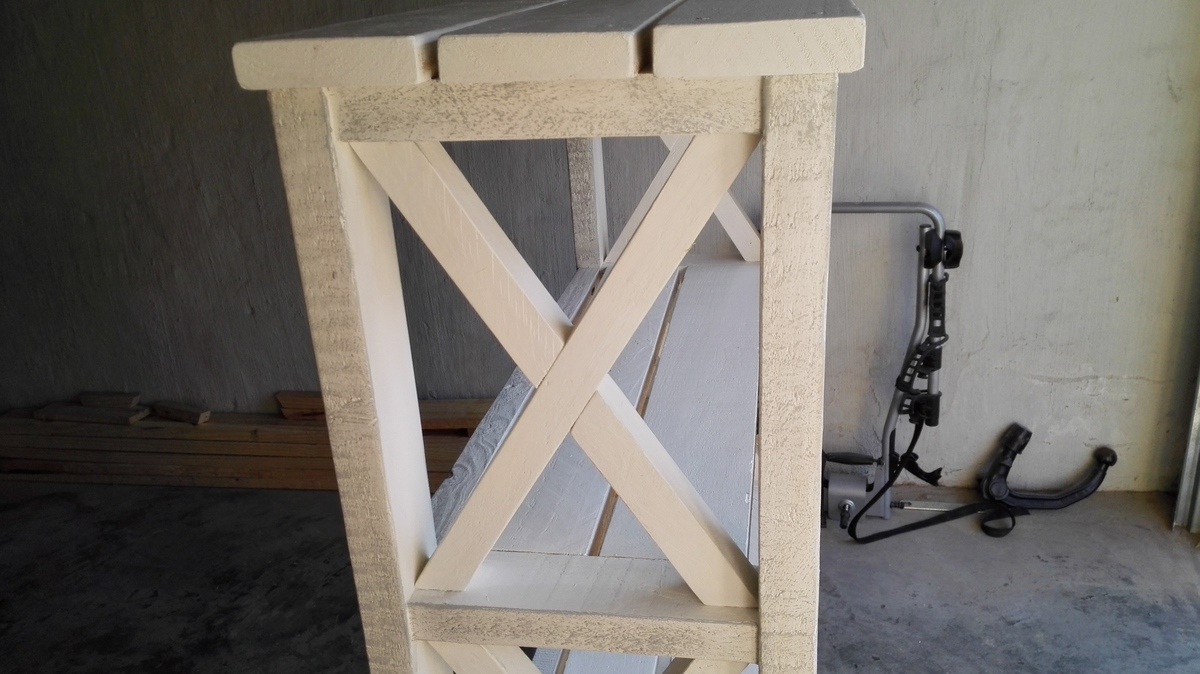

Great little project from your site!
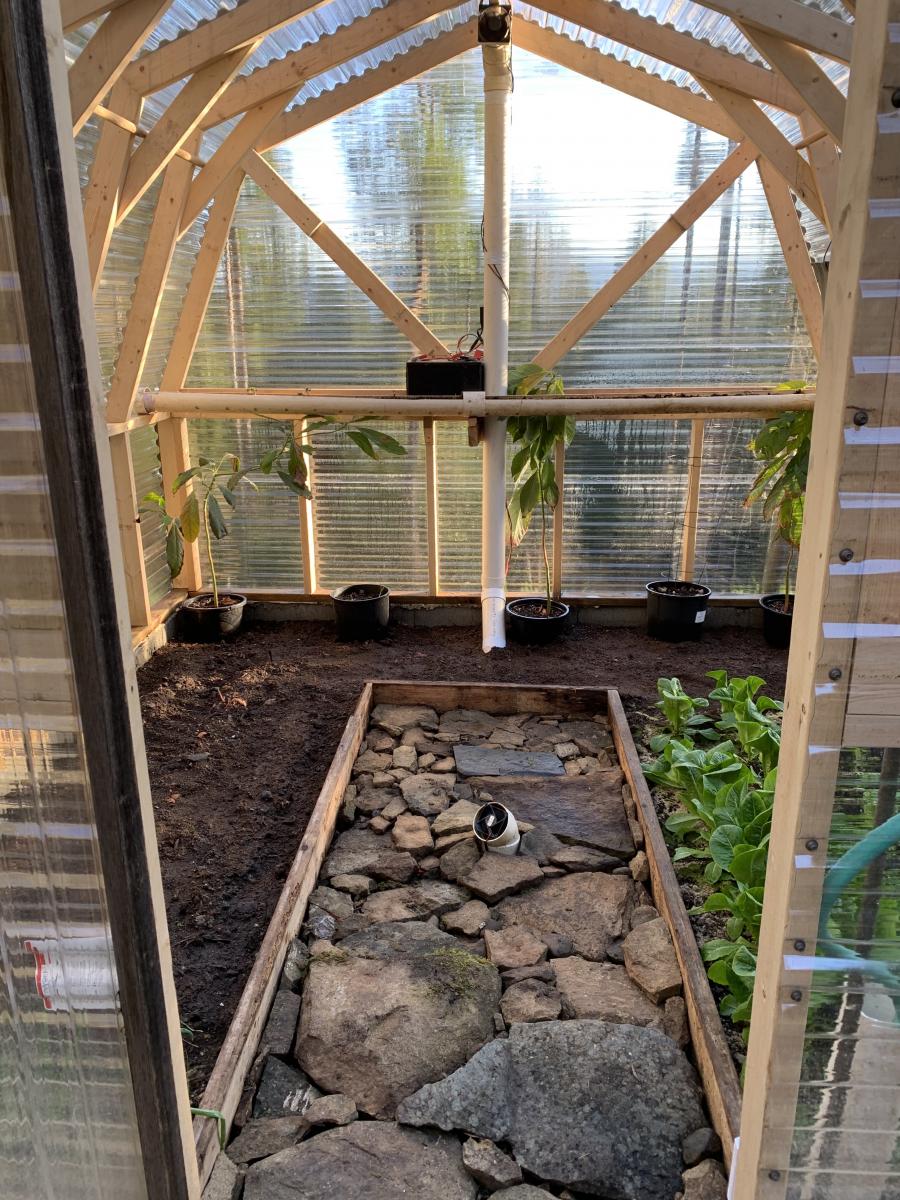
I put PVC to the ground vs the metal siding and added a heat sink in the middle with some old computer fans.

Sat, 05/23/2020 - 17:23
That PVC heat pipe intrigues me. Can you share a little more about it? I'm assuming it pulls hot air from the upper vent, and cools it down via the section of pipe below ground, sort of like a natural A/C. Keeps things from gettting too hot during the summer months?
Kinda looks like you'd frequently trip over it though. I'd probably have run the lower exhaust right up by the edge of the door frame, or a corner.
Comments
JoanneS
Tue, 05/17/2016 - 19:03
Super cute!
Super cute! You did a great job on this!