Grandy Sliding Door Console
Great pans and made my own hardware with the link that was on the site....
Great pans and made my own hardware with the link that was on the site....
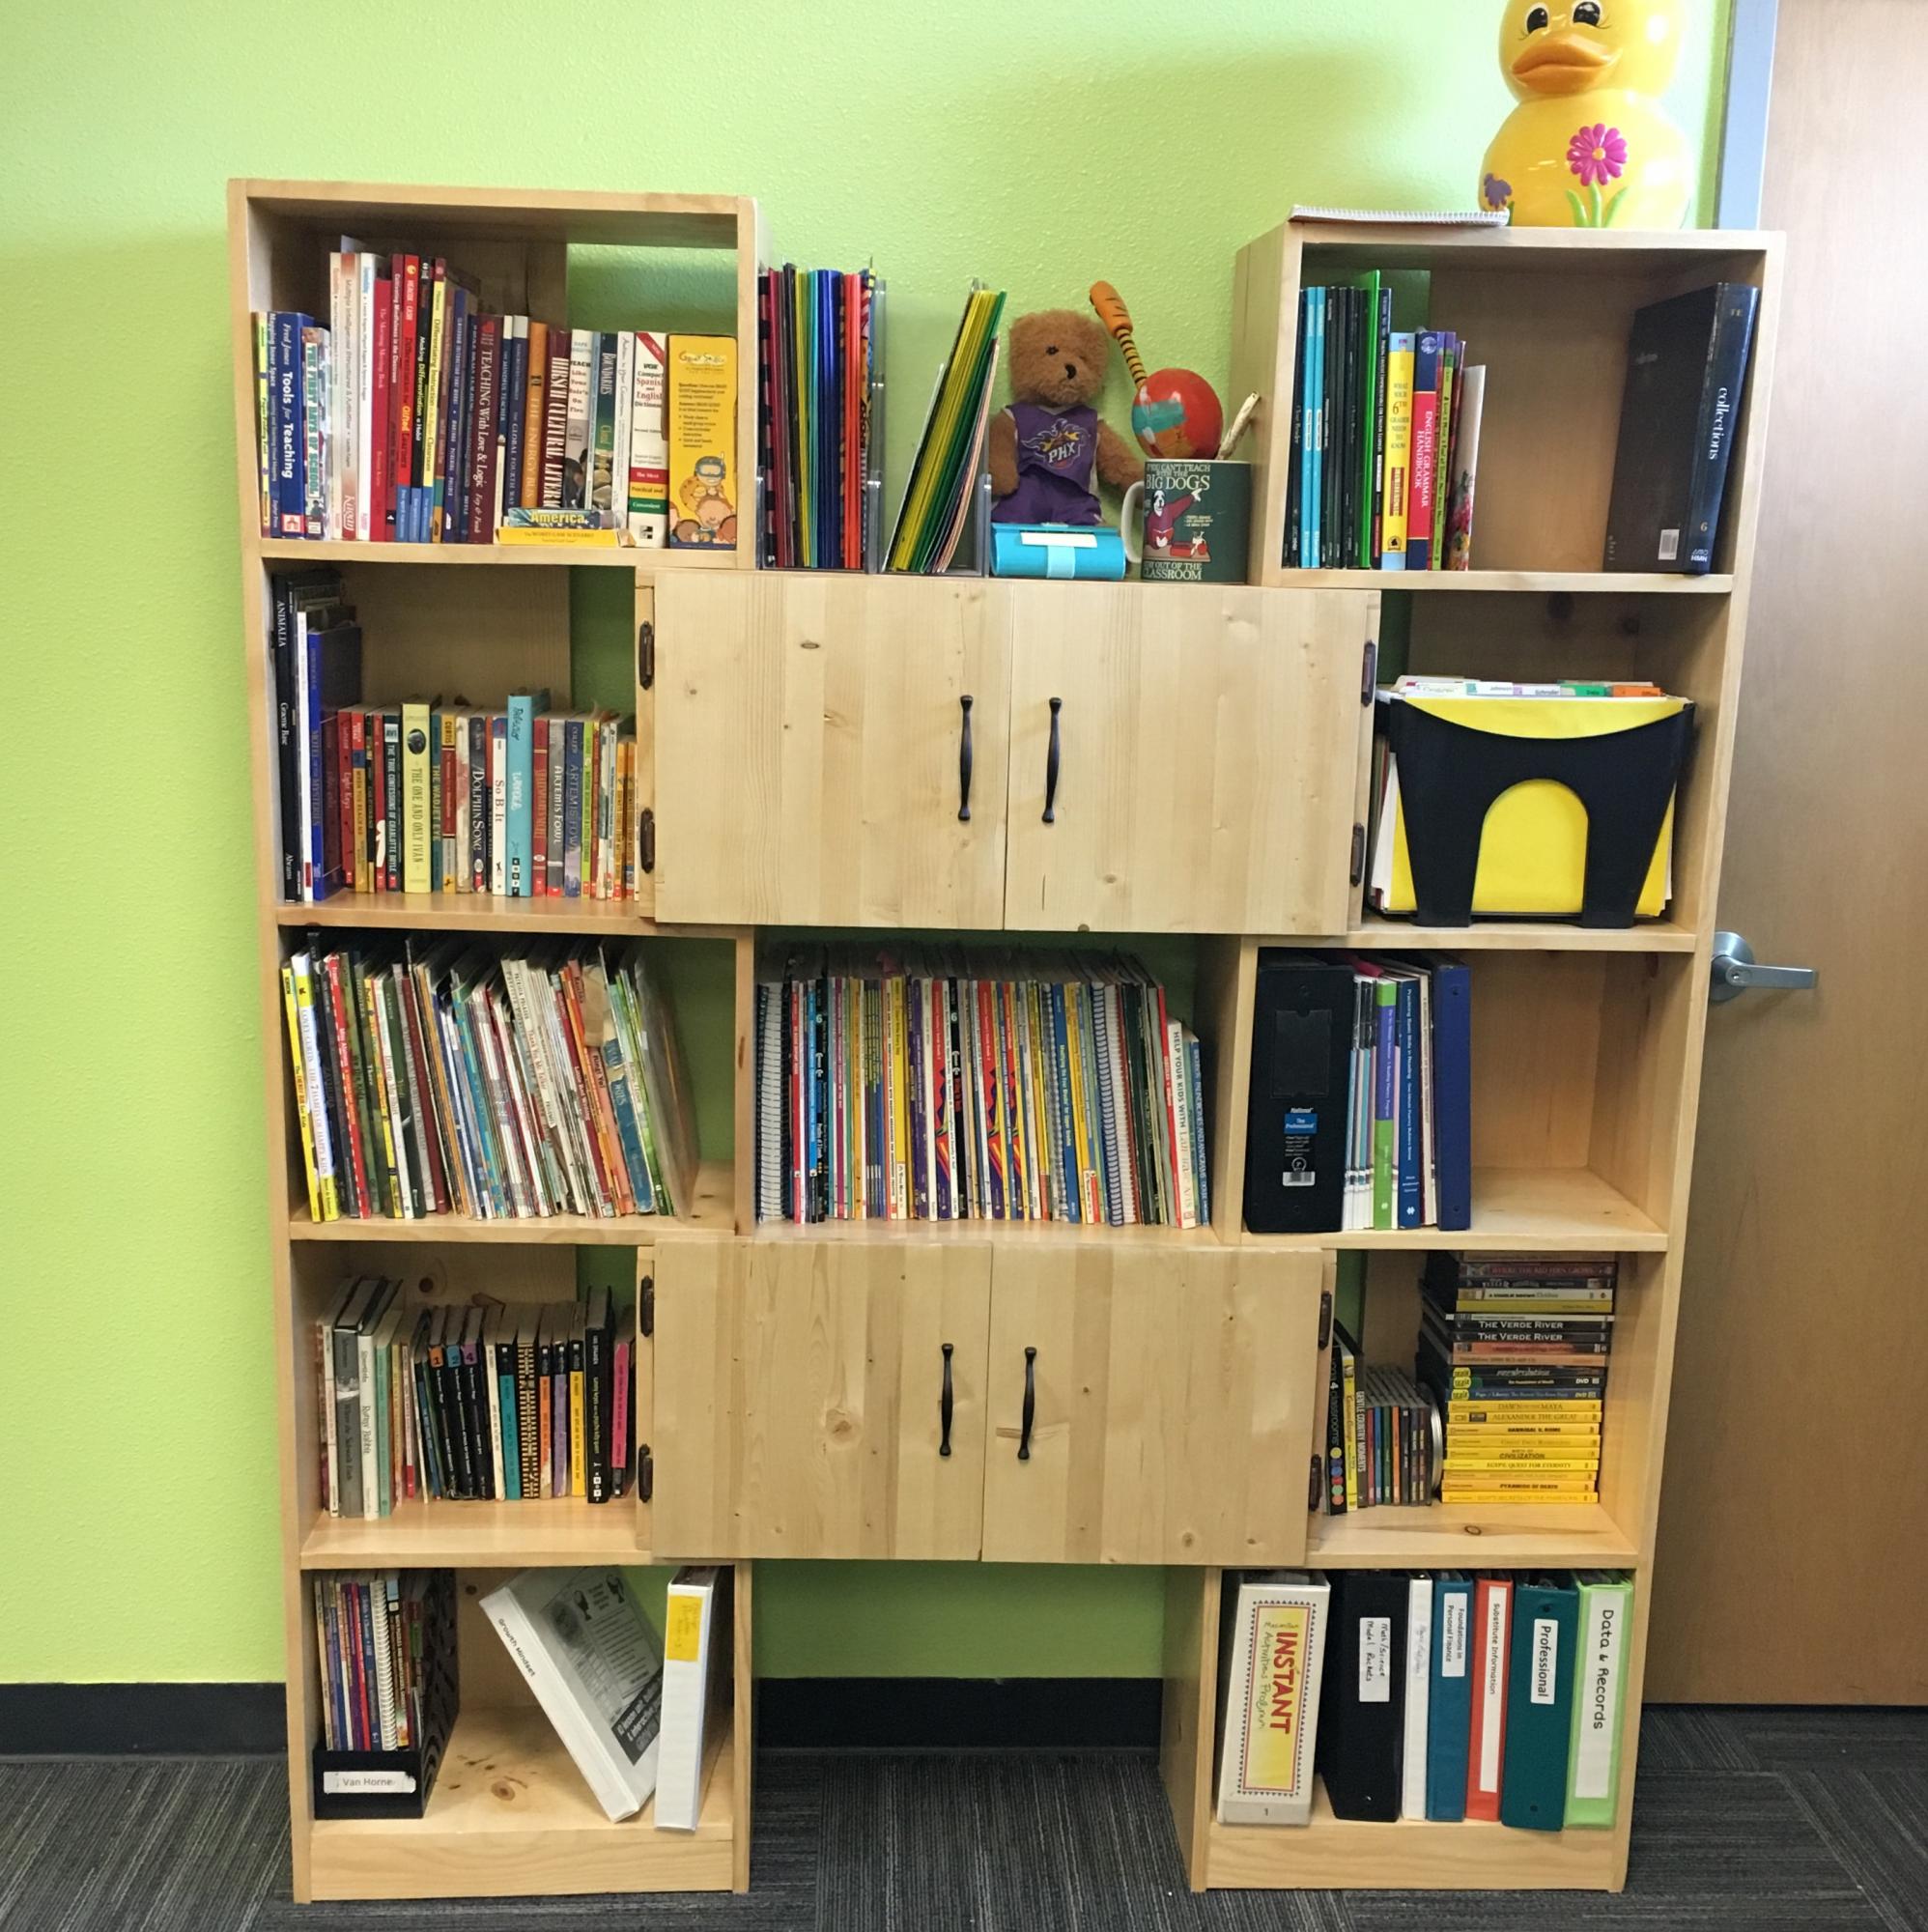
As a teacher, I rarely sit at my desk. I usually end up just piling stuff on it! I have a podium I use for my laptop and resources as I teach. This unit replaces the secondhand bookcases I’d had as well as the storage for items like post-its, highlighters, pencils, etc. that were in my desk drawers. I have so much more space without the bulky teacher desk! Note: the doors are not on the original plan. I bought special project pine that was 16” wide, and cut them to 14 3/16” width.
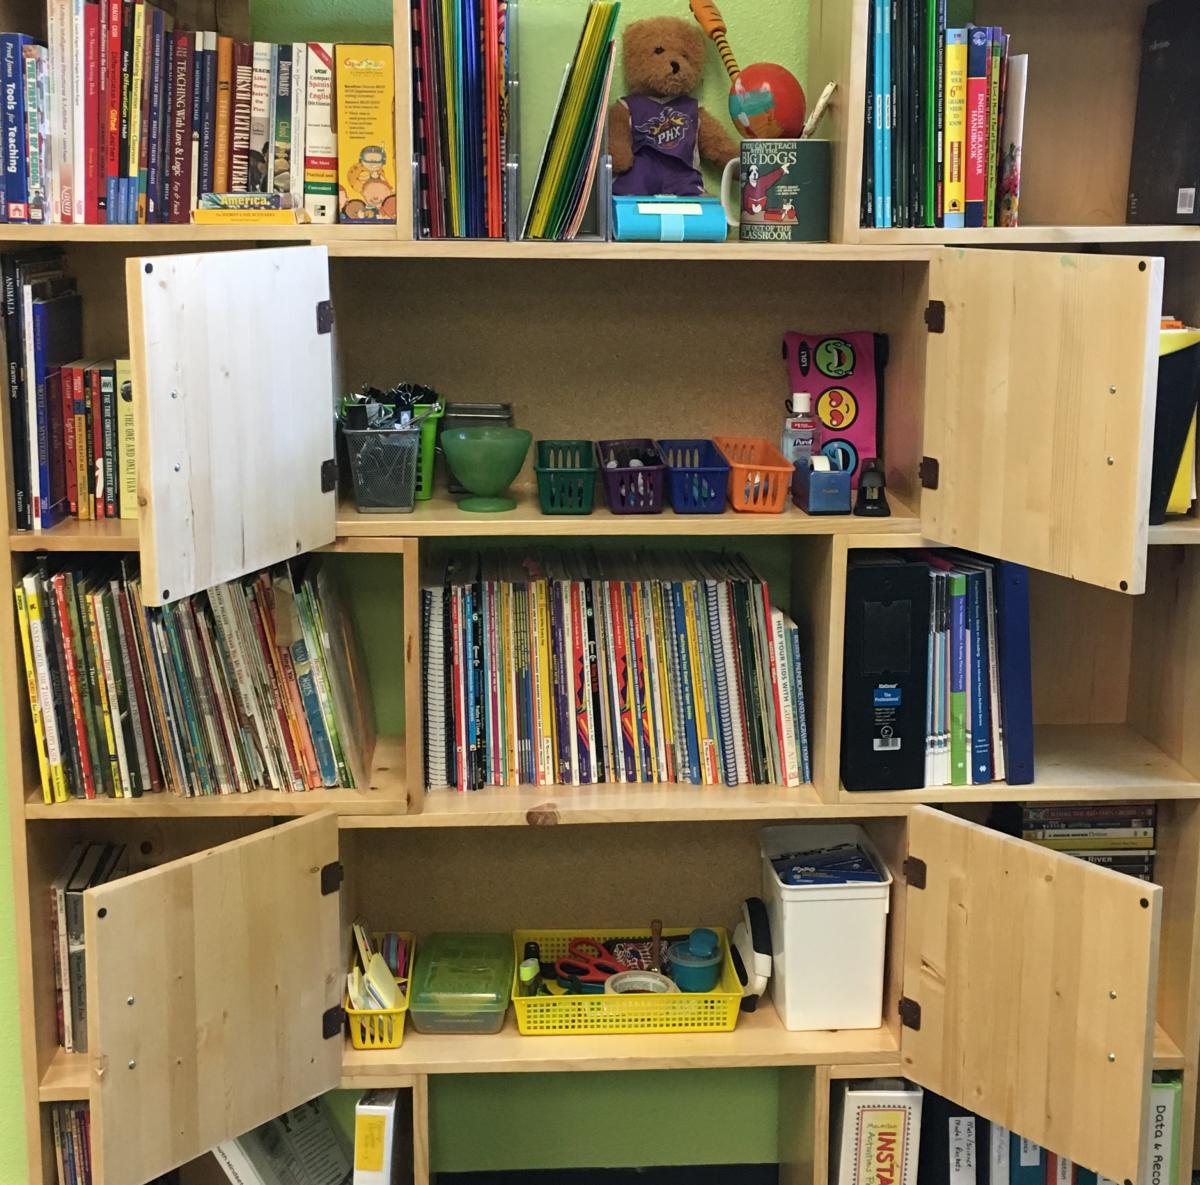
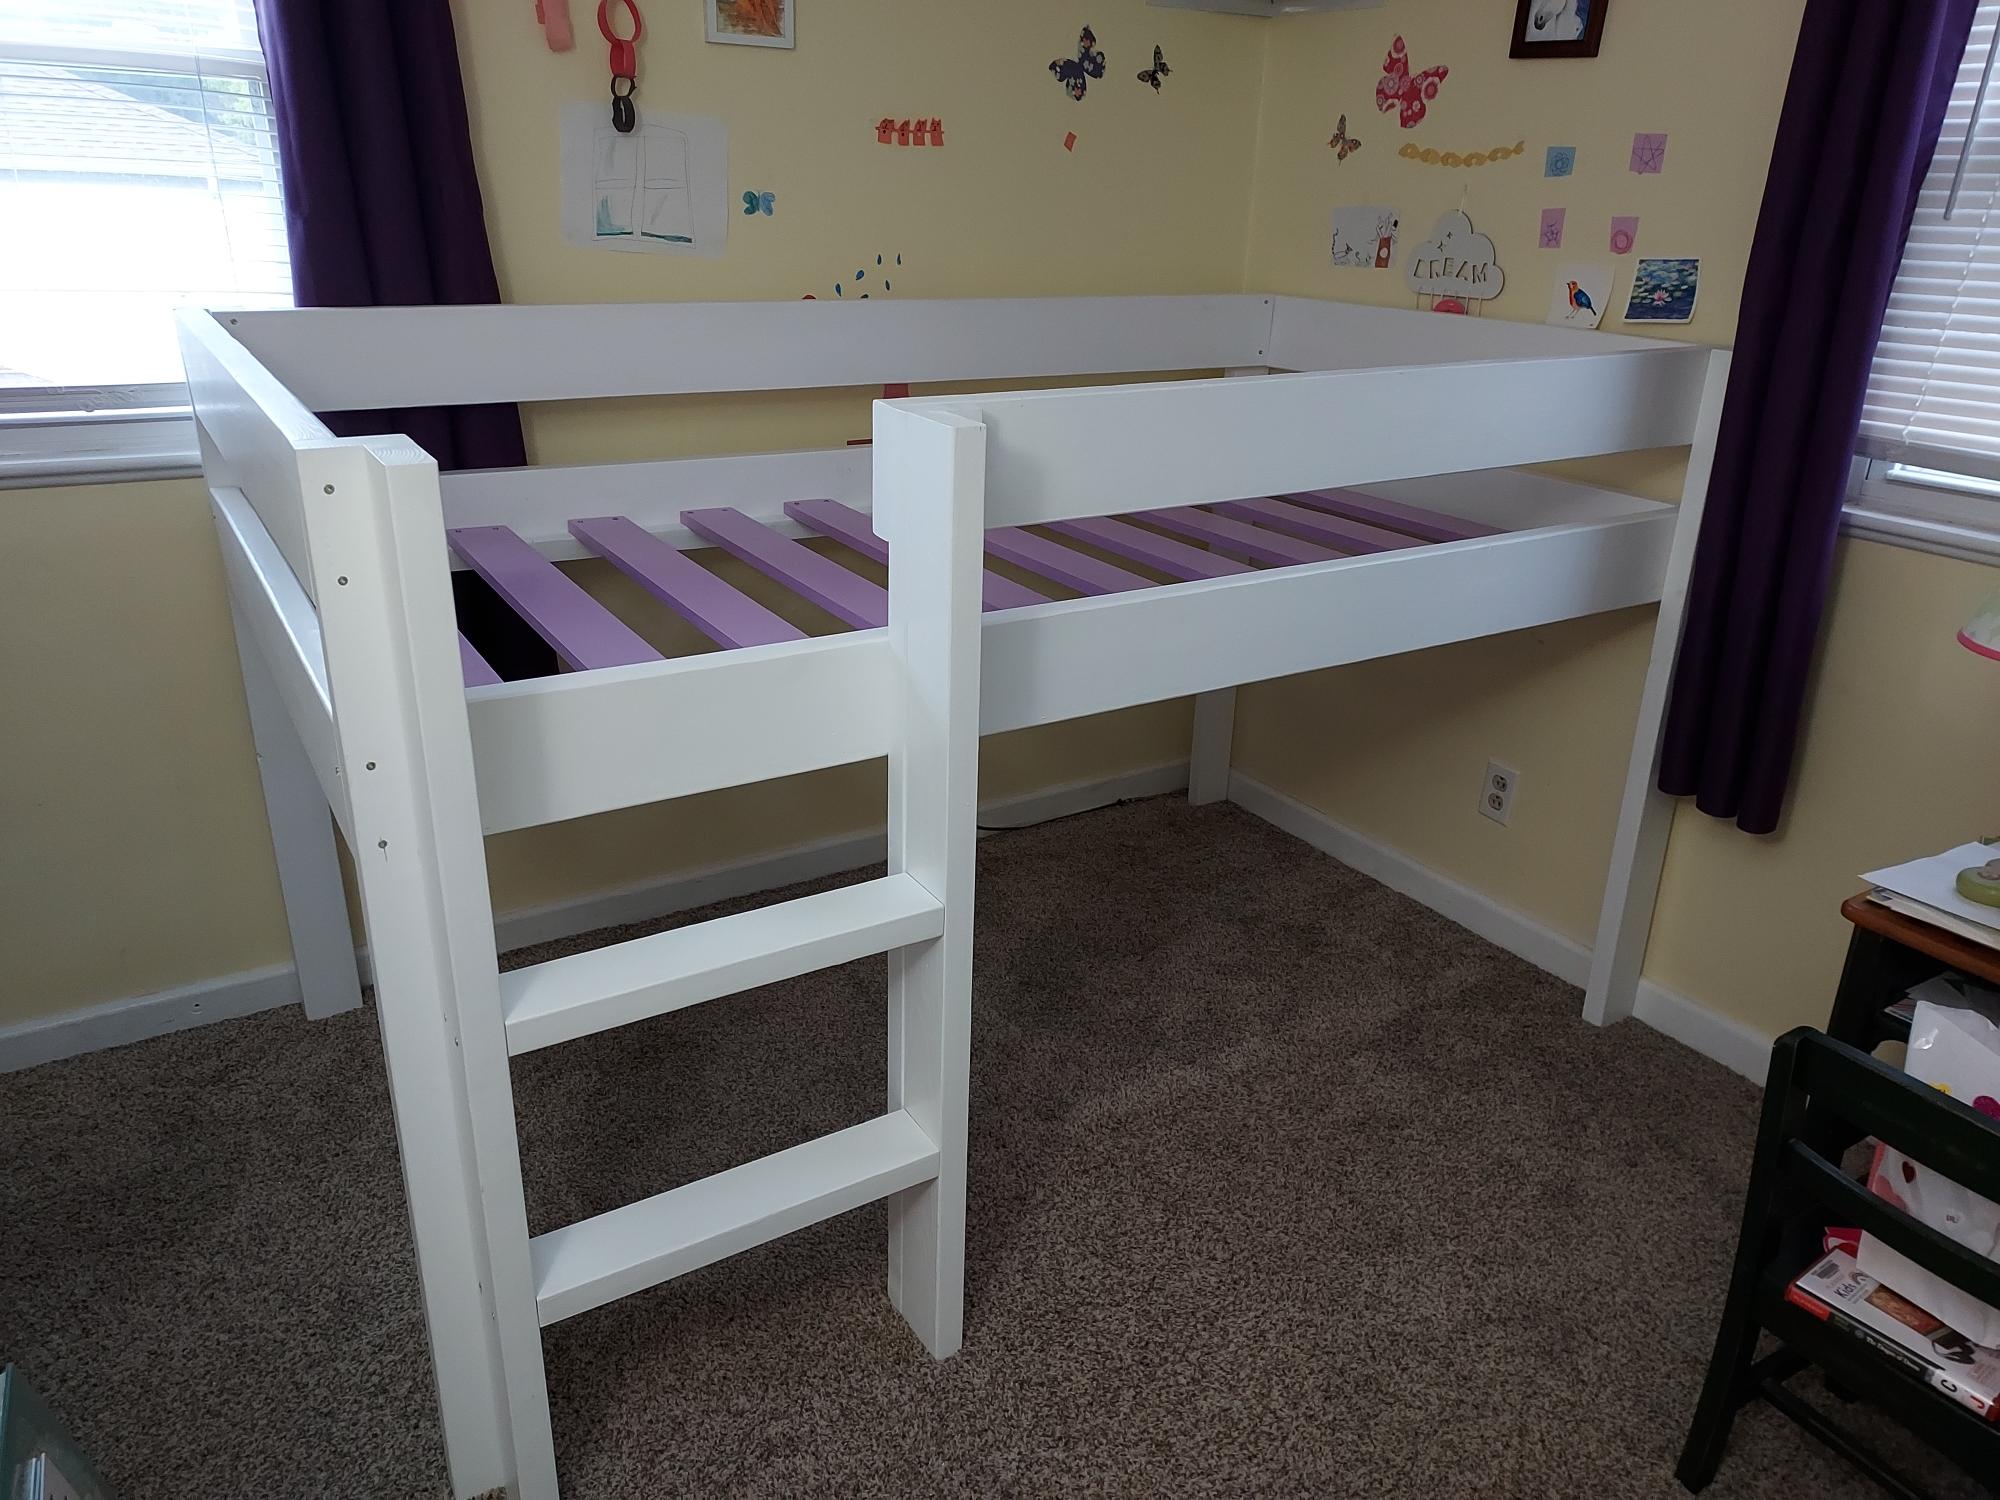
I decided to make beds for my kids after looking at ones to purchase that all had bad reviews about the sturdiness.
Thank you for providing such comprehensive plans here. I have never built anything from scratch before, and this project was a lot of fun. I'll be starting a second one this week.
Mon, 05/01/2023 - 08:25
You did such a great job, thank you for sharing and tagging on social media!
I started this project months ago... hoping to give this to Marlee for her 3rd birthday... that was September. Here it is... 99.99% complete... 3.5 months past the deadline... Just in time for Christmas. I used the plans for Grace's Kitchen pieces with some modifications. I extended the cabinet for the sink... gave her a farmer's sink... and extra counter space. What kitchen doesn't need additional counter space??? I left it open storage for now... I wanted to add doors... but ran out of time... ha ha... The oven I added the drop down door below the oven compartment for additional storage. I painted the burners on her cooktop.. just like Grammie's... I couldn't find the handles I wanted in black... I had to buy the stainless ones and prime and spray them black... that was pricey ... The fridge has 5+ coats of magnetic primer under the stainless steel paint. I got a pic of an icemaker/water dispenser from the web and Mod Podged it to the freezer door. I had just as much fun shopping for her supplies as I did making the kitchen. Most of the food products are from Melissa & Doug... and mostly all made of wood!! Too bad she's only here a couple nights a month.... maybe I might have to have my own friends over to play when she's not here!!! Thank you Ana... once again I owe it all to you!!!!
Mon, 01/02/2012 - 08:31
This is probably the best one I have seen! Honestly - the fridge is fantastic and that sink is insanely awesome! I am jealous now lol....I am sure she loves it and who says YOU aren't allowed to play with it while she is not there ;)
Mon, 01/02/2012 - 19:12
Thank you. That's very nice of you to say, there are many beautiful sets on here. Yours is very nice too. I love the grill on your stove. That's a great addition.
Thu, 01/05/2012 - 18:31
I think the extra space is going to work out well. My granddaughter is already using it and if she didn't have it, I suspect she'd make my play sandwich on the floor!! I would like to make another piece, for additional storage and maybe a microwave, but I'm running out of space in her room!!!
Mon, 02/06/2012 - 19:08
Could you please tell me the dimensions of your sink & counter? Thanks,
Sun, 08/19/2012 - 10:30
Where did you find that cute sink? Id love to make this for my daughter, you did a great job.
Sun, 08/19/2012 - 18:35
Thank you, I built the sink. Just made a box and painted it with stainless steel paint. I really winged it with the sink. The counter top is two boards that were scrap from the fridge joined with pocket holes. I splurged and bought the faucet.
Fri, 08/23/2013 - 09:22
I love your kitchen set at first i thought it was the real deal. the stainless on black looks amazing what paint did you use to get the stainless color? also what did you use for the stove knobs they look real Great job.
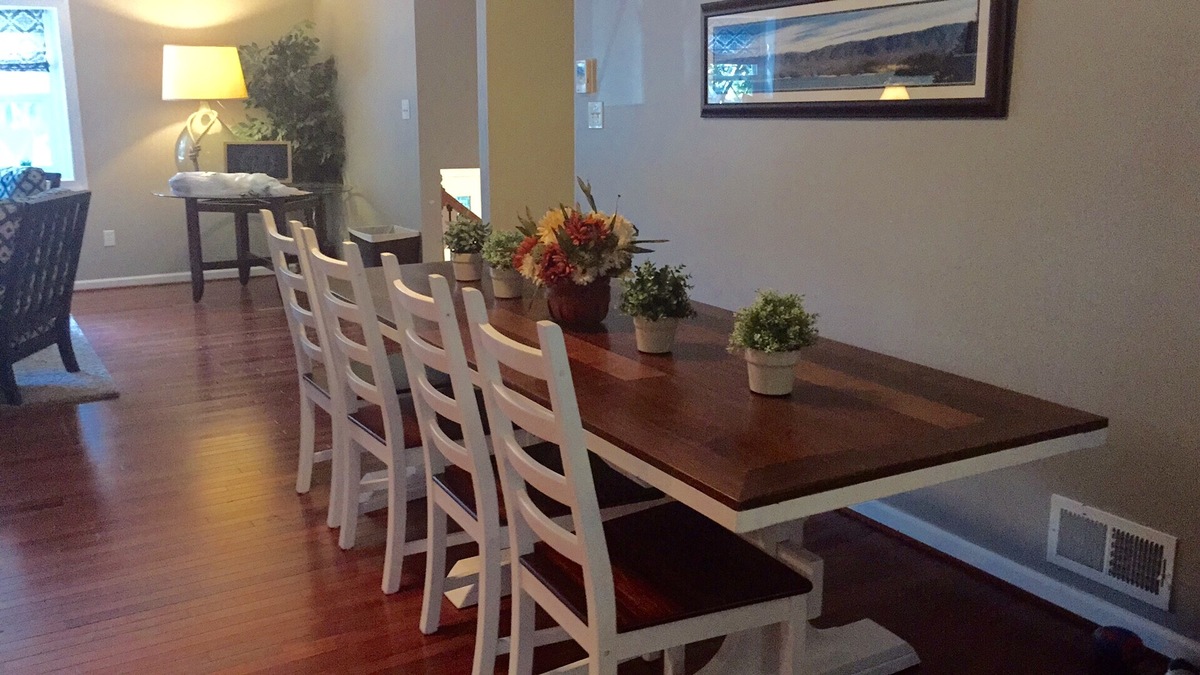
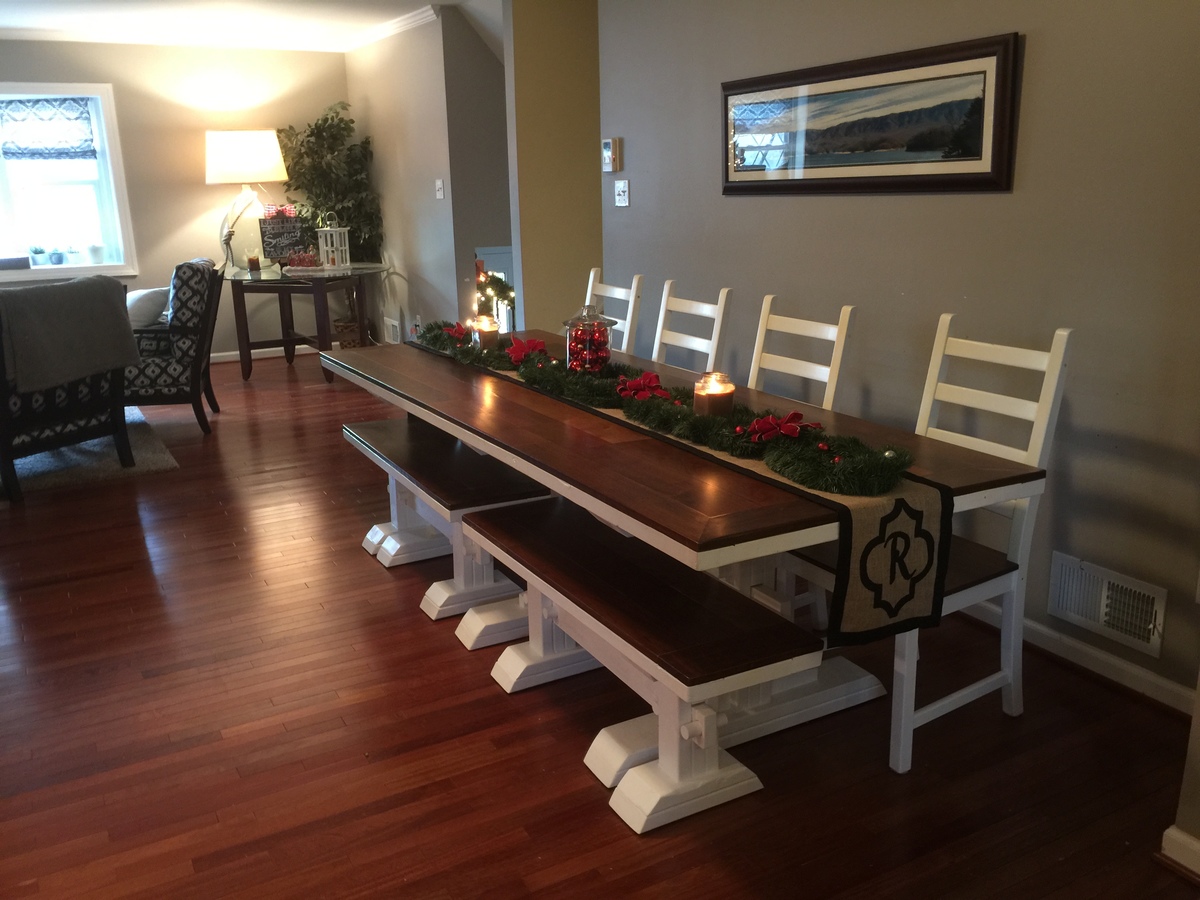
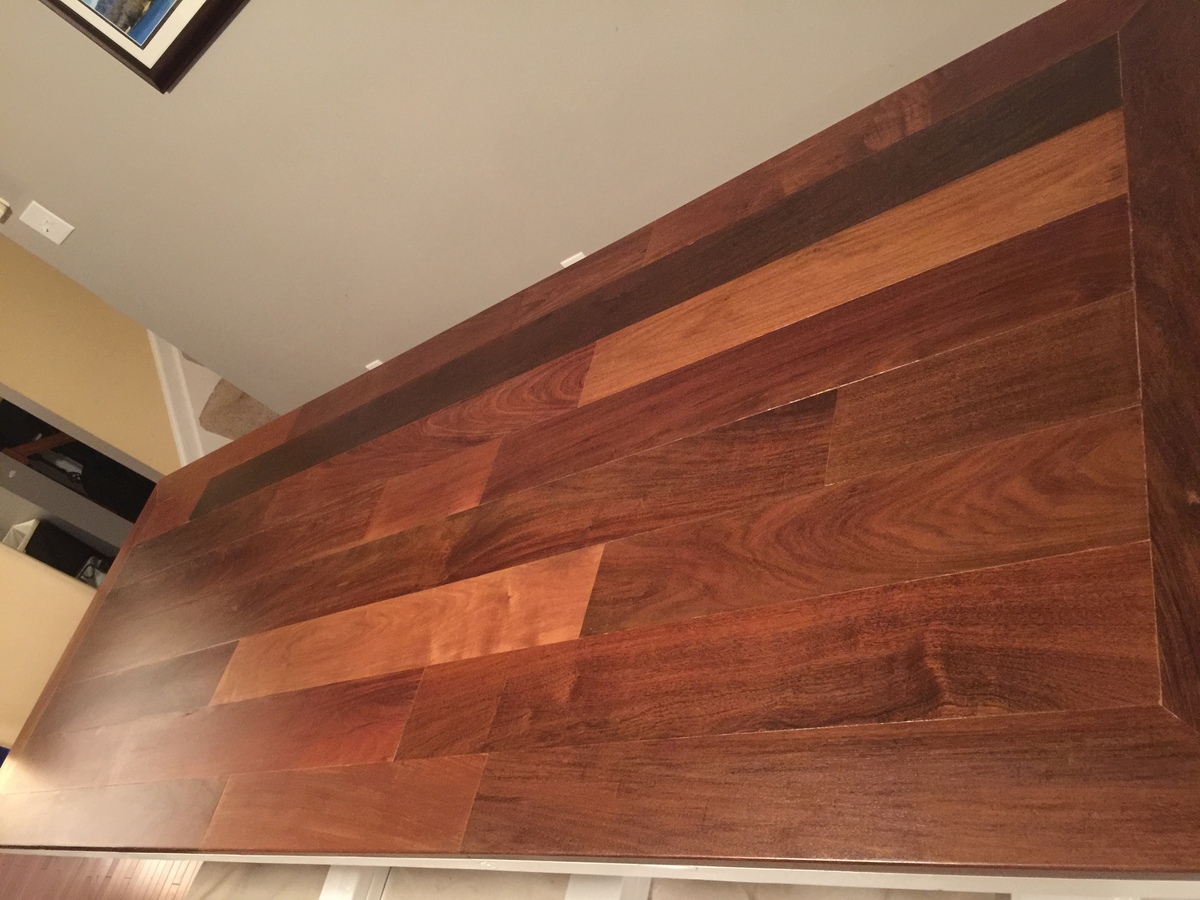
Brazilian walnut flooring top from lumber store and pine everywhere else.
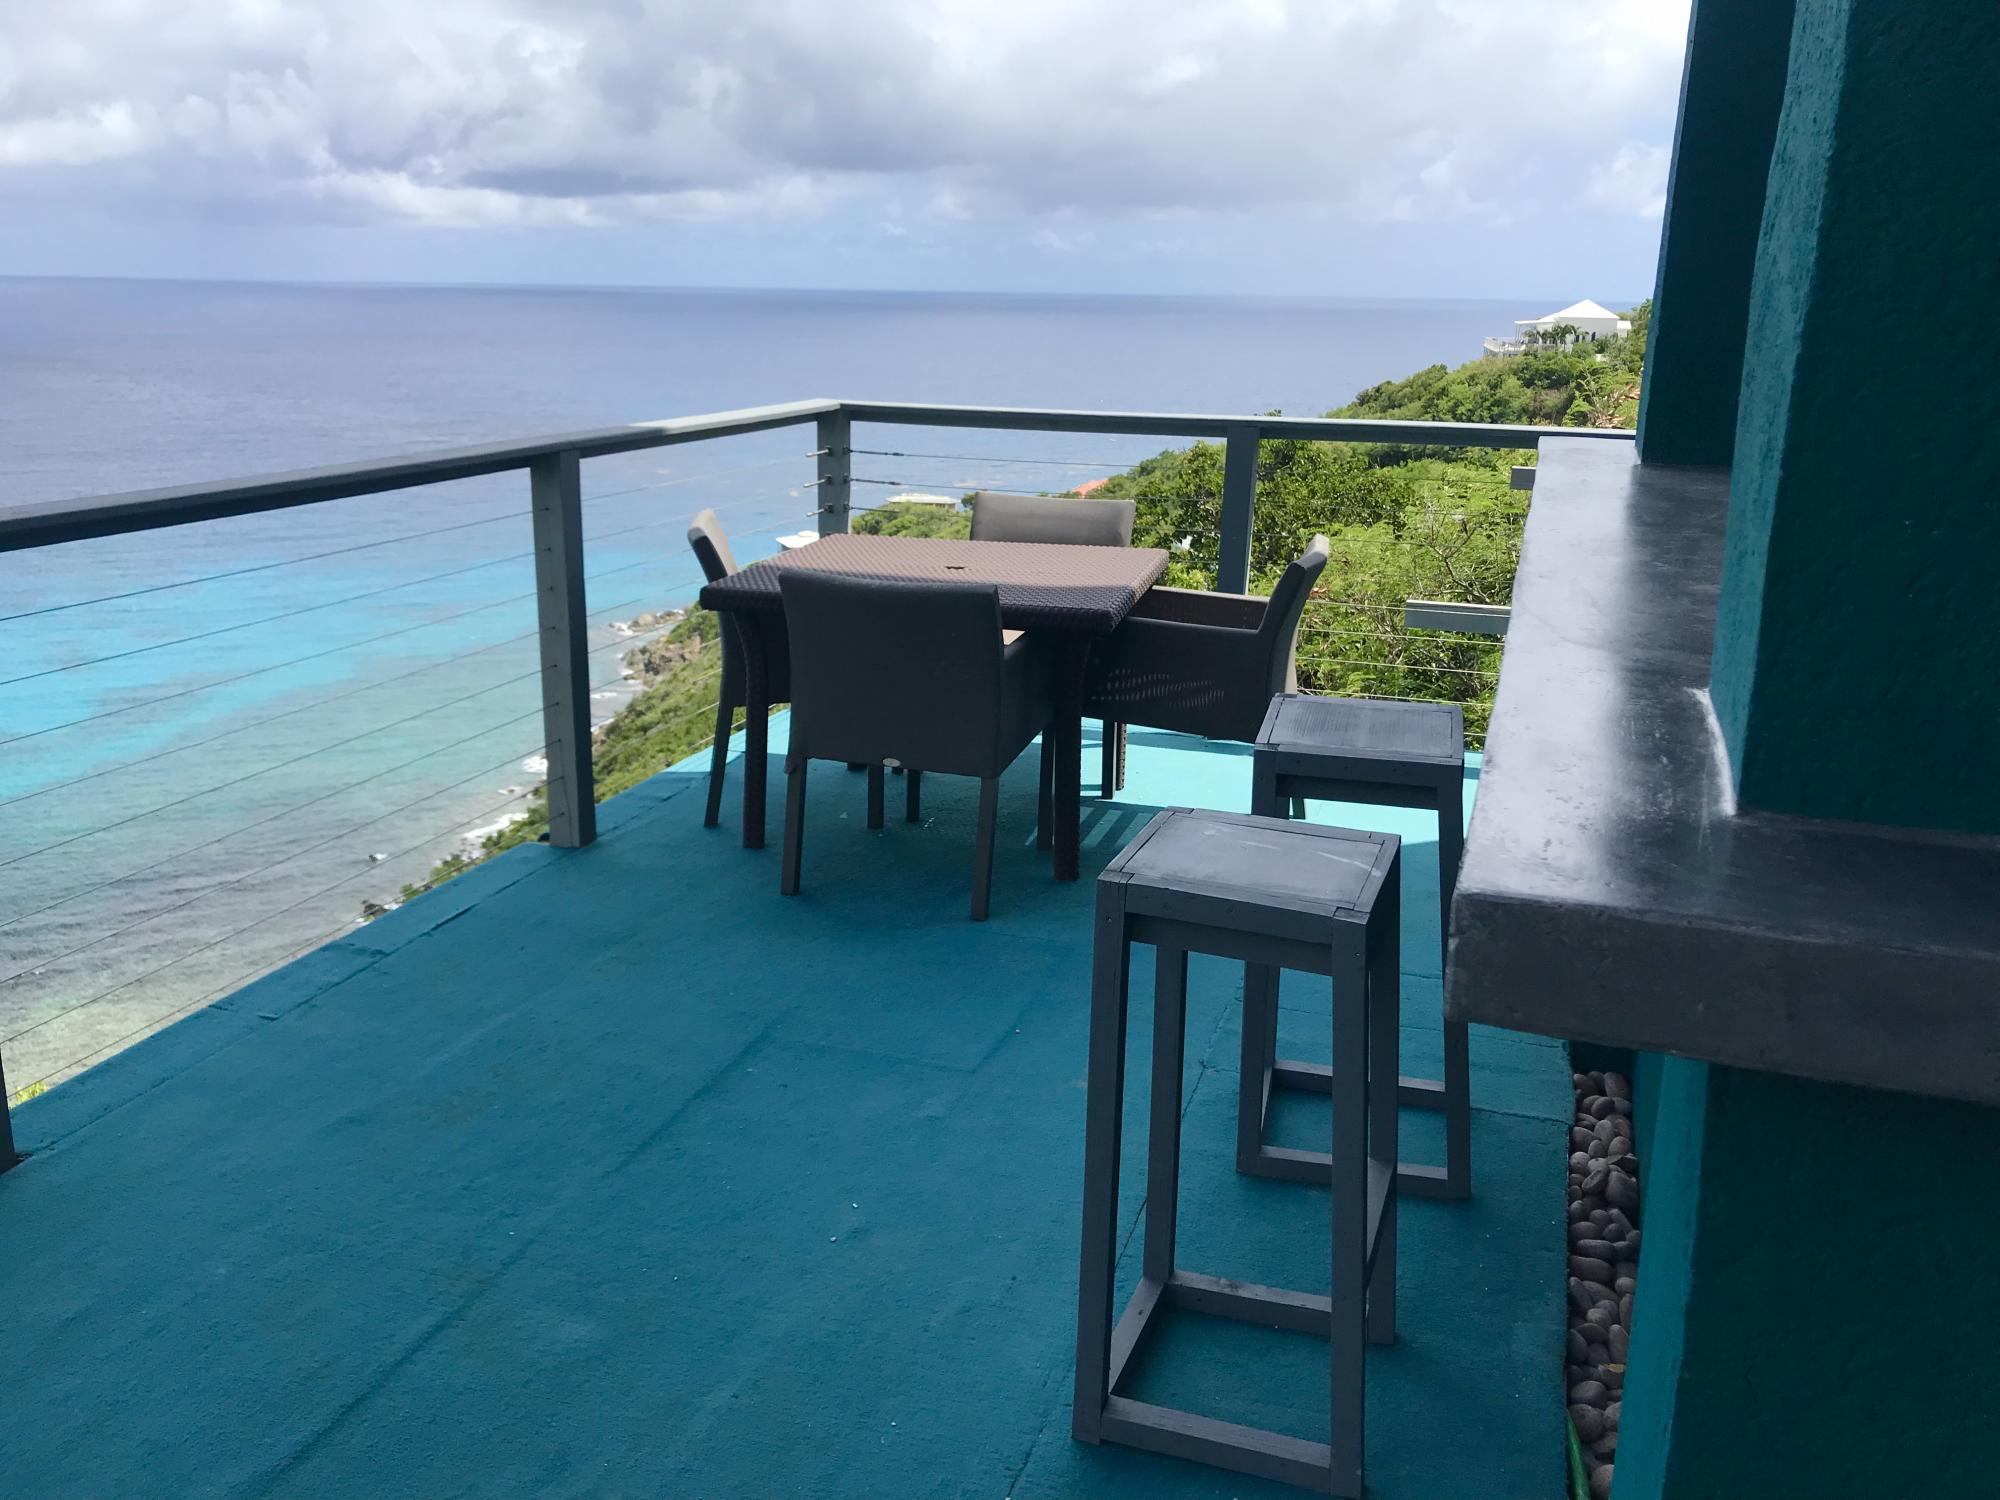
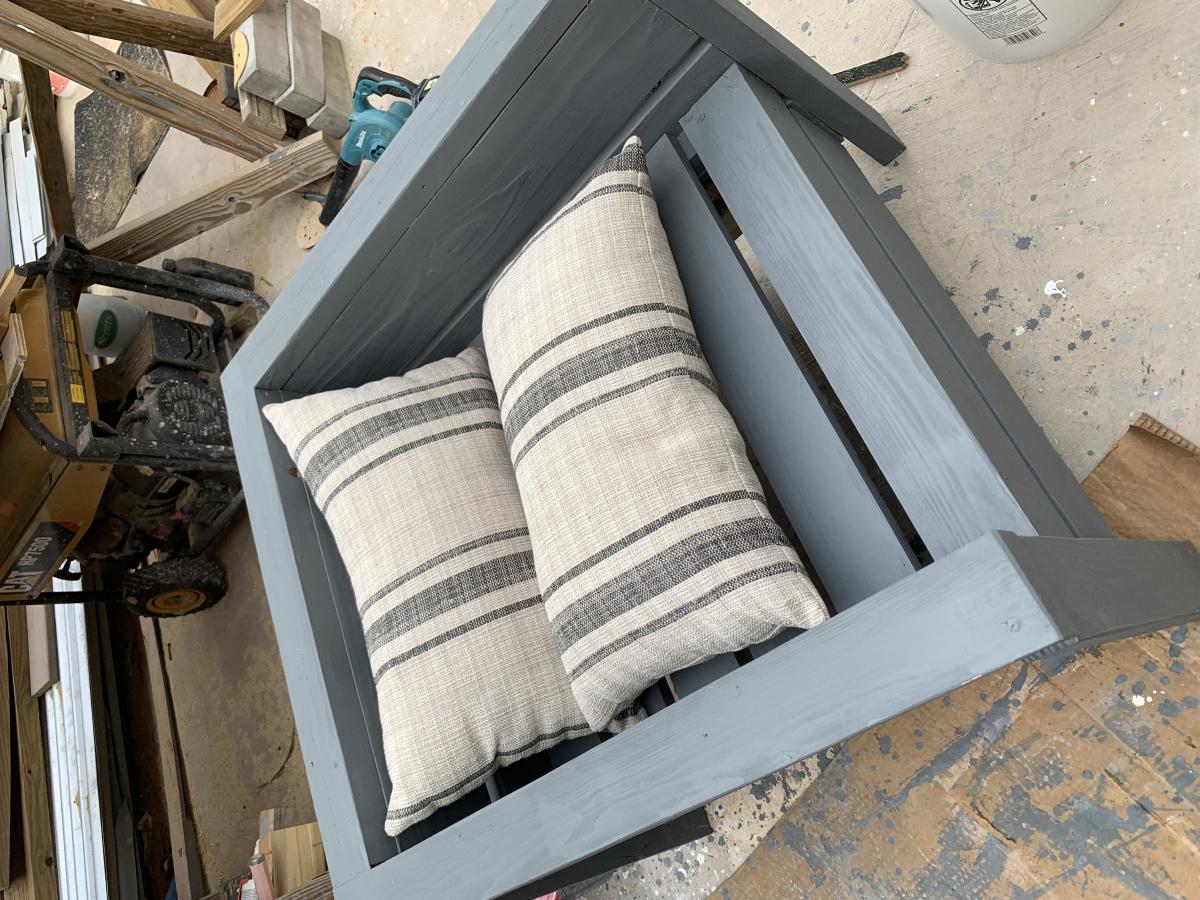
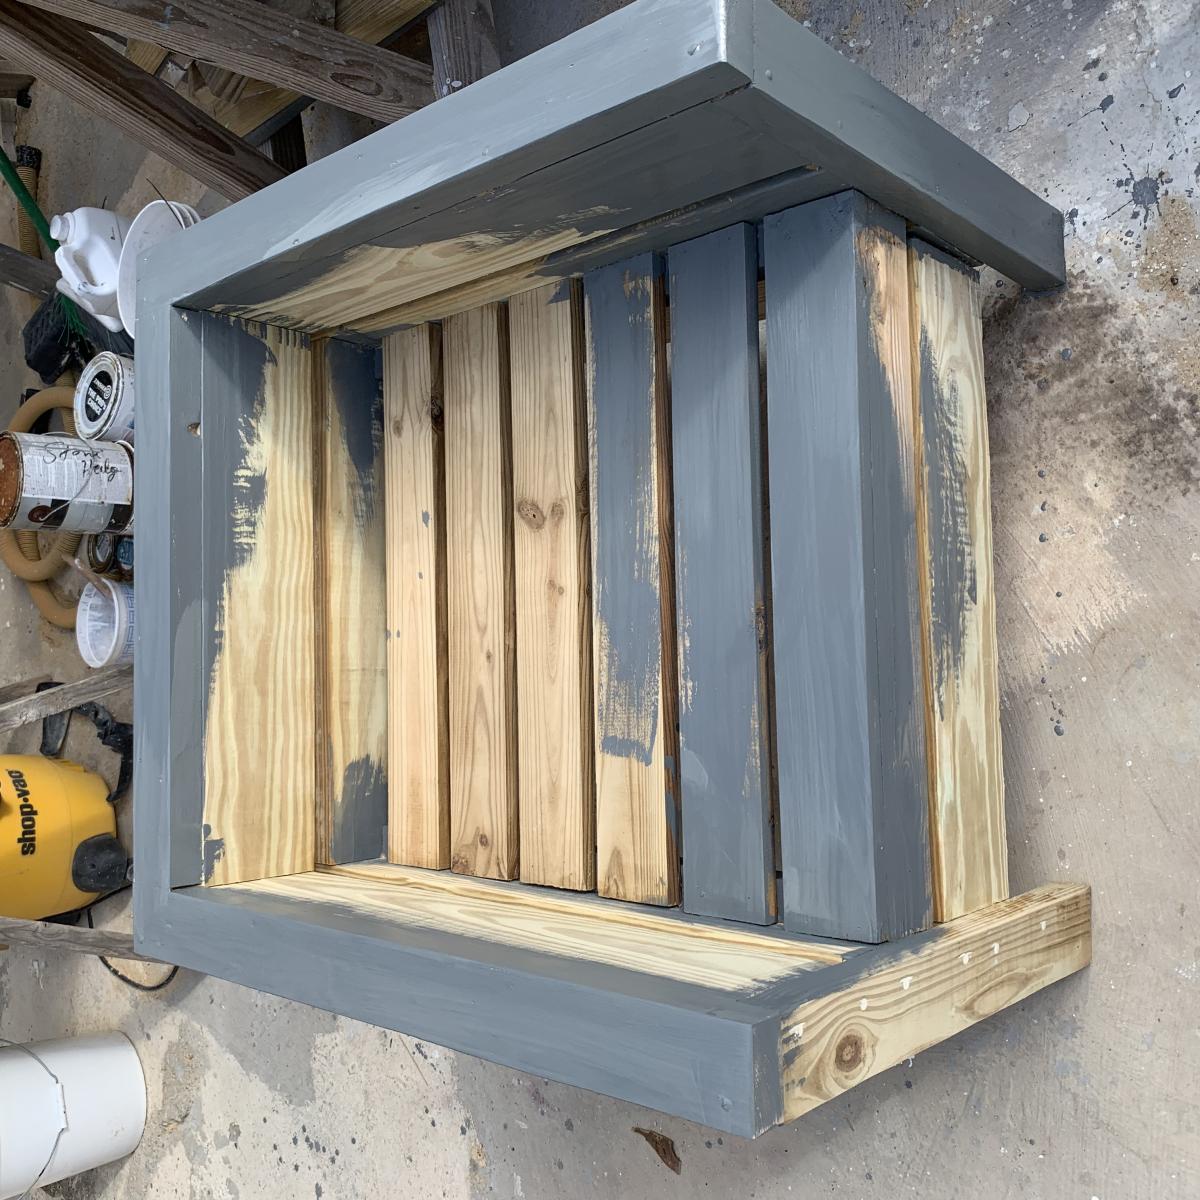
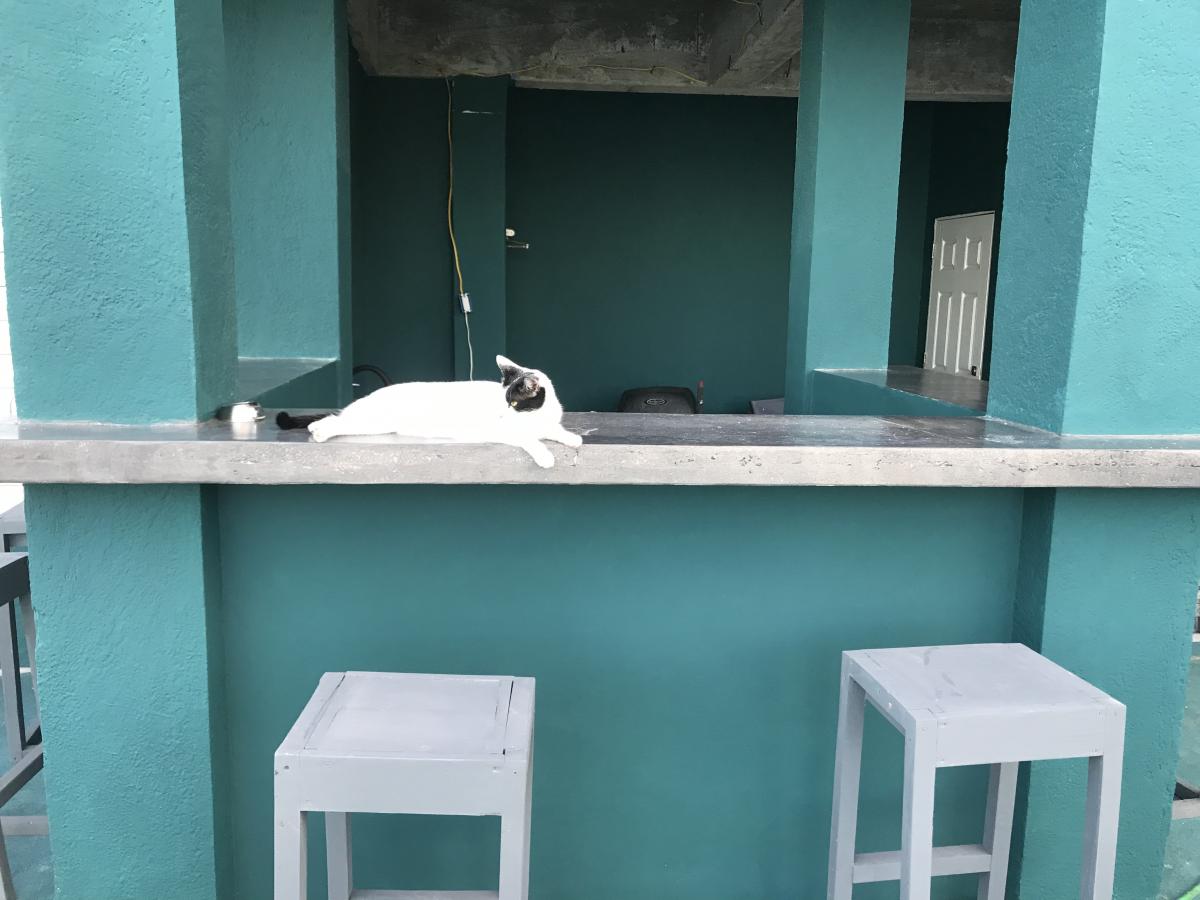
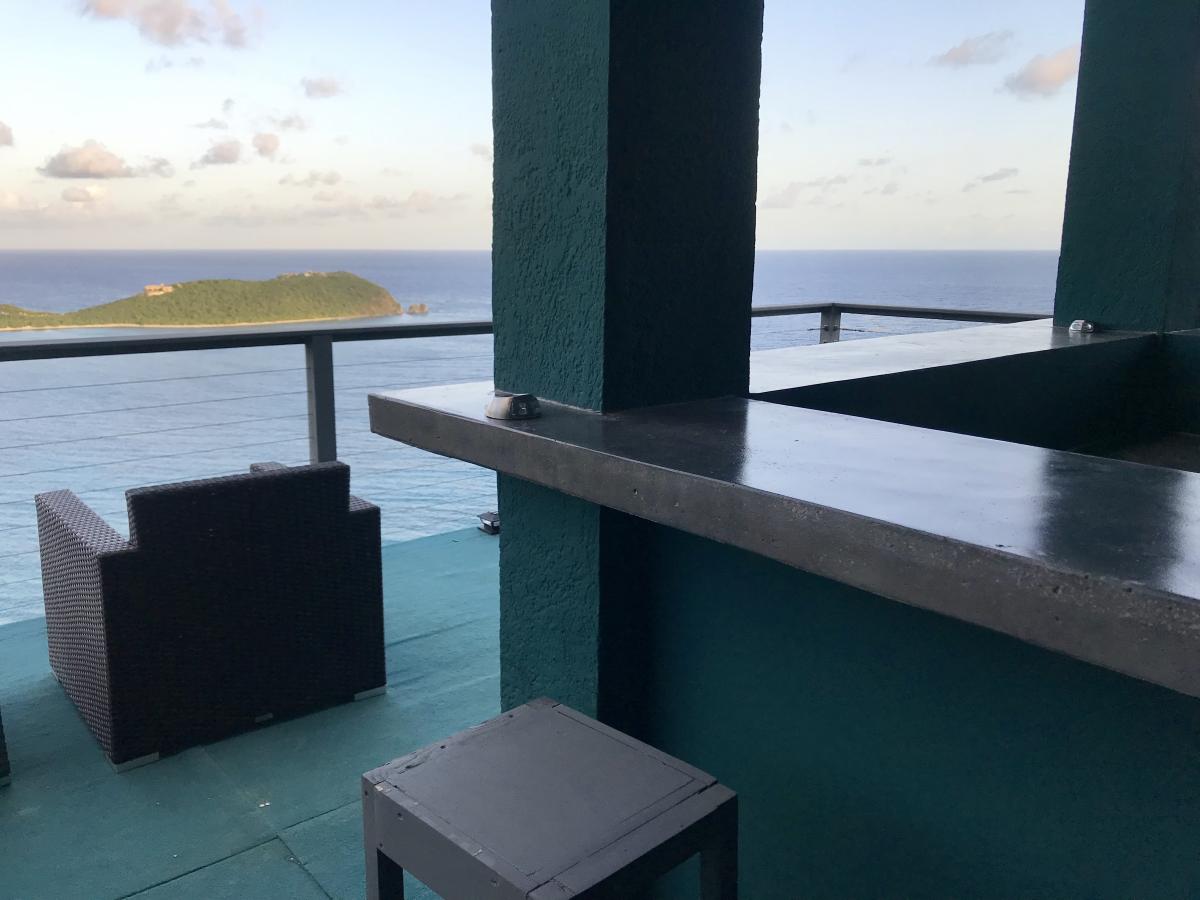
great plans, thanks! a girl can do. used scrap 2x4s from a concrete pour for the bar stools (ran them through table saw) and leftover 2x12 cutouts from pool deck framing so they are not as perfect as with new wood but it’s great to recycle
for the outdoor chairs I used scrap 2x4s as well but for the seat went with new 1x4
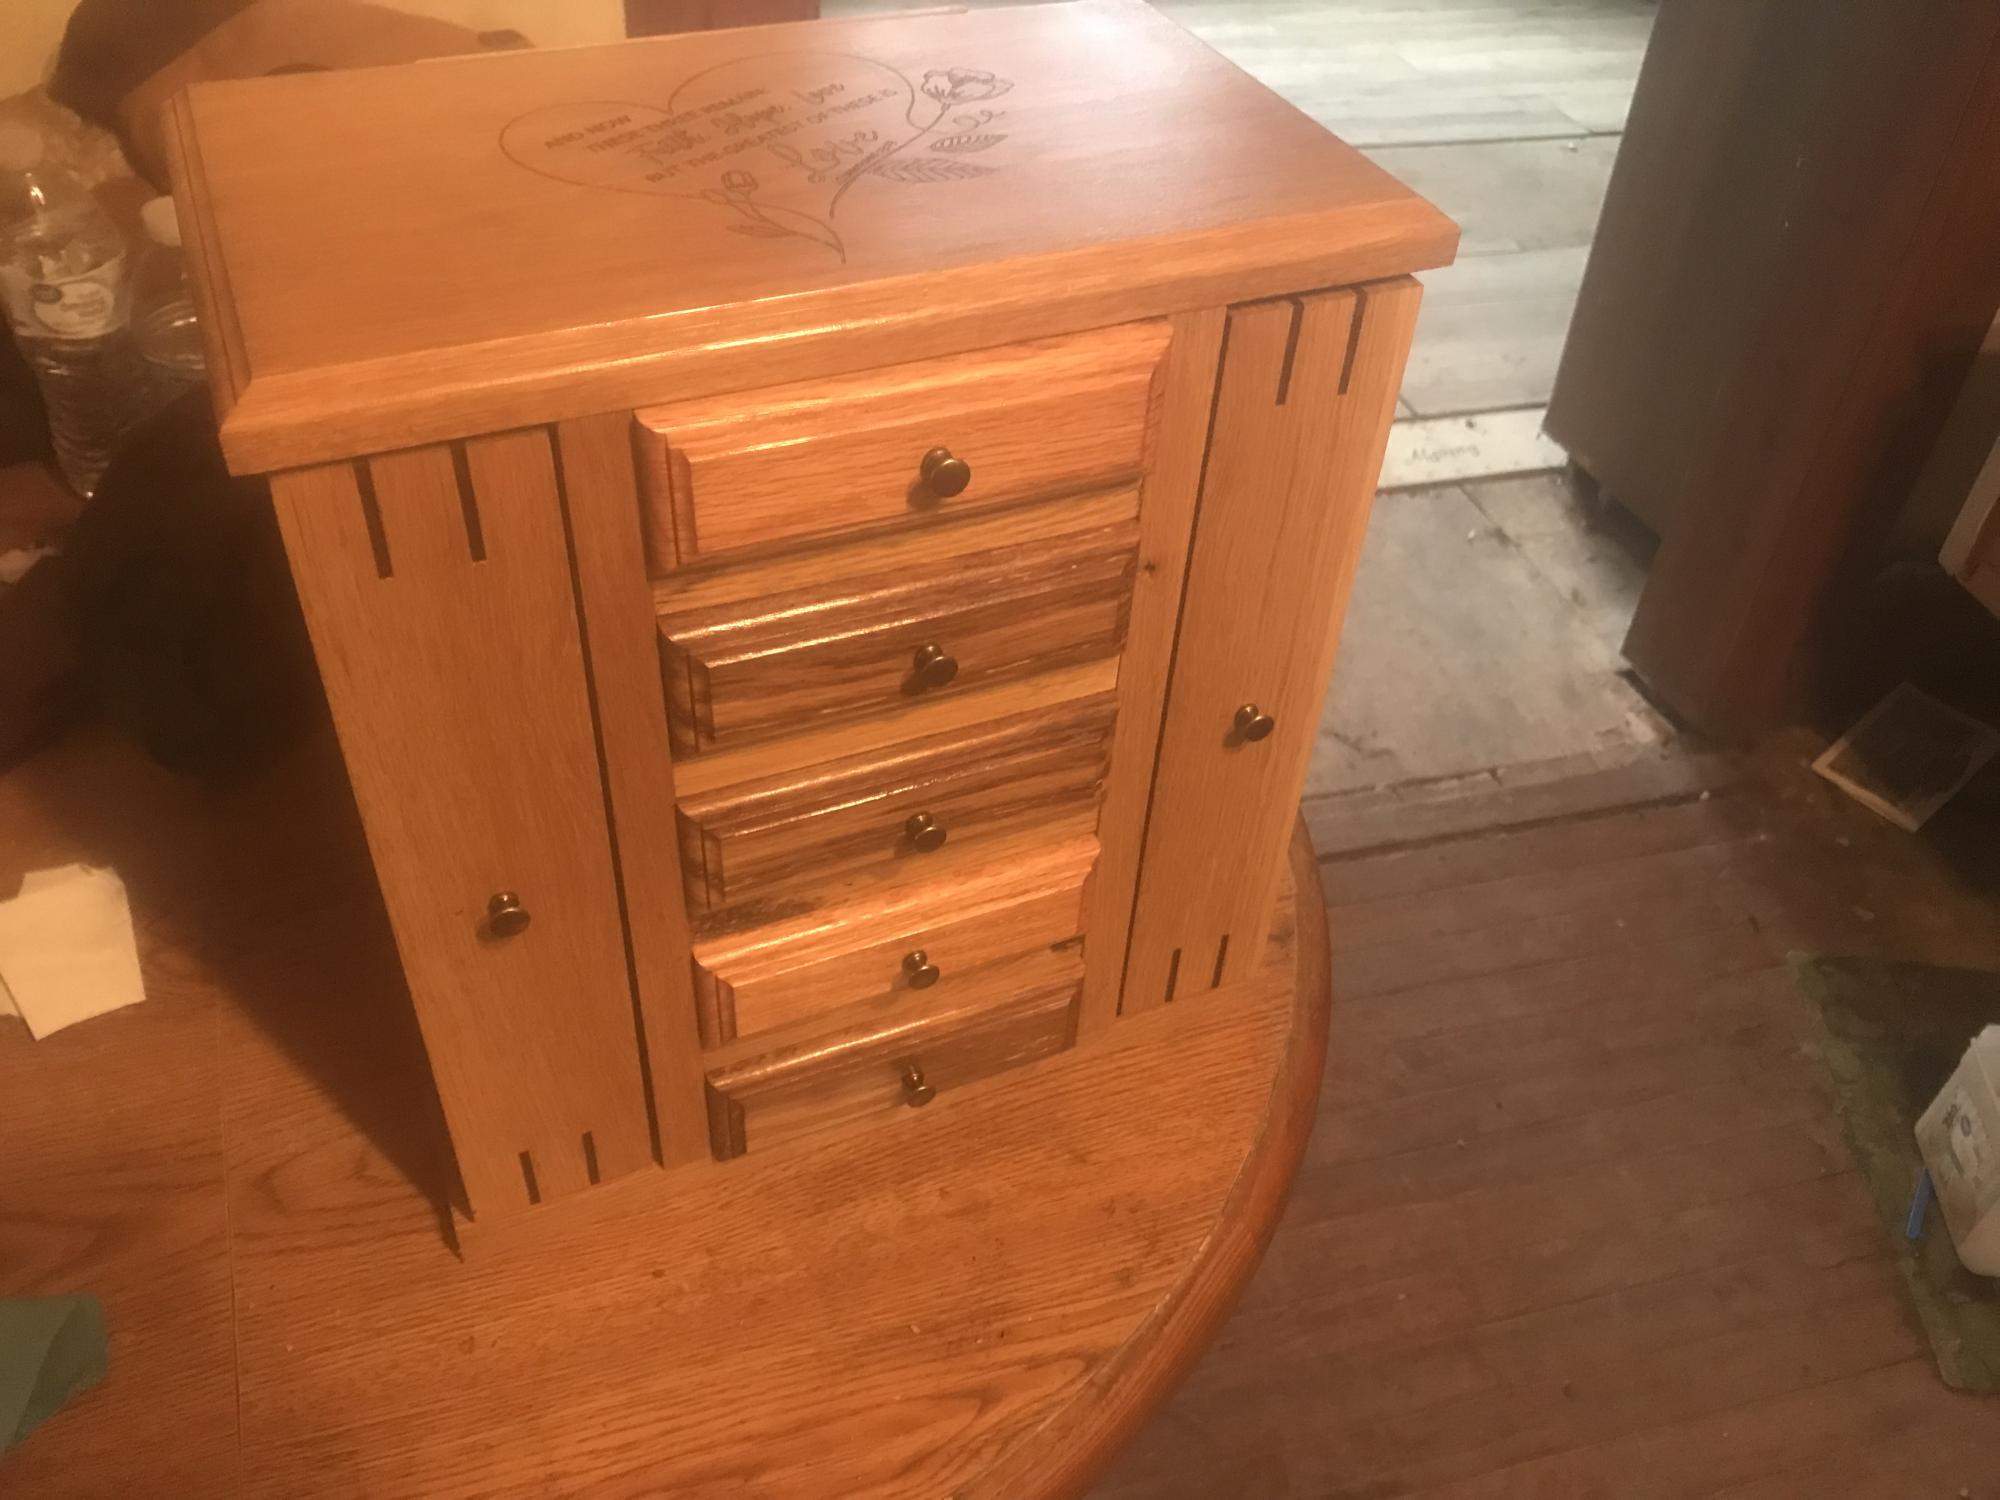
Fancy Jewelry Box it came out very nice. Made with white oak.
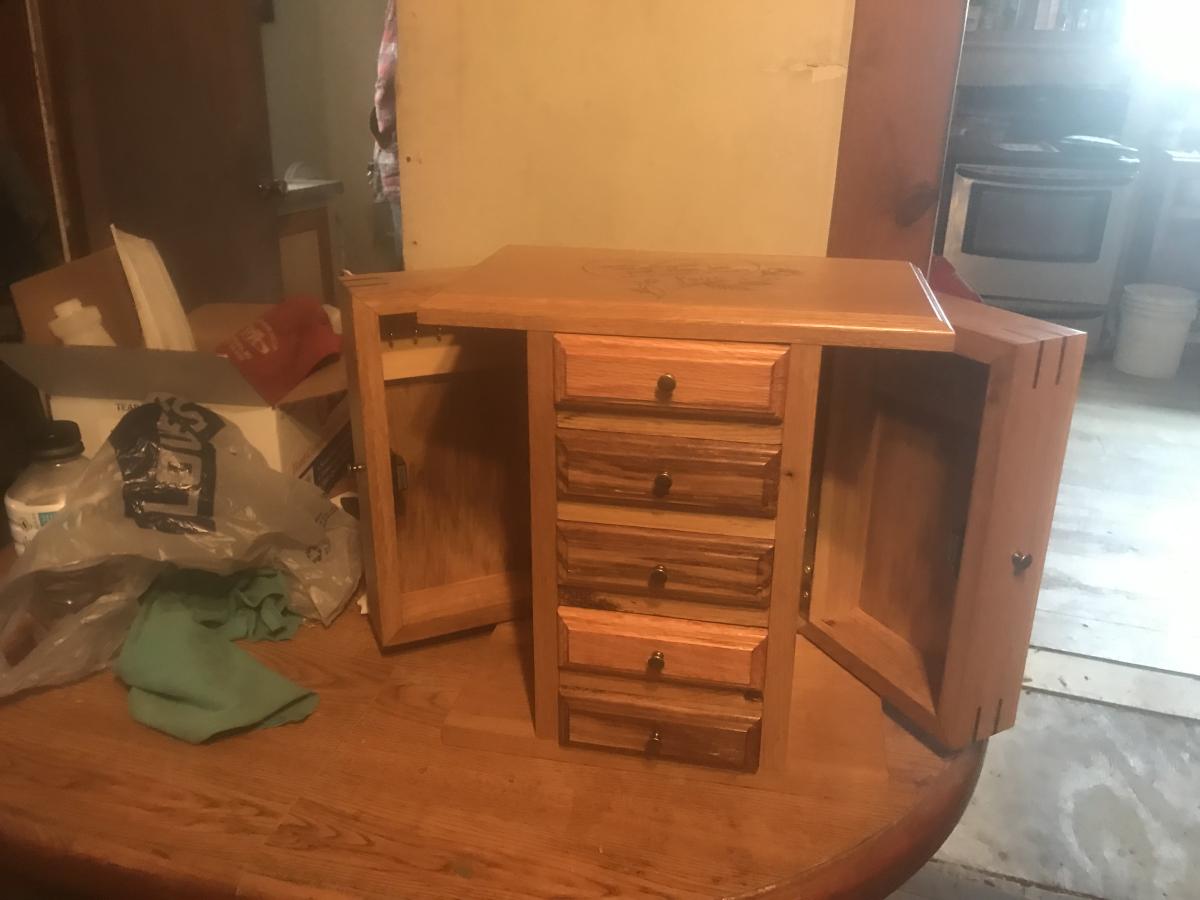
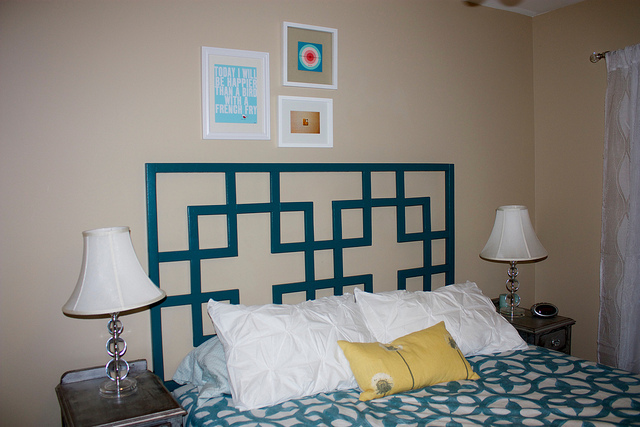
I build Anna's version of this popular store's headboard. I love it! Cost includes wood and paint. I would have used poplar for the entire bed but my hardware store only had 2x2s and 2x4s in white wood.
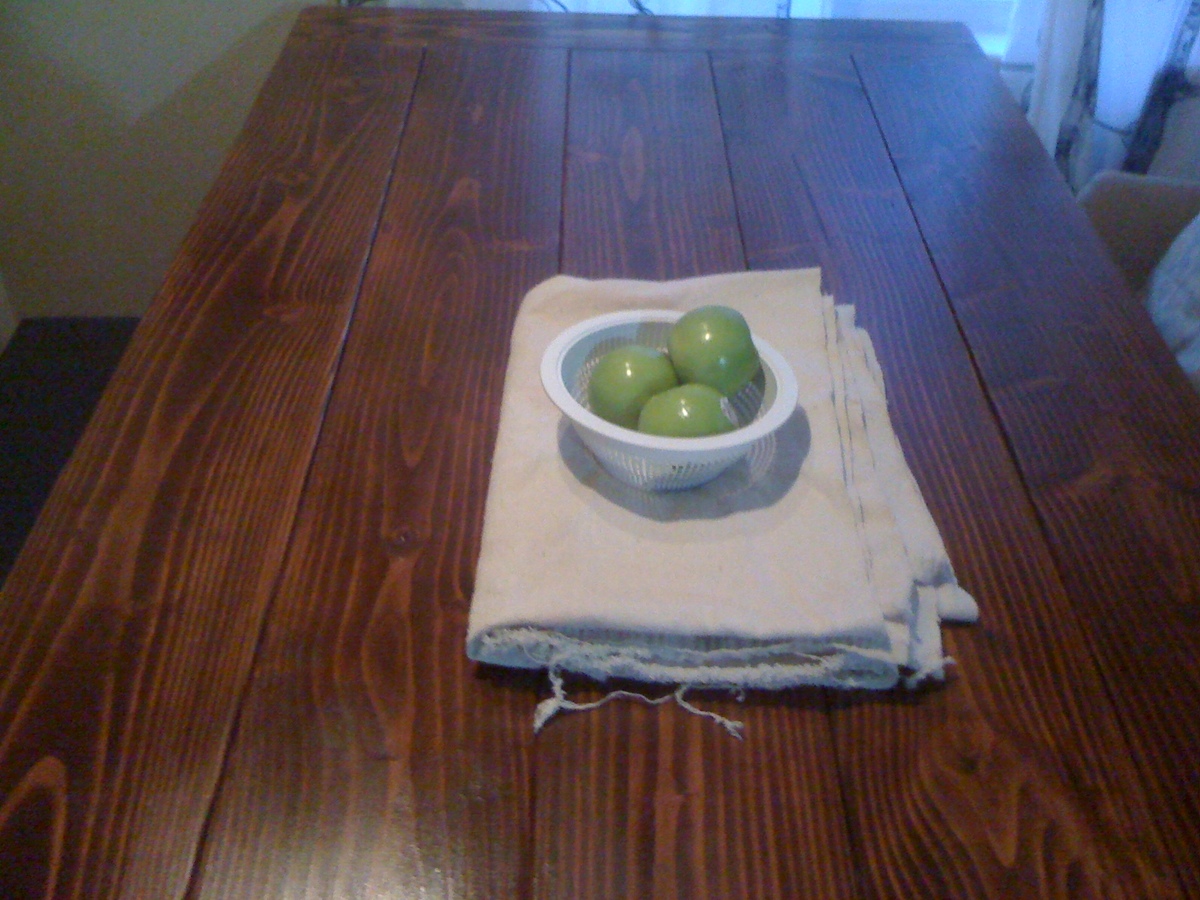
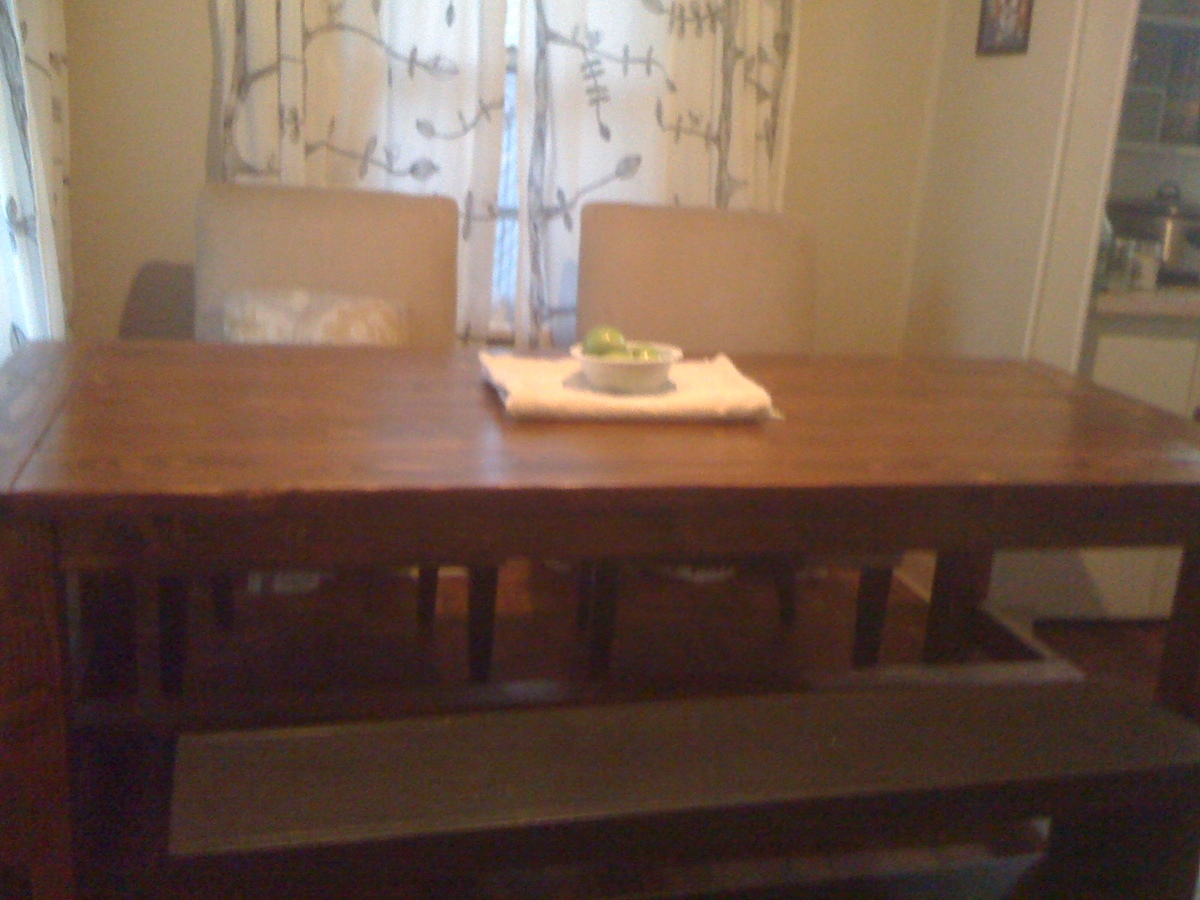
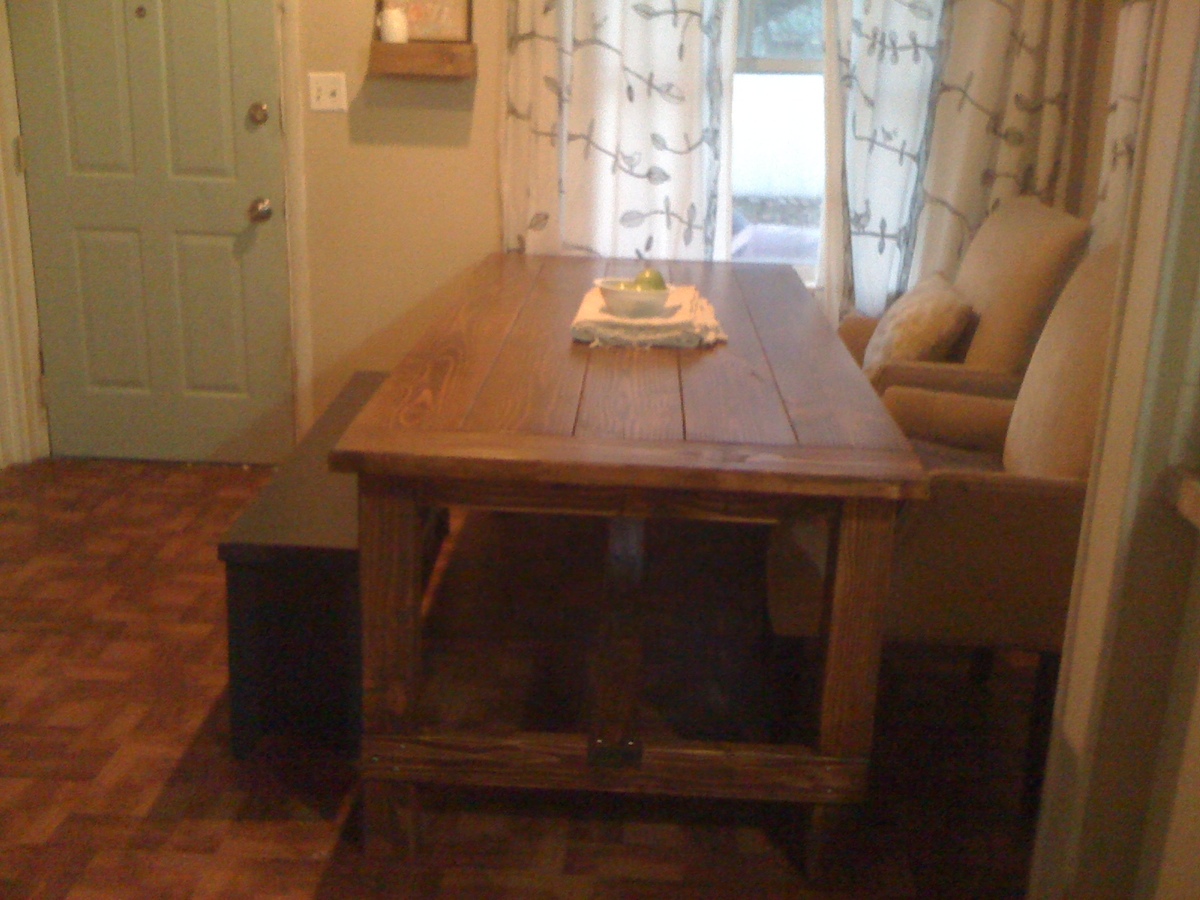
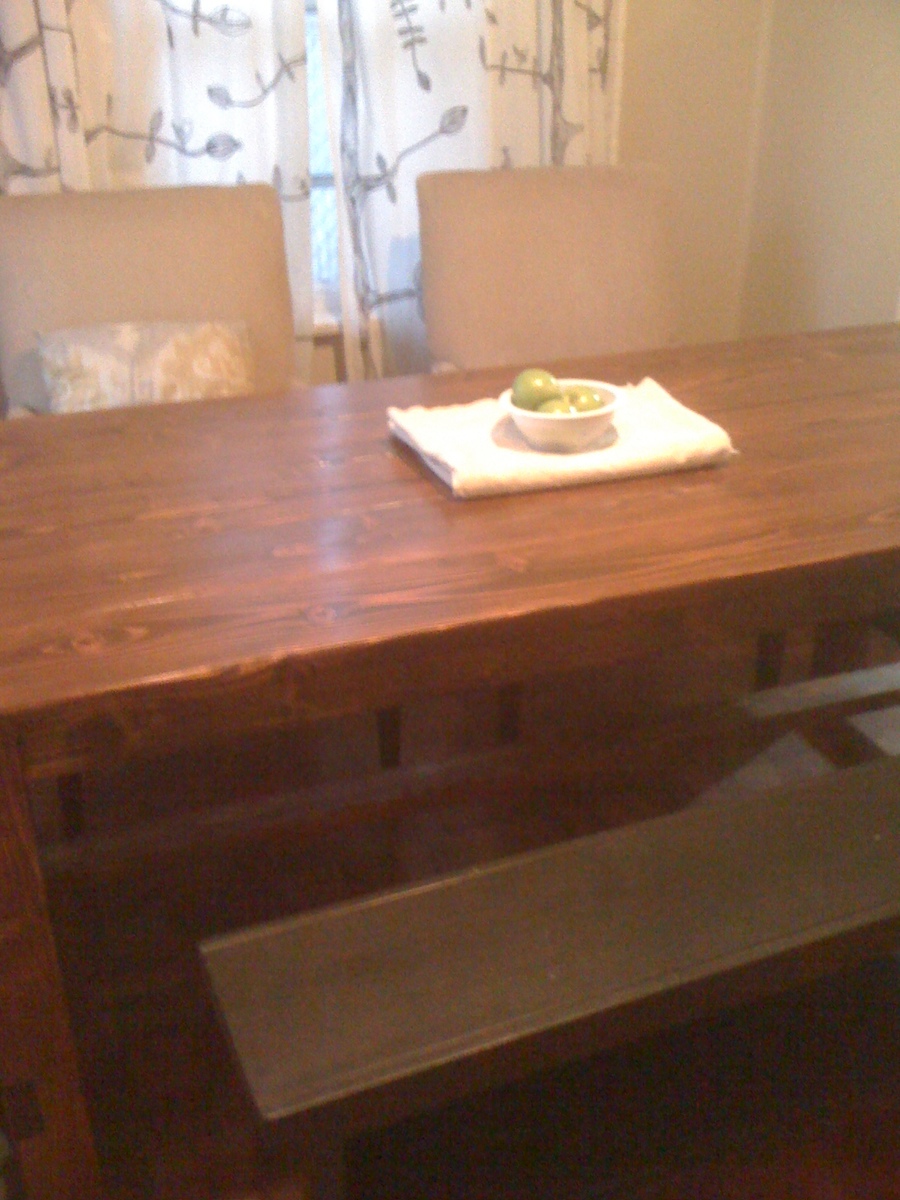
We built this table for some friends and the build went great!
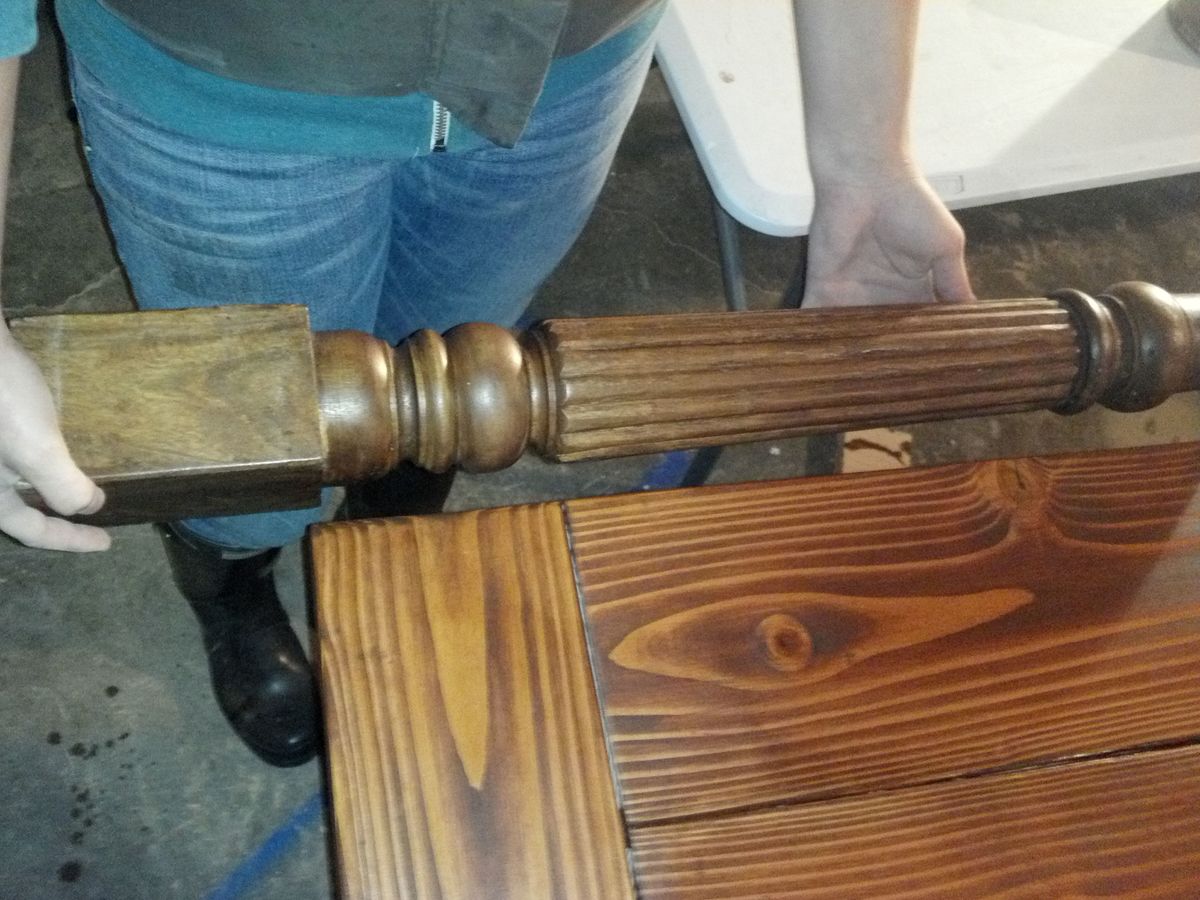
She brought over a table leg so that we could try to compliment their existing stain colors. I used "American Walnut" when maybe I should have used "Special walnut". It turned out a little reddish and I'm worried that she wont like it. I think it's beautiful but I'm so nervous!
What do you think about the finish?
Fri, 11/22/2013 - 09:54
Don't worry, it came out beautiful and the finish looks fine! They will be happy and thankful for your efforts. Besides, the style these days isn't to be so "matchy matchy" anyway. Great job!
In reply to They'll love it by spiceylg
Fri, 11/22/2013 - 18:22
Thanks! They actually really loved it. I'm sooo relieved. Turns out her husband loves red wood stains. :) There is just something about hand built furniture. It is never perfect but it always has soul.
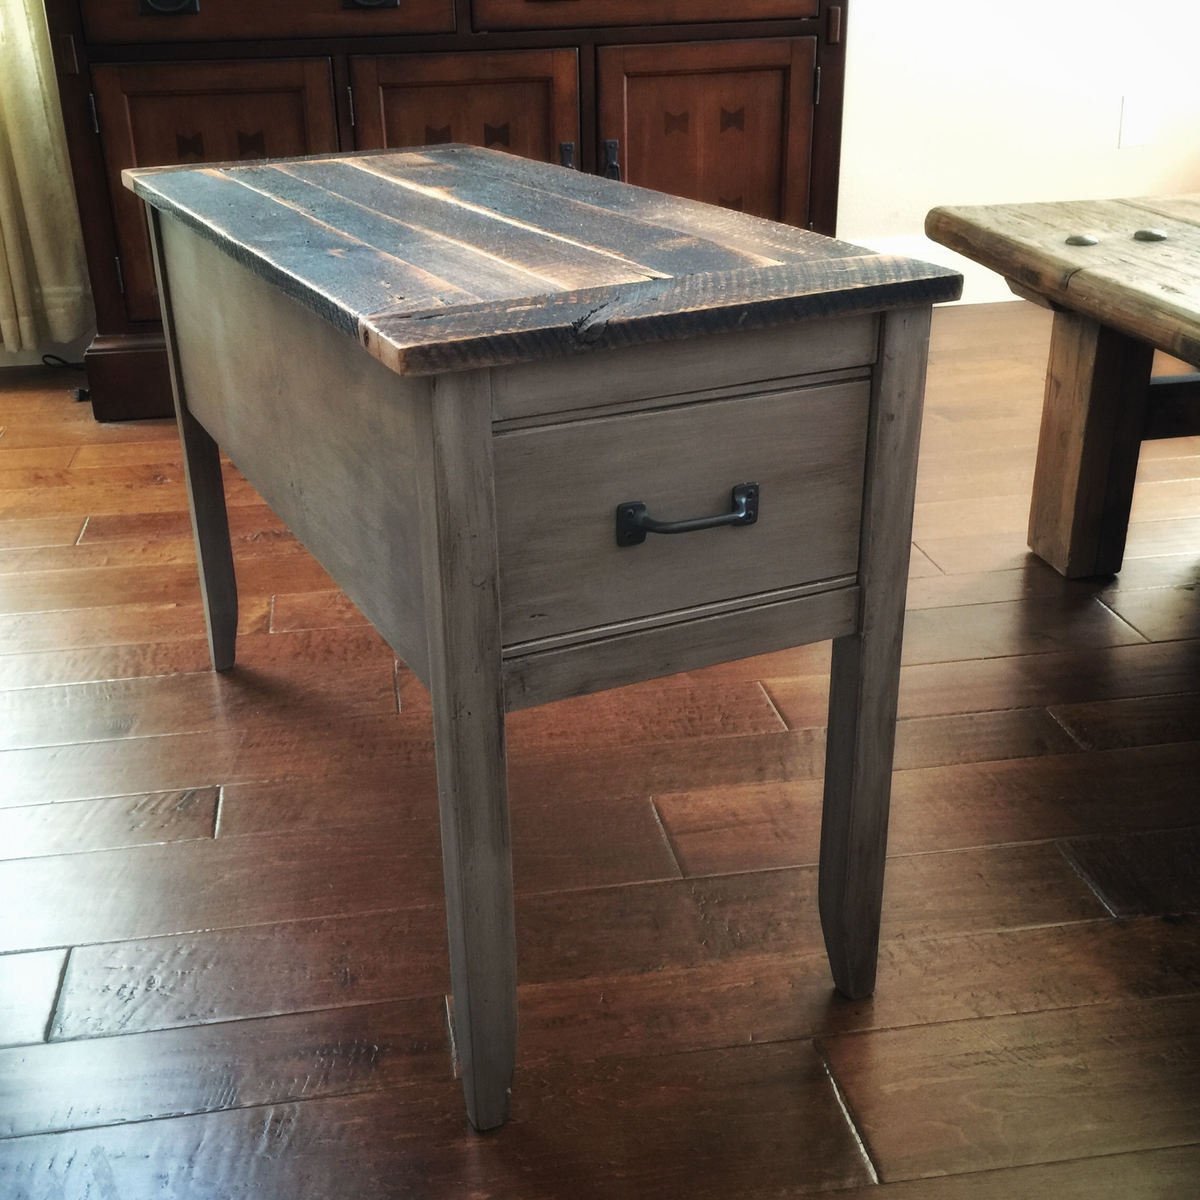
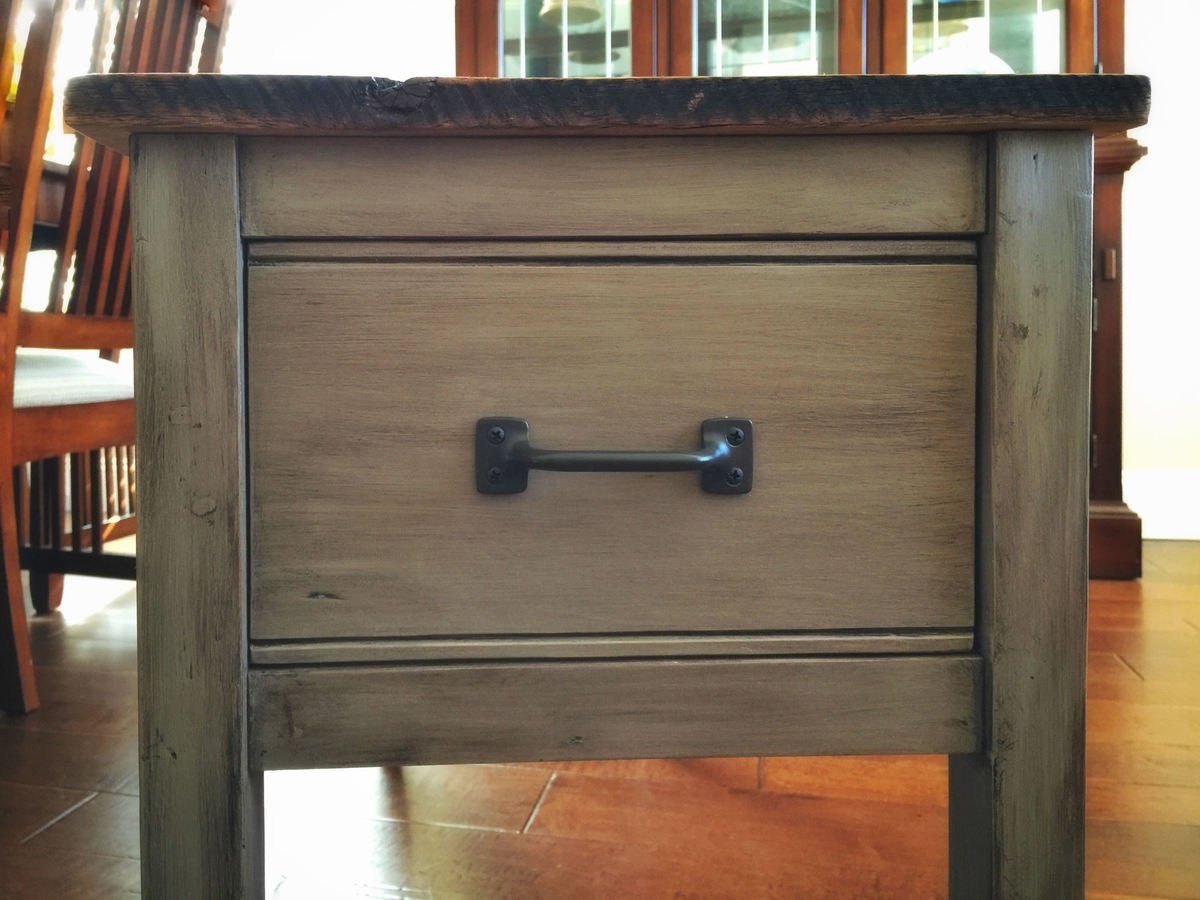
Inspired by the Narrow Cottage End Tables plans. Tapered the legs a bit at the bottoms. Added a bead to the top and bottom of the drawer front. I finally used a 100 year old board salvaged from a barn in Tennessee that suffered a fire - giving the white oak a great dark patina. There is a shop in Orange County, CA called True American Grain that sells reclaimed wood - I bought the board for $40 - it adds a lot of character to the finished project.

My son is really into dinosaurs so I thought I'd make him a Jurassic Park themed cabin bed. This was a great plan and my only regret is that I didn't paint the pieces of the roof BEFORE assembly. I definitely spent the majority of time on finishing but it came out wonderfully and my son is totally in love with it!
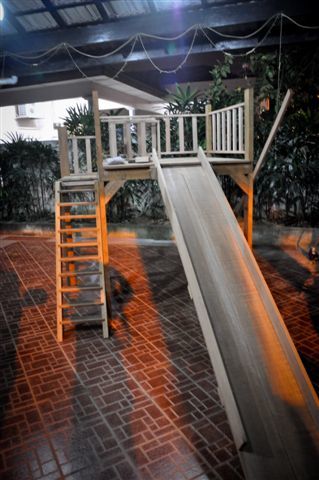
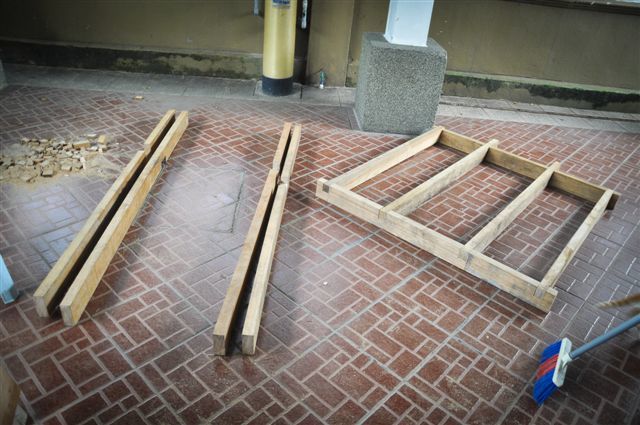
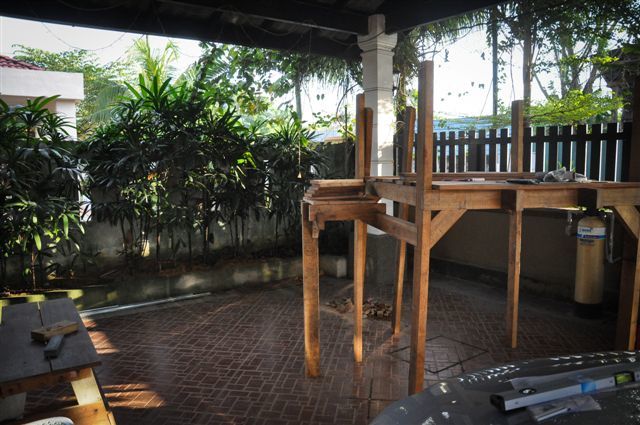
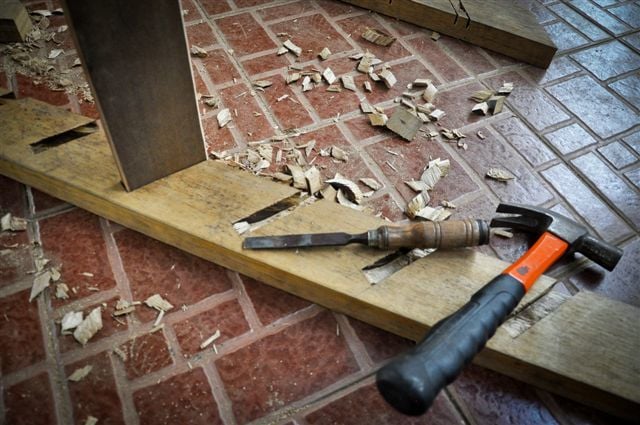
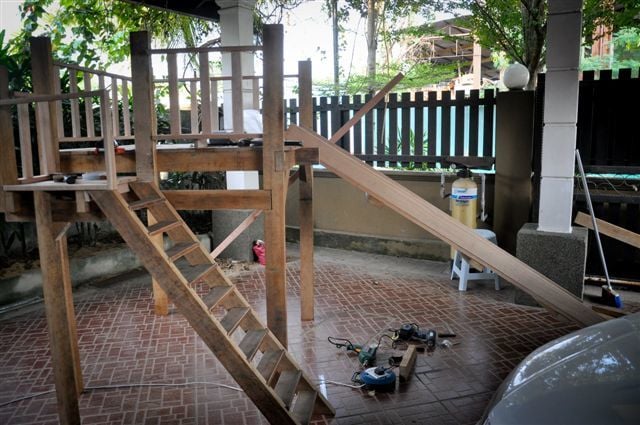
It's my first woodwork project and I went ahead on building a slide with a playhouse underneath. Took some of the ideas from Ana's playhouse deck plan. It took me awhile to figure out how to build the slides and steps though. The project is intended to cater for my 1 year old daughter. As you can see, the playhouse is not "there" yet as there's no wall surrounding the structure beneath the slides (there will be some soon enough). As this playhouse will someday be put under direct sunlight and heavy rain, choice of wood takes into account the tropical weather that we have here in Malaysia (I might have to put some heavy coating on that Meranti though).
Dimension wise it's a 4'X4'X4' structure with 1.5' steps attached at the side. The railing are about 1.5' high.
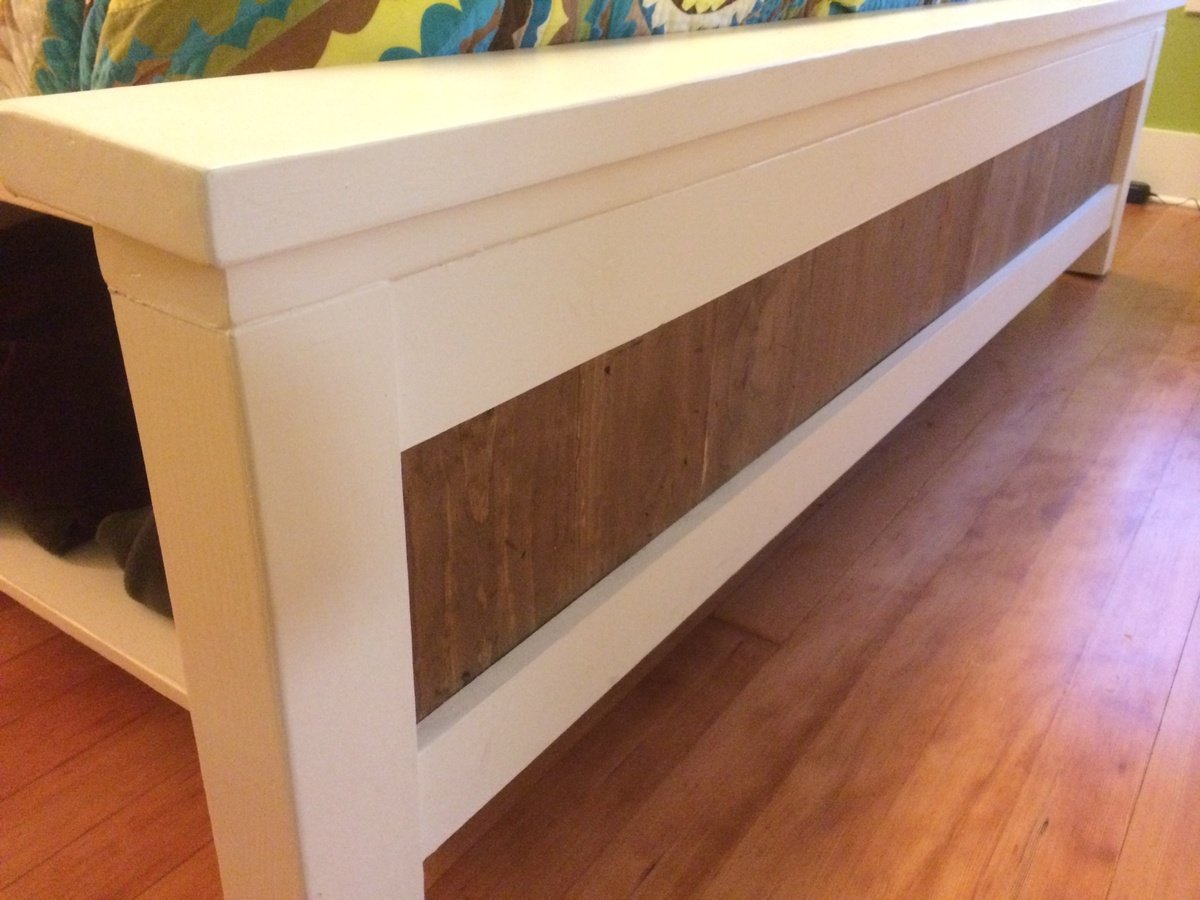
This was my first build! I combined 2 of Ana White's plans, the King size Farmhouse bed with the Queen size storage bed, I didn't do drawers as the cubbies worked better. So this was a nice merge of two of the plans! LOVE LOVE LOVE our bed, and the 2 tone stain/paint combo.

Mon, 11/25/2013 - 07:53
My wife asked me to find a bed idea for our little girls room. She said she wanted her to have a bed with storage. Well I think I found the bed I am going to build her. Now the fun part making it into a twin size! I like it so much I am going to build one for us in our bedroom. Again I love it great job!!!
In reply to Fantastic!!! by joshuaaslocum15
Mon, 11/25/2013 - 10:31
Let me know if you have any questions modifying the plans :) I think if you start from the queen storage one and modify that, you'll get it right for twin size :) such a sense of accomplishment when it's done!
In reply to Fantastic!!! by joshuaaslocum15
Mon, 11/25/2013 - 10:31
Let me know if you have any questions modifying the plans :) I think if you start from the queen storage one and modify that, you'll get it right for twin size :) such a sense of accomplishment when it's done!
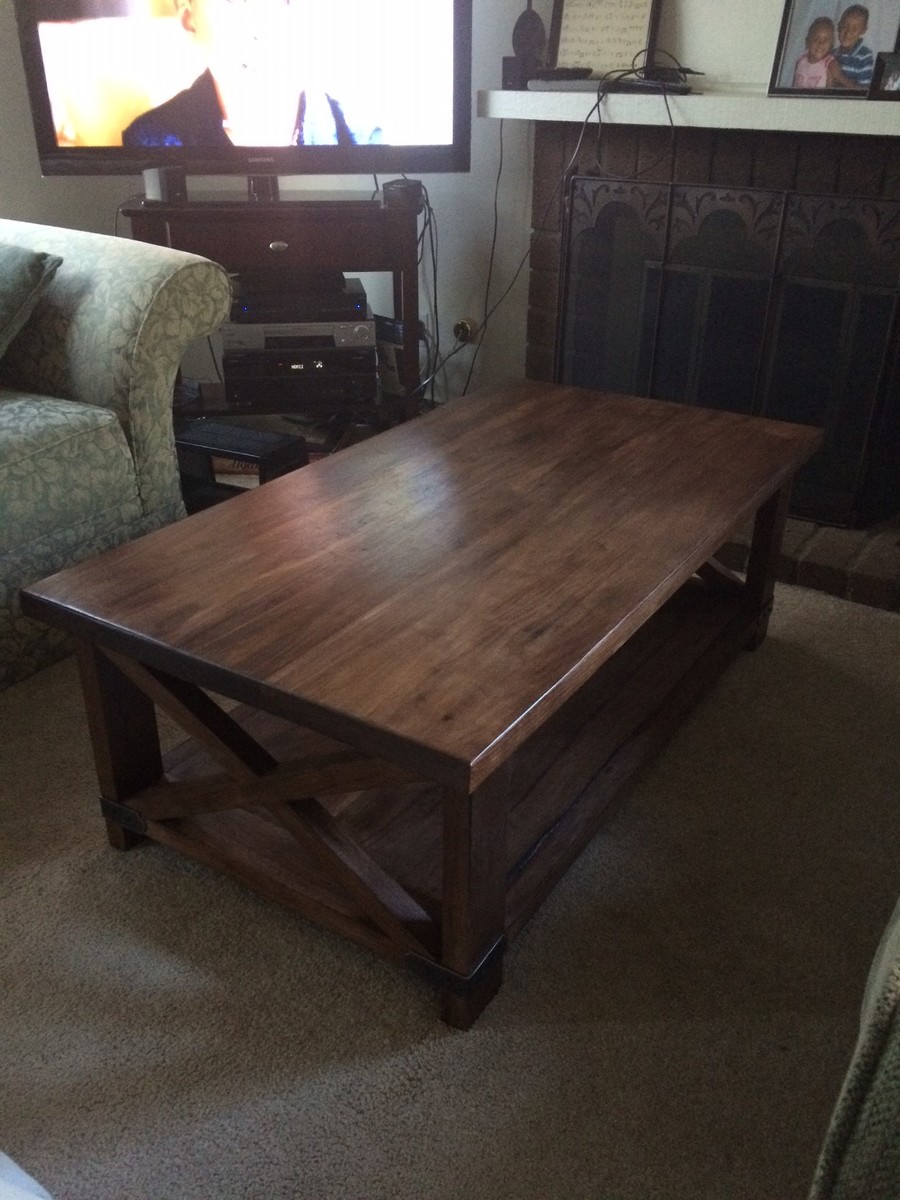
Rustic X Coffee Table done in American Walnut. Top was planed and joined for smother surface.
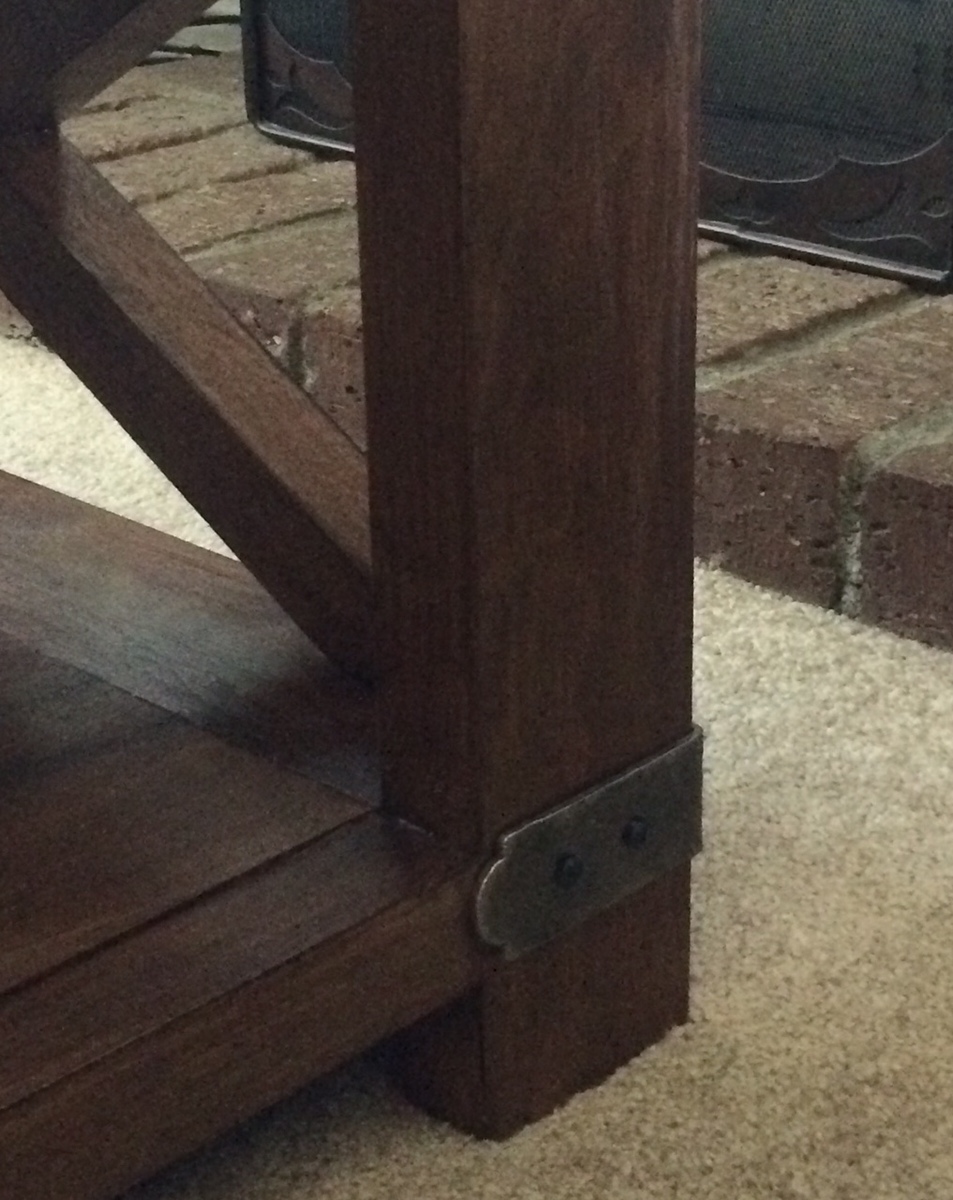
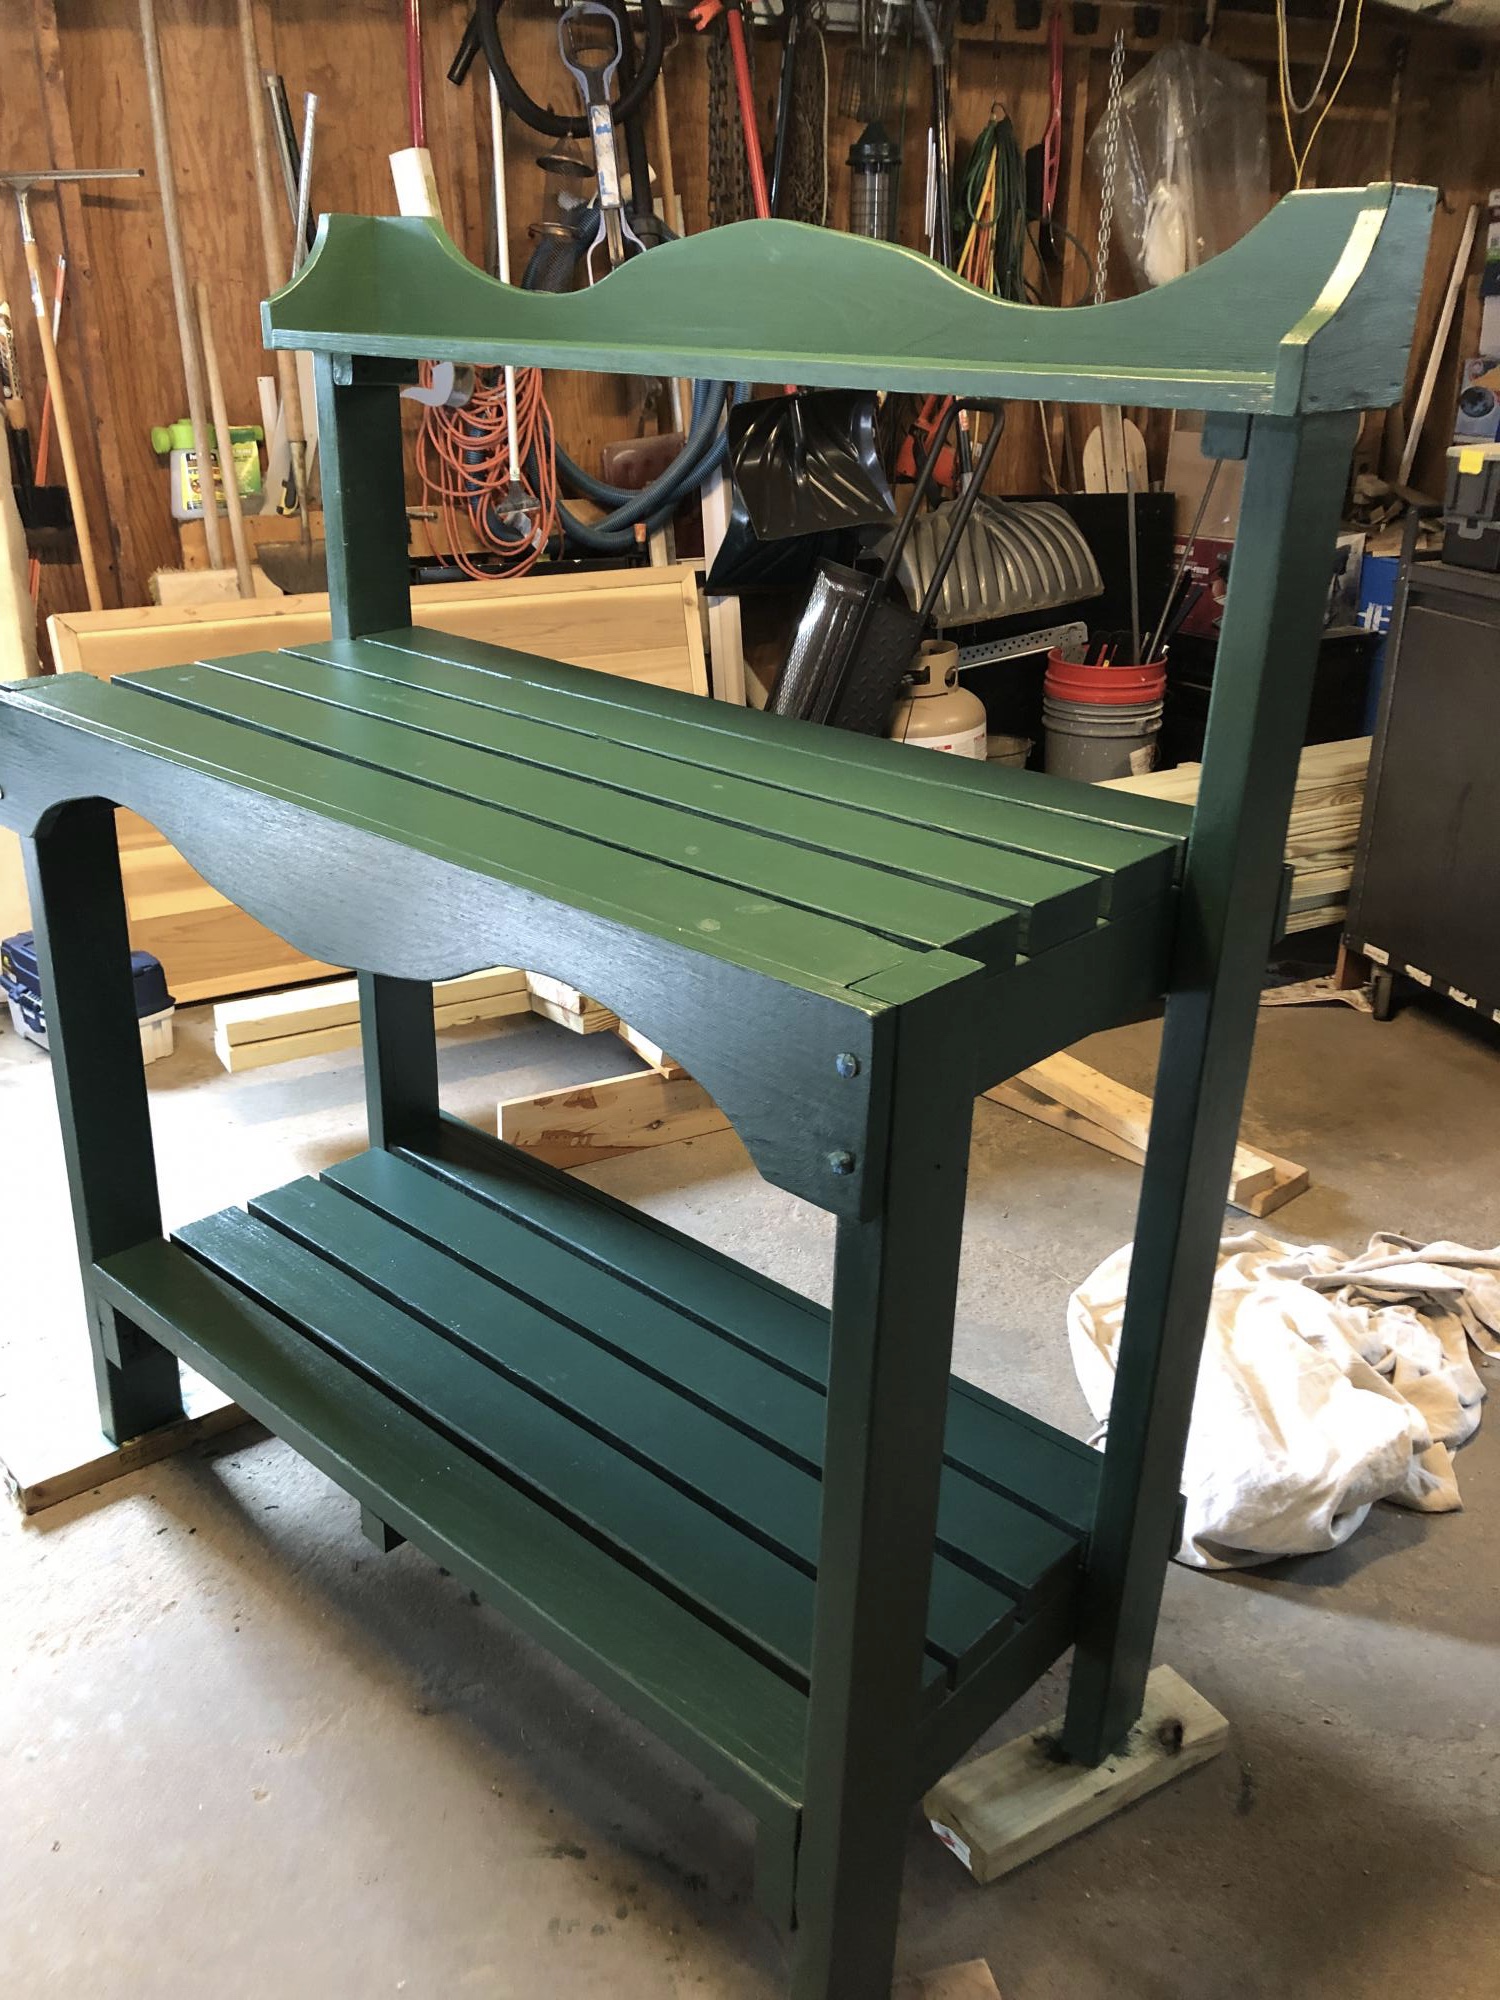
My good friend asked me to build her a potting bench for her garden wedding reception. She shouted me a photo of one from the internet. I used your plan and made a couple modifications. This is the color she requested and I used Cabot solid stain. I’m not a fan of solid stain and won’t use it again. She loved it.
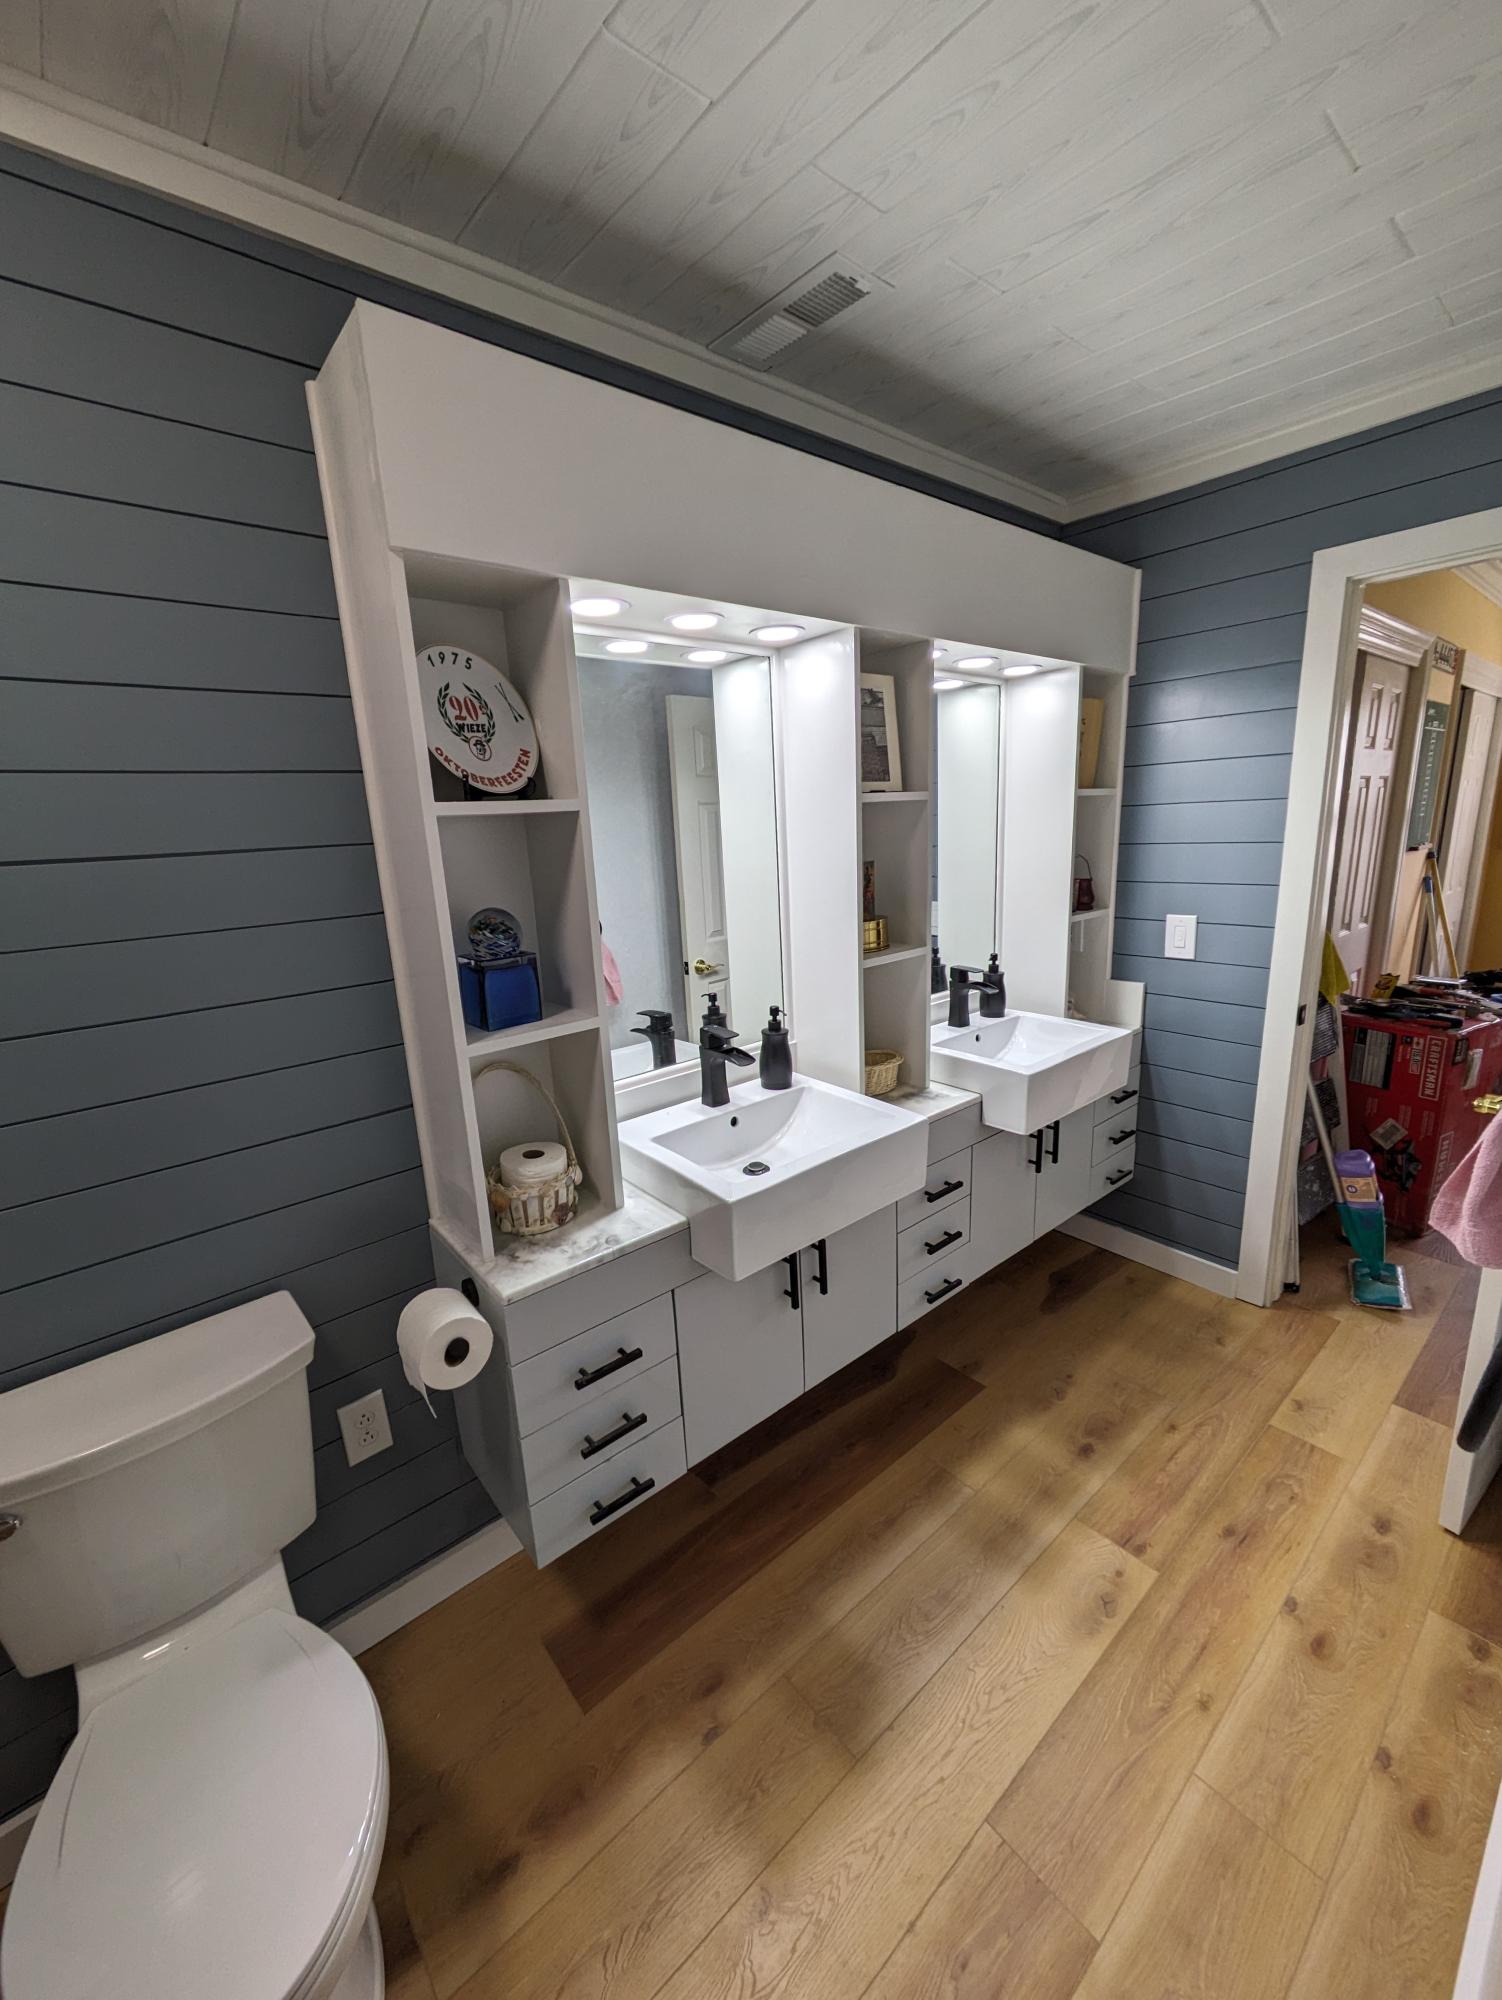
Bathroom had a huge mirror. Looked like it required 2 men and a small boy with proper tools to remove it. So a riff off the vanity plan covered 2/3 of the mirror and made for a much nicer look.
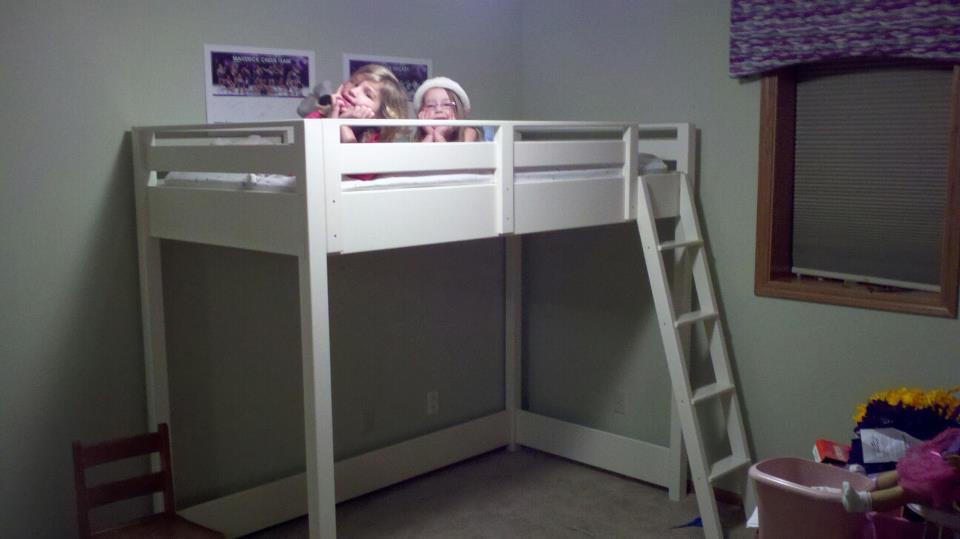
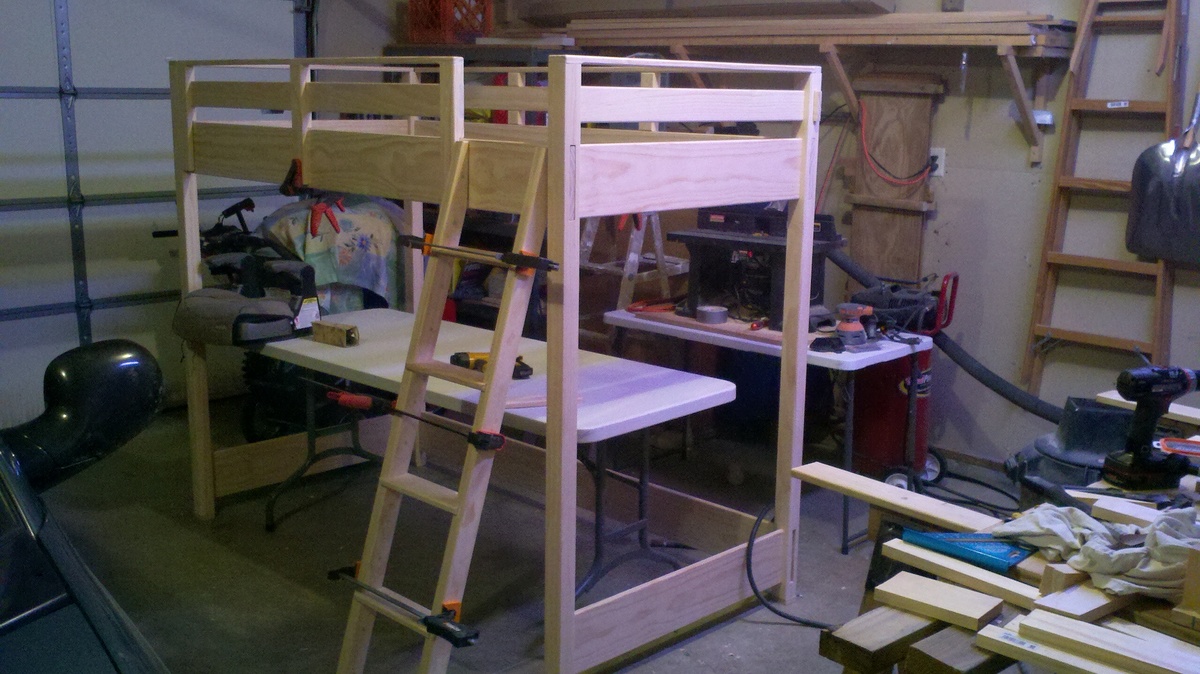
My daughter loves her new bed, thanks Ana!
The plans were well thought out and very easy to follow. I did make a few changes/modifications that others might want to consider.
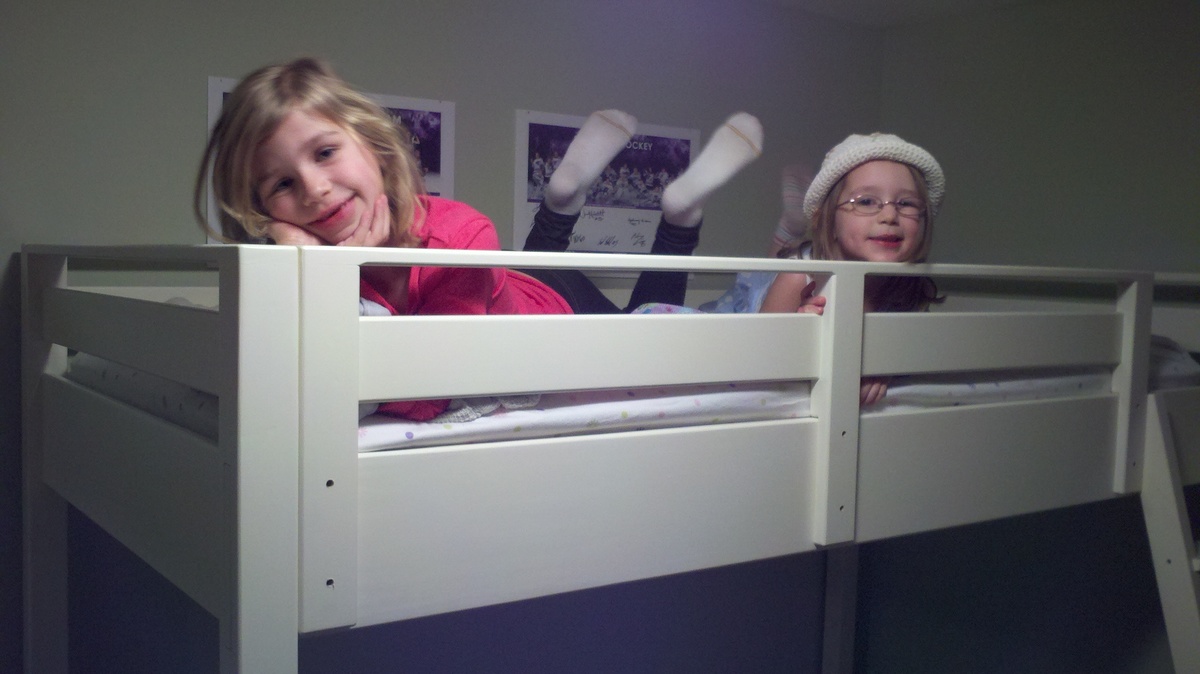
I used select pine boards to cut down on the amount of sanding necessary prior to paining, however that boards have a fairly sharp edges. Because this is a kids bed and play area underneath I rounded off all the edges with a 1/4" round over bit in my router. I love how it turned out!
I also added two 1x3 supports to the long 1x2 top back rail. I did this for two reasons, first was the 1x2 seems a bit saggy and didn't seem like it would hold up too well to my 6 year old up there. Secondly, it match the front rail nicely. Speaking of the front rail, I also changed the vertical supports from 1x4s to 1x3s. The 1x3s match the 1x3 posts and look much better IMHO.
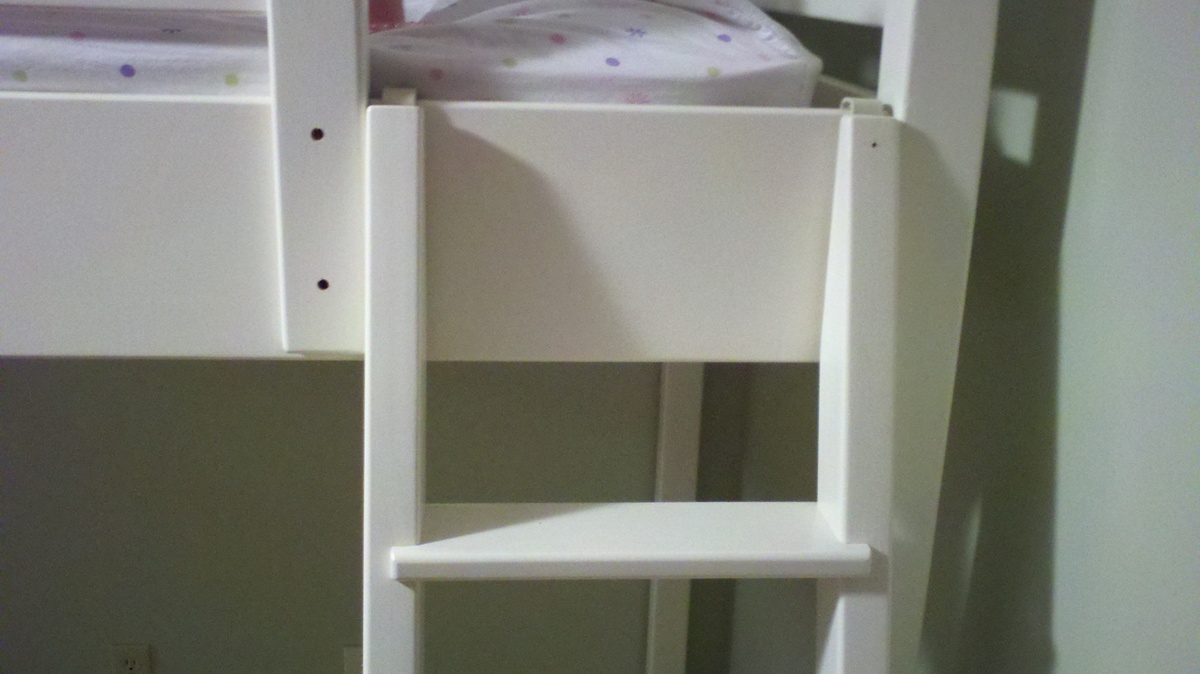
When I built the ladder I was struggling with the gaps left by the 1x3 stair treads when I placed them in the 1x3 sides. Finally I decided to use 1x4 treads, again rounded over with a 1/4" bit. These larger treads overhang the 1x3 sides by about 1/2-inch and look very nice.
Finally, instead of screwing the ladder to t 1x8 bed frame, I bent 5" corner brackets into a "J" shape and attached them upside down to the top of the ladder. The upside down "J's" hook over the top of the 1x8 bed rail and allows the ladder to be easily removable yet is still securely attached to the bed for use.
Mon, 01/23/2012 - 14:12
Wow!!!! Saw a similar bed at a kid's furniture store for about $2,500 in NYC. Thank God I came across this site before plunking down that amount of cash.
Well Done!
Sun, 02/26/2012 - 21:47
Is this bed as tall as the original design specified? For some reason it seems shorter to me. We have a ceiling fan in my childrens' rooms and average height ceilings. I am concerned with making something too tall.
Thanks.
Wed, 07/11/2012 - 07:59
Mary - No, I had to shorten the bed by about 3 or 4 inches because our ceilings are lower than 8' in the basement. The only real challenge with changing the height of the loft is re-working the step spacing on the ladder.
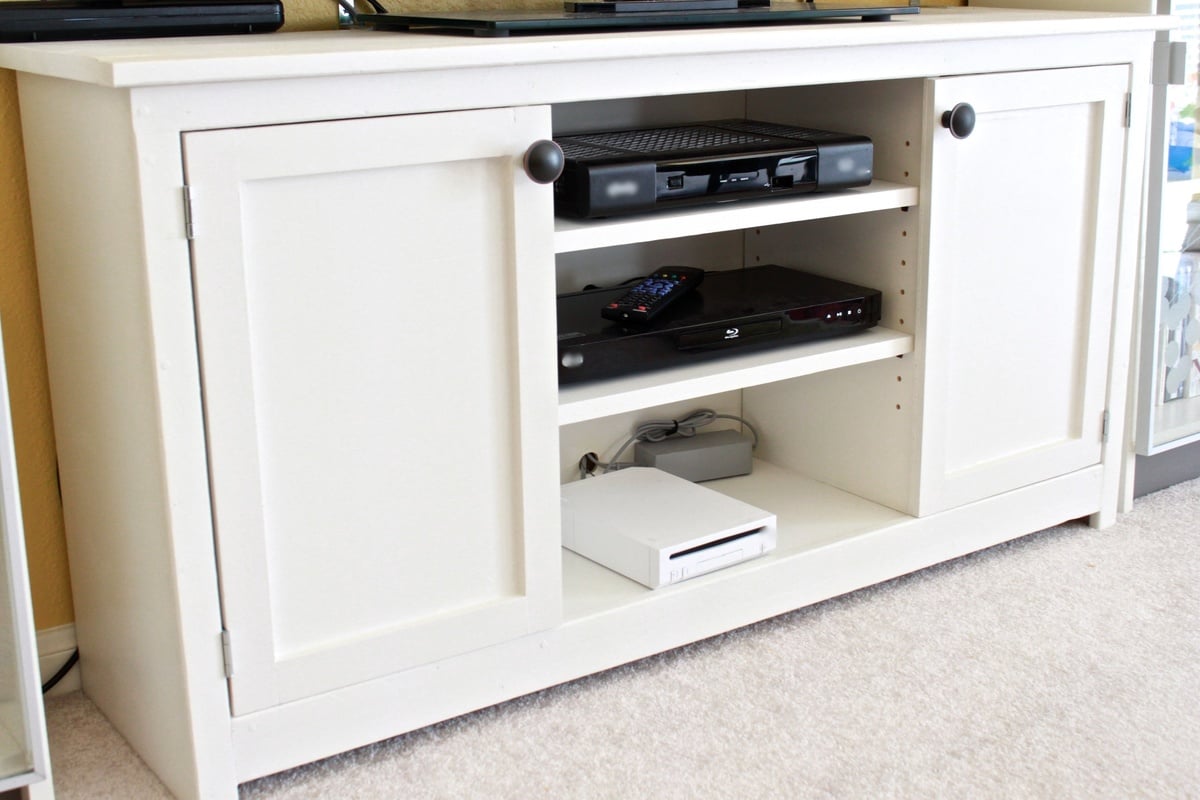
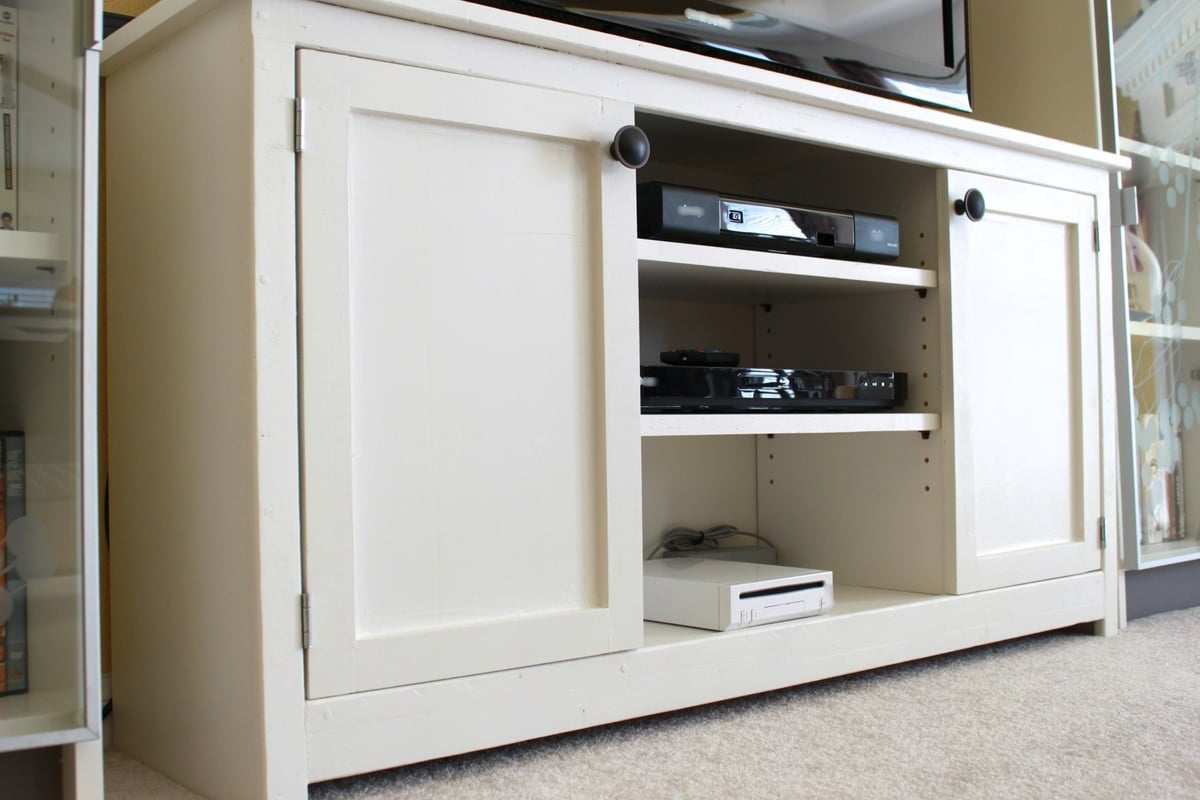
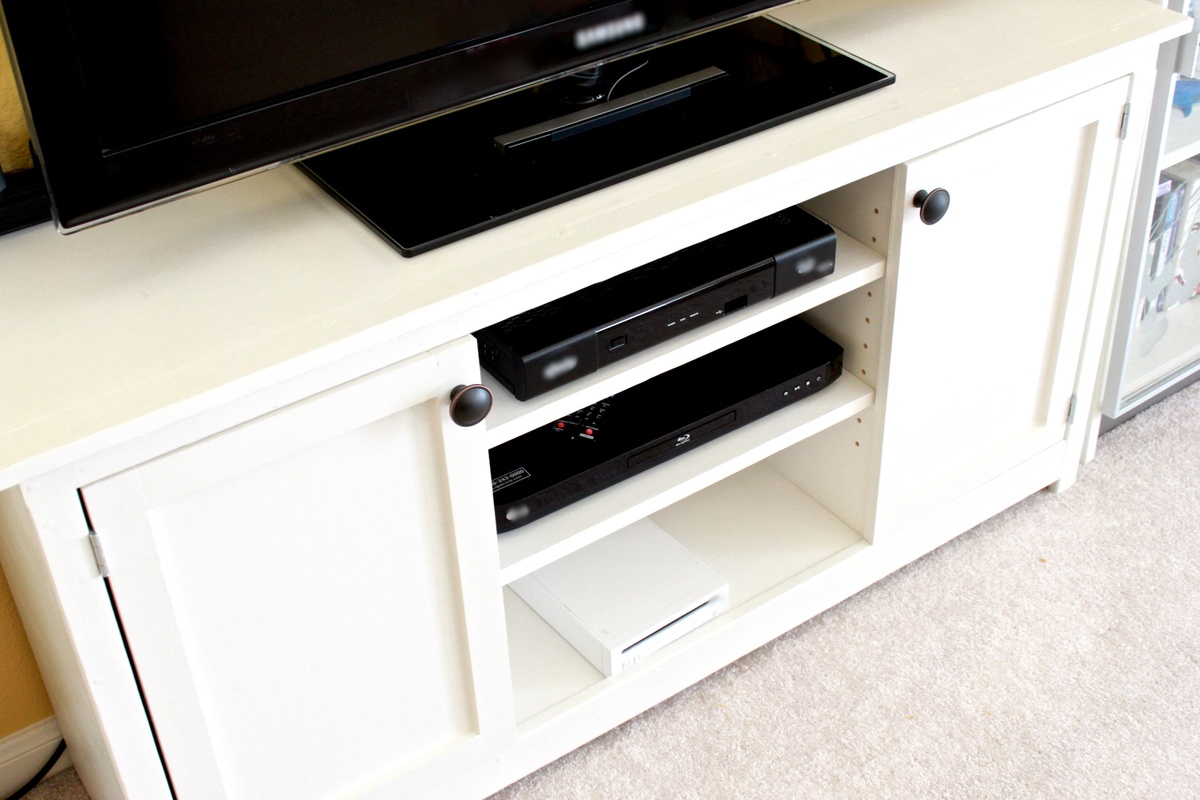
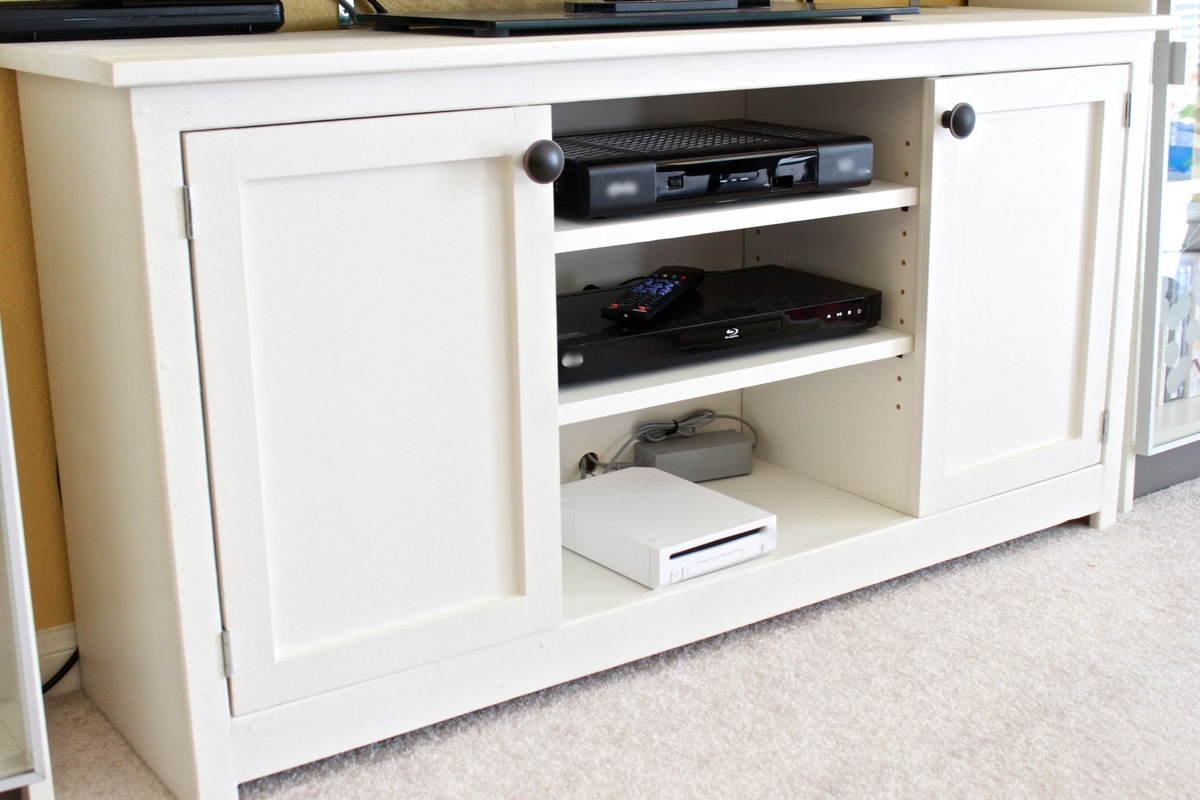
We built this media console because our old TV stand was pretty much a safety hazard for our soon-to-be mobile baby. We found a good plan in The Handbuilt Home and modified it to our dimensions with the help of Sketch Up. We couldn't be happier with the final product!
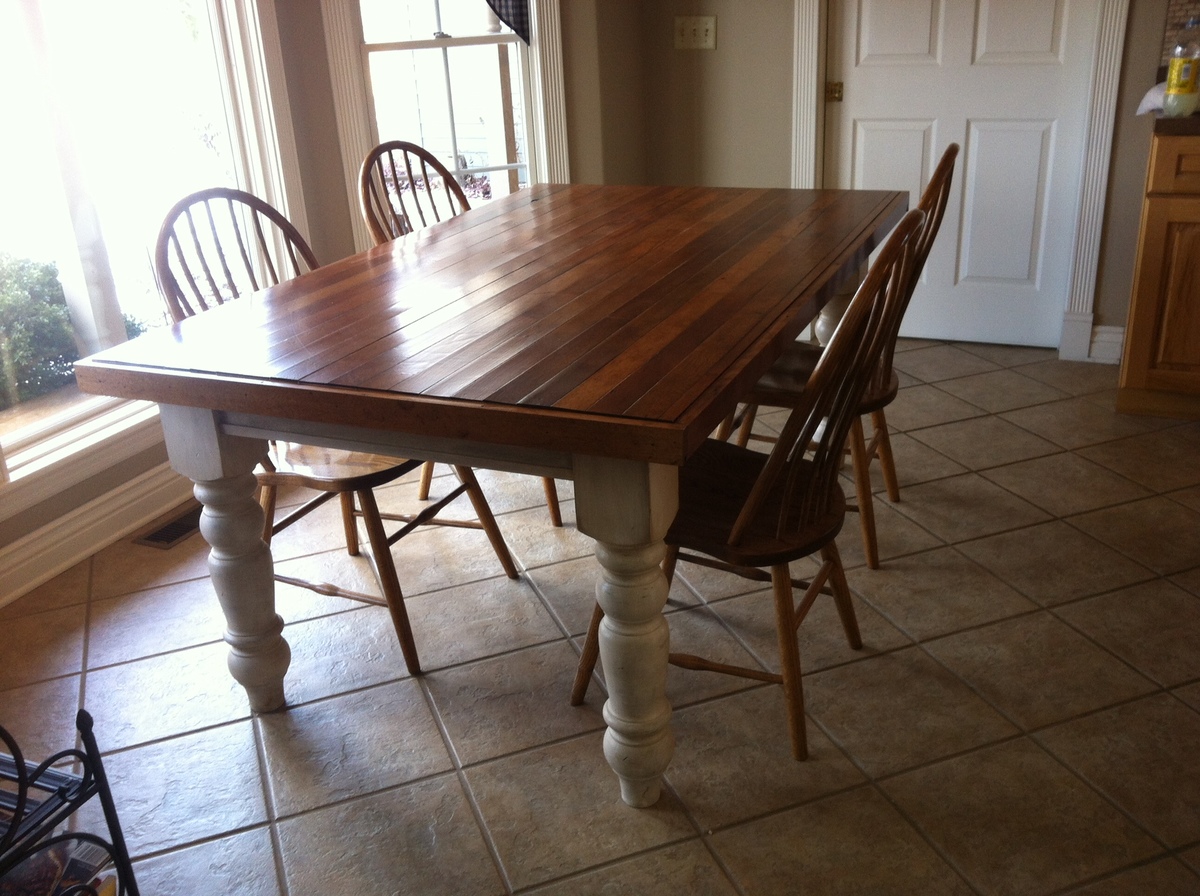
Found 120 year old mahogany hardwood flooring at The Old House Society that provided the table top. Built the subframe and legs per the standard plan. Then attached a 3/4" ODF plywood deck. Strip hardwood was nailed to the top with 1" finishing nails thru the flooring tongues. Cleaned the hardwood, applied 2 coats of shellac and 3 coats of satin polyurethane. The modification to use the strip flooring was the most tedious to get a tight fit. The antique, aged and stressed flooring gives the table a real antique look. Build time was @ 8 hours. Applying the finishes took several days of drying/curing before use. My wife loves it and I am proud of the final project.
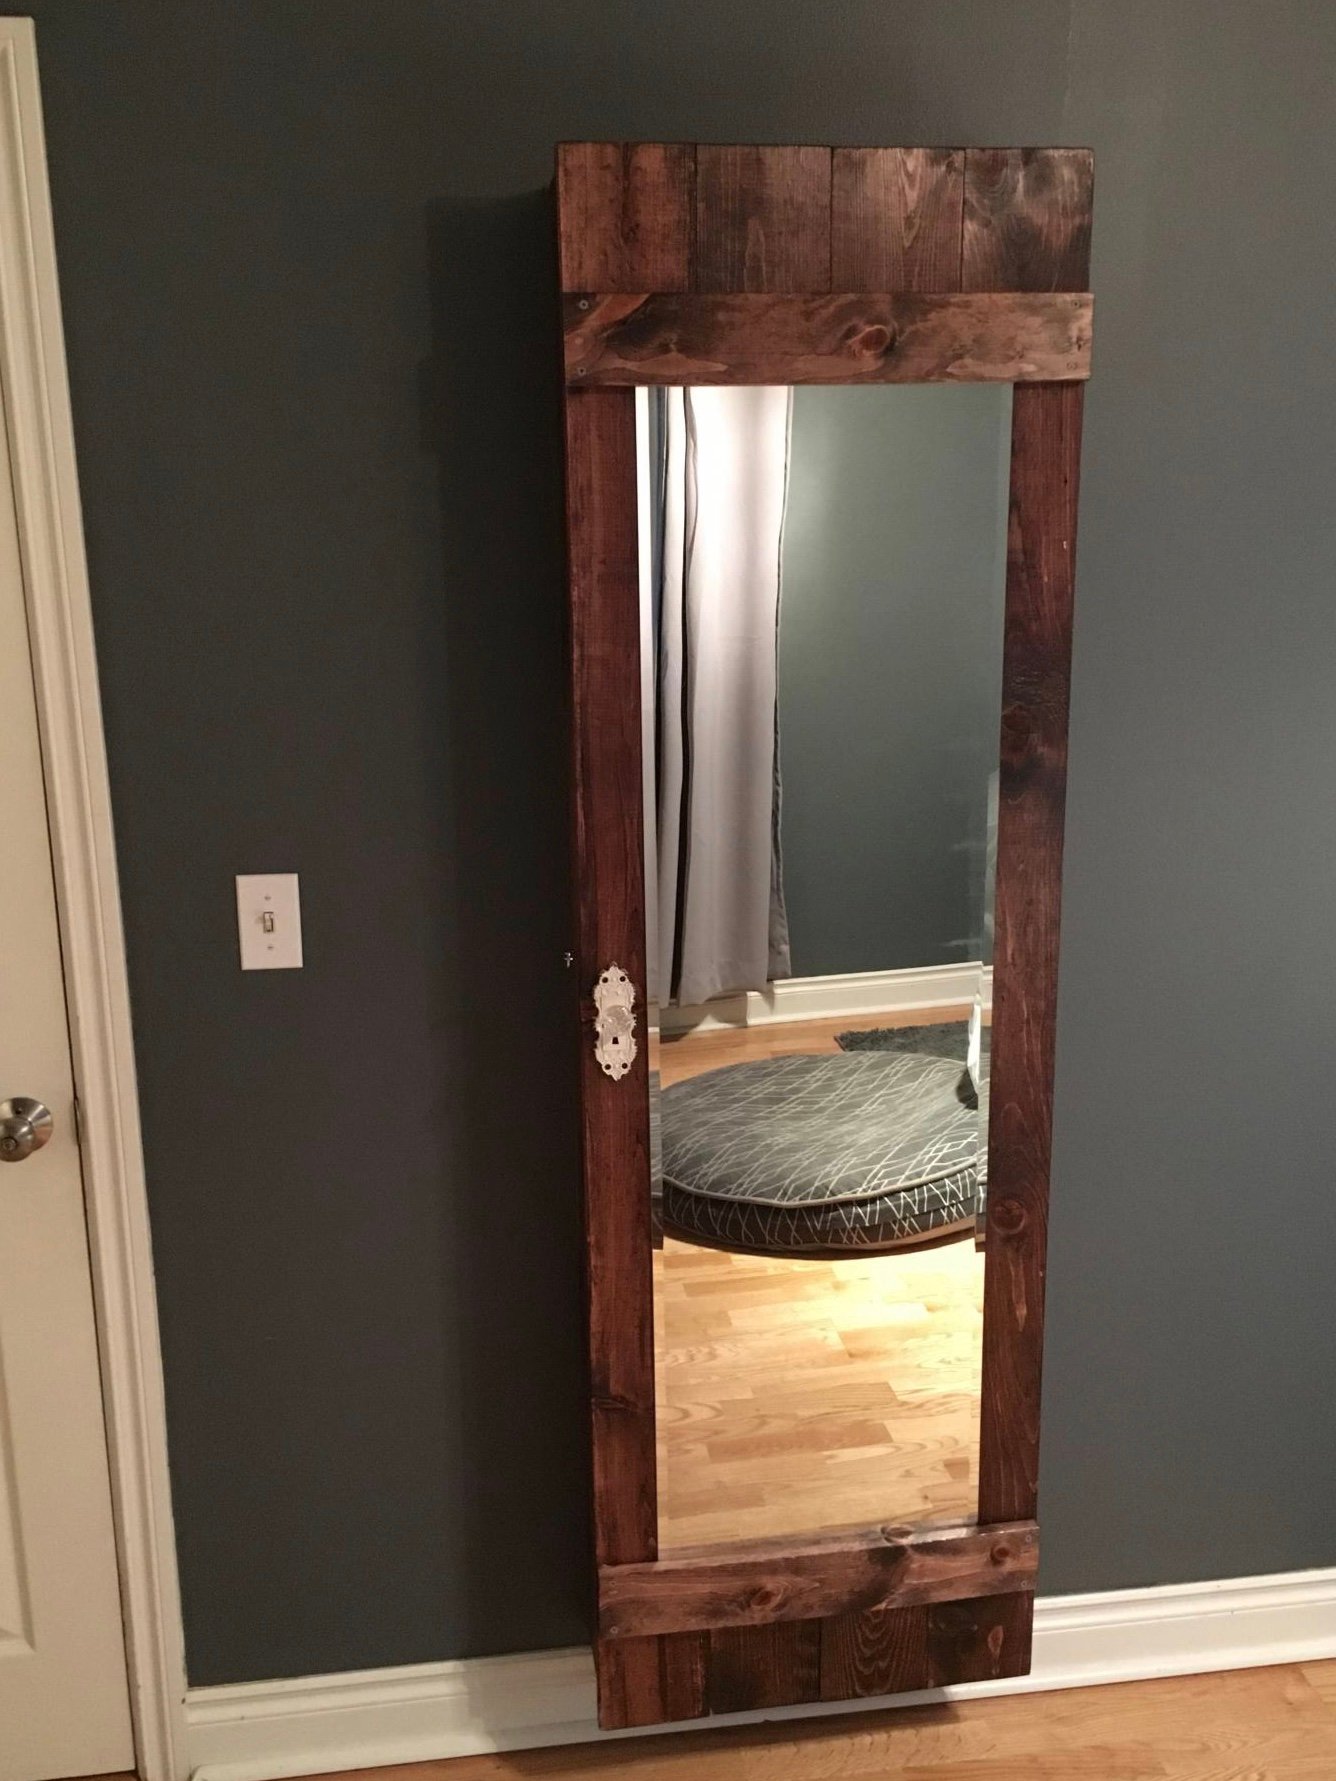
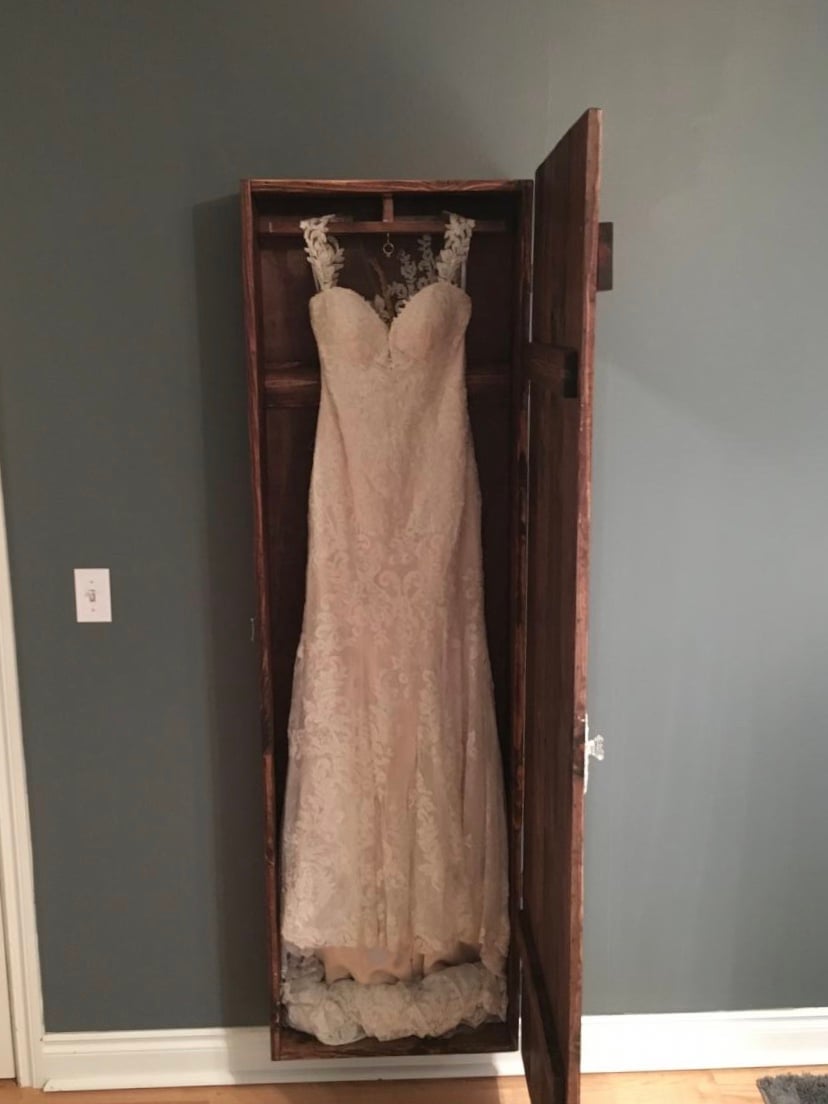
I built my wife a barn door wall mirror for our anniversary. But then got this crazy idea attach a shadow box to display wedding dress. Project get wedding dress out of closet!!
