Community Brag Posts

Rugged Outdoor Table
Submitted by cdrum89 on Thu, 03/06/2014 - 06:05

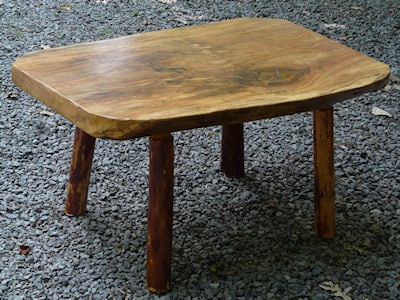
Ok I decided to construct my very first project - a small outdoor table that would look a bit ancient mostly because the need for it in my house has been screaming since I could remember. I would selfish to say that I did it alone but I got a bit of help from my hussy. I'm happy that the kids love it and all struggle to have lunch on it.
Built from Plan(s)
Estimated Cost
$50.00
Estimated Time Investment
Day Project (6-9 Hours)
Finish Used
Coated with a transparent paint/thinner as I wanted to keep it a bit raw.
Recommended Skill Level
Beginner

LV wine case

Submitted by Anonymous (not verified) on Sun, 06/05/2016 - 13:09

I built this wine case for my for my daughter and her husband. I couldn't done it with Ana"s great plans.

Built from Plan(s)
Estimated Cost
$200
Estimated Time Investment
Week Long Project (20 Hours or More)
Finish Used
Daughter and son-in-law will use it to store the many wine bottles they receive as gifts.I think natural Oak is beautiful and just use a poly finish.
Recommended Skill Level
Intermediate

Our First Wood Working Gift!

Submitted by JD_2030 on Thu, 03/26/2020 - 16:41

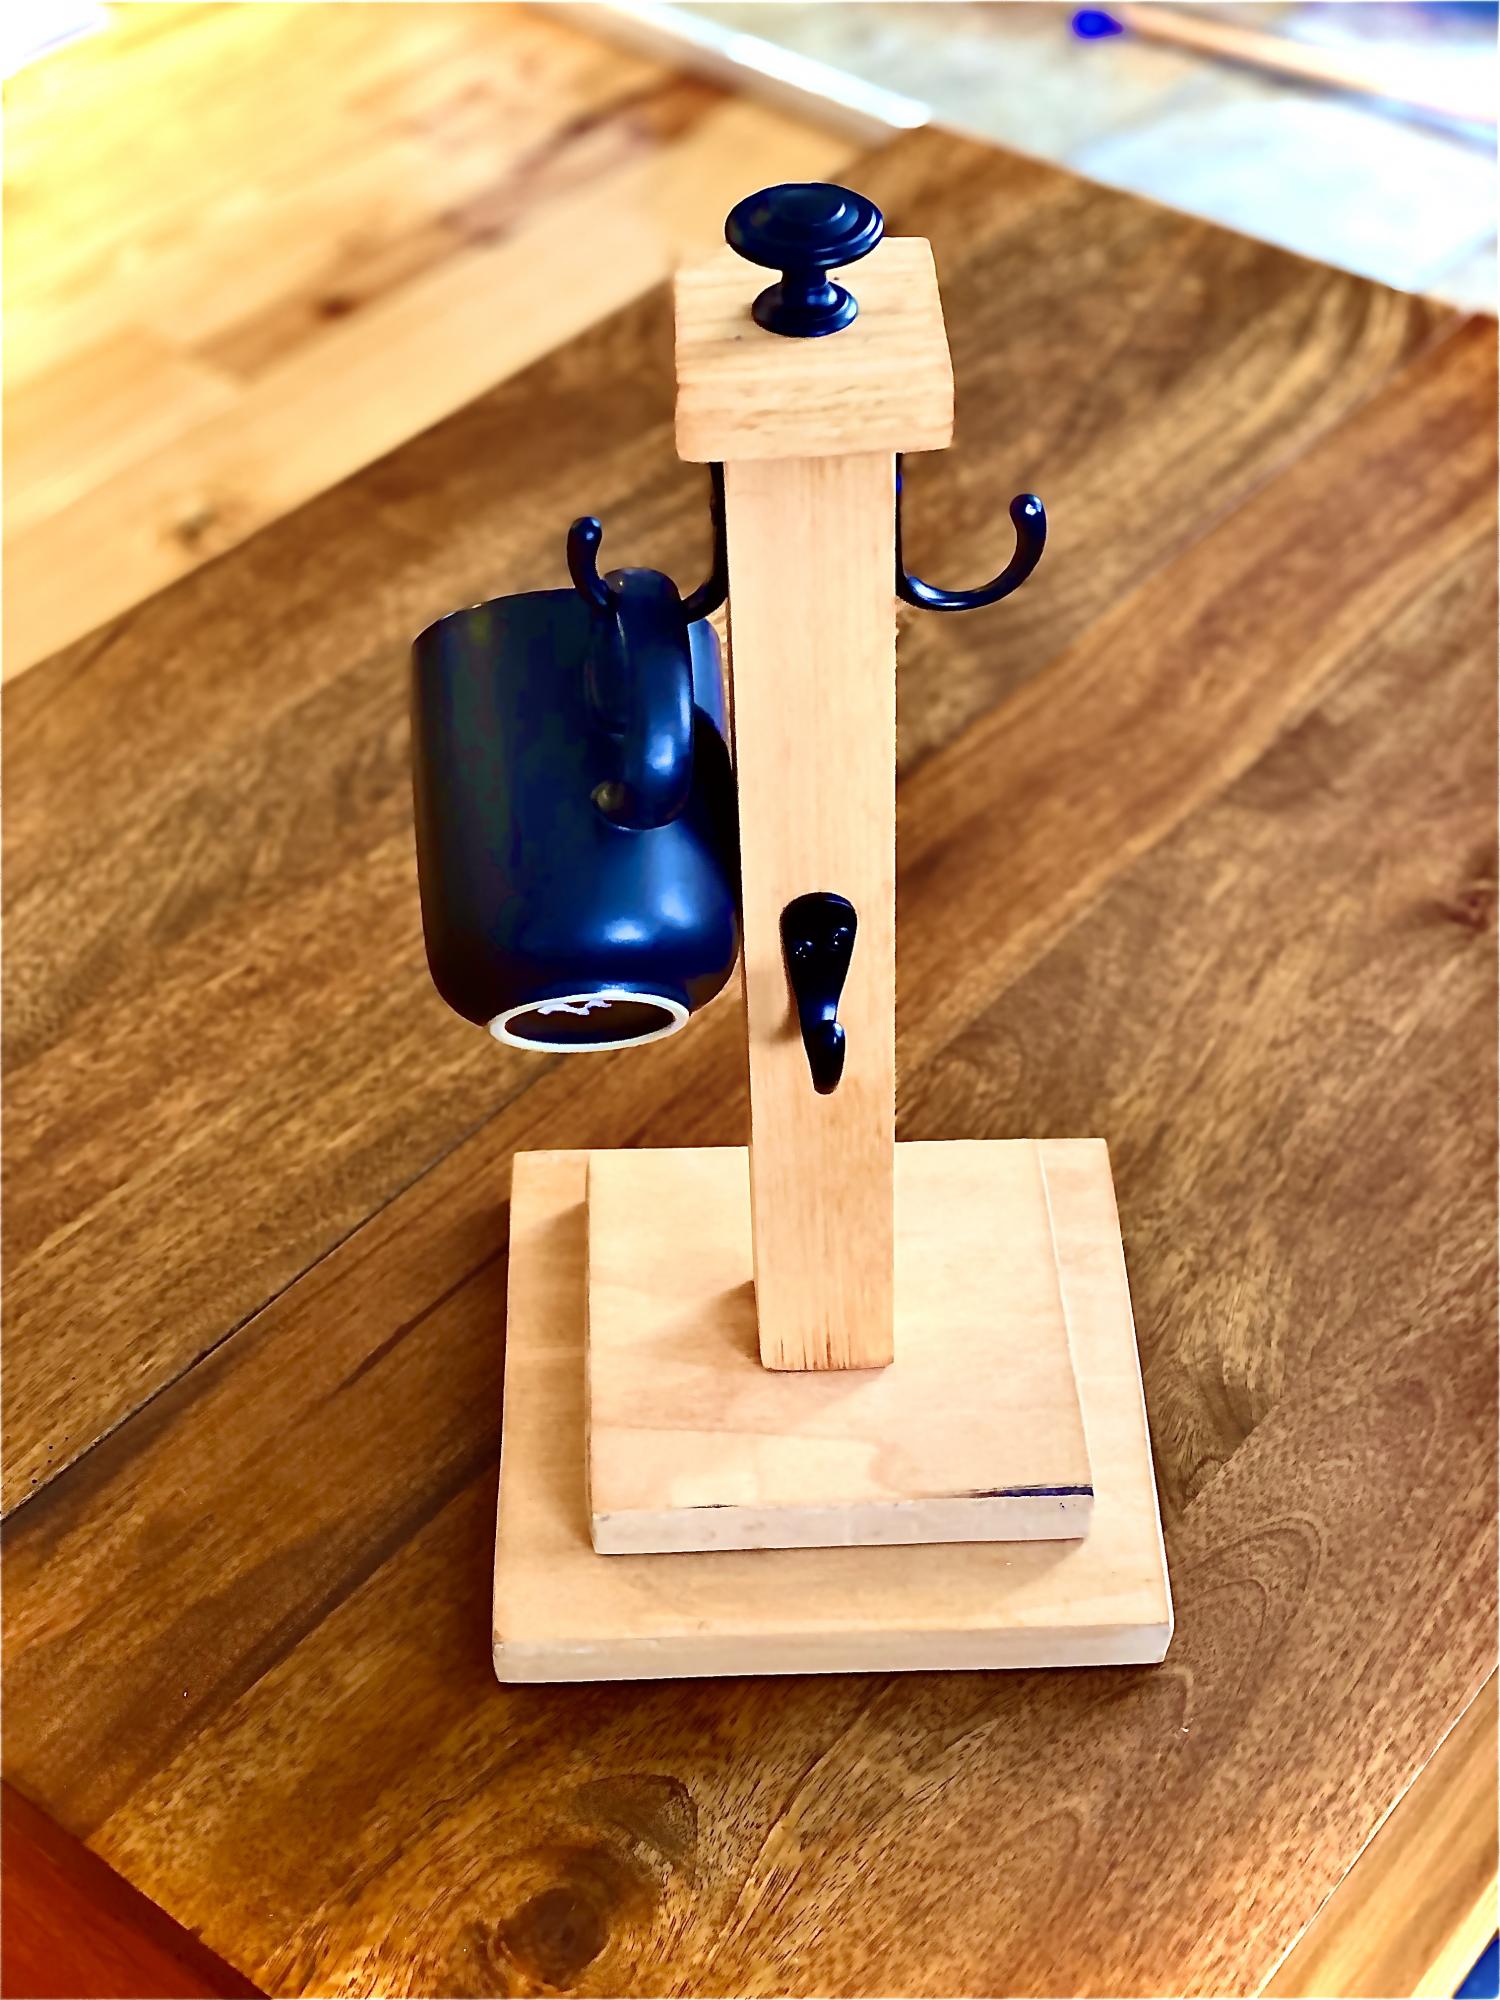
This cup tree was so easy to put together and made a wonderful birthday gift for my dad! For the bottom and top, we used scrap plywood that we had lying around. We used one light coat of stain to give it a warm hue. What an enjoyable project!

Built from Plan(s)
Estimated Cost
$6
Estimated Time Investment
Afternoon Project (3-6 Hours)
Finish Used
Stain
Recommended Skill Level
Starter Project

Table for the little one

Submitted by Rennie82 on Fri, 05/25/2012 - 05:36

Got my new Kreg Jig, picked up a brand new master kit on craigslist for half the normal price! The table went together beautifully and the chairs were simple as well!

Built from Plan(s)
Estimated Cost
about 25 dollars for all the lumber
Estimated Time Investment
Afternoon Project (3-6 Hours)
Finish Used
Valspar latex semi gloss
Recommended Skill Level
Beginner

Kids Bunk Bed with Storage Stairs

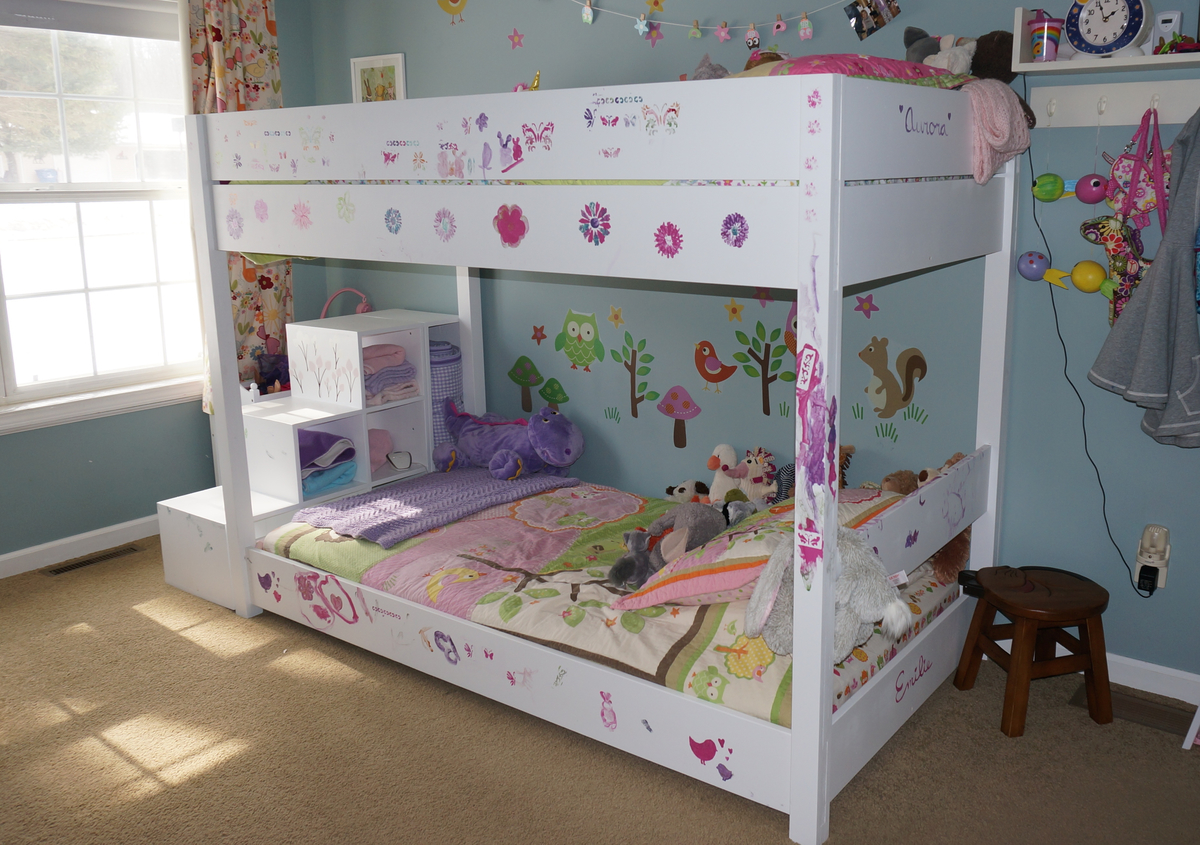
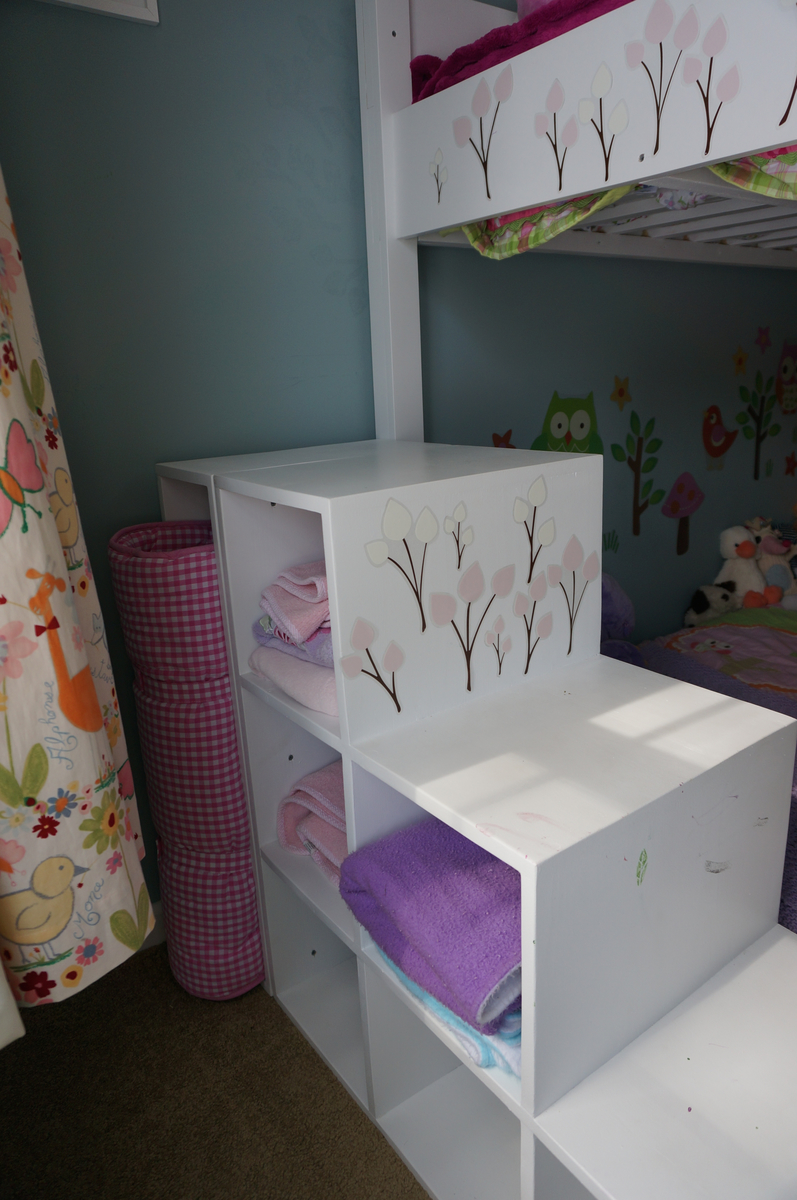
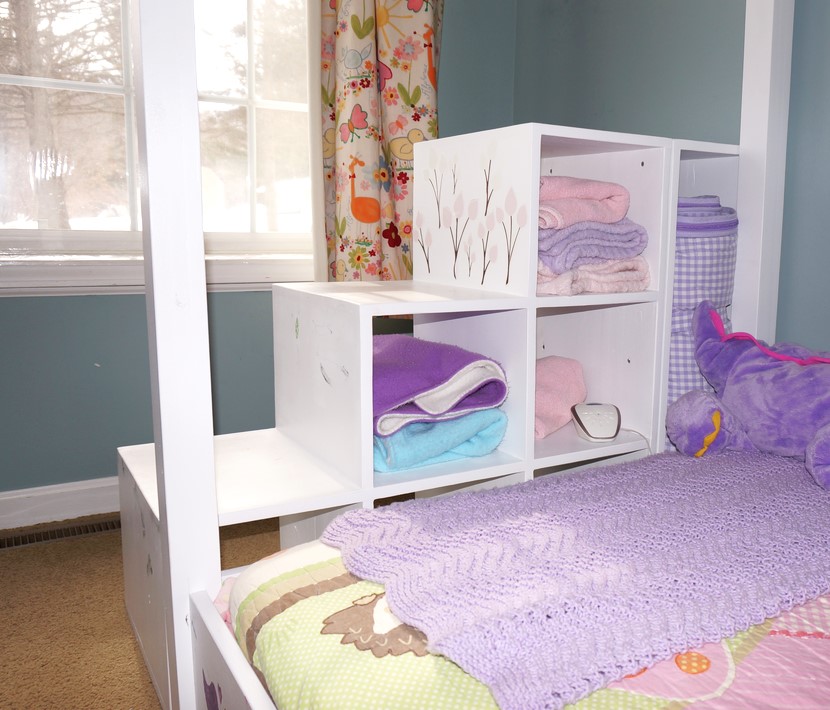
My husband and I searched at least a hundred plans to find a simple bunk bed for our girls and Ana's Loft bed was a perfect base plan with a few changes. We wanted a lower bunk, top and bottom, since our girls are young (ages 5 and 2.5). The youngest just moved from the crib so by putting the bed lower we are able to skip the side rails. Overall we cut 10 inches off the height of the original loft bed plan and still have plenty of room in the lower bunk. I can sit up comfortably on the lower bunk and the youngest can even stand. We went with another 8 inch board for the top bunk rail, it was simpler then the rail with cap but achieved the same overall rail height. We knew we didn't want a ladder in their room because our 2 yr old is fearless. So for the stairs my husband just ended up winging it, loosely basing them on the Storage Stairs plan, creating basic cubes so we can still let light in and have storage. We also didn't want the steps to be high up in case the girls fall from them, which is more common then them falling off the top bunk. At 32 in. high (the bunk is 61 in) both of them can still climb in the top bunk without issue. At first the steps didn't have the tall "cube" at the back but the platform just wasn't that big so the long cube was an add on and gave it the perfect size and heft. We couldn't be happier with how it turned out. Thanks Ana for your awesome blog and the great plans that you post. My husband also built the original play kitchen and it is amazing! I'll have to do another post with pics of that.

Estimated Cost
$300
Estimated Time Investment
Weekend Project (10-20 Hours)
Finish Used
Valspar white primer and top coat in one in satin finish. Decorative paint is Martha Stewart craft paint, our 5 year old chose stencils, the 2.5 year preferred to free hand her art ;)
Recommended Skill Level
Beginner

Comments

Octagon Picnic Table

Submitted by Anonymous (not verified) on Thu, 06/09/2016 - 04:59

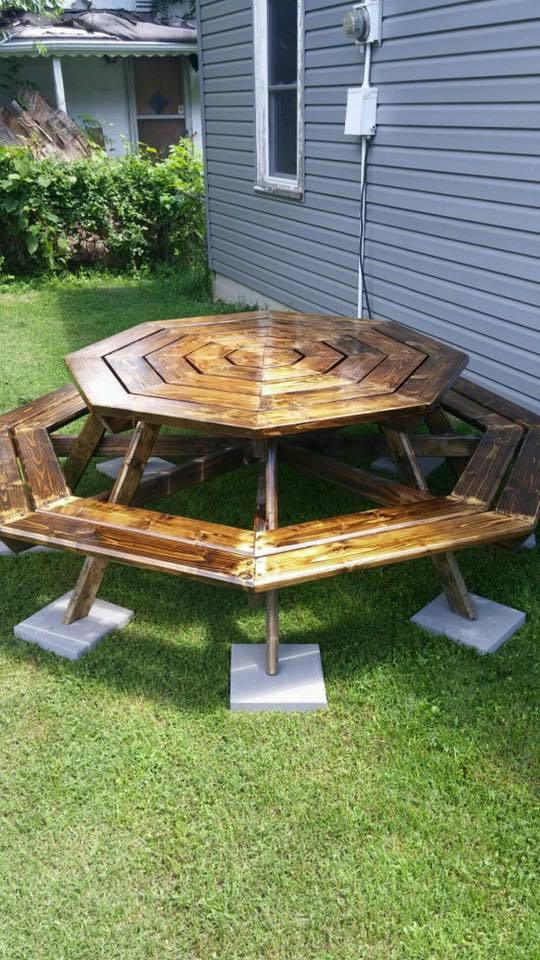
Was a good project that I built for my son's new home.

I found a few errors in the instructions such as:

A) 2 - 2x4 @ 30 1/2 should be 30 1/4

B) 8 - 2x6 @ 32 15/16 both ends at 30 degrees off square, parallel to each other) should be cut at 34 15/16 blank sizes then cut the angles to acheive the finish size of 32 15/16

C) 8 - 2x6 @ 36 3/4 (both ends at 90 degrees off square, parrallel to each other) should be (both ends at 22 1/2 degrees off square, NOT parrrallel to each other)

Built from Plan(s)
Estimated Cost
$120
Estimated Time Investment
Week Long Project (20 Hours or More)
Finish Used
Dark Walnut Stain, Urethane Top Coat
Recommended Skill Level
Intermediate

Dog/Baby Gate

Submitted by advanlente on Sat, 03/28/2020 - 11:53

Inspired by Ana White's $25 Wood Baby Gate (https://www.youtube.com/watch?v=cPV6XfheqgA), I needed a gate for my miniature schnauzers. They loved going into the basement unattended ... and well ... potty accidents happen without me being the wiser. So, I modified the hardware used, and so far so good! The puppies and my little nieces and nephews are protected. 

Wood Porch Swing

Submitted by ccobb1612 on Thu, 11/16/2023 - 08:59

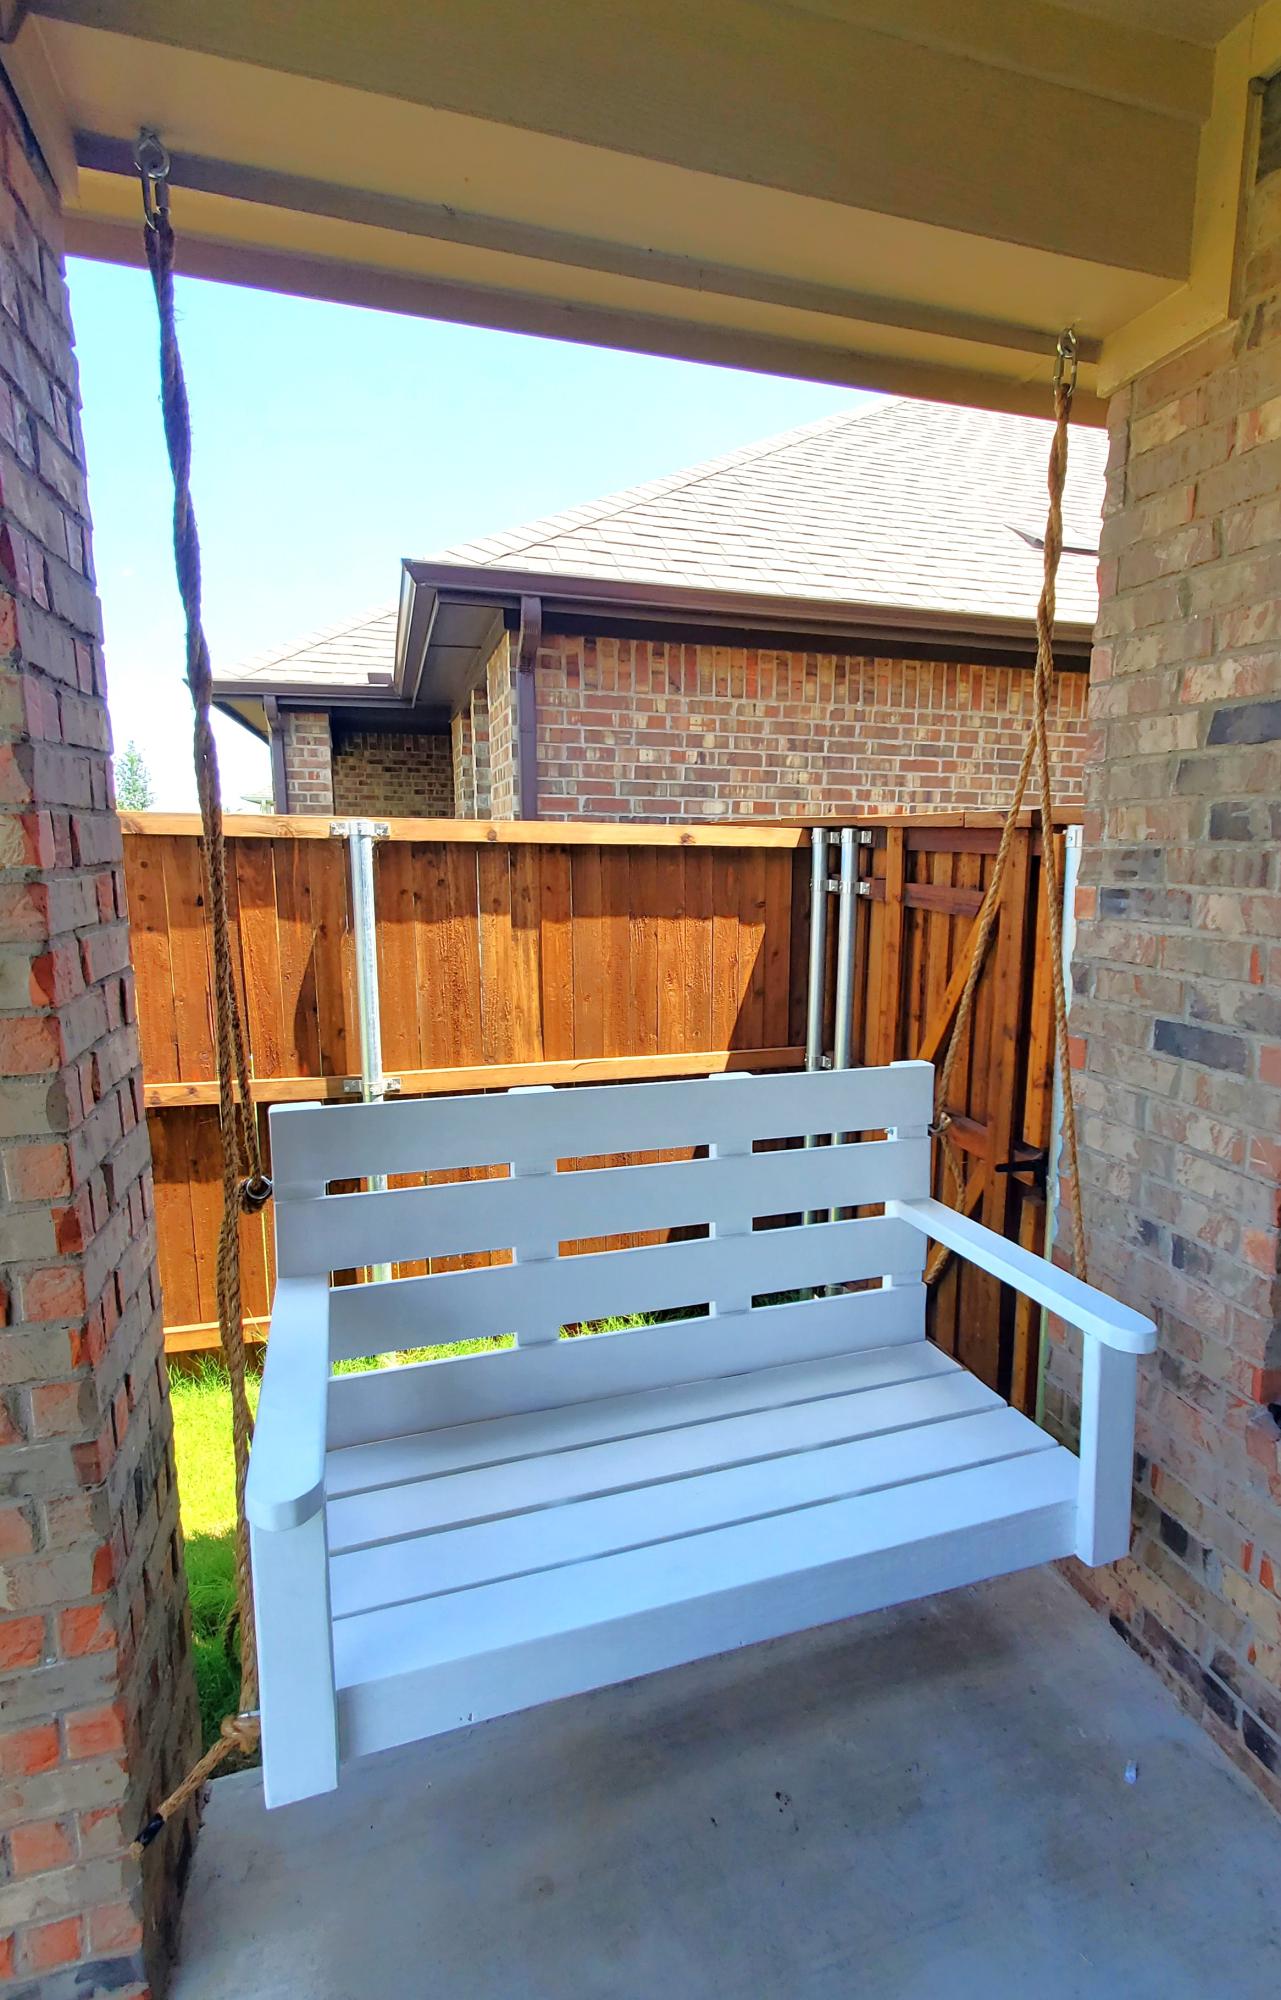
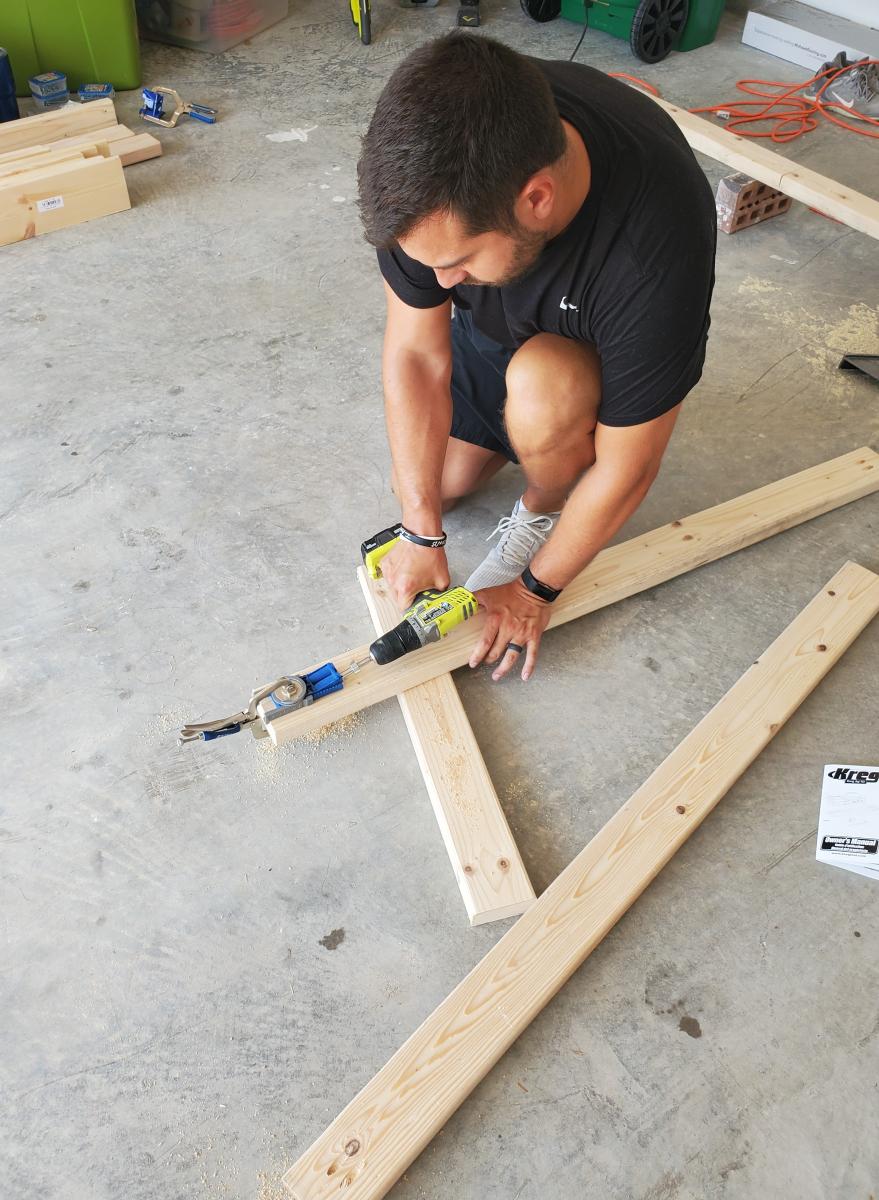
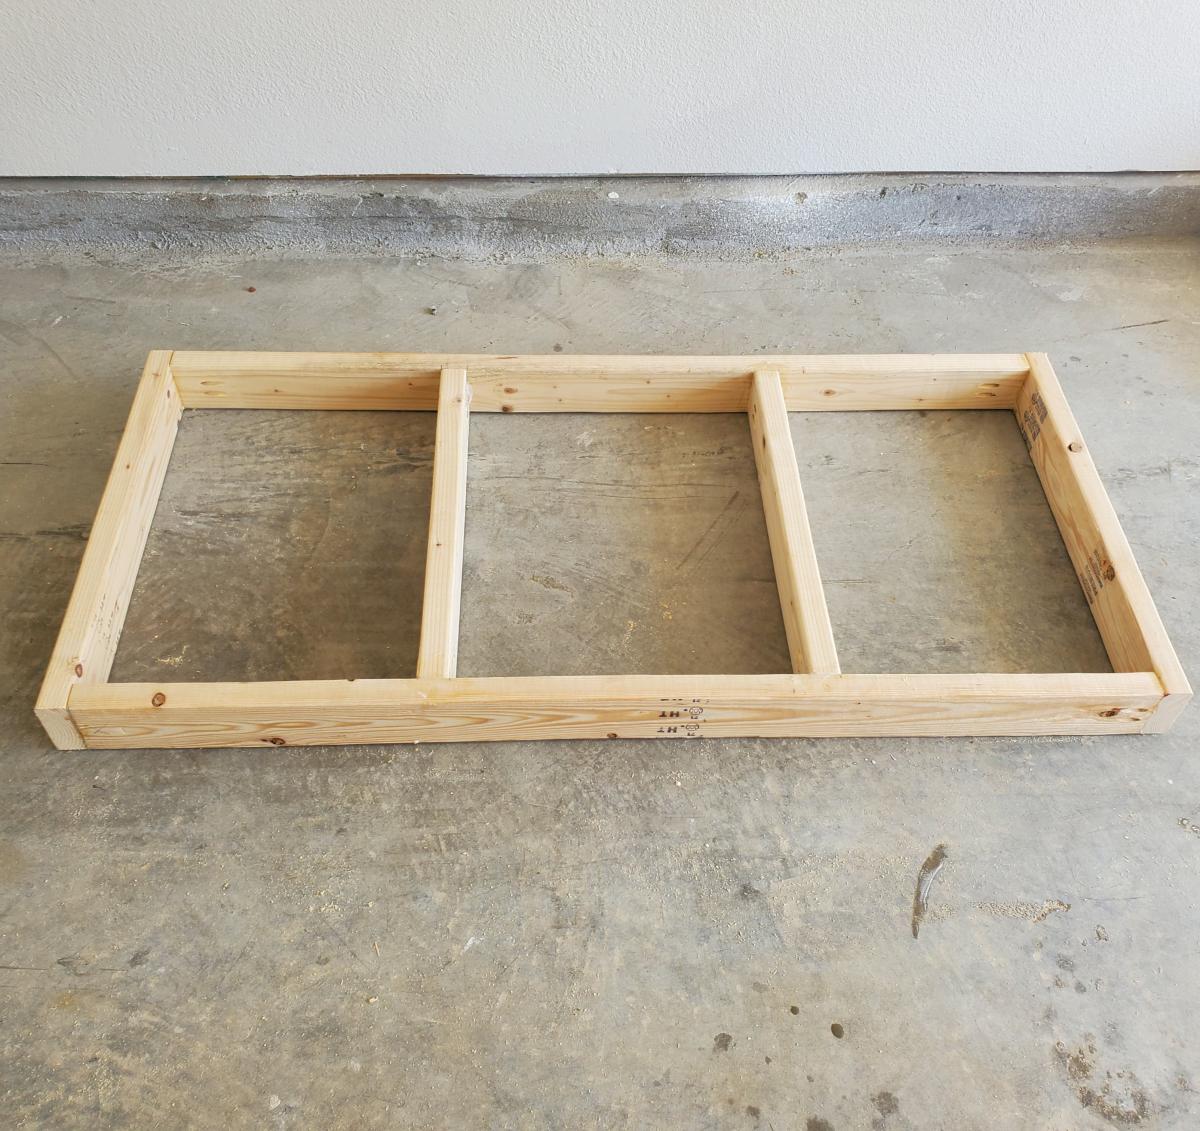
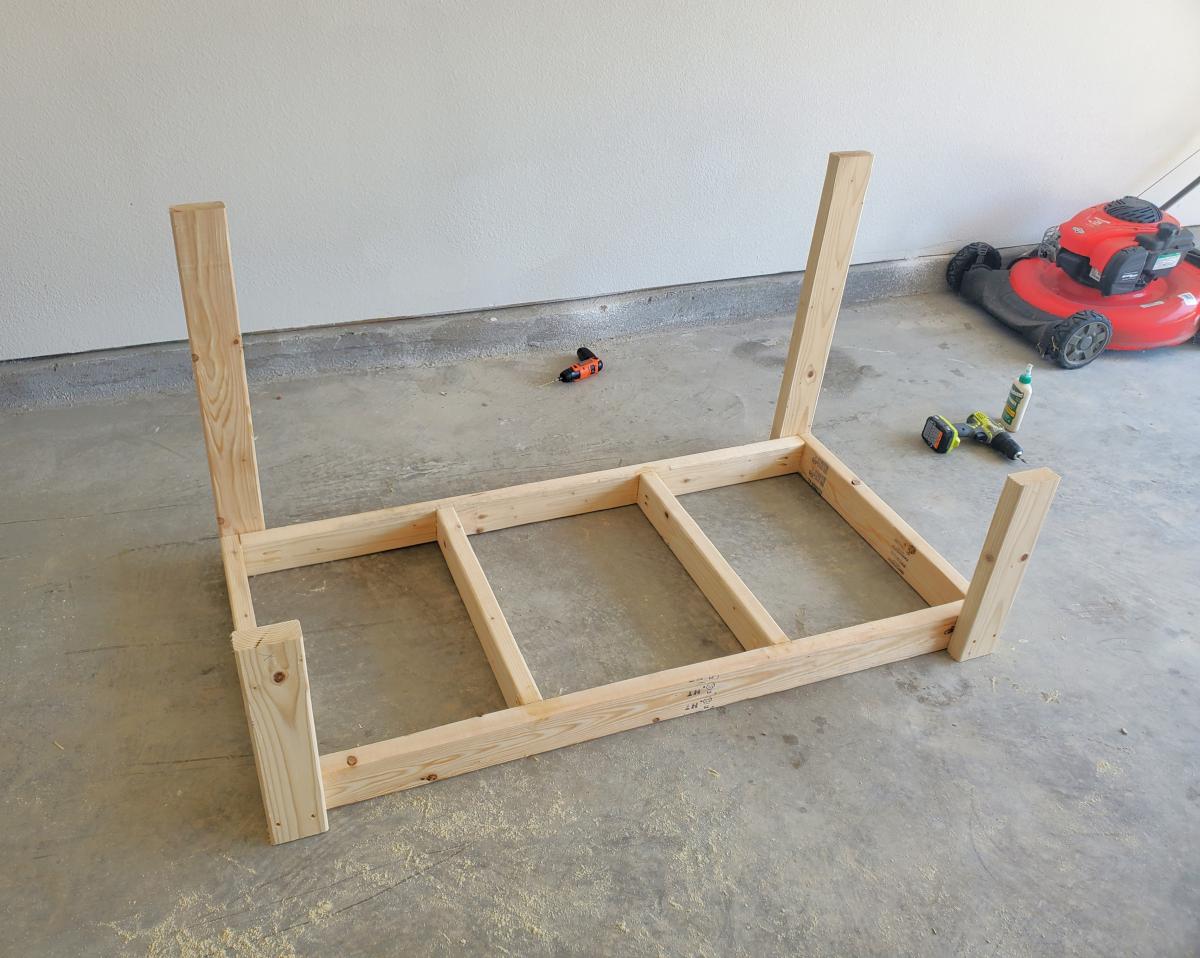
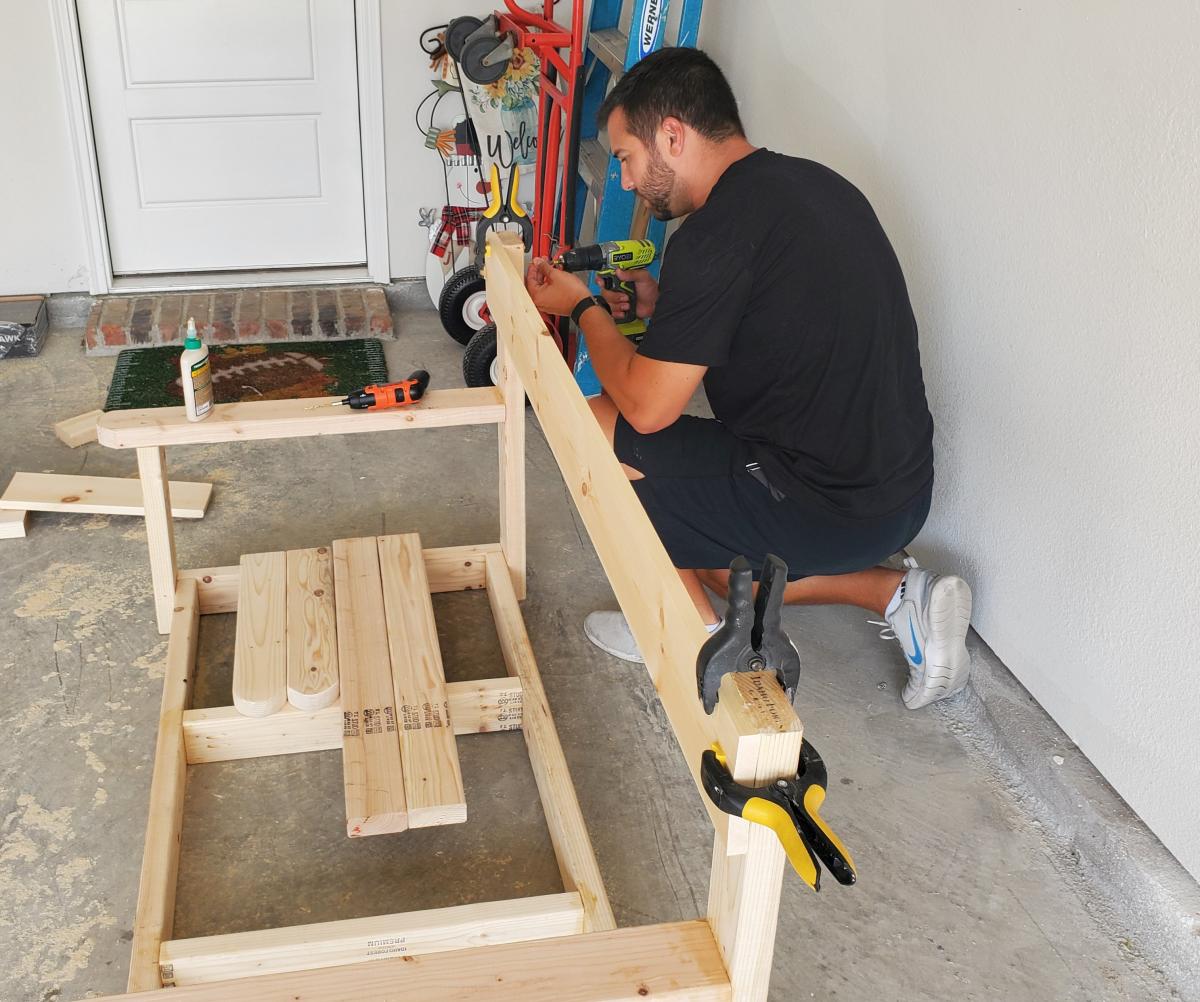
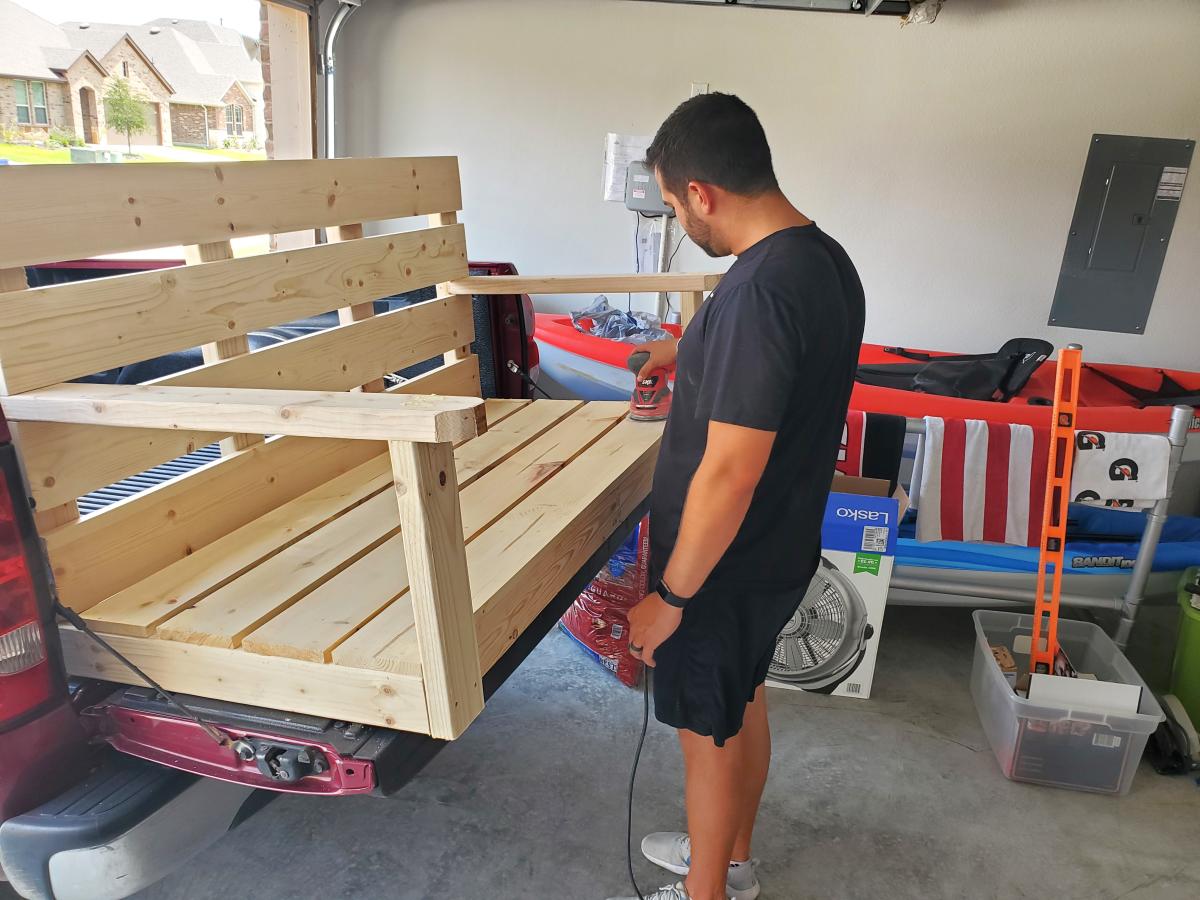
Made the large porch swing and changed length to fit into porch space. Used rope to hang for more rustic look.
Note - next time will possibly used 2x6 for arm rest to allow for drink holder hole and possibly on framing instead of 2x4s. DIL and new grandson love it.

Built from Plan(s)