iSideTable
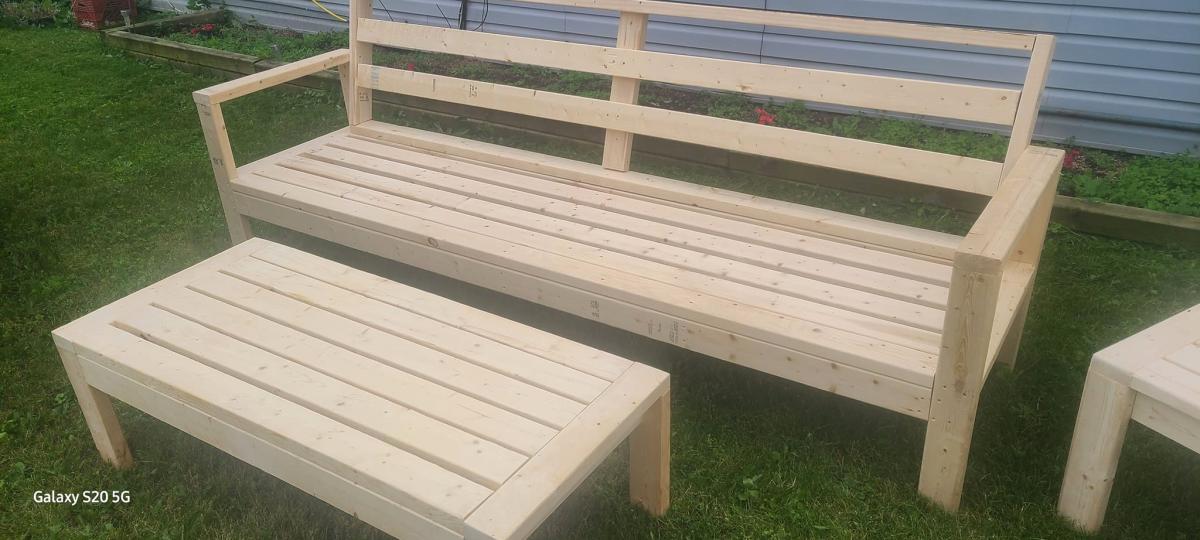
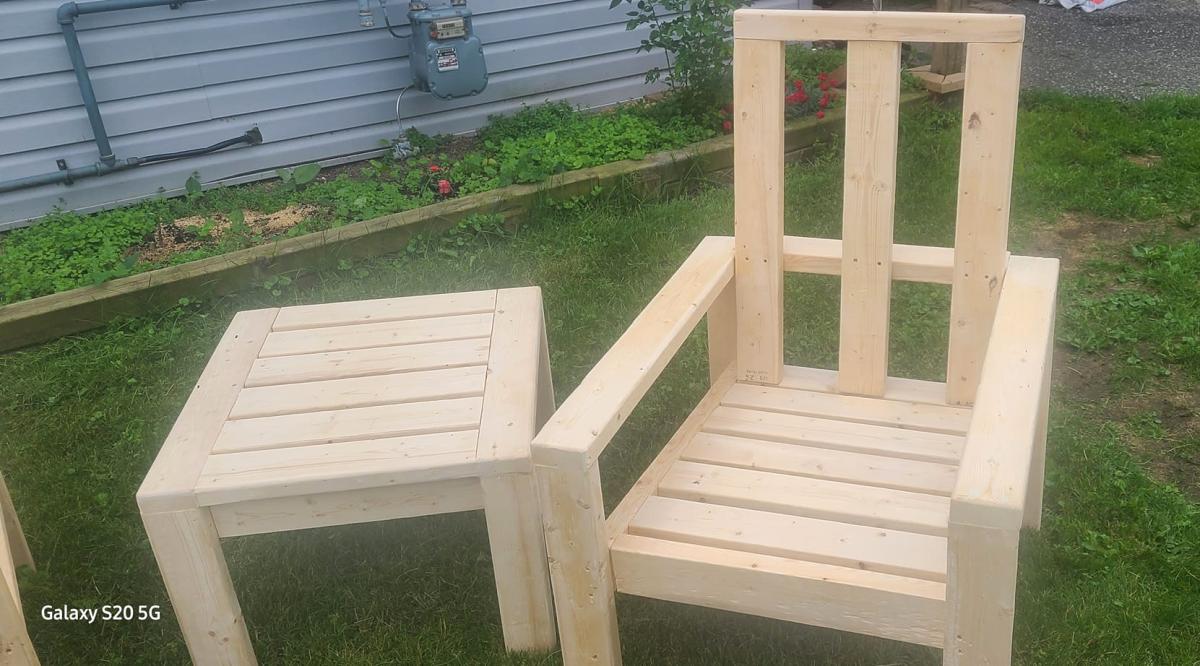
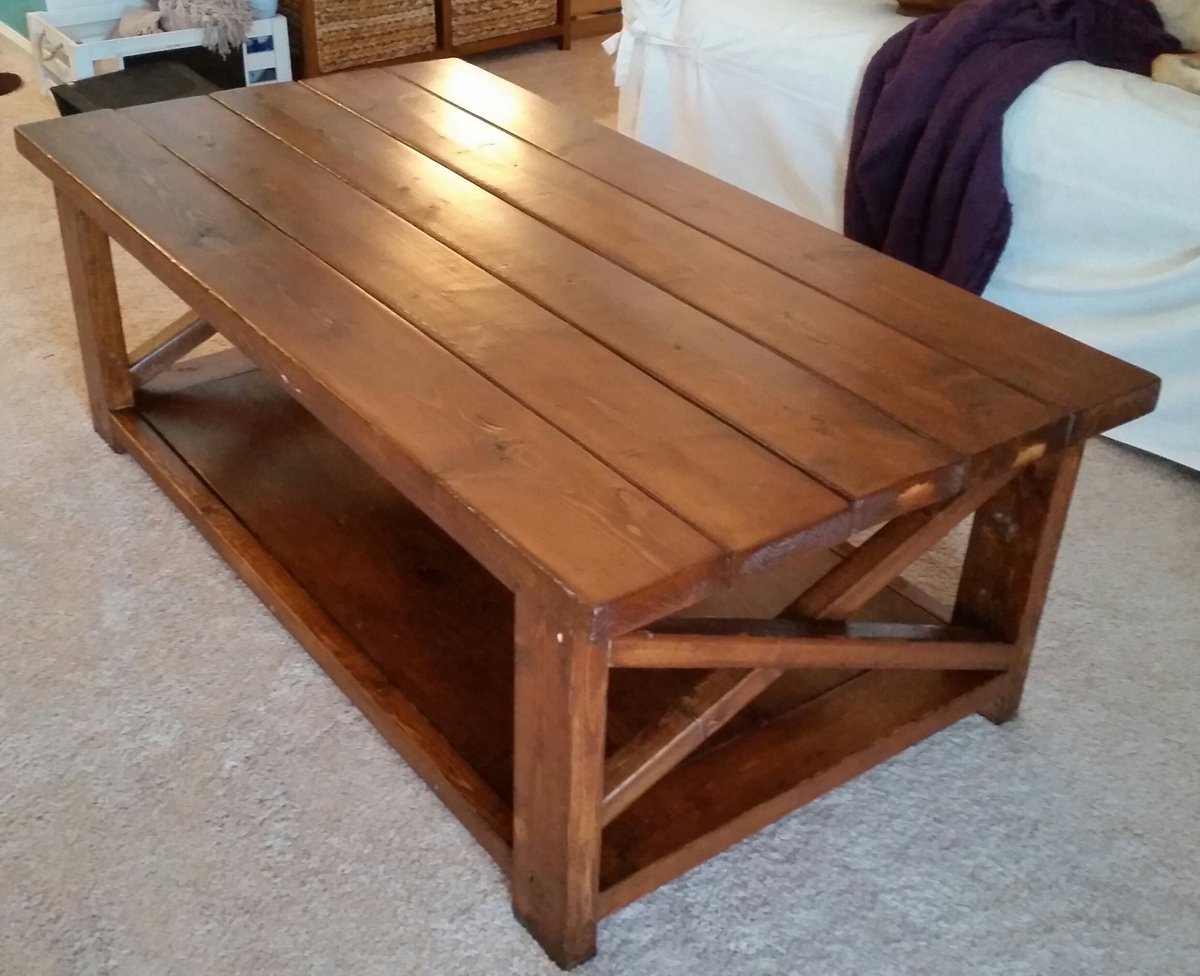
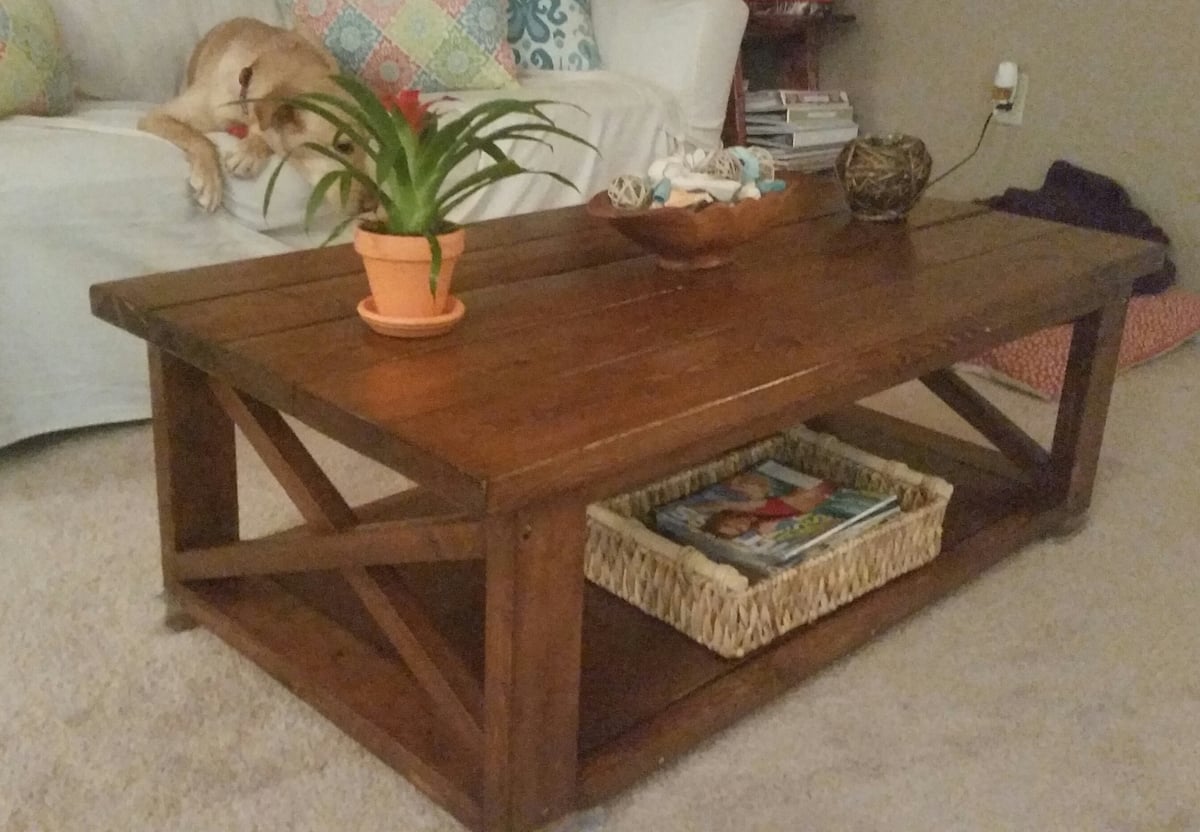
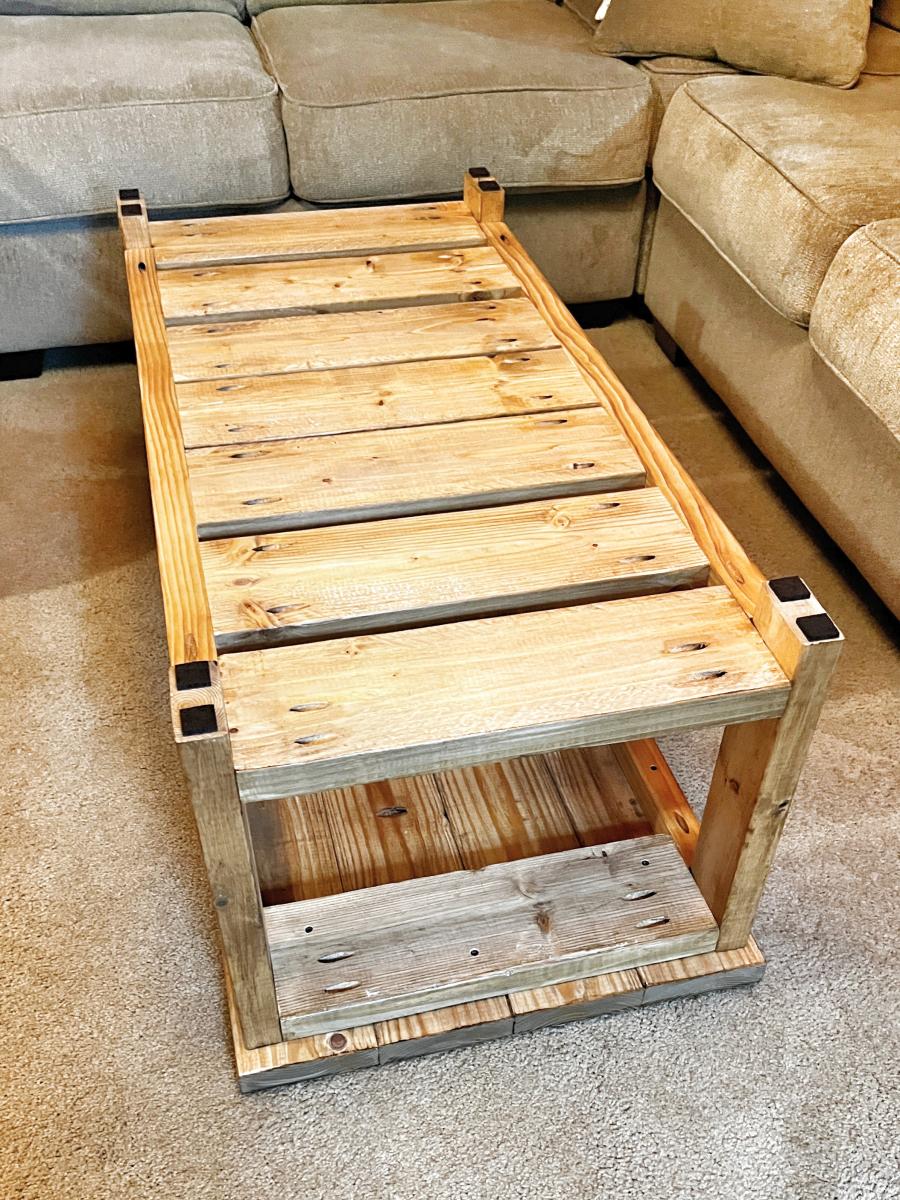
I bought my first home in July, and have been looking for furniture to fill it with. Then I found this site, and decided I would build what I want. I plan on making the iTable as well, but for my first project, I thought about starting a little smaller. I also needed side tables for my couches more. So was born the iSideTable ;)
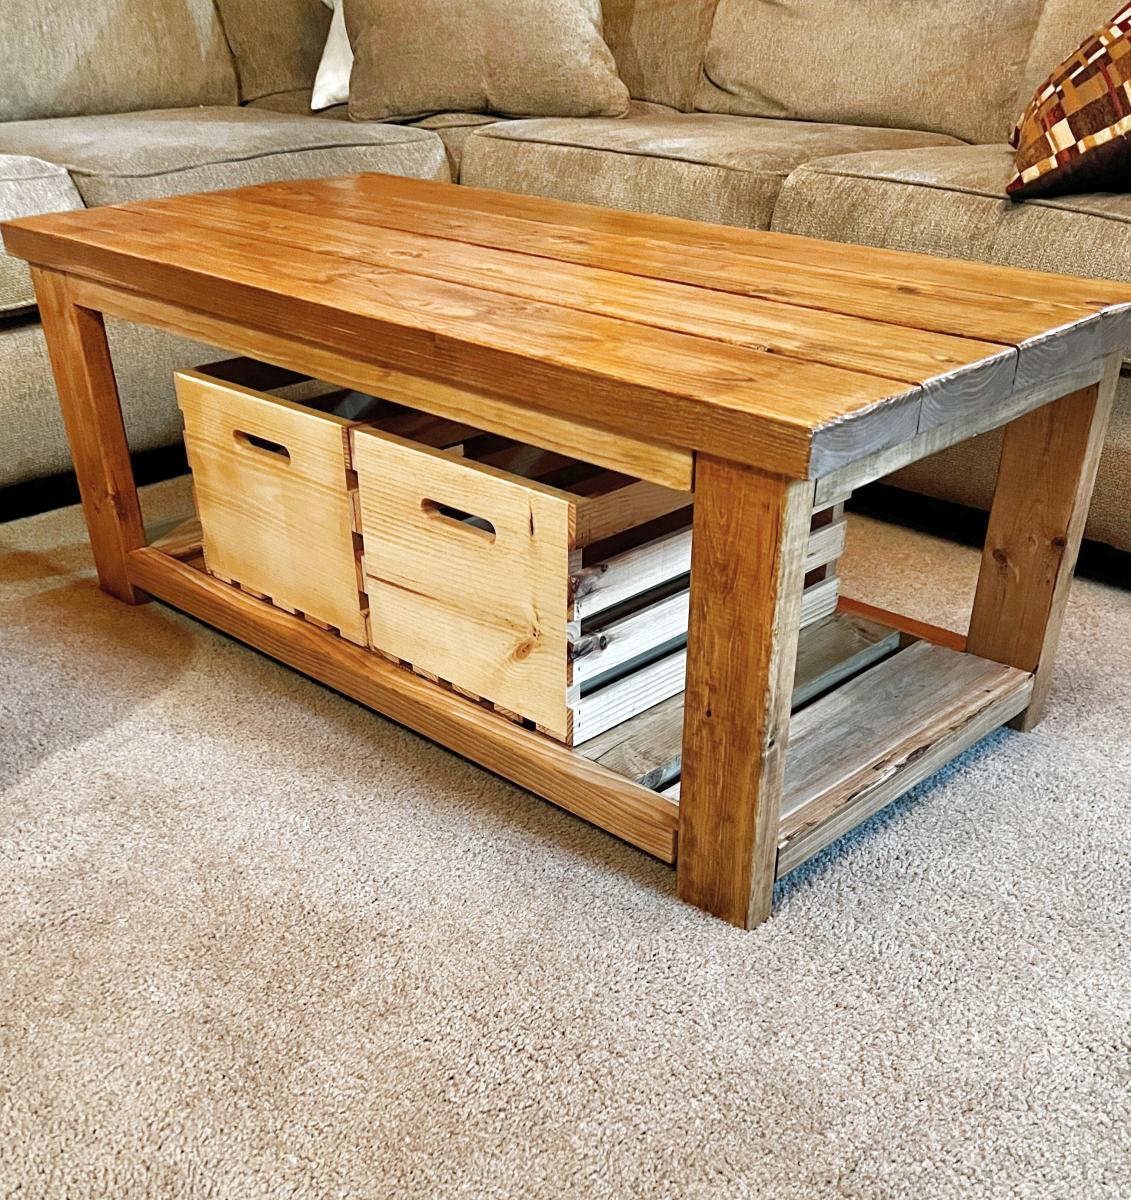
23 3/4" high
10 1/2" wide
22 1/2" deep
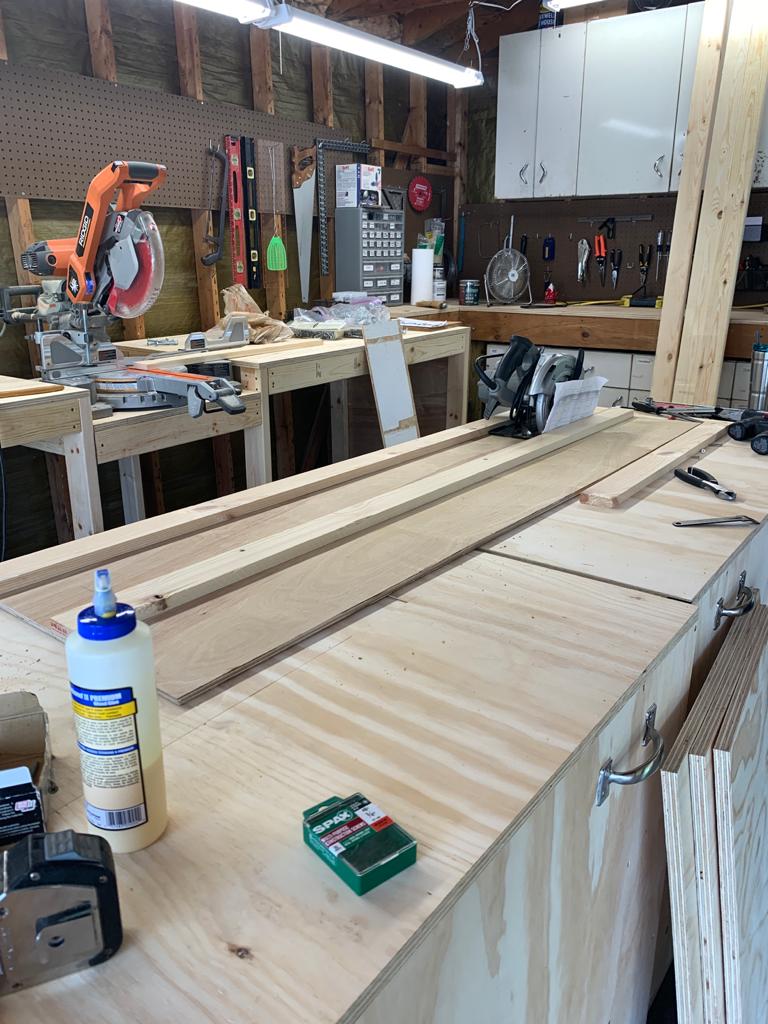
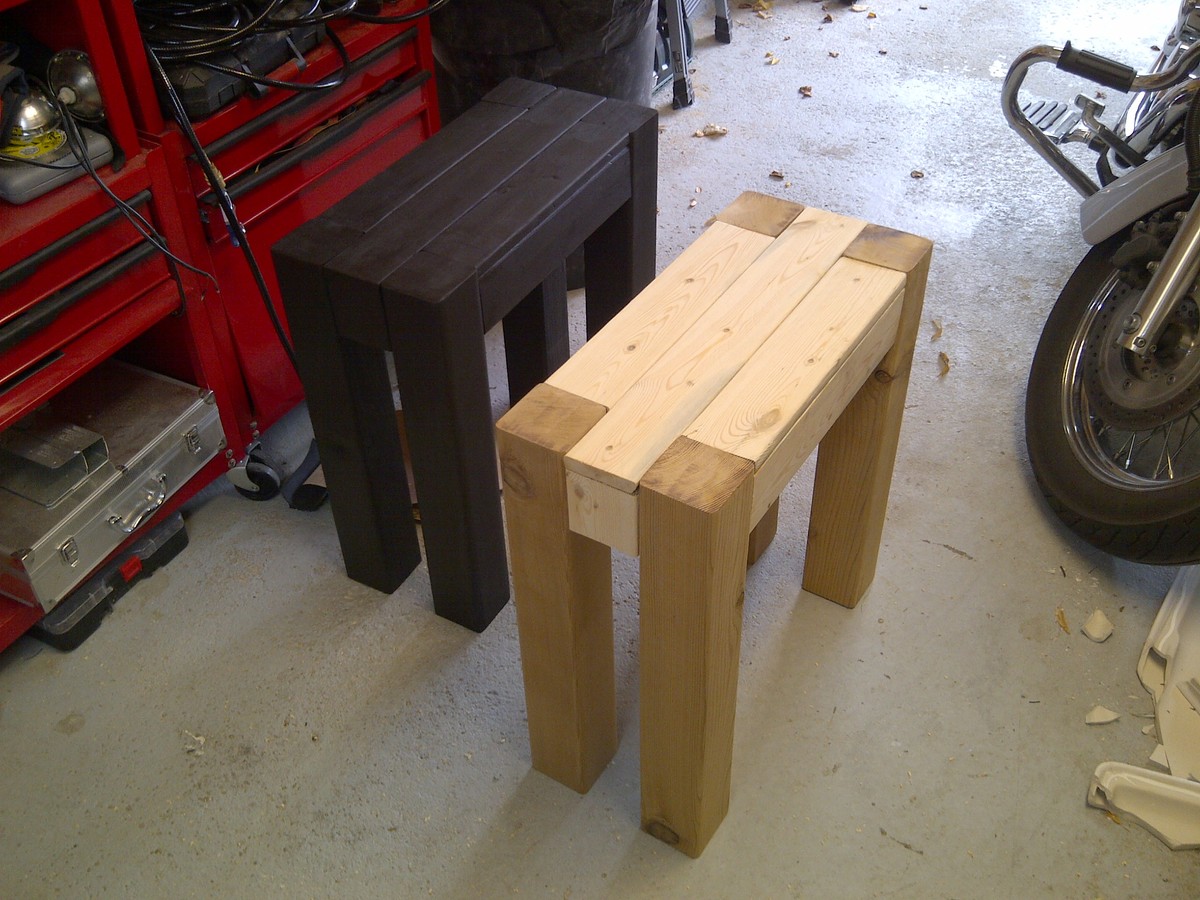
Materials used:
1 4x4x8
1 1x4x8
All told materials alone for this project is a miserly $23!!
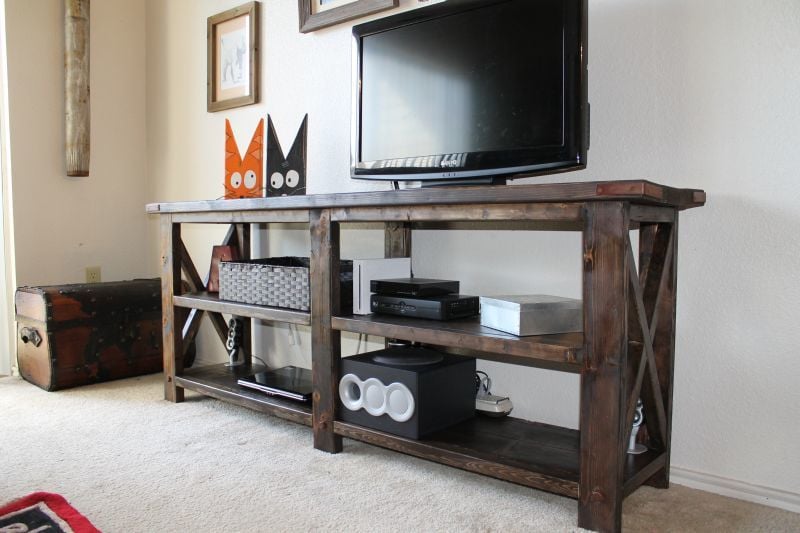
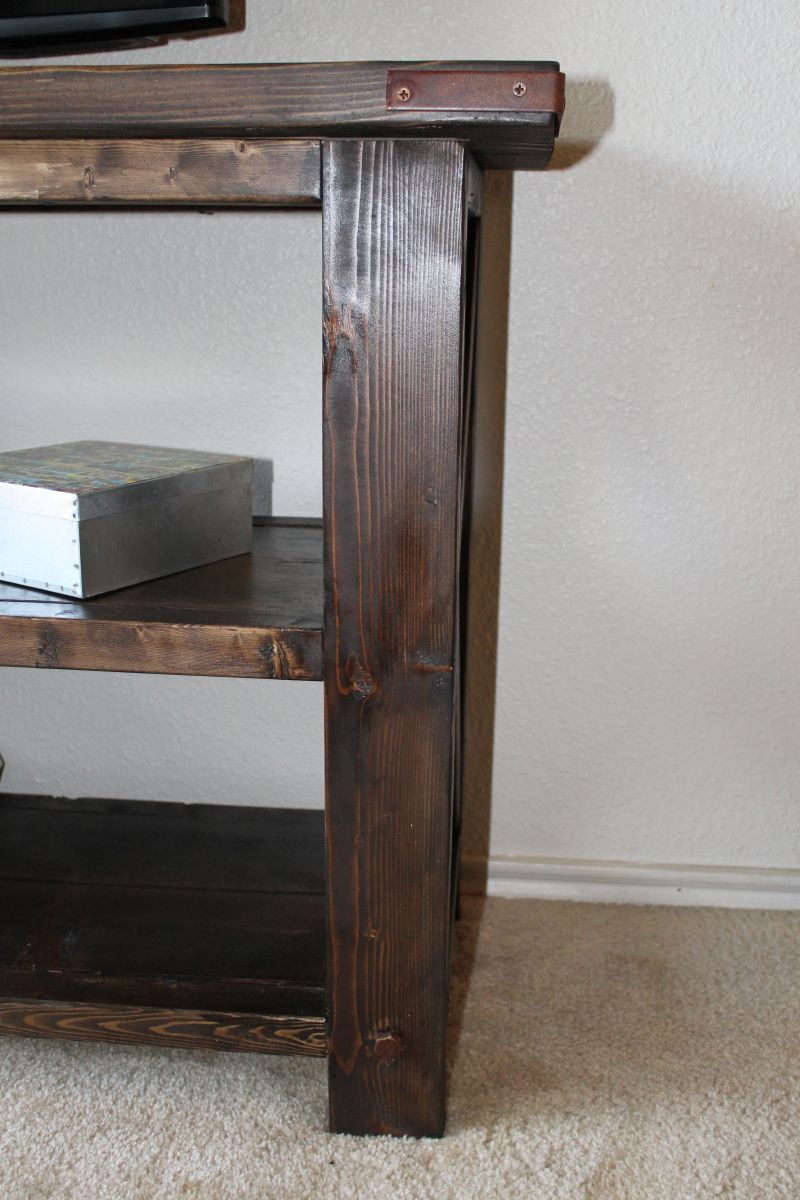
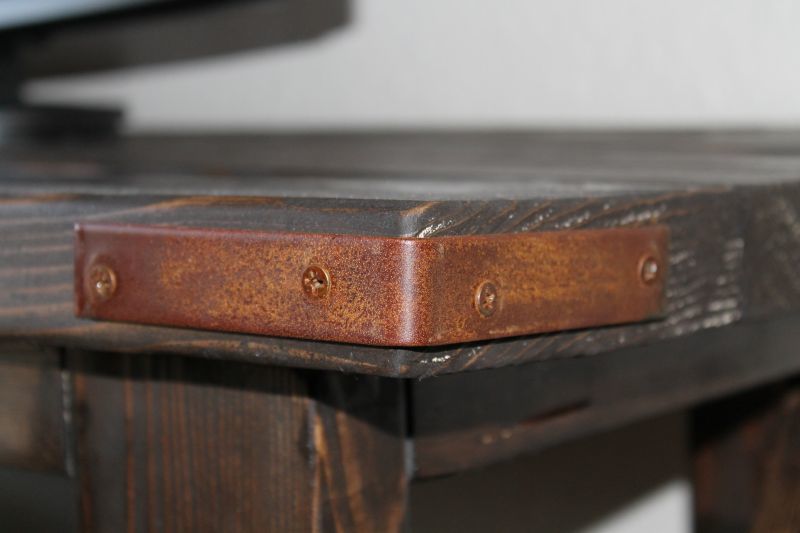
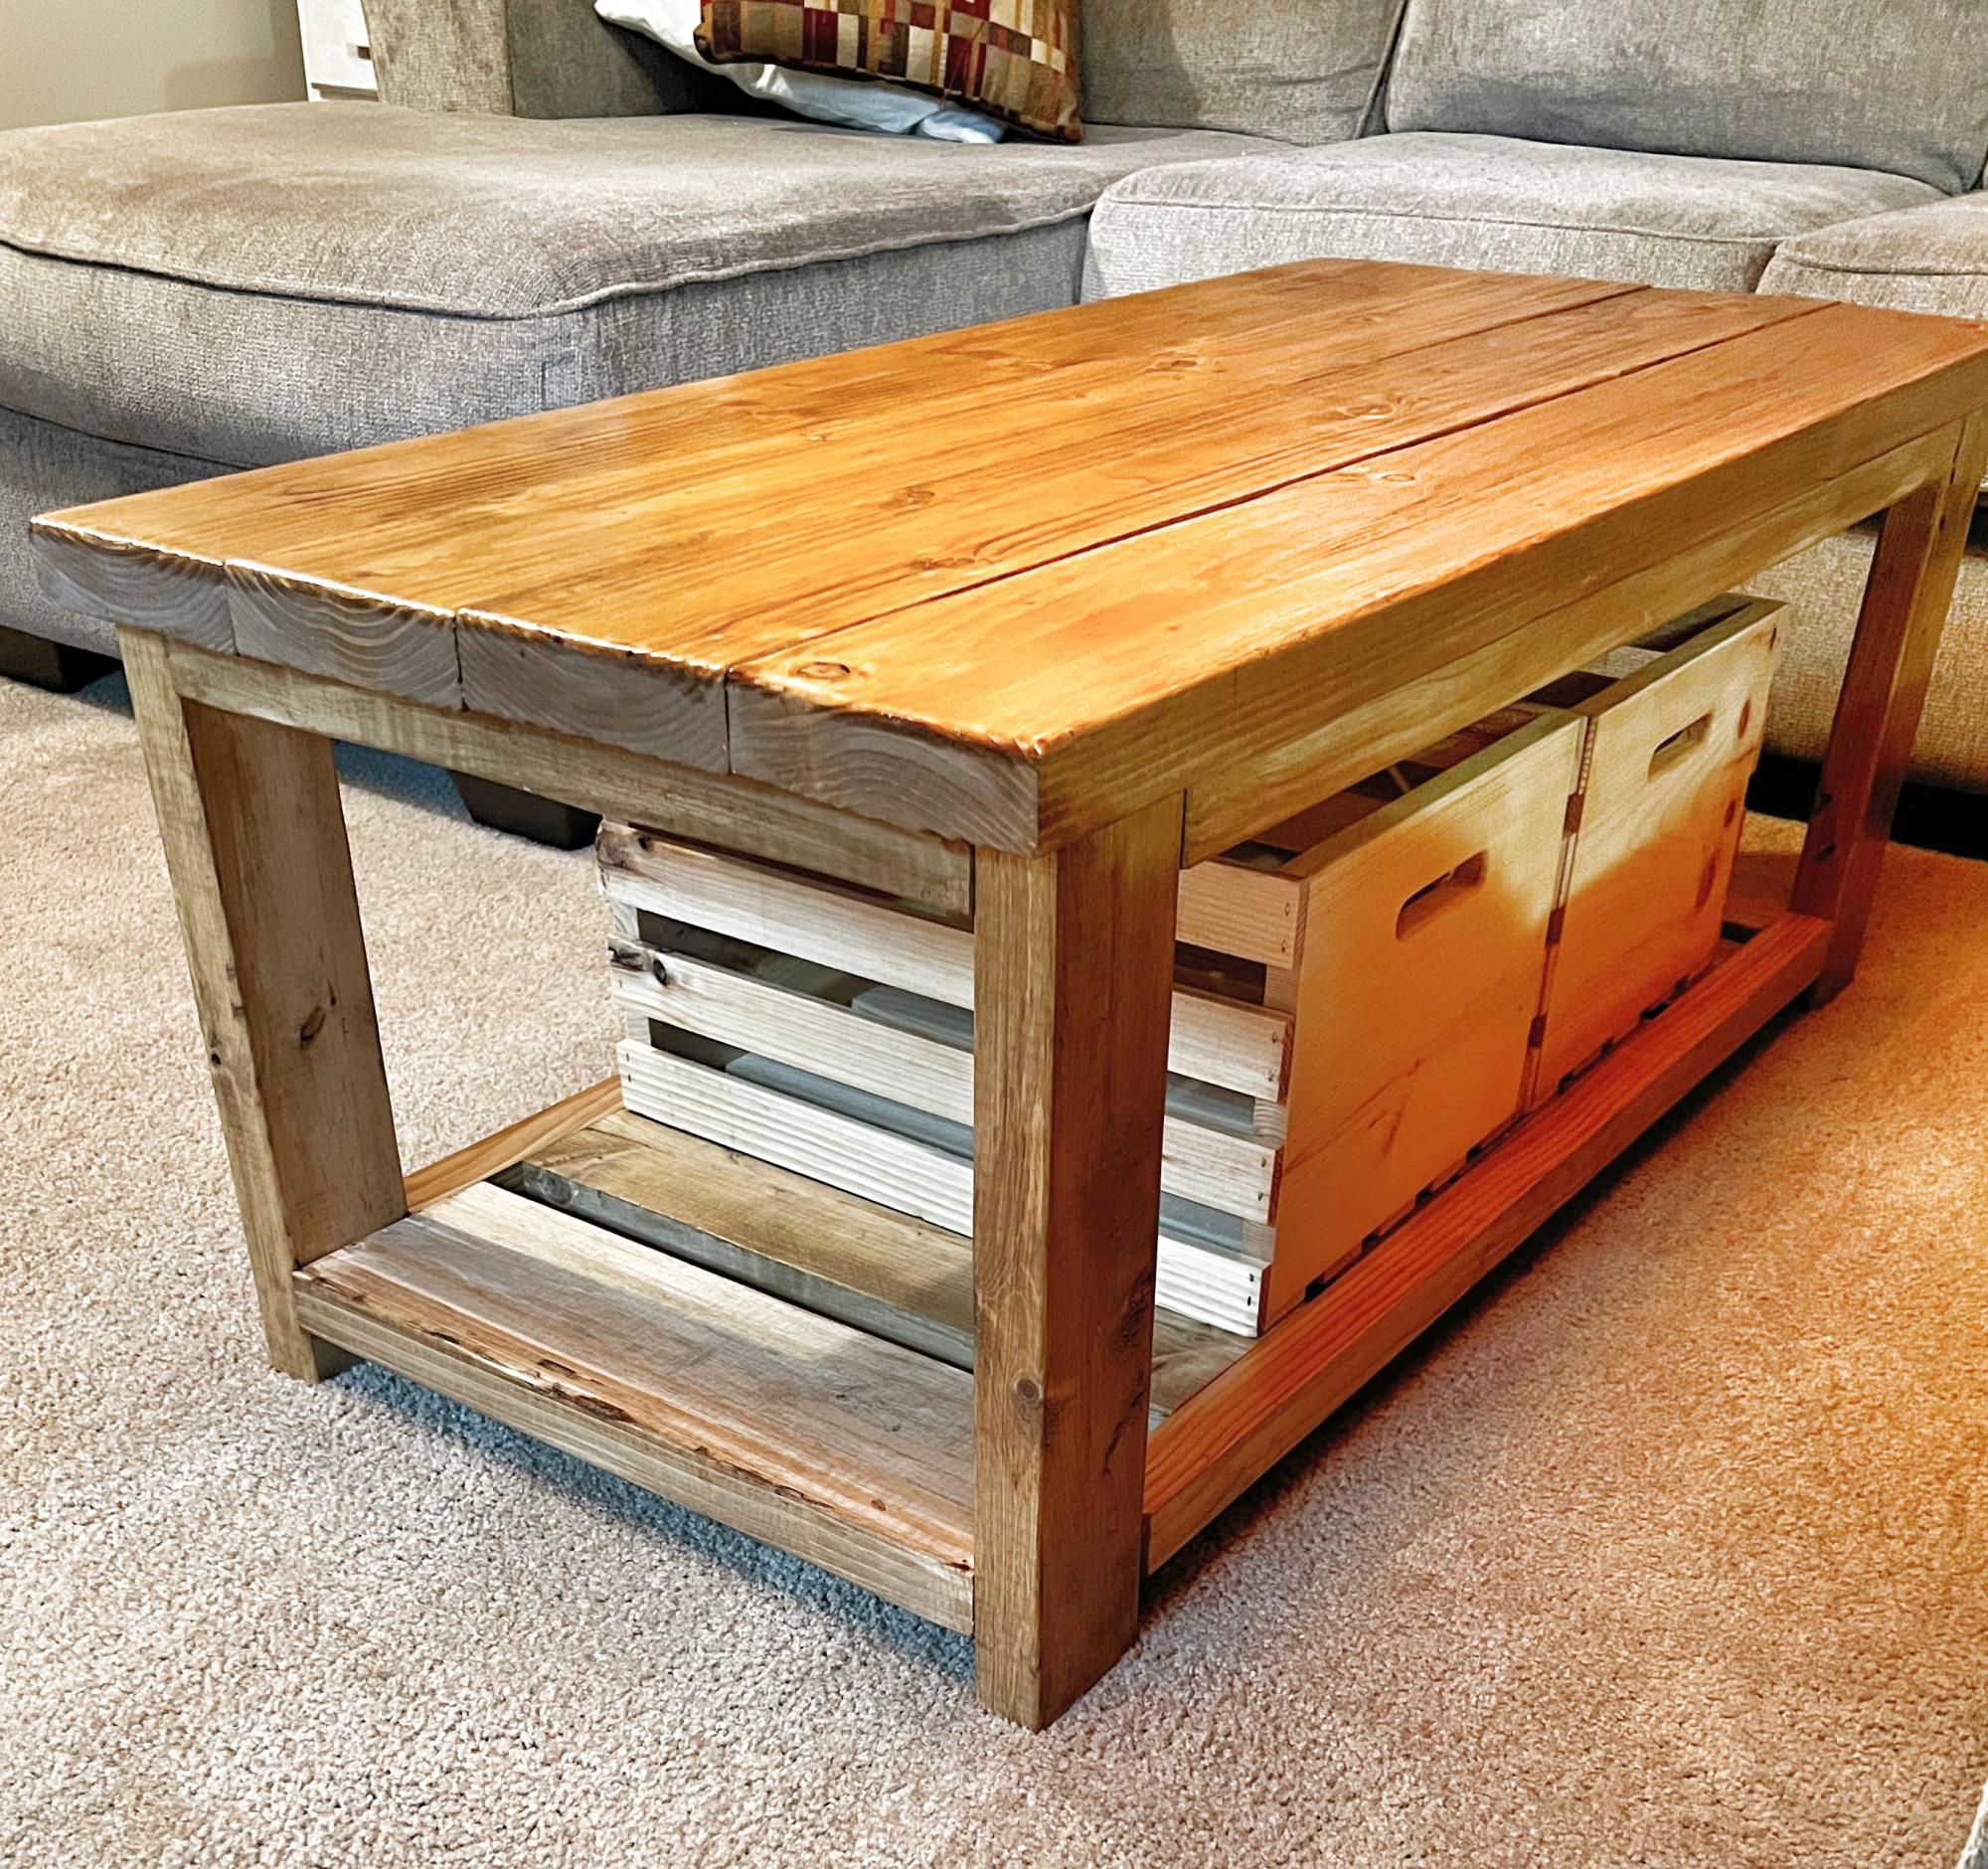
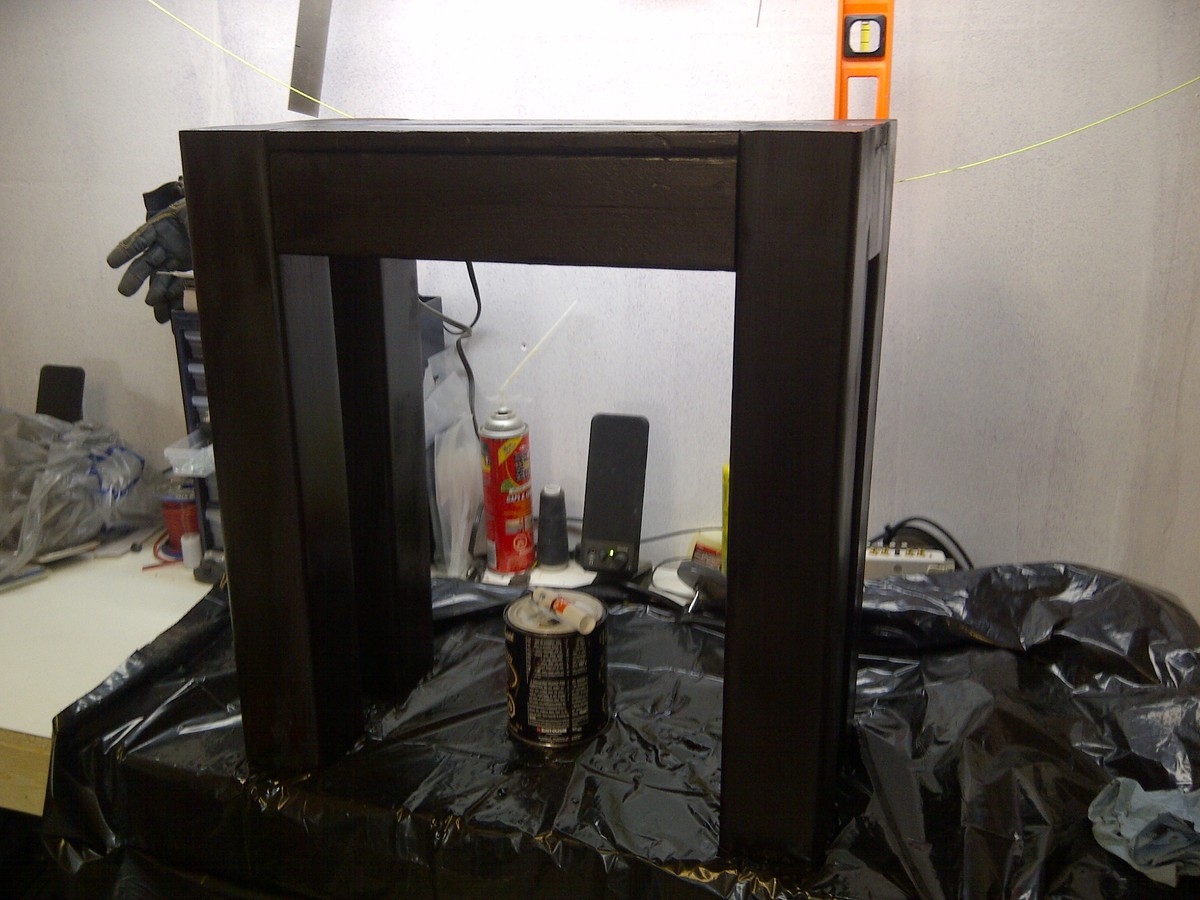
I have just finished my first coat of Varathane Kona (it's what we have in Canada). I want it nice and dark so I am leaving it on to dry, then applying a second coat.
Built from Plan(s)
Estimated Cost
$30
Estimated Time Investment
Afternoon Project (3-6 Hours)
Recommended Skill Level
Starter Project