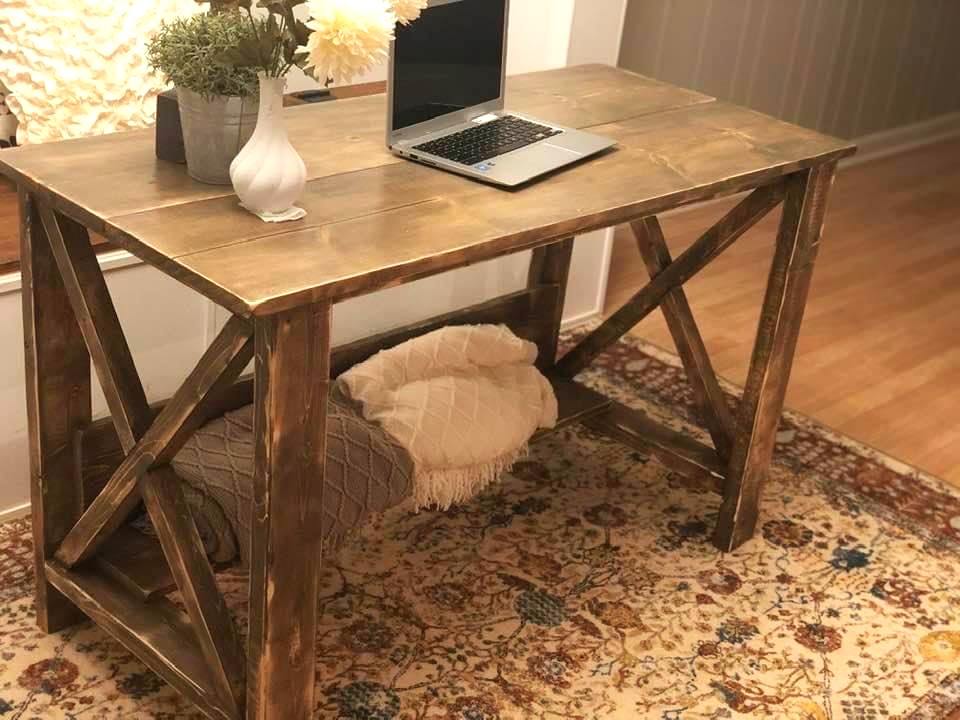
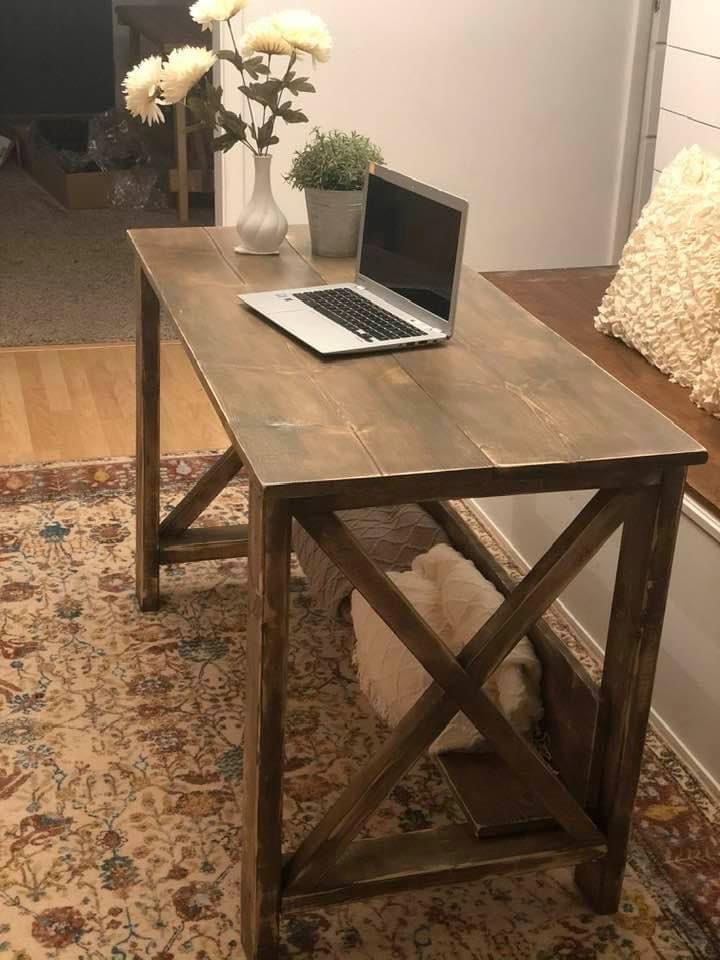
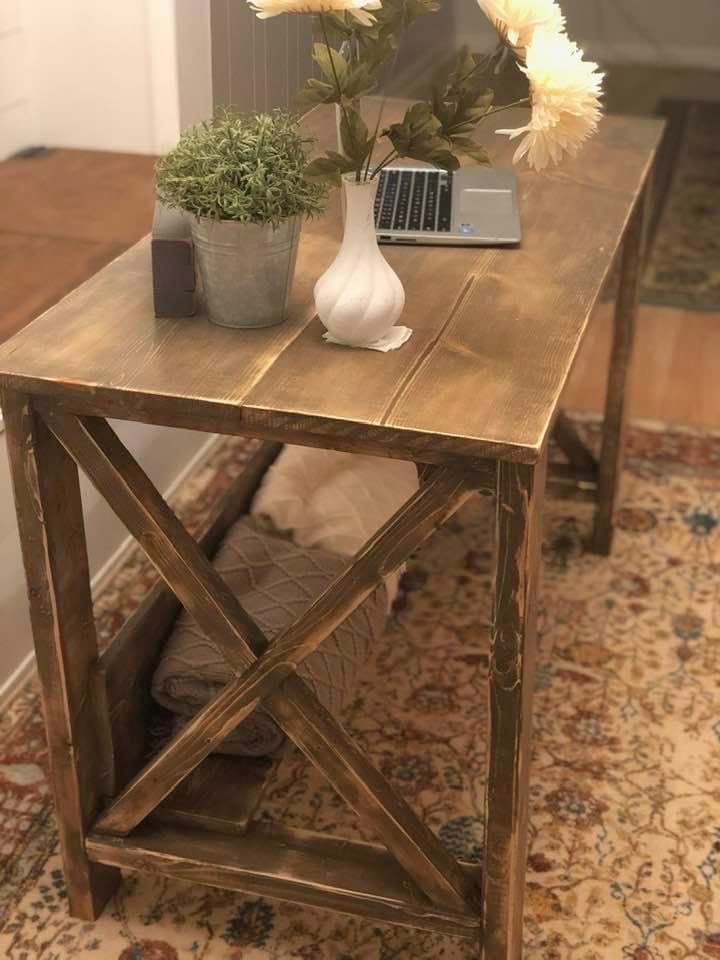
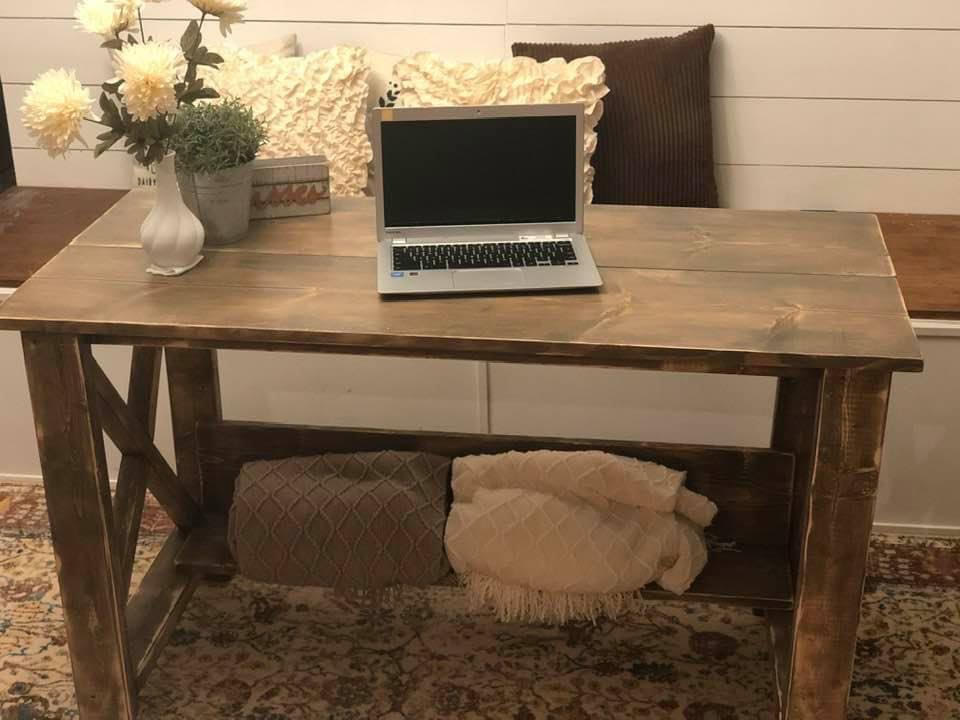
Rustic X Desk
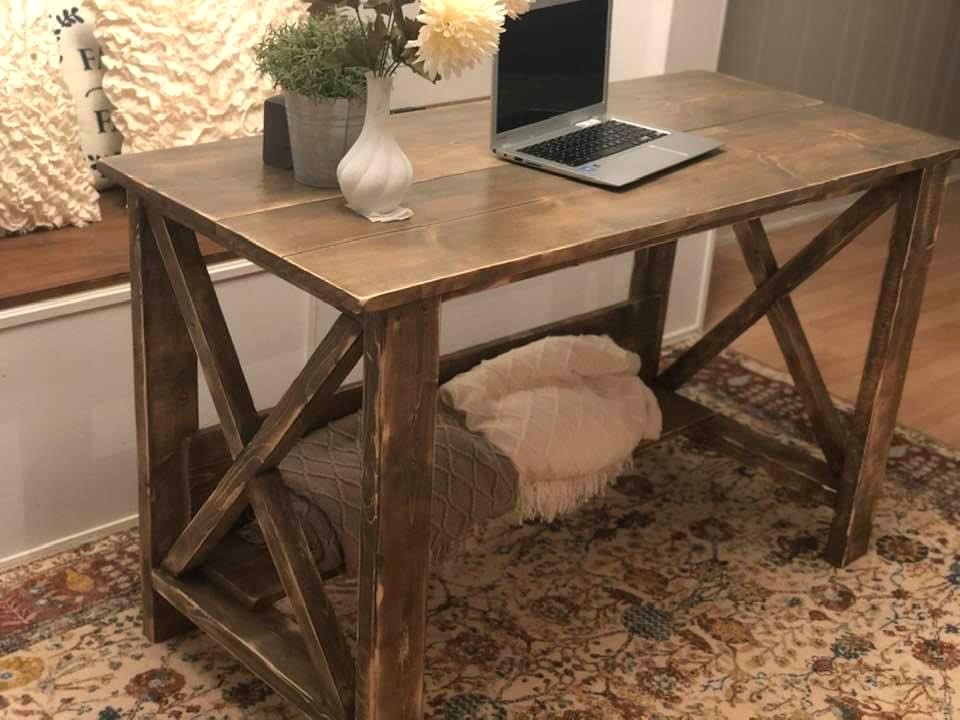
Beautiful Farmhouse Desk by Leila Adams
Built from Plan(s)
Beautiful Farmhouse Desk by Leila Adams
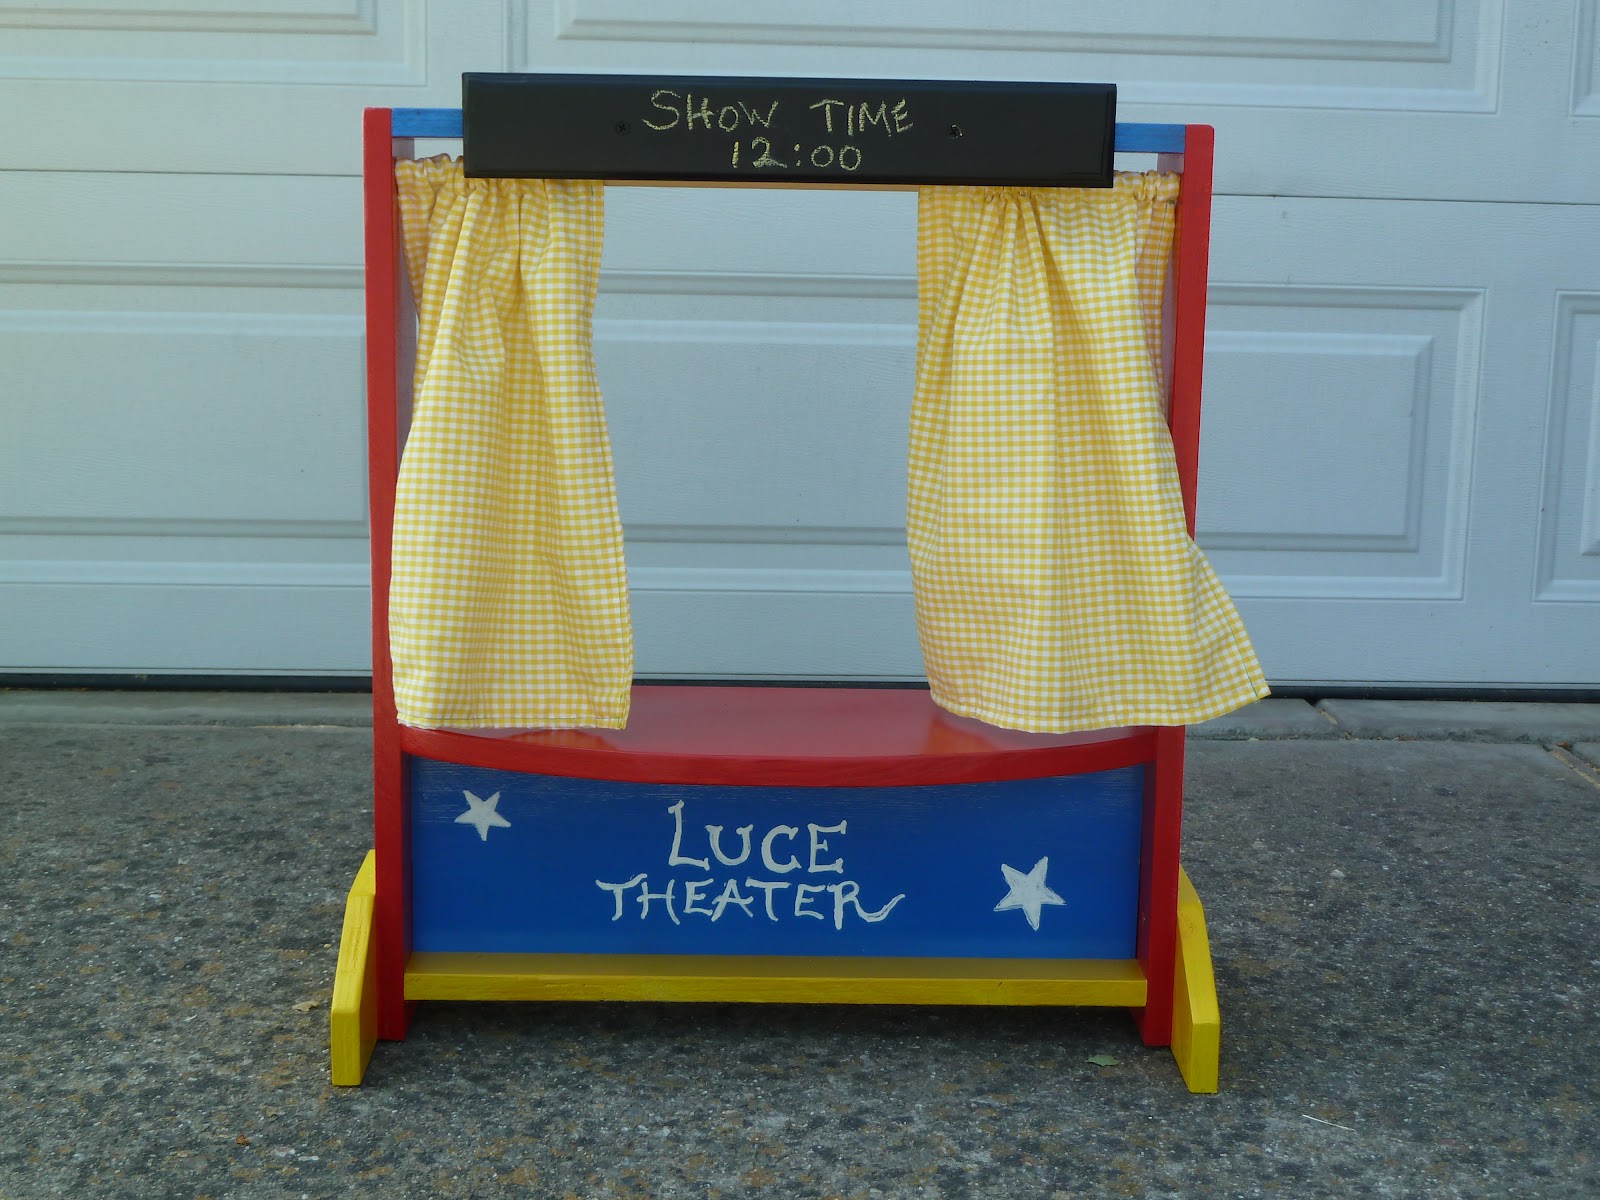
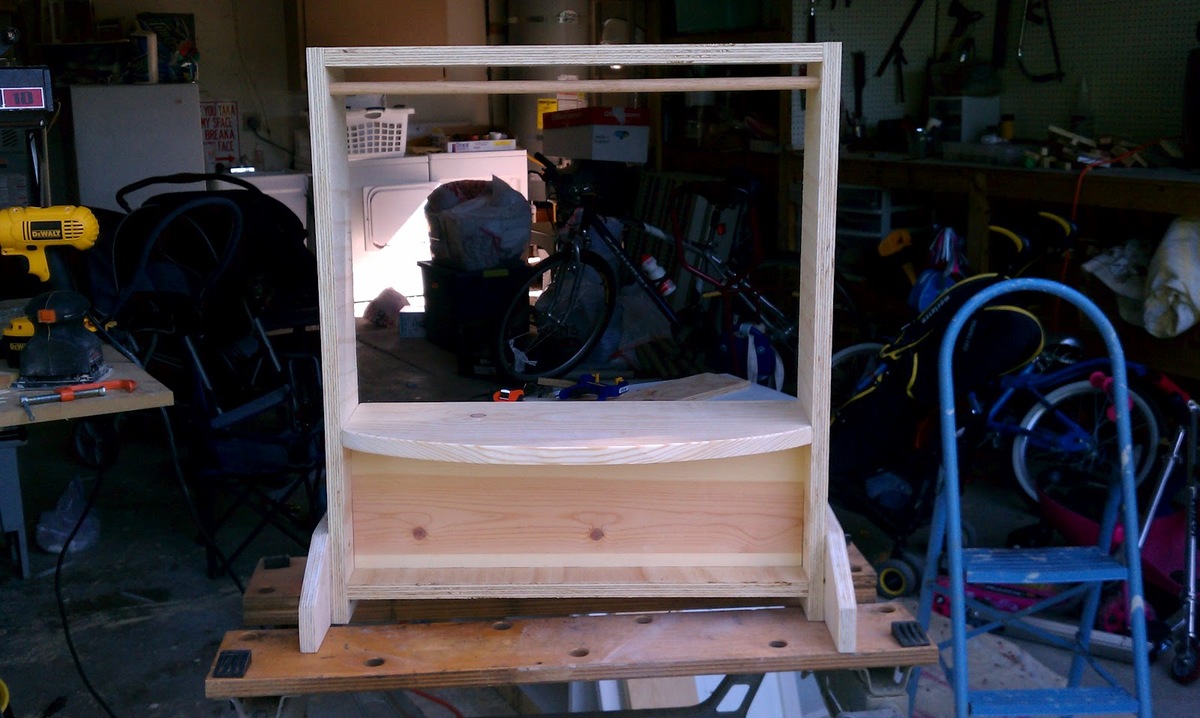
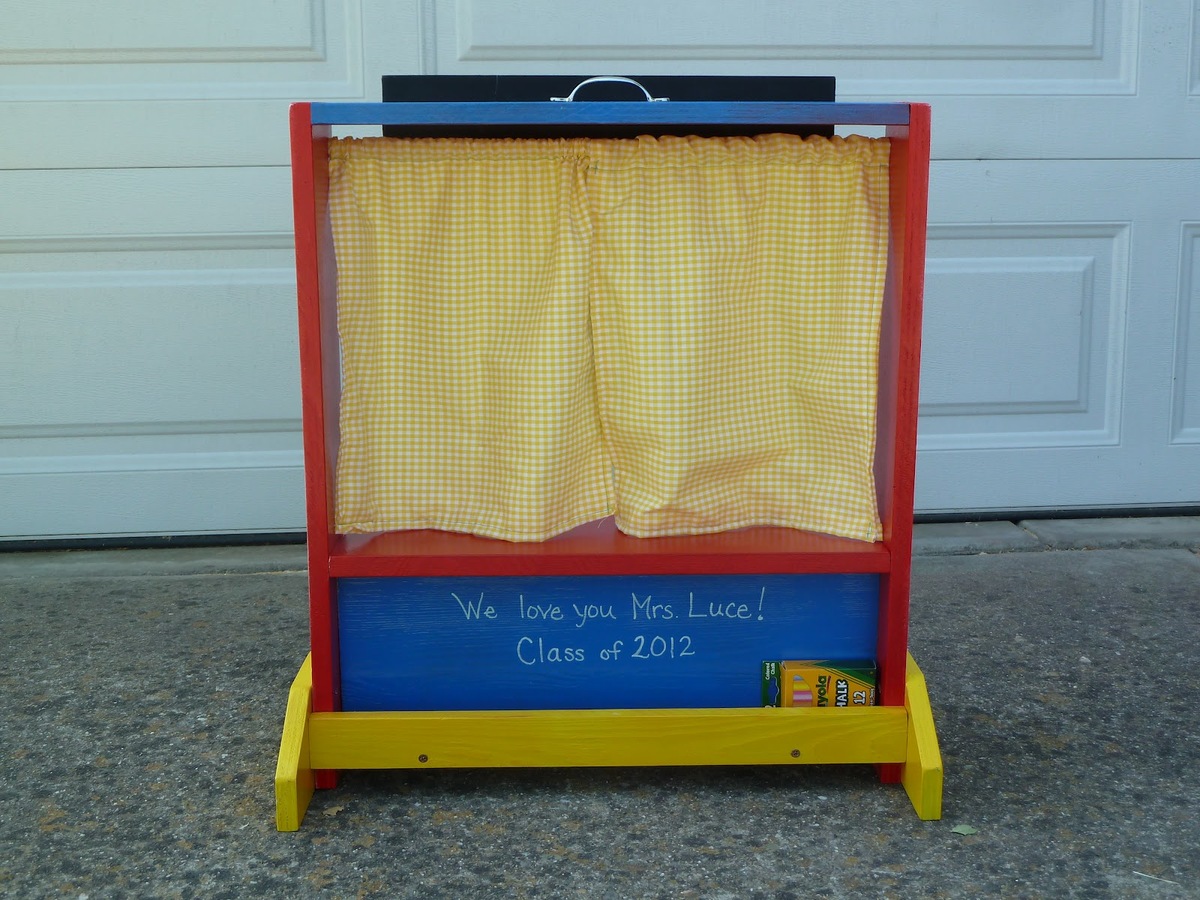
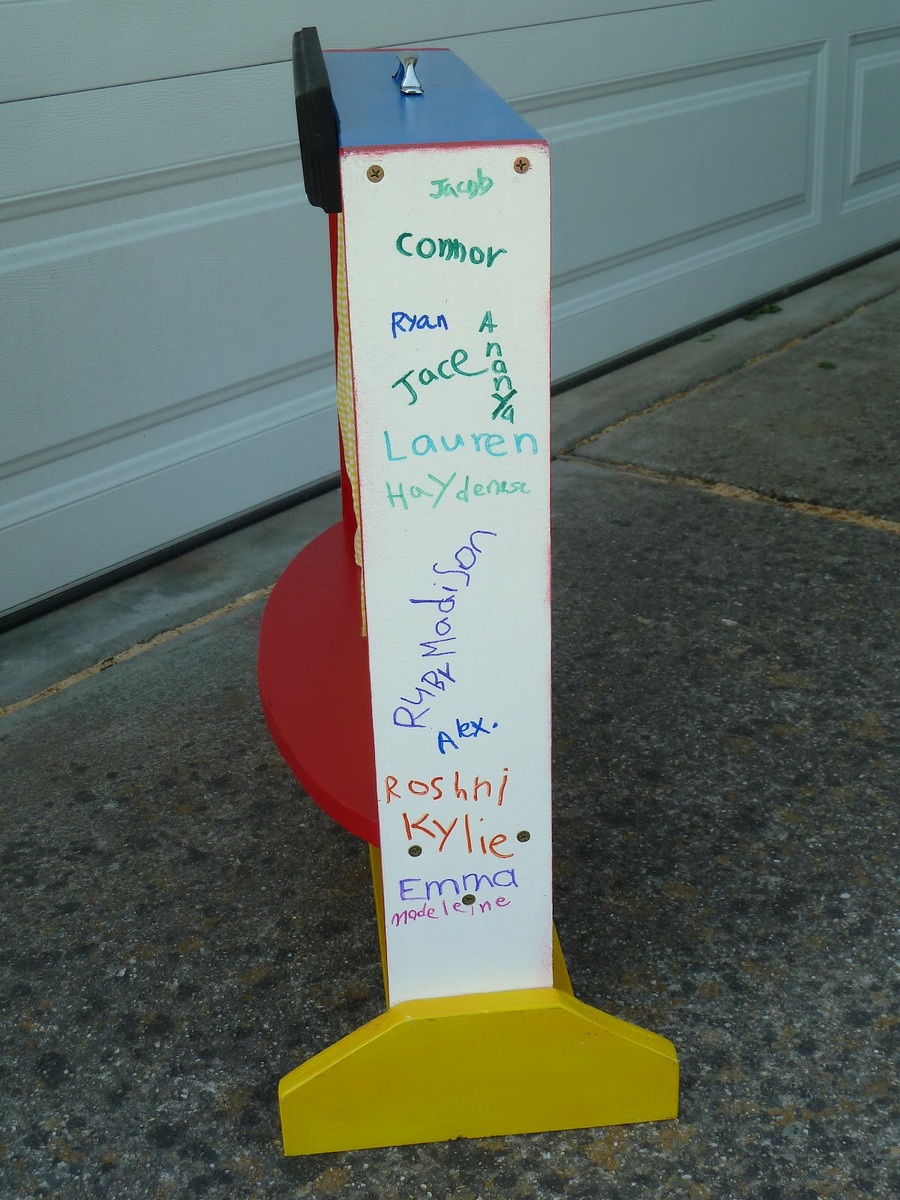
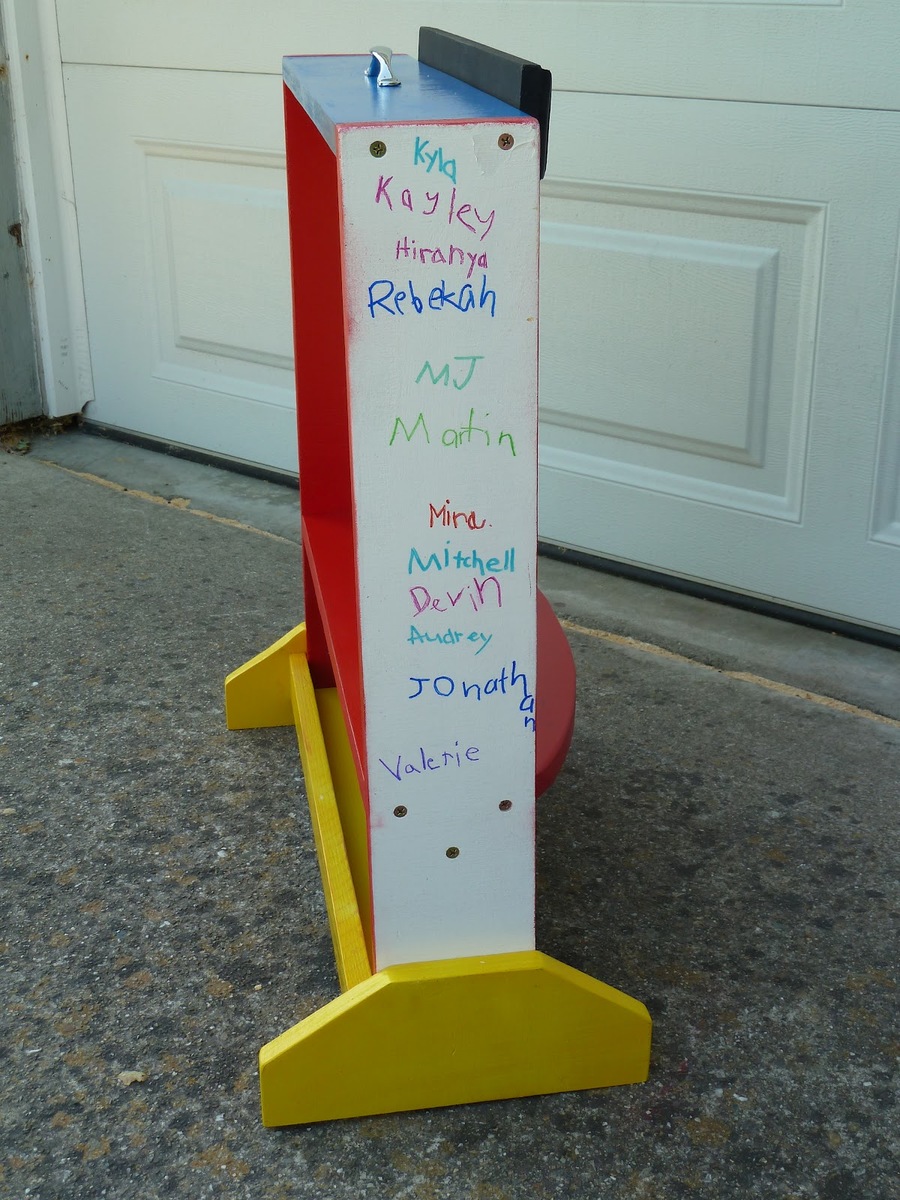
My son's kindergarten teacher had a table top puppet theater on her "wish list" from an online store - but it cost $70 and I knew there's no way i could buy that. But just one look at it made me realize I could build my own. My son and I built it in just a couple hours and then took some extra time for sanding and spray painting. I had all the kids in the class sign their names on the sides and I used chalk board paint on the top sign so the kids can write their own show title or time, etc. There's a place to keep the chalk in the back. We presented this gift to my son's teacher at the end of Teacher Appreciation week, and it was a huge hit!
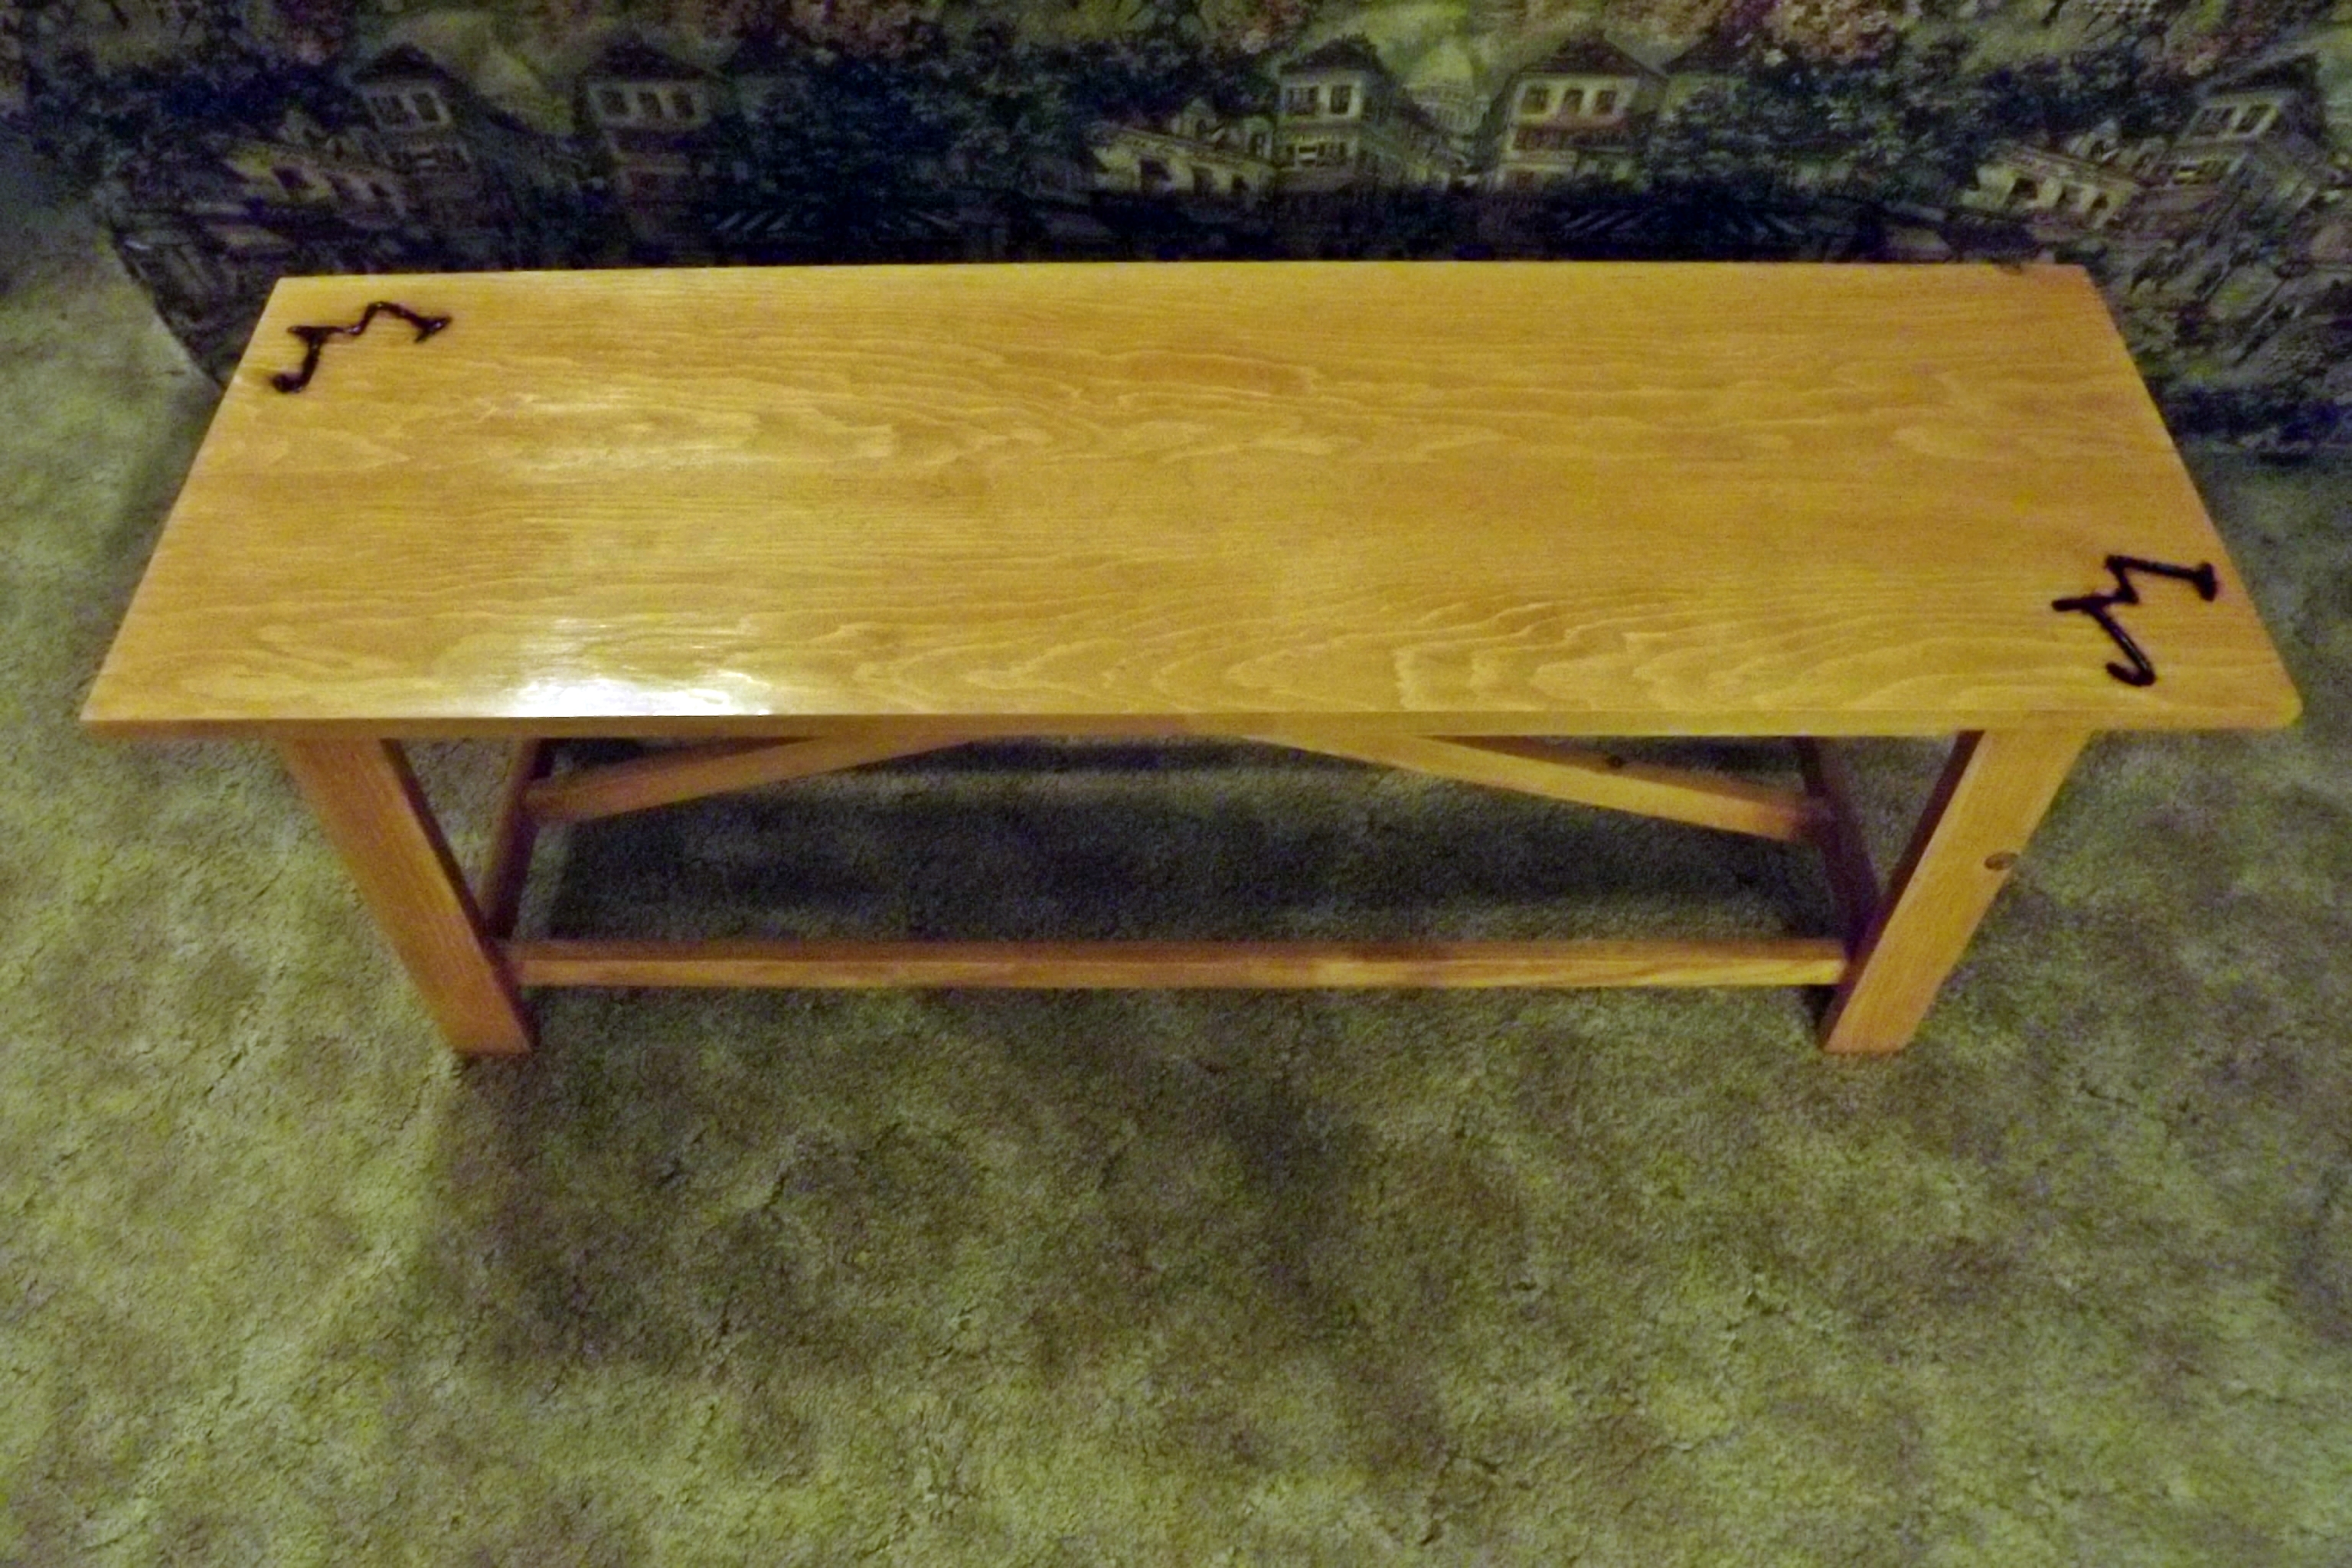
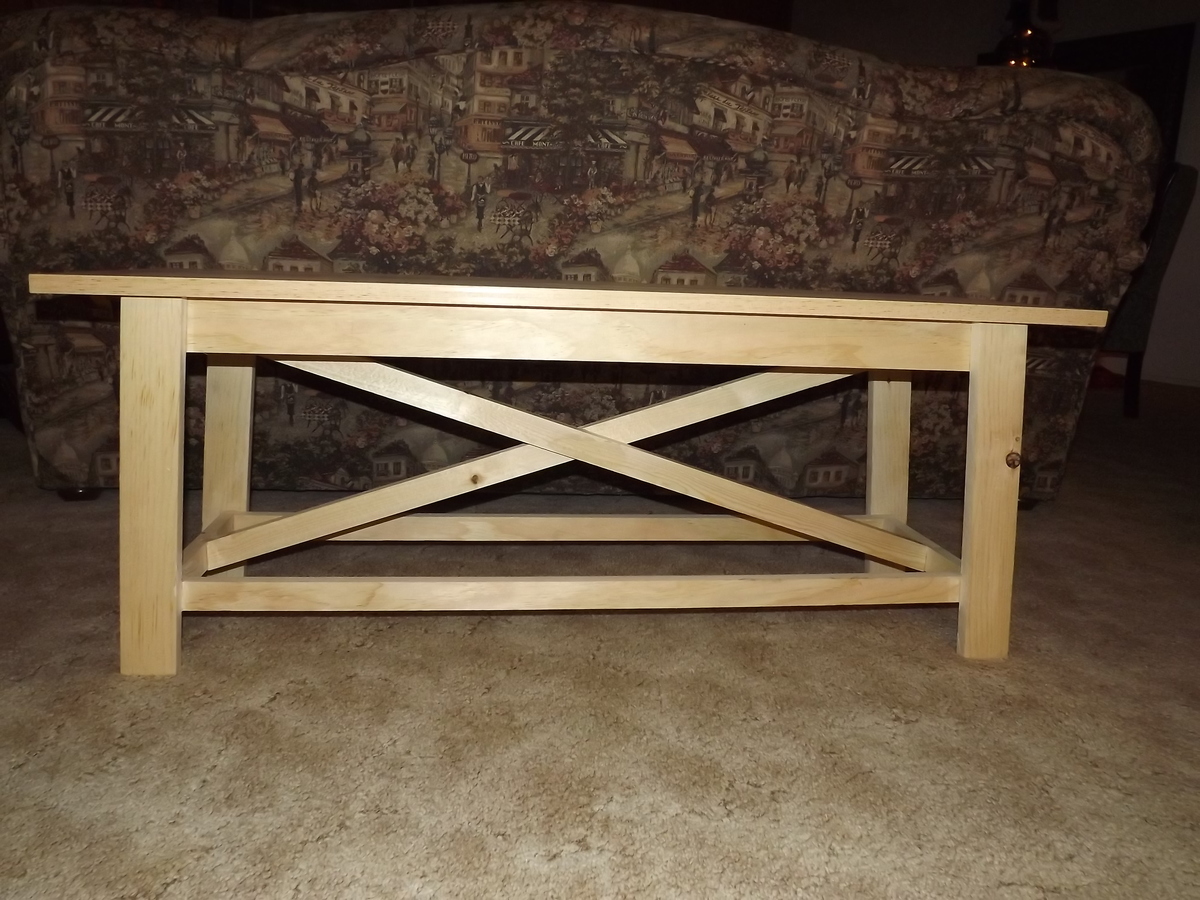
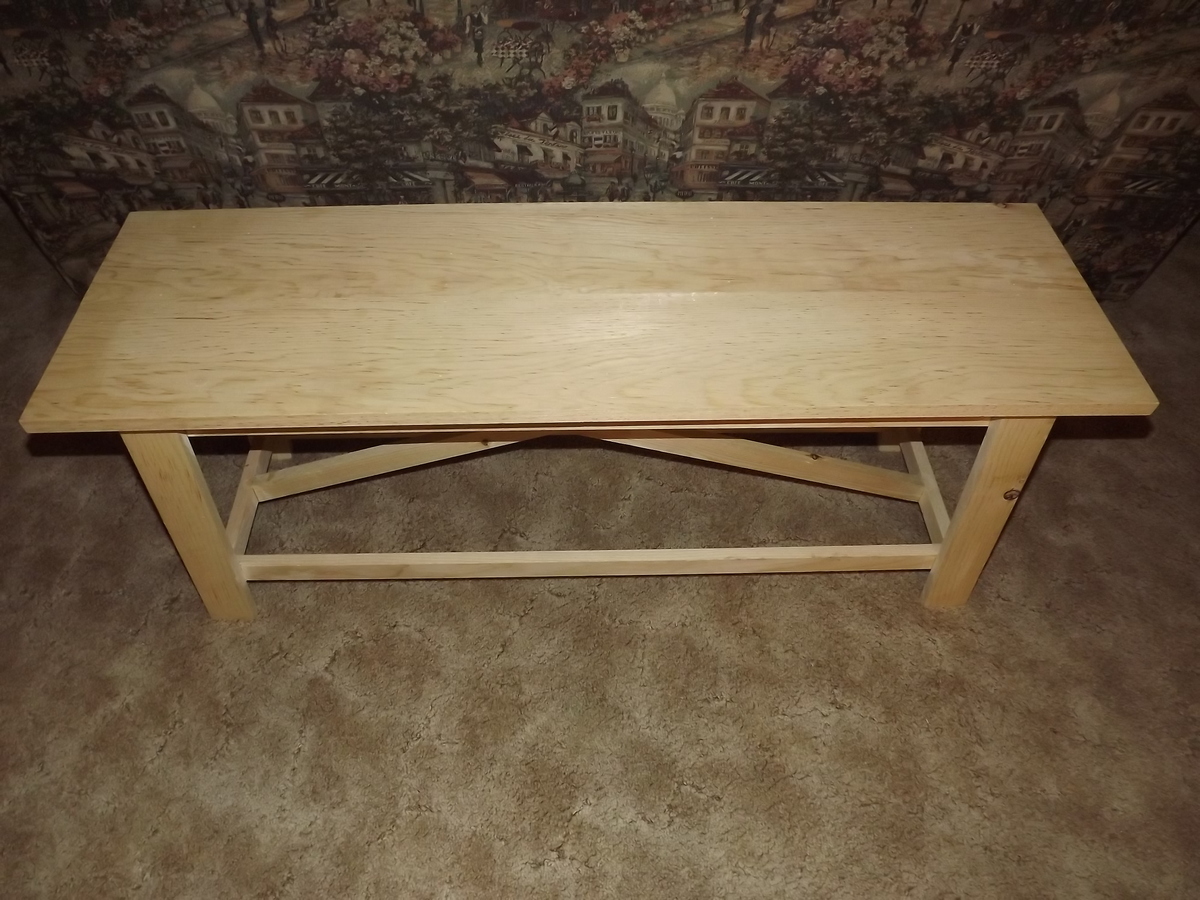
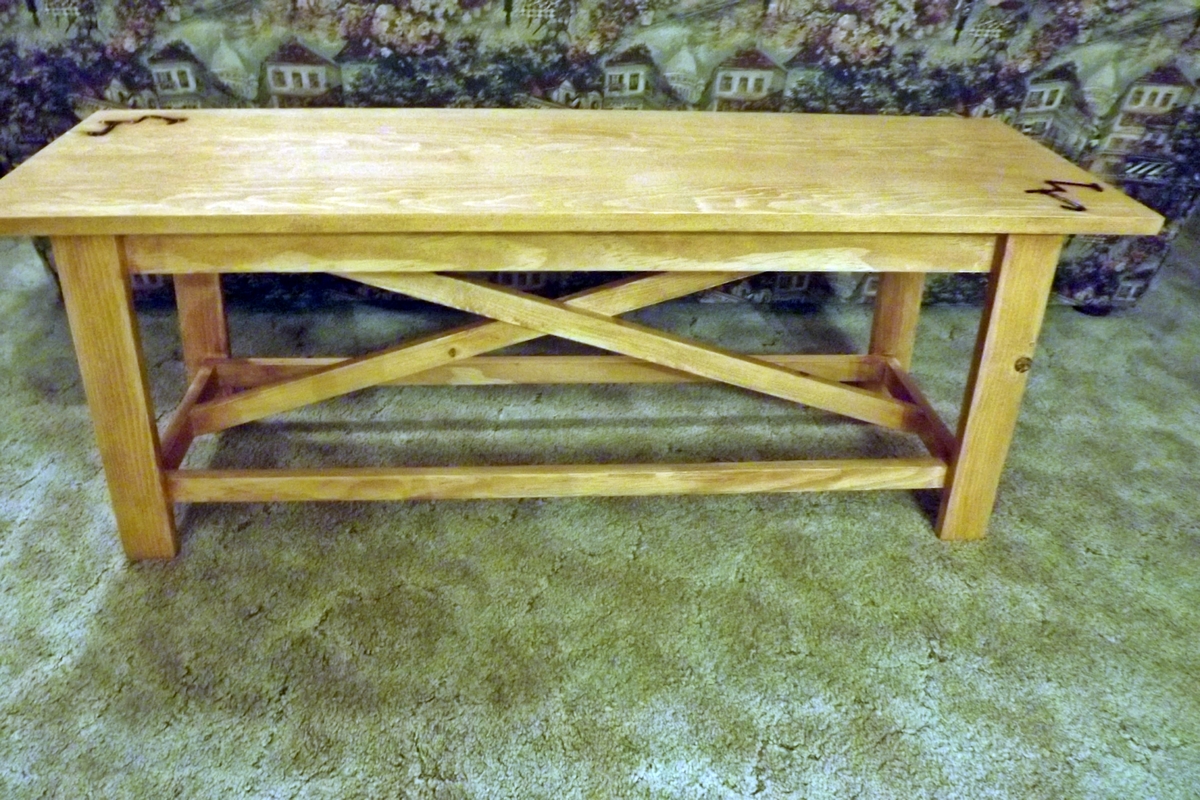
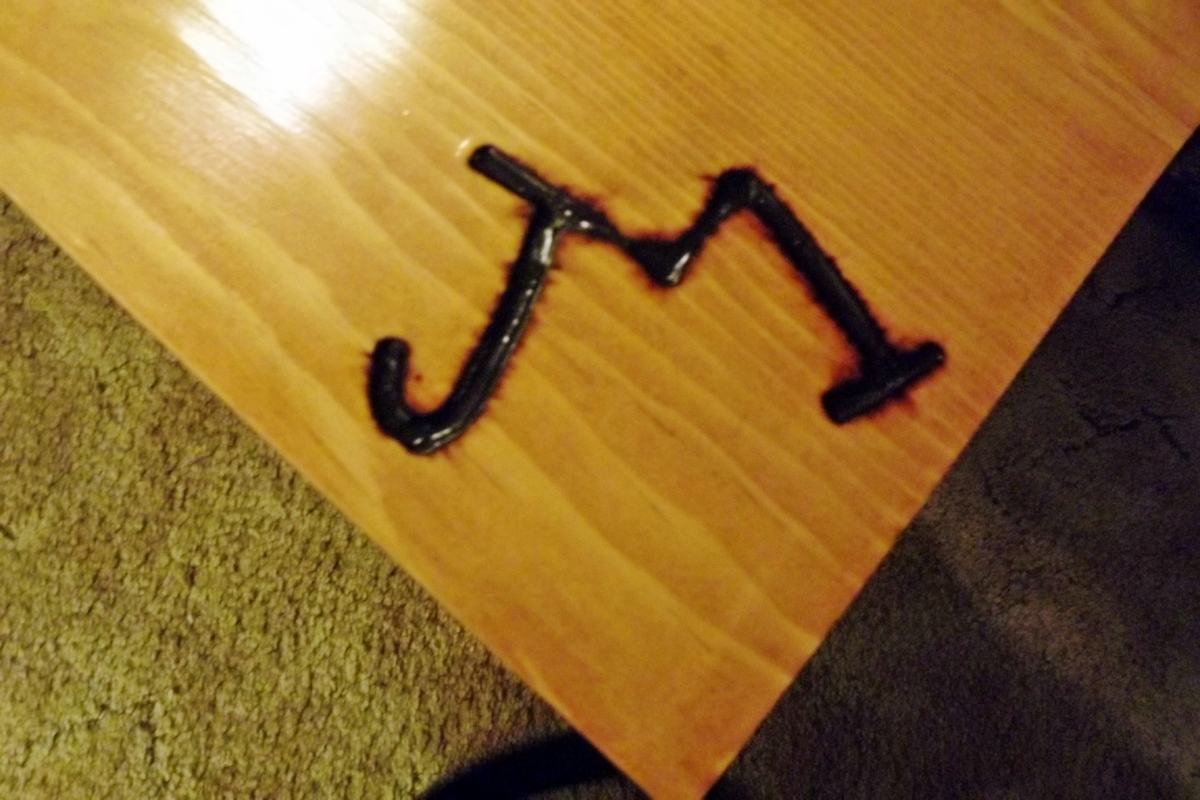
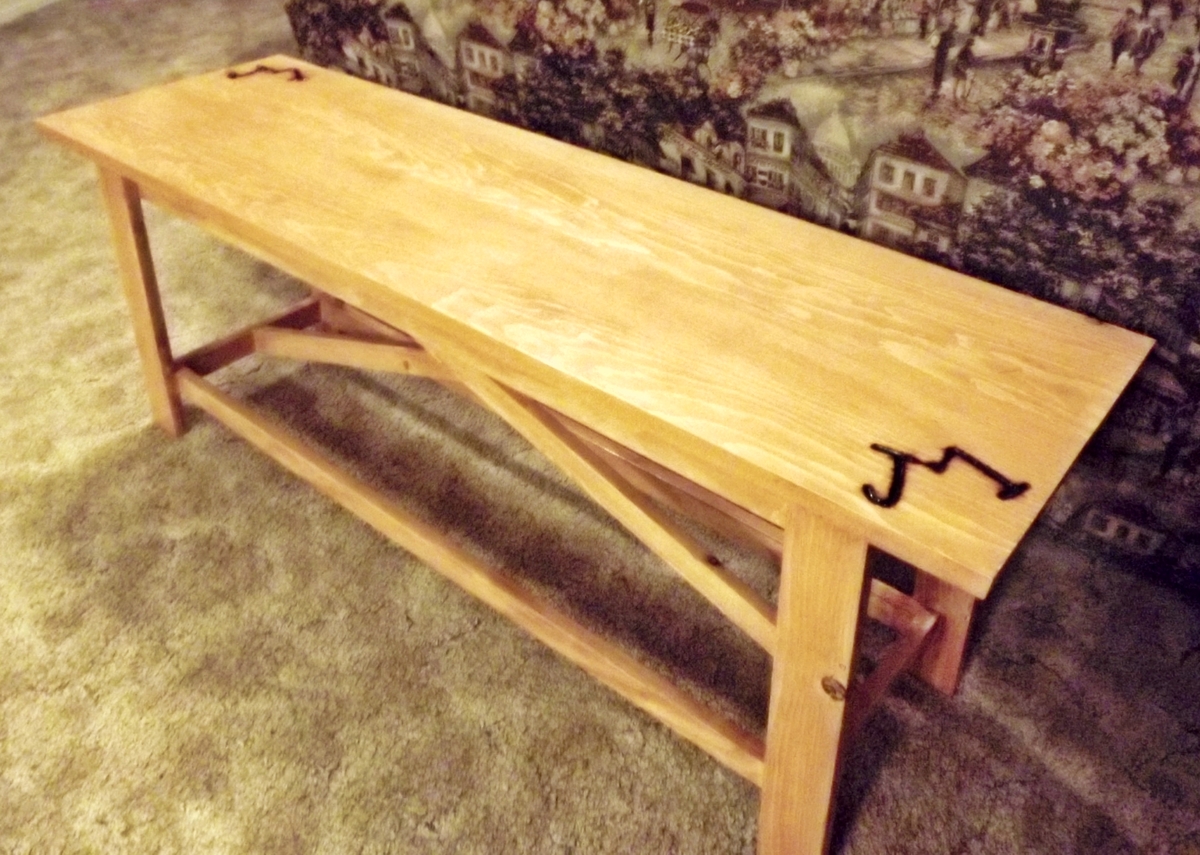
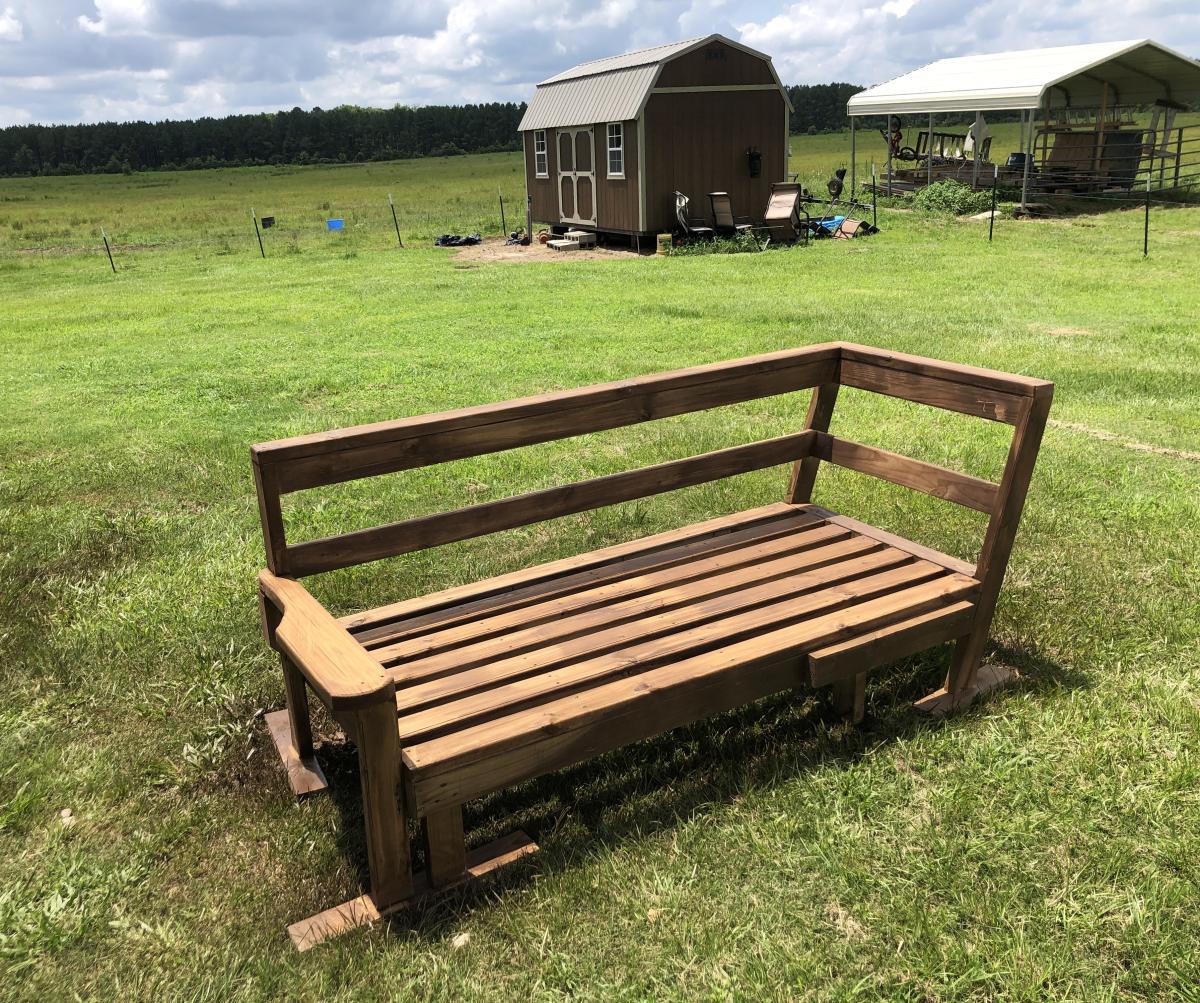
I built this bench for my son and daughter-in-law for their front porch. The plans came from The Handbuilt Home, and I followed them exactly. My daughter-in-law thought it would be cool to burn their brand onto the seat, which added a very personal touch, I think. Very happy with the way it turned out. Thanks for the easy-to-follow plans, Ana!

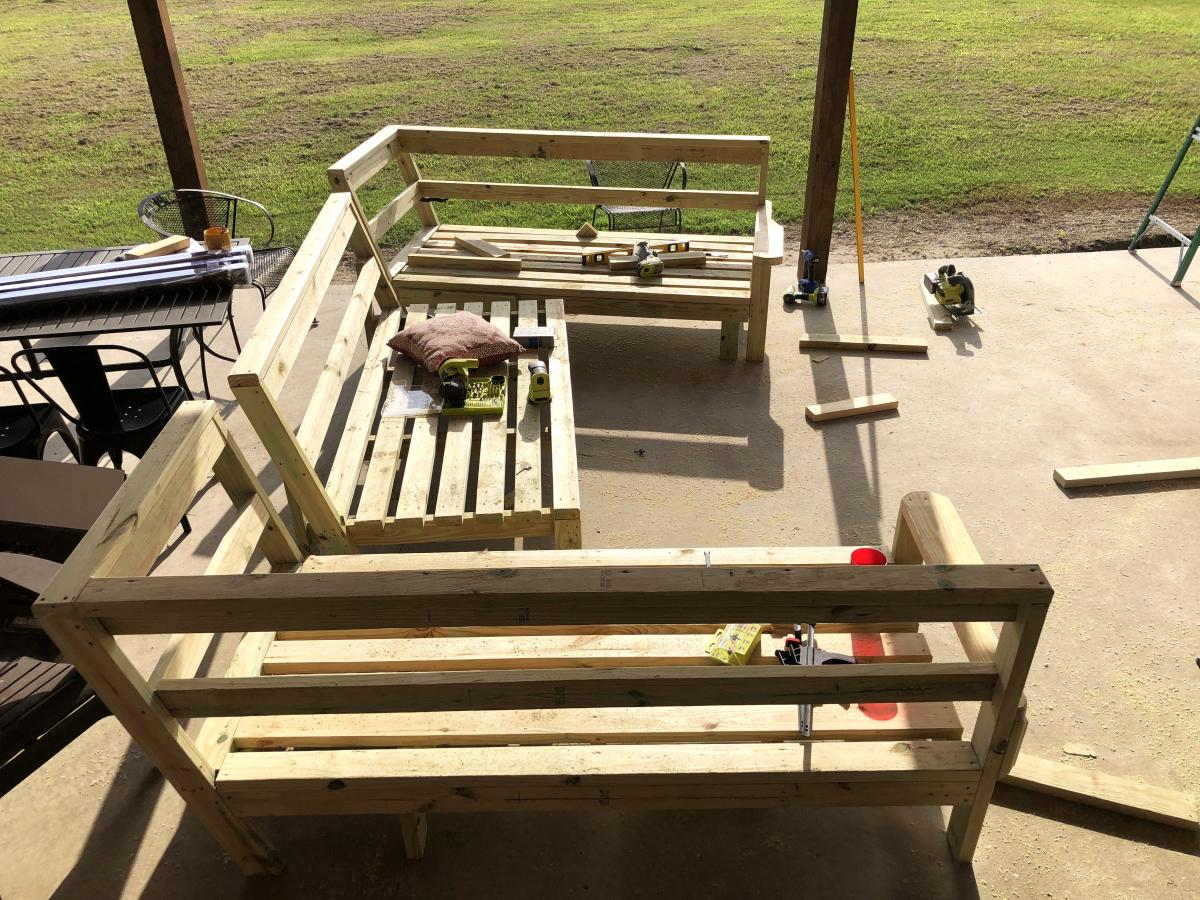
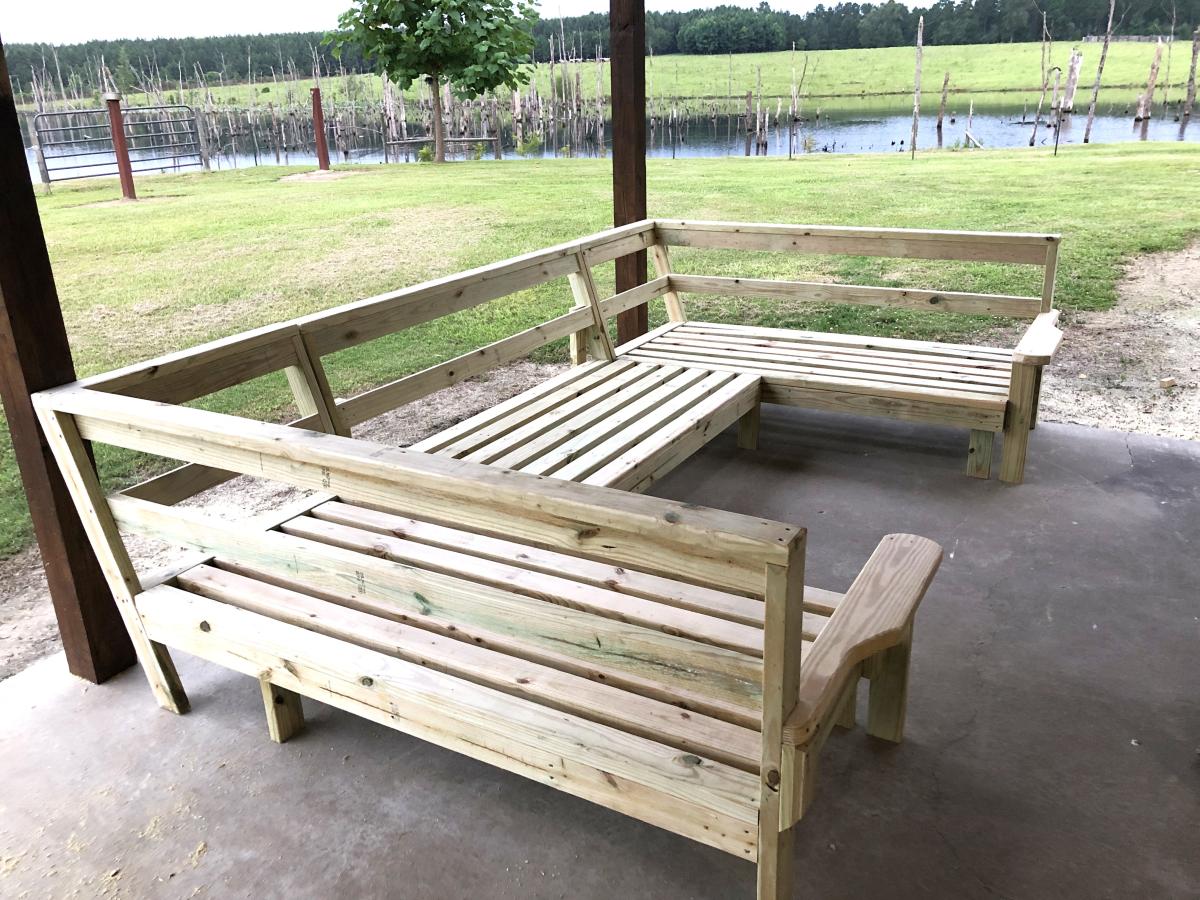
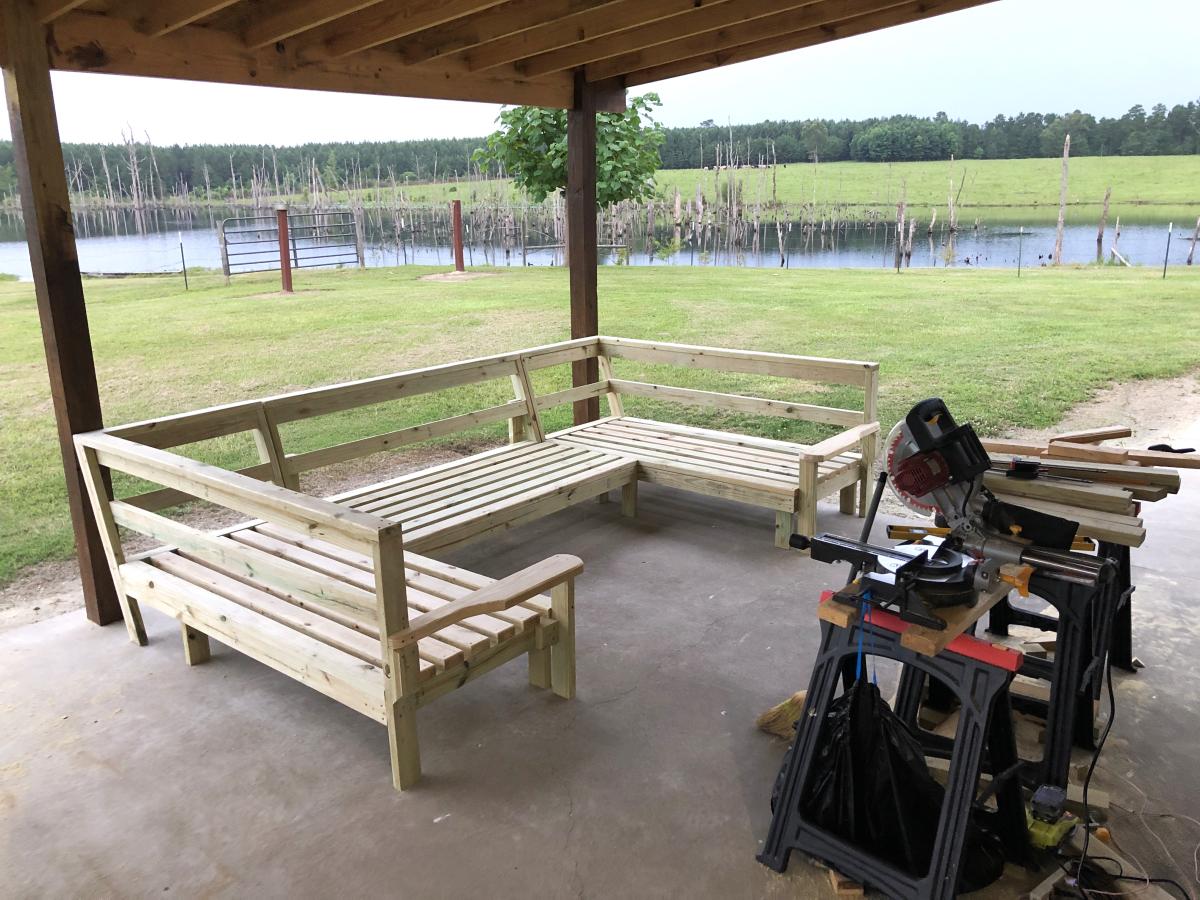
I wanted some outdoor furniture and after seeing the video, I felt that this was something I could so myself. I am very pleased with the outcome. It wasn't difficult and it looks great. Thank you! I had some 2 x 4's leftover so I decided to build a chair in the same style as the sofa. It looks like a set.
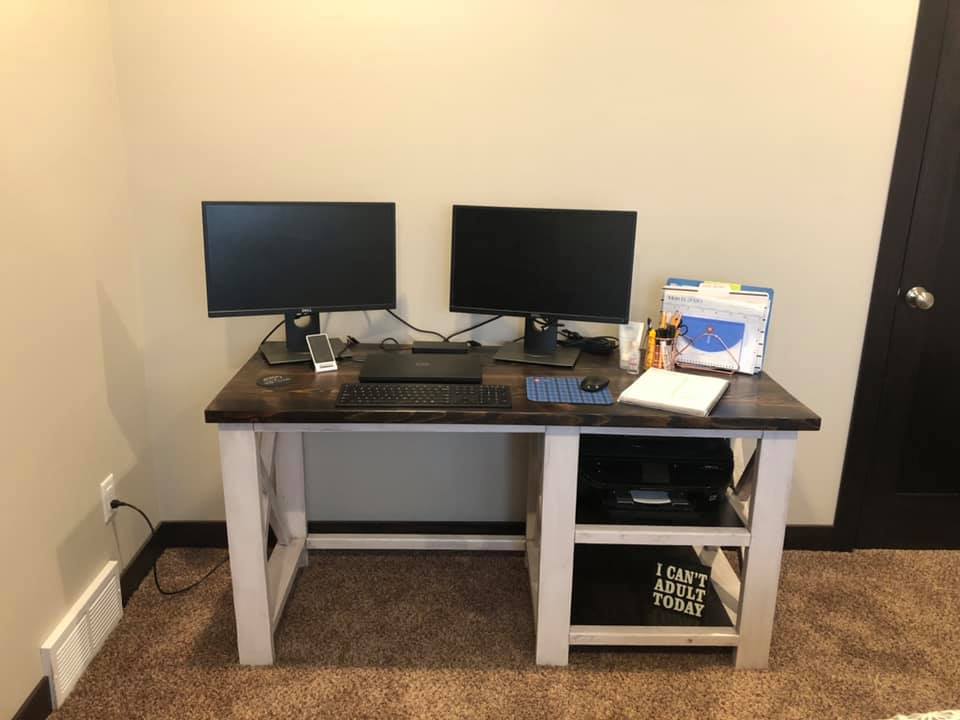
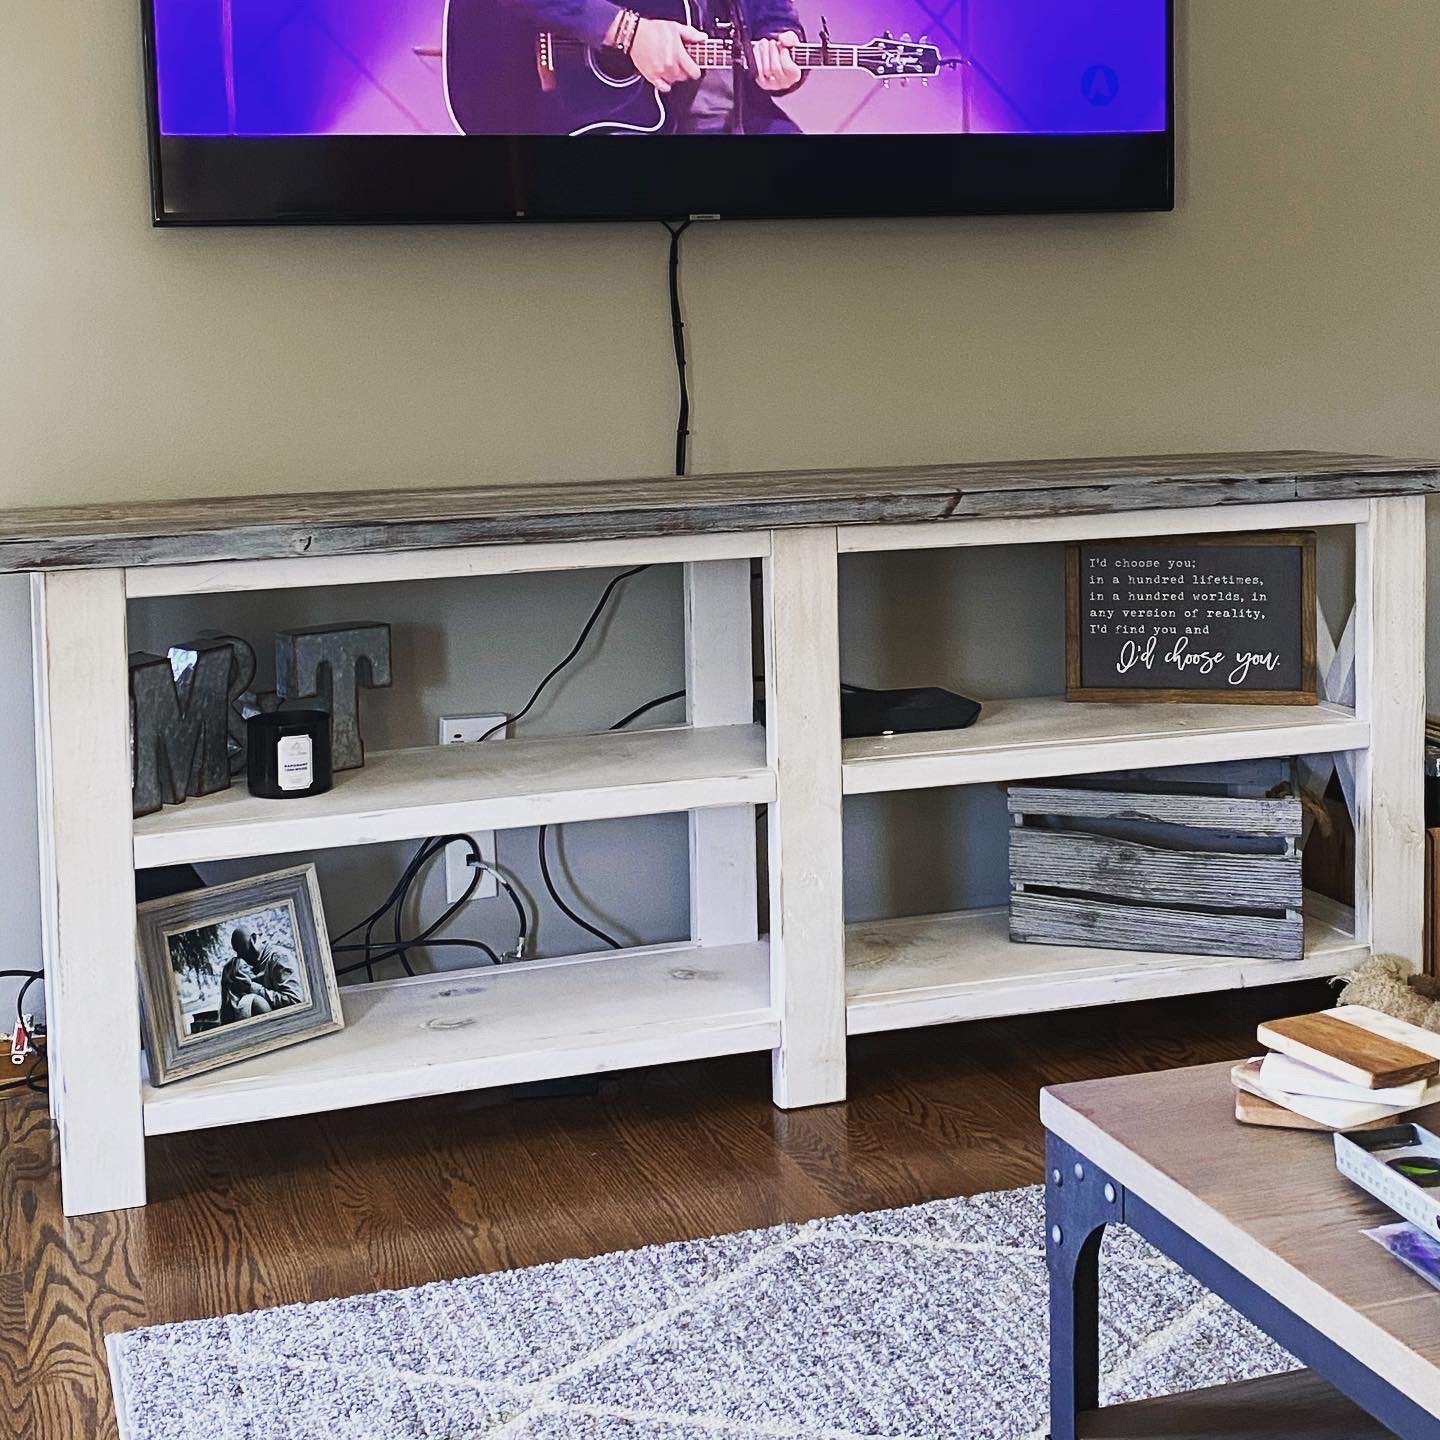
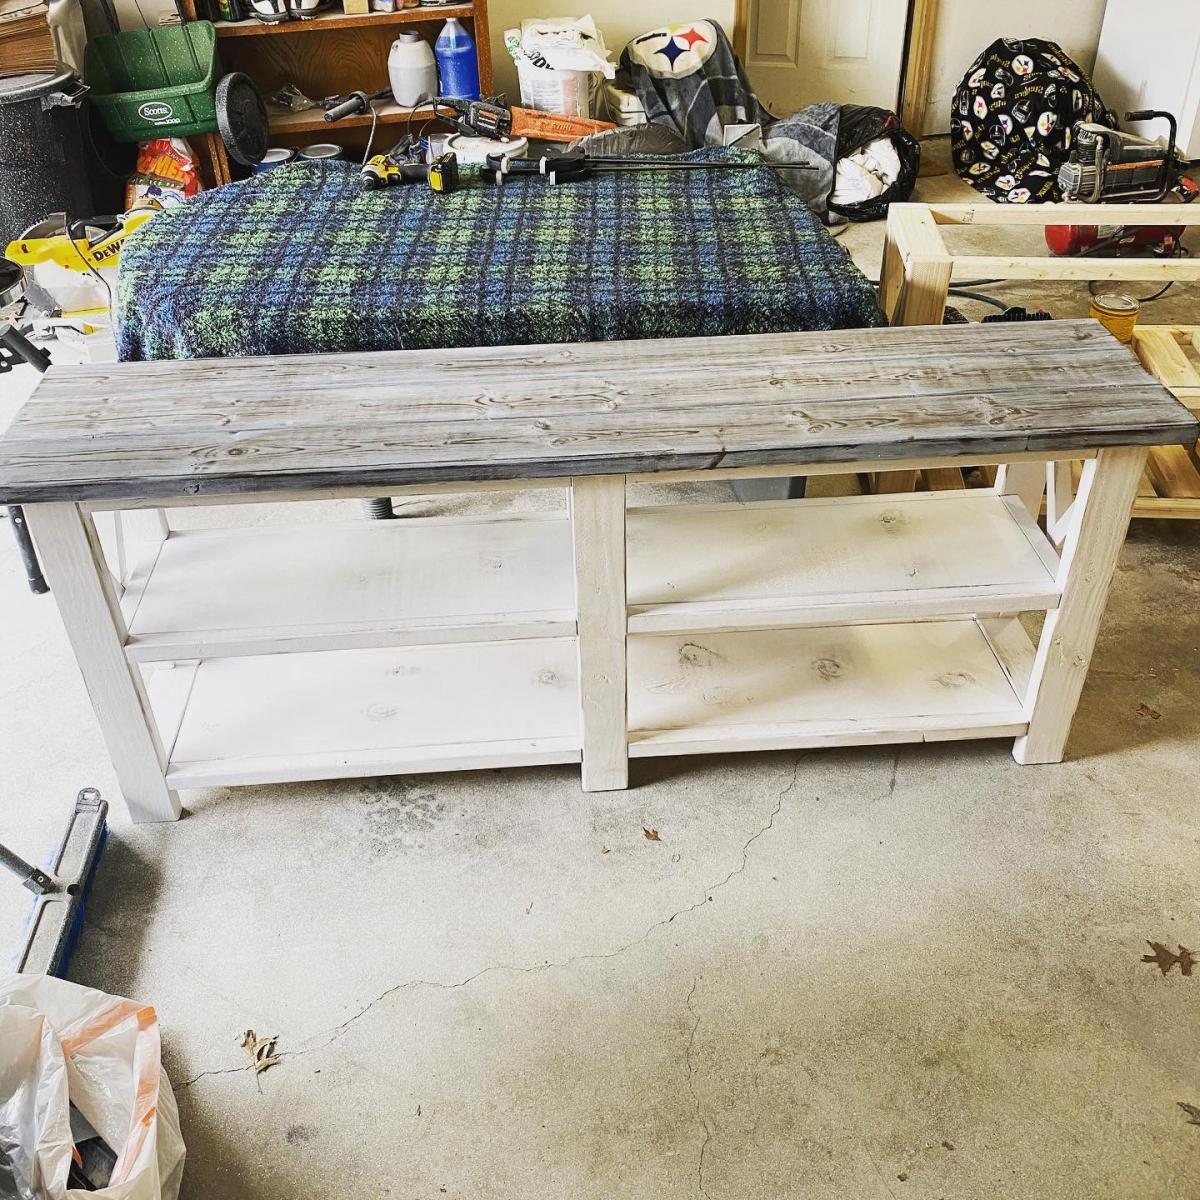
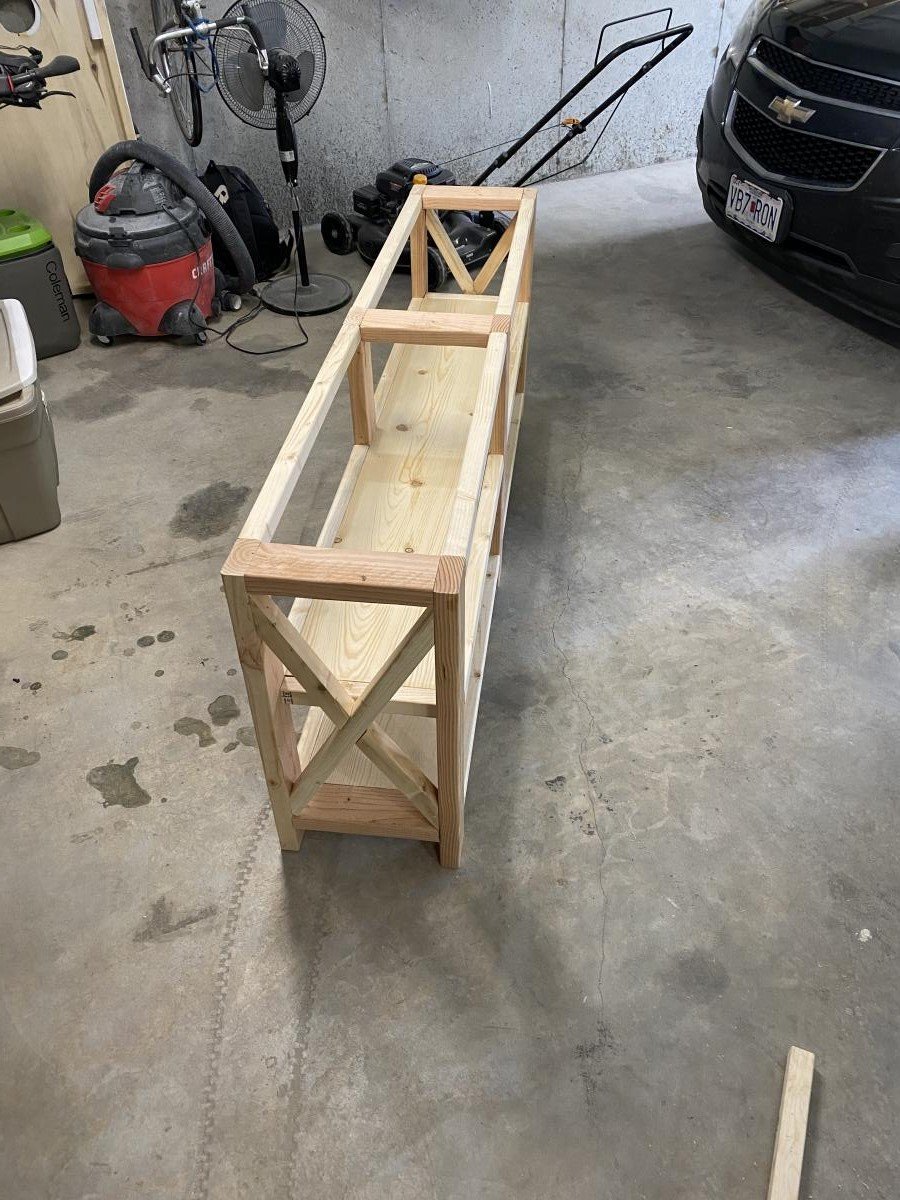
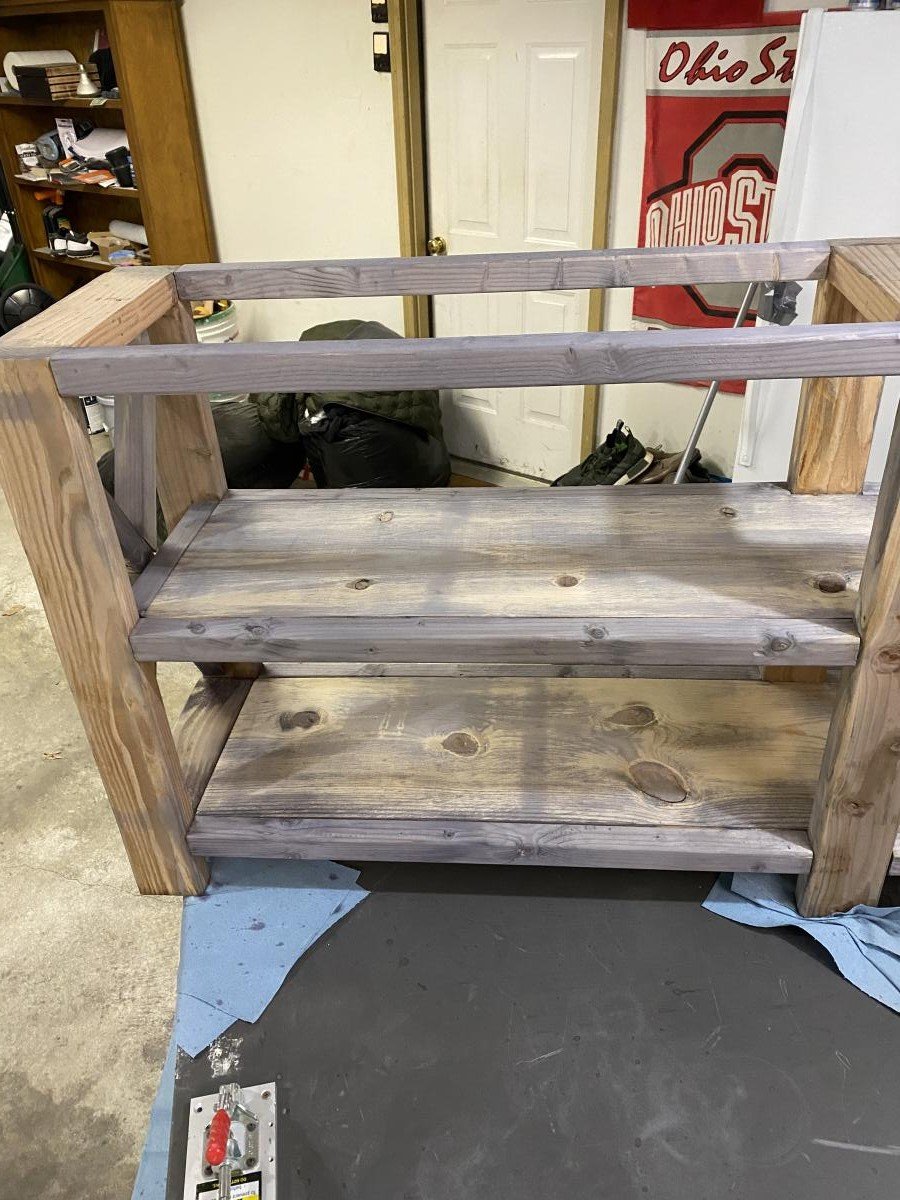
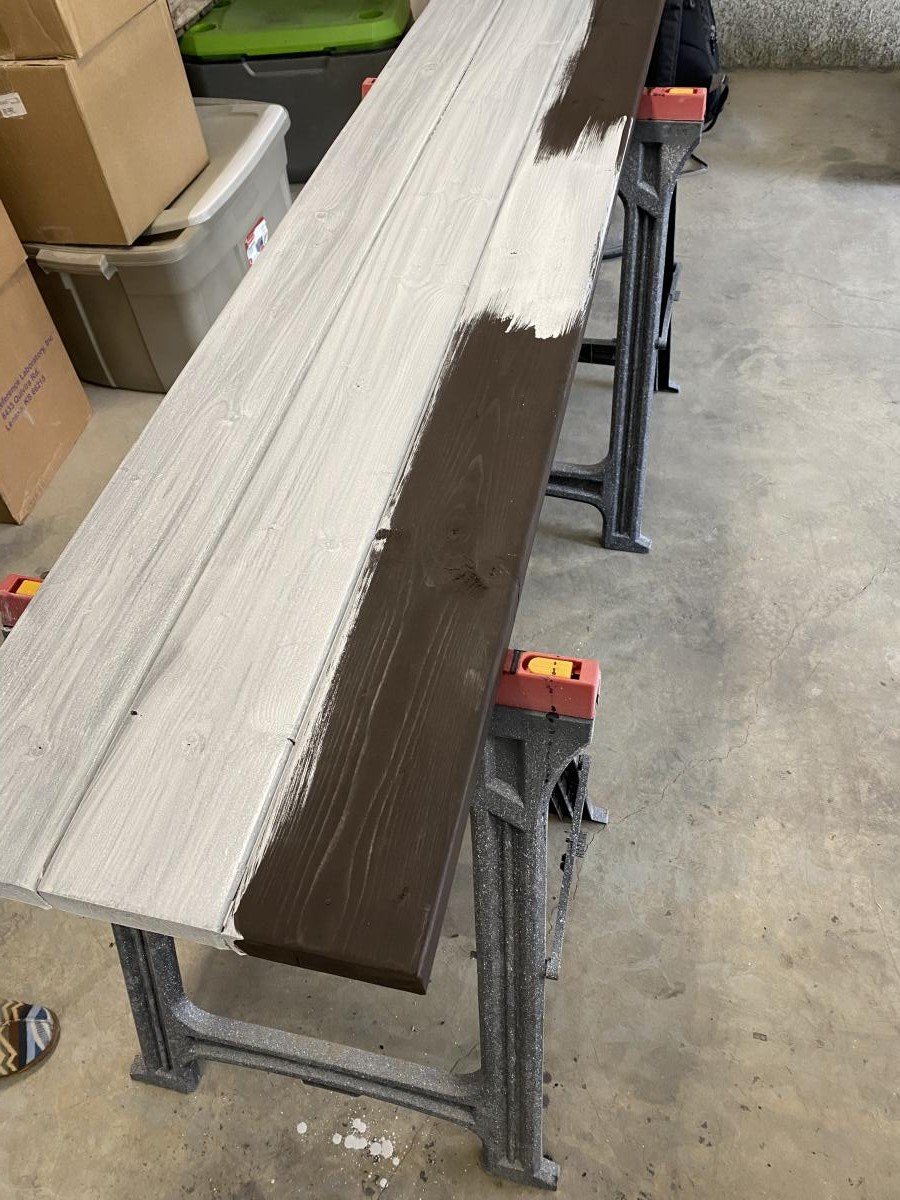
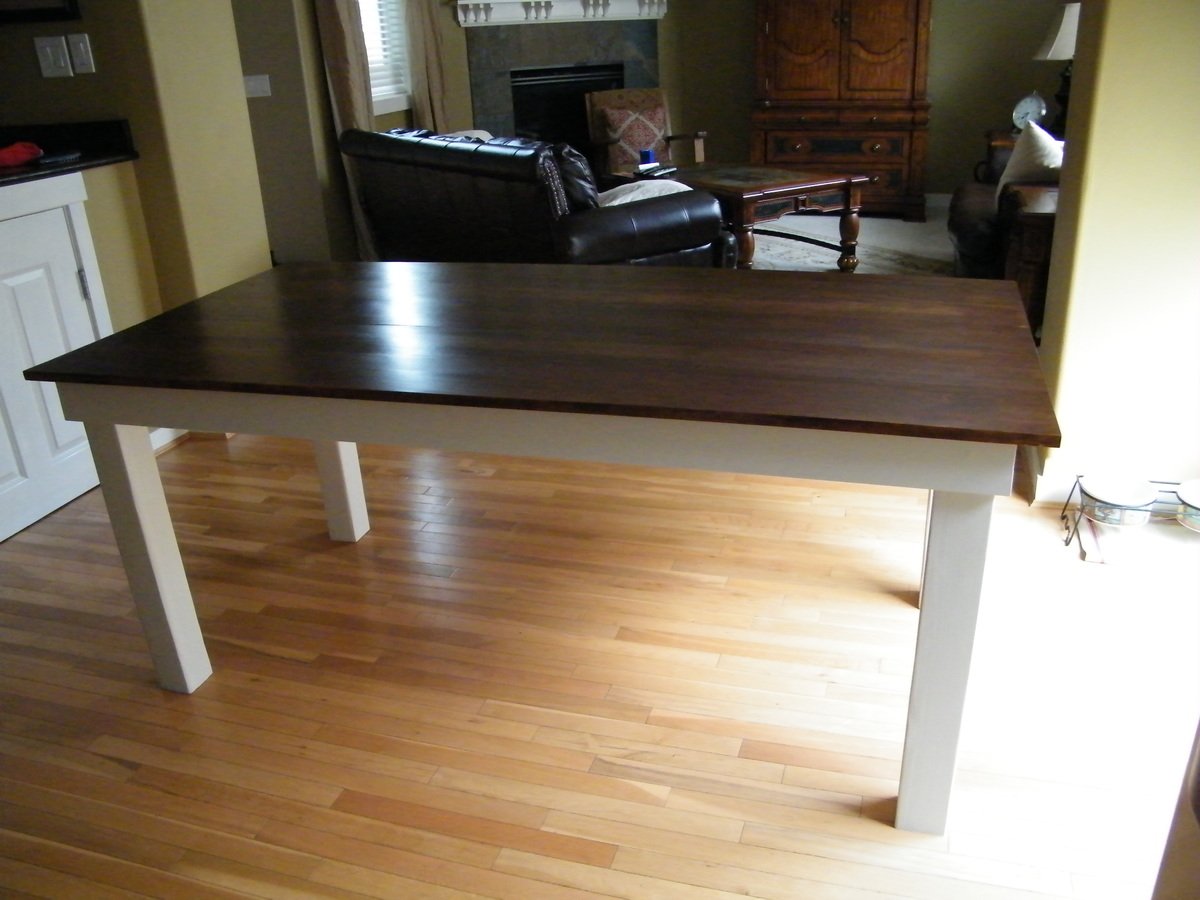
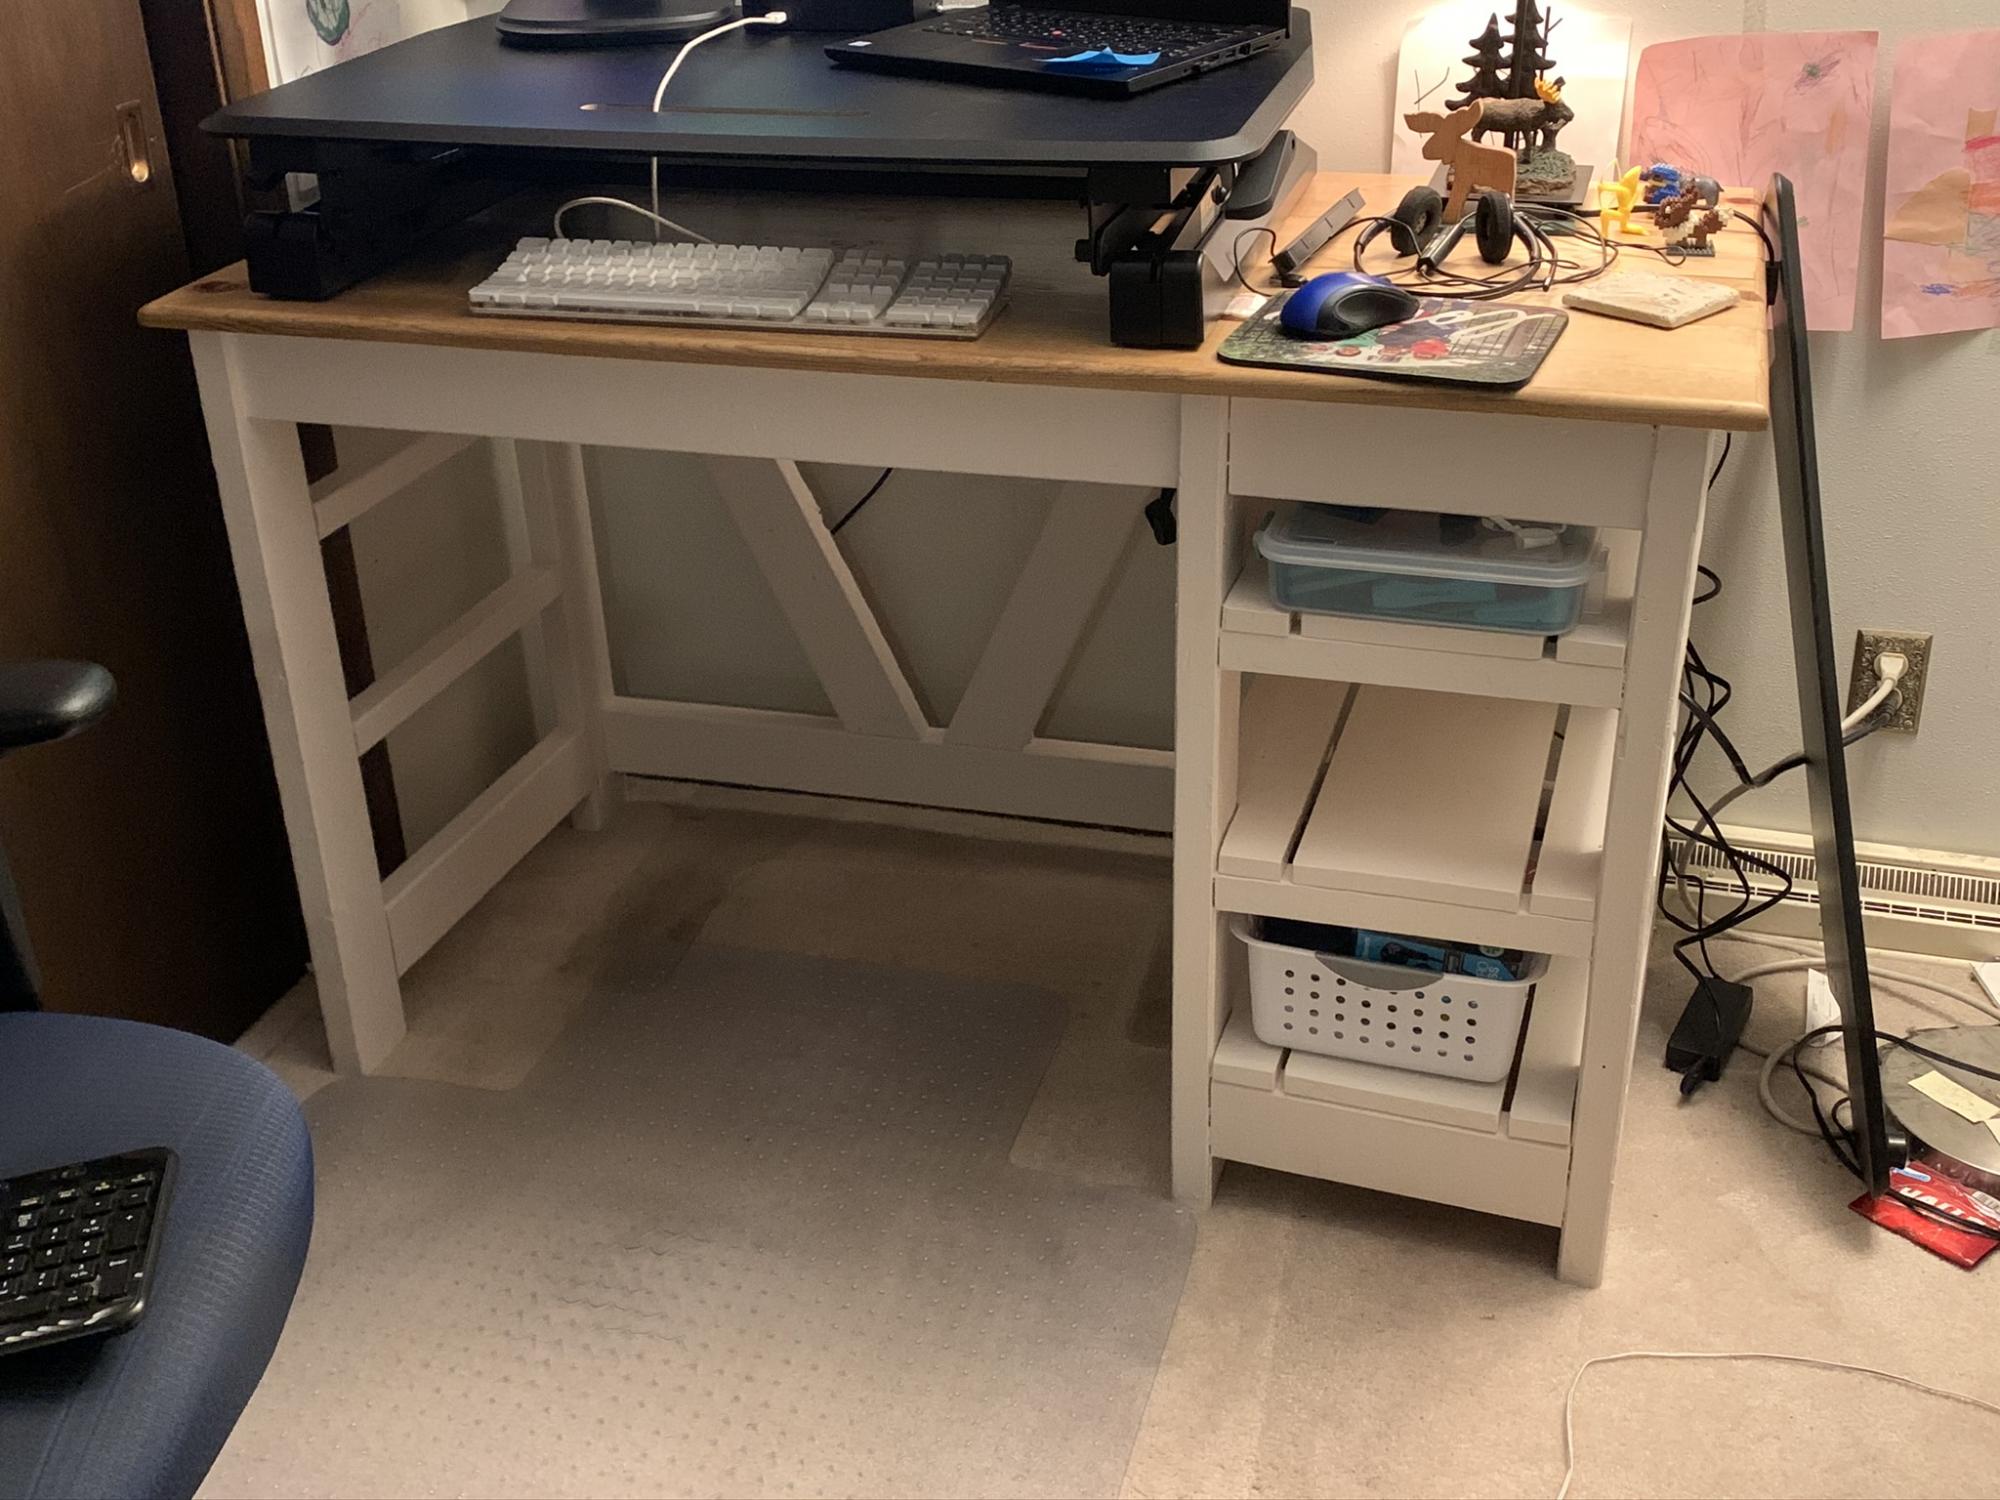
This was my first attempt at this desk and all things considered it turned out pretty well. I glued the top and shelves together instead of using pocket screws. I then stained the top and shelves expresso and used the expresso stain over the white paint on the base and then wiped it off to give it an aged look.
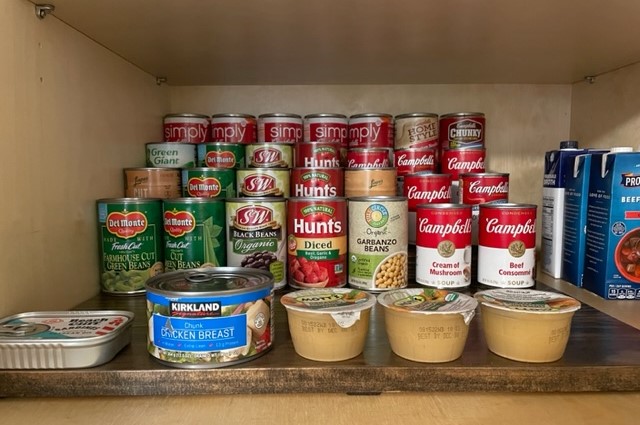
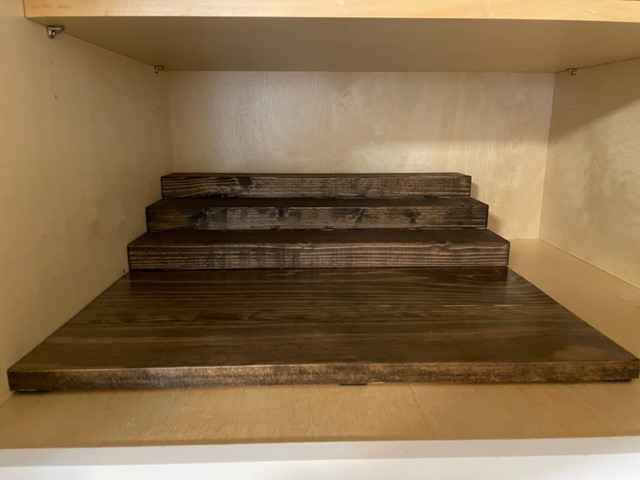
We were looking for a way to better utilize our cabinet space. Previously, our cans were all pushed in and we couldn't see what we had without moving things around. I Found Ana's tier can organizer and knew it was exactly what we needed. We repurposed a piece of stained plywood we already had and a couple of 2x4 pieces from previous projects. We did buy a 2x4x8 because we wanted to make it a 4-tier shelf. We stained it dark walnut and added felt pads to the bottom. Measures 22" D x 21.5" W. We love it and it makes our space so much more effective.
J Daughenbaugh
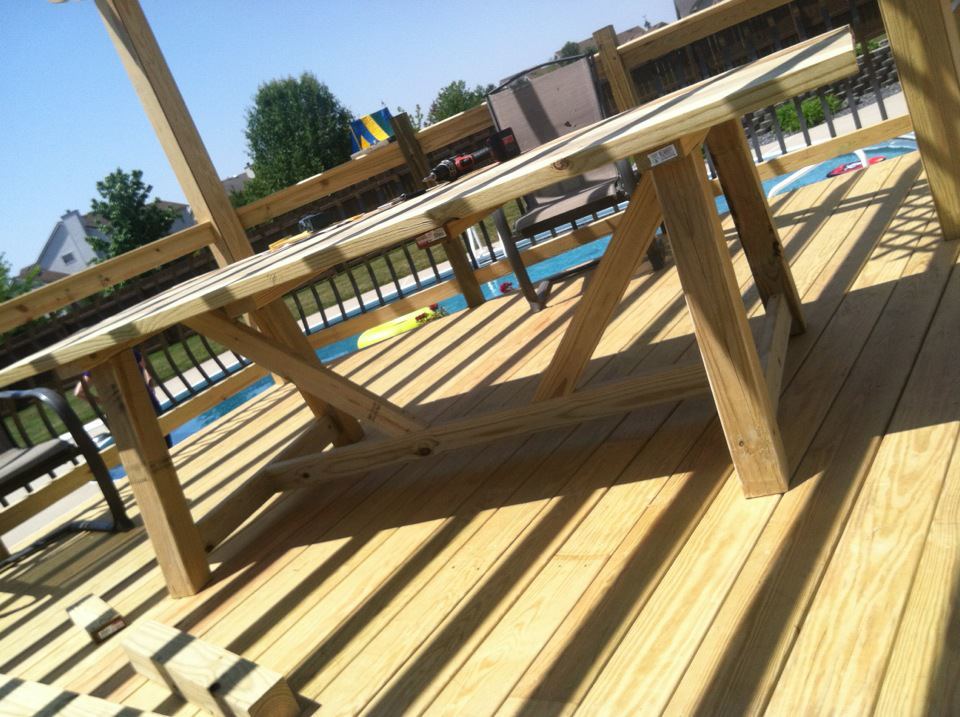
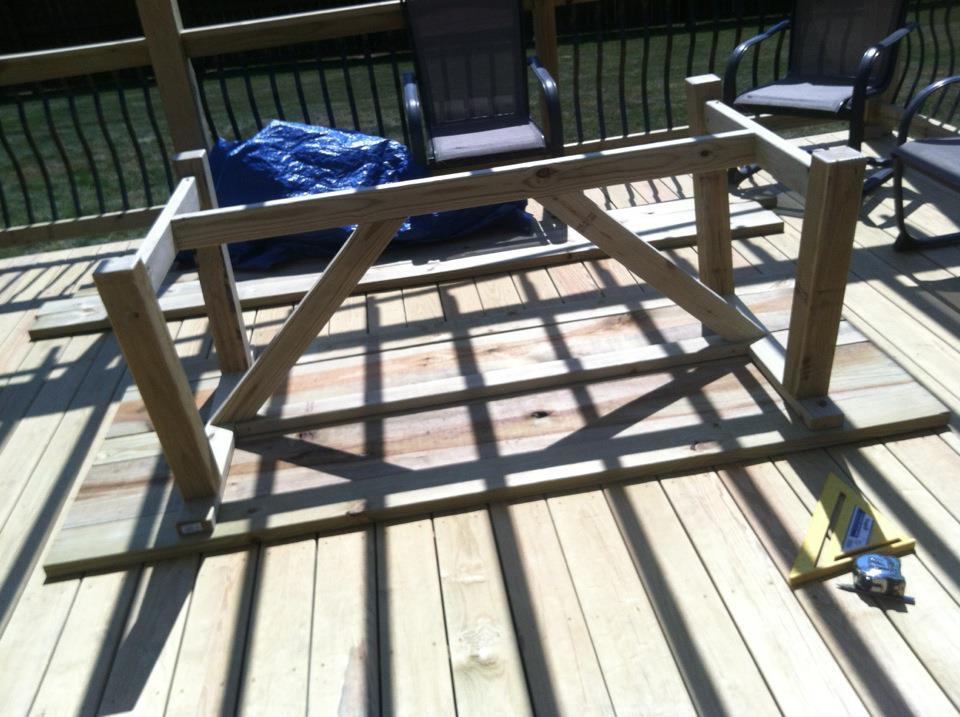
Here is my Providence Table made from scrap wood we had left from building our deck. I am not thrilled that it is made out of pressure treated wood but it is what it is. I used 2x6 mixed in with 2x10's for the top, 4x4's for the legs and used a 1/4 router bit for all the edges.
Fri, 05/25/2012 - 18:44
Thank you! I have been asked to build this for nearly everyone who comes over! Great great plan that saved us a TON of $! Thanks!
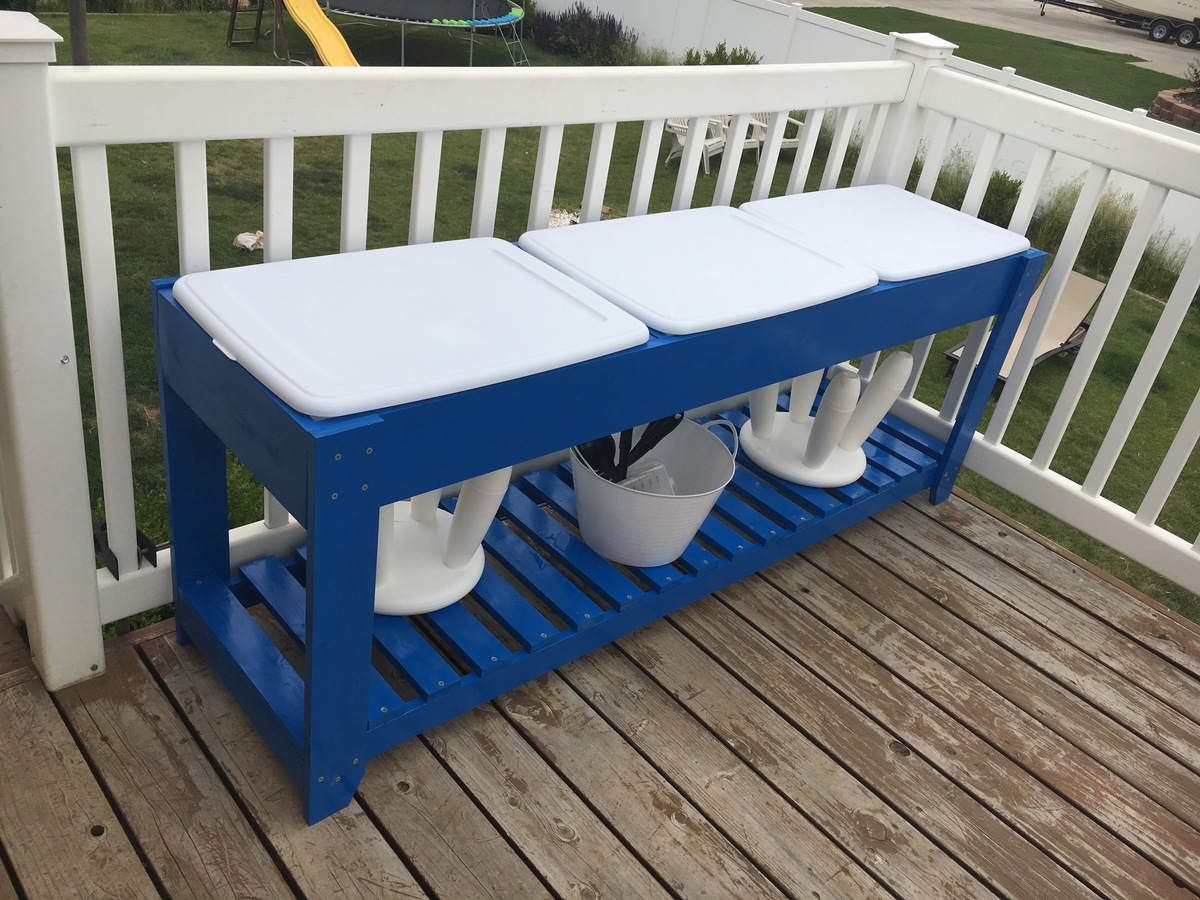
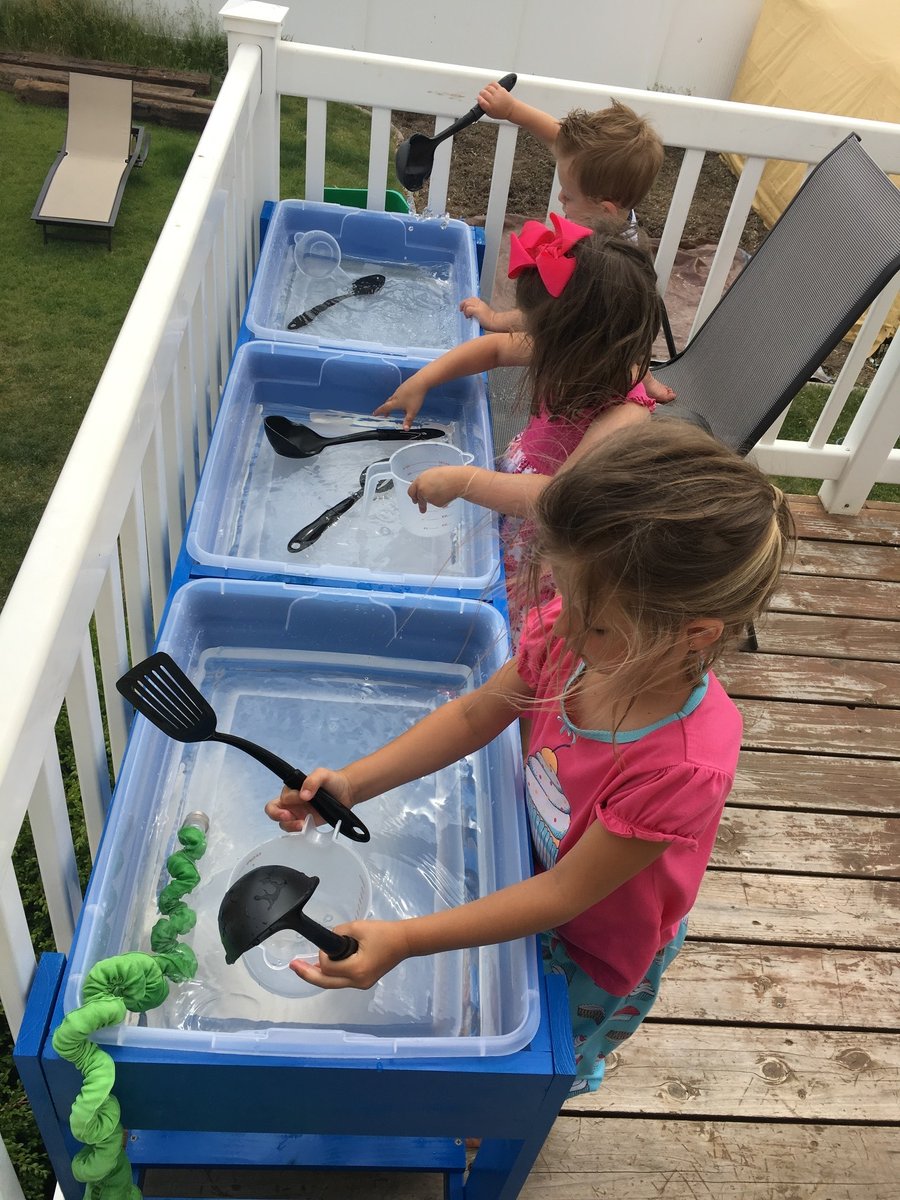
We have 3 kids and so I wanted them to each have their own place to cut down on arguments. I also chose to make this just a water table because of how close it is to the back door. I'd rather them not bring in a ton of sand each day. Because I wanted to be able to keep the lids on top when they weren't in use, we separated the bin areas so the lids can snap shut. We also made it a few inches taller to fit the stools underneath. It was a simple build, and didn't cost much more than a big box store small plastic sand and water table. Also I found those bins (same brand and size as in original plans) at Walmart with a white lid (which I preferred to the blue) for under $5 each.
Rustic x consol table Weathered.

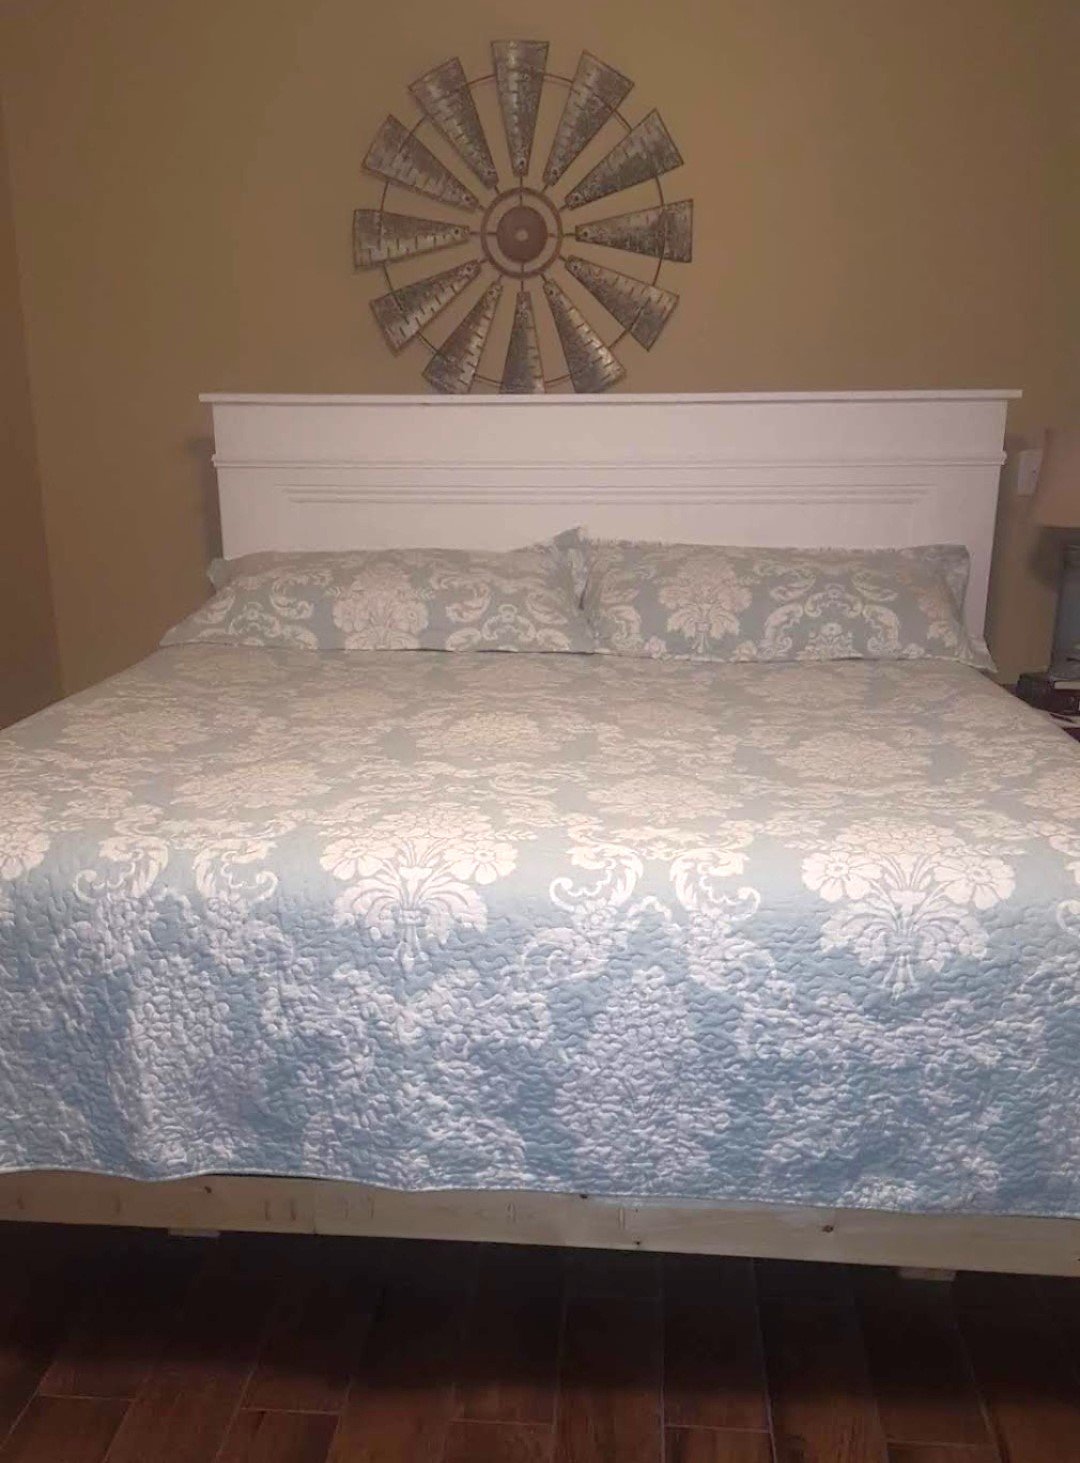
King bed. Easy to build. I love it. -
F. Sellers
So happy to finally get around to this build. Super easy, though I found I am not that skilled with cove moulding...nothing a little wood putty couldn't hide.
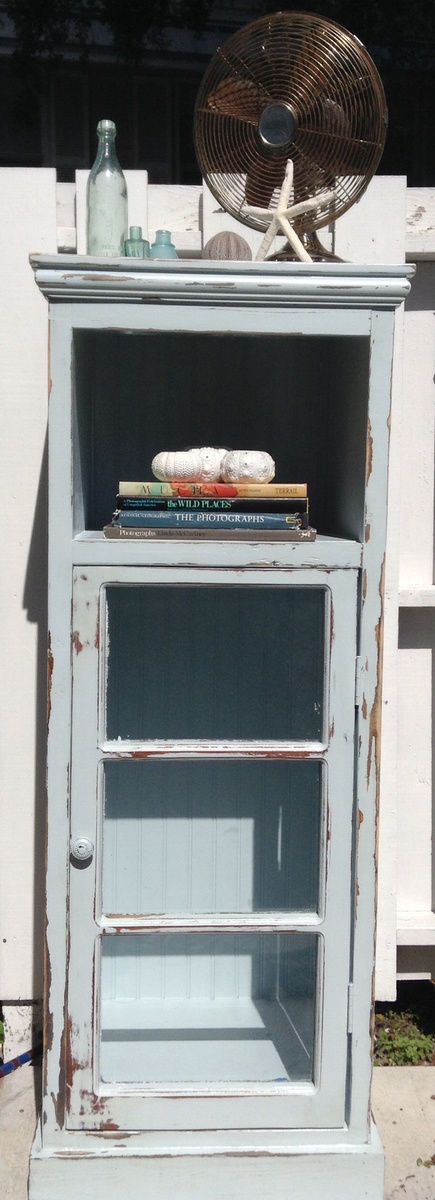
I was given an old window that was going into the trash from an old house in Key West that was being remodeled and decided I wanted to use the window as a door on a cabinet. These plans were very thorough and easy to follow. I modified the measurements to fit the window and am really happy with how it turned out. I added some trim to the top and bottom and used beadboard for the back to fancy it up a bit. I painted it in Sea Mist by Behr and distressed it by hand. This is my first post on this site. Thanks, Ana, for making this possible for me!

Mon, 03/17/2014 - 12:11
Love that color! I painted a console table in the same shade and distressed it. Still one of my favorite pieces to date! ( http://www.birdsandsoap.com/2011/07/touch-of-blue.html )Your cabinet looks great. I can't wait to get started building once the weather warms up here!
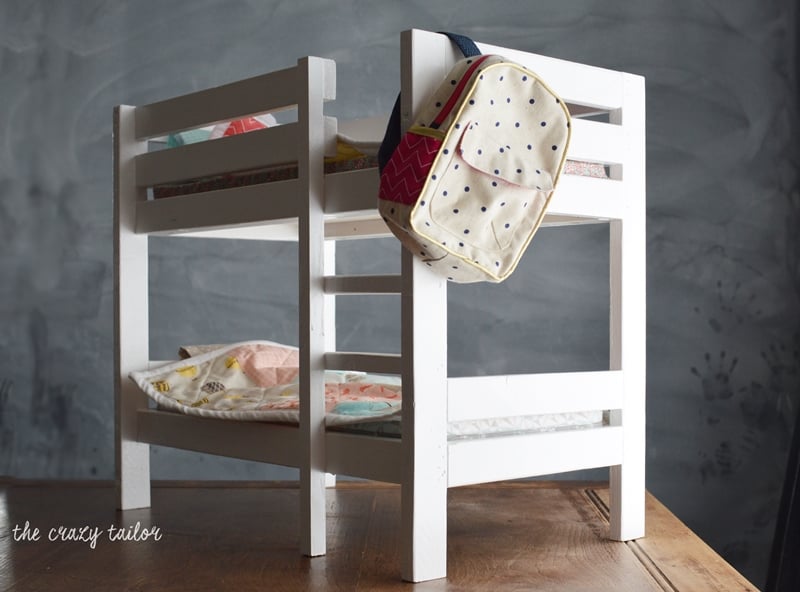
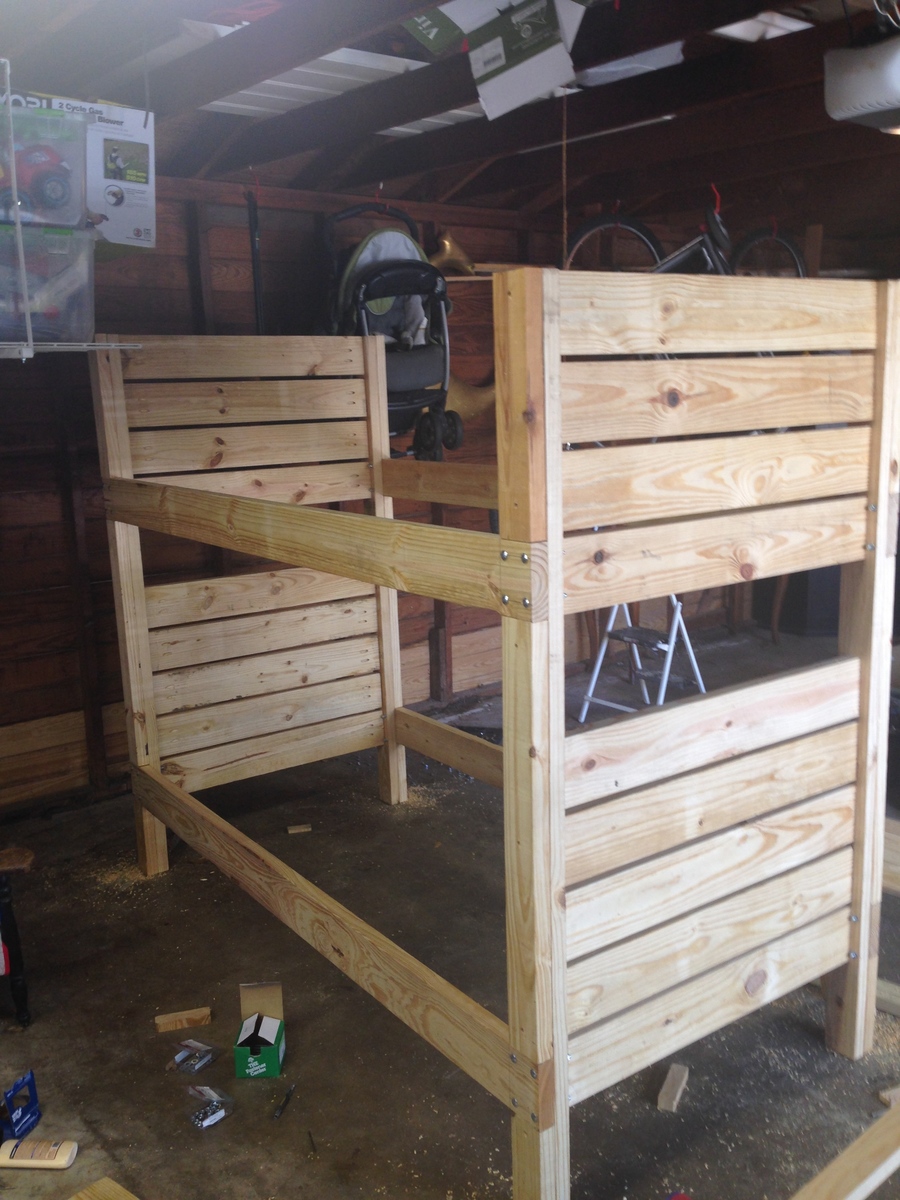
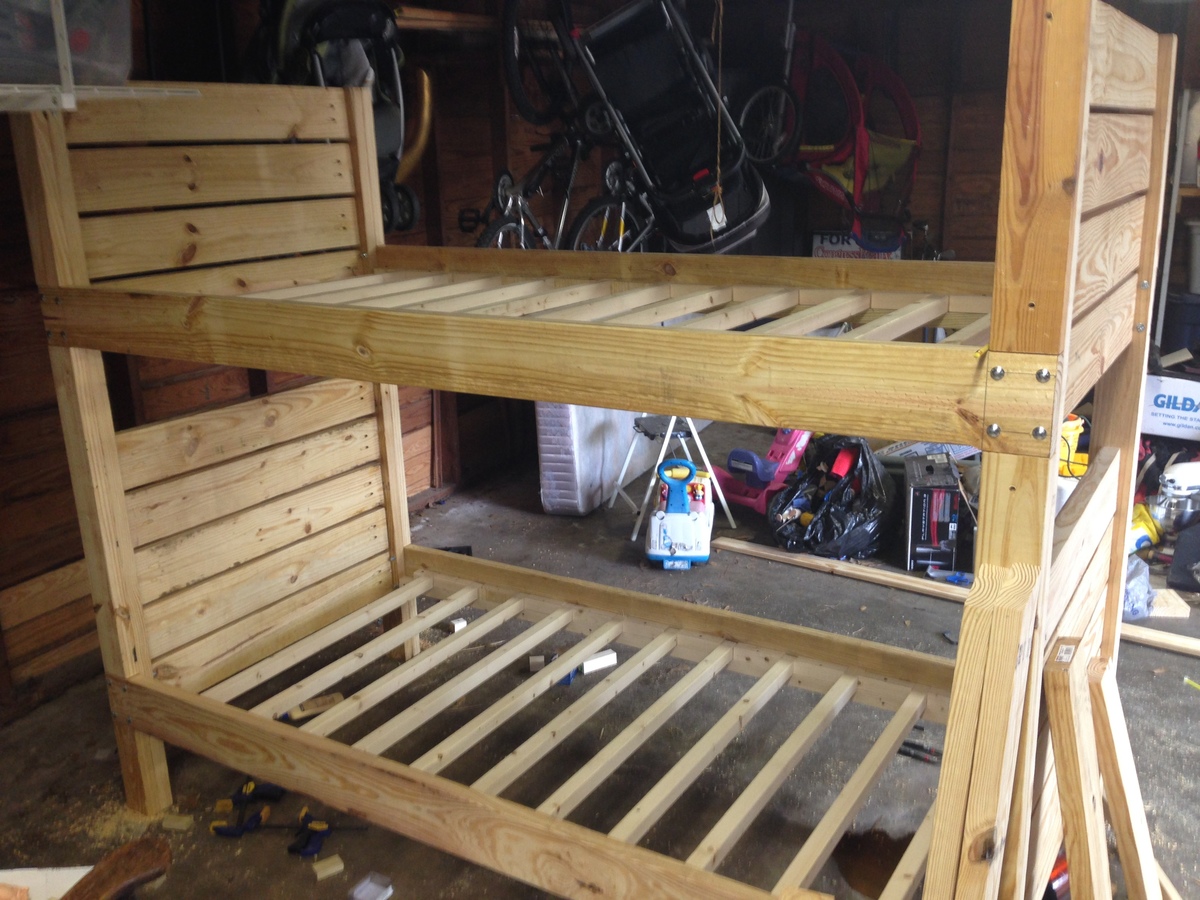
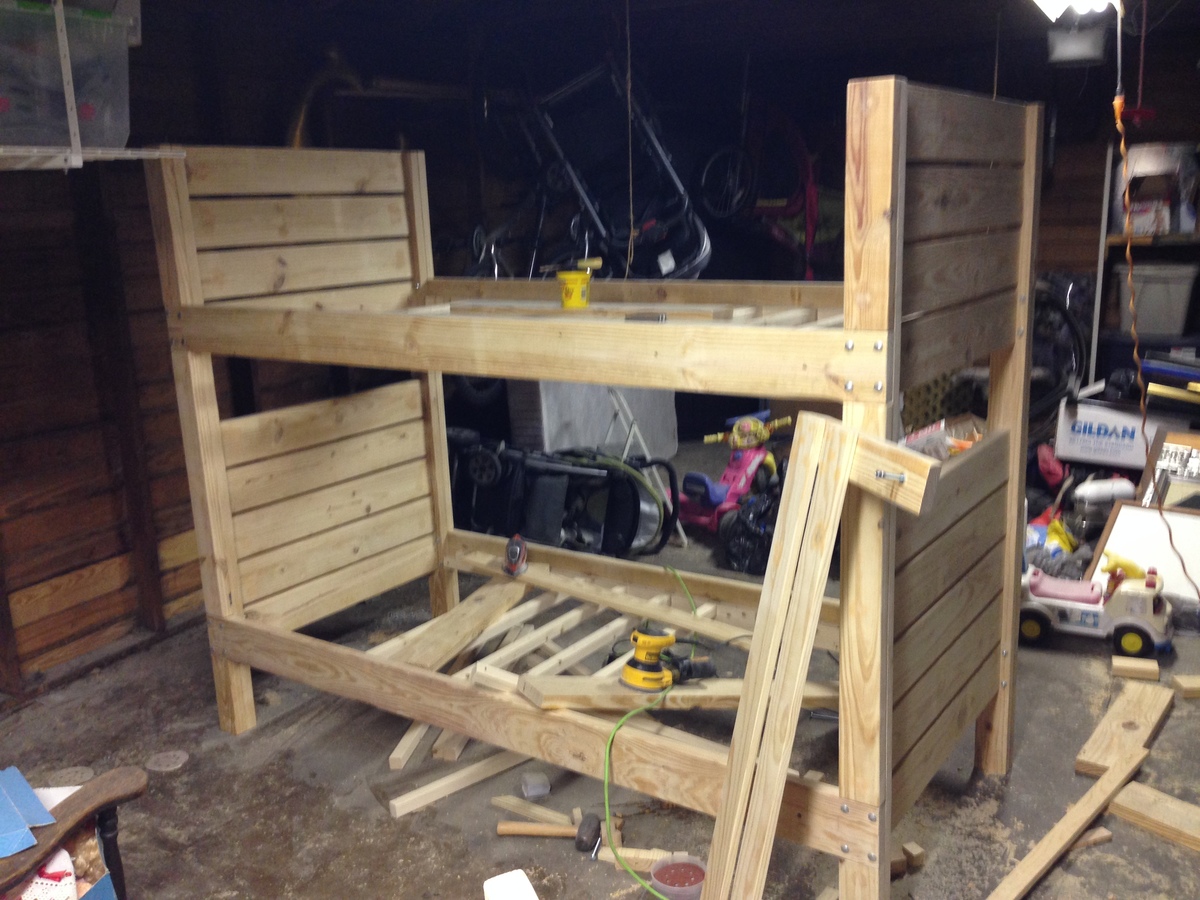
My husband built these bunkbeds for my daughter's 5th birthday. She loves it!!

I built this chicken coop/tractor a few years ago, for my cousin. I loved the ease of the plans and the build, and she loved the hens in her backyard!
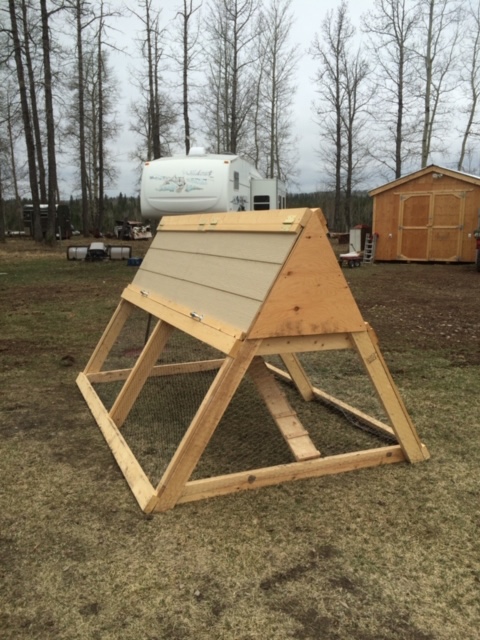
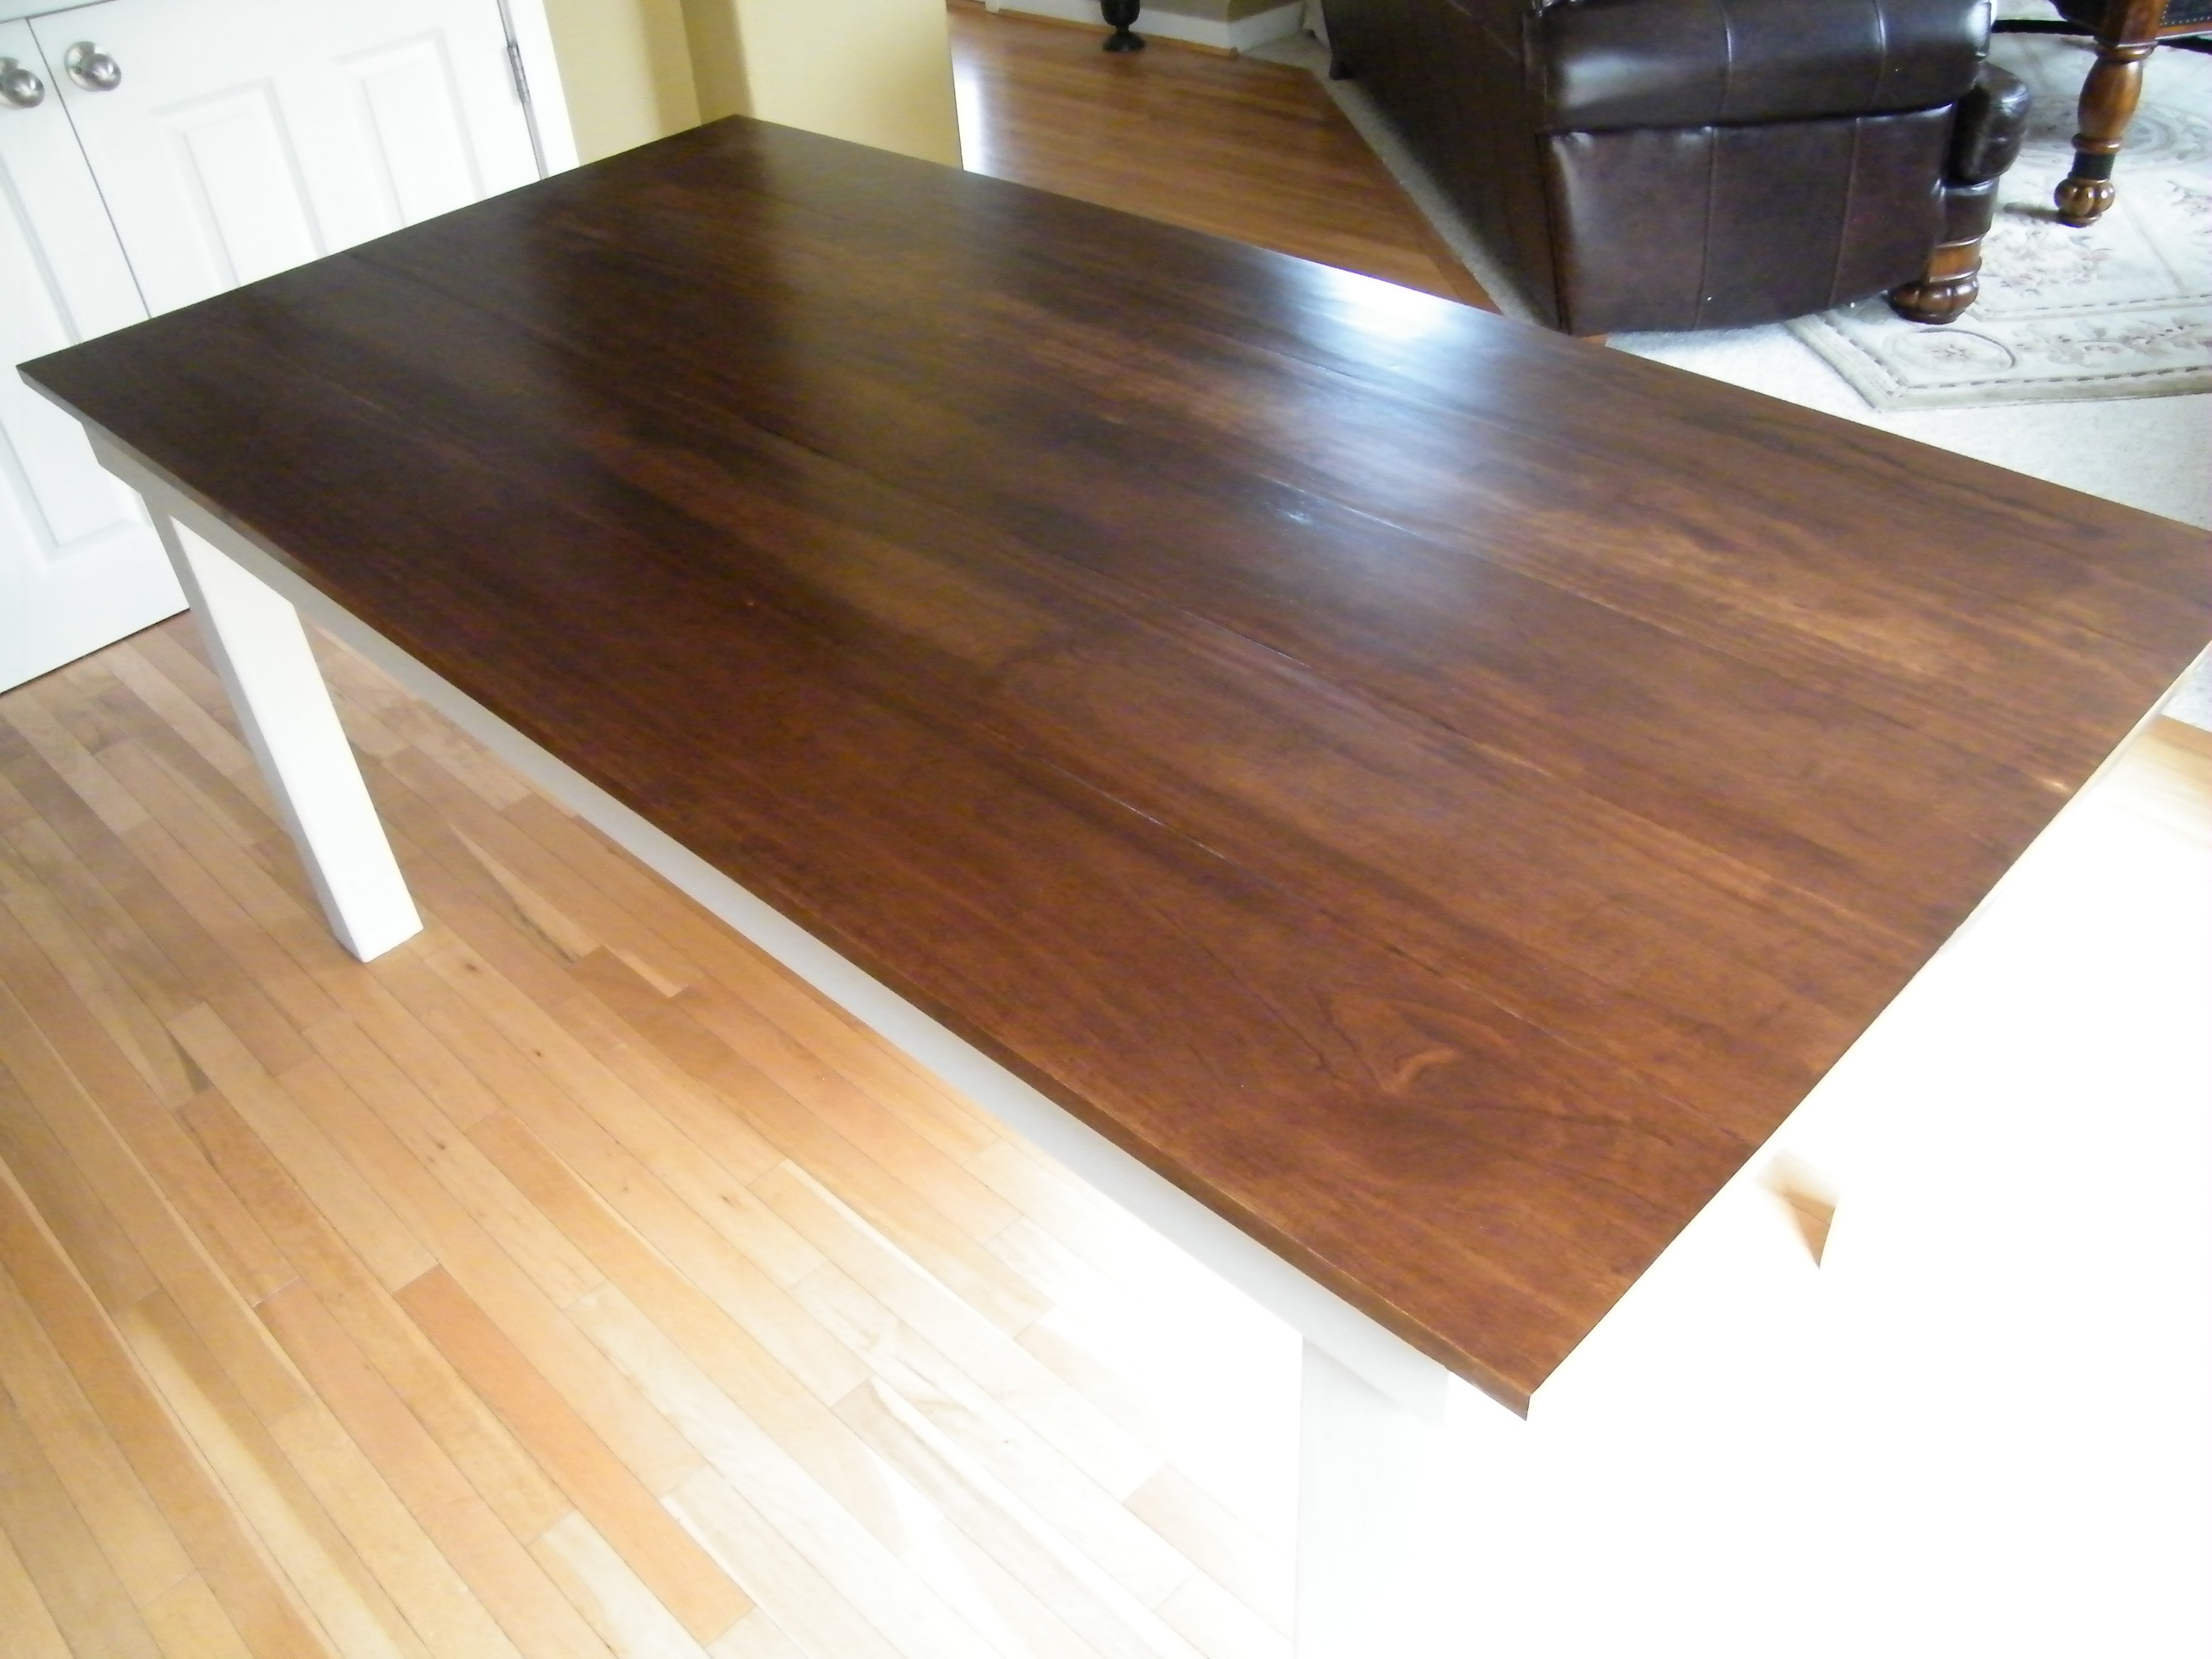
Table mad using the Rustic Table plans.
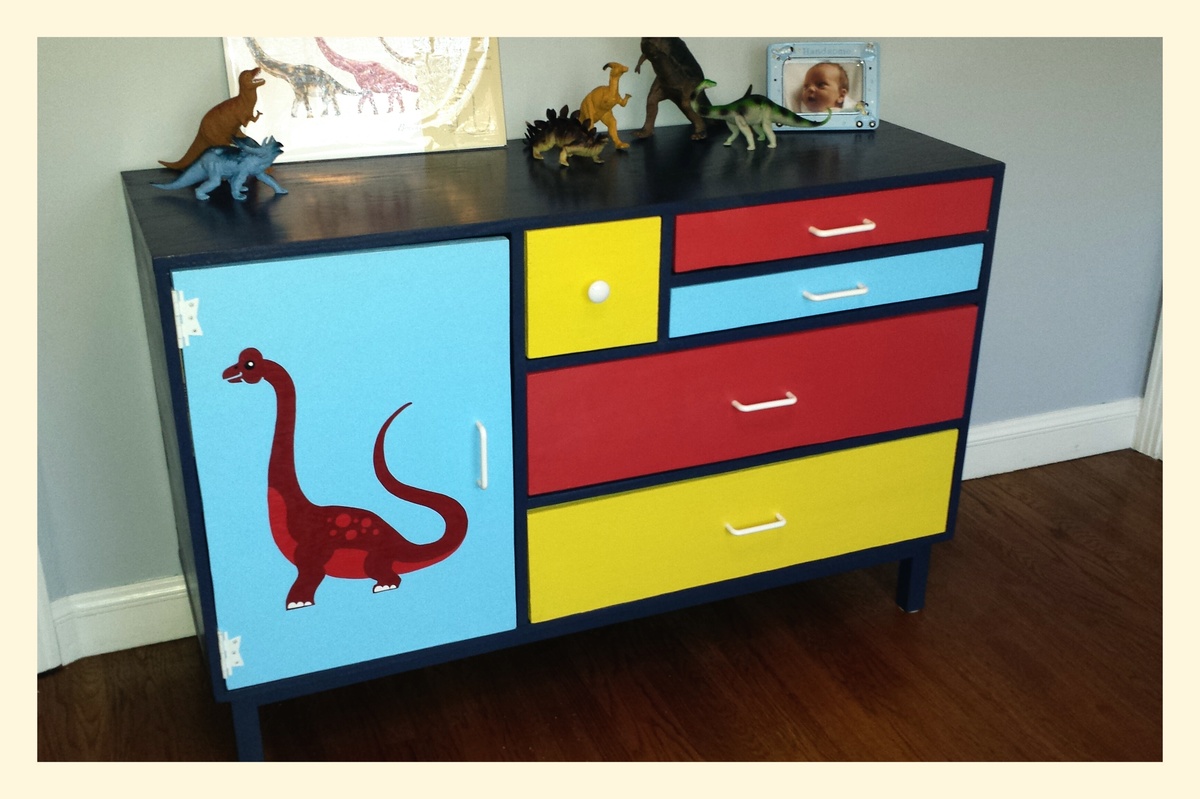
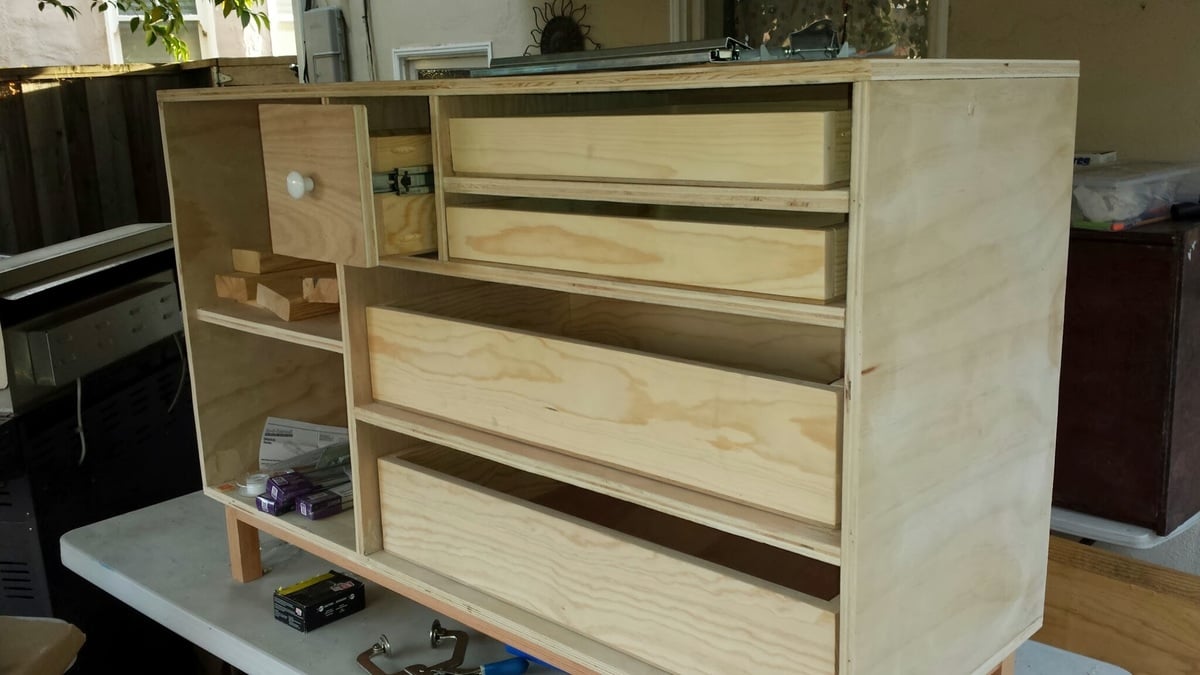
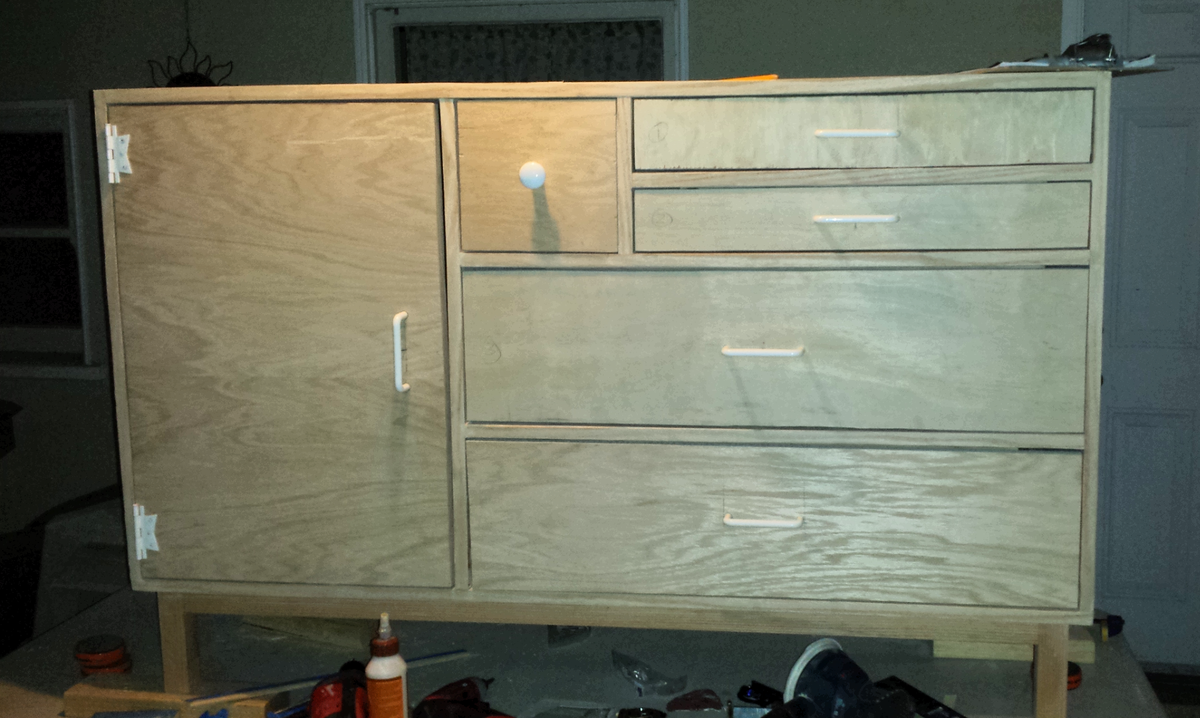
We wanted a bright and colorful dresser for the baby's room, and one that would match the Will Ruocco dinosaur prints that we purchased for the walls (http://etsy.me/PJ1yOs). This project spread out over many weekends but we were very happy with the results. We choose to go with legs instead of wheels, and made them tall enough that the Roomba would have clearance to get under. For the design, we used a combination of the plans here and a similar plan from The Design Confidential website.
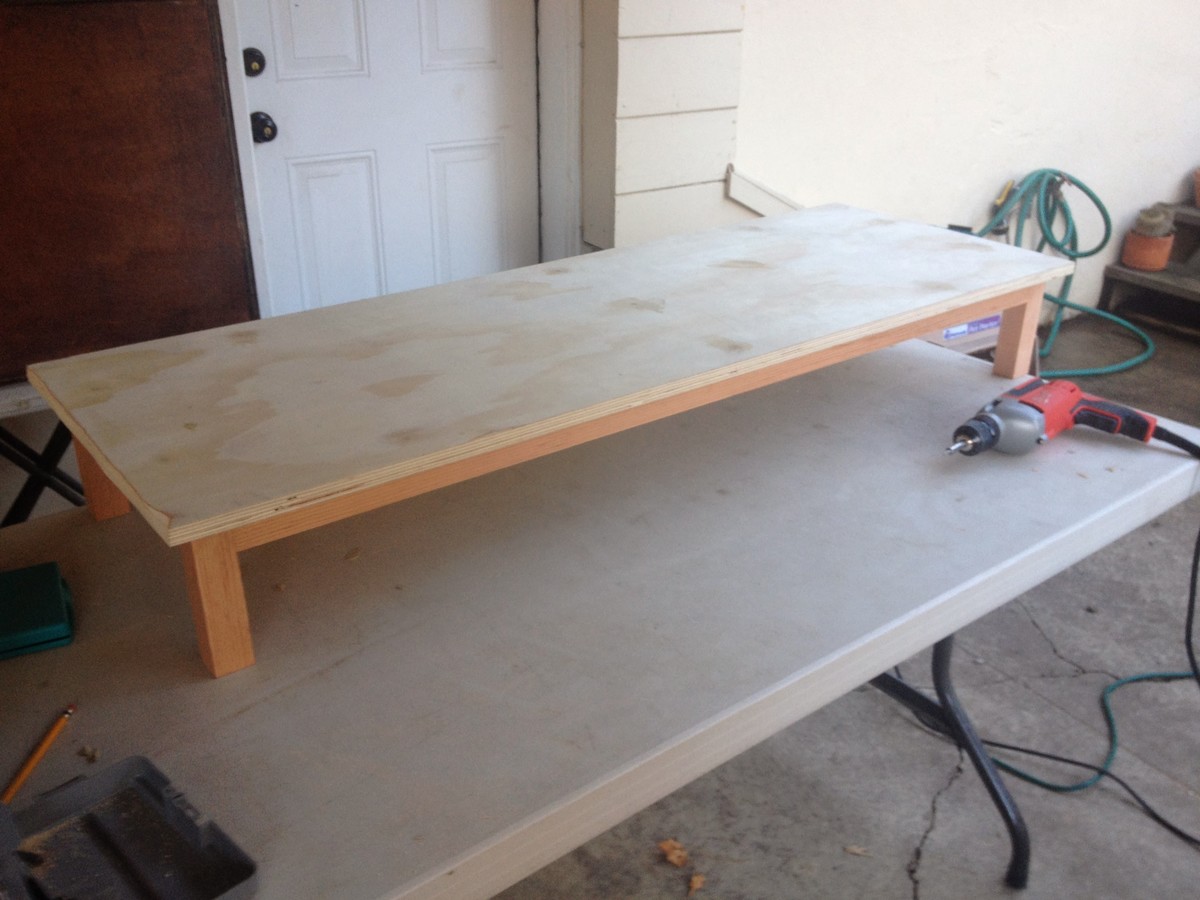
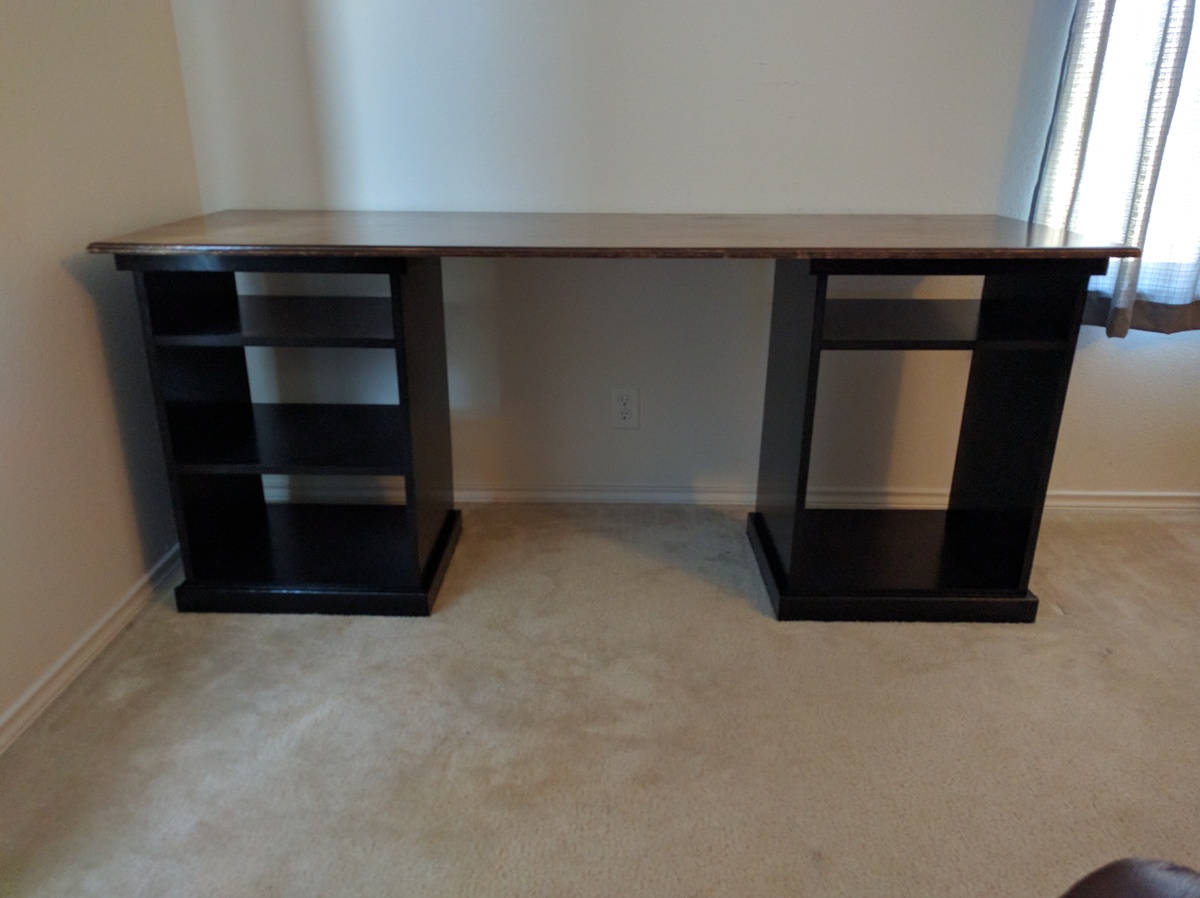
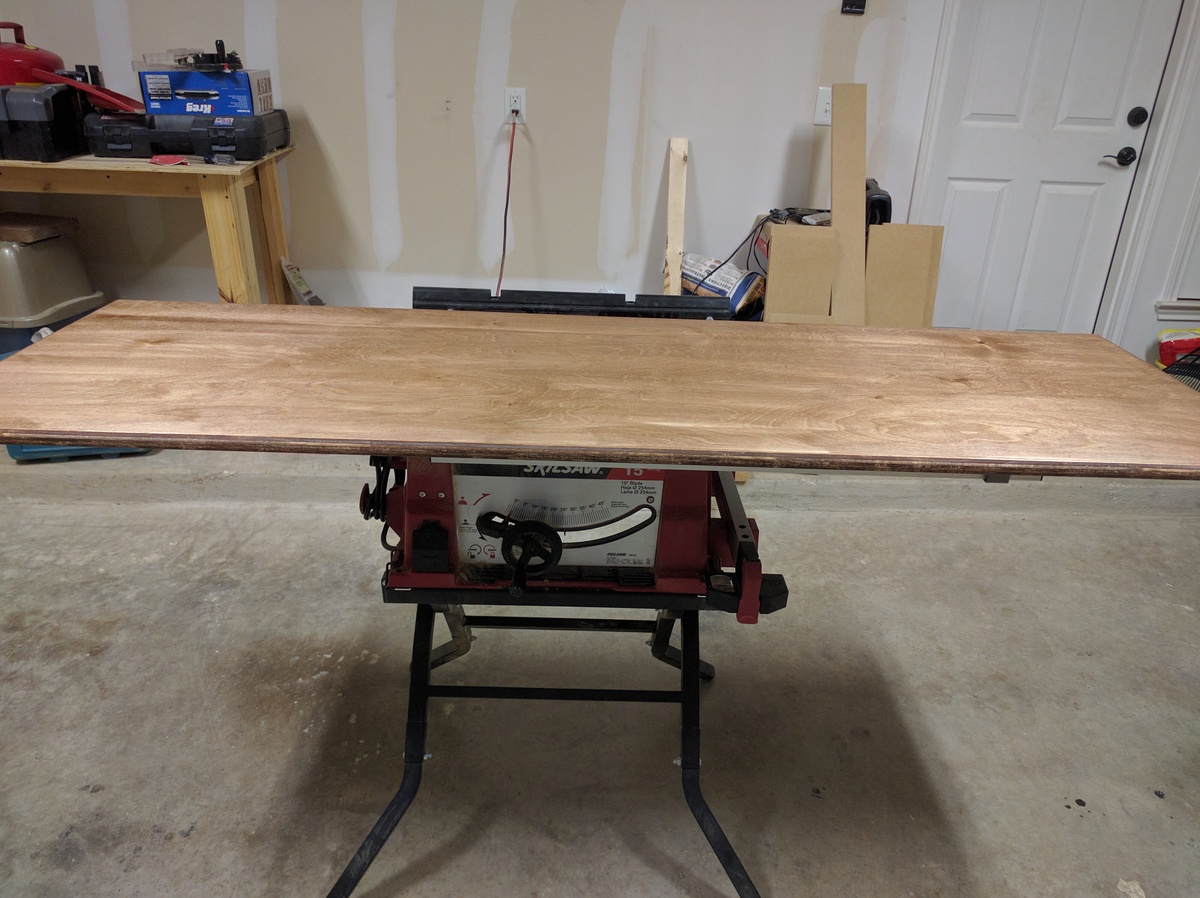
Used MDF for the bases since we painted them. I didn't do the interior trim on the bases as the plan says, because I felt they constricted the size of the shelves usability. Top was made with 3/4" Birch plywood. Simply routered the edge to have a curve then stained.
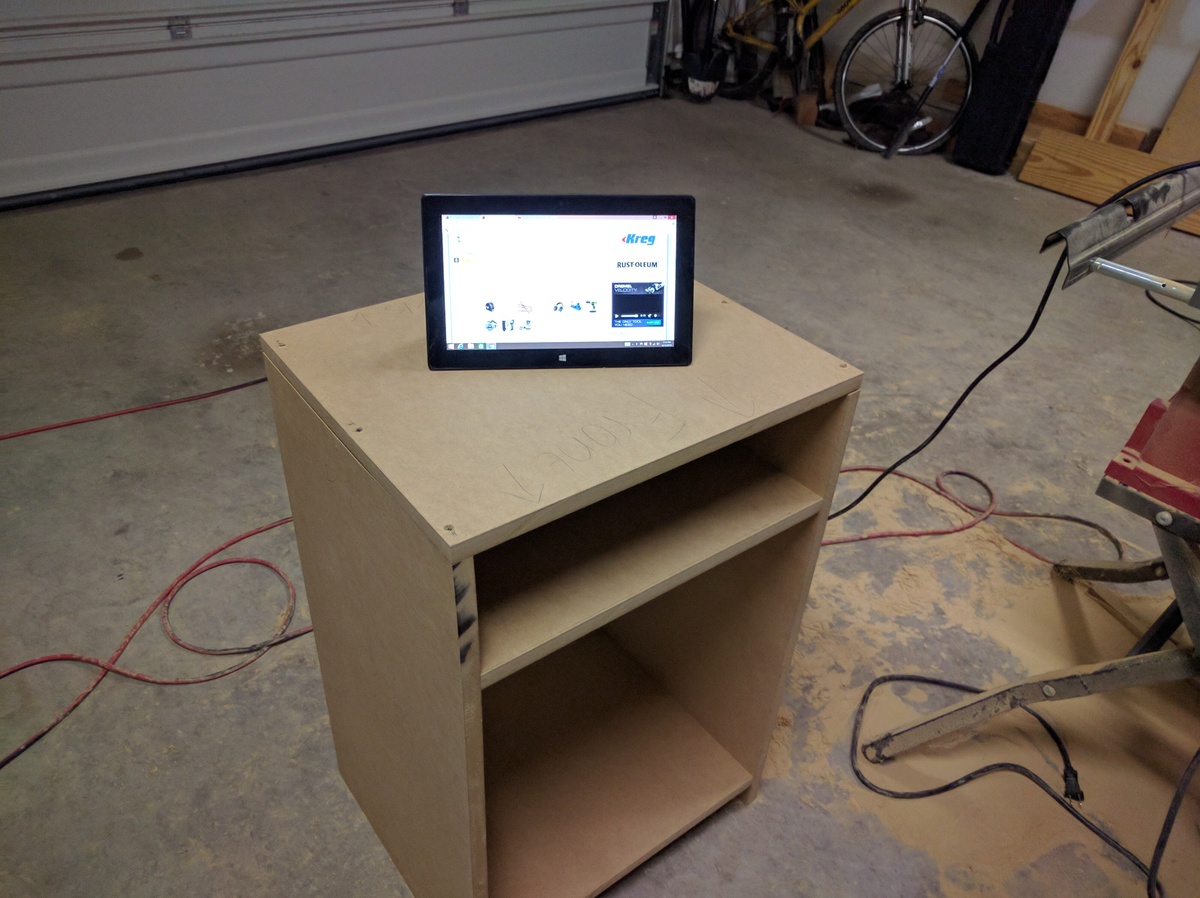
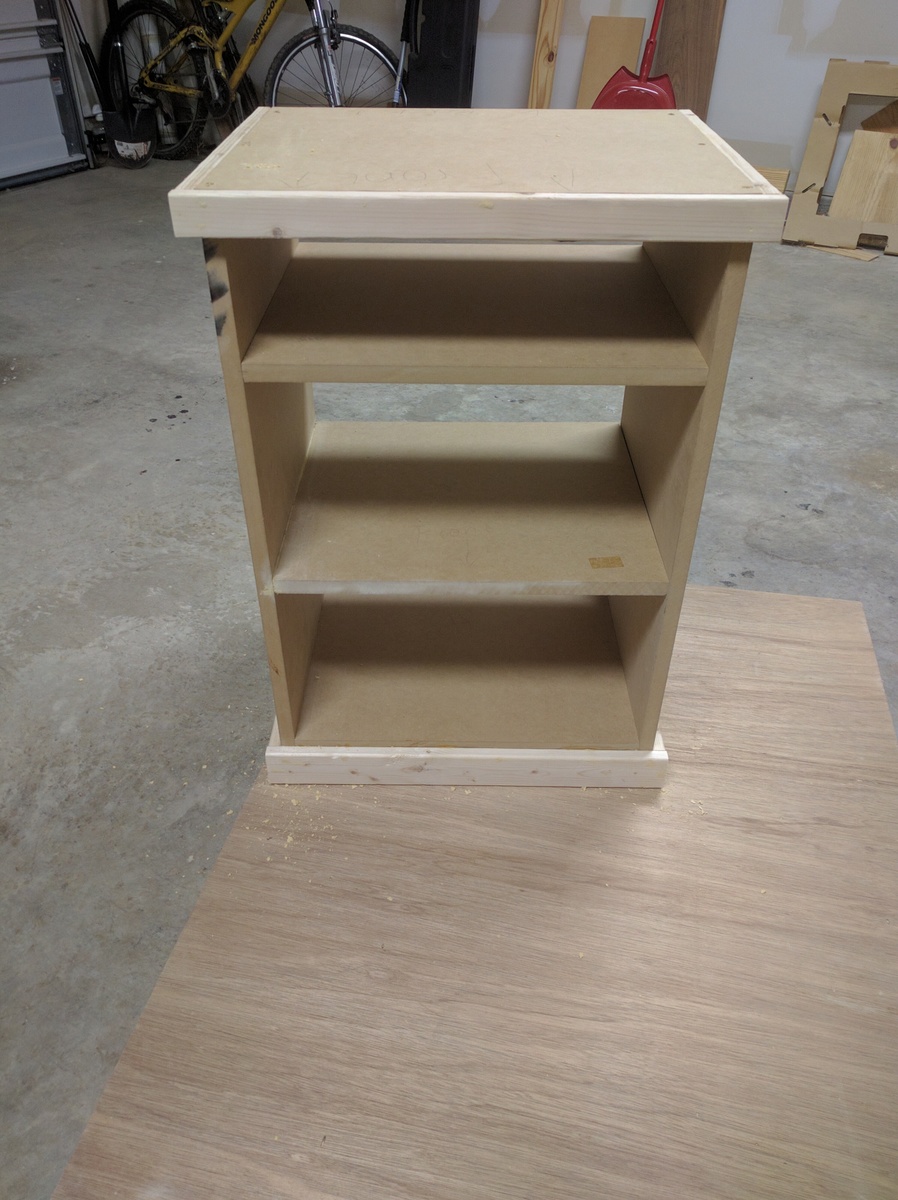
I changed the design a bit and added shelves to fit bins and a pencil box.
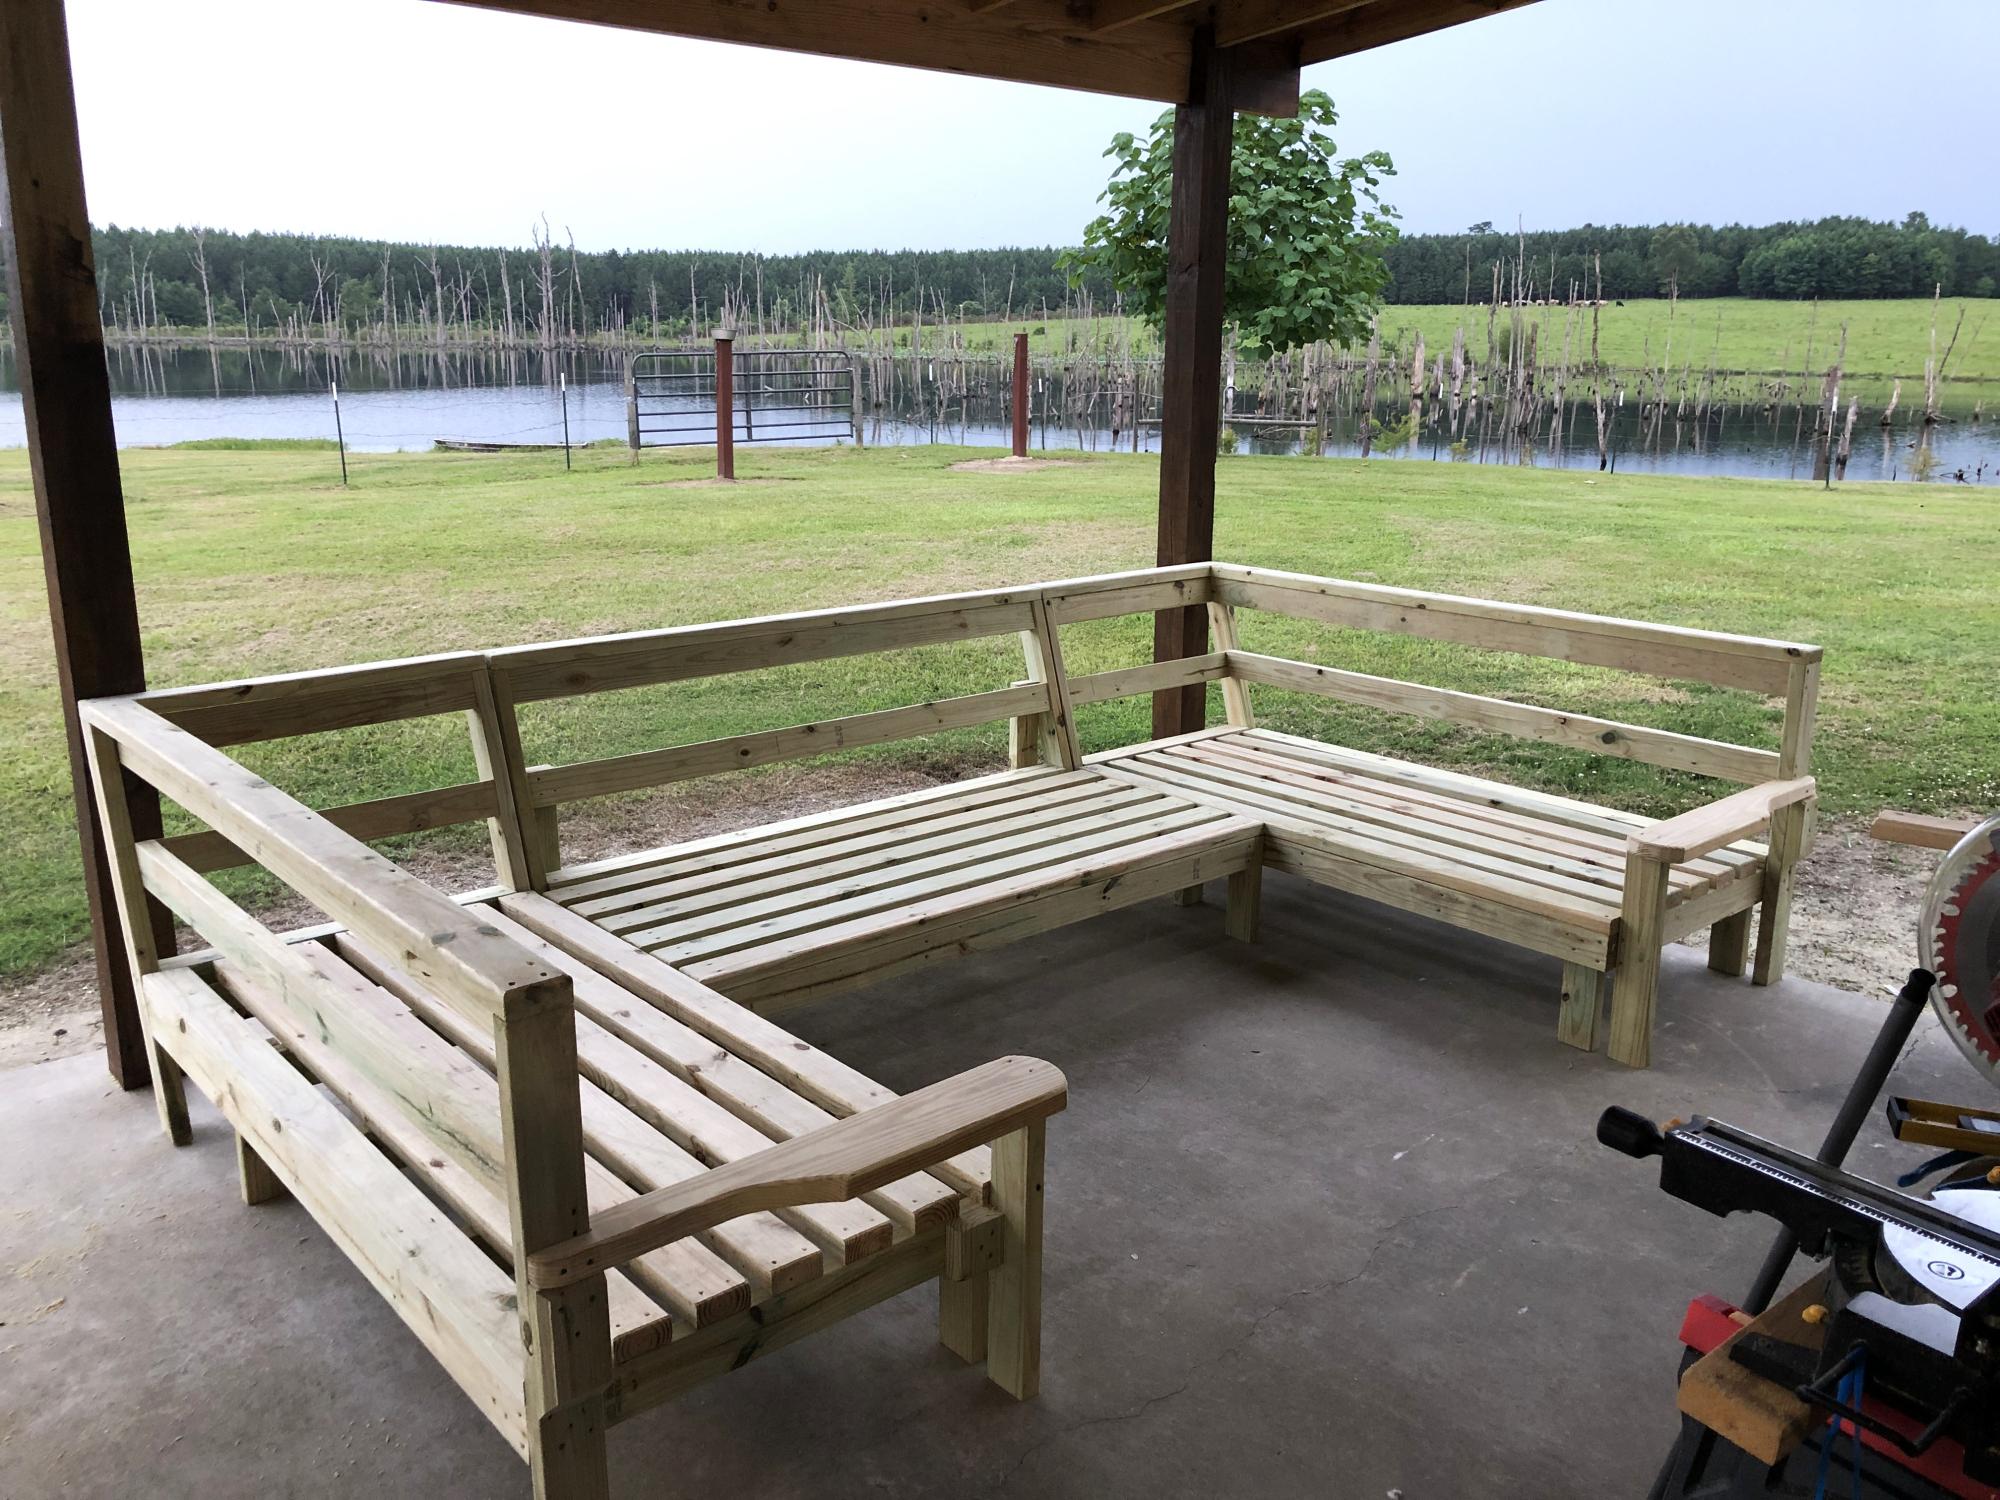
I did your same couch but made the back lean in the middle parts 15 degrees. Love your website. I'm 3 years sober and to try to sell this on facebook marketplace.
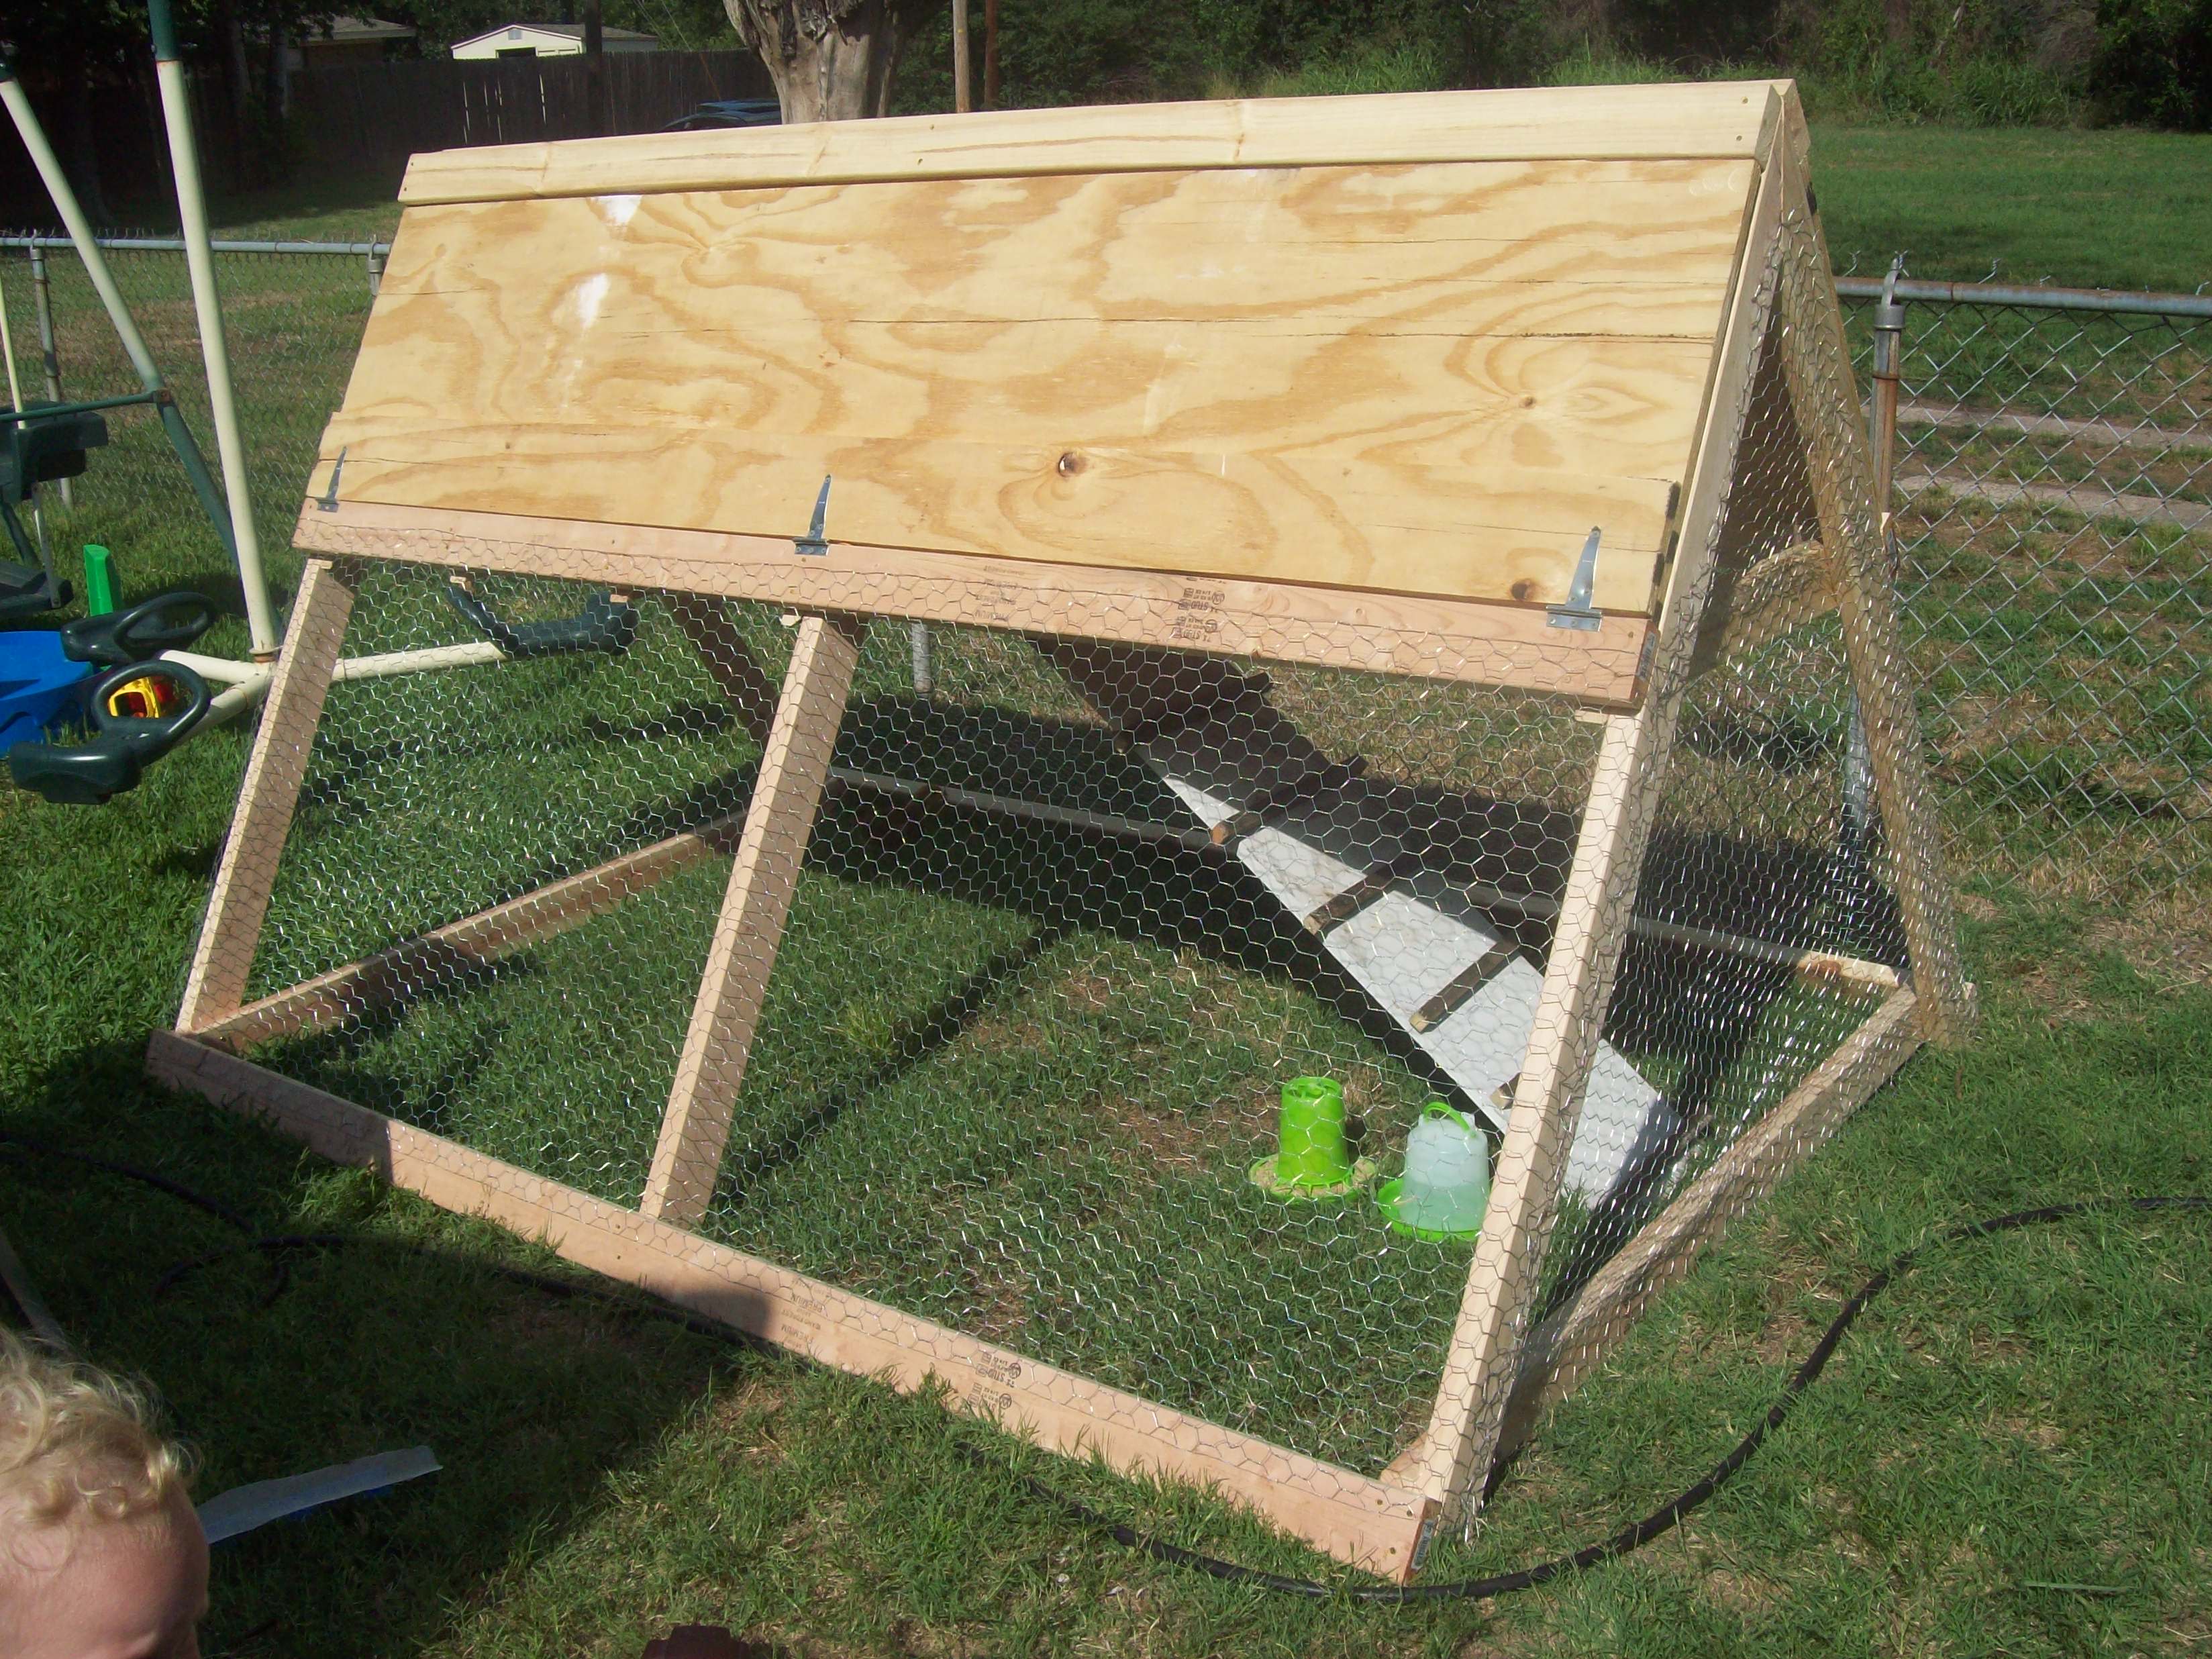
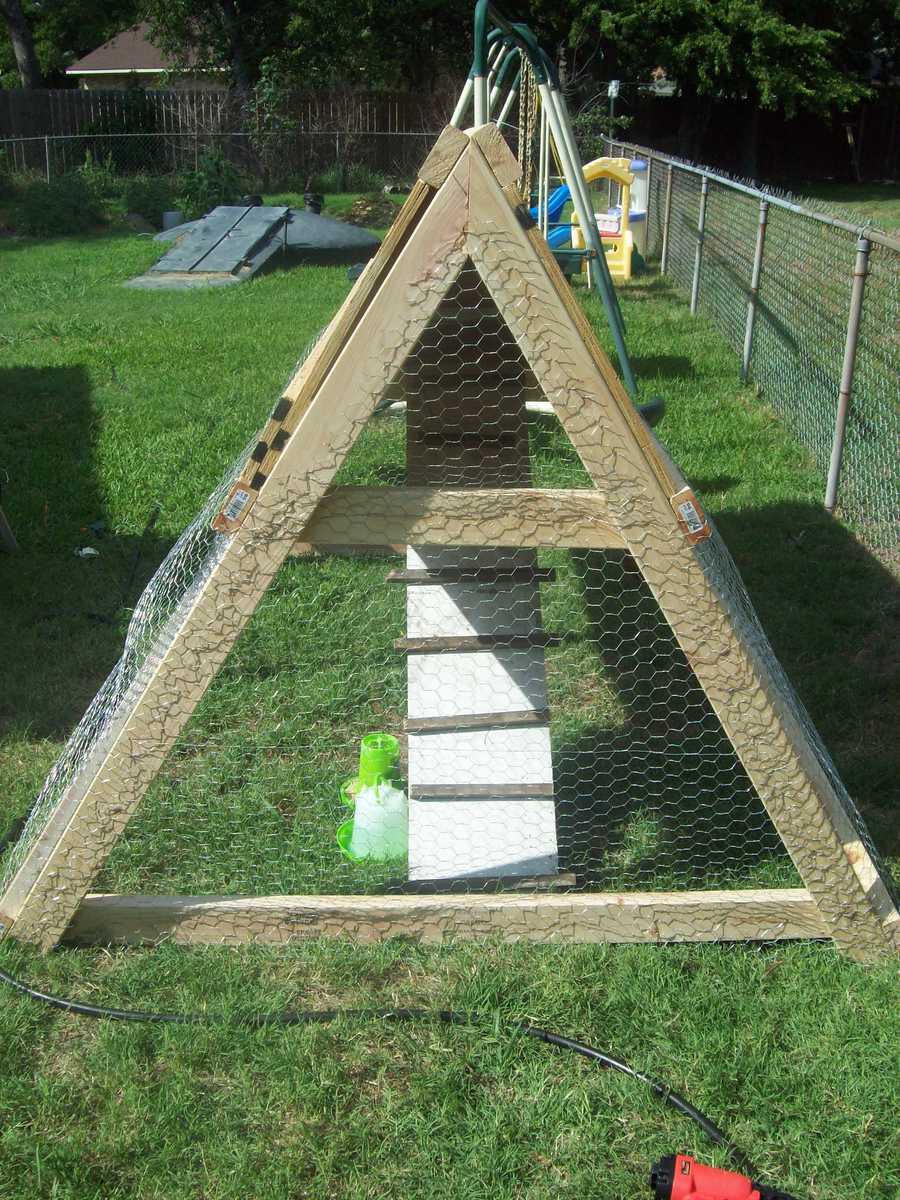
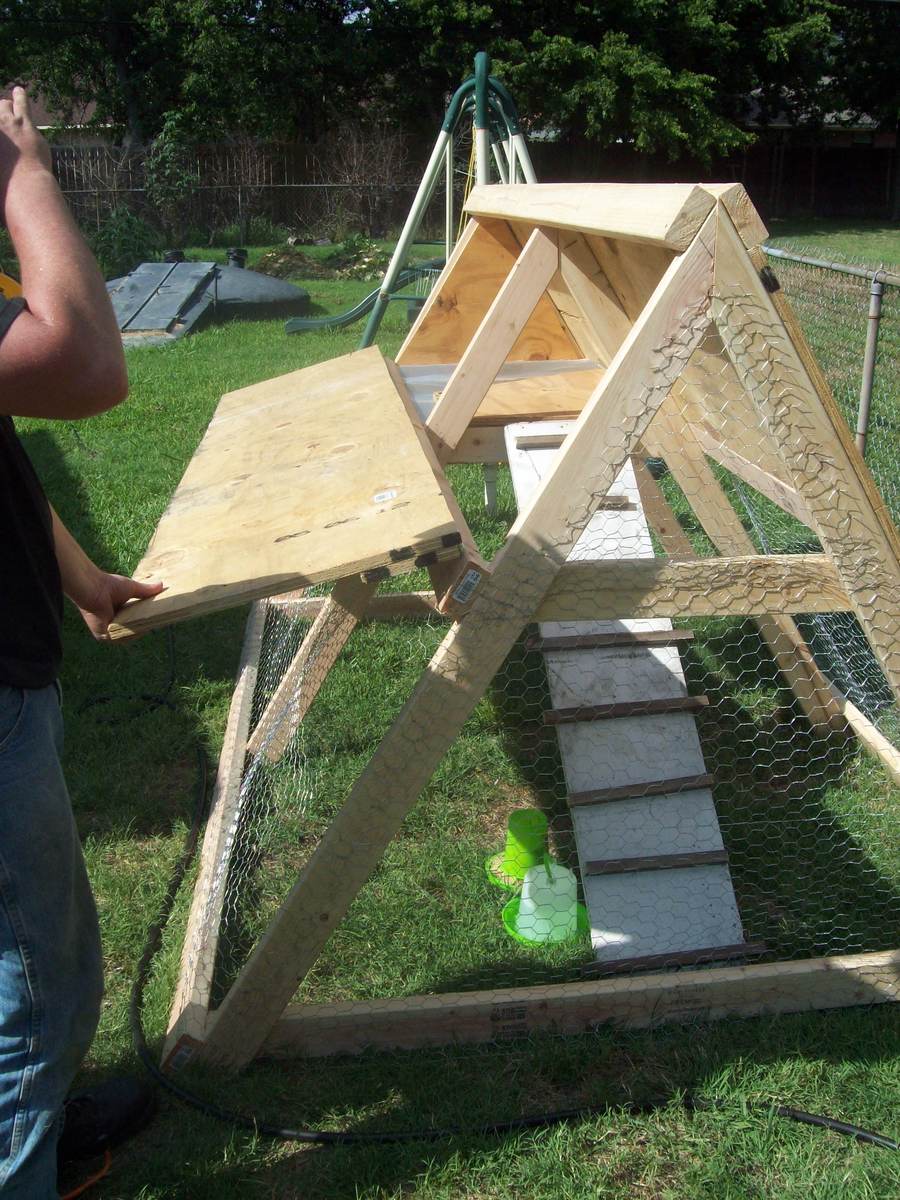
We needed a coop for our son's chicken Penny as she was big enough to move outside. We wanted one that would hold at least 2 chickens as we plan on getting a second soon. We found the plans for the a frame chicken coop here and the next day my husband and 5 yr old son got to work. Took them about 3 hours from start to finish and it turned out great. He plans on spraying the whole thing with outside deck sealer to protect the wood and had some trim on the edges to protect the kids from getting scratched by the chicken wire.

This one will be around for a while... heavy as sin, but solid.
Used 11 2x2 removable slats per level spaced 5 1/2" apart by 2x2s.
Added a 44" ladder and back rail and front rail with 30 degree miter cut on 2x4s.
Next time, would have sanded & stained the headboard/footboard 2x6s on the ends before screwing them to 2x4s. Didn't have a sander that could get between the 1/2" gap and the hand sanding from position can be tough. Overall, very pleased with the result.
Kids love it! First of many projects I will be doing from this website.