Community Brag Posts

Potting benches

Submitted by chubbley on Sun, 12/27/2020 - 11:30

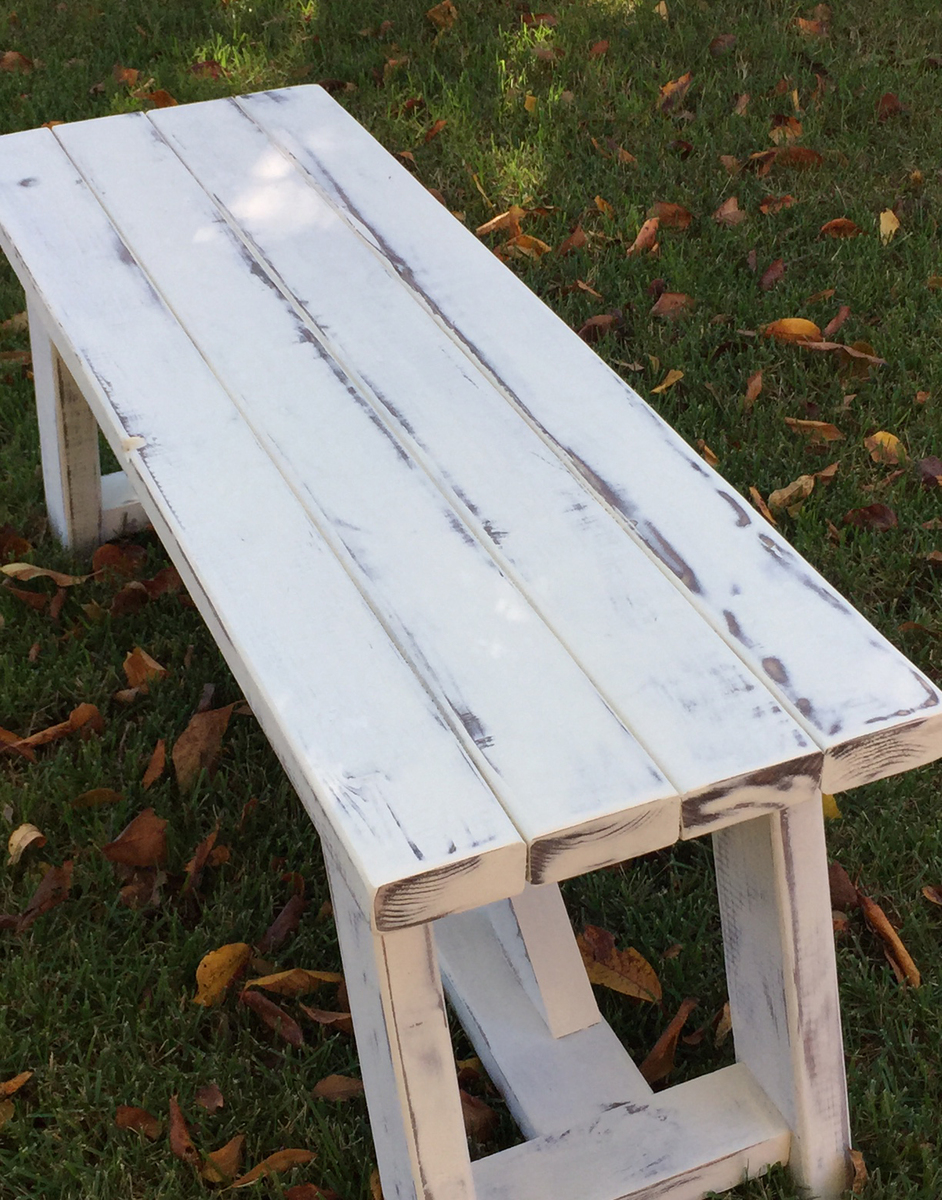
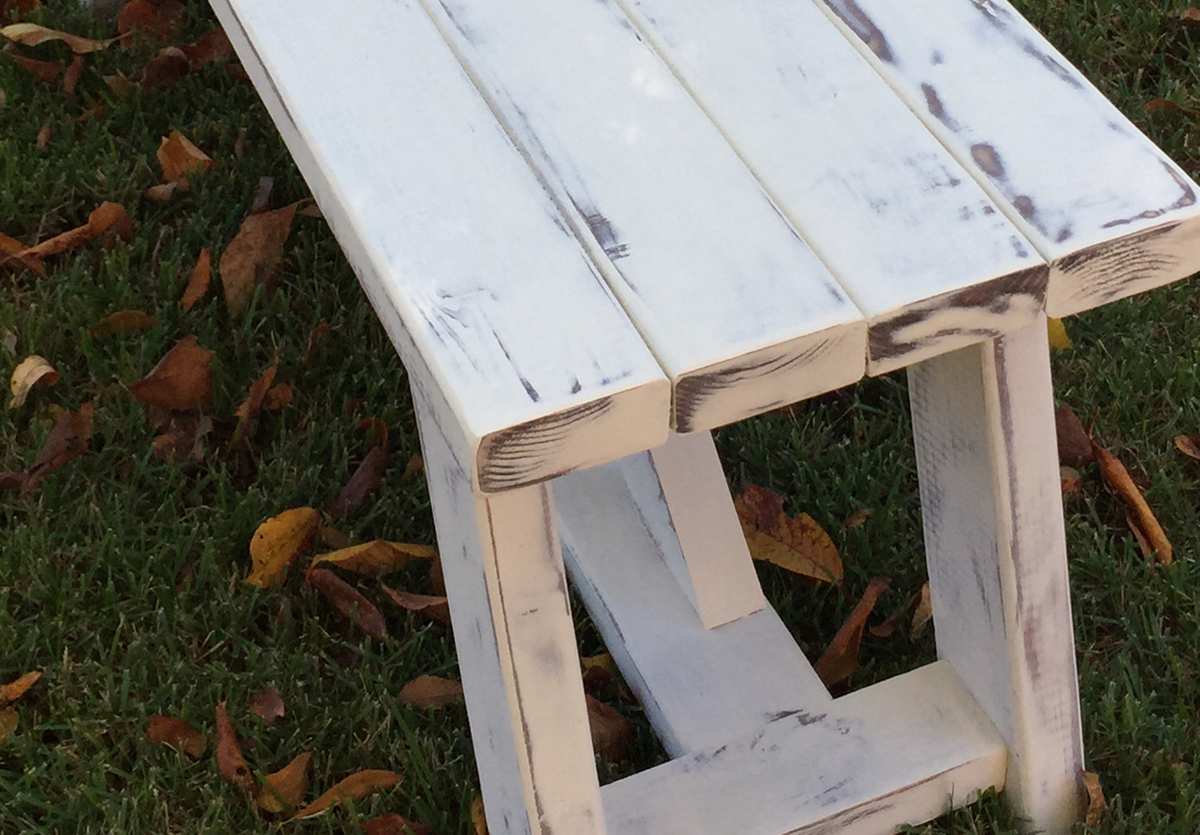
Two potting benches, one made from reclaimed wood and one from sawn timber. I was amazed how fabulous they turned out. Was really pleased with the end result

Shoe Crates

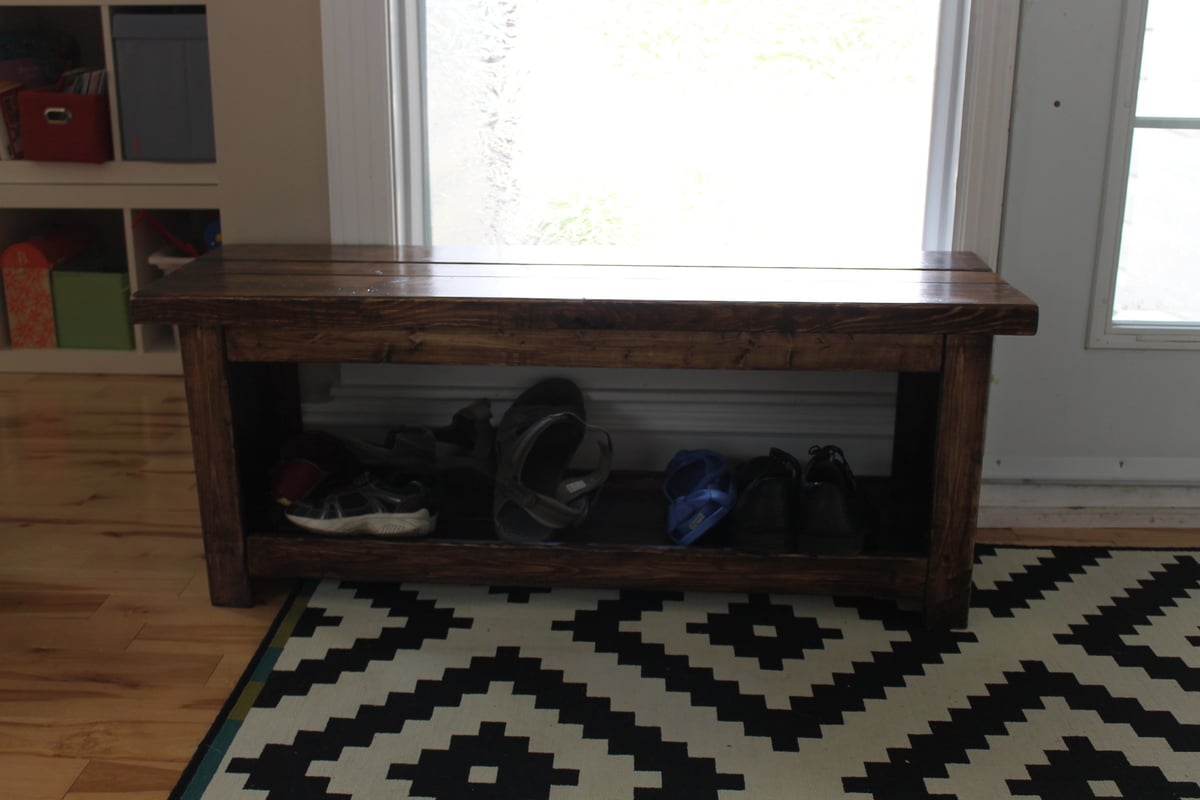
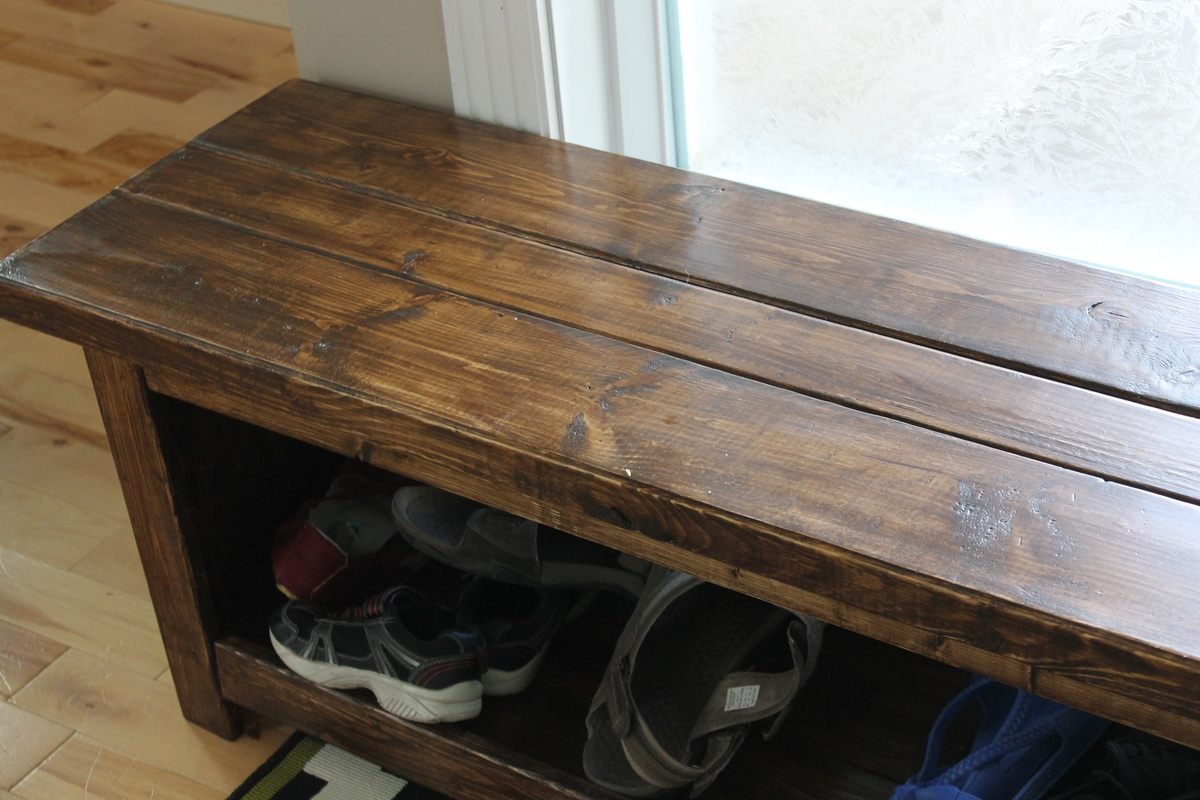
I saw someone's brag where she used this plan for shoe storage. I thought it was a great idea. It sure lets me clean the floor better, just roll it out of the way, clean, roll back. It is so much better than the shoe rack that occupied the space before with such piles of shoes that it was arduous to clean the floor at all. Next month I will take care of the second shoe rack for my own shoes.

It was so simple, I loved making them. Grandpa and I had fun. The best part, you can make them quick because the don't have to be perfect. And Grandpa's nail gun made quick work of all the attached boards. All boards were also glued and sanded.

Ana your site gave me the confidence to solve my own furniture problems with custom solutions. Thanks, I can't wait for my next project.

Estimated Cost
$100 for 2.5 carts
Estimated Time Investment
Afternoon Project (3-6 Hours)
Finish Used
Polyurethane, 2 coats
Recommended Skill Level
Starter Project

New Kitchen Table

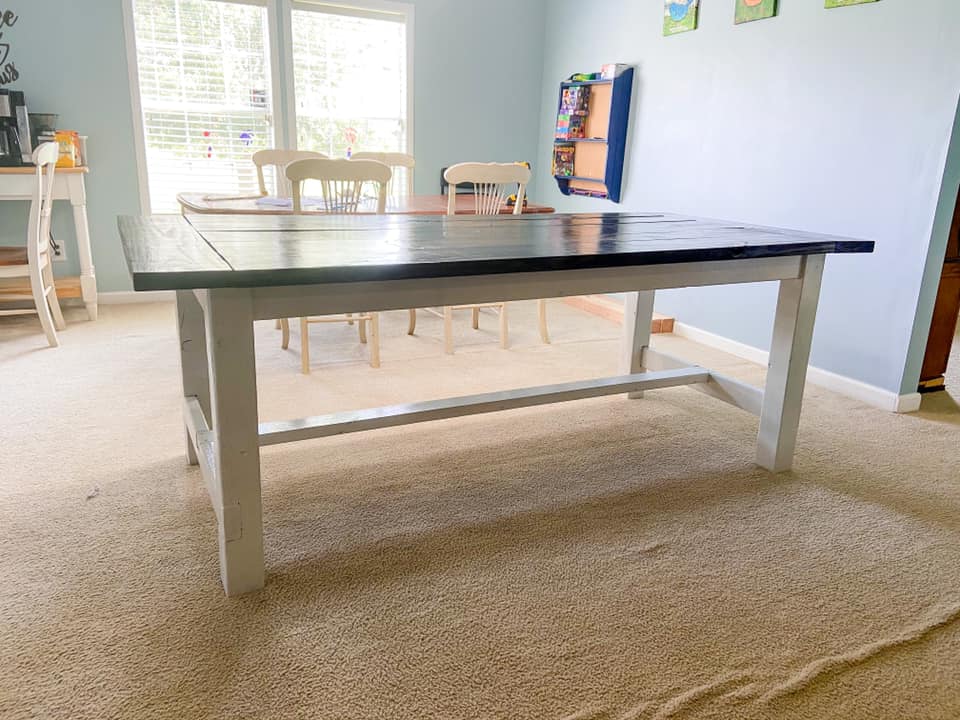
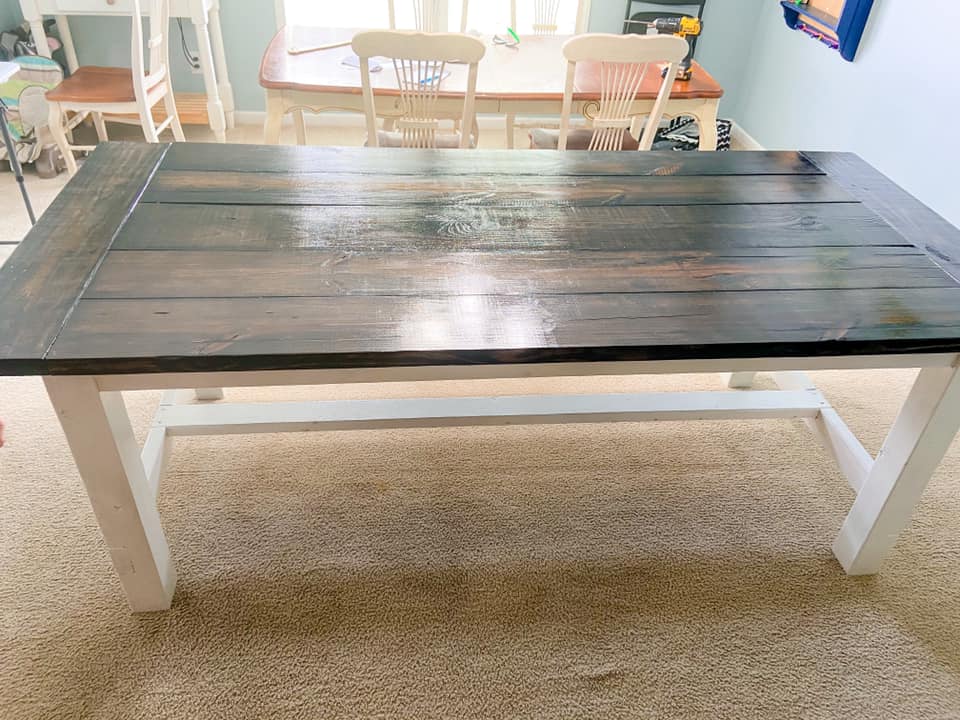
We recently moved from a 530 sq ft rental house to a 1700 sq ft rental house. The one kitchen table that we had in the little place was needed in our library/craft/homeschool room so I needed something knew for the kitchen. My 8 year old daughter helped a lot (she loves using the Kreig Jig). 

I love how this (my second wood working project ever!) came out. 

Thanks for making it so easy to create beautiful and custom furniture for me and my family! 

Estimated Cost
$100- $150 and that includes all the tools/supplies I needed to purchase (pocket-hole jig, pocket-hole screws, etc.)
Estimated Time Investment
Weekend Project (10-20 Hours)
Recommended Skill Level
Beginner

Comments

KaoticKrafter

Fri, 12/05/2014 - 17:31

This is my first brag post. Any tips on why the photo is sideways and there are weird links in odd spots?

Thanks!

Tina

earthbybike

Fri, 12/05/2014 - 19:59

When my photos posted sideways, I used microsoft paint to rotate and saved as a new photo.  This seemed to solve the issue.

Mostly Made With Reclaimed Materials

Submitted by Anonymous (not verified) on Thu, 03/09/2017 - 19:05

I made these nightstands with reclaimed siding and fir flooring, and scrap wood from a remodel they will ultimately furnish. I found the matching knobs for $1 each at a building materials salvage yard.

Built from Plan(s)
Estimated Cost
Not sure
Estimated Time Investment
Week Long Project (20 Hours or More)
Finish Used
I used Fast Dry Semi Gloss Interior Varathane. It's water clean-up and has a blue label. I wish I'd used some light stain to warm the color of the wood a little. I like to use the semi gloss and remove the last imperfections in the finish with 0000 steel wool. In the end the finish is closer to satin.
Recommended Skill Level
Beginner

Triple Pedestal Farmhouse Table

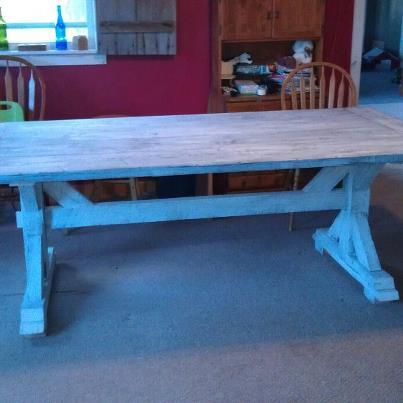
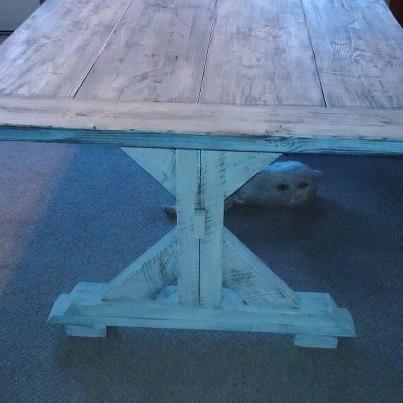
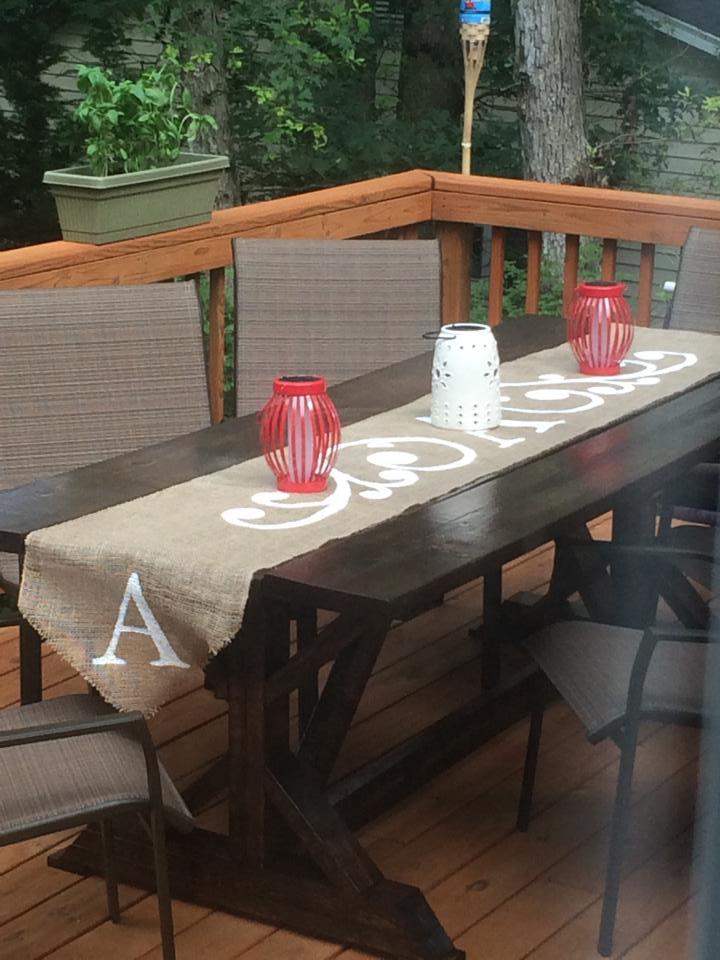
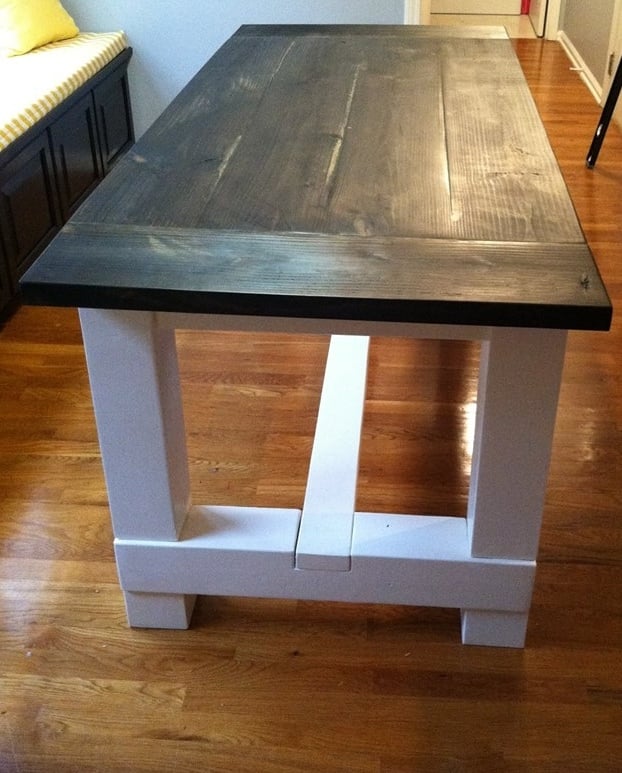
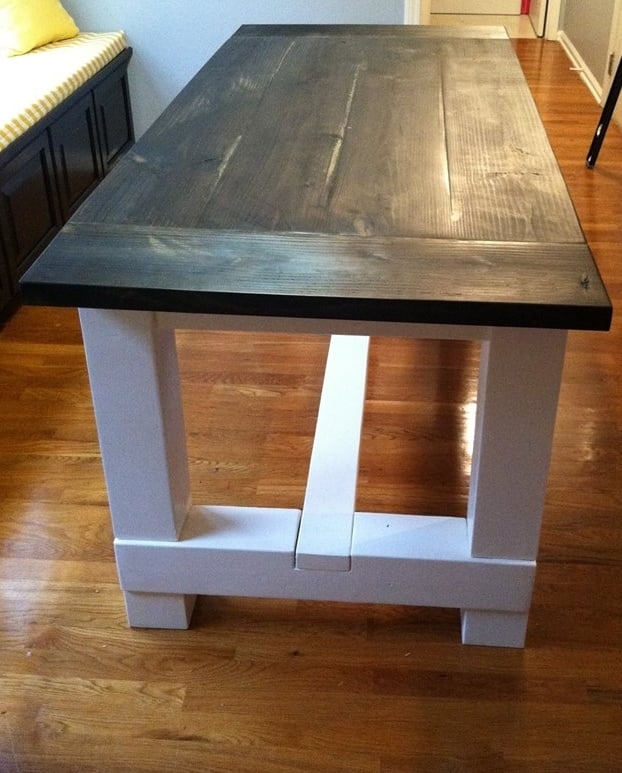
Putting this table together was a lot of fun! We knocked off about two feet from the plan so that it fit in our modest dining area. Many of my saw blades were replaced at some point during this project in favor of sharper and cleaner-cutting replacements, so we spent quite a lot making sure we didn't end up with a giant splinter of a table. You can see from one of the photos how poorly I chose some of the wood (the 2x2 is like a cork screw), so I had to replace a few pieces. Still, I think I could have replaced all of those tools altogether and still spent less than this table would have cost at the store.

Something I learned during finishing: I knew beforehand that wood glue didn't stain, but I didn't realize that even the residue of wiped-up glue will keep the wood from taking stain. When the matching bench is made later on I'll be sure to sand all of the places where glue might be hiding, invisible. The stain color generally wasn't quite what we imagined and the legs seem to have taken it differently than the top, but when the word "Farmhouse" appears in the table style, you can chalk all of those imperfections up to its "rustic" style. For that I am grateful.

The poly dried a bit rough, but a fine sanding sponge smoothed it out and also gave it a little bit of that greywashed RH look. Win-win. We wound up putting "Flor" tiles underneath the table to give it some contrast since it ended up resembling our floor color a bit too closely. Now we actually have a dining area, instead of just a table.

It took about a week and a day (I started Saturday morning and we finished it the following Saturday night). Fortunately our ten-month-old can sleep through just about anything. I'm glad it's done now and we can enjoy it!

Built from Plan(s)
Estimated Time Investment
Week Long Project (20 Hours or More)
Finish Used
Rust-Oleum Early American, Minwax Clear Matte Polyurethane
Recommended Skill Level
Intermediate

Simple Modern Outdoor Sectional

Submitted by jdwarns on Mon, 12/08/2014 - 13:03

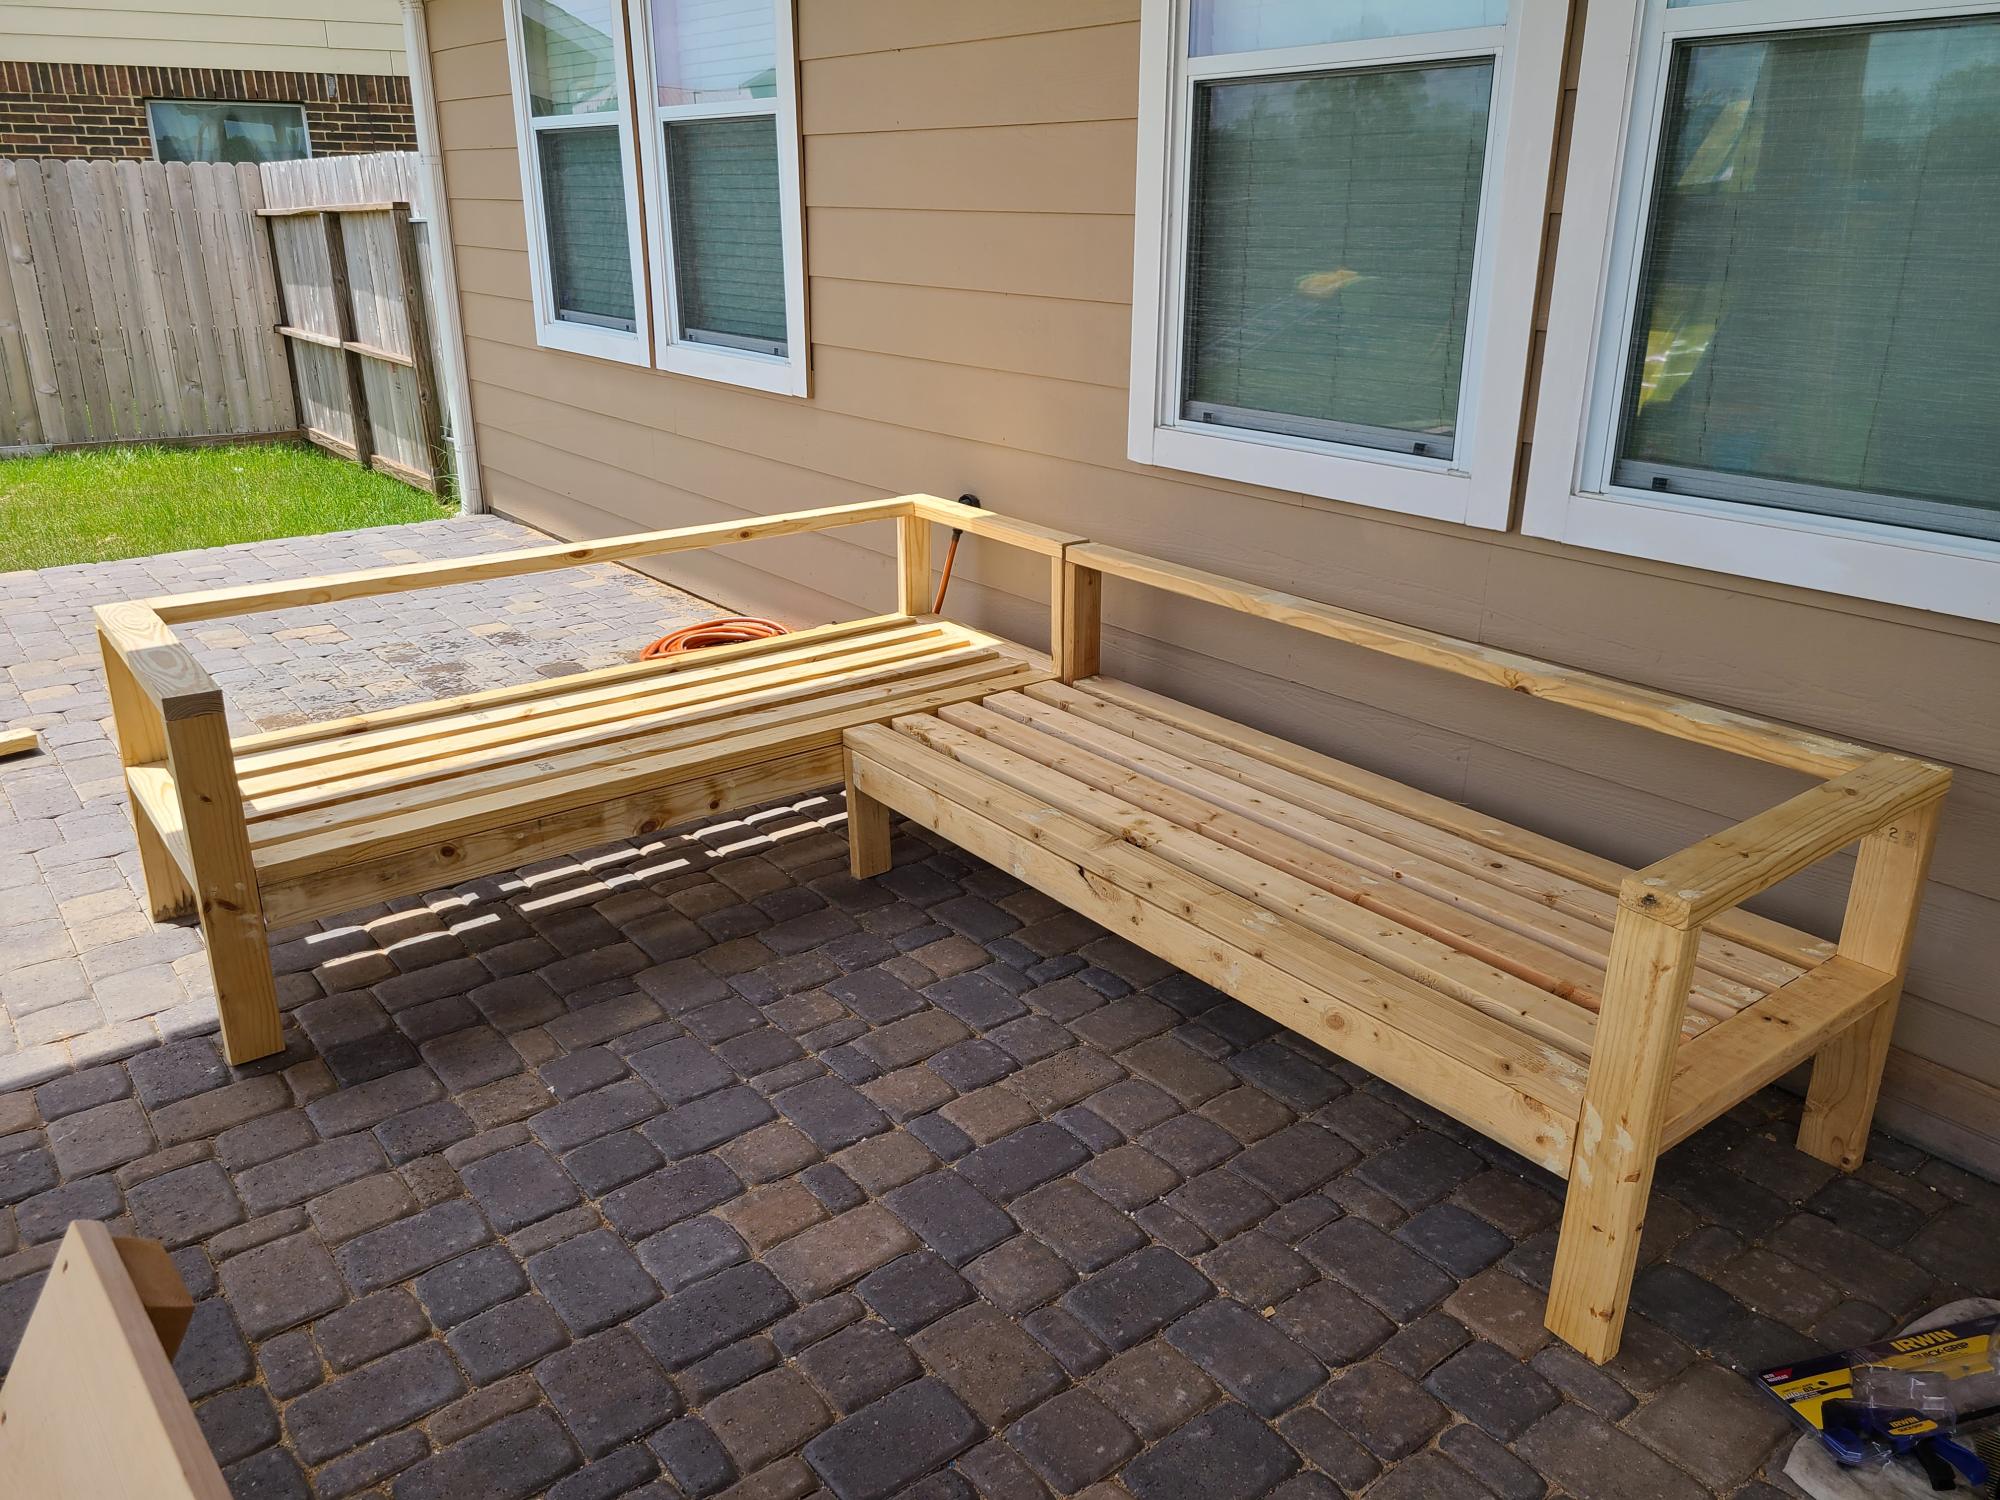
So glad these plans were posted so that I could build my own outdoor sectional.  I built two armless and two corner/end pieces.  I used cedar with American Walnut stain and clear/satin spar urethane.  I purchased the cushions online.  They only had 24x24"; so for the back cushions, I used a seam ripper to open the cushion, cut the foam and extra fabric, and re-sew.

Estimated Cost
500 including cushions
Estimated Time Investment
Week Long Project (20 Hours or More)
Finish Used
American Walnut water-based stain
Clear/Satin spar urethane
Recommended Skill Level
Beginner

Comments

Barbie doll house

Submitted by Betherrama on Sat, 01/02/2021 - 20:39

I made this dollhouse for my daughters birthday and made all of the furniture from scrap wood.

Estimated Cost
$80
Estimated Time Investment
Weekend Project (10-20 Hours)
Recommended Skill Level
Beginner

Comments

Rustic Media Console Cabinet

Submitted by pde00311 on Wed, 02/06/2013 - 19:22

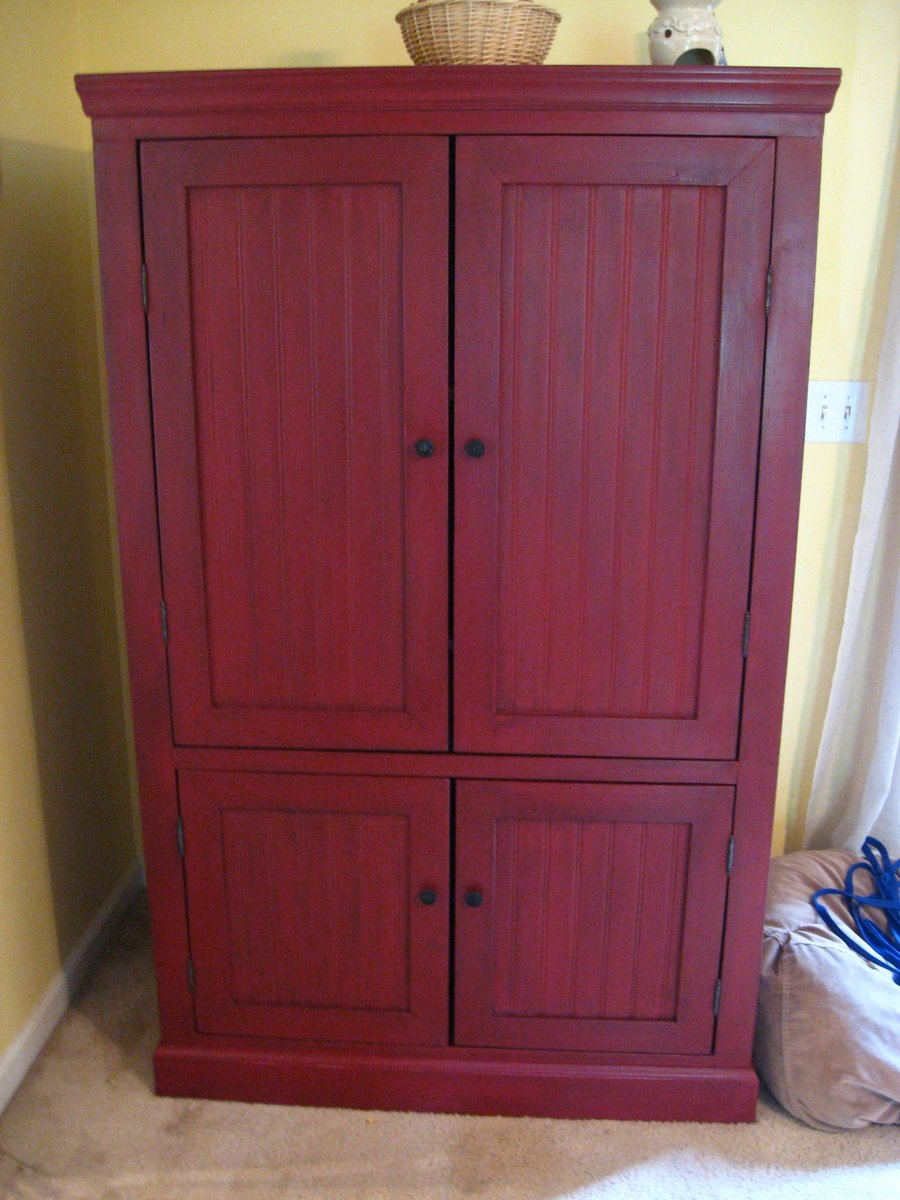
It was a race building and finishing the console before my daughter started crawling, but just as she learned to wander around, we were able to hide all of our tv/dvd/receiver cords within this console. Drilled holes in the back and tucked the power strip and cords in a plastic box inside the cabinet doors.

Used a jigsaw for the first time, which was fun as the saw created the neat designs on the feet at the bottom.

For the finish, we wanted a color that could pull off a distressed/modern shabby chic while matching the stained class windows in the house that we just bought.

This was my first time creating doors, which did not run smoothly, but ended up somehow working.

Built from Plan(s)
Estimated Time Investment
Weekend Project (10-20 Hours)
Finish Used
Behr Scotch Lassie with distressed edges using bottom layer in white paint and Minwax Early American finish
Recommended Skill Level
Intermediate

Comments

Rhondajk

Sun, 02/10/2013 - 18:56

You did such a beautiful job on this! I wasn't even interested in this plan until your brag post caught my eye. I would love to build this but, I'm kind of nervous because it will only be my second build and the instructions don't include the drawer or the doors. Did you use the general instructions for building your doors? I love the color I would use this in my dining room with a drawer, I have a shallow space on one wall that it woud fit perfectly.

Rhonda

pde00311

Tue, 02/12/2013 - 14:34

It was only my fourth project, so I would not be too frightened about tackling this plan, but the doors were definitely the trickiest part. After I finished building the frame, I built the doors to size using leftover 1x2s and beadboard plywood. I measured the doors so they would leave about 3/16 space between the edge of the door and the window in a full inset. However, I spent approximately one full night confused and frustrated because I bought the wrong hinges. Now that I understand from trial and error the differences between cabinet door/hinge design (I found a webpage describing the differences between inset and overlay hinges here: http://www.rockler.com/articles/understanding-hinges.cfm), if I had to do it over again, I would probably design overlay doors instead of inset doors (which seem to be a little off). If someone else could add more suggestions about building and installing doors, it would be greatly appreciated.

Bookcase

Submitted by Mcpotsie on Thu, 12/11/2014 - 15:34

here is my version

Finish Used
Polyurathane
Recommended Skill Level
Beginner

Comments

Rustic Corner Cupboard-Bar

Submitted by Anonymous (not verified) on Mon, 03/13/2017 - 18:36

Corner Cupboard built for use as a dry bar with a few mods for a more rustic look.

Built from Plan(s)
Estimated Time Investment
Weekend Project (10-20 Hours)
Recommended Skill Level
Intermediate

Front porch planters

Submitted by Anonymous (not verified) on Thu, 01/07/2021 - 20:21

Followed your plan but added extra 1 x 2 trim to the sides, feet made from 1 × 3 and 1x 3 trim around the top

Built from Plan(s)
Estimated Cost
$35 per planter
Estimated Time Investment
Afternoon Project (3-6 Hours)
Finish Used
Cedar Naturaltone Behr Waterproofing Wood Finish
Recommended Skill Level
Intermediate

Comments

Seasonal And Holiday

Mantel Moulding Headboard - Pottery Barn

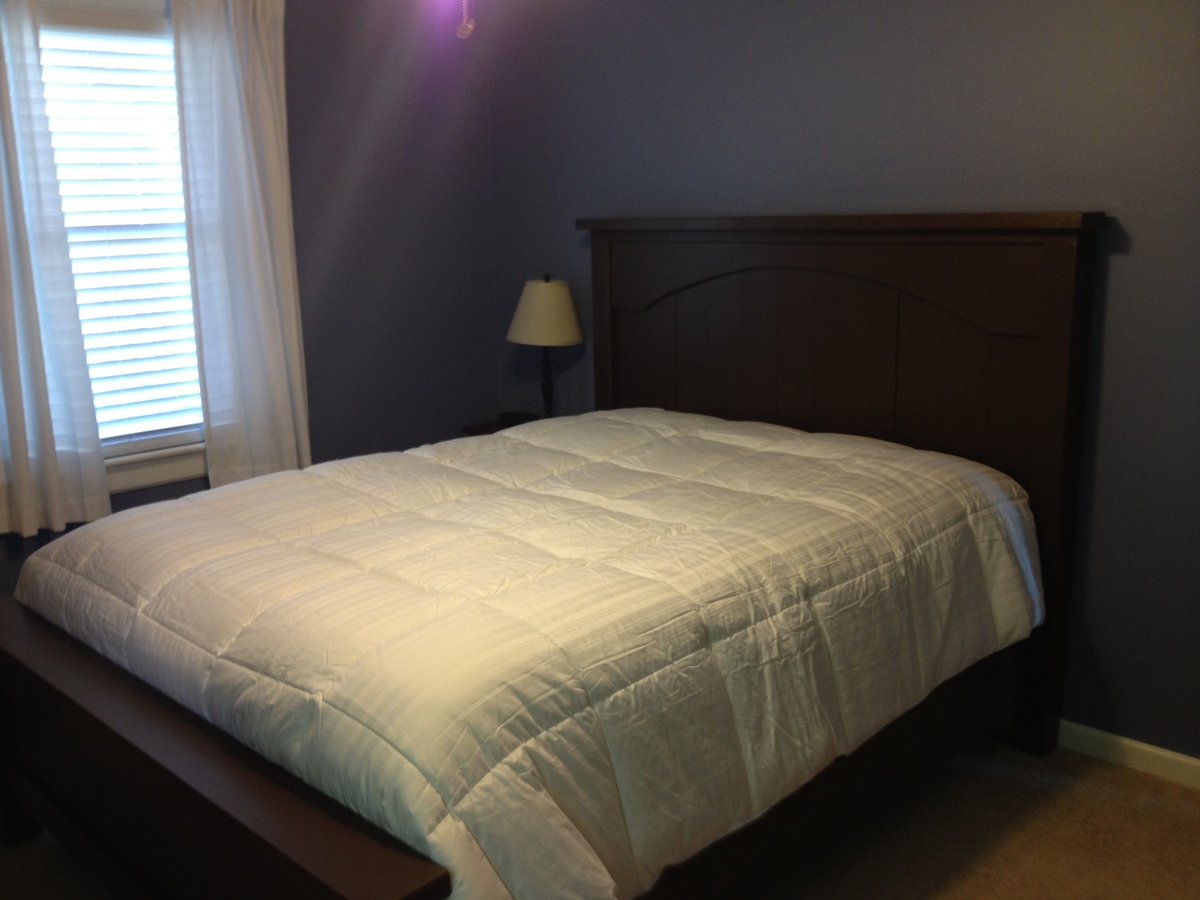
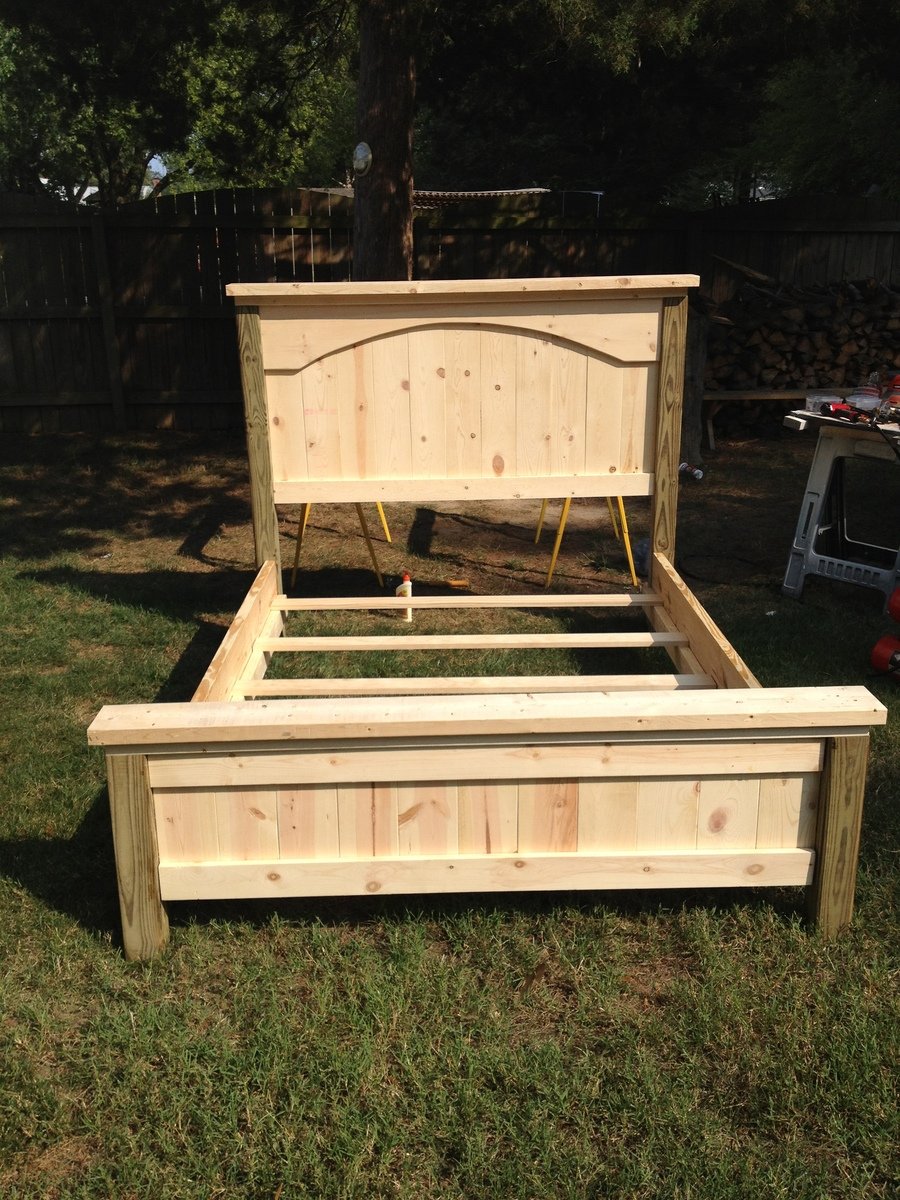
Thank you for the plans! I love the way my headboard came out! I couldn't figure out how to cut the on piece of moulding to get the angles to work, but I think I resolved the issue nicely with the blocks for it to die into.

Built from Plan(s)
Estimated Cost
$250 - $300
Estimated Time Investment
Weekend Project (10-20 Hours)
Recommended Skill Level
Beginner

Farmhouse Table - Wedding Gift for my sister

Submitted by nschric on Mon, 12/15/2014 - 05:31

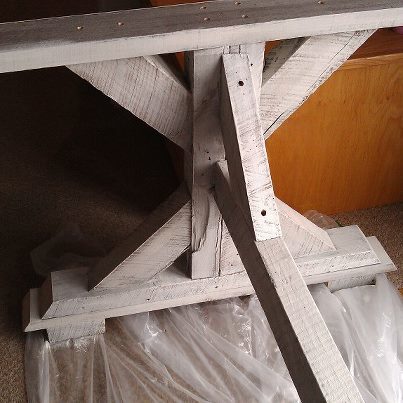
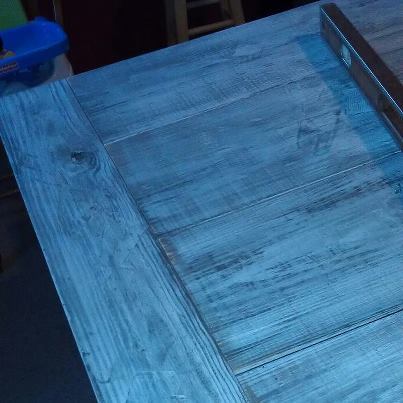
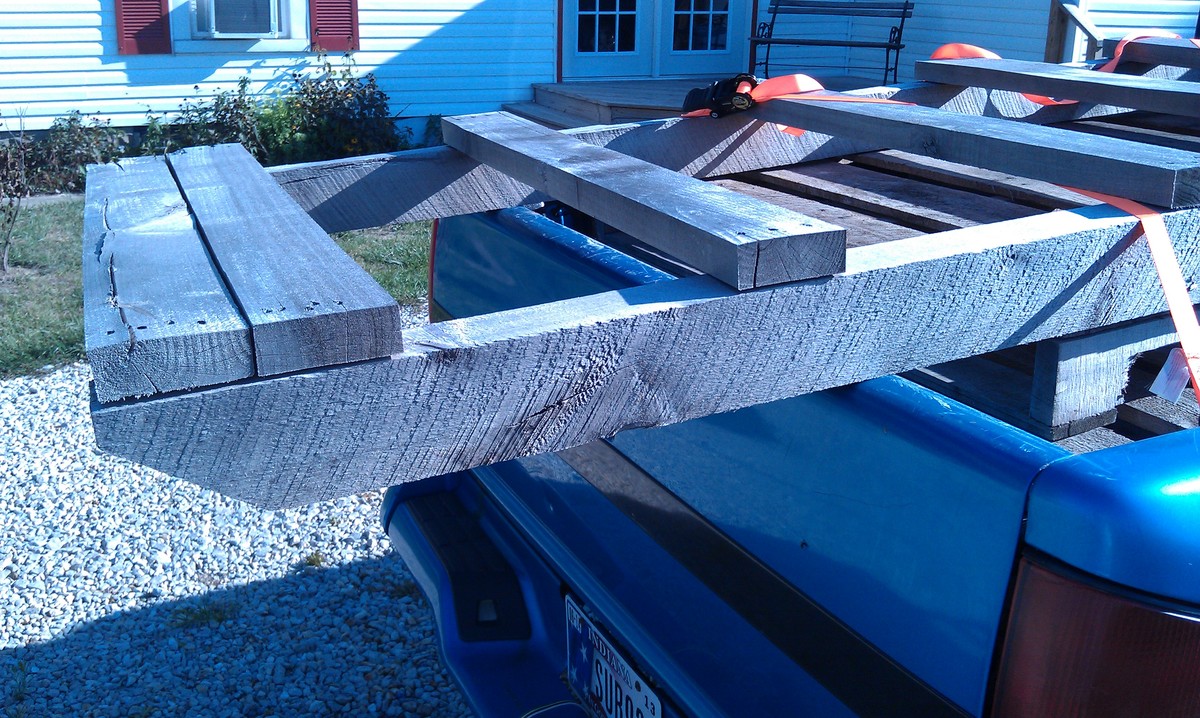
This was a fun project that my Dad and I had the opportunity to work on together. We were able to locate an old barn that and recently been blown over (farmer gladly told us to take whatever we wanted). We salvaged the wood, hit it with a little sand paper that provided the true rustic farm house look. With some modifications and a biscuit joiner we were able to fit this together. All in all I think I spent a total of $6 on the lag blots for the legs. 

Estimated Cost
$6 and some free wood from an old Ohio Barn
Estimated Time Investment
Weekend Project (10-20 Hours)
Finish Used
Unfinished - to be determined later
Recommended Skill Level
Advanced

Play house bed with storage stairs

Submitted by Anonymous (not verified) on Thu, 03/16/2017 - 17:17

Made in 2014 from the playhouse bed plans with the storage stairs as well.

Estimated Cost
$200 for materials + paint +approximately $50 for the bottom bunk we added.
Estimated Time Investment
Weekend Project (10-20 Hours)
Finish Used
Primer + paint
Recommended Skill Level
Intermediate

Ana White inspired Wine Rack

Submitted by JameyD on Wed, 01/13/2021 - 10:24

I created this wine rack from an Ana White wine floor cabinet.

Estimated Cost
$450
Estimated Time Investment
Week Long Project (20 Hours or More)
Finish Used
Minwax Golden Oak
Recommended Skill Level
Beginner

snowflake and Christmas tree from scrap wood

Submitted by CSaintD on Tue, 12/16/2014 - 13:21

I made a couple of decorations from my scrap wood.   On the snowflake, I had some extra parts of 1x2s laying around so sized this down to 20" and used those.  The tree is just a bunch of different types of wood I had left over.  This was really fun to do. 

It took me a little over a day as I had to paint and wait for it to dry before I could assemble.

Thank you for the ideas and plans.

Estimated Cost
Free as I used scrap wood
Estimated Time Investment
Day Project (6-9 Hours)
Finish Used
Tree - most wood left unfinished, a few painted with craft paint.
snowflake, main body white craft paint with metallic silver on top.
Recommended Skill Level
Starter Project

Comments

Rustic Bookshelf

Submitted by wacman on Sun, 03/19/2017 - 14:10

So, after having built the rustic console and rustic end table, I was staring at the blank space in my room and the stack of books and decided that I could fix two problems with just a slight adjustment of the console plans.  Basically the structure is exactly the same for the top, "legs" and shelves, but then instead of running 2" x 2" trim, I did 1" x 2" and 2" x 4" at the base (mostly to keep the dust bunnies as bay).  The other significant difference is the ends, which I paneled and trimmed out rather than doing the open "X".  And then ran tongue and groove paneling along the back to finish it out.

As with my other rustic builds, I left off the metal trim (again, for now at least) and distressed the top and face with a rotary wire brush.  The texture on the top of this one turned out really wonderful.  I hate to even put anything on top to hide all that grain.  Price was a little more too, mainly for the extra 1" x 12" x 6' and the pack of tongue and groove panel boards.
Estimated Cost
$100
Estimated Time Investment
Afternoon Project (3-6 Hours)
Finish Used
Minwax Special Walnut with a layer of poly on top
Recommended Skill Level
Beginner

Hall Tree x2 with Bench

Submitted by Anonymous (not verified) on Mon, 01/18/2021 - 10:08

My kids outgrew the original locker I built for them. Plus we have adopted 2 kids through foster care. So my wife asked for a new locker. I found this design on the website and determined we needed 2. Then to make it better we wanted a bench to connect the 2. So I built a 3rd bottom of the locker and adjusted the measurements for the space we had. Turned out amazing.
Built from Plan(s)
Estimated Cost
$300
Estimated Time Investment
Weekend Project (10-20 Hours)
Recommended Skill Level
Intermediate

Comments