DIY Truss Bench
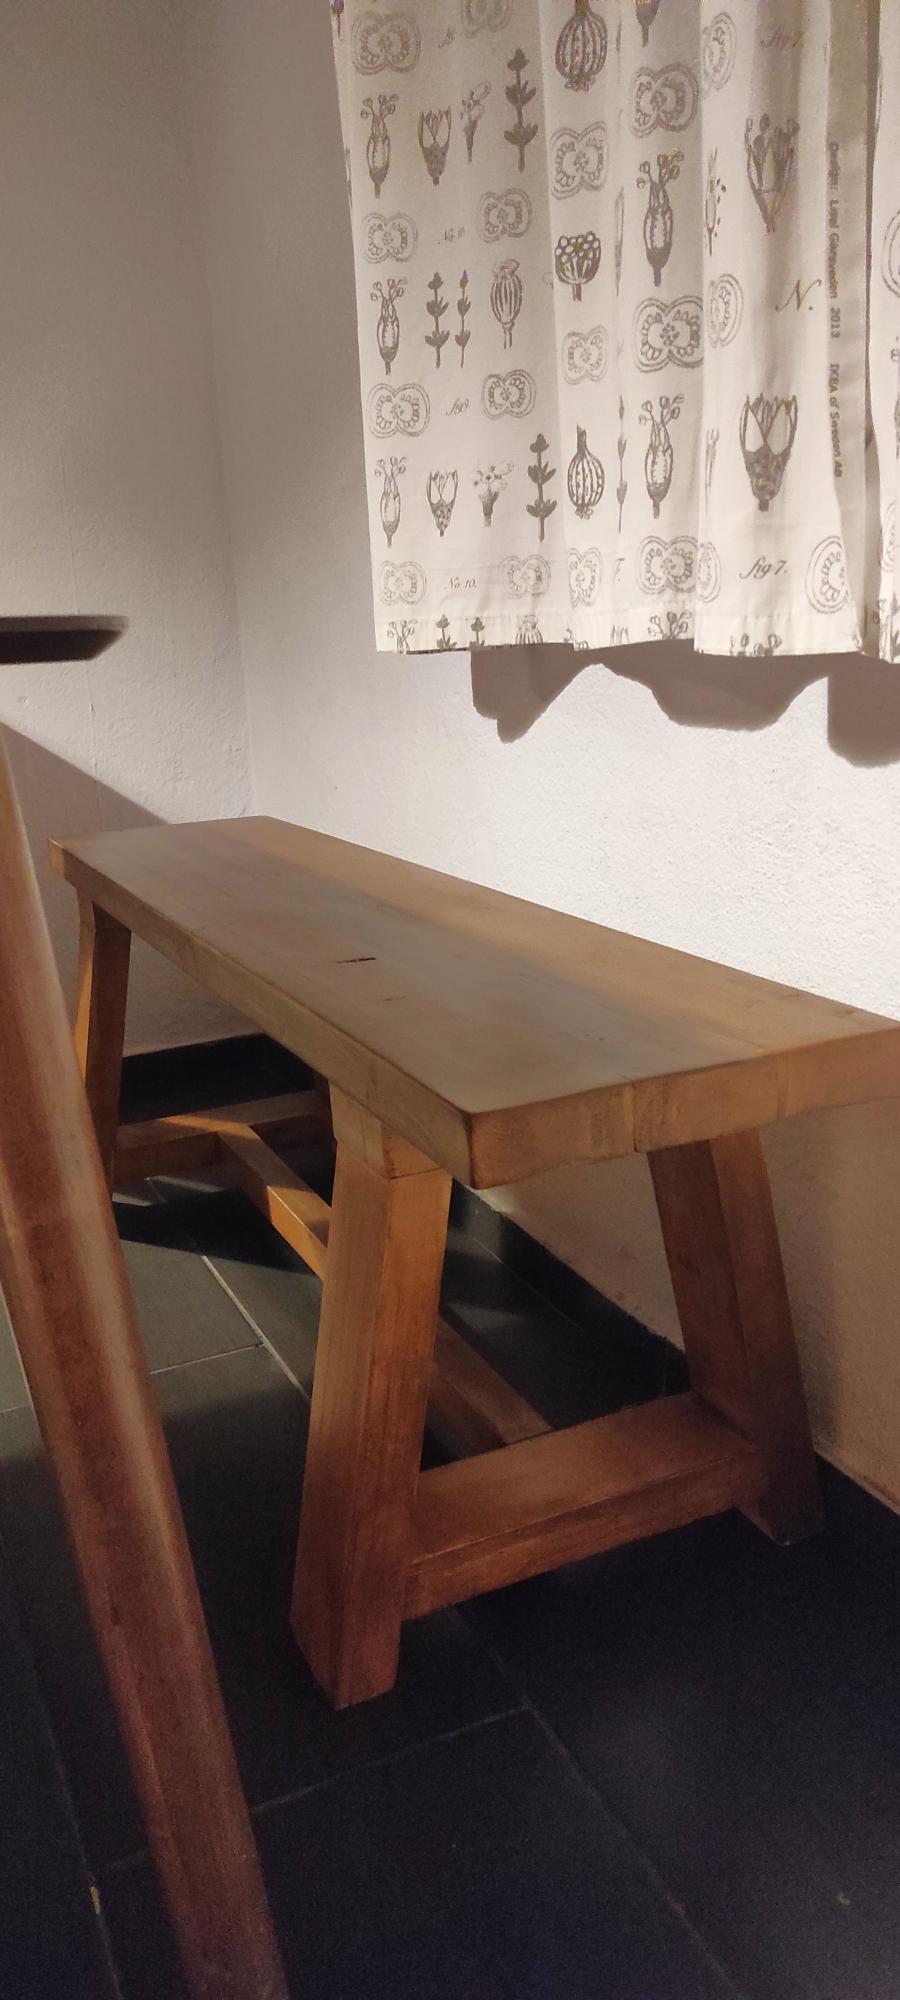
2x4 Truss bench with some alterations.
My first project completed with help of your plans.
Made from pine and painted using a walnut water based primer and varnish to try and match it to our existing table.
Catriona
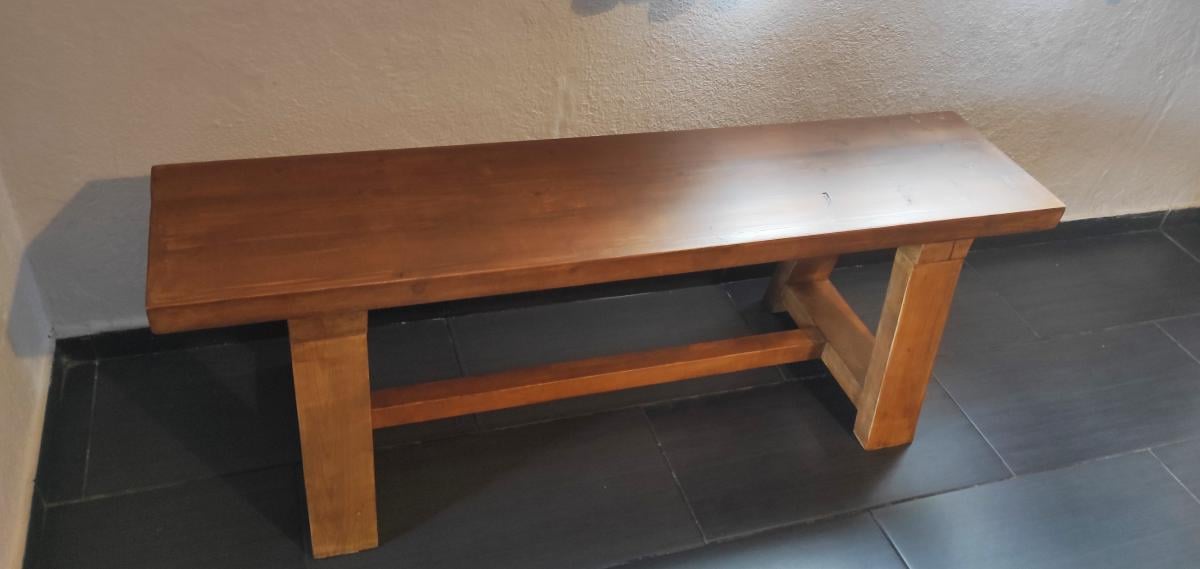

2x4 Truss bench with some alterations.
My first project completed with help of your plans.
Made from pine and painted using a walnut water based primer and varnish to try and match it to our existing table.
Catriona


I had been wanting a patio sofa for a long time and while googling prices for the 1,000th time I found a link to Ana White's wonderful website. I can't say how grateful I am to Ana White. The fact that she puts all of these plans online for free and asks nothing in return speaks to her character and what a kind and generous person she is. Helping people build things and helping them learn at the same time! Anyway, I followed the plans explicitly and purchased the cushions at Ikea.

I built these chairs with the plans Ana White shared on this site, they are sturdy and beautiful, but they are also heavy. Heavy is what I wanted though.
I used water putty for the screws and other blemishes, then I primed and painted them. when the Homedepot pillows arrived my wife decided she wanted higher backs, I used an idea shared on here, but that back used 2 2x6s, when I tried that I felt they were too high, so I altered it to one, and found they look and feel a lot better. the angle of the back is 15 degrees from 90 or 105 degrees. I will be altering the loveseat plans to build a concrete top bbq coffee table to use with the chairs.


I've been known to dumspster dive to salvage a piece of furniture and this time was no different. This beautiful oak top was discarded and headed to a landfill and I just couldn't let tht happen. I brought it home refinished it and built this wonderful desk.
Got my new Kreg Jig, picked up a brand new master kit on craigslist for half the normal price! The table went together beautifully and the chairs were simple as well!
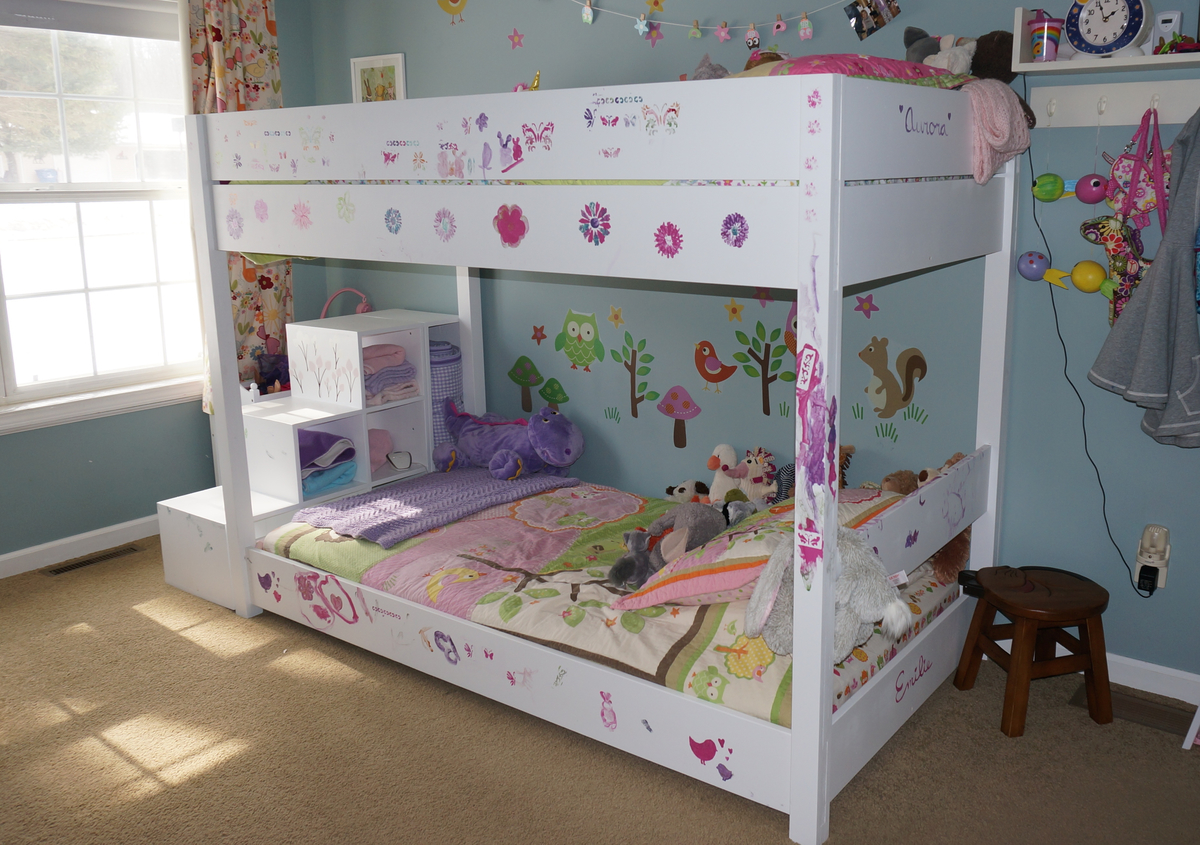
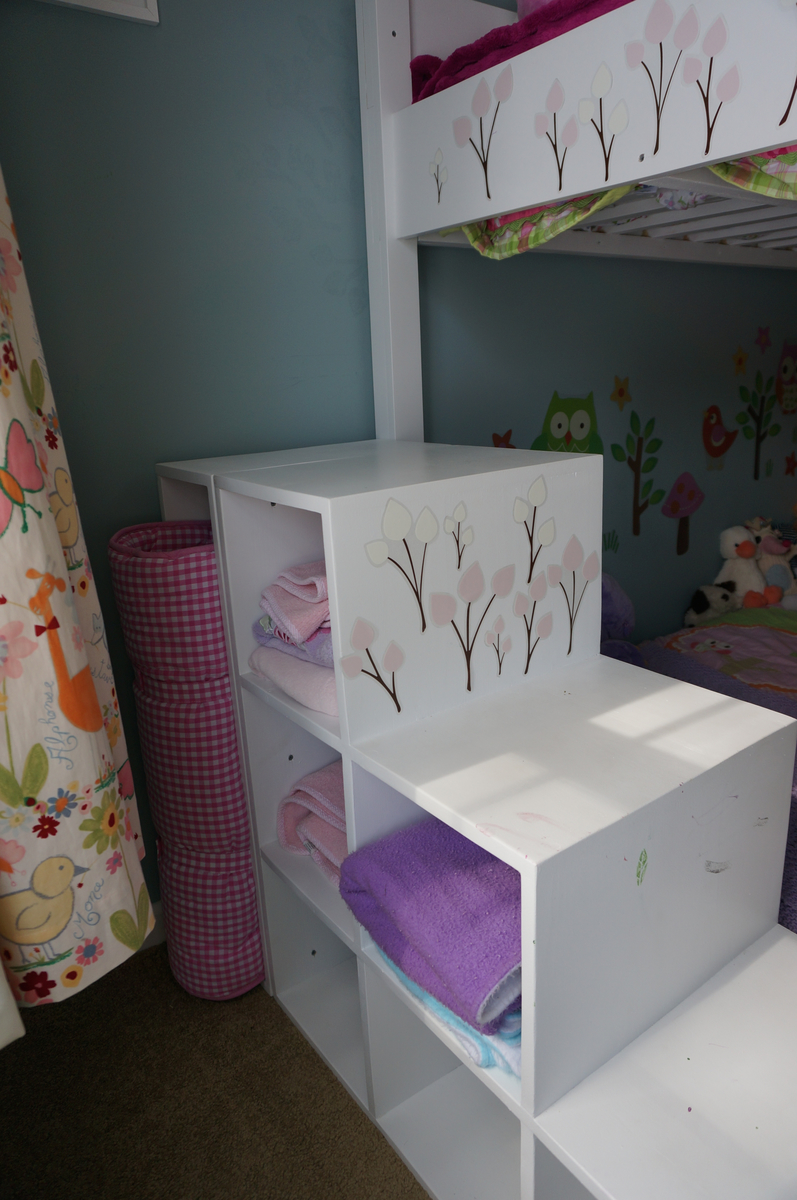
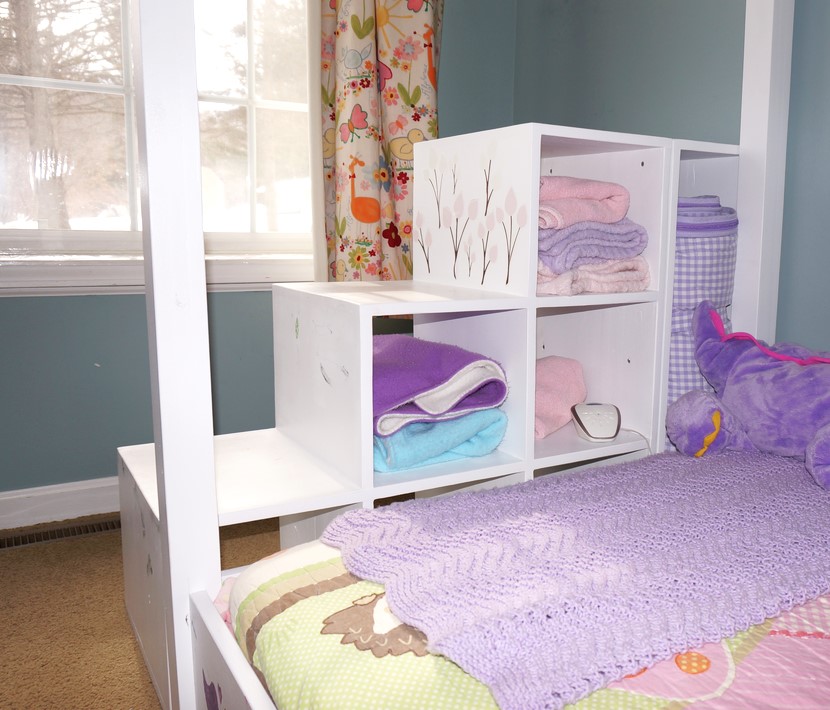
My husband and I searched at least a hundred plans to find a simple bunk bed for our girls and Ana's Loft bed was a perfect base plan with a few changes. We wanted a lower bunk, top and bottom, since our girls are young (ages 5 and 2.5). The youngest just moved from the crib so by putting the bed lower we are able to skip the side rails. Overall we cut 10 inches off the height of the original loft bed plan and still have plenty of room in the lower bunk. I can sit up comfortably on the lower bunk and the youngest can even stand. We went with another 8 inch board for the top bunk rail, it was simpler then the rail with cap but achieved the same overall rail height. We knew we didn't want a ladder in their room because our 2 yr old is fearless. So for the stairs my husband just ended up winging it, loosely basing them on the Storage Stairs plan, creating basic cubes so we can still let light in and have storage. We also didn't want the steps to be high up in case the girls fall from them, which is more common then them falling off the top bunk. At 32 in. high (the bunk is 61 in) both of them can still climb in the top bunk without issue. At first the steps didn't have the tall "cube" at the back but the platform just wasn't that big so the long cube was an add on and gave it the perfect size and heft. We couldn't be happier with how it turned out. Thanks Ana for your awesome blog and the great plans that you post. My husband also built the original play kitchen and it is amazing! I'll have to do another post with pics of that.
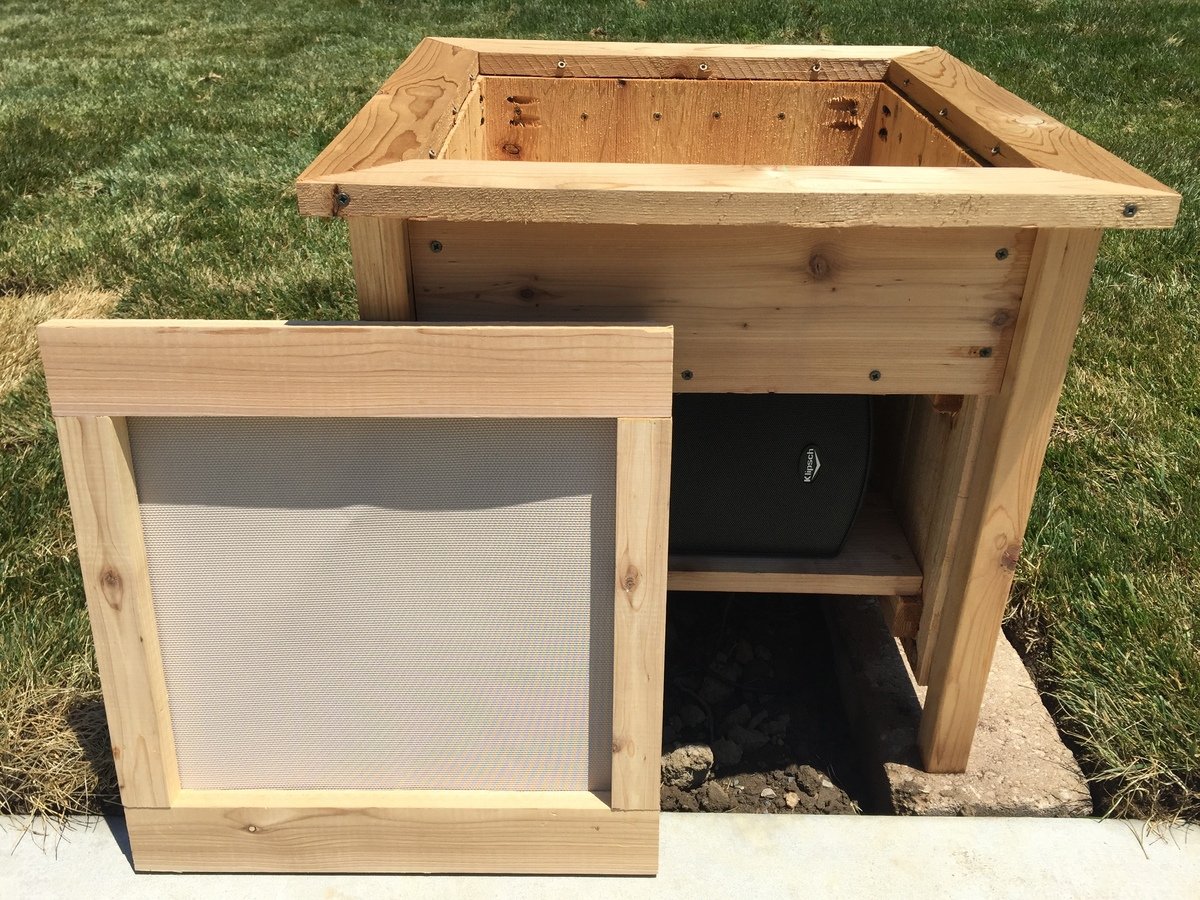
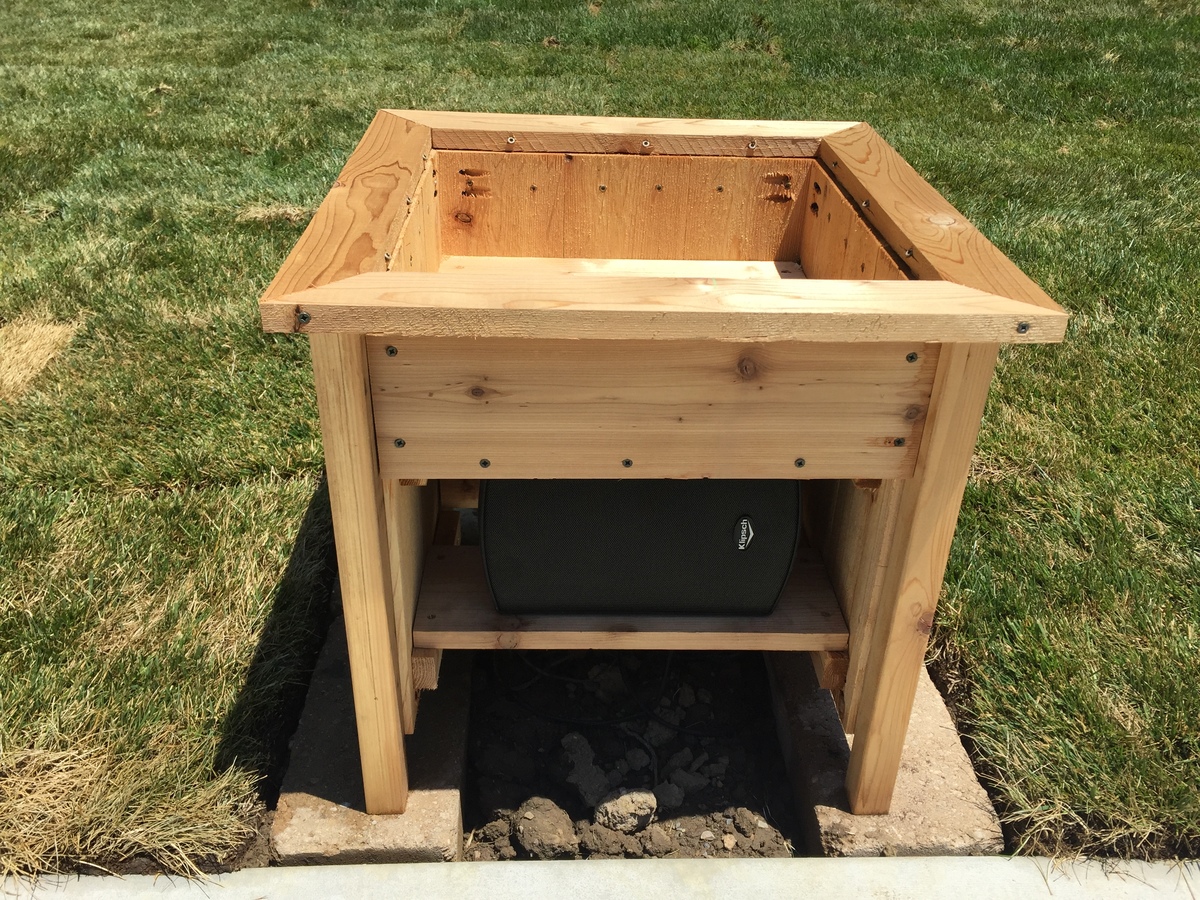
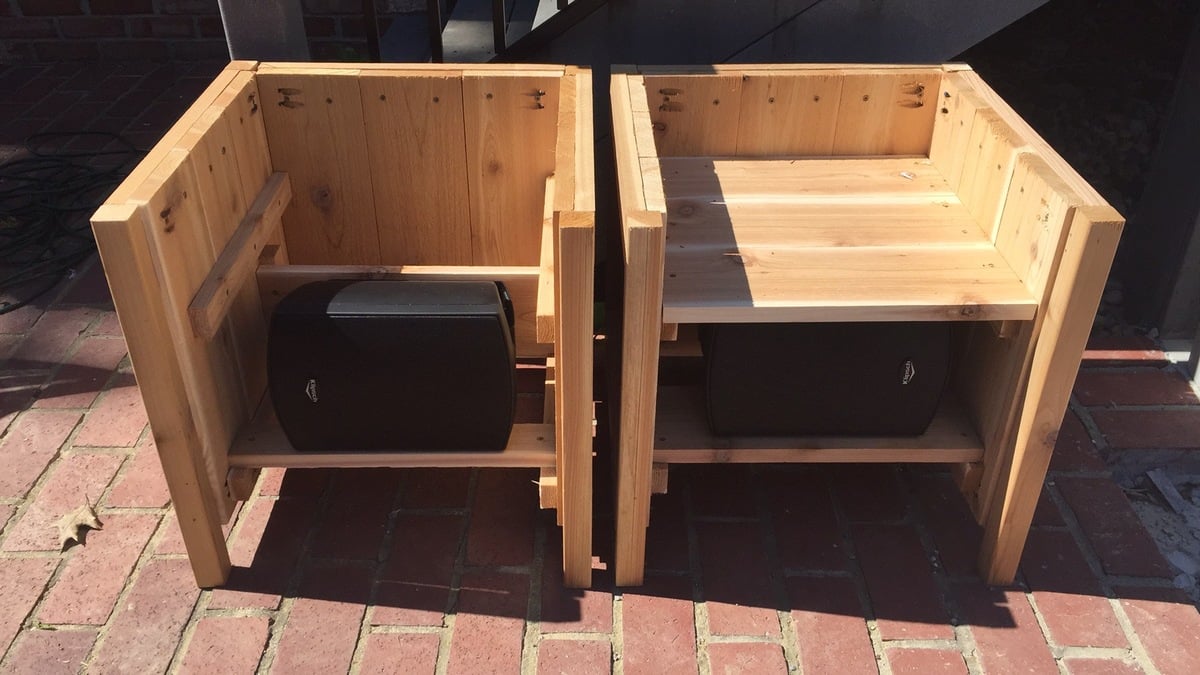
We just put in a pool and I needed something to hide a pair of outdoor speakers. I used Klipsh AW-525 speakers.
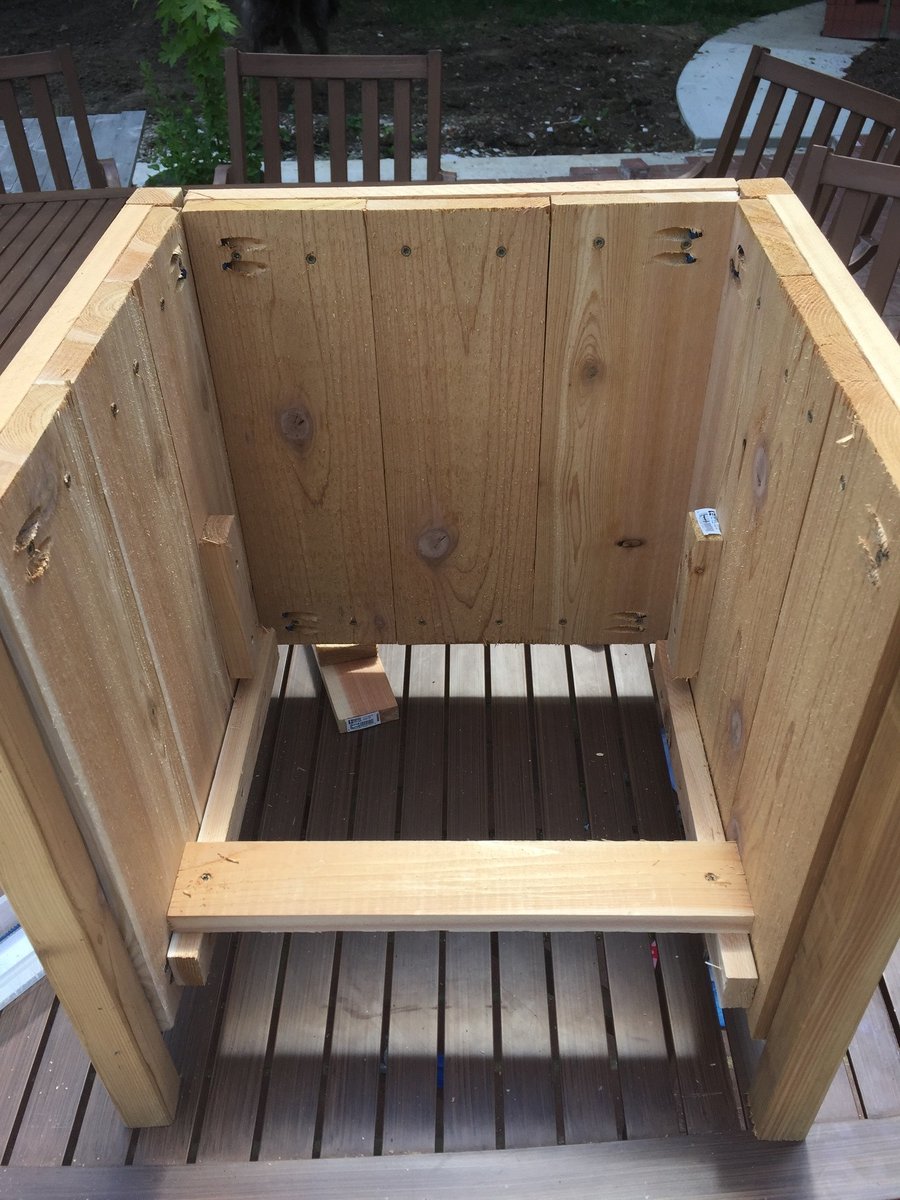
Basically I raised the bottom of the planter enough to fit the speaker under and had to add a few framing pieces to secure the speaker mount to. The mount attaches to a vertical board and the weight rests on a horizontal board. The wiring comes up from below.
The front panel uses vinyl mesh from Sailrite.com to hide the speaker but allow sound out. Imm planning to hang it with magnets if it doesn't distort sound too much.
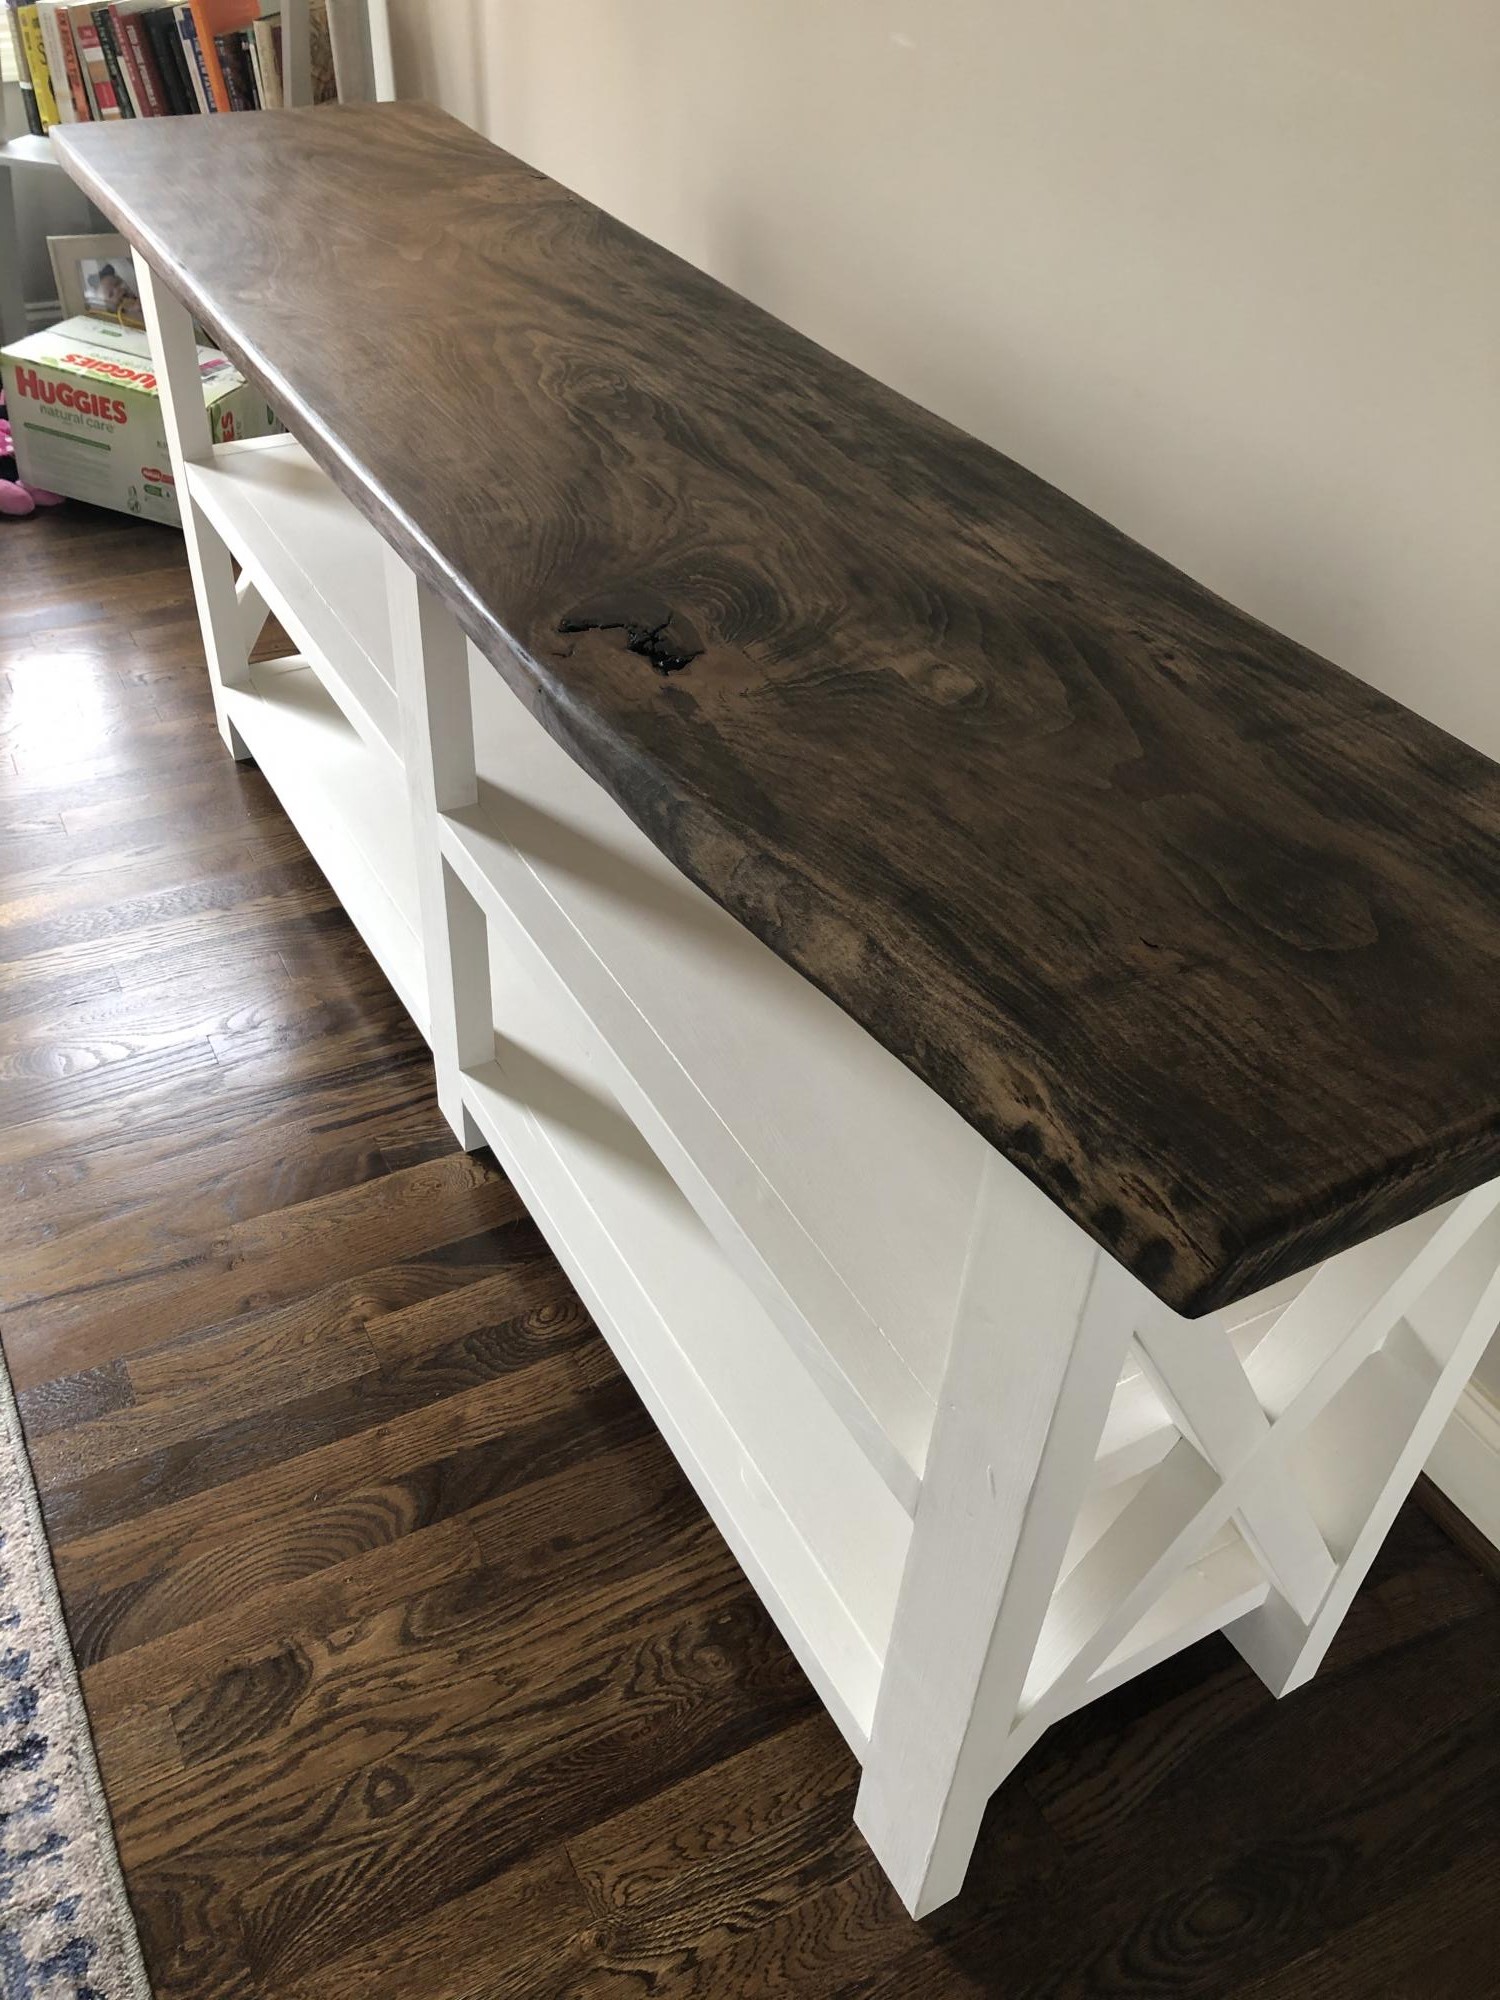
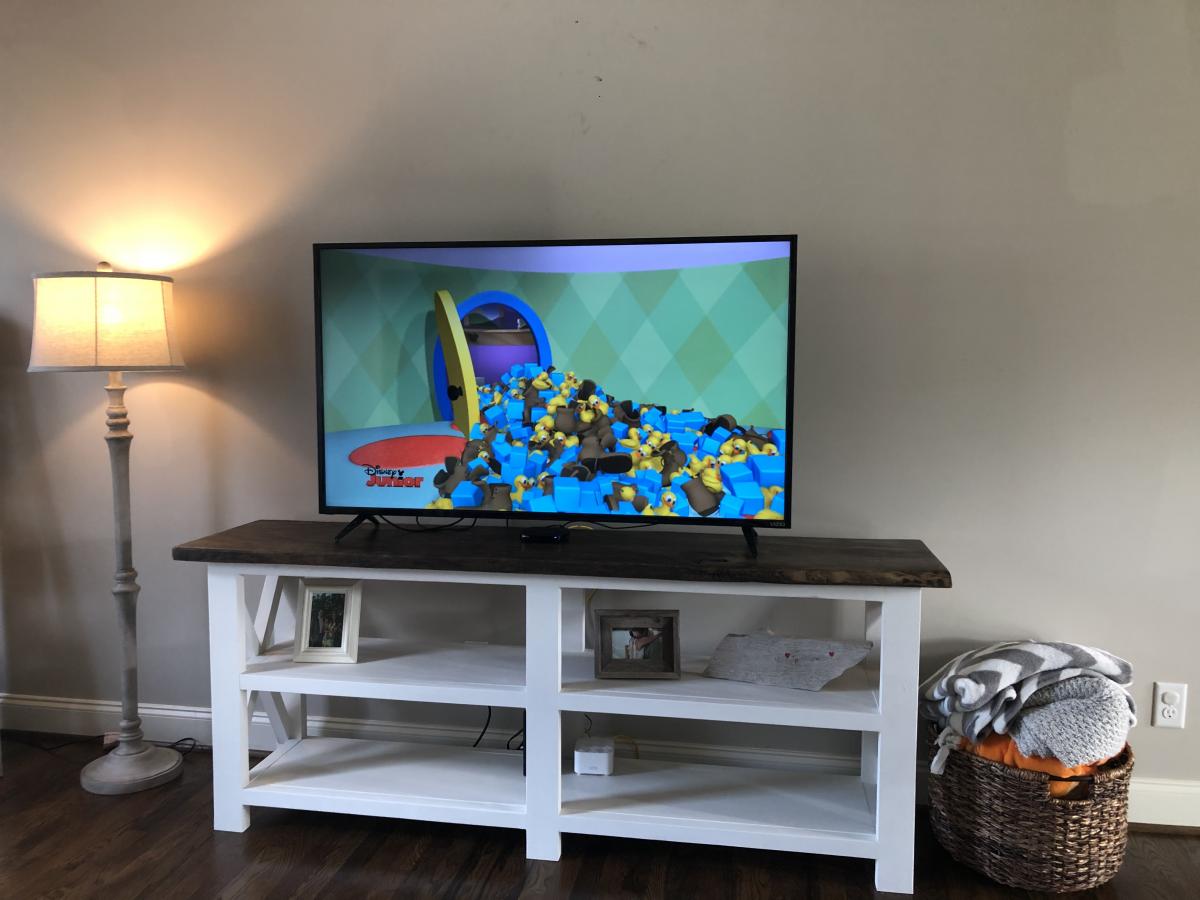
Made this with my son for his new home. The only deviation from the plan was a solid slab of sycamore for the top with dark Minwax stain. Base was painted and waxed with Annie Sloan Old White paint The toughest part was getting the angles right for the X pieces. Had to eye the line and cut with a band saw.
Corn Hole Plans
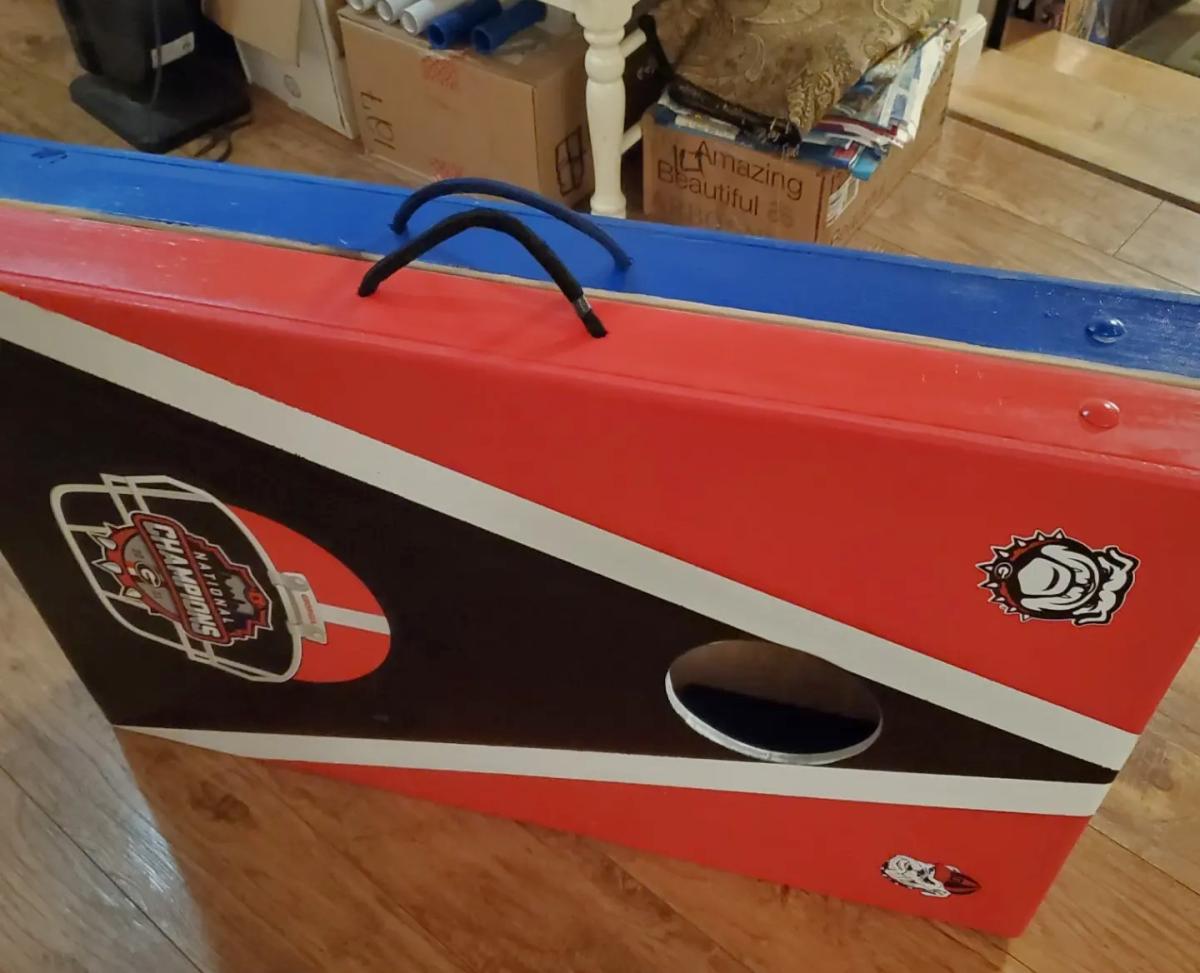
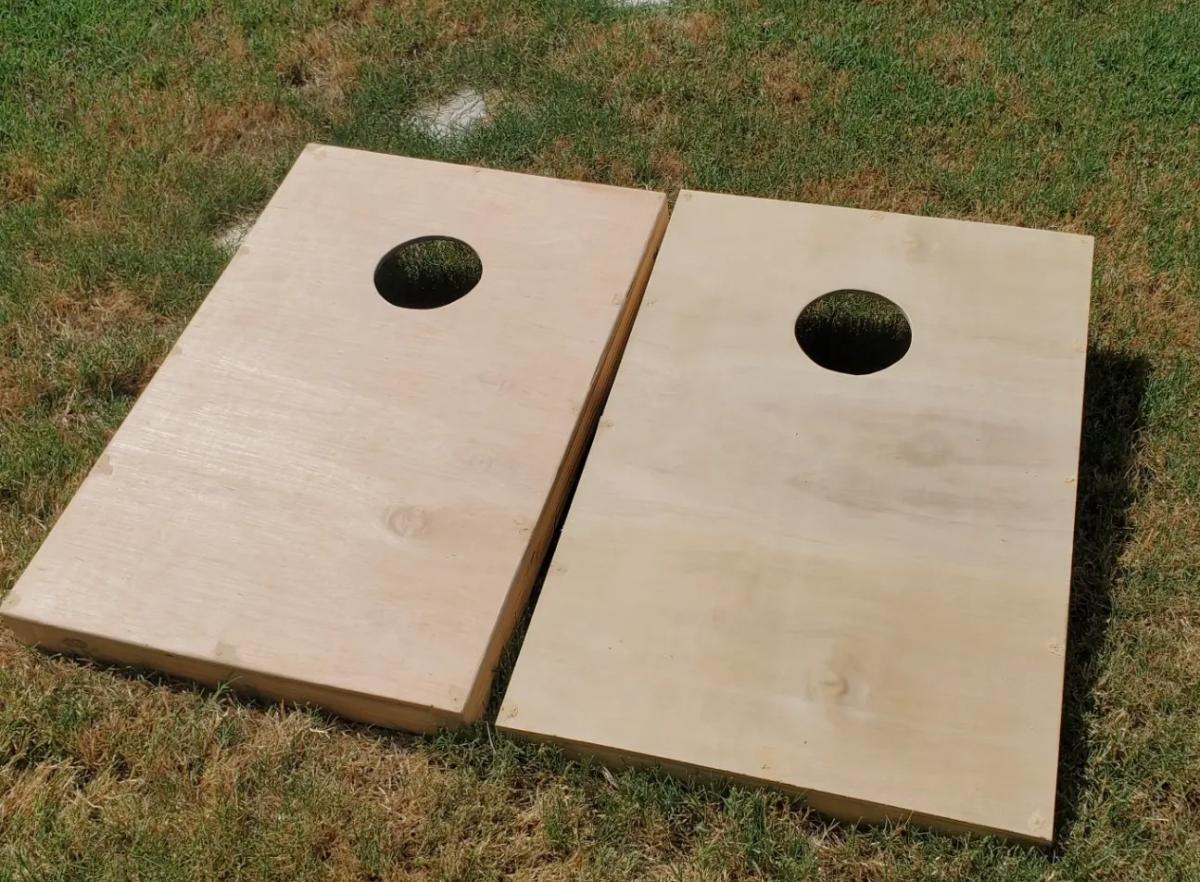
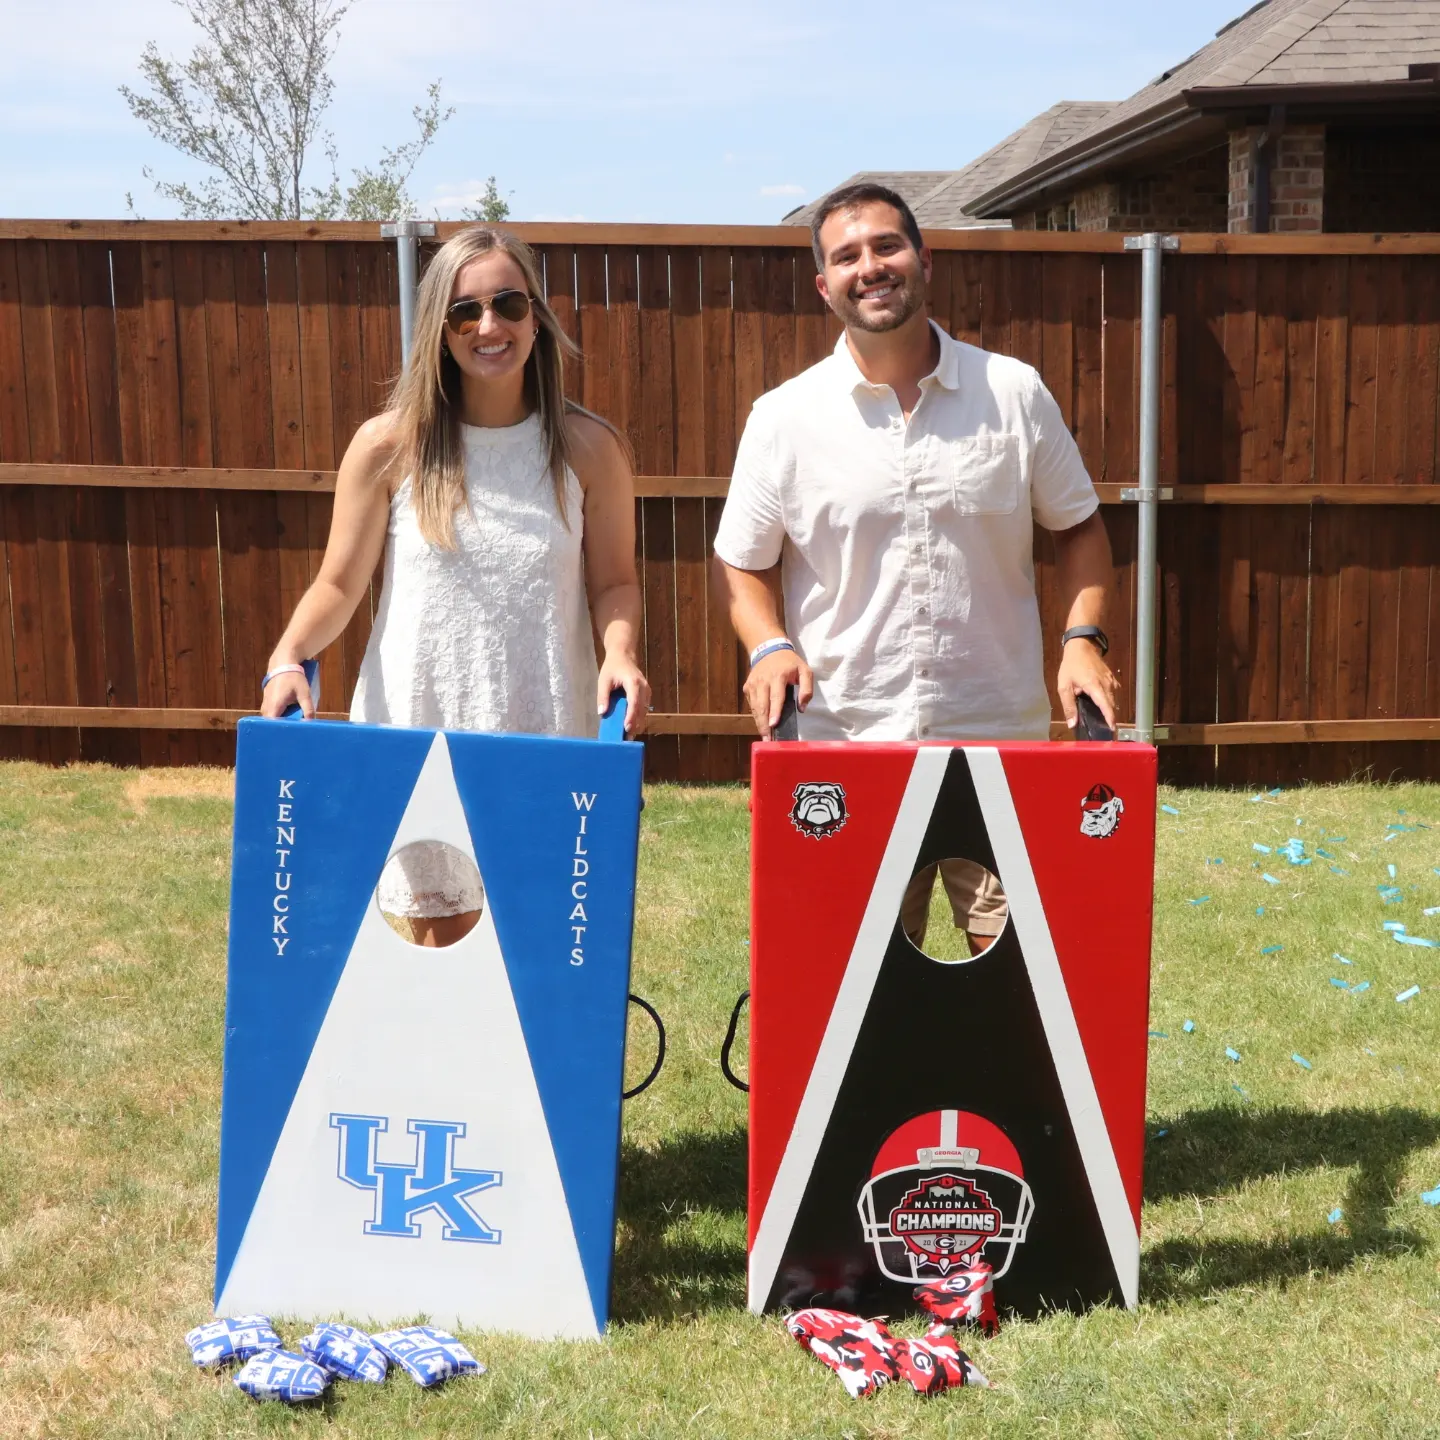
Made lighter by thinner plywood and using 2x3s instead of 2x4s. Not regulation size as just for family and used rope as handles and Velcro on bottom to carry both pieces as one unit. Decorated to fit kids favorite schools.
