Children’s Stool
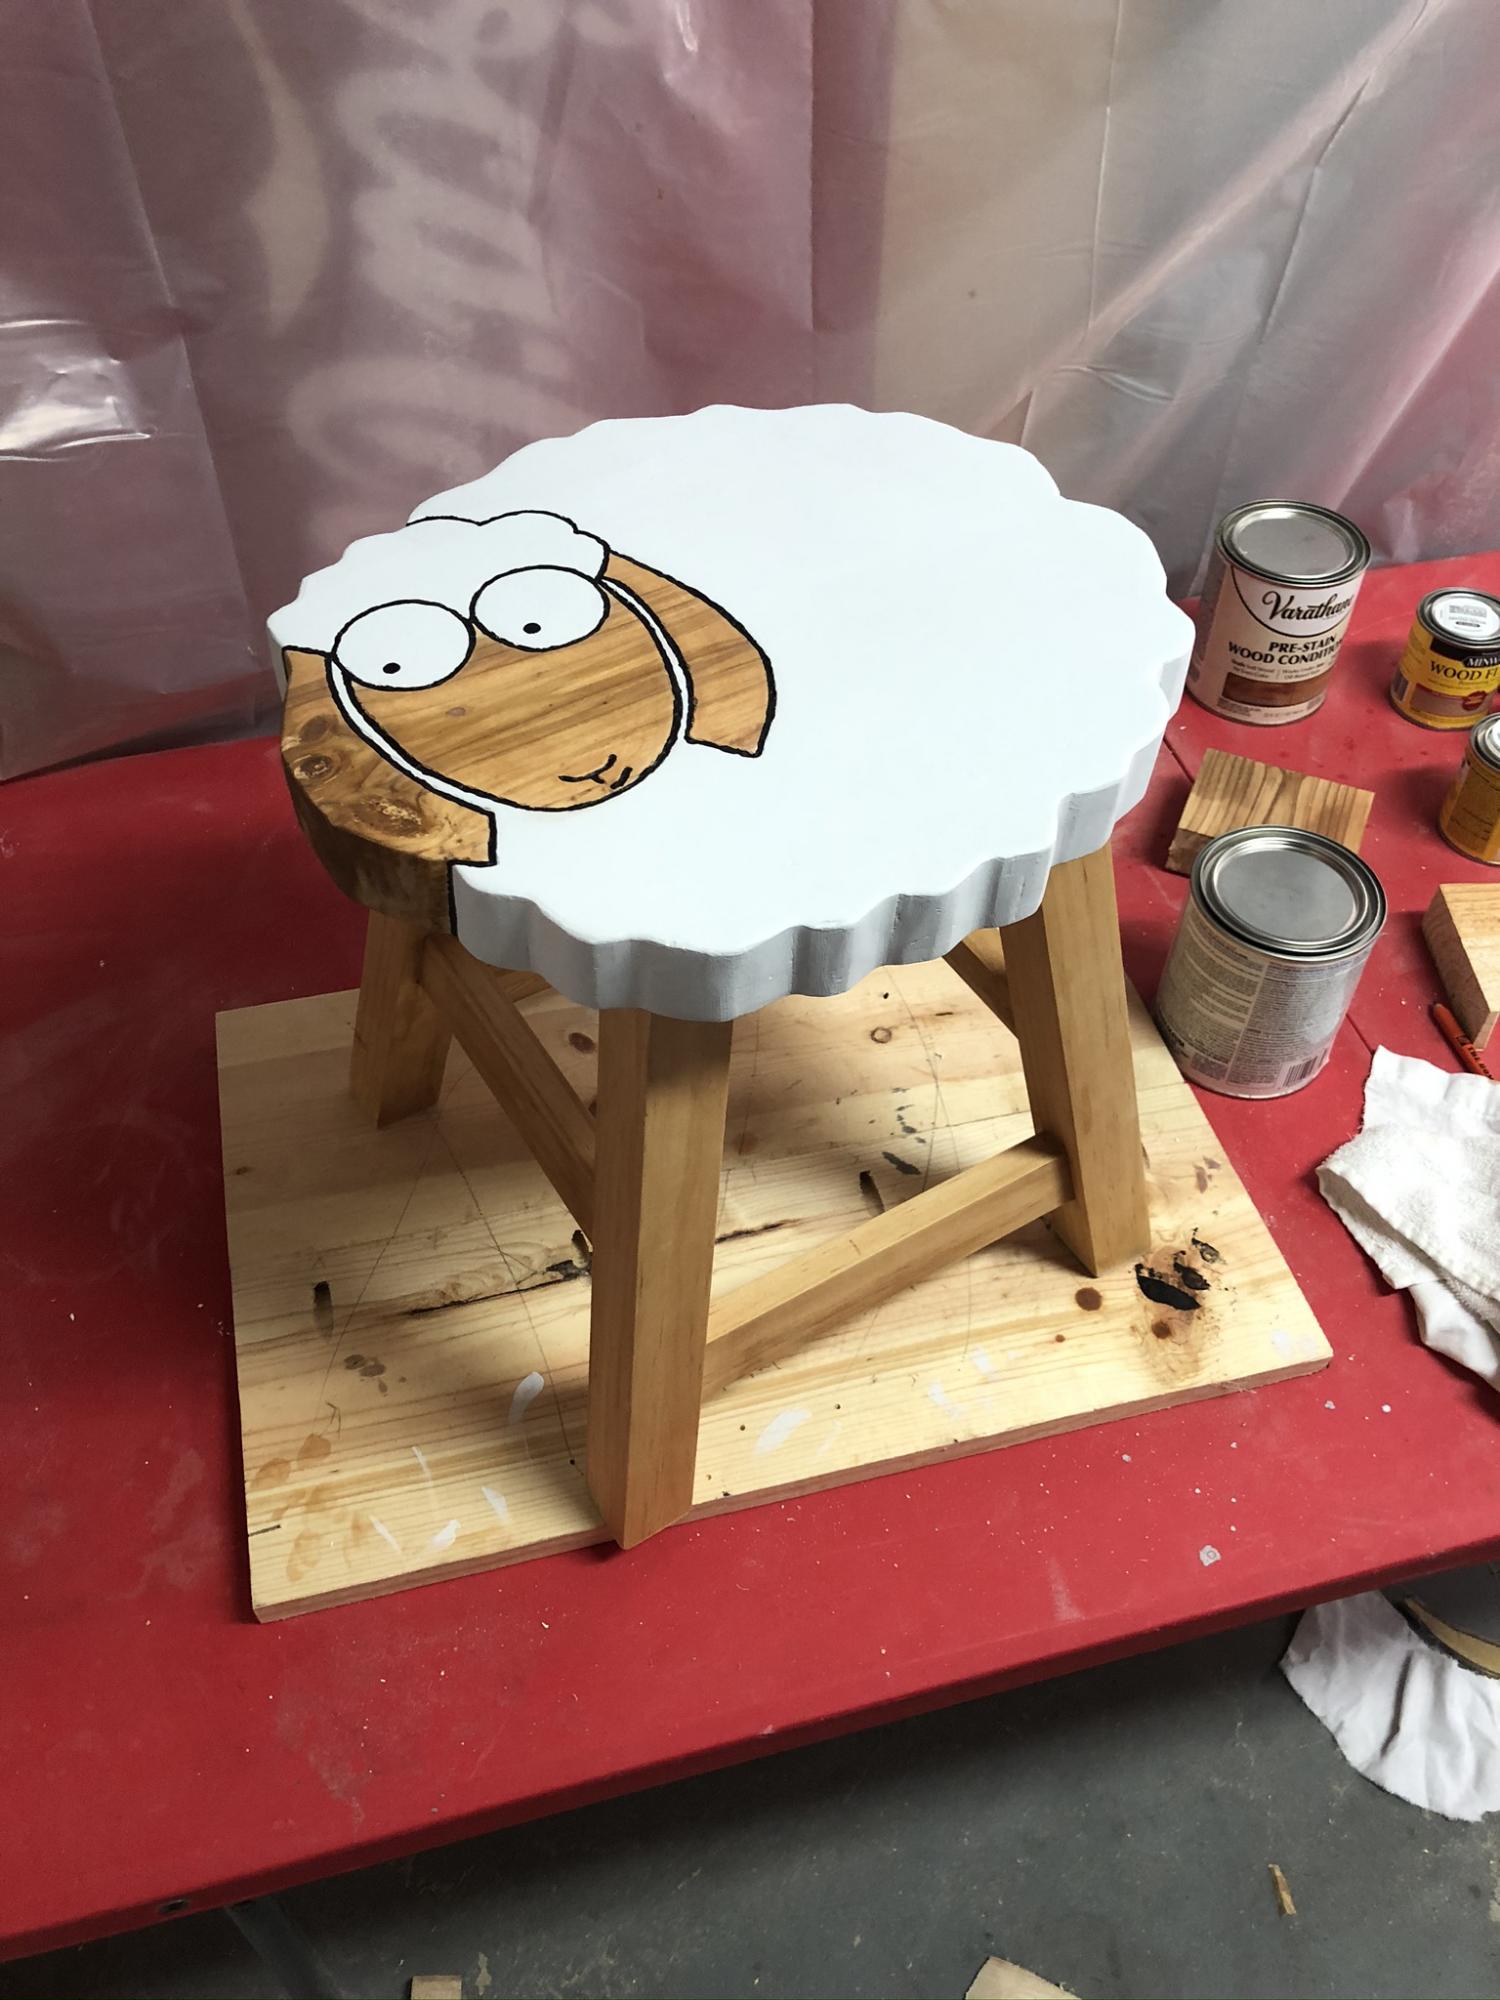
This was a gift for my goddaughter along with a keyboard for her third birthday! I love the way it turned out, and it fits perfectly in with the animal theme in their playroom!

Built from Plan(s)
This was a gift for my goddaughter along with a keyboard for her third birthday! I love the way it turned out, and it fits perfectly in with the animal theme in their playroom!
don’t know when I first stumbled across Ana’s site. But – when I started printing the plans that I wanted, and I printed a whole 2 inch binder – I knew I was addicted.
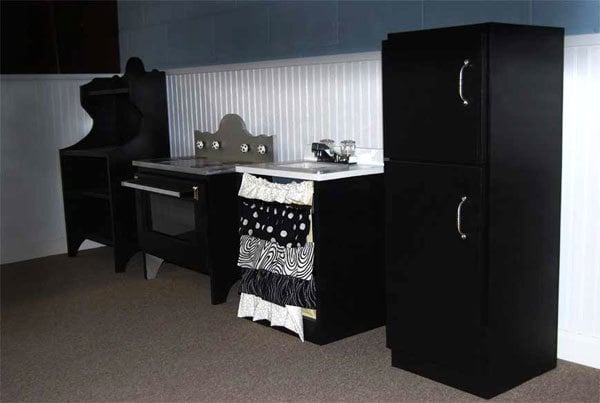
It was November and I wanted to build the whole kitchen, the hutch, fridge, sink and stove. (I get obsessive about things) That was a lot of building! Being the numbers dork I am, I ran to my excel sheet – planned out all the cuts to use as little MDF as possible. I used three sheets of MDF – which totaled about $90, the accessories and flat black paint ran a little under $30, so in total the four pieces were $120, for all 4 pieces! My full story of my husbands blizzard drive to the depot, and 120 cut’s later are in my blog: http://mycreativeescapes.blogspot.com/
I work full time and I have three kids 4 and under, so I had NO idea when I was going to do it, but – I knew I was going to do it – and as a christmas present!
My dad helped me with the first two pieces, and I finished it up. It secured my love for building!
Overall the building was super easy – after a few popped nails, I got the hang of the nail gun. After the first piece, I figured out the tricks to be able to build it myself. Clamps are my new best friend!
The finishing – ahh good times, nothing like the wife wanting to use the power tools, and the husband wanting to do the paining. He insisted! We had flat black paint, so we did most of it in flat black. We wanted to do “Stainless” but the chrome didn’t look very good because we painted on the primer with a brush – we didn’t spray it, so when we sprayed on the Chrome spray paint – you could see the brush strokes. So we ended up painting most of it black as you can see in the picture.
This is what the project looked like pretty much done, just drying. My plans are resting on each piece, the clamps are holding the oven door together. And the plastic bin is my sink!
Ana – you truly are an inspiration! Your plans are awesome, and your generosity is amazing! I seriously have a binder full of your plans, and I am going to guess about every other blog post will be featuring your work. My first project was a simple bookcase, then the entire kitchen set, then the bench with the butterfly hinges that revealed storage for my mom (for christmas, it made her cry!). I can’t wait till the weather is warmer so I can build more! Thank you from the bottom of my heart! Next – I will post some pictures of my three little nut bags playing with there new kitchen from Santa, and my two girls and my niece sitting on the bench I built my mom.


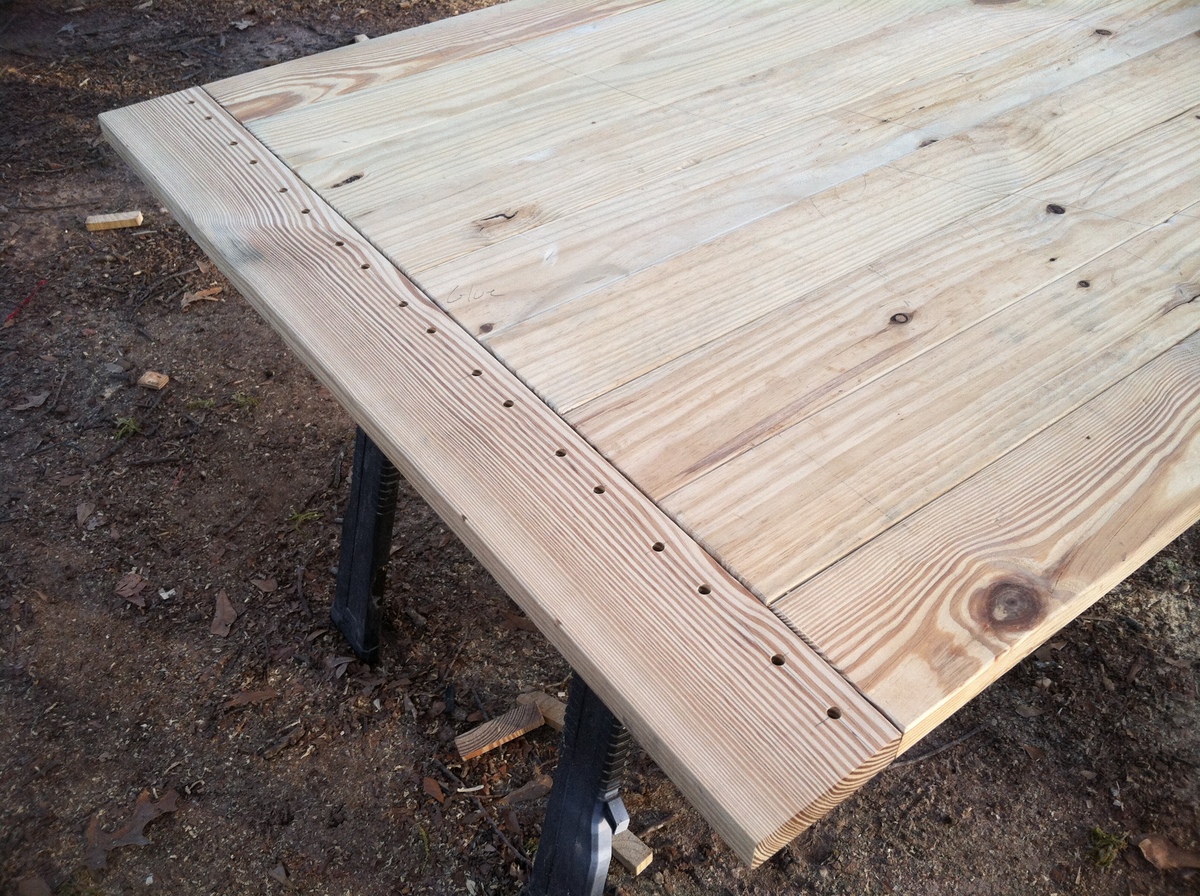
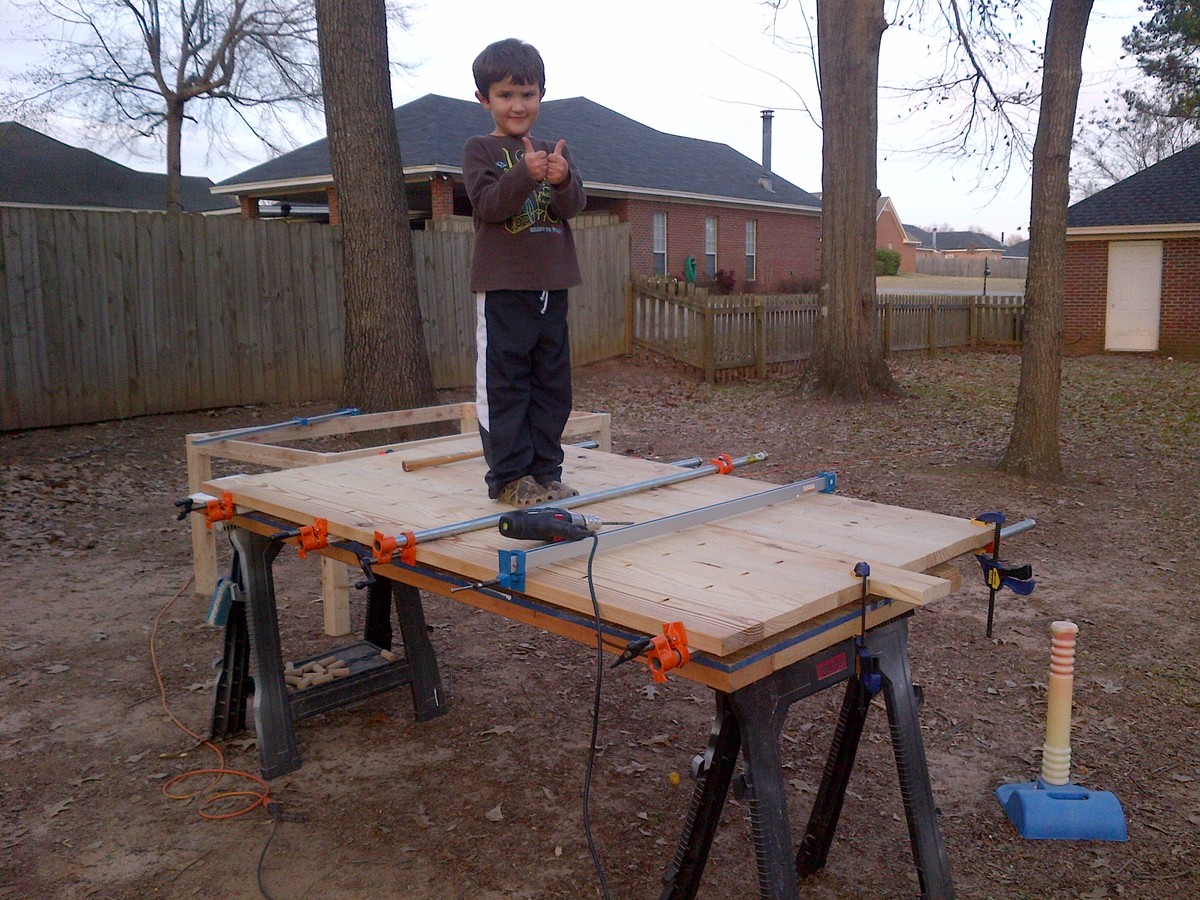
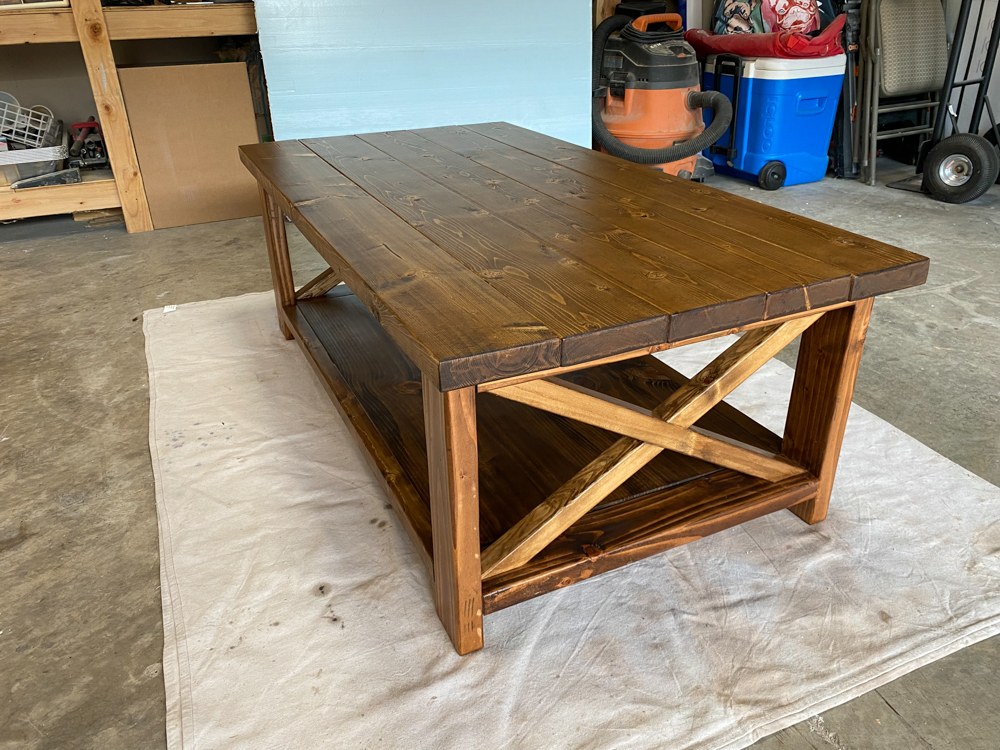
My wife and I love this table: http://www.woodlandcreekfurniture.com/graphics/DT00100NEW.pdf so I took the Farmhouse Table plan and modified it just a little bit. I used pocket screws to join the table top and eventually wound up installing 2x4 runners on the underside to sturdy the top even more. I also used my son to help keep the boards flush while I screwed them together. He though it was wonderful to help his dad out this way.
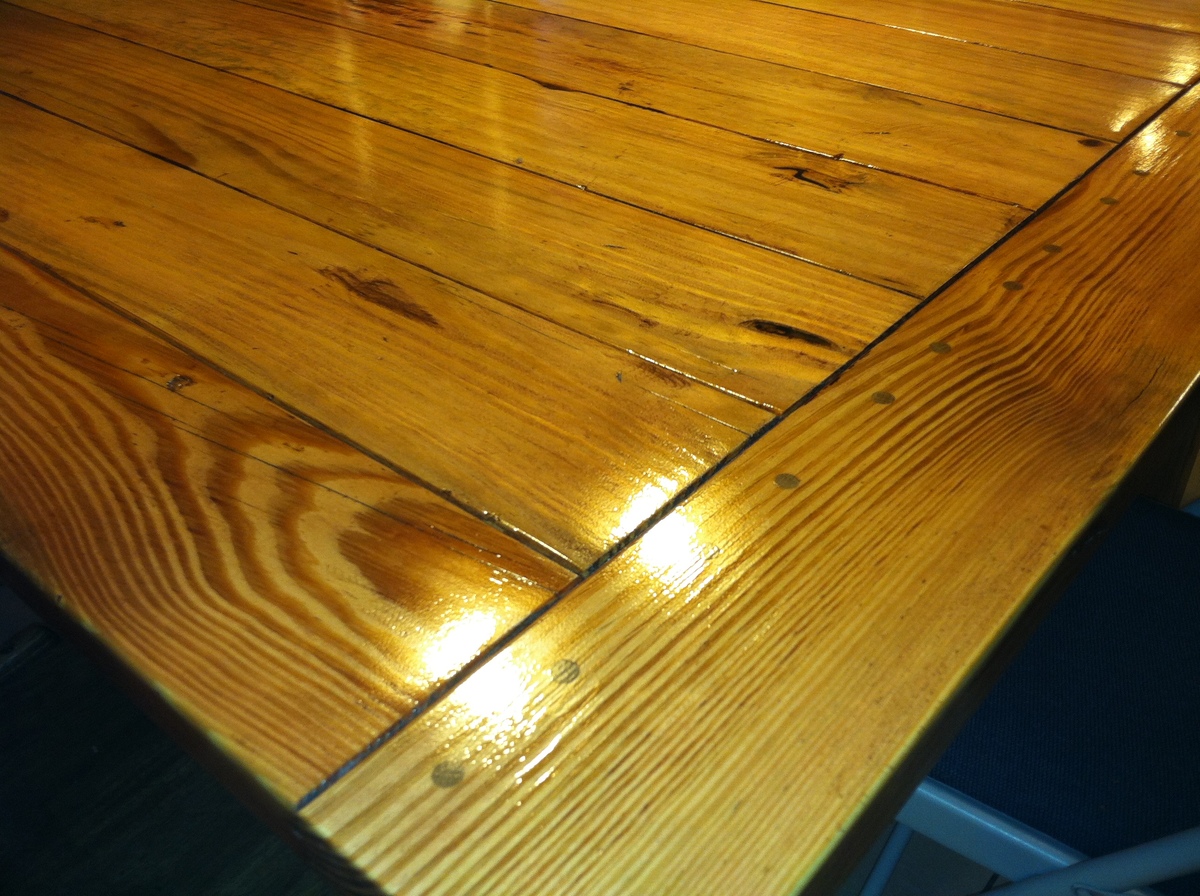
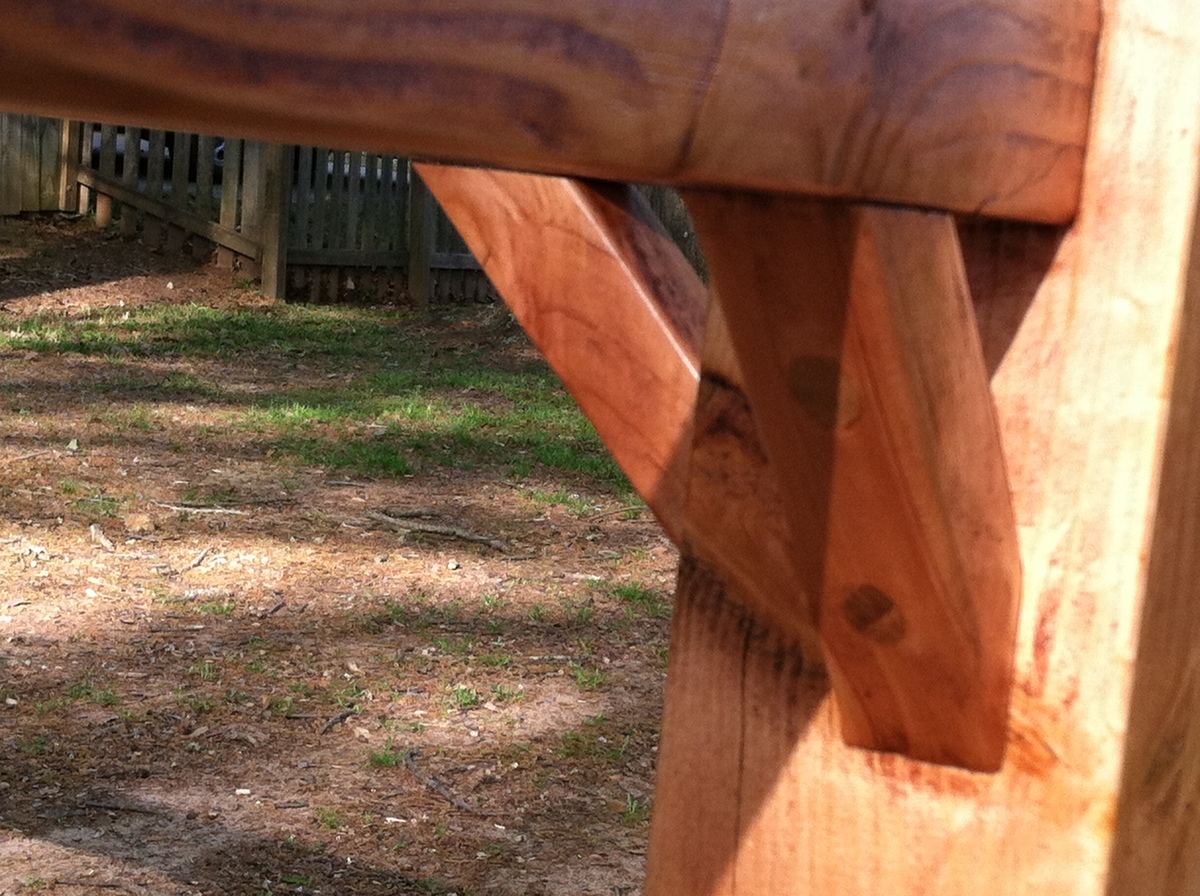
For the table frame I used a 1" straight bit in my router to put a little "flair" on the rail. The leg bracing is 1x1 scrap that I had left over from ripping the rail to size. I used my drill press on the bracing to make the recessed hole for the screws at the correct angle. I then covered the screw hole with a 5/8" red oak dowel.
I decided to go a little more traditional on the breadboard end just to see if I could do it. Its really not that hard just more time consuming. I used a 5/8" red oak dowel that I bought at the hardware store for joining the breadboard to the rest of the table top.
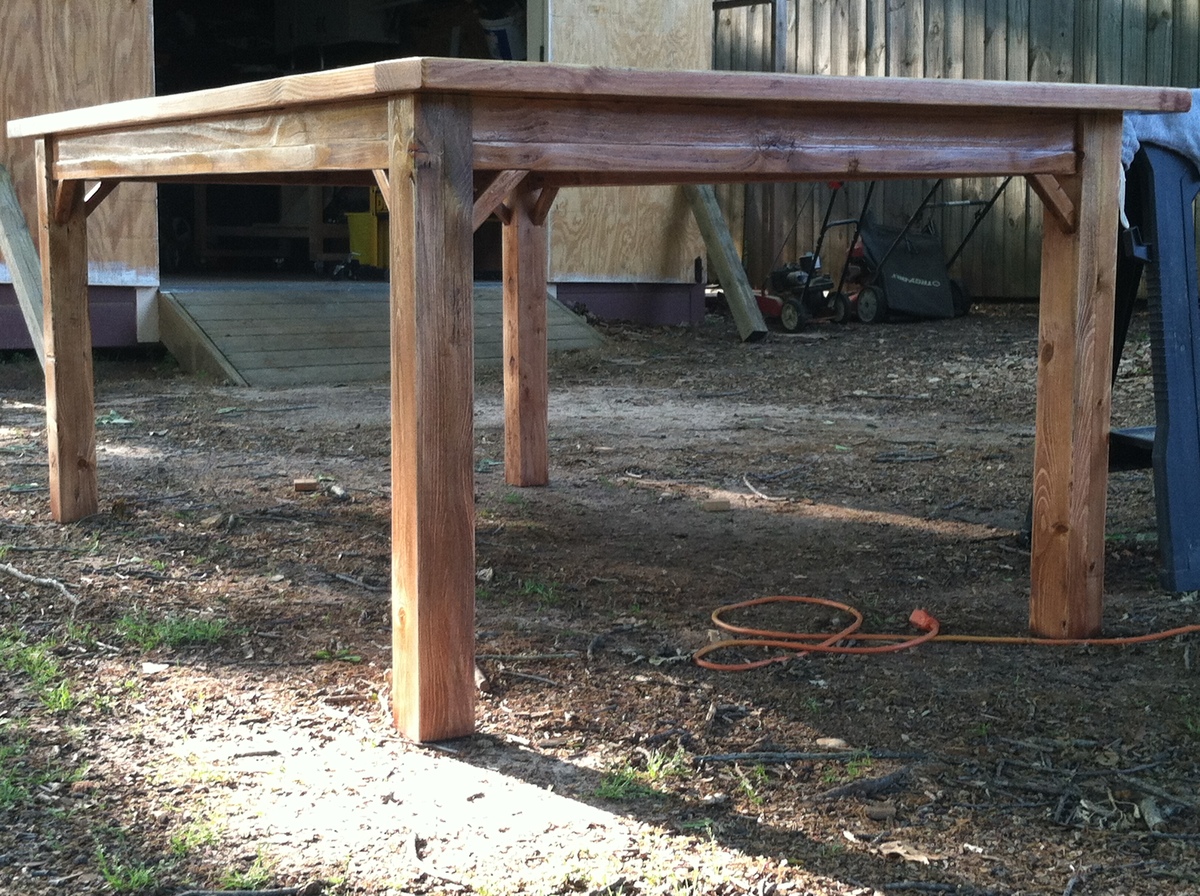
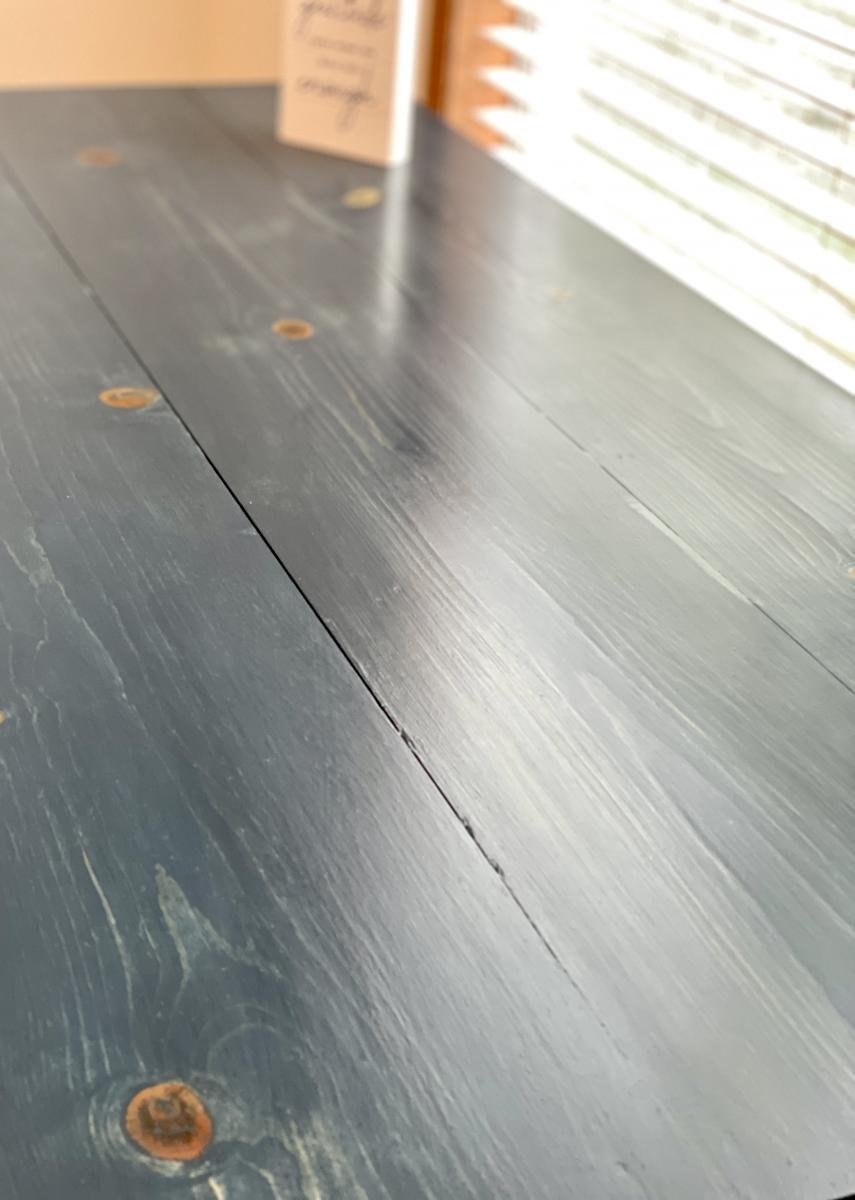
My table is made of a mixture of pine and spruce. I used shellac to seal the wood before staining. Shellac keeps these softwoods from splotching when they are stained. I then used Minwax Red Oak stain. I let the stain sit for about 15 minutes before wiping it off. The color turned out great. I used my Christmas money to buy an LVLP spray gun to hook up to my pancake compressor. I used the Spray-It 3000 to apply polyurethane. I put 5 coats on the frame and 10 coats on the top itself. In between each coat I used 0000 steel wool to buff the surface. The very last coat I left alone so it would shine. It left it with a little bit of an "orange peel" finish but I thought it made the table look more rustic so I left it alone.
All in all it took me about 60 hours over a 6 month period to get the table done. When you have a real job, kids, and a house to take care of it takes a while to do stuff like this.
I've got a plan for some chairs so I think I'm going to try chairs next. They say if you can build chairs you can build anything. I've built just about everything but chairs so maybe this saying will work in reverse. If the chairs go as fast as the table did, it might take another 6 months to get one done.
The wood for this table I got for free. My brother-in-law works in the lumber business and this wood was the throw away that none of the contractors wanted. All of it had been sitting in the sun and was warped, gray, and cracked. A friend from church who does woodworking for a living planed and jointed the boards straight and square for me. The lumber is construction grade pine and spruce. Most of the money I spent on this was for the spray gun, the finish, and the hardware that I used for joining the tabletop to the frame.
A help hint I found out after the fact. If you're sanding pine and spruce with a random orbit sander or any electric sander you are going to leave little "swirlies" throughout the wood. Either sand the wood by hand to prevent the "swirlies" or learn how to use a card scraper so you don't have to mess with sandpaper. The "swirlies" showed up when I applied the stain. Before then I couldn't see them. My wife thought the "swirlies" added to the rustic-ness of the table, so I left them alone.
Sat, 05/11/2013 - 07:31
I forgot to include this in my post. I used Devcon 5 minute epoxy to seal all of my knot holes.
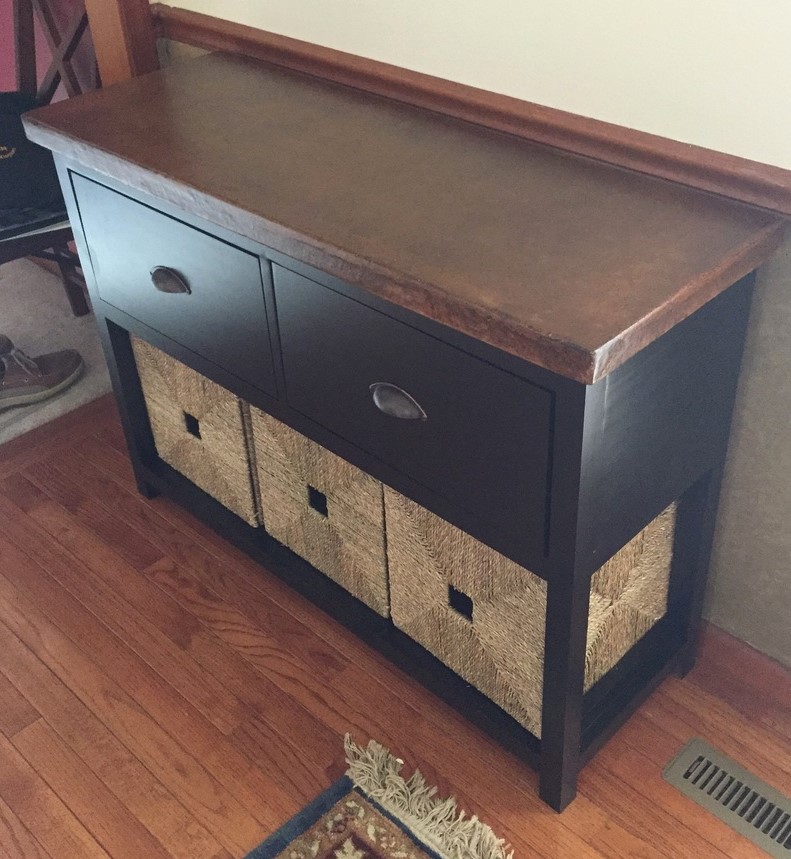
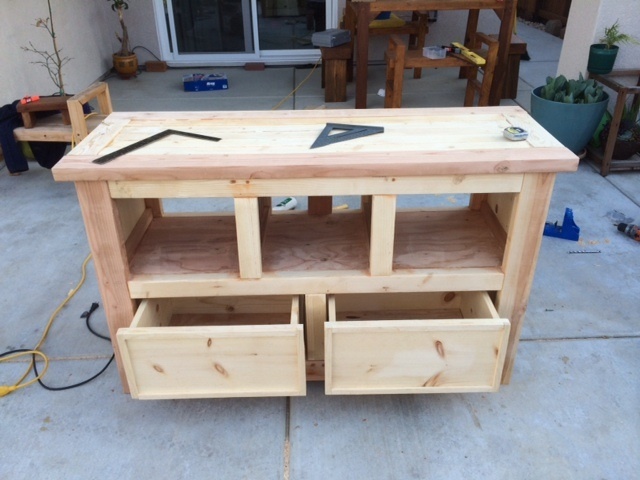
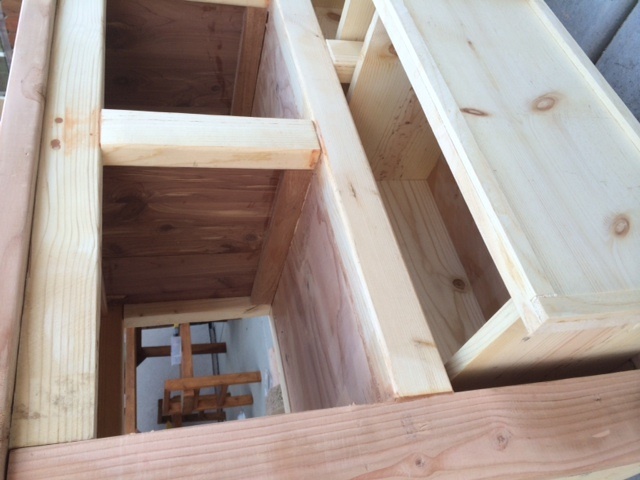
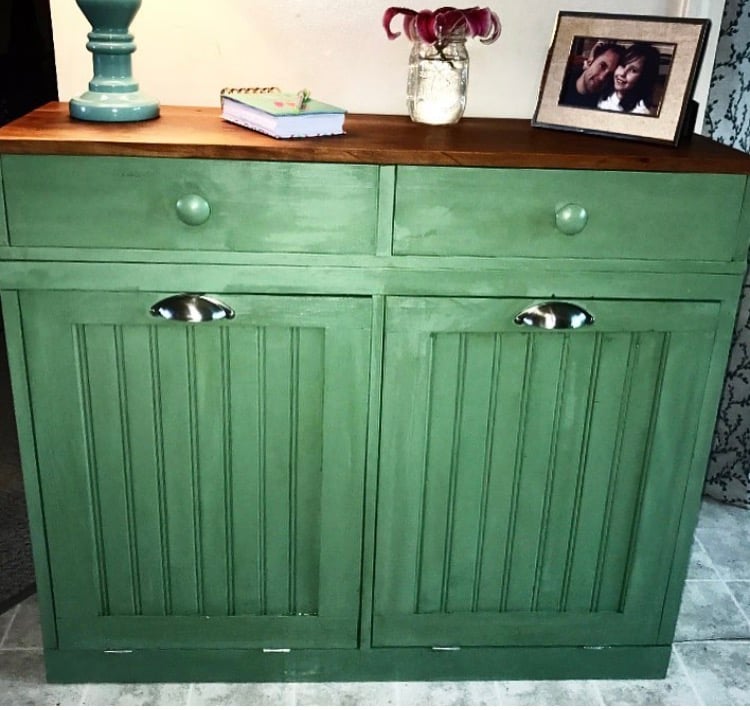
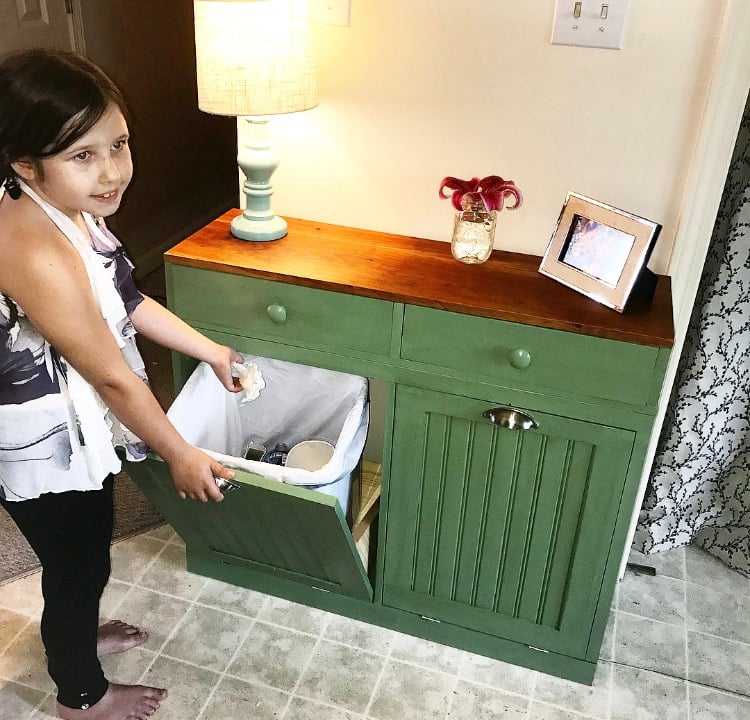
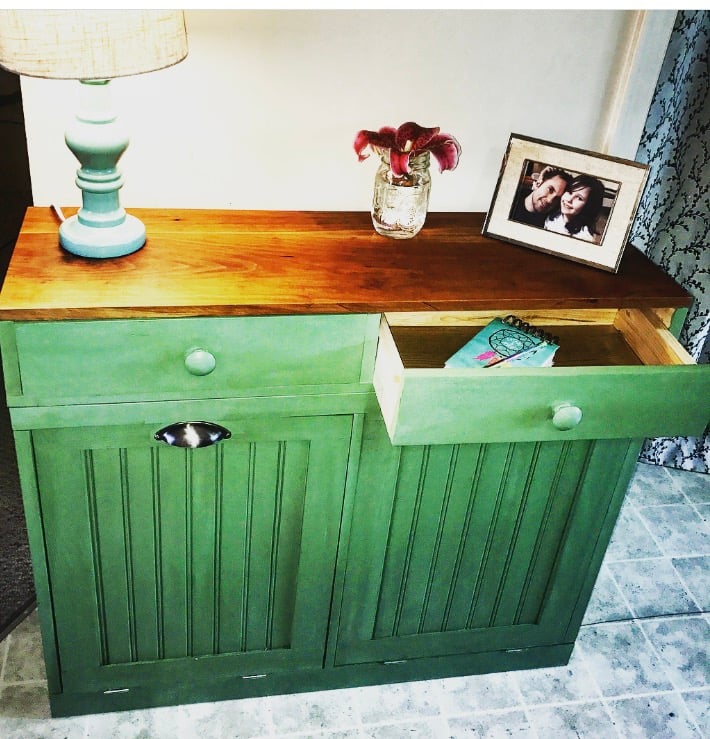
Made from entryway console plans and got the concrete top idea from DIY Pete's web and found a cool way to faux finish top with concrete stain I bought at sherwin Williams. Used a buff color dye added to top when mixing concrete
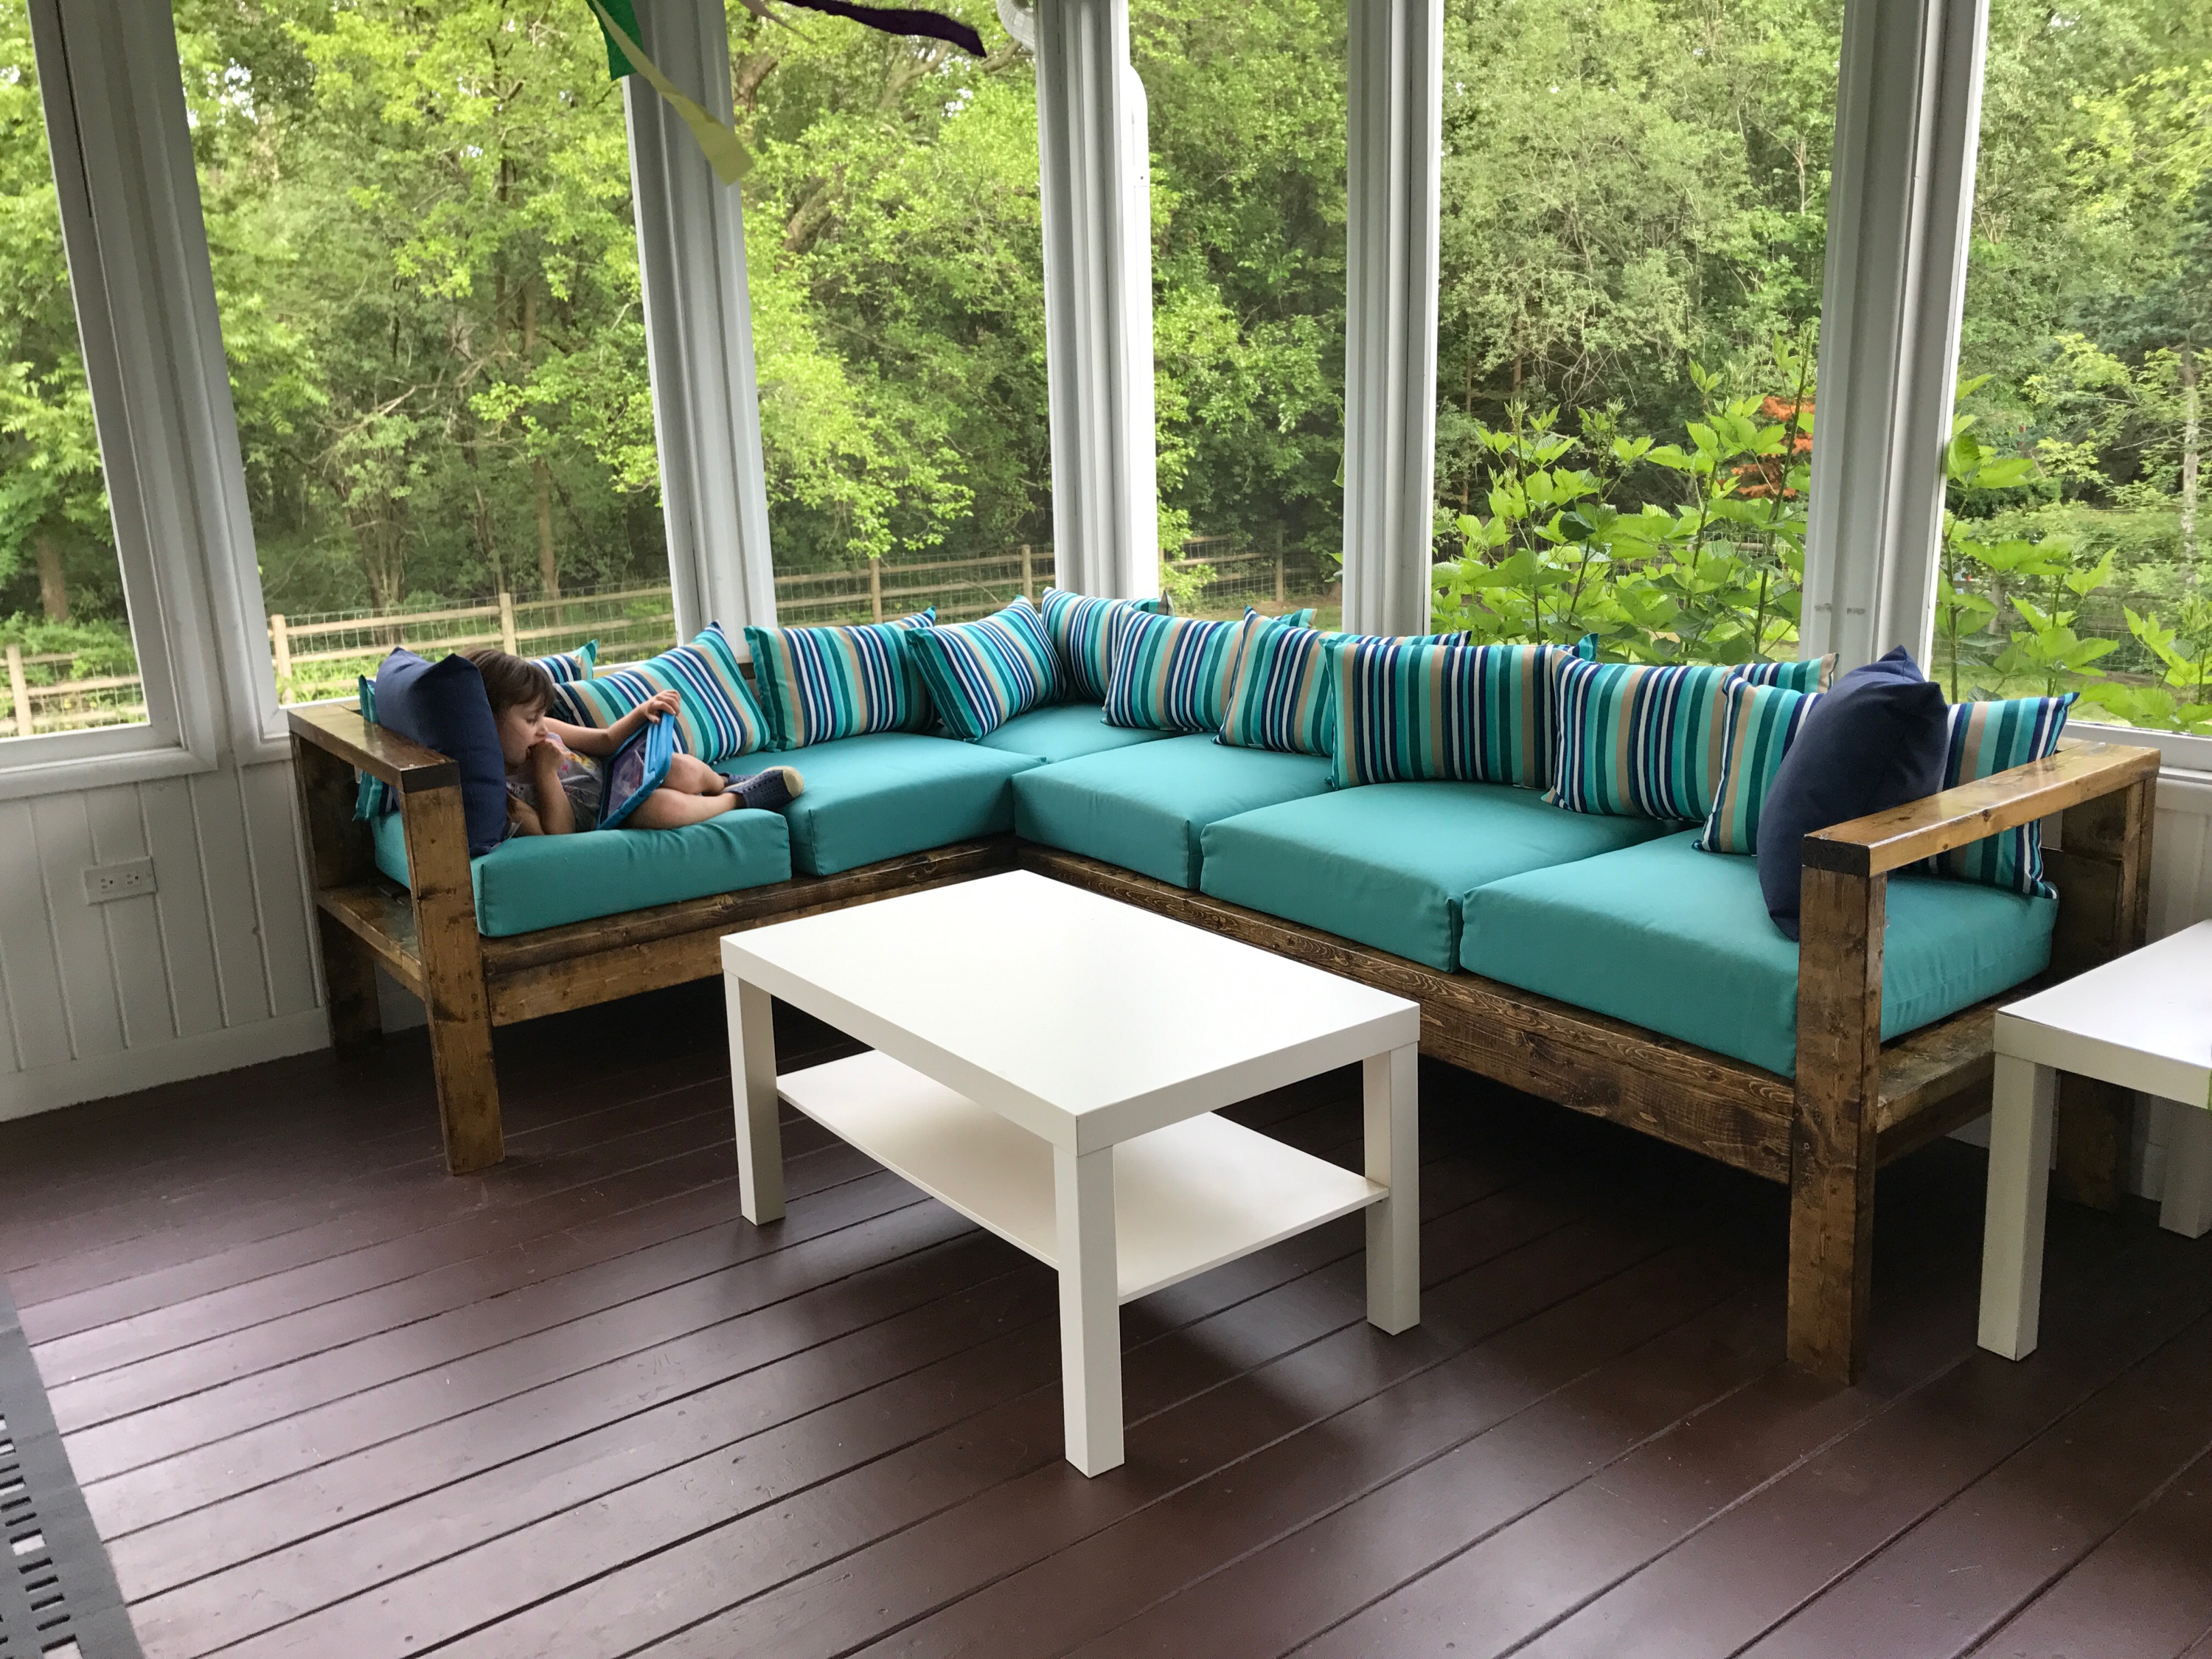
Our version of the outdoor sectional. We couldn't find 24" wide pillows so we modified the design to accommodate 22"x24" ones. We also added a 1x8 held on with pocket screws to provide some additional support on the back and help keep the pillows from falling through.
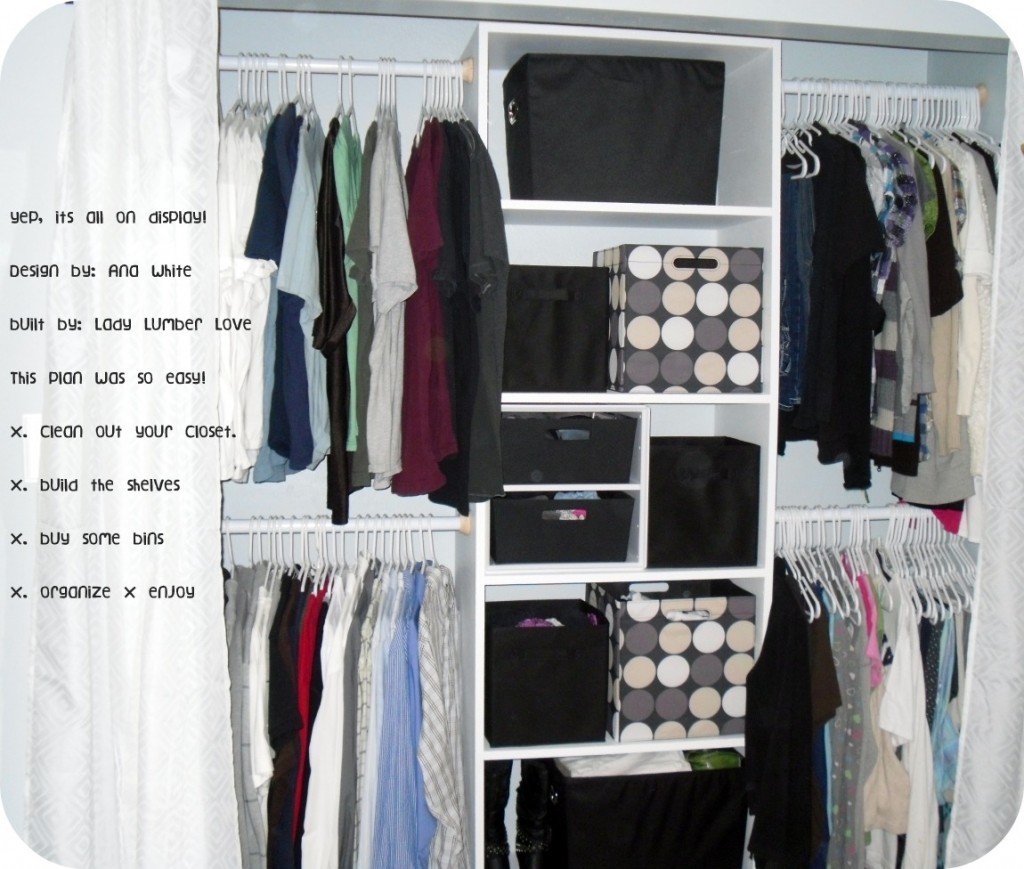
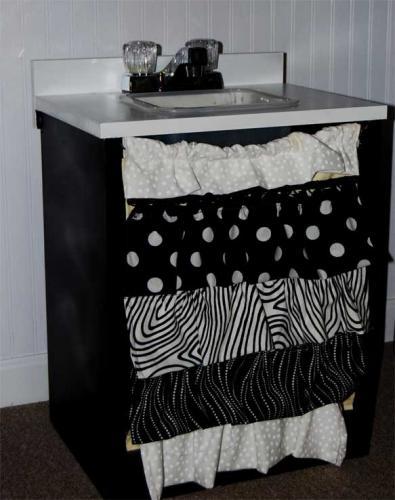
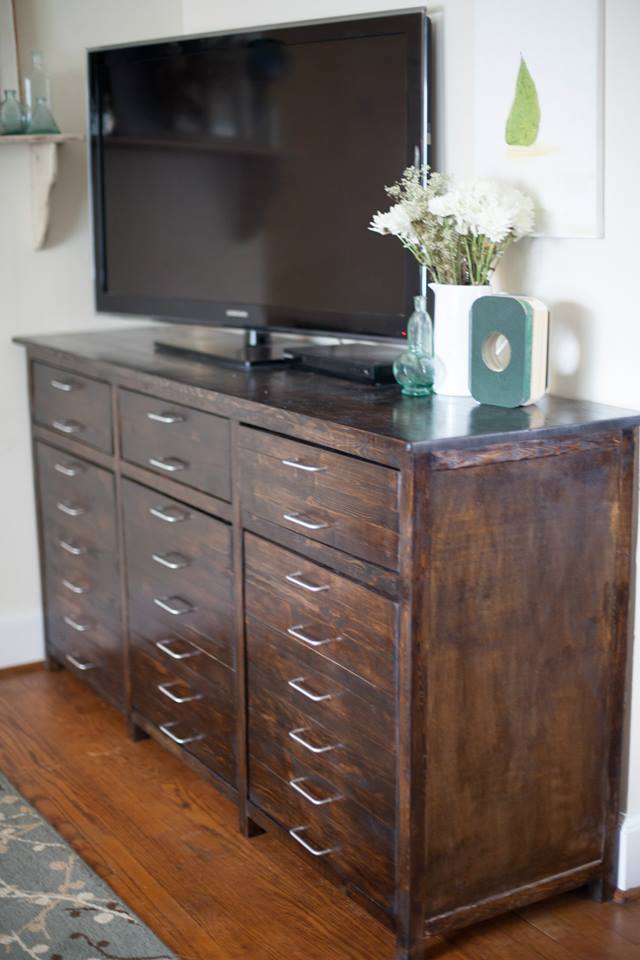
Wood was cut at Lowe’s for this one. We built it in the living room because it was seriously 10 degrees in the garage. It got moved upstairs, where we shimmed it, removed the molding off the wall, and painted it. Then we secured it, installed some rods, bought some bins (all from Target), hung a curtain, and called it a day. I reccomend you save all the scraps from this one, because they make for a free laundry basket dresser, that we also built.
I would love to see someone do this in birch plywood, and stain it for an elegant look!
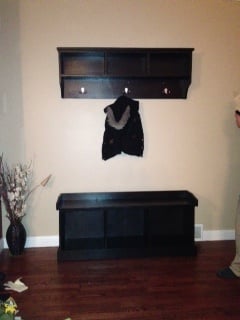
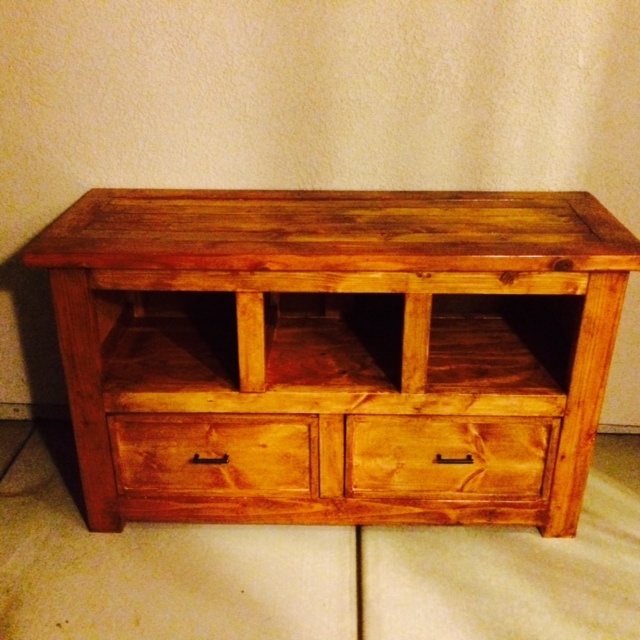
This project only took a day to build and not the whole day. The painting took a bit I had to do first coat at night then the second one in the morning and flipped and did other side twice...

I've made mostly from 2x3 and 2x4. I made the drawer using scrap plywood I have laying around. The project is not finsihed. I will probably use watco danish oil through all wood.


Fri, 04/03/2015 - 16:47
This is beautiful and well made. Exactly what I need in my shop or even in my kitchen! It looks great!
Tue, 04/14/2015 - 07:25
It takes strong ppl to move this table though :) heavy and sturdy
Sat, 04/25/2015 - 16:15
I really like what you did here. When I first looked at it, I thought it would be a great piece for my little section of the garage I am calling my "shop".
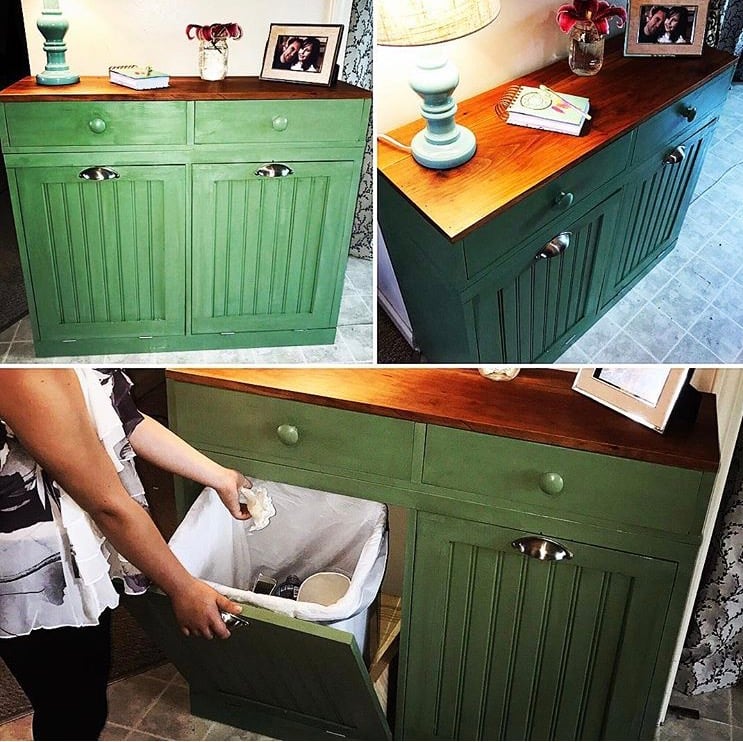
I am very happy with how the finish in this turned out... the green gold paint and the American Cherry wood compliment each other well! Doing this again on more proj
Mon, 06/24/2019 - 12:54
How did you adapt the plans to make it double and add a drawer?

I made this a little shorter and less wide to fit between my two windows. Thanks so much for these plans!
Tue, 10/05/2021 - 09:49
Perfect solution for between the windows, thanks for sharing!
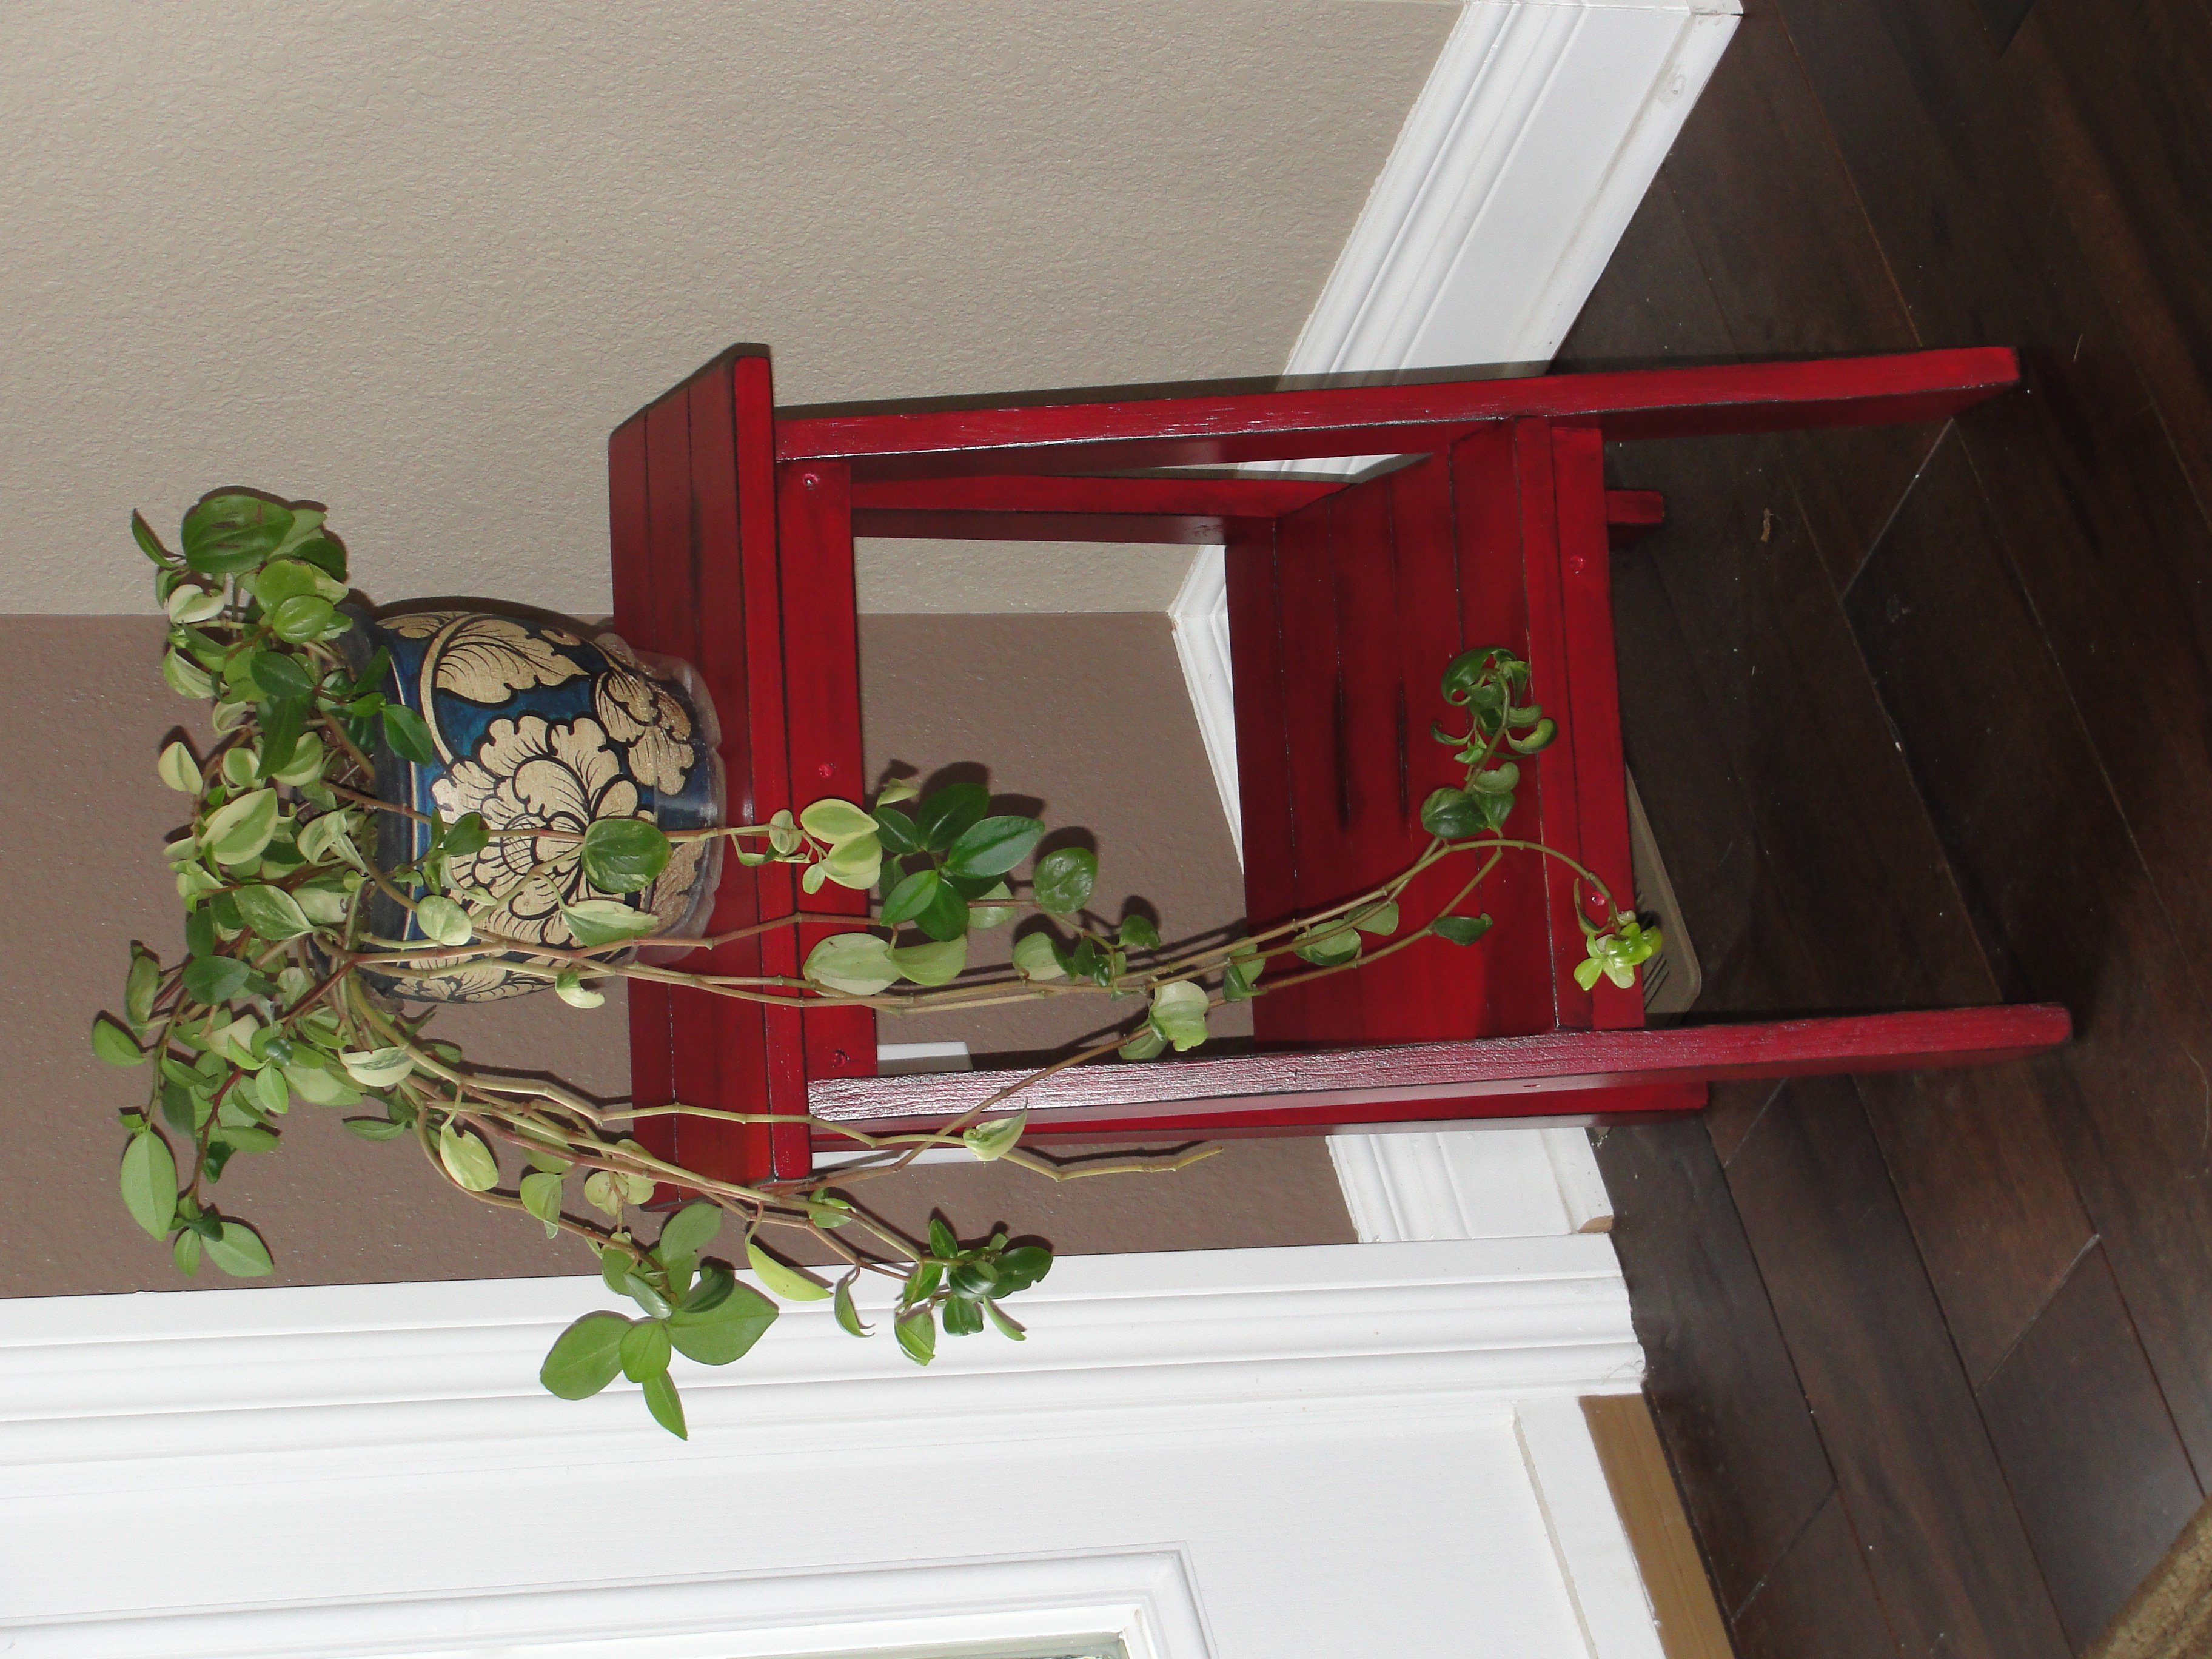
I love this little table!
I made 3 at the time. One for me, one for my sister, and one for my mom.
I had a little trouble with it not being level when I finished. I just sanded the bottoms of the legs until they all cooperated.
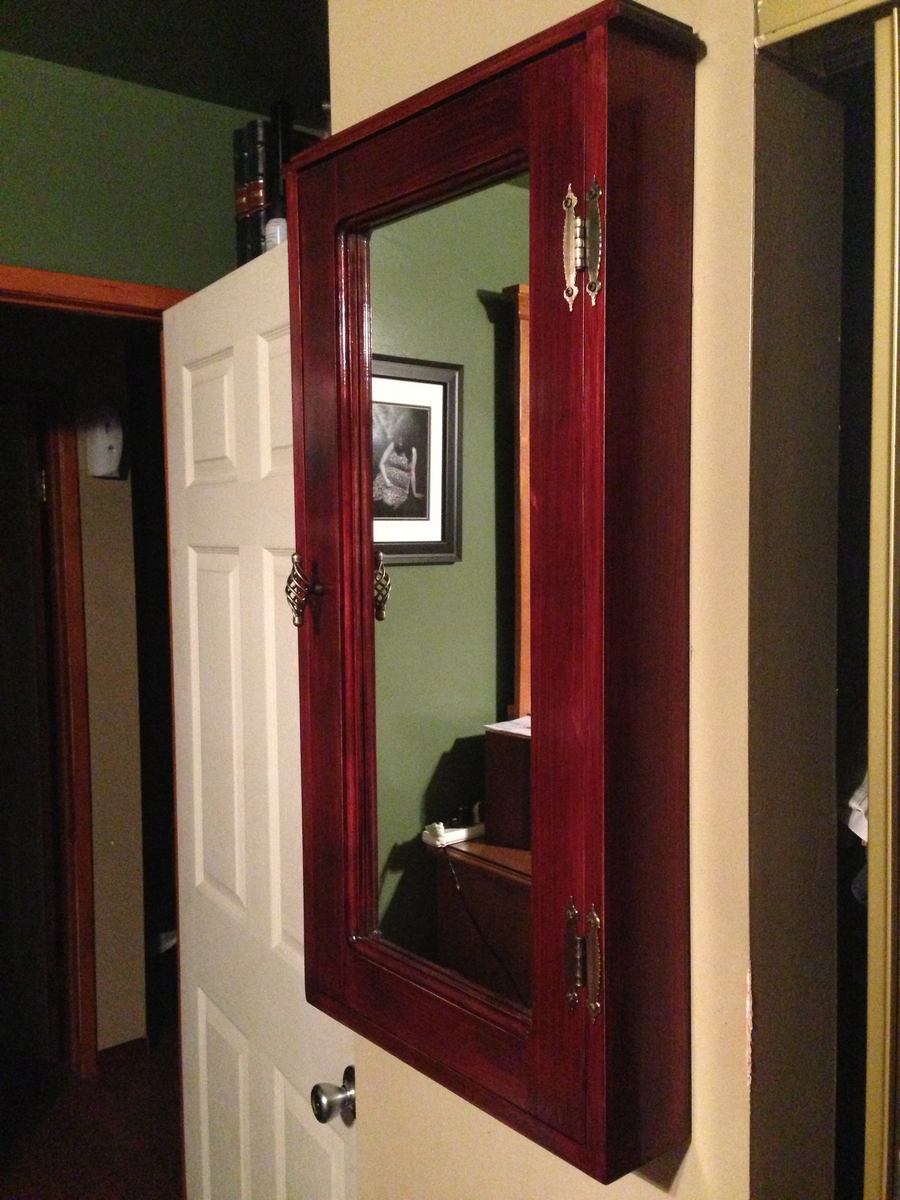
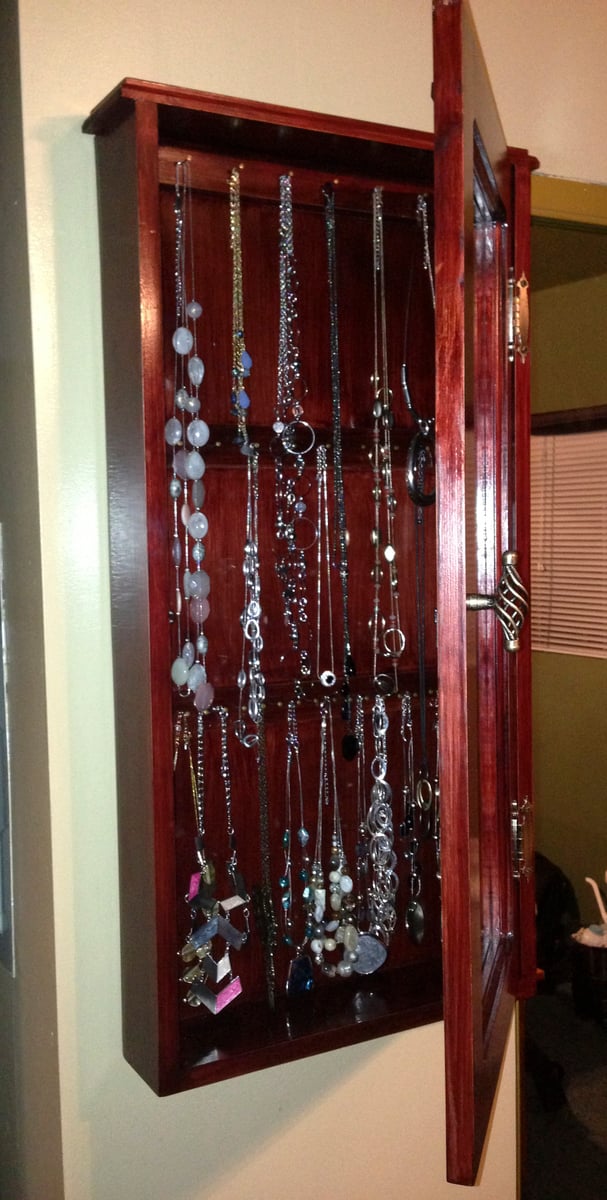
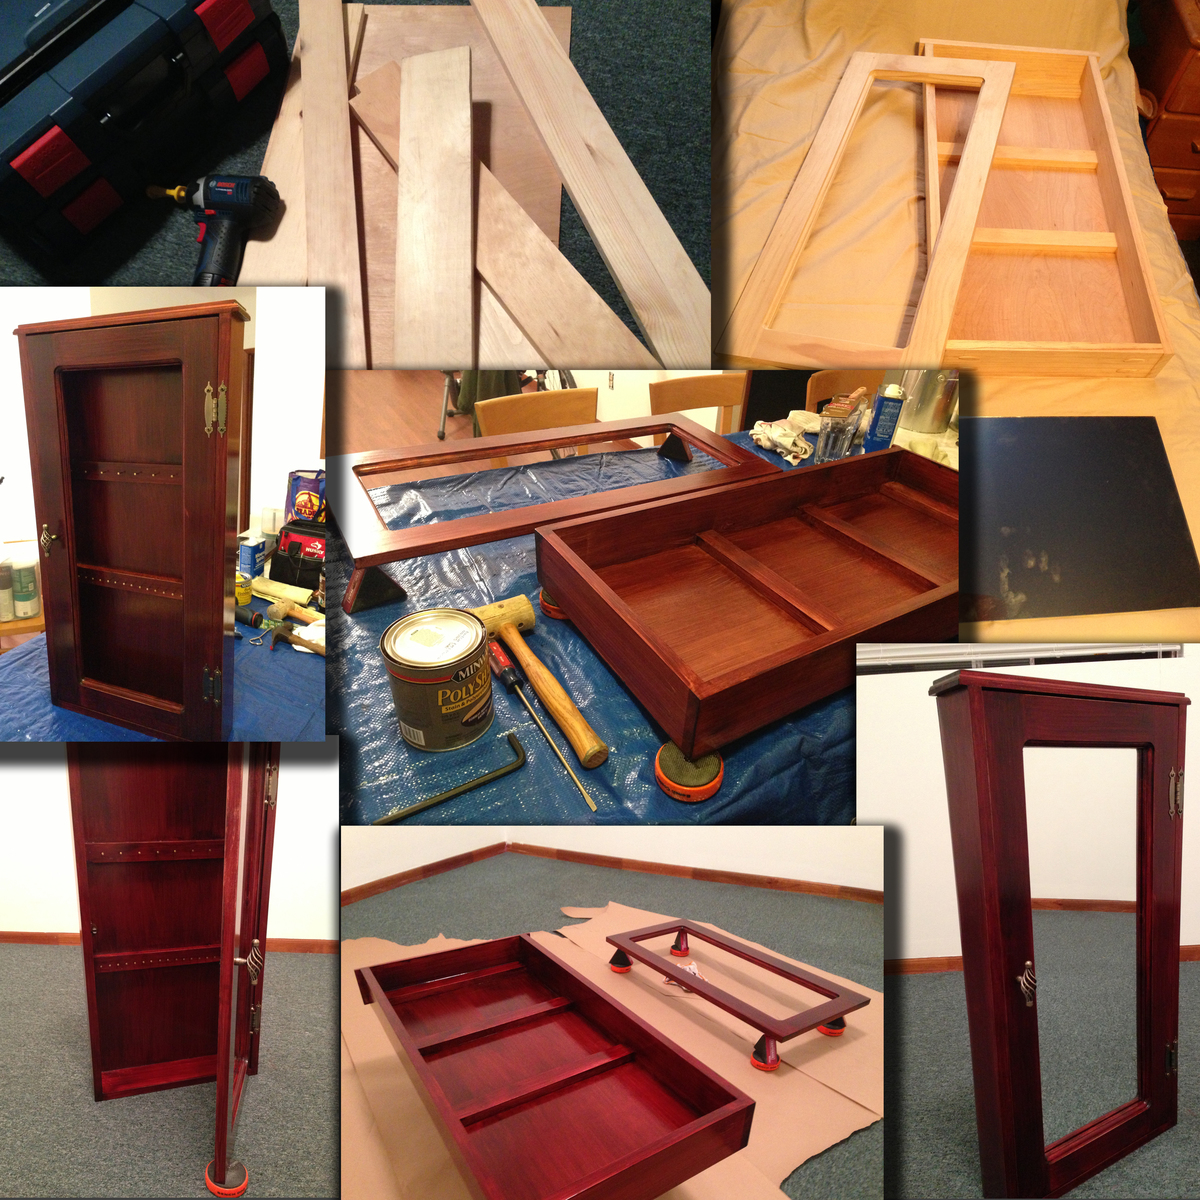
Saw the plans on this site and decided to make a jewelry cabinet for my wife for mother's day and she loved it.
Mon, 05/20/2013 - 16:02
Thanks fkowalec - my wife is wanting me to make another for her and she has even had friends ask if I'd make them one.
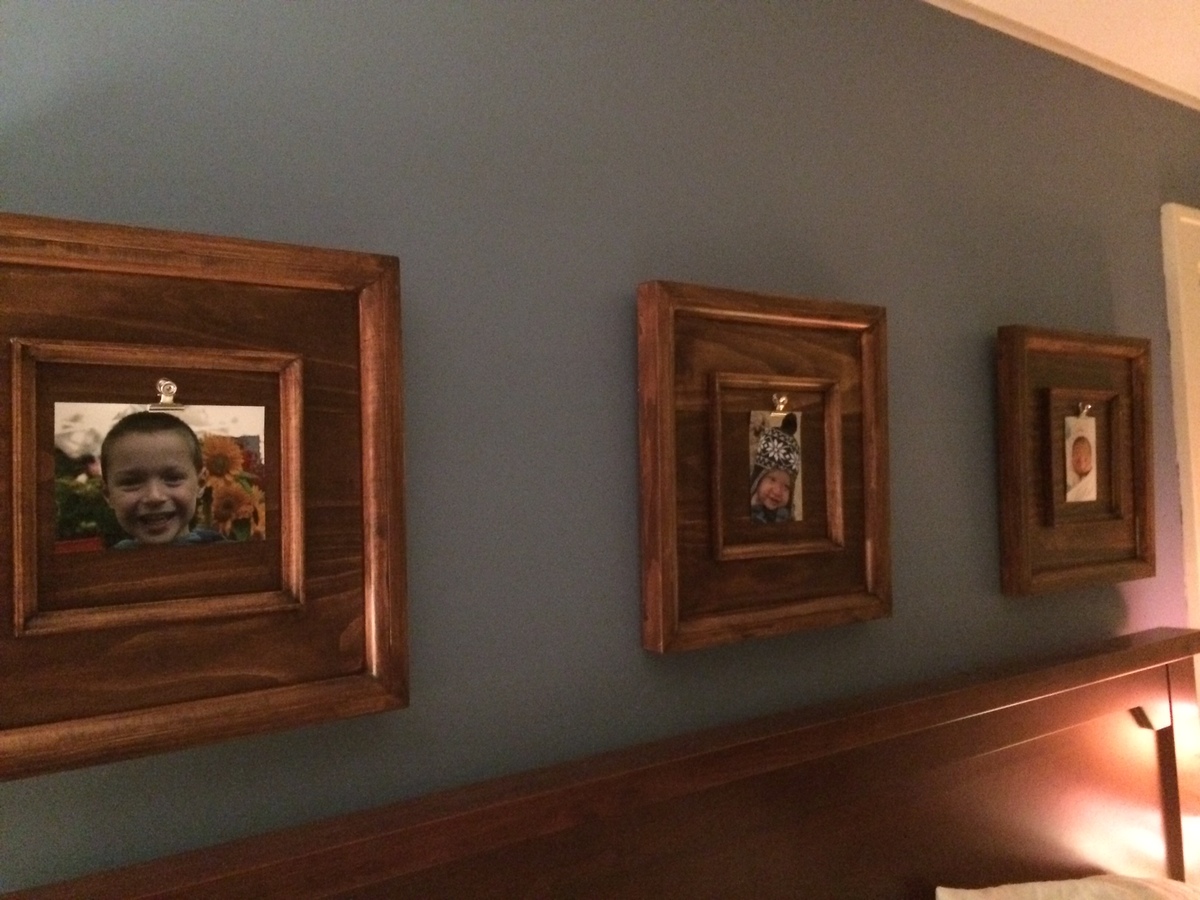
I made these from select Pine, they were super easy to do, look great and I love that I can change the pictures up easily.
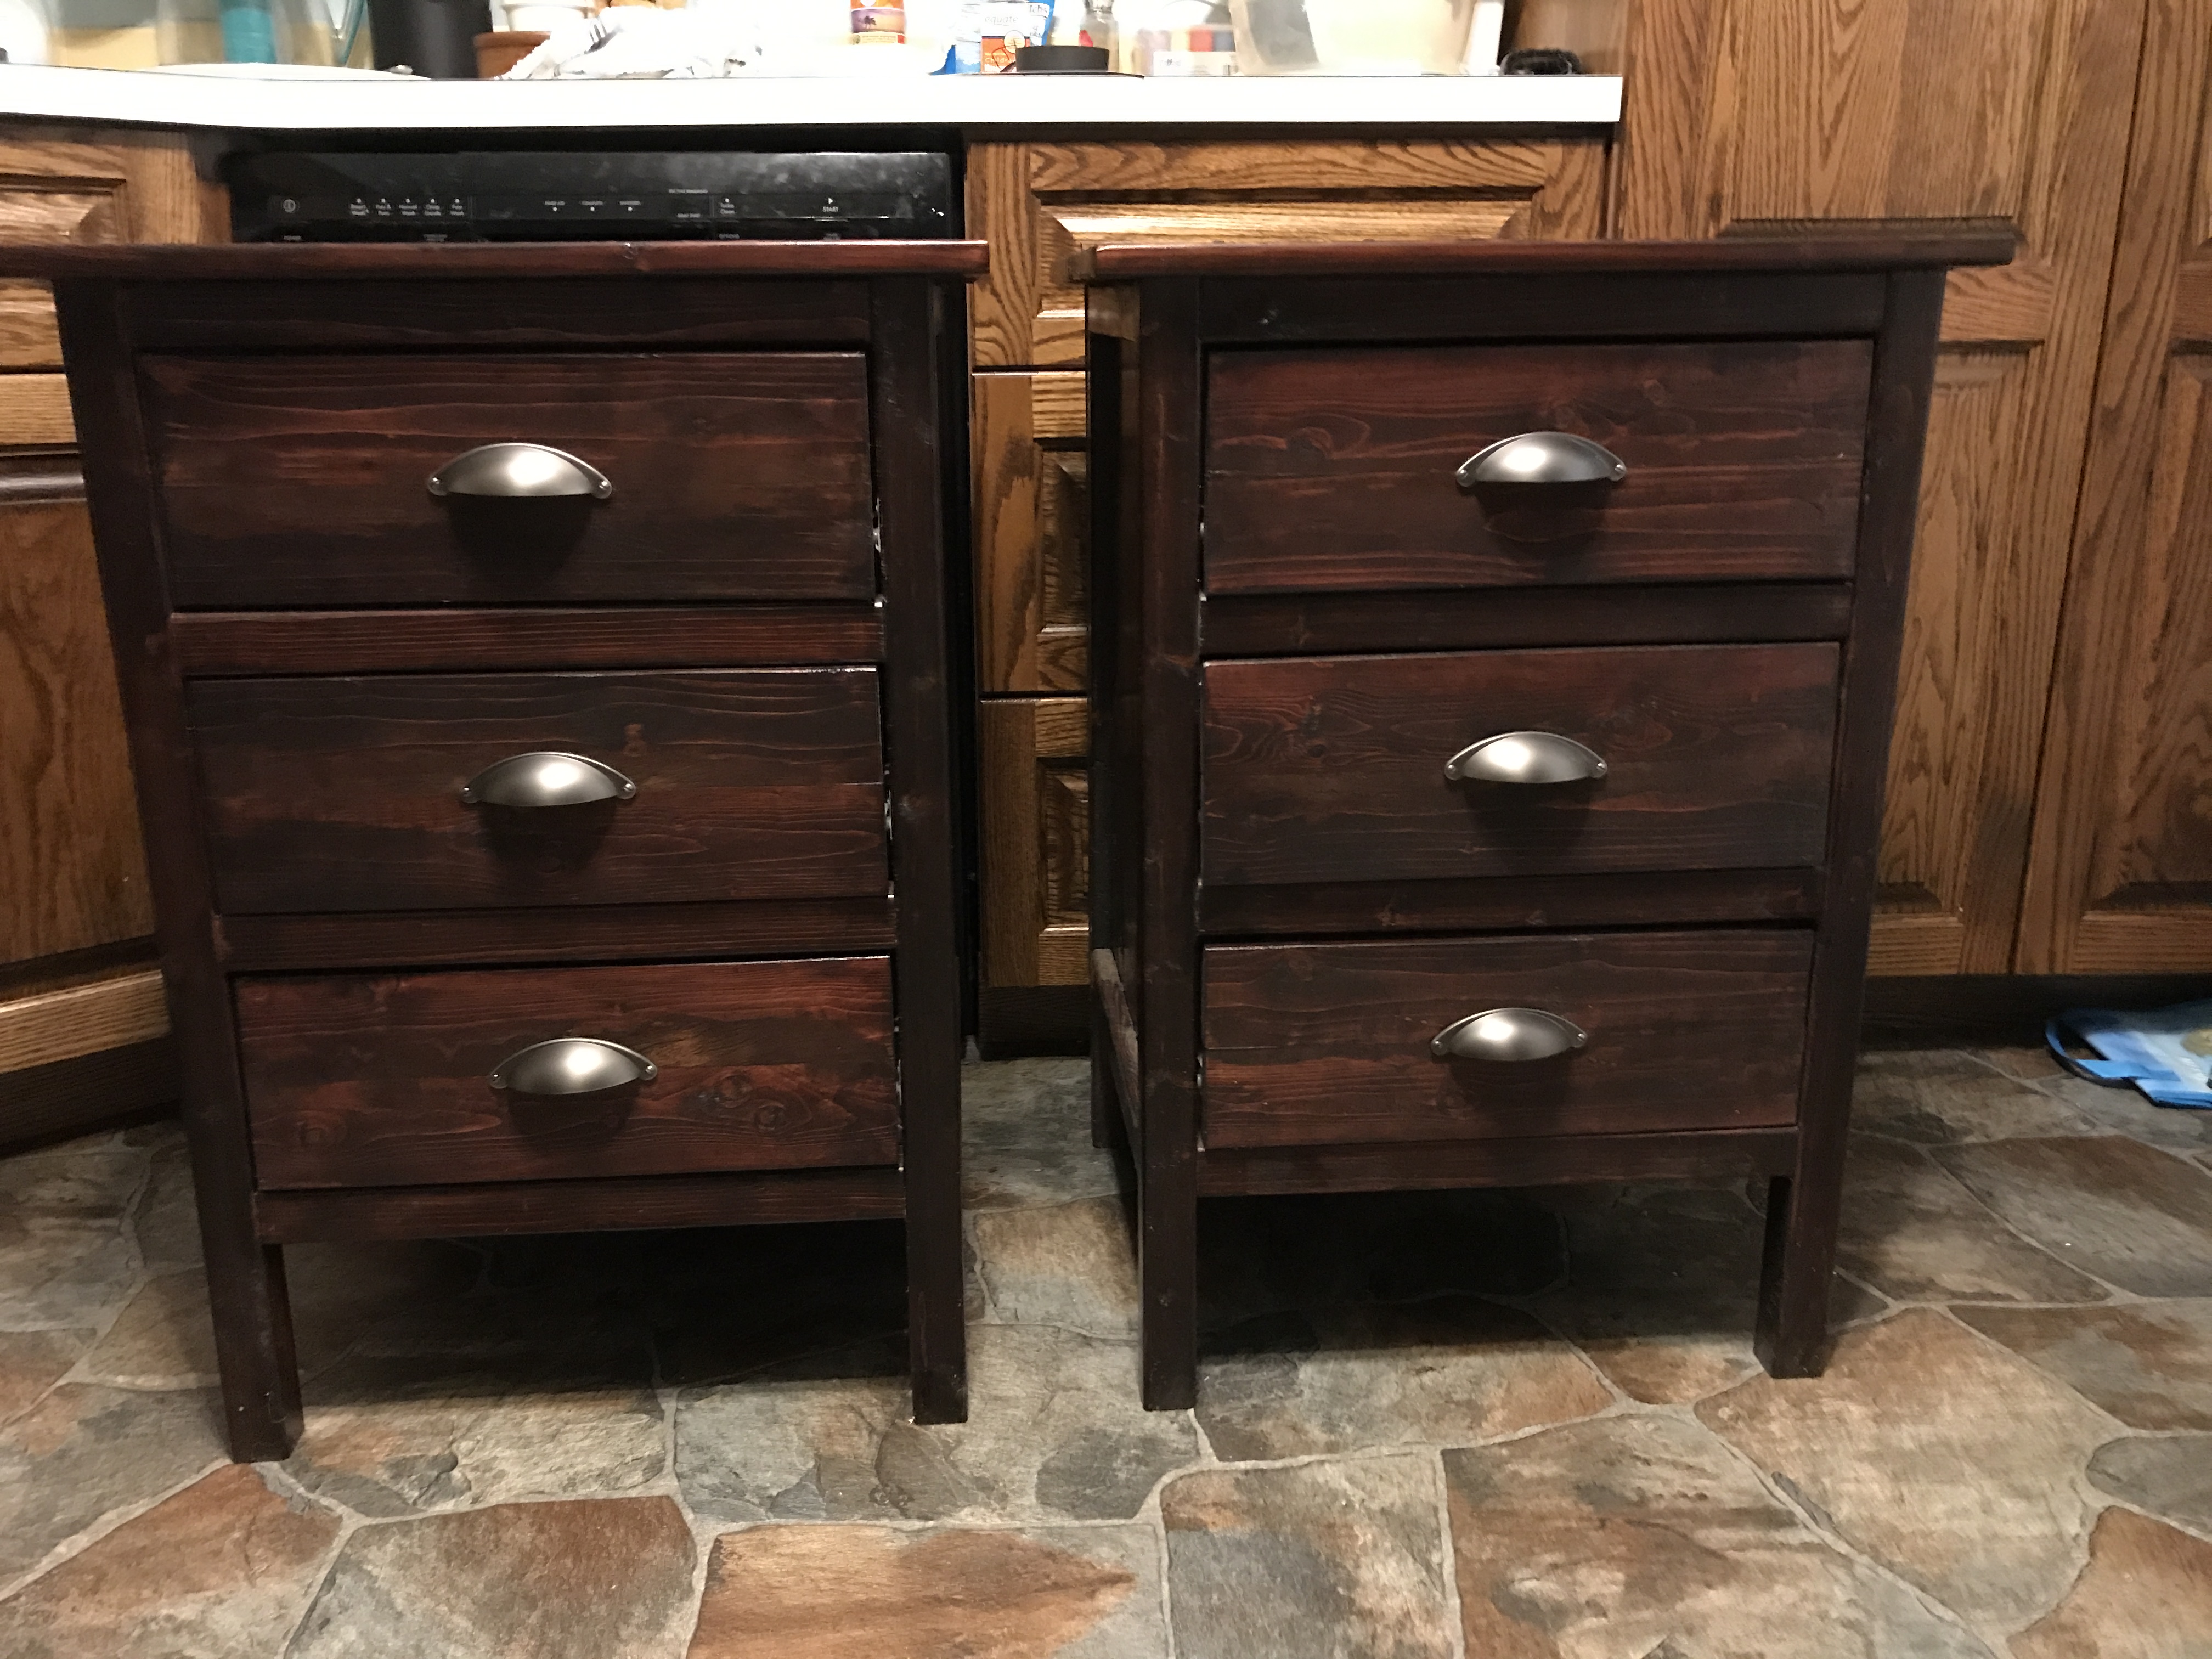
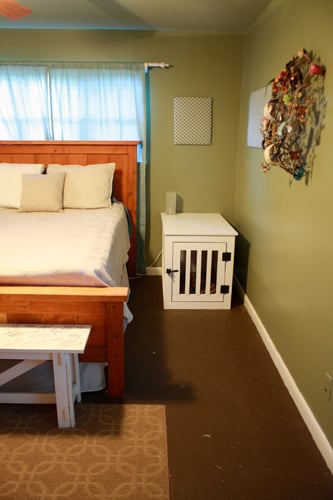
Decided to build these as I could find anything tall enough to be bedside tables. Easy to follow plans that came together quickly.

Love your projects!
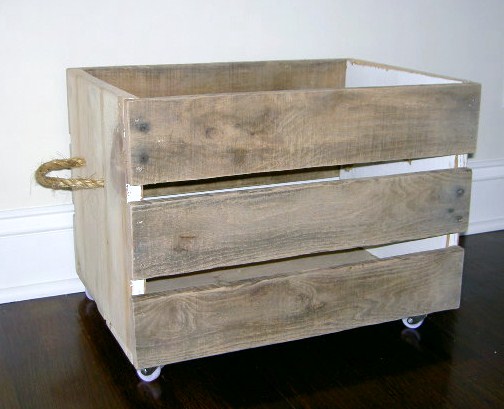
Crate cart made from pallet wood.
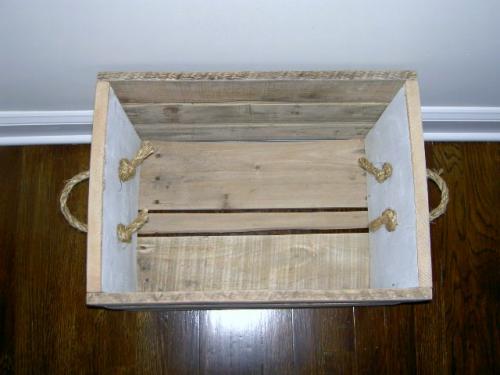
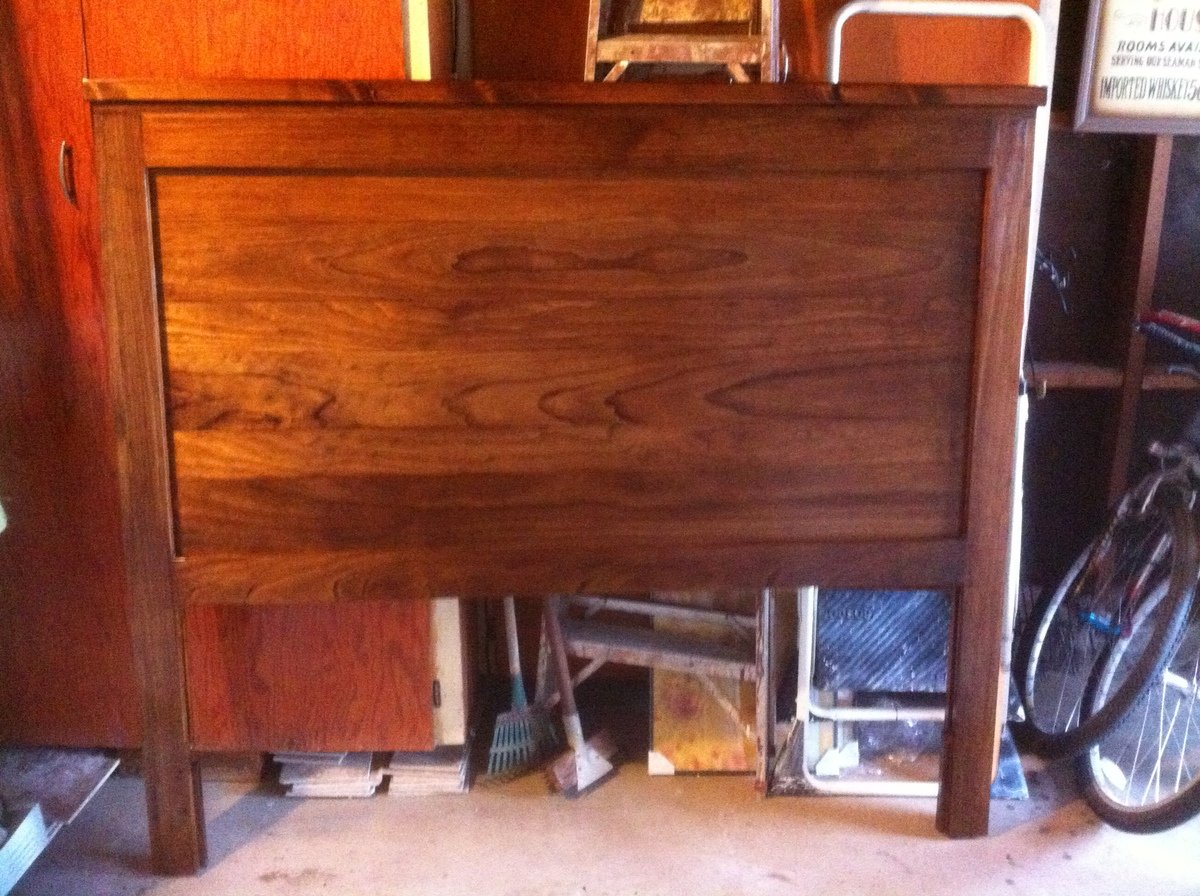
This is my first project, and it turned out really well! I bought the wood at Home Depot. It is pine (except for the crowning 2x4, that's douglas fir because Home Depo didn't have that size in pine) and I probably spent about $150 just on the wood, and then I also bought a palm sander, corded drill, circular saw, and Kreg Jig. I also bought pre-stain, stain, and polycrylic finish which added another $45. Plus I spent money on sand paper, clamps, Kreg Jig screws, and some nails.
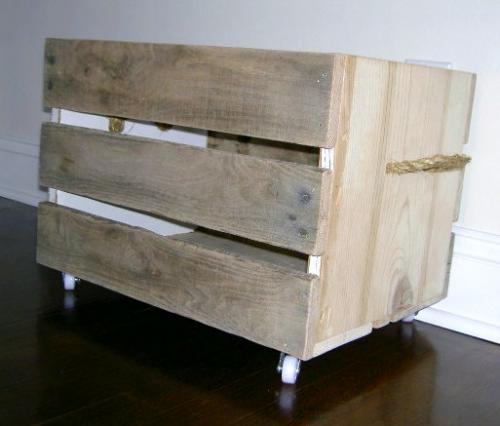
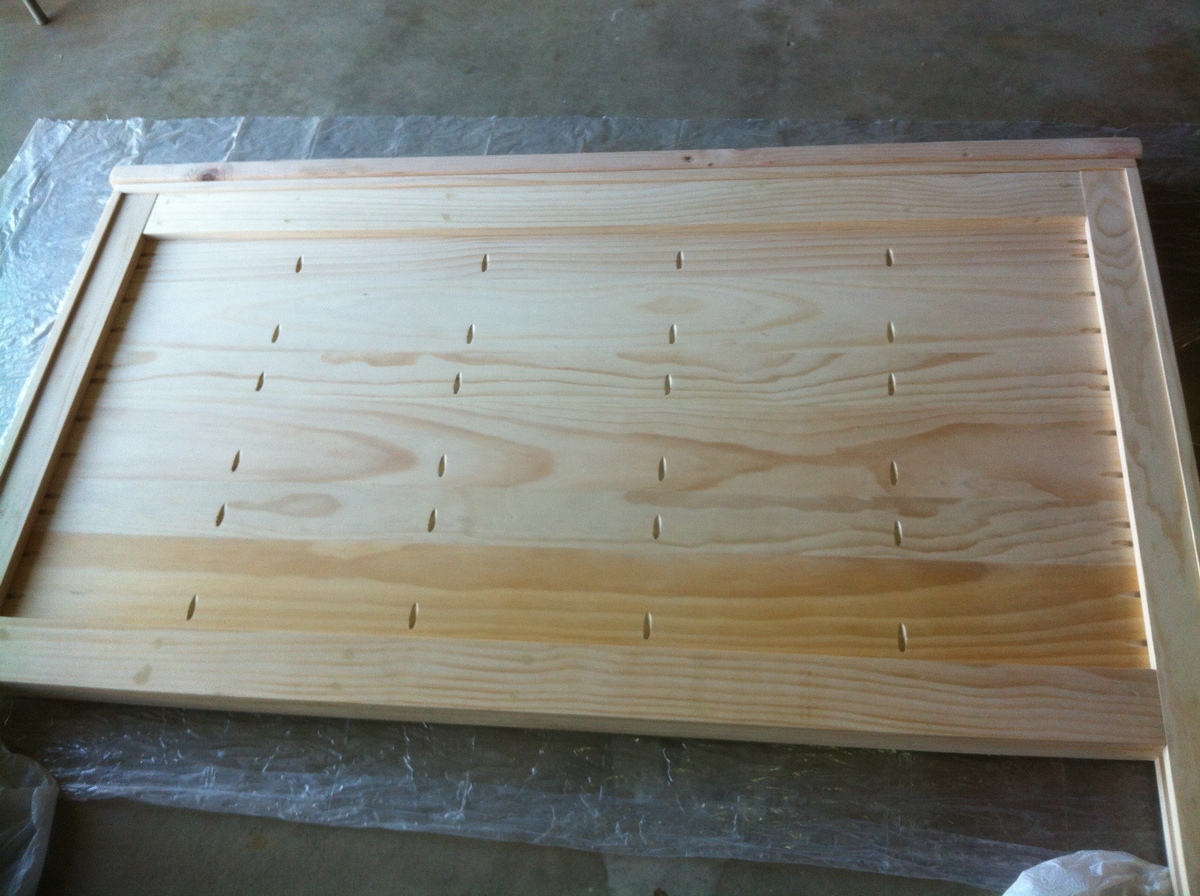
I included the picture of the back to show how I used the Kreg Jig. I used it to not only attach the middle part to the sides, but I made the middle part one connected piece so it would be extra sturdy, tight, and pieces would not bow when leaned against. The back isn't pretty, but it's against the wall so no one can see. The Kreg Jig is awesome and I'm glad I bought it so I can do other projects.
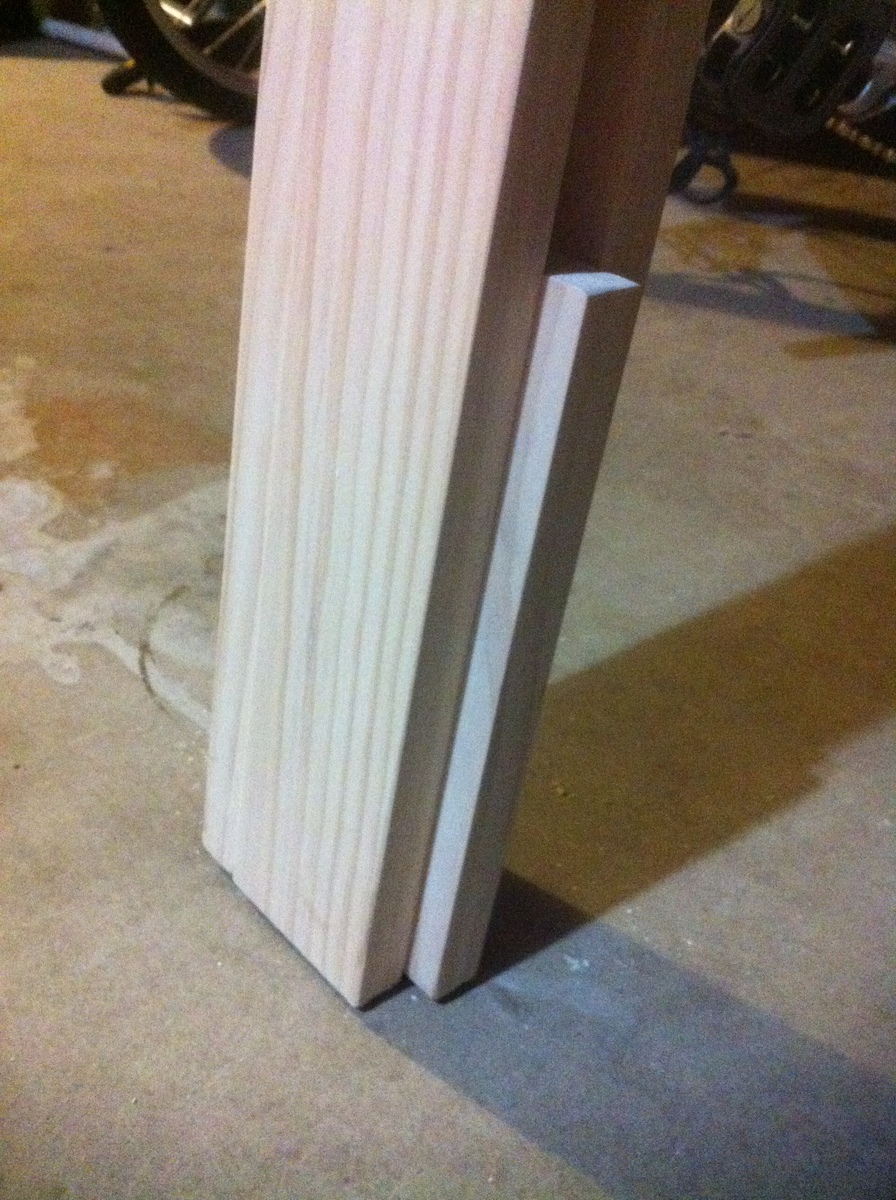
I also included a photo of the bottom of the side. I used a scrap piece of wood to make it more sturdy since that's where I drilled the holes to bolt it to the bed's metal frame.
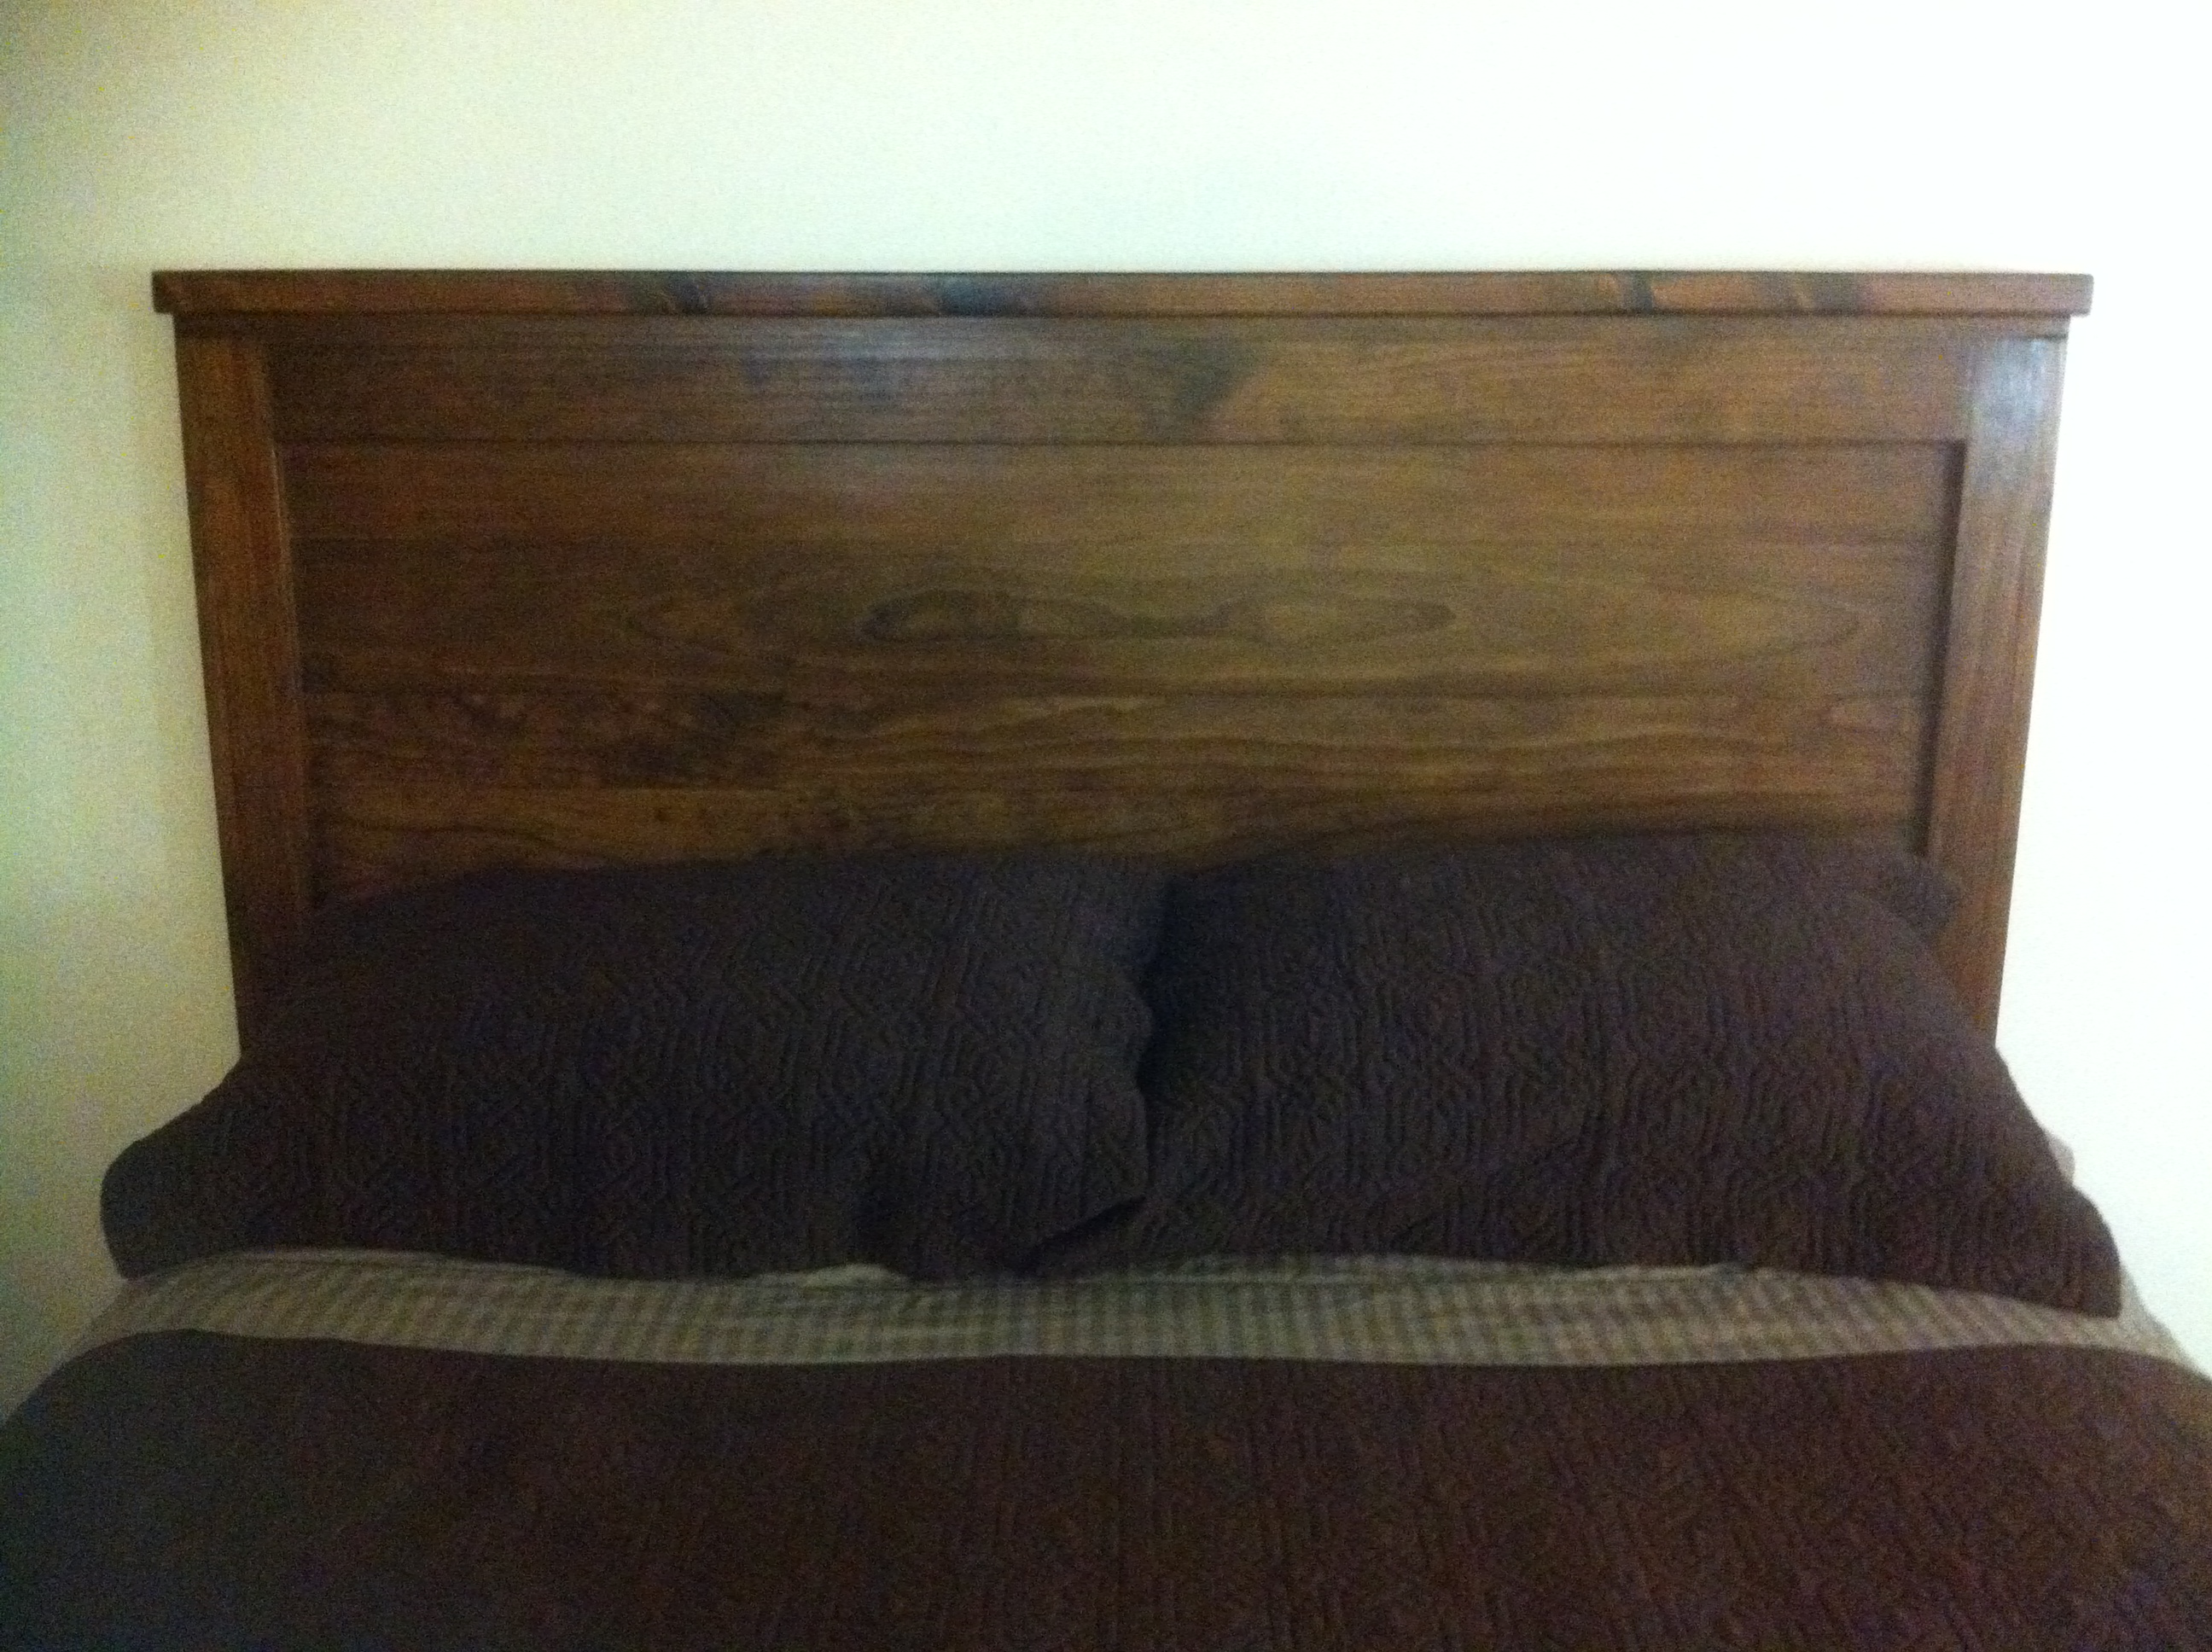
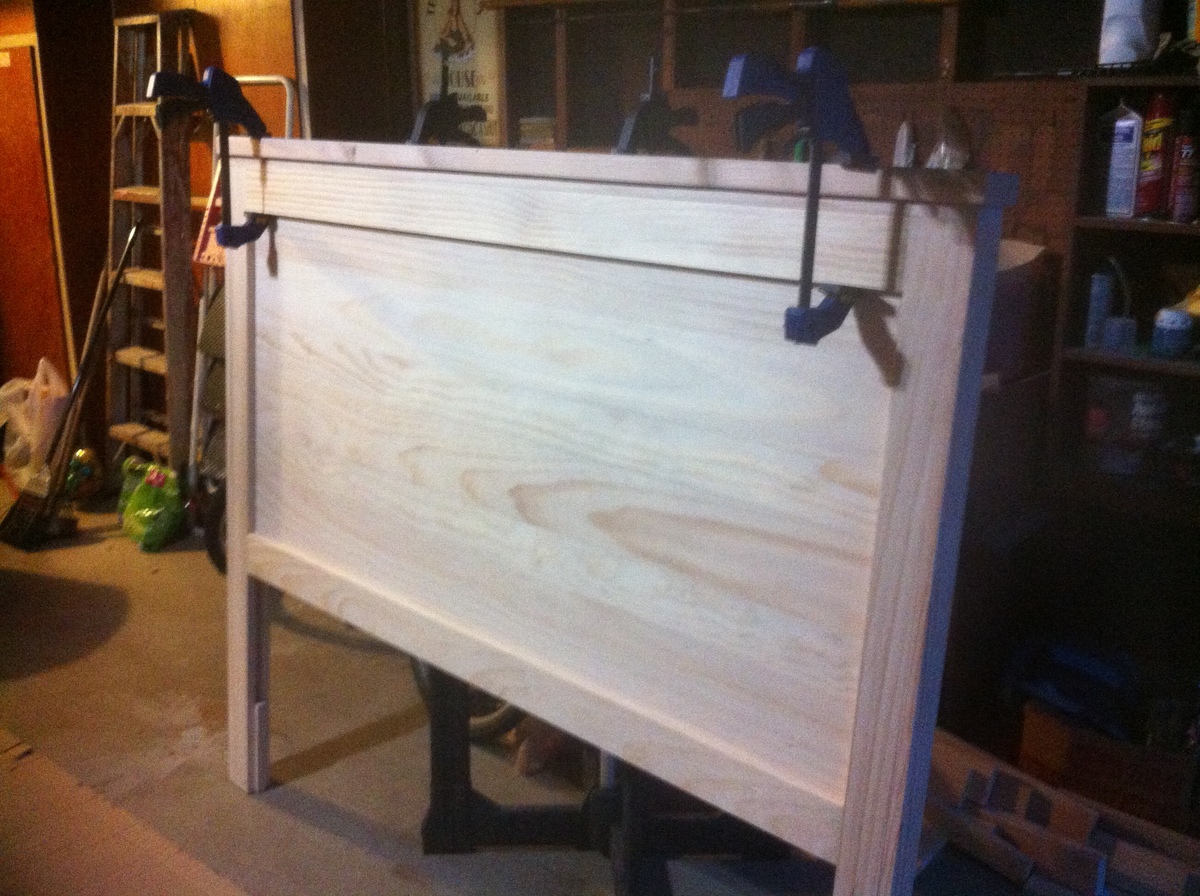
Between sanding, assembly, and finishing I worked on this over the course of about two months on the weekends. If you don't sand much and keep the finish more simple you could potentially get it done really fast. But since this is something we plan on using in our master bedroom for years to come I wanted to try to make it perfect. It still has a handful of mistakes (I learned a lot), but my joke is "it's a reclaimed wood headboard."
Now that I've got the tools I'm on to building matching side tables, and pending that goes well the plan is to build a dresser.
We made this and a dresser just like it. We wanted matching furniture.

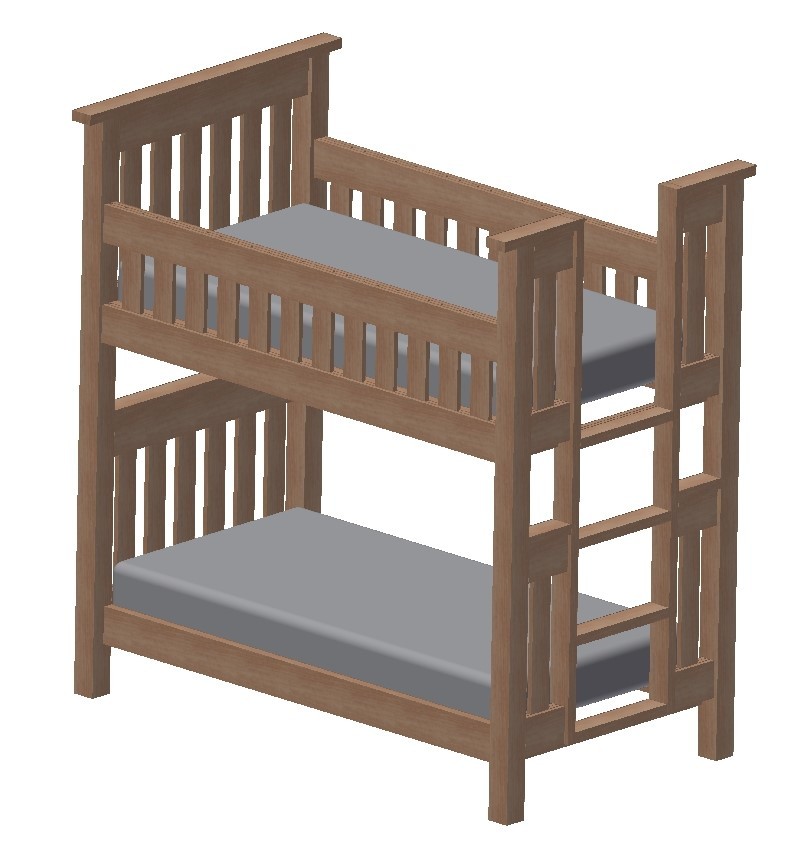
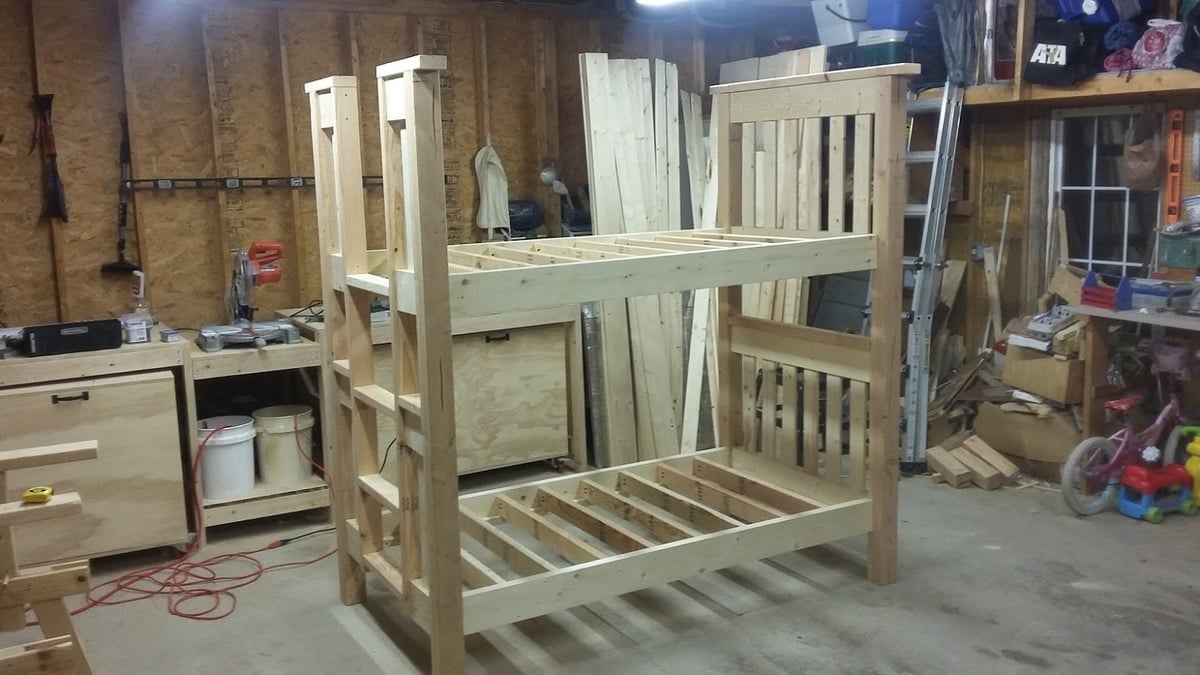
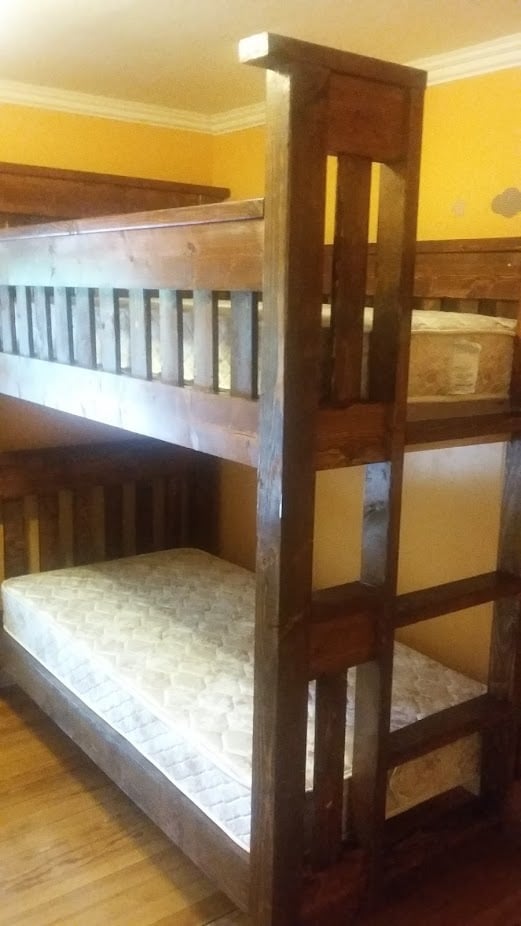
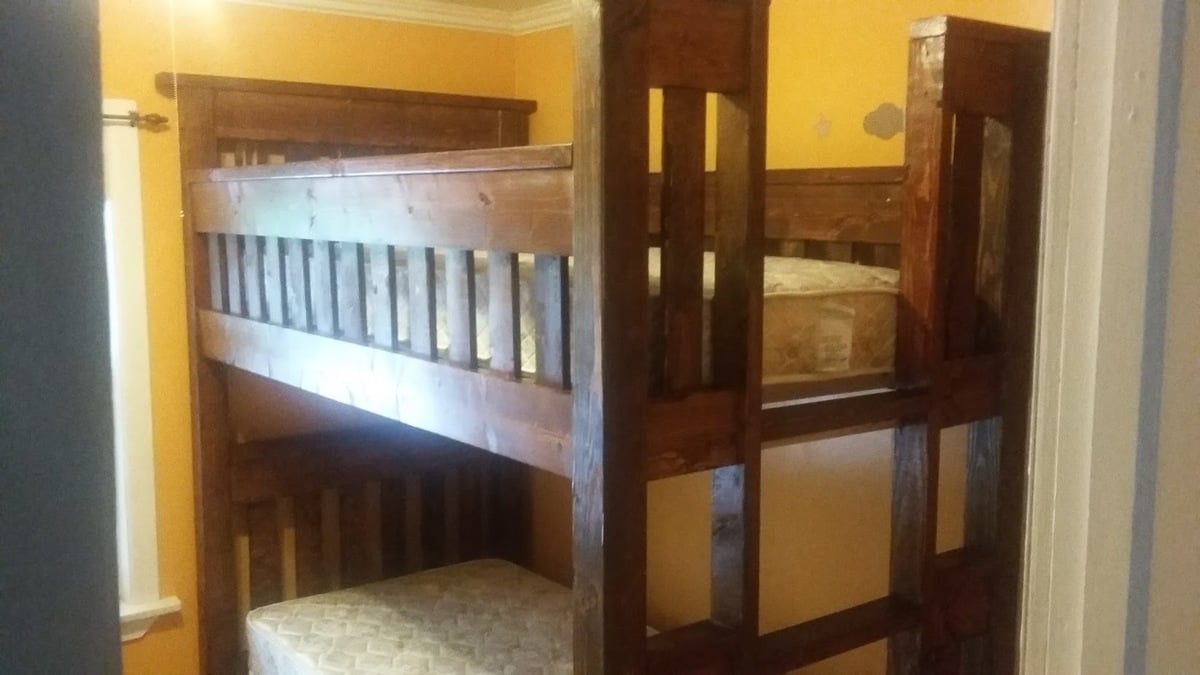
I built the Simple Bed for one of our kids and now we wanted a bunk bed. I saw many plans for bunk beds based on the Simple Bed plans, but I didn't want the ladder on the side. I made some changes and designed the bed in 3D using Autodesk Inventor. It didn't turn out much different than I planned. It's super heavy, but very stable. My wife did a great job on the stain.
Mon, 06/04/2018 - 06:07
The beds look amazing!
Did your wife stain the bed after it was assembled?
If so, how long did it take her to stain it?
Mon, 06/04/2018 - 06:08
The beds look amazing!
Did your wife stain the bed after it was assembled?
If so, how long did it take her to stain it?
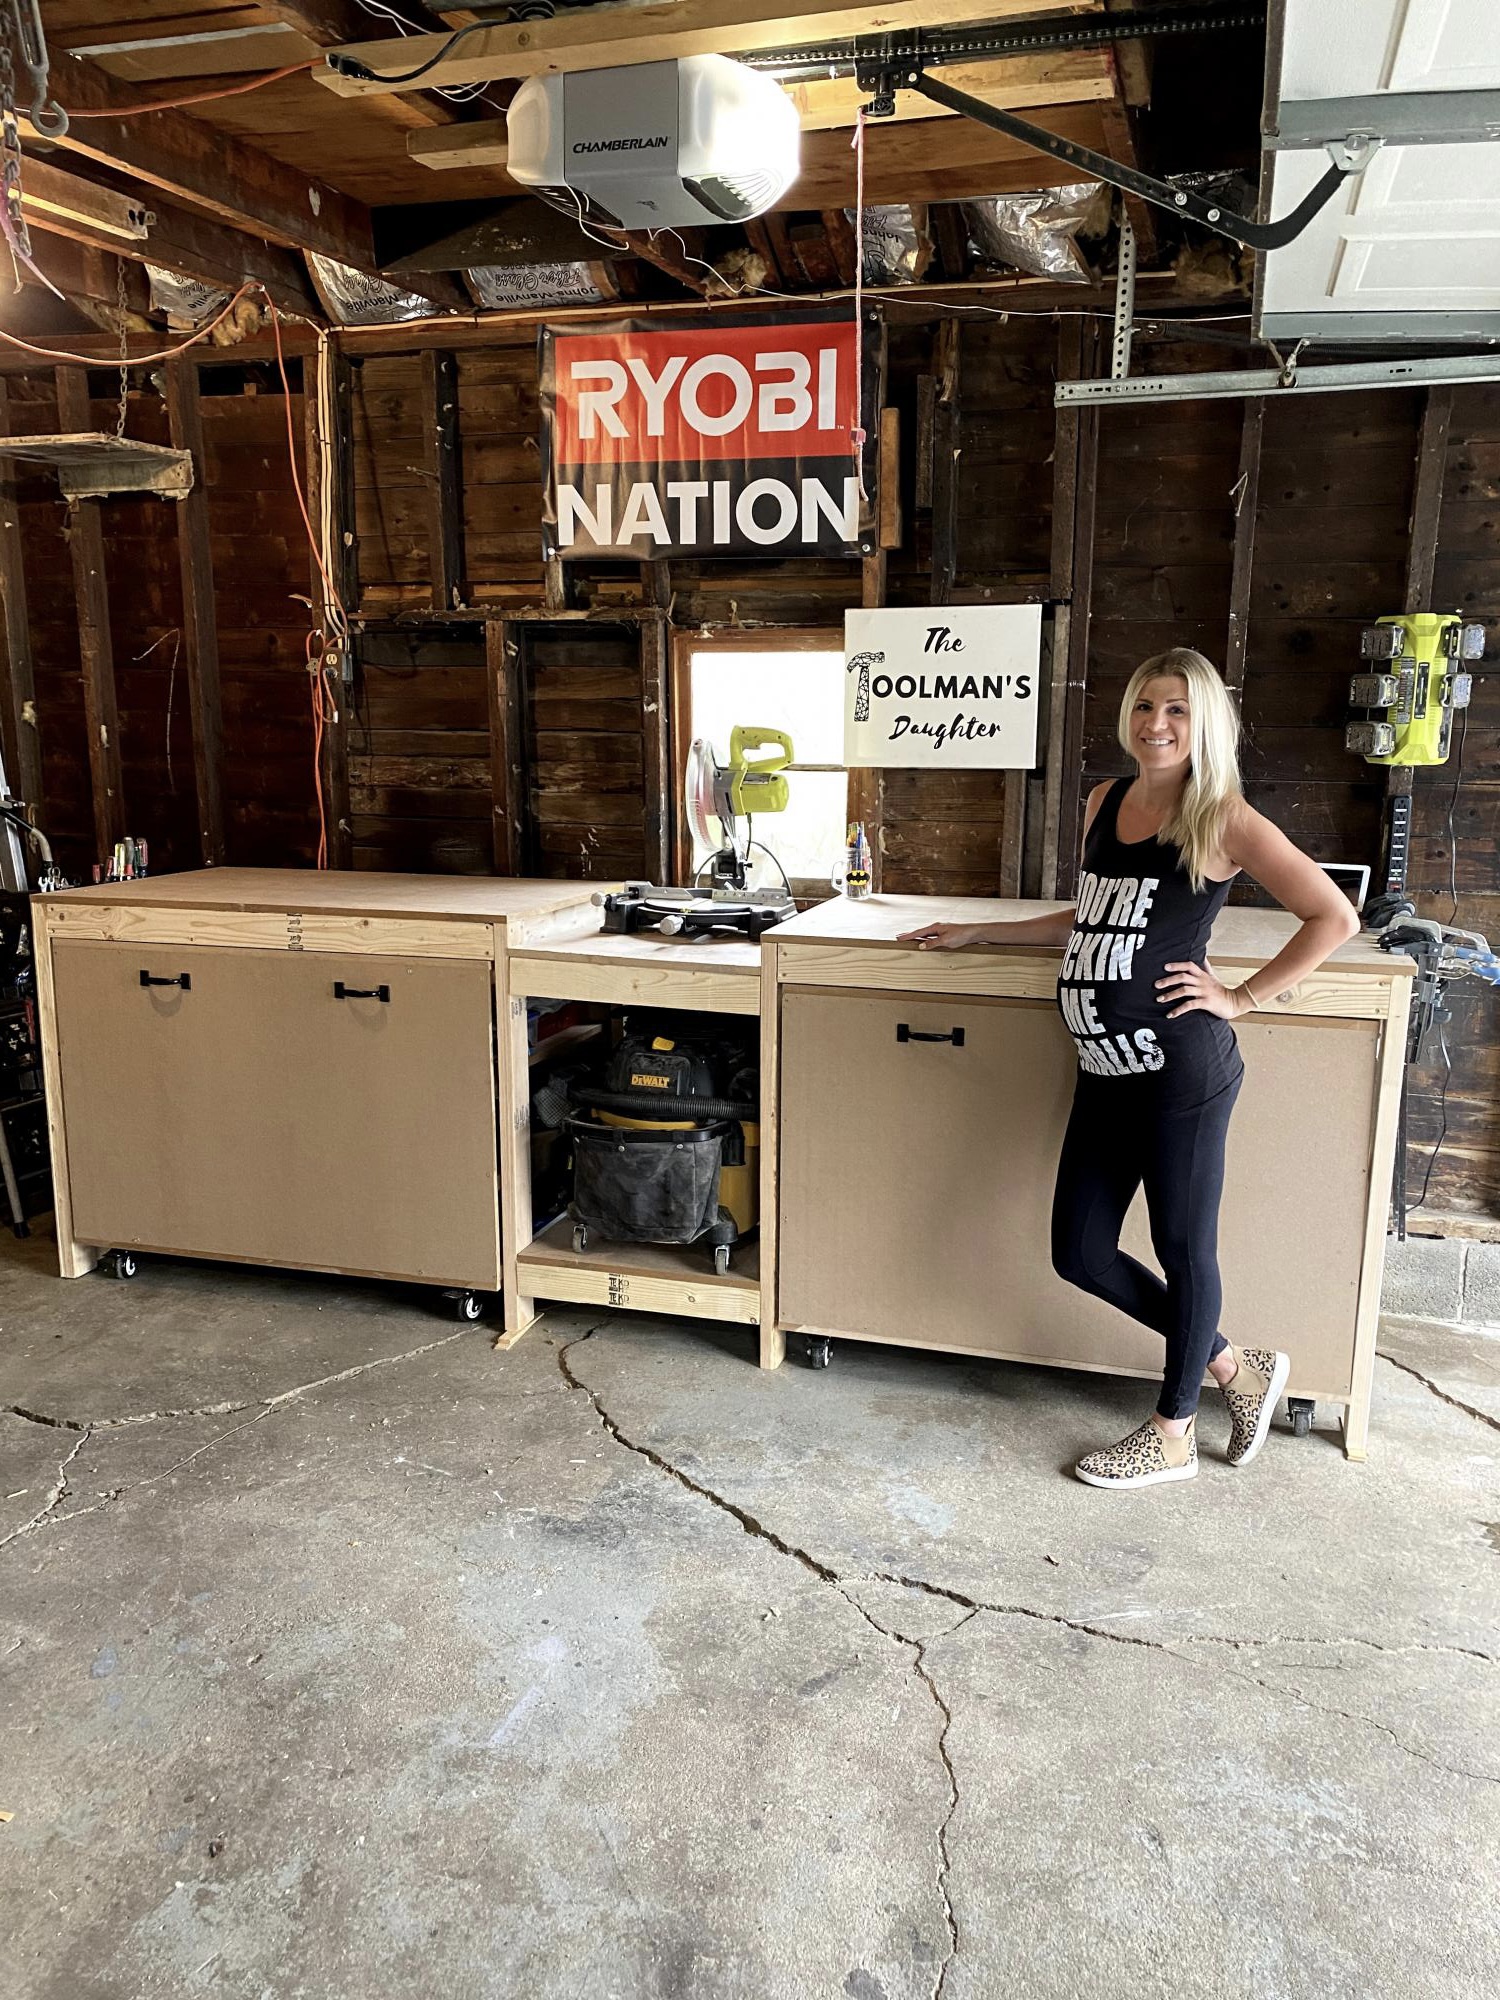
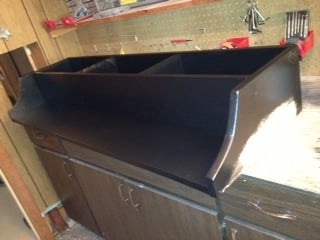
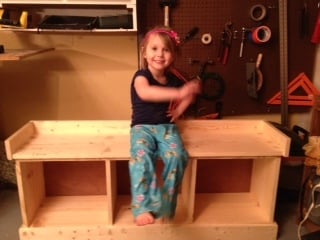
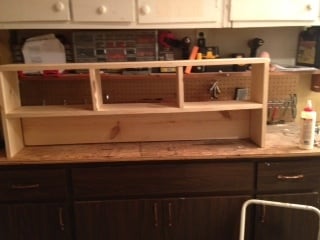
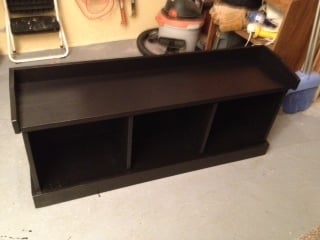
When I was 8 months pregnant and going through my “nesting phase” I knew I needed to get my garage organized. Prior to building this, my tools were all over the place. To try to get it done before the baby came, I called my dad to help me out, and we built it together in just a couple days. It was a weekend I will never forget and I smile every time I walk into my shop knowing we did it together.


Comments
Ana White Admin
Tue, 10/05/2021 - 11:13
SO CUTE!
Awe, precious, thank you for sharing!