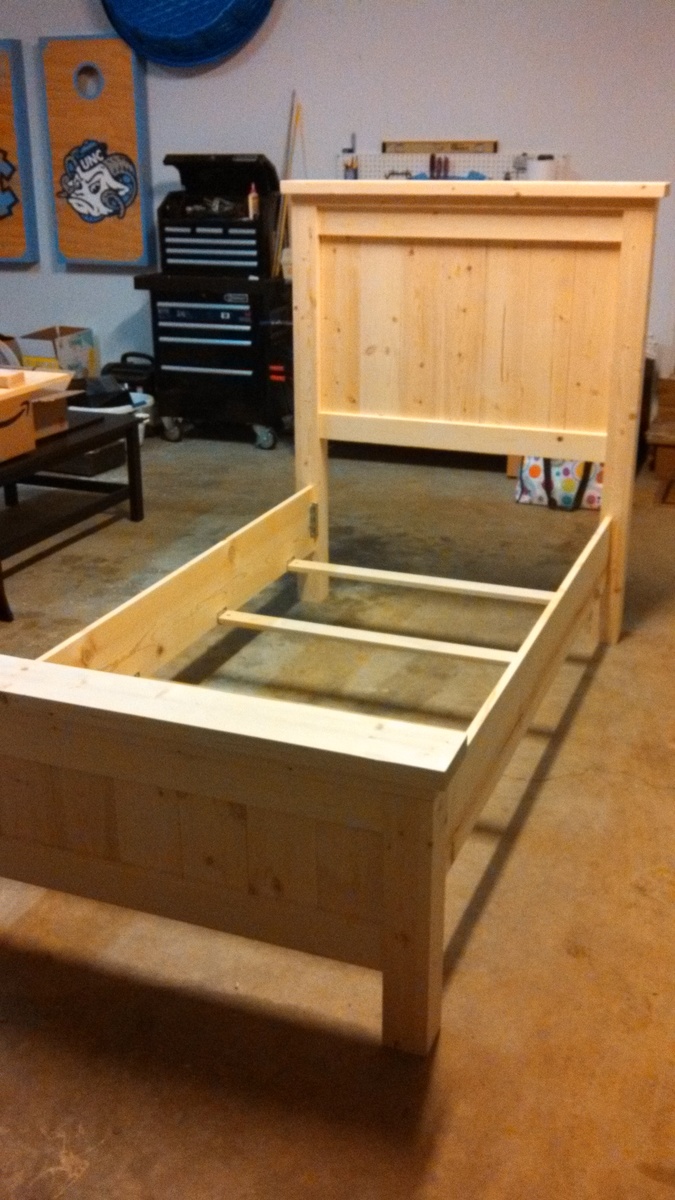
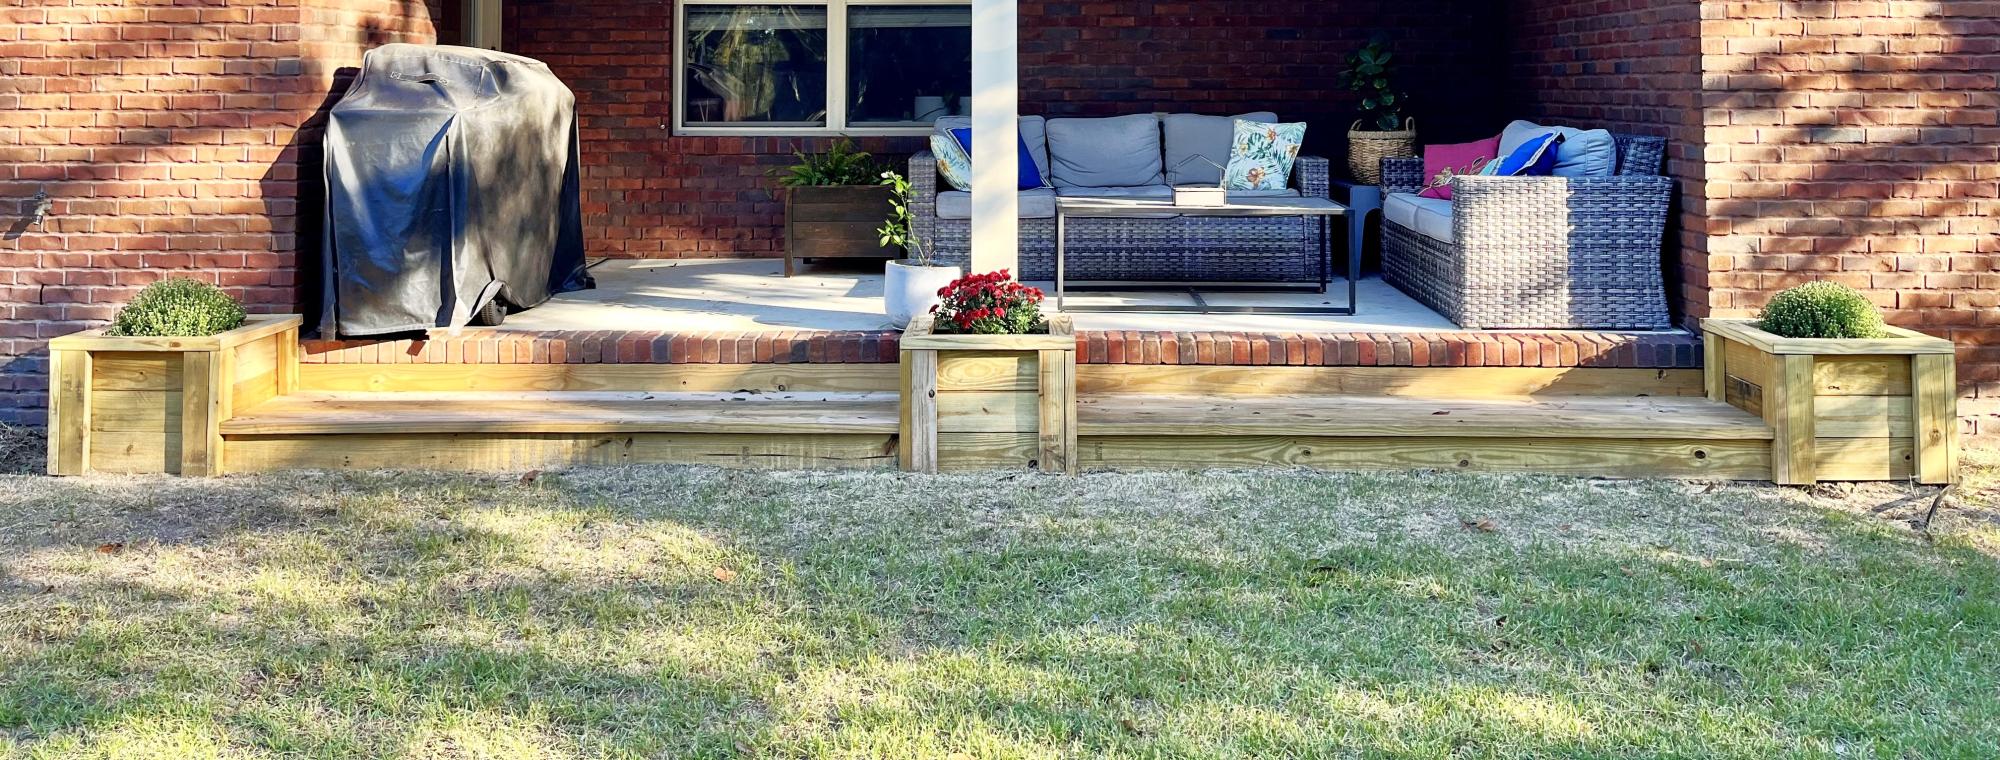
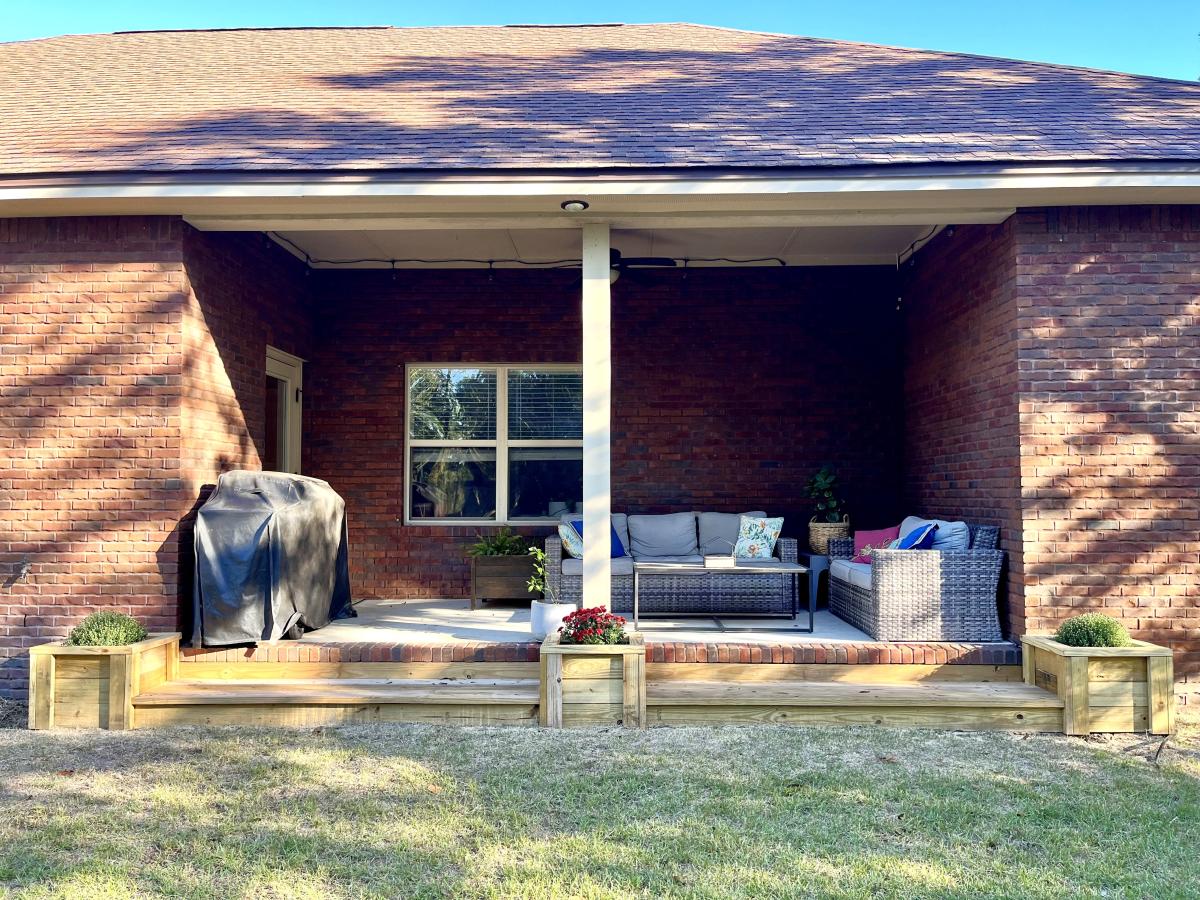
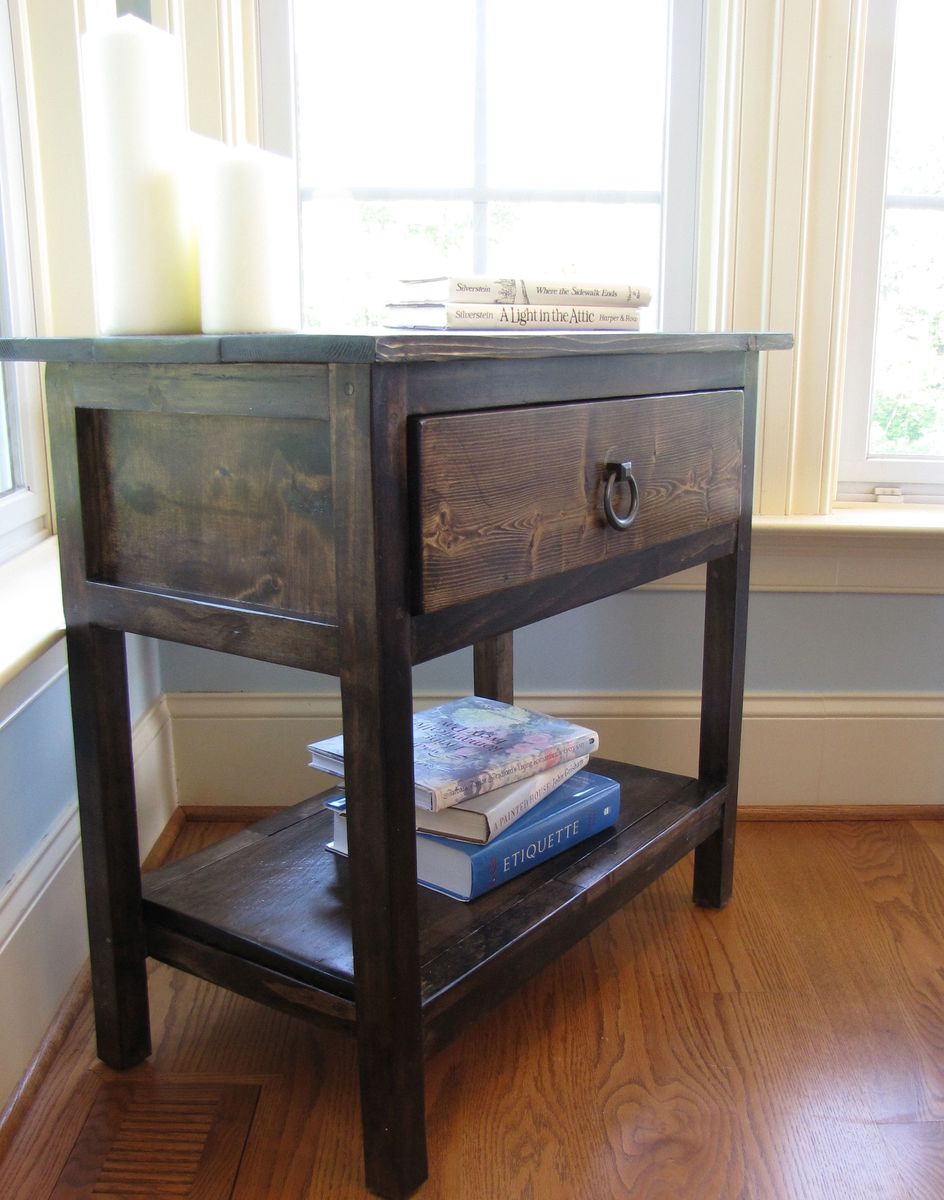
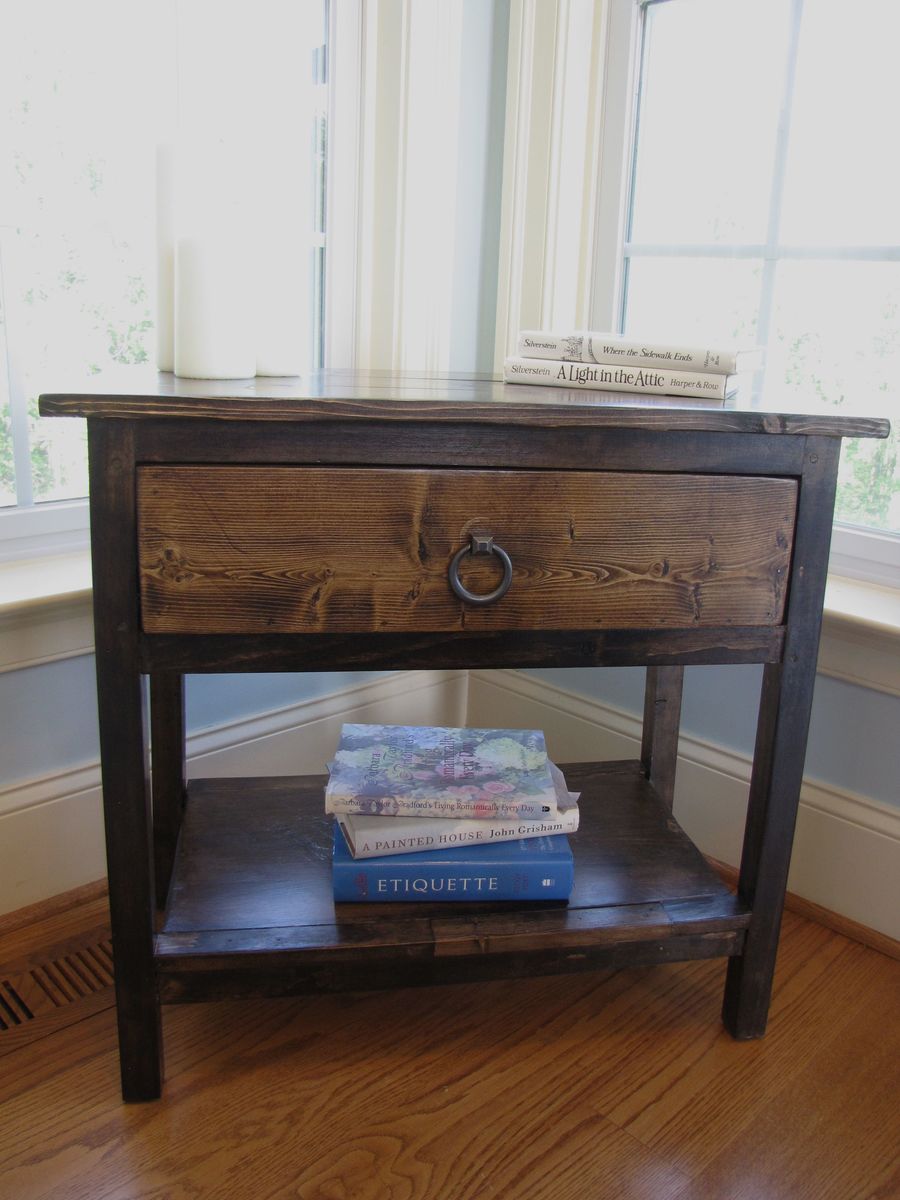
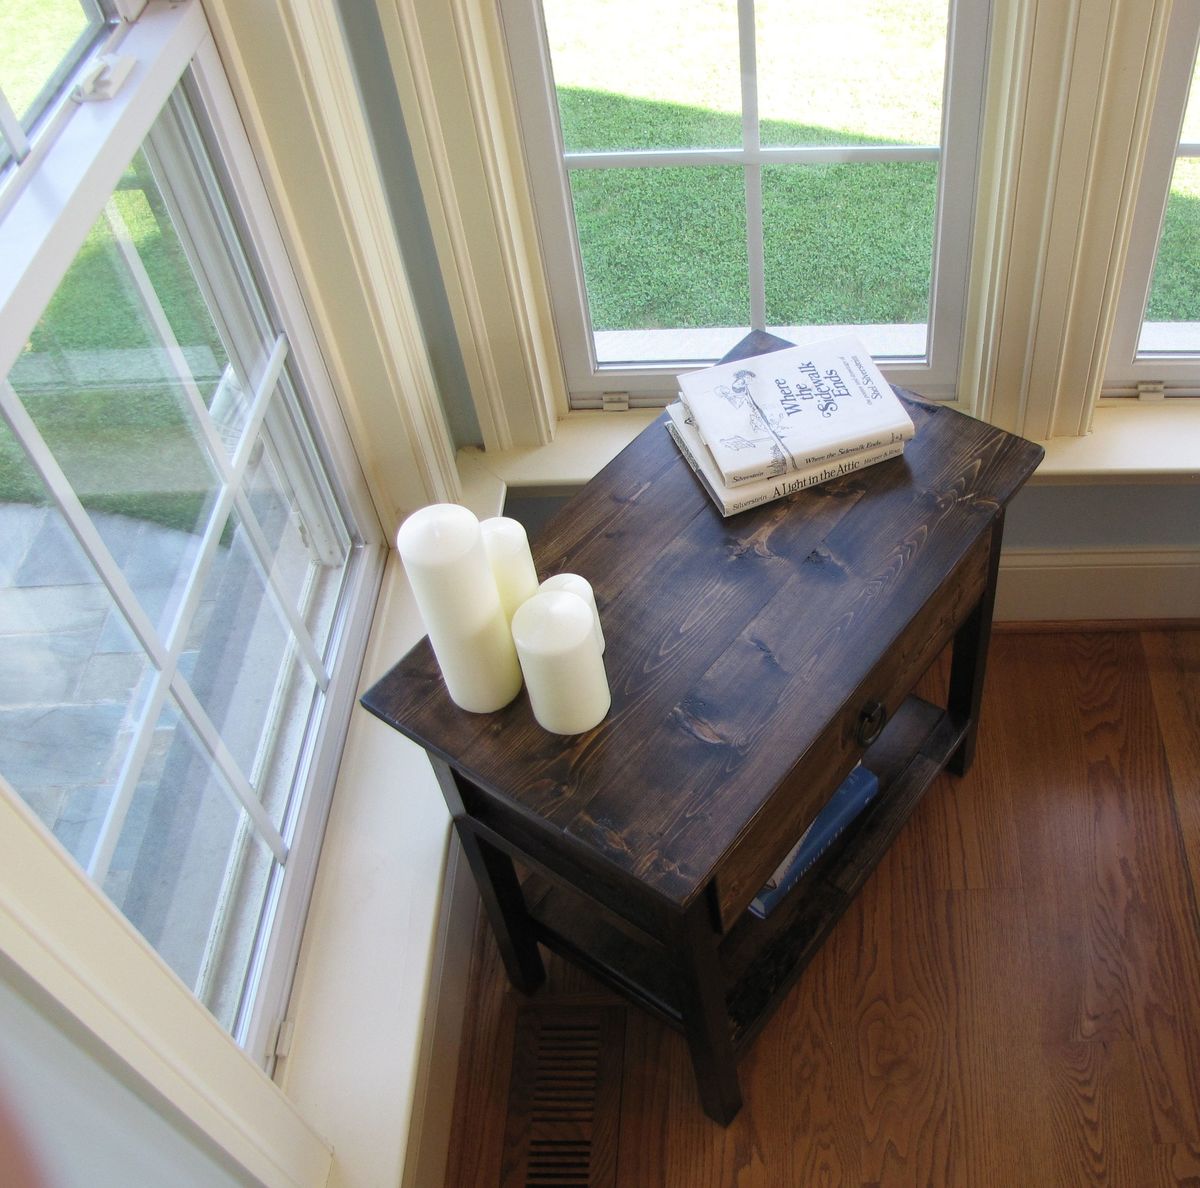
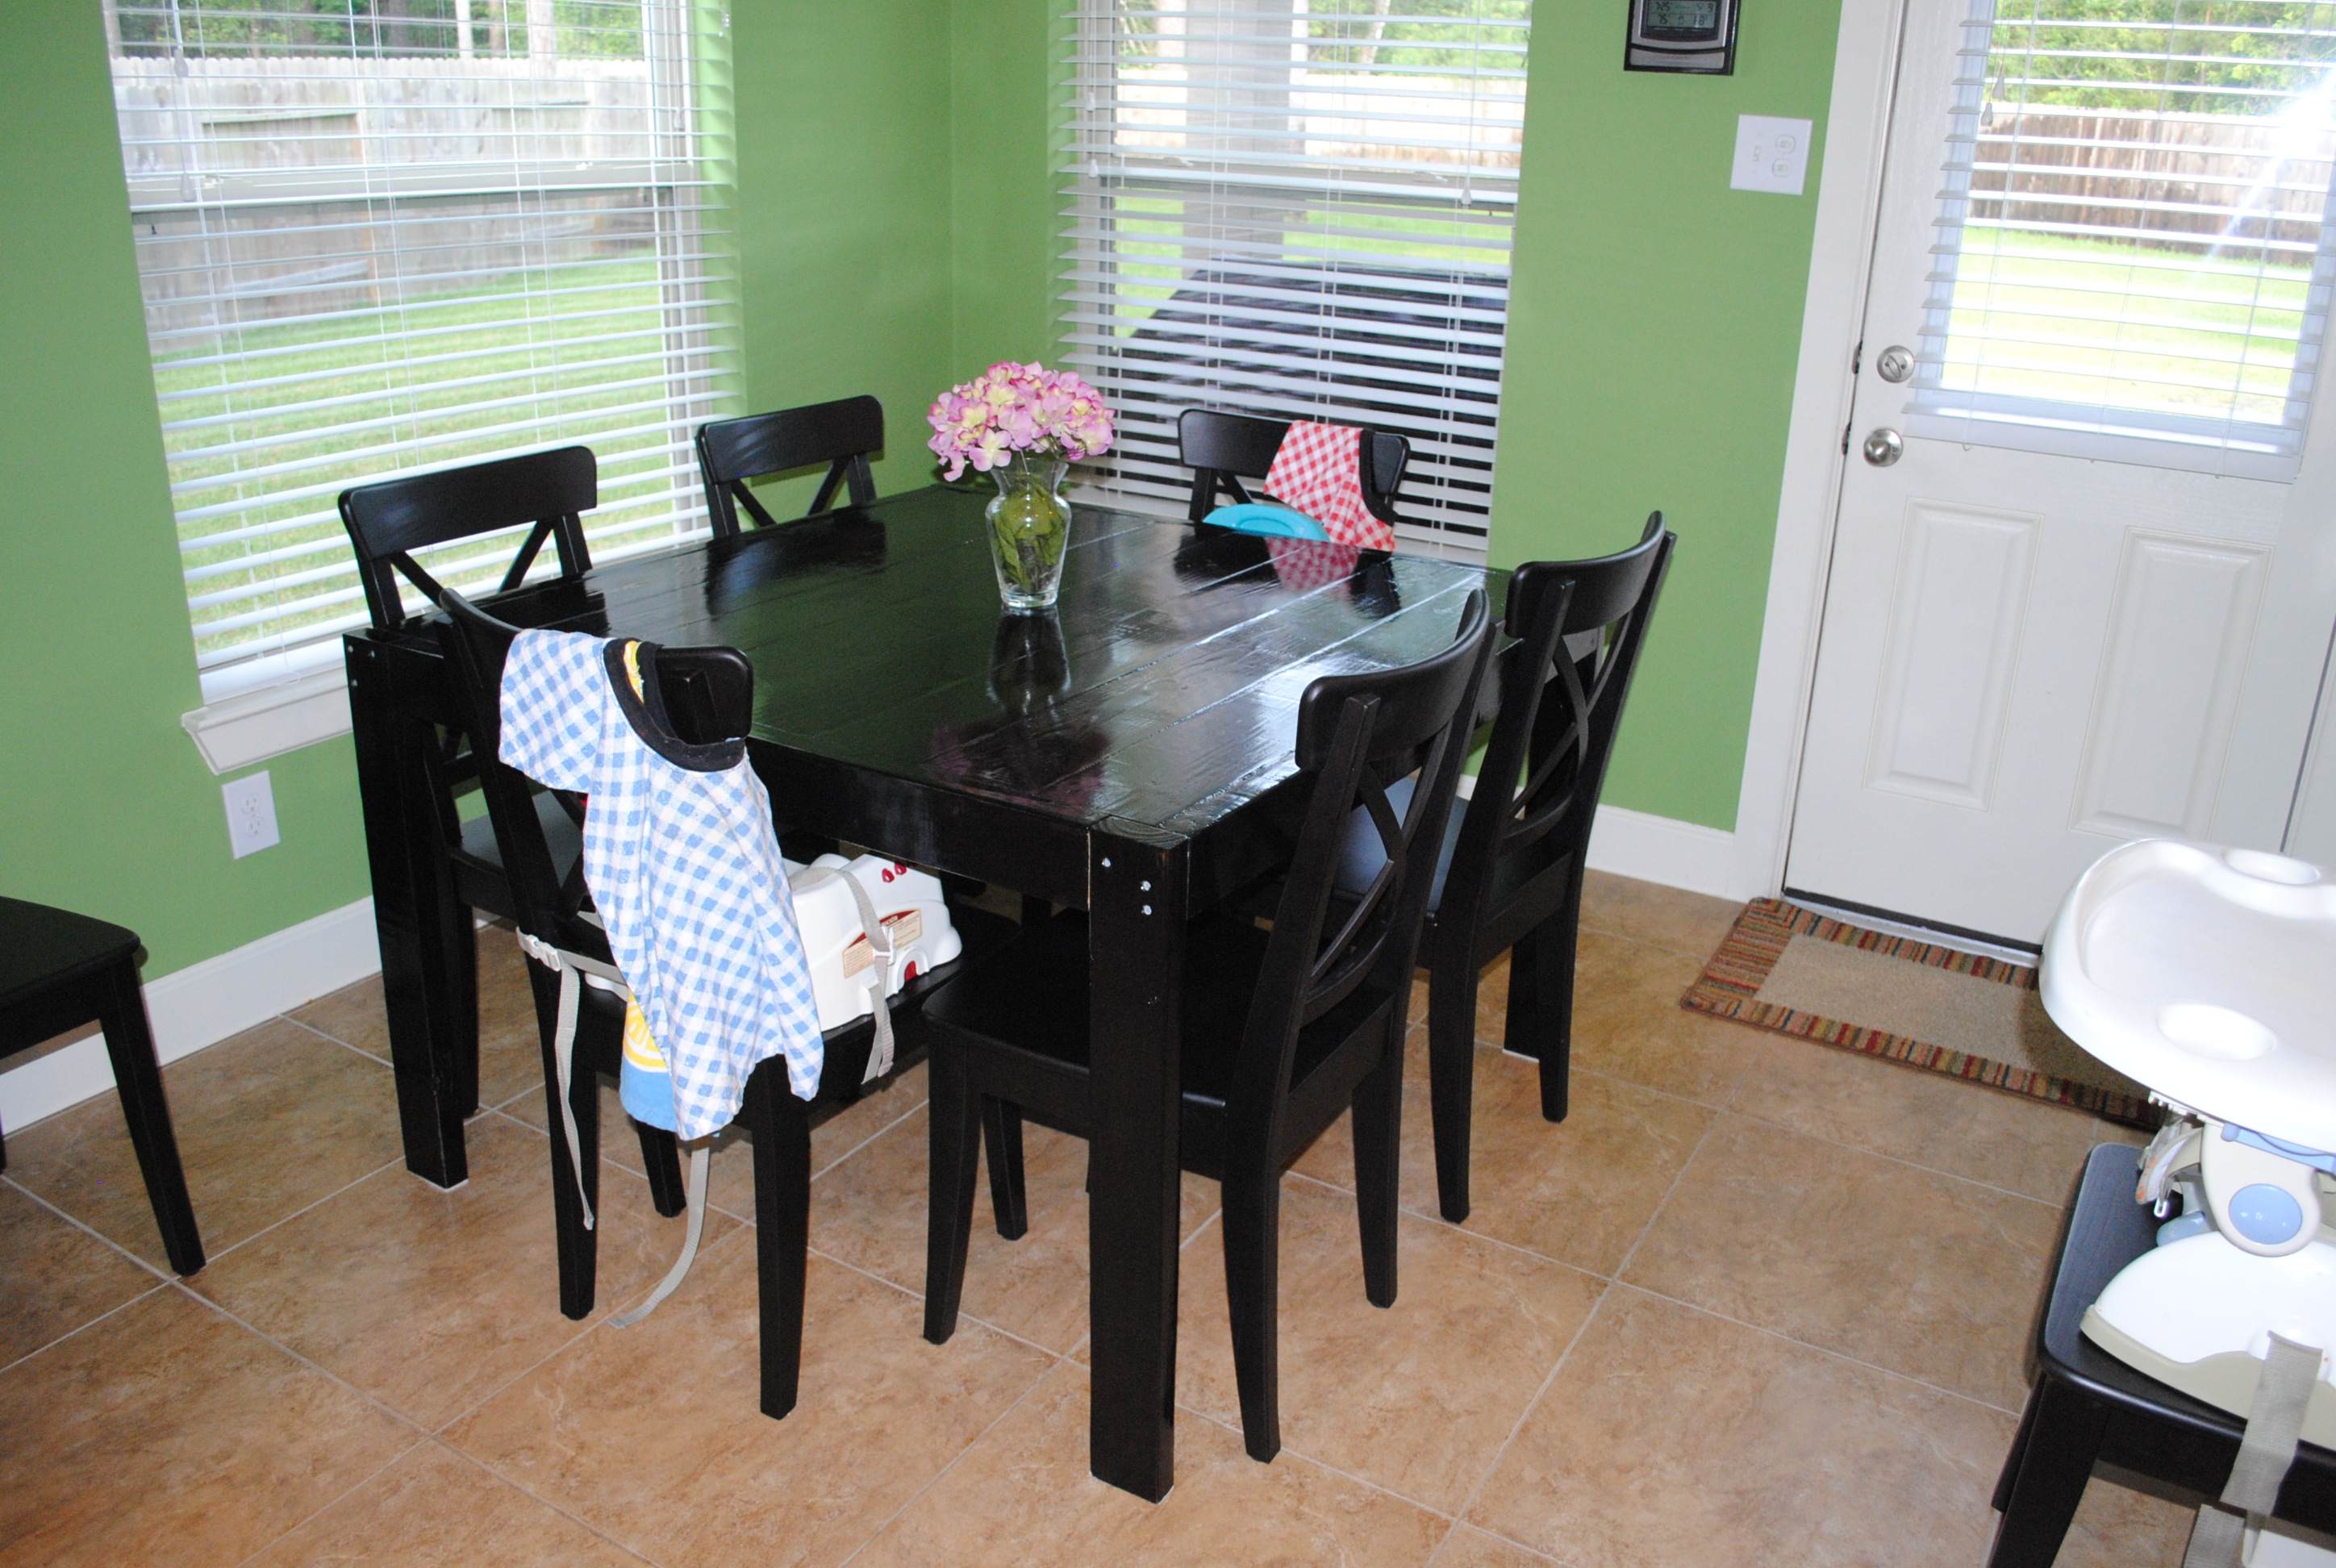
Vertical Herb Planter
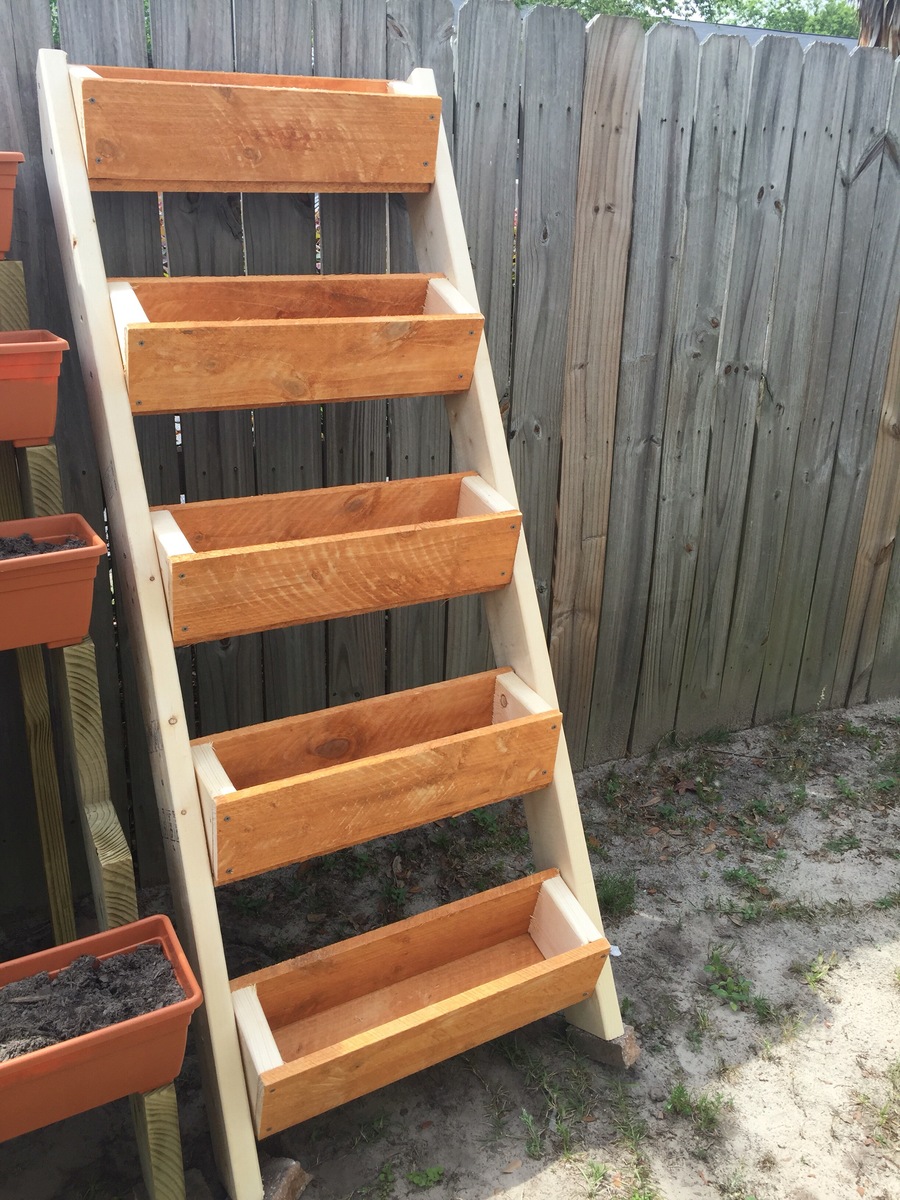
Used your plans but make changes to the planters since I do not own an angle machine. They look great and the cost was less than $30
One of my daughters recently was diagnosed with Type 1 Diabetes. We are raising money to get a Service Dog for her and I was able to throw together this awesome Lemonade Stand from your plans, Ana. Thanks for the fun and QUICK project that will hopefully help my daughter with her fundraising goals. {Son not included with lemonade :)}
Gene
A place for everything and .... everything off the desktop!
I first saw this project on Shanty-2-Chic's website and fell in love with it. It was my first furniture build. In my area (near Toronto, Ontario, Canada) I couldn't find 4 x 4s unless they were treated. So I used 2 - 2 x 4s instead and made the minor adjustments necessary.
I chose casters that don't rotate but screwed the back two in pointed inward so that my children can't easily move the table around if they are playing near it and bump into it.
This is my favourite piece that I've made so far.
Ana, thanks for the plans! I modified mine to have more of a roof to give my son more play space and added a toybox at the "back" of the boat. Still need to pick up sand but has turned out great so far! I think it will be the starting point for a full playset.
Tue, 06/05/2018 - 14:37
Thanks so much for sharing, what a great job and fun design! I love it!
Modified to a twin xl from the loft bed plan. Wood has not been finished.
Added this beautiful focal wall to our living room! The plans were so easy to follow and alter to fit our space.
@salgefam
The first one is in place - more to come!
My dad and I built this twin farmhouse bed for my three-year-old son. I used no-mortise bed brackets from Rockler Woodworking and modified the plan by adding slat brackets mounted directly to the rails with 1x3 slats.
I built this for my 3 year old so I made stairs to replace the ladder.
A few alterations I made to your original design plans:
1. I went with 1/2” plywood and bead board for the back. This gave it a little more stability and a complimentary design element to match other pieces I’ve built.
2. I used 2x3’s instead of 2x2’s since the selection was much better at the lumber store.
3. For the bench top I used a black walnut slab cut to size finished with a danish oil and satin poly top coat.
4. Instead of the X, I enclosed the sides and used a pair of parallel 2x3’s backed with poplar boards cut to size.
Thanks! I hope you enjoy.
Chad Cote
Tue, 08/25/2020 - 06:04
Nice, where did you find those anchor hooks! I would love to use some thing like that.
Plan modified to fit our back porch. Thank you so much for the plans! We love our new step.
I decided to build this bedside table for a friend of mine who just graduated from college as a special graduation gift. I thought it was a beautiful plan, and knew she would love it. This table was fairly easy to build and easy to finish. I ran into problems with the shelf, at first I decided to just add 1x2's around the bottom, but didn't like that and then built the shelf with a "frame" around it. It turned out nice, I hope she likes it.
We needed a sturdy table that we could put our son up to. We looked around at a few different options and discovered this plan that we could build on our own for the same price it would have cost us to buy a used table. I have built a few small things like a bookshelf and a headboard, but this is by far the biggest project I have ever done. It took about 5 hours on a Friday afternoon and about 8 hours on a Saturday to get the construction and first coat of stain on. After that we put 3 coats of a satin polyurethane on over the course of the next several days. We are really happy with how this turned out and it was a relatively simple project.
Or use the same plans with the exception of I extended the height so I could actually walk into the run fairly simple to assemble I would strongly recommend an air compressor staple gun or you'll end up with four arms like Popeye
This might be my favorite build yet! We made some minor modifications to the plan since we only needed a 2’ x 3’ table. The legs were ordered from Osborne Wood - delivery was super quick and they make the table! The plan was easy to follow. I still can’t get over how much I love the final product!
Breakfast Nooks with Pedestal Tables. Shawn Imes
I wanted a square table that was standard height but not too big for my 9' by 9' breakfast area. I used the plans for the square modern farmhouse table, but mine is a 47 inch square. It seats 6 easily (and the chairs tuck in), but can seat 8 if we need it to. It turned out great!
I made this Console table for our entrance way! I modified the plans by adding an extra 10" in height and included a second shelf. We are now using the bottom for a shoe rack and the middle for hats, mitts and stuff! It's a perfect fit for our front entrance!
It was my first time with drawers so I had a bit of trouble. But they open and close and aren't too lopsided, so I guess they are a success! Love these plans!
. They were made exactly according to the above referenced plans.
Comments
NextGreenLife
Tue, 05/30/2017 - 14:33
Love this simple change!
Can appreciate wanting to do projects but not having all the necessary fancy tools. I need to make two of these anyway (one to give away), so going to steal this idea to make it a wham-bam quick job!