Search Results
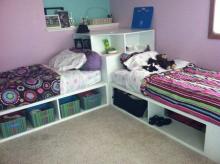
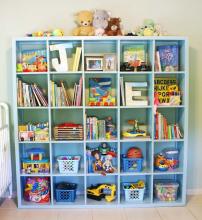
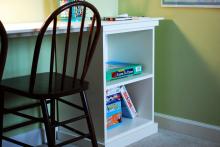
… sides open to the middle for storage options. We also made the cubby bookshelf to match. We now have 4 girls in that room (the bunkbeds went …
Read More
Blog Post
… 1 1/4″ long. … Legs These aren’t really legs, but if we were making a bookshelf, these would be the legs, so we’ll refer to them as legs. …
Read More
Project Plan
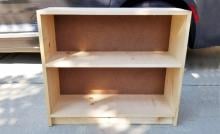
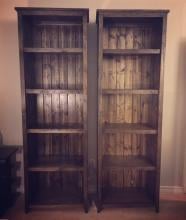
… Build the bookshelf as shown with the 1x12s. Pocket hole locations shown for your …
Read More
Project Plan
… for additional stability and to give you an opportunity to screw the bookshelf to the wall to prevent forward tipping. … Pine 1x12 Bookshelves …
Read More
Project Plan
… have a flat workspace at least six feet by six feet for building this bookshelf. Make all large cuts first, followed by smaller cuts. Drill …
Read More
Project Plan
… You can use finish nails to fasten the frame to the face of the bookshelf. For a better fit, you may wish to measure and cut your trim …
Read More
Project Plan
… to the sides. Use the screws and glue. … Back. Fasten the back to the bookshelf using the 1 1/4″ nails and glue. … Inside Front Trim. Fasten …
Read More
Project Plan
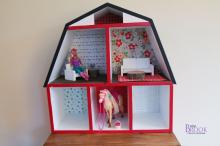
… if you need it. Good luck! … Start by just putting together a small bookshelf. The only difference is the top has beveled ends for the barn …
Read More
Project Plan
… … Now attach back with 1 1/4" finish nails and glue. Adjust your bookshelf for square. … If you are using a pocket hole jig, build the …
Read More
Project Plan
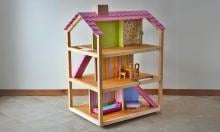
… a dollhouse that would last and last - and could even be used as a bookshelf later on. The 1/4" plywood is just too flimsy for that. Then I …
Read More
Project Plan
