Search Results
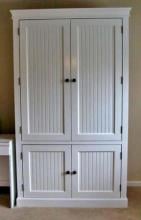
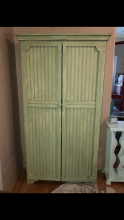
… and glue, fasten the back in place. Use the back to square up the armoire. … Begin Trim Start with the header trim. Fasten in place with … … Attach the side crown pieces together and then to the side of the armoire as shown. … Front Crown Trim In the same manner as you fasten … may need to add edge banding to any exposed plywood edges. … Nursery Armoire Plans …
Read More
Project Plan
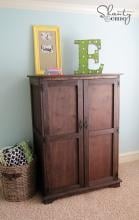
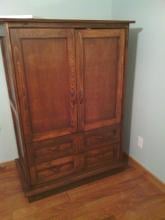
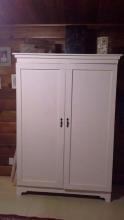
… Build the side frames separately, and then attach to sides of the toy armoire, with the back flush to the back of the plywood. Front will … … Cut top of footer and nail and glue in place. … Add shelves to the armoire if desired. We will be adding a drawer insert plan soon too! … … doors to fit, leaving about 1/8" gap around all sides. … Toy or TV Armoire …
Read More
Project Plan
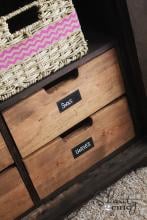
… yours to fit - so take a second to measure the inside of your toy armoire and check to see if it's about 1/2" larger than the insert. … into box. … Attach faces to front. Finish and insert into the toy armoire! … Toy or TV Armoire Drawer Insert …
Read More
Project Plan
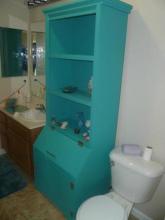
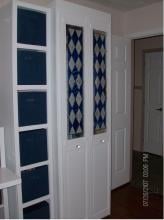
… I took the basic premise for this project from the Armoire with Open Shelves and Magnetic Doors Design on this site. Used … sides, back, and shelves. Pocket holed wherever possible. … Bathroom Armoire with Laundry Hamper …
Read More
Blog Post
