Standing Art Desk with Storage
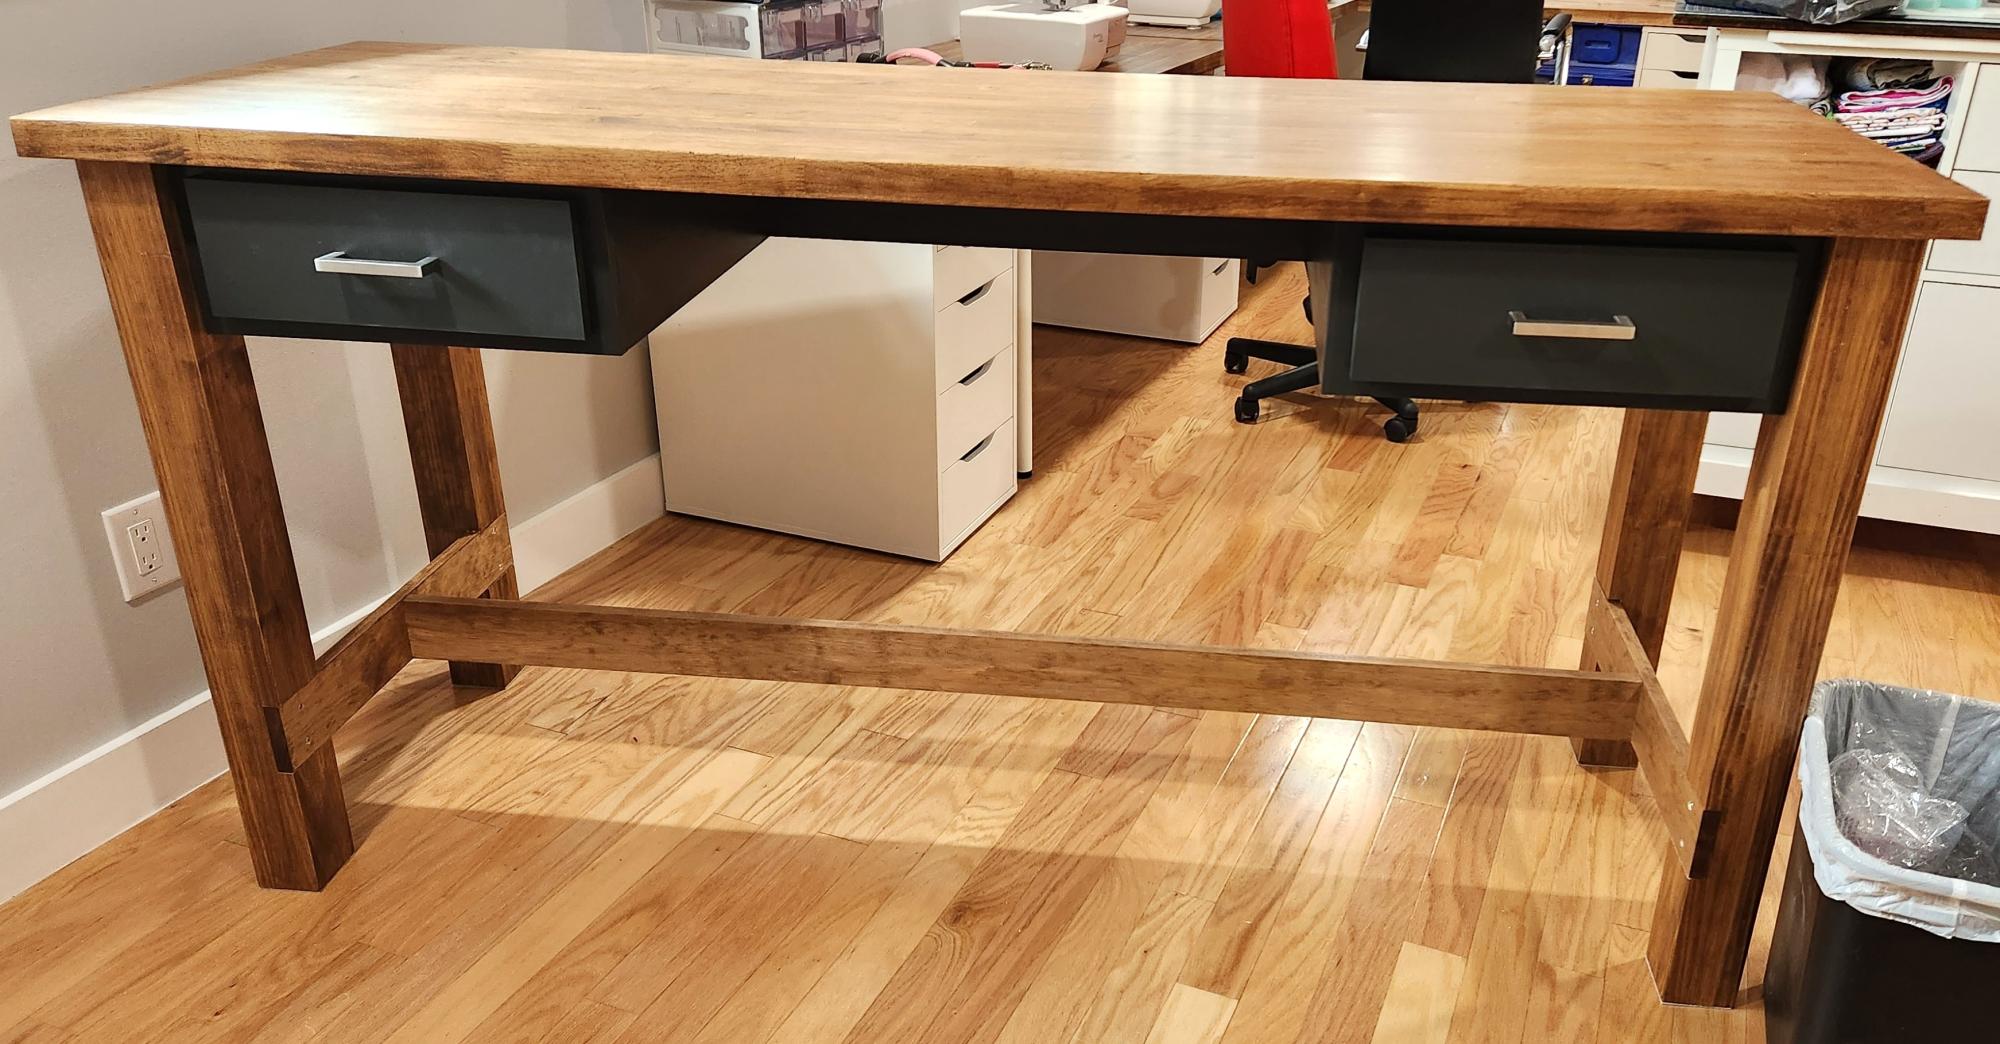
We modified the size slightly and separated the drawers so I can sit or stand at it in my art studio.
Suzanne E
Built from Plan(s)
We modified the size slightly and separated the drawers so I can sit or stand at it in my art studio.
Suzanne E

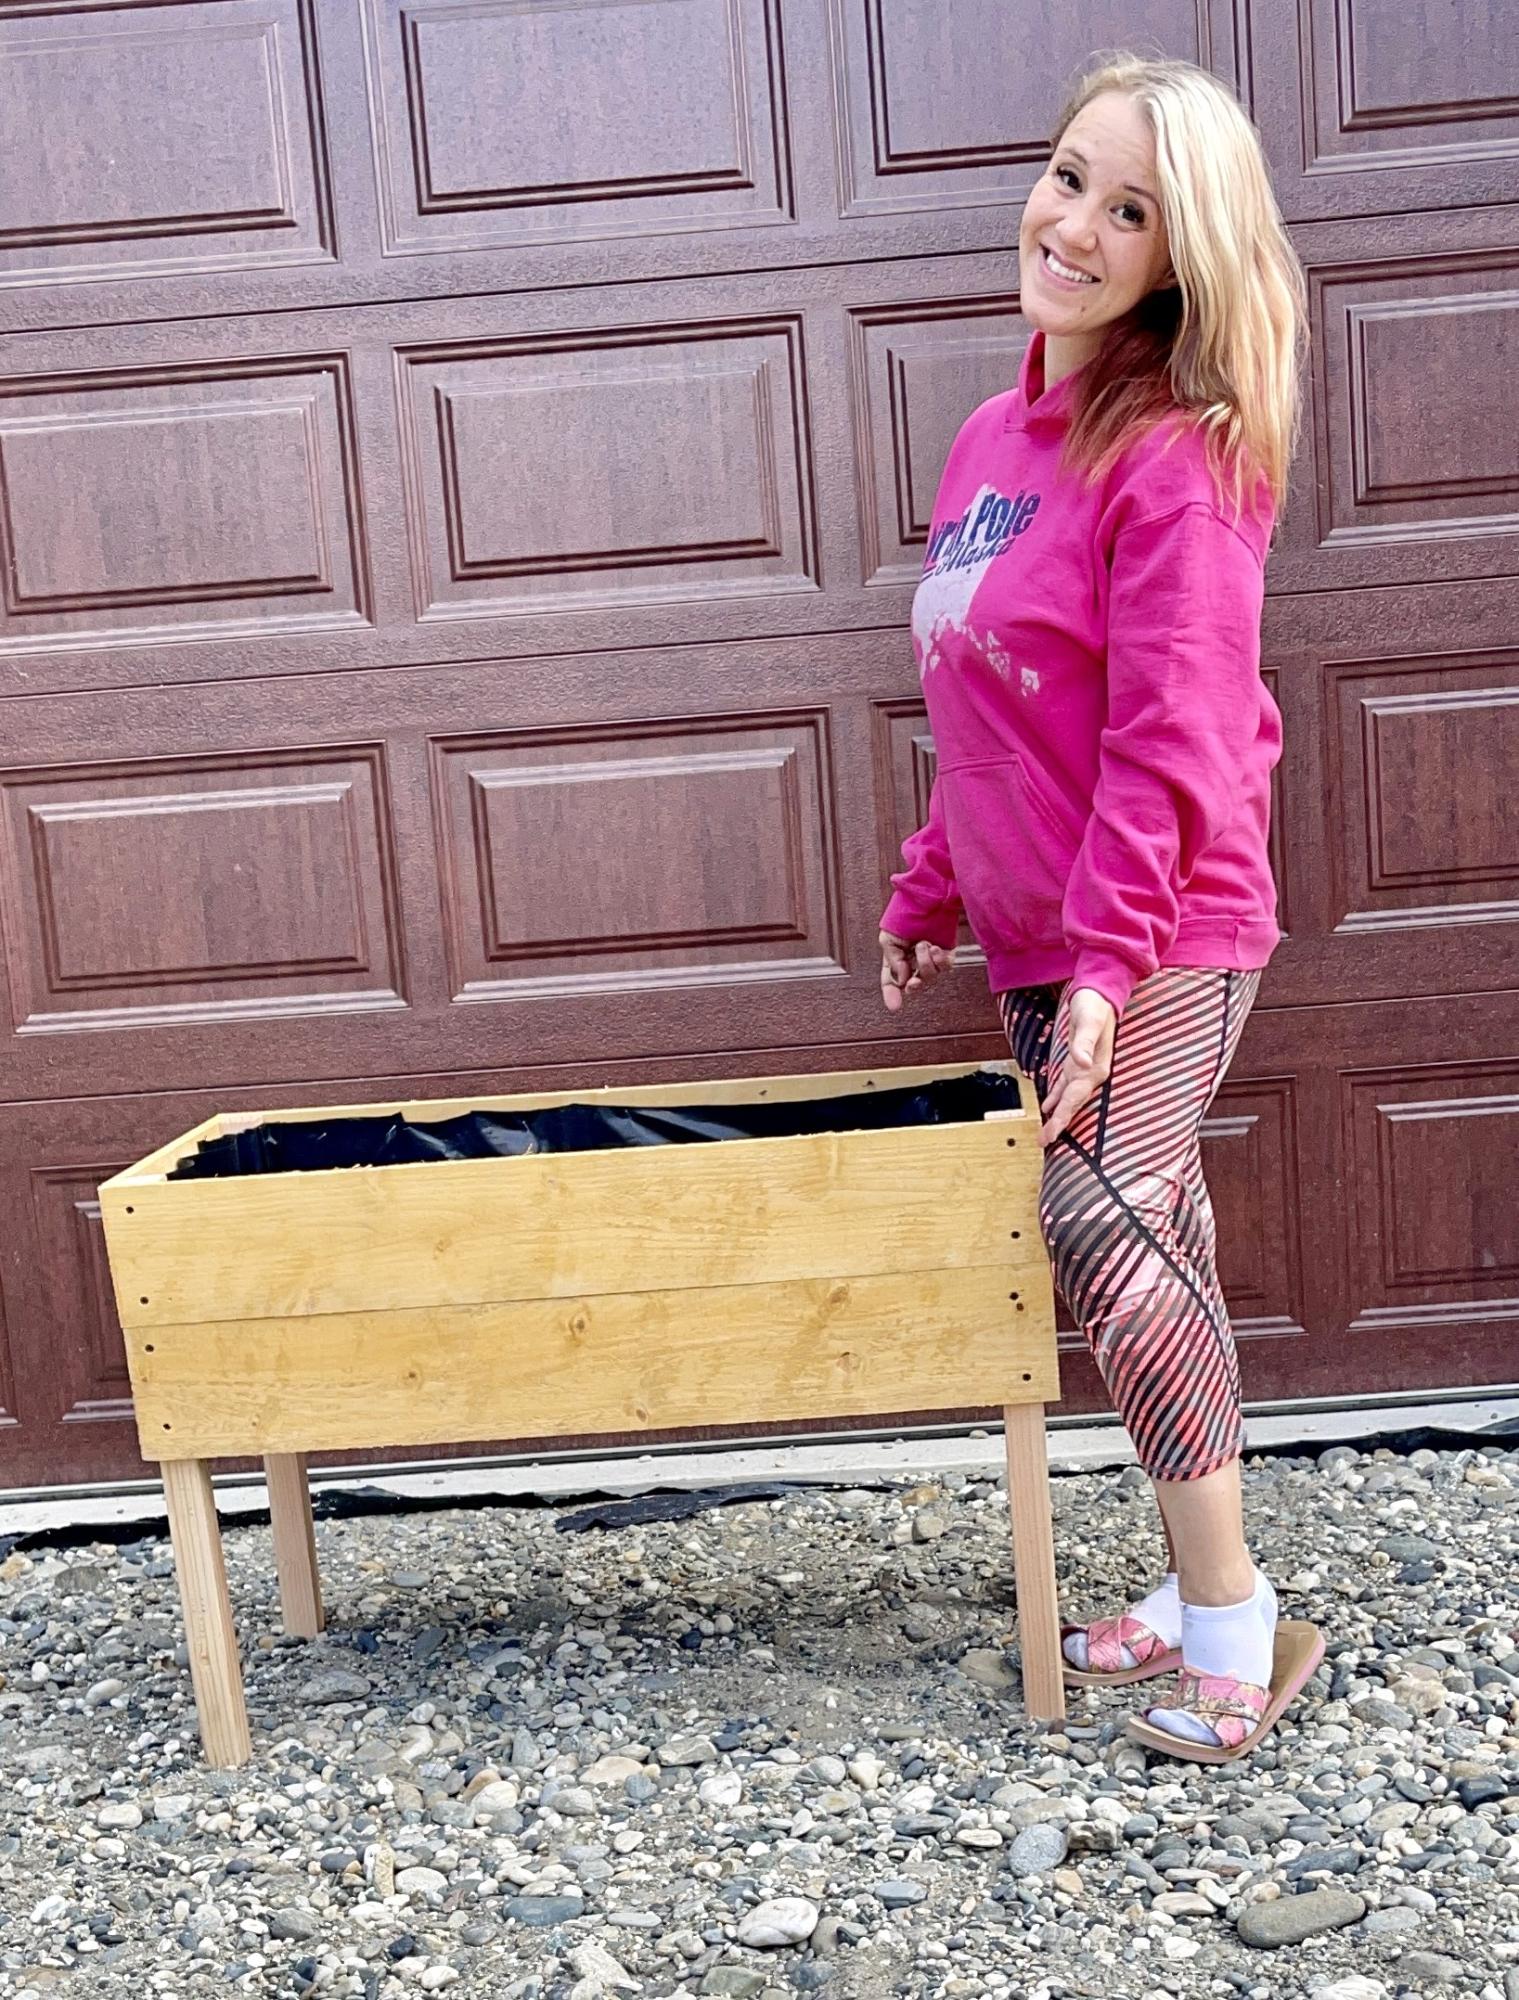
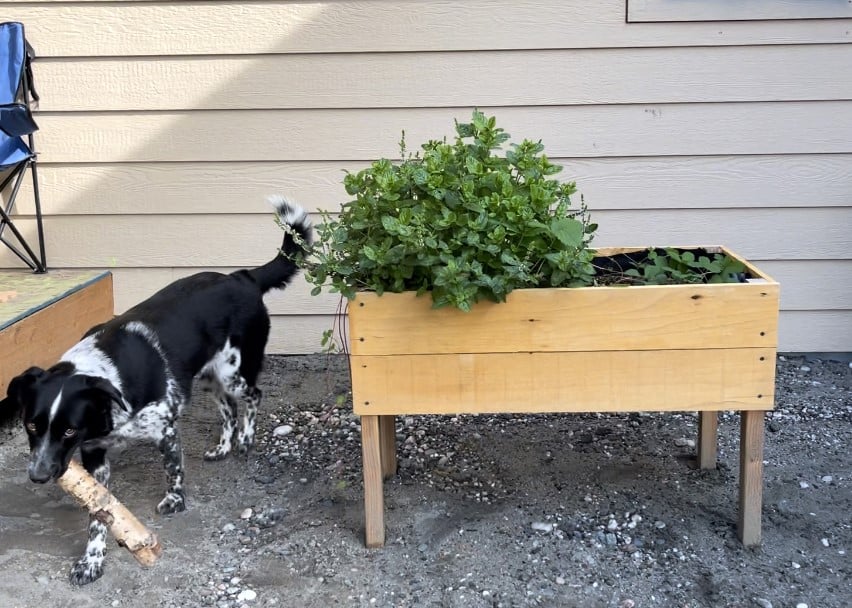
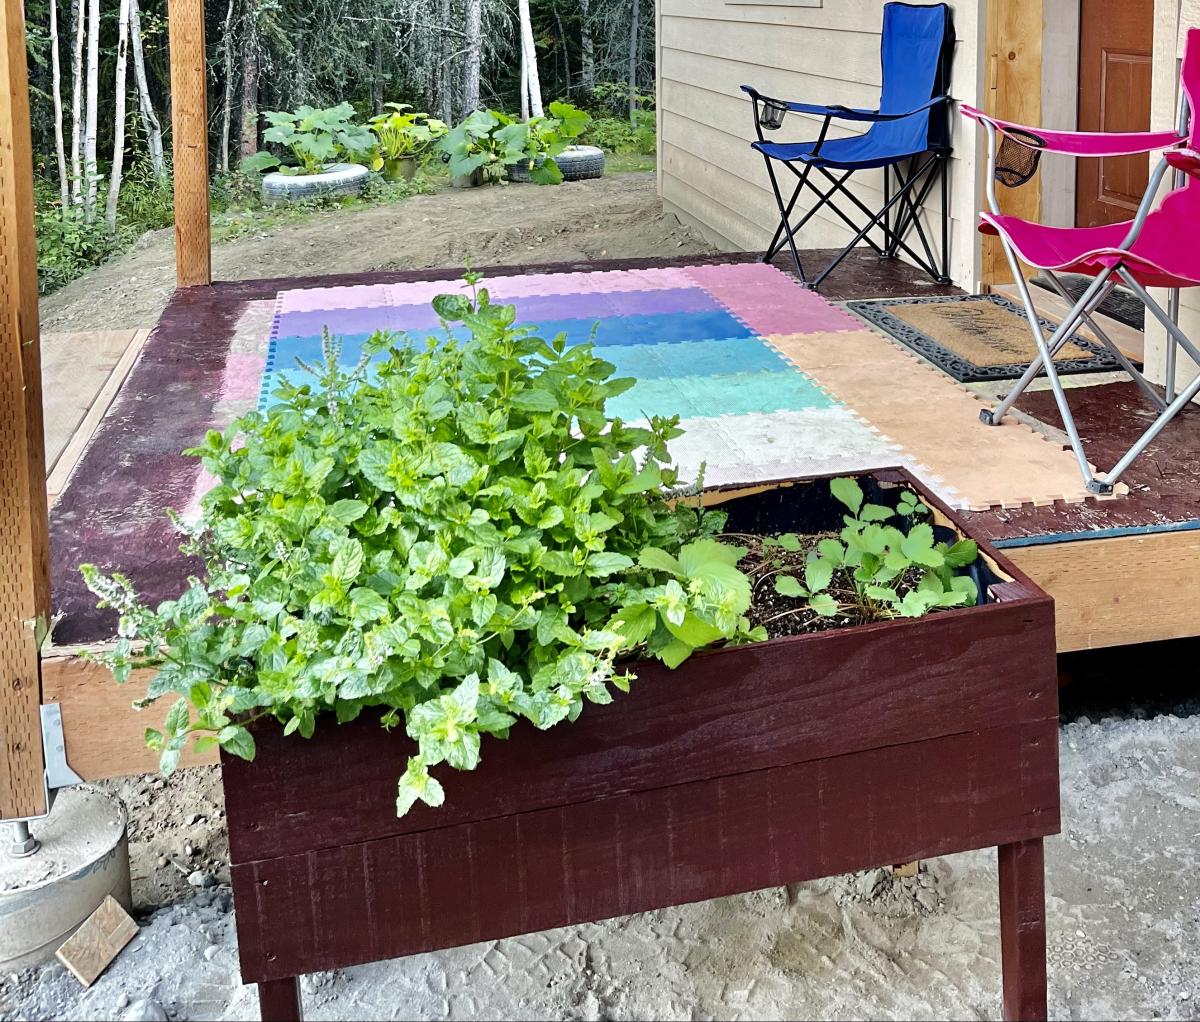
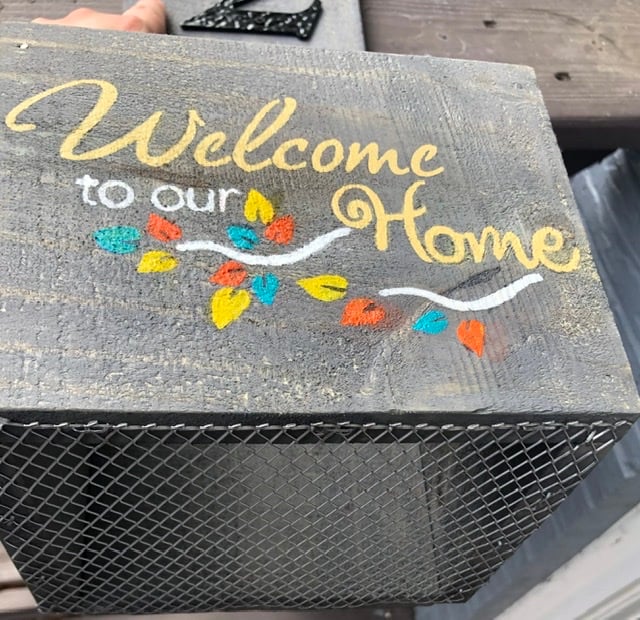
I had some left over pallets from another project I was doing and decided to make some recycled wood planter boxes to liven up our decking area. The whole project only took a few hours to make both boxes and used entirely reclaimed pallet wood aside from the two end pieces.
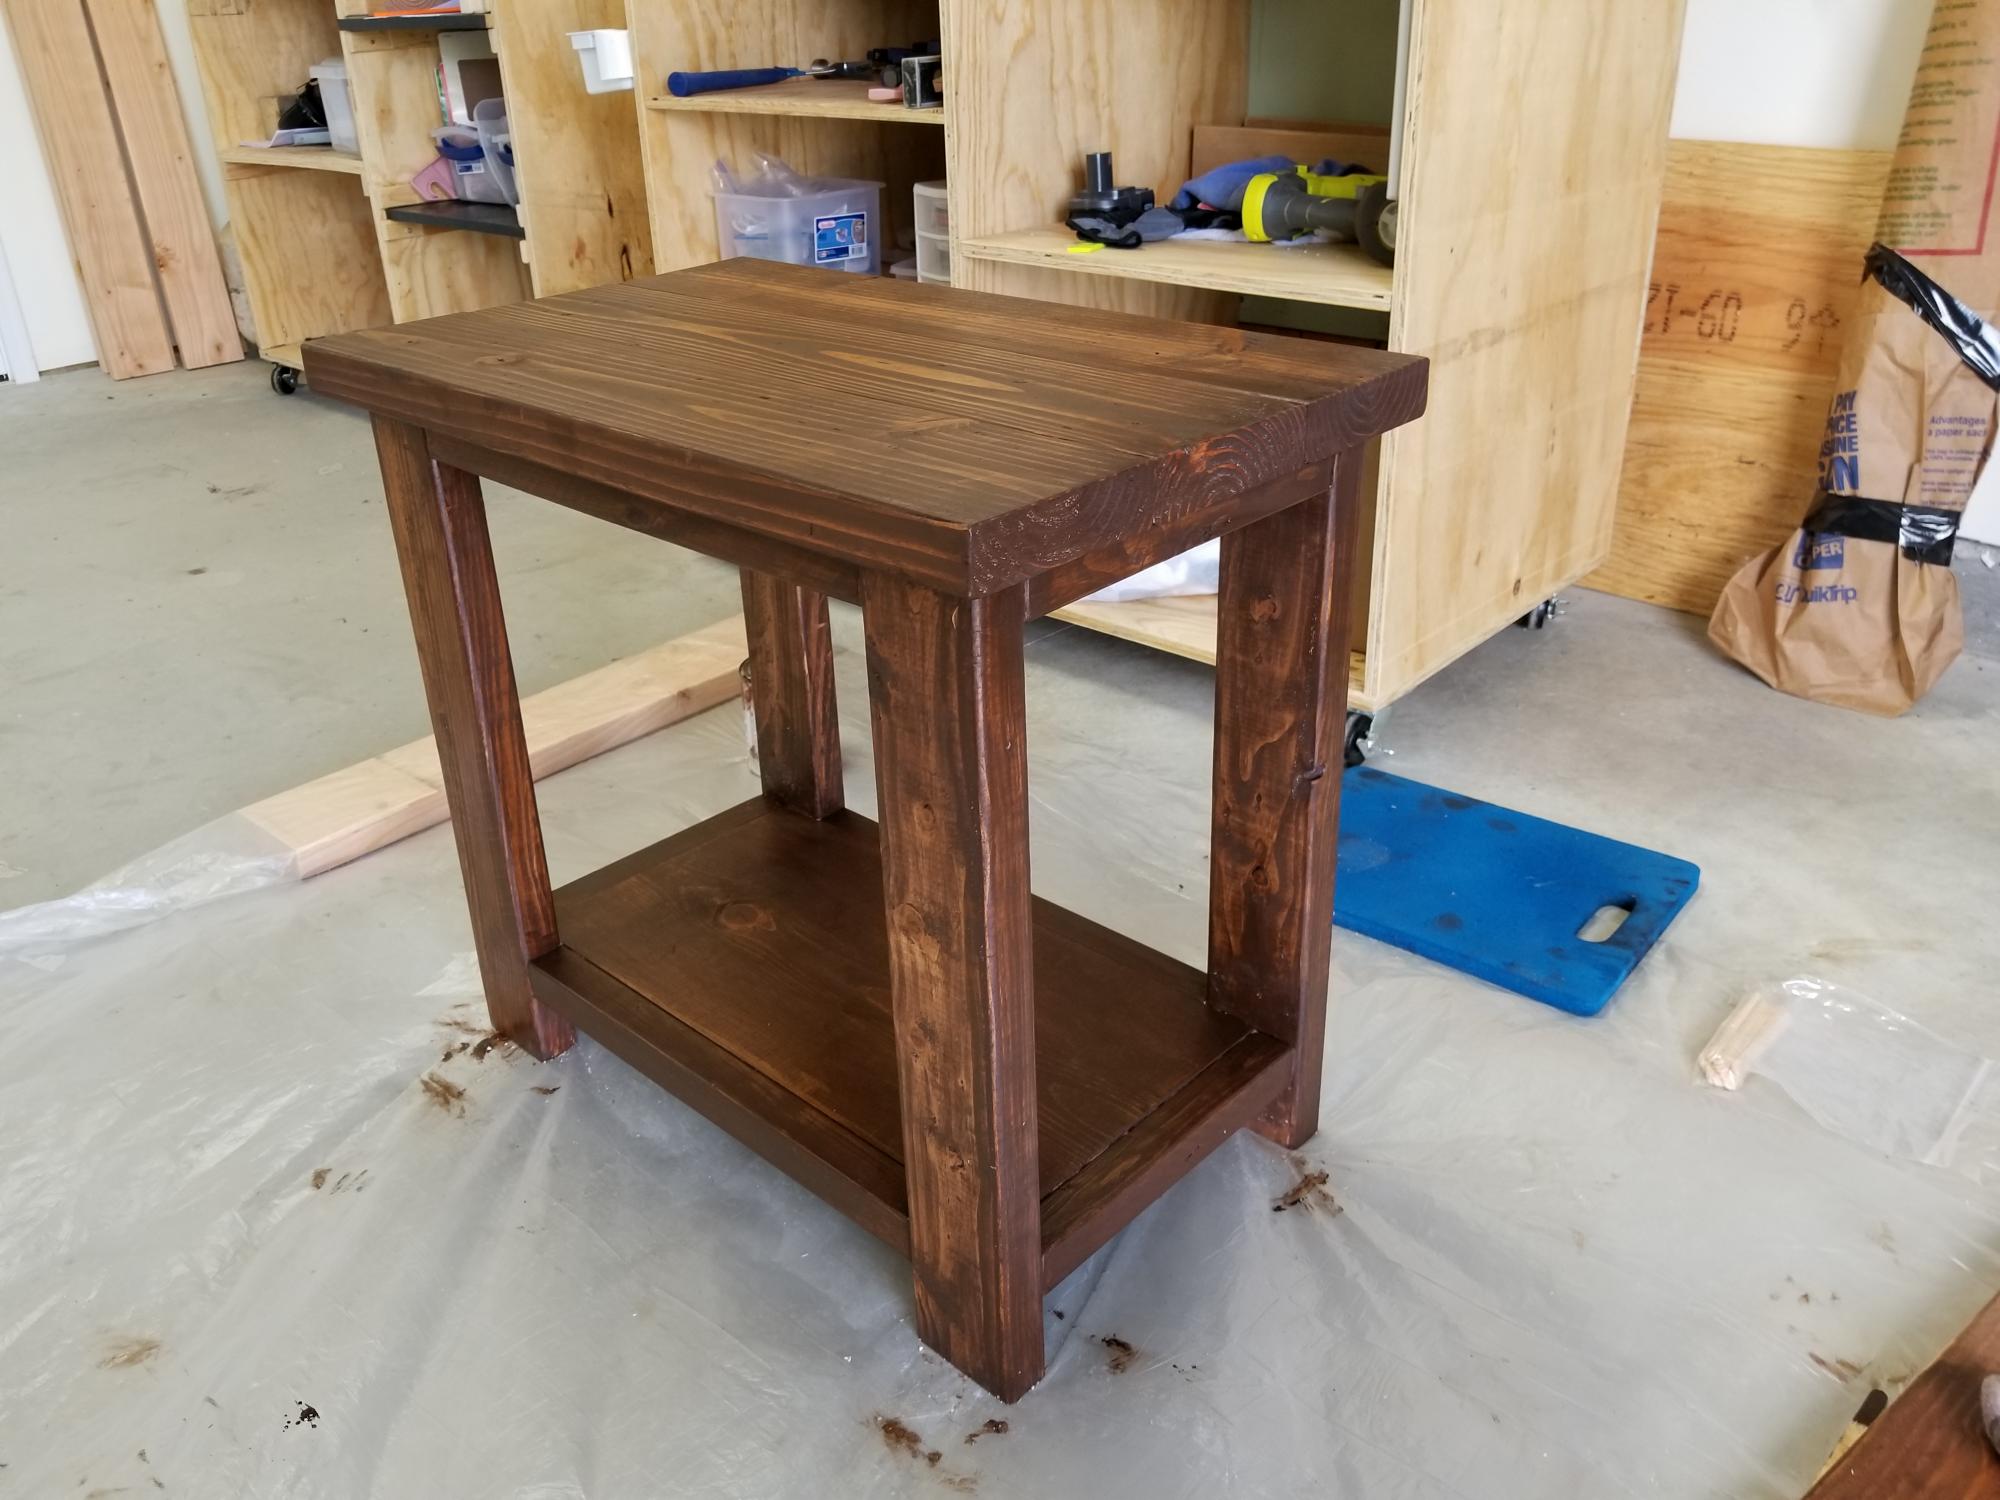
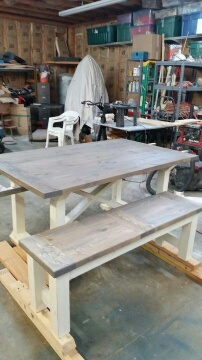
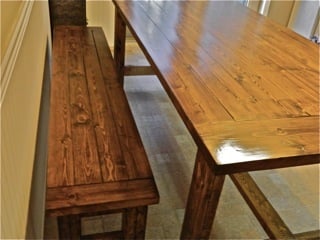
I built this for my son's first apartment to match the Rustic X Coffee Table I built. His living room is small so I needed to make a narrower version of the end table. Because of this, I decided to not build the "X". It turned out great! Thanks Ana!
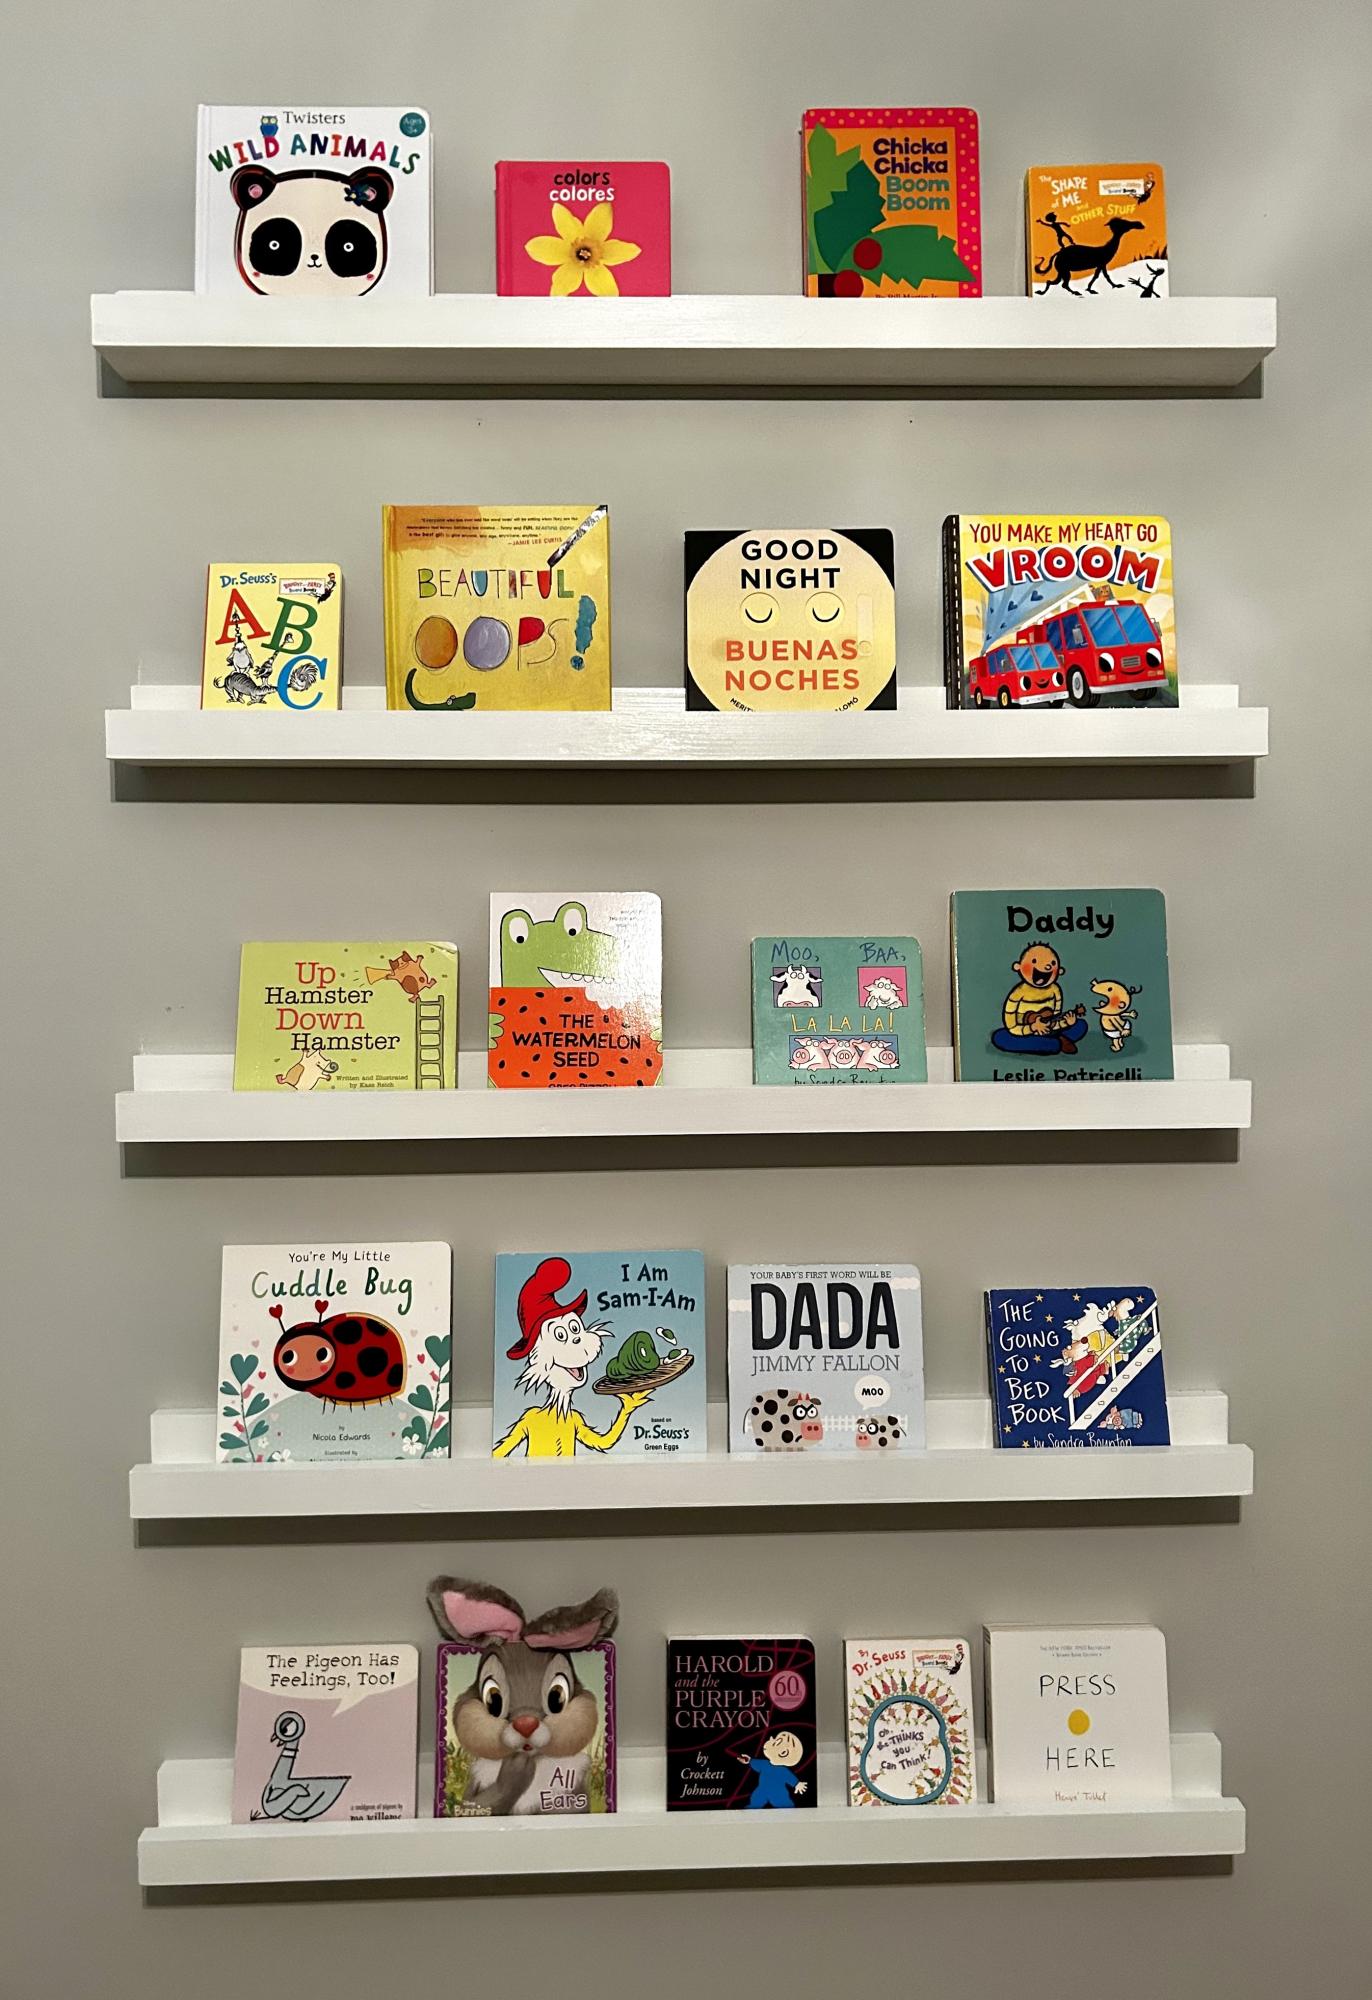
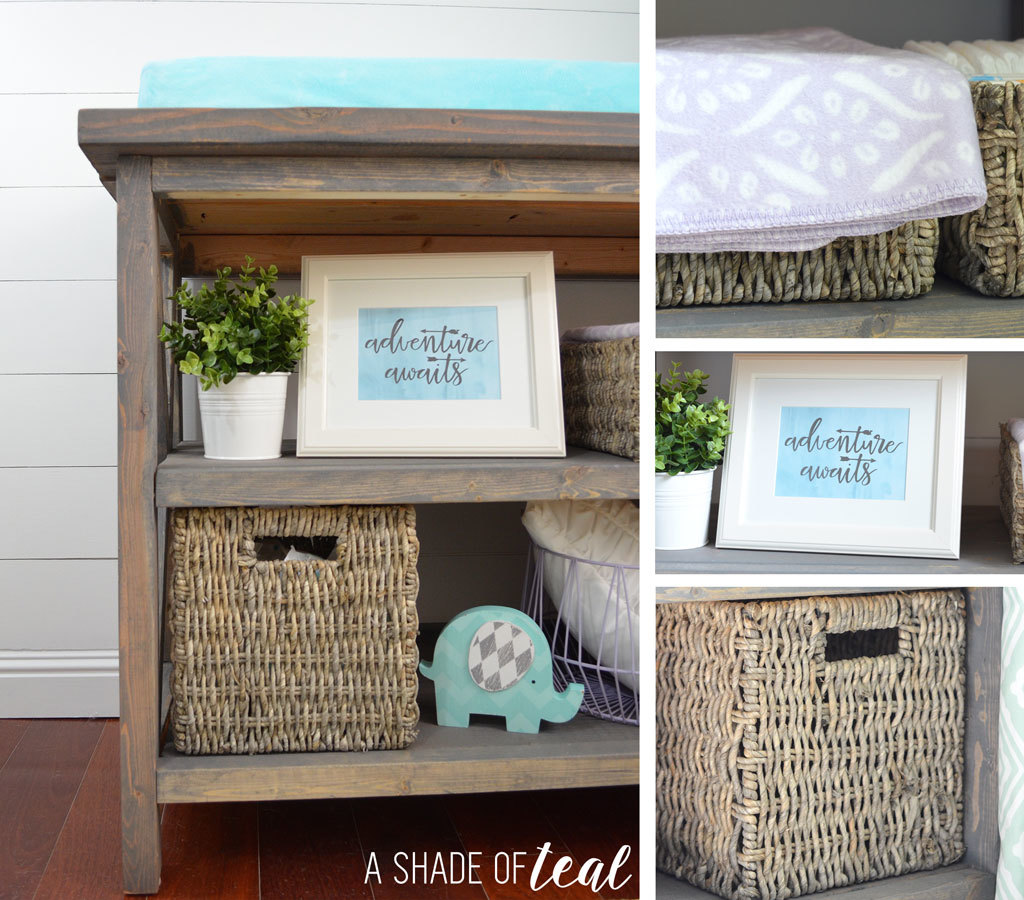
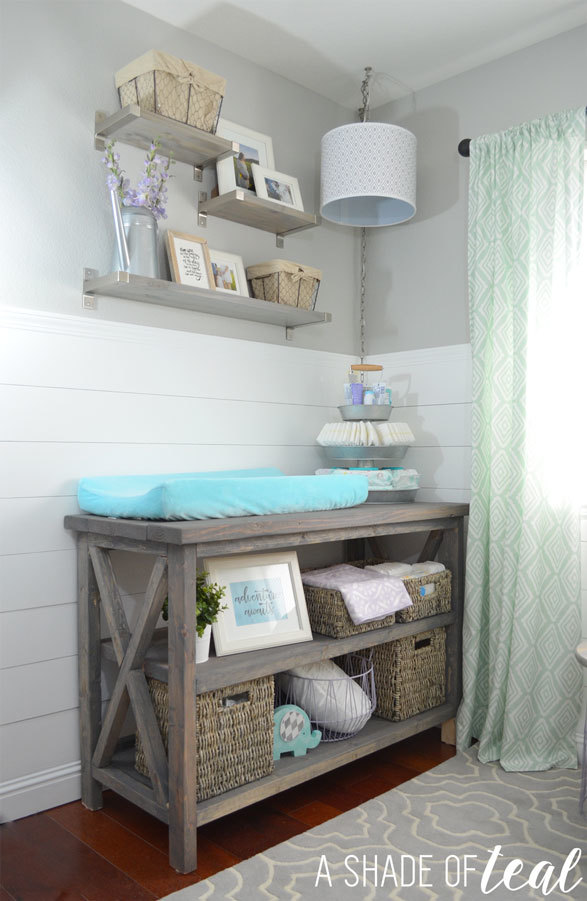
Nursery photo ledges. Shortened the shelf depth using a 1 x 2 instead of a 1 x 3.
Inspired by Ana!
Thu, 04/05/2012 - 14:01
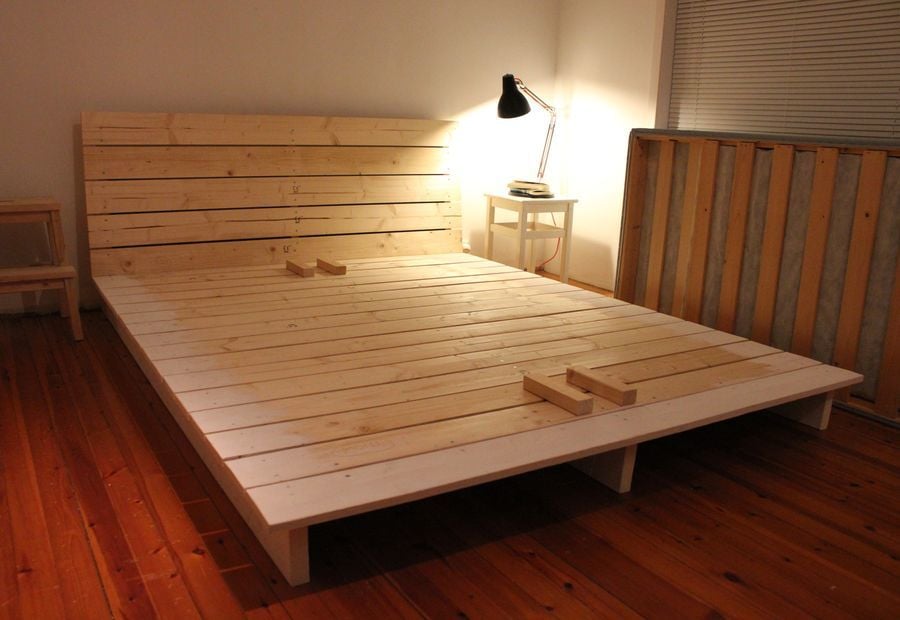
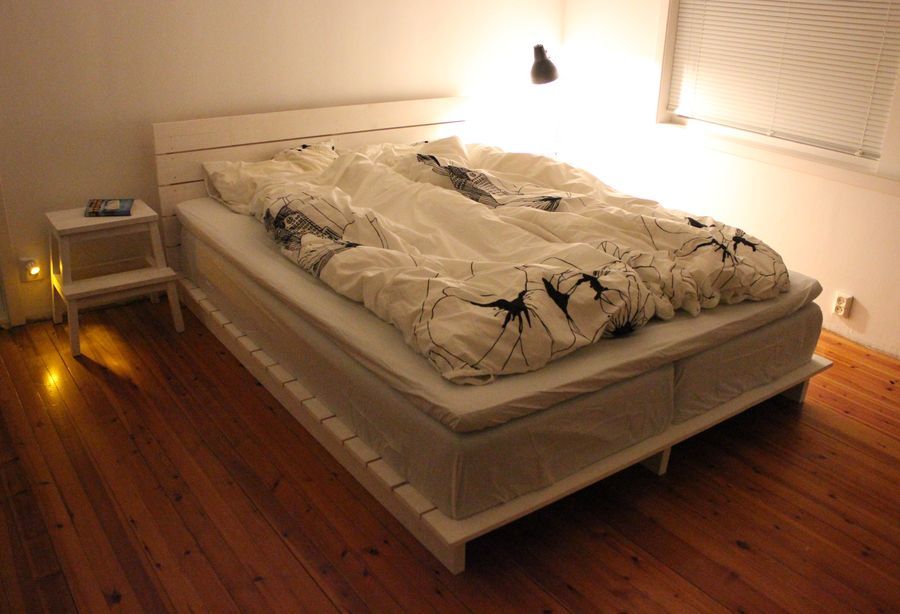
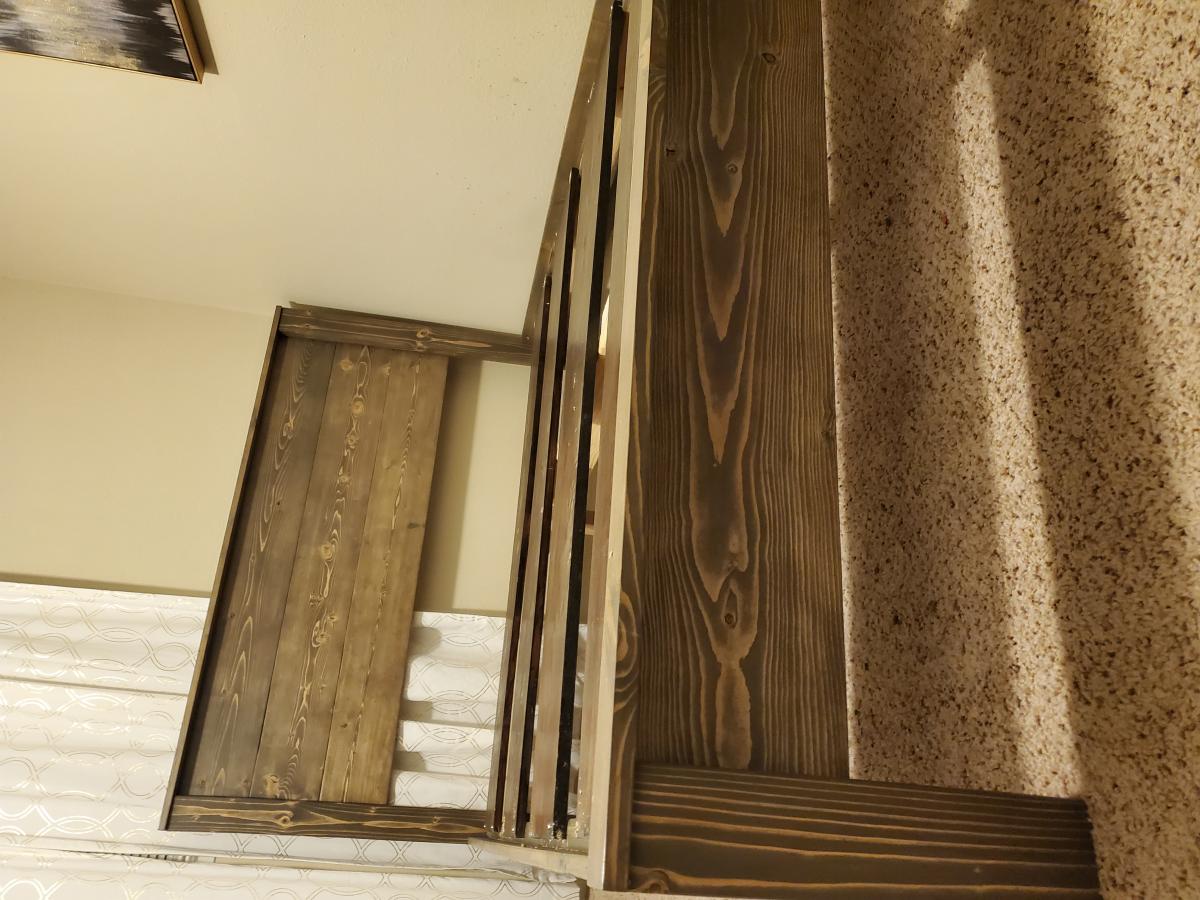
The bed has two matresses, the blocks are there to keep the matresses in place.
Tue, 04/17/2012 - 11:21
Now this is my kind of project! Looks easy but polished. Do you have plans for this?
Tue, 04/17/2012 - 12:03
Platform bed measures:
- Deck: 18x120 mm, width = matress width + 10 cm, length = matress length + 5 cm.
- Headboard: Height 80 cm, width = matress width + 10 cm.
- Beams bed: 36x150 mm, length = matress length - 5 cm.
- Beams headboard: 36x150 mm, height = headboard height - 5 cm.
Thu, 04/11/2013 - 23:04
I would love to make this but I would require plans in order to build it. So if there is any way I could get plans you would make me quite happy.
Fri, 01/15/2016 - 17:11
It looks simple enough, but the headboard looks like it may be tilted. Can you provide instructions on the attachment of that? Thank you
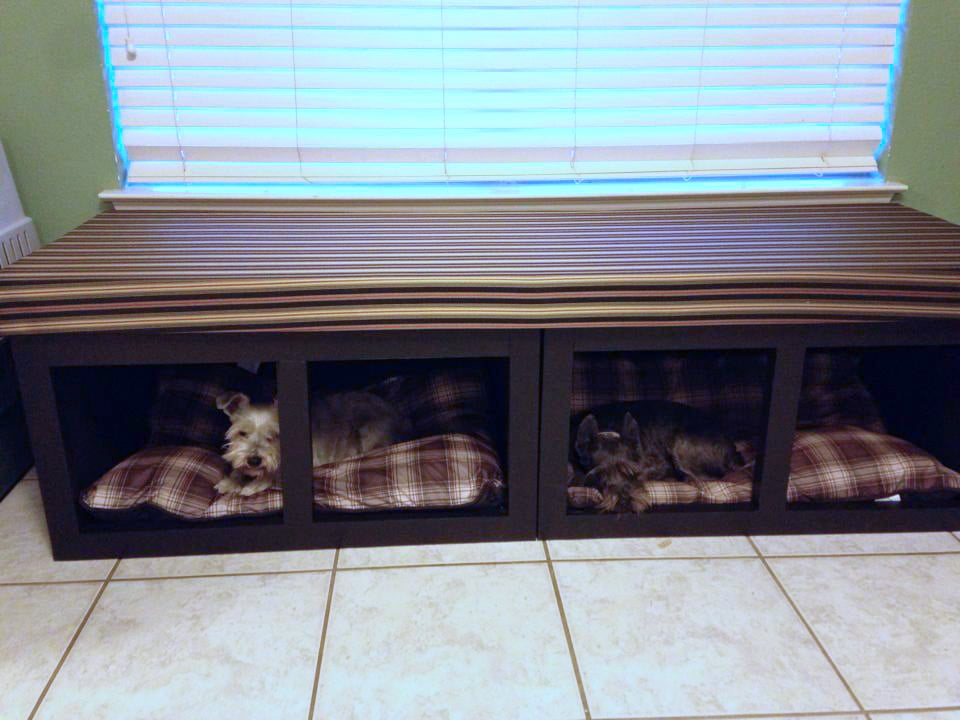
I wanted a place for our dog beds, without just having them all over the floor (we have 2 big dogs and 2 little ones. I decided to build a window seat in front of the large window in our dining room which could double as dog beds/kennels. While the base plan was off the large wood pet kennel end table, it had to be modified significantly to be wider, shorter, and sturdy enough to sit on. I am also still trying to decide if/how i want doors on here. This is actually 2 kennels next to each other (not 4) Next will be to build 2 actual kennels for the big dogs to place on either side of this.
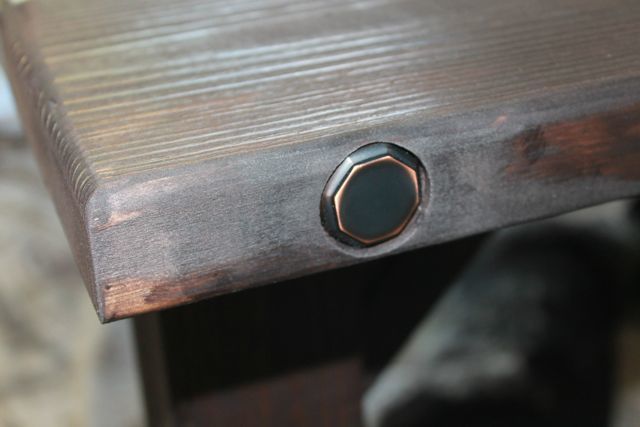
Here's a small tutorial on how to add simple metal accents to furniture. We used something as simple as door knobs at your local home improvement store to make it happen!
Check out the tutorial here http://sawgrasshome.com/?p=1443
Wed, 03/25/2015 - 11:26
Hello,
I am very interested in this tutorial, "Add Metal Accents to Furniture", but it appears that the link provided, is a dead link. Do you happen to remember anything about this tutorial? Thank you!
Wed, 03/25/2015 - 11:25
Hello, I am very interested in this tutorial, "Add Metal Accents to Furniture", but it appears that the link provided, is a dead link. Can you please assist me in finding the direct link to this tutorial? Thank you!
Wed, 03/25/2015 - 11:25
You can email me at [email protected]

Wed, 06/02/2021 - 05:31
By the way, how do you do the initial analysis of the alloys to determine which metal is best to take?
This was my first ever Ana White project!!! I’ve never built anything and really needed a planter for my front door. I loved the size of these and how easy they were to put together. The plans are detailed and easy to follow. I plan to build identical ones next spring for my front yard 😍
Anna Ovchinnikov
This is my very first wood working project! I know its not perfect and I learned from my mistakes. I found a miter saw at a garage sale and after three hours of plugging it in and unplugging it, I finally worked up the courage to make it make a noise! Then I eventually worked up the courage to cut wood lol! I'm pretty proud of myself for building something and I am going to continue practicing until I can make really cool stuff!
Made this for my Son and His Wife. They love it.
Plans from the Tryde table plans. Added bottom shelf. Next up, Tryde end tables, one is done, other trying to plan it out to include a drawer. I added carriage bolts for looks, and black metal corners. So much fun!
Tue, 02/04/2020 - 12:36
Thanks Ana! You really were my inspiration to try and build furniture. With every build I’m getting more comfortable. I talk about you all the time when people ask where I learned... Ana White!
Thanks again.
btw. I really need rocking chair plans!
Tue, 04/14/2020 - 20:32
What kind of mods could you add in order to open the table top for a bin. Nothing deep, but a great place to keep a firearm, hide remotes etc.
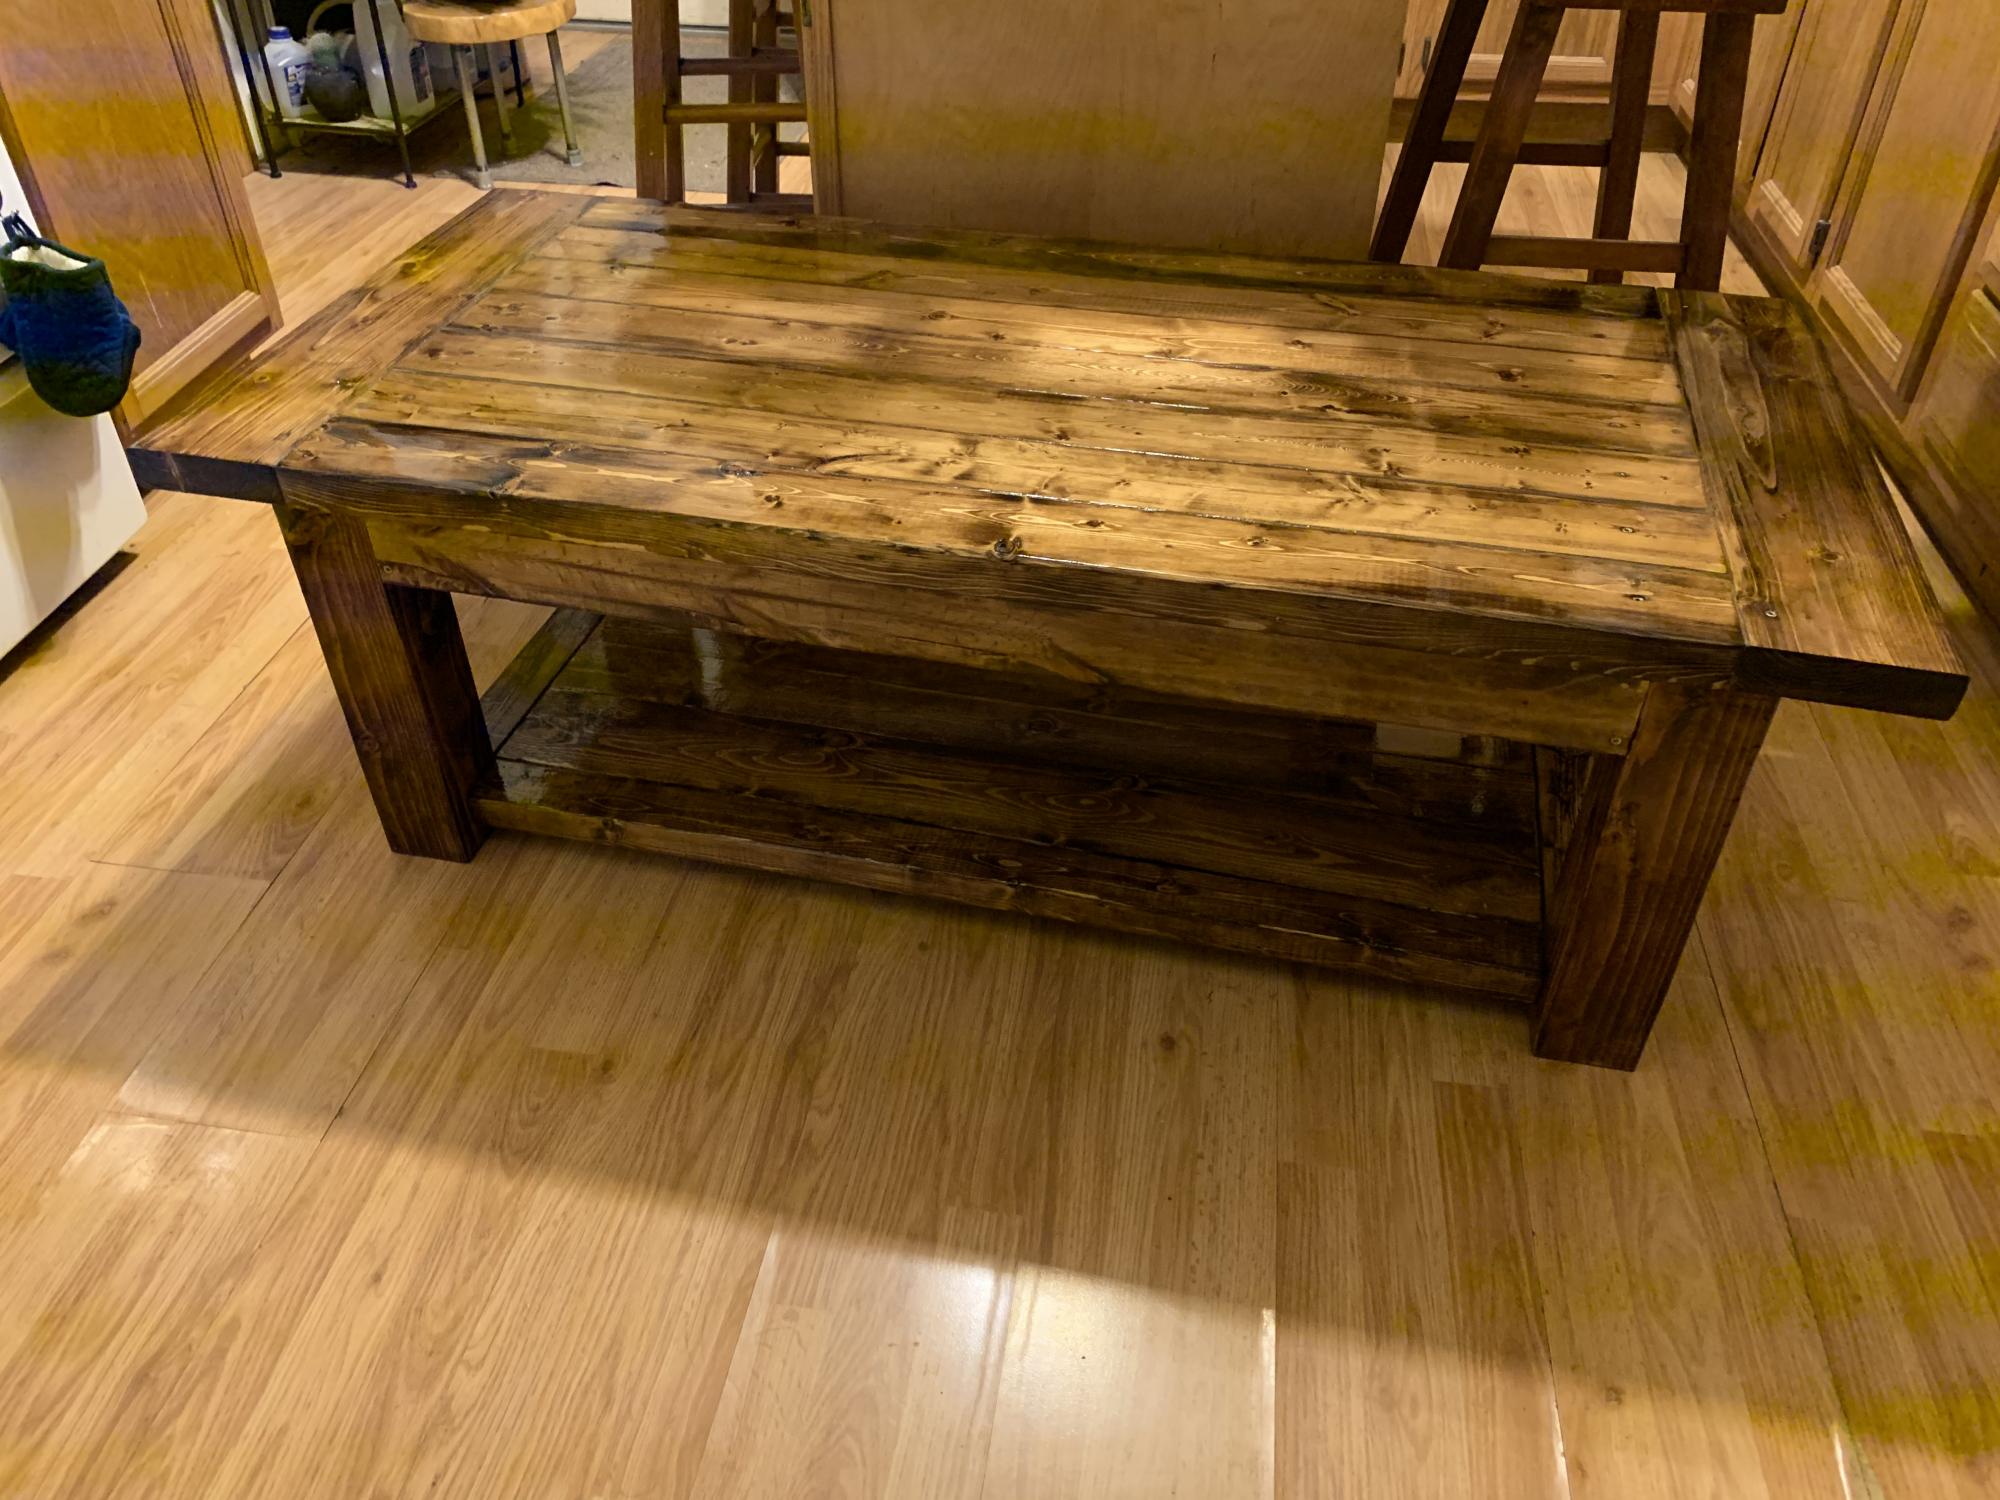
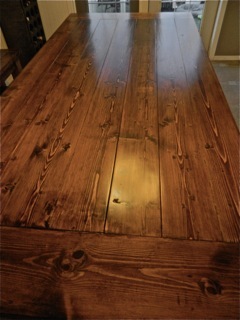
Love this stain and how it makes the grain stand out!

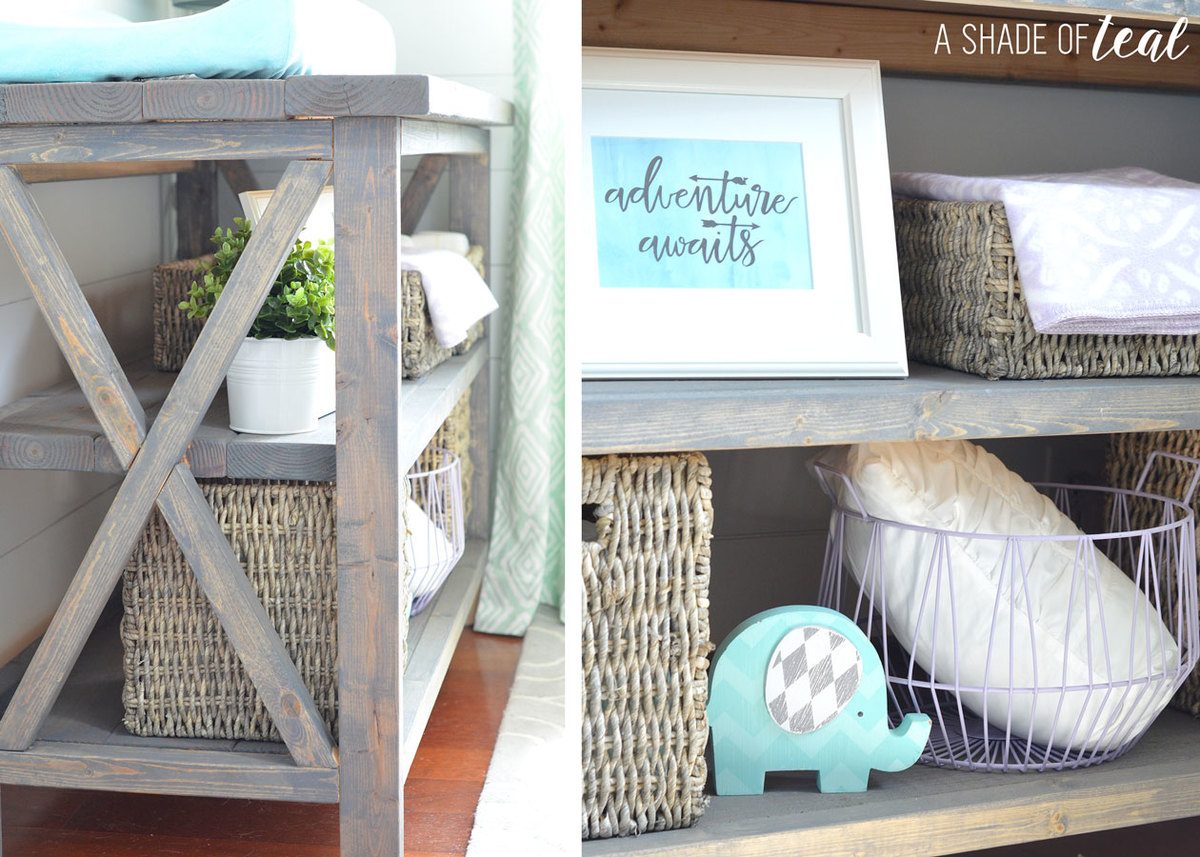
Rustic farmhouse changing table without the framed top box. I built this for my daughters nursery.
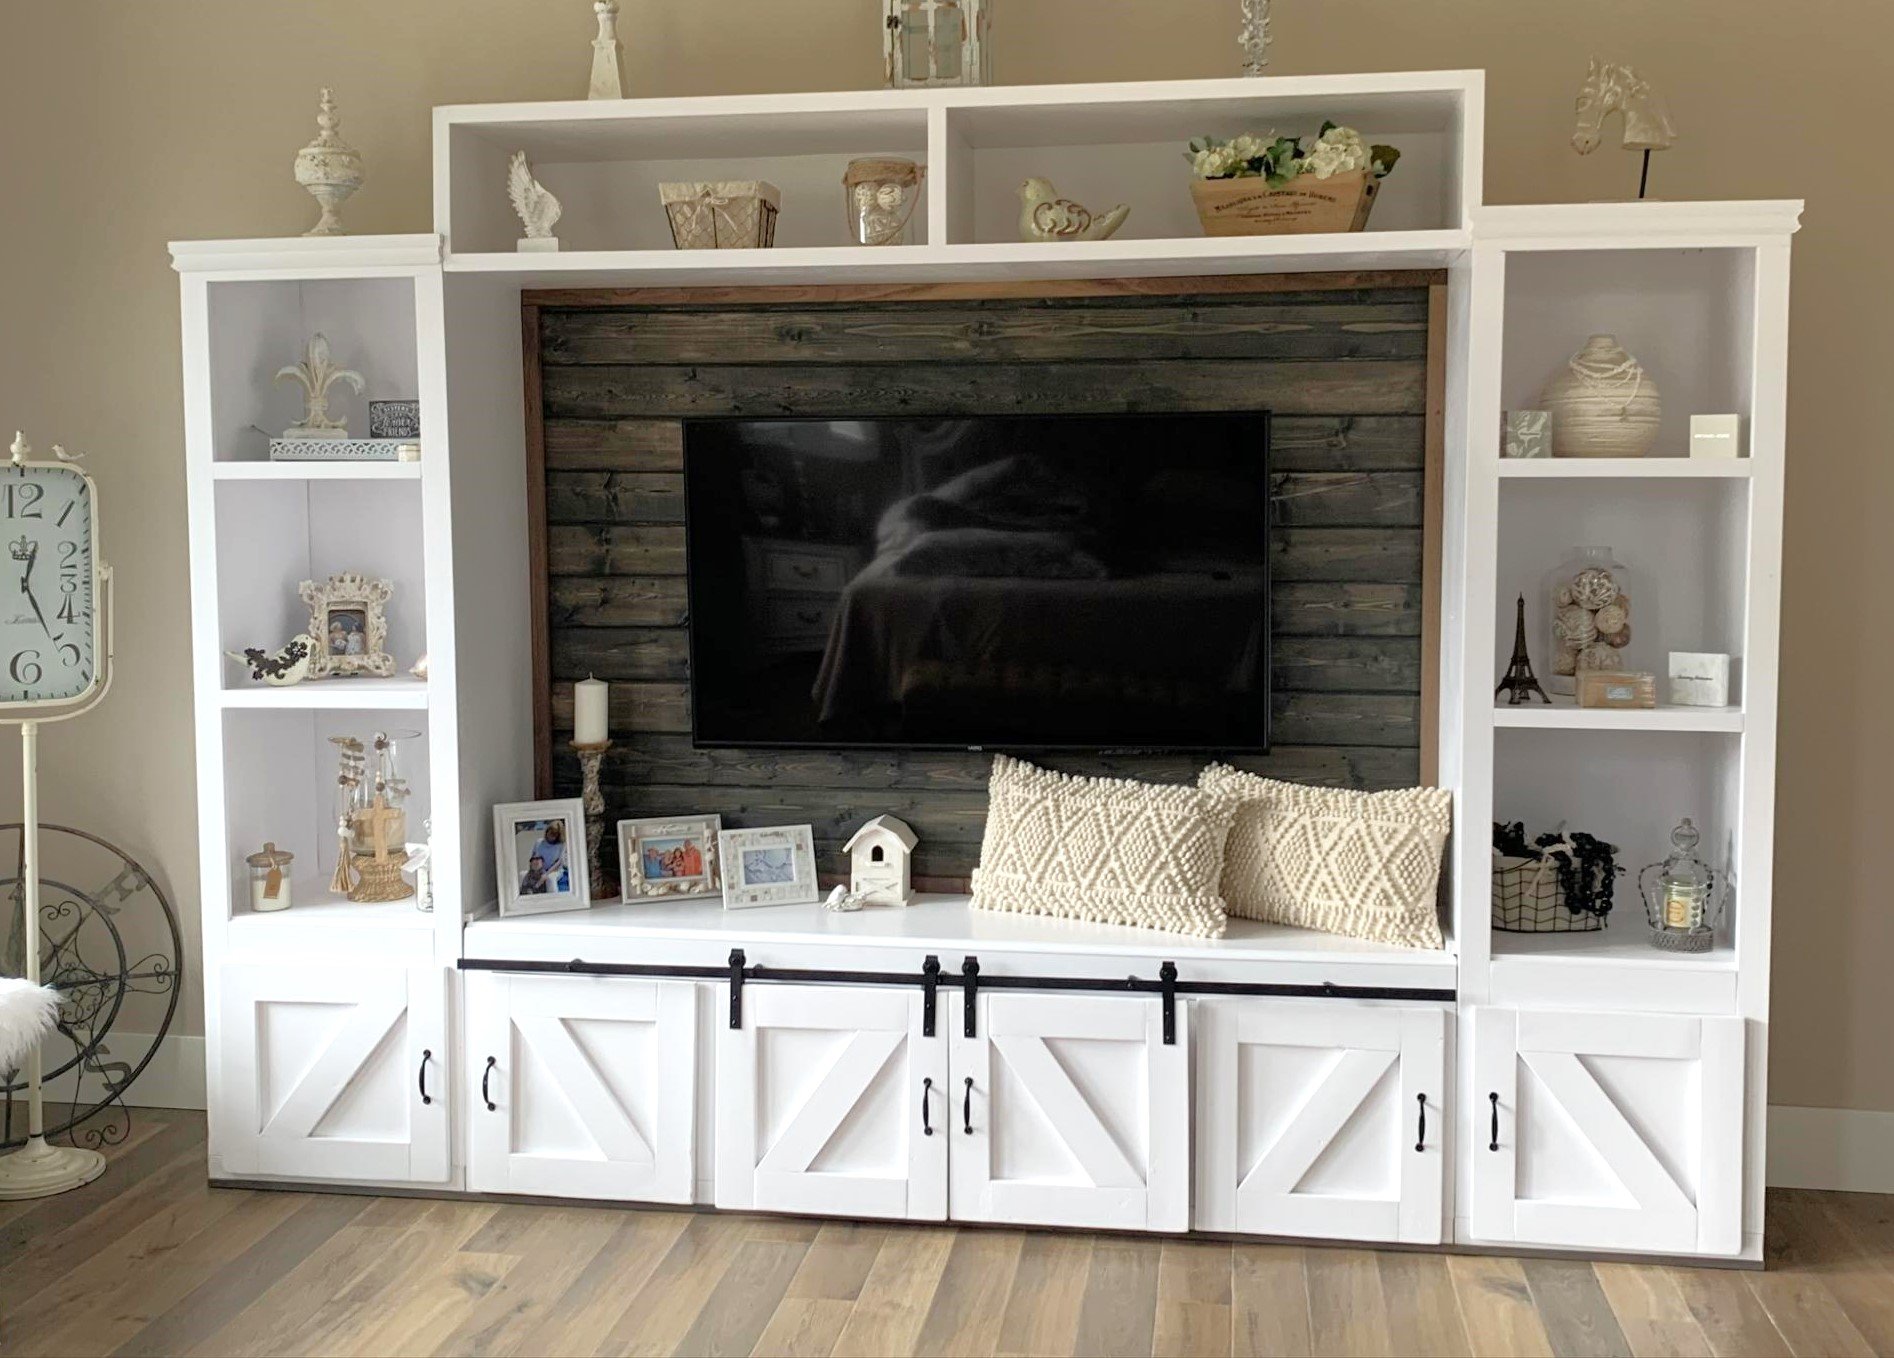
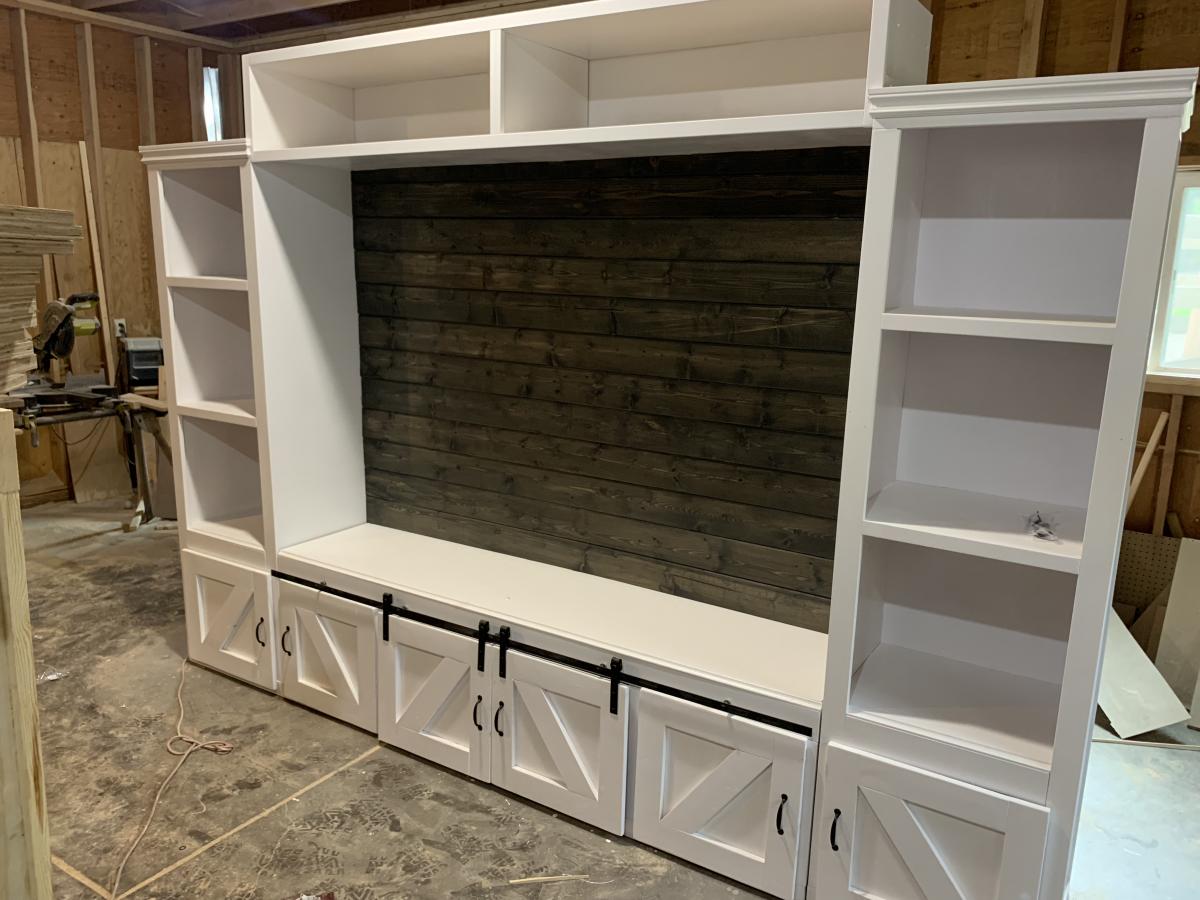
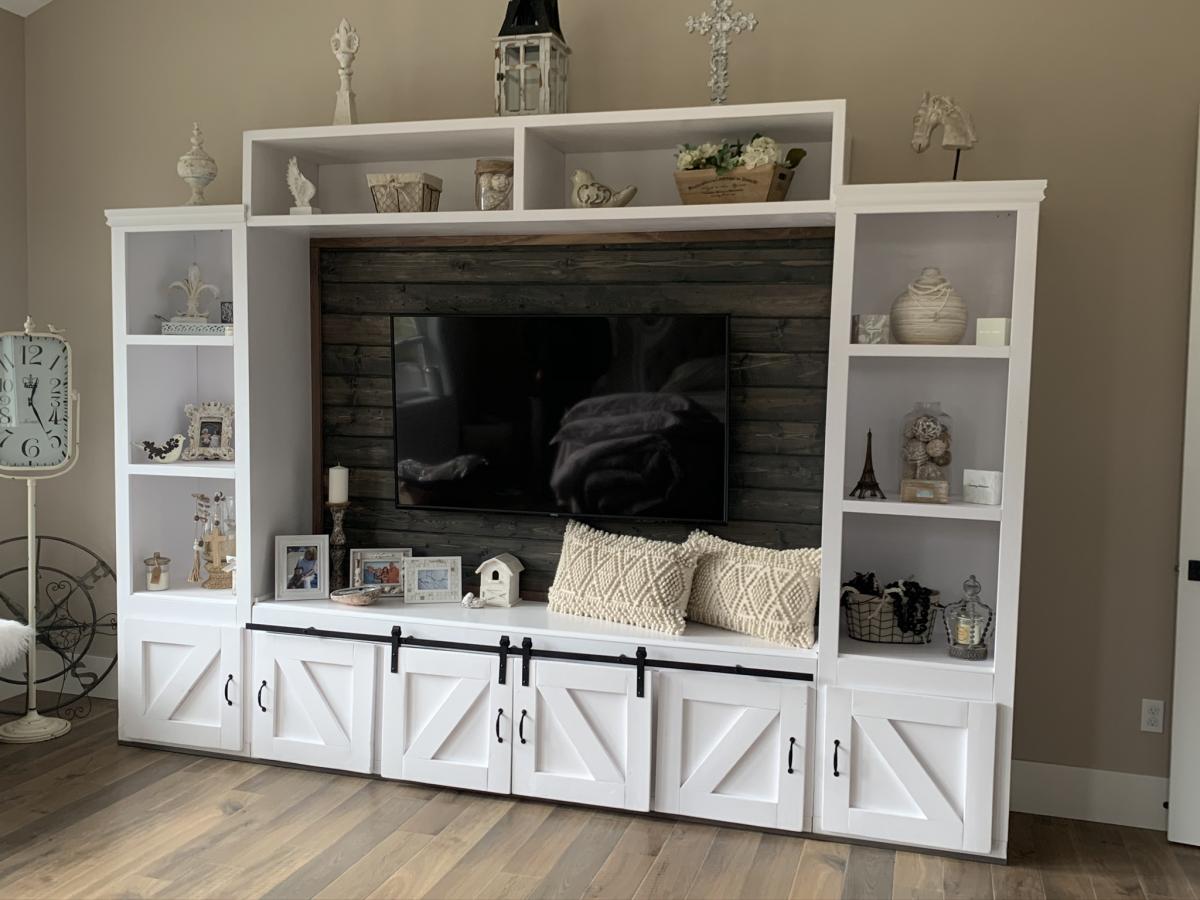
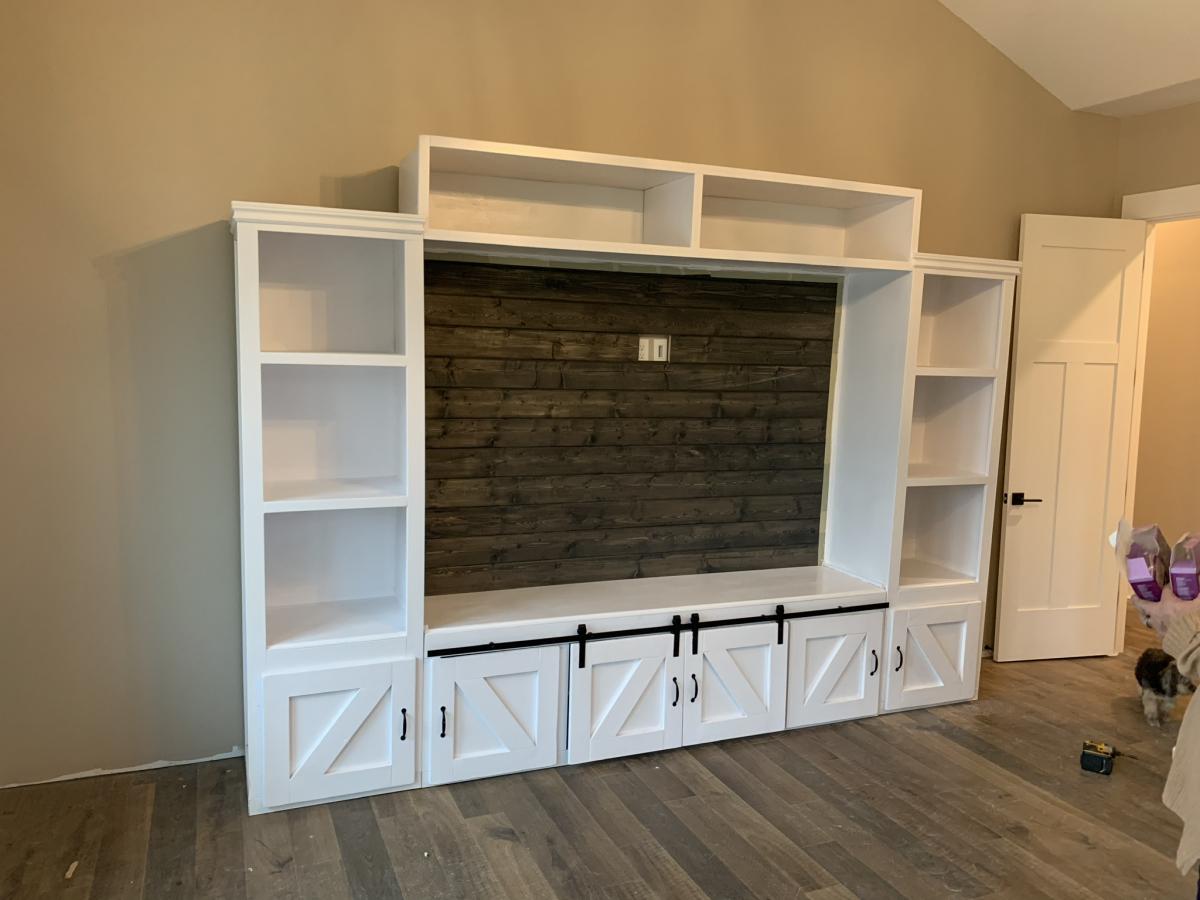
Hand made entertainment center
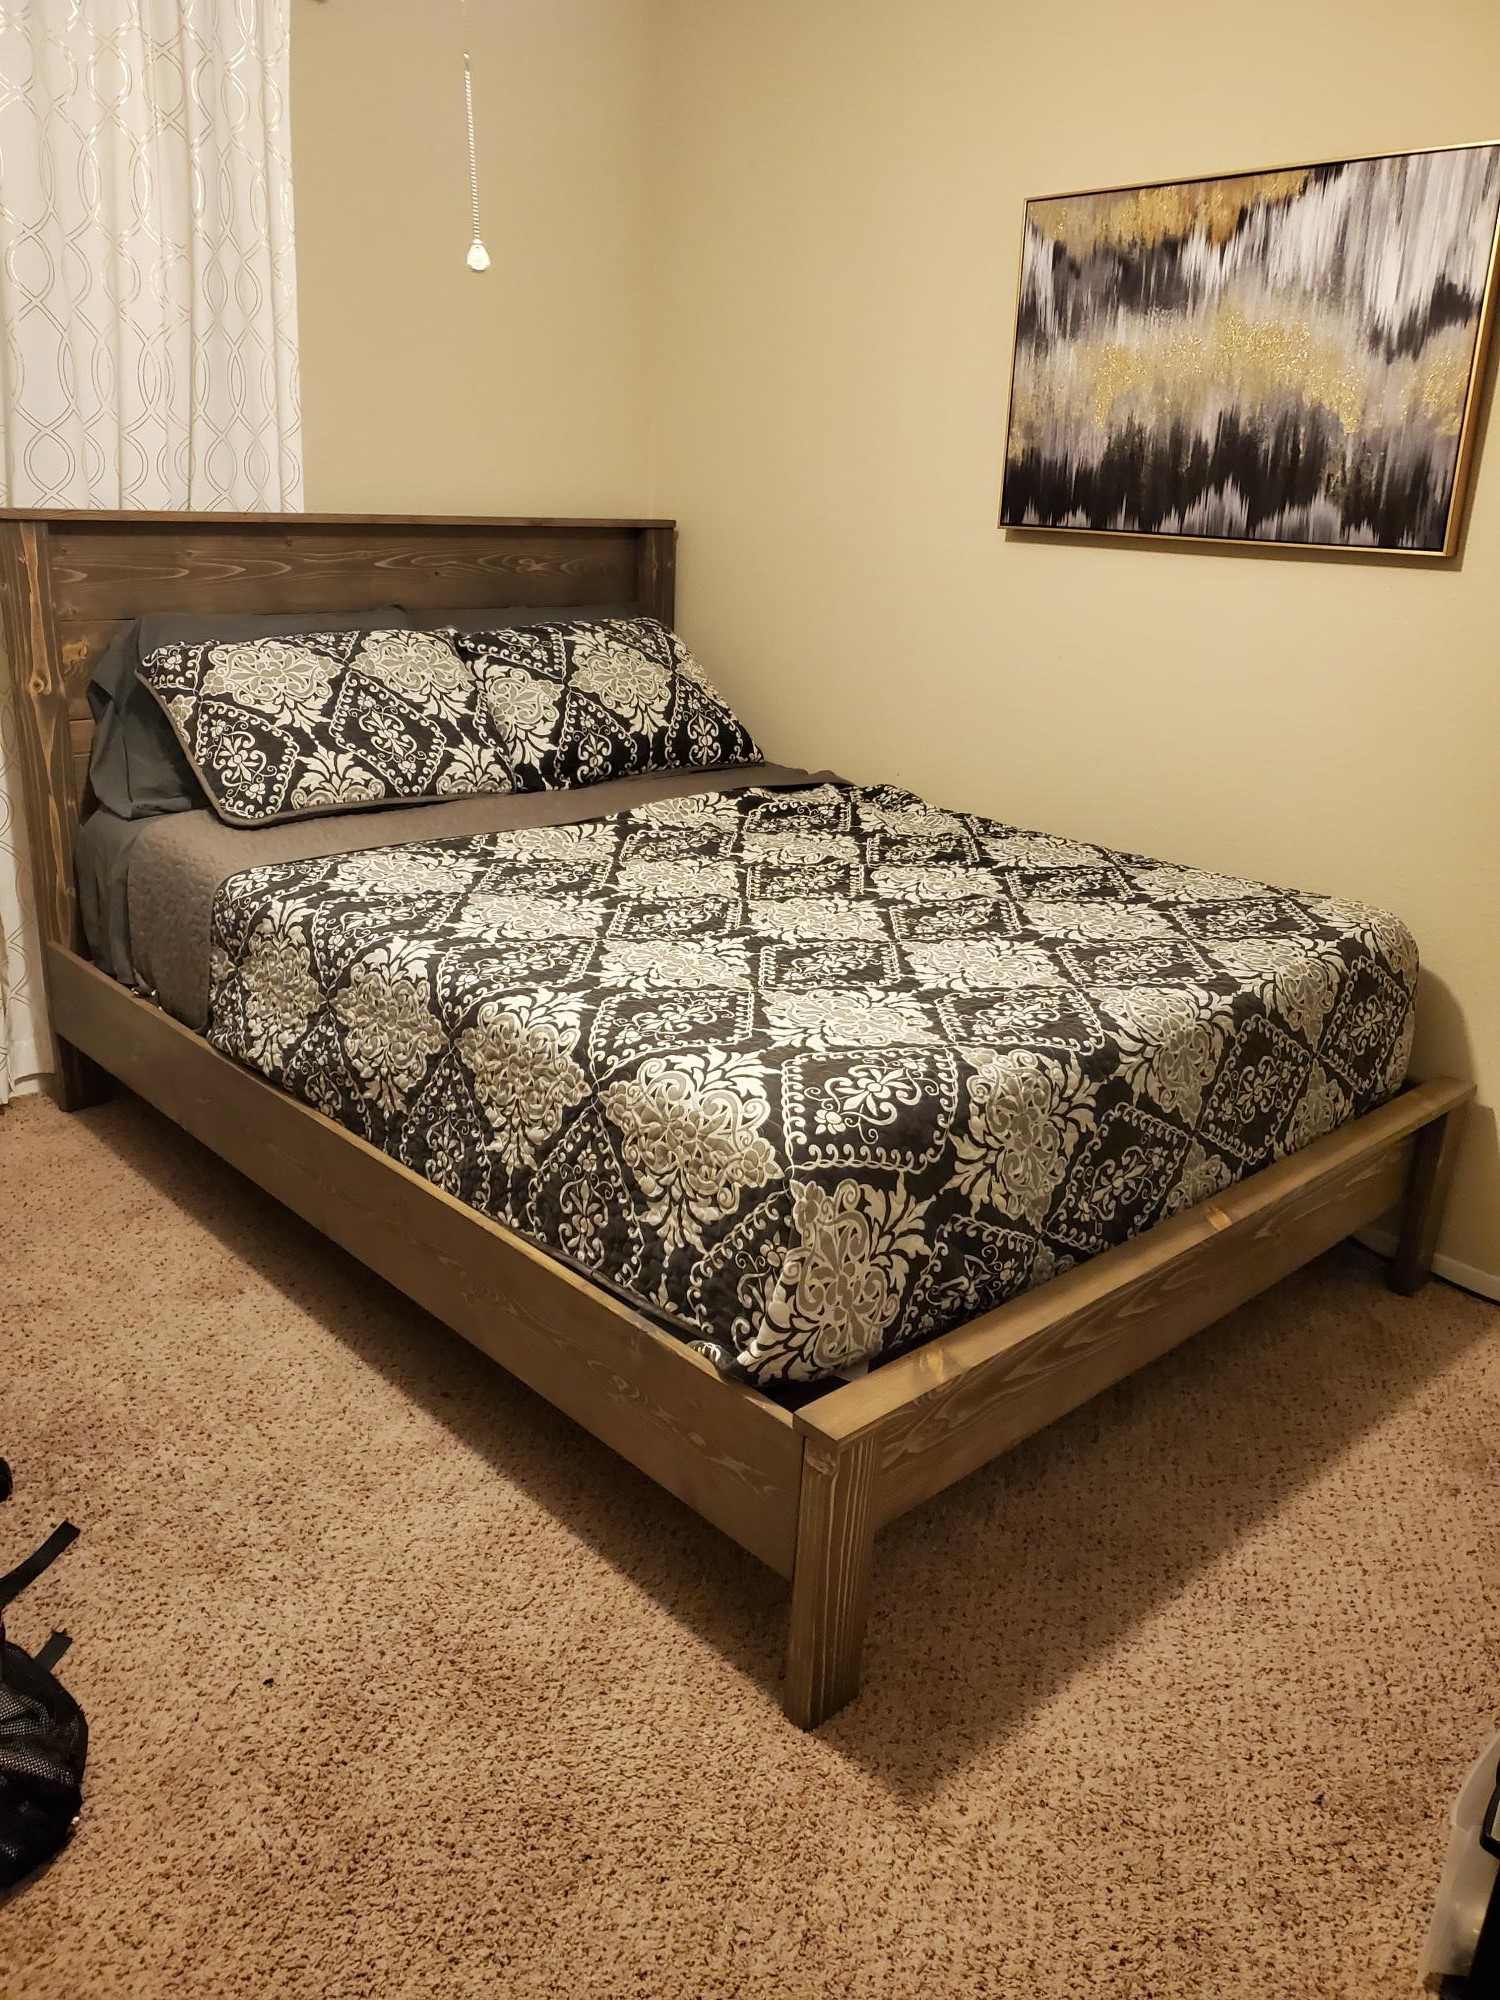
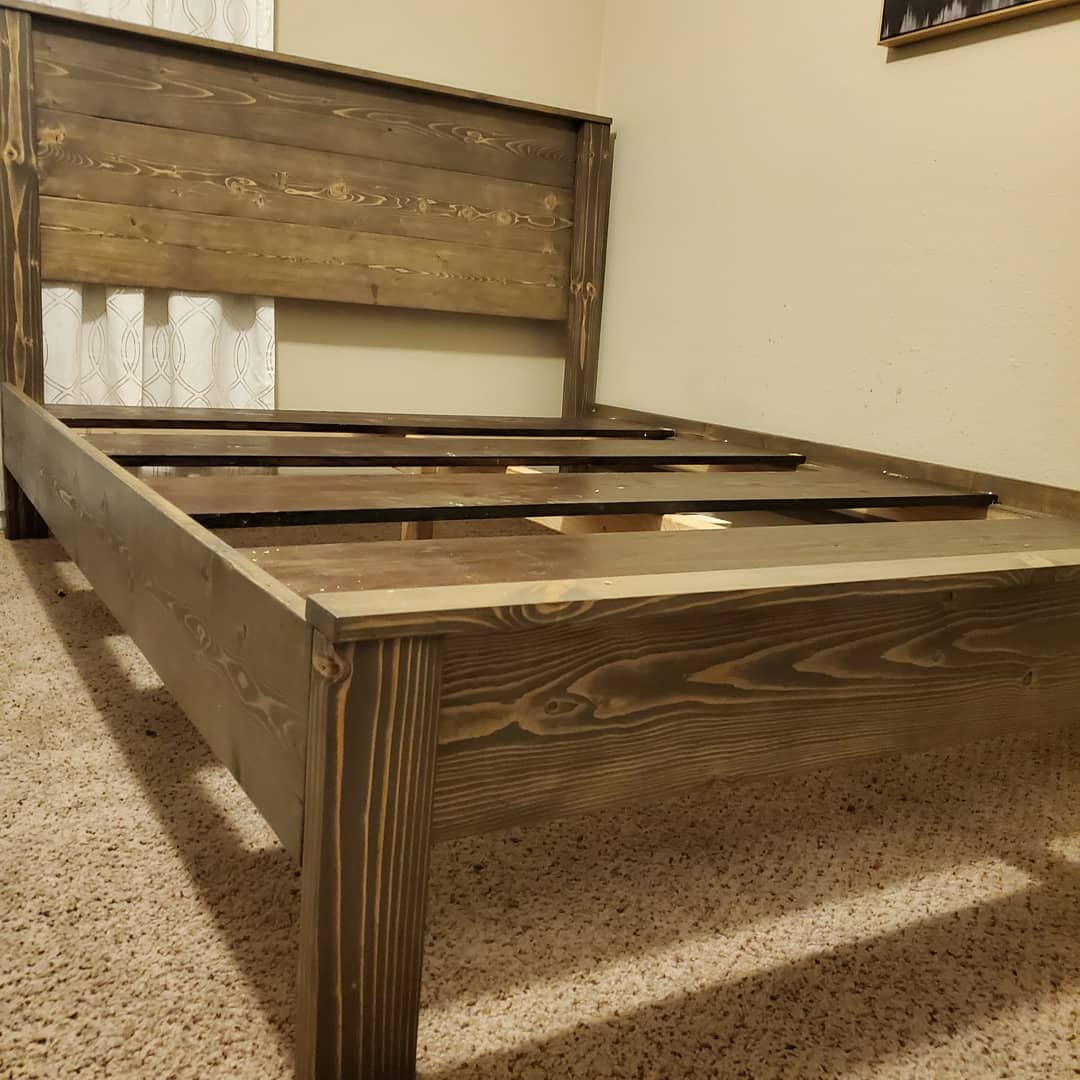
Queen size built according to plans. Stained in Briarsmoke by Miniwax.
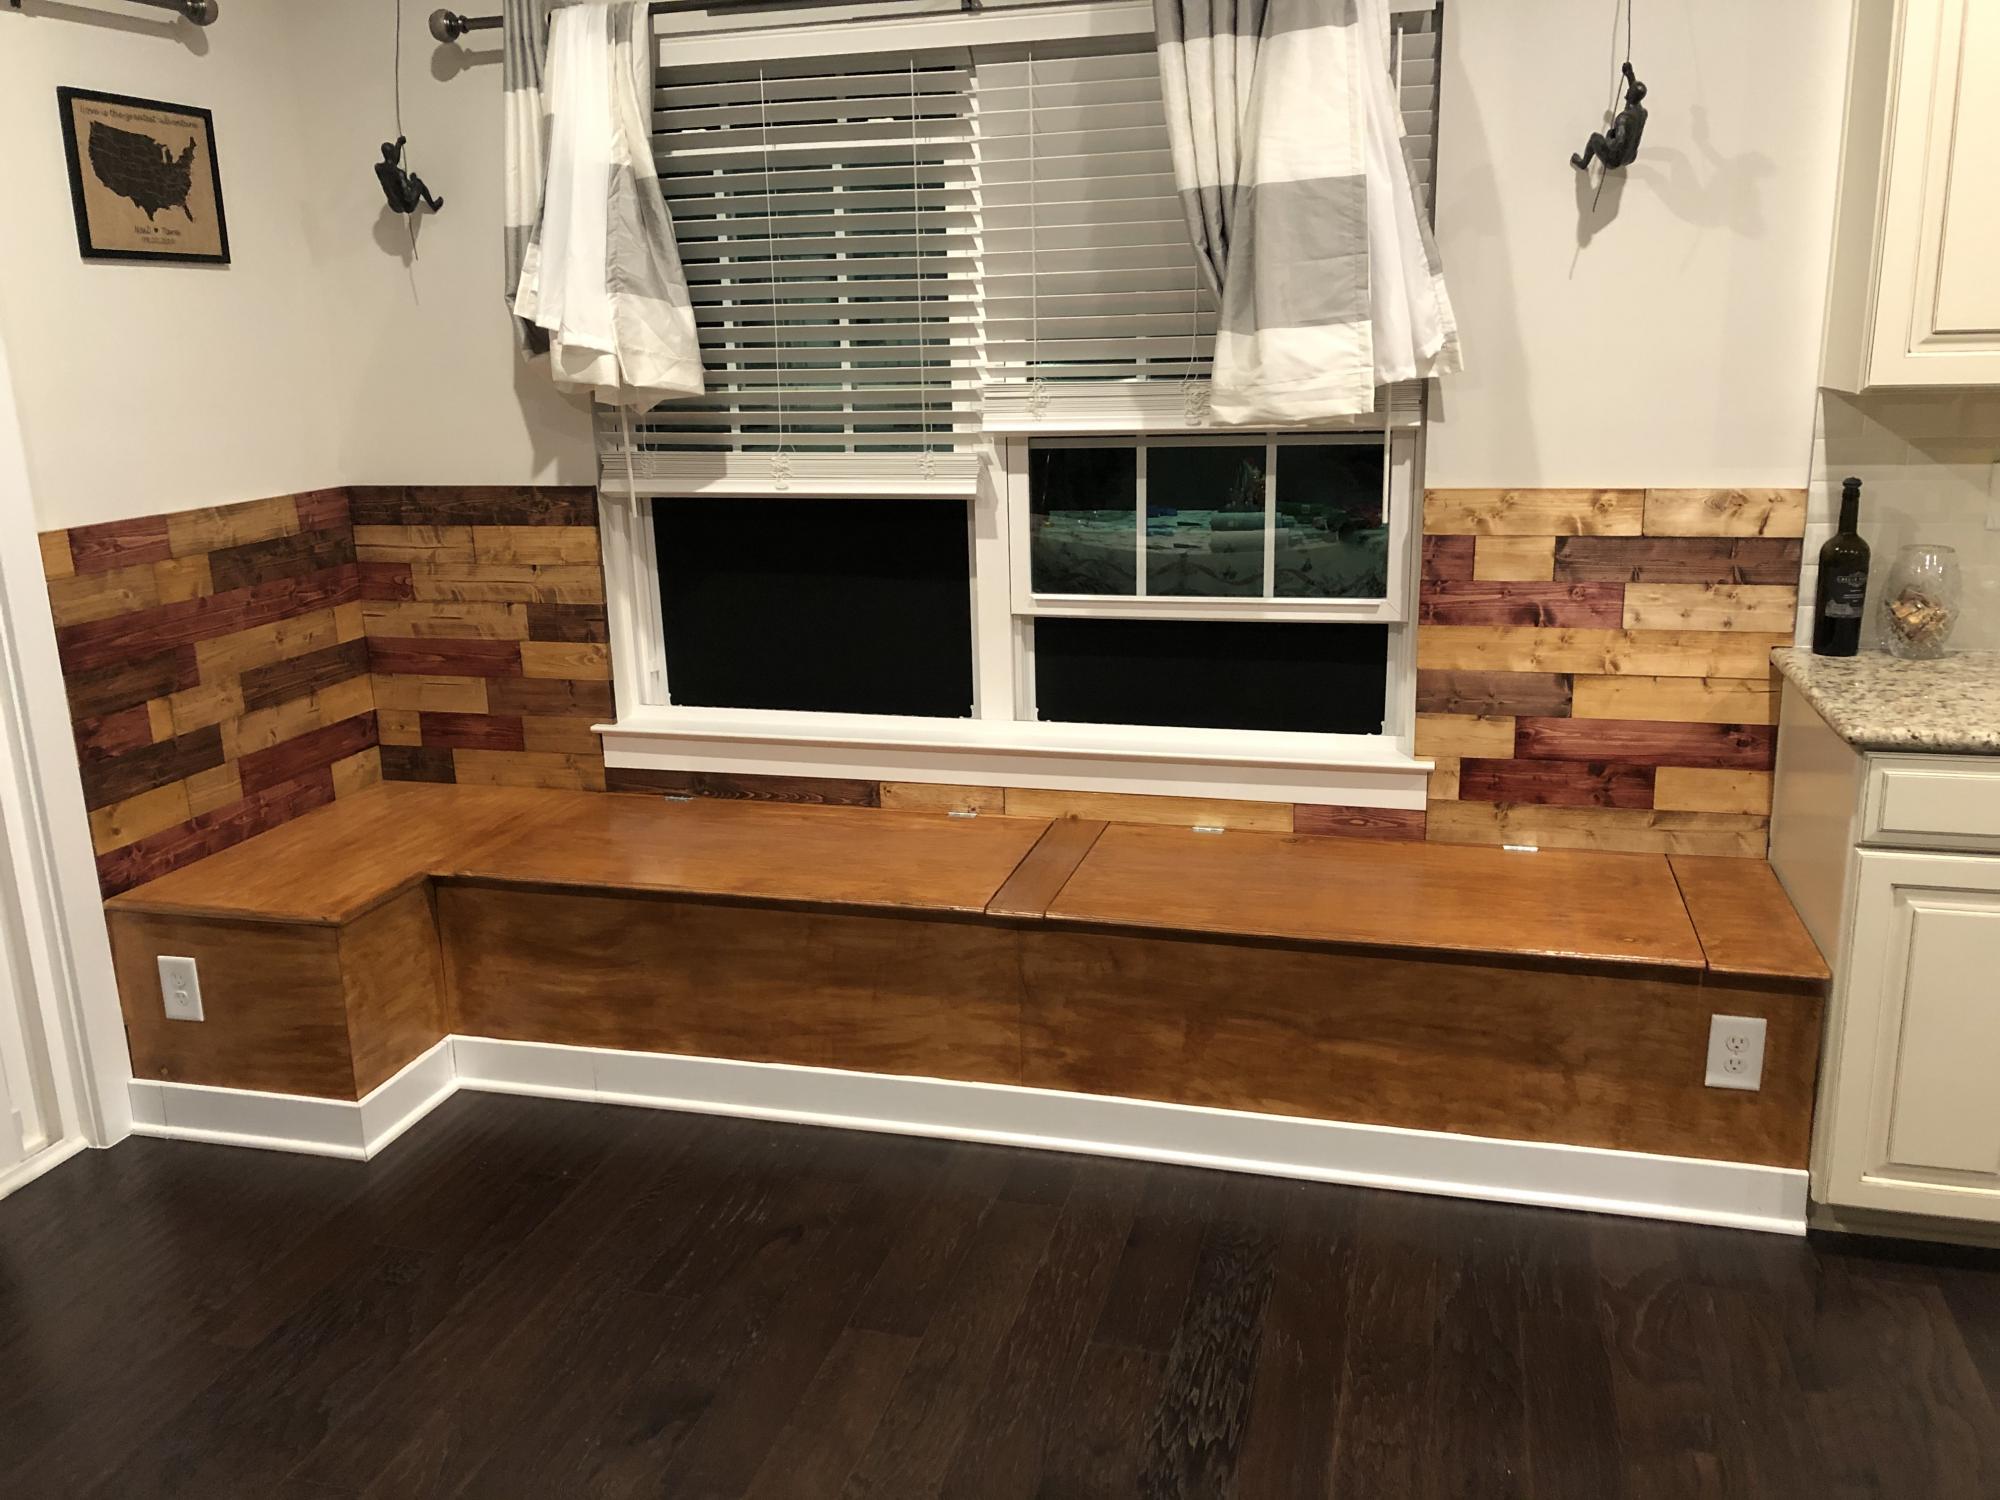
Modified the benches a little to be opened without removing a cushion. Cushions to come. We made our own paneling for the back and reused the original trim. Table to come.
Idea and plans from another brag Breakfast nook.
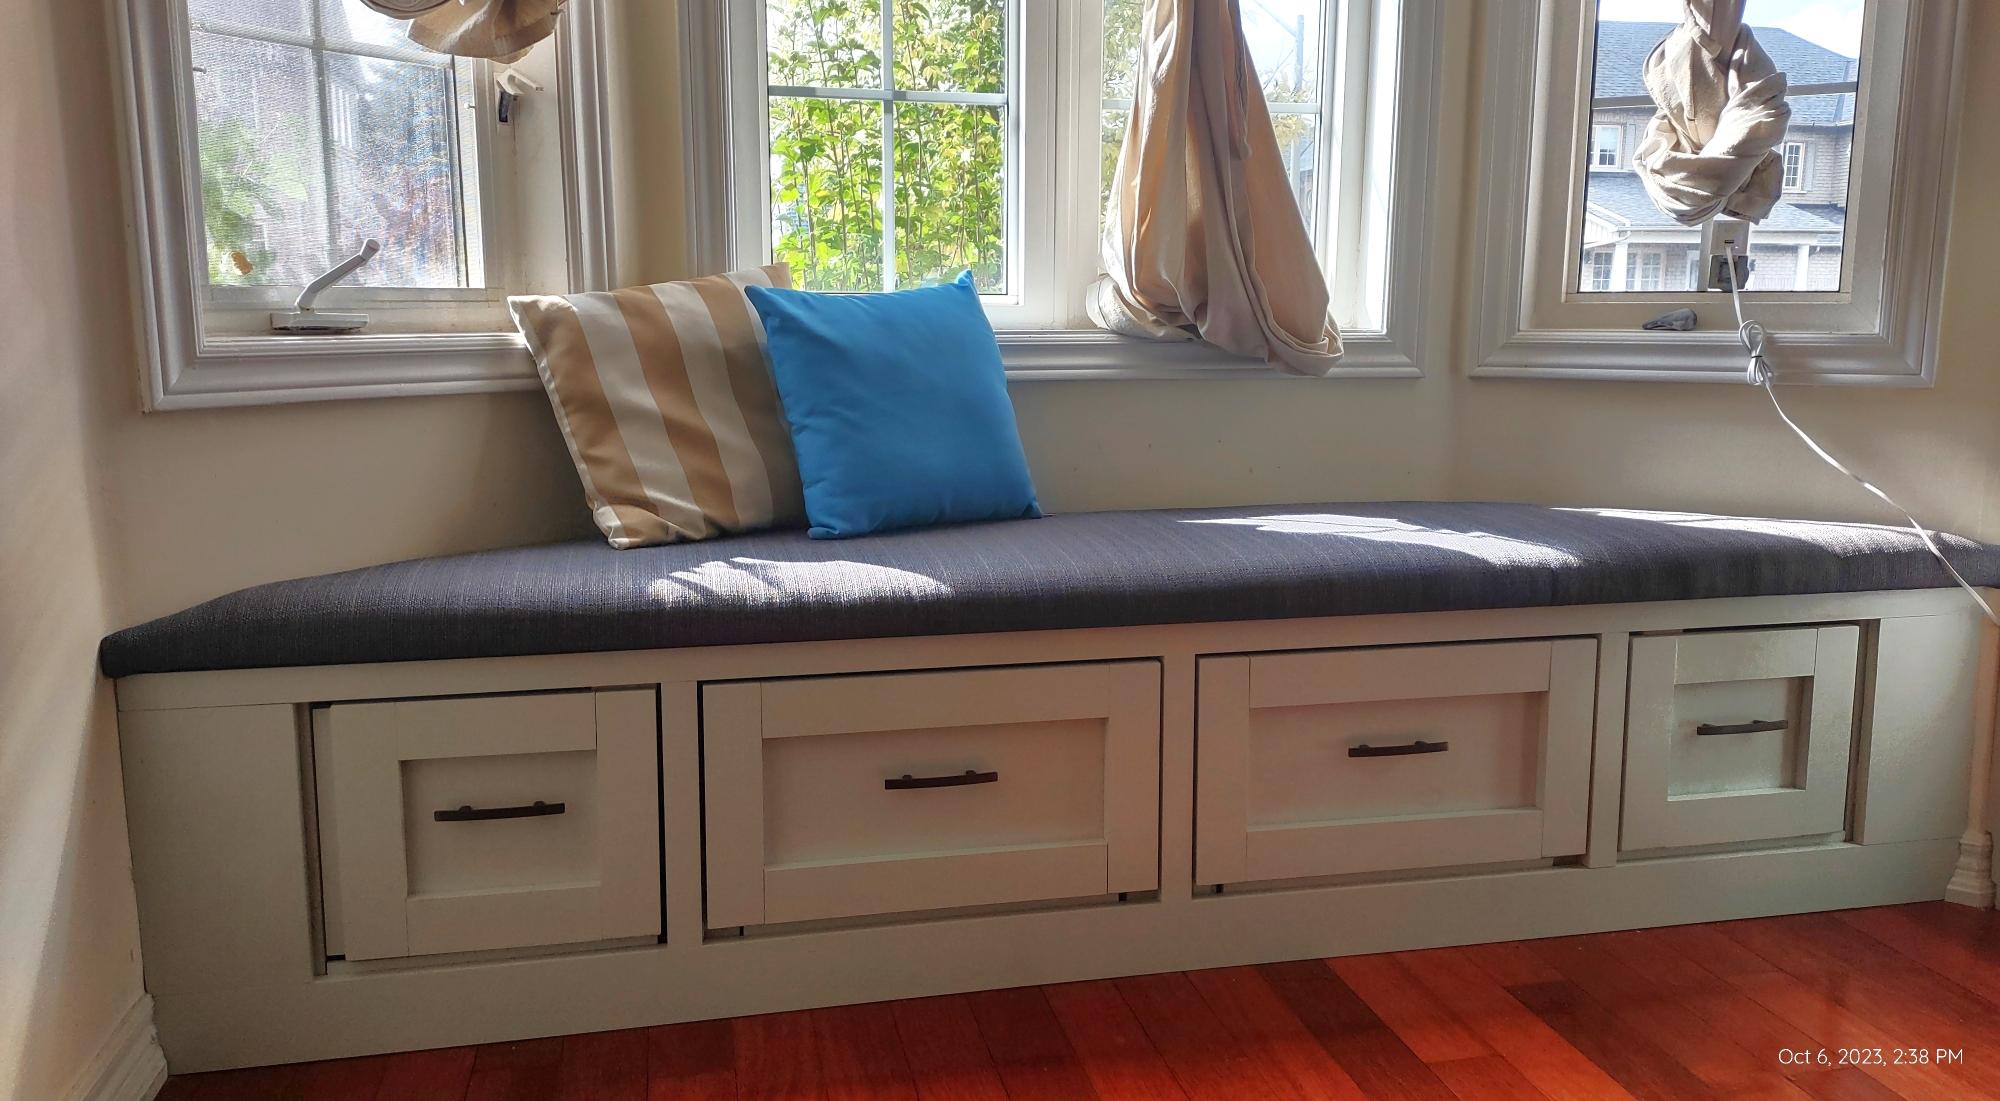
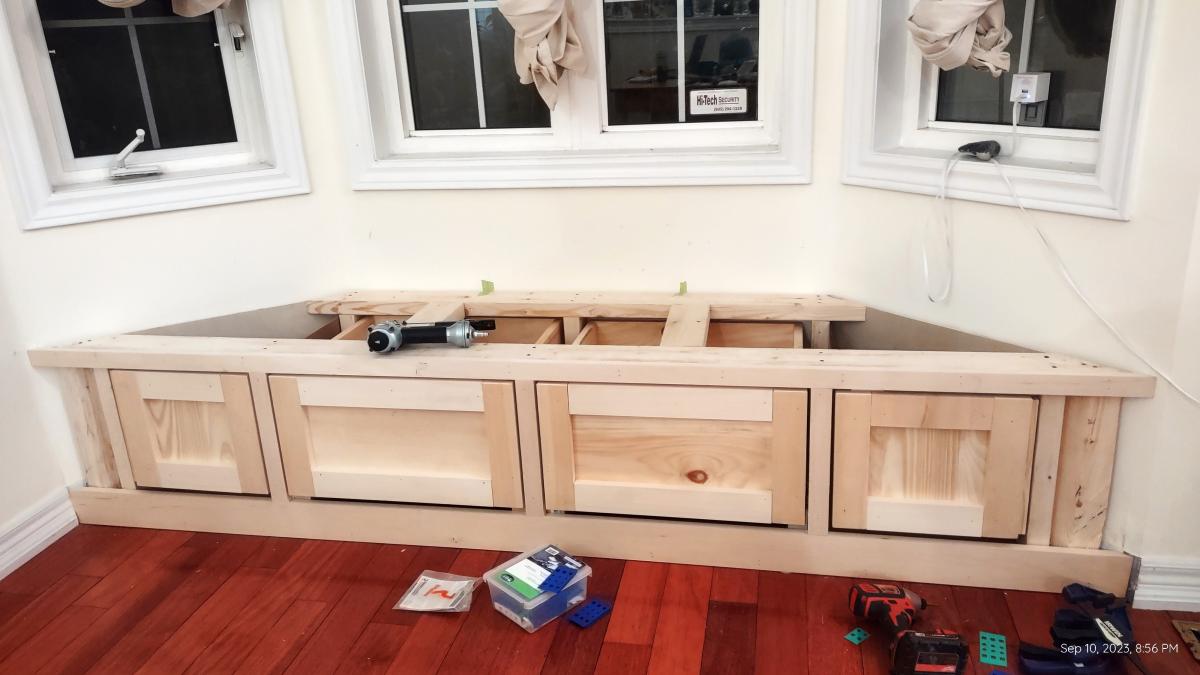
This is inspired by mud room bench with drawer. Apparently I had to make quite some modifications as this is for a bay window bench with trapezoid shape instead of a rectangular. In the middle are 2 drawers, at both ends are corner cabinets. Ana's design worked beautifully as the foundation of my project.
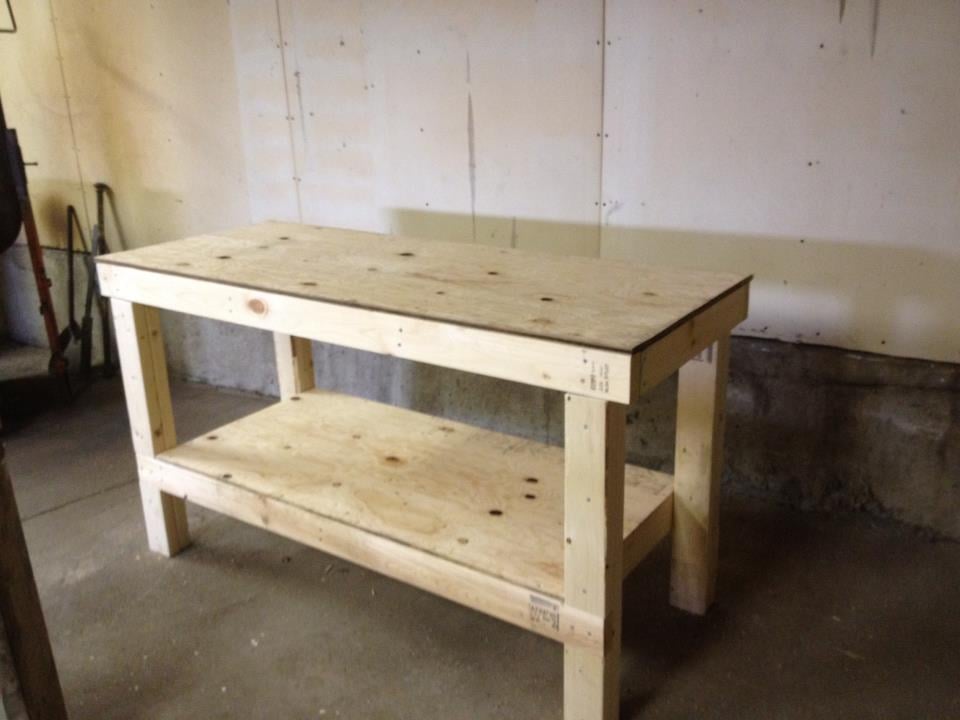
Easy to build! Took about 3 hours!
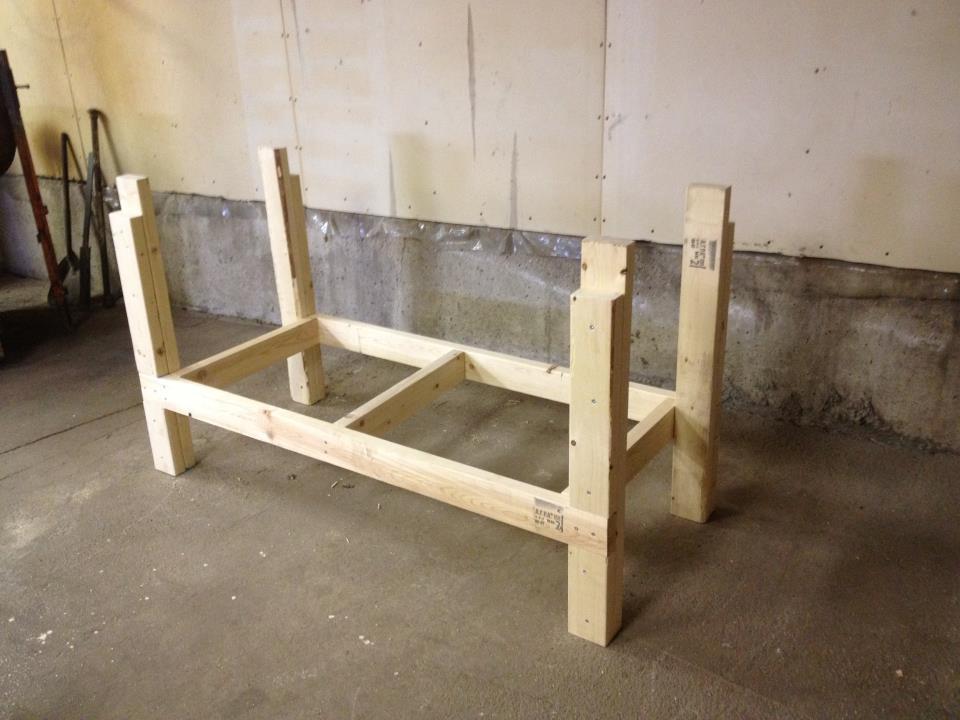

Sat, 05/19/2012 - 05:15
This is fantastic, just what I need to build. Would you mind sharing some measurements such as height, width and depth.
In reply to Great Workbench by deannaf
Sat, 05/19/2012 - 16:58
I think all the dimensions were in the pattern.
Mon, 05/21/2012 - 05:19
oops thanks I feel a bit embarrassed. Going to the plan now, thanks for sharing your awesome build
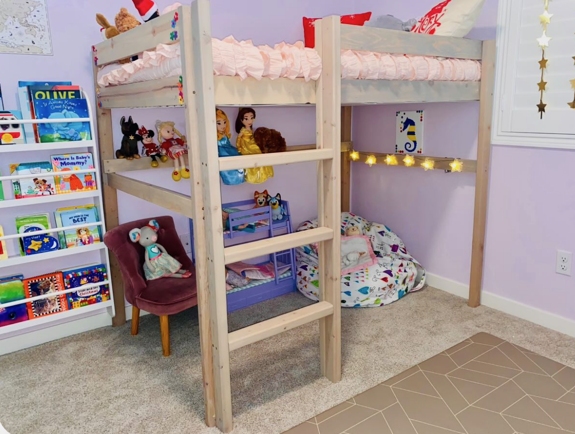
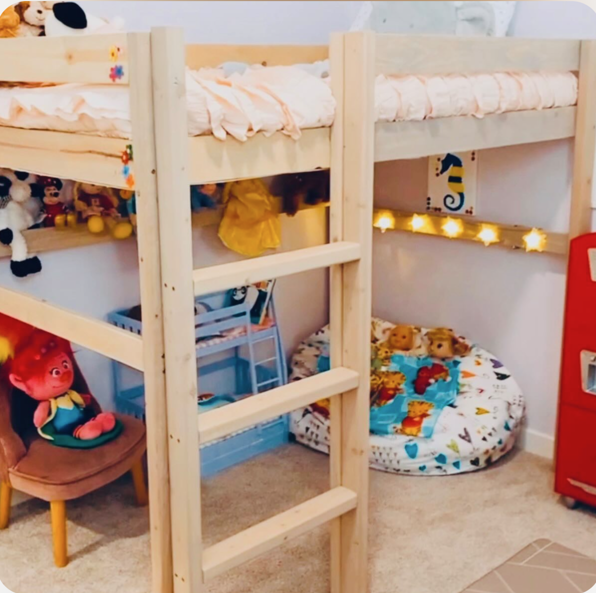
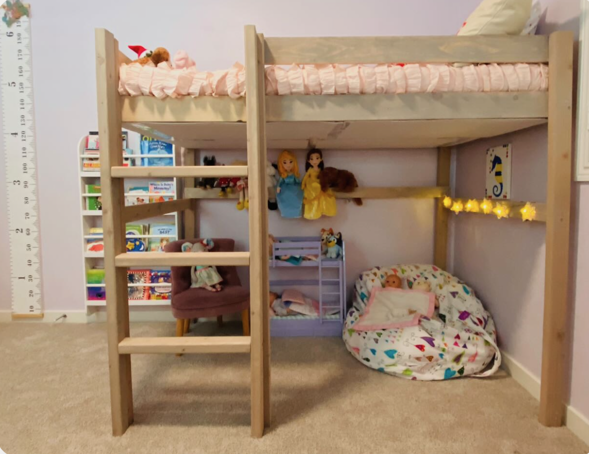
Built this loft bed for my girls playroom! They love it.
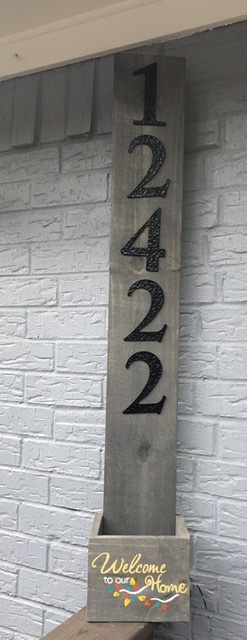
Used Ana’s plans for this just made one modification, which was adding wire to the bottom so the plant can drain out. I also stained the fence picket before putting it together. The numbers were the most expensive part of this project they were ~$18. https://ana-white.com/woodworking-projects/house-numbers-vertical-plant…
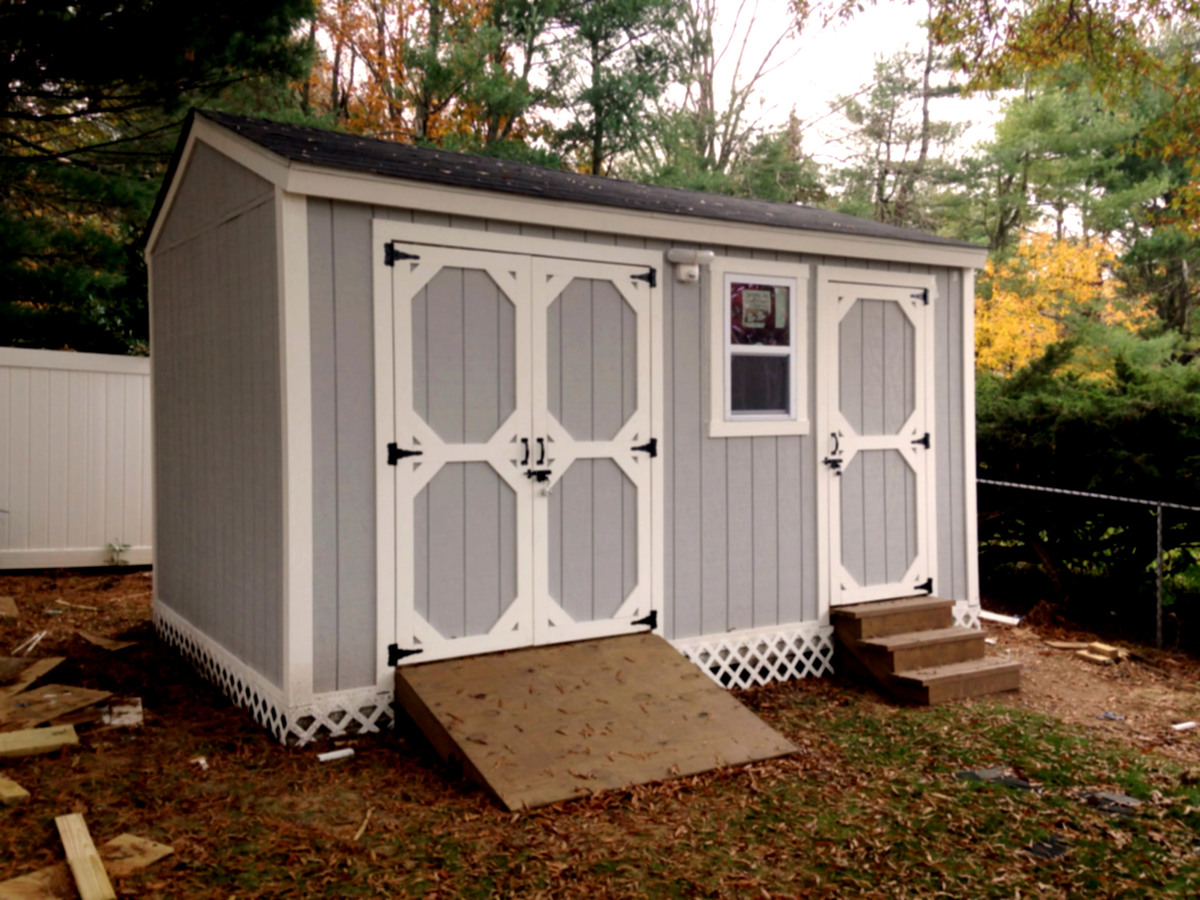
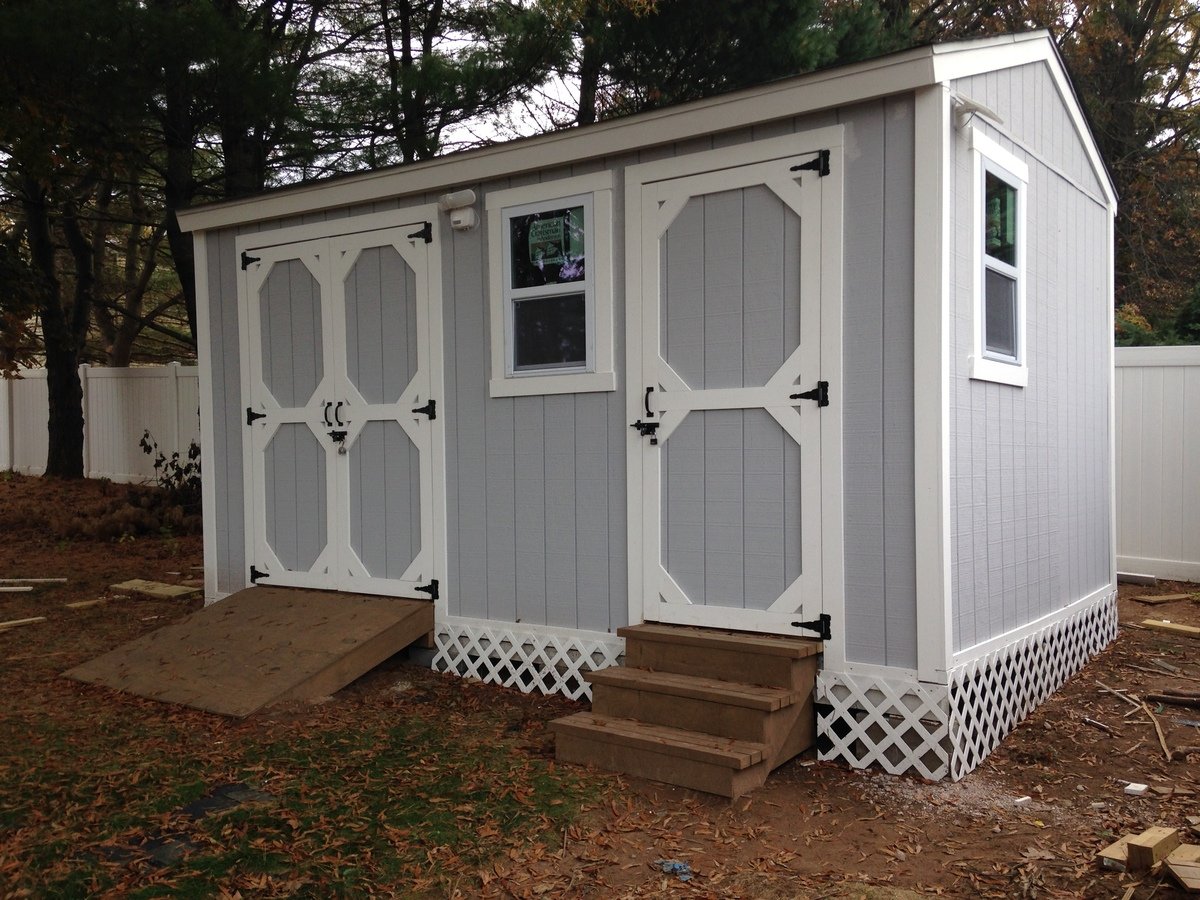
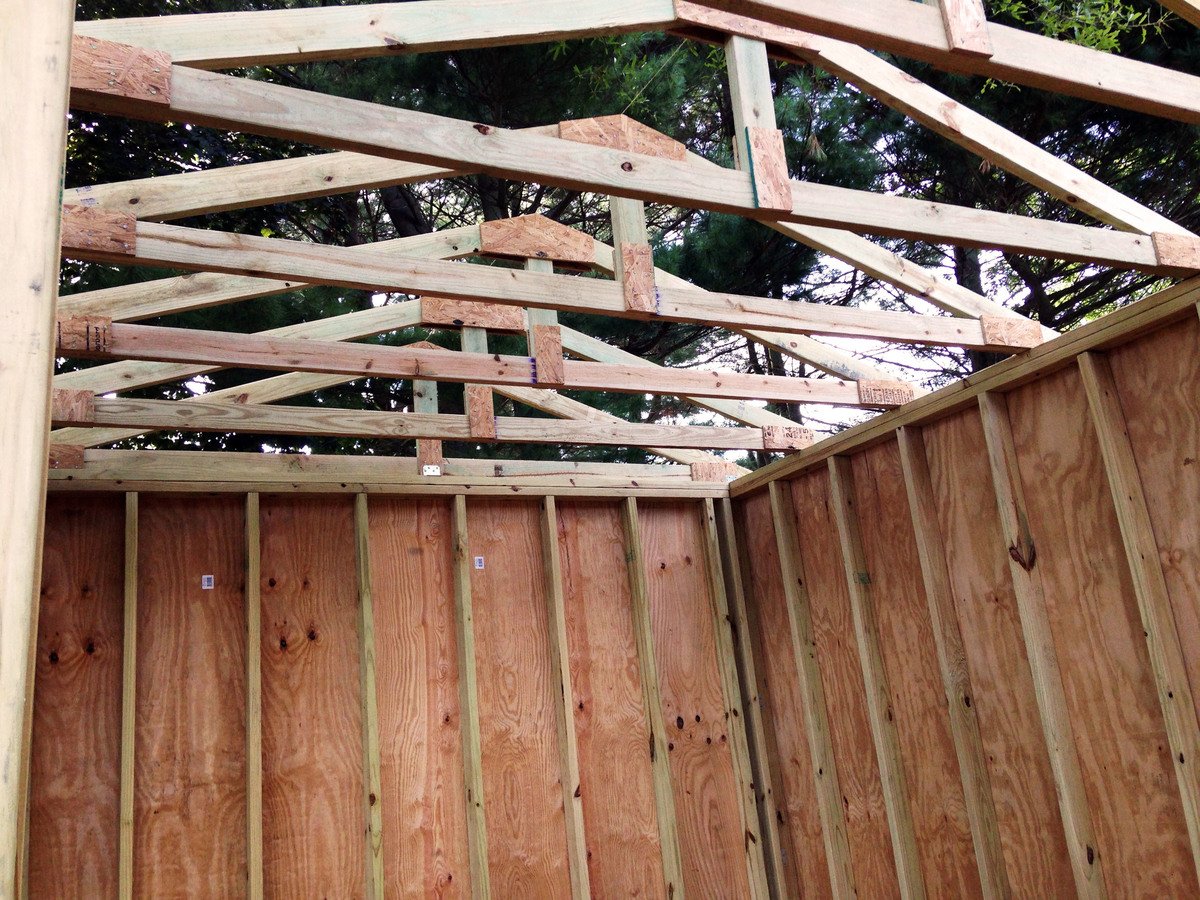
I used ideas on your site for inspiration for my current back yard shed. I did a lot of research before choosing one. If you've never built a shed before from scratch, it can be a little daunting, especially if its a larger shed. I also documented my whole process from the laying the foundation to putting the last nail on the shingles. Here's the link for you to my blog post:
http://www.justmeasuringup.com/blog/the-shed-project-phase-1
It was a lot of fun for me, and a huge wow factor to impress my friends ;) I store everything in there from my riding mower to all my patio furniture in the wintertime. It's such a useful thing to have.
I spent around $1500 and it took about 2 months to complete (working on it while having a full time job - otherwise would have finished a lot faster)