Enclosed Garden Raised Bed
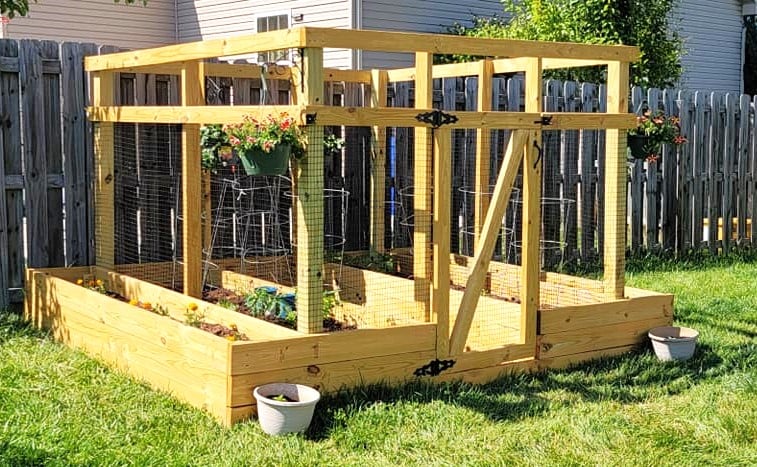
My husband and boys made a beautiful enclosed raised bed using your plans. It was modified to include exterior raised beds for flowers.


Built from Plan(s)
My husband and boys made a beautiful enclosed raised bed using your plans. It was modified to include exterior raised beds for flowers.
Thanks for a great plan! I've been procrastinating in posting, since I have plans to start blogging and wanted to link. Unfortunately, my blog remains a pipe dream as I still can't come up with a name.
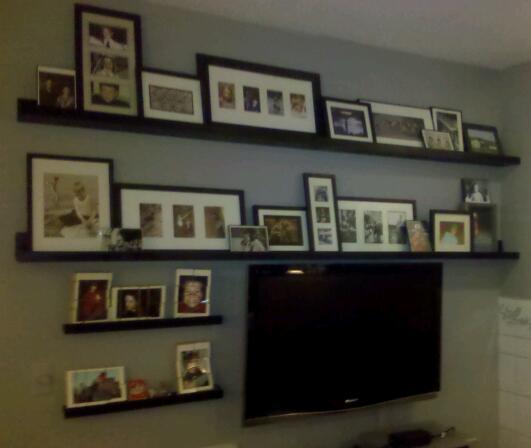
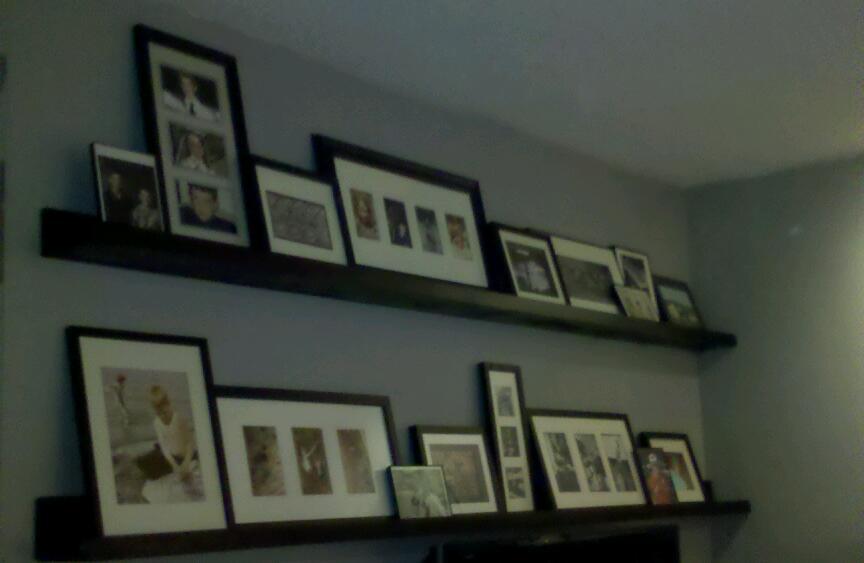
The two long ledges were the ones I made (smaller ones are ancient.) These have helped me a great deal in my efforts to pull together/put my own stamp on the most awkwardly laid out and chopped up house imaginable! The 'in your face effect' created by my piling nearly every photo I own on them should be temporary - wall space will open up as other rooms get done. I do think they soften up the gigantic television (Ok, stop laughing. It was worse before.).
While the Ten Dollar Ledges were the inspiration for these, I didn't follow the instructions, since I have lots of leftover plywood and buying lumber when you live in the country and drive a VW Bug is not much fun. I'm very pleased with both the shelves and the garage space their creation opened up. There was a tradeoff, though, as it took me far longer than the hour or two each would have took had I used dimensional lumber. Four inch rip cuts are a pain! (especially since I was a bit too perfectionistic.) But I'm very happy with the results. Thanks again!
Sat, 01/21/2012 - 16:20
Hi - I am SO EXCITED - just made a $10 ledge! I have been wanting a photo/art ledge for a long time and actually purchased one from Pottery Barn which I returned. I hated the finish on it an found it very difficult to hang, not to mention that it was expensive! I had some idea how I might make one but wasn't sure, so went on line looking for instructions. So glad I found yours - it was really easy and looks great. The best part is that you can make it whatever size and finish that you want. Now i have to get busy making art to fill it! Thank you so much for your great ideas - i see quite alot of others on your site that I just might try.

I've needed a new fence for years but was intimidated by setting posts. I decided this year to hire someone to set the posts and then build the fence myself. Then I saw a brag post on here where the person used Oz-Posts. After researching it, I decided this was the way to go. It was simple and fast! We obviously need to cut the tops off the posts yet!
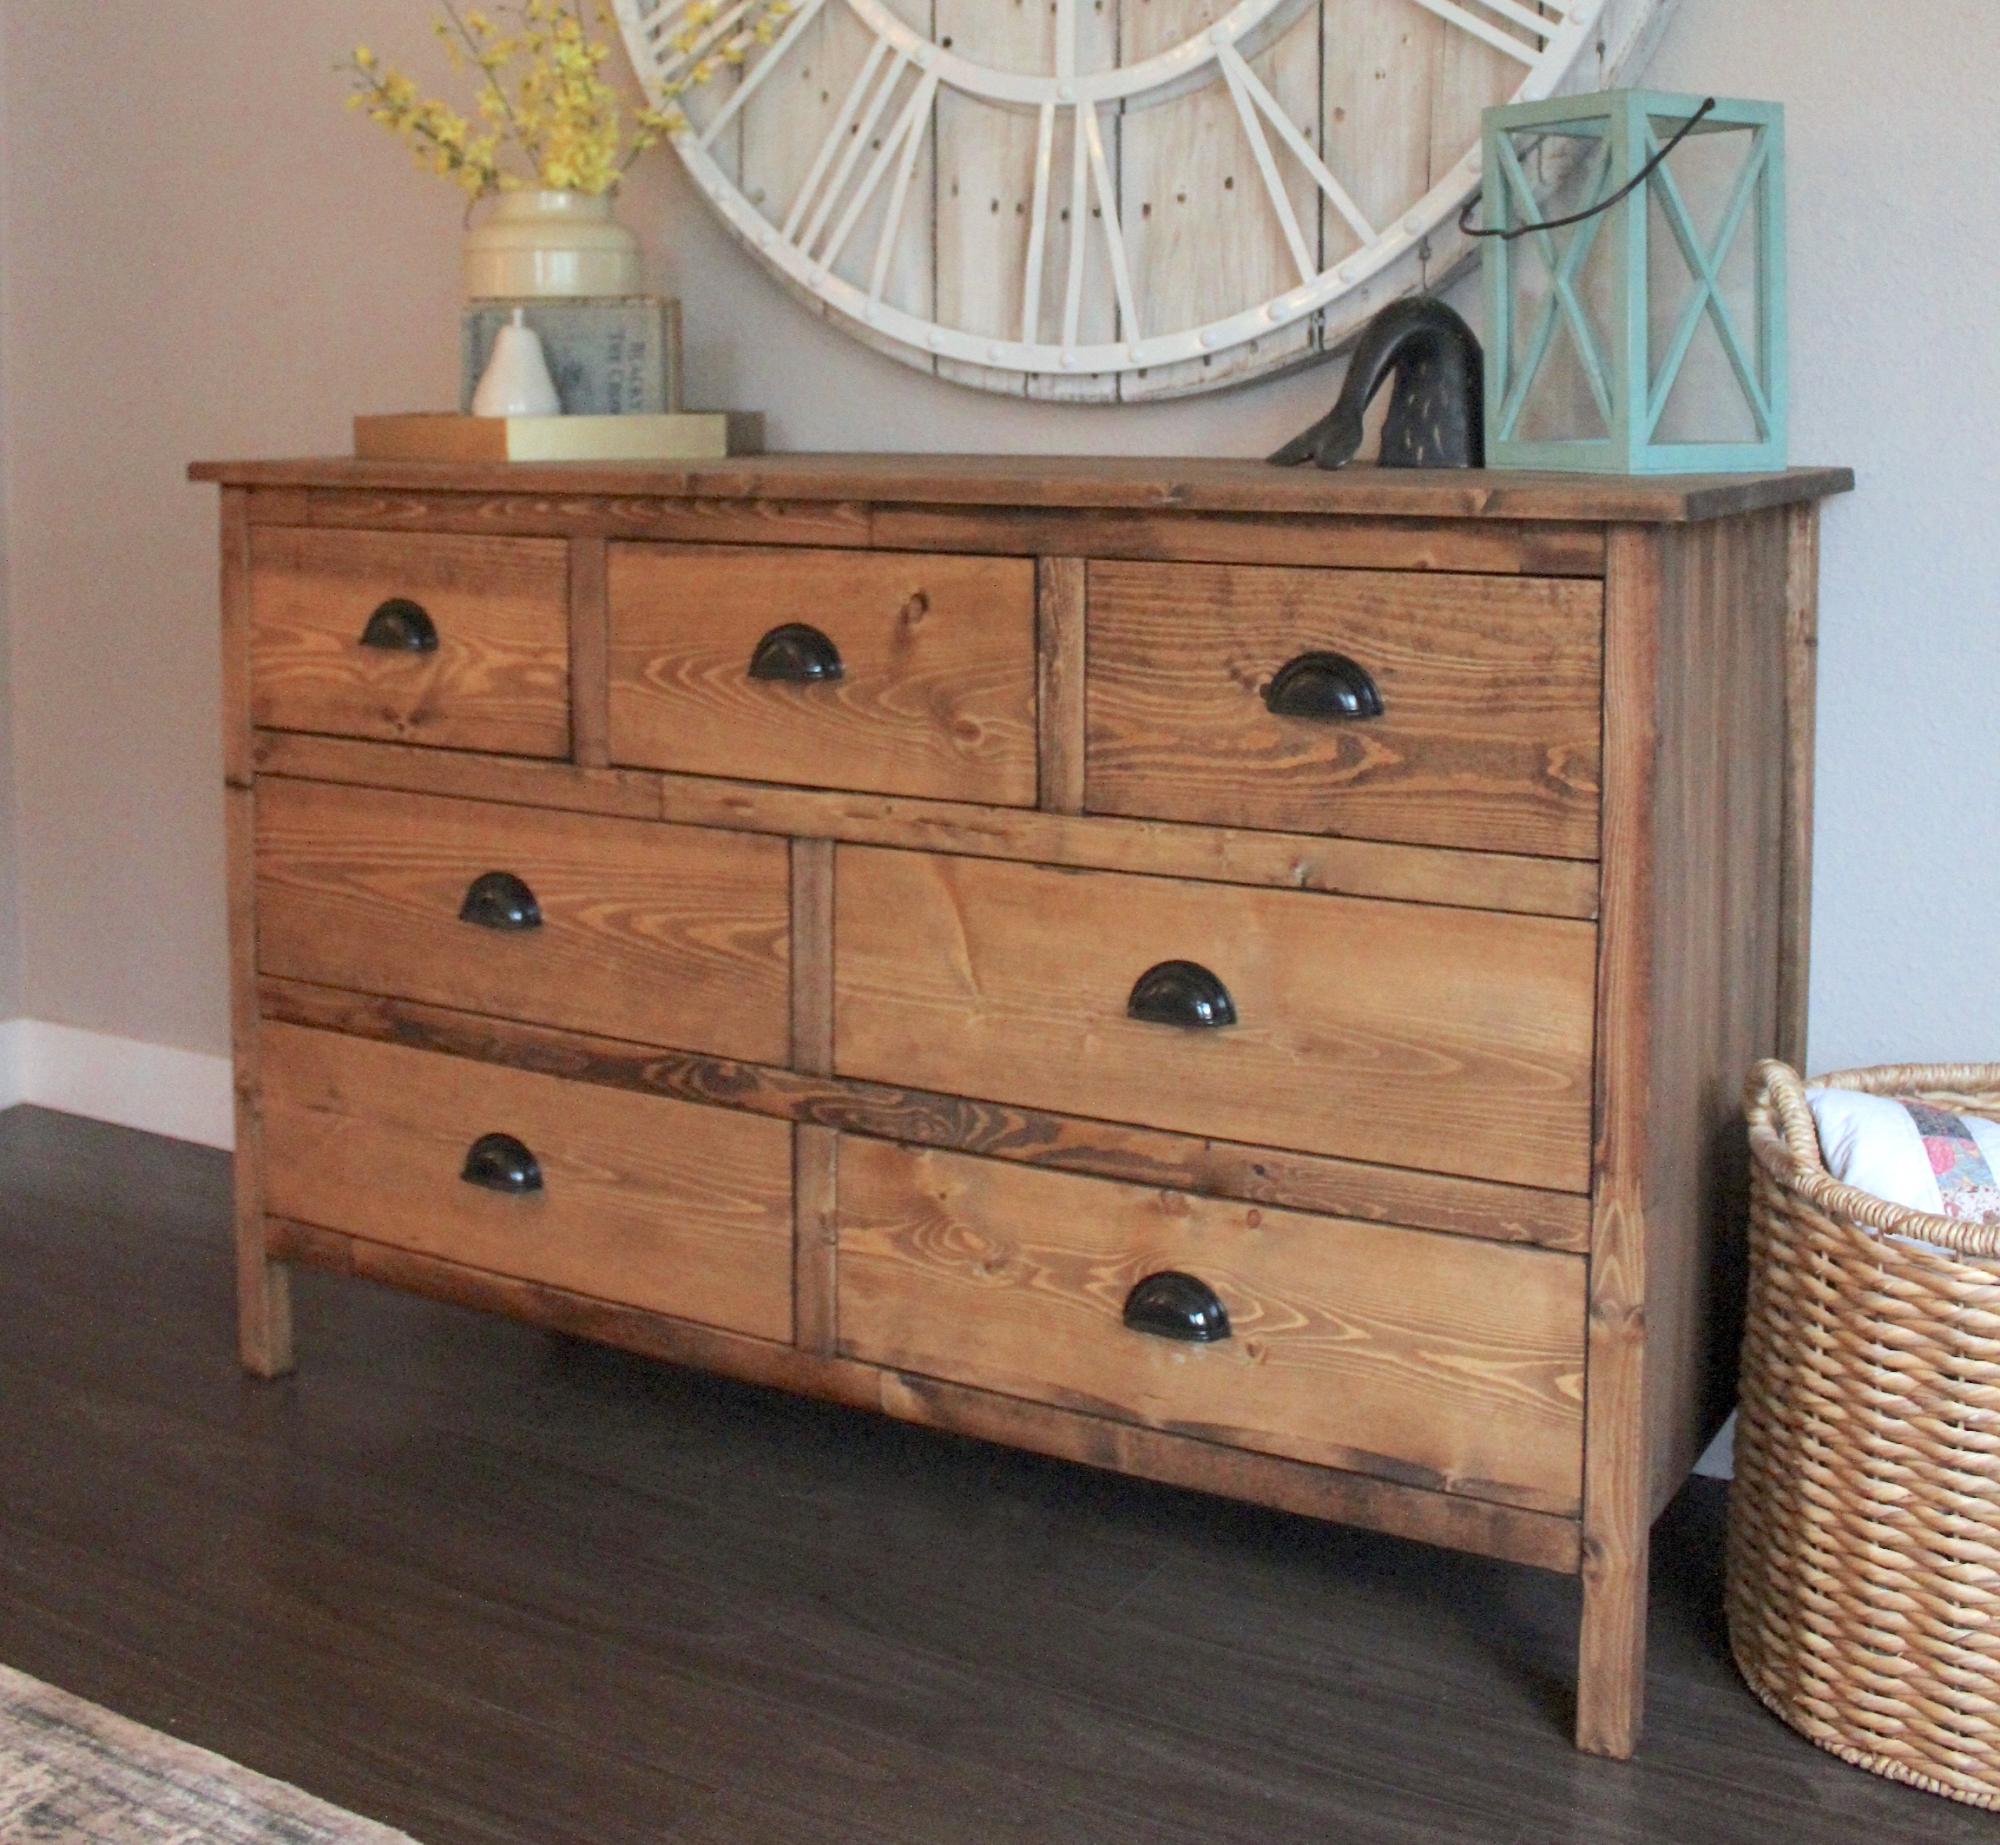
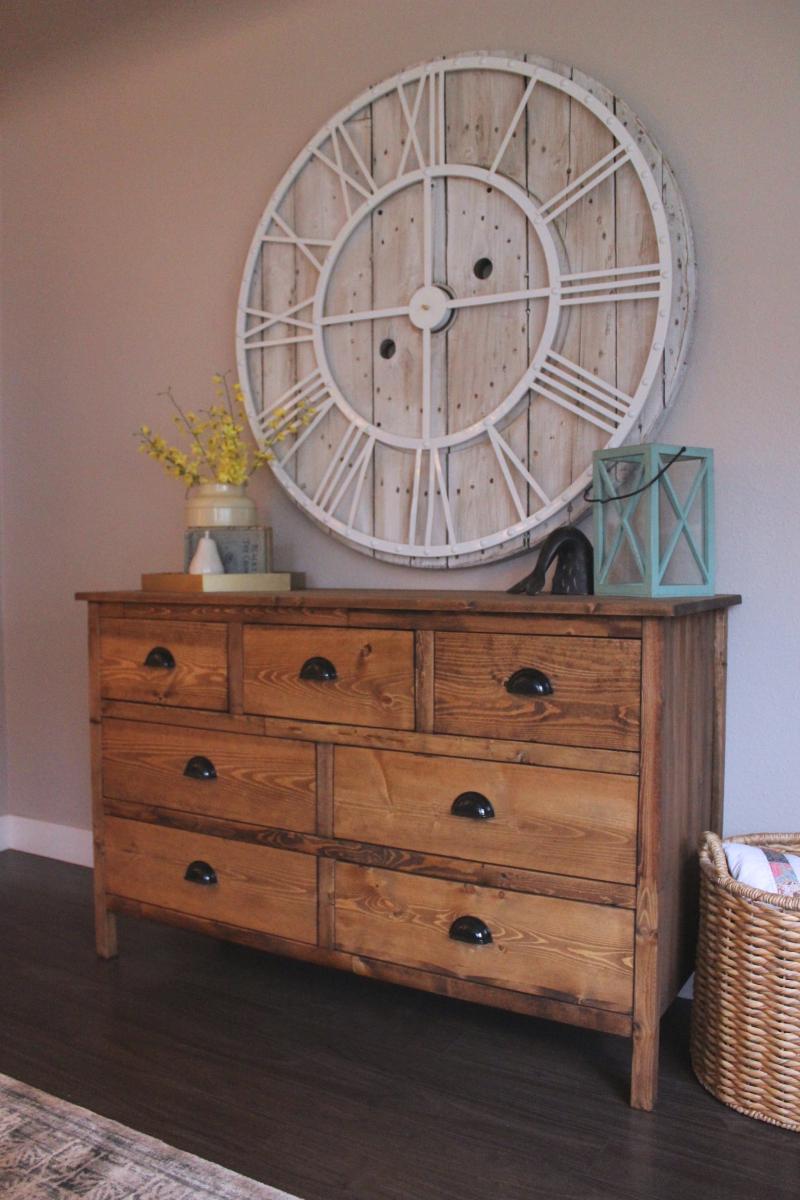
This was our second dresser build, but the hardest. I don't know why we had so much trouble with the tracks but we did. We cheaped out and bought the cheapets option and then decided to wrap them out and by the more expensive option - which would of saved us so much time in the first place.

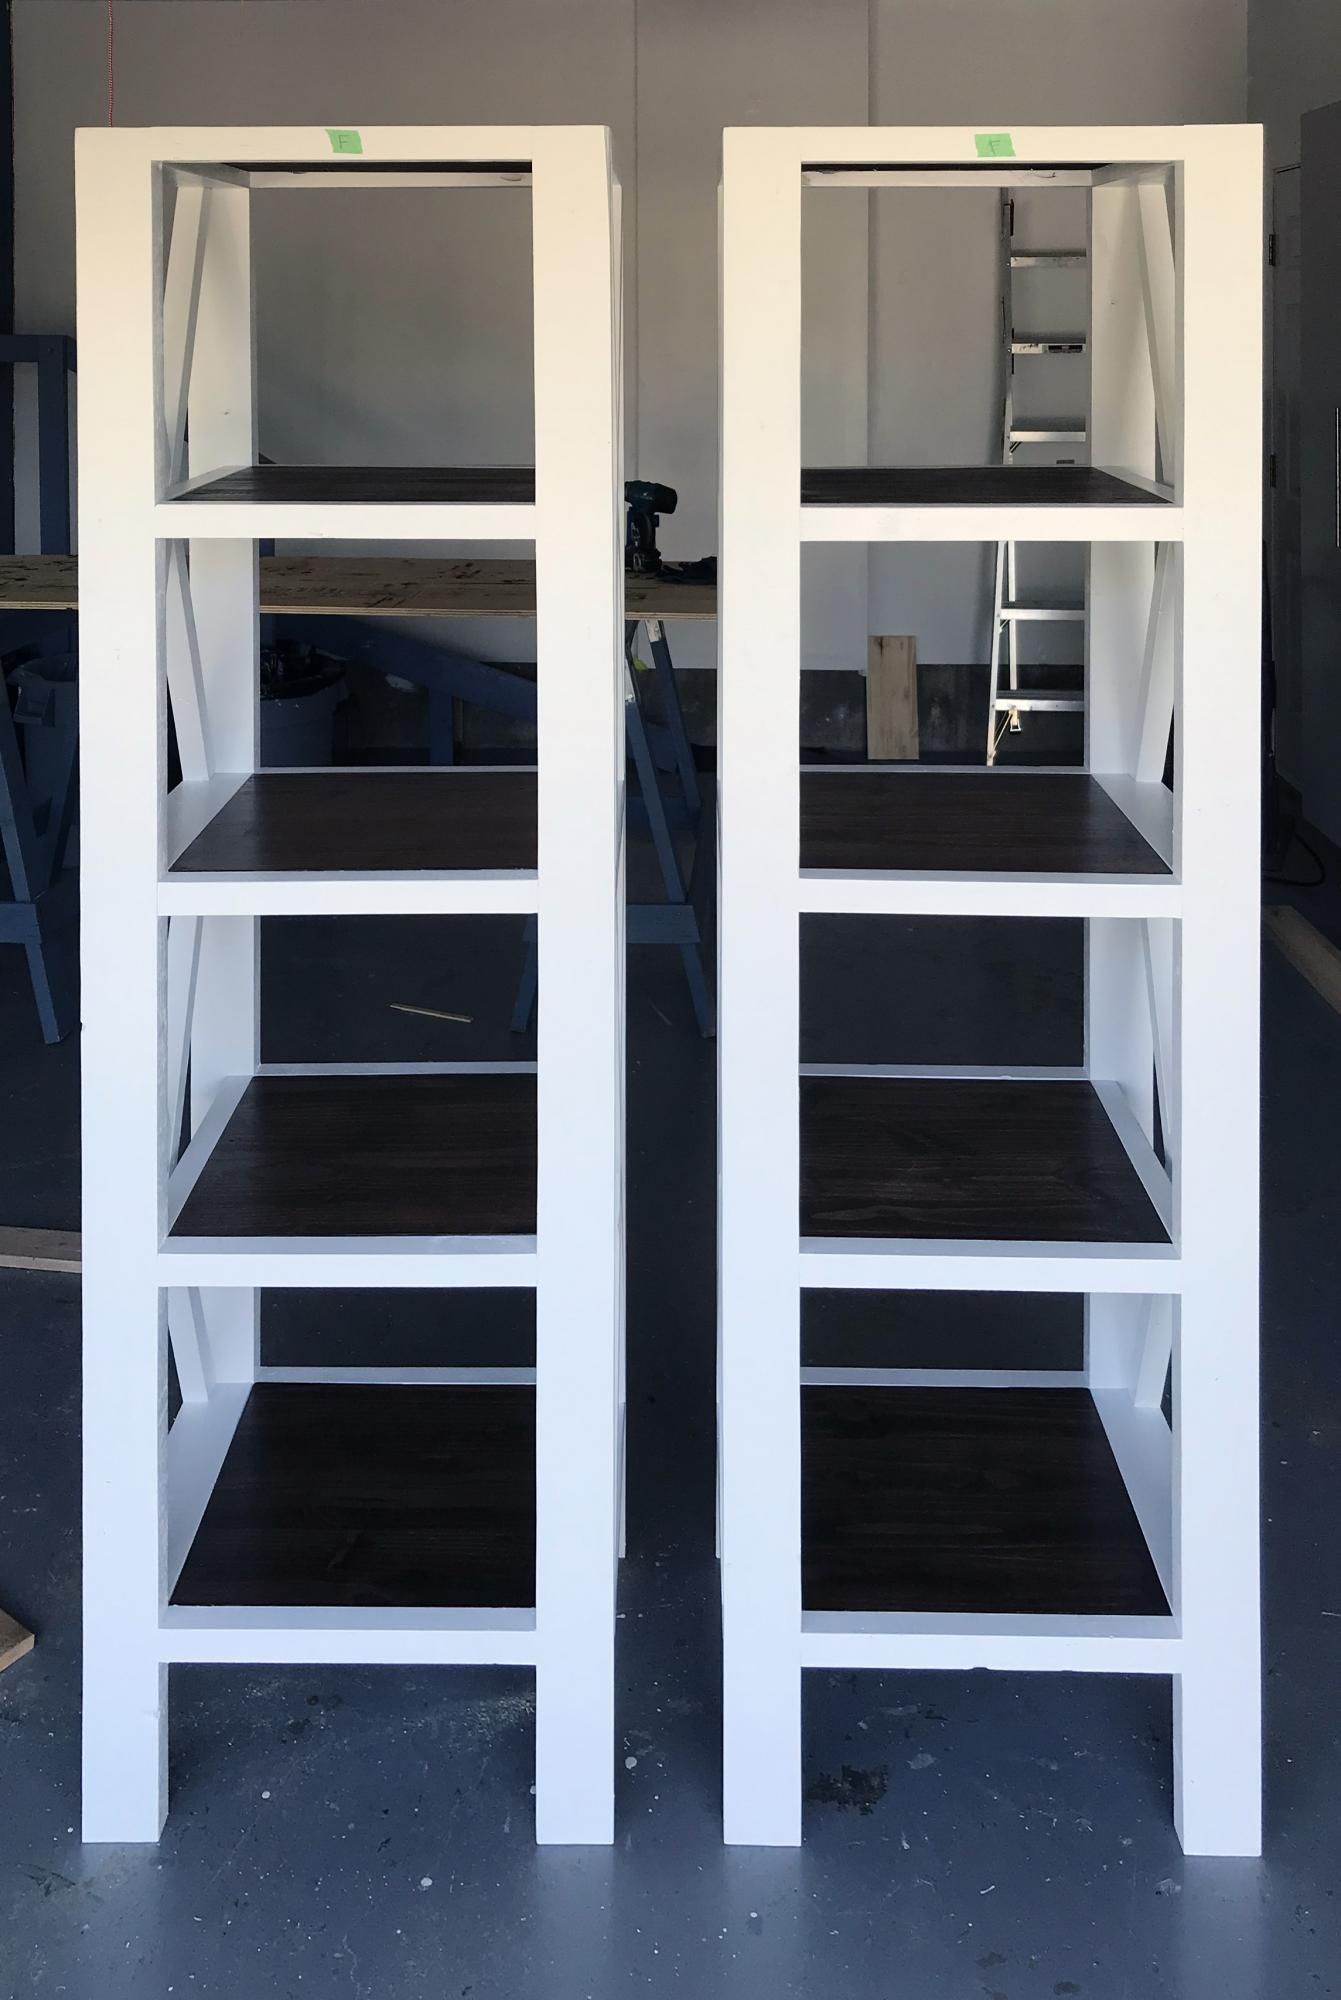
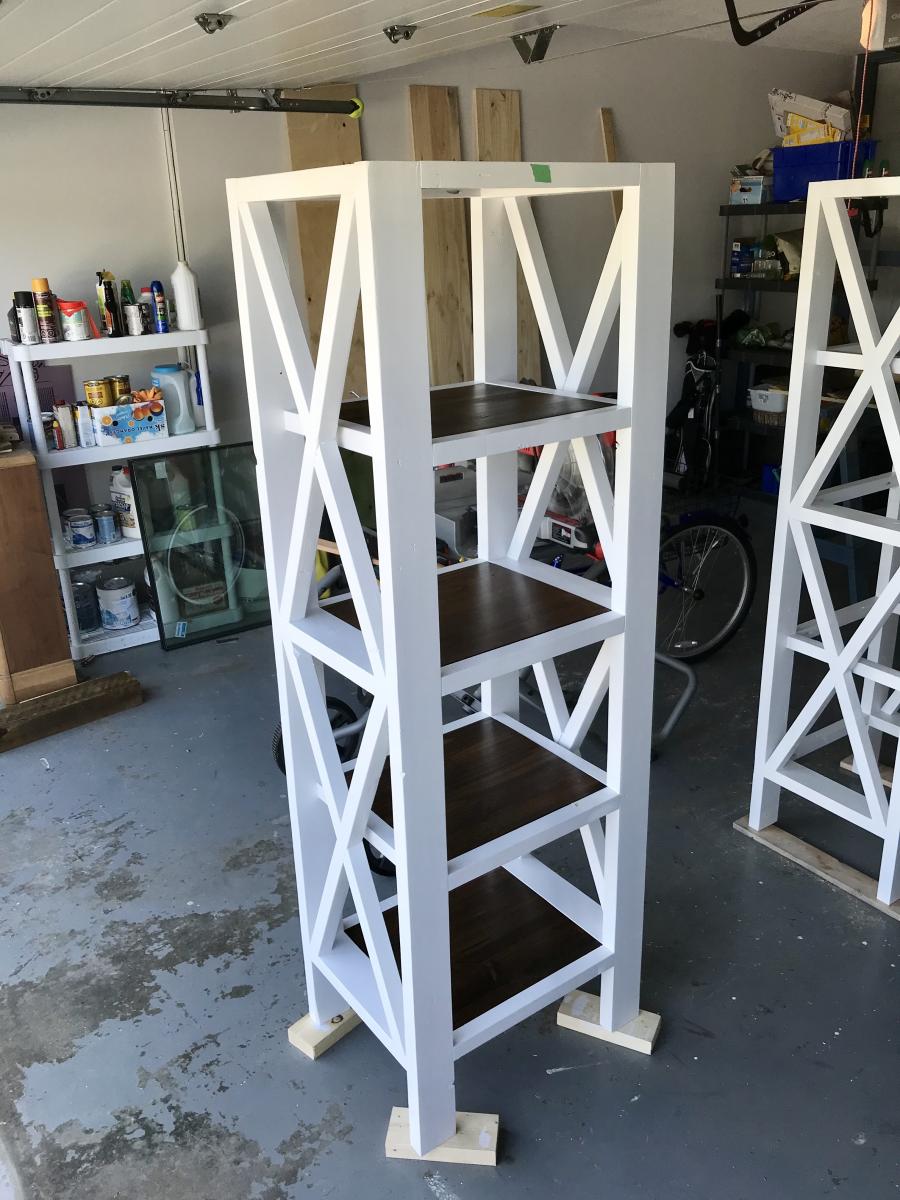
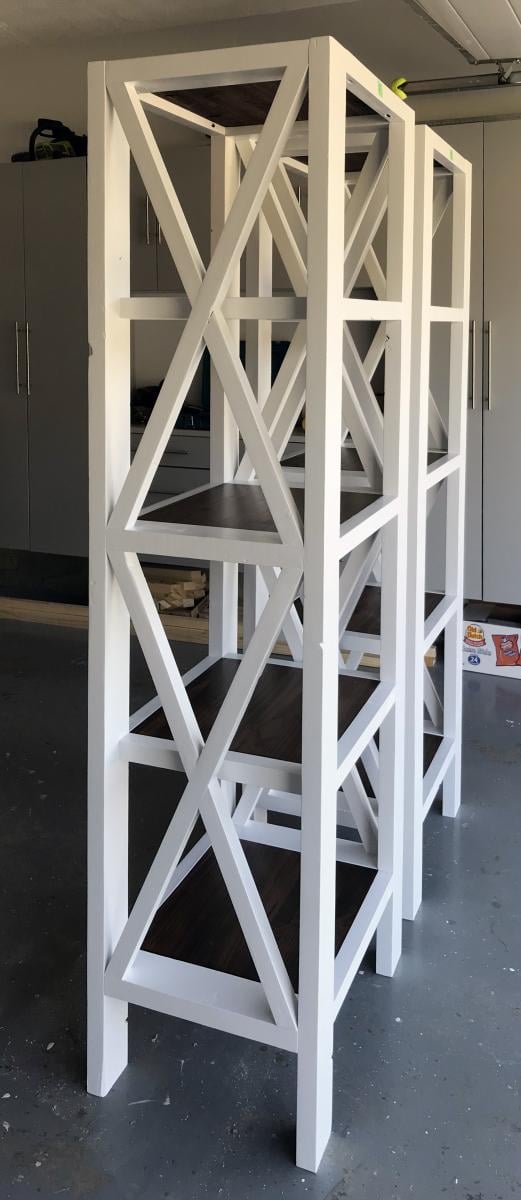
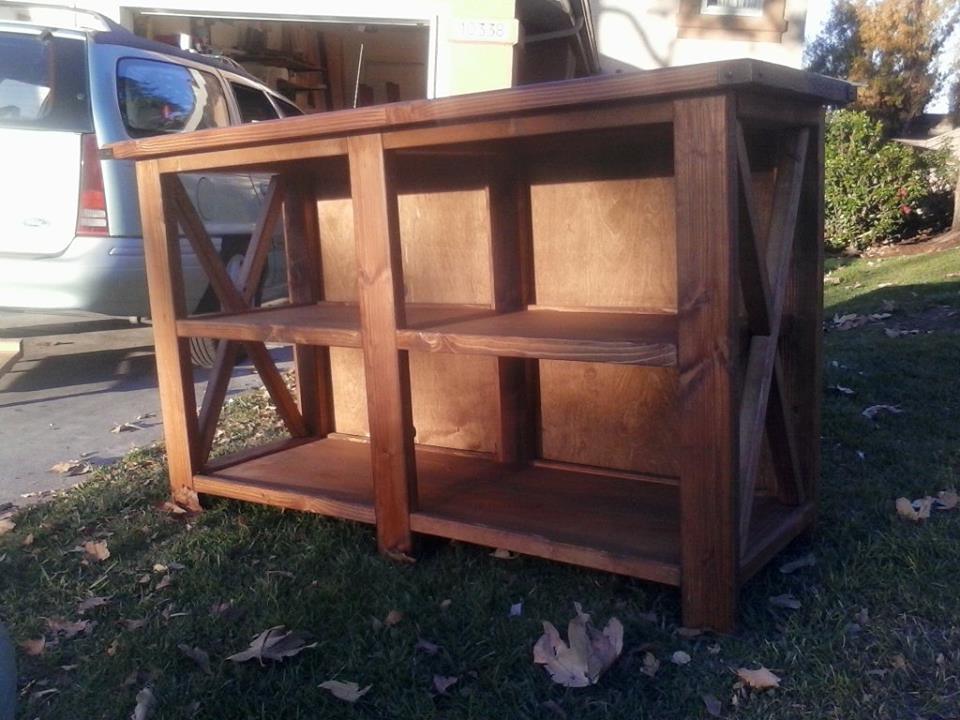
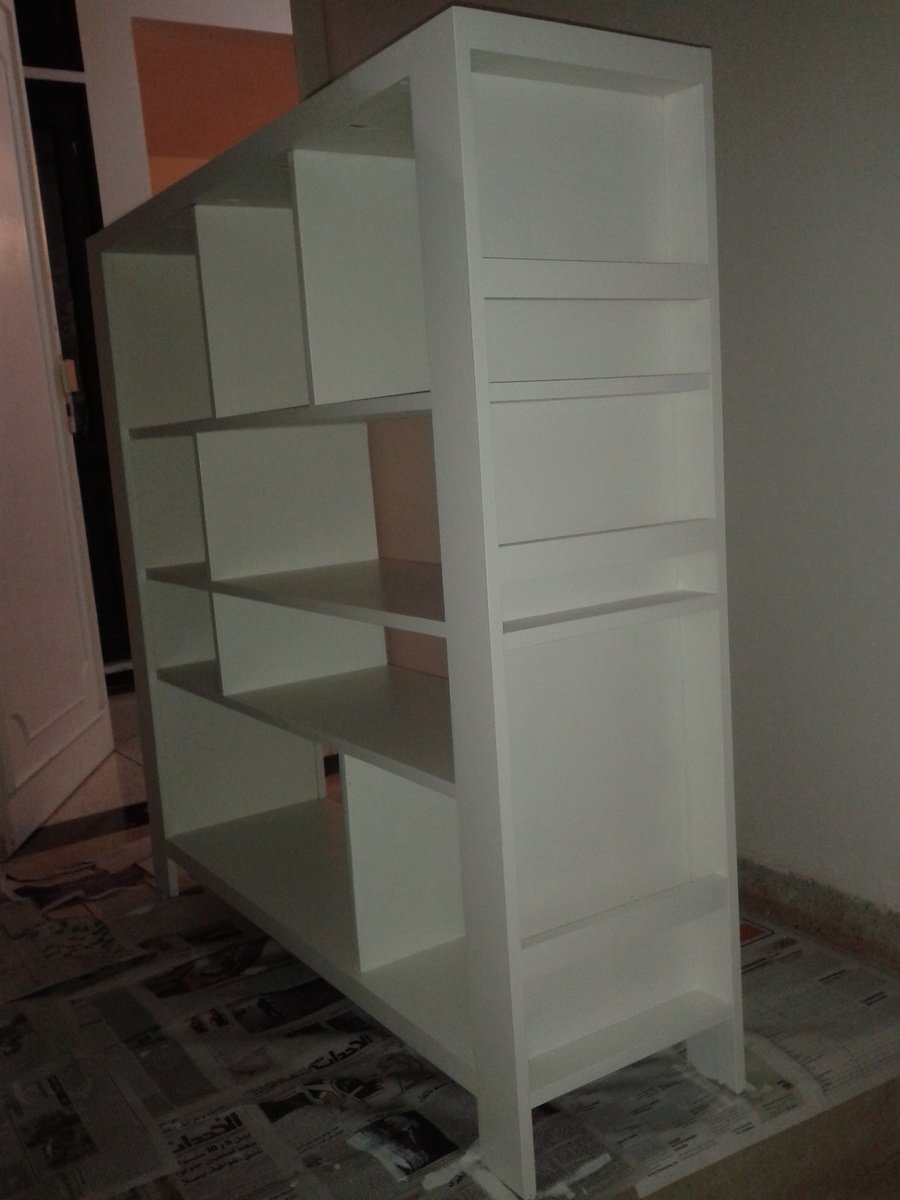
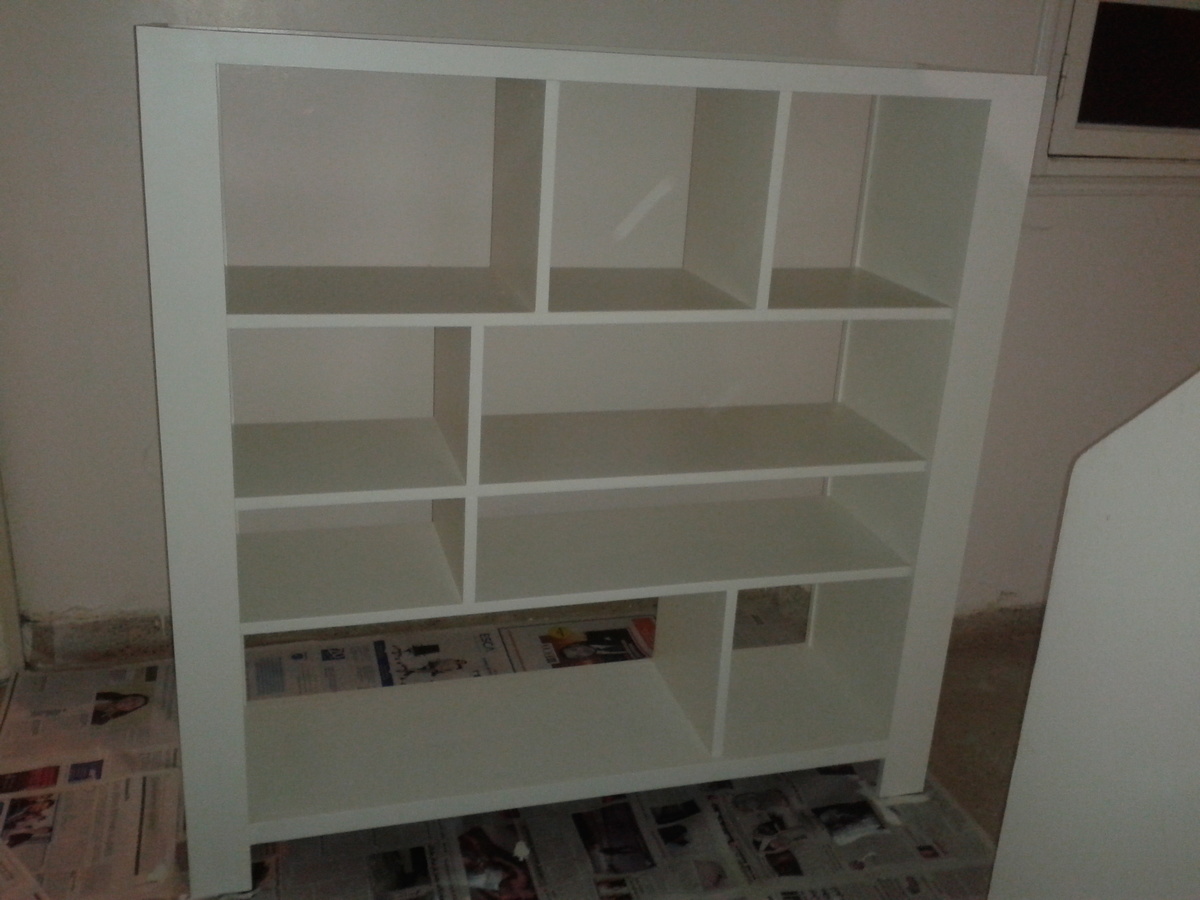
A friend wanted these bookshelves to match the Farmhouse X Desk but she wanted them narrow so they would fit in a small office. This was a very challenging and at times frustrating build getting everything to fit and getting the X's correct but in the end they turned out very well.
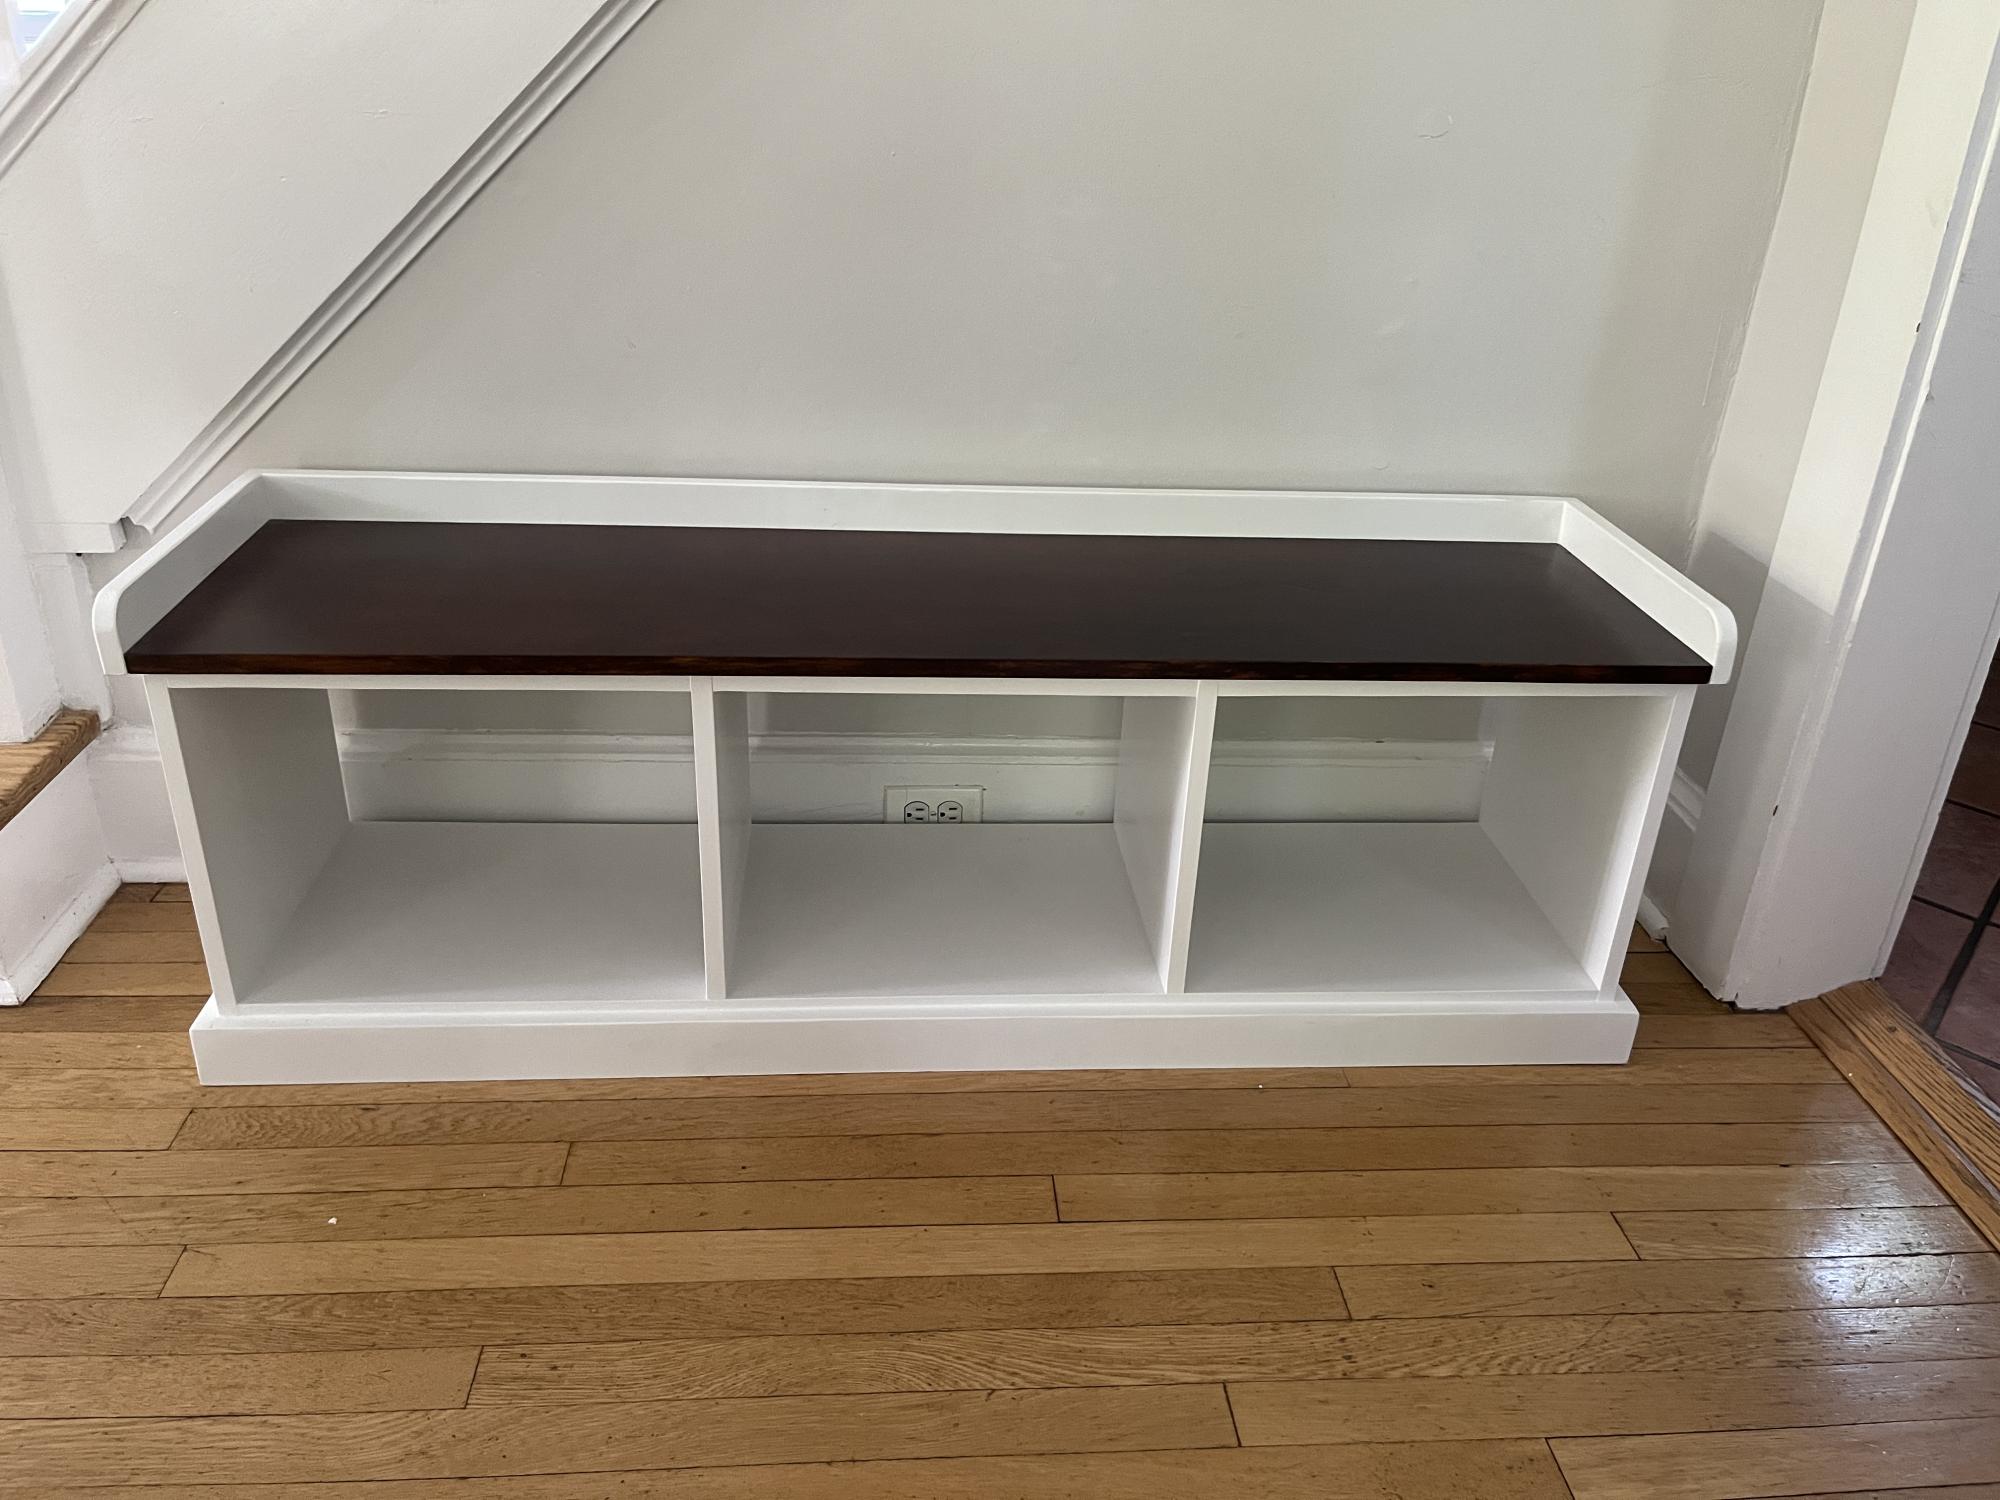
I took the Essential Entryway Bench plan and down-sized it for my daughter.
This was a fun and relatively easy project. Thanks Ana for all you do!
Tue, 01/24/2012 - 09:49
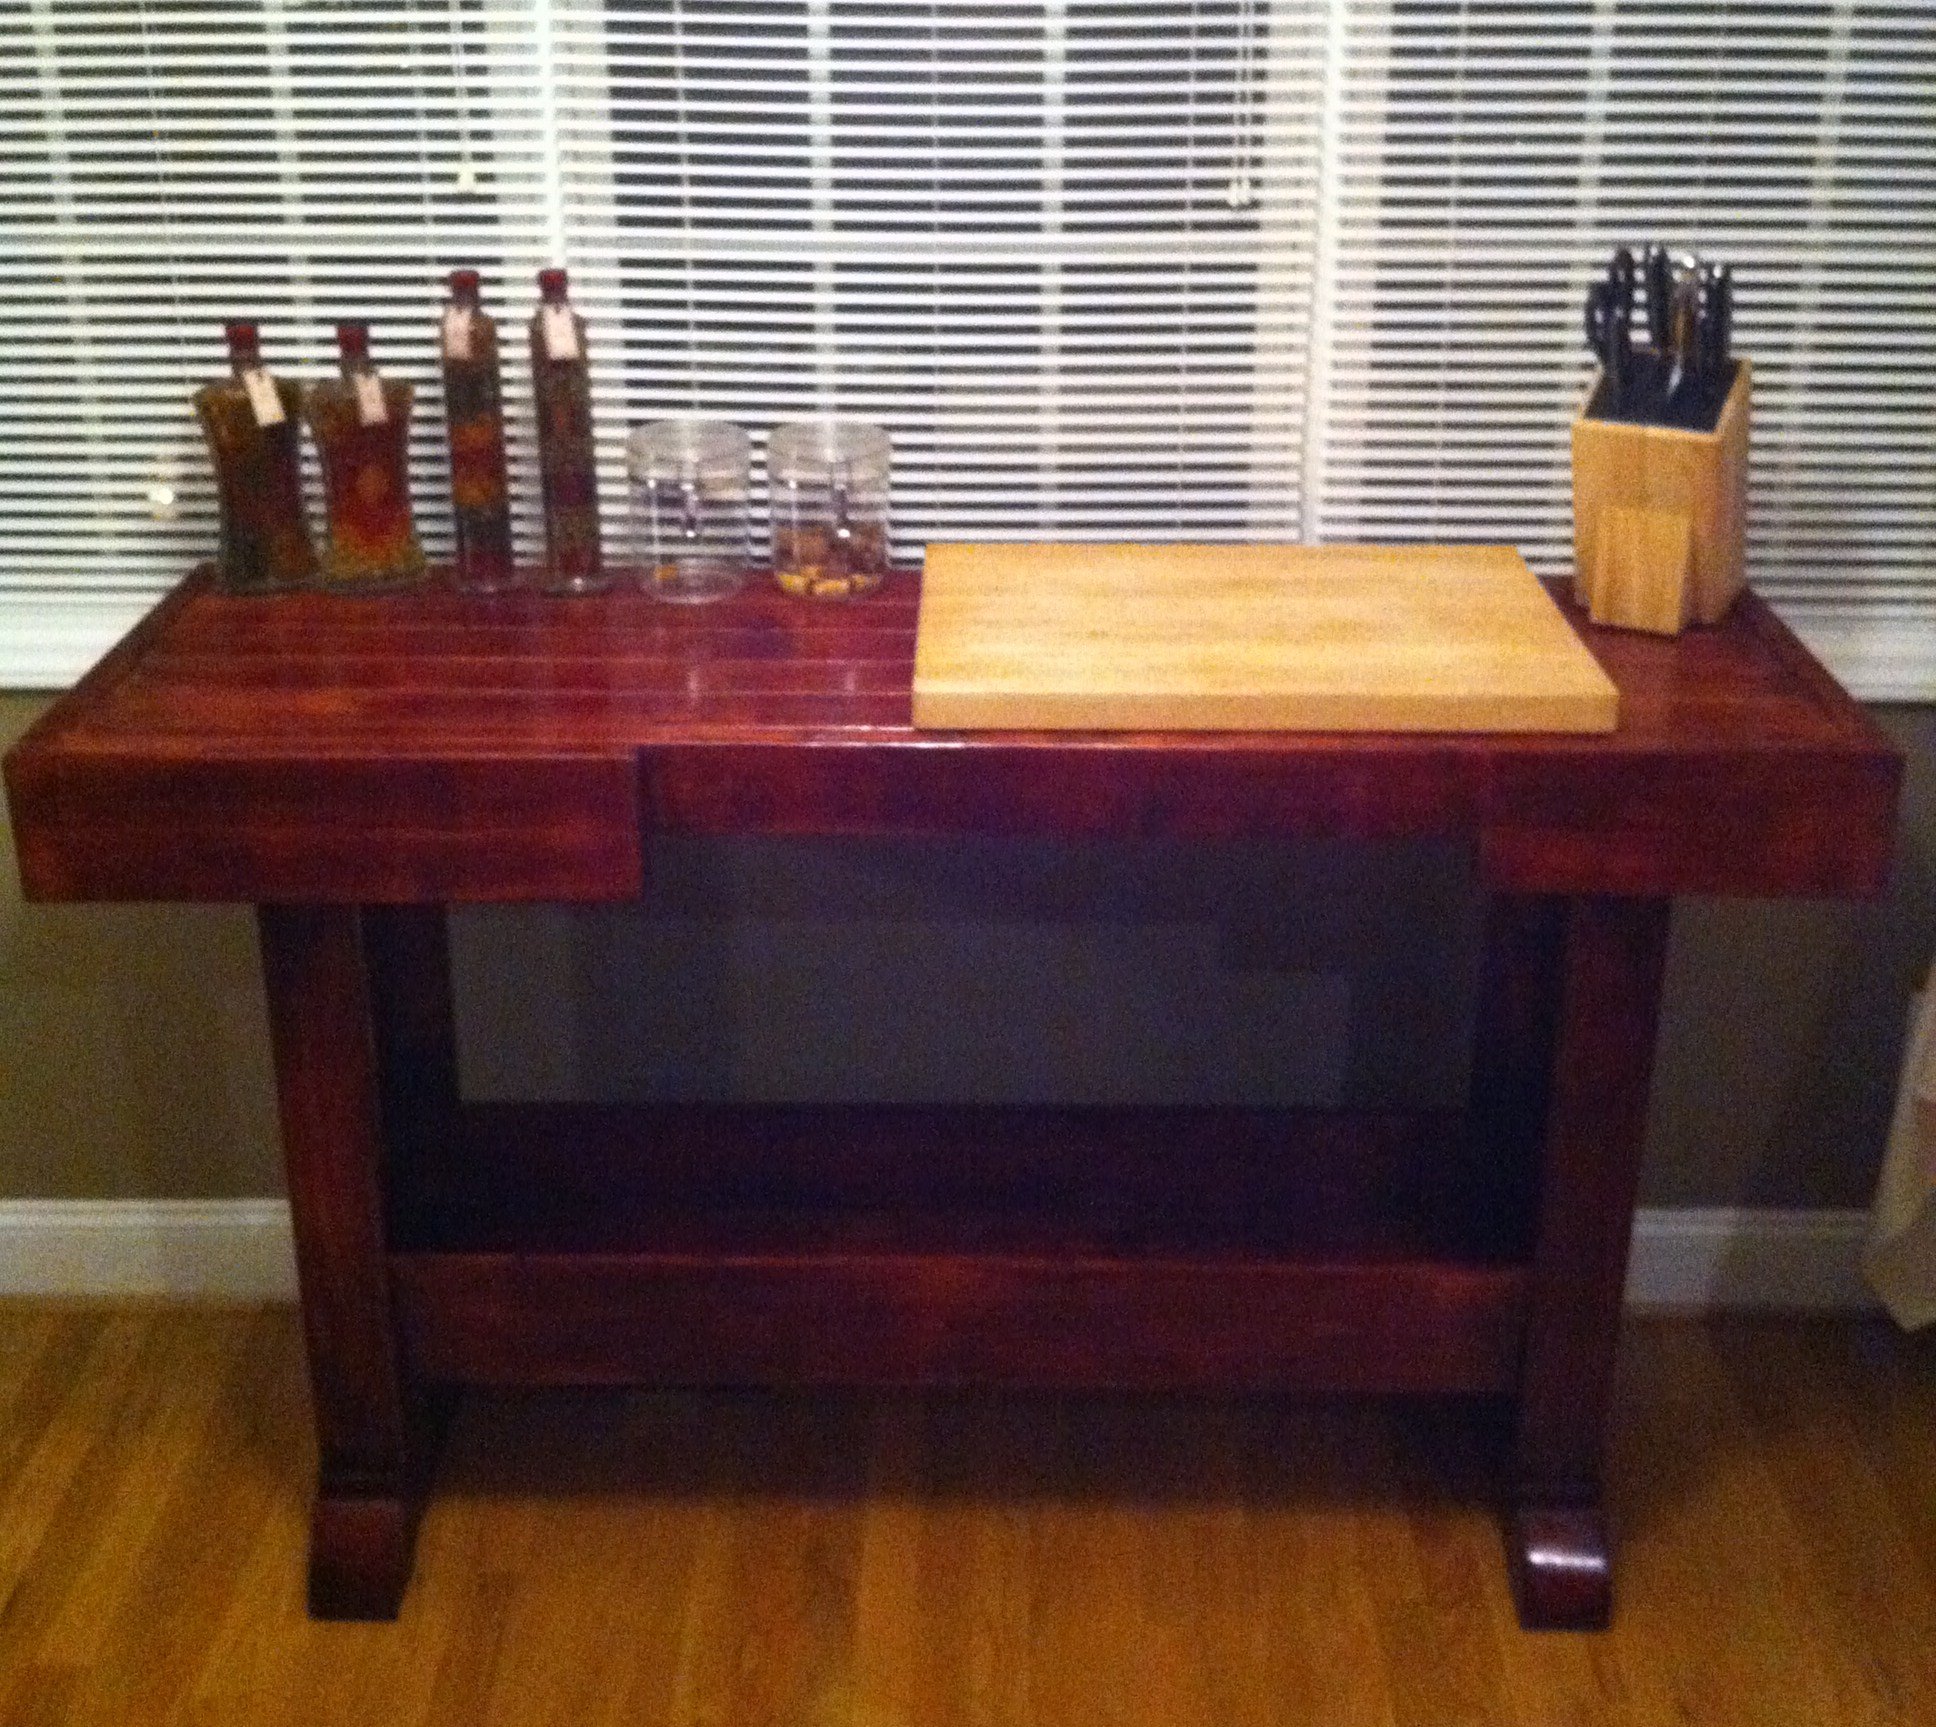
This is great. You did wonderful for a first project. I could see this as a kitchen island...Thank you for sharing...

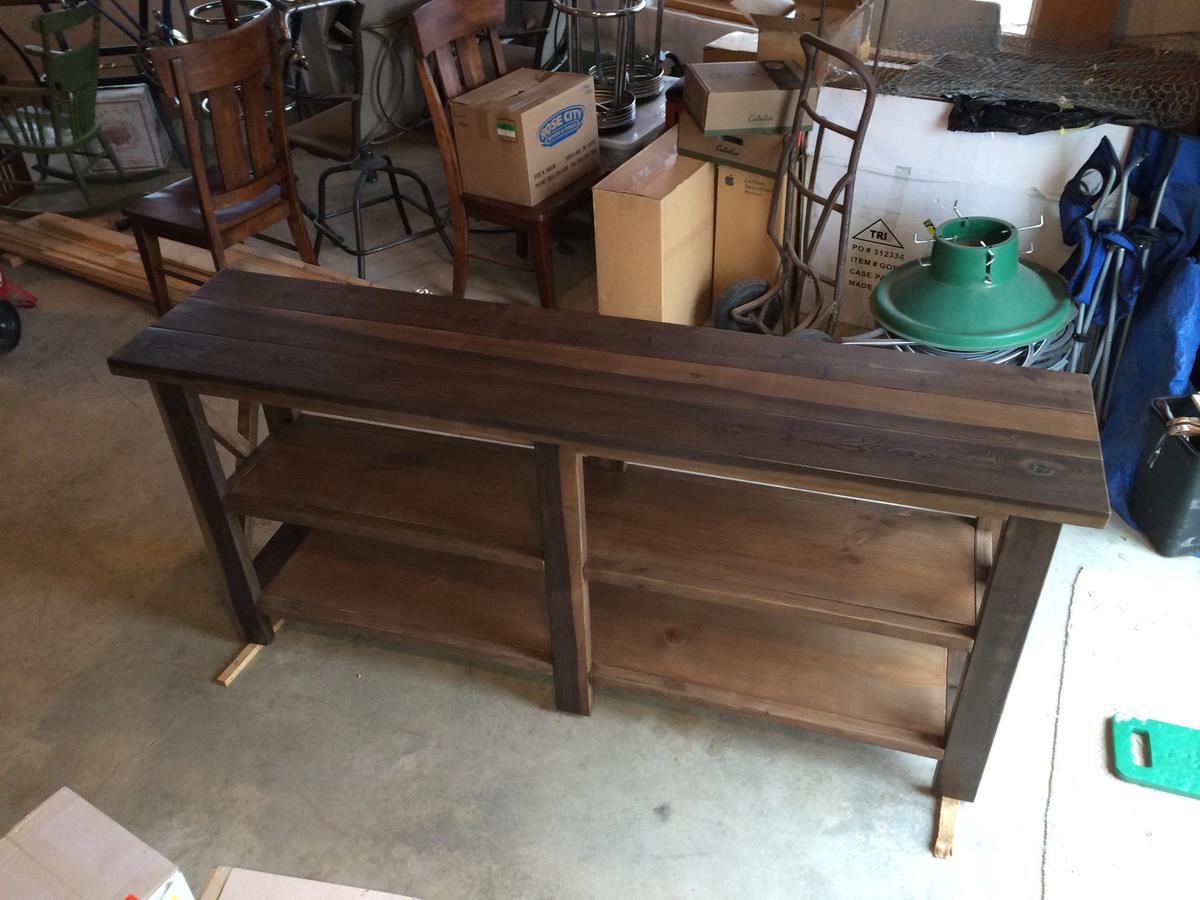
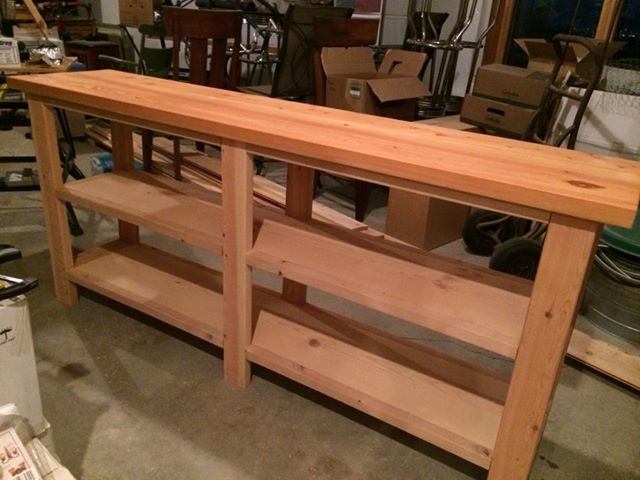
X Console table made slightly larger then the plan specs. Also added a backing with some holes since the customer is going to be using this as an entertainment center.
Wed, 12/11/2013 - 12:11
I'm a huge fan of using a false back on the bottom storage areas to hide cords - just leave a small gap at the bottom to drop those cords through and you don't have visible holes showing the wall behind.
Sun, 01/25/2015 - 06:55
Hi could you please post the measurements you used to build this. I'm wanting to build as an entertainment center as well. Thanks!
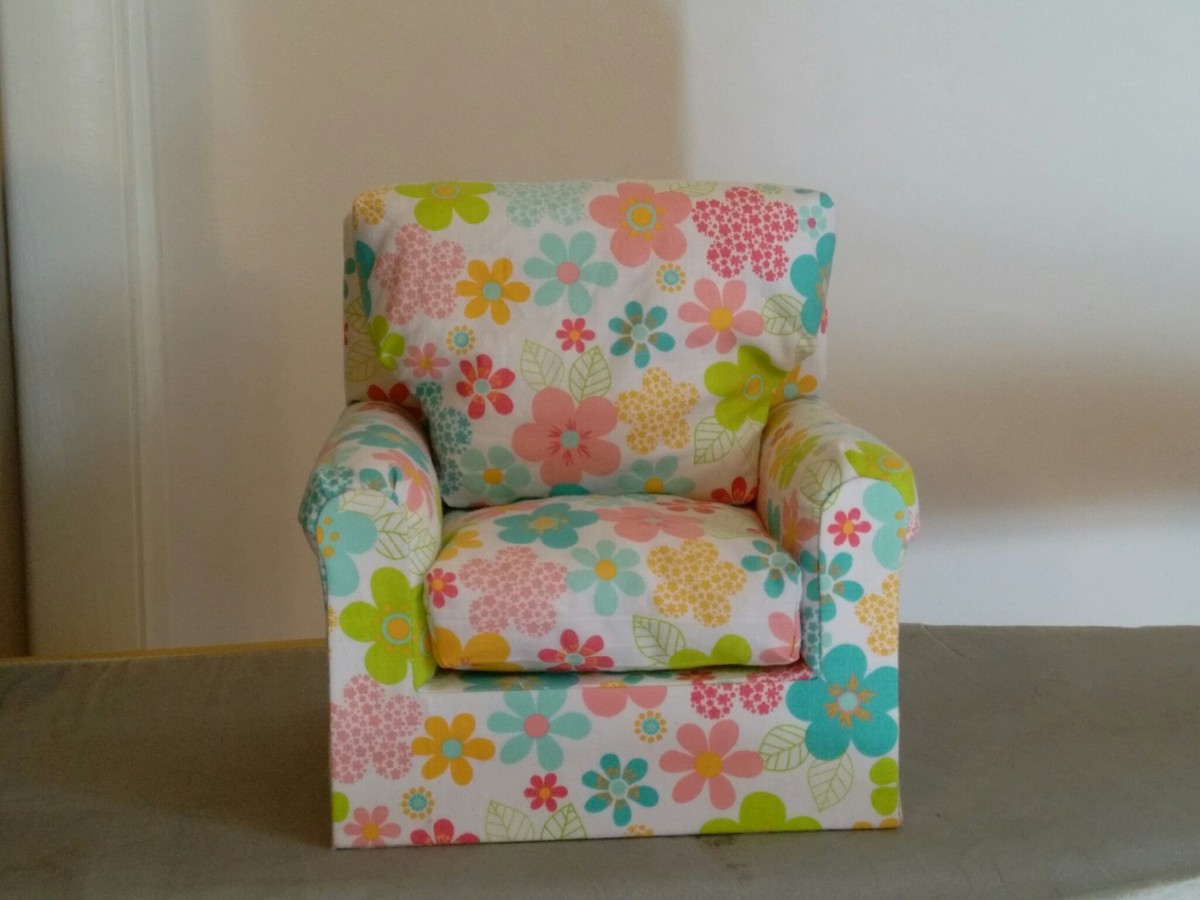
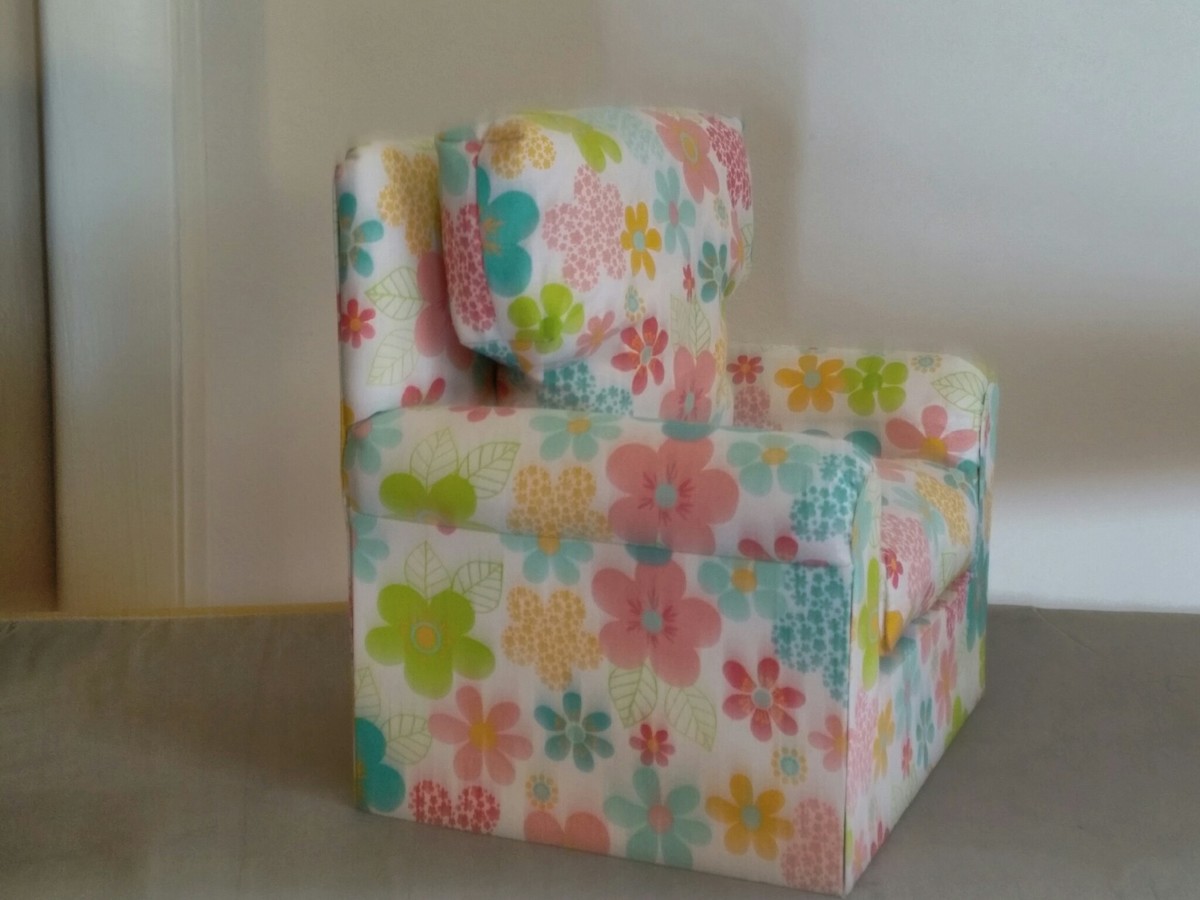
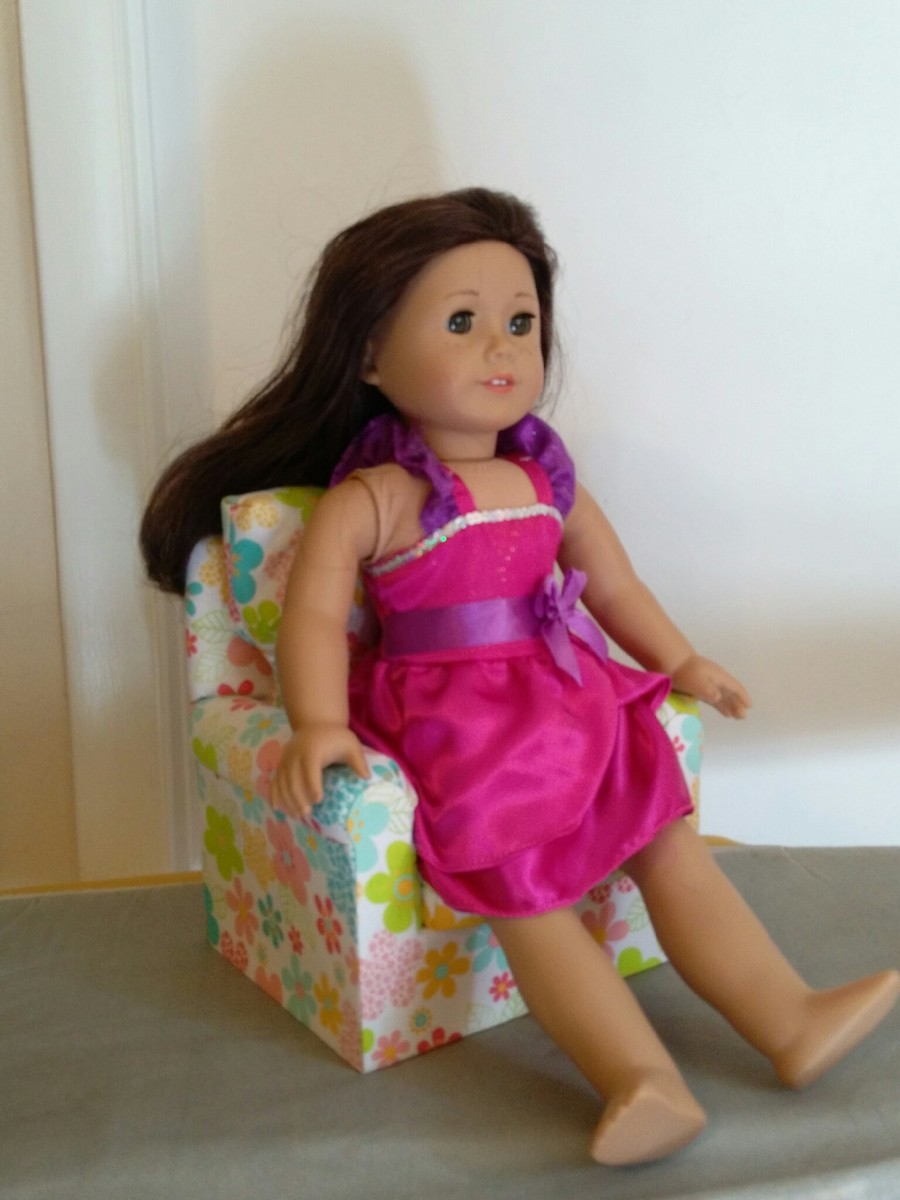
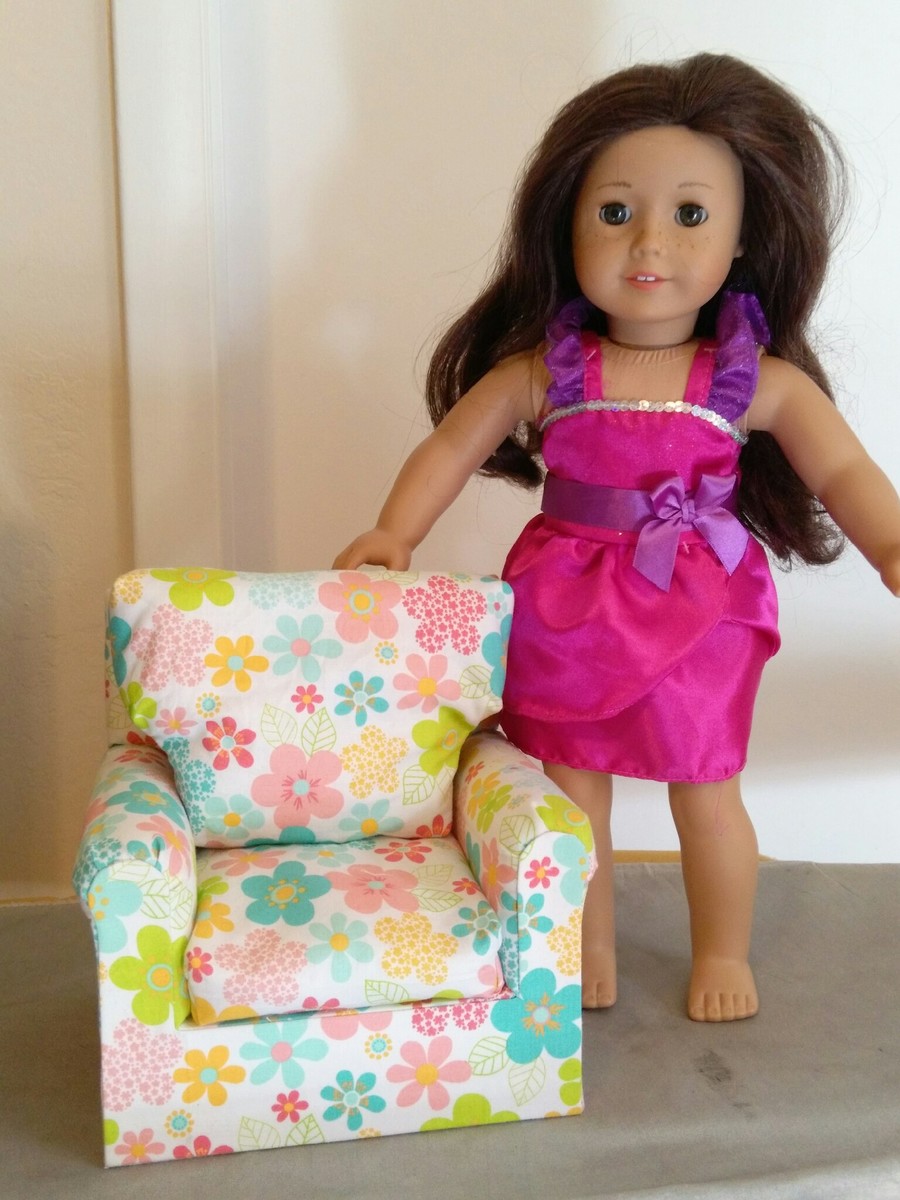
I used the pattern and instructions on how to re-size from http://1inchminisbykris.blogspot.com.es/2013/01/chair-upholstering-tutt…. I then built the base using 1x1 and part of a wood closet rod I had left over and drawer bottom material from Home Depot. I know those descriptions are not super informative but it's just materials I had around the house. Once the base was built I used Ana's instructions from the doll mattress tutorial to sew the bottom and back cushions. Unfortunately, I don't have pictures from the build but I intend to make her a couch when I have time so hopefully I can add some pictures of that to give an idea of what the frame looks like.

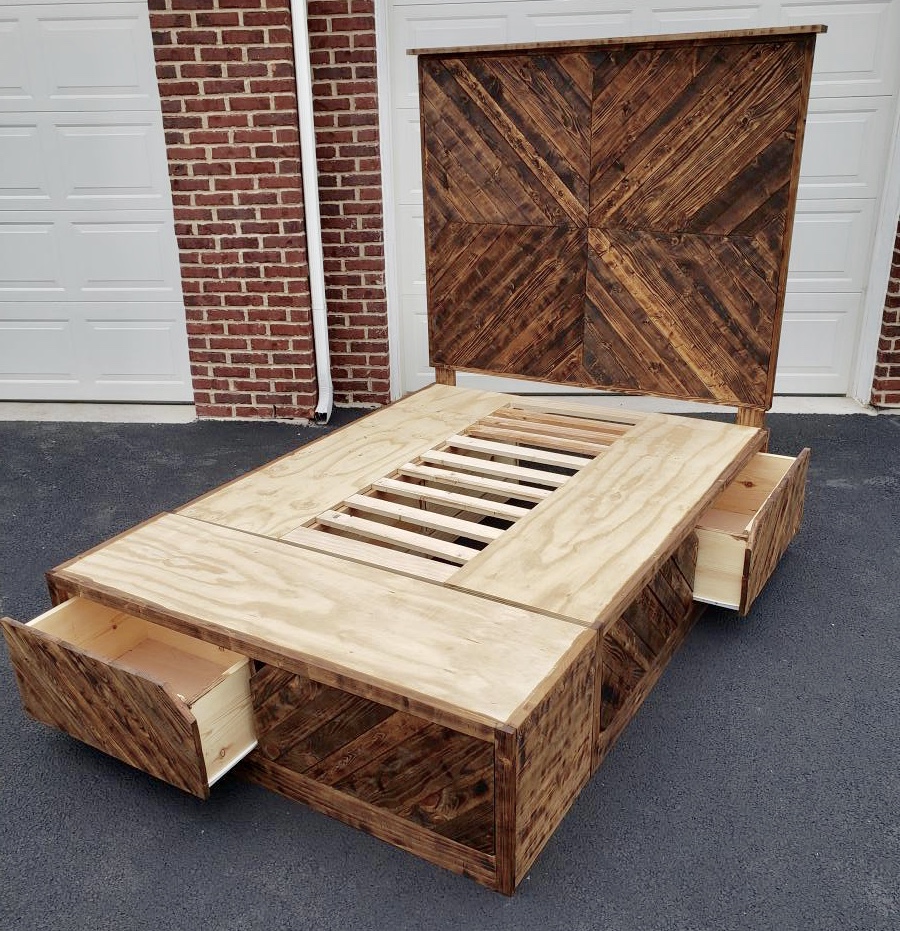
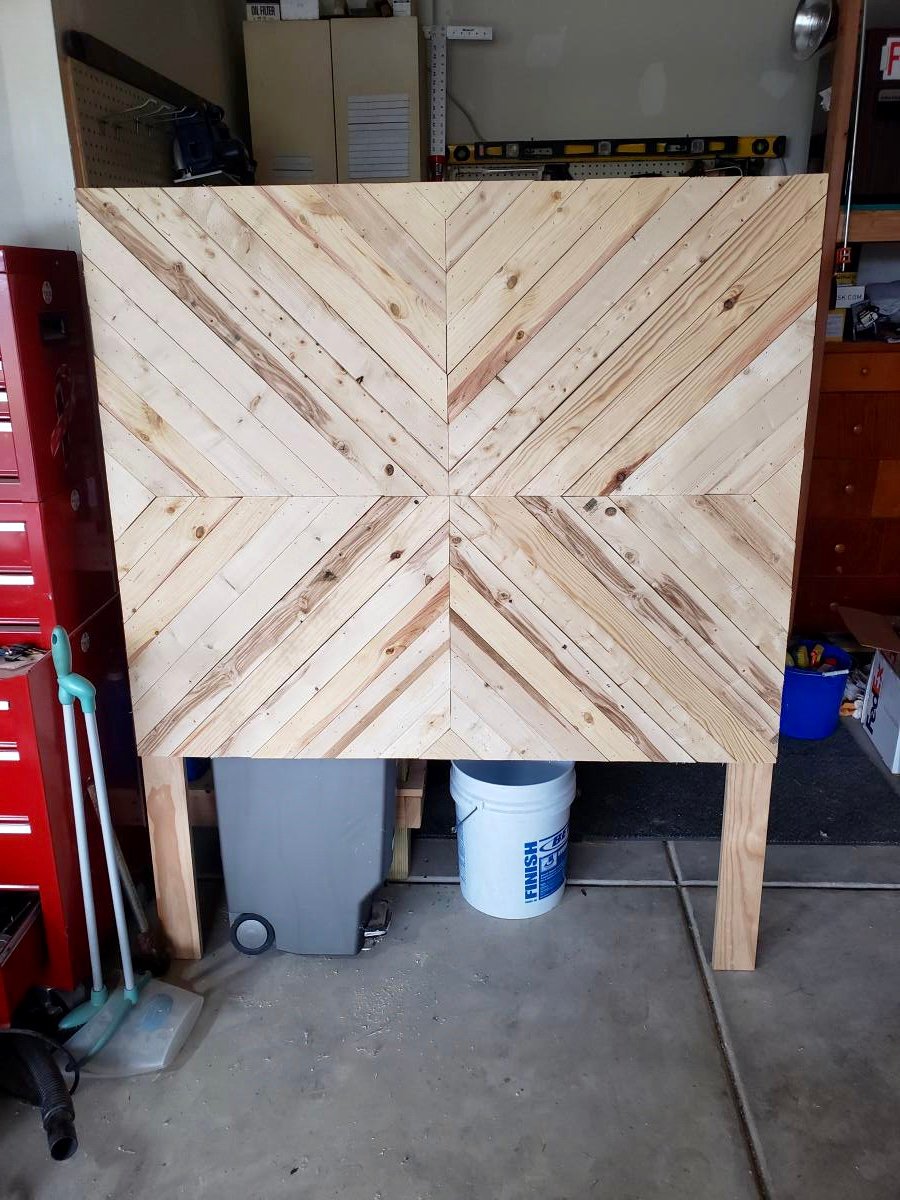
This project was fun but at the same time difficult. Taking king size plans and adapting down to full size posed a challenge but i worked through ot and turned out a fantastic piece of furniture! I have never attempted this size project before but i am glad i did it. I literally put blood sweat and tears into this. Nothing says great project like a trip to the emergency room!


Wed, 10/02/2019 - 22:58
Beautiful! Lots of storage!
I know I need to adapt this plan to other sizes, I’m sorry I haven’t done this sooner.
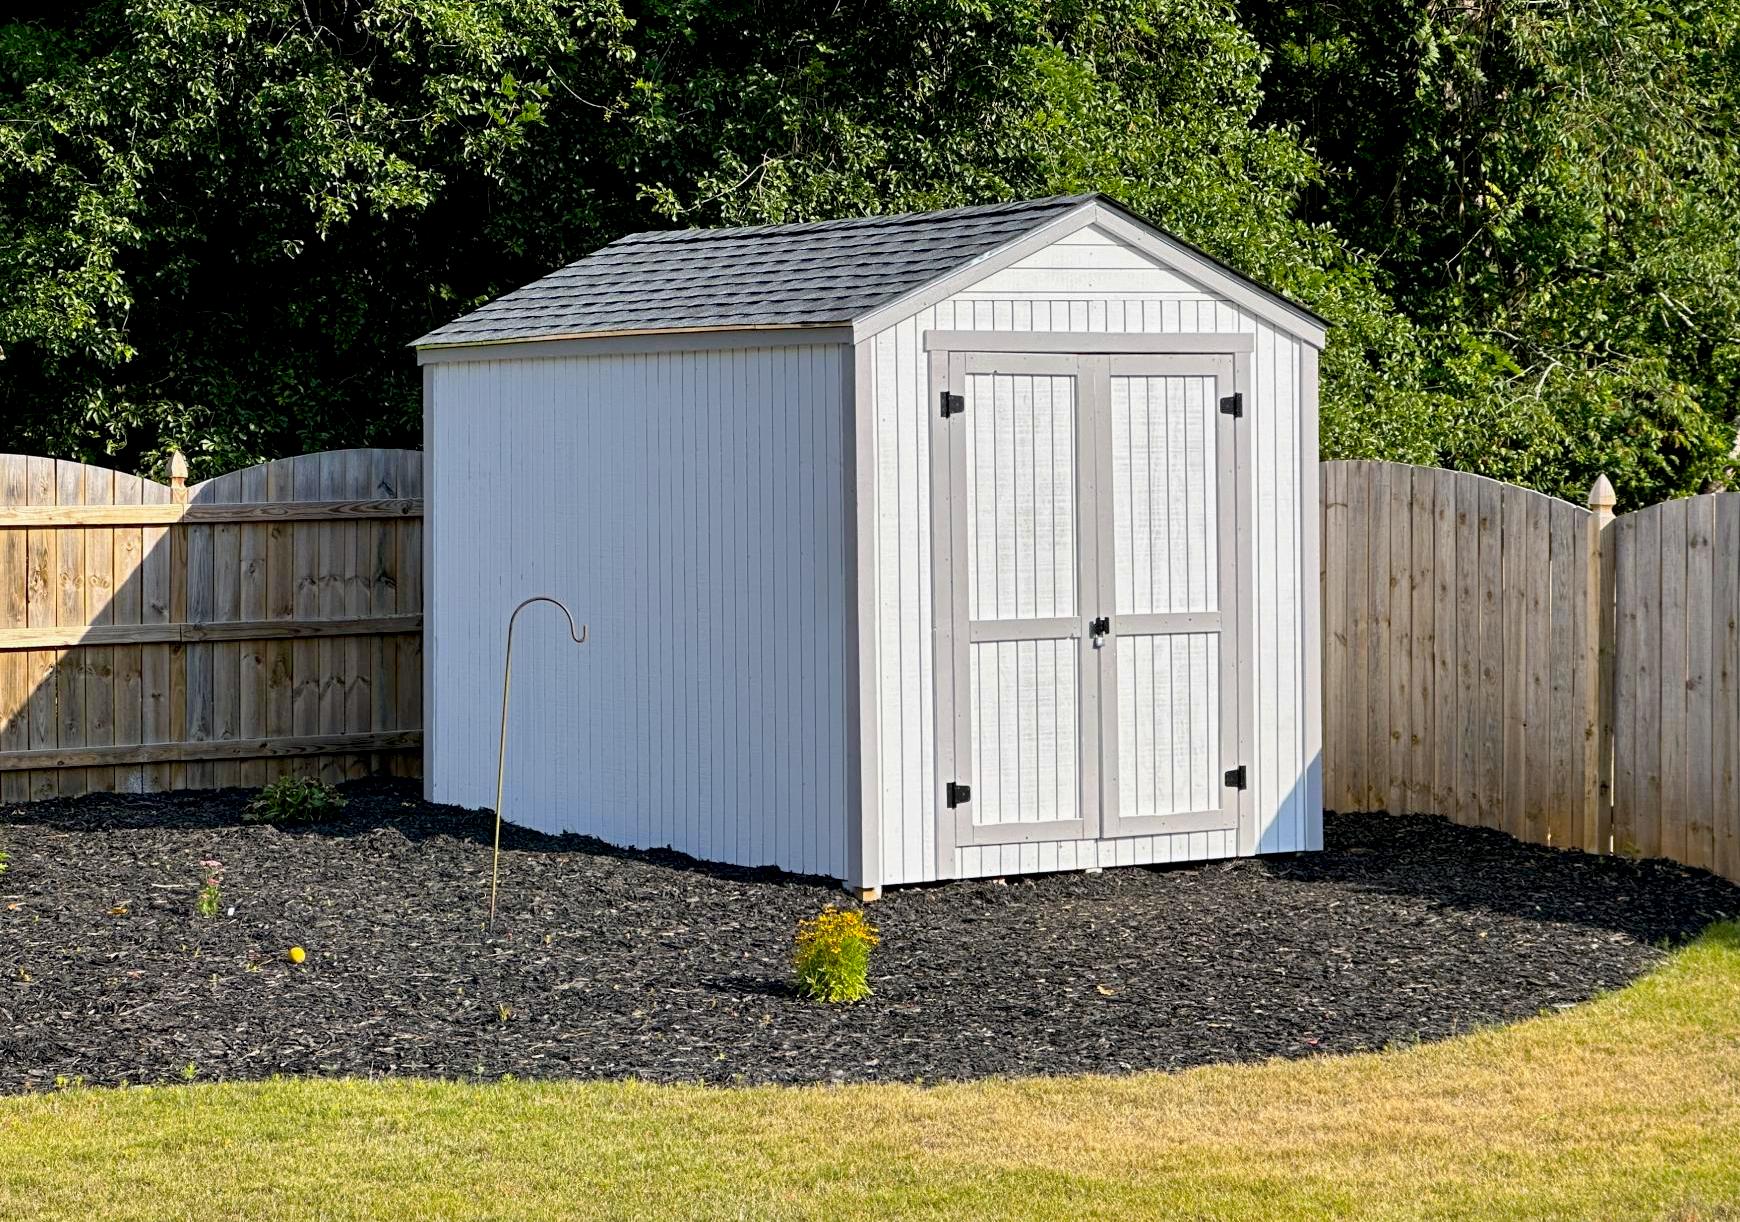
My new garden shed built from your premium plans! I'm 62, never built a shed before, and worked mostly alone. My sons helped with some of the wall and roof sheathing. In the end, I did everything except for the shingling. I painted it to match my house main color and trim.
The video is very helpful - I watched it several times. My major change to the plans was using Simpson Strong Ties and hurricane ties to secure the rafters to the ridge pole and the top plates. Otherwise, I used all other methods. I recommend cutting the front wall sheathing before cutting the panels for the doors. I do not have a trim saw and thought my standard circular saw was too heavy for me to make the cuts like Jacob did.
Tue, 06/13/2023 - 13:57
Really impressive, thank you so much for sharing and good for you to just go for it!!!
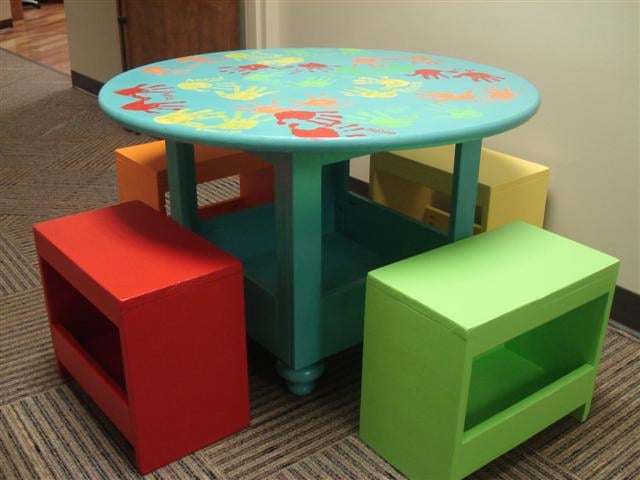
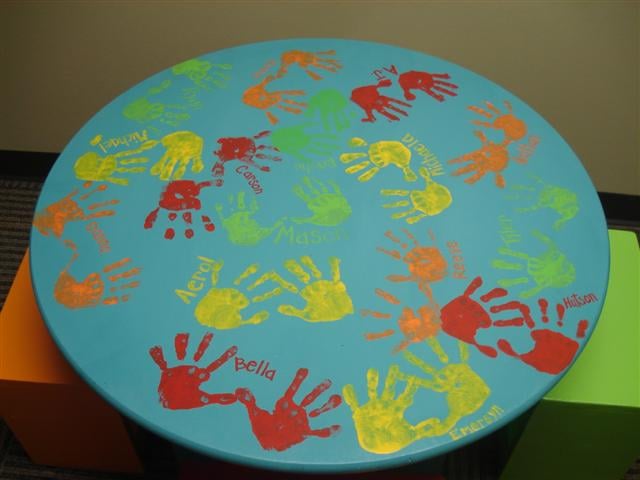
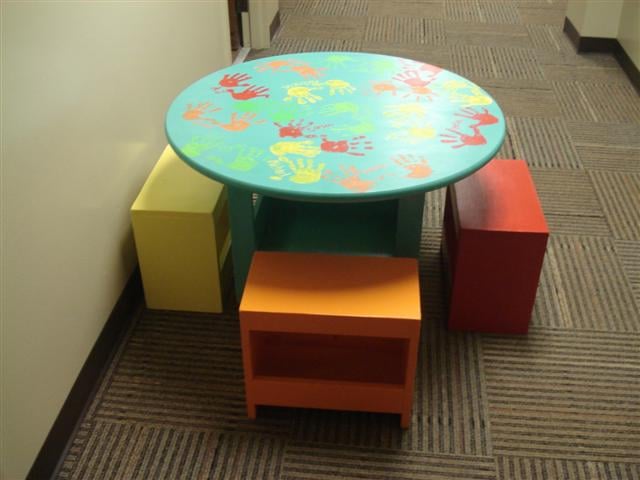
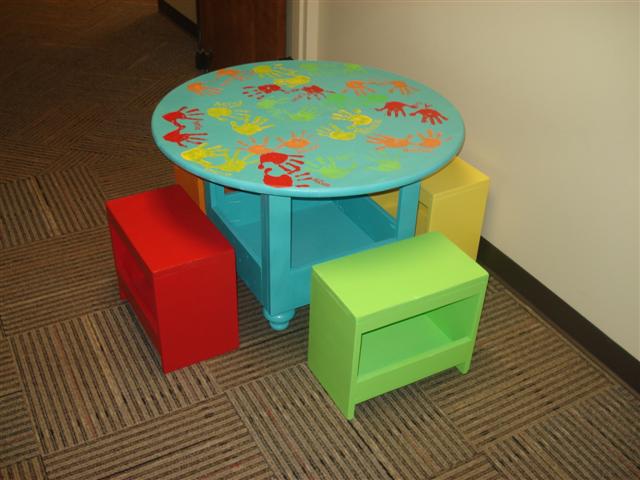
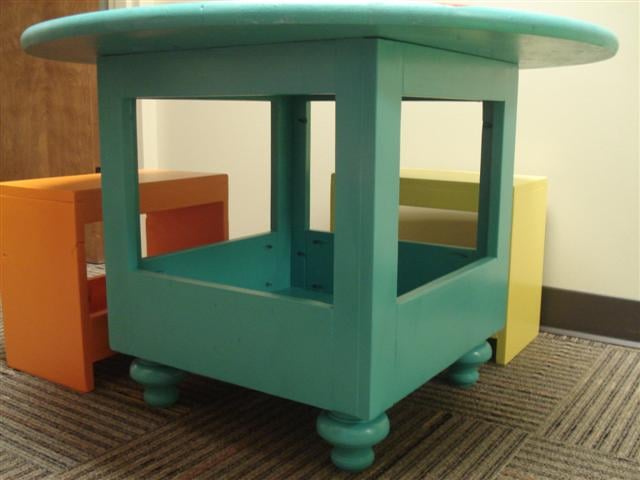
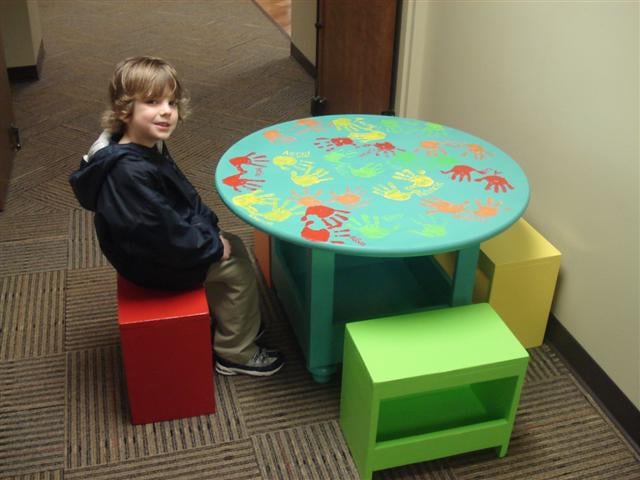
My wife and I did this table and stools for our son’s class art project. We did something similar last year and they auction the items off in a fund raiser in March. More details and information on the blog – www.atouchofarkansas.com.
Tue, 07/03/2012 - 09:03
Part of a class I am taking involves this particular subject and I am researching for information to use in an upcoming report. Your post is really helpful; do you have any others on this topic?
http://www.britecarpetcleaners.com/
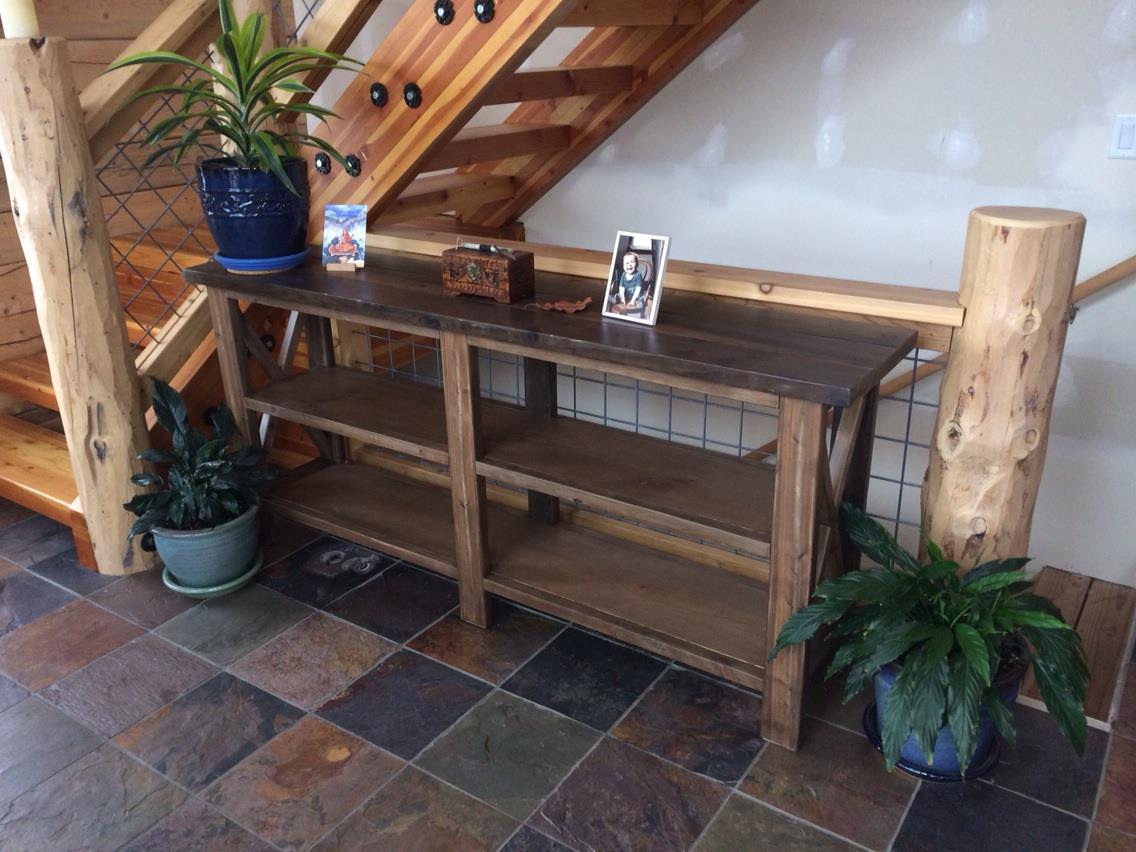
Modified slightly for increased height, slightly larger gap between shelves and more underneath clearance (for Roomba Vacuum).
Very easy to make, used Google Sketchup to calculate new angles for X's based on the modified size of the console.
Most time consuming part was repeated sanding and final poly-whey coats.

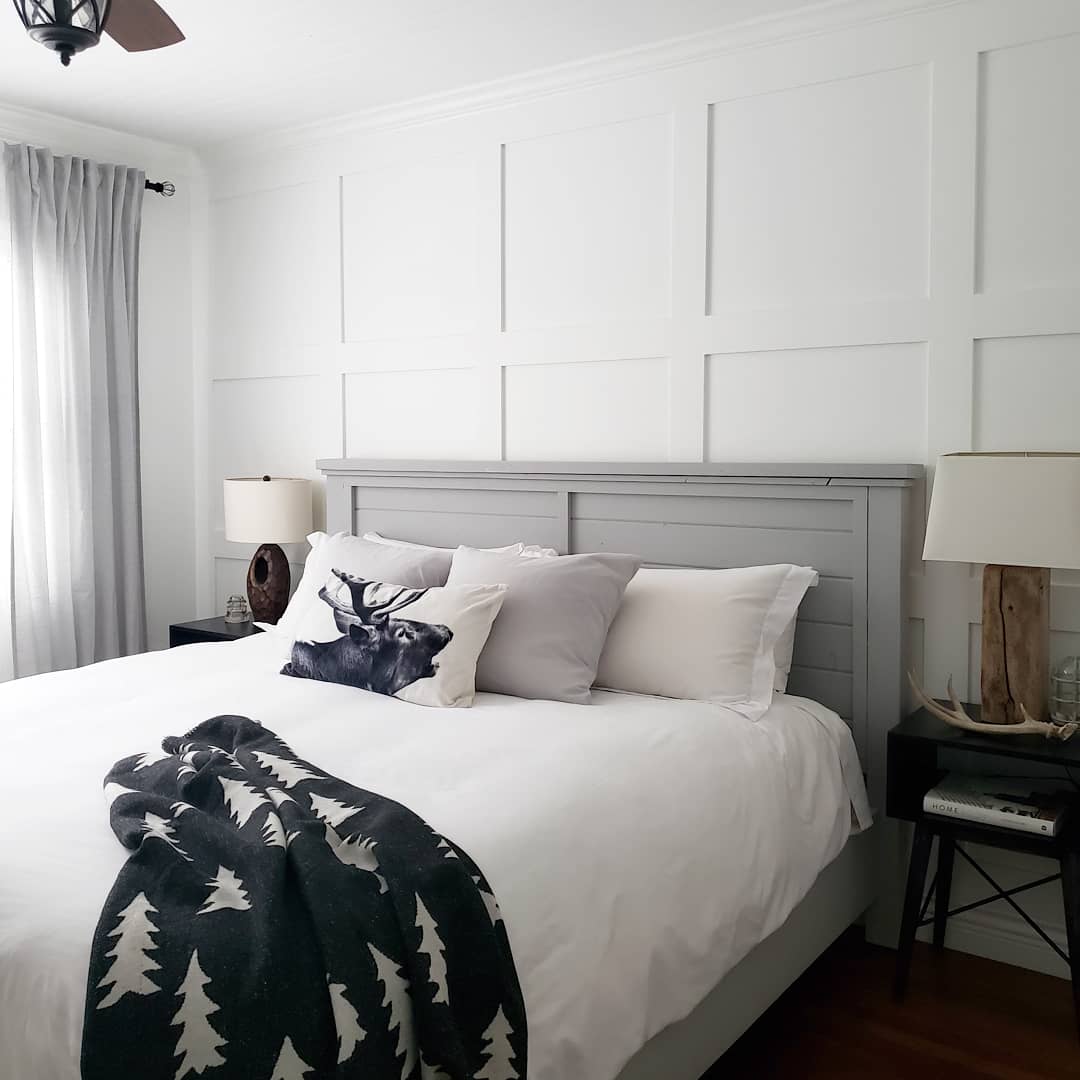
These plans where so easy for my hubby to follow and put together. My son's room is small and even though it's a big bulky bed he has all that floor space to play now!!
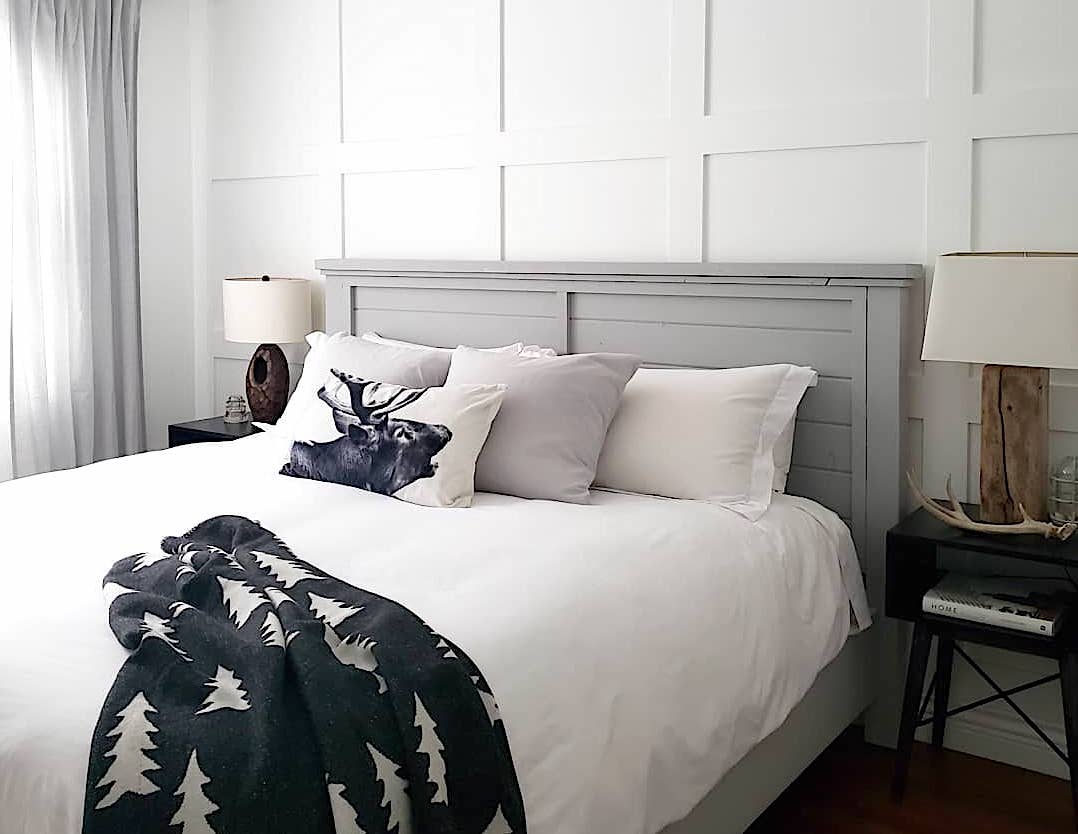
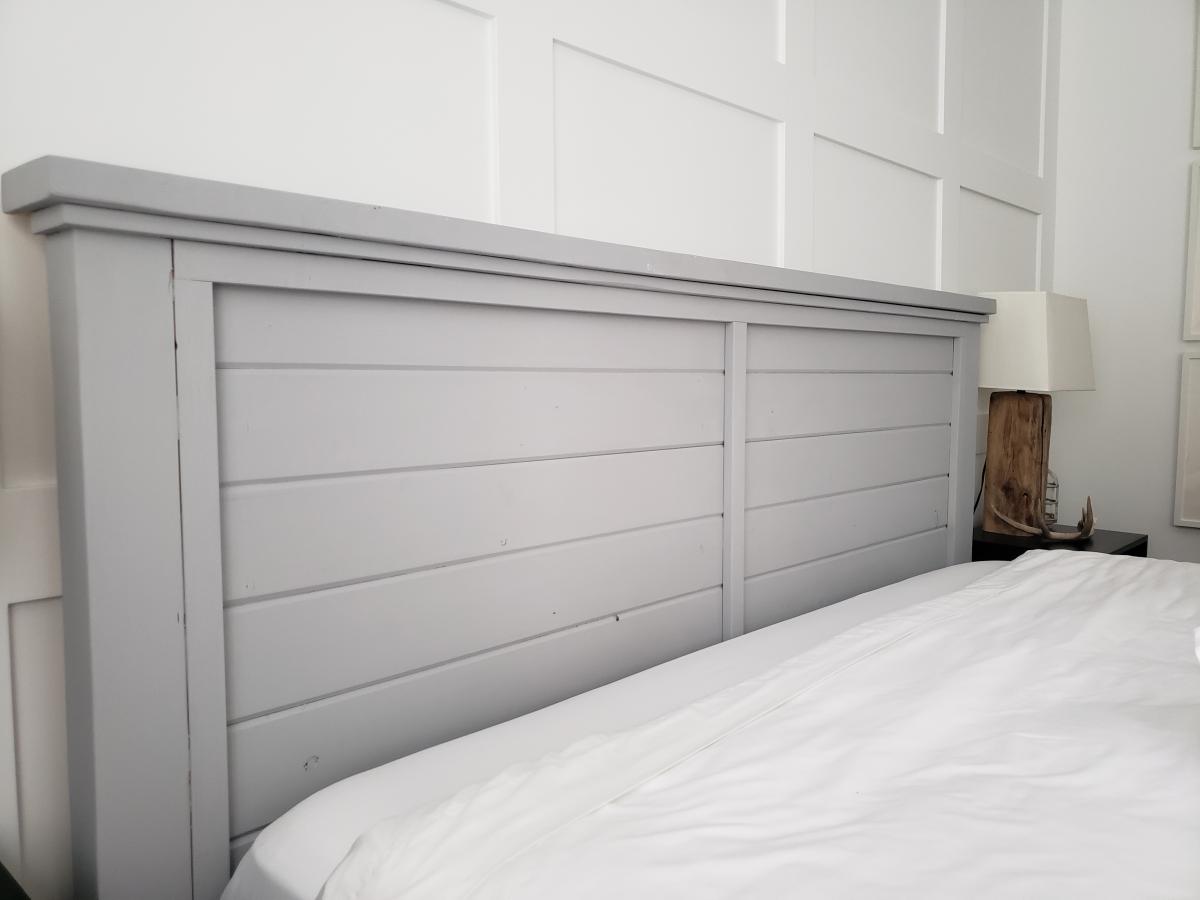
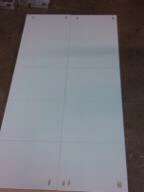
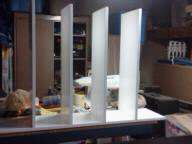
This farmhouse bed is a combination of Ana White's Farmhouse Bed/Modern Farmhouse Bed plans as well as some slight modifications. I modified the bed using materials already on hand and leftover from past jobs. The 4x4 posts are 2 - 2×4s glued and filled together. The headboard was made using 2x2's and tongue and groove boards. The side rails, foot board and matress supports are 2x10's since this was old material from a job site my husband was on. I opted for no footboard to make the bed feel less bulky. The finish was done using chalk paint in a light gray, giving it a more modern look.

Thu, 10/03/2019 - 13:09
This is so beautiful! Thank you so much for sharing photos!

Living in a small house, 1100 sq feet, really needed an area devoted to DVD storage, then I thought, why not build my own Entertainment center? This is 1 of 6 pieces.
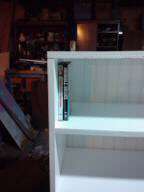
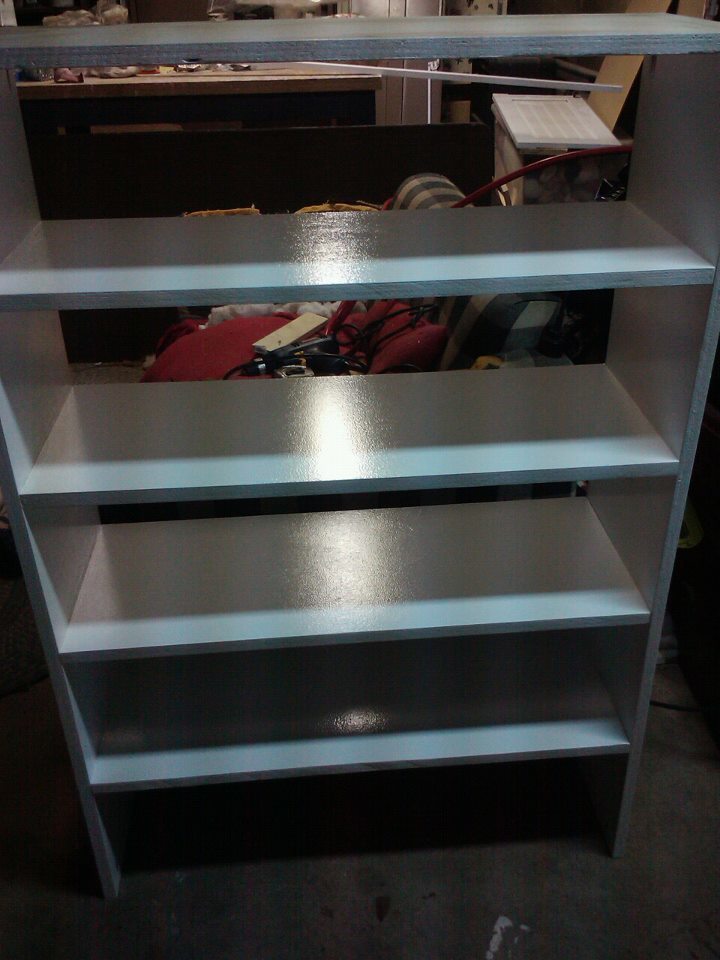
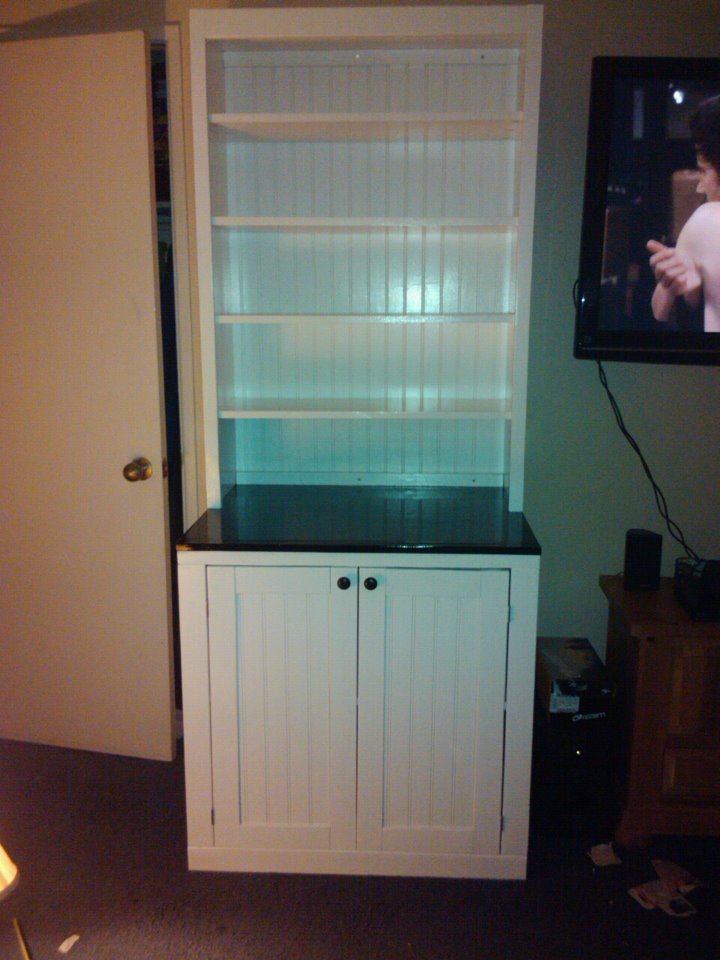
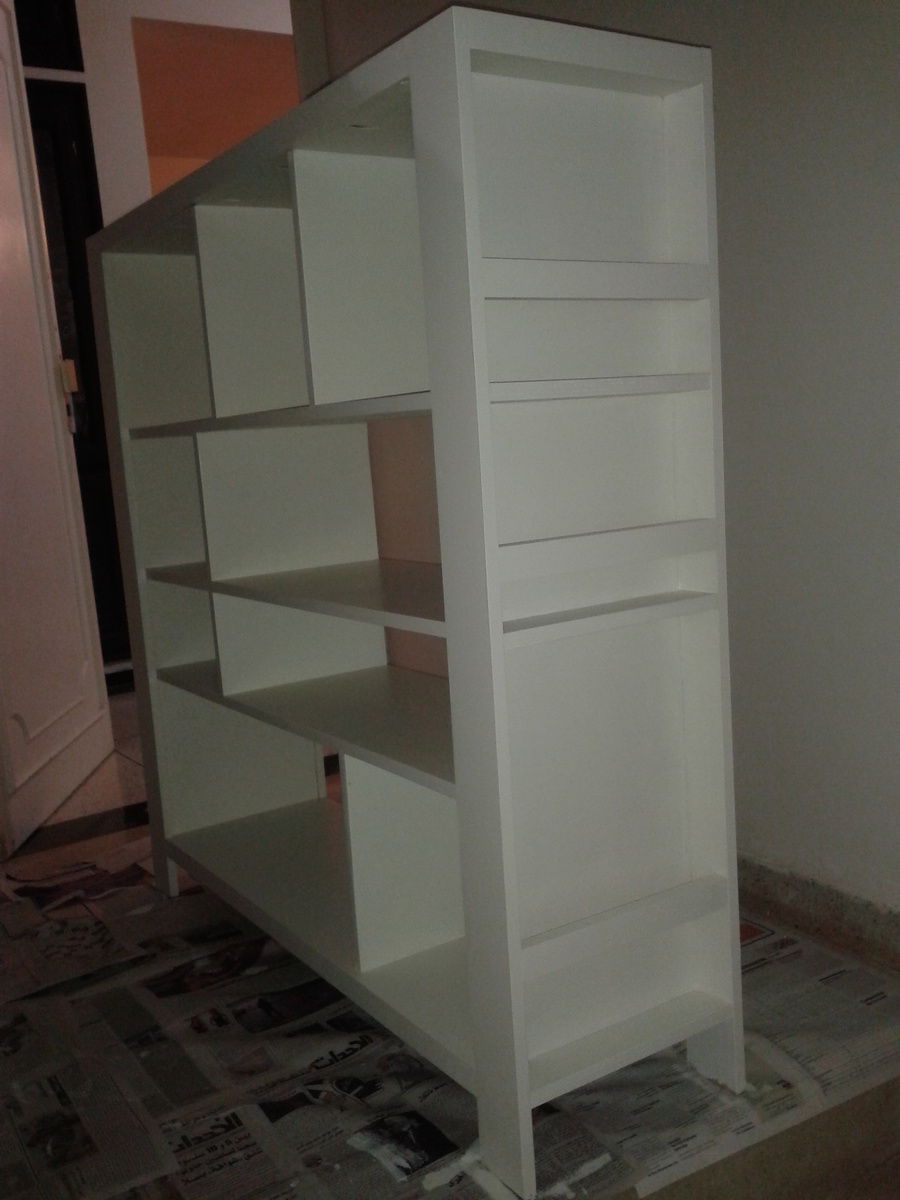
This is my first serious project that I dedicated to my wife so she can arrange her many books and personal things. I used the undercover jig from wolfcraft (same as kreg jig).
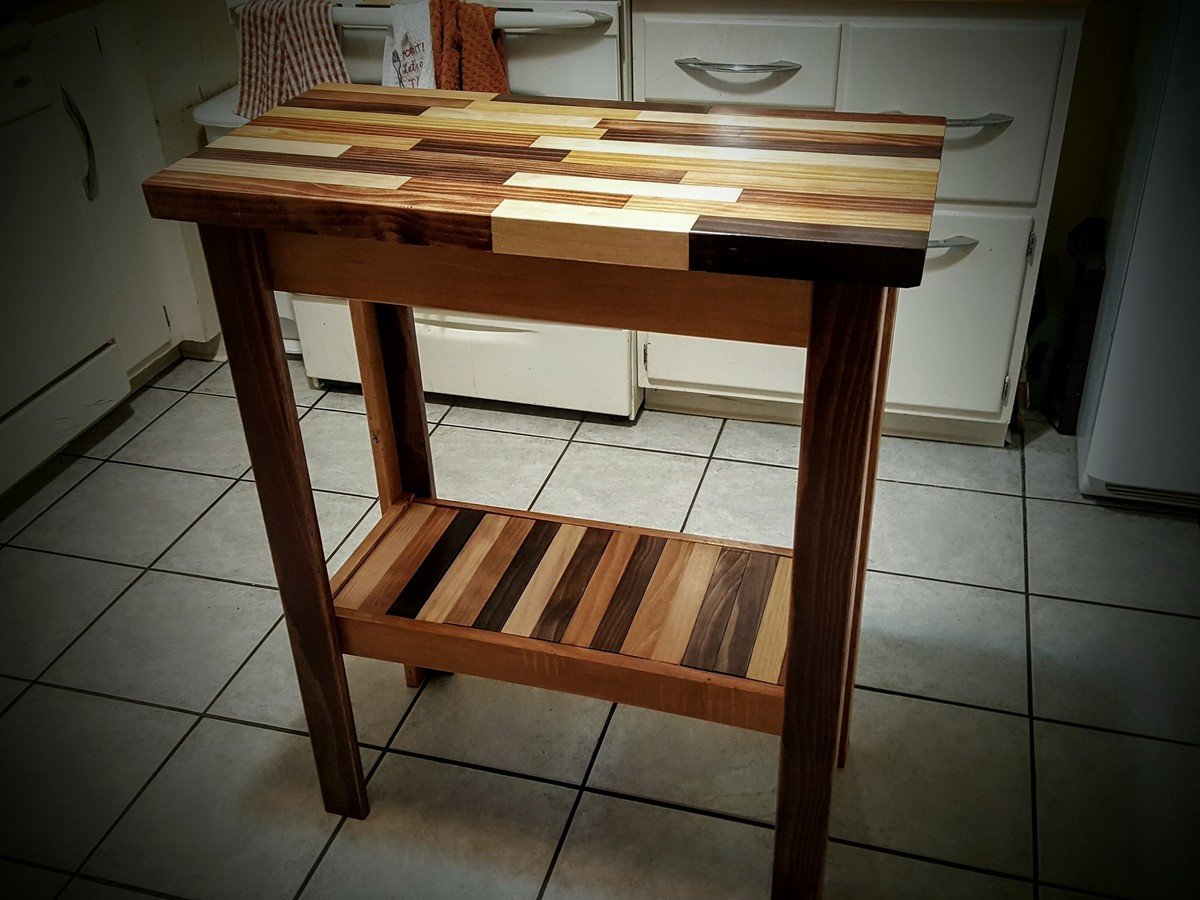
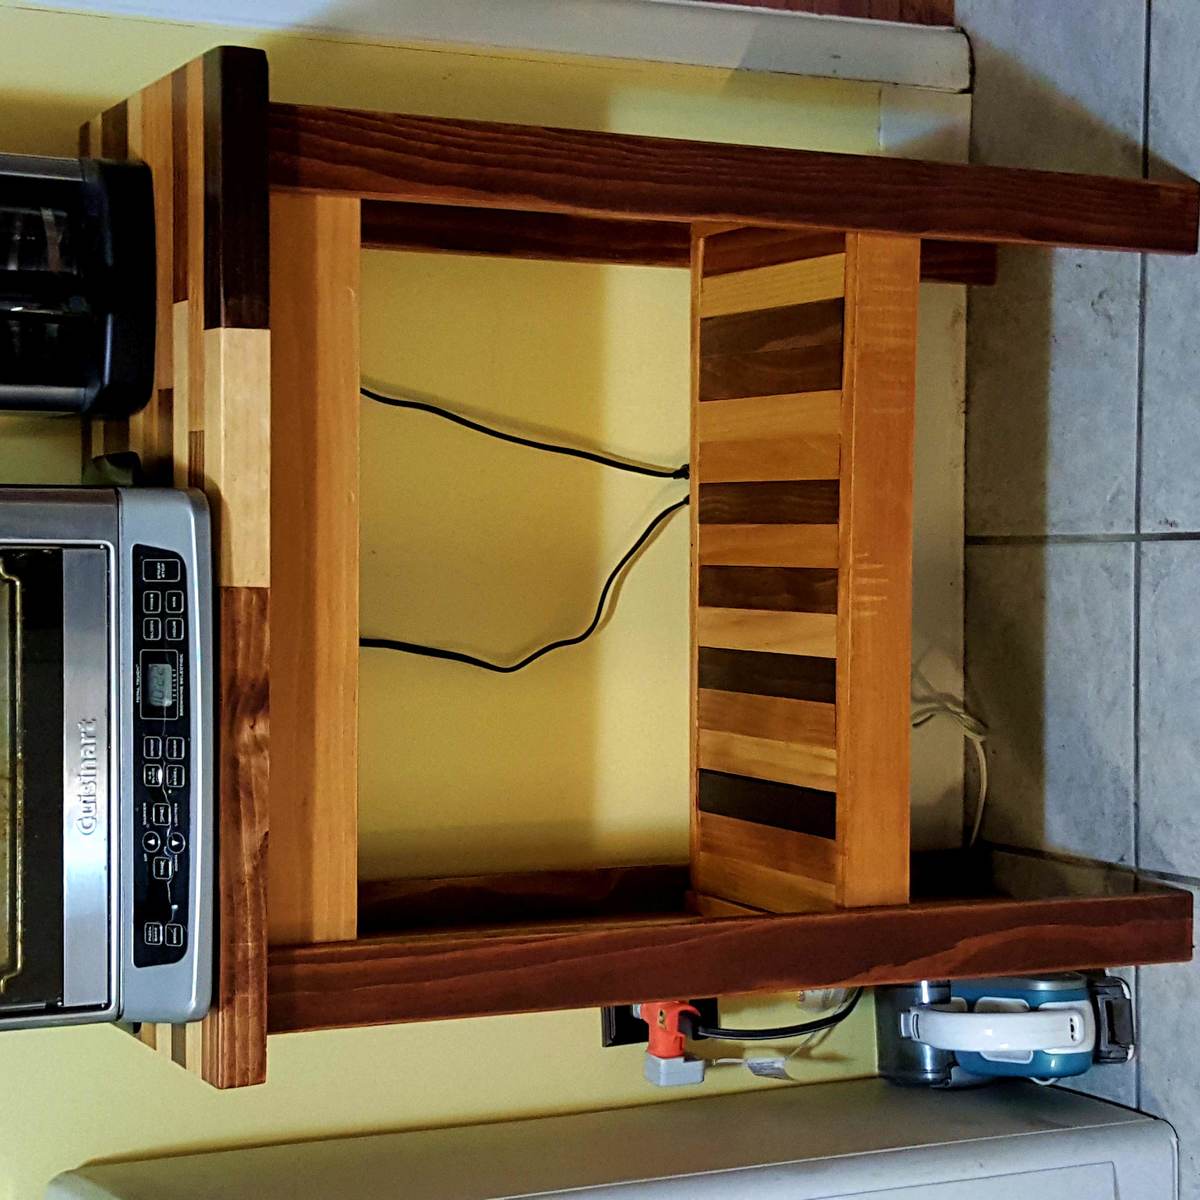
I wanted to replace the awful cart we keep our coffee maker and toaster oven on, and have always wanted to see a butcher-block top in our kitchen. We are renters, so doing anything like countertop remodeling is out of the question. I decided to build this little console and present it to my husband, the coffee-drinker of our house, for Valentines Day. The actual construction of the console was very easy, it was the sanding, plugging of pocket-holes, and staining that took a week! My husband loves it, though, and immediately rid of the old cart and set up his coffee-maker on the new one. We are both very proud of it.

This amazing trestle table seats 8 people with the “not pictured” matching bench. The table legs are jointed with mortise and tenon and the ends of the table top are lose slot jointed to the 4”x4”s to prevent unwanted warping if there is any. The table top is secured to the apron frame by table top fasteners to allow for wood movement and easy disassemble for transport. All wood planed to required thickness and sanded to 220 grit. Then finished off with an 80/20 mixture of “carbon grey stain and Ebony stain”. 3 coats of oil based satin polyurethane to top it off.
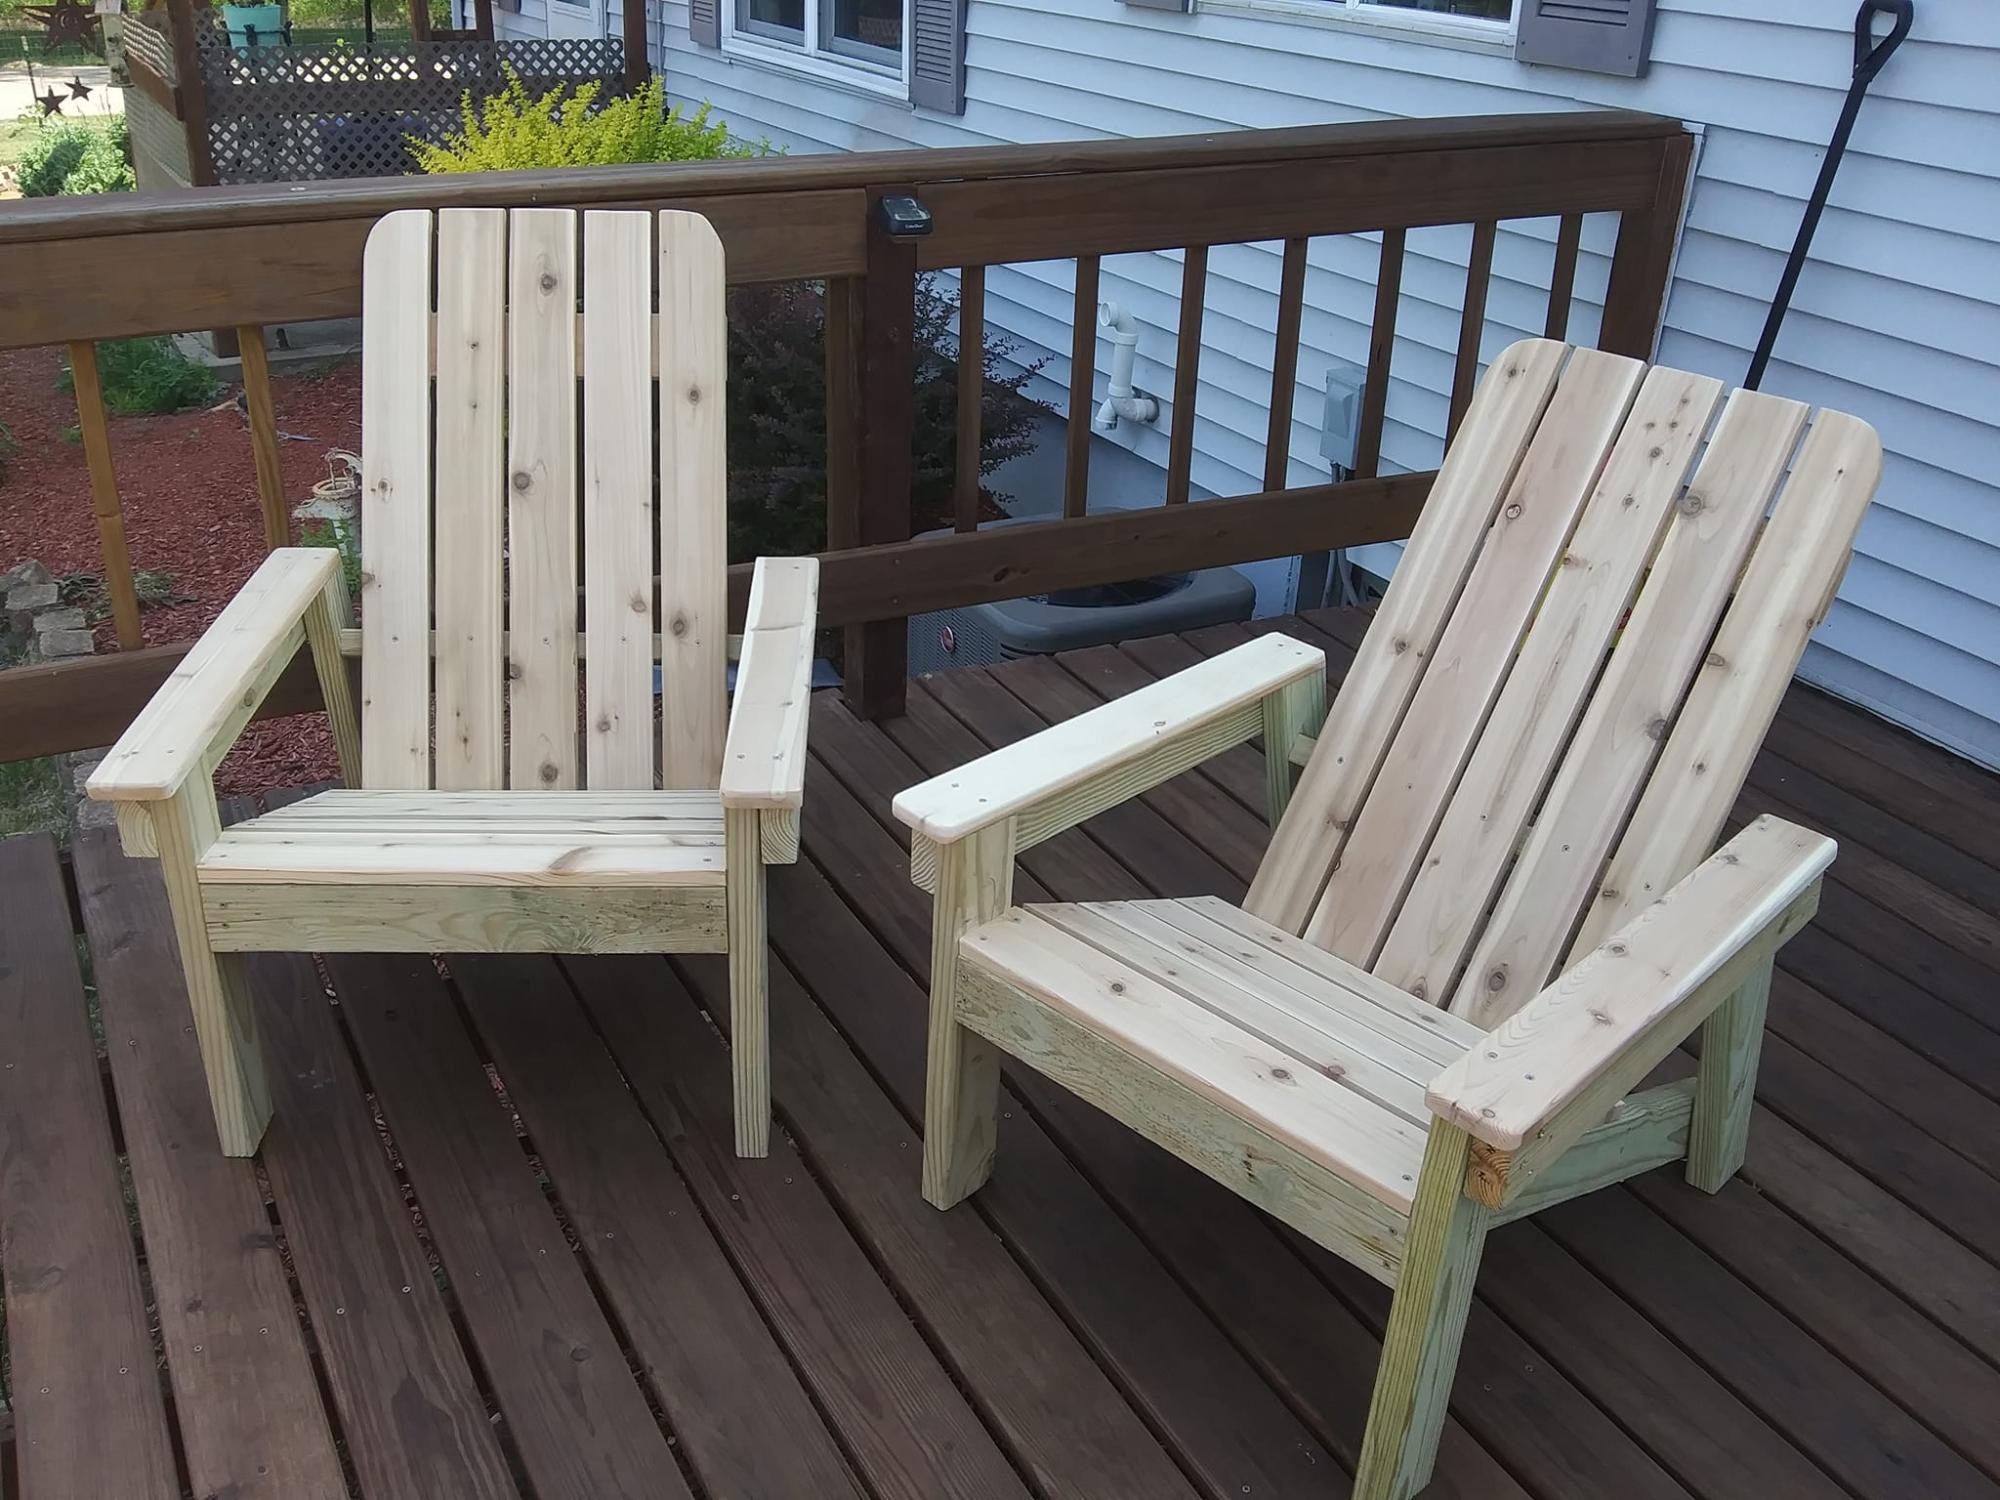
I made a pair of Adirondack chairs for my nephew and his fiancé. I use the old Home Depot plans (not sure if they're still online). I used treated 2x4's and cedar 1x4's.
Sat, 06/24/2023 - 19:16
I'm sure they love them, well done! Thanks for sharing.


Comments
Ana White Admin
Thu, 06/01/2023 - 07:29
Love the added beds!
Fabulous garden area, thank you for sharing!