Community Brag Posts

Loved the Adirondack build

Submitted by Anonymous (not verified) on Sat, 01/29/2022 - 17:00

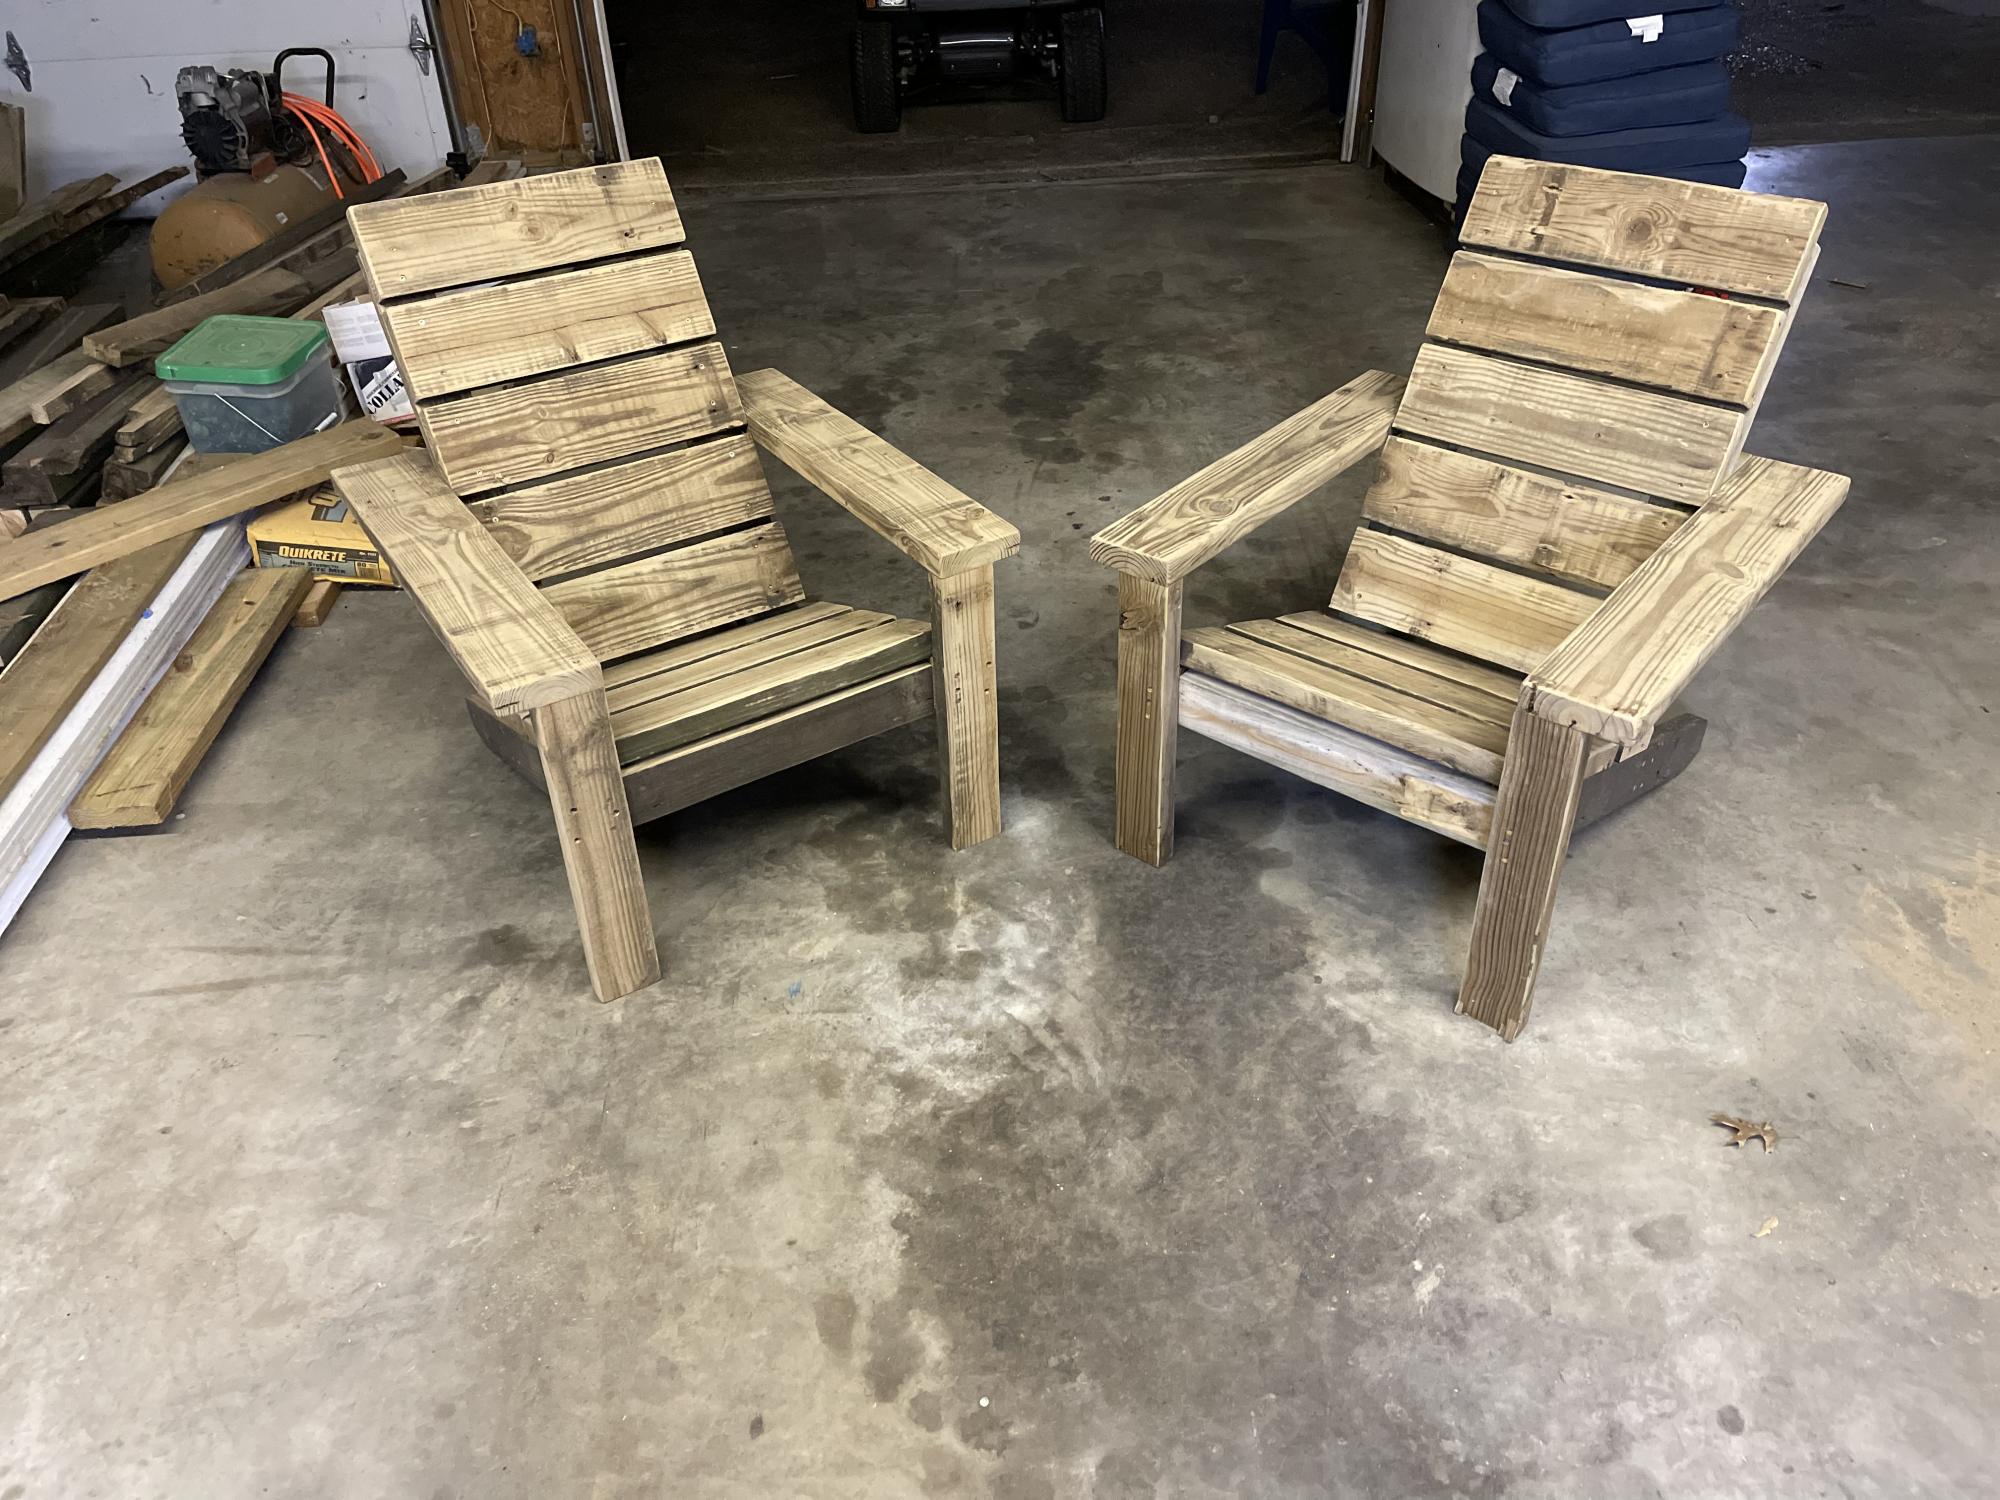
Thanks so much for these plans. I looked at dozens of Adirondack plans but 99% of them had tricky cuts requiring templates and more perfection than I wanted to give.

These are very straight-forward. I removed an old deck last year and saved all the 2x6 decking. I used those for this build. Ripped some down to 2x4’s but left the rest as-is for wider arm rest and seat/back boards. Everything came together perfect. Took me longer than I’d like to admit on the first, but the second went quick.

Can’t wait to drink a few beers in these chairs.

Thanks again,
Taylor Jones
Memphis,TN

Comments

Helper Tower

Submitted by Bradnag on Sat, 02/03/2018 - 13:12

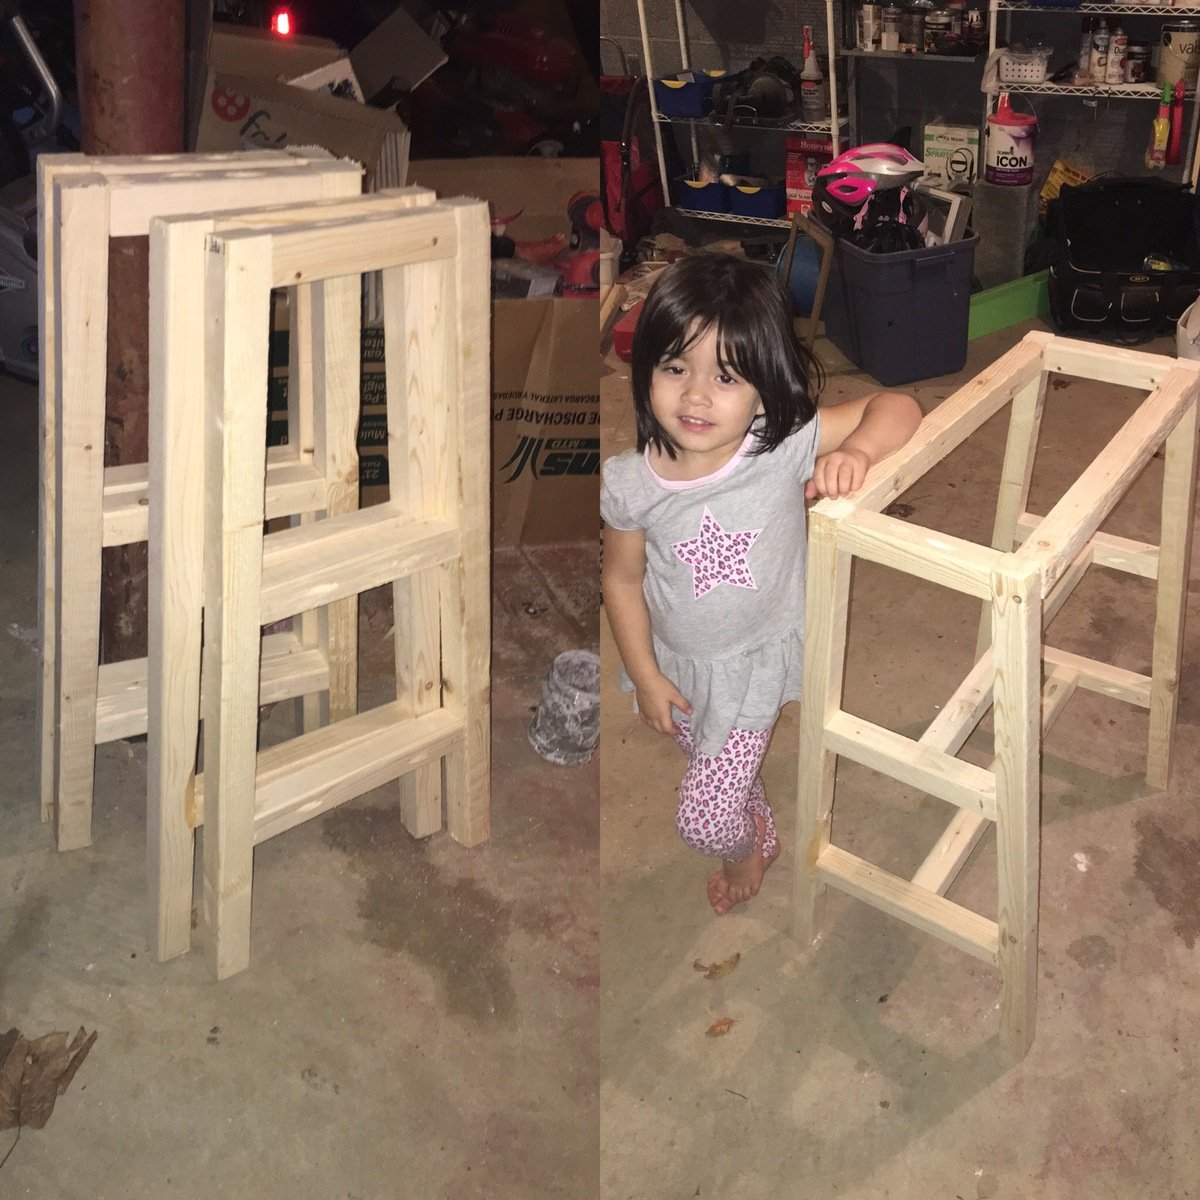
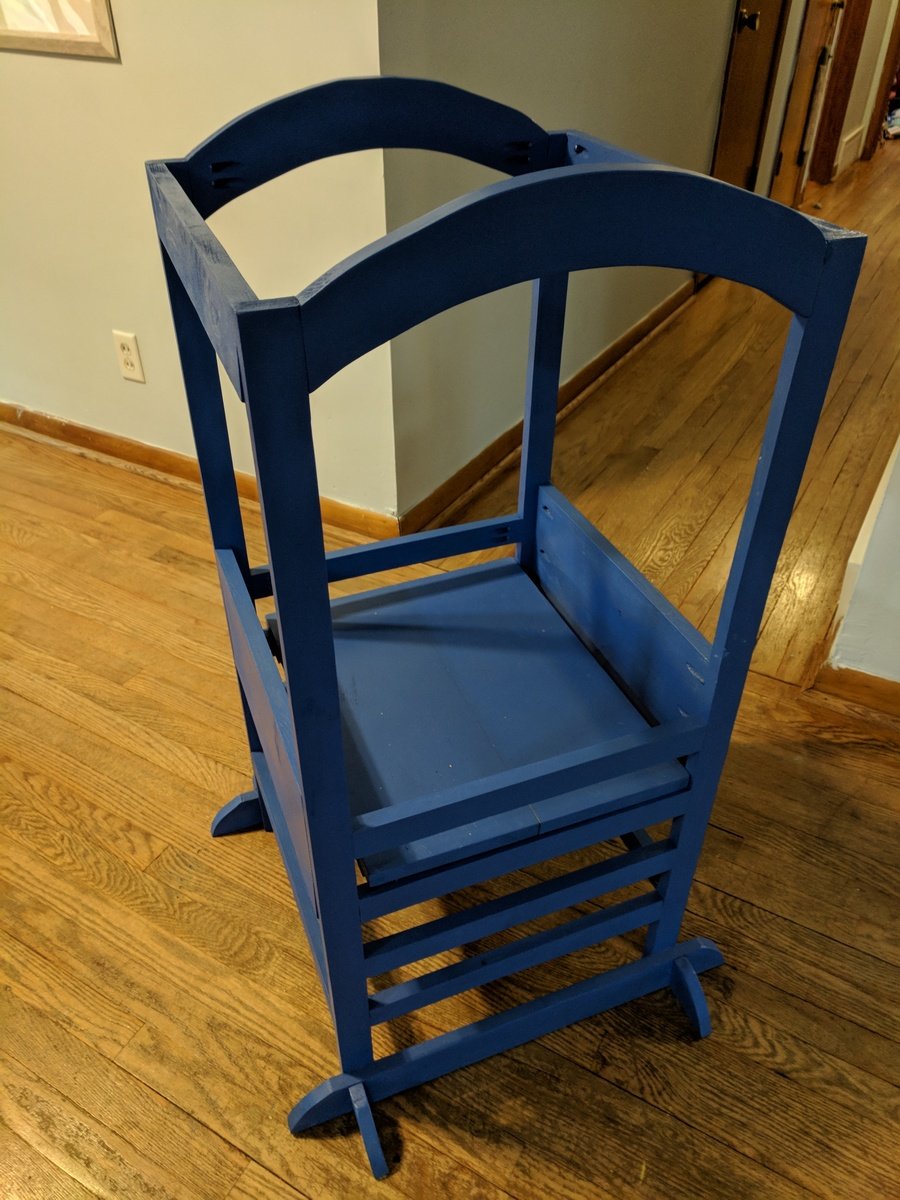
This was my first project using a jigsaw. Both of my children absolutely love it. If I had to do it again, I probably would have made the folding version instead, but I am still very happy with how this tower turned out.

Built from Plan(s)
Estimated Cost
$8
Estimated Time Investment
Afternoon Project (3-6 Hours)
Finish Used
PPG Speedhide semigloss paint
Recommended Skill Level
Beginner

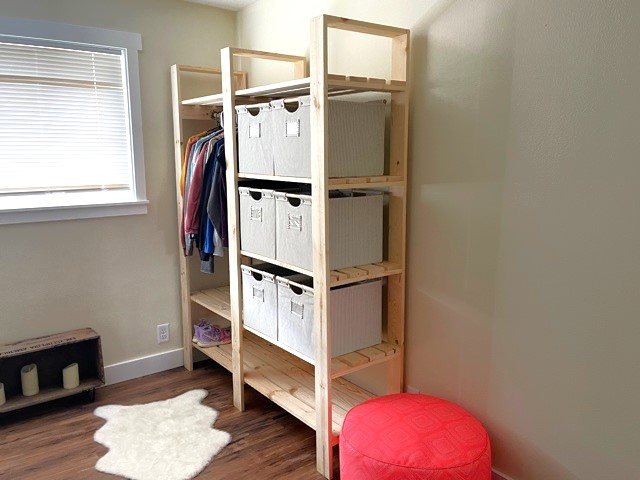
Freestanding Closet

Submitted by vendo on Fri, 04/08/2022 - 16:44

My daughter's room didn't have a closet, so I built one. This only took a couple of hours to build. I found the bins on Amazon and built to fit. It's 60" wide 18" D and 75" tall. I love this plan, it's super easy to modify the size and configuration!

Built from Plan(s)

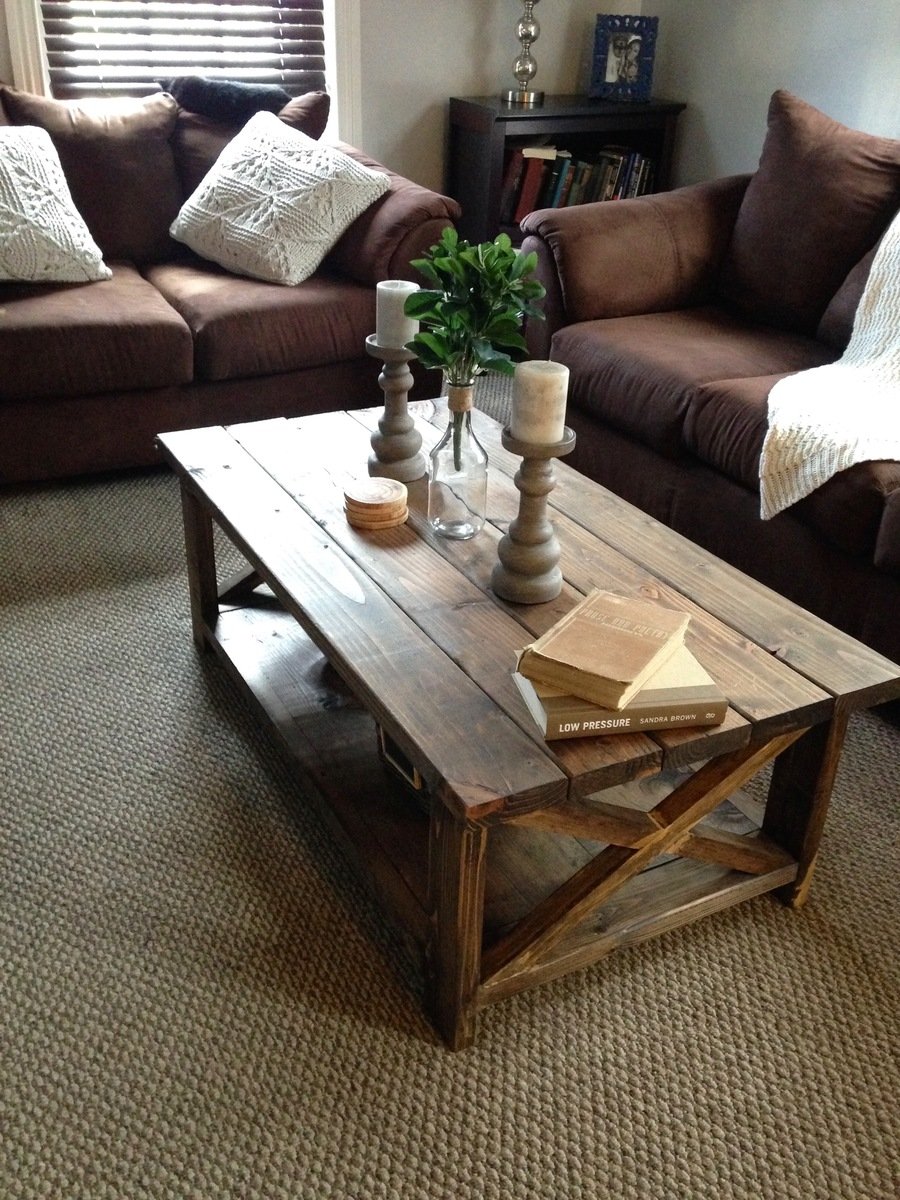
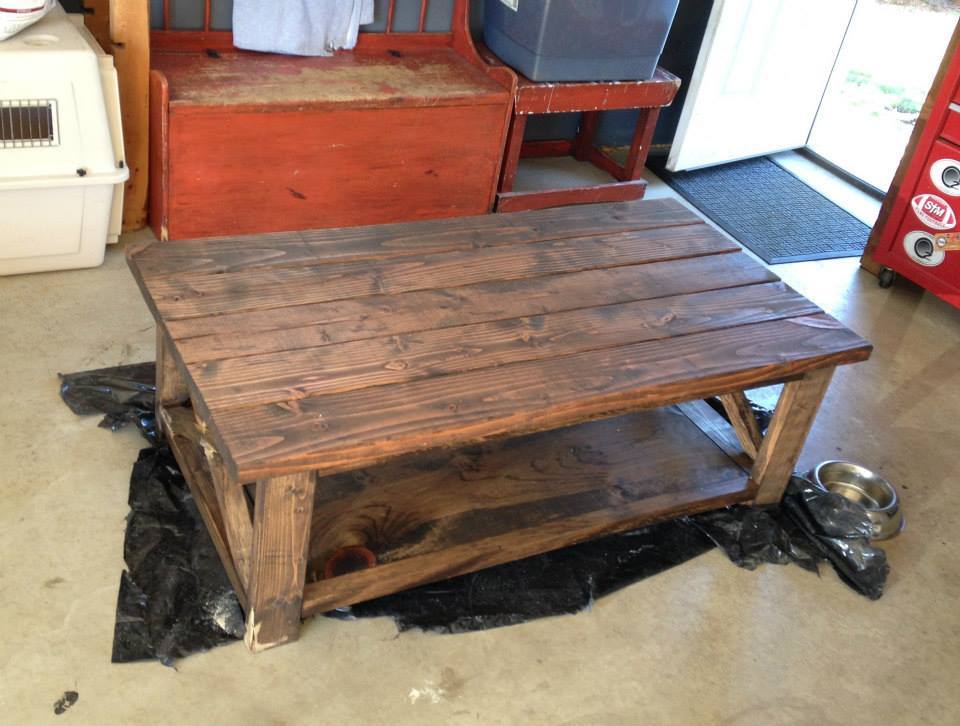
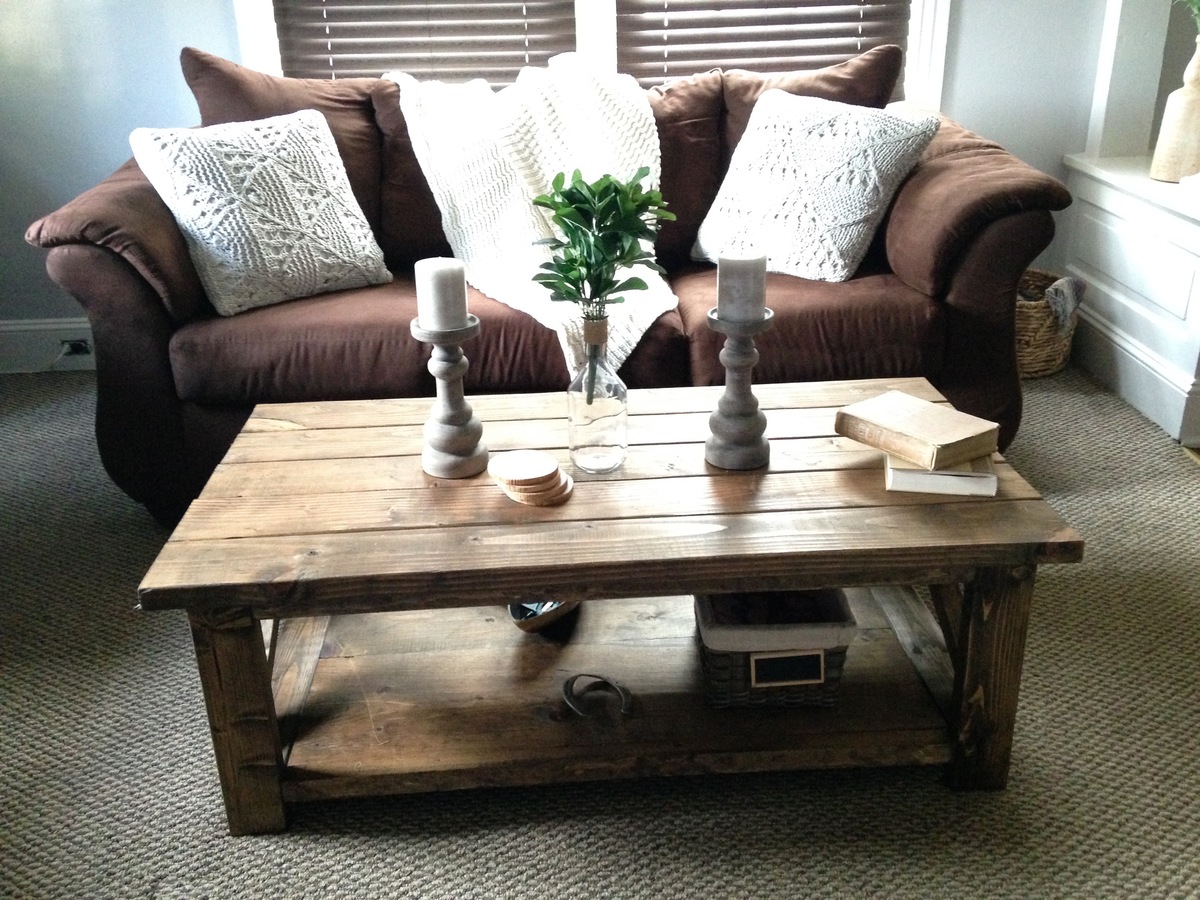
DIY Rustic "X" Coffee Table

Submitted by juliedrev on Mon, 08/17/2015 - 14:12

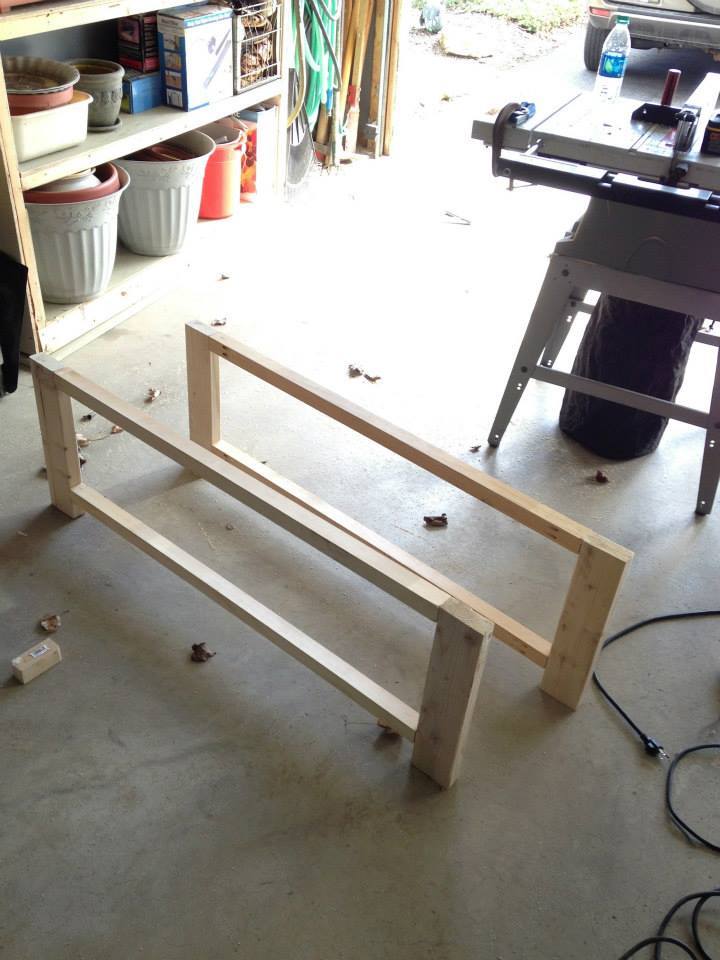
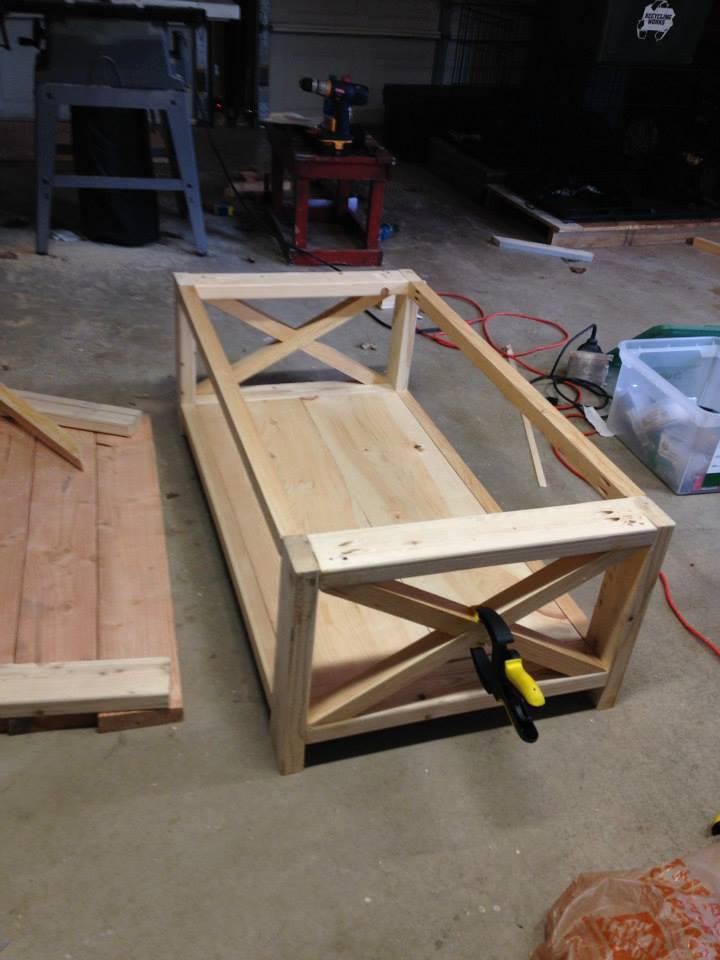
This was such a fun project and only took 1 day to complete! It was a lot more fulfilling to build my own coffee table than go out and spend $400 on one. It looks beautiful in my living room and is a perfect accent to my rustic, earthy decor.

Built from Plan(s)
Estimated Cost
$150
Estimated Time Investment
Day Project (6-9 Hours)
Finish Used
Dark Walnut
Recommended Skill Level
Beginner

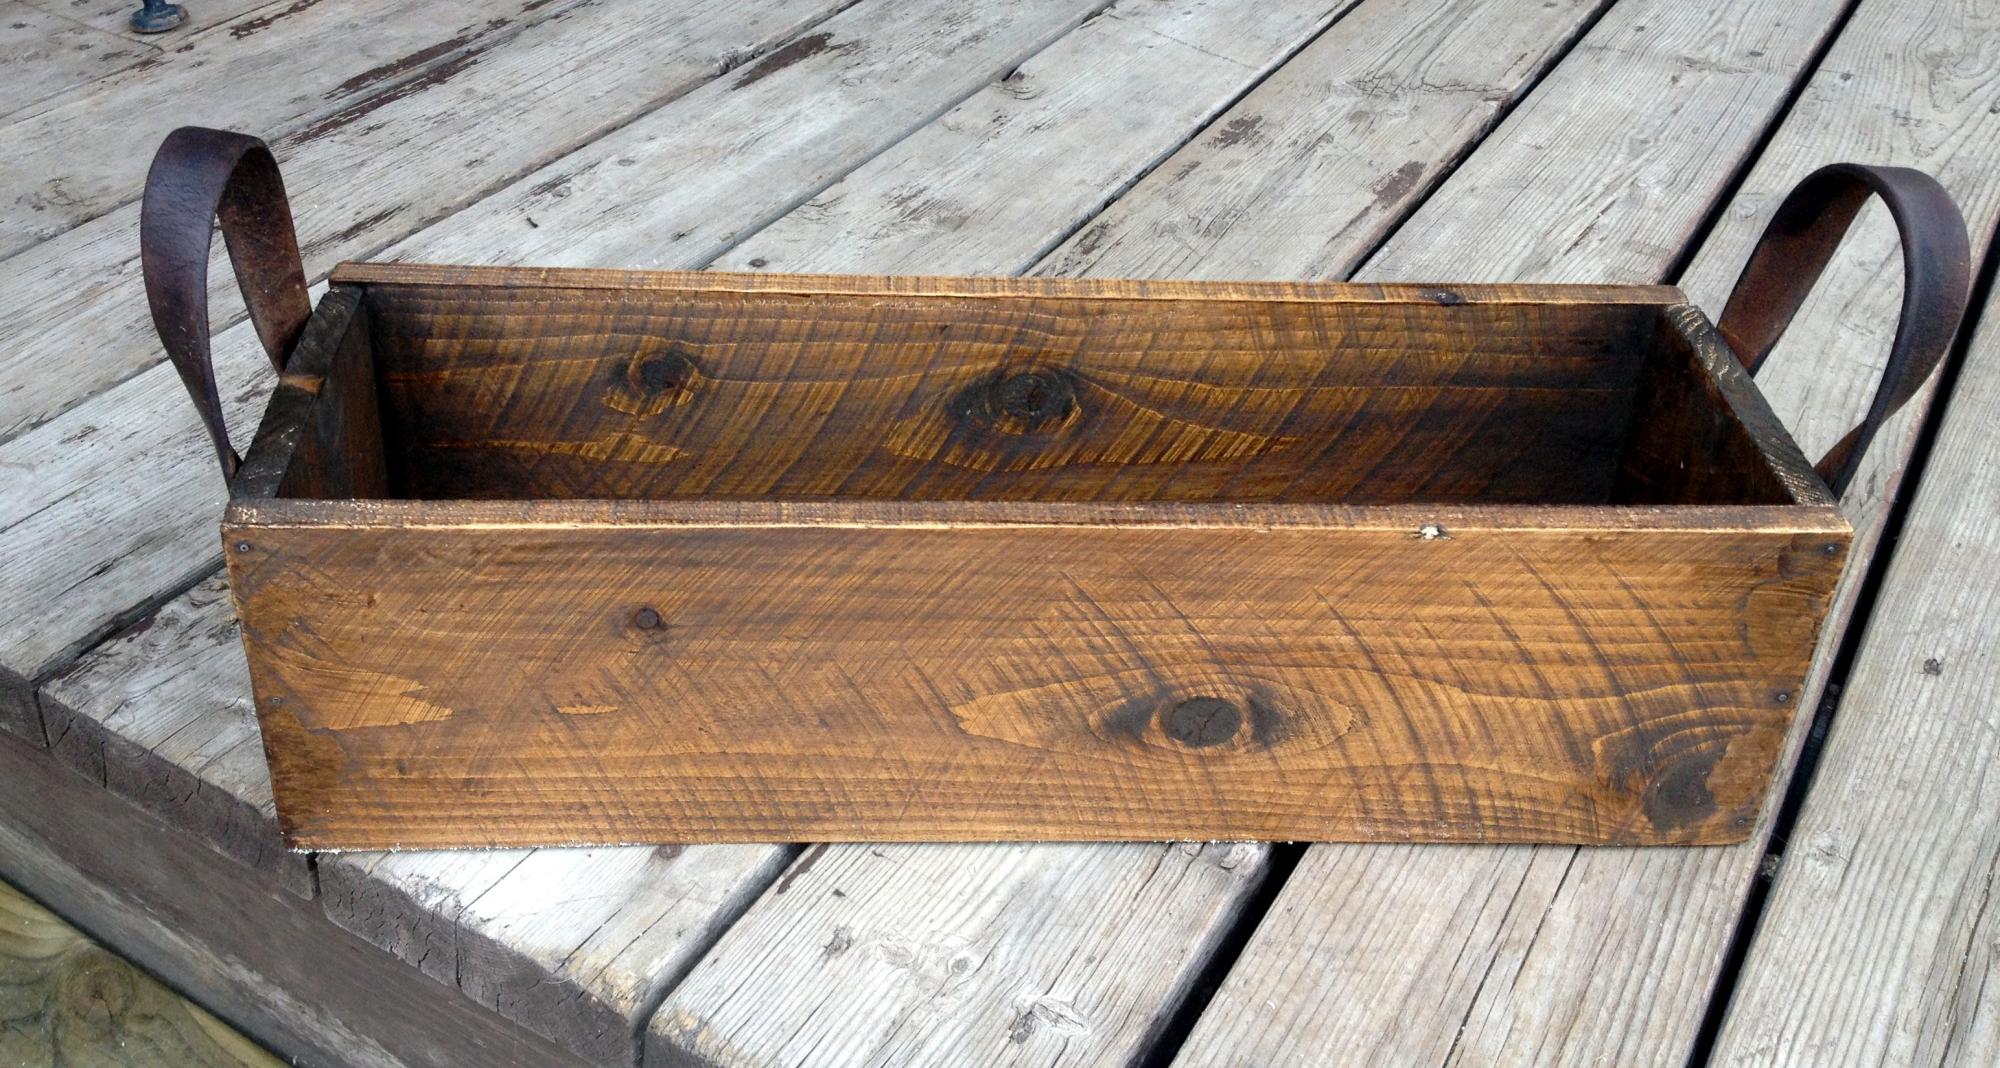
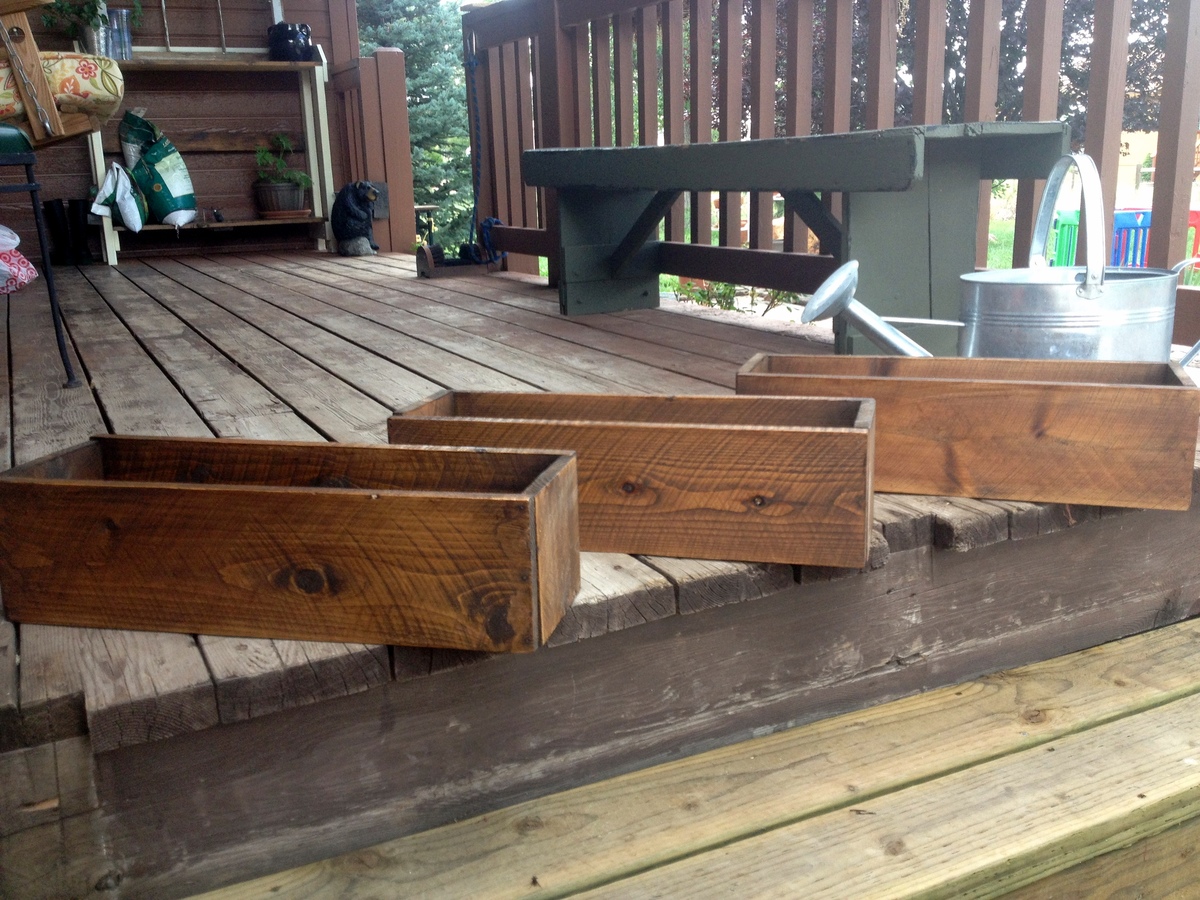
Pretty Wood Boxes!

Submitted by cassiet717 on Fri, 08/02/2013 - 18:42

My brother and his fiancee just bought their first house, and these sweet little boxes were the perfect housewarming gift! I used the recommended cedar picket, and found some old reins at a flea market for the handles. Piece of cake to build, super inexpensive, but absolutely adorable!

Estimated Cost
$3 per box (including handles)
Estimated Time Investment
An Hour or Two (0-2 Hours)
Finish Used
Minwax Pre-Stain Wood Conditioner, Minwax Stain in Walnut
Recommended Skill Level
Starter Project

Making a wooden game board

I made a wooden game board for The Duke from Catalyst Game Labs. The Duke is a 2 player abstract strategy game. In some ways, it is similar to chess. For more details about The Duke visit the official website for the game where you can find the rules and files for a Print & Play version of the game. (Unfortunately, at the time of writing this tutorial the physical copy of The Duke is out of print.)

The game board for The Duke is similar to a chess board. It uses a 6×6 grid instead of the 8×8 grid in chess.


Estimated Time Investment
Weekend Project (10-20 Hours)
Finish Used
Watco Danish Oil (Natural)
Recommended Skill Level
Intermediate

Farmhouse Table and Benches

Submitted by Keri Lee on Sat, 07/09/2011 - 09:35

It isn't perfect, but it's beautiful and made with love!

Estimated Cost
$100
Estimated Time Investment
Week Long Project (20 Hours or More)
Finish Used
I used MinWax stain in Dark Walnut and three coats of MinWax Fast-Drying Polyurethane in Satin finish to seal the stain. For the paint, I just used some white, satin Olympic no VOC paint right off the shelves at Lowe's. It was left over from painting my house. To date, I have not sealed the paint and I may not bother since it's holding up just fine. As far as my "technique" is concerned, I just followed Ana's tips about sanding between coats. I applied the stain and poly with a small white sponge roller. I used a paint brush for the legs since I feel like I get better results, even though it takes more time.
Recommended Skill Level
Beginner

Comments

Guest (not verified)

Tue, 07/12/2011 - 13:53

this looks awesome. What wood and stain did you use. I think we may try to do this.

Guest (not verified)

Tue, 07/12/2011 - 20:59

Same question! That is a beautiful finish; I'd love details on how you achieved it!

Guest (not verified)

Fri, 09/30/2011 - 04:31

This is EXACTLY what I was hoping to do with the table we just built. Would you be willing to share your finishing process here? Beautiful job.

Guest (not verified)

Tue, 10/18/2011 - 14:18

Im dying to know what the name of the color of stain you used for your table. It's beautiful! The color of the white part would be nice too:)

Keri Lee

Fri, 11/18/2011 - 14:03

Thank you so much for all your compliments! I apologize for not responding to your questions sooner, I never realized I had comments on this post! I used MinWax stain in Dark Walnut and three coats of MinWax Fast-Drying Polyurethane in Satin finish to seal the stain. For the paint, I just used some white, satin Olympic no VOC paint right off the shelves at Lowe's. It was left over from painting my house. To date, I have not sealed the paint and I may not bother since it's holding up just fine. As far as my "technique" is concerned, I just followed Ana's tips about sanding between coats. I applied the stain and poly with a small white sponge roller. I used a paint brush for the legs since I feel like I get better results, even though it takes a little more time.

Sweet Pea Bunk Bed for Viktoria

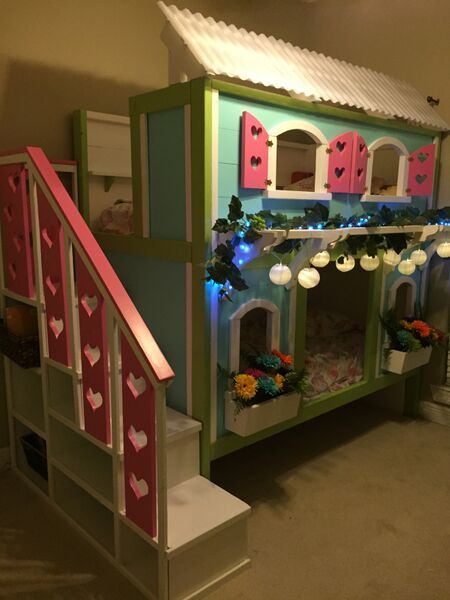
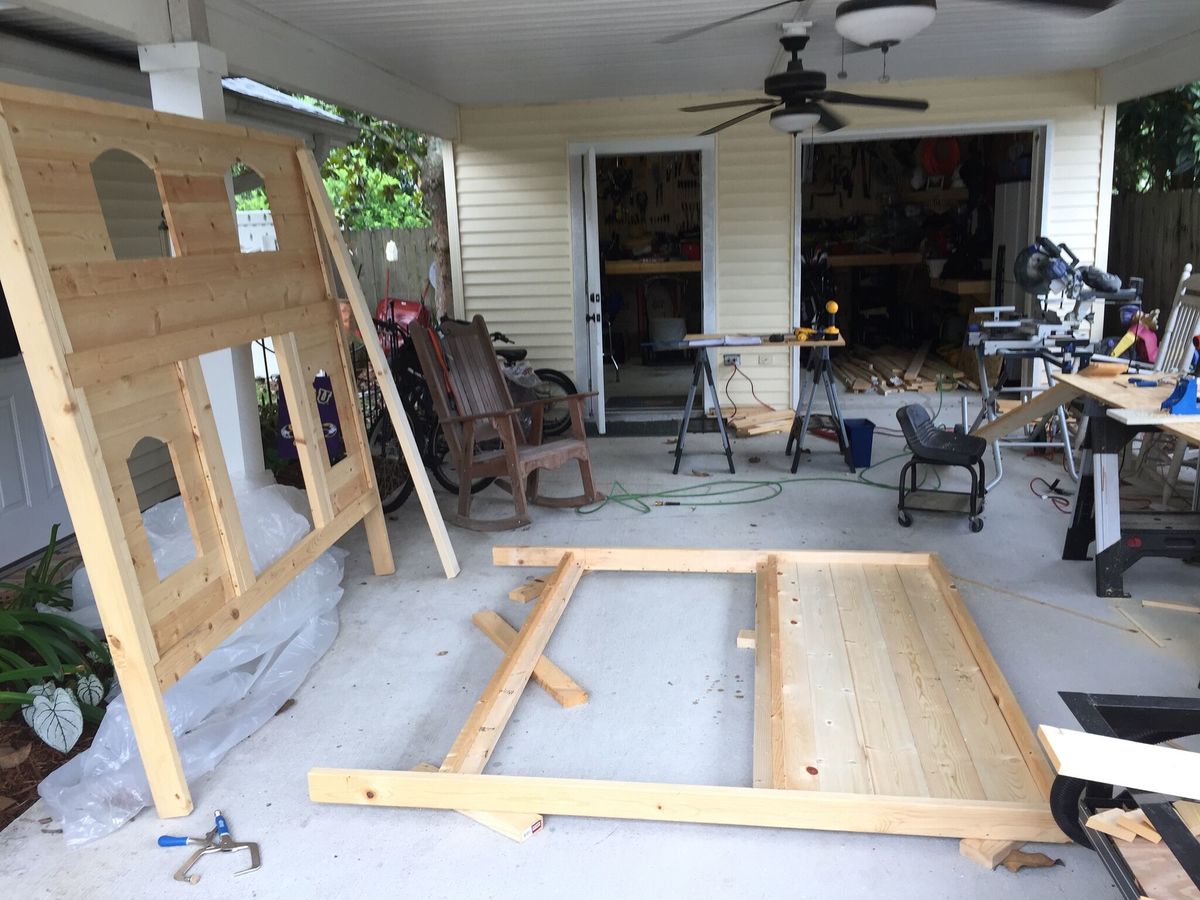
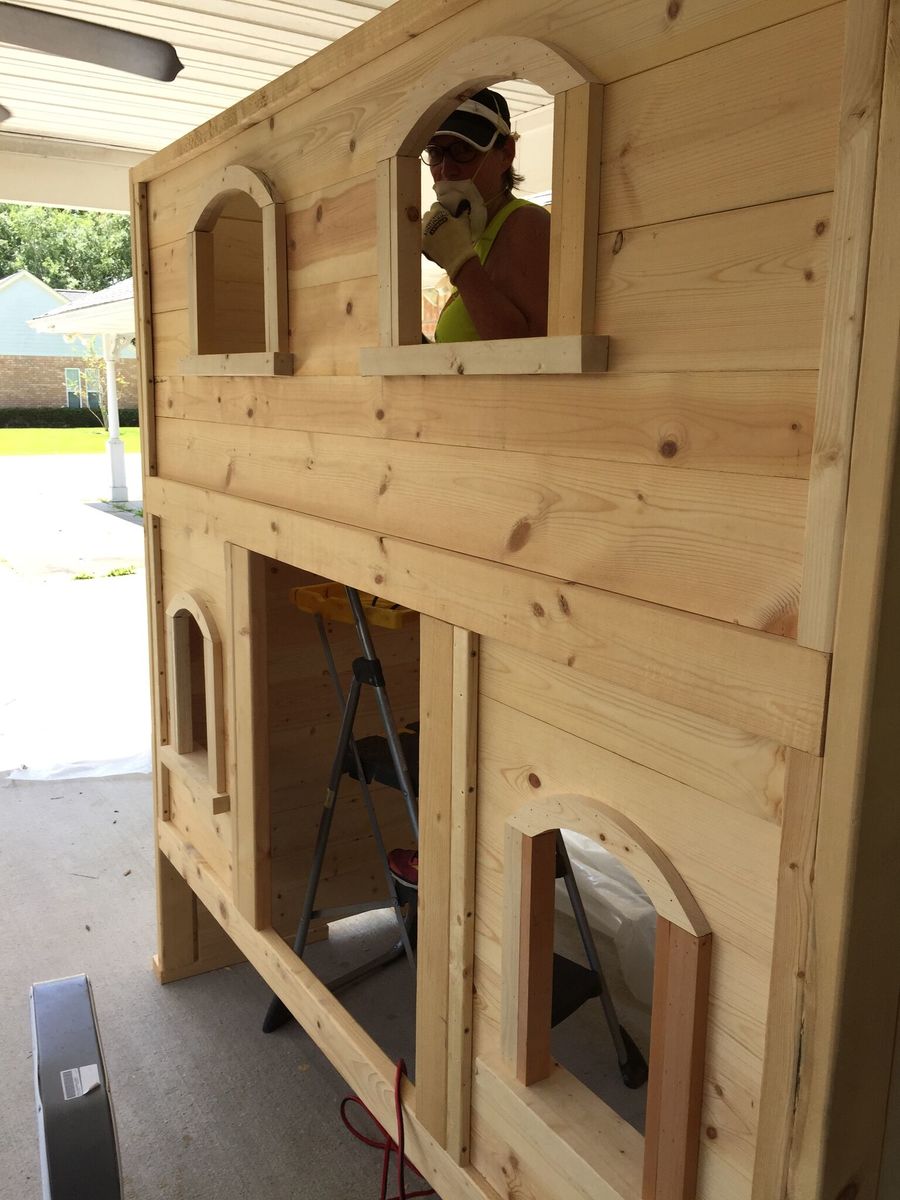
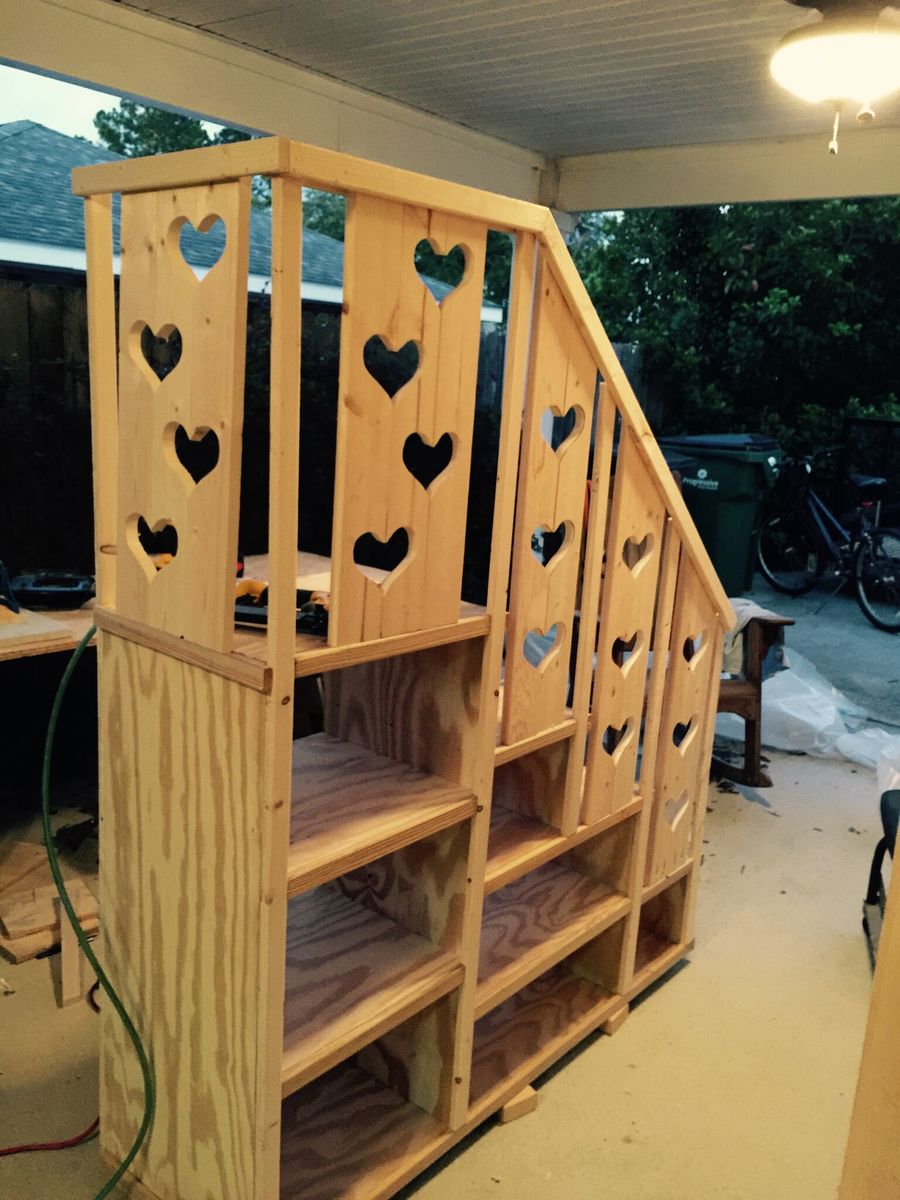
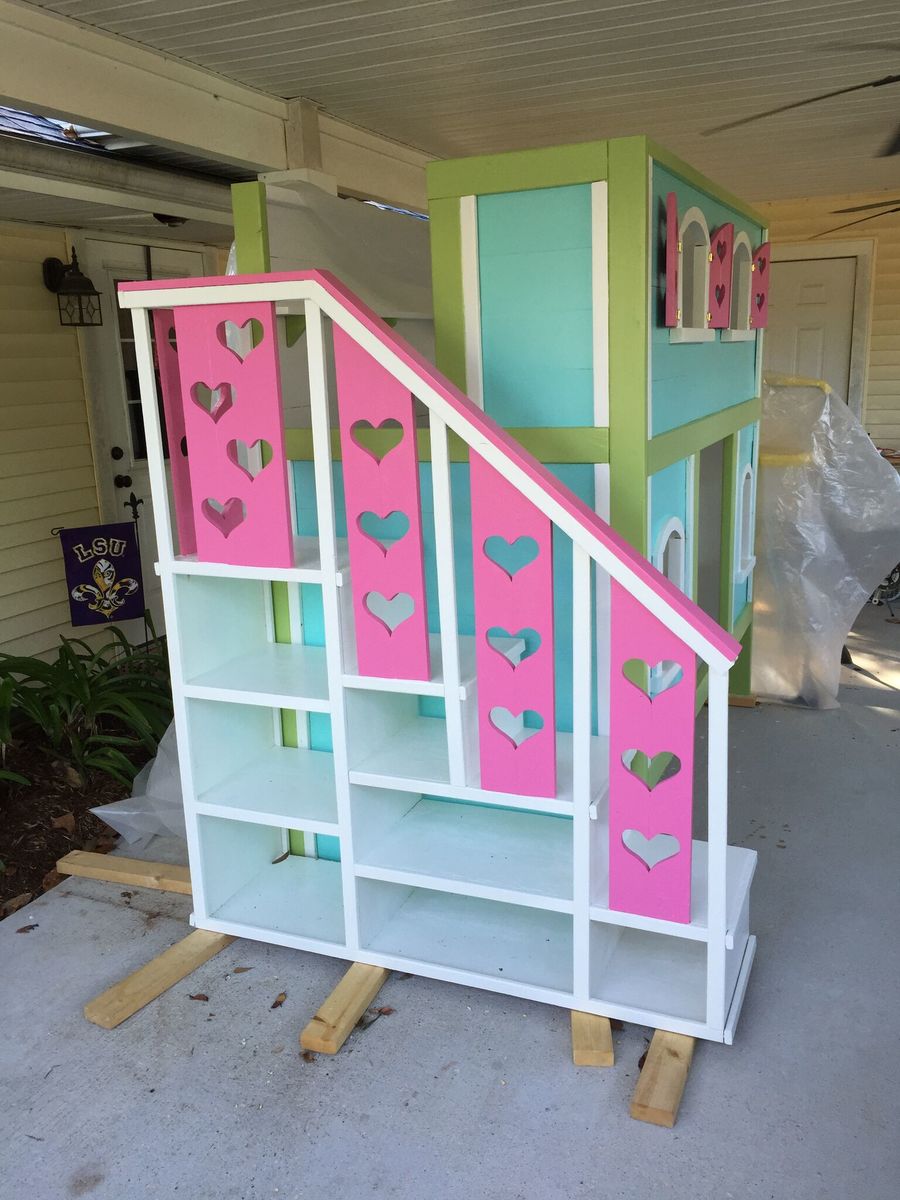
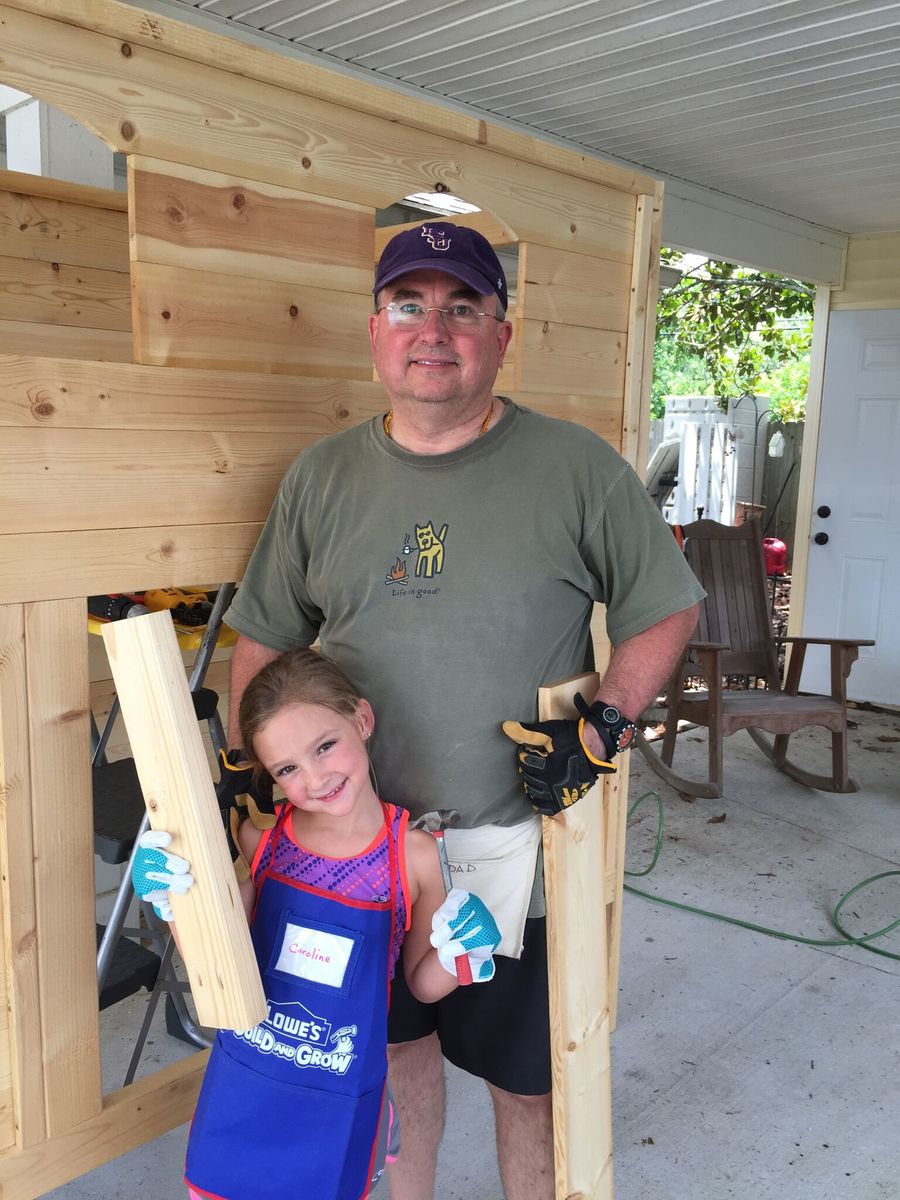
I spent the last 8 months building 2 bunk beds from the Ana White site.  This little girl sweet pea version for my granddaughters and a cabin version for my grandsons.  This took alot of time but their smiles made it all worth it.  I am thankful for the website and plans you provided. It allowed someone like me to build something that my granddaughter loves and hopefully will remember forever.  Many, many thanks!!!!

Finish Used
primer and paint
Recommended Skill Level
Intermediate

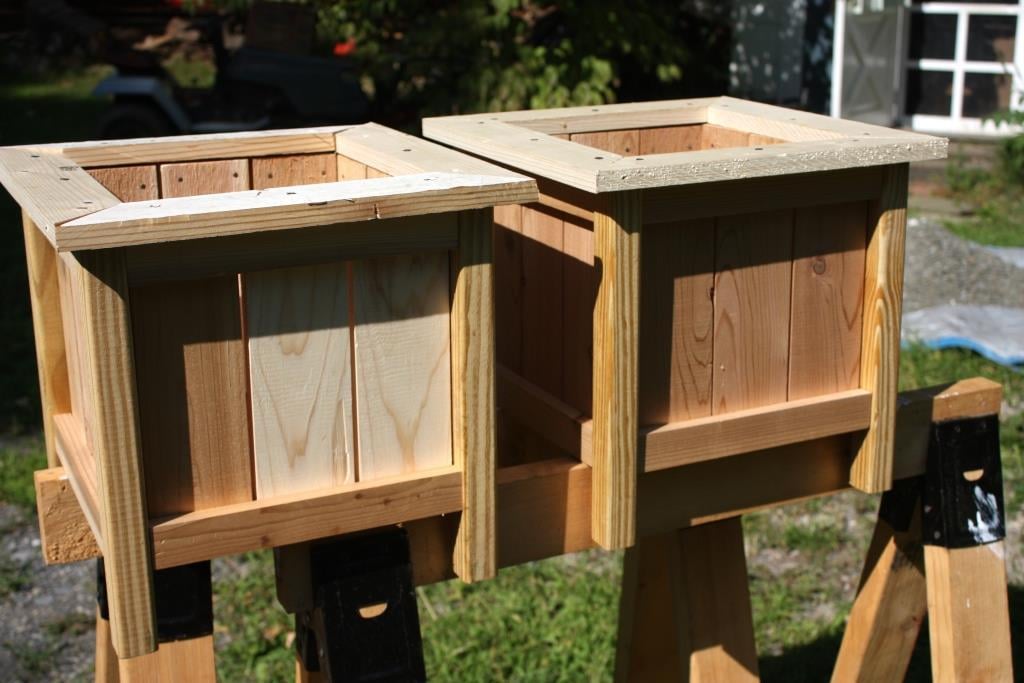
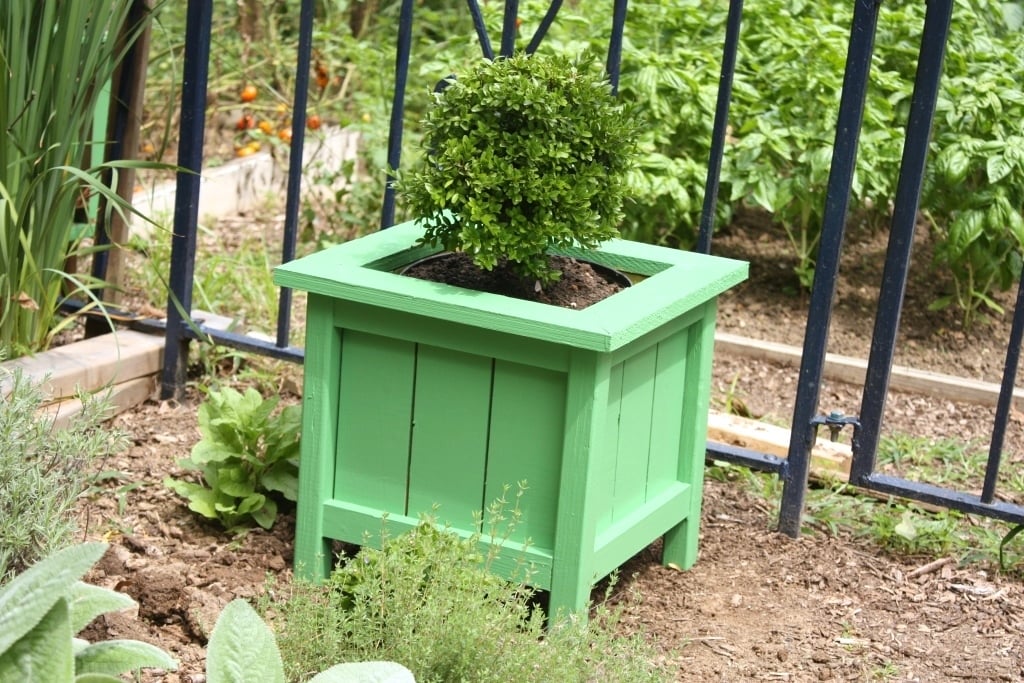
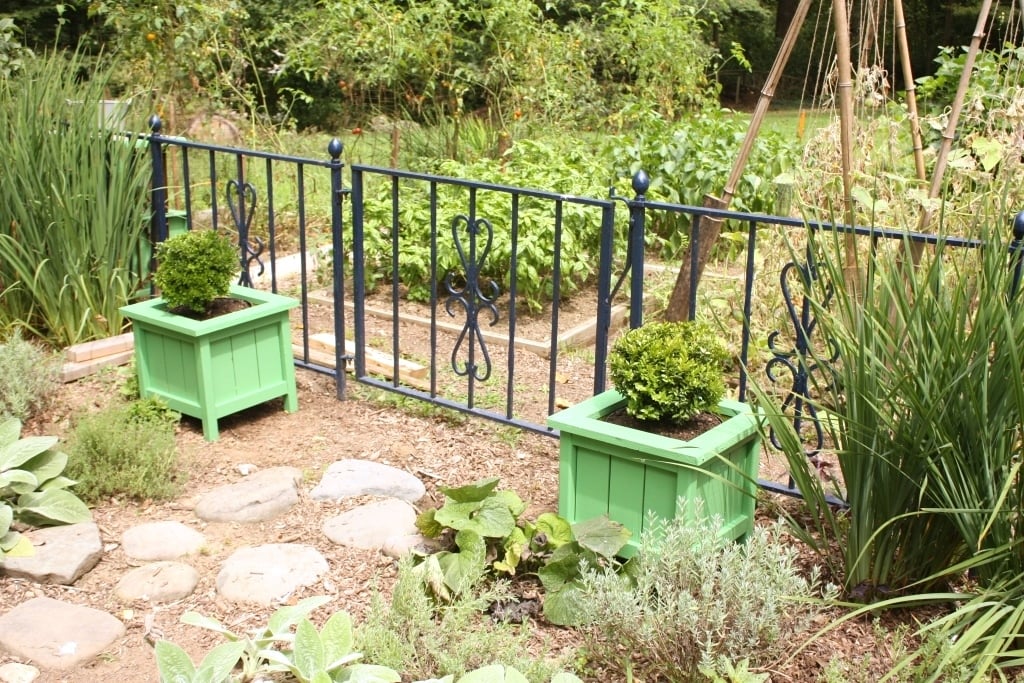
Petite Planters for the Potager

Submitted by JoA on Mon, 08/19/2013 - 06:23

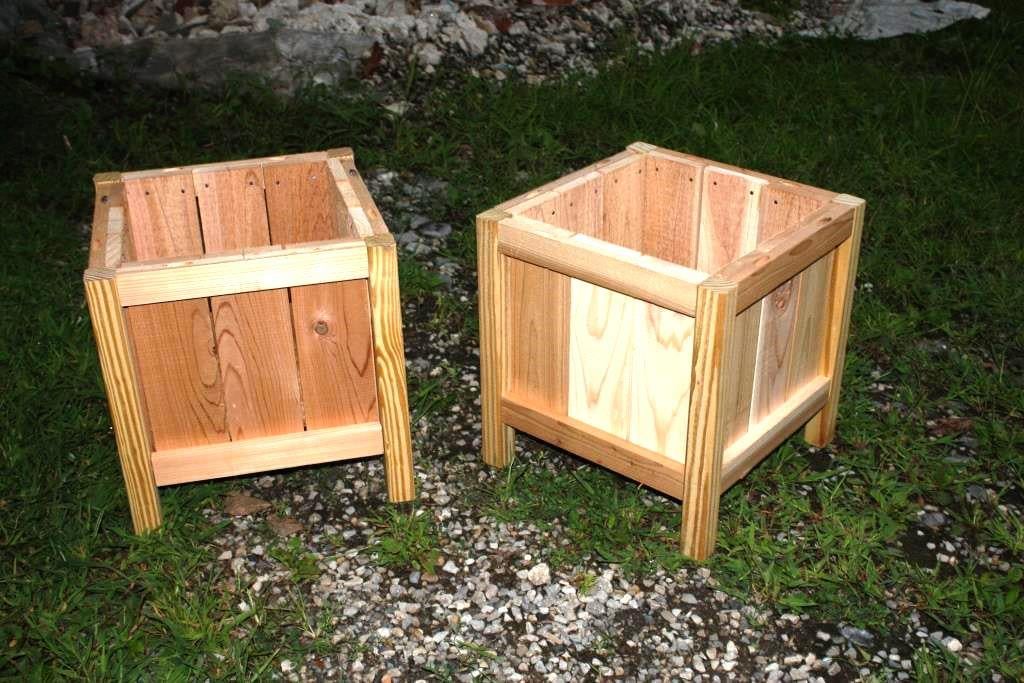
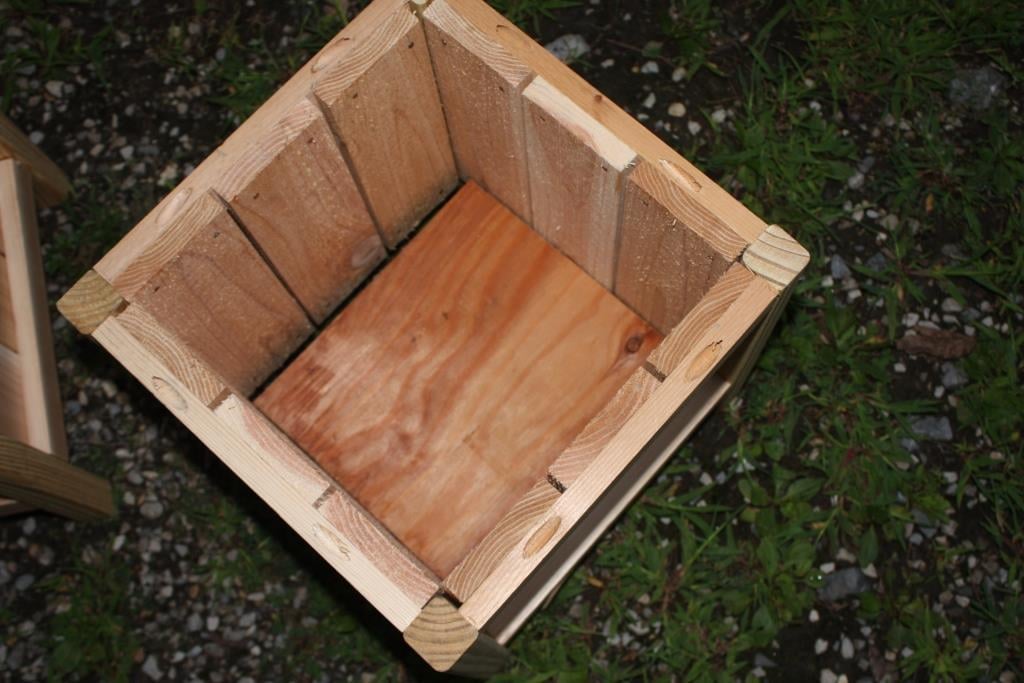
After building a large planter from Ana's plans and my salvaged fence wood I thought 2 smaller planters for the entrance to our kitchen garden would be nice. The complete instructions are on my blog, Let's Face the Music. Jo

Built from Plan(s)
Estimated Cost
$12 each
Estimated Time Investment
Day Project (6-9 Hours)
Finish Used
Benjamin Moore Exterior Semi-gloss in Bunker Hill Green over exterior primer.
Recommended Skill Level
Beginner
Seasonal And Holiday

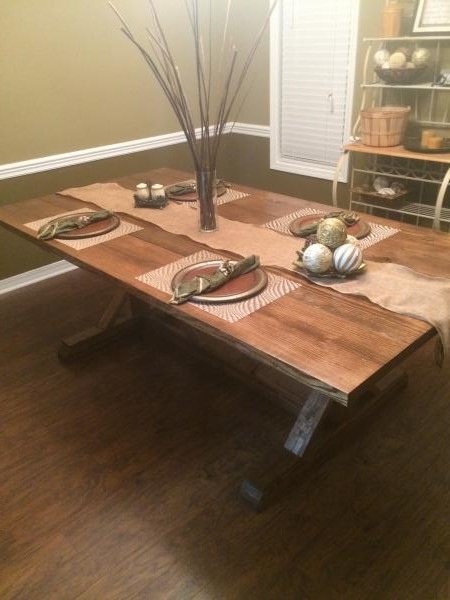
Square Farmhouse Table

Submitted by blawson972 on Wed, 08/21/2013 - 14:50

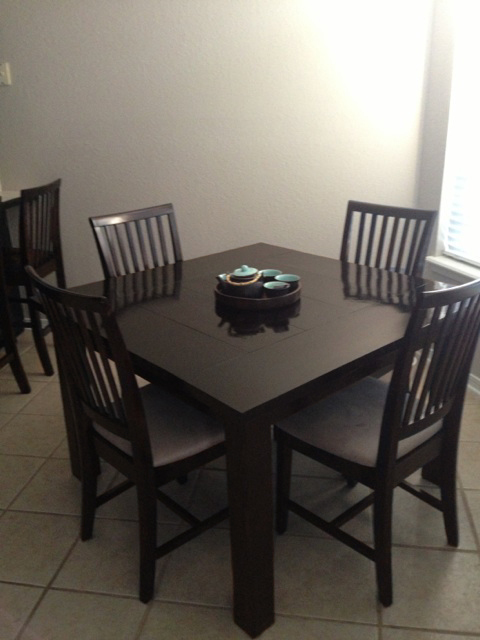
This was my first project! We just bought a house and have no furniture except a mattress on the floor! But soon, we will have a home full of custom built furniture :)

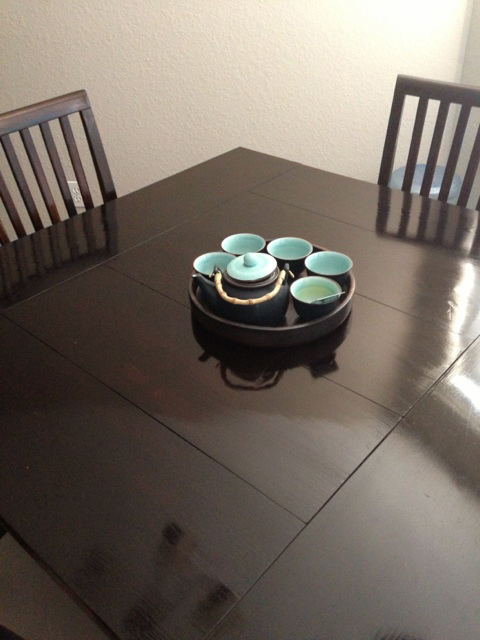
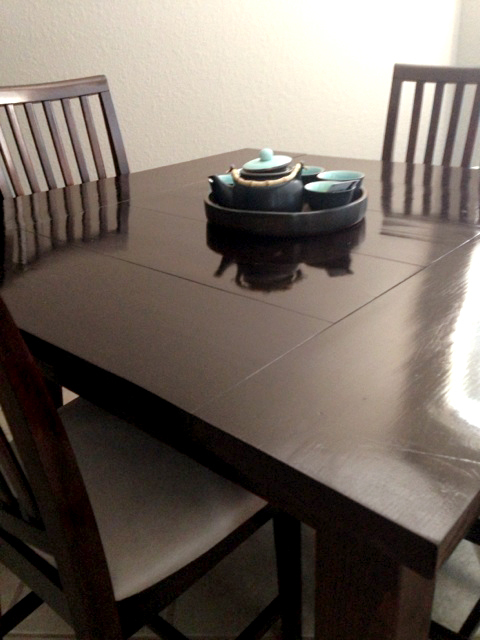
I modified this plan quite a bit so it would fit in my space better. My husband really wanted a square table, so I came up with this one based on the farmhouse table. I changed the table top pieces to 2x10’s simply because I like how they look. It took me quite a while because I wanted the top to be super smooth with minimal gaps between the boards, so I ran the boards through a planer quite a few times until they were perfectly flat. Also, since it is square and smaller, we didn’t need the support beam along the middle.

I really wanted chairs that matched the table, so I ordered chairs that were unfinished and stained them to match the table. This took FOREVER and they were a little expensive, but they turned out great! We also got 2 barstools that match.

Like any other project, the finishing took the longest. I sanded for what felt like 20 years, then stained and poly’d for another 10. I am pretty happy with it considering it was my first try!

Estimated Cost
$75.00 - table only
Estimated Time Investment
Week Long Project (20 Hours or More)
Finish Used
I used Minwax Dark Walnut oil based stain for everything and finished with 2-3 coats of Minwax polyurethane in satin. I really didn’t want the table to be so shiny, but oh well! Looking back, I probably would have used polycrylic. It doesn’t protect as well, but it is much less shiny!
Recommended Skill Level
Beginner

Comments

blawson972

Thu, 08/22/2013 - 11:21

I ordered them from a manufacturer in California called Maywood Shops, LLC. The chairs weren’t that expensive themselves because they are a wholesaler, but I had to pay around $175.00 to ship them!! After that, they were comparable to store-bought chairs.

Cedar deck box

Submitted by JMG on Wed, 07/06/2022 - 19:47

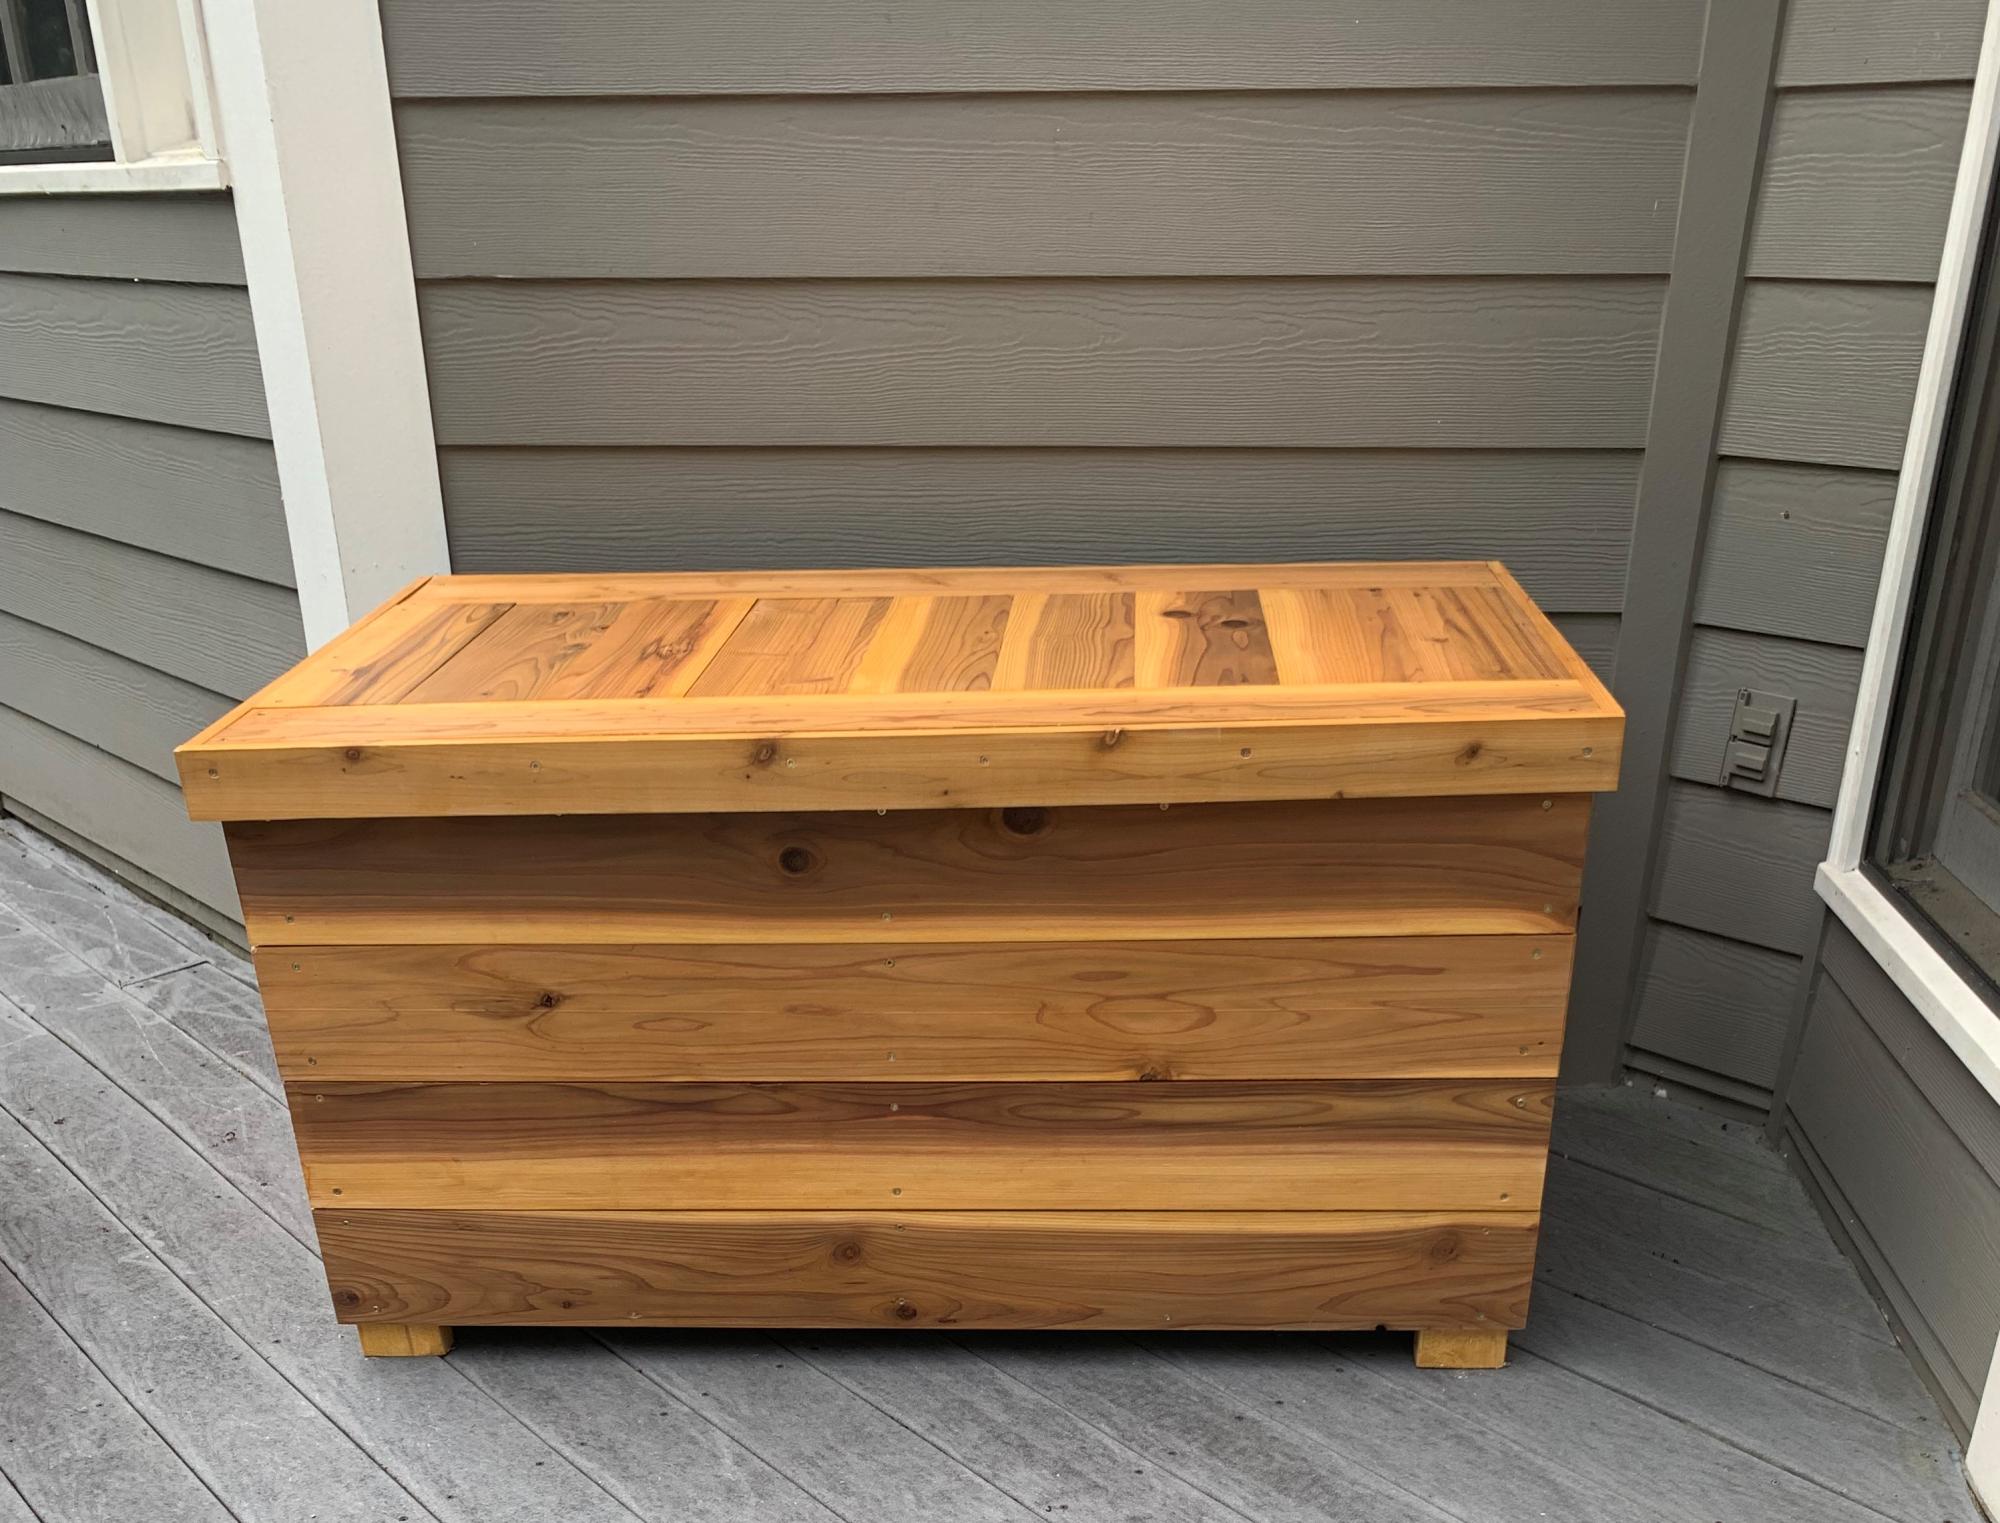
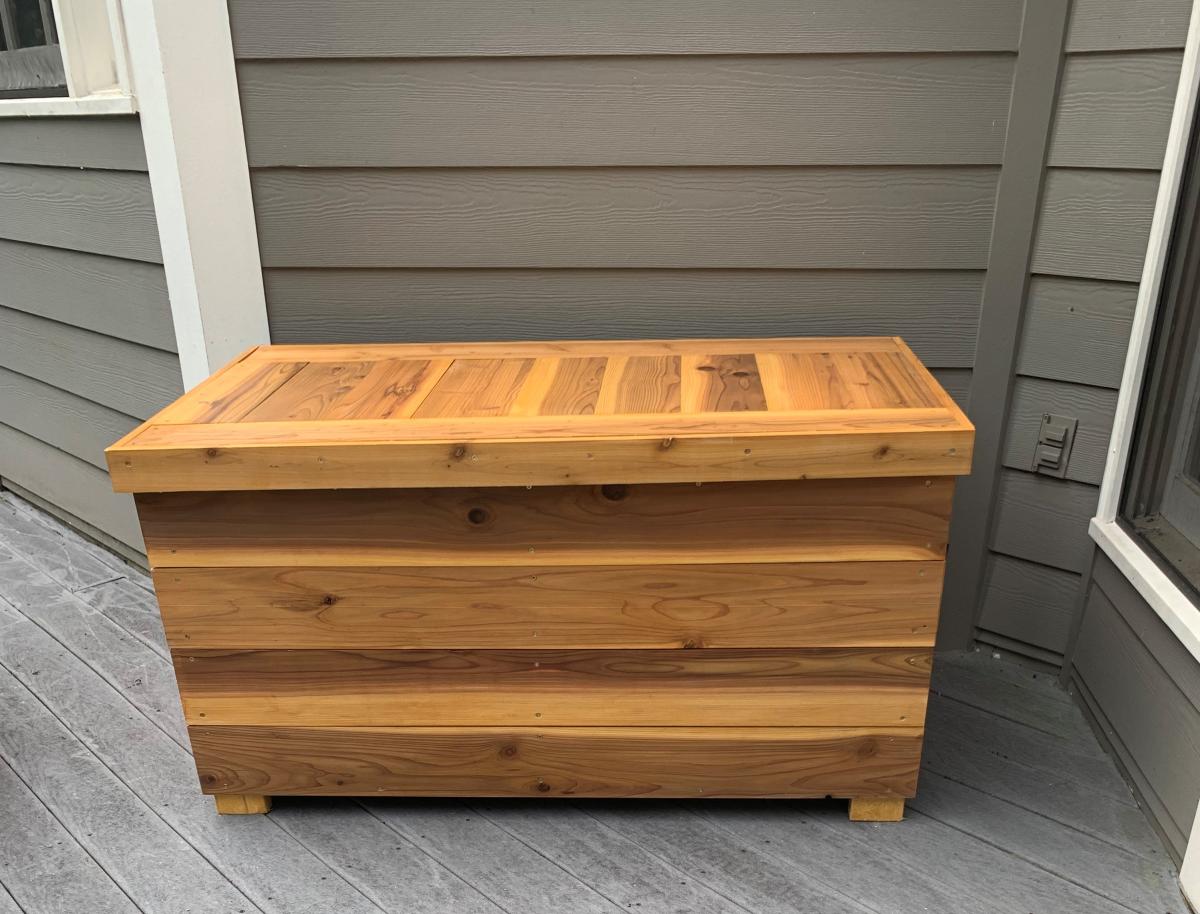
I had to modify these plans to use what I had on hand. I used left over cedar fence pickets (planed down and sealed) and adjusted the size to fit all my outdoor cushions. Overall dimensions are 49" wide x 28" deep x 26" high. I also used 2x4's instead of 2x2's because that is what I had in my shop. I added 1x3's around the top to fit snugly instead of using hinges (again trying to use what I had on hand). We get A LOT of rain in the summer so hopefully the cushions will stay dry. I also added some screen left over from the screened in porch to the bottom before adding the "floor" to keep bugs out. I just stapled it to the frame before adding the floor boards. I did add a piece of treated 1/4" plywood under the top in hopes of keeping the rain out.

Built from Plan(s)

Comments

Sawhorse Desk Bases

Submitted by nrc261 on Wed, 10/14/2015 - 14:15

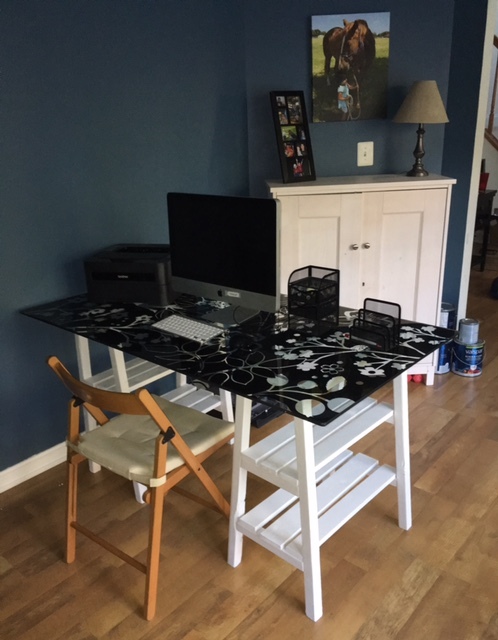
I needed new bases for my glasstop desk. I found the Sawhorse Leg Storage Desk and thought it would be perfect! I am a beginner and this was my first time cutting an angle like 5 degrees parallel and not paralell. The pictures in the instructions really helped me out with that. The units came together pretty easy and I decided to plank the shelves instead of using plywood (because I had scraps on hand and wanted to use those rather than cut plywood). I am a beginner and am still a little weary of using my circular saw too much, so planking the shelves was a better fit for my skill level. I think it turned out really good. I used white satin spray paint and got small clear plastic "bumpers" to pad the top where the glass sits on the bases. 

Built from Plan(s)
Estimated Cost
$20-$25
Estimated Time Investment
Afternoon Project (3-6 Hours)
Finish Used
Rust-o-leum White Satin Spray Paint
Recommended Skill Level
Beginner

Doll Bunk Bed

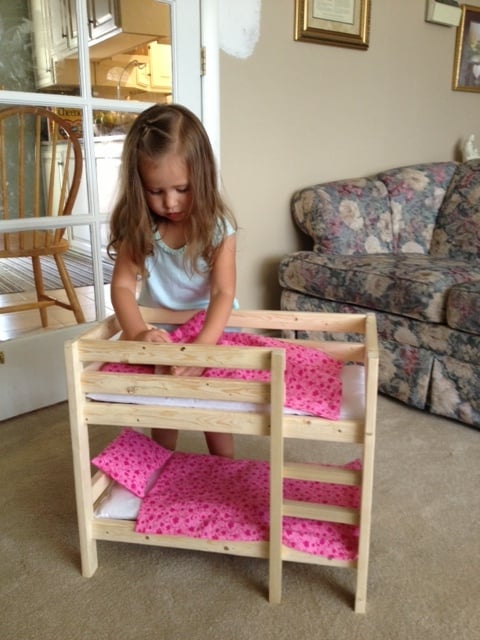
This is my second project. (My first was the canopy doll bed.) It just took a couple of days to get it all cut, put together and sanded. This was my first time with the Kreg Jig and I loved using it. So awesome.

Estimated Cost
$5 for lumber
Estimated Time Investment
Afternoon Project (3-6 Hours)
Finish Used
Haven't put a finish on it yet...
Recommended Skill Level
Beginner

Shanty Open Shelf Coffee Station

Submitted by A_Soto on Wed, 10/21/2015 - 13:01

The first 'from scratch' project my husband and I have completed. For extreme beginners, definitely simple to put together for an amazing finished piece. 

Built from Plan(s)
Estimated Cost
$120
Estimated Time Investment
Day Project (6-9 Hours)
Finish Used
Extra storage in our main living/kitchen open area. Gave us tons of extra counter space by having a place to put our Keurig and espresso machine. Flat white paint, Charcoal stain used on top with polyacrylic finish. Spray painted hardware with Soft Iron spray paint.
Recommended Skill Level
Beginner

Farmhouse Dog Bed

Submitted by StacieM on Mon, 08/15/2011 - 10:26

So I finally finished the dog bed I've been working on for over a month now (I've been trying to avoid the 100+ Texas heat but it just wouldn't go away!) It was based on dmanar33's farmhouse dog bed (linked below) and I just made it larger for our greyhound, Daisy. It's far from perfect but it's been another good learning project for me while practicing before I start our desperately needed King bed.

The bed was made using 2x8 for the internal structure (with one 2x4 center "slat"), 1x6 and 1x8 boards for the surround, with 1x2 as trim and 3/4" plywood for the cushion base. It is rather heavy but can easily be moved with two people. This was my first project using my finish nailer ($16 at Harbor Freight) and it was worth every penny! I can't believe I never picked one up before.

For the cushion I tried to find a cheap, thin 3" futon mattress on Craigslist to cut up (as I've done before), but after 2 days of looking online I ended up settling for a $12 full size foam mattress topper from wally world. I folded it in half and wrapped with some thick batting I had laying around so the cushion ended up ~2" thick. And for the cover I used Ana's doll mattress tutorial with some wally world Chino Cotton curtains for $16 as fabric (thick, durable, cotton and cheaper than anything I could find at the fabric store) and it worked out great! I left one end open to put a zipper into once I pick one up, so right now it is like a large pillow case, but it works just fine.

I'm very happy with the total project and I love that Daisy (~75lbs) won't be breaking it anytime soon. She has plenty of room to stretch out and it looks much nicer than the old lumpy "giant pillow" style dog bed on the floor we had before.
Estimated Cost
~$30 for the wood and ~$30 for the cushion
Estimated Time Investment
Day Project (6-9 Hours)
Finish Used
One coat Sherwin Williams bright white flat (leftover ceiling paint) and one coat Rustoleum gloss white spray paint.
Recommended Skill Level
Beginner

Comments

kelli224

Mon, 08/15/2011 - 10:47

This is so fantastic!! But what I love even more...is that sweet greyhound! We are a greyhound family as well and I think our Breezy girl needs one of these.
juliead18733

Sat, 11/12/2011 - 08:35

You did an amazing job on this and thanks so much for giving detailed info about what you used! I've been toying with the idea of making a bed like this for my Pit Bull but I've been hesitant without knowing what materials would make it structurally sound for a large dog to lay on. Thanks for showing me how to give my big dog some of the pampering that the little dogs get all the time!
tnlscott

Wed, 01/11/2012 - 07:55

I saw the original blog about this bed, but it was quite smaller. I have a great dane that I want to make this bed for, so it's good to see how it looks bigger! I have a baby mattress that I'm going to use, so it'll be pretty big!! Awesome job!!

Egg Holder

Submitted by Anonymous (not verified) on Sat, 10/01/2022 - 13:17

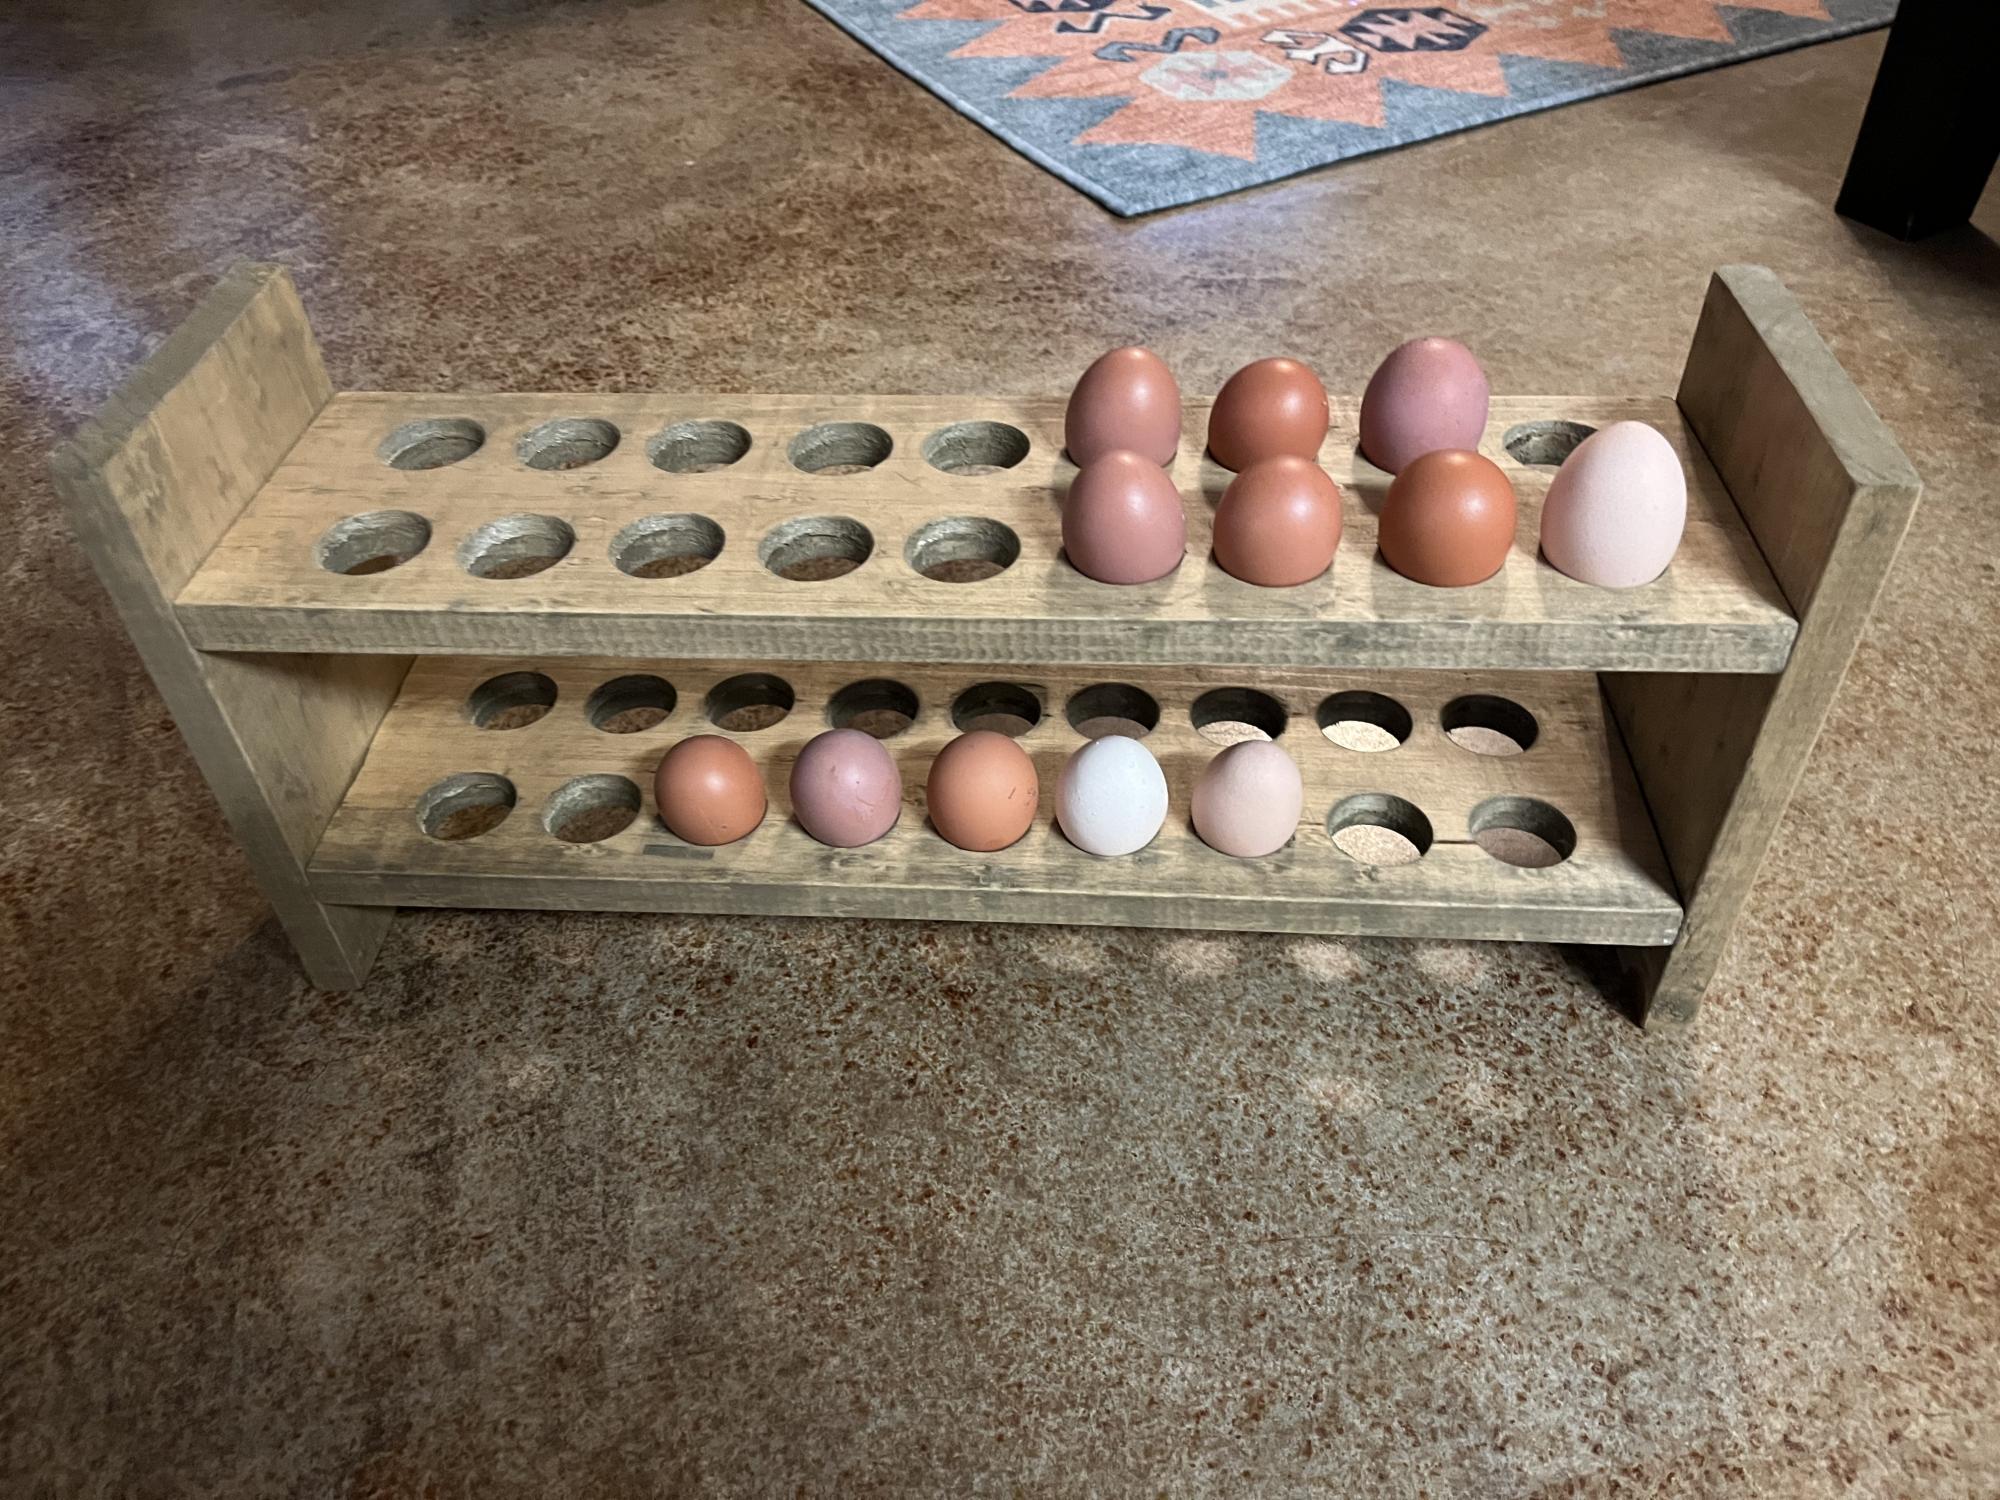
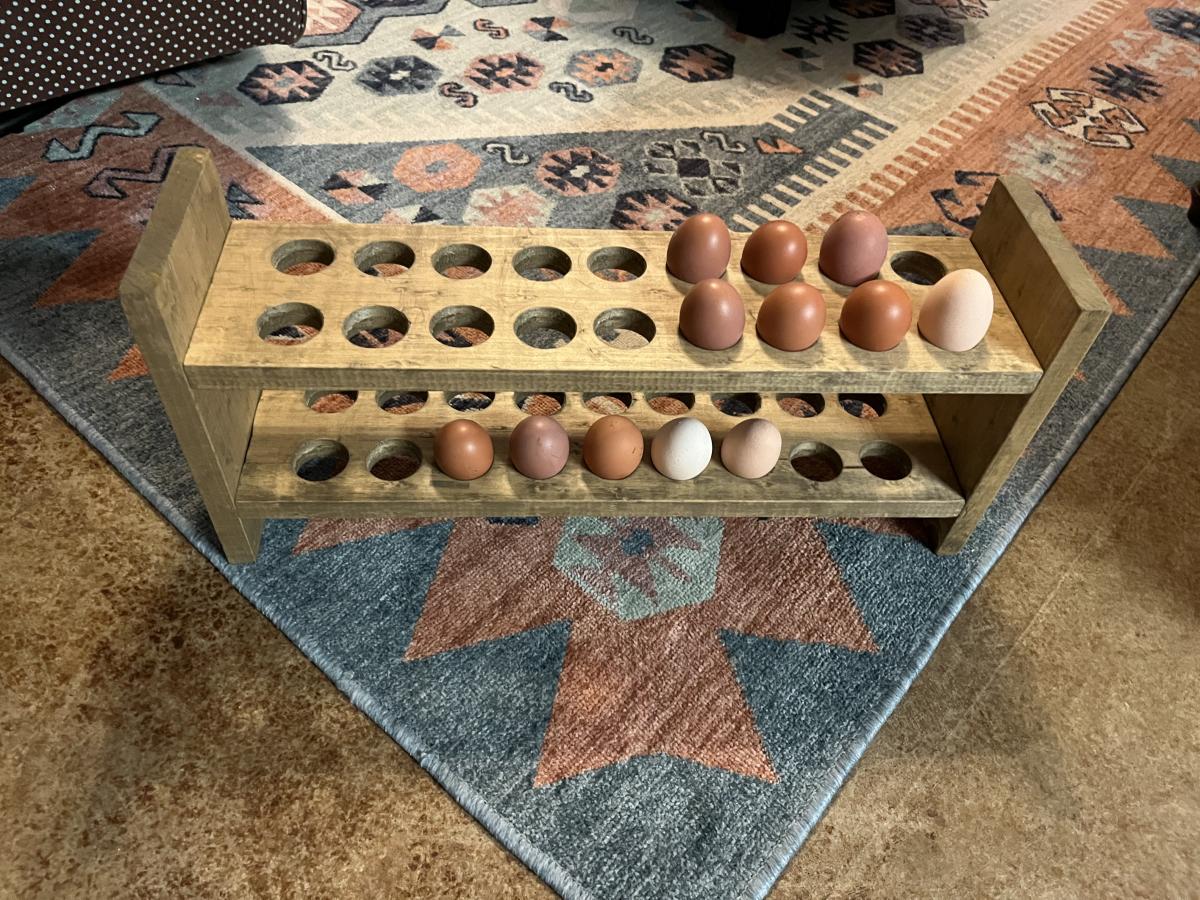
This was very easy to make and I love how it turned out! It was a fun gift to give to our chicken-loving friends:-).

Built from Plan(s)

Comments

Raised Pet Feeder - Small

Submitted by takahler on Wed, 08/31/2011 - 11:46

As soon as I heard my brother was going to get a puppy this month, I decided I was going to make this food and water dish holder. I LOVE IT! I am going to give it to him for Christmas. I made it with larger bowls for when the puppy becomes a full size Golden Retriever. She won't need it right away, so I've decided to wait until Christmas to wrap up and give to my brother. I had a lot of fun making this project. I need to make one now for our cockapoo.

Since I had to use larger bowls, I had to come up with my own measurements. I'm pretty proud of myself for tackling that all by myself. :-)

Coated it pretty heavy with the polyurethane to protect it from water spillage.

Built from Plan(s)
Estimated Cost
$9 for the bowls and about $6 in lumber--Total of $15
Estimated Time Investment
Afternoon Project (3-6 Hours)
Finish Used
Dark Walnut and polyurethane
Recommended Skill Level
Beginner

Comments

Farmhouse Toy Box

Submitted by Anonymous (not verified) on Thu, 03/21/2019 - 11:28

Picture of my own version of the Ana White Design linked here
http://www.ana-white.com/2017/01/DIY_furniture/farmhouse-style-toy-box-…

Added Gas Shocks from Amazon 100N/18lbs.

Estimated Time Investment
Week Long Project (20 Hours or More)
Finish Used
White Paint
Minwax Espresso
Minwax Red Mahogany
Recommended Skill Level
Intermediate

Entry Level Entryway

Submitted by Anonymous (not verified) on Fri, 02/24/2023 - 06:13

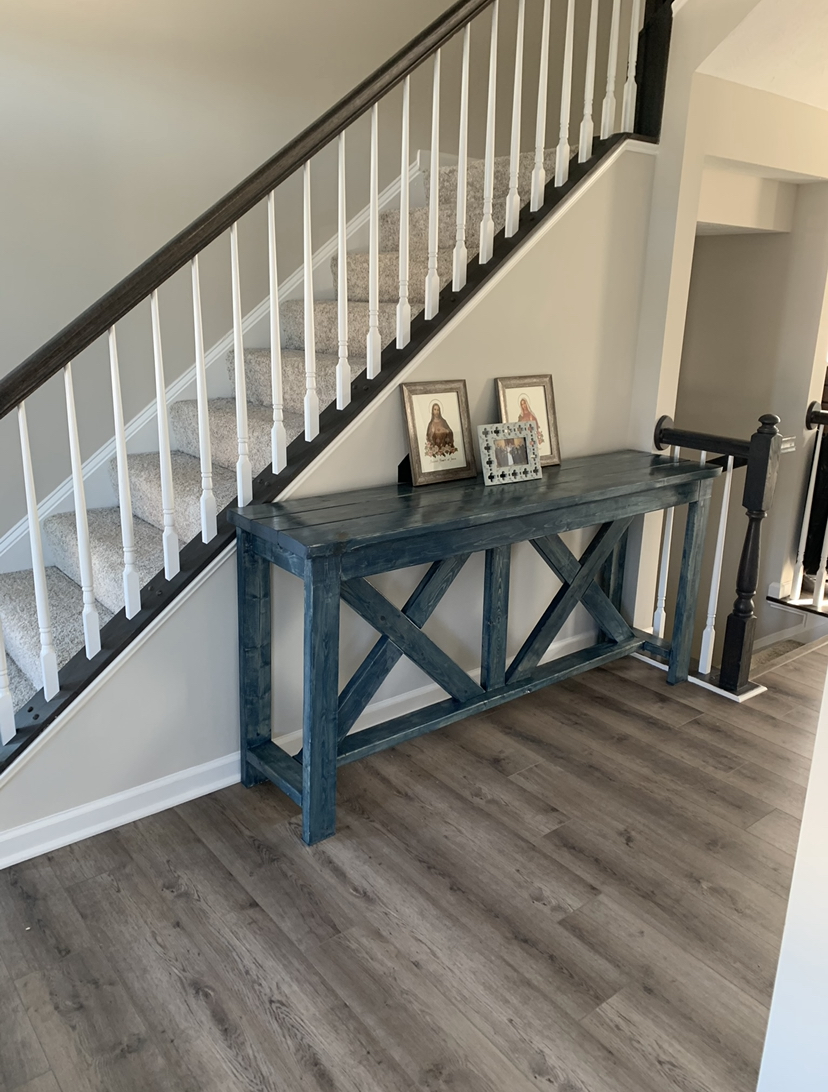
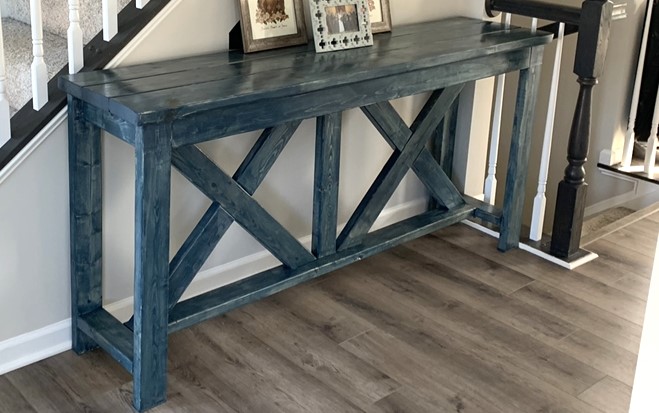
I built this farmhouse style entryway table while we waited for our house to be completed. It was the first of many projects I dreamed of completing. After it was done, I used a “navy” stain that wasn’t quite what I had planned but ended up bringing color to the area.

Comments

Full Size Storage Bed

My daughter wanted her room redone for her tenth birthday. We decided to go big with Ana's storage bed plans. I had so much fun building this and really learned a lot. It took me three months to find enough spare time to finish it, but it was worth the wait.

Estimated Cost
$200+
Estimated Time Investment
Week Long Project (20 Hours or More)
Finish Used
Dutch Boy Refresh paint in Mocha White over no VOC primer. I rolled it on with a smooth roller.
Recommended Skill Level
Beginner

Comments

Misty Tillema

Mon, 11/07/2011 - 19:24

You did a really great job building the storage bed. I am in the process of building this same bed for my teenage son, only I'm not building the towers. Finding enough time to actually get a project finished is nearly impossible when you only have a few hours here and there! Your daughter will love all the extra storage space as she gets older.