Shanty Open Shelf Coffee Station
The first 'from scratch' project my husband and I have completed. For extreme beginners, definitely simple to put together for an amazing finished piece.
The first 'from scratch' project my husband and I have completed. For extreme beginners, definitely simple to put together for an amazing finished piece.
So I finally finished the dog bed I've been working on for over a month now (I've been trying to avoid the 100+ Texas heat but it just wouldn't go away!) It was based on dmanar33's farmhouse dog bed (linked below) and I just made it larger for our greyhound, Daisy. It's far from perfect but it's been another good learning project for me while practicing before I start our desperately needed King bed.
The bed was made using 2x8 for the internal structure (with one 2x4 center "slat"), 1x6 and 1x8 boards for the surround, with 1x2 as trim and 3/4" plywood for the cushion base. It is rather heavy but can easily be moved with two people. This was my first project using my finish nailer ($16 at Harbor Freight) and it was worth every penny! I can't believe I never picked one up before.
For the cushion I tried to find a cheap, thin 3" futon mattress on Craigslist to cut up (as I've done before), but after 2 days of looking online I ended up settling for a $12 full size foam mattress topper from wally world. I folded it in half and wrapped with some thick batting I had laying around so the cushion ended up ~2" thick. And for the cover I used Ana's doll mattress tutorial with some wally world Chino Cotton curtains for $16 as fabric (thick, durable, cotton and cheaper than anything I could find at the fabric store) and it worked out great! I left one end open to put a zipper into once I pick one up, so right now it is like a large pillow case, but it works just fine.
I'm very happy with the total project and I love that Daisy (~75lbs) won't be breaking it anytime soon. She has plenty of room to stretch out and it looks much nicer than the old lumpy "giant pillow" style dog bed on the floor we had before.
Mon, 08/15/2011 - 10:47
This is so fantastic!! But what I love even more...is that sweet greyhound! We are a greyhound family as well and I think our Breezy girl needs one of these.
Tue, 09/06/2011 - 13:02
Love it, love it, love it!! I love the bed and I love it when people treat their dogs like family!! :-)
Sat, 11/12/2011 - 08:35
You did an amazing job on this and thanks so much for giving detailed info about what you used! I've been toying with the idea of making a bed like this for my Pit Bull but I've been hesitant without knowing what materials would make it structurally sound for a large dog to lay on. Thanks for showing me how to give my big dog some of the pampering that the little dogs get all the time!
Wed, 01/11/2012 - 07:55
I saw the original blog about this bed, but it was quite smaller. I have a great dane that I want to make this bed for, so it's good to see how it looks bigger! I have a baby mattress that I'm going to use, so it'll be pretty big!! Awesome job!!
Sun, 07/29/2012 - 17:37
I was so excited to see a large version of this dog bed complete. My husband built the king Farmhouse Bed for us and I think our next project(s) will be 2 matching beds for our boxers! Thanks for sharing your build for the extra push we needed to start!
Here's the link to our bed: http://ana-white.com/sites/default/files/132701_10150353900880247_59157…
Fri, 12/07/2012 - 06:11
Can you please post a cut list or a list of how many boards you need?
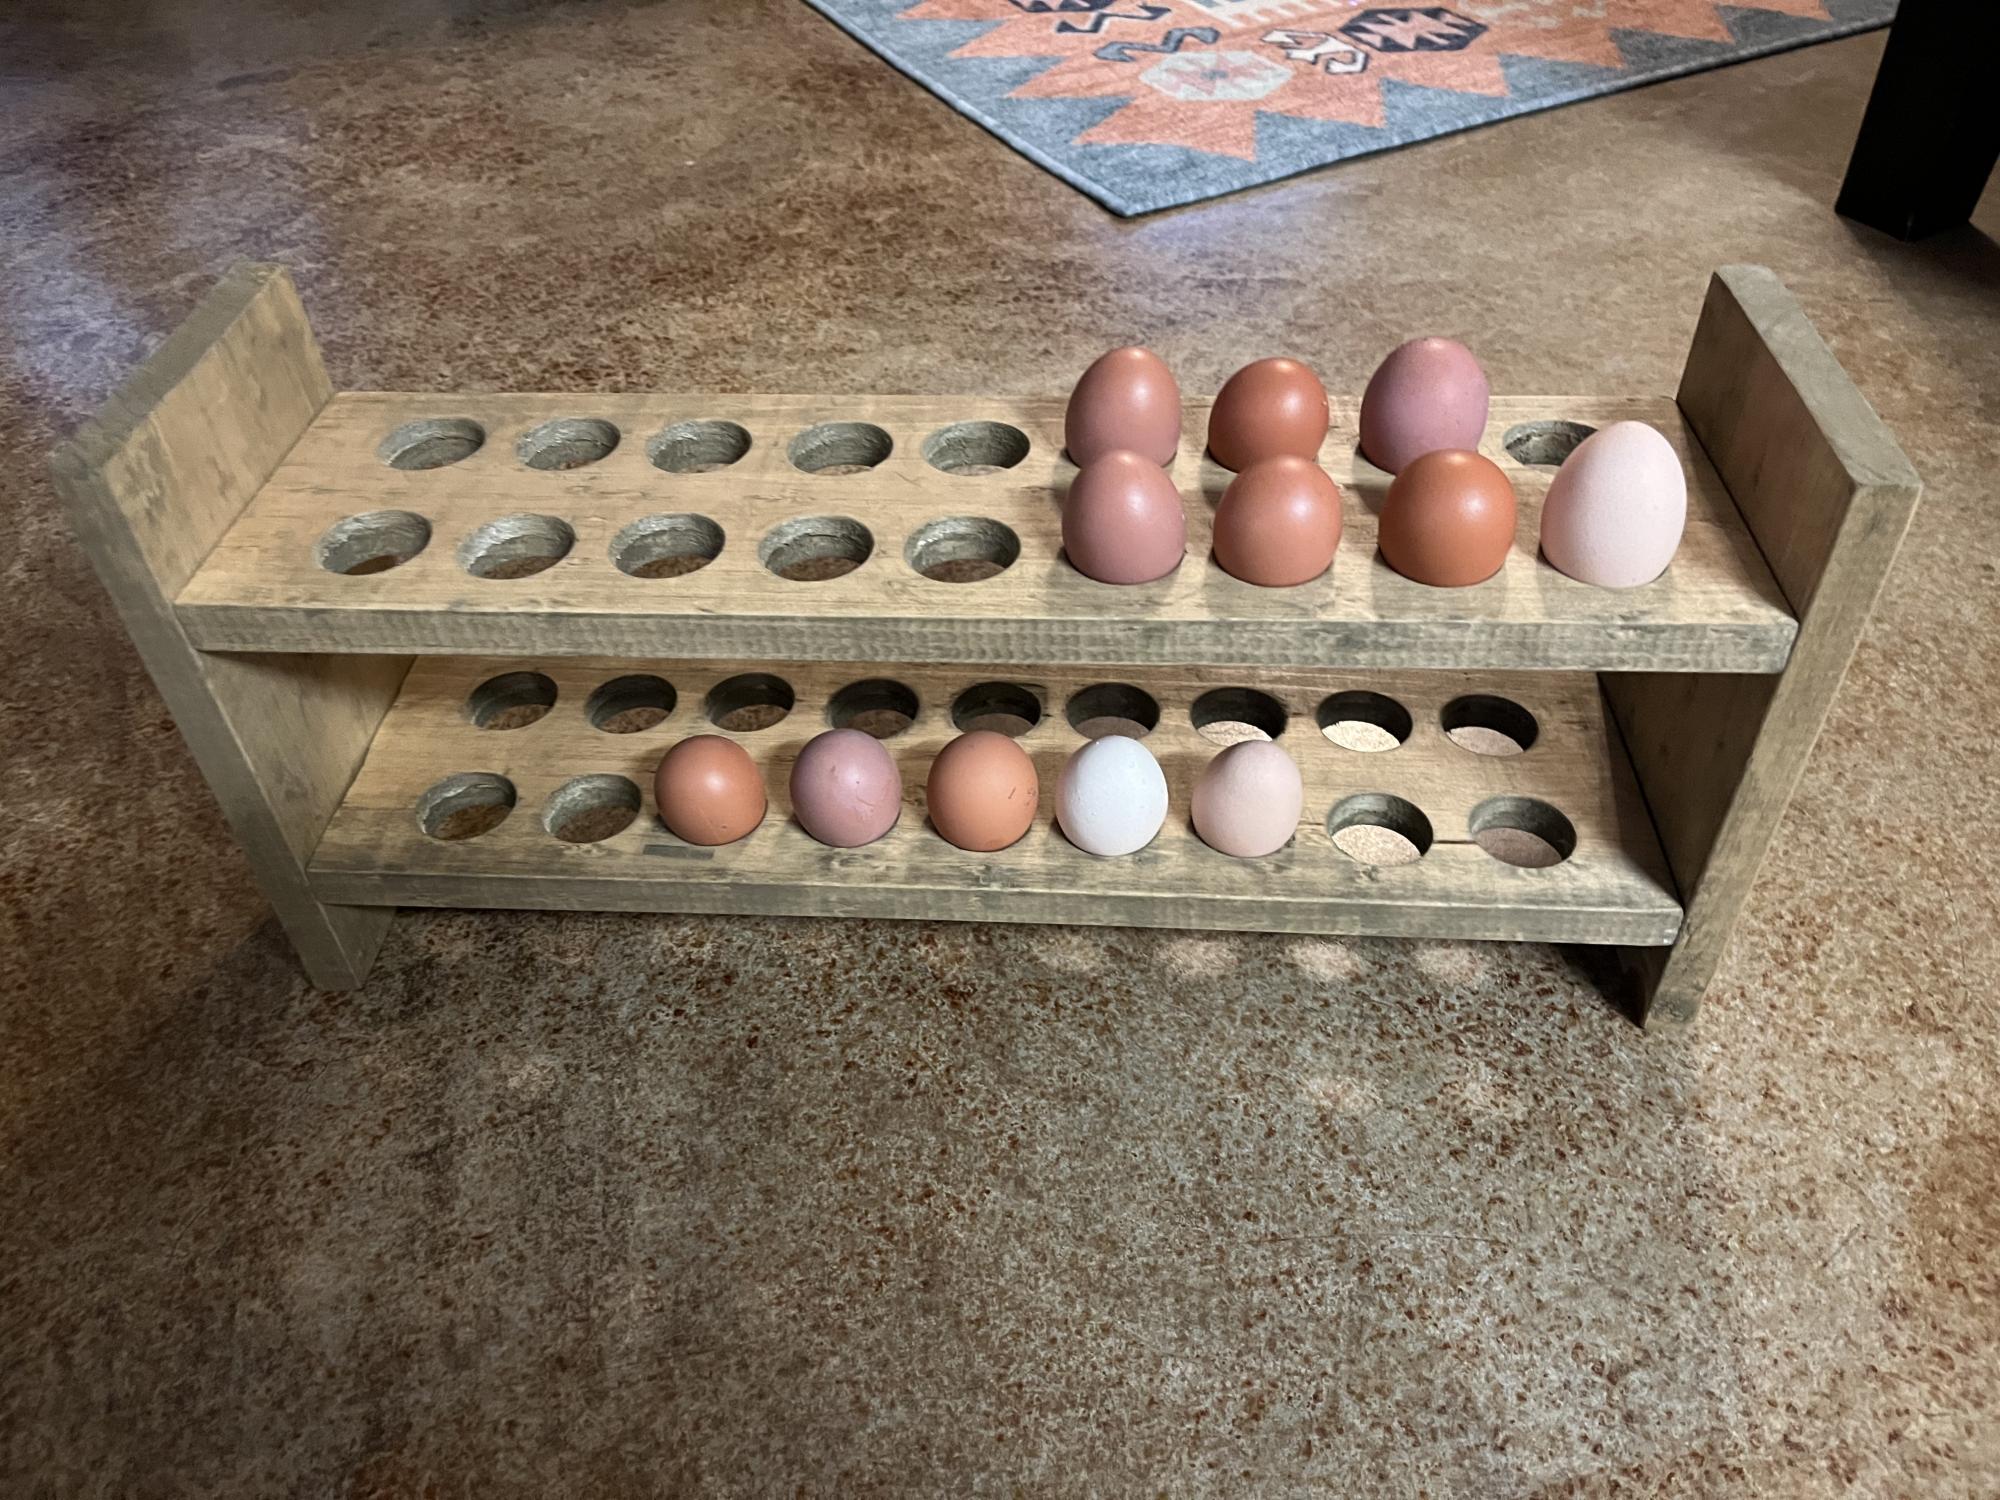
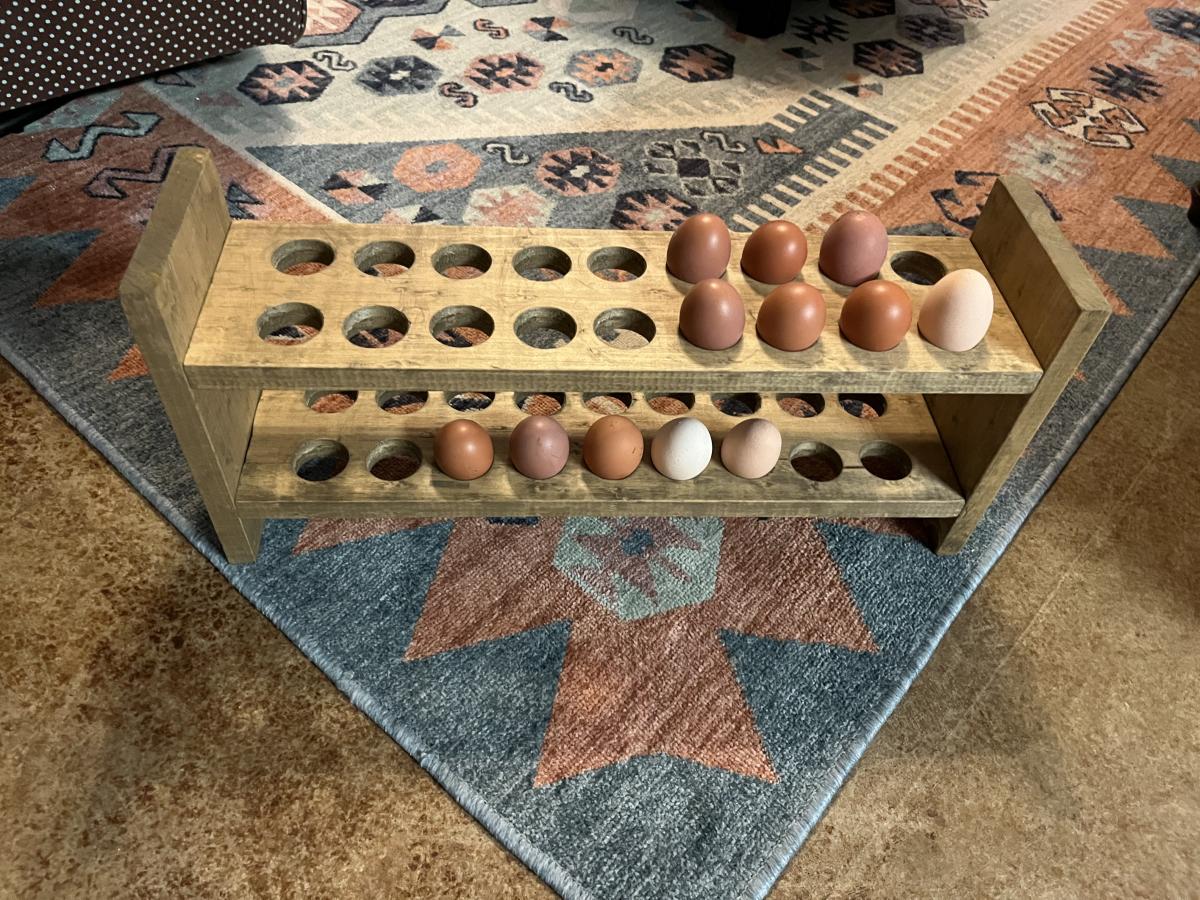
This was very easy to make and I love how it turned out! It was a fun gift to give to our chicken-loving friends:-).
Sat, 10/01/2022 - 15:47
This looks great, I'm sure you're friends loved it! Thanks for sharing.
As soon as I heard my brother was going to get a puppy this month, I decided I was going to make this food and water dish holder. I LOVE IT! I am going to give it to him for Christmas. I made it with larger bowls for when the puppy becomes a full size Golden Retriever. She won't need it right away, so I've decided to wait until Christmas to wrap up and give to my brother. I had a lot of fun making this project. I need to make one now for our cockapoo.
Since I had to use larger bowls, I had to come up with my own measurements. I'm pretty proud of myself for tackling that all by myself. :-)
Coated it pretty heavy with the polyurethane to protect it from water spillage.
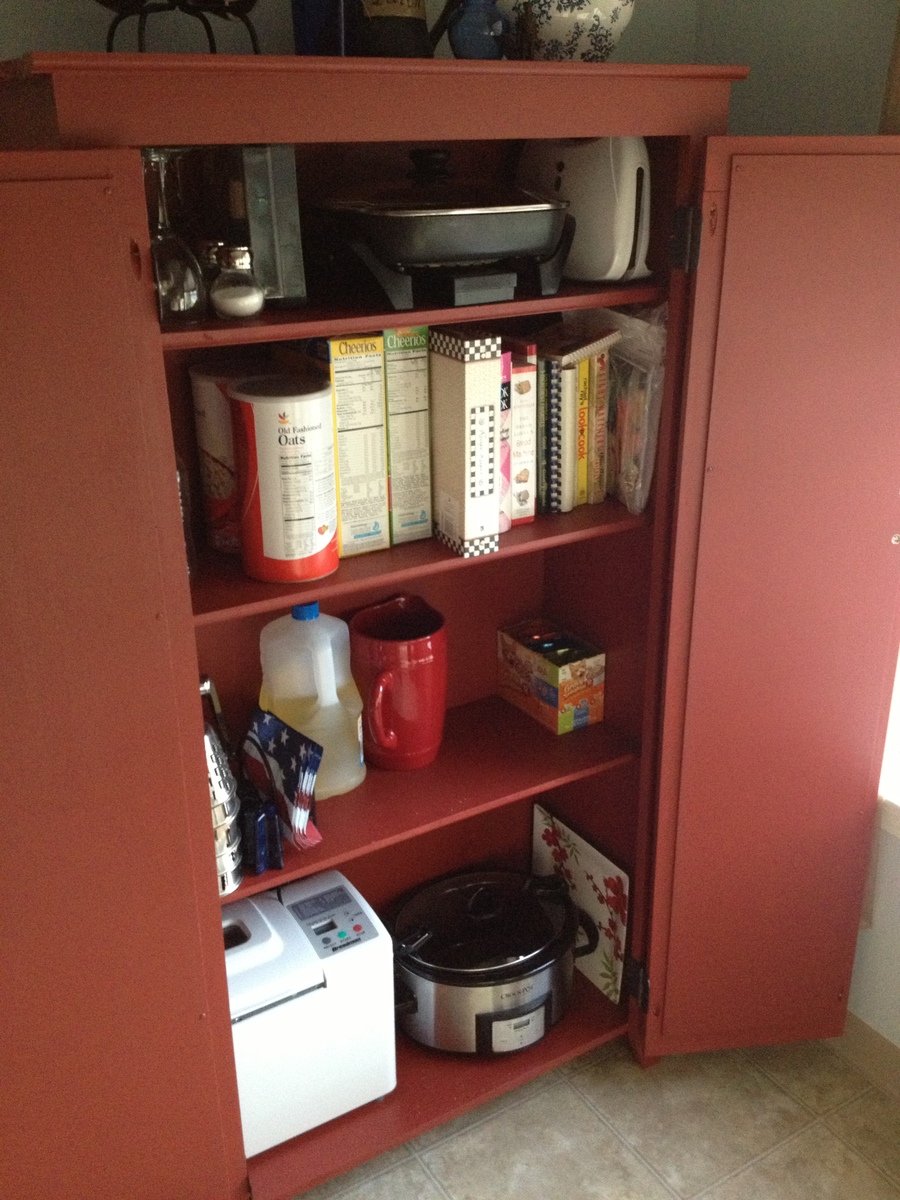
My wife and I needed space in our kitchen to store various items. This cabinet works perfectly for that purpose.
Fri, 09/27/2013 - 21:17
That paint colour is beautiful. As is the pantry, very well done. I wish you could find out the name and brand of the colour. It is stunning.
Fri, 09/27/2013 - 21:17
That paint colour is beautiful. As is the pantry, very well done. I wish you could find out the name and brand of the colour. It is stunning.
Mon, 09/30/2013 - 05:30
I believe this was the color. Red Brick S-H-170 by Behr. Hope that helps.

Project took on by my dad and painted by myself and my mom...LOVE how it turned out!
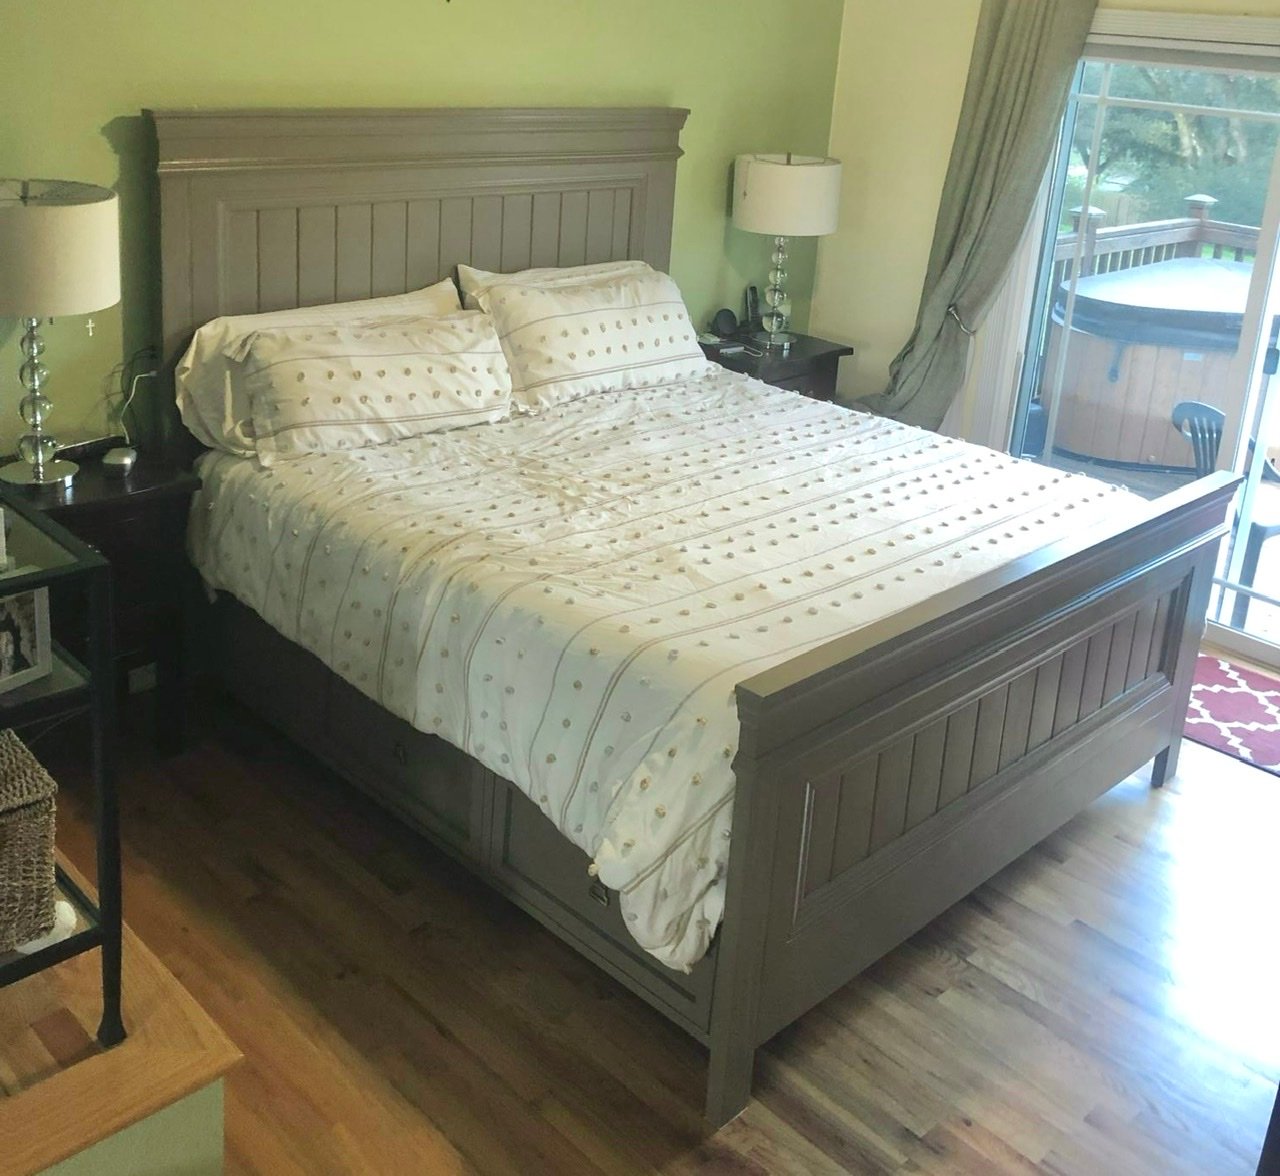
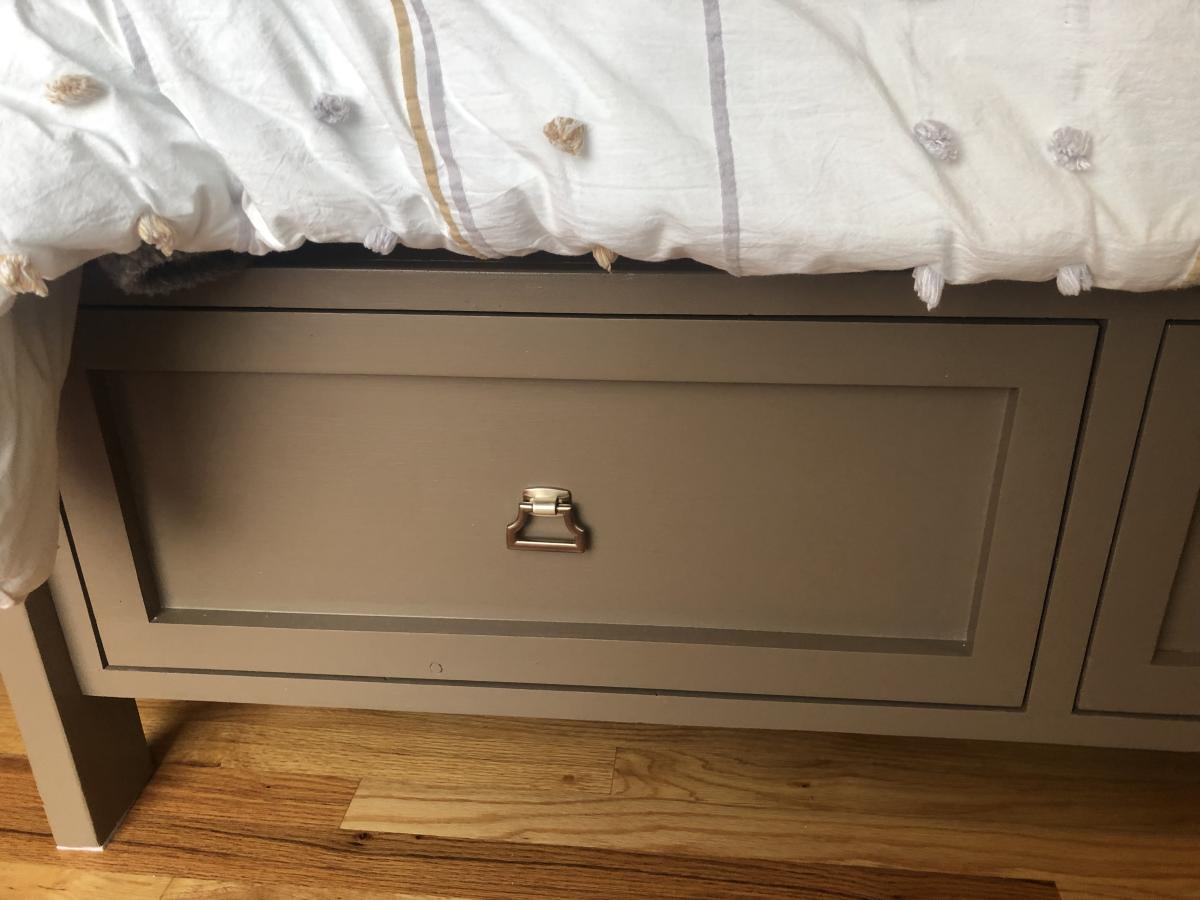
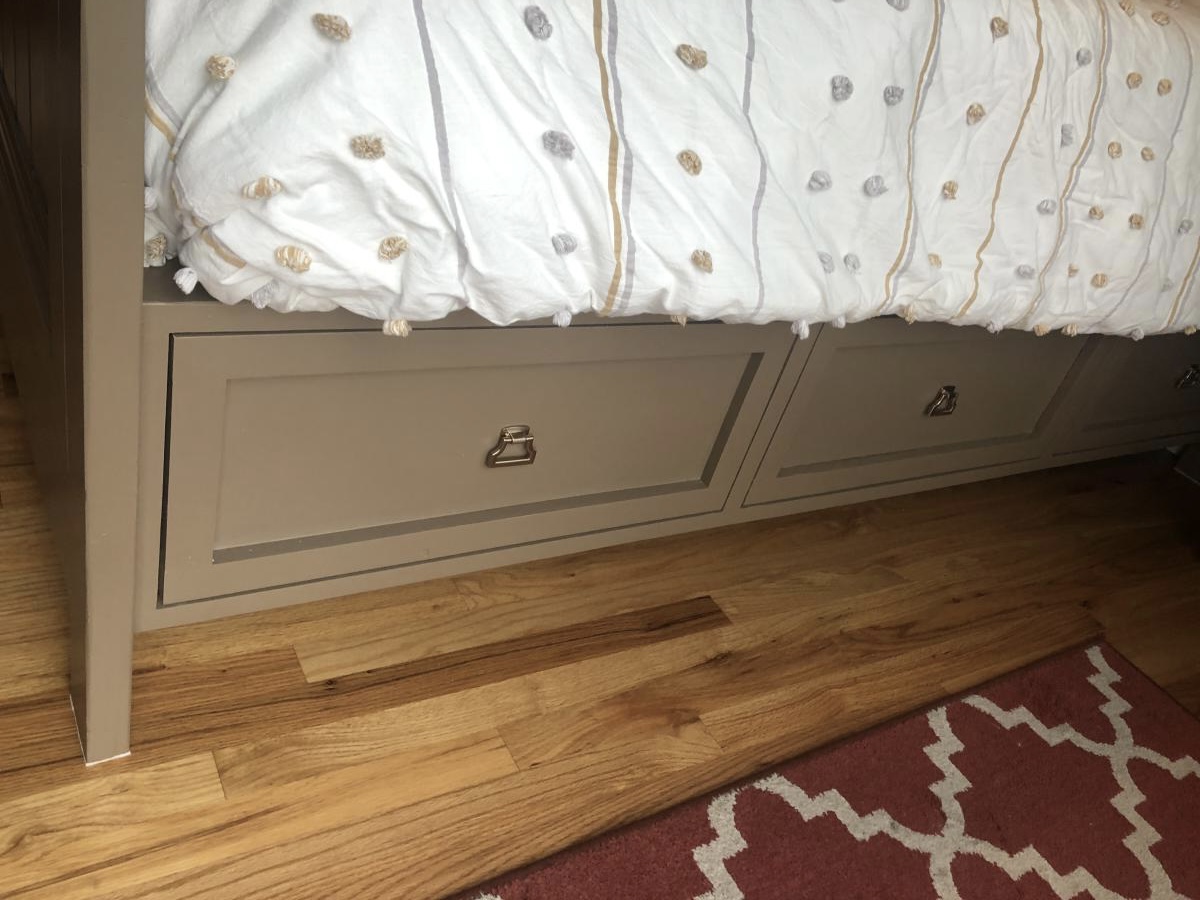
I started with your king size fancy Farm style head board and made it taller (67” tall”) and created a footboard using same pattern. Then added three drawer on each side adding supports for king size bed - followed up by installing 4 usb charging ports behind each side of headboard.
Thanks Ana White for the blue print to an awesome storage sofa. I used the similar dimensions except mine is a bit shorter in width (60 inches wide). Now I just need to find awesome pillows to go with it.
Sat, 12/08/2012 - 05:39
How has the sofa held up? Also how much did it cost to make.
Sat, 12/08/2012 - 05:41
How has the sofa held up? I want to make one, and also would like to know how much it cost to make.
The original size of the unit was too big for our needs so we cut down the size of the unit to 72" long and 30" high. Used patio rollers for the doors.
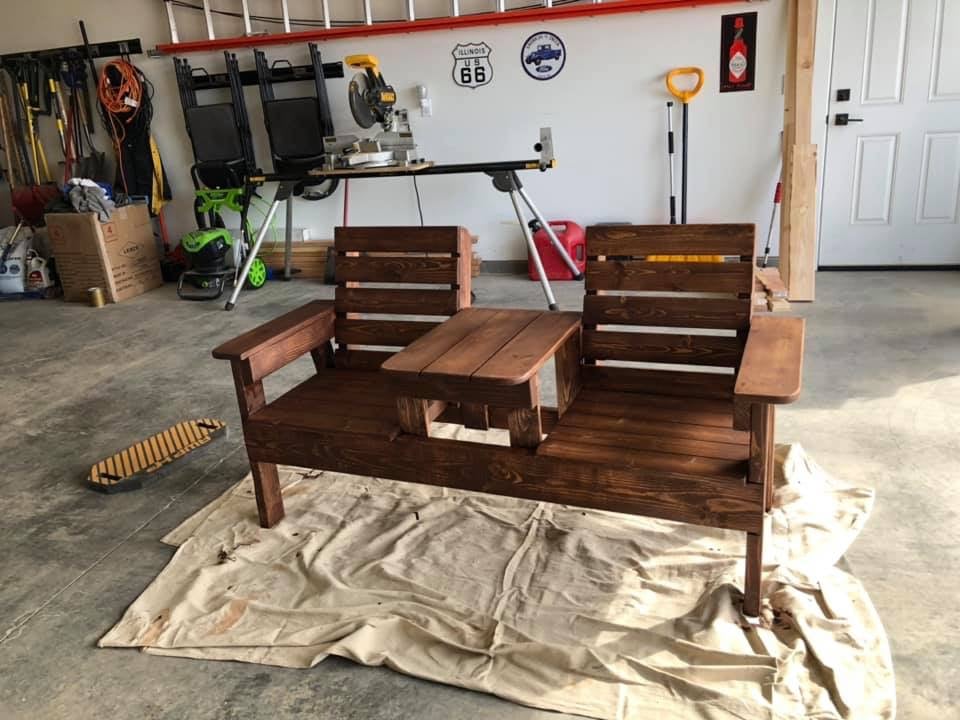
Ana sent us the plans for this bench and it worked out great!
Mon, 06/03/2019 - 11:34
This looks awesome! Thank you so much for sharing, great job! I love the table in the middle
Thu, 09/16/2021 - 06:32
How can I get plans for this? I love the idea and want to build these for my fire station.
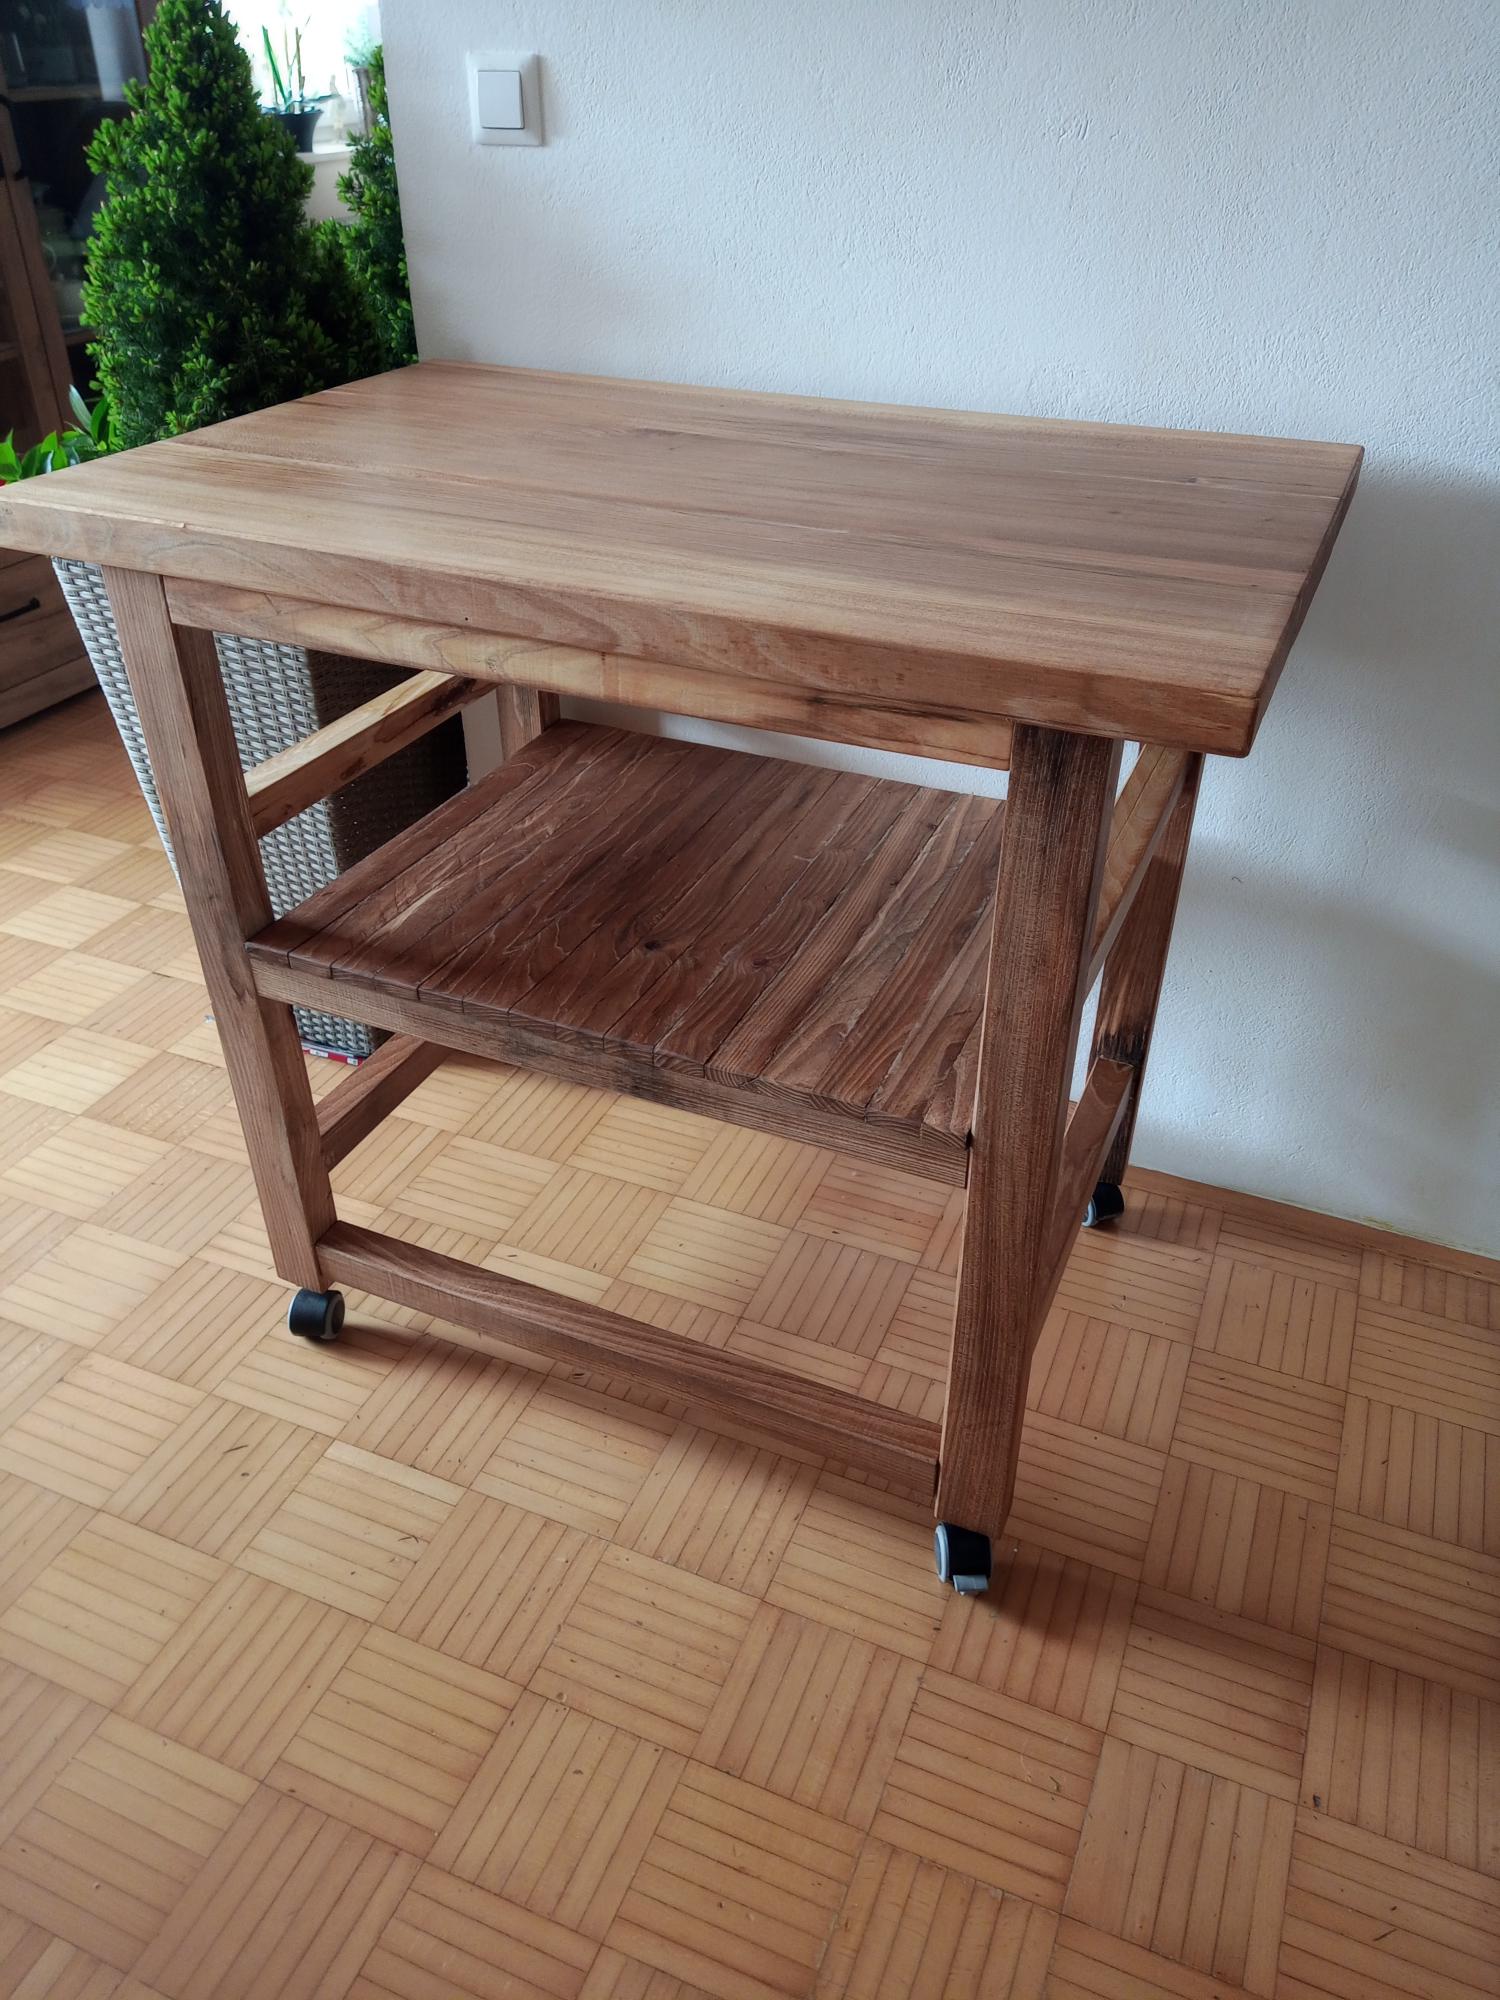
my first project!
Sat, 04/22/2023 - 09:53
Thank you for sharing, you did an amazing job! Can't wait to see your next project.:)
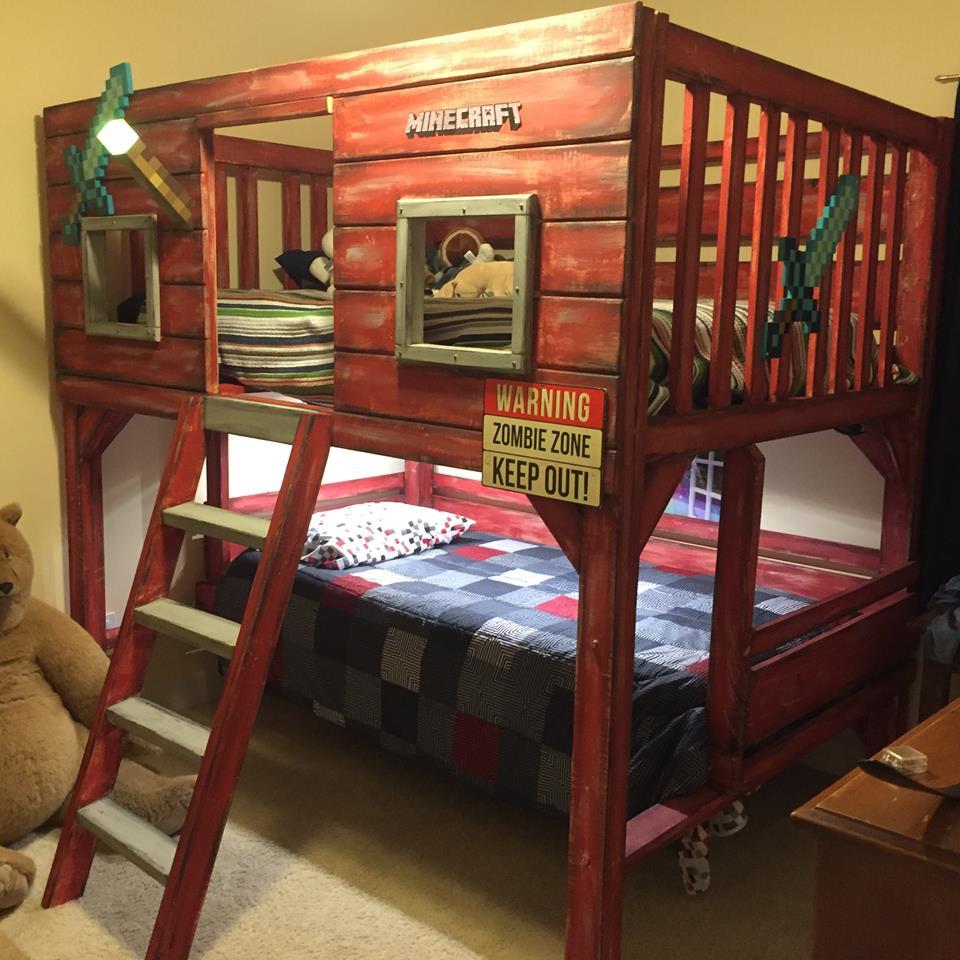
Built this for my son that we adopted from foster care. He is into Minecraft and we need an extra bed for future foster. Thus the Full over Twin and the twin is removable for a play area underneath.
Sat, 03/05/2016 - 11:45
Can you take a picture or explain what you did for the bed support to make it a full? I fear without a board running down the middle to the head and foot, crossbars may not be enough. I love the full over twin idea. I want to make ours a full as well.
Tue, 04/26/2016 - 19:44
I did use a 2x4 support down the middle with Metal L brackets to ensure safety. I put this directly under the crossbars. After he has been in it about 9 month I think I would have put a solid piece of plywood to support the mattress better. We have had as many as 5 sleeping on the top bunk with no problems though.
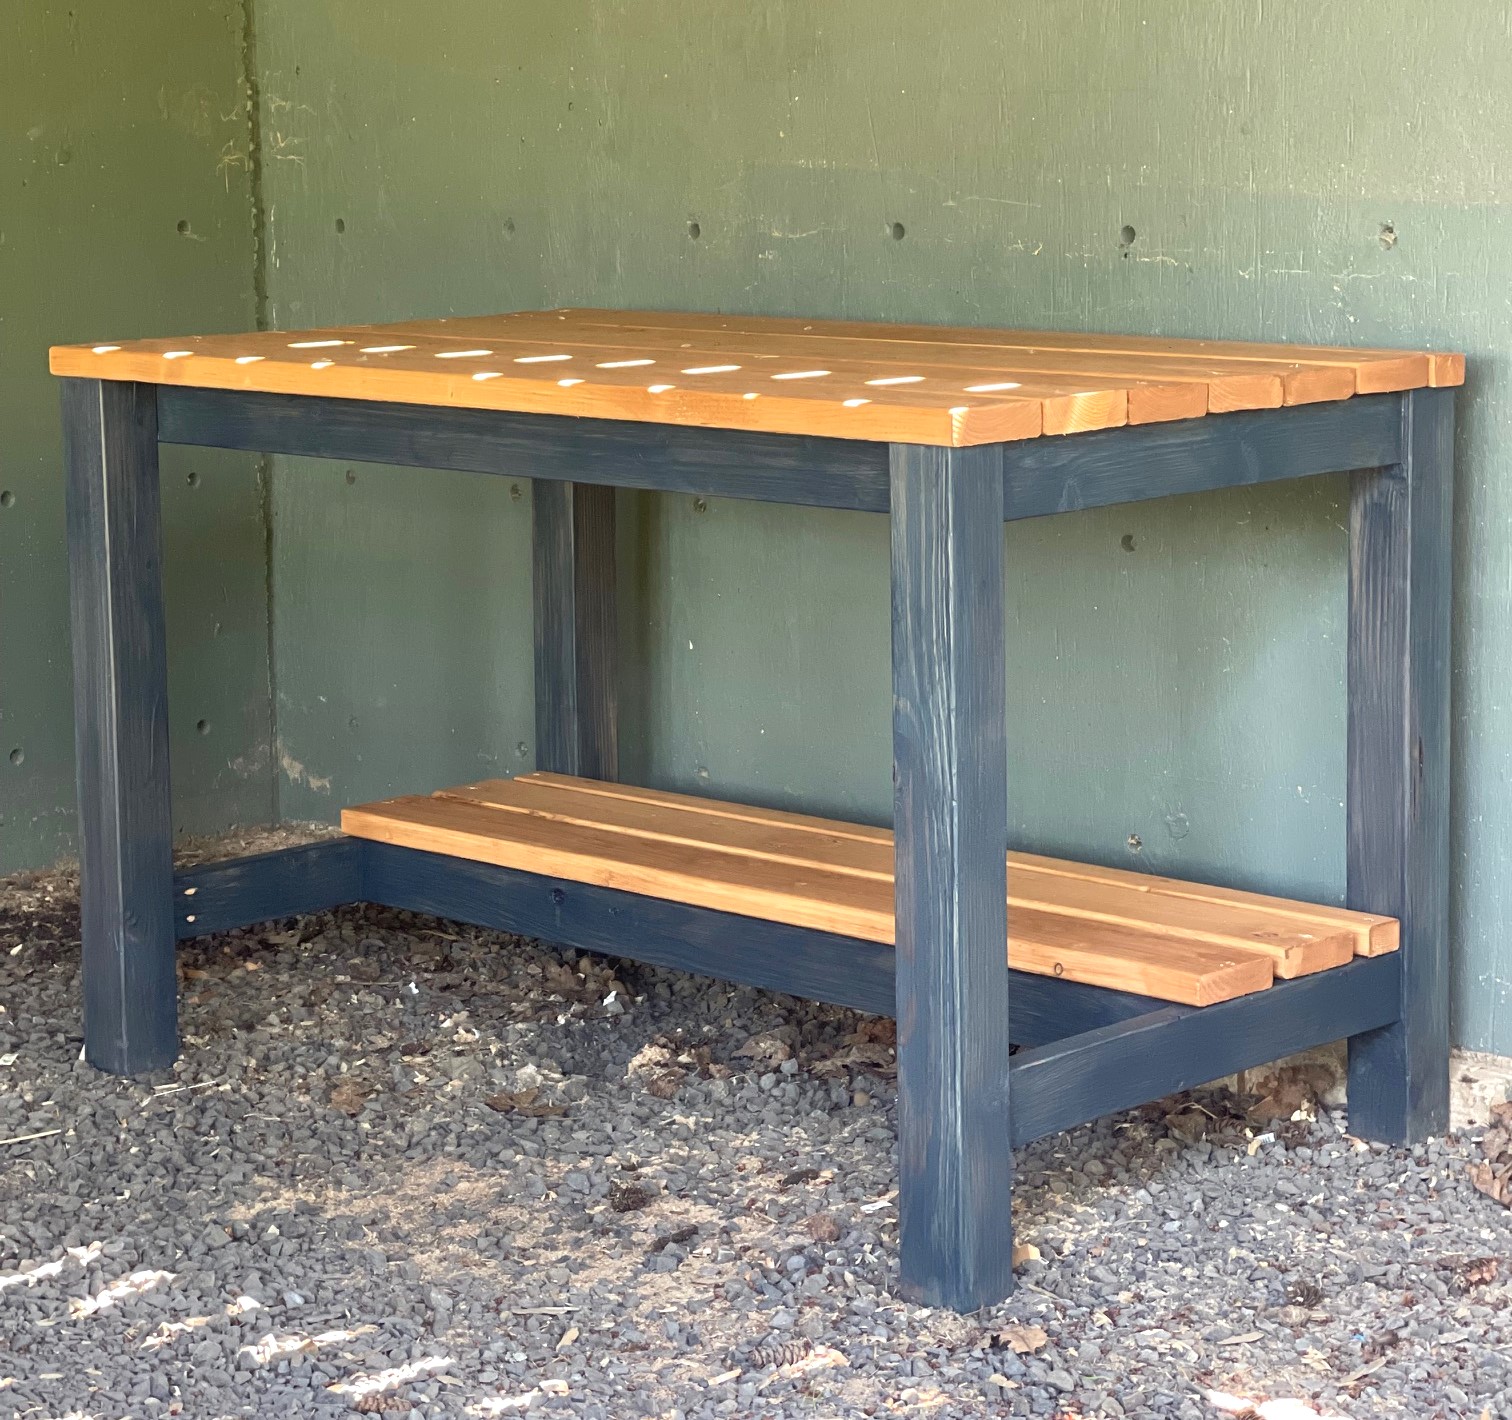
Wanted to build a sturdy workbench with 4x4 legs, so I used Ana's plans linked below with a few mods!

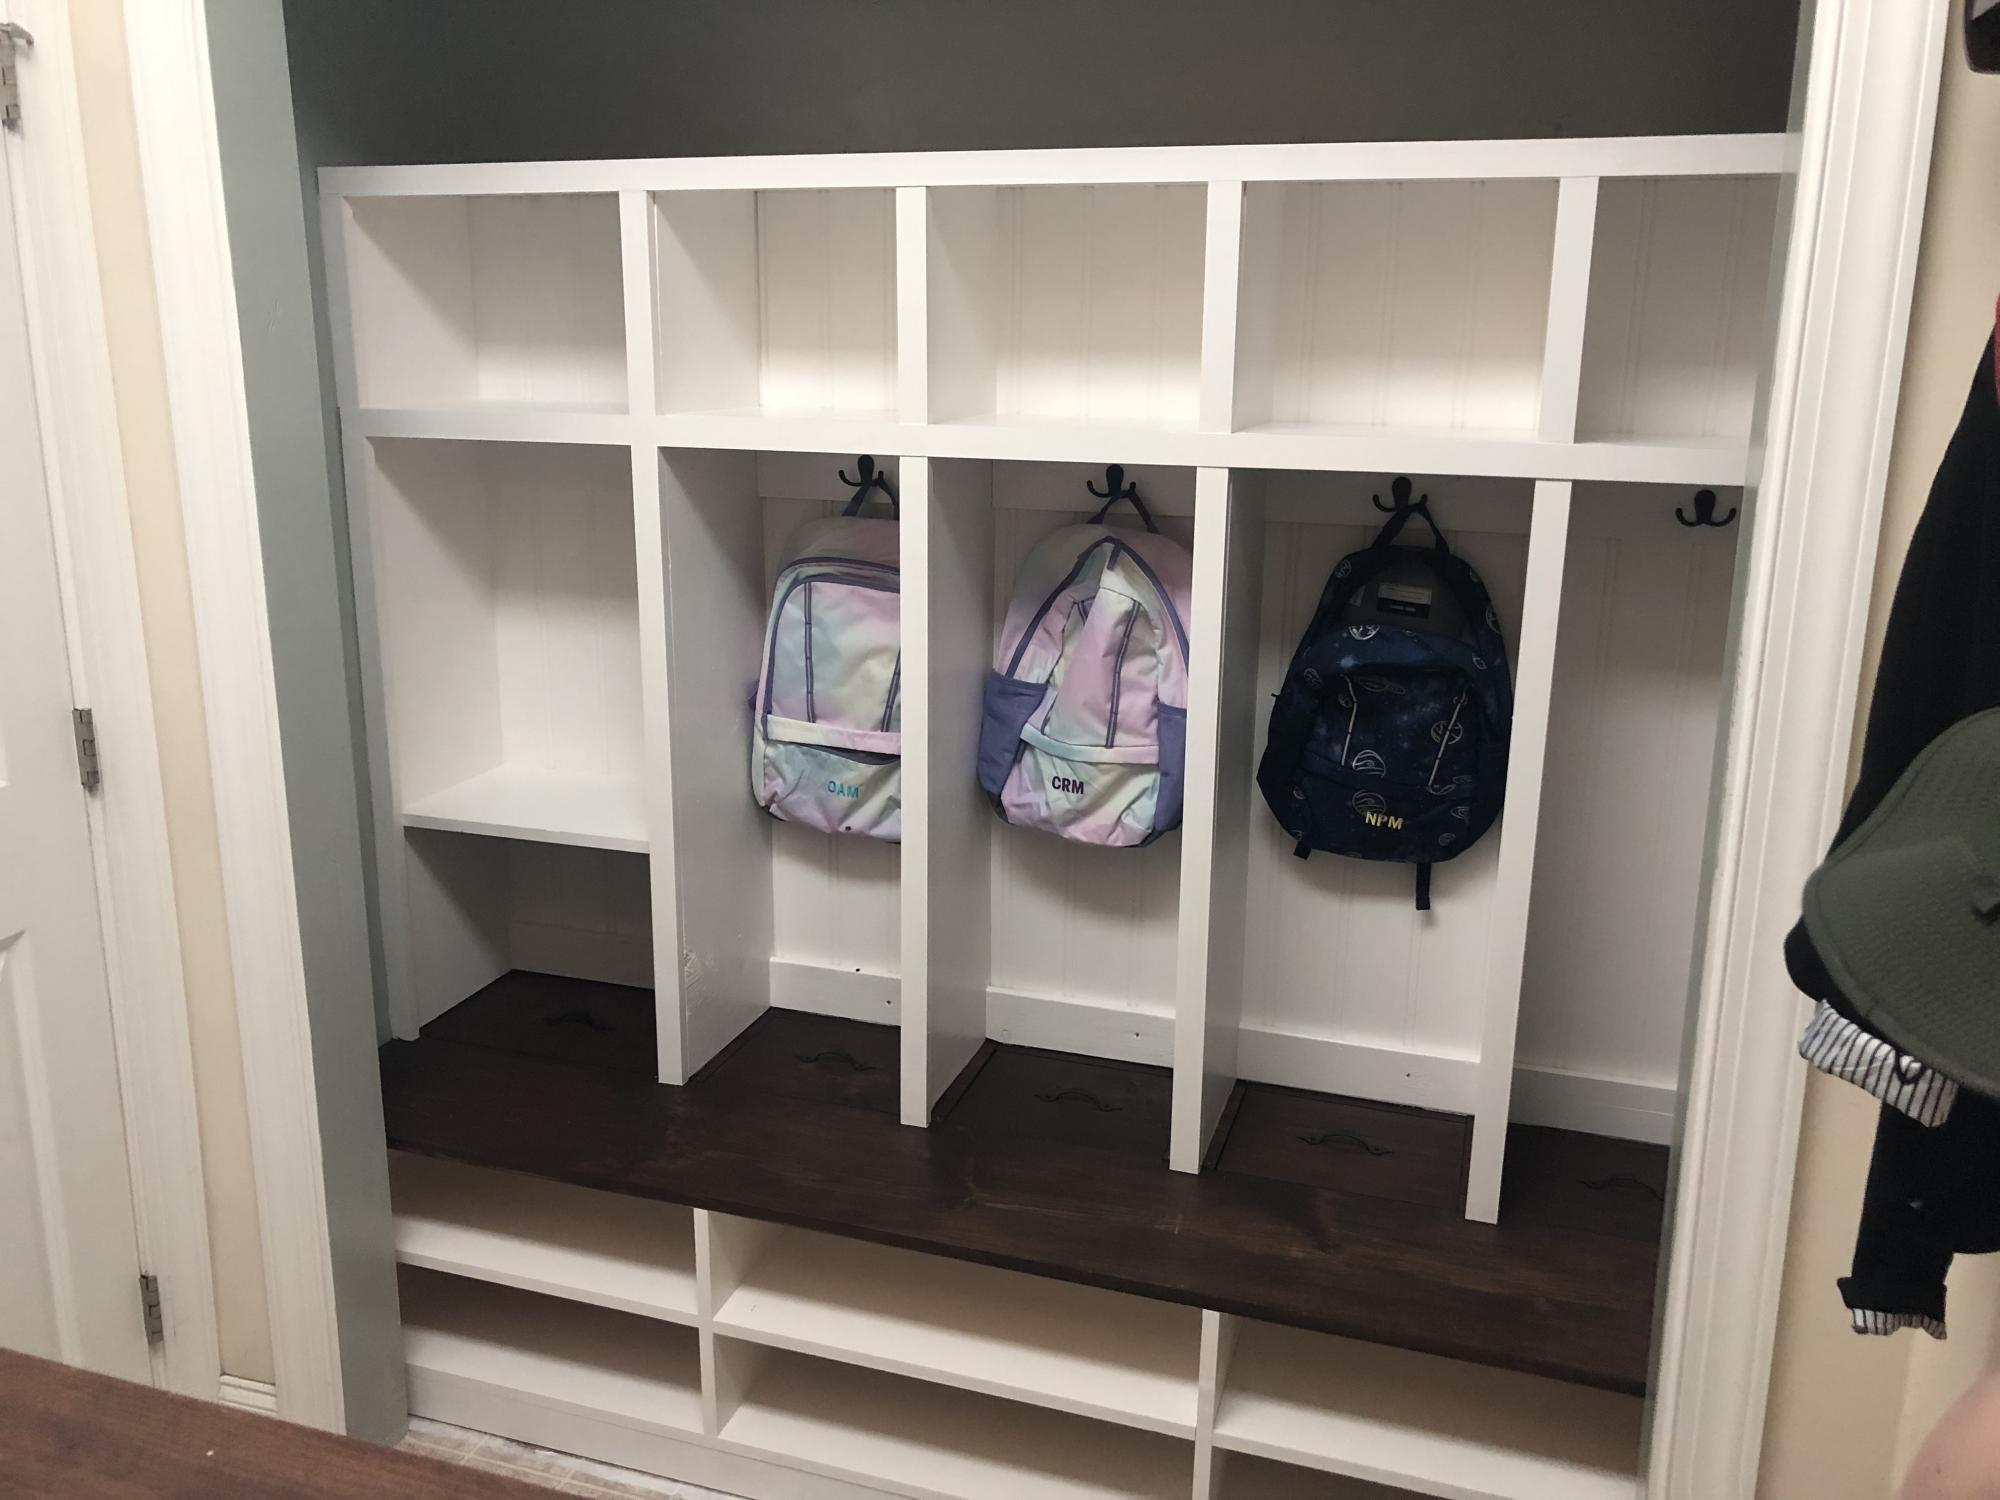
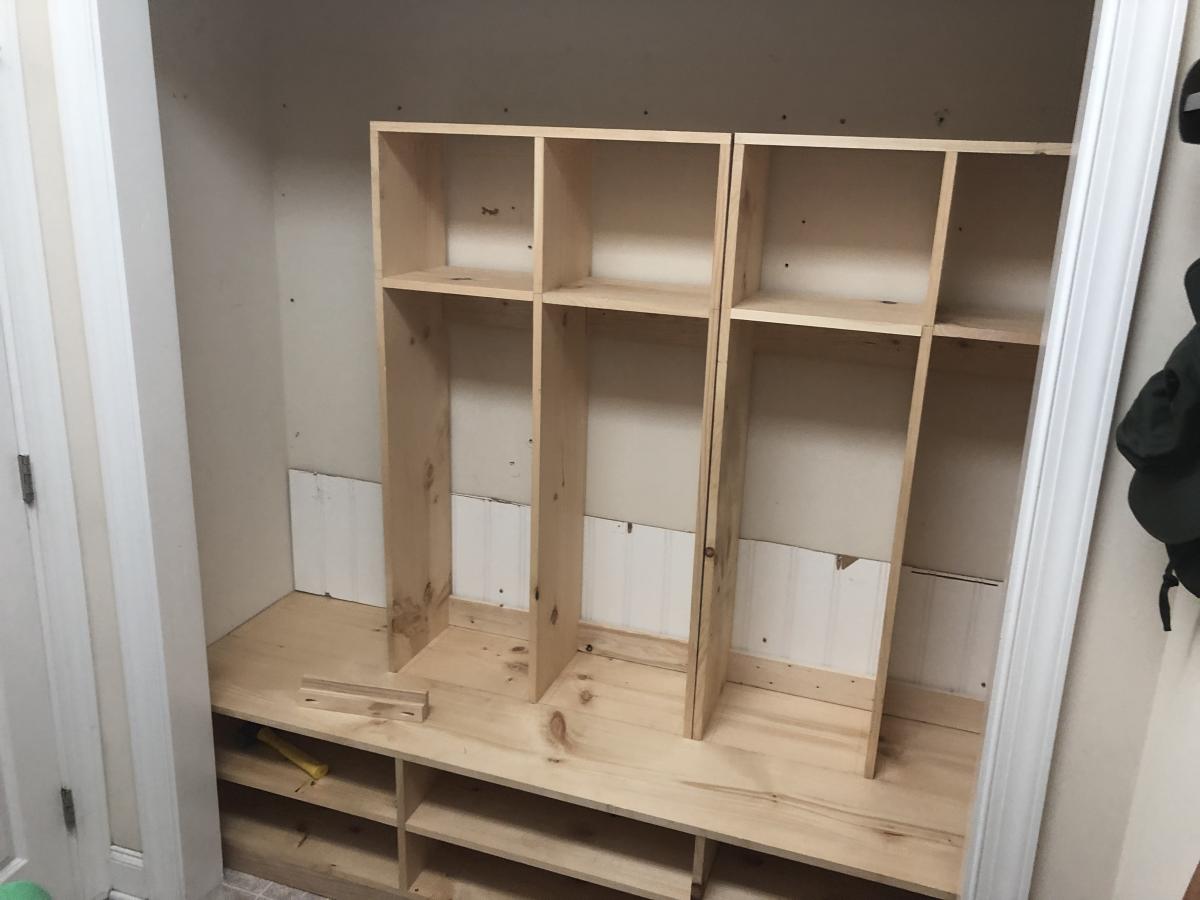
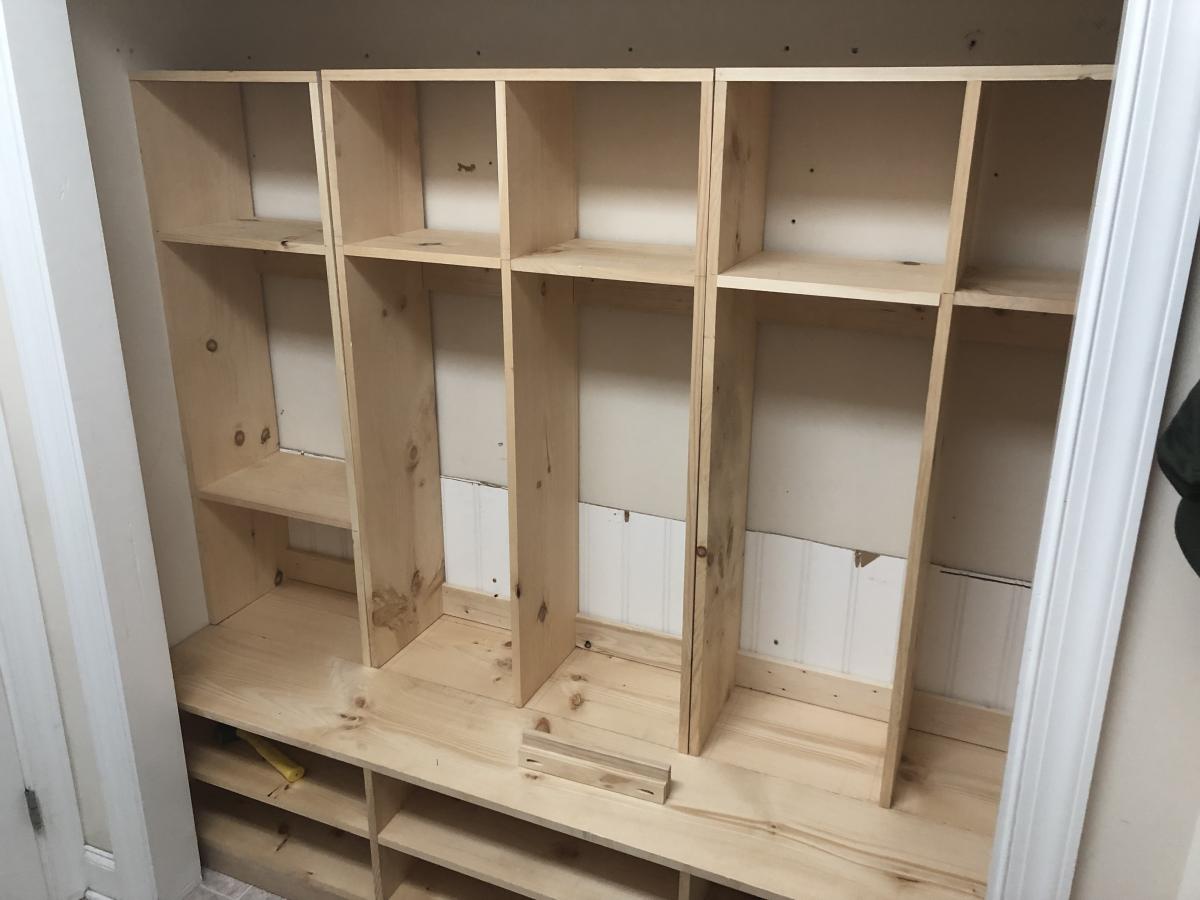
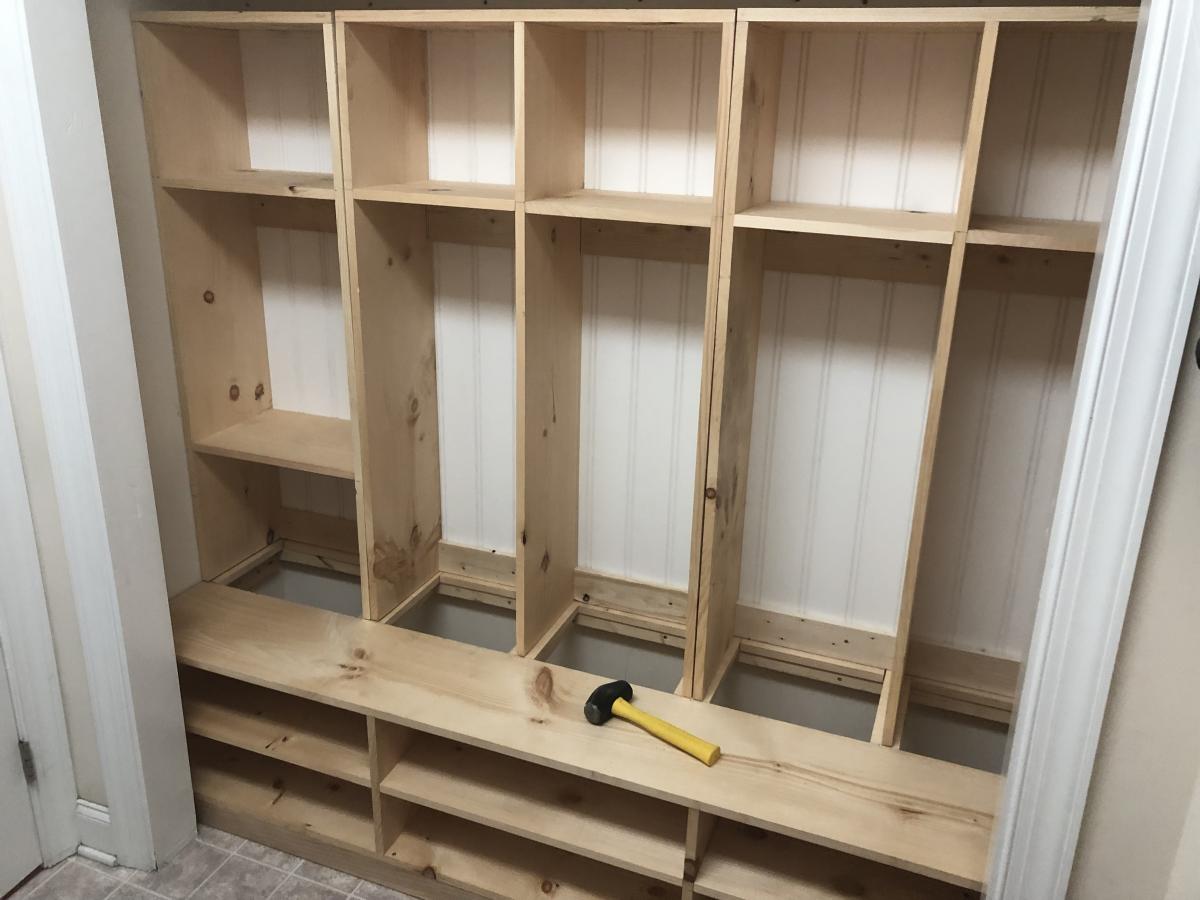
Combined the Extra Wide Shoe Bench and the Braden Entryway Hutch plans and added some customization to make the perfect mud room closet organizer! I modified the measurements to fit the width of the inside of the closet. Each kid has a ‘locker’ with hooks, a storage cubbie above and hidden storage below. The bottom of each locker has a removable lid that hides winter boots or off season gear behind the shoe shelf. So nice to have out of sight storage for items we only need for part of the year!
Wed, 10/02/2019 - 09:48
The little hinge up cubbies are so awesome!!! What a great project!
I stumbled upon the Ana White website (and subsequently the farmhouse bed plans) via something I saw on Pinterest. I had been bugging my husband for bedroom furniture for years, but there were always other bills to pay. So when I came accross that BEAUTIFUL and super-inexpensive-to-build bed, you can imagine my excitement! I sent a link to my husband, who was equally excited, and a few days later we have this georgeous new bed!
Fri, 01/27/2012 - 08:20
I asked my husband what his stain concoction was, and he said he used a 1:1 mixture of Minwax's Fruitwood and Red Oak stains. He did first use a wood conditioner so the wood would accept the stain more evenly. Hope this helps!
Sun, 01/29/2012 - 10:21
I really love the warmth of the stain color. I will have to try the concoction on my next project. Thanks again. :-)
Sun, 01/29/2012 - 13:36
I think after supplies it was probably closer to $100. I am amazed though every time I walk into our bedroom that our bed was so inexpensive and easy to build! It really is a beautiful piece. I defintely think you won't be disappointed. Happy building :o)
In reply to I think after supplies it was by jessabender
Sun, 01/29/2012 - 15:59
Yup, inexpensive and SOLID wood! something that will last and irreplaceable.
Thu, 07/10/2014 - 20:11
I have been admiring your bed. It is lovely. So I am seeking your advice. I am wondering how you sandwiched the panels between the 1x4s. I don't see any nail/putty marks through your stain. I am obsessing about how I can finish this bed without like 32 little patched nail holes on the front of the headboard and the footboard. I would really love to stain the bed similar to the color you used but I'm worried about the nails. sigh. Did you use nails? Did you only nail the boards from behind so they are not visible? I have been scrutinizing your bed, but i just cannot tell. if you did use little nails and putty them, you did a great job of blending them in. I don't have a kreg jig, but i think that would solve the problem. hmmmm. I am so worried about this that I can't take the plunge and just make the bed. On the areas that are screwed together, I plan on using wood plugs, but for the panels I'm stumped. The plans call for sooooo many nails. I simply just don't want to see them on the front of the bed. Thanks for anyone that can help. If i were painting the bed it would not be a problem, but for staining I think the patched nail holes would not be good. Any thoughts?
Tue, 12/08/2015 - 17:38
it is probably something stupid simple. but what are you guys using to connect the side rails to the head and foot board? mainly the foot board.
Thanks in advance.
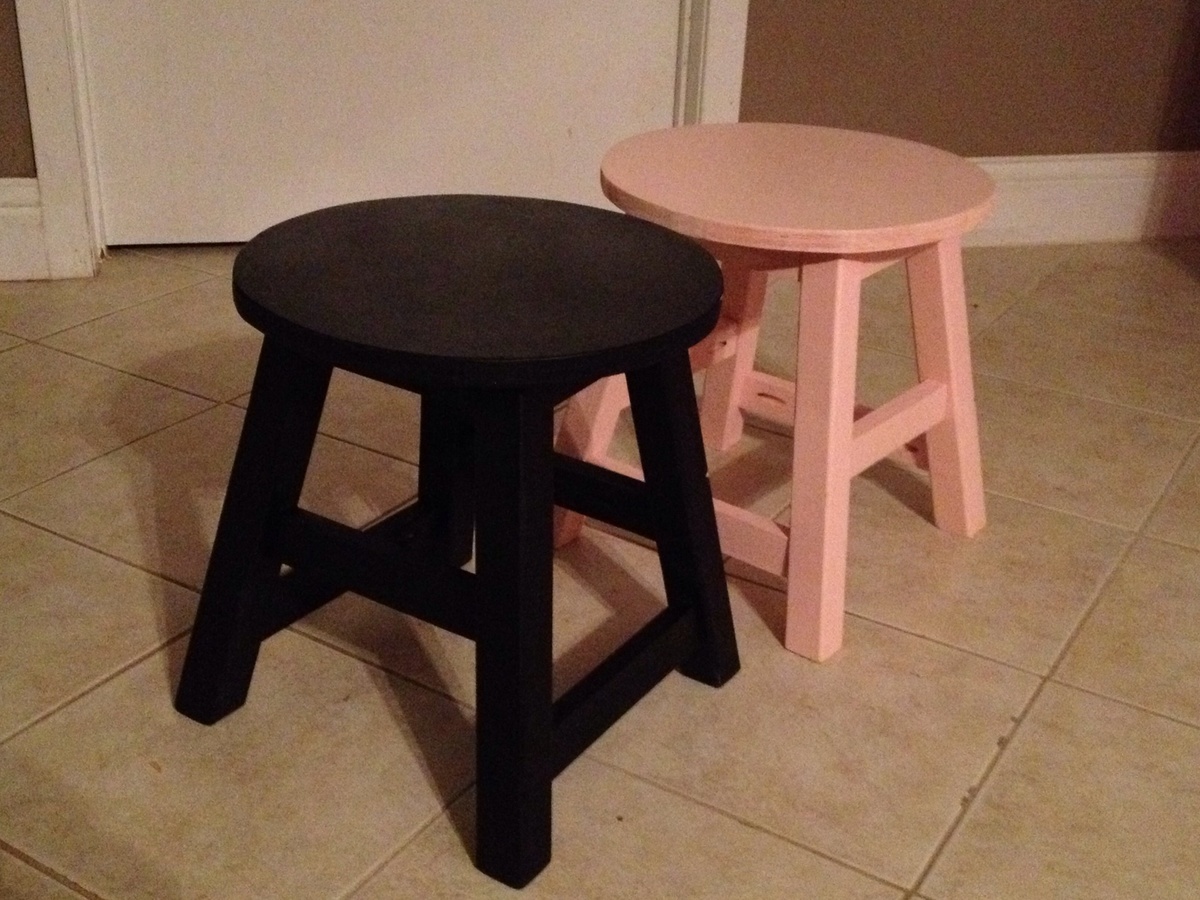
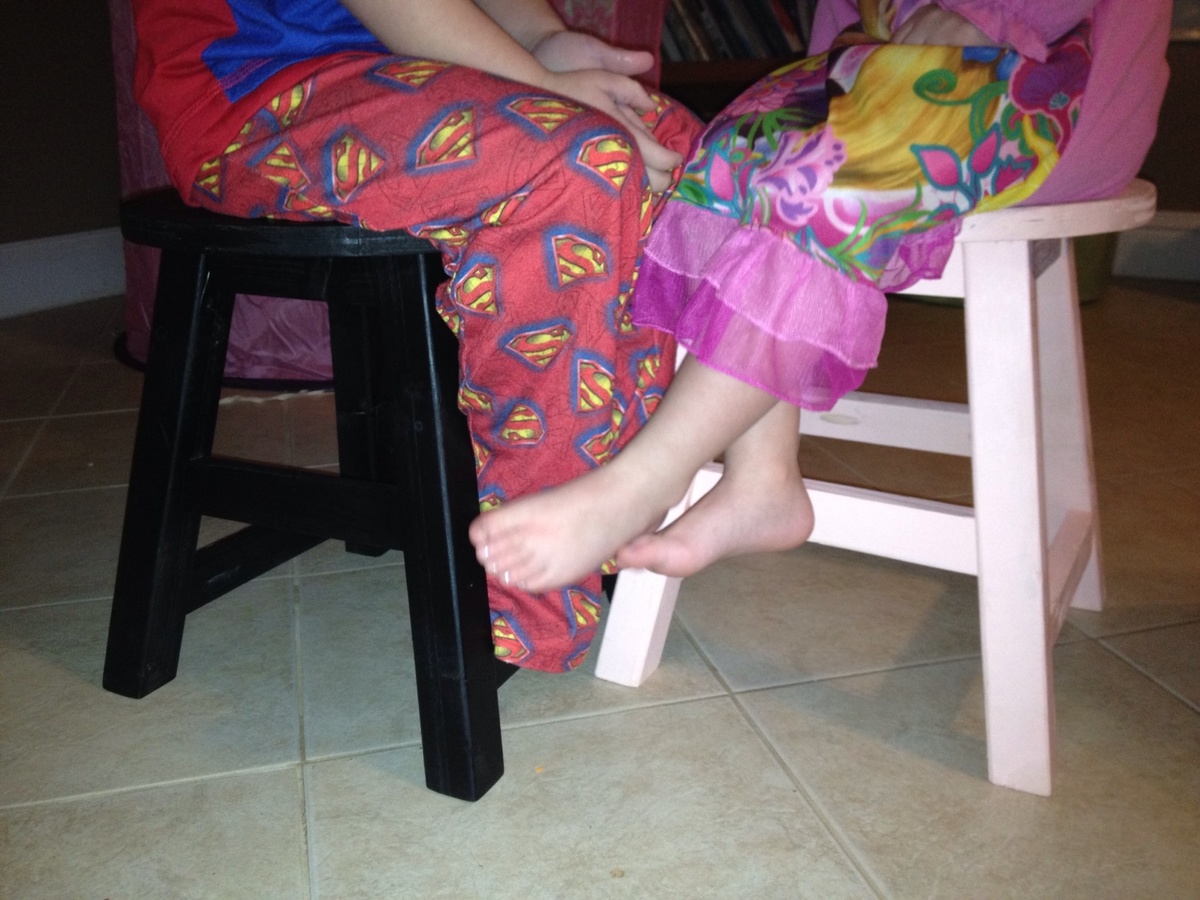
These are the Play Table Stools that I made. I'm a beginner, and these were a little tough for me. I couldn't get the drill in the tight spaces to finish all of the pocket hole screws. I ended up just running a 2" screw through the last leg into the apron. The second one was a little easier because I think I made my cuts better.
They are both very sturdy, and they are the perfect height for my 4 and 2 year olds. They use them at the drum set and at their desk.
The black one painted just fine, but I should have primed the pink one first. It took several coats to cover the wood.
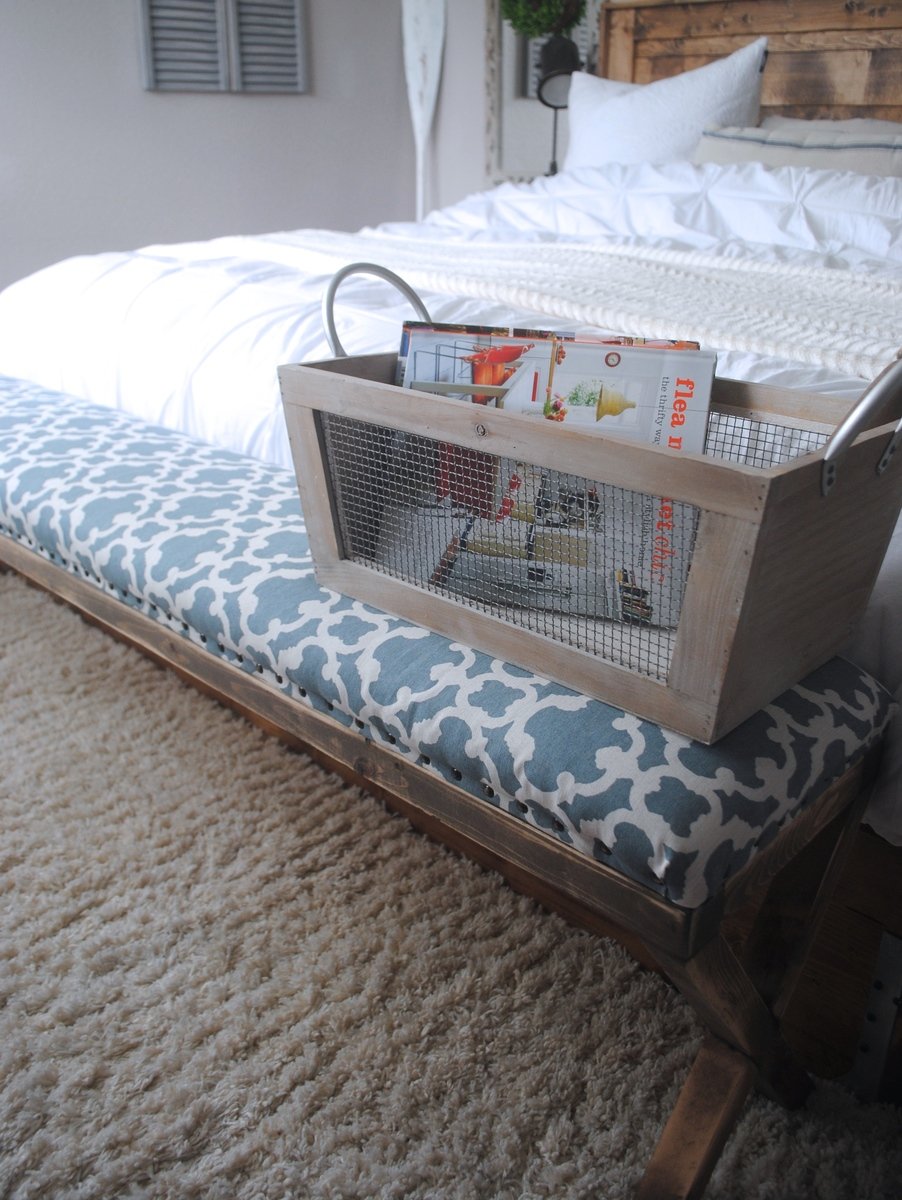
I've wanted a nail head upholstered ottoman for forever. I came across this tutorial & Roque Engineers tutorial and combined them Super super easy guys! We made ours at 6' in length x 12" in width ( our room is SUPER small ) Check out our blog for more details.
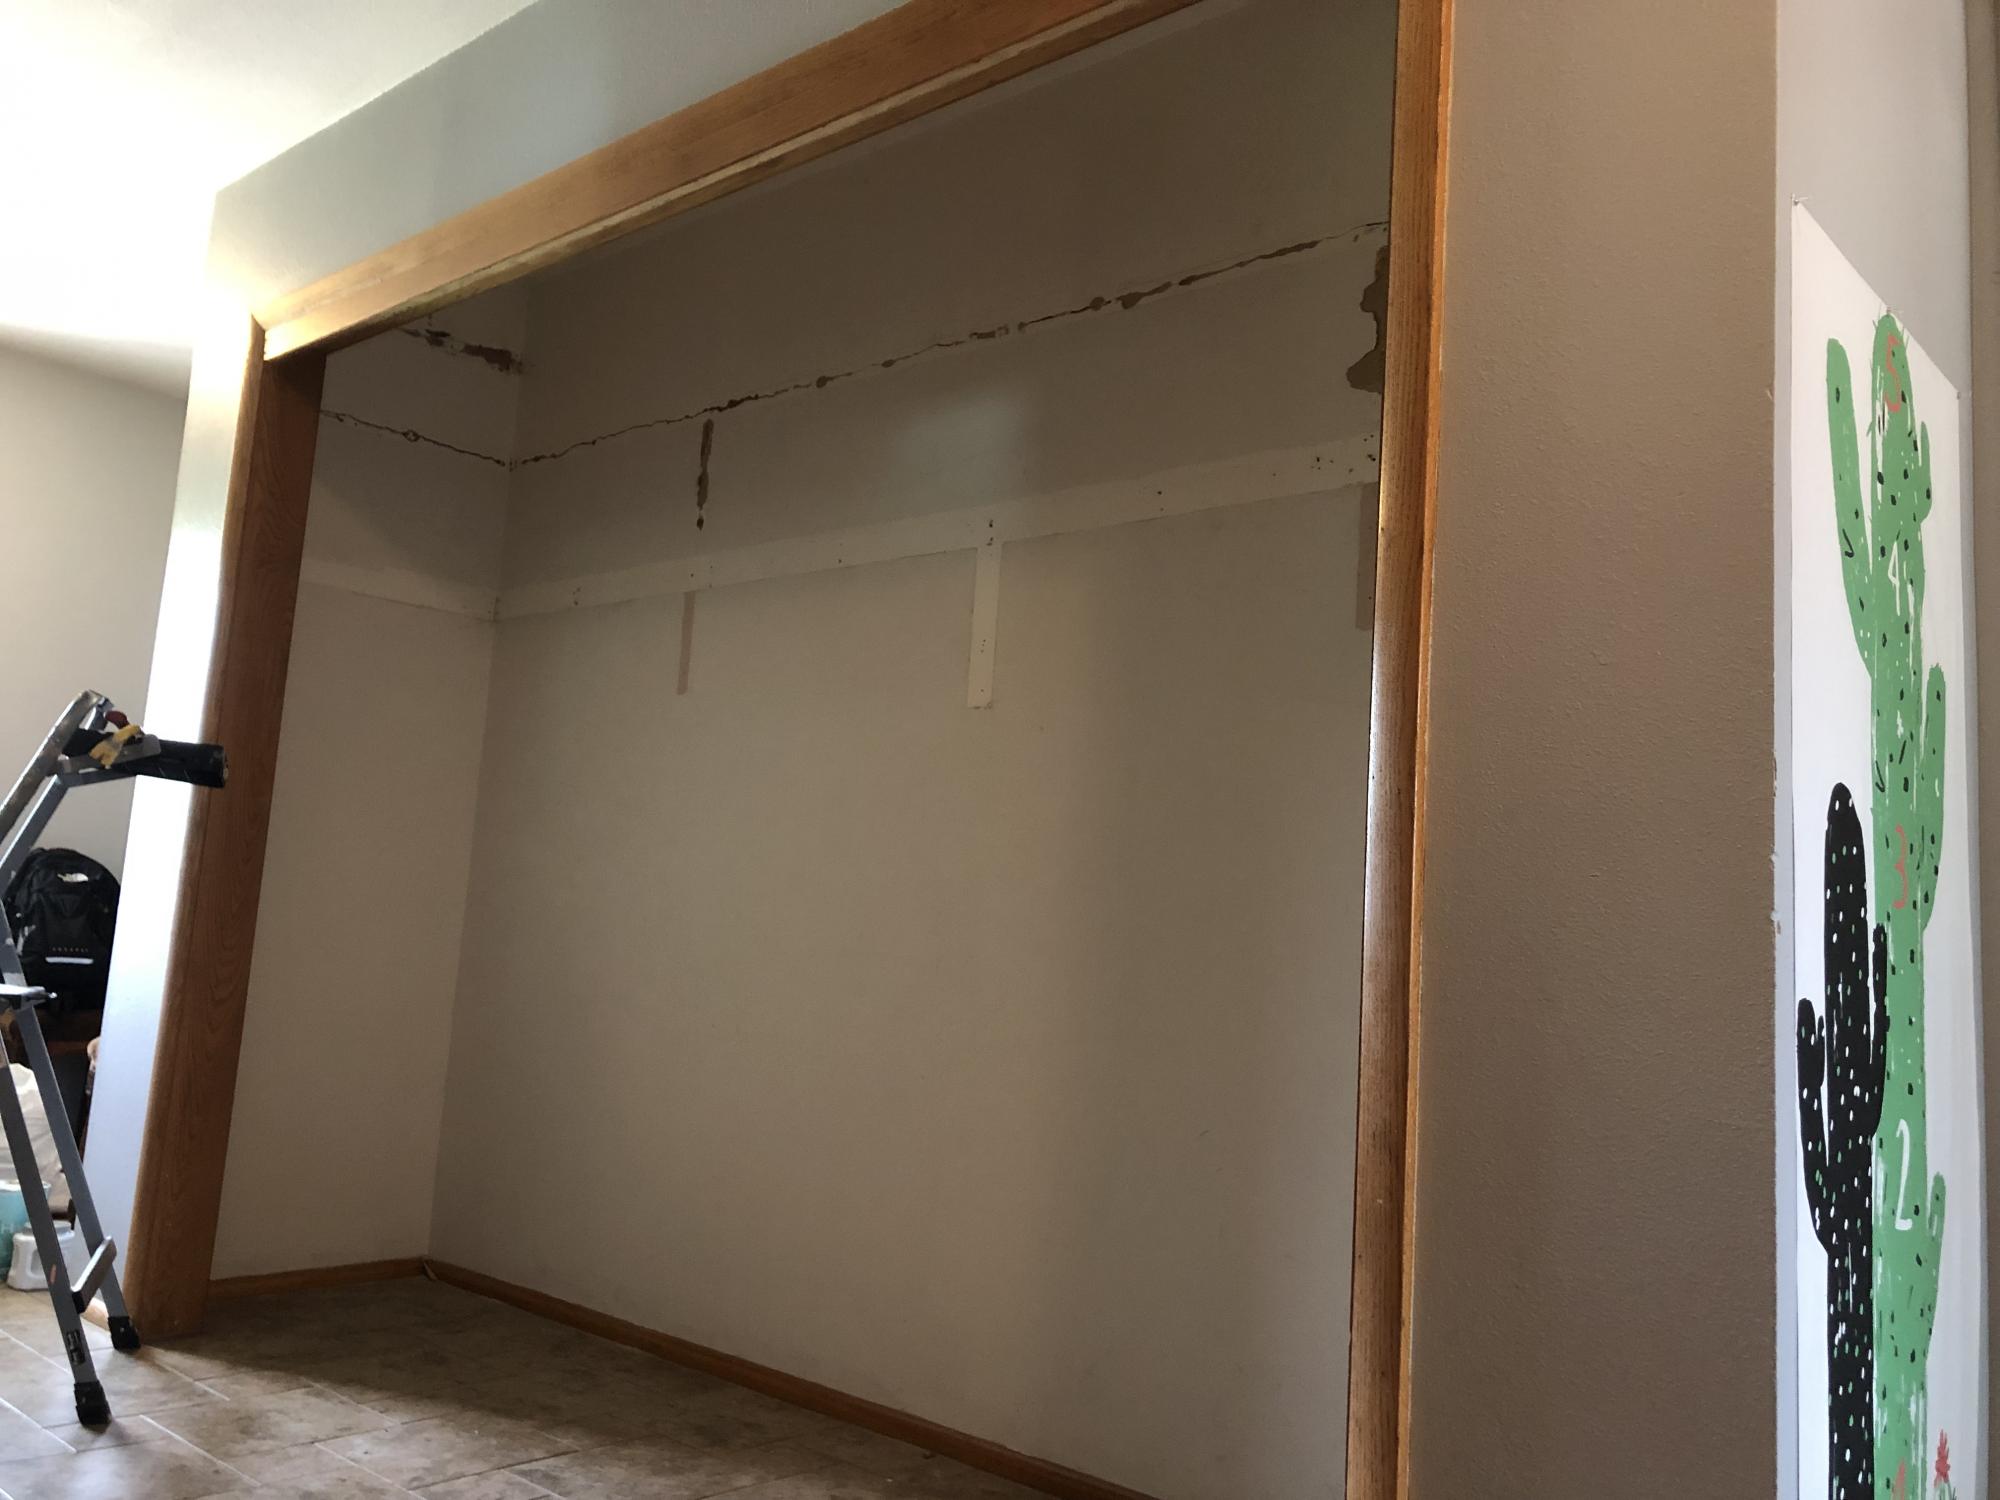
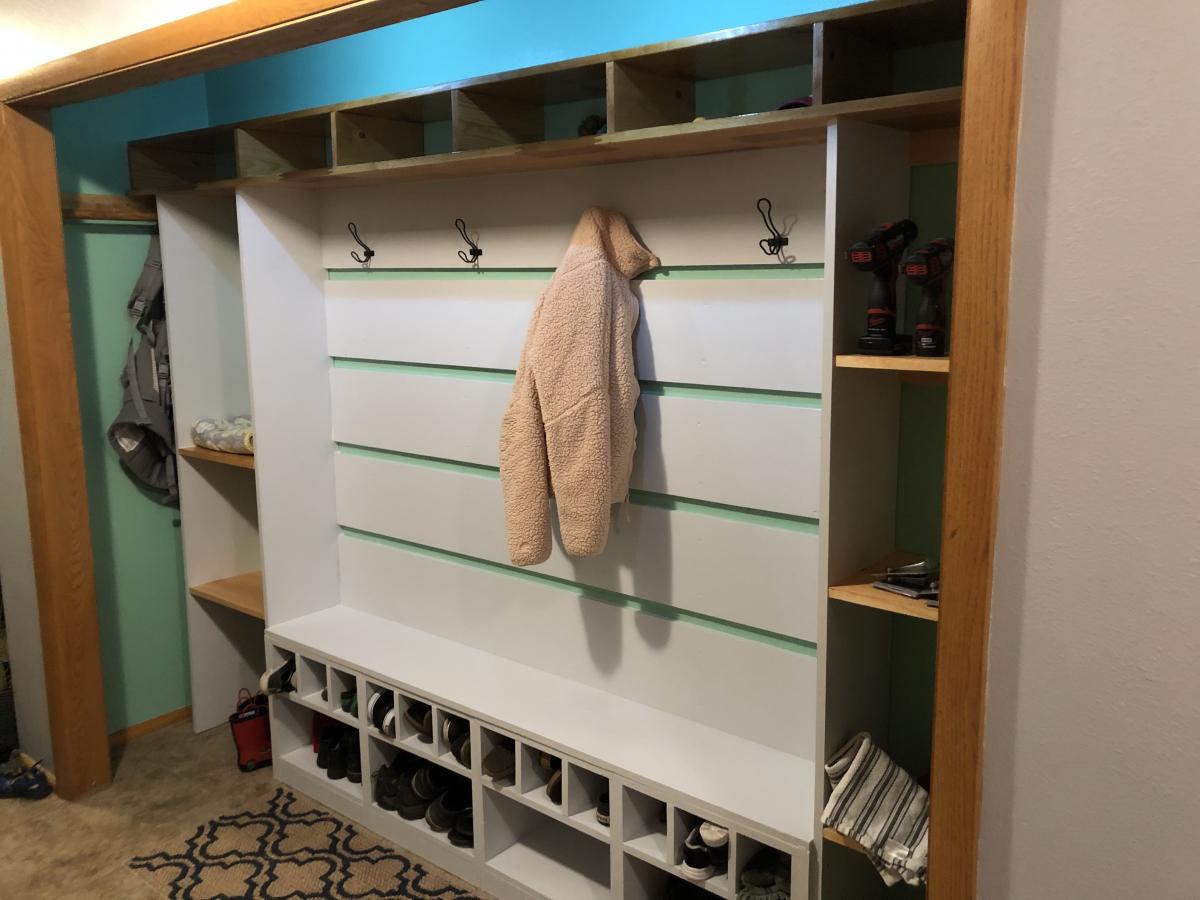
We have a 10 ft closet in our entry which offered plenty of space but had three closet sliding doors. Only one could be open at a time. Had two upper shelves and a rod. Wanted to get things more organized and have a place to get shoes on. Always give my 1 and 3 year old easier access to dress/undress themselves. First attempt at building anything. As I went along changed things based on materials and to get around issues with our closet or my skill level/available tools.
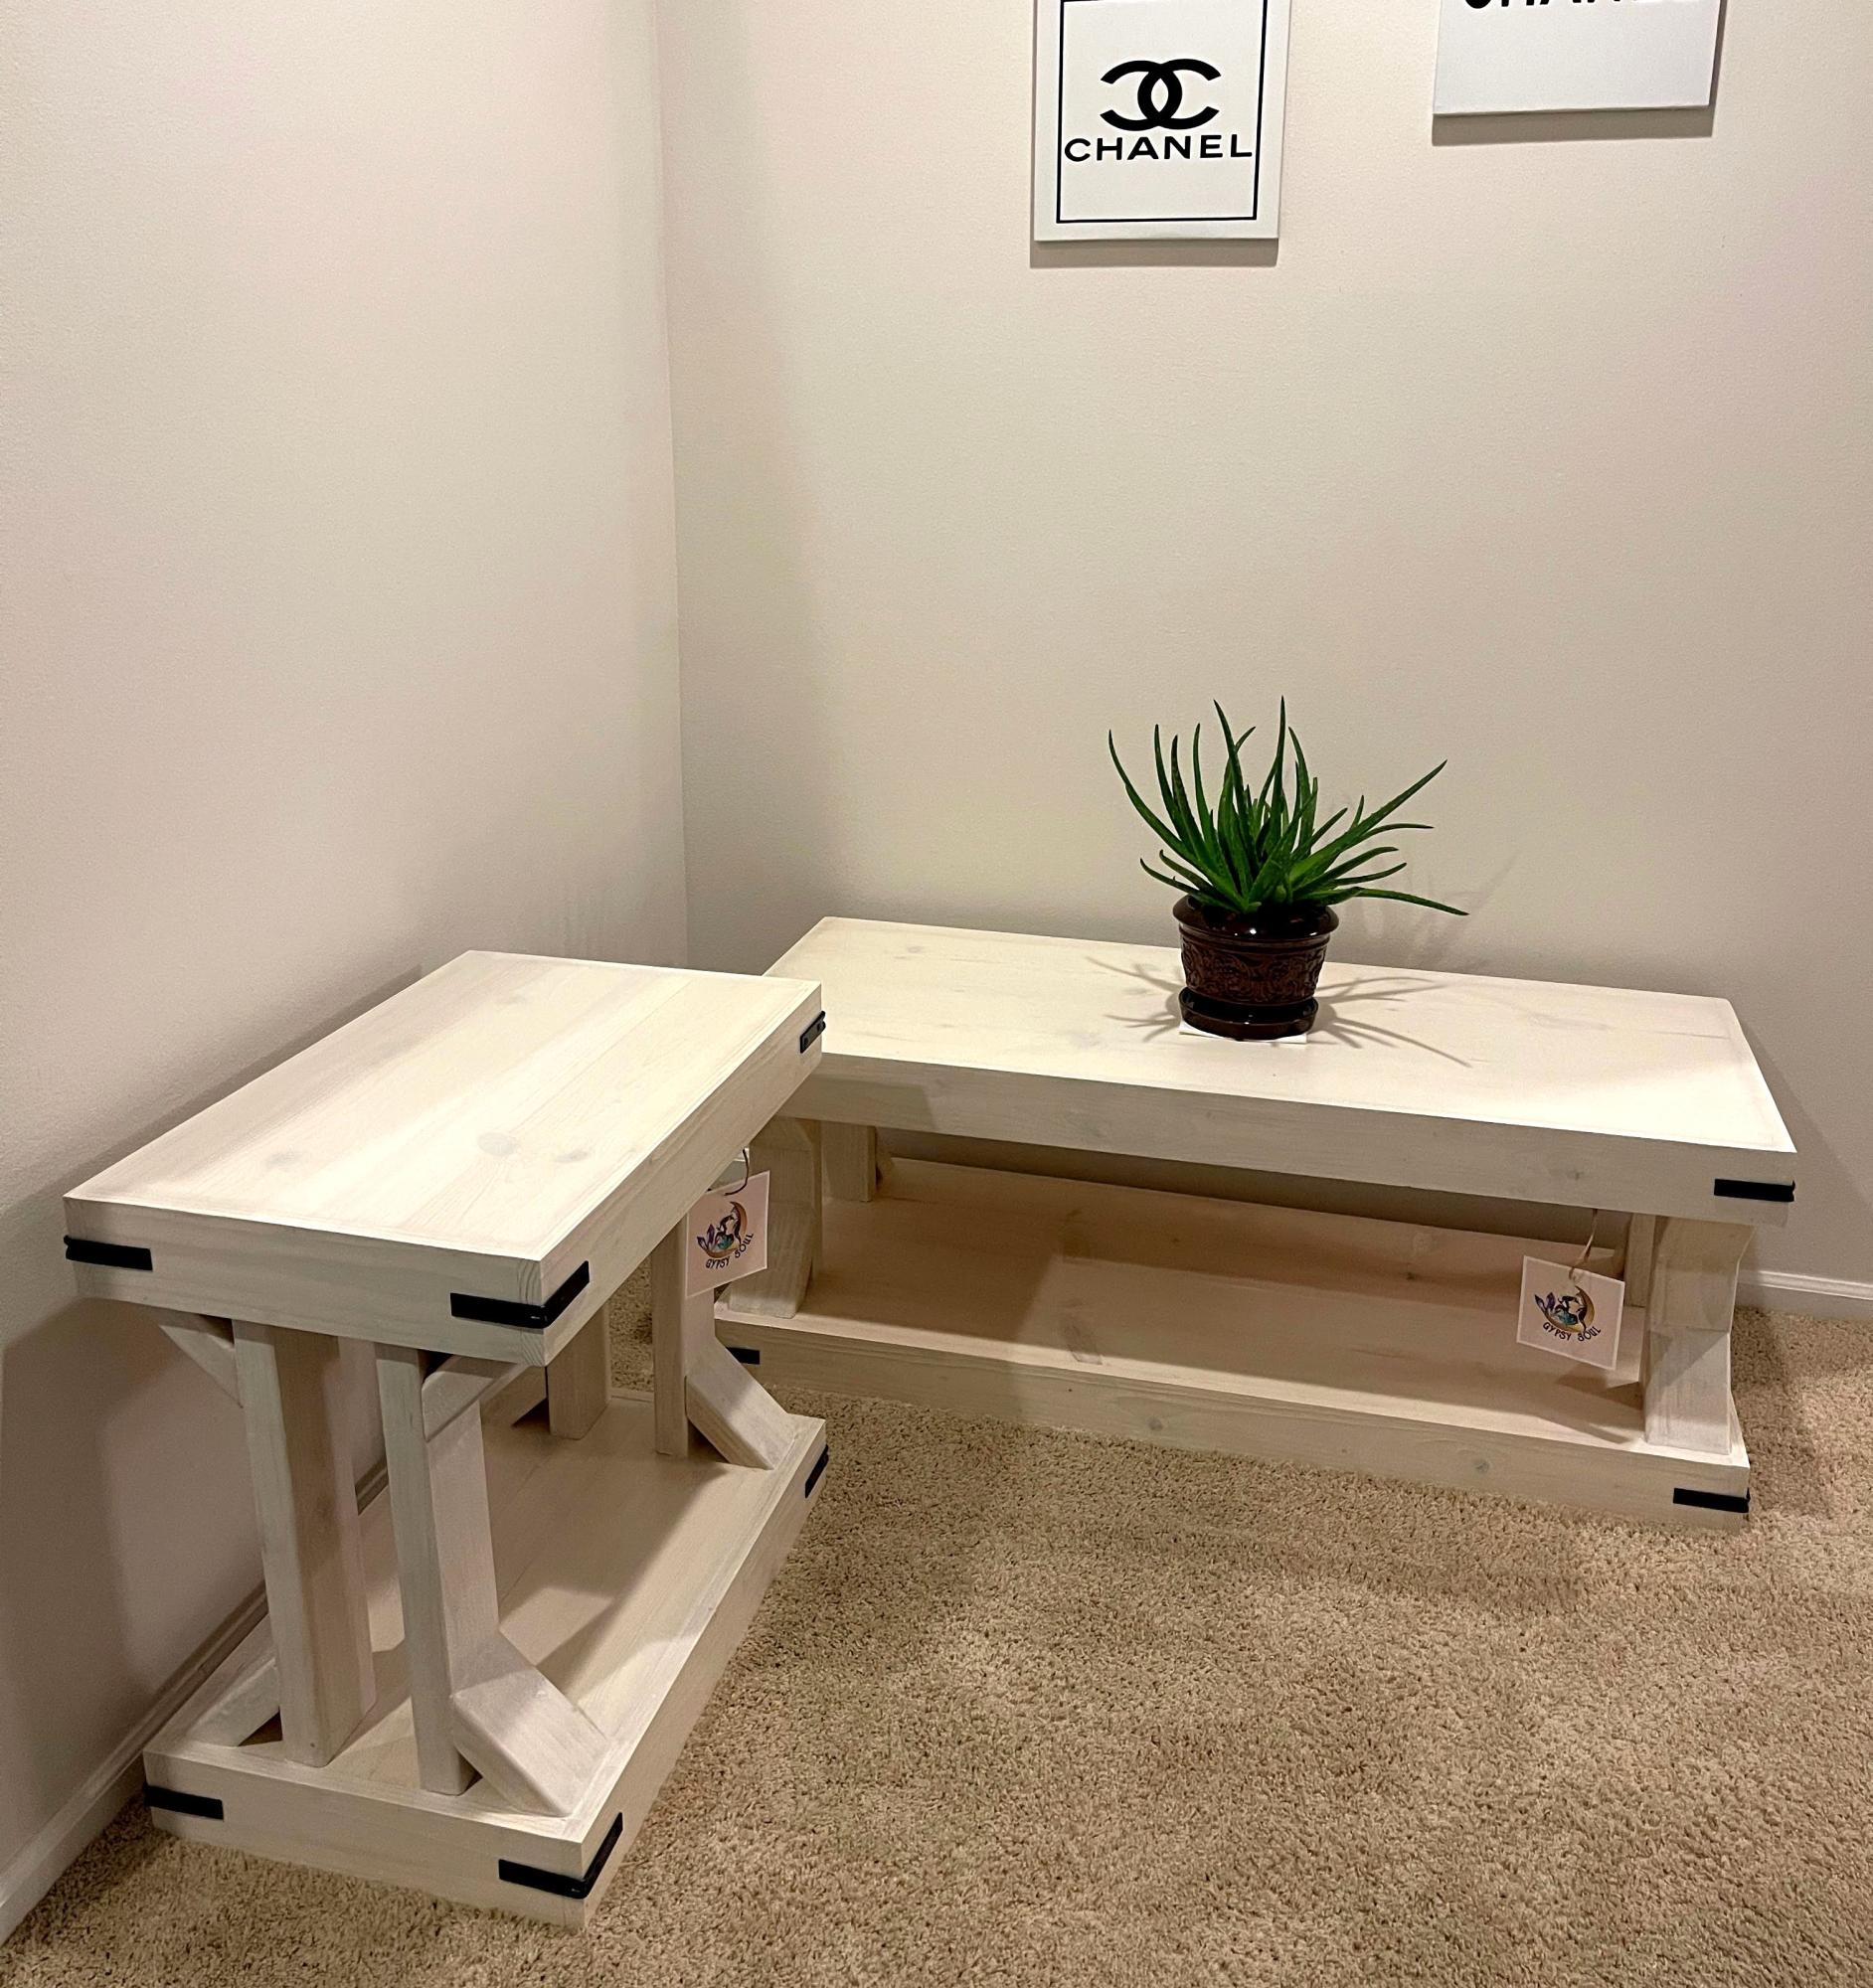
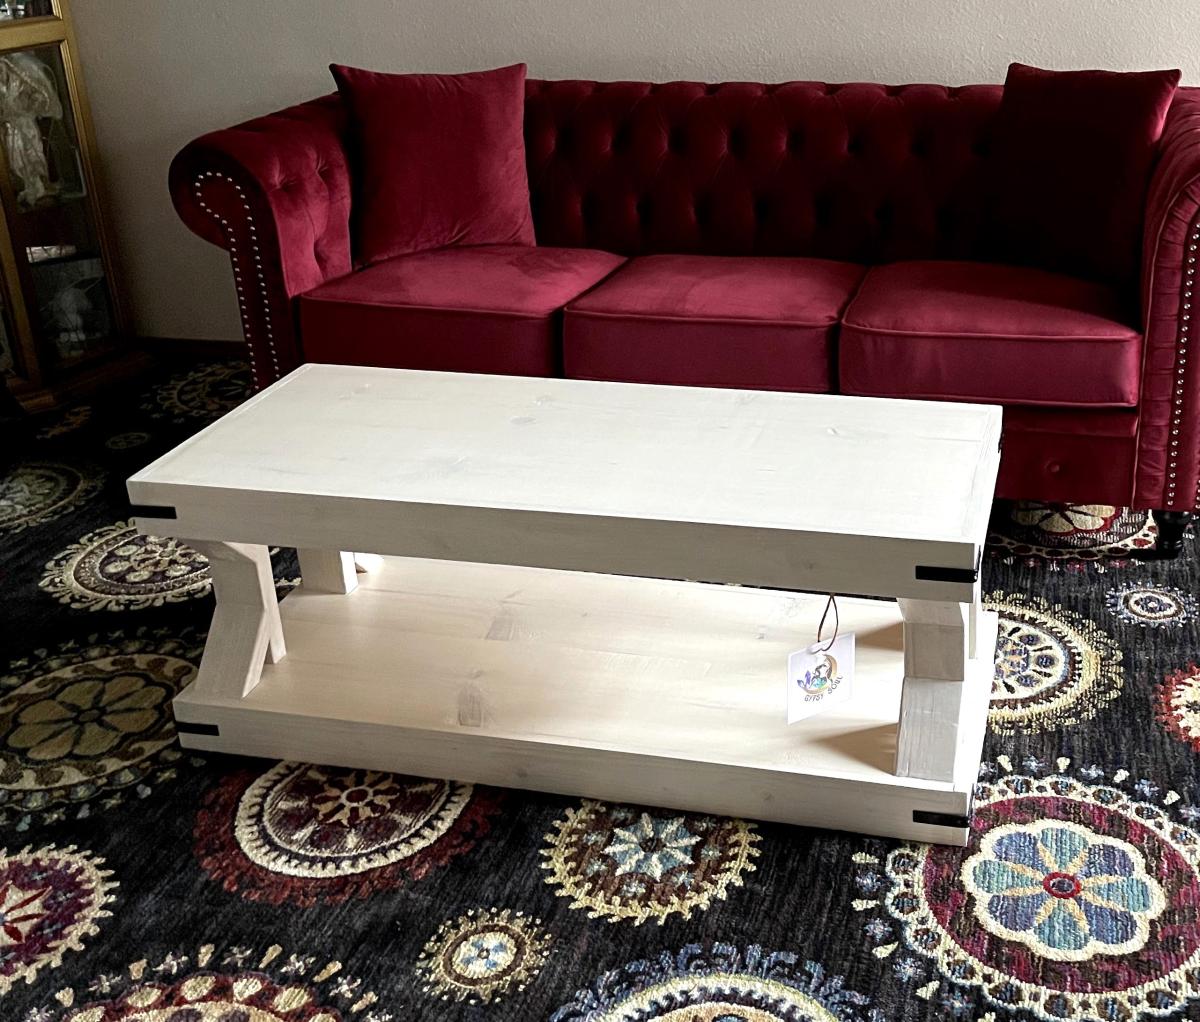
Ana White's plans are super easy and fun to do! I made these for my mom and I really enjoyed doing it. It’s an antique white water base stain.
David Marks
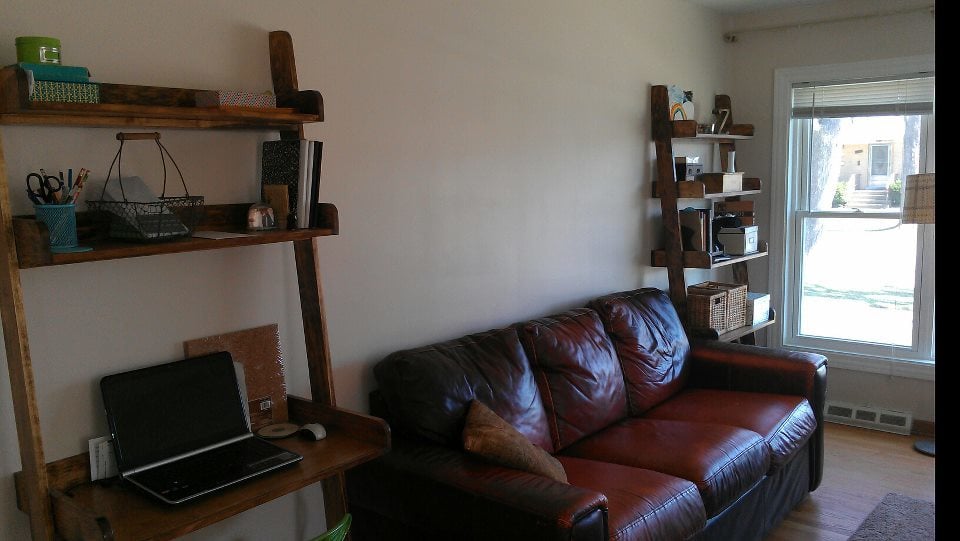
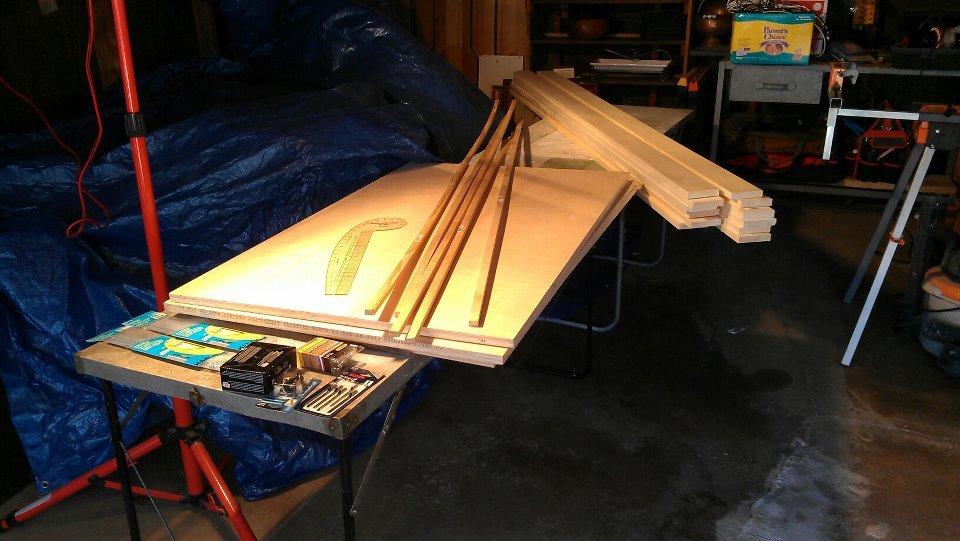
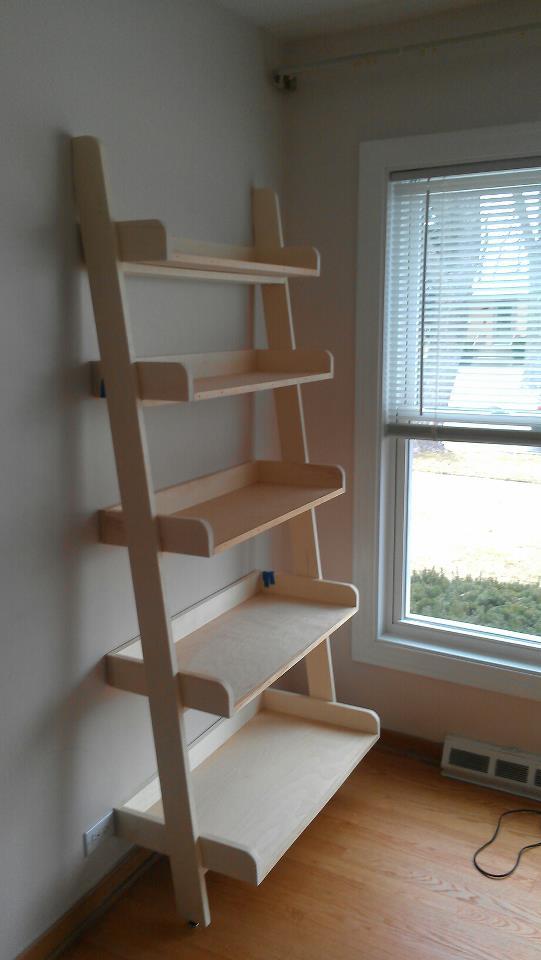
Followed the plans but used hardwood for the edging instead of a veneer.
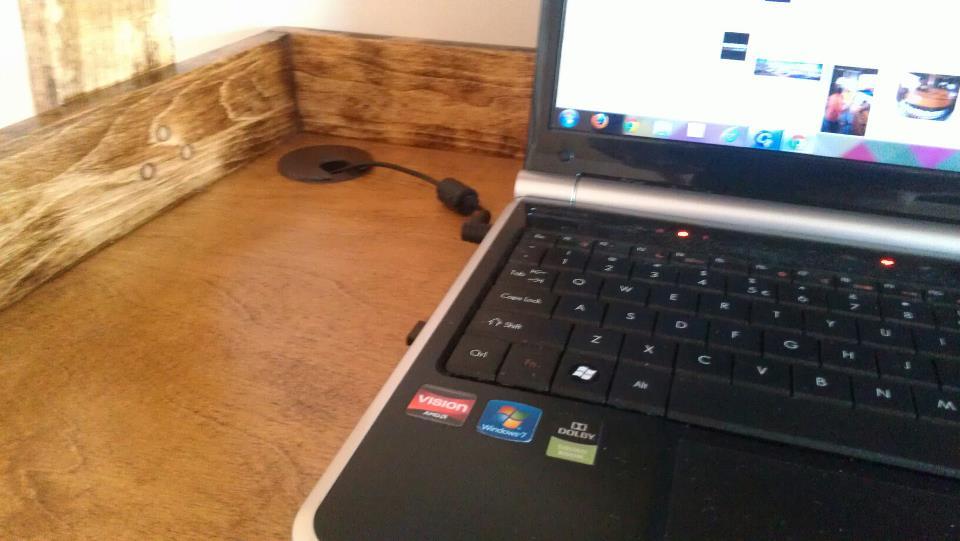
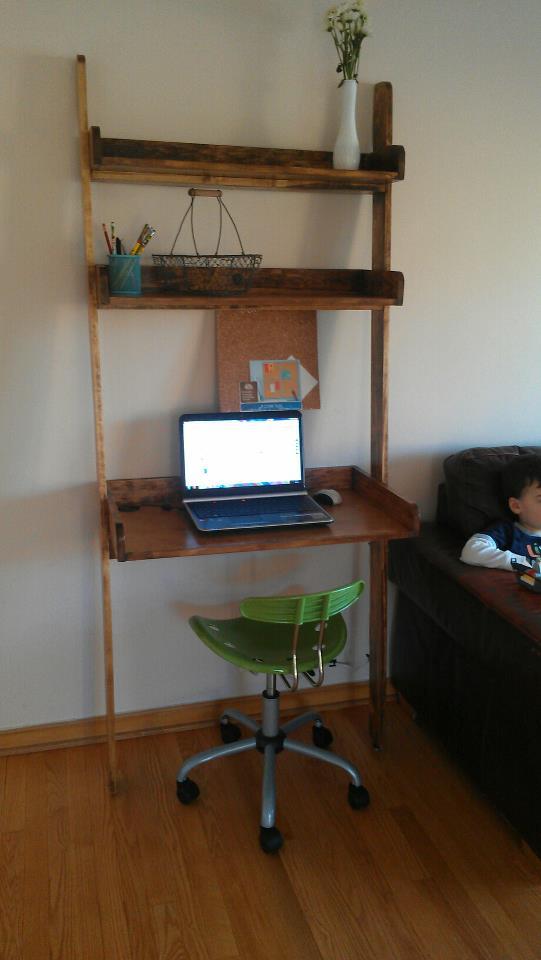
On the desk version I found that screws are needed from the inside of the desk sides to the frame to strengthen the joint. I also added a cross brace to support the desktop, the brace also conceals the power strip and laptop cables.
The desk version also needs to be secured to the wall with more than the picture hanging kit. I used a painted screw and fender washer on the middle shelf. With that attachment the desk is solid as a rock.
Sun, 03/18/2012 - 23:20
Absolutely love the desk mod! The full shelf is amazing too!
Mon, 03/19/2012 - 18:00
My wife turned me on to your site. We like your style.
I'll be building a modified (larger) version of your cubby bench. The goal is "false drawer front doors" that hide shoe cubbies.
I'll be sure to post the work.
http://ana-white.com/2011/01/perfect-cubby-bench-plans-want-it.html
Tue, 06/10/2014 - 12:43
I would love an additional picture of the desk bracing. Also, I'm curious how deep you made the desk. Great mod! Hope ift has held up well.