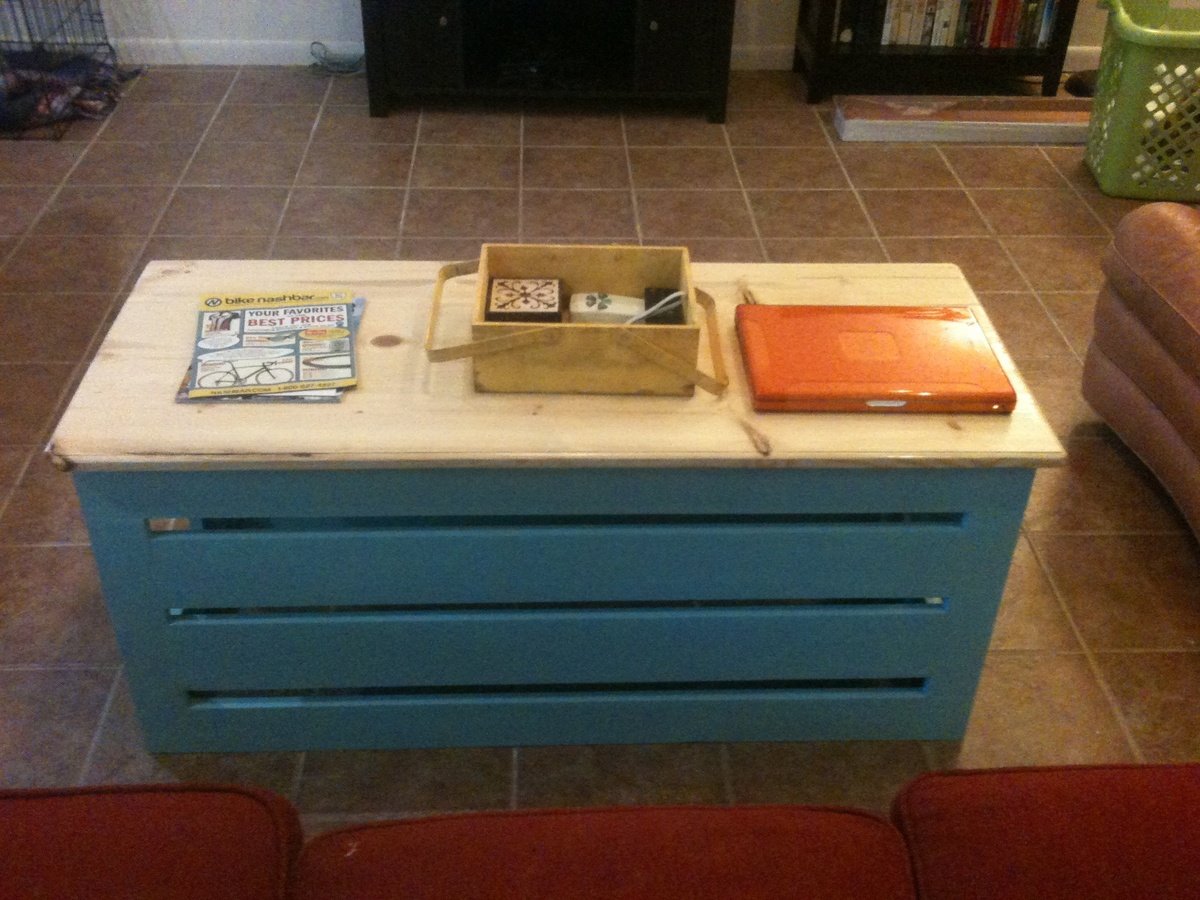
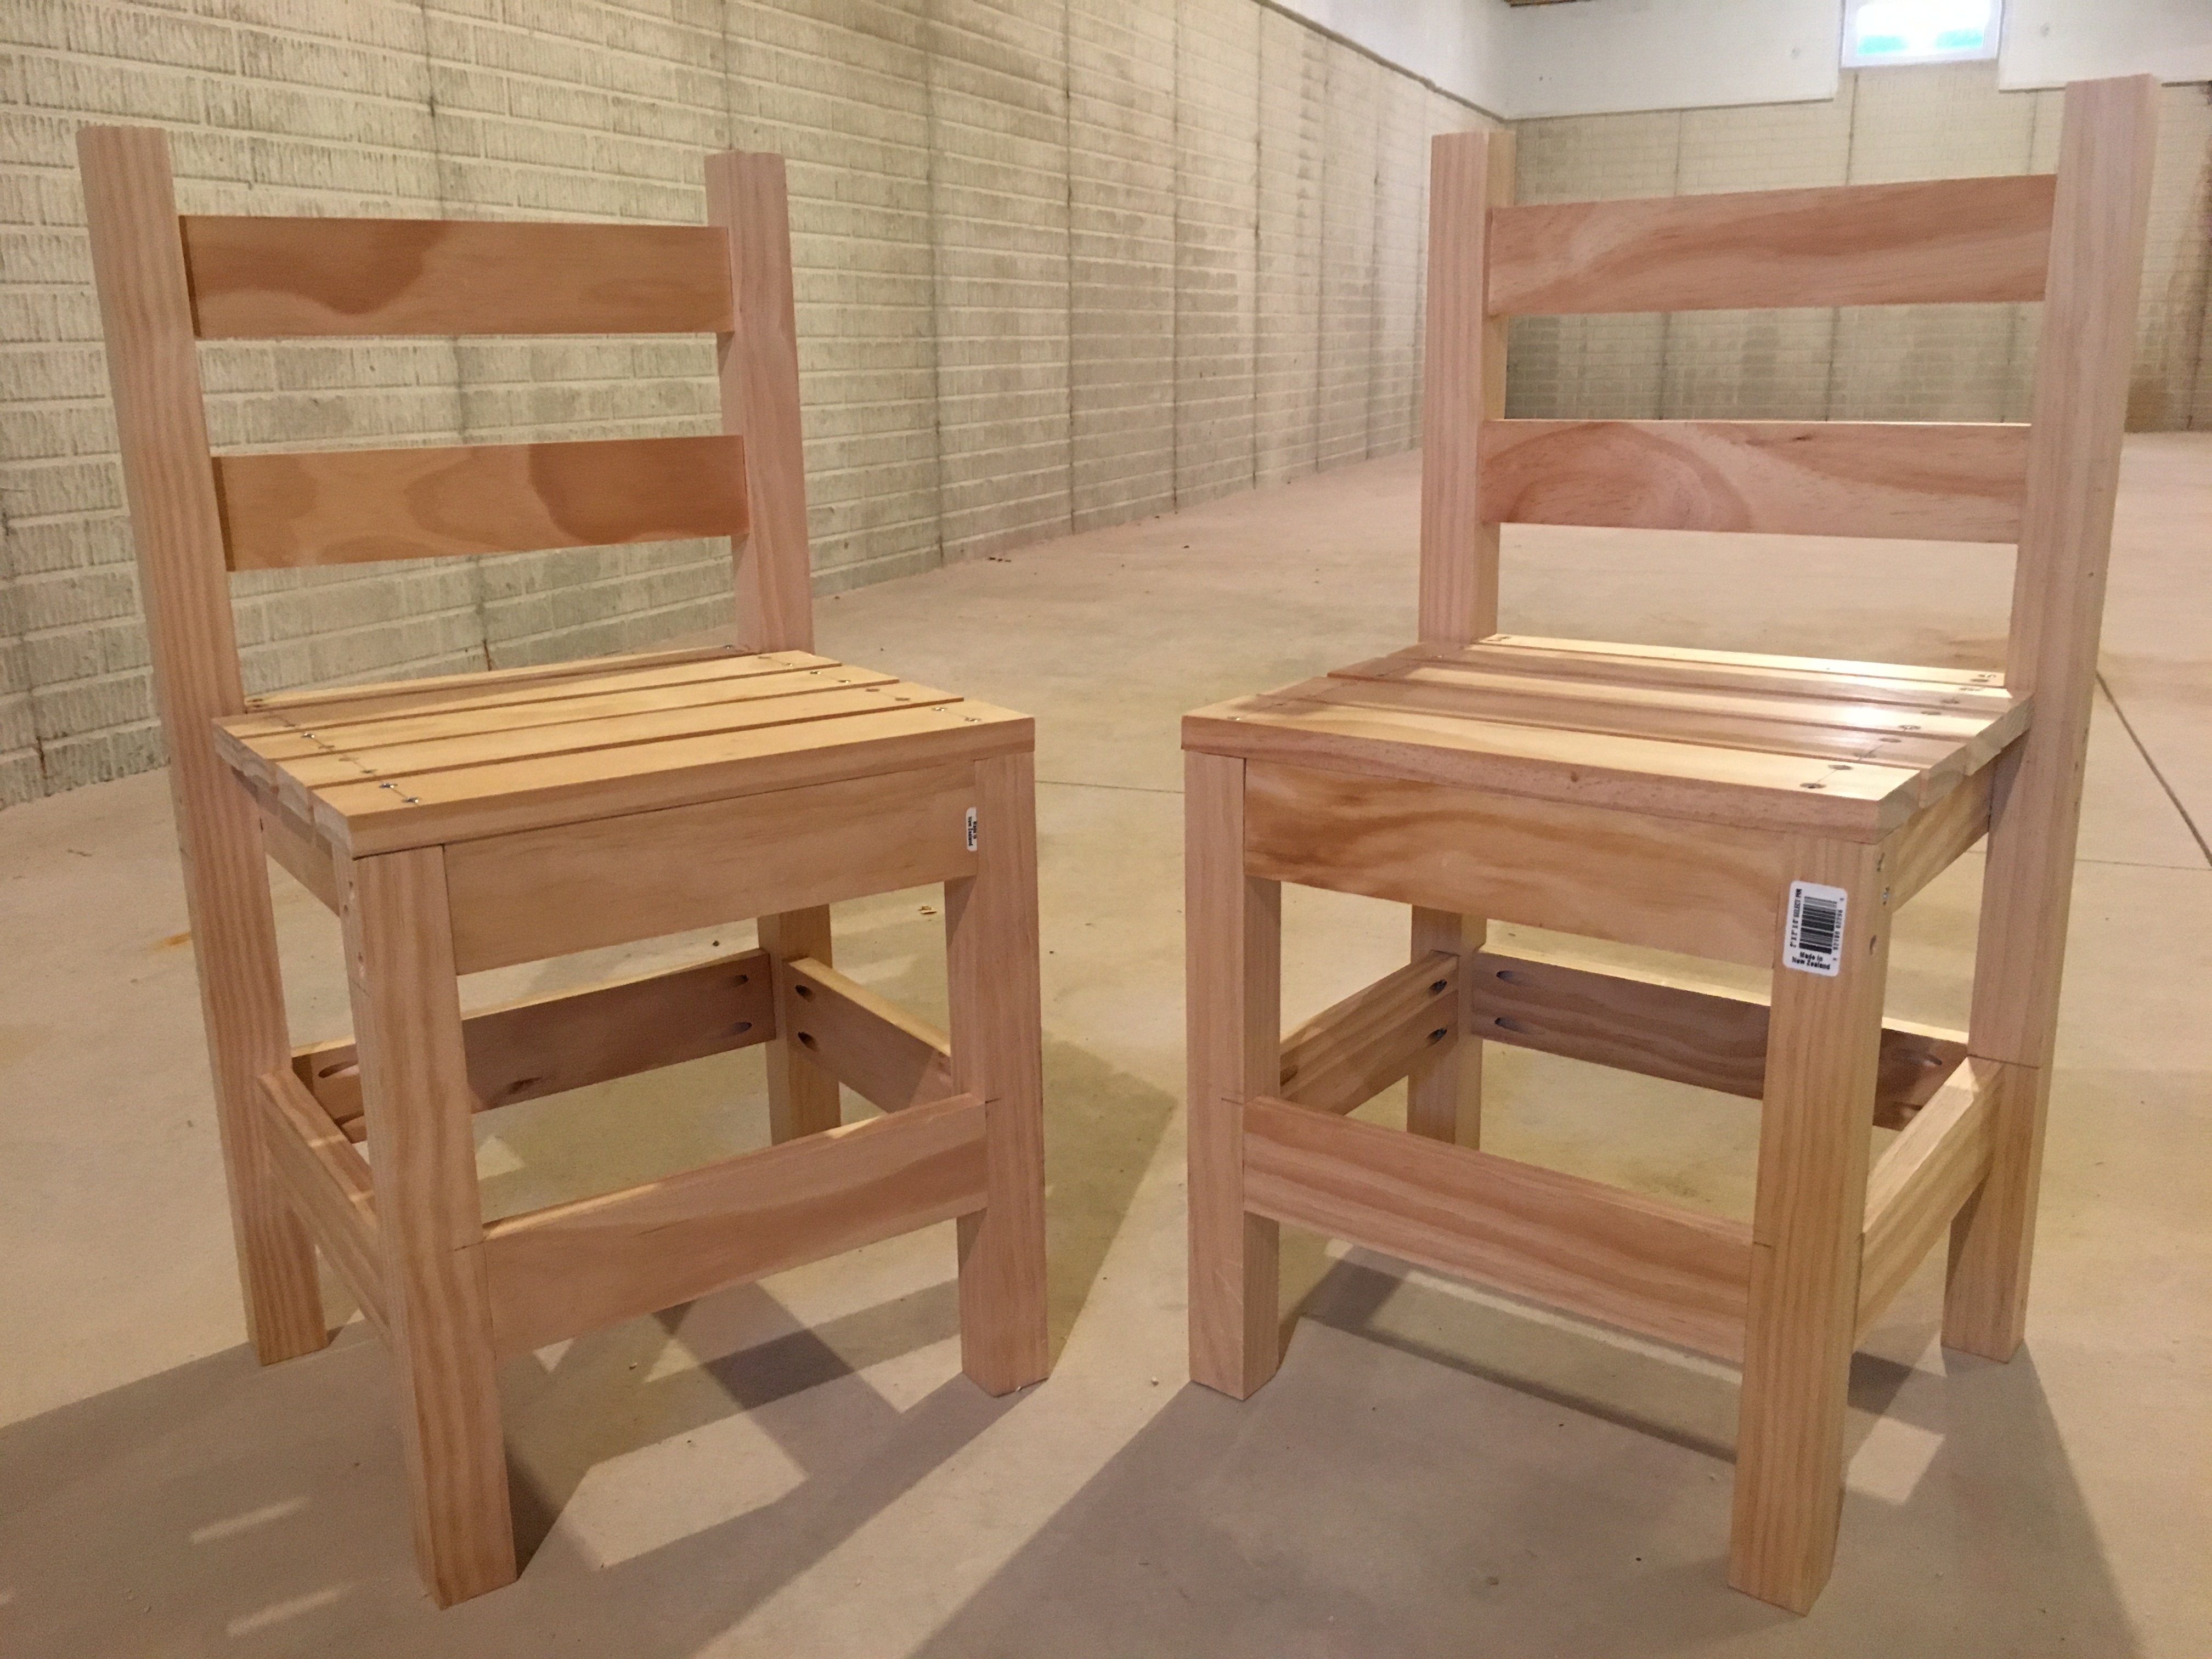
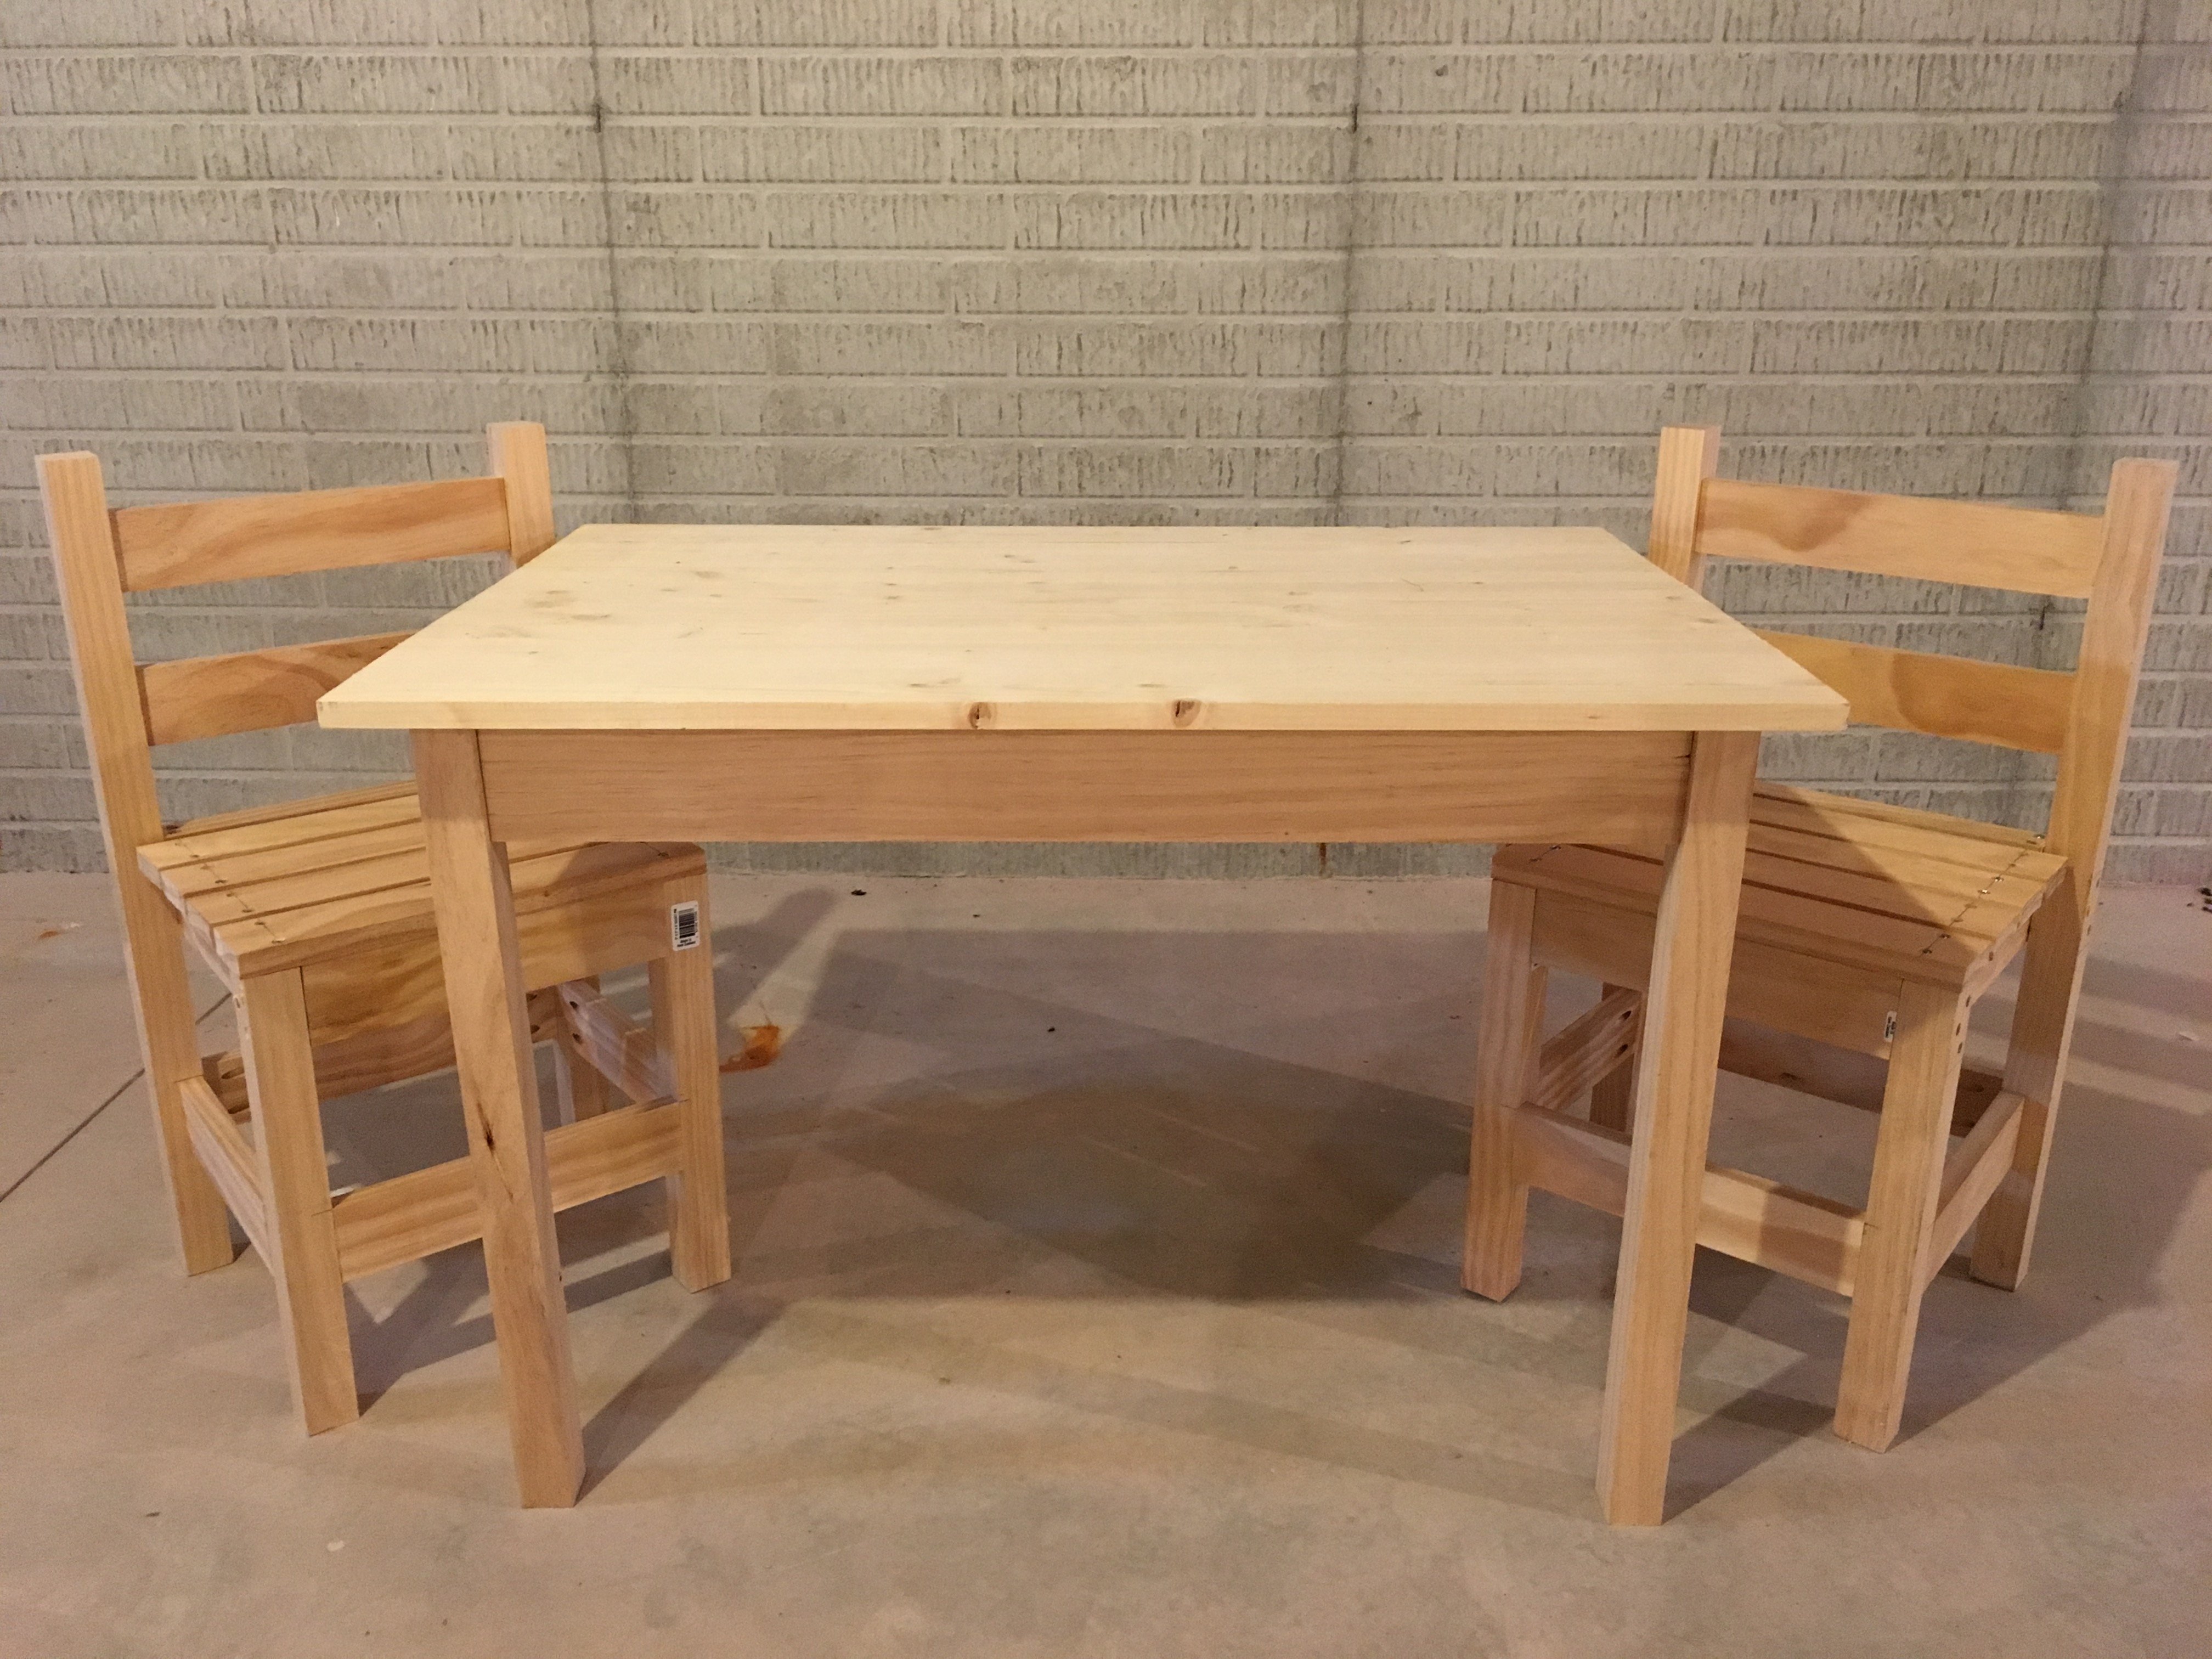
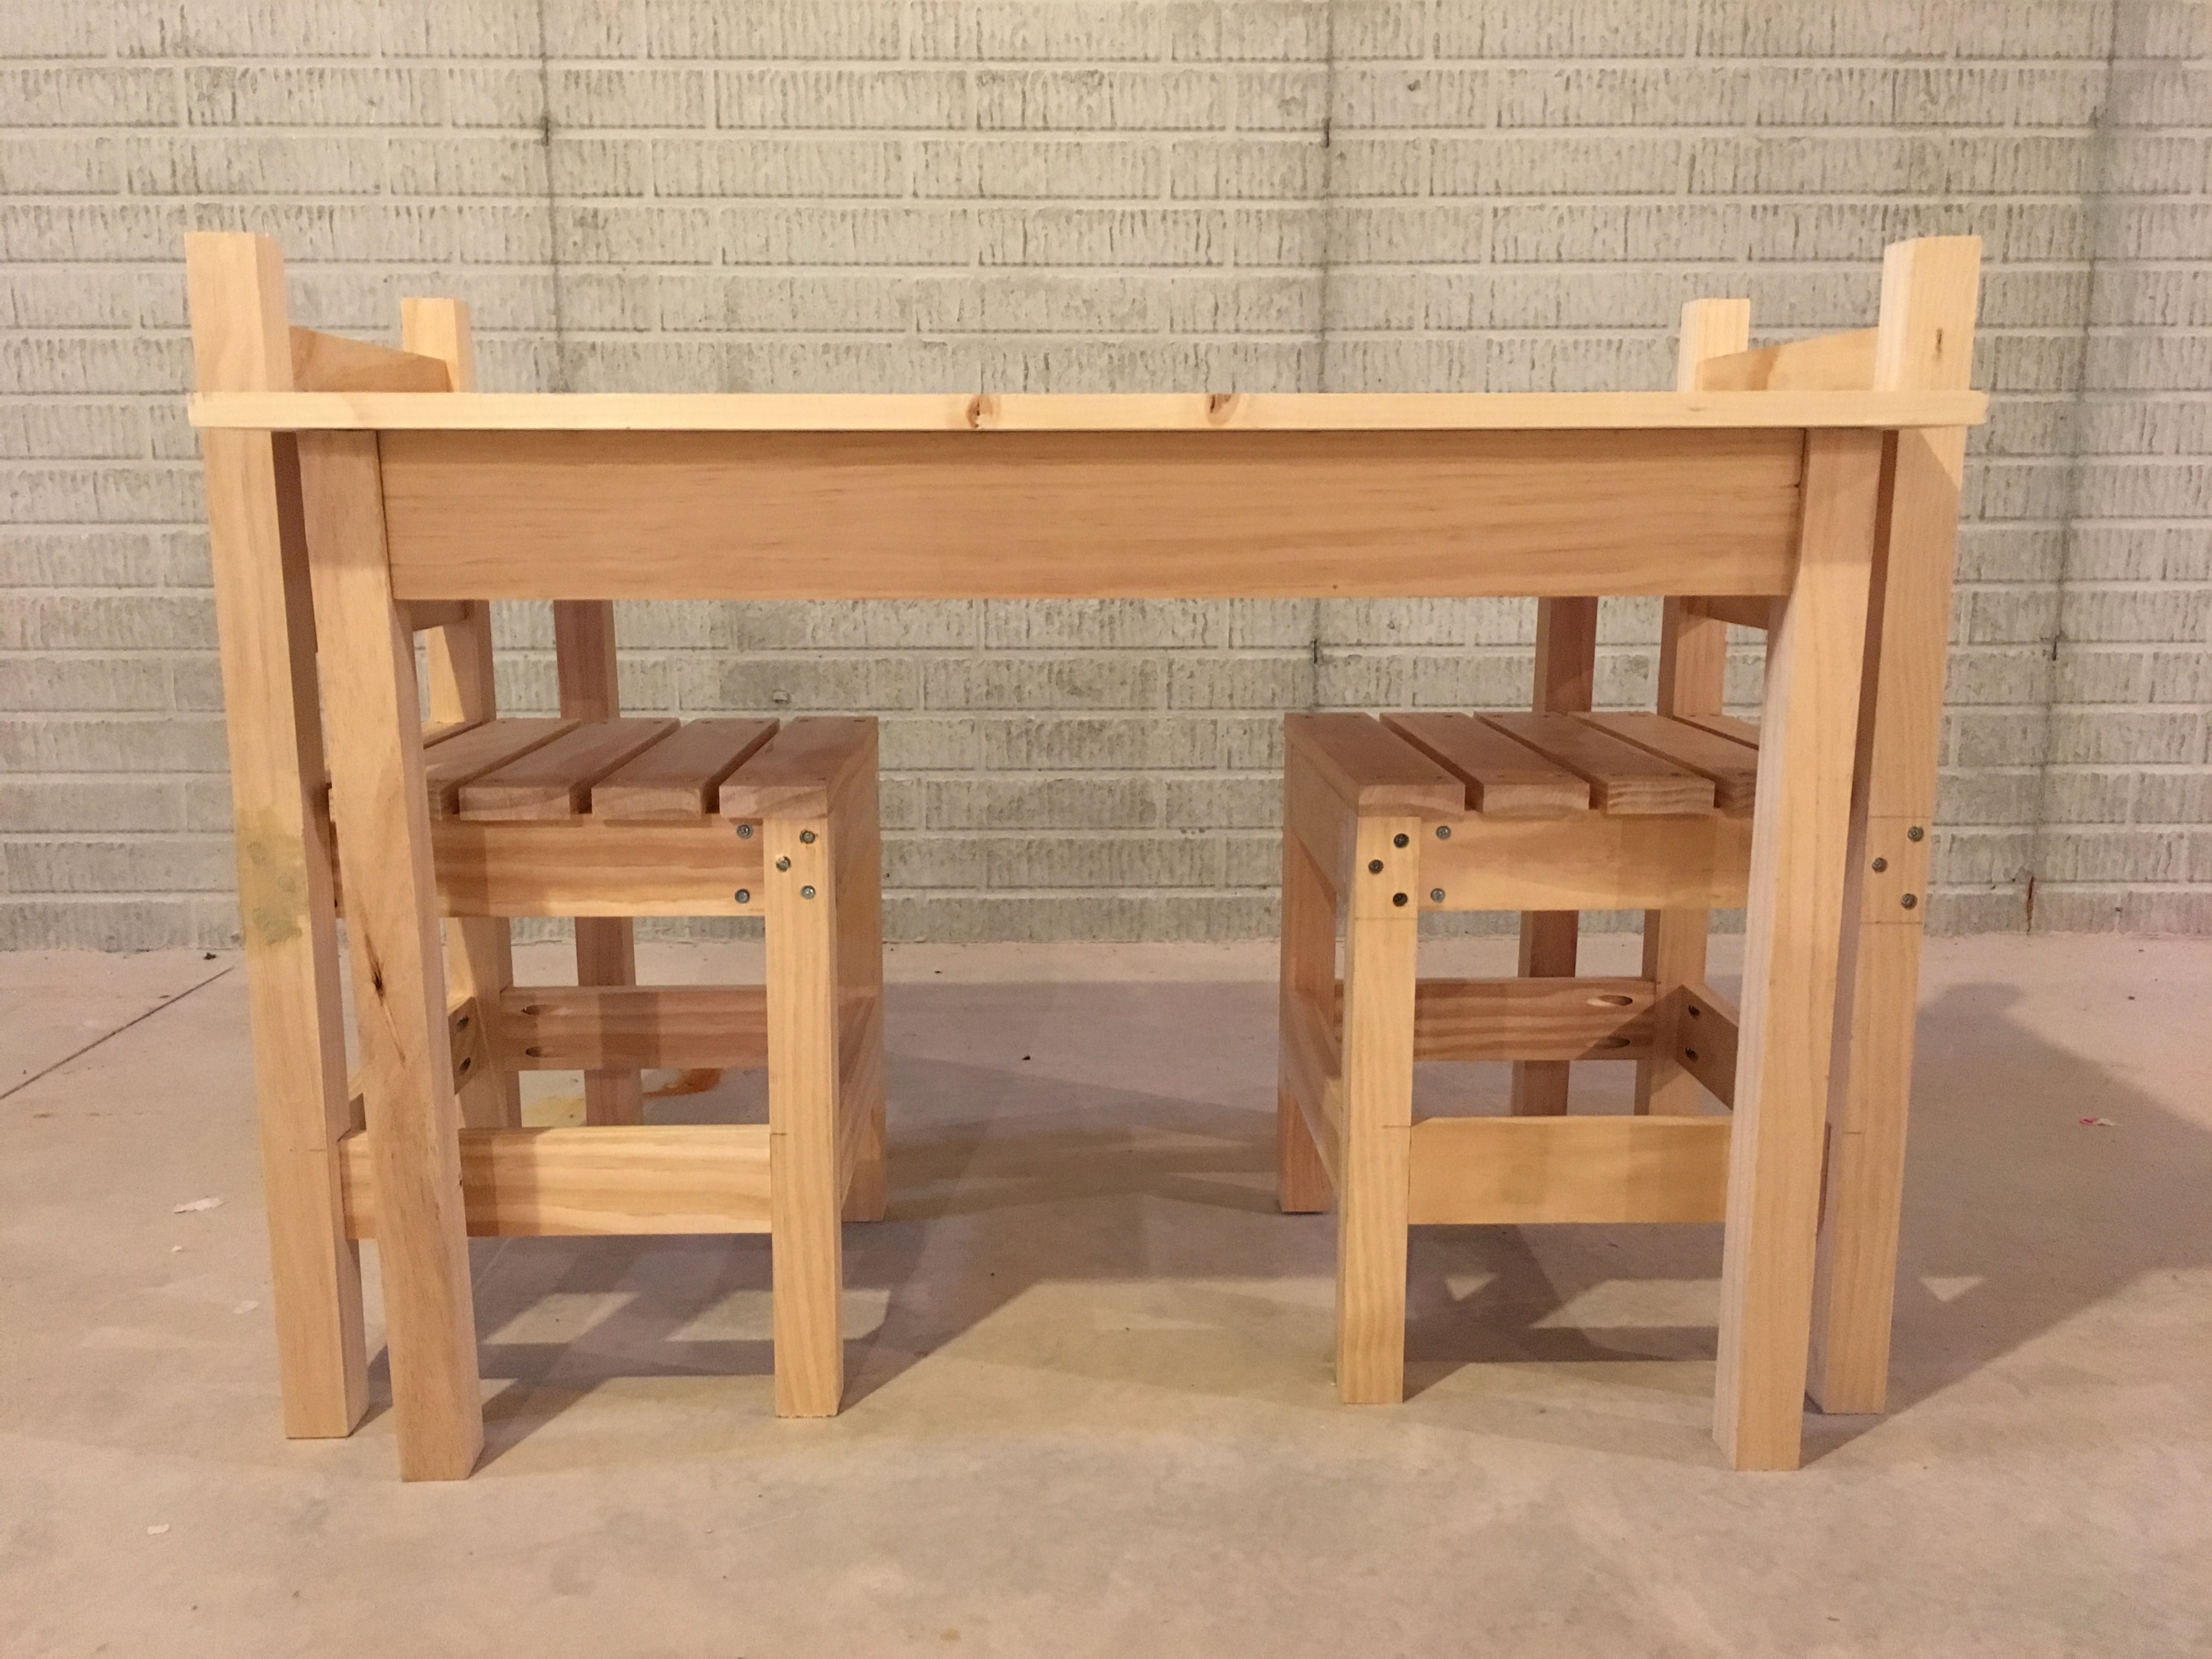
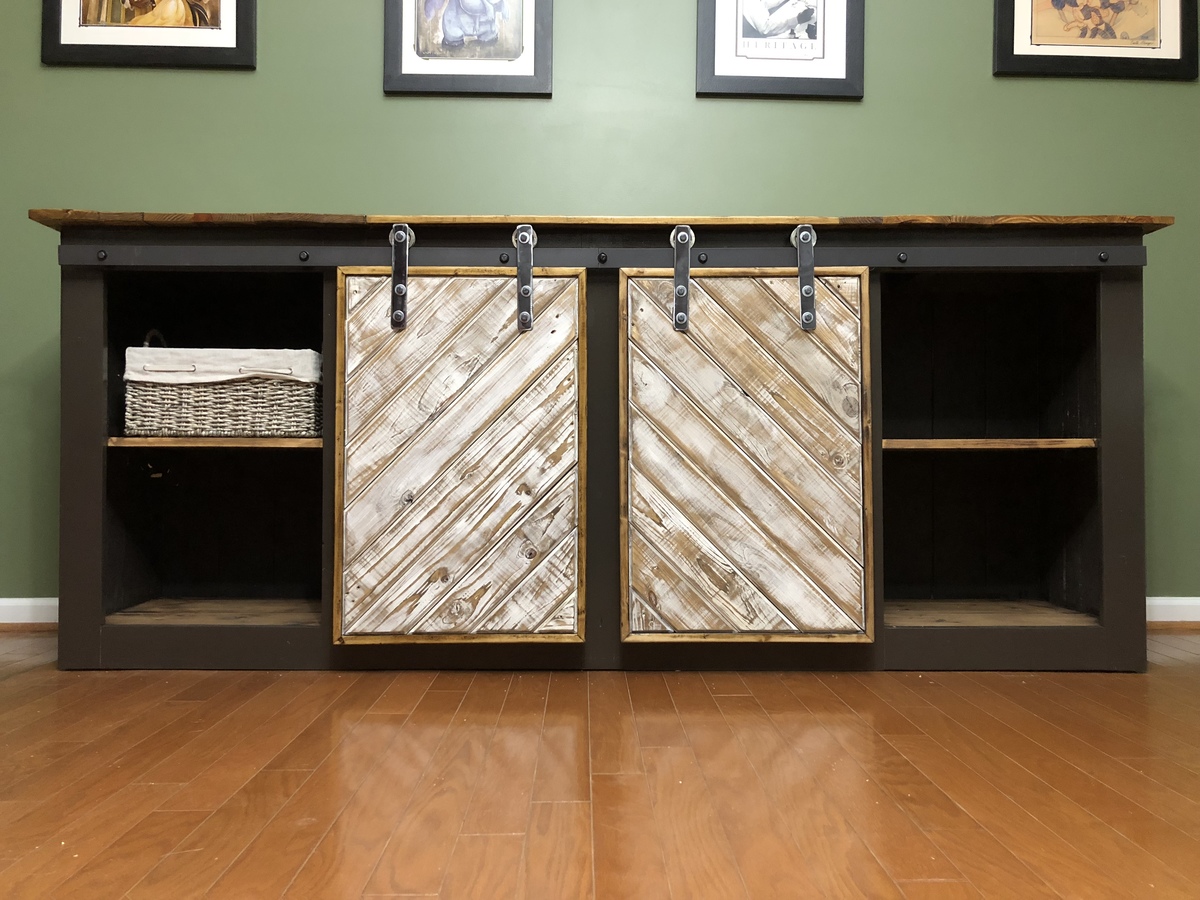
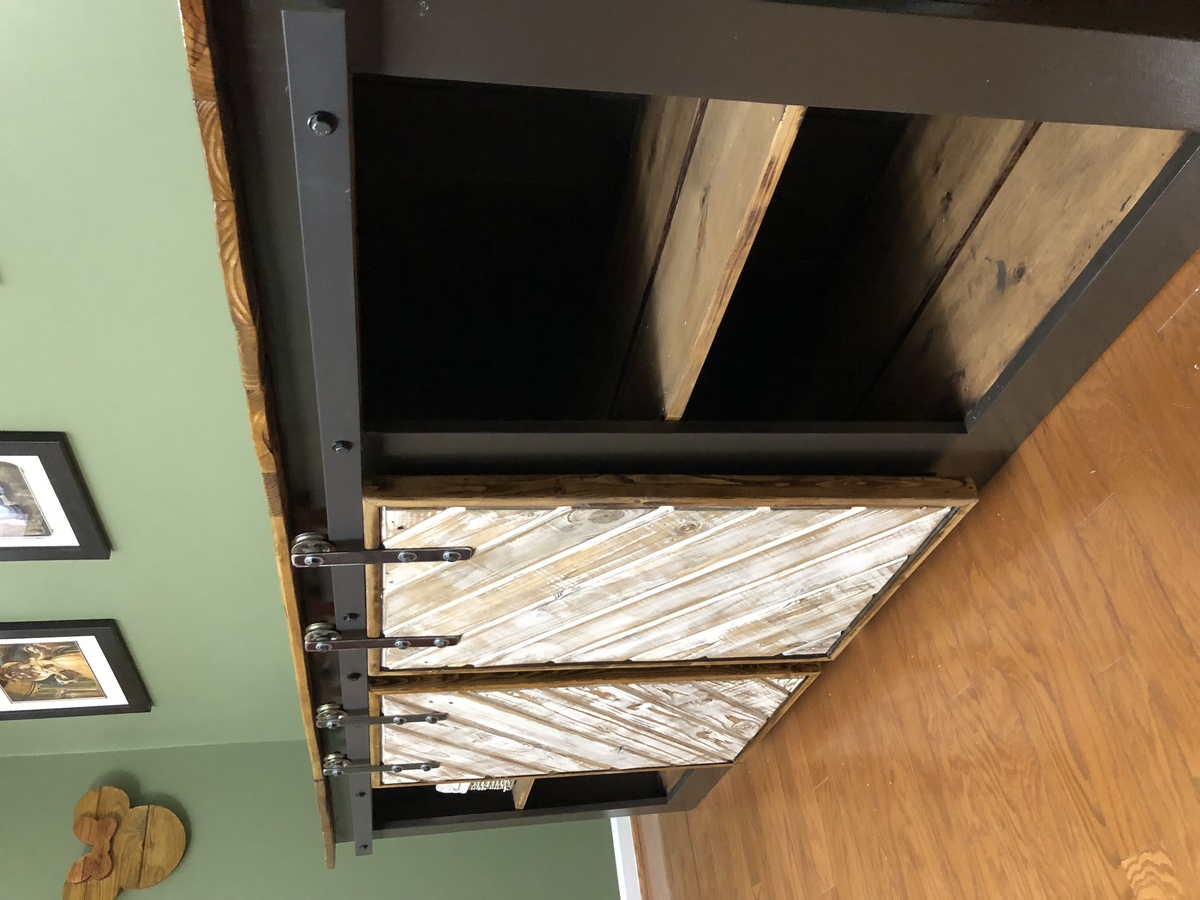
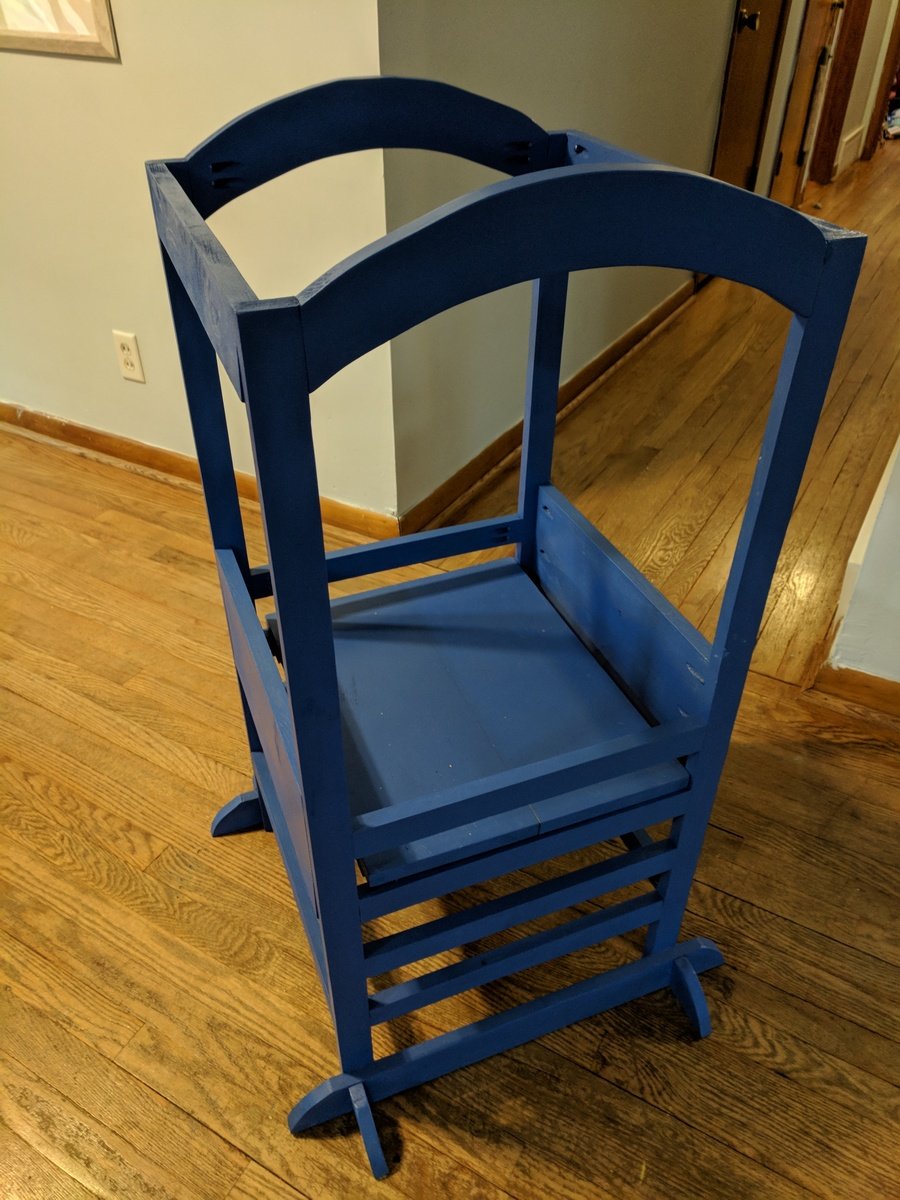
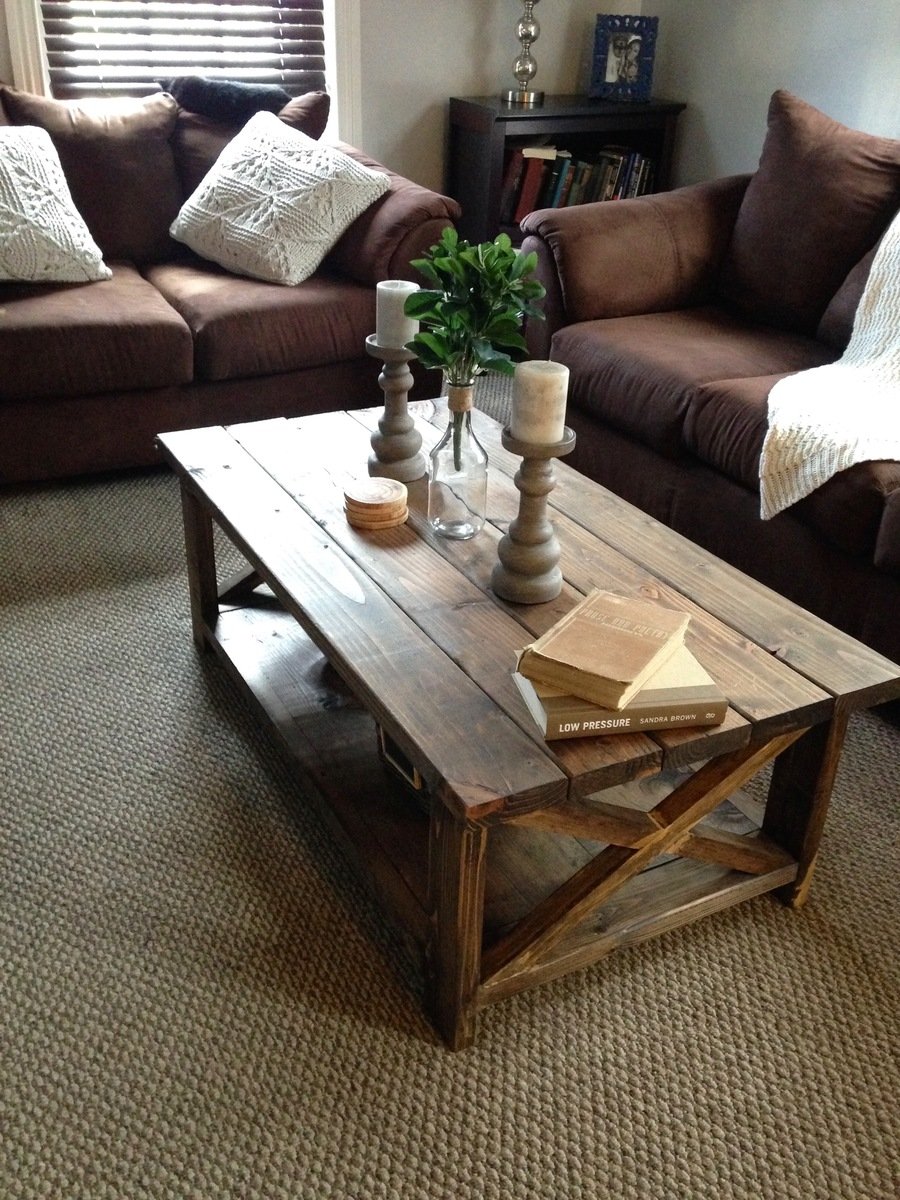
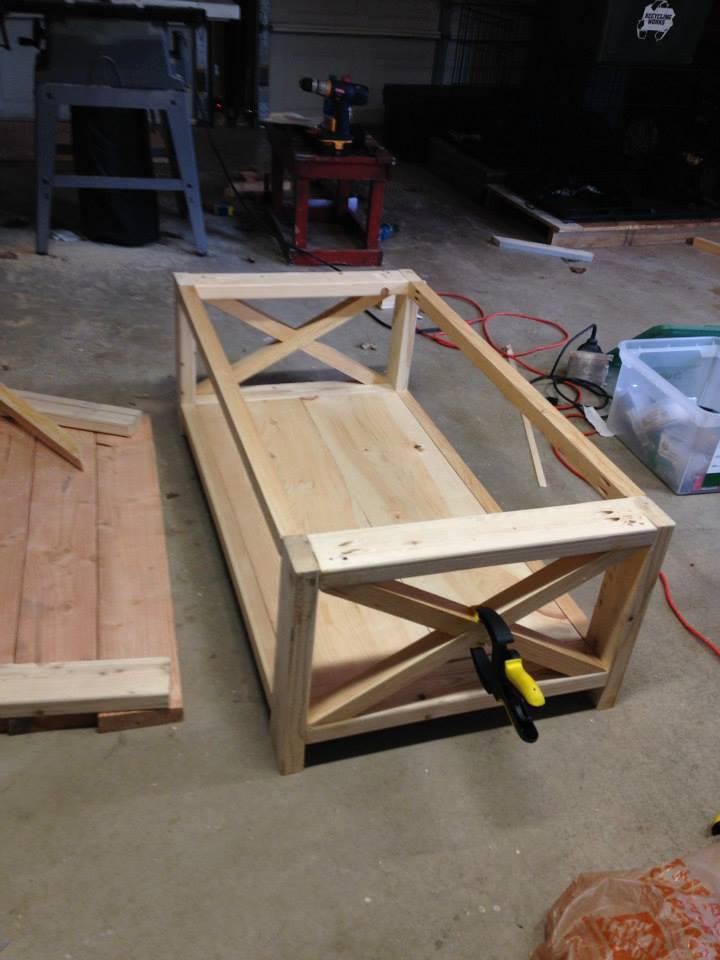
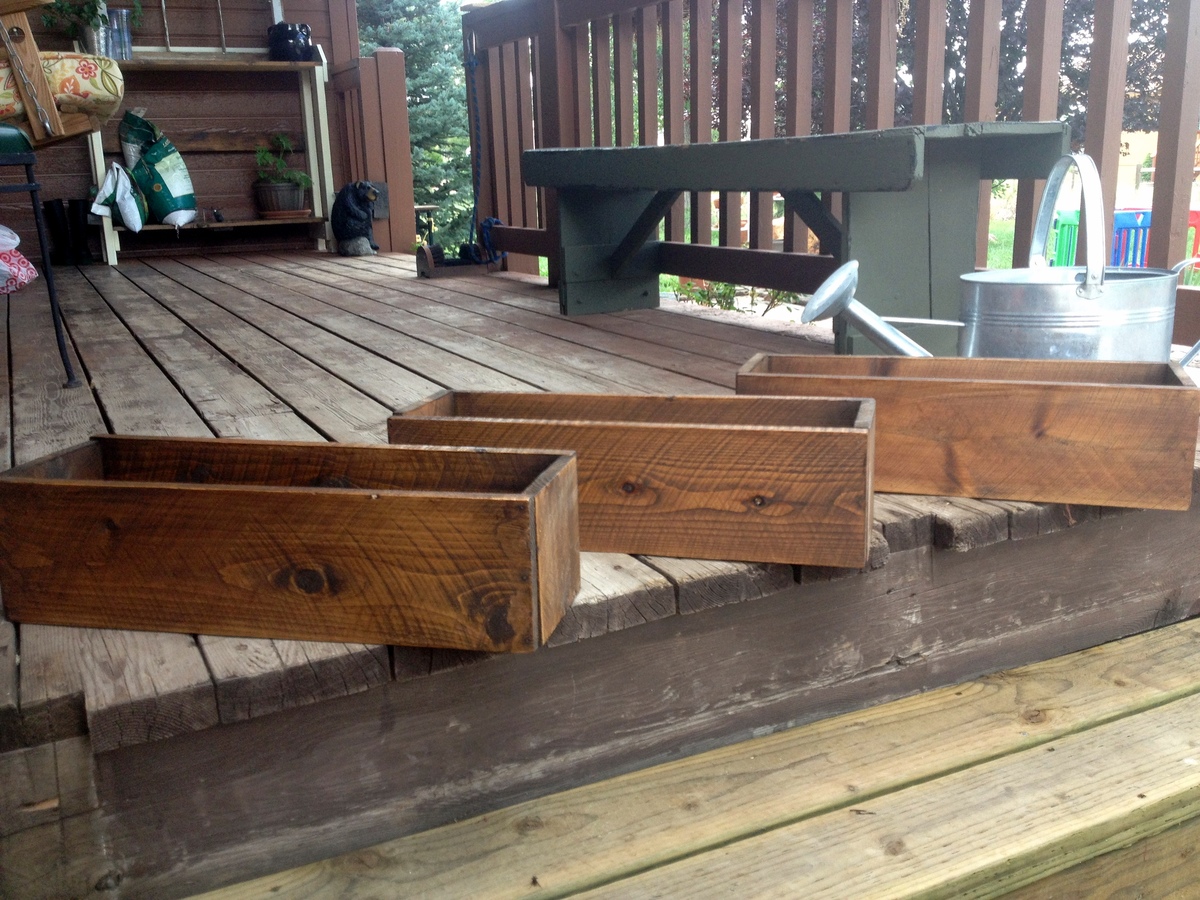
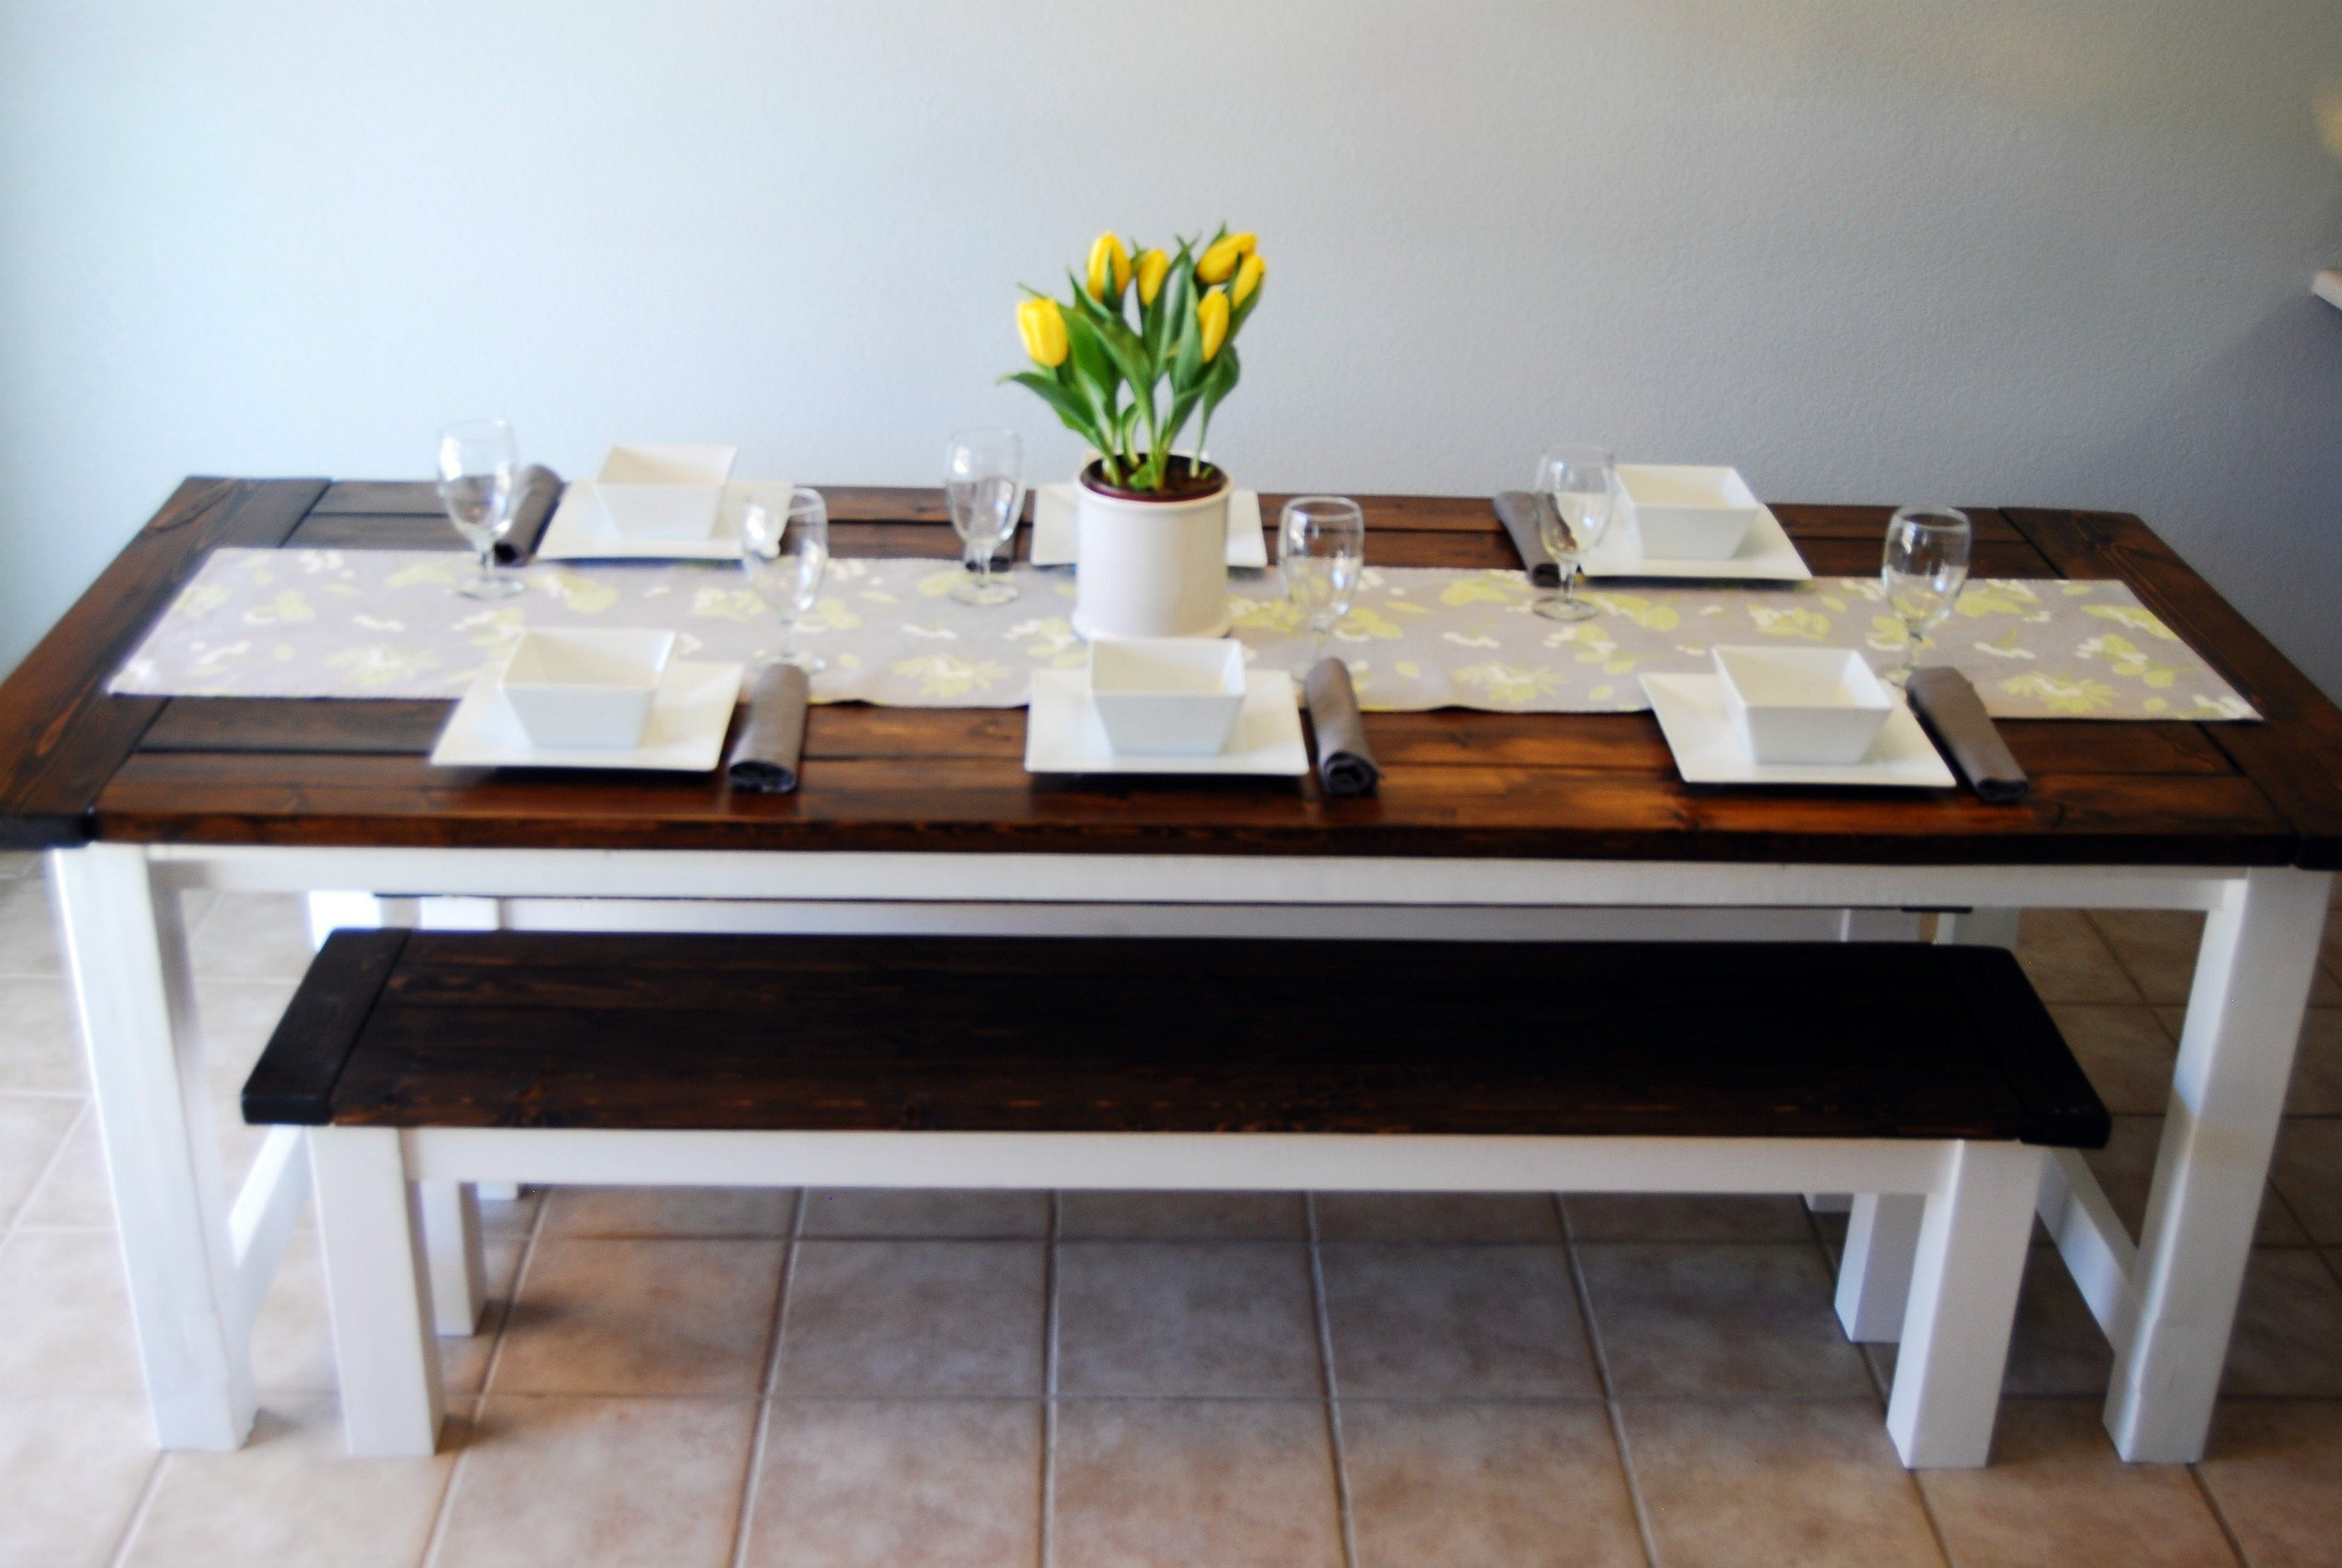
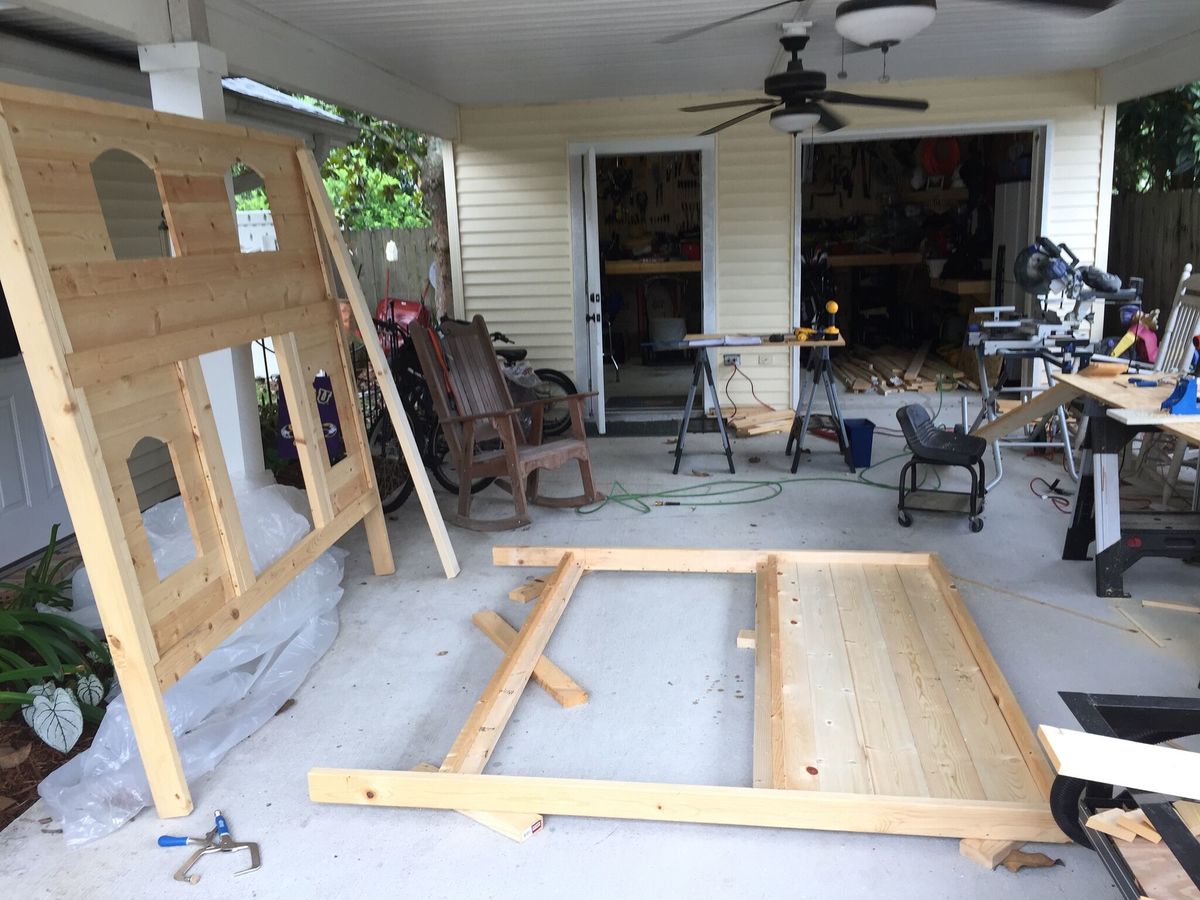
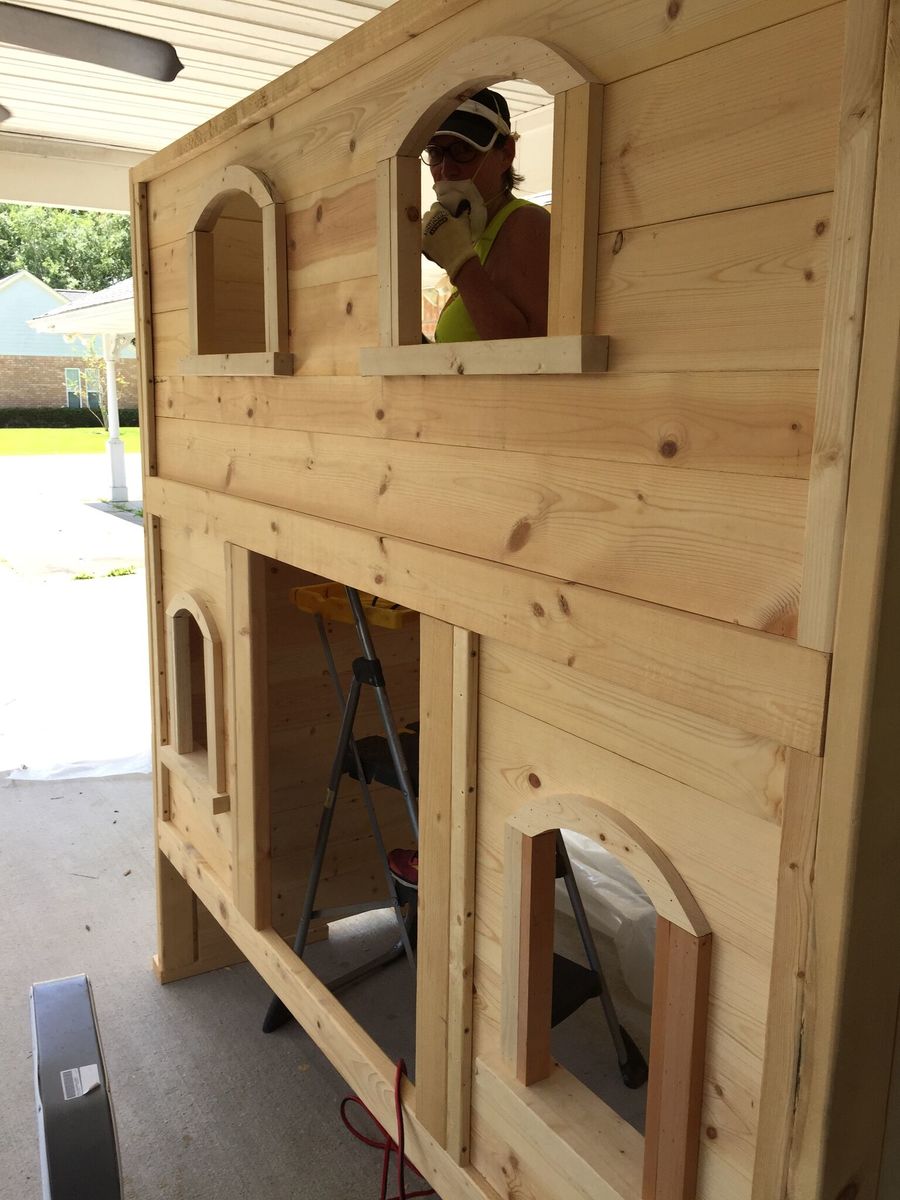
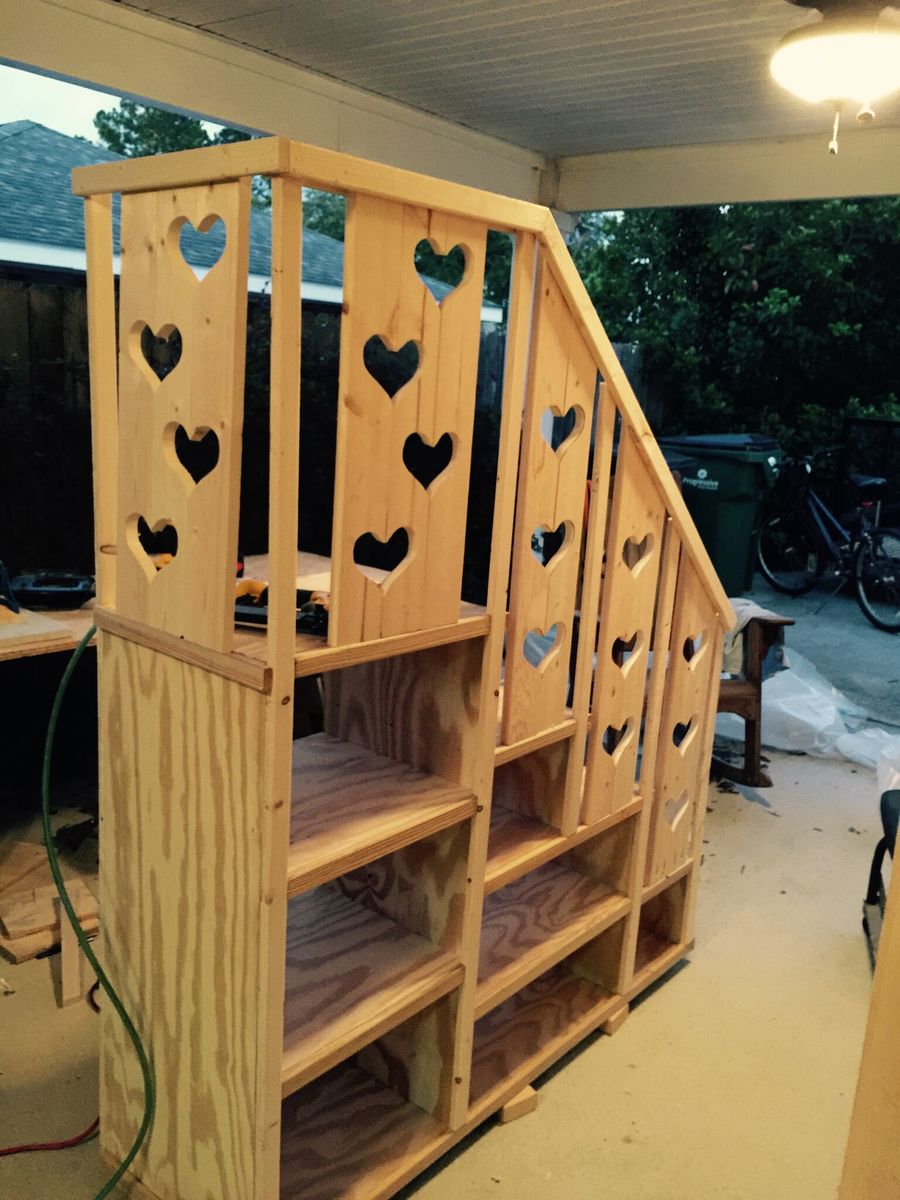
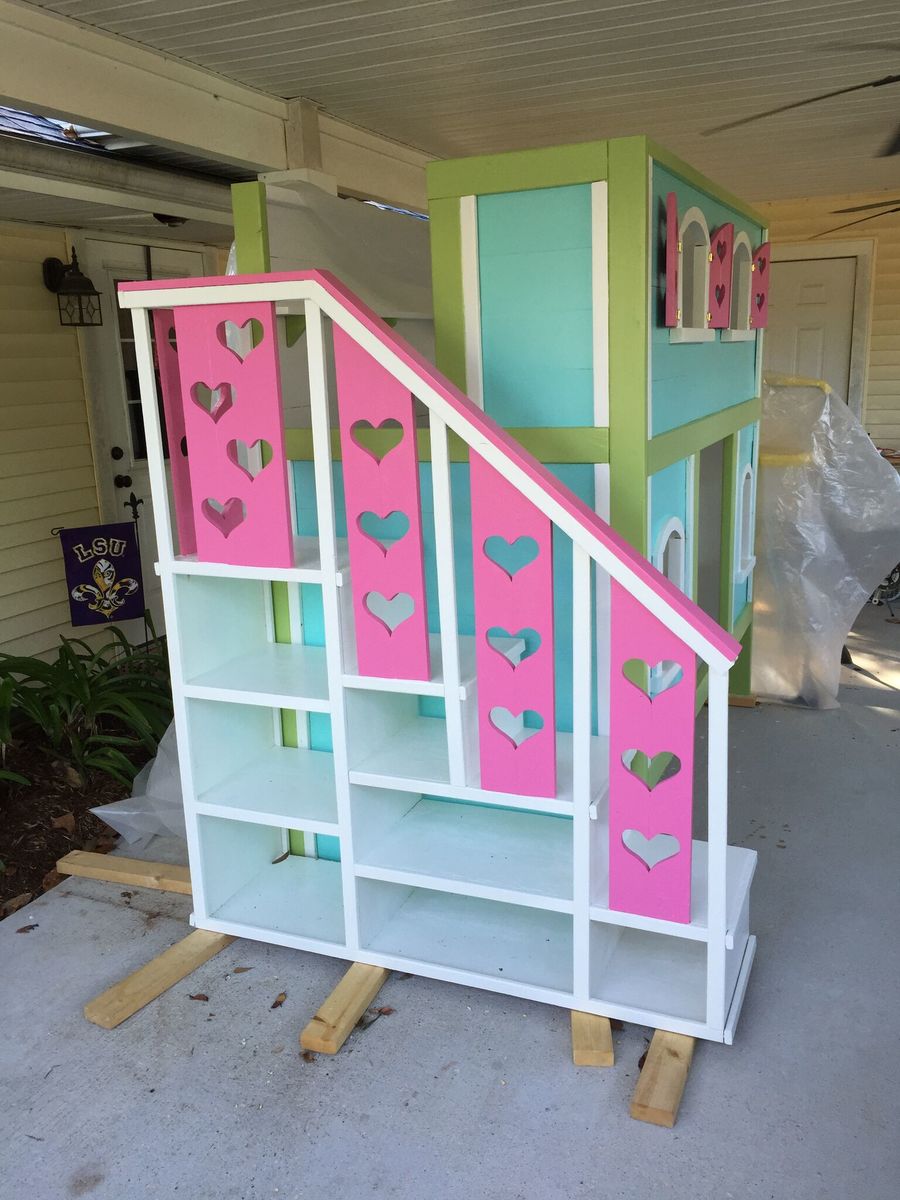
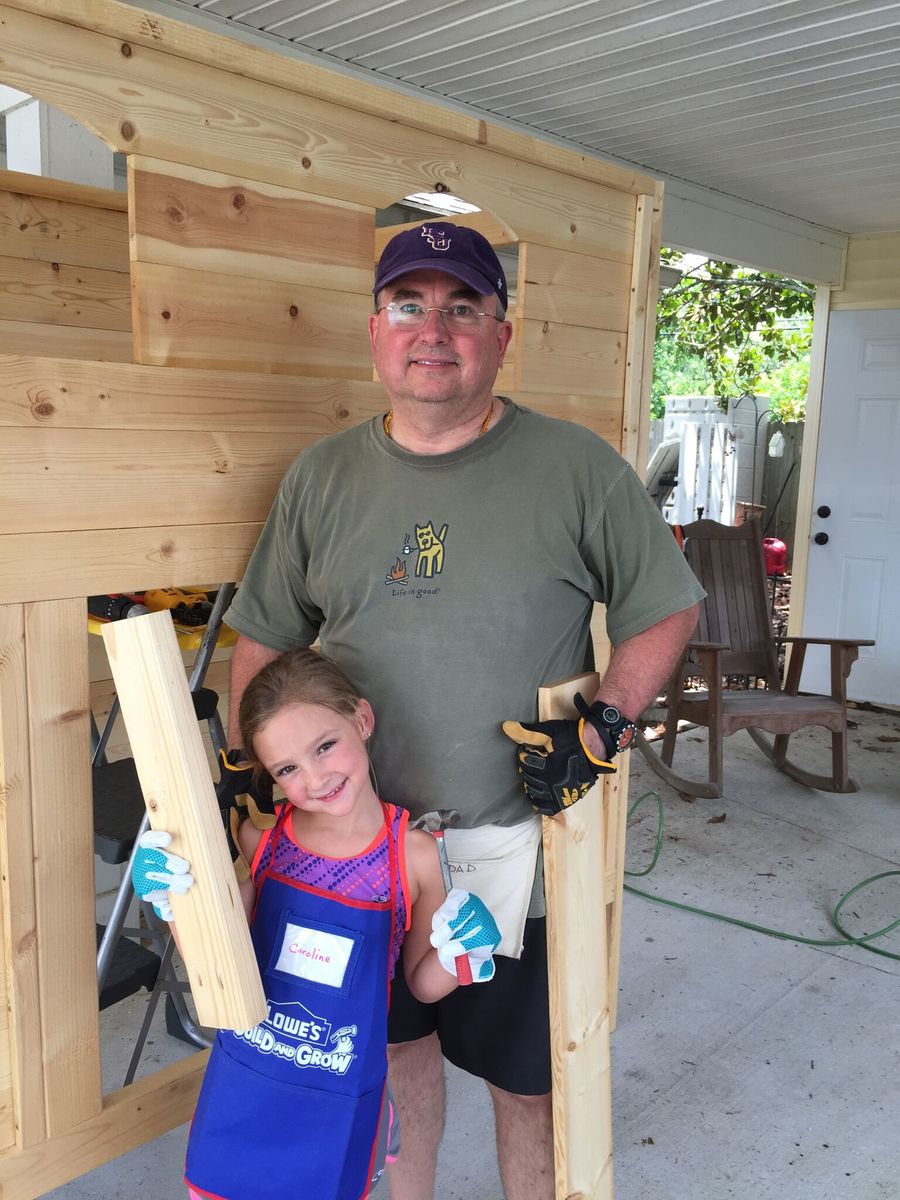
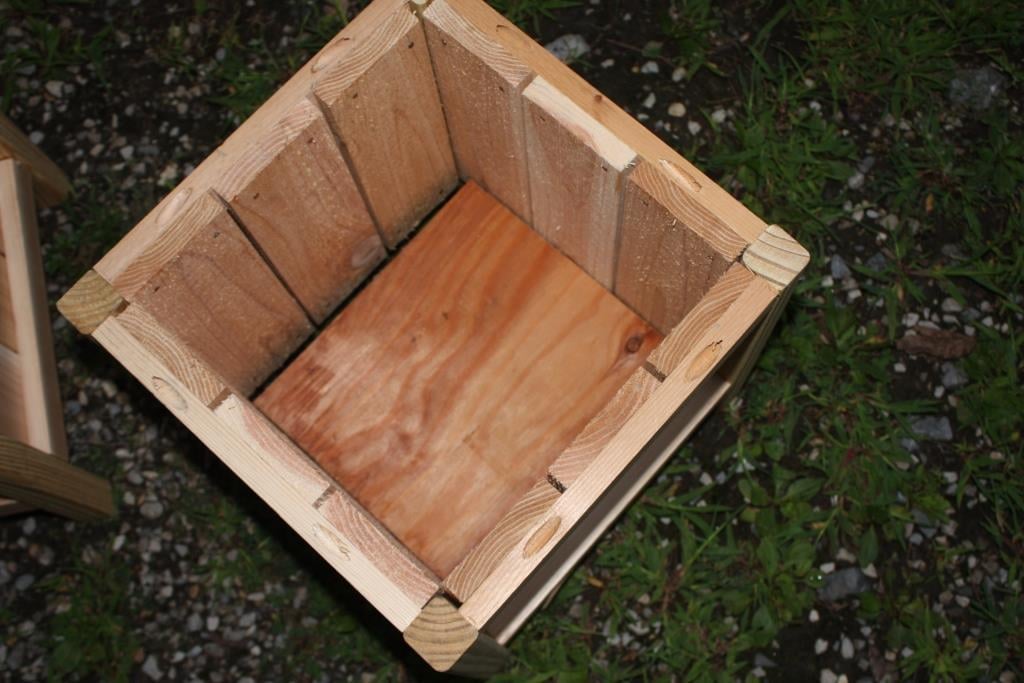
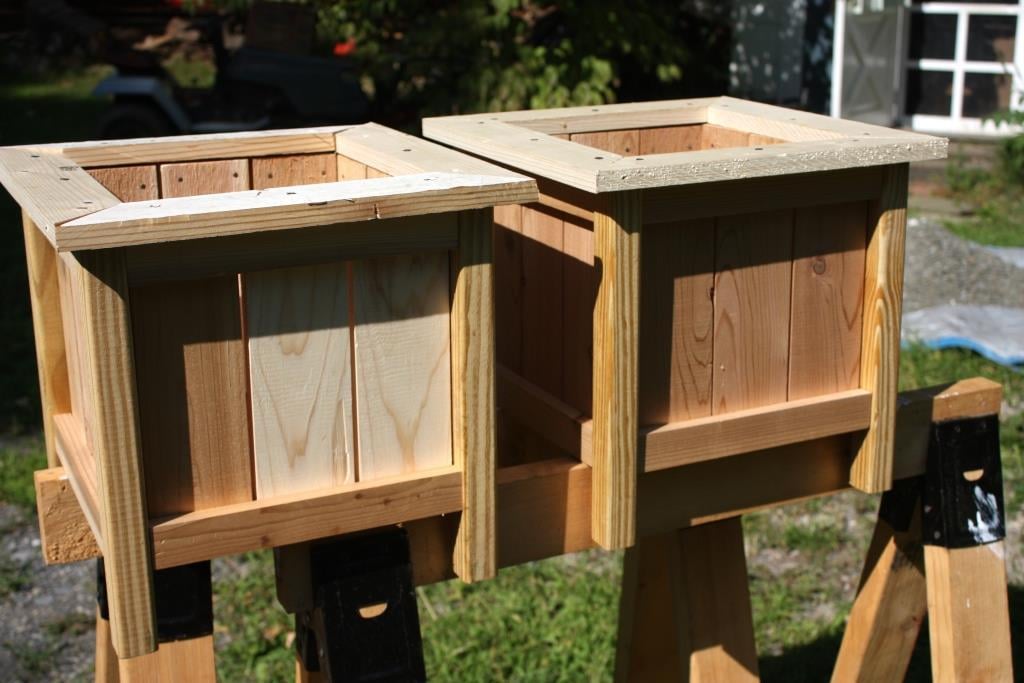
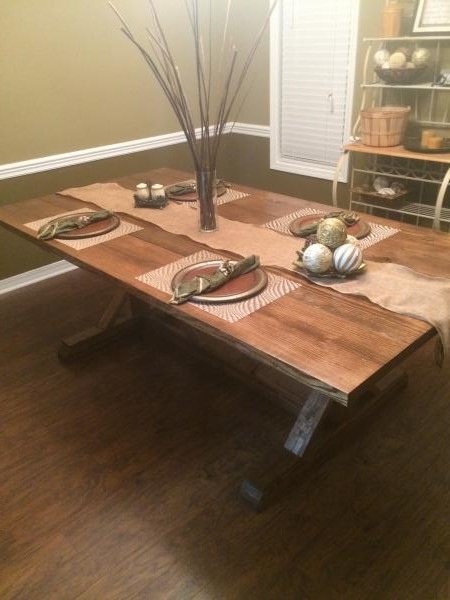
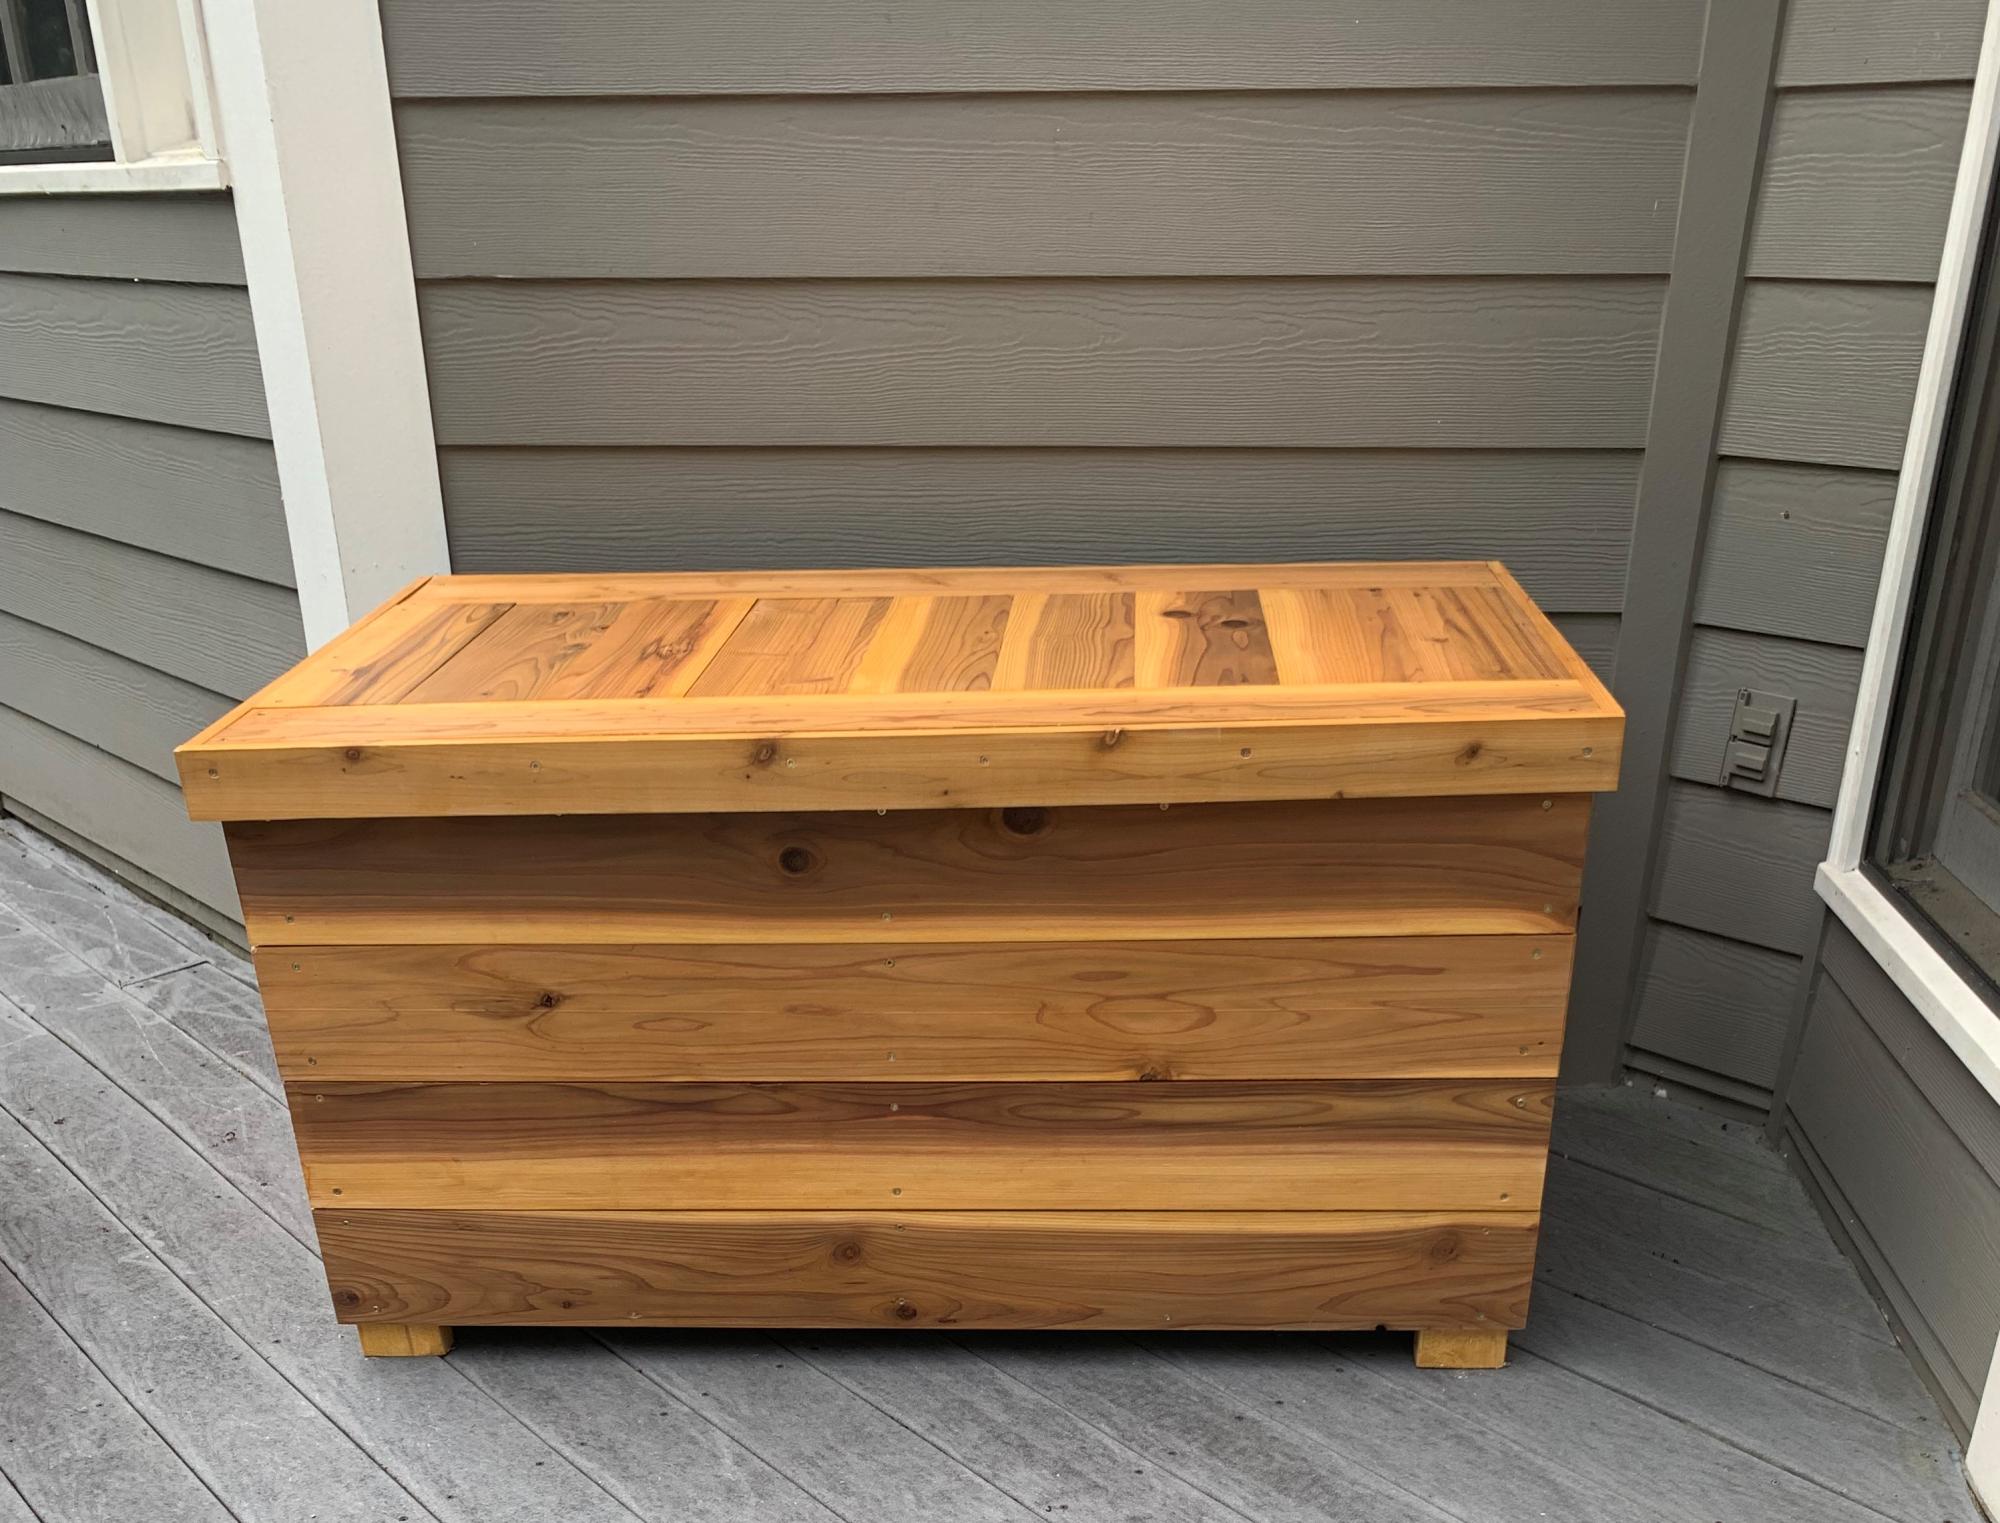
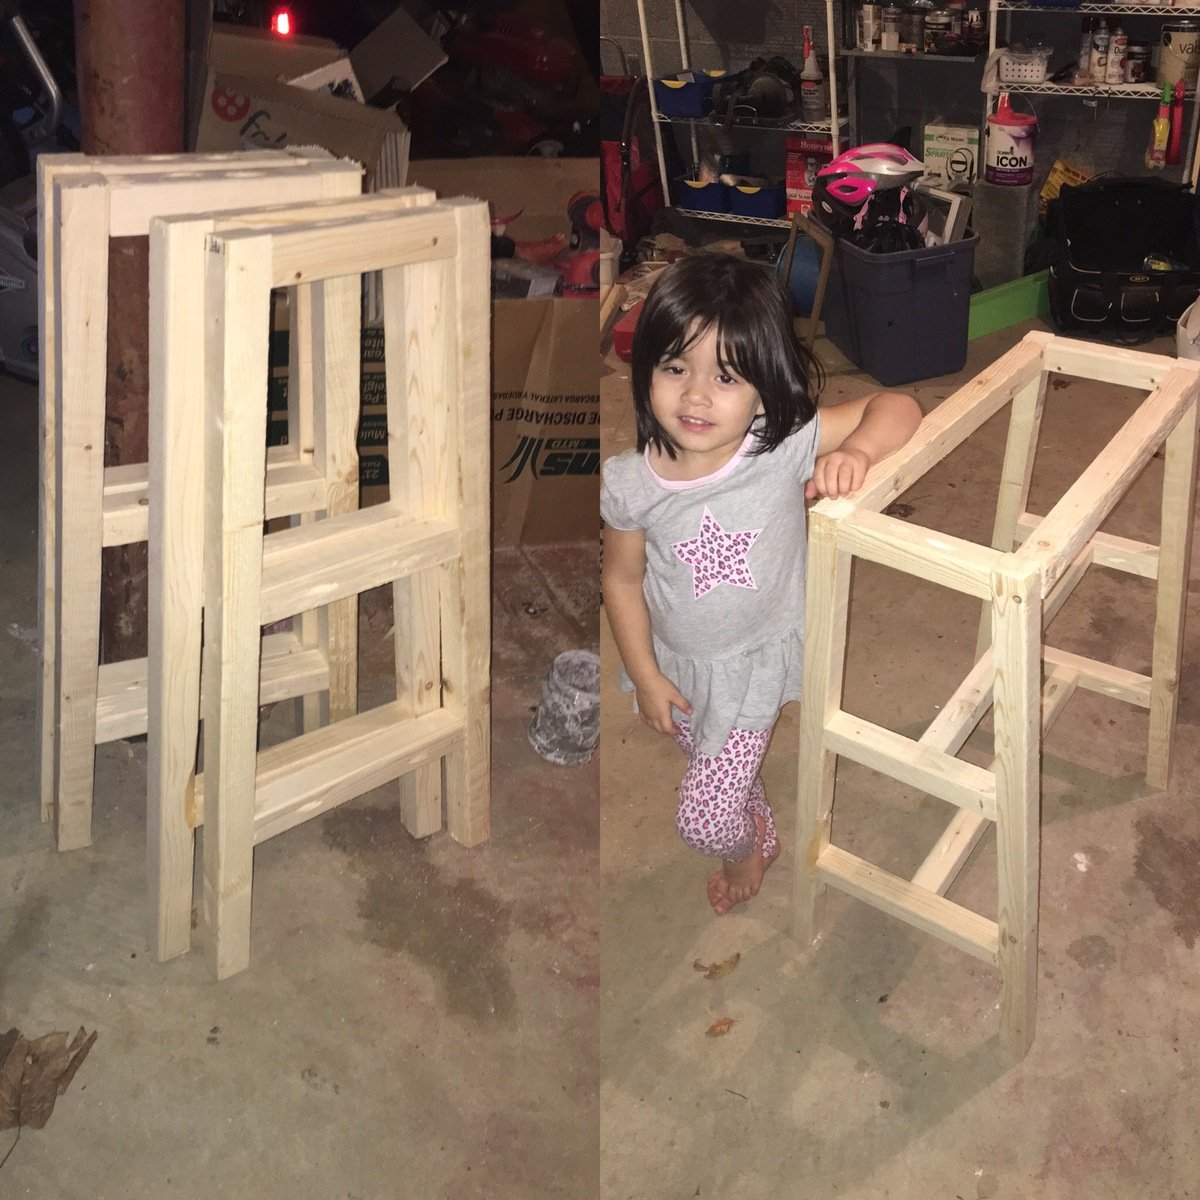
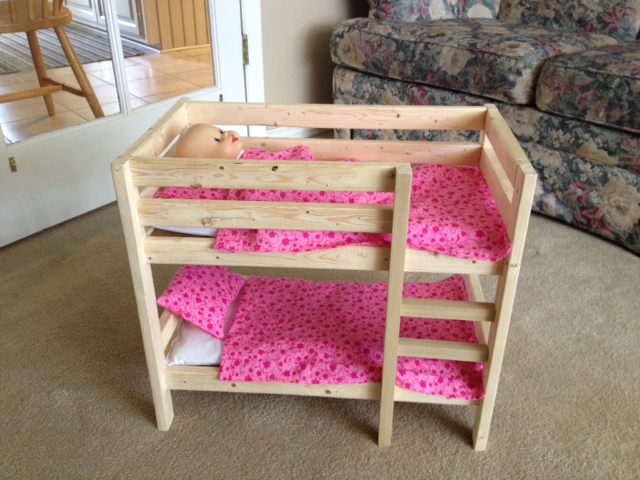
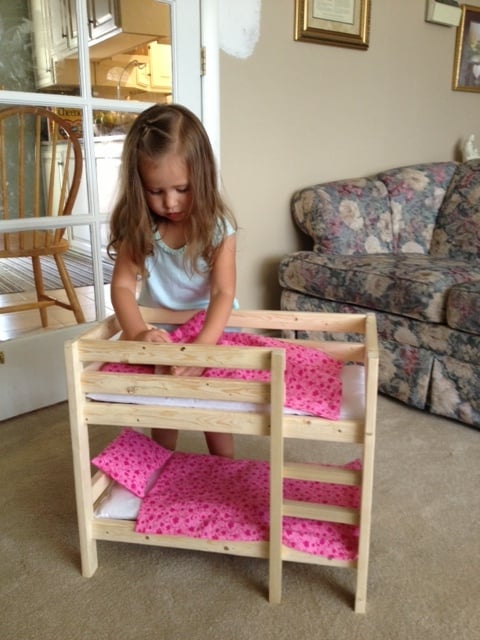
First Project
This was my first project and I loved it!! Can't wait to do more!!
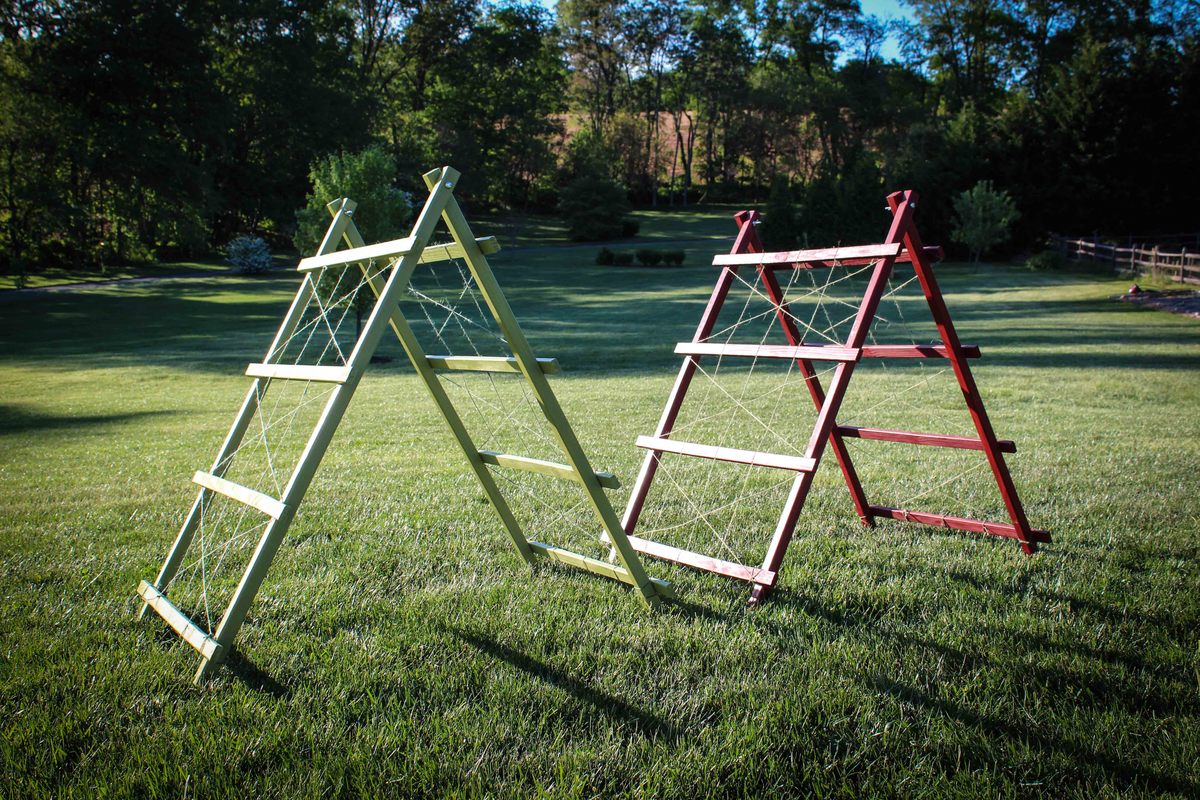
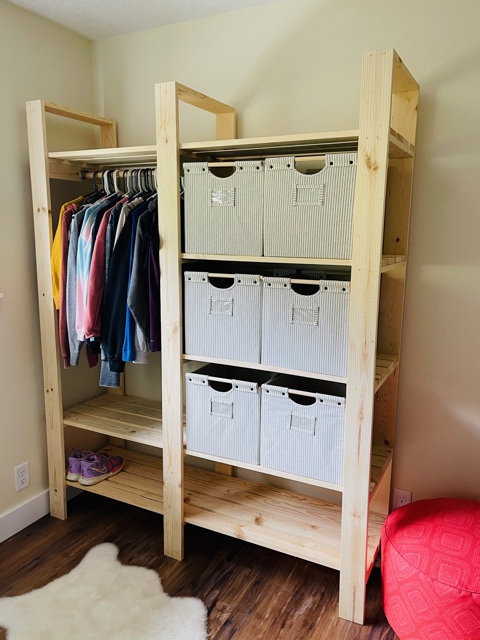
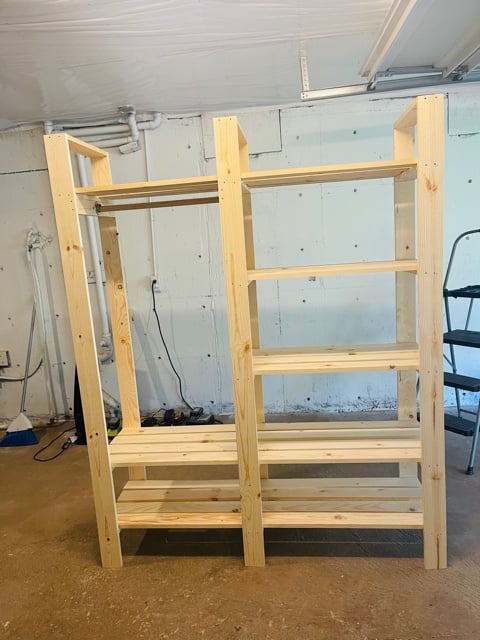
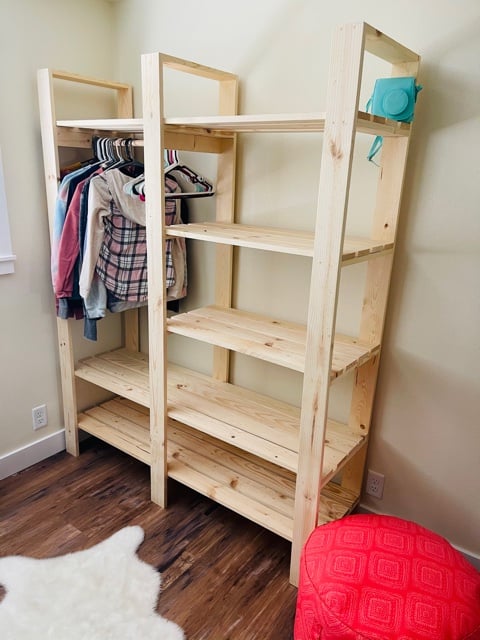
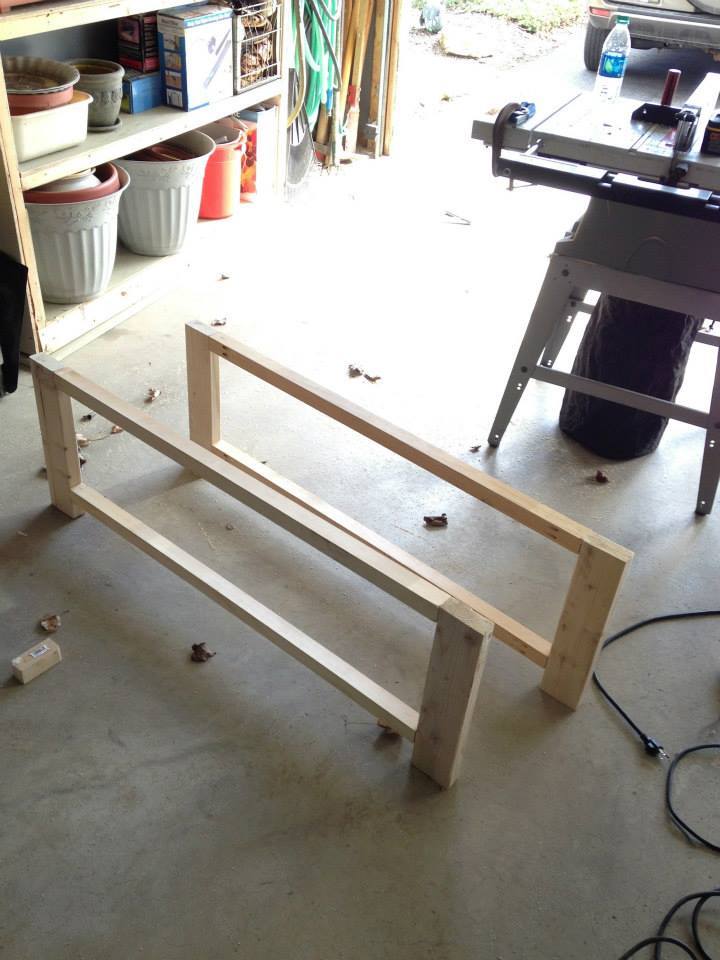
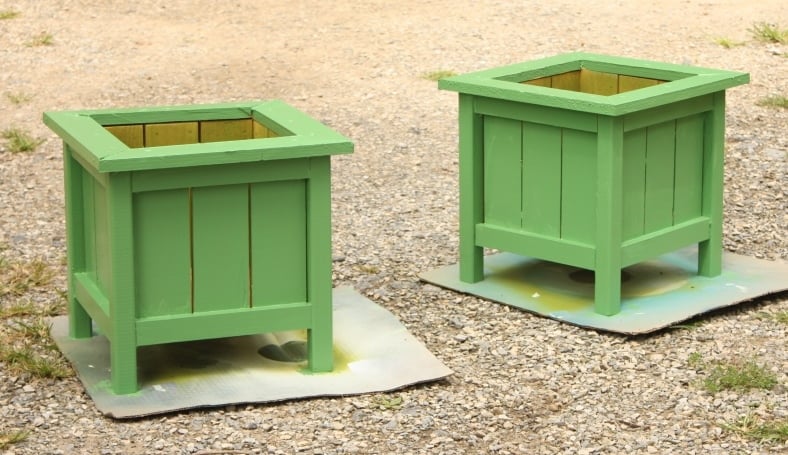
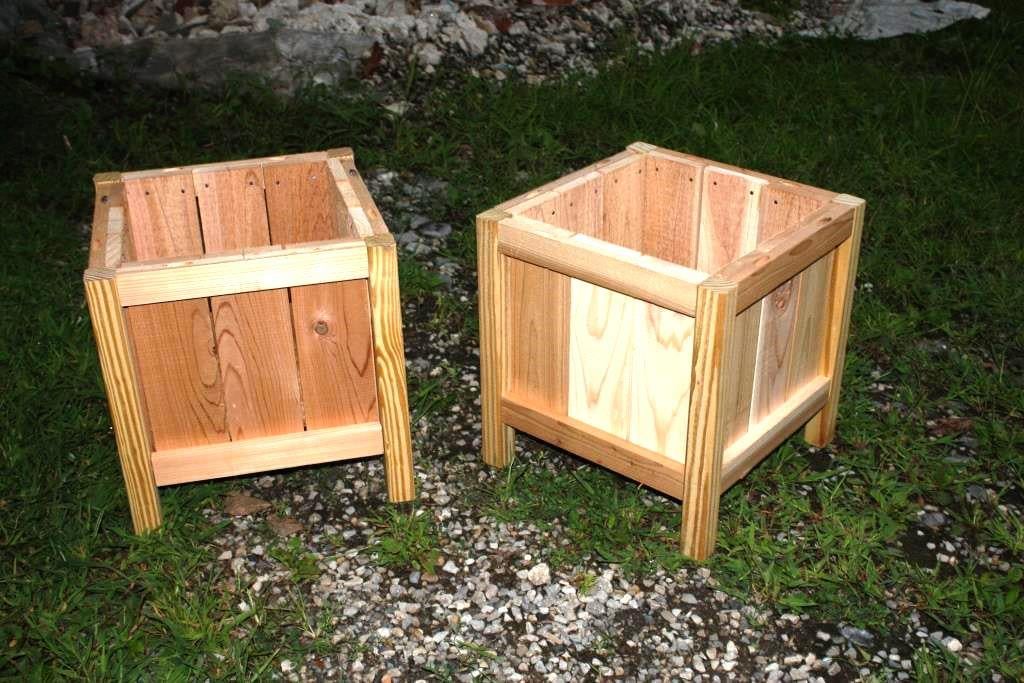
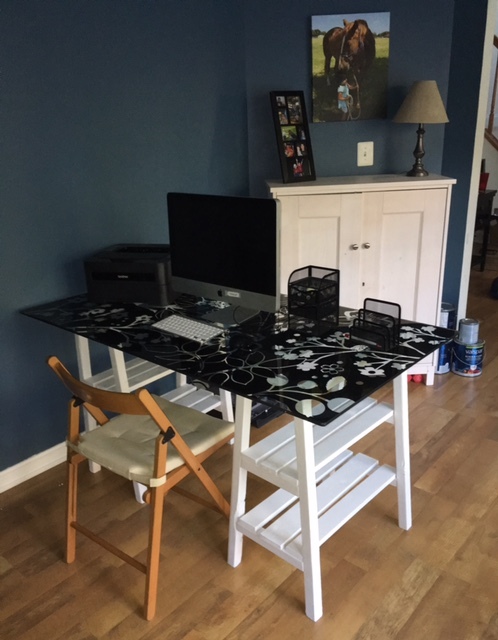
Built from Plan(s)
Estimated Cost
$50
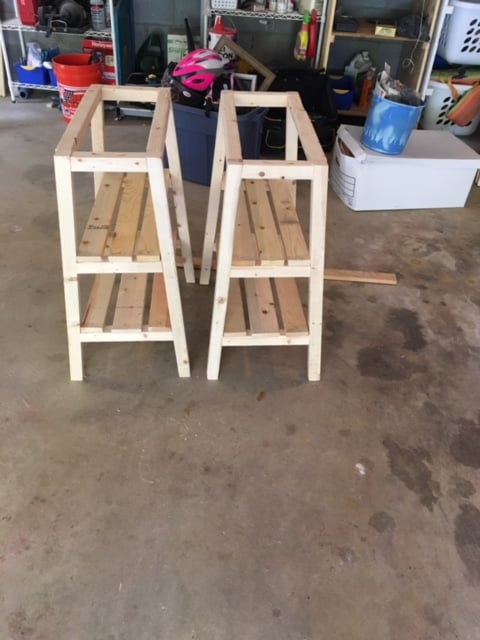
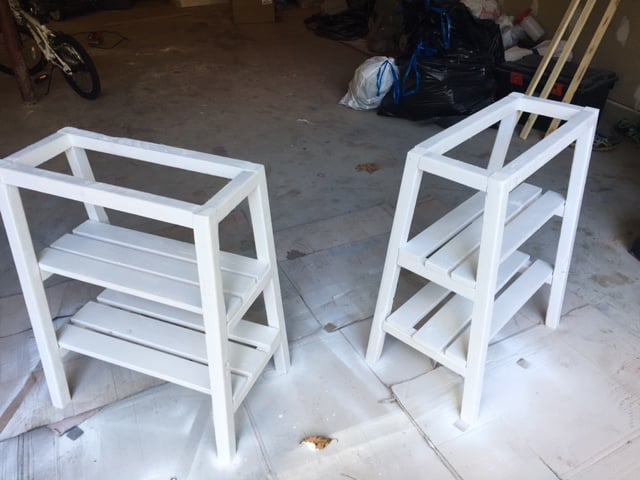
Estimated Time Investment
Weekend Project (10-20 Hours)
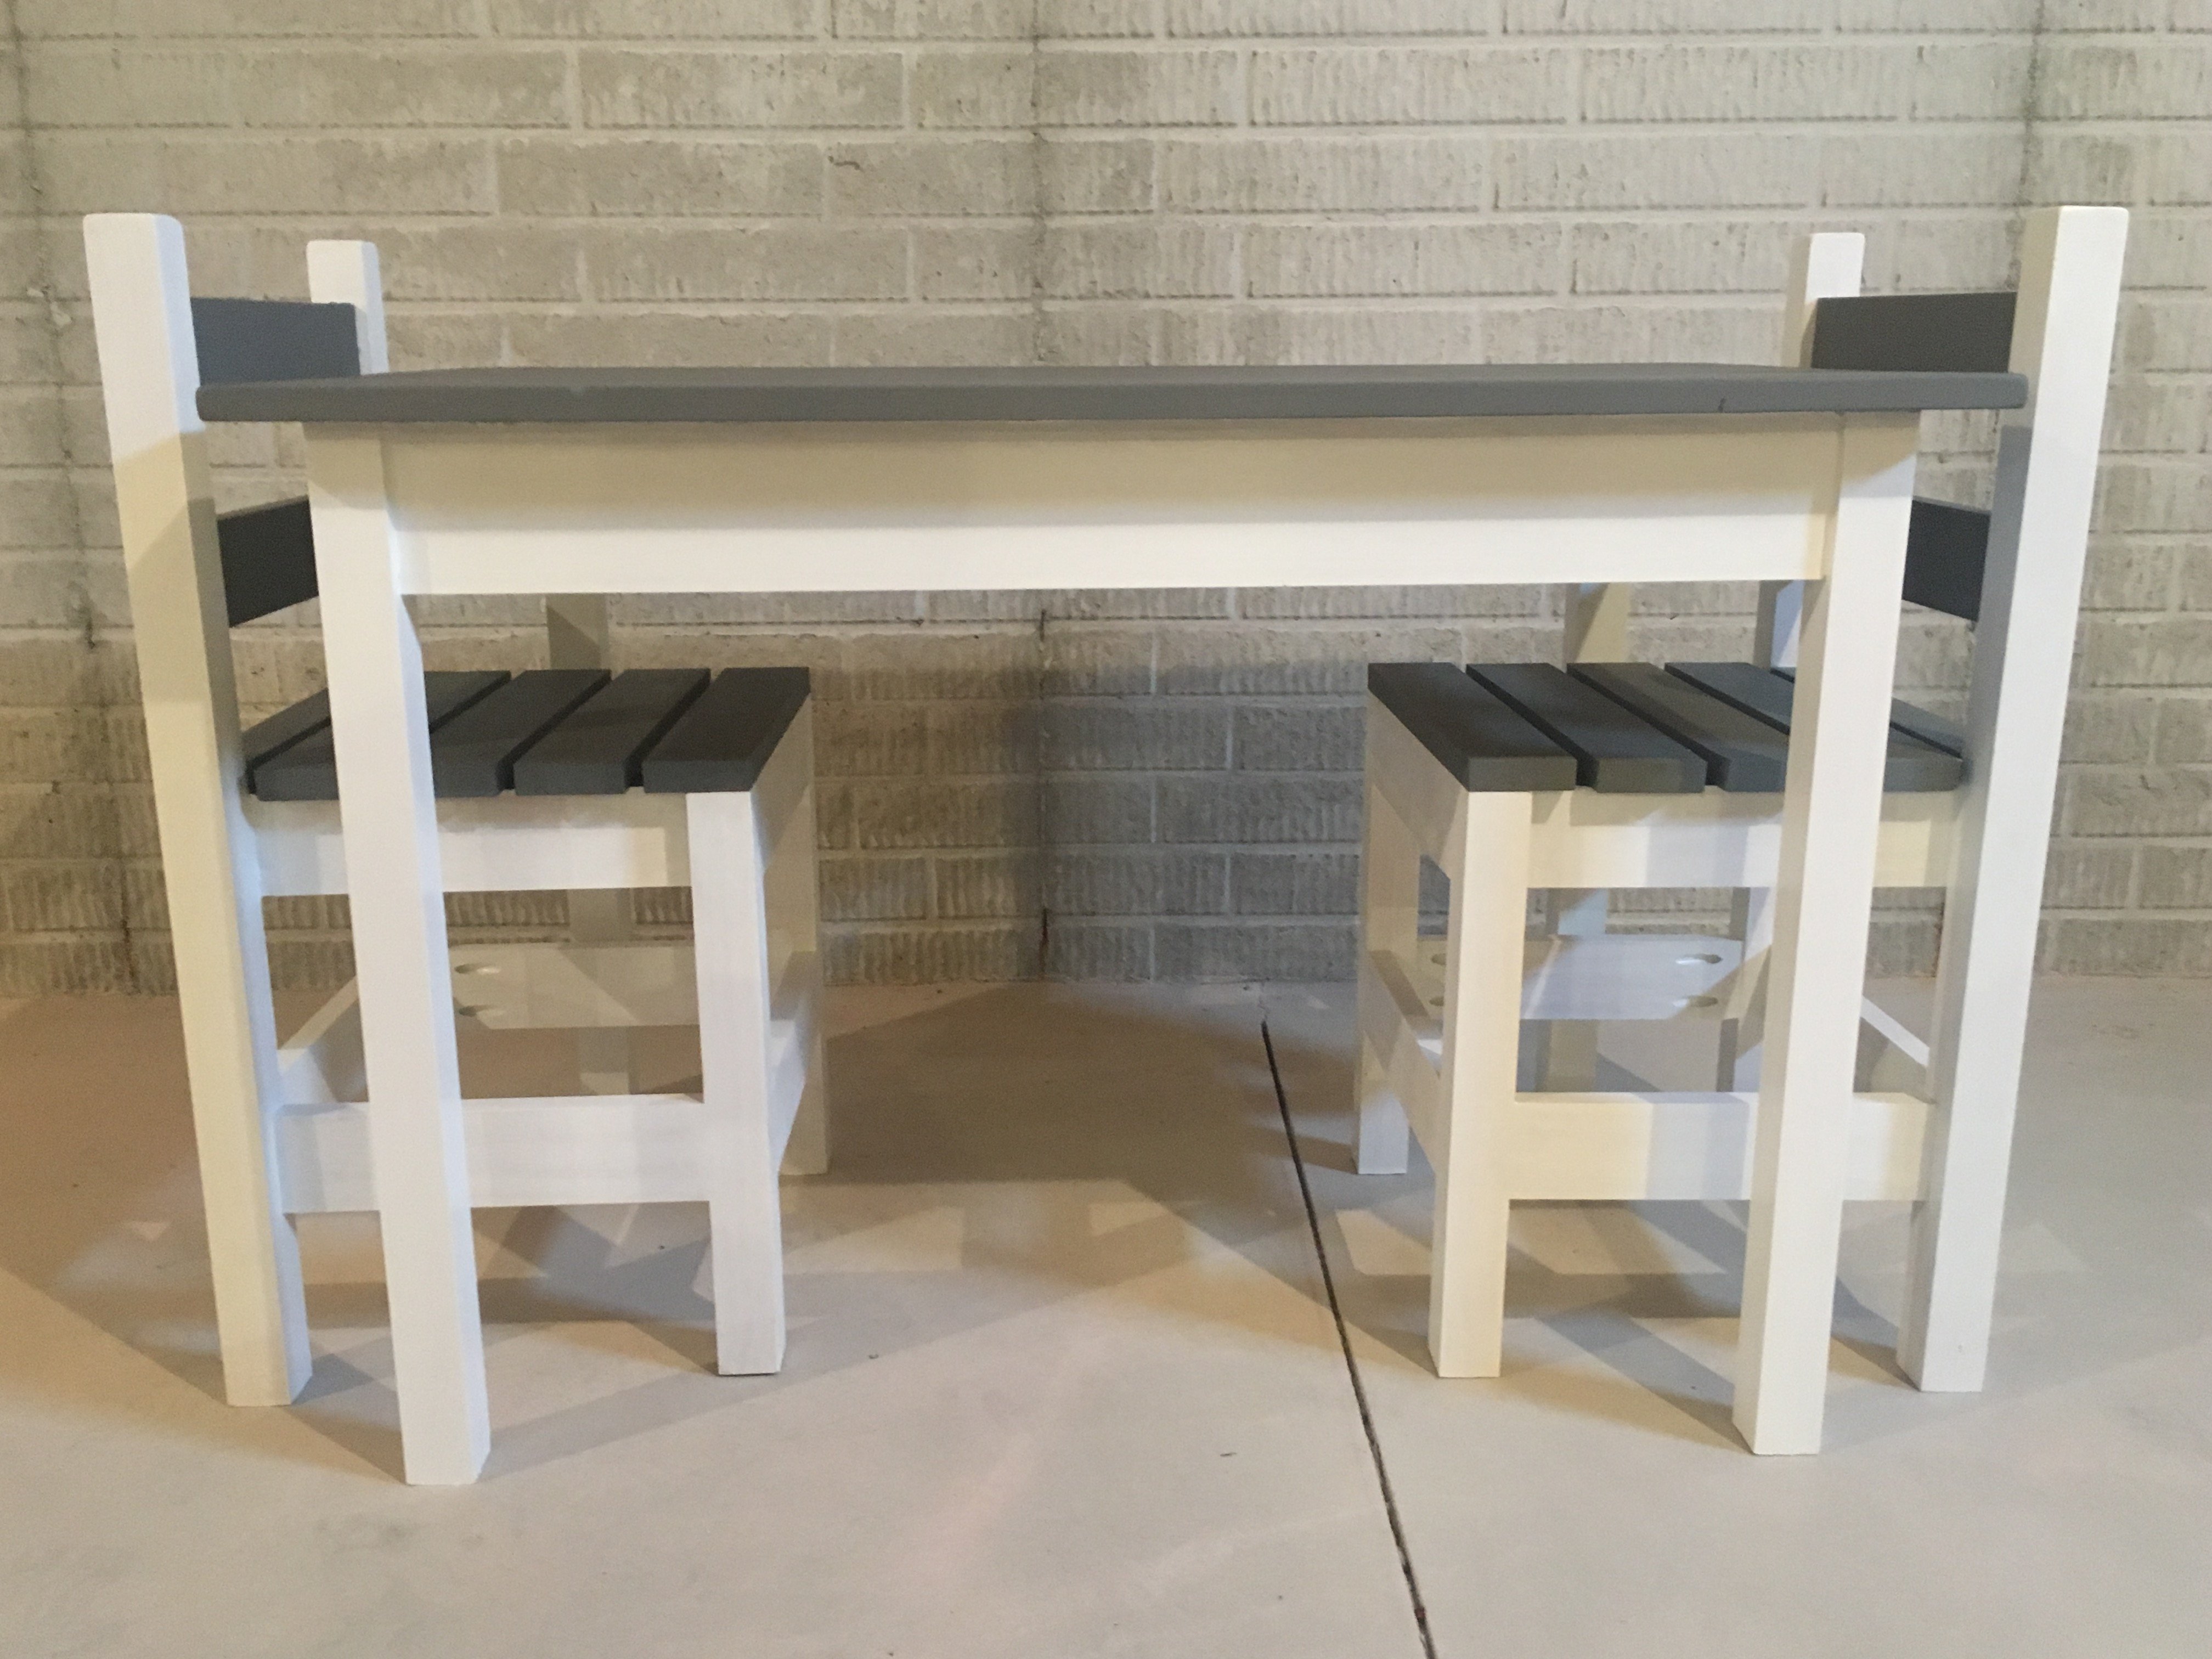
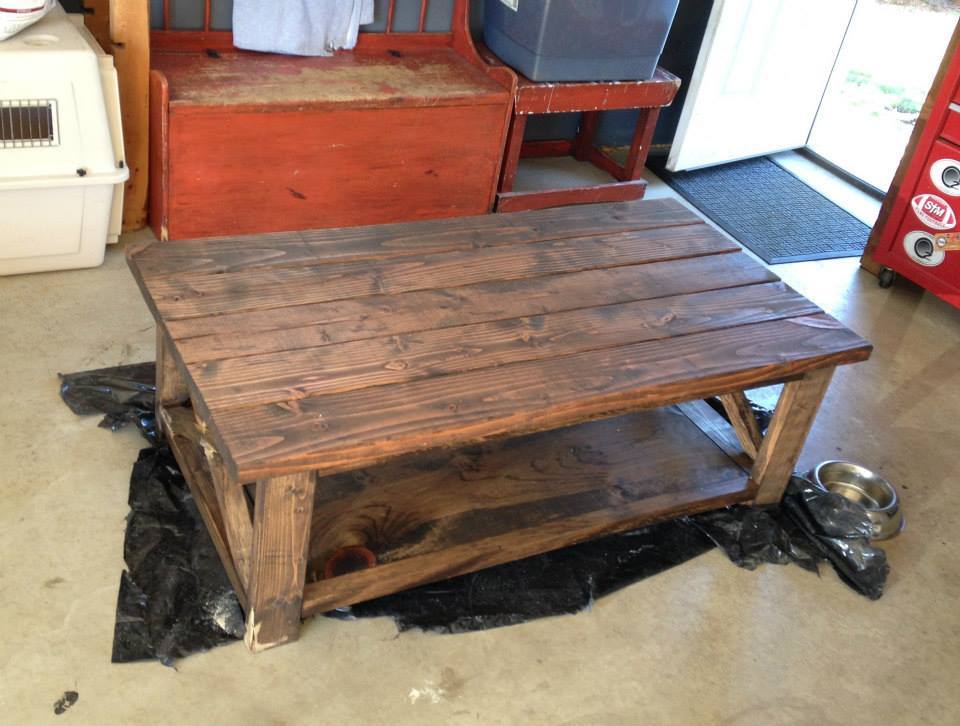
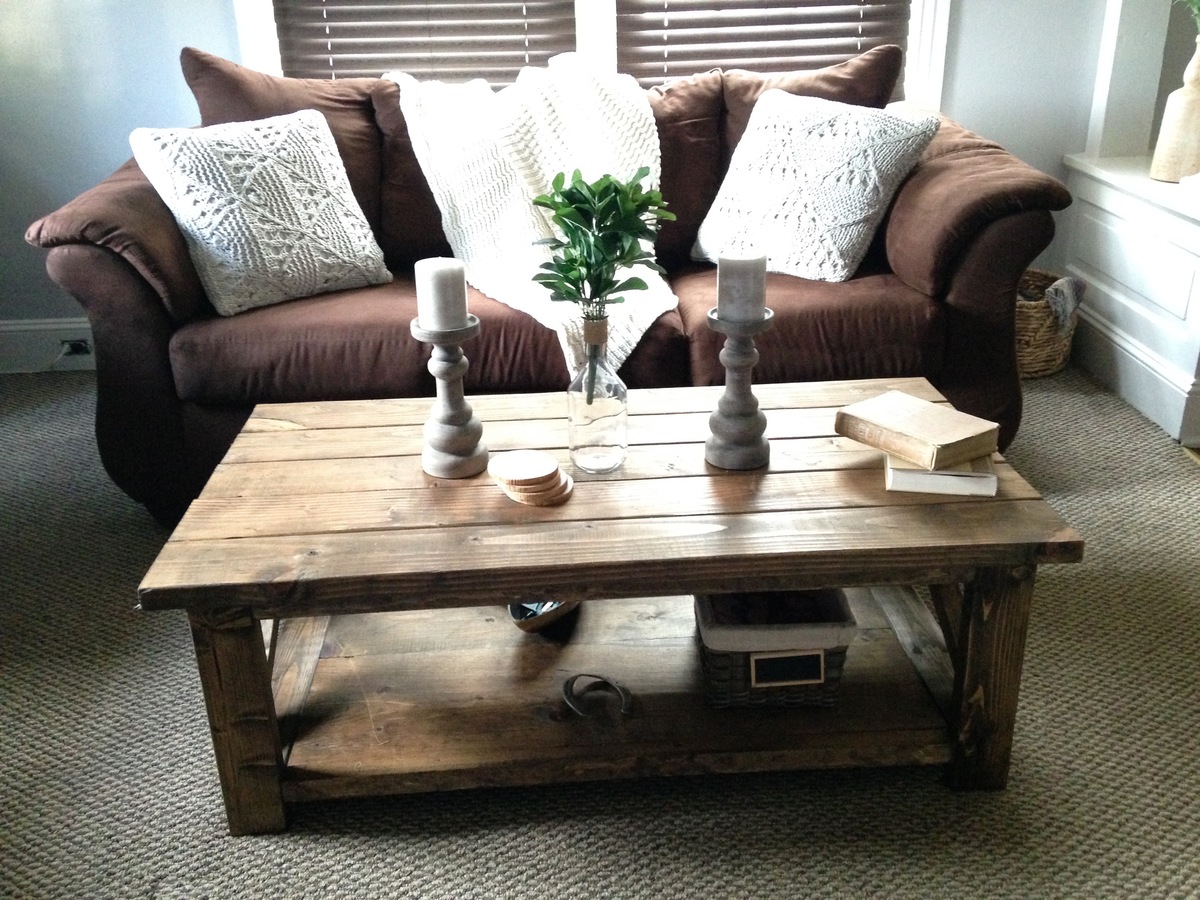
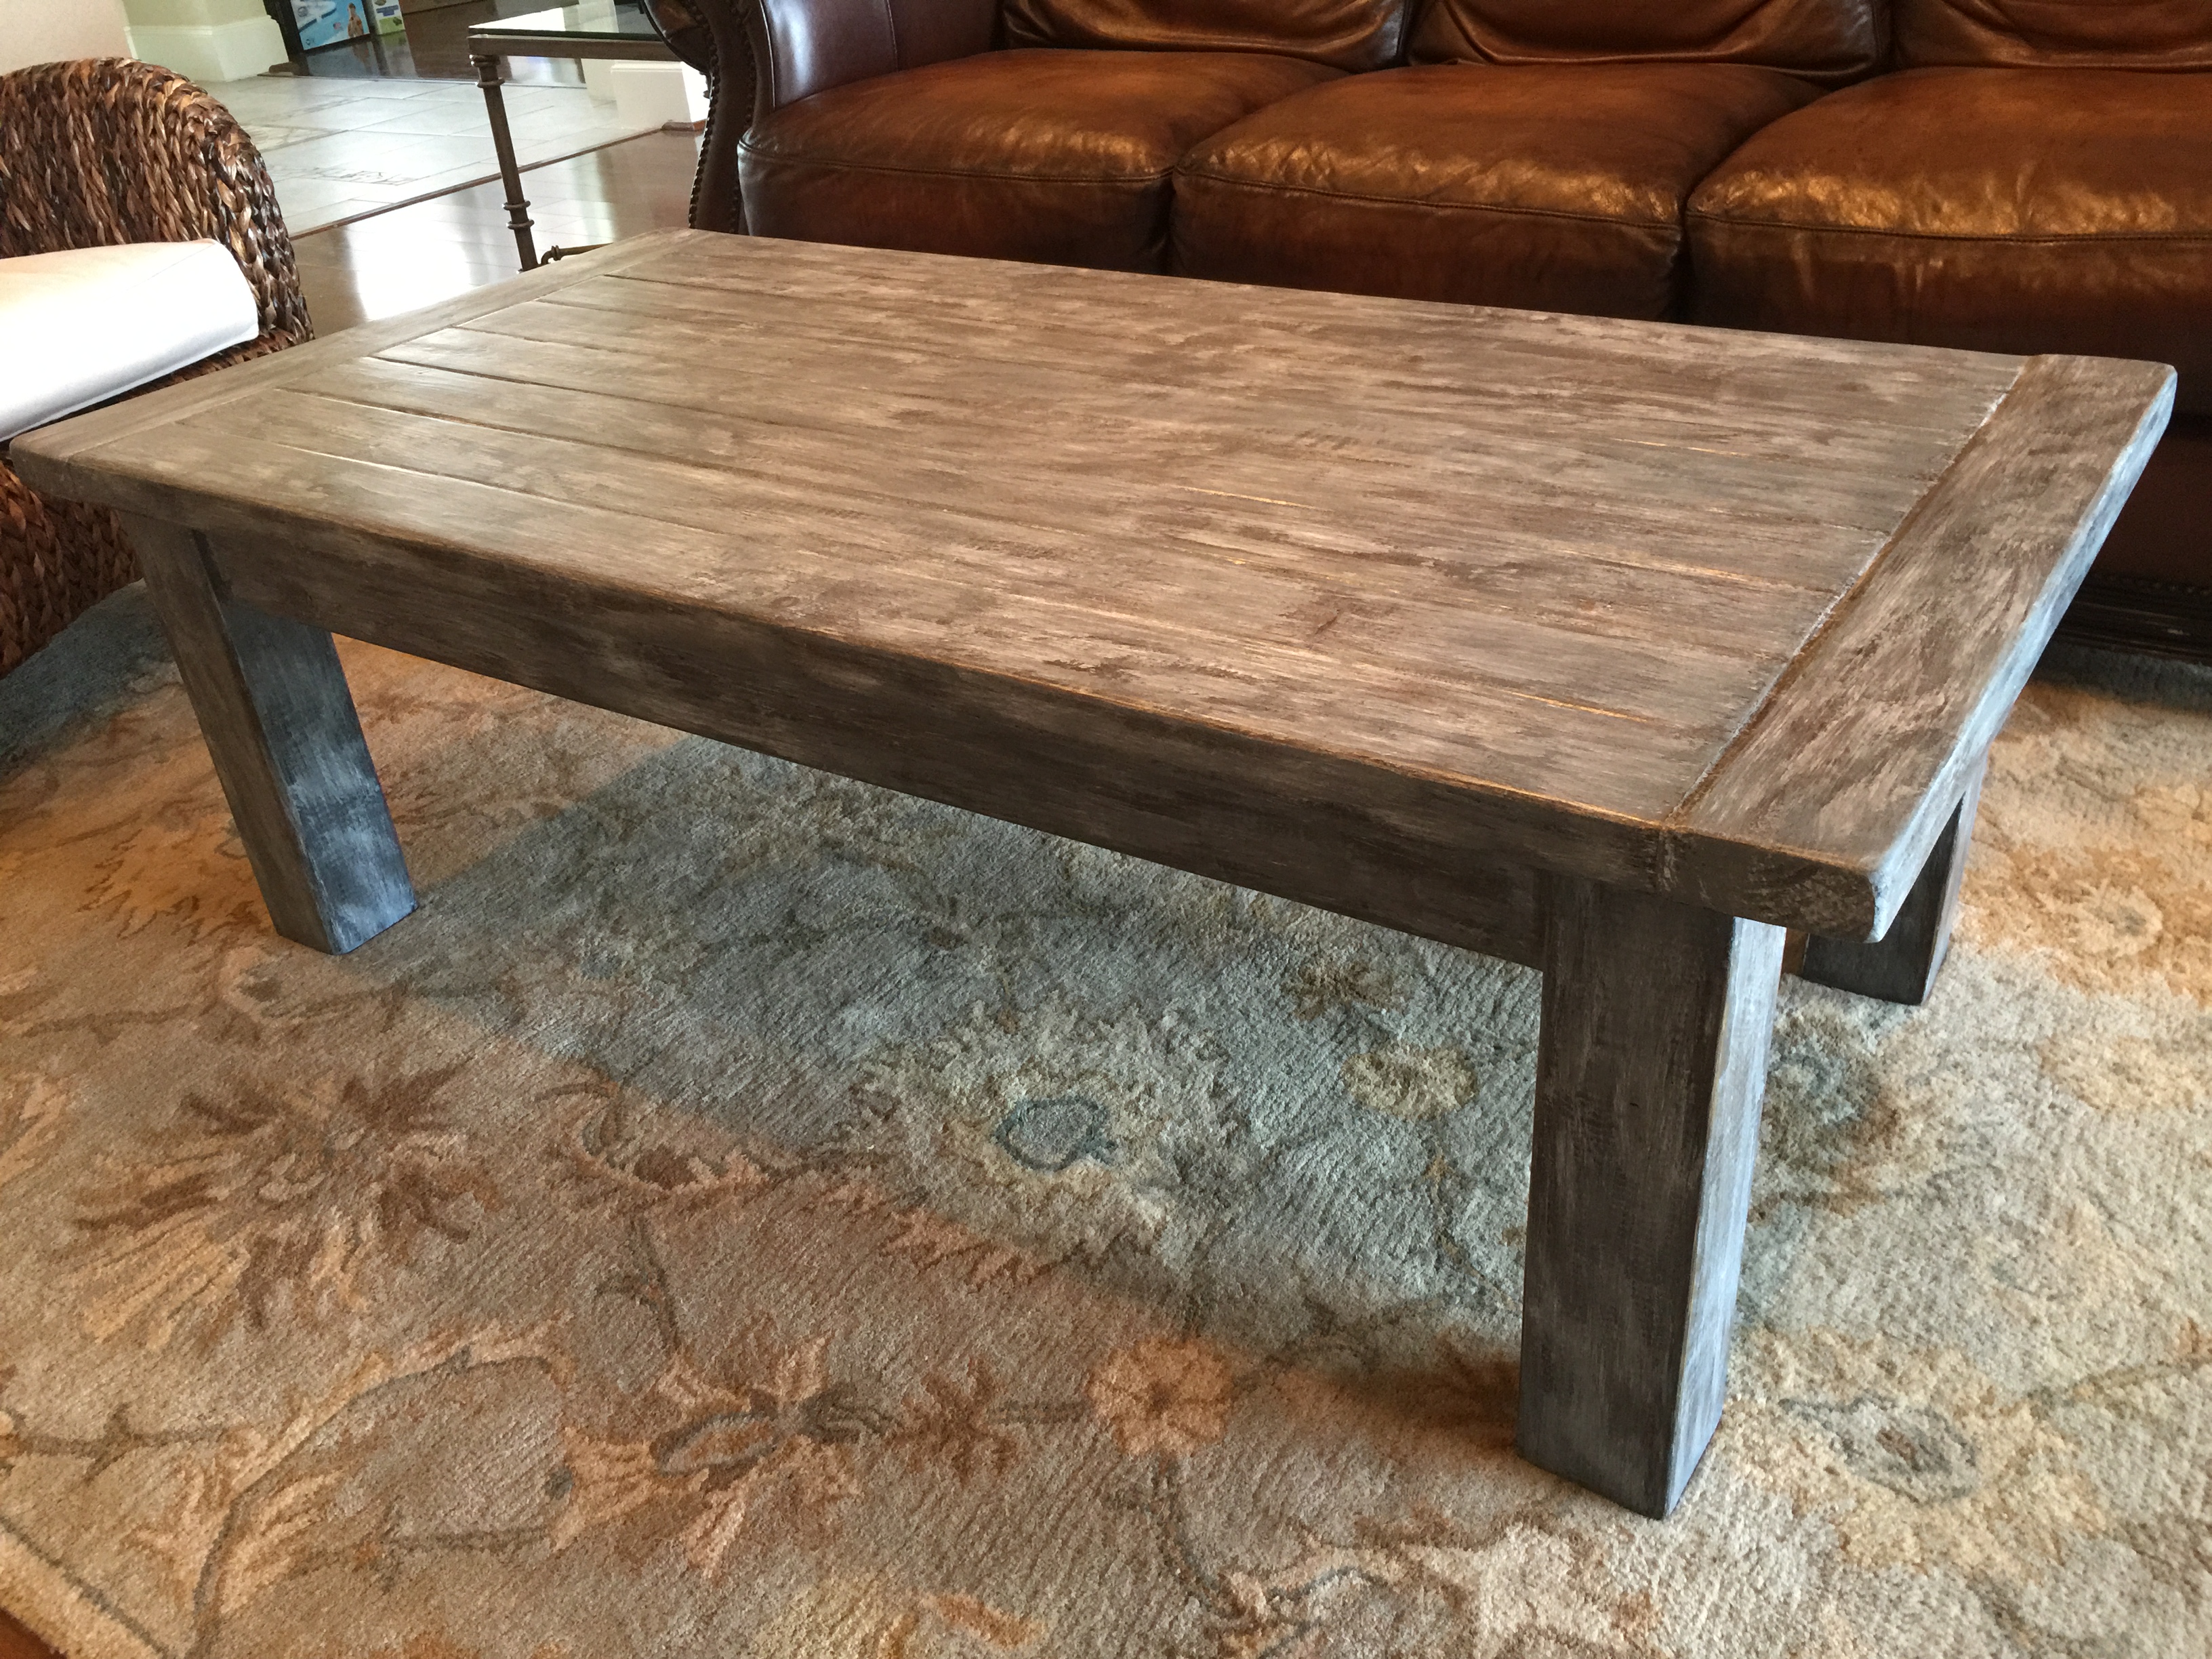
Finish Used
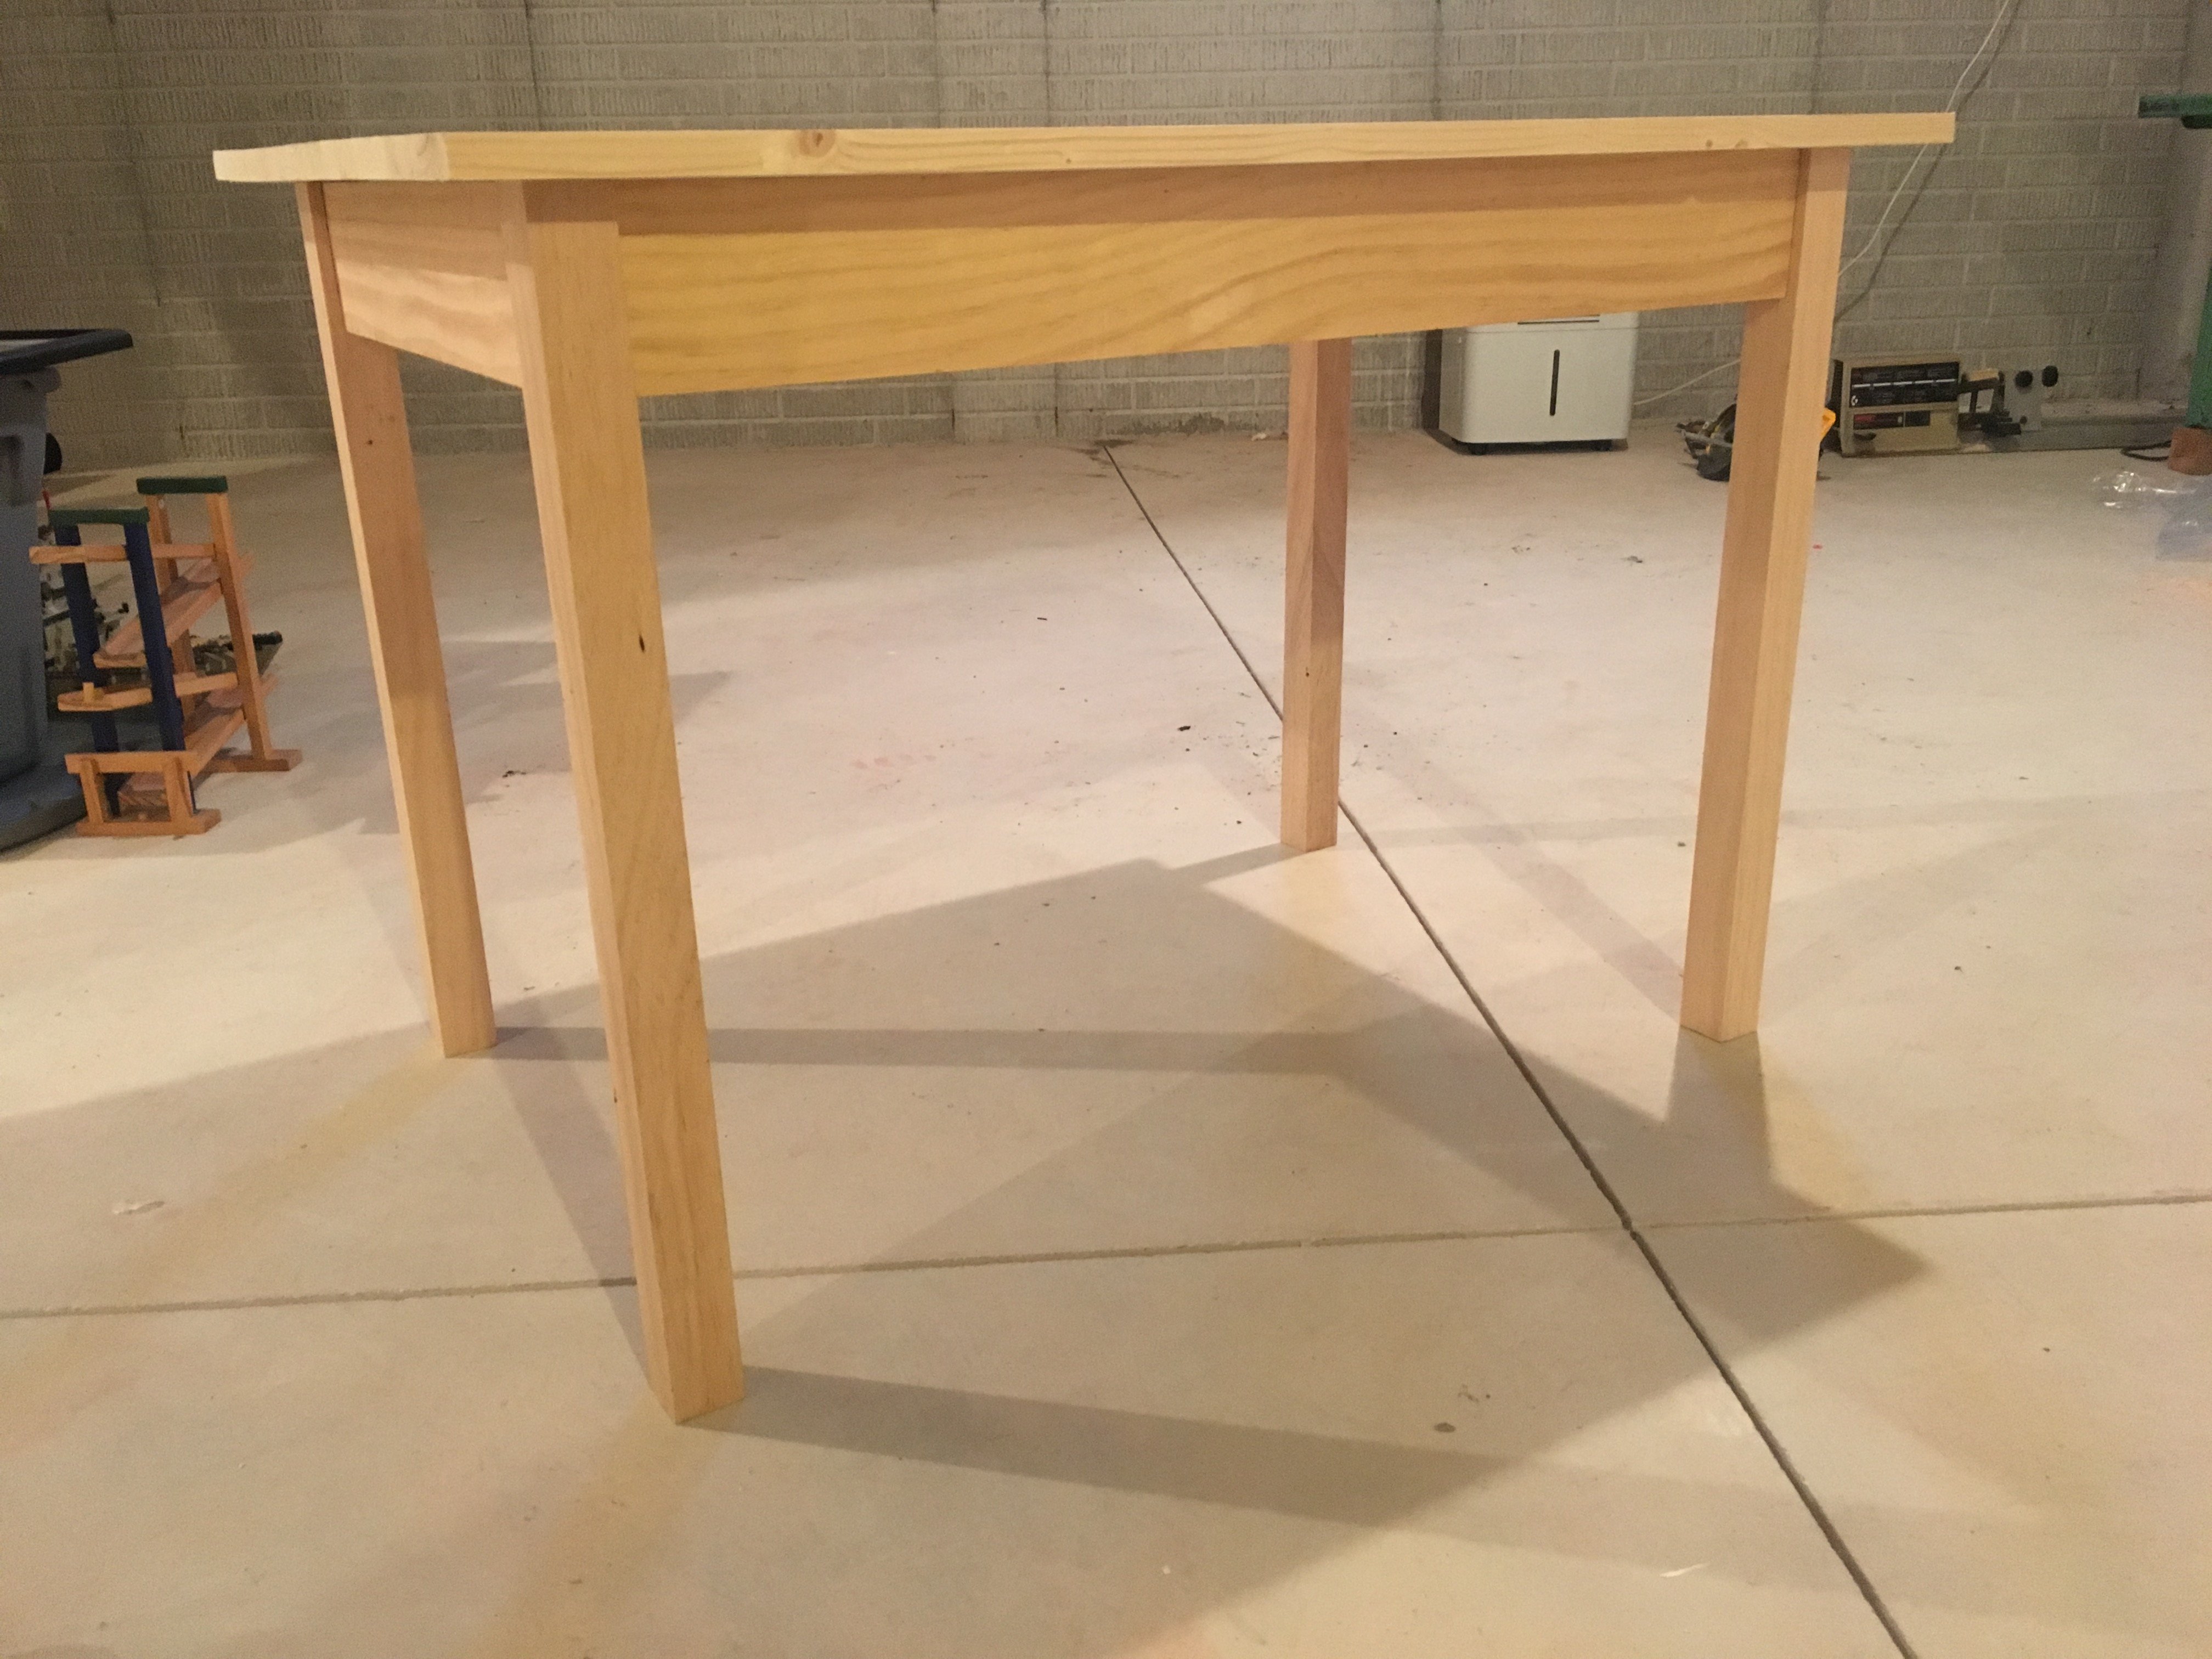
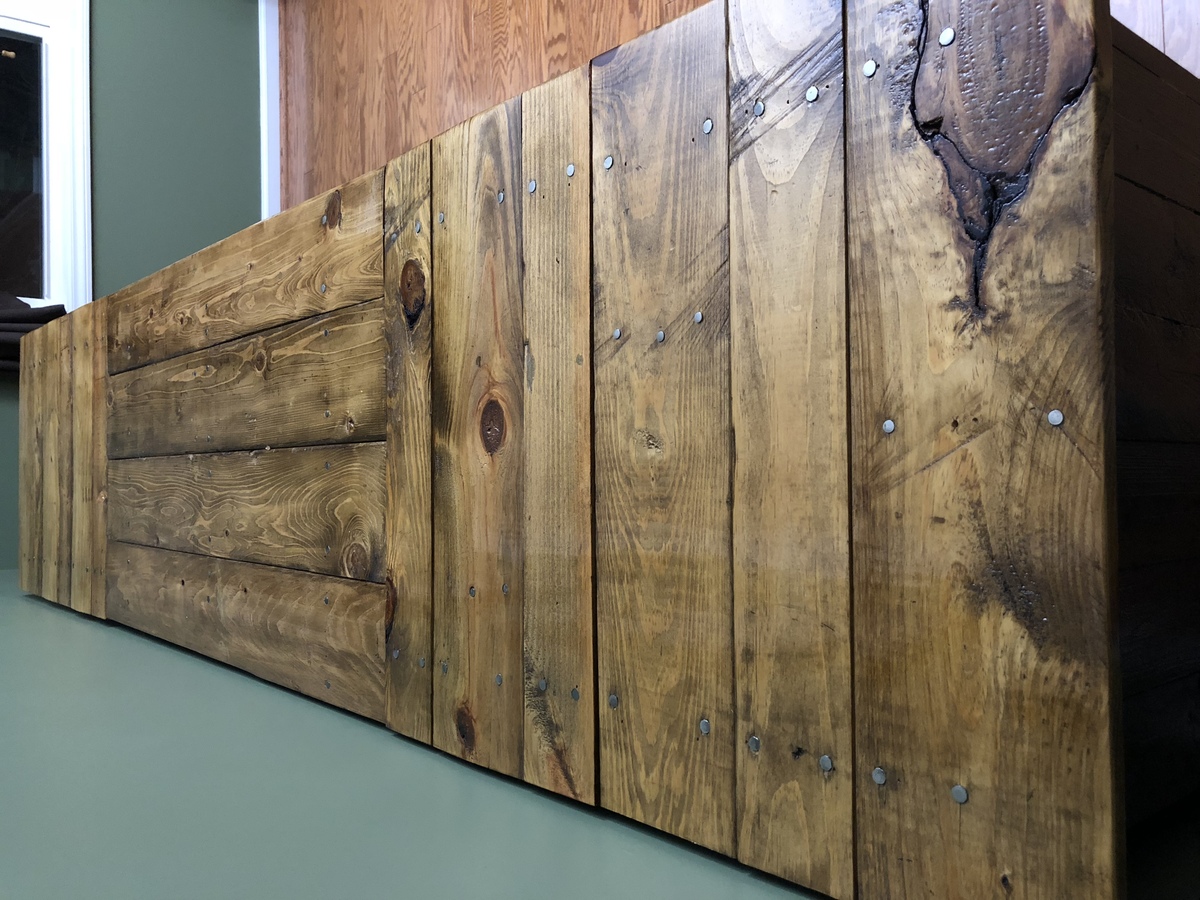
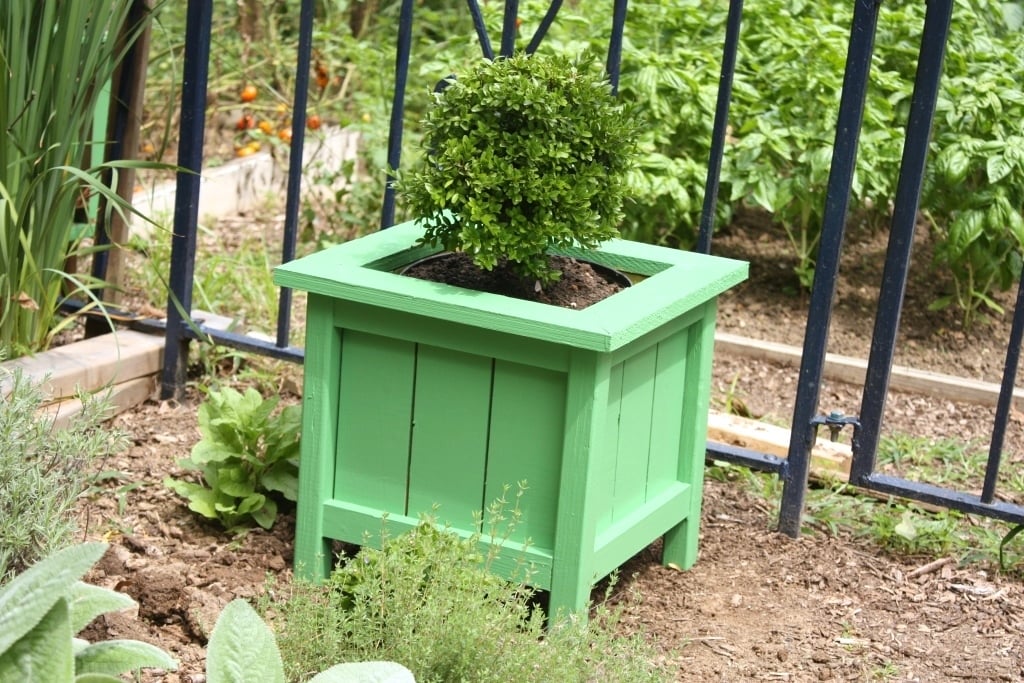
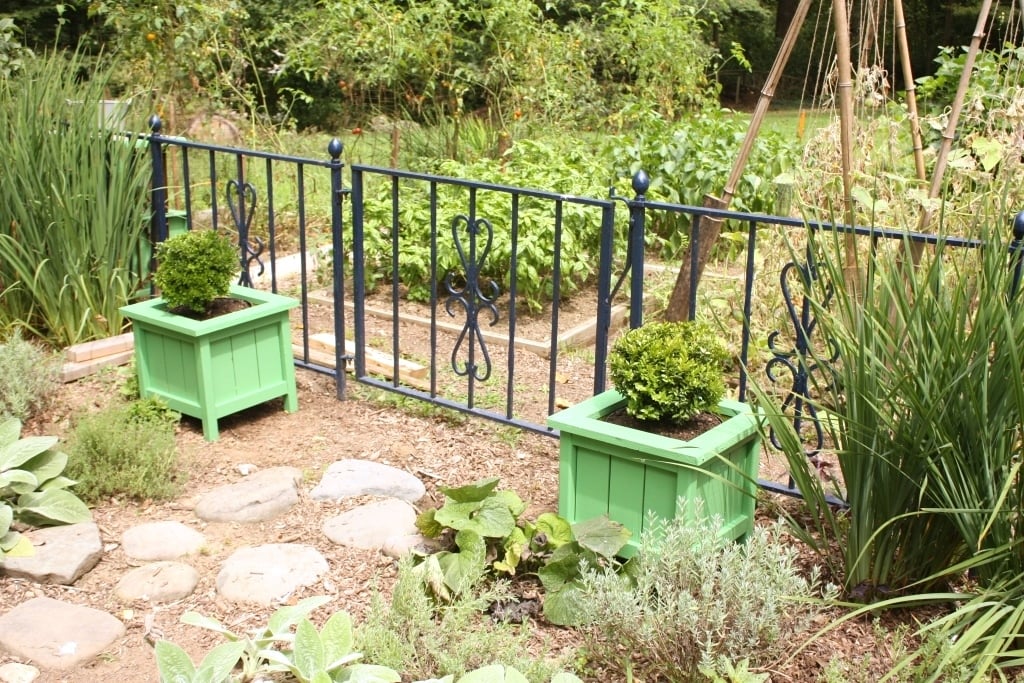
Started with Kona stain, then lightly added white acrylic paint. Used steel wool to get an older look. Then I went over that lightly with Weathered Gray, and scratched that up with steel wool again. Three coats of satin poly later...and here we are.
Recommended Skill Level
Beginner