Wood Tilt-Out Trash Bins
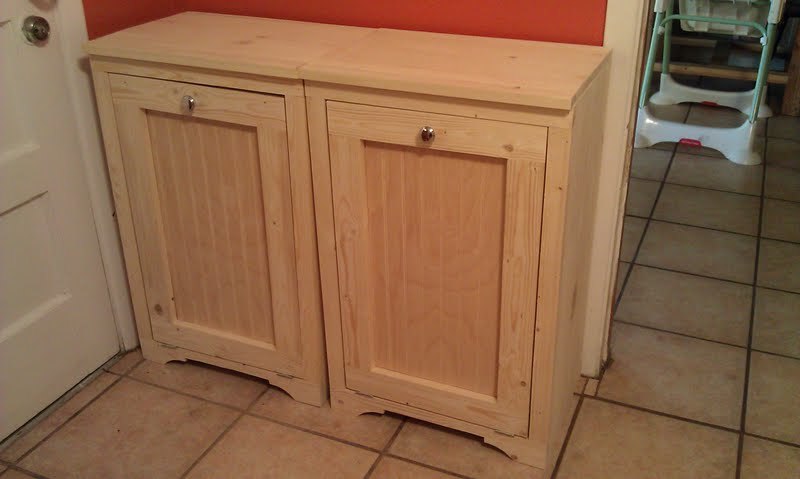
These two trash bins were very easy and fun to make. Plans were very easy to use and made the project very easy to build.

These two trash bins were very easy and fun to make. Plans were very easy to use and made the project very easy to build.
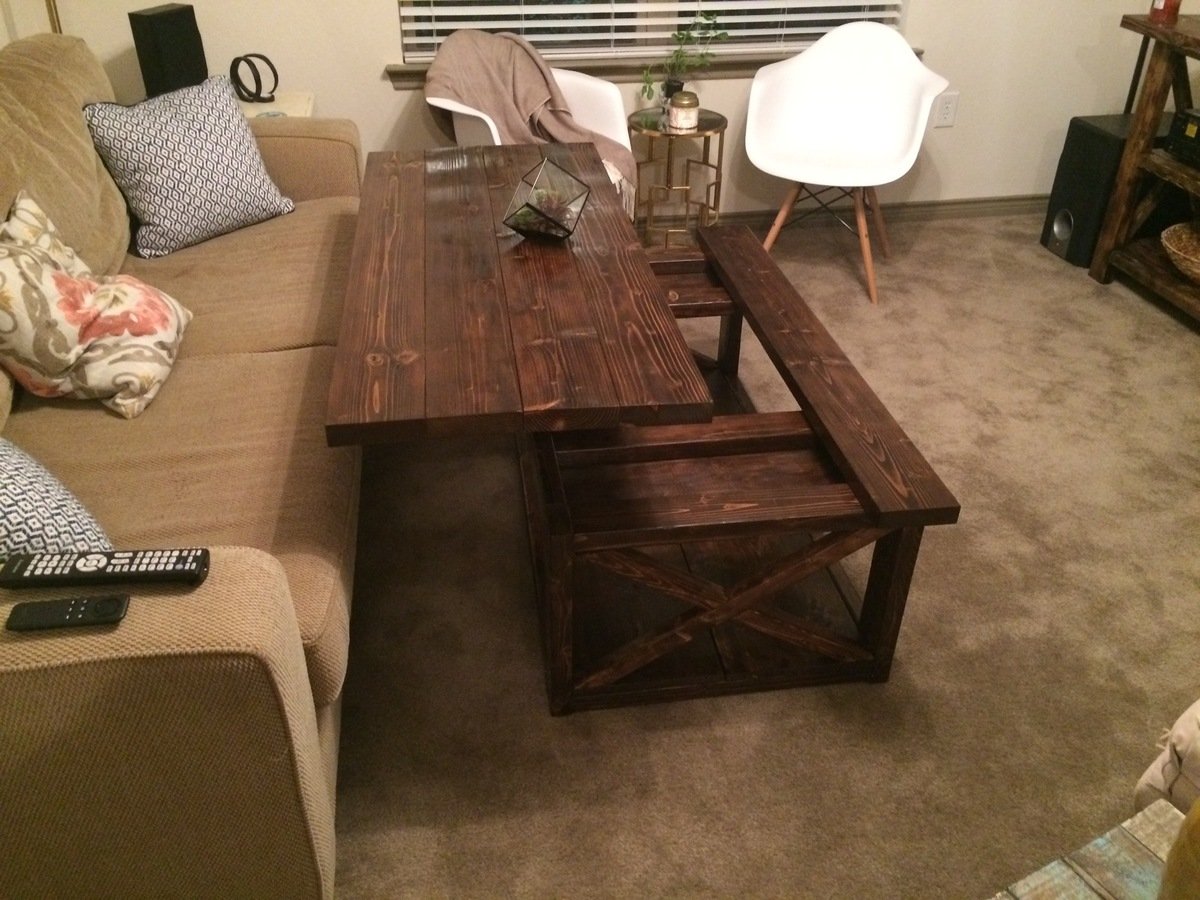
Just wanted to do something a little more original.

Sat, 12/10/2016 - 17:57
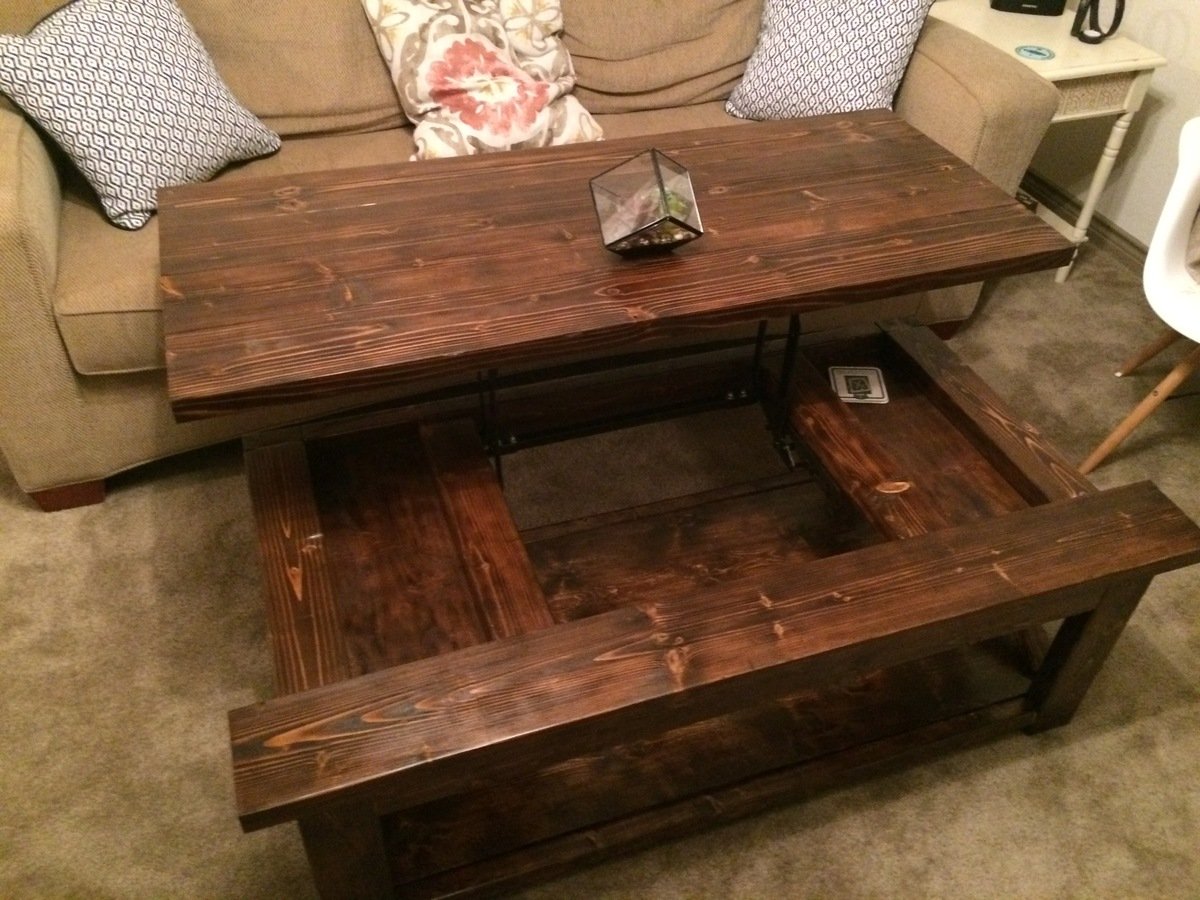
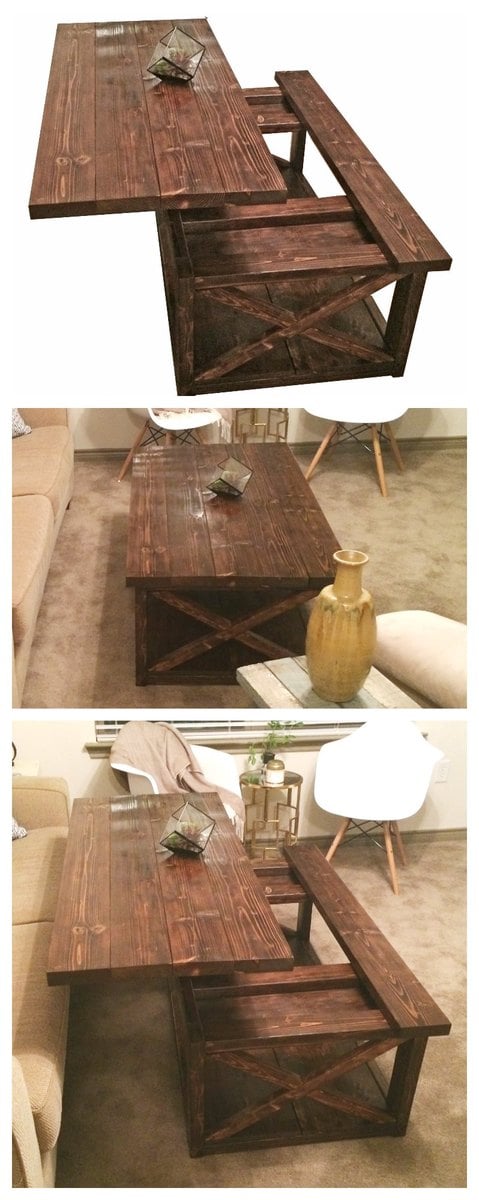
Hi. Are there any plans for this piece using the lift top hardware?
Wed, 12/21/2016 - 20:46
Just curious about the hardware and design if there are any actual plans for this coffee table
Wed, 04/08/2020 - 05:01
Where can plans for this lift top version be found?

Nightstands are expensive. I don't have money. So, I thought I would build one. I kept this one rustic looking by not filling the holes but I did sand quite a bit. Just not enough to remove the printing on the boards, I think it looks good when it's got finish on it.

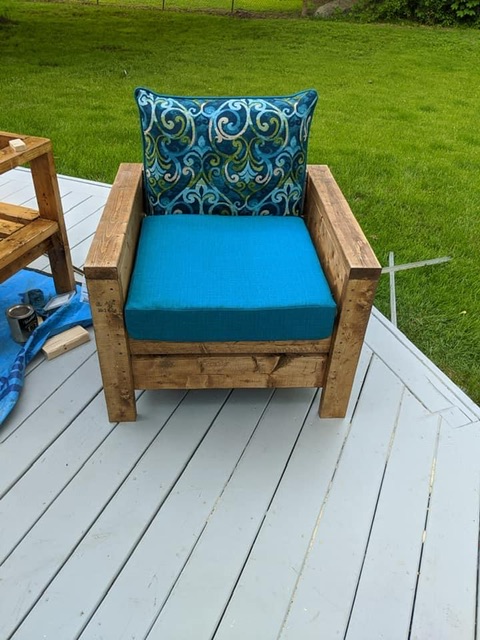
I needed patio furniture and happened to come across Anna White’s site. It is a great beginner’s project. I was so happy with how they turned out.
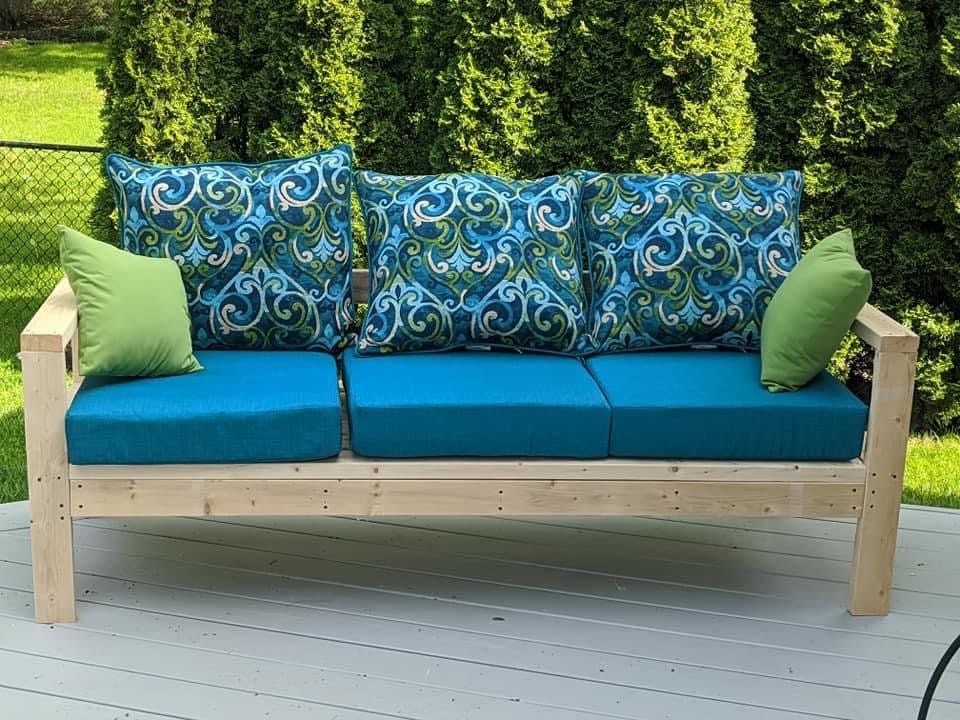
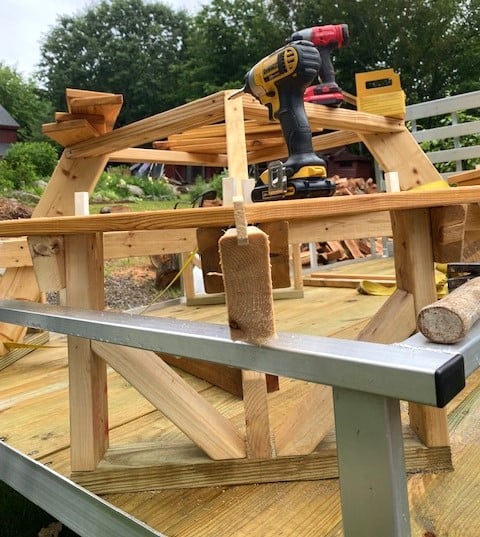
I downloaded the plans for the octagonal table. I have made several and used a few different woods, made a few minor design changes as well as creating a routine and using a jig or two. This jig fits in between the two boards that form the seat support frame. I used a large paint stick and a scrap piece of 2 x 4. Using a table saw, I cut a groove in the 2" edge, approximately 1/2" deep, this took two passes (pass it through, turn it and pass again), a slight adjustment and another two passes. Insert the paint stick and seat all the way down. Place jig between seat support frame, might be a little snug or use a clamp to hold in place. Adjust so just the paint stick sticks up enough to separate seat boards. With seat boards against the jig, it forms the perfect angle/guide to match cuts. I also used 1/2" spacers to create consistent spacing. Love the various plans you make available as well as your videos.


Built for a customer out of reclaimed 2x6 spruce corrral boards. There was a lot of sanding involved in prepping this wood, but I couldn’t be happier with how it turned out!

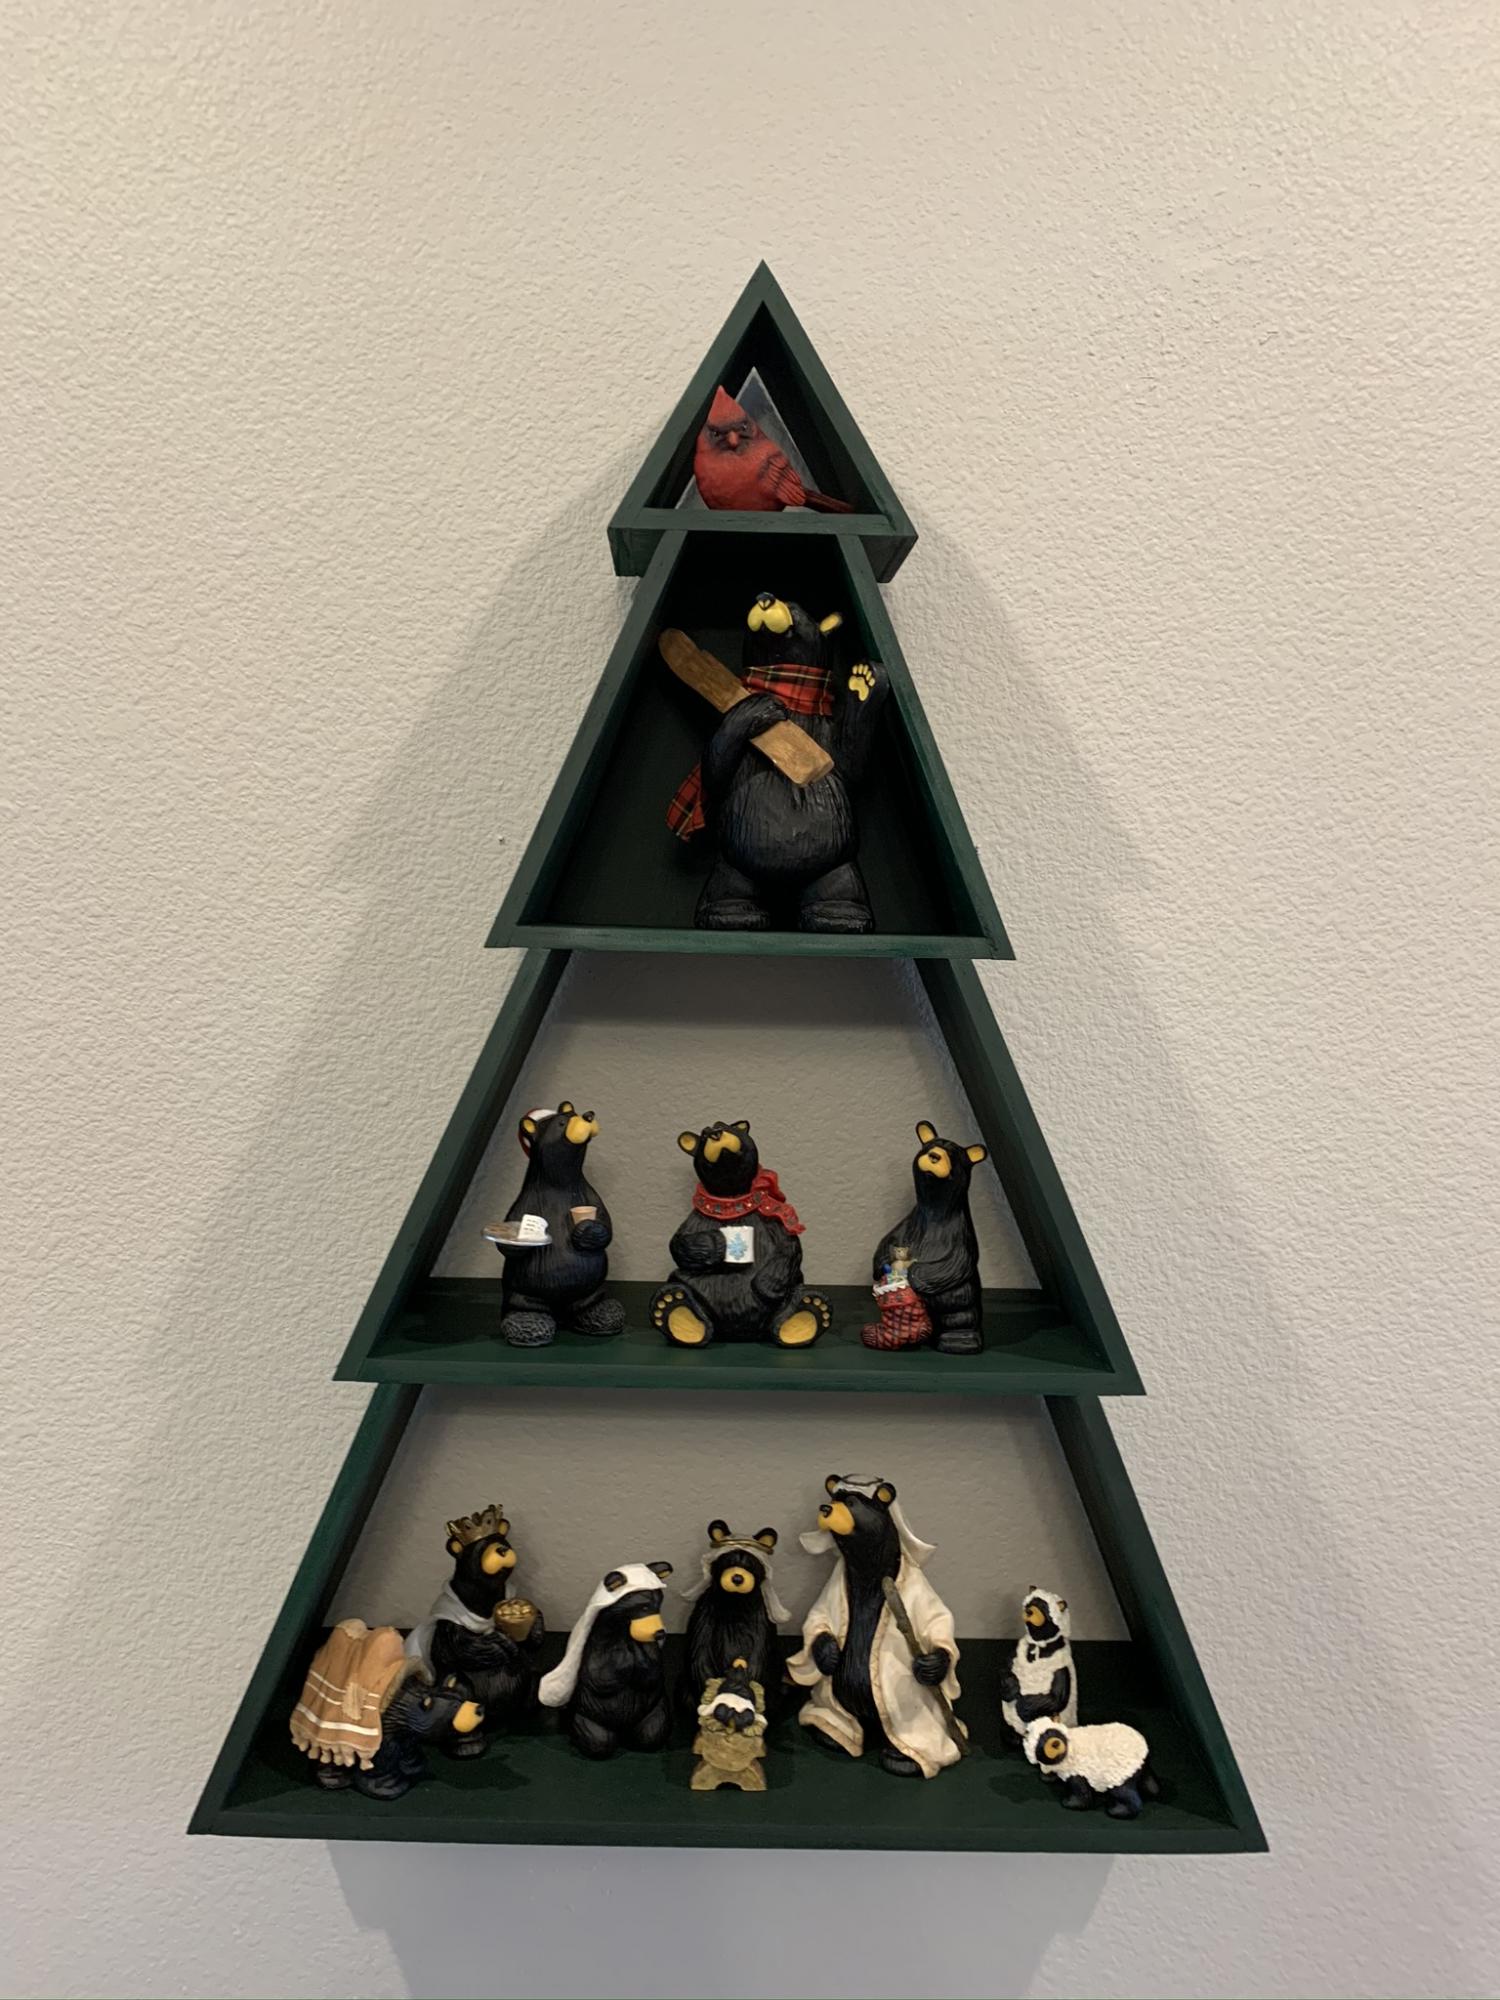
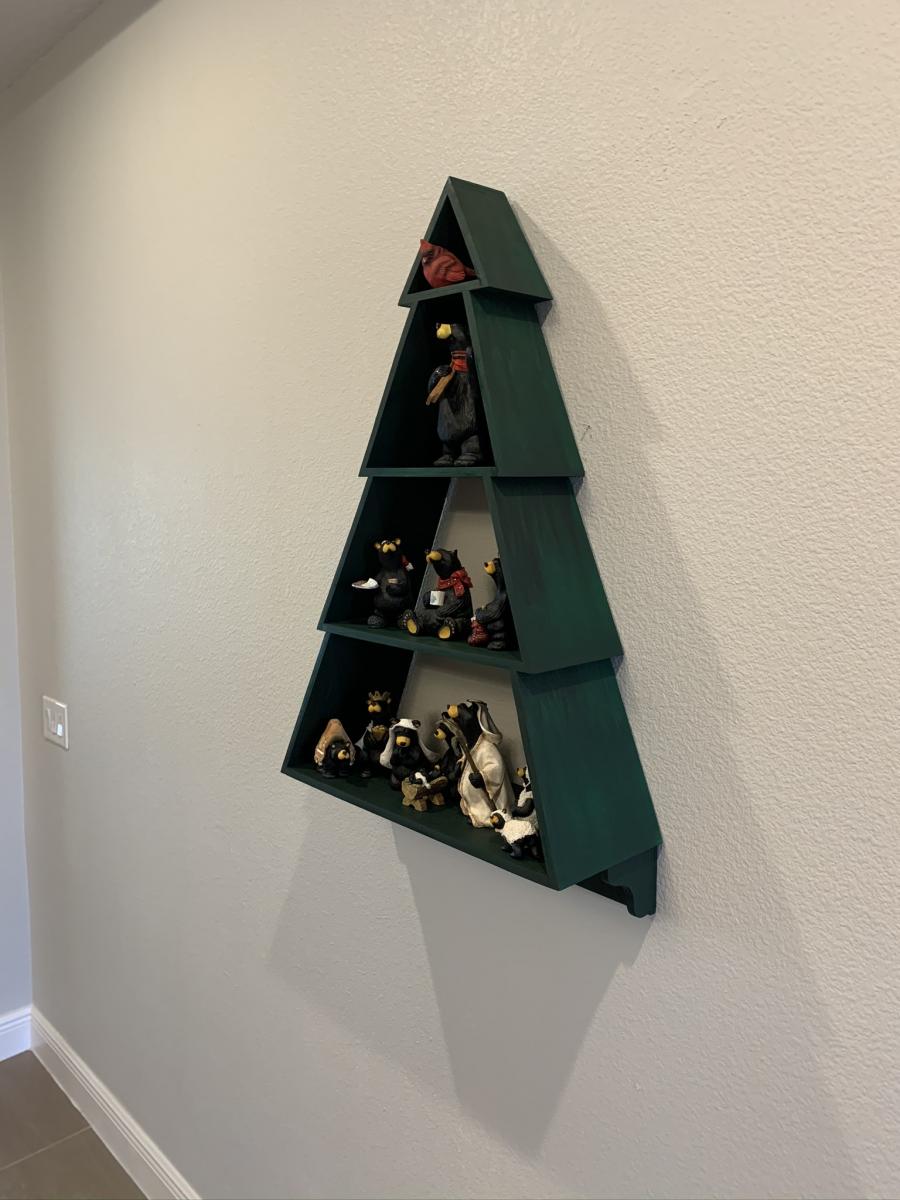
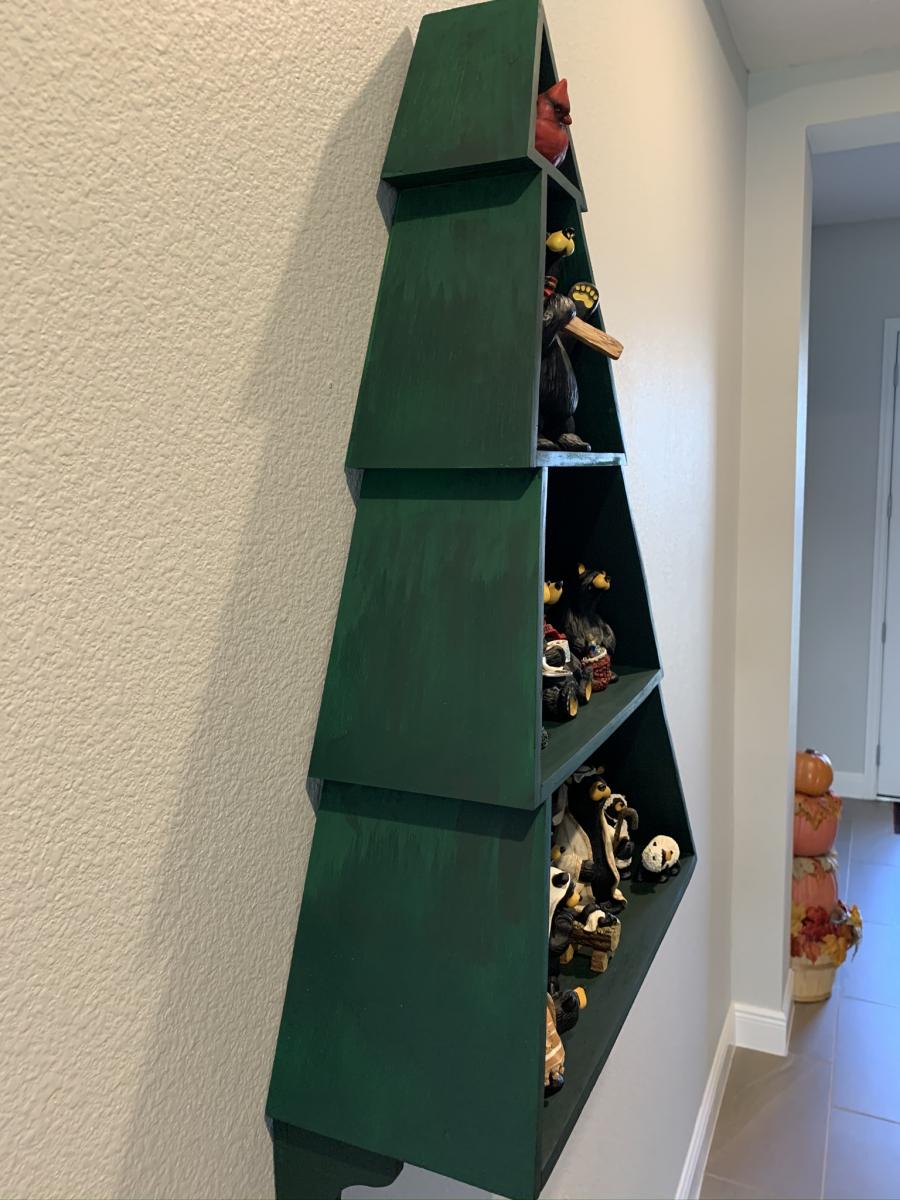
My wife and I loved the original plan, but we needed the shelves to be wider.
So, I adjusted the plan to taper like a tree.
I used plywood and my wife painted it up.
The dimensions changed to 9 inches between shelves.
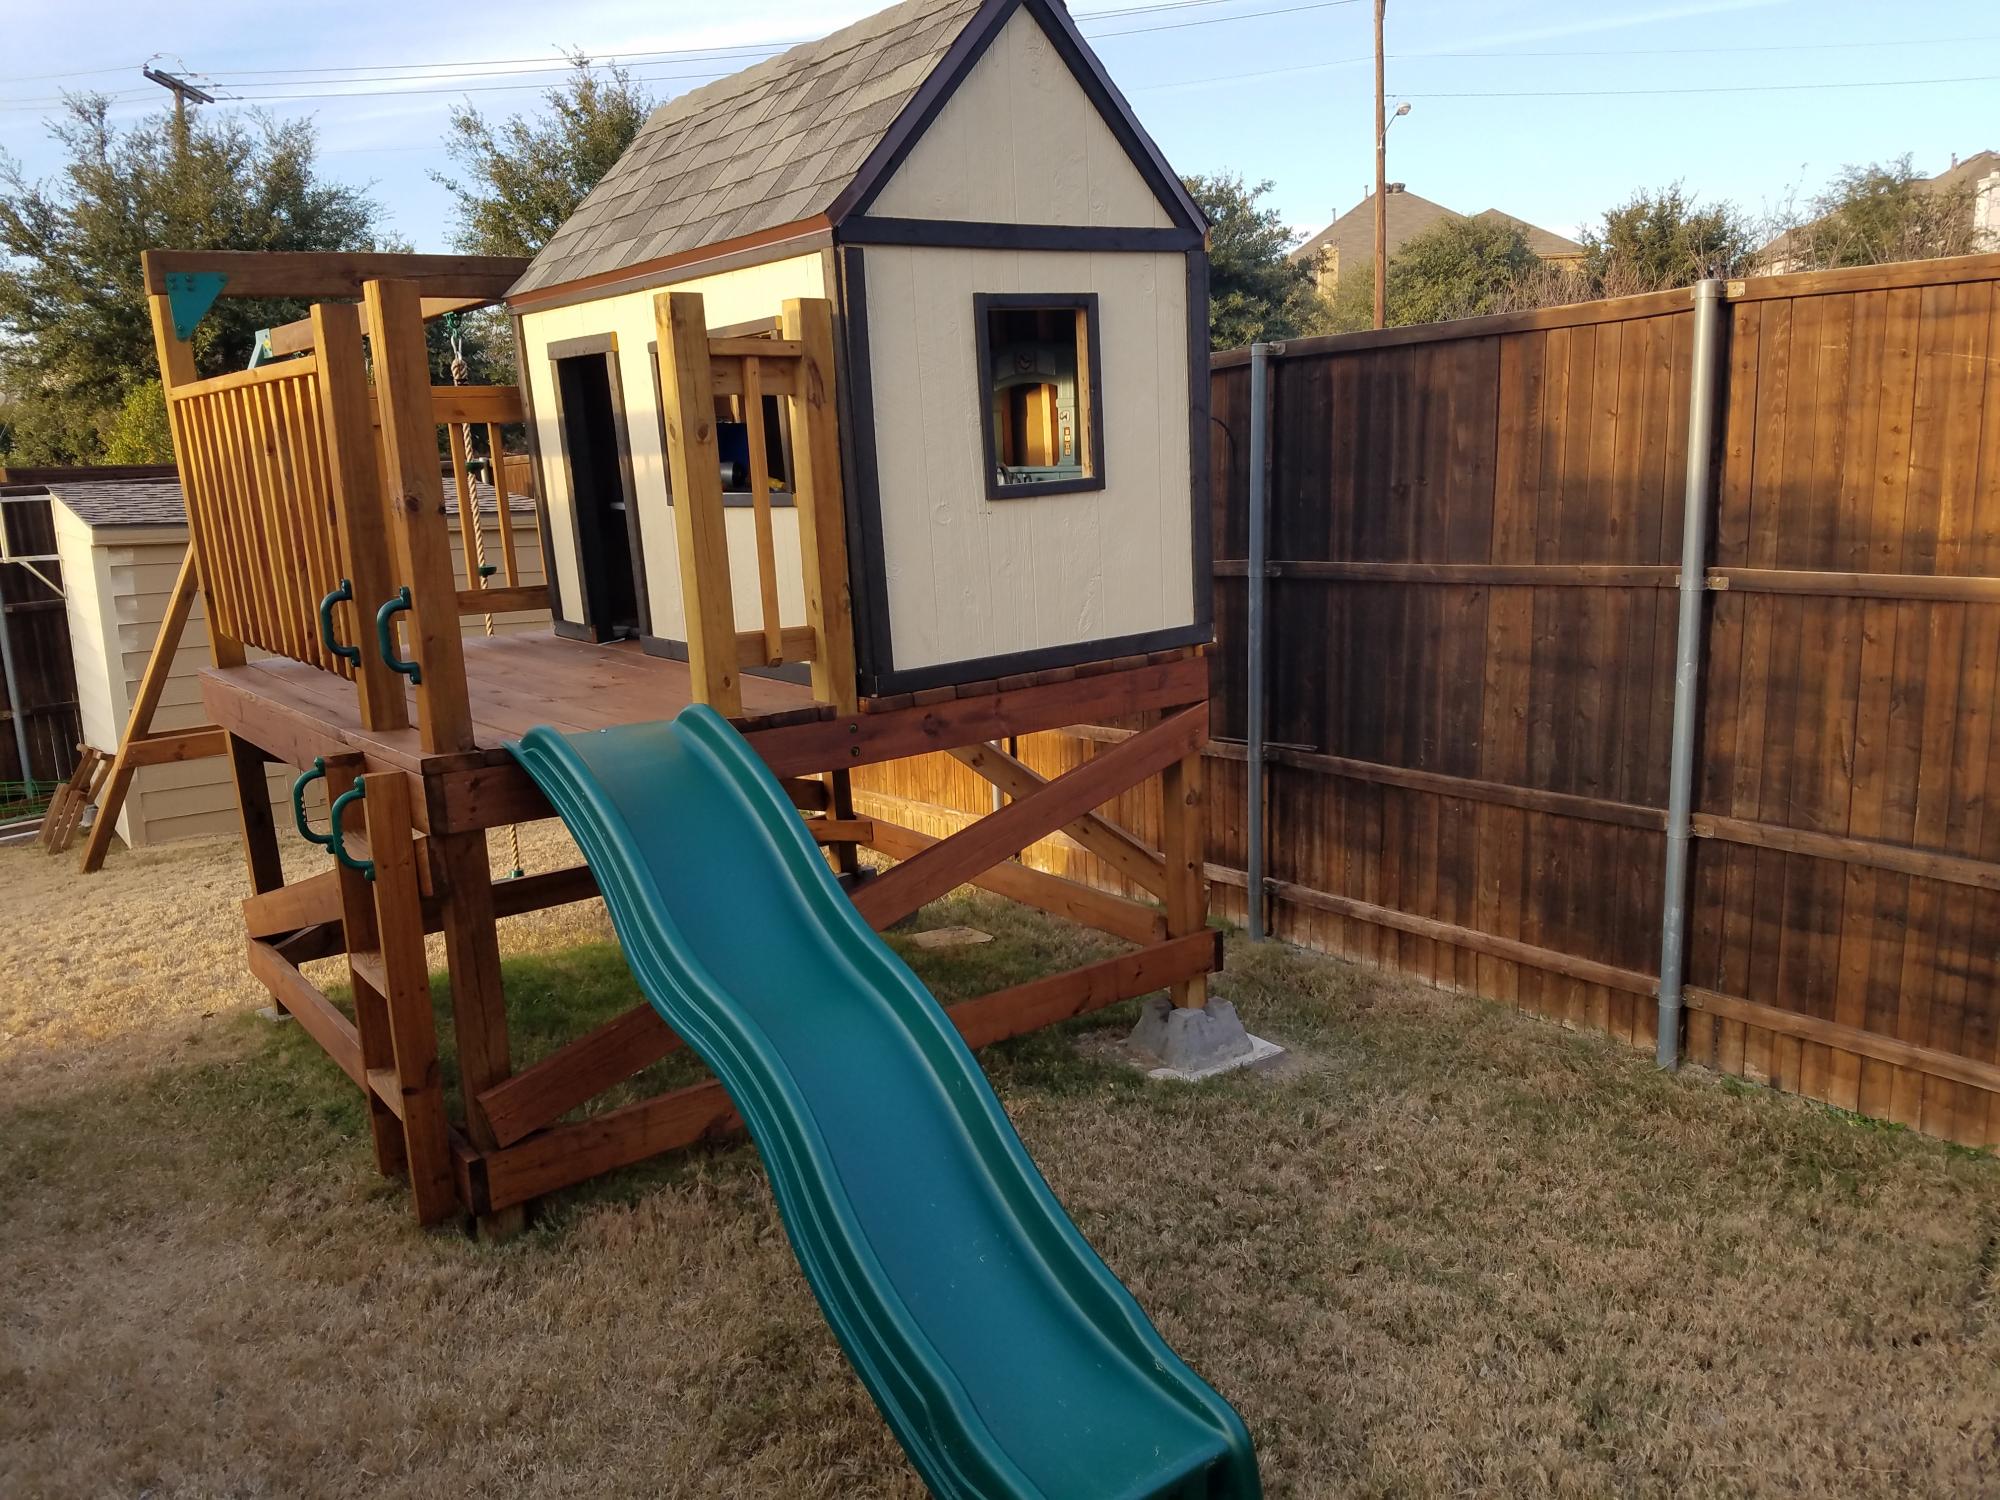
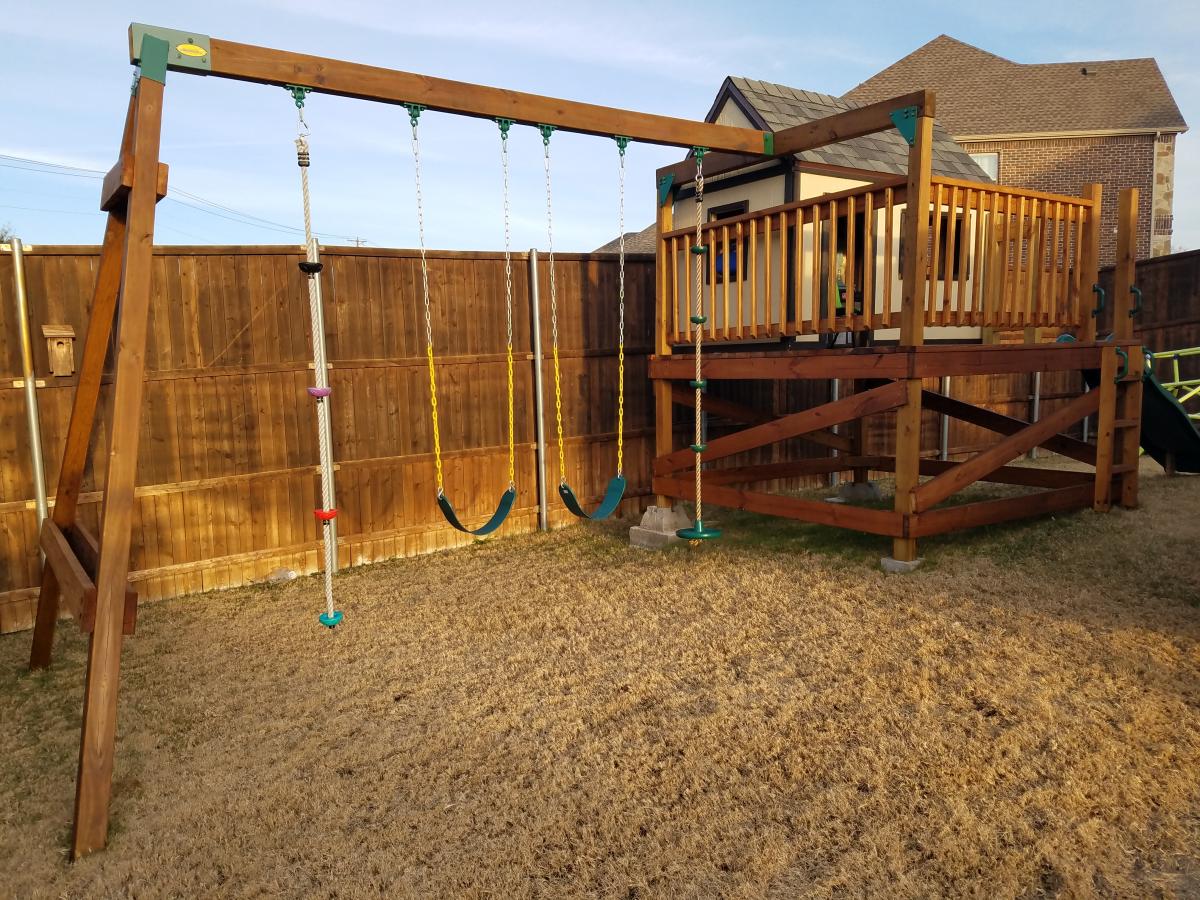
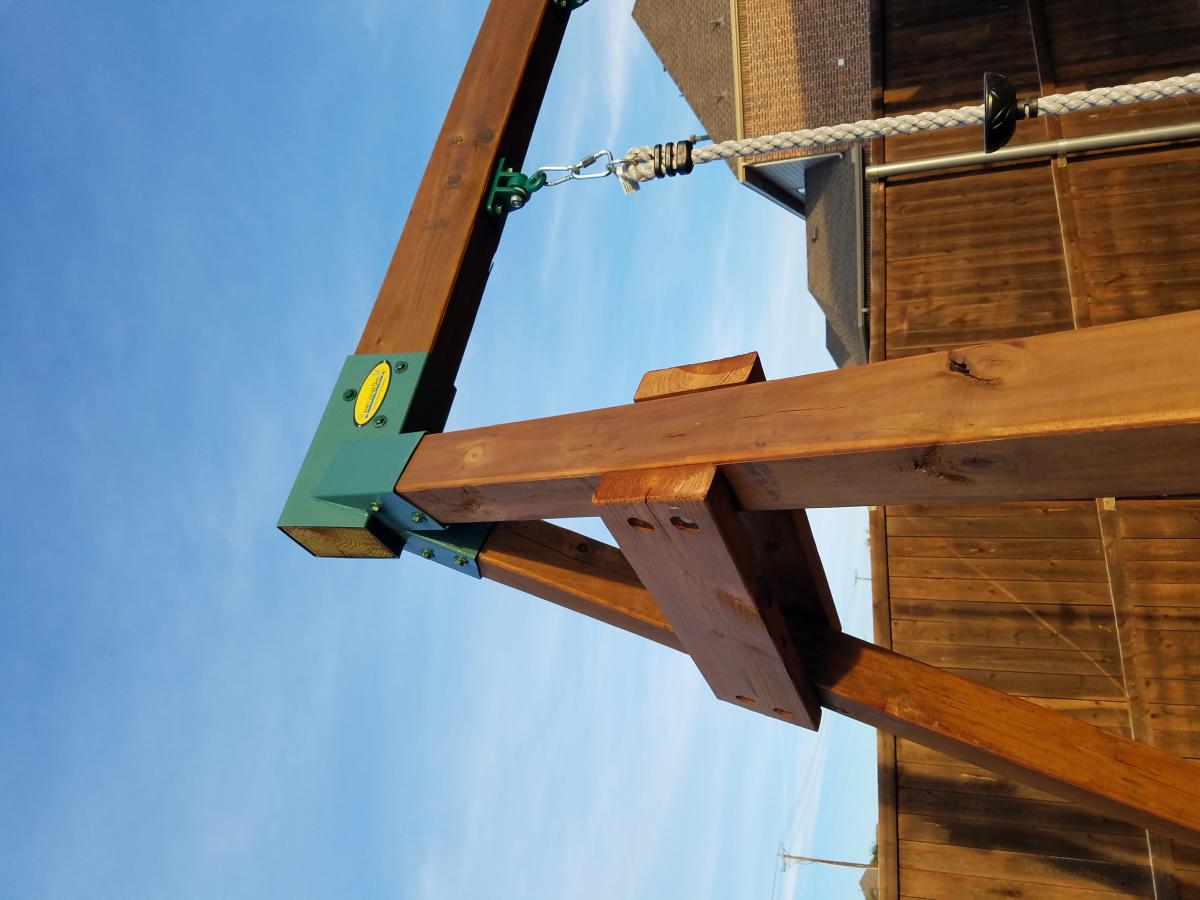
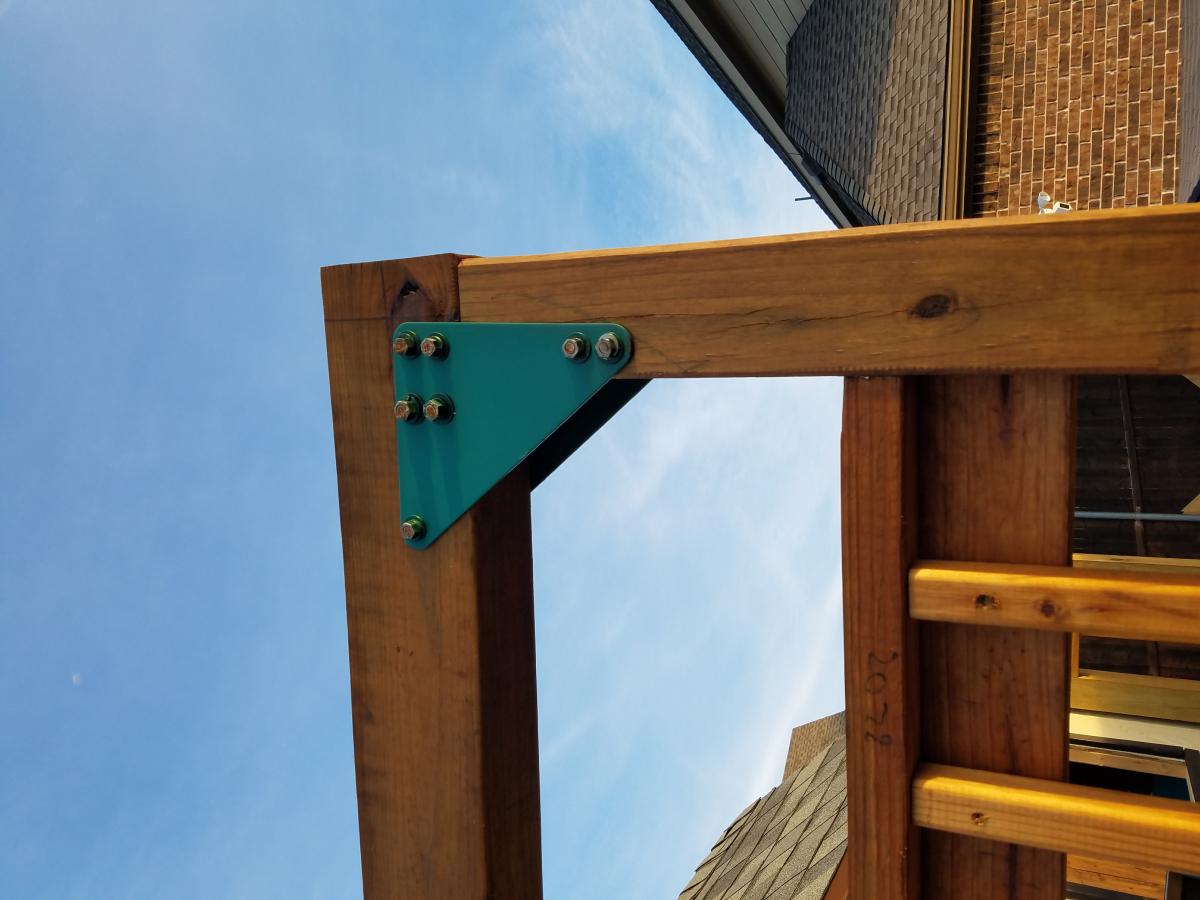
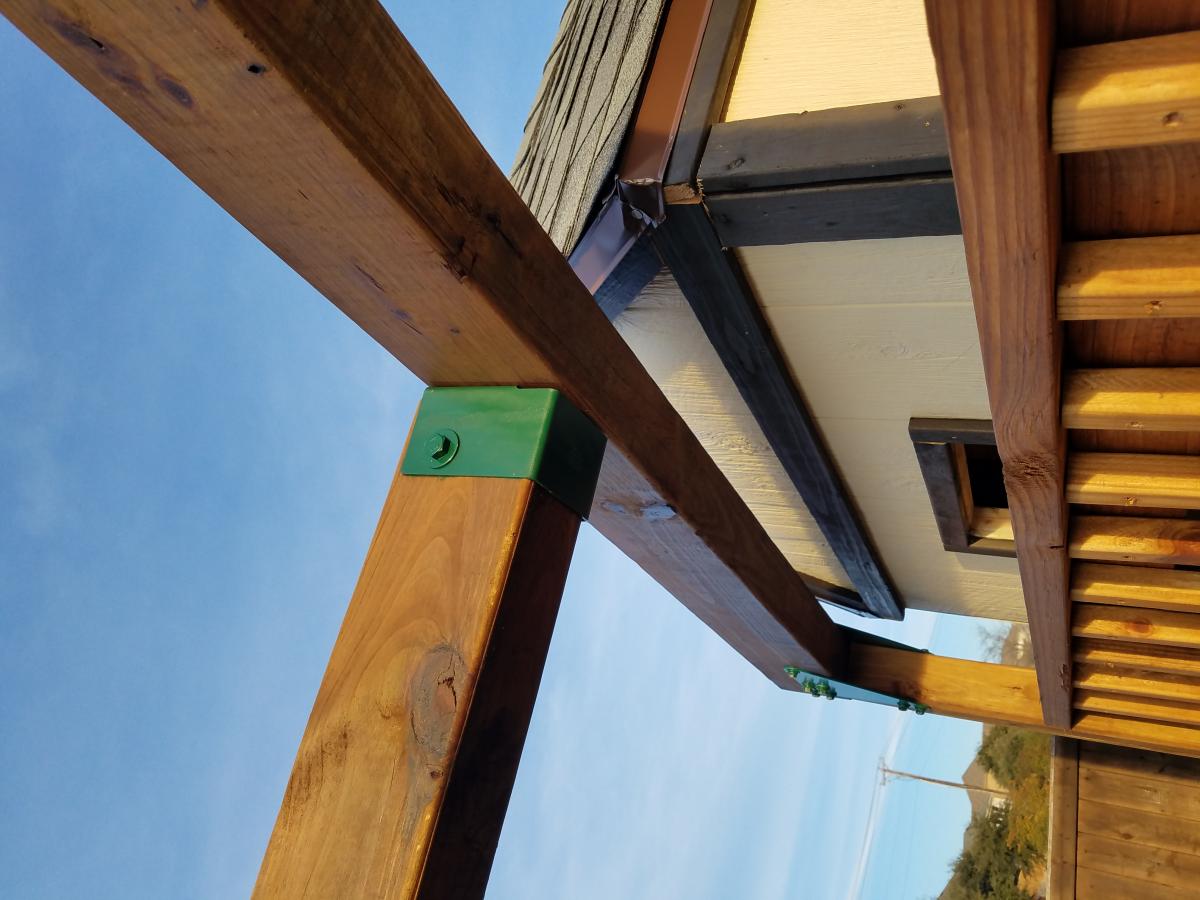
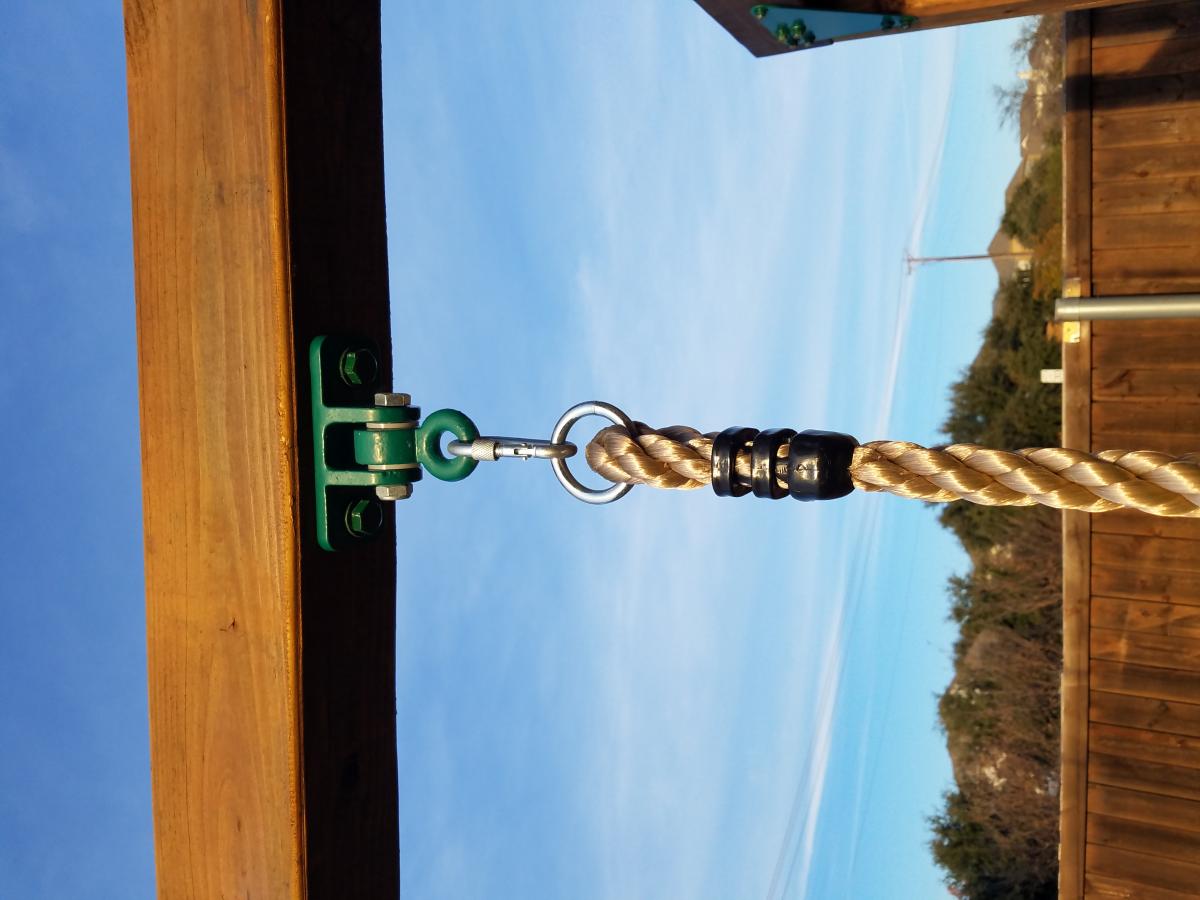
I deviated quite a bit from the plans. Mostly, I used readily available swingset hardware to beef up the design. This stuff can be found on big online sites or specialty sites.
I bought all of the swings, and ninja rope online along with the 4ft slide and safety handles.
Mon, 04/12/2021 - 15:48
did you put your pillars into concrete? It looks like you have a few different bases.
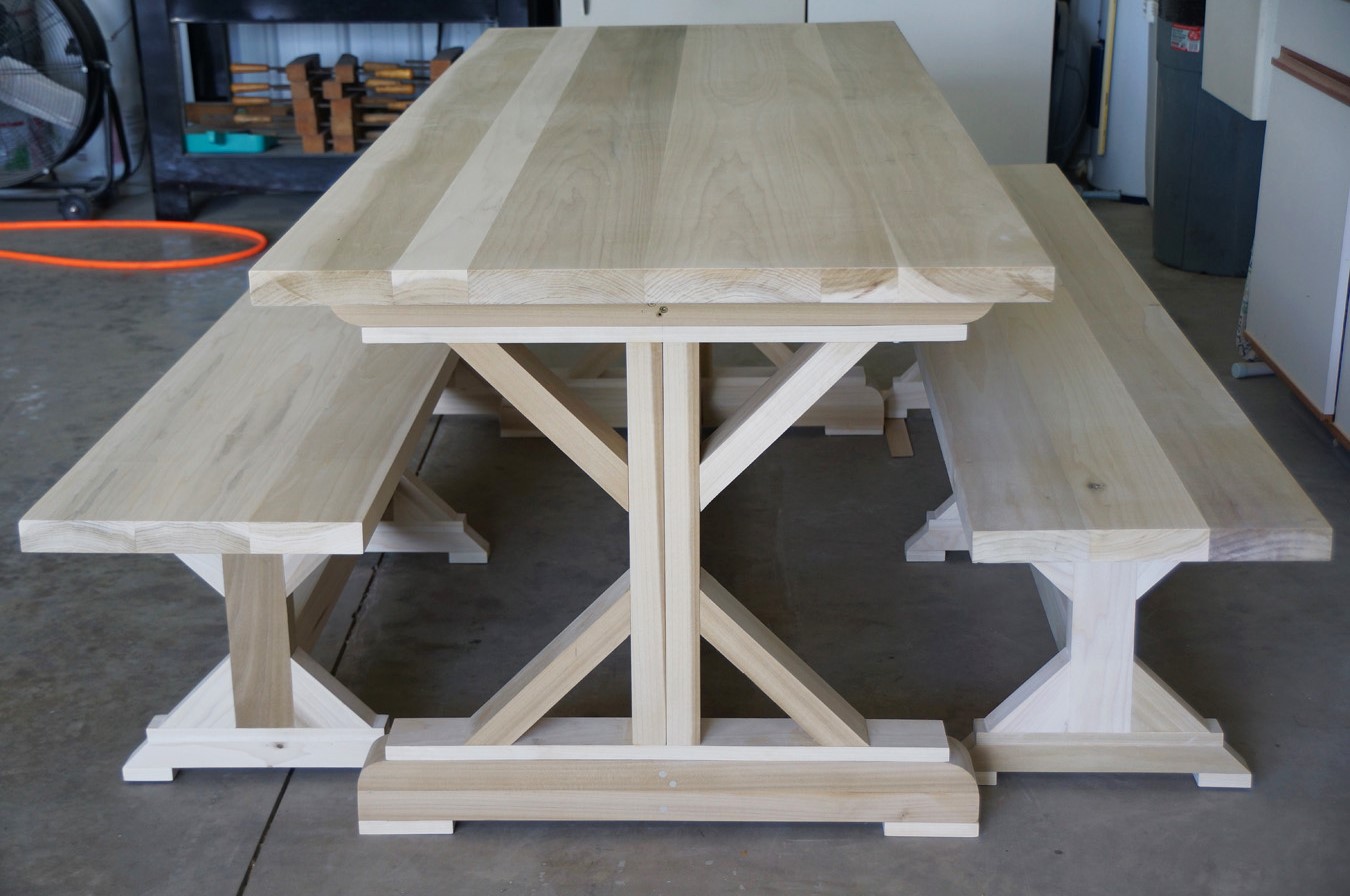
Farm Table 2 benches. Wood is Poplar
David Bellamy 89
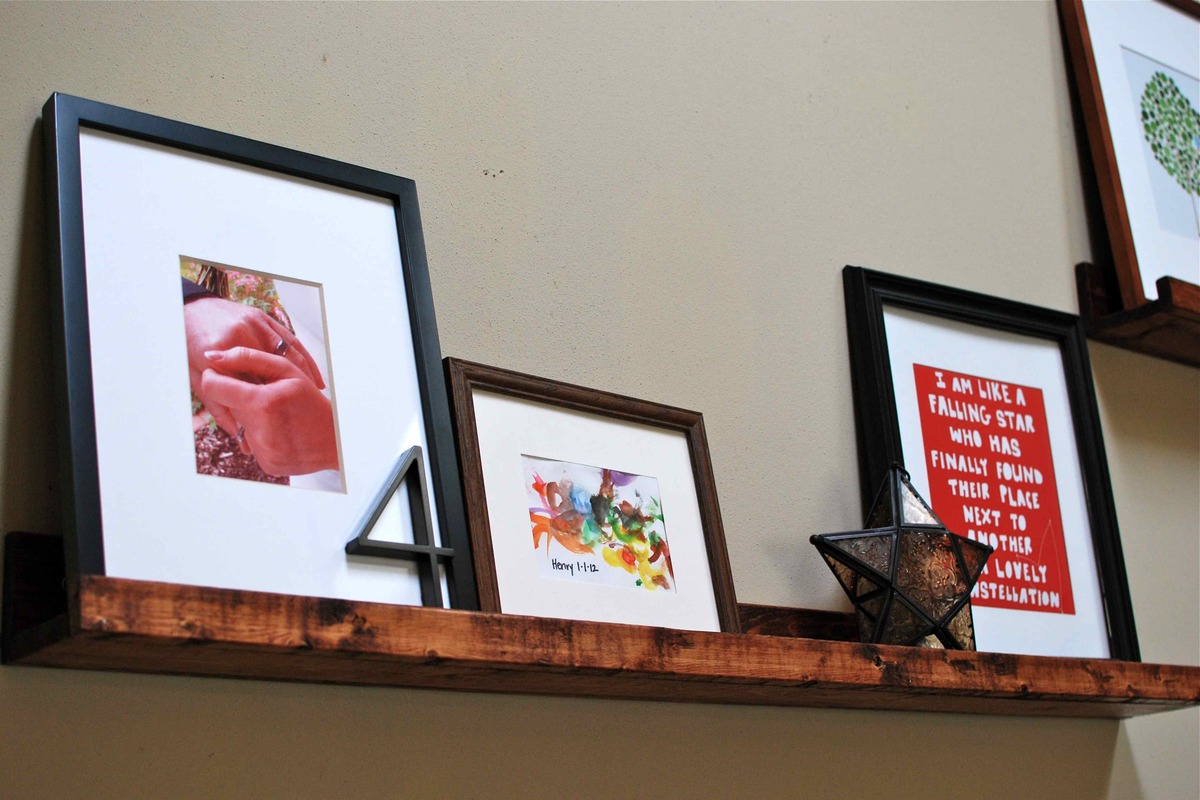
Our take on the 10 dollar ledges. We definitely wanted a rustic look. I love them!
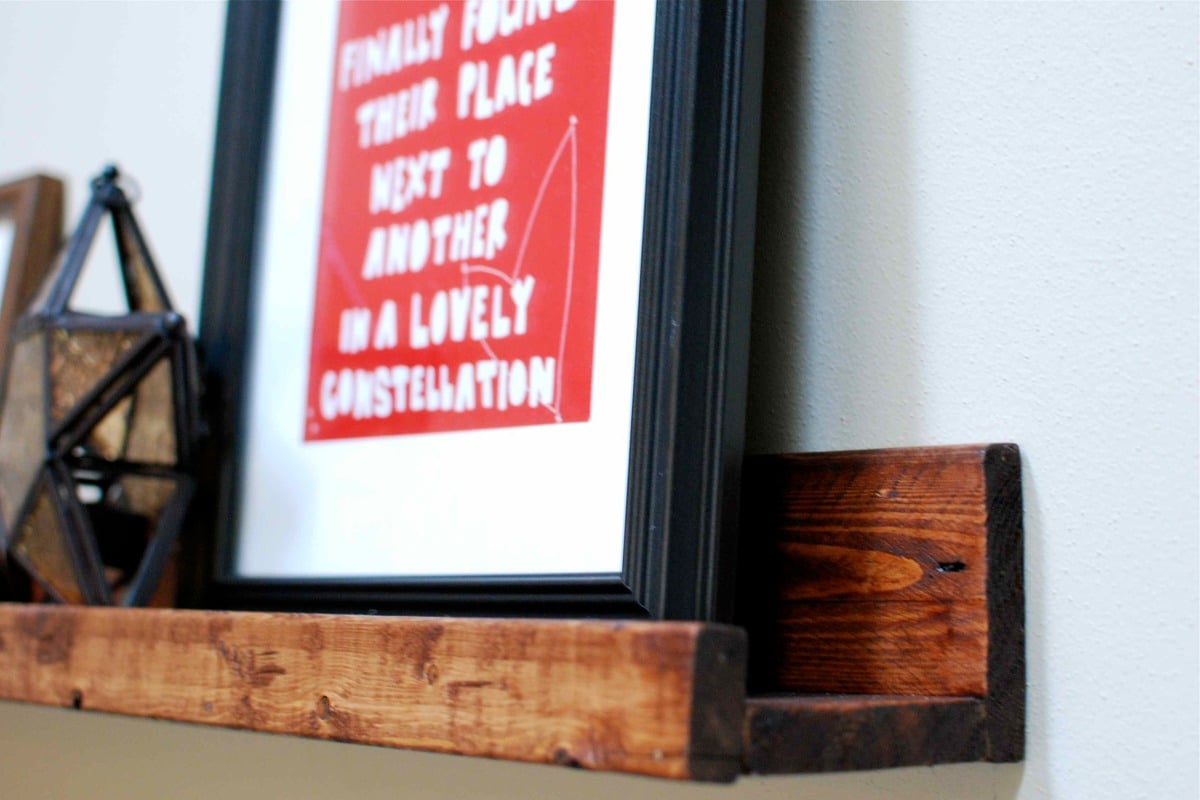
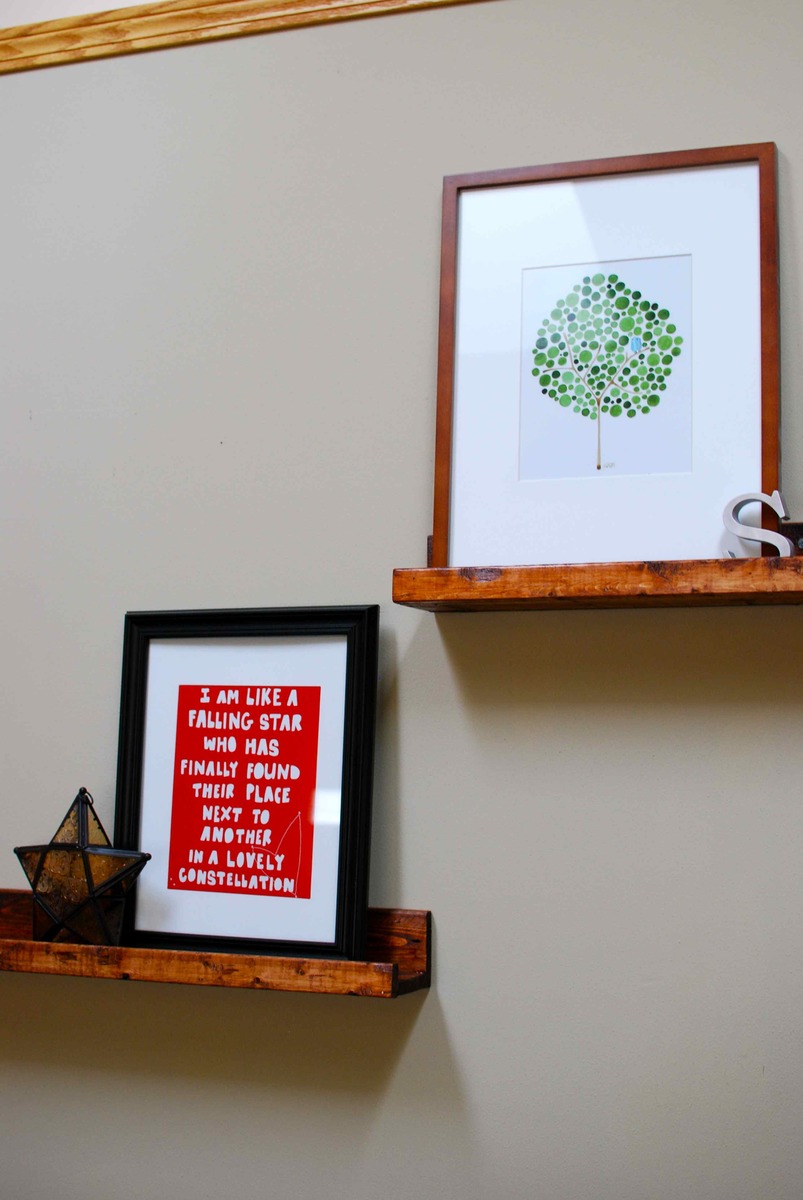
Mon, 10/08/2012 - 00:37
Hello, these are gorgeous! What kind of stain/finish and in what color was used on these shelves? Really love it and would like to know how to make them look liek this.
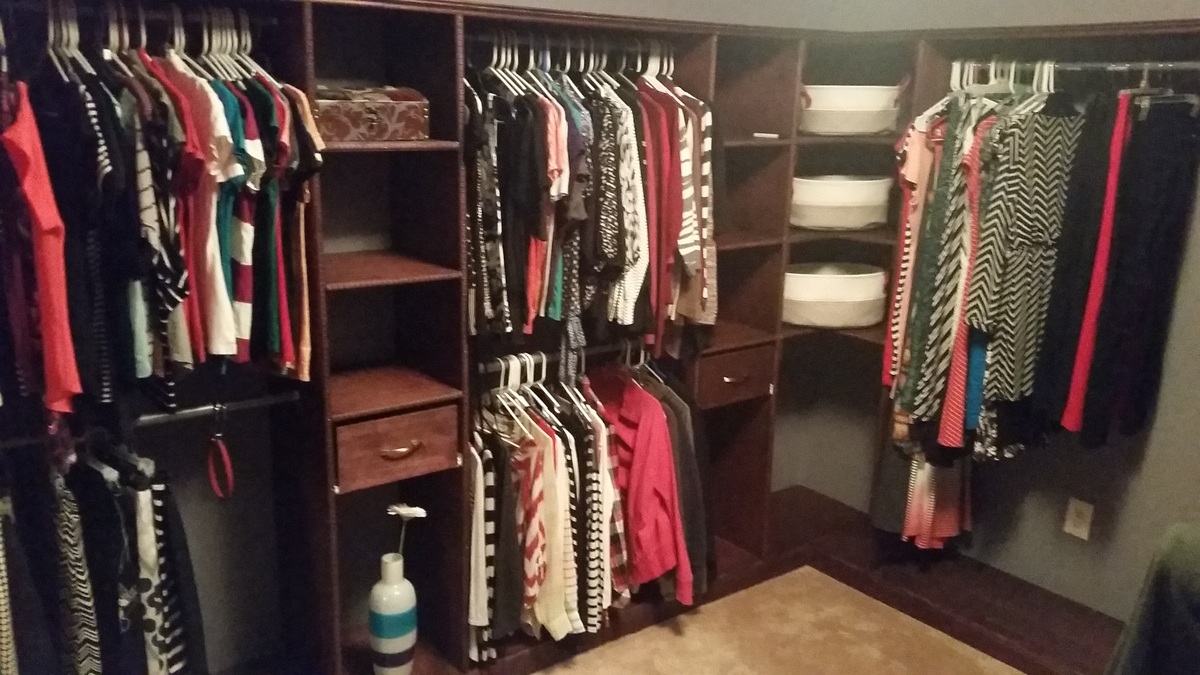
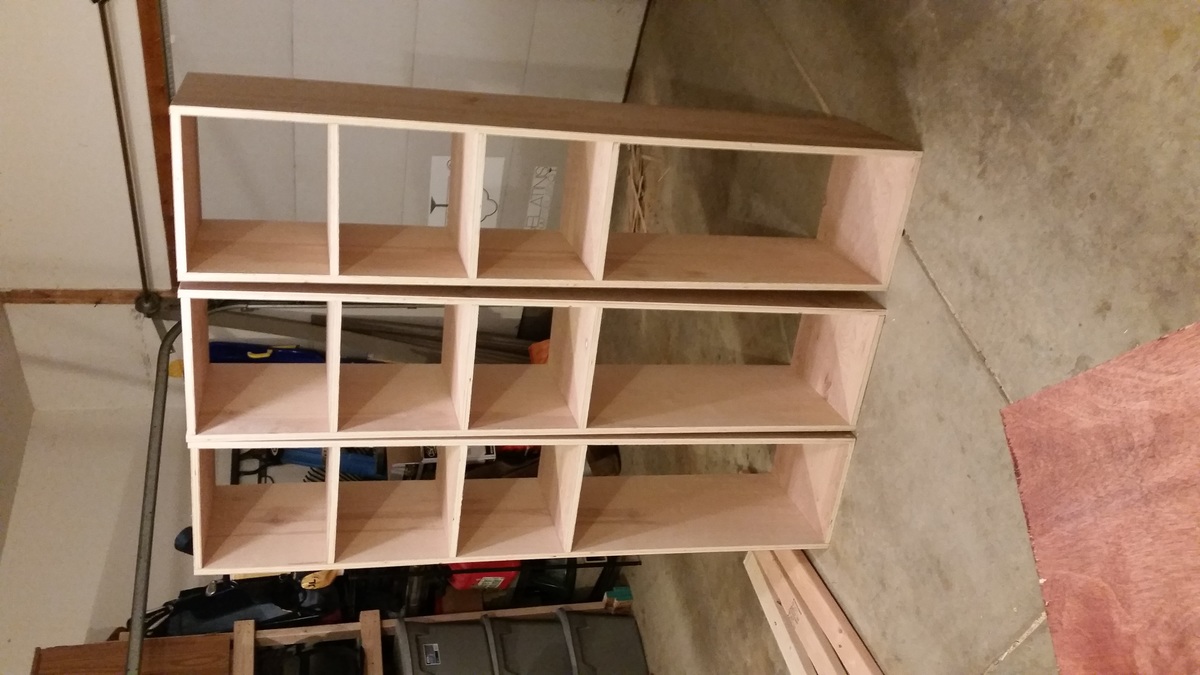
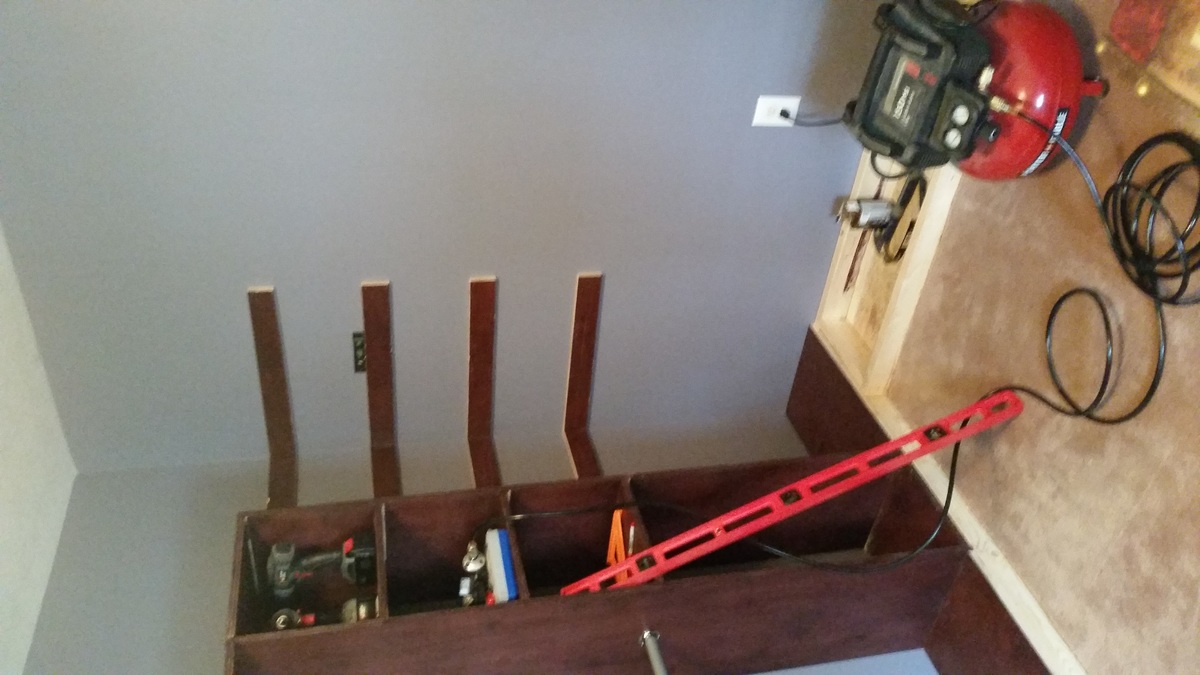
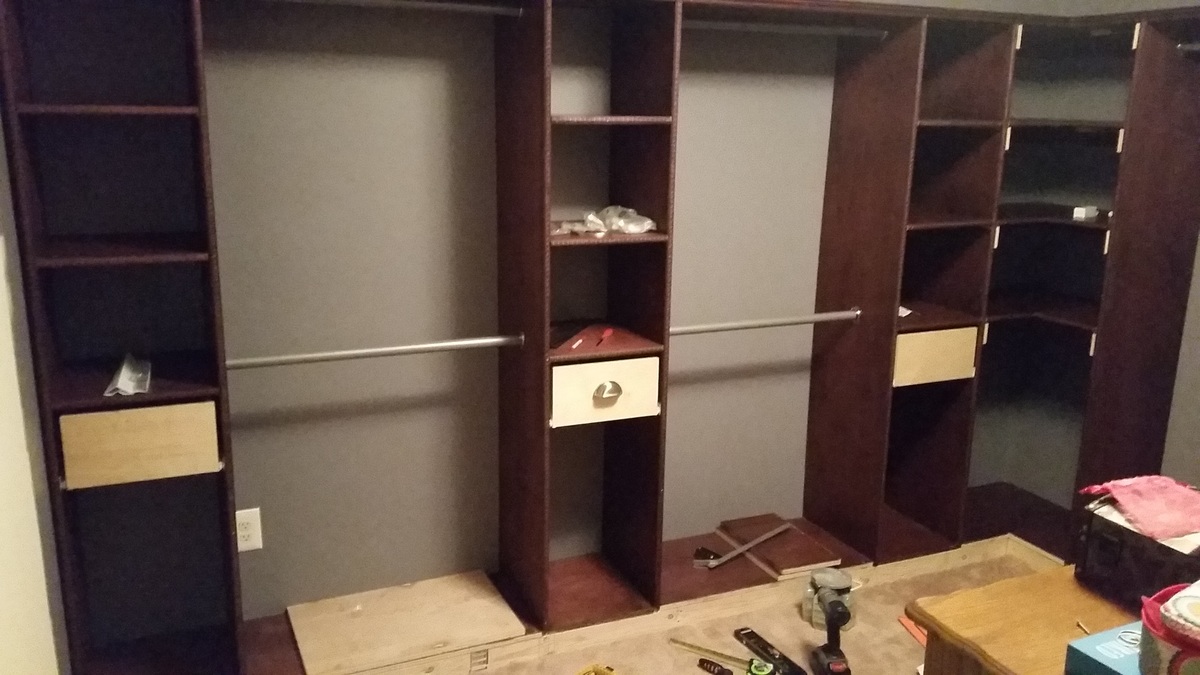
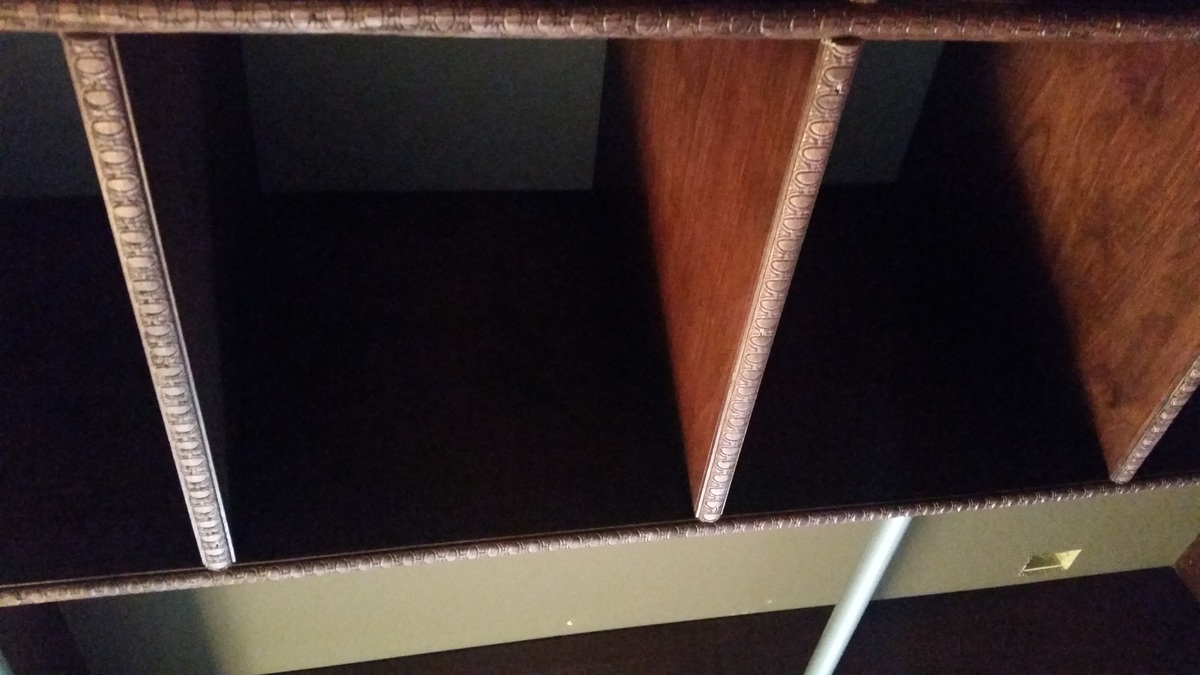
I thought I'd wait and take these glorious after photos once I was done - but nevermind that idea. Here are some pictures of progress, start to finish. I still plan to build some shoe cubbies for the towers so that my wife has a little more shoe-room.
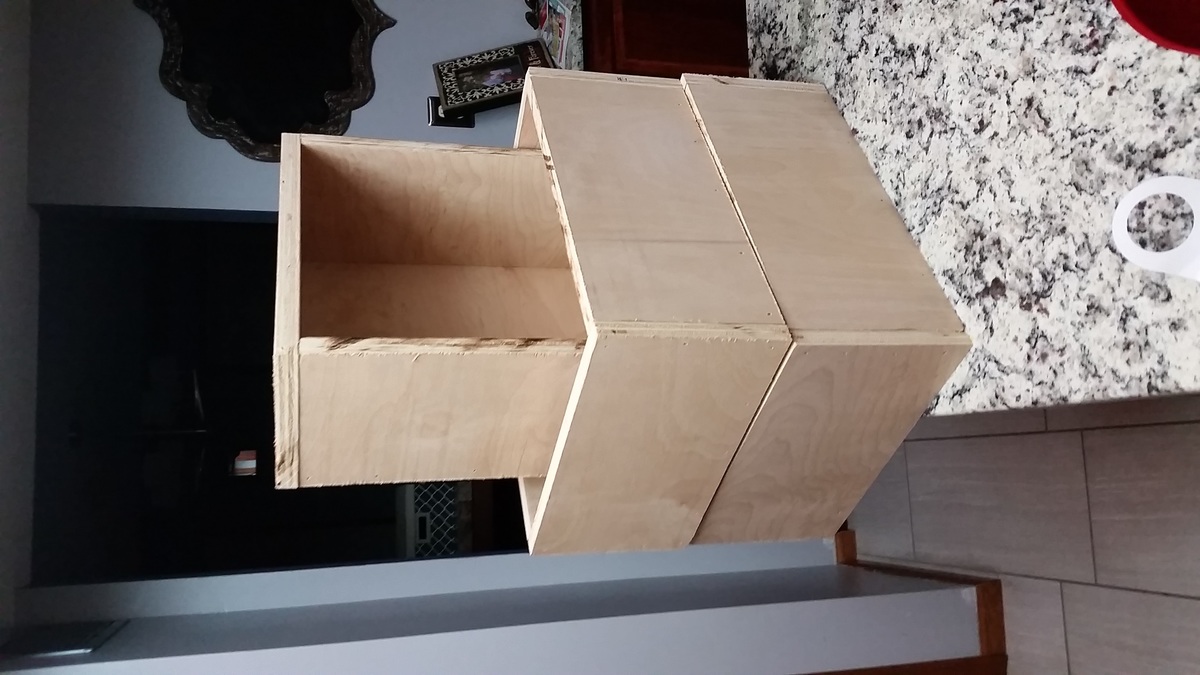
We have a 5th bedroom directly off the master with a double door entrance where the 5th bedroom's closet would have been. The room had been an office for the previous owner and my wife decided it would be a perfect closet for her. I followed the plans quite closely for the towers. I wish I had considered my 8+ foot ceilings and just built the towers taller because 1) storing stuff on top will look messy, and 2) The hanger rods aren't spaced quite well enough for longer clothing. Because of this, I had to build her another hanger on the other side of the wall, which increased the complexity of the project (corner shelves, more wood, more staining, more finishing, etc). In the end, I think it turned out great. I will walk through the process very quickly.
That is pretty much it. I think I have about $500-600 in it. Probably 60-70 hours. If I did it all over again, I could do it better and faster and on the same budget. As noted in the plans, SQUARE is the most important thing. I had to fix all the tower shelves once I had them mounted to the wall because they just were not level/square enough.
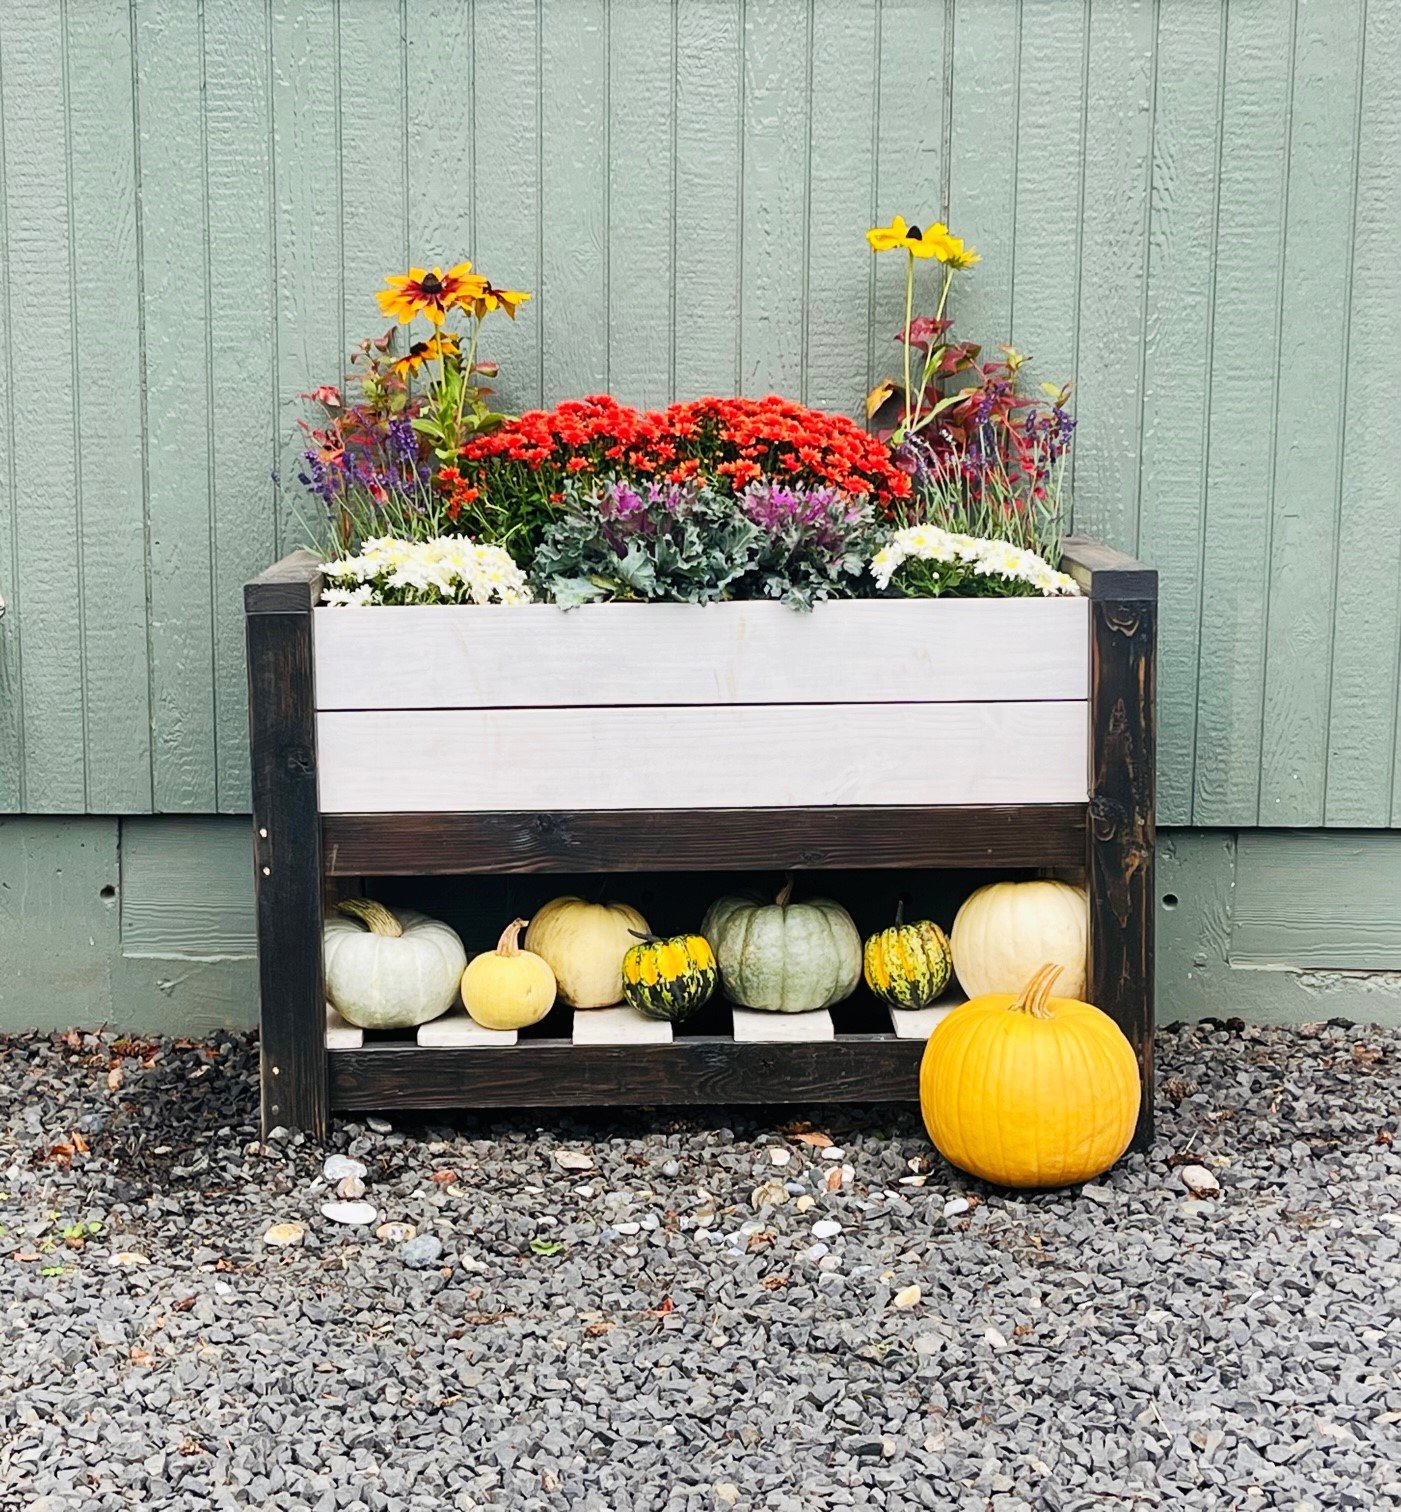
Switched out all my summer plants for fall, love it!

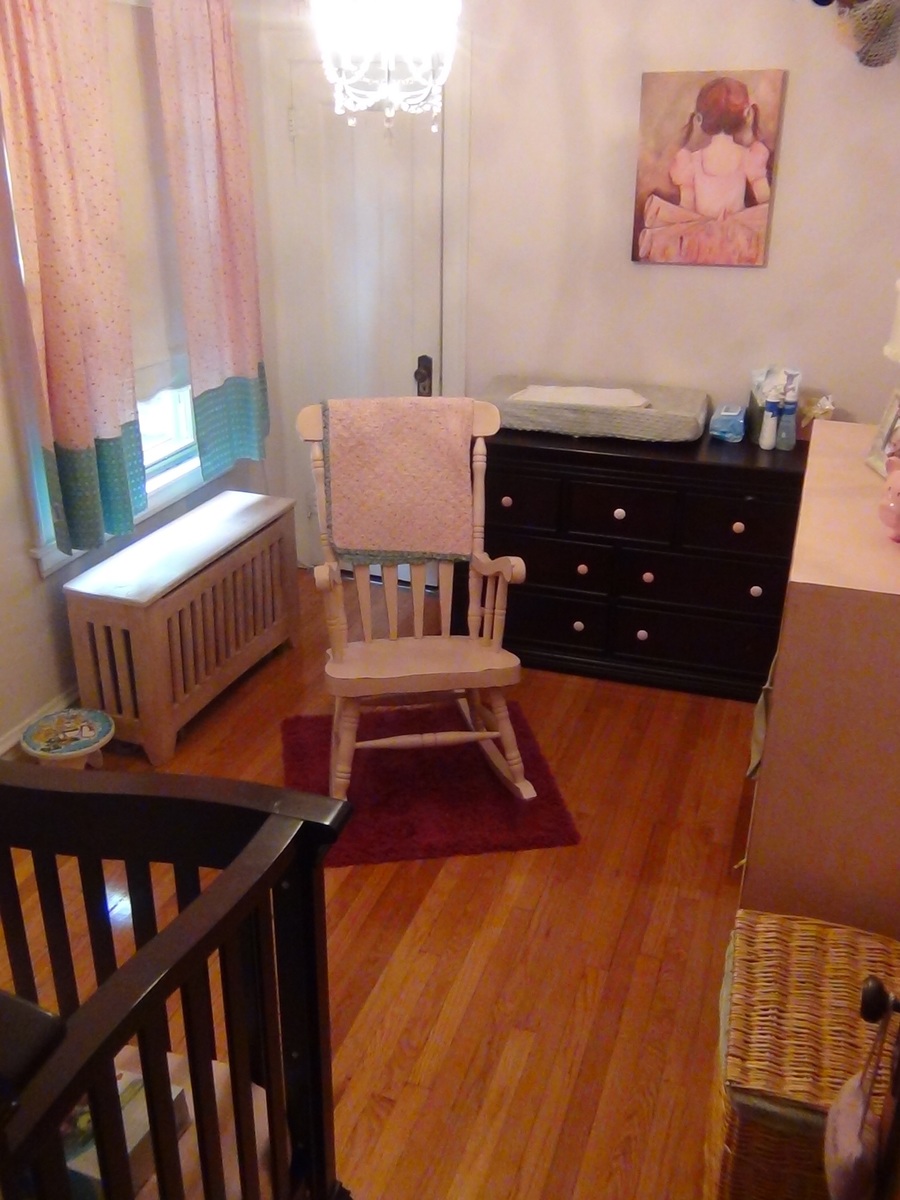
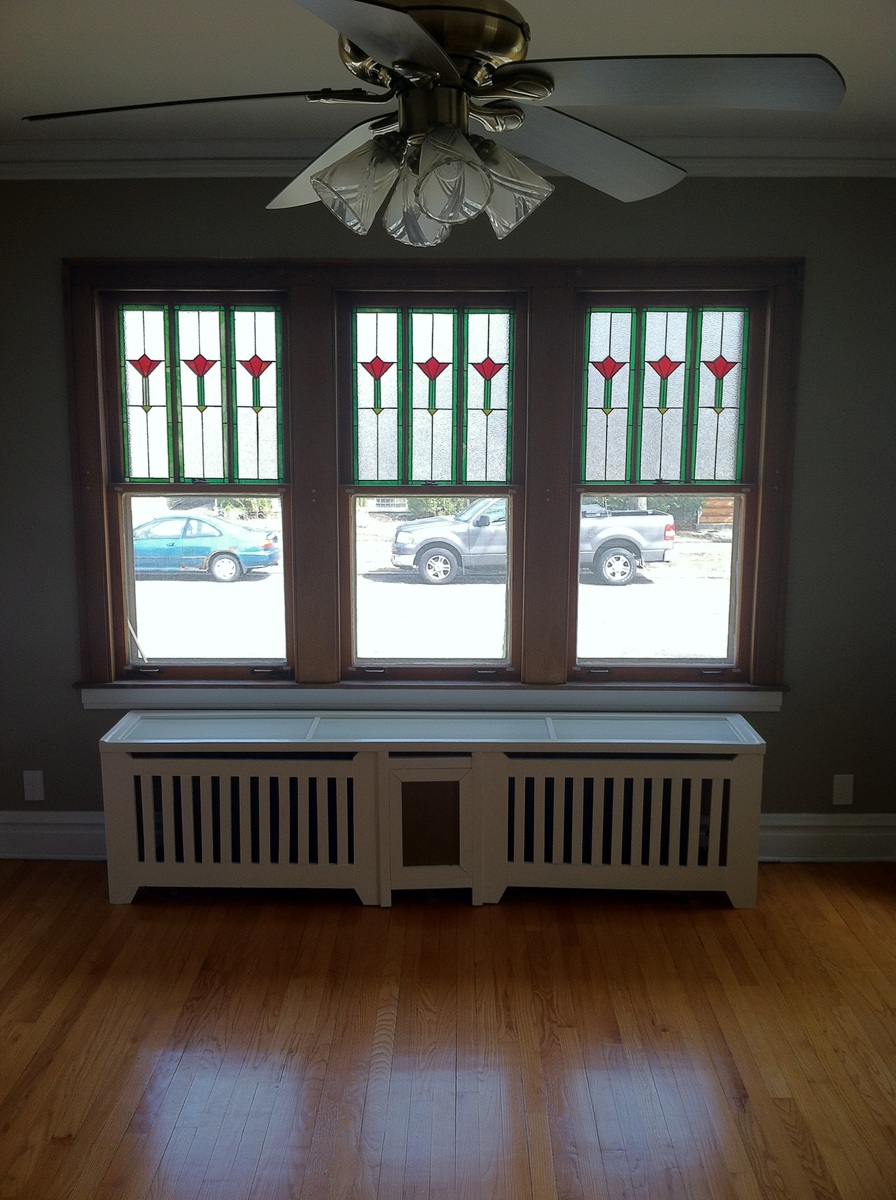
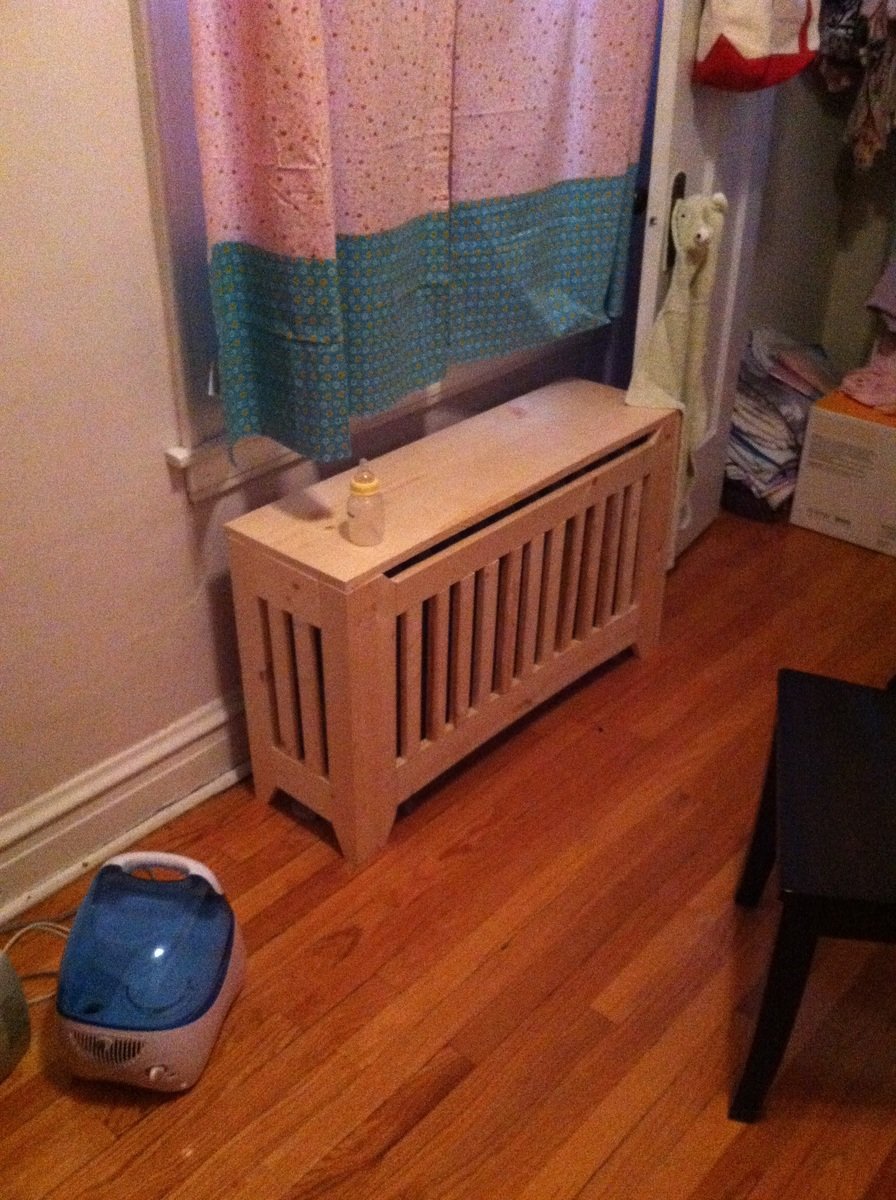
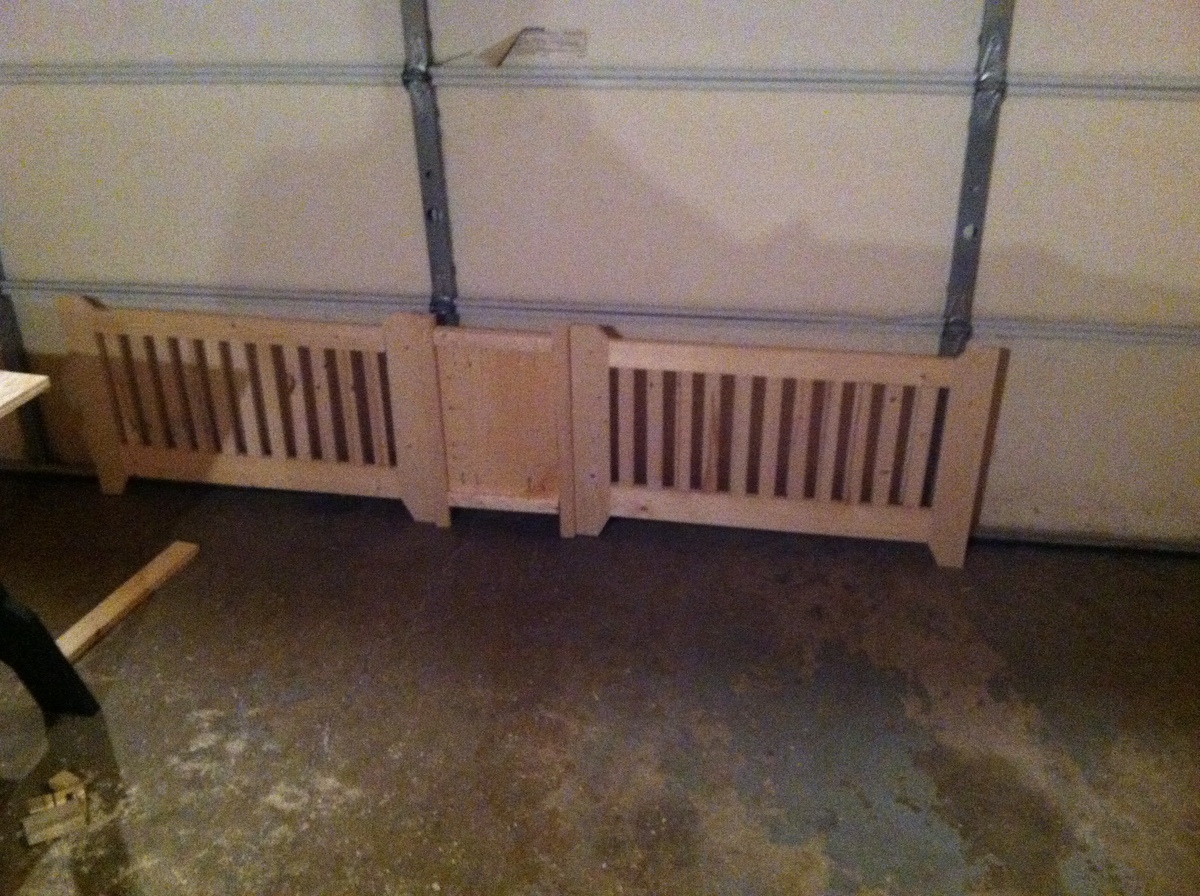
We loved the radiant air in our new early 20th century house, but as our daughter learned to crawl, we needed to prevent her little fingers from touching the two radiators that were still uncovered. After I finished my first few builds, I custom designed these radiator covers with 1x2s, 1x3s 2x2s and 1x12s. Needless to say, I got a ton of use out of my Kreg Jig. On the middle panel of the larger cover, I used a bit of decorative metal that they sell at the Big Box stores (of course, it would have been easier to use more of it, but I am a bit paranoid about little fingers touching a metal cover). For a final touch, I covered the top of the larger cover with decorative glass. For the smaller cover, I matched the distressed pink throughout the rest of my daughter's nursery.
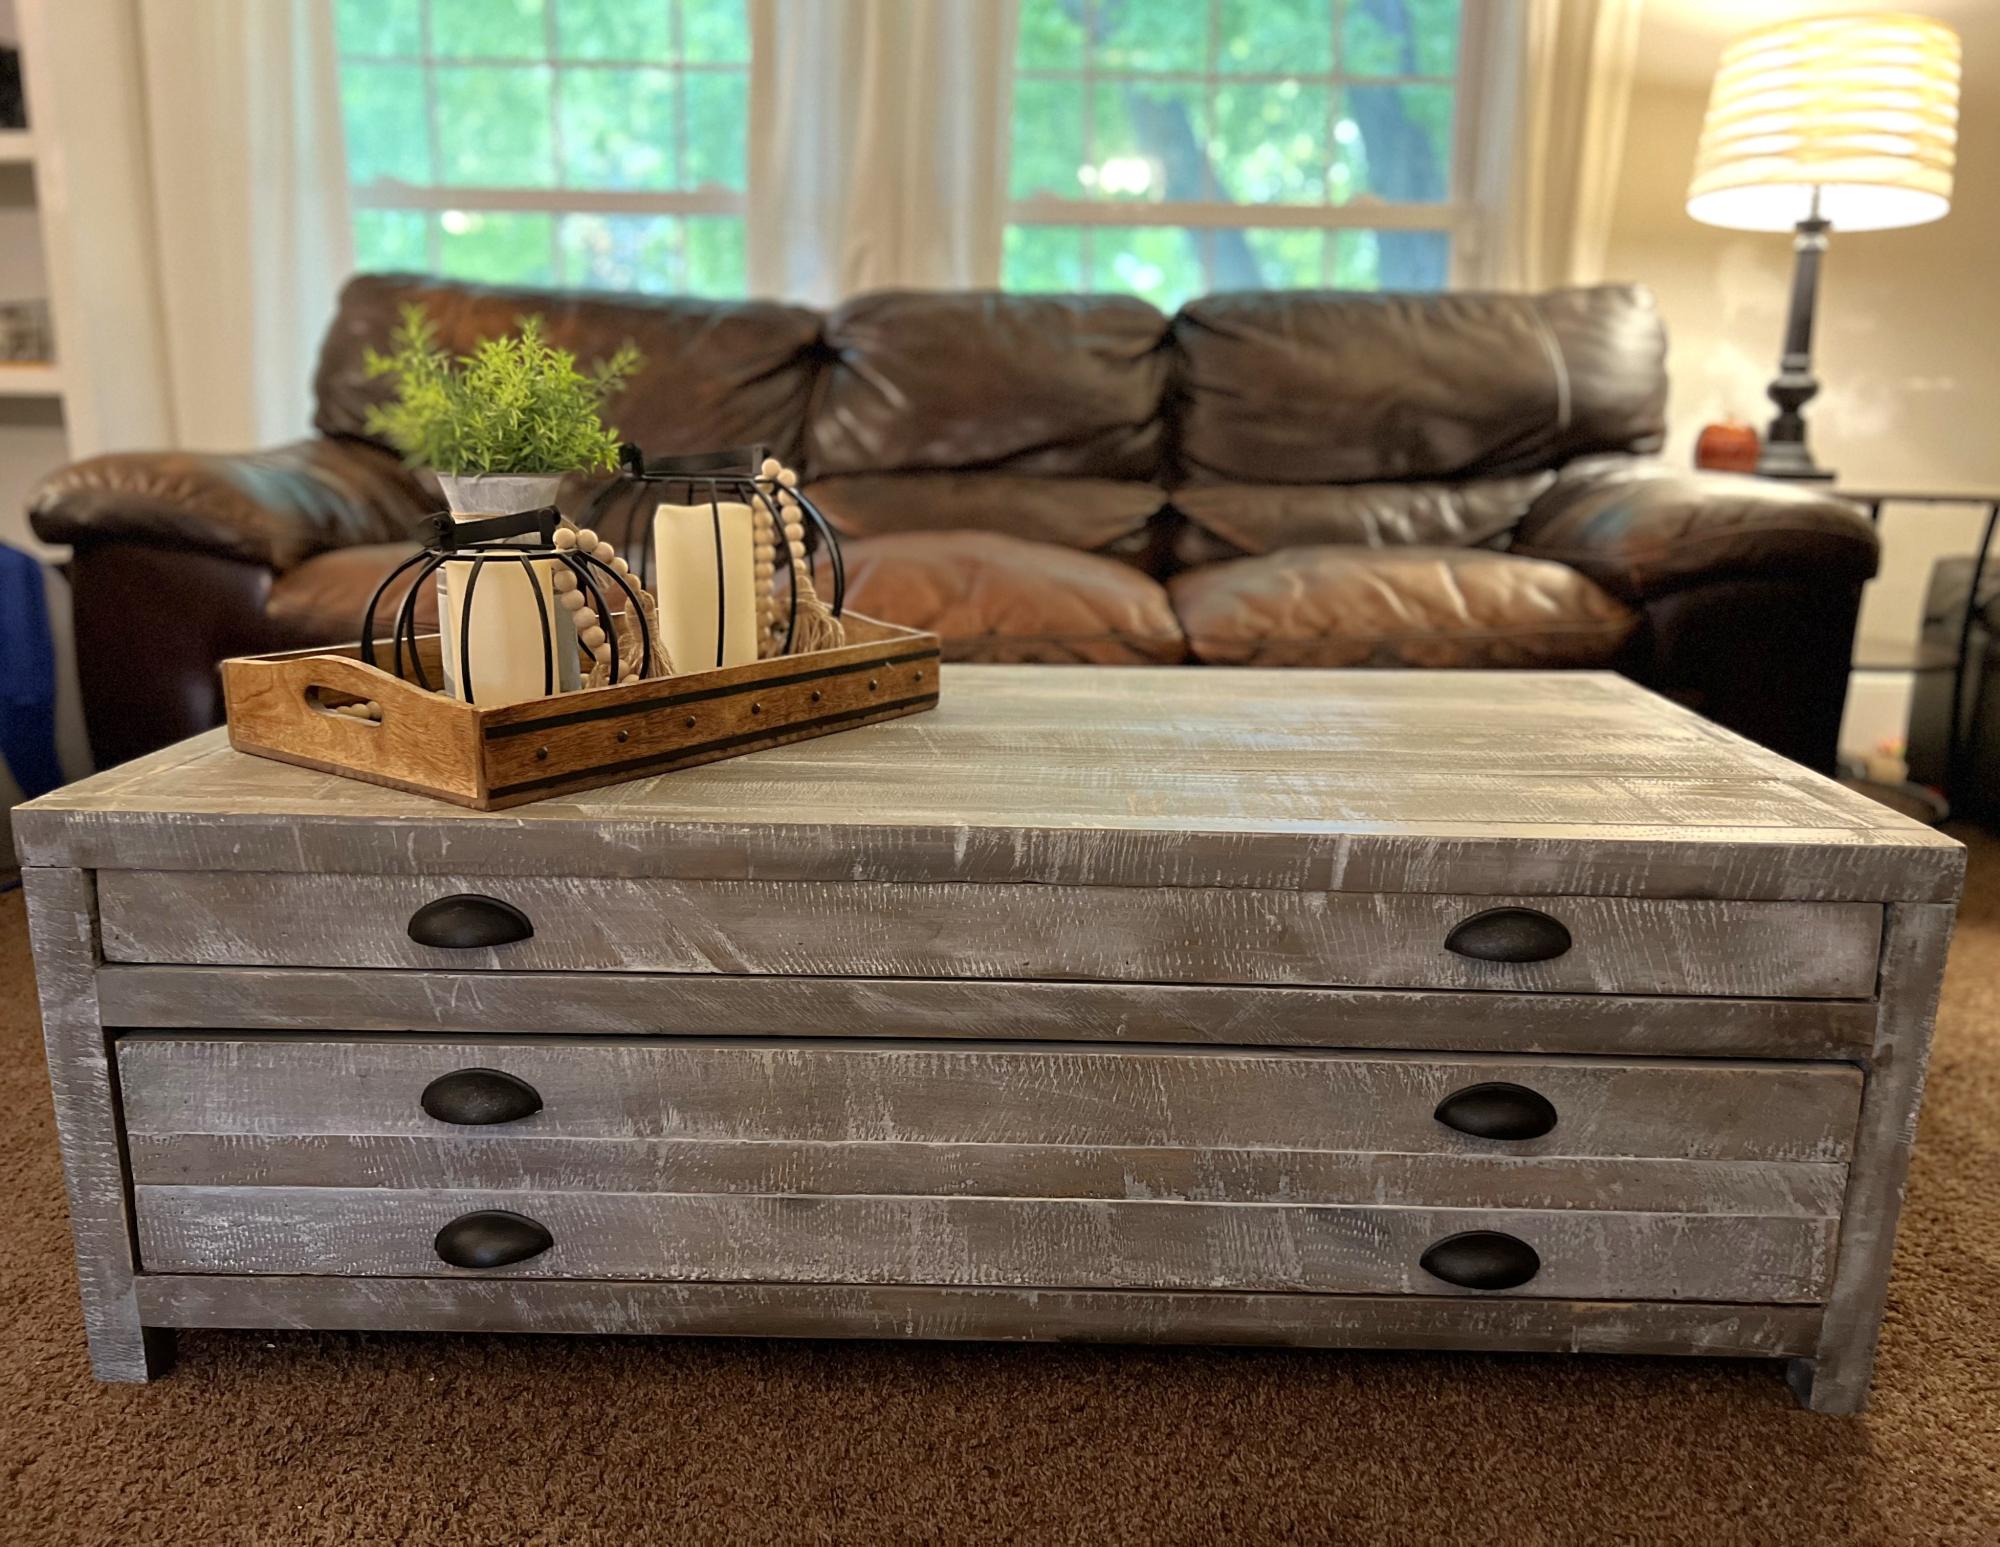
I distressed my wood with a sawzall, then stained with gray and whitewashed! Love how it turned out!
Emily Boyas
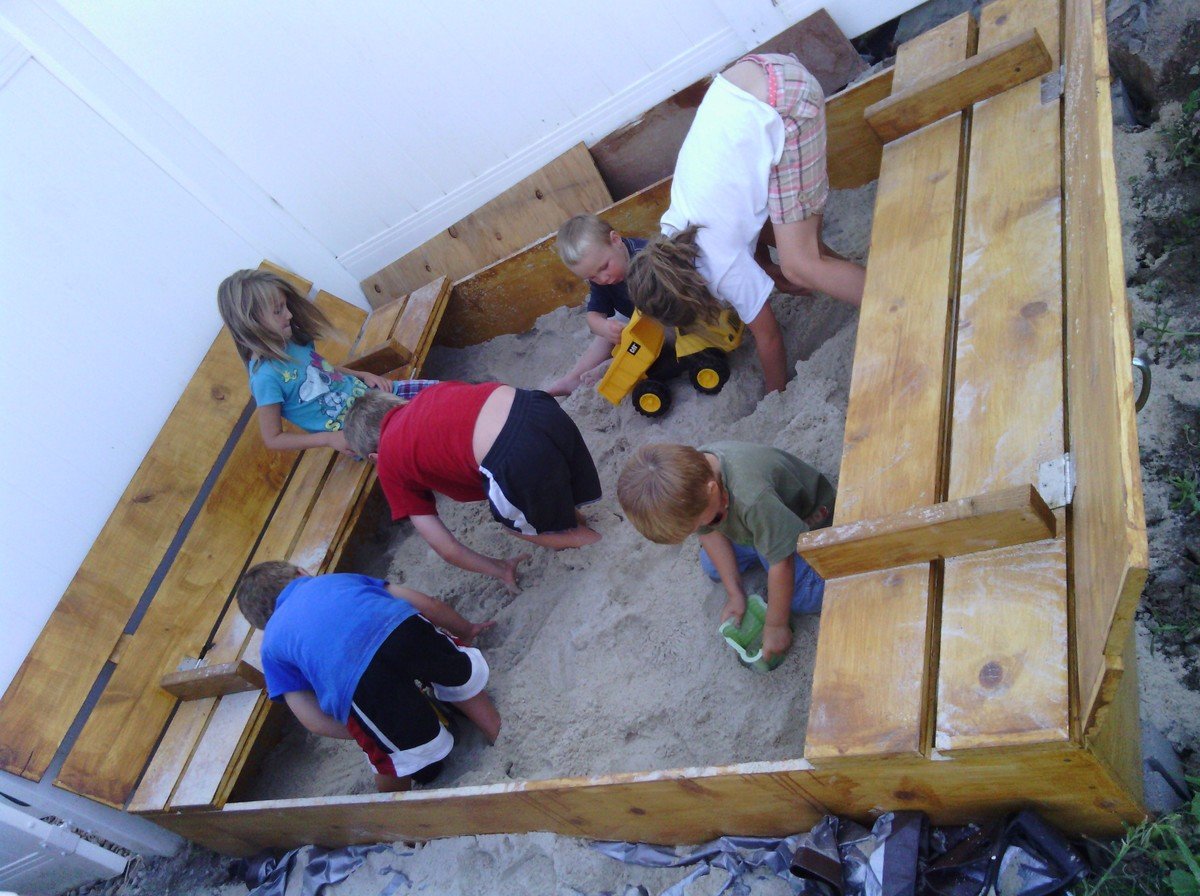
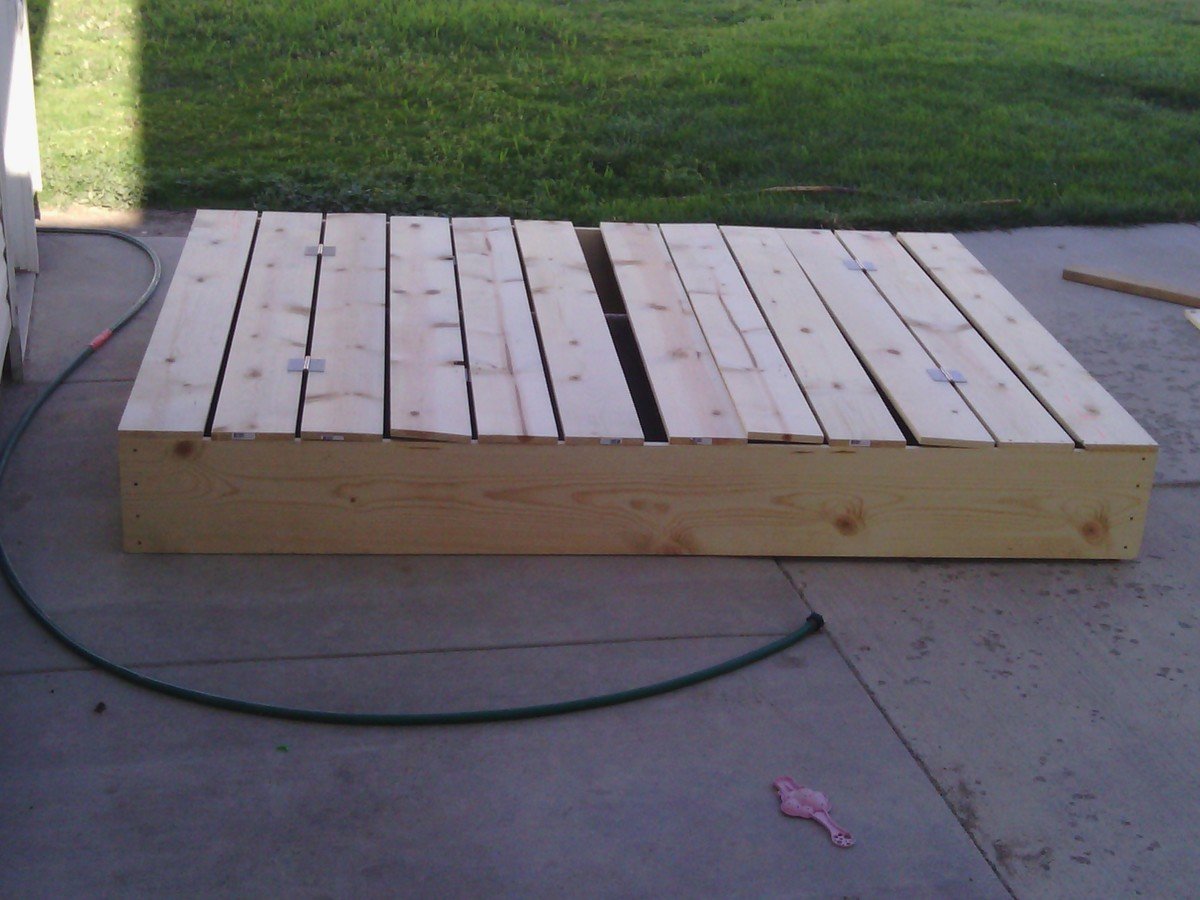
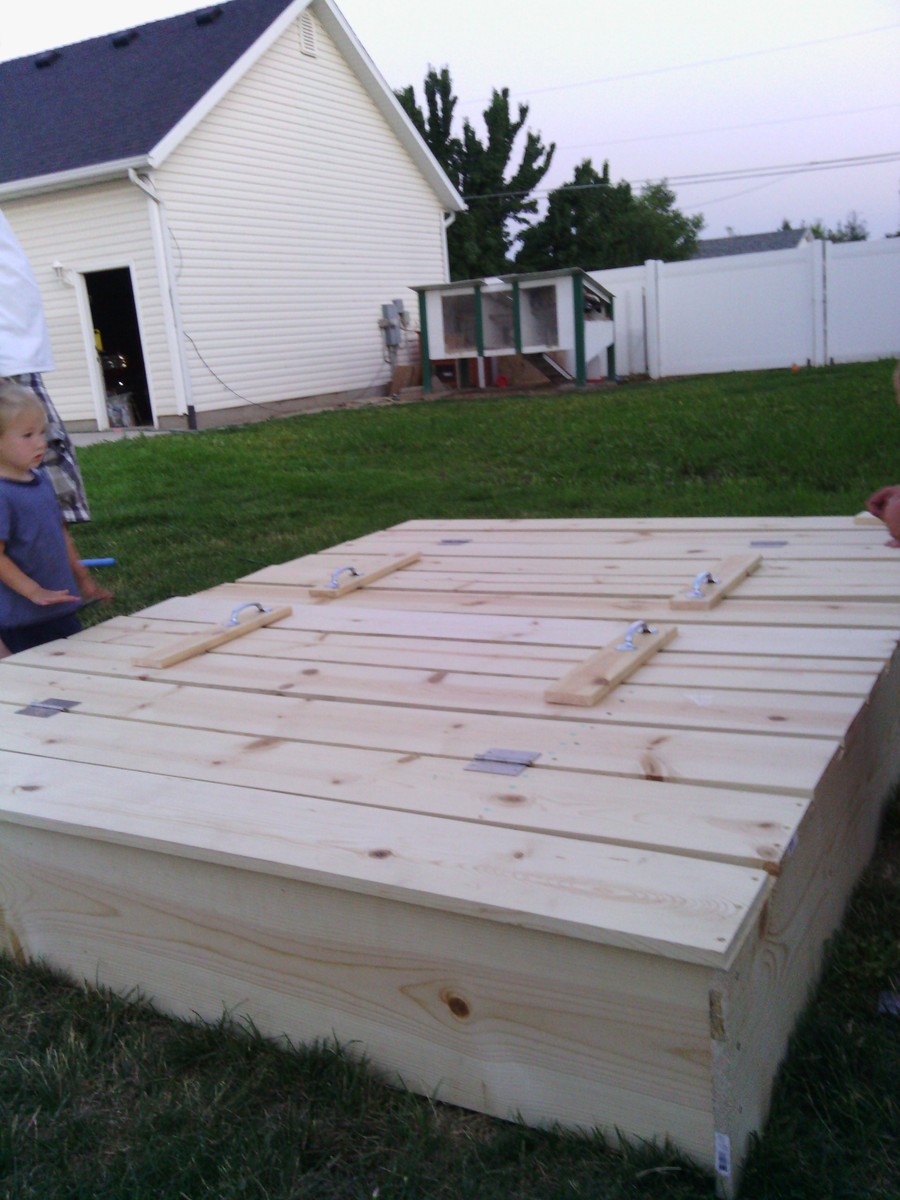
We wanted to make a large sandbox for lots of kids. We love that it has an easy cover and two large benches to sit.
Supplies and Steps are shared at http://myhomedonemyway.blogspot.com/2013/07/building-6-x-8-sandbox.html
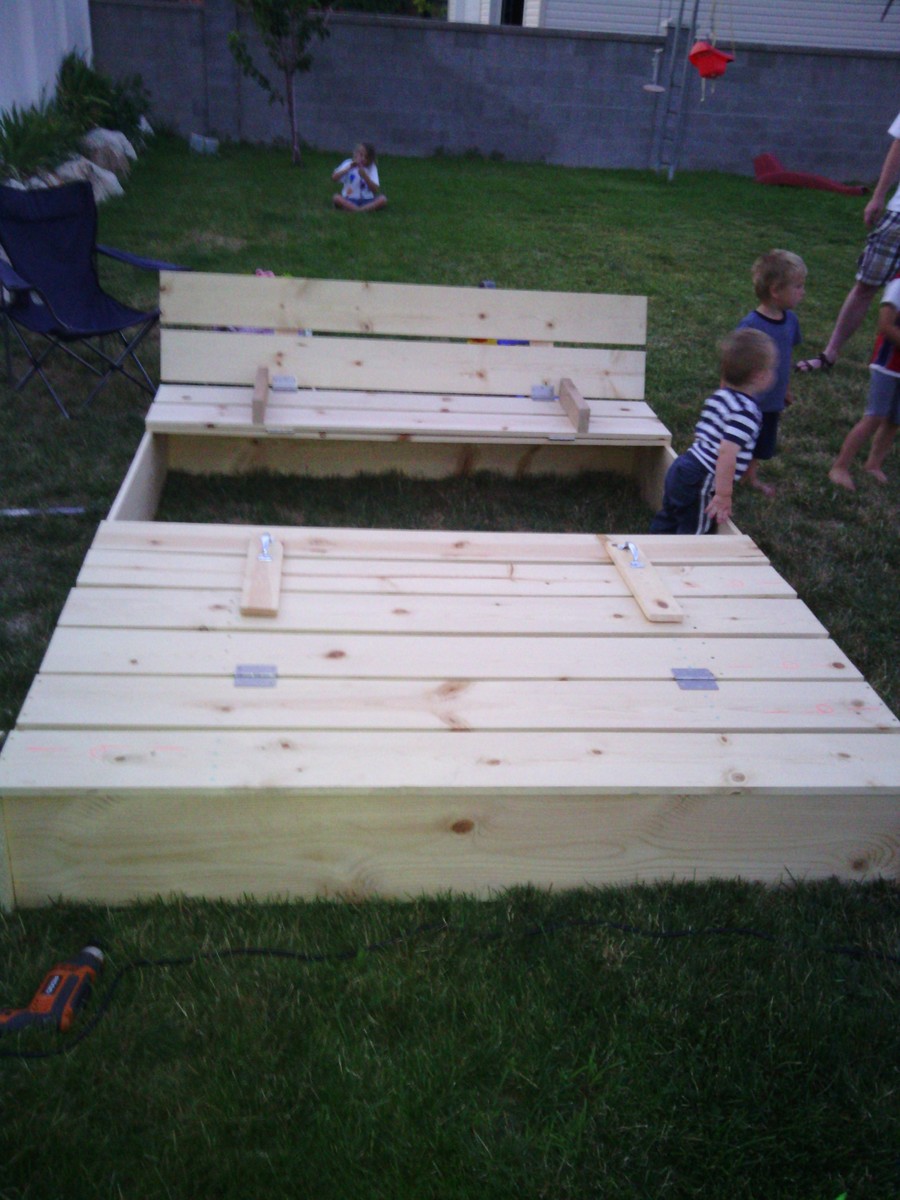
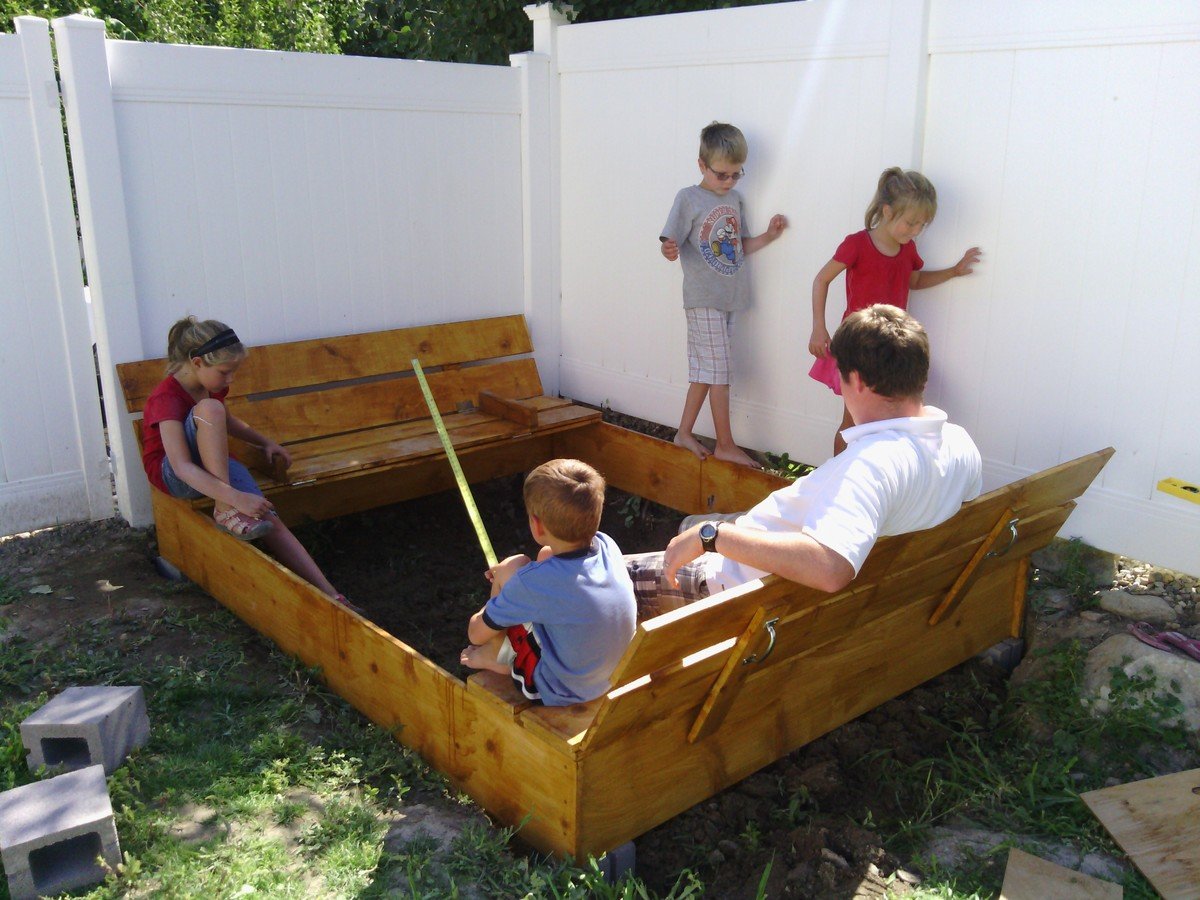
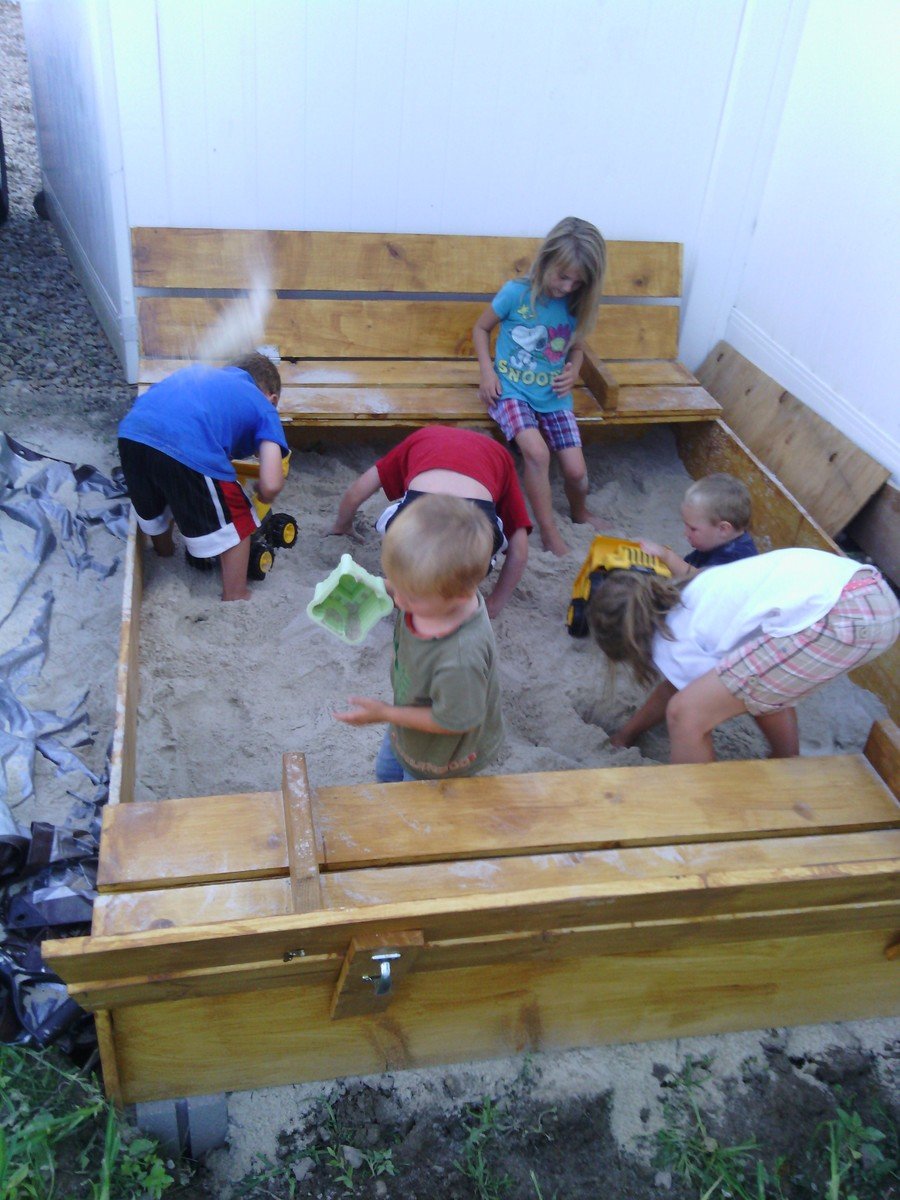
Wed, 02/26/2014 - 13:37
I hope sharing this will inspire others of things that they can make. Check out my blog for other DIY projects: http://myhomedonemyway.blogspot.com
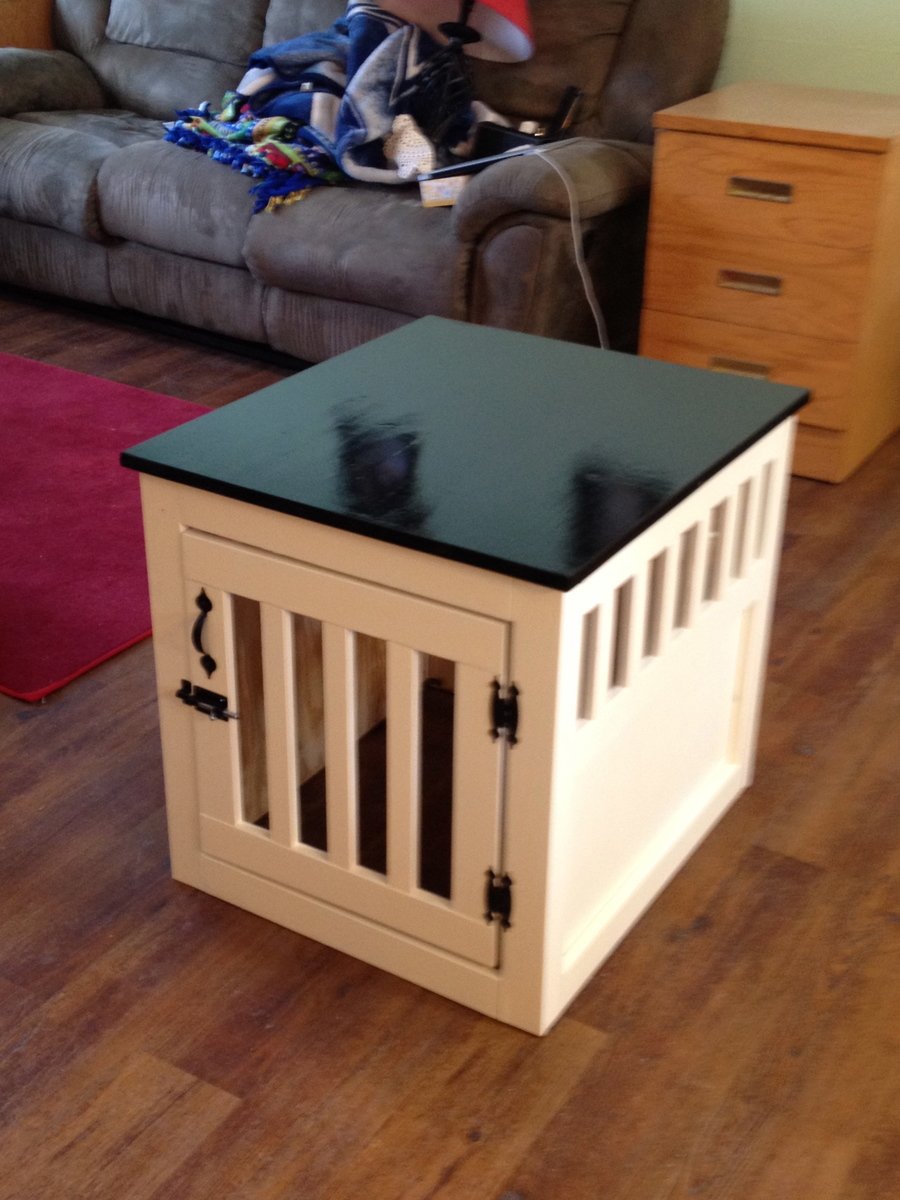
I just finished my first project with a Kreg Jig, I used the colors from another kennel project that we found on the site because we thought it would go well with our living room. I adjusted the plans to fit our furniture and dogs, so it is shorter and not as deep as the the original plans show.
Thu, 05/31/2012 - 18:35
This is a fabulous idea. We live in a small space and this is a two for one idea. I think we will be making this soon. Thanks so much for the idea. I would have never thought of this on my own.
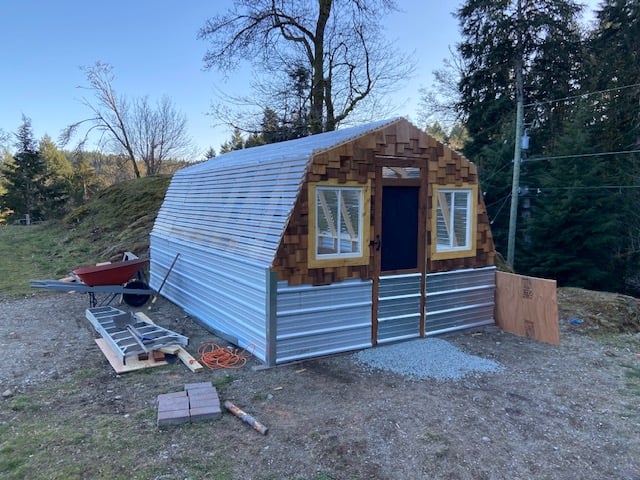
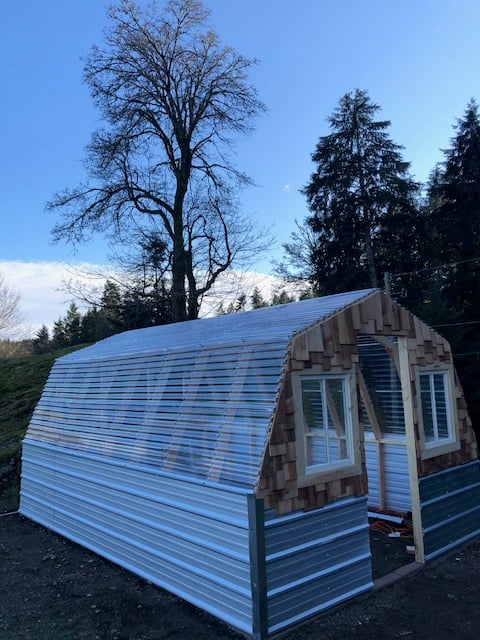
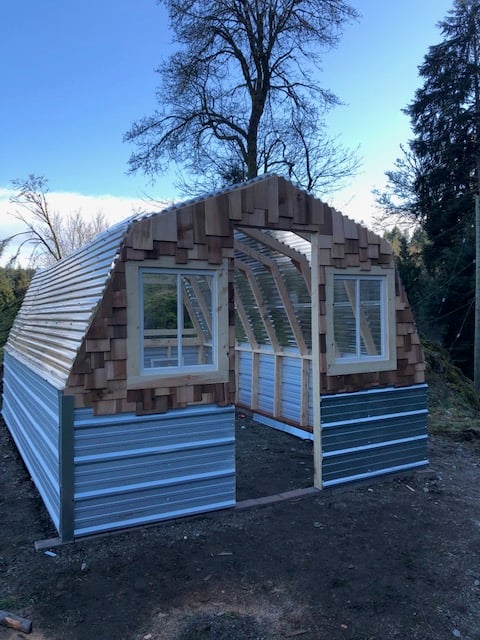
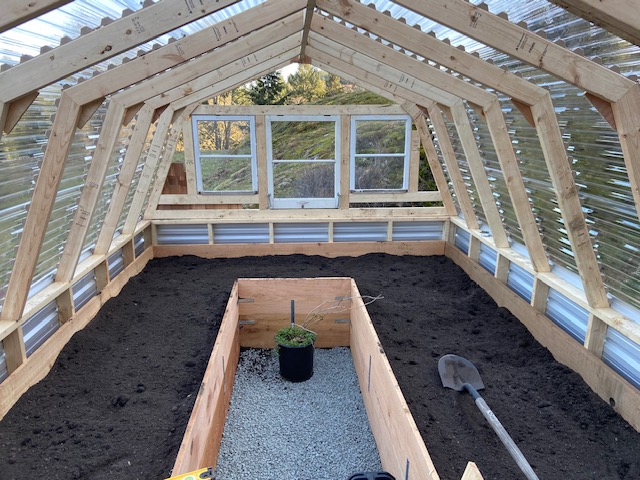
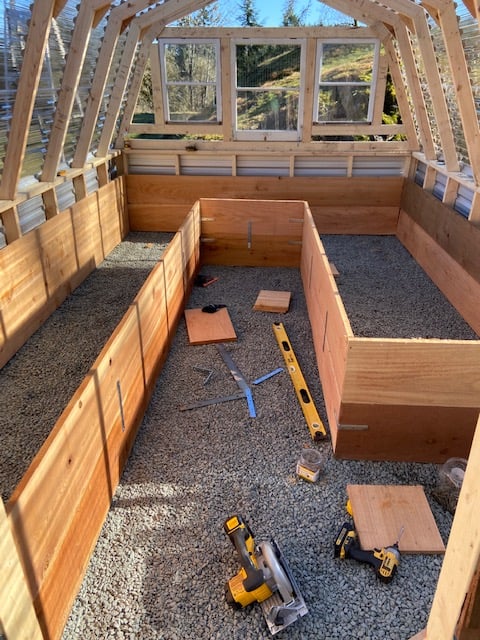
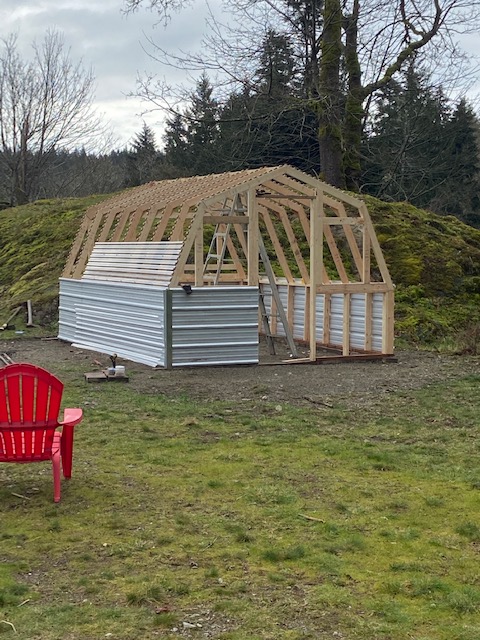
*NOT SURE MY PICTURES ARE UPSIDE DOWN??* This is the second time i've built this greenhouse. We recently moved to a bigger property so I built it 4ft longer at 16ft. I had some old windows to I modified the front and rear so I could incorporate them into the design. The cedar shake really adds to the appeal of the greenhouse as well. I still have to flash it off, but we are very happy with this greenhouse.
Wed, 03/25/2020 - 10:13
Got the photos straightened out, thank you for posting!
This is amazing, thank you so much for using our plans and sharing photos, it is much appreciated!
Tue, 05/05/2020 - 12:35
Great greenhouse, I'm just starting to build one the same. What height are your beds?
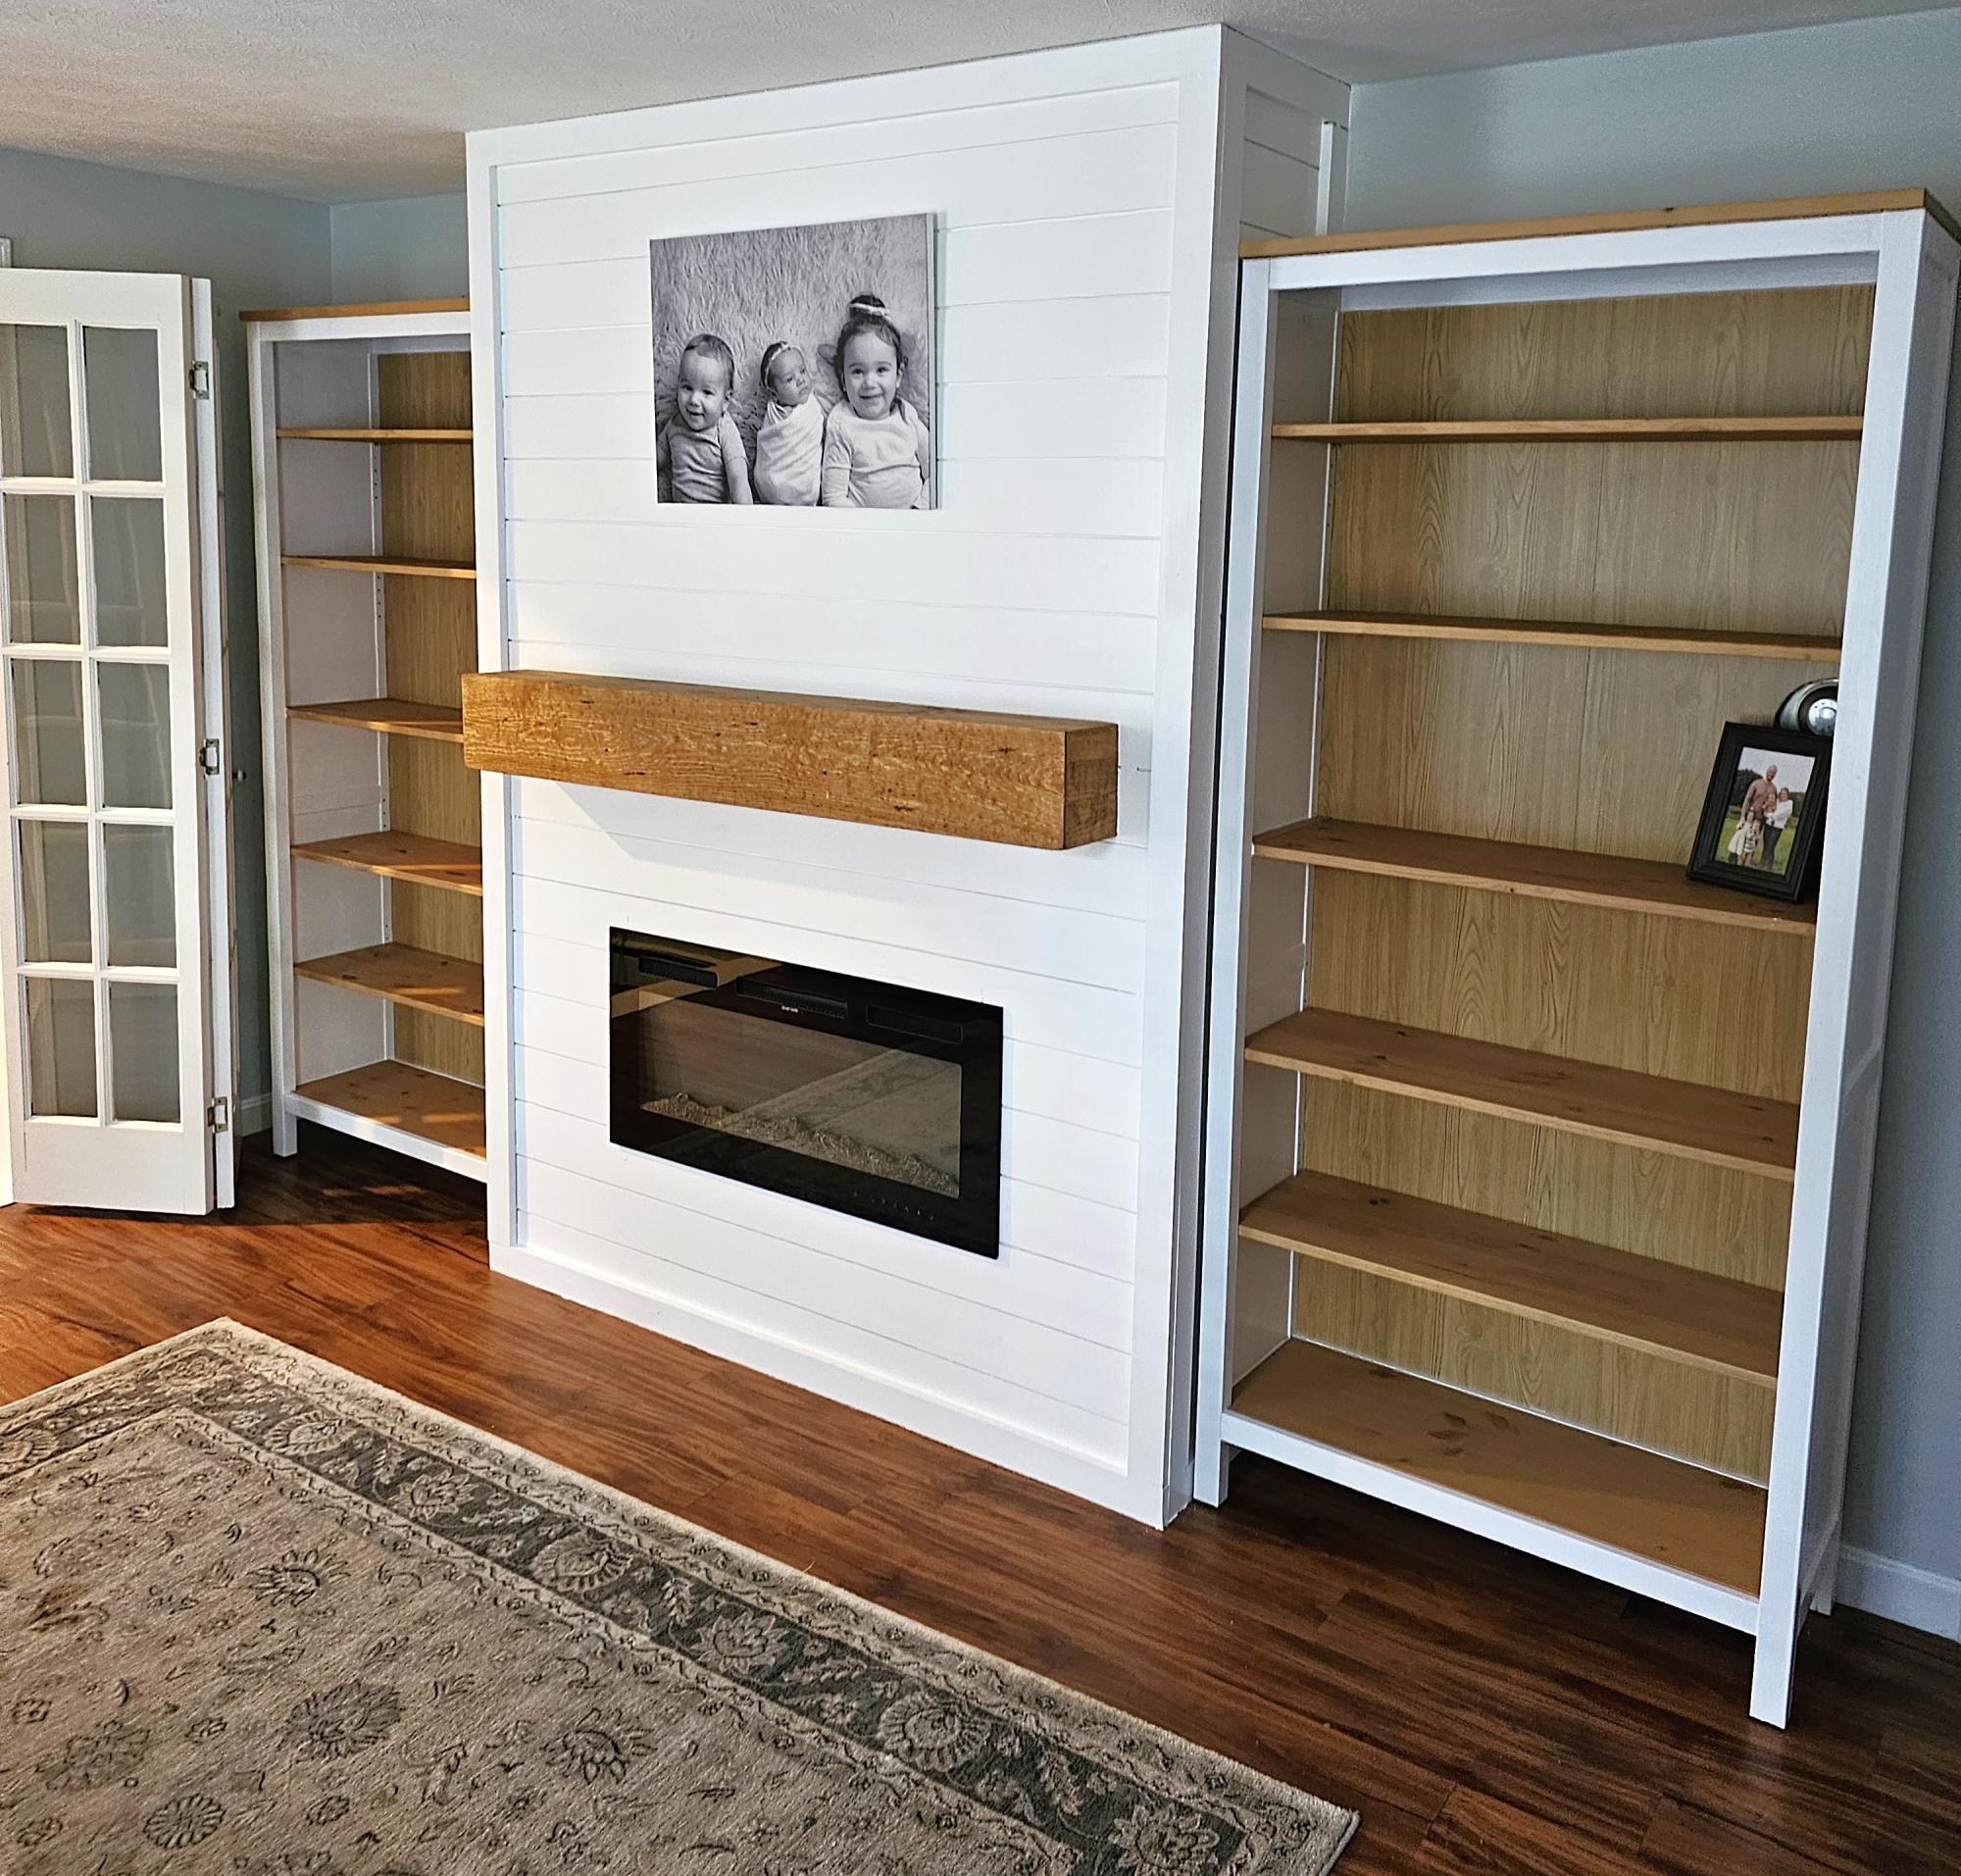
I used your guide for the shiplap fireplace and paired it with some ikea bookcases. Surprised the wife with it and she was completely blown away.
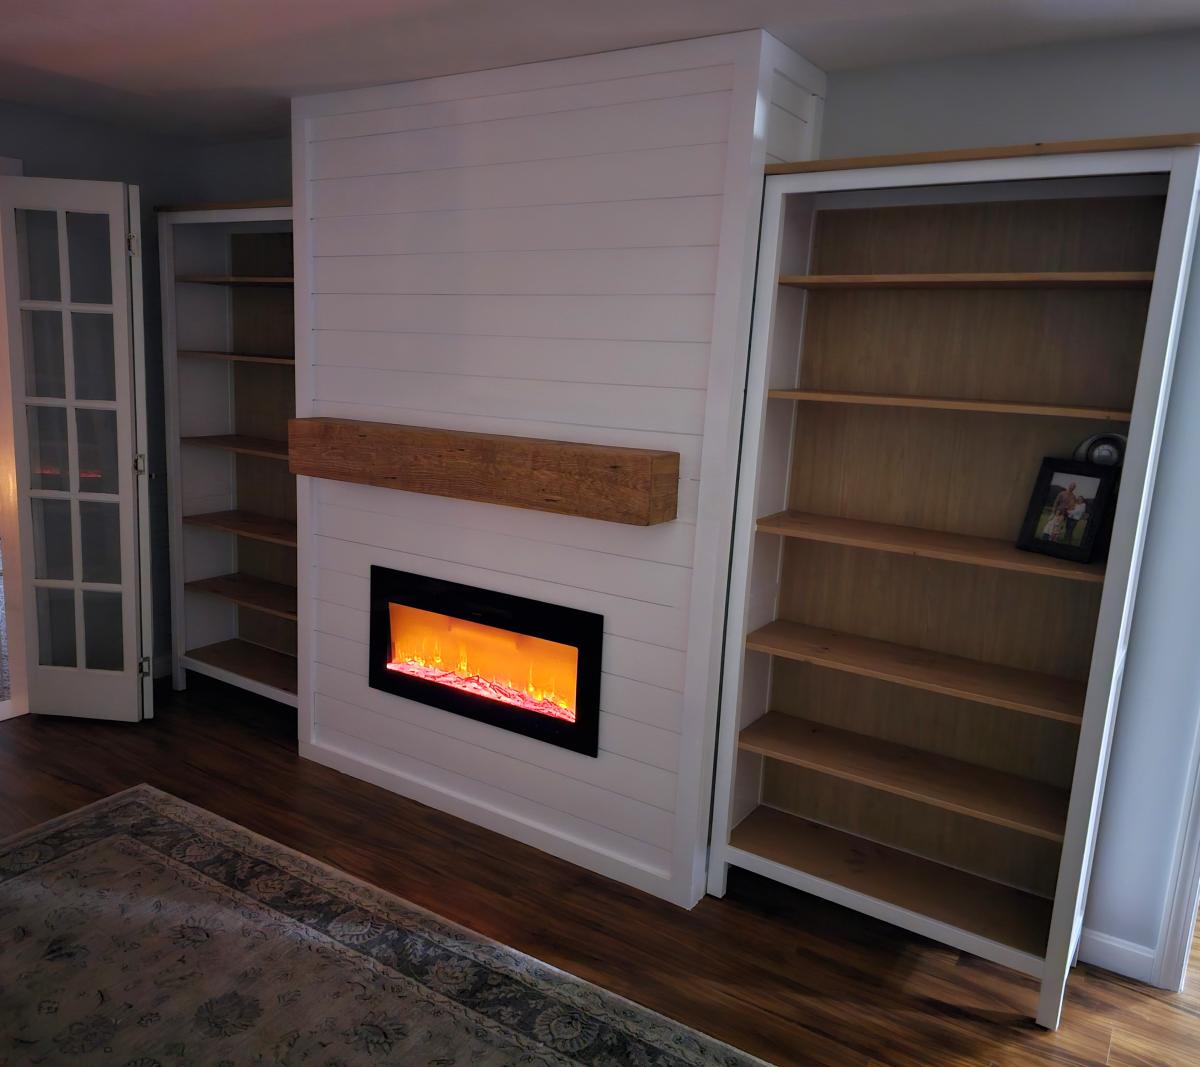
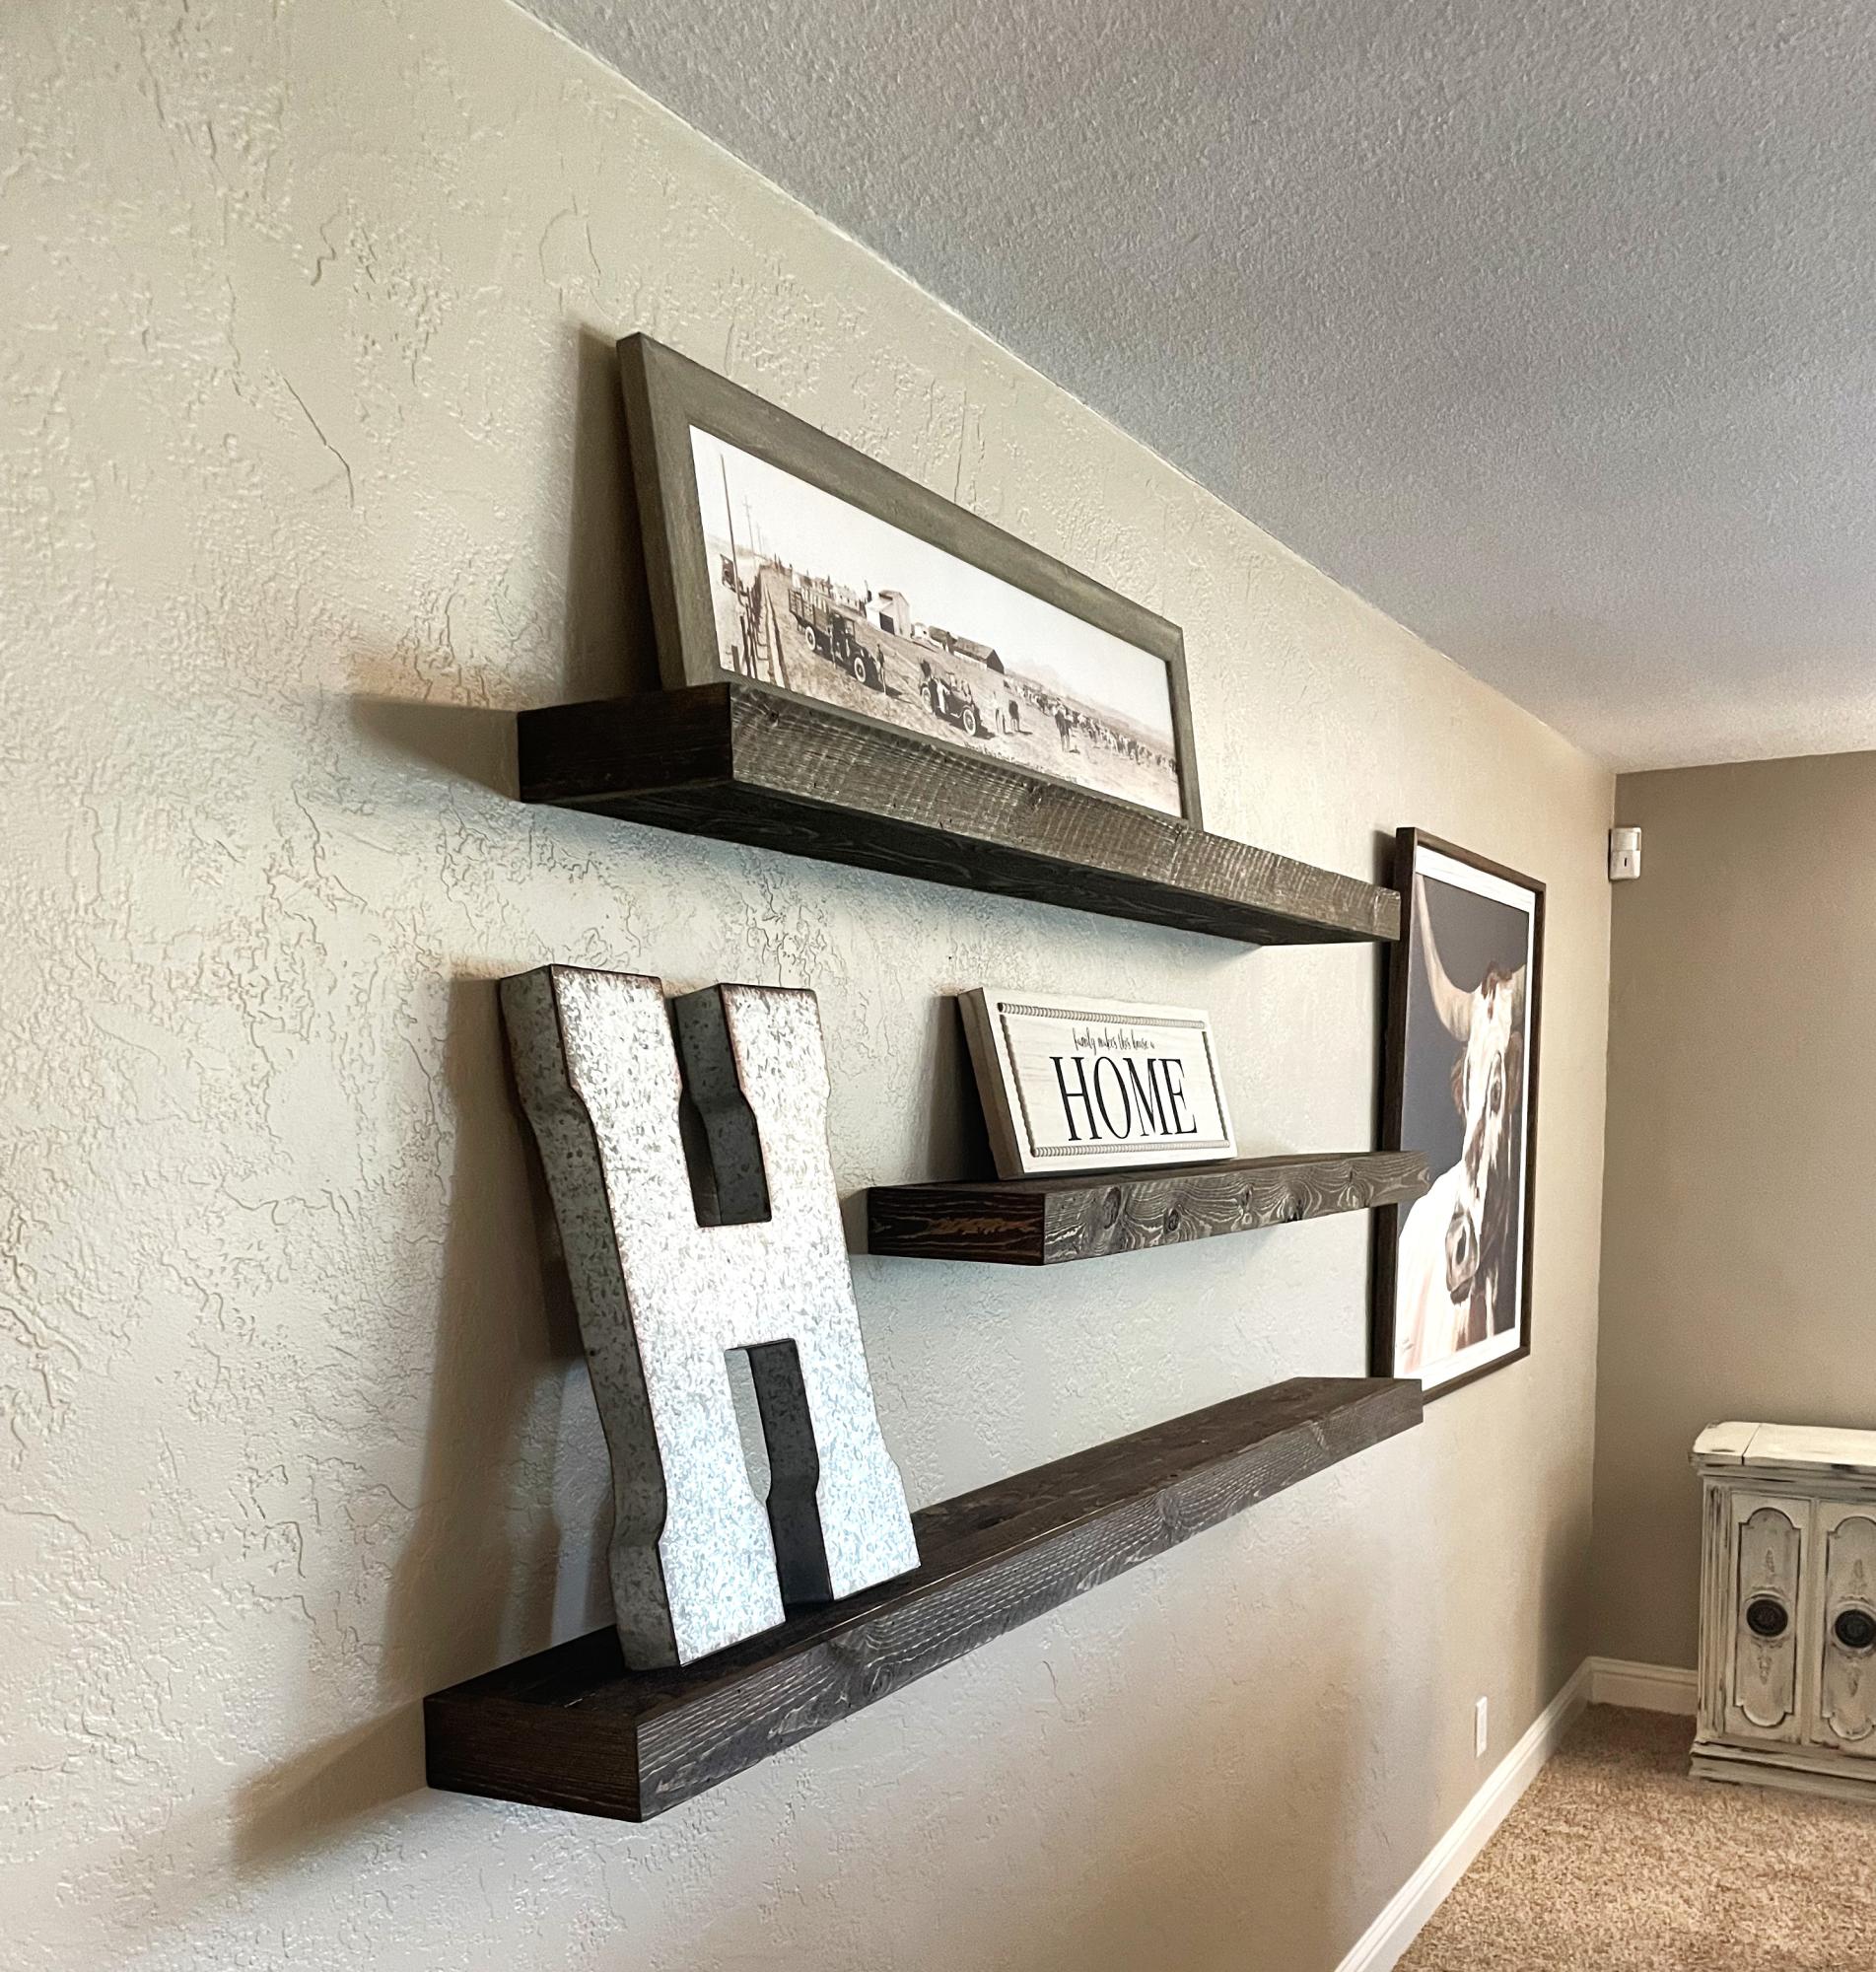
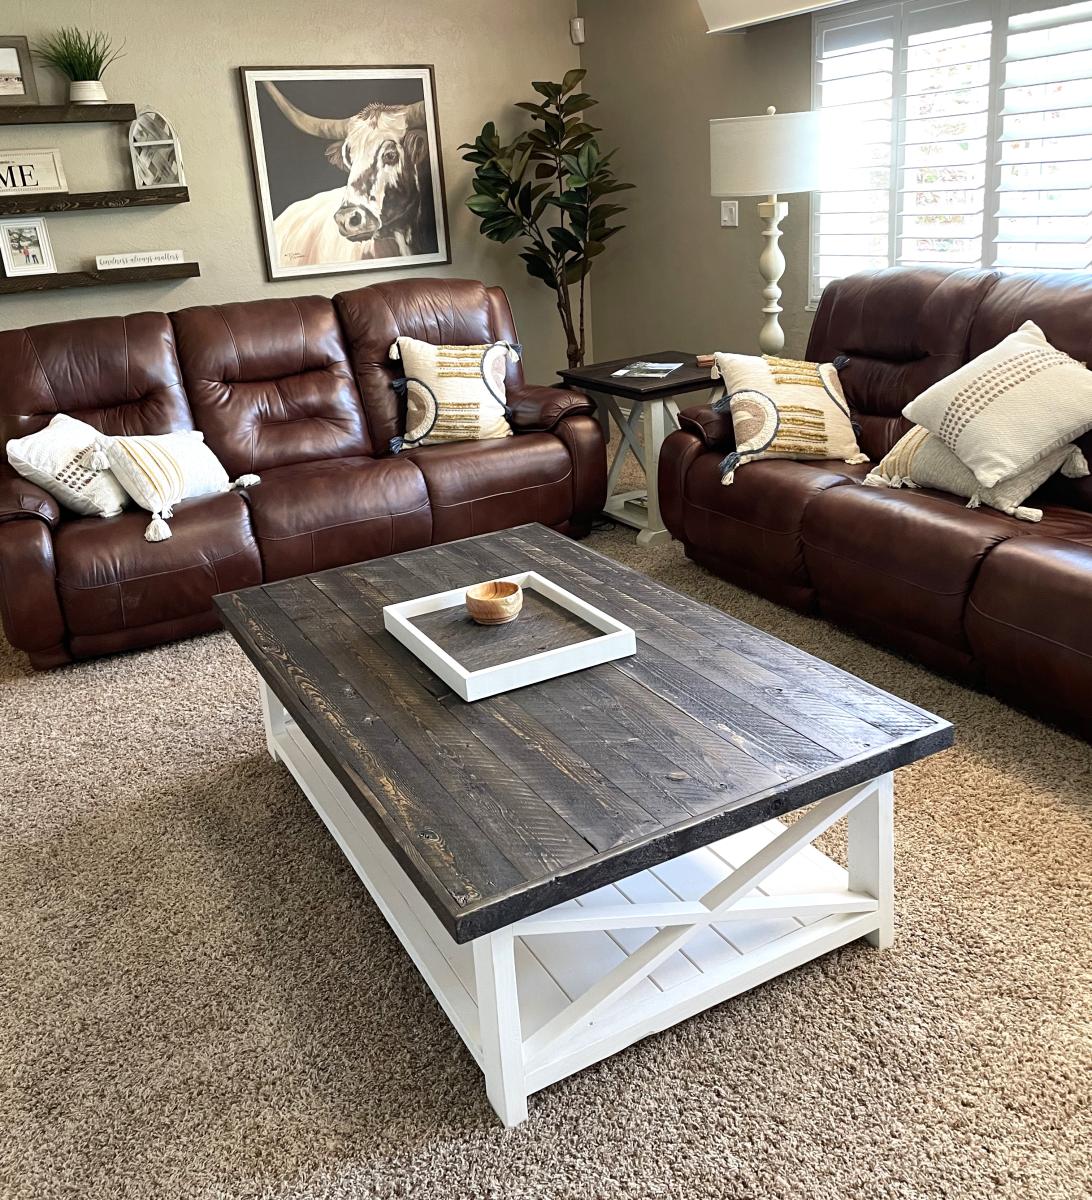
Farmhouse table with matching floating shelves.
Judd H
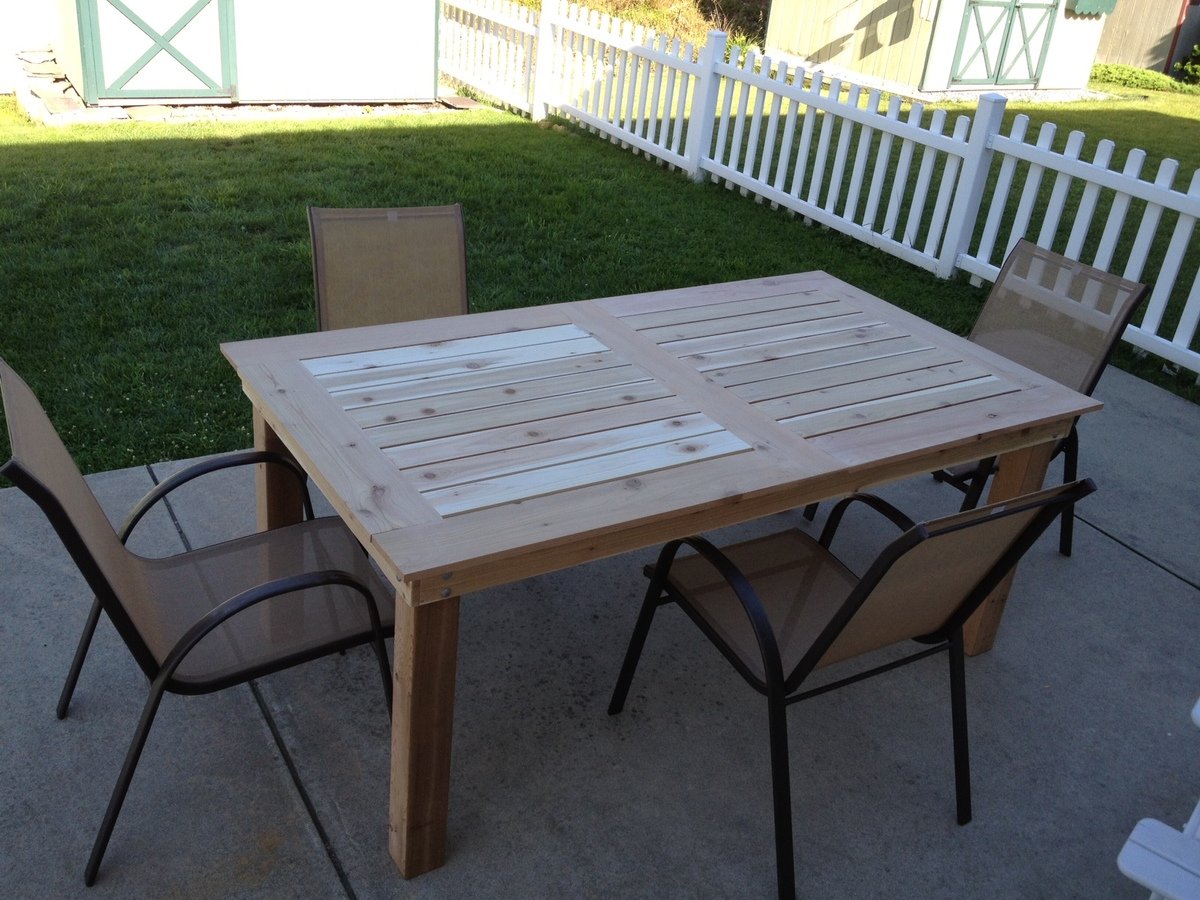
Project took a lot more time and patience than the last few little ones that I have done. I like the simple outdoor table but wanted a little bit more. I used the basic concept and mixed it with a patio table from PB that I really enjoyed but didnt want to pay $800 for. The table looks fantastic and am still debating on what type of finish, if any, to use. Hoping to make the matching bench soon for one of the sides of the table.
Wed, 06/13/2012 - 19:43
Your table looks beautiful! Have you consider Teak Oil?
Comments
asmitchell2012
Mon, 11/21/2011 - 17:04
where's the plans for the project
I can't find the plans for this project.Where do I click?
Loni (not verified)
Mon, 11/21/2011 - 19:01
Wood tilt-out trash bins
Click on where it says From Plans: Wood tilt out trash bins. its a link =)
glyby (not verified)
Mon, 11/21/2011 - 19:05
IT'S Very useful, THANKS!!
IT'S Very useful, THANKS!!
spiceylg
Tue, 11/22/2011 - 07:26
NICE!
This came out really beautiful! I'm thinking of building two like this for our hampers which we keep in our bedroom. We really don't have another place to put them and this is so much nicer looking! Of course, I'd have to modify it so the clothes can breathe. Certainly worth looking into...
Melissa G (not verified)
Fri, 02/24/2012 - 08:31
You gave me an idea!
Seeing these 2 sitting side by side gave me an idea for our trash & recyclables. My husband & I want to make one of these for our trash, but now I am thinking it would reduce the clutter from the recyclables. Thanks for posting. They look great!
Jeff Giuliani (not verified)
Sat, 12/15/2012 - 10:54
Wood Tilt out trash Bin
This was a great project. Very easy to follow...until I got to the door. There are no instructions for the door and no link to a video. Now I have to try and "wing it" which I think is going to make my trash bin, which is a christmas present for my wife, look like trash. I only have this weekend to do this but maybe someone else will be saved by adding the directions for the door. otherwise, thanks for the great step by step.
murph447
Tue, 11/11/2014 - 13:31
Beadboard
The bins look great! When you installed the beadboard did you just simply fasten it to the back of your door frame or did you cut grooves in your frame (on a table saw) and insert the beadboard?
Kitty Miller
Tue, 06/16/2015 - 18:29
Dual Tilt Out Trash/Recycle Cabinet
Does anyone make and sell these? I am looking for a dual trash cabinet.
Kitty Miller
Tue, 06/16/2015 - 18:29
Dual Tilt Out Trash/Recycle Cabinet
Does anyone make and sell these? I am looking for a dual trash cabinet.