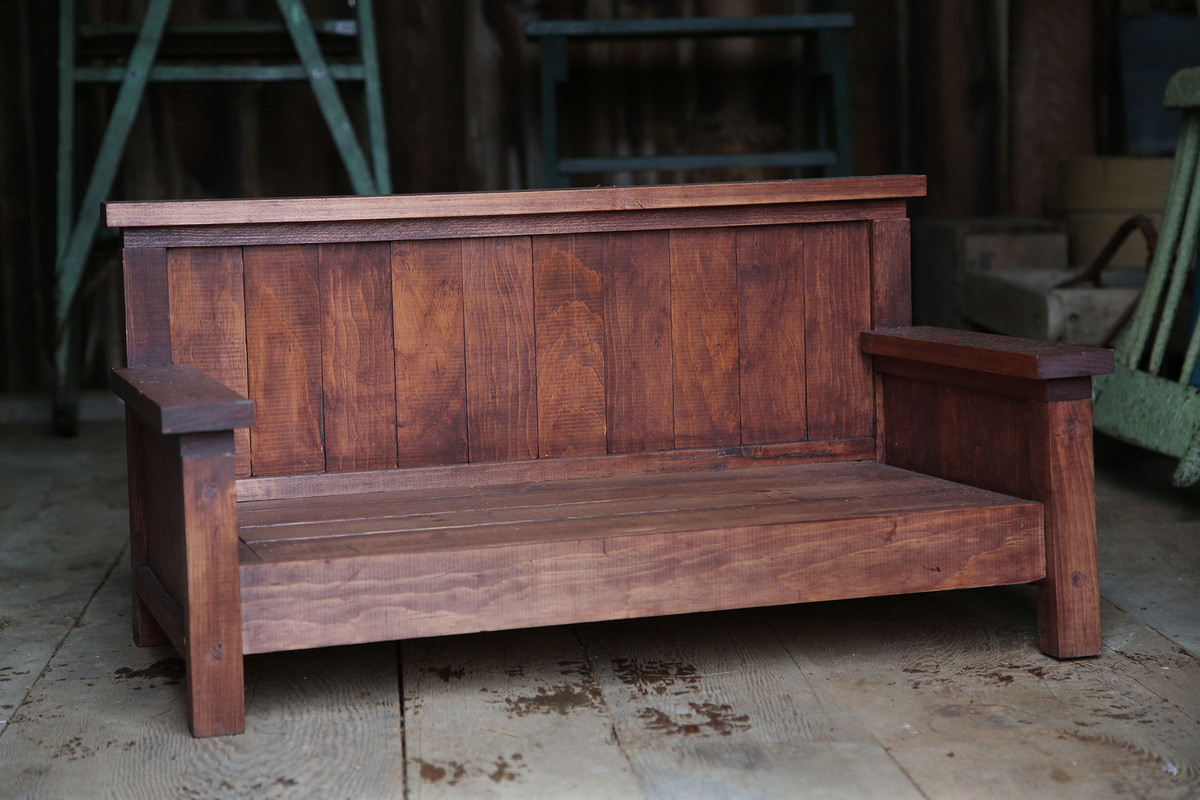
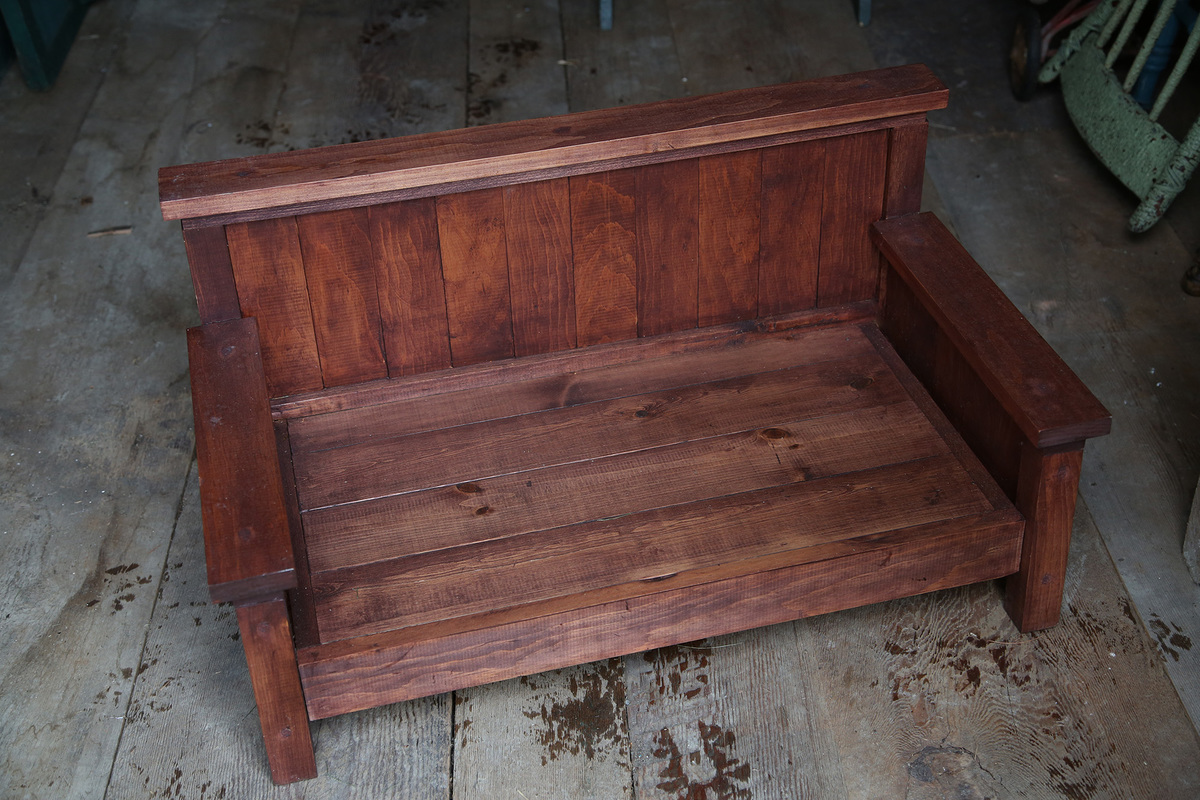
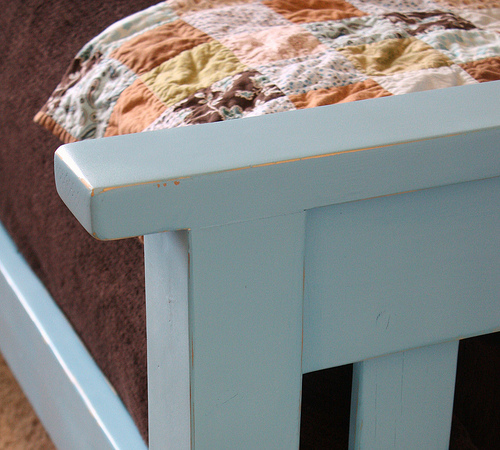
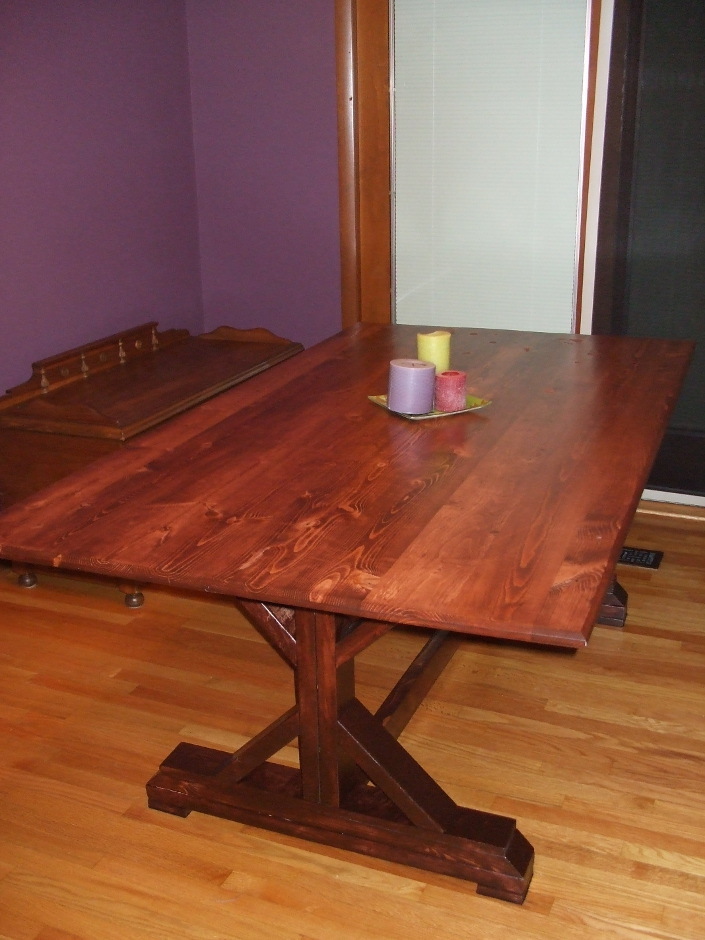
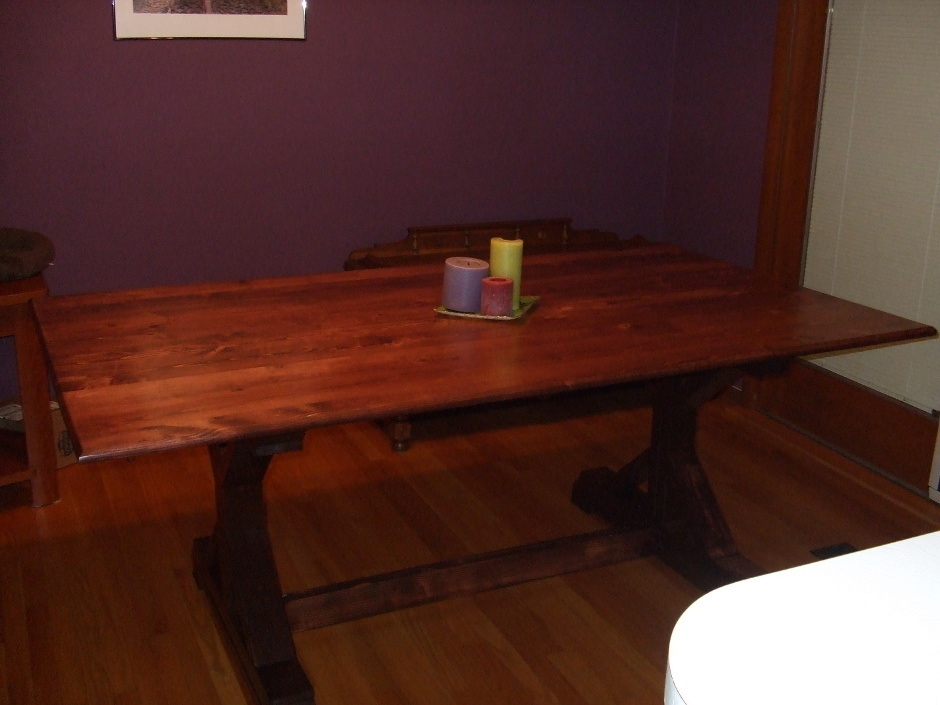
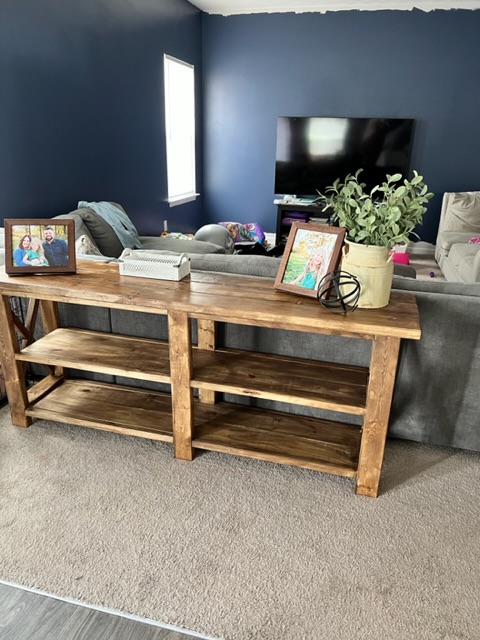
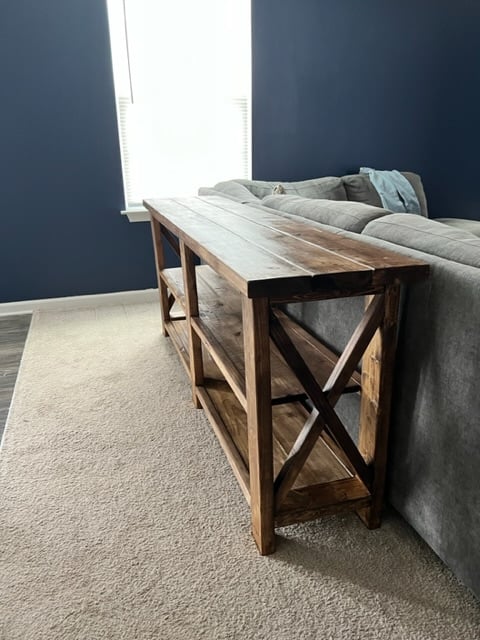
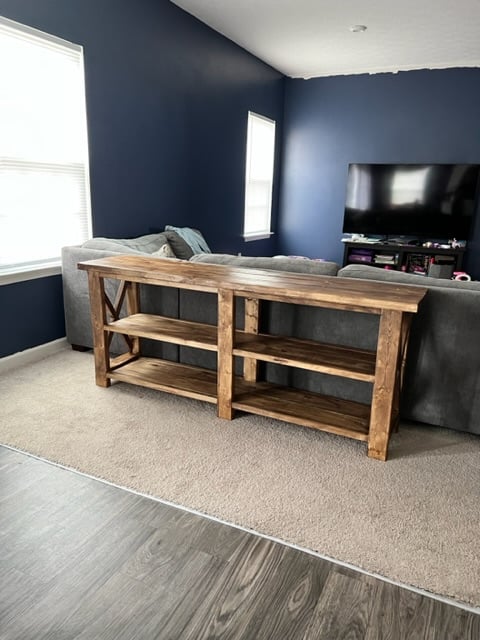
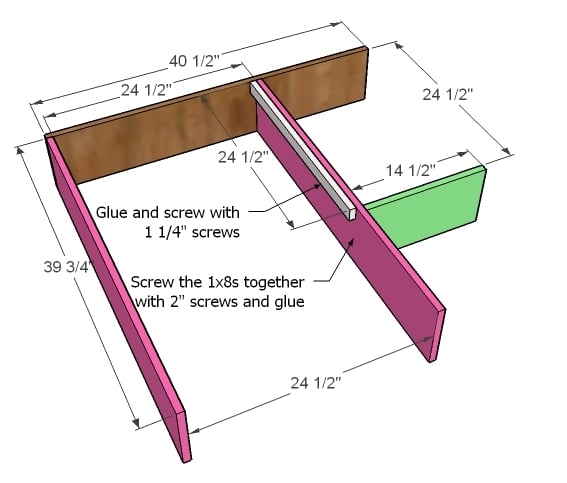
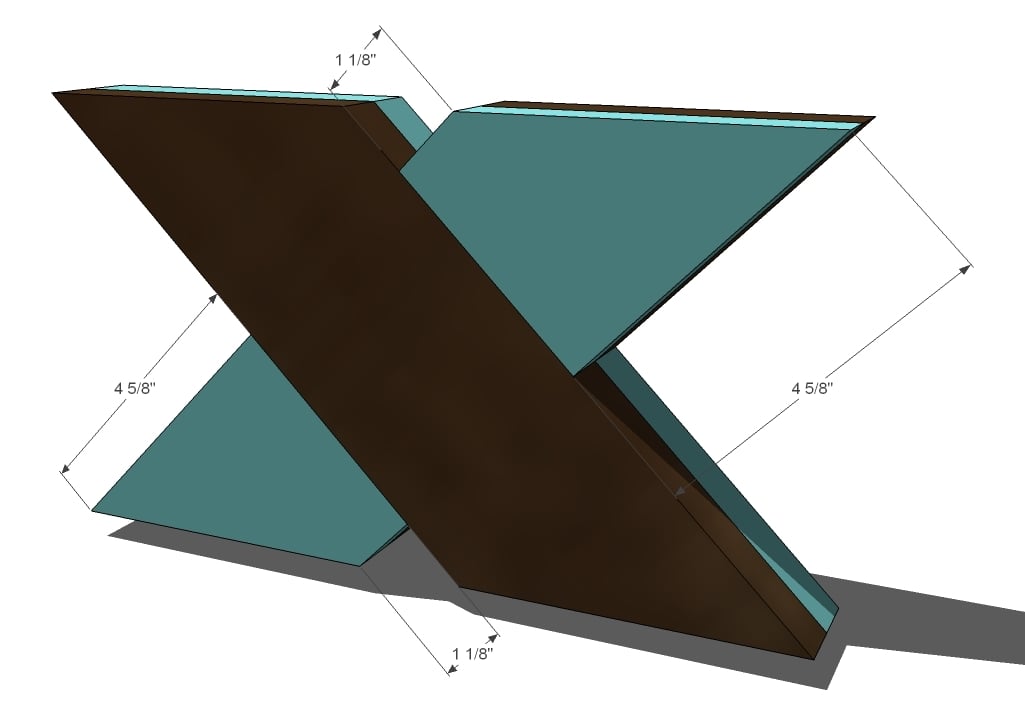
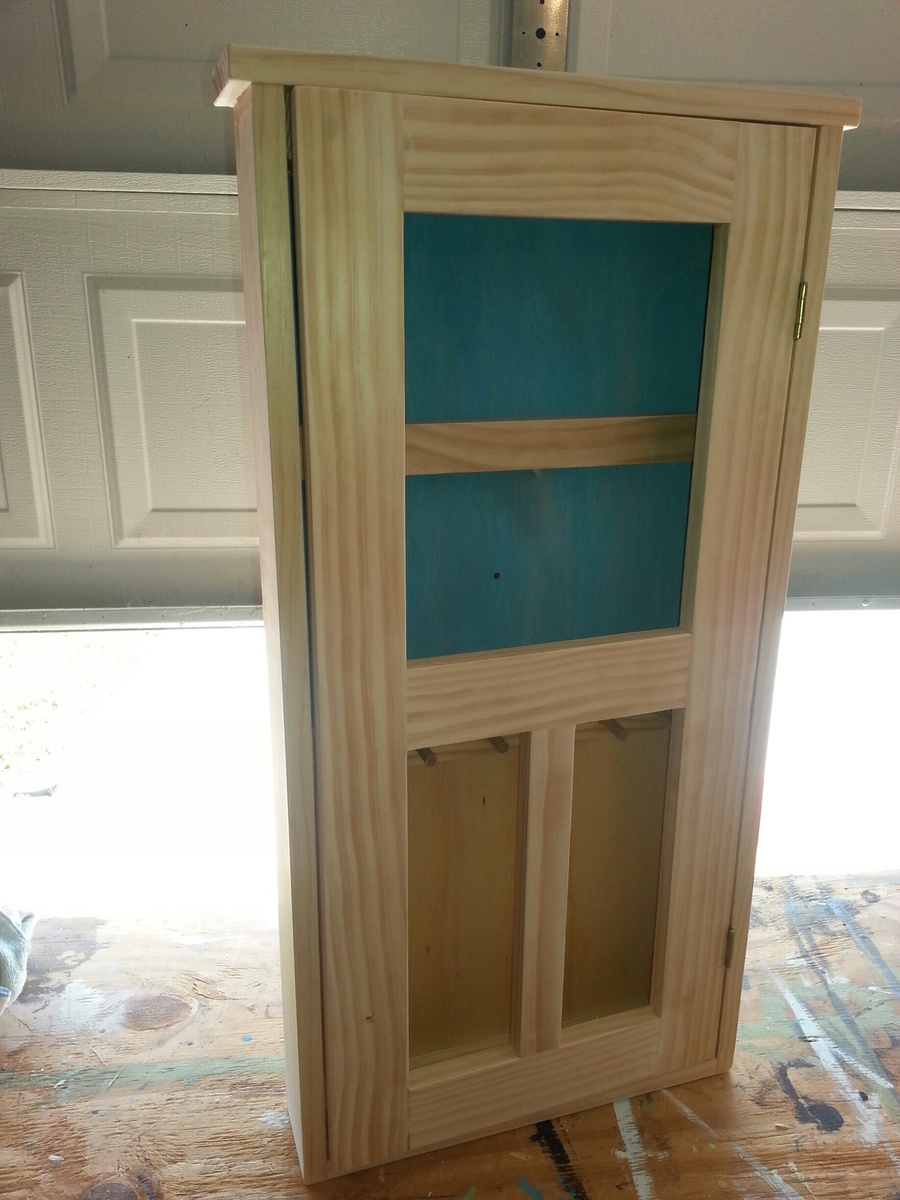
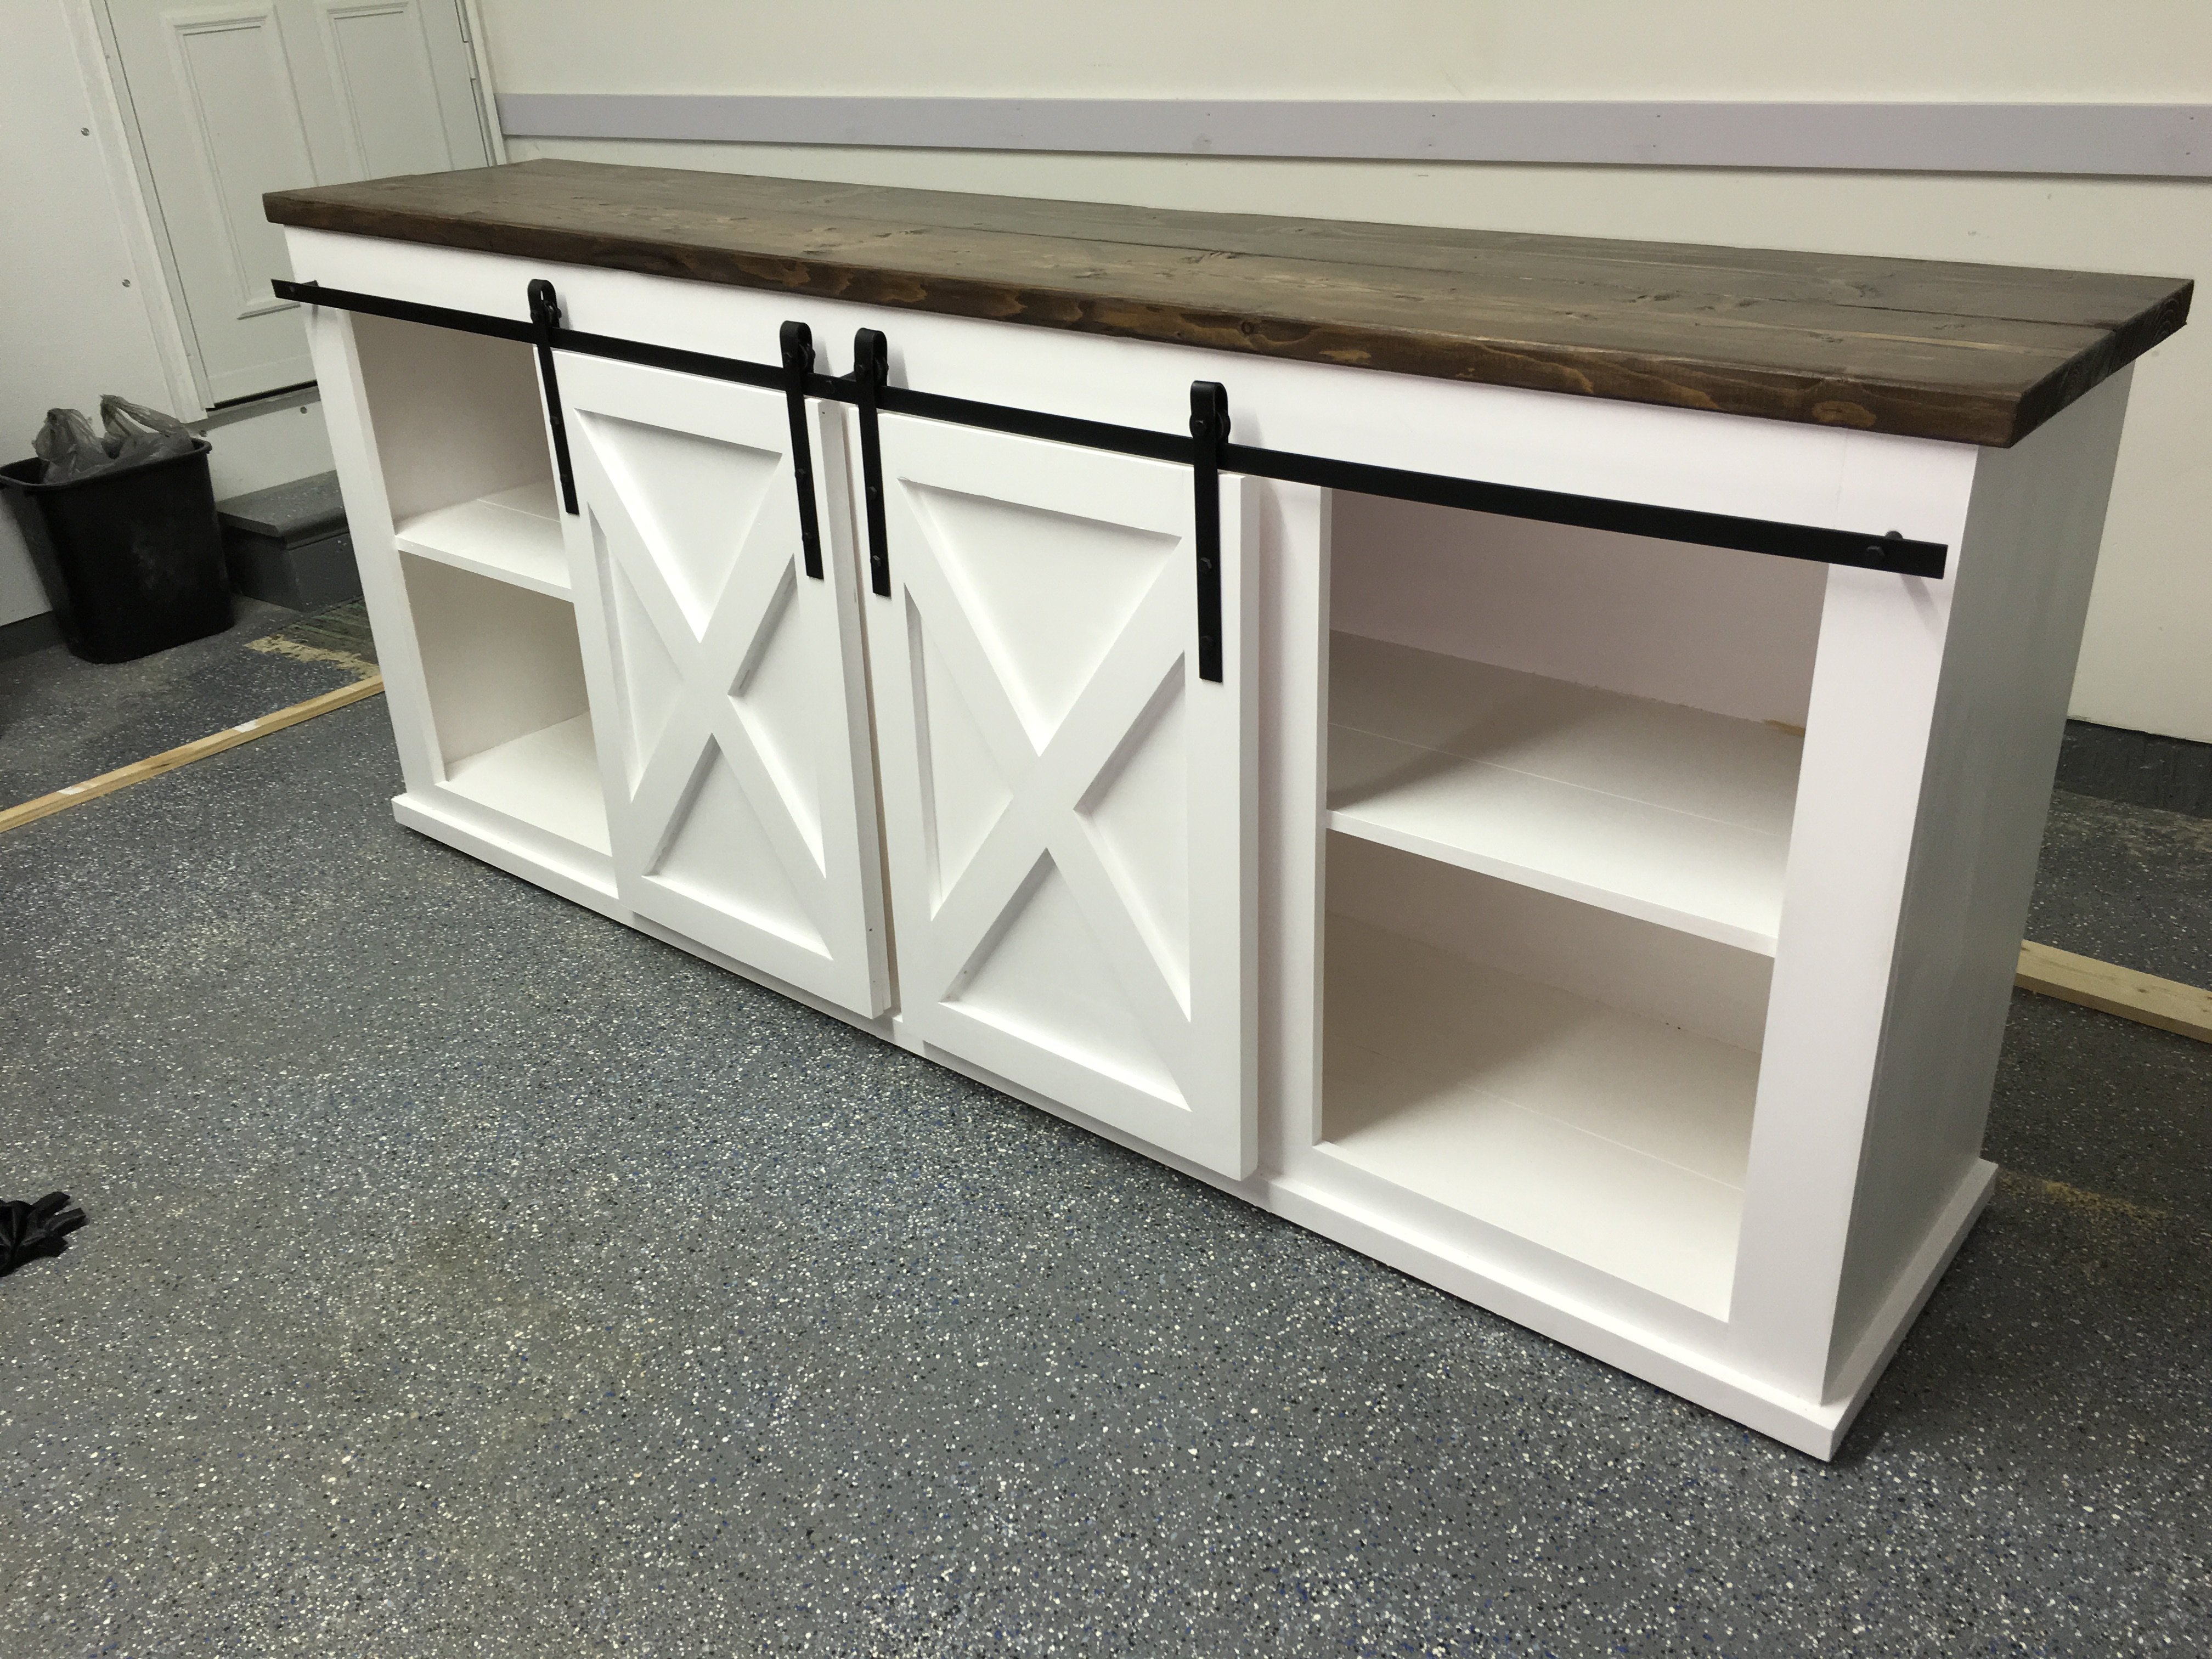
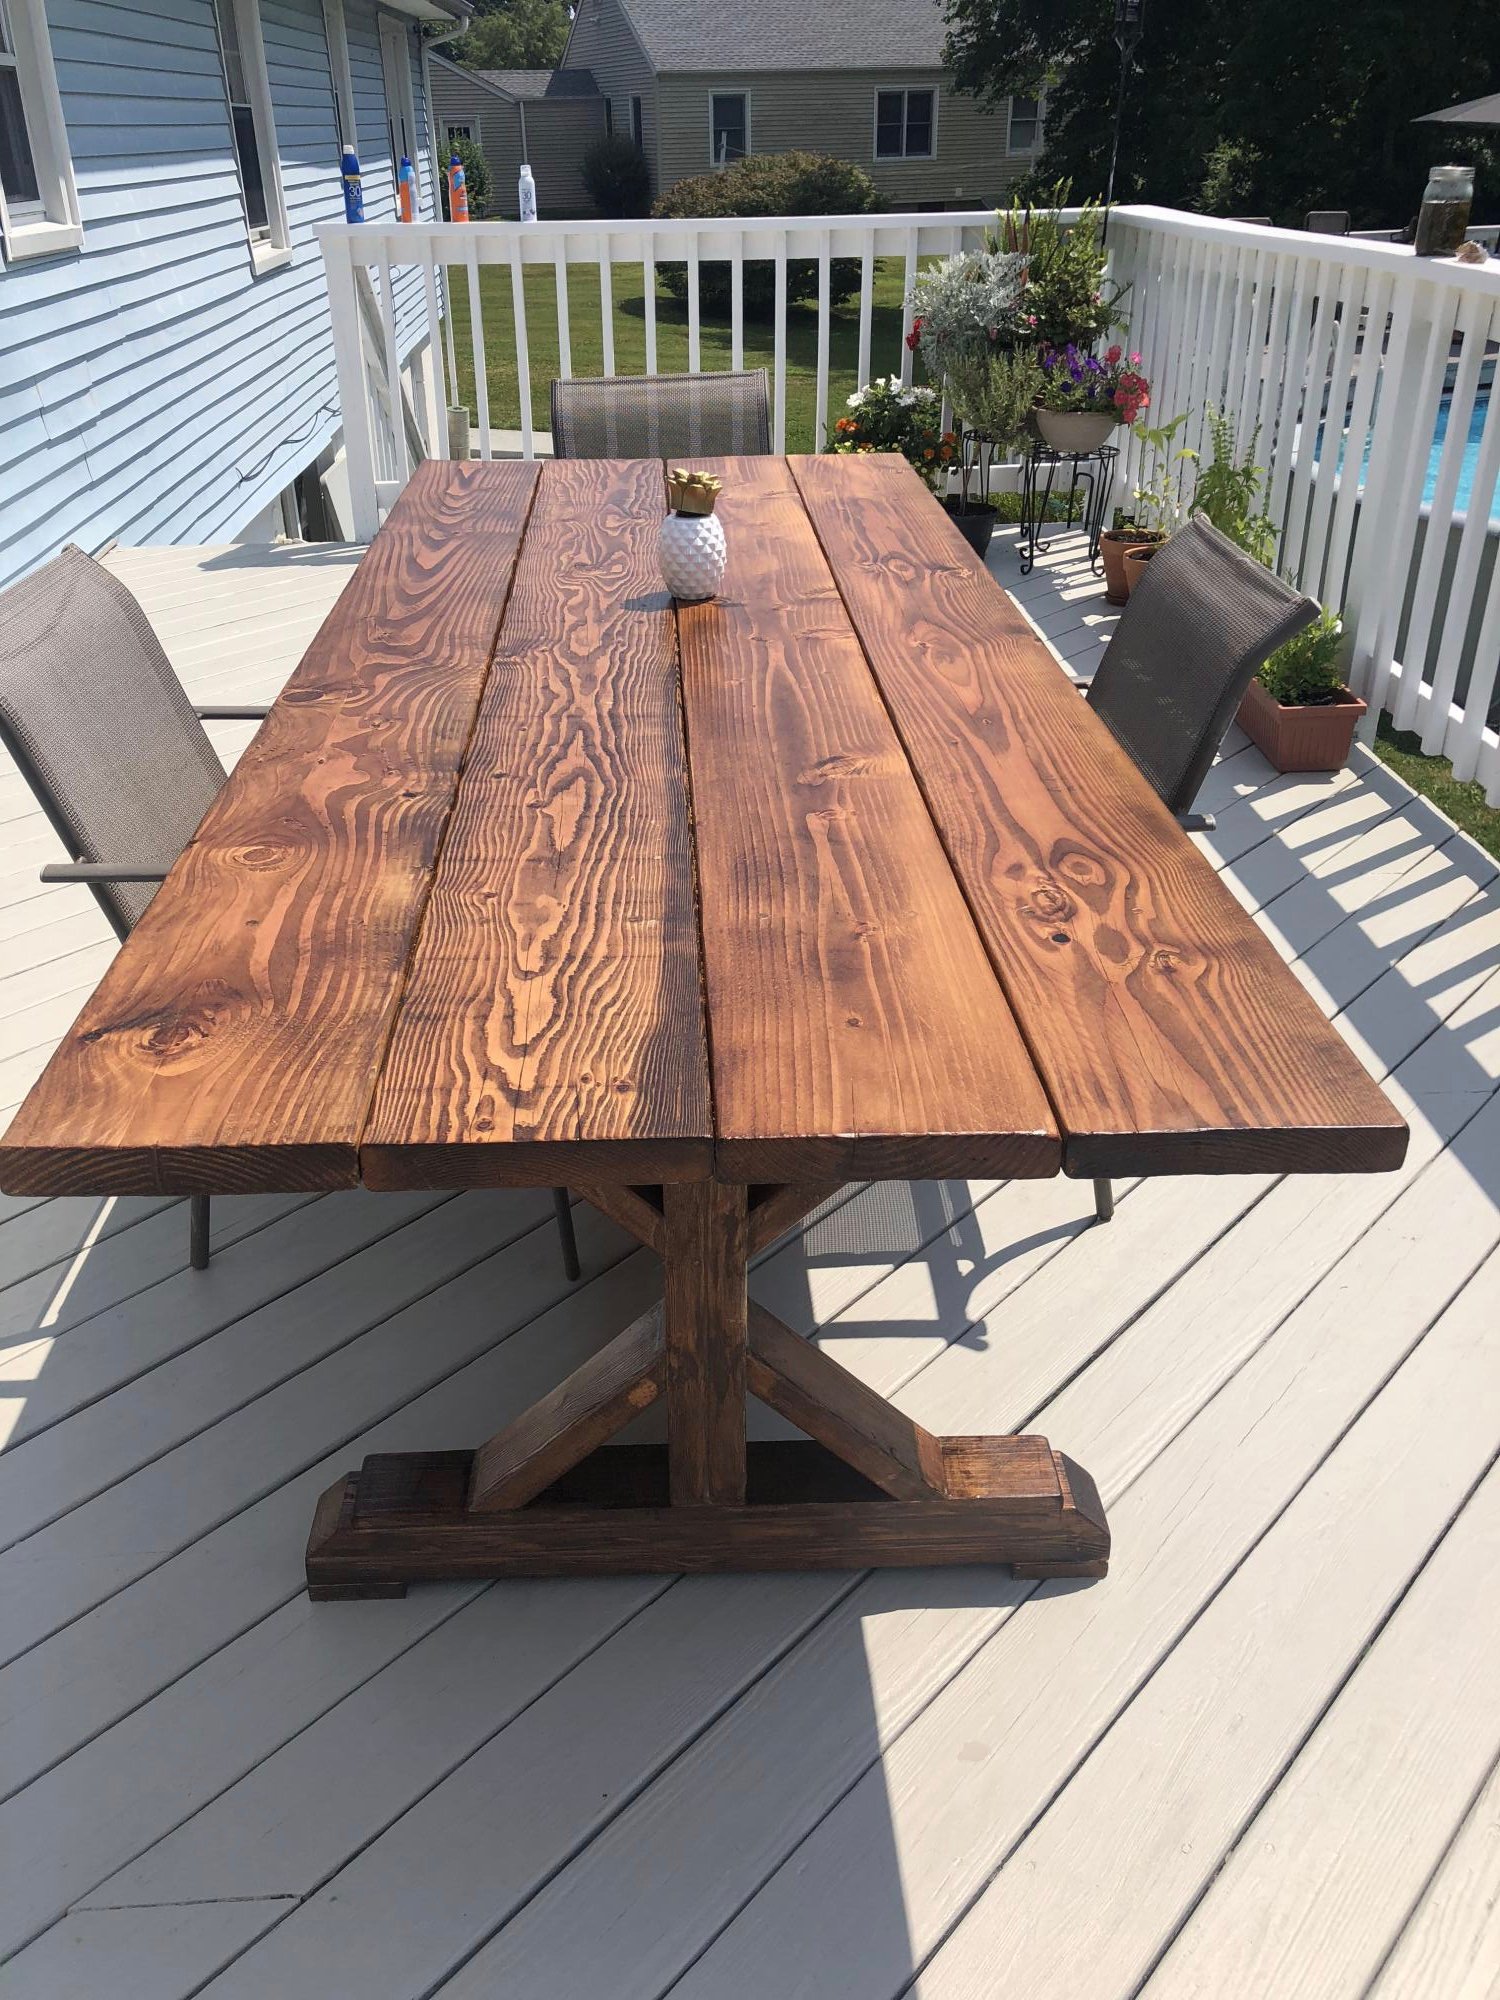
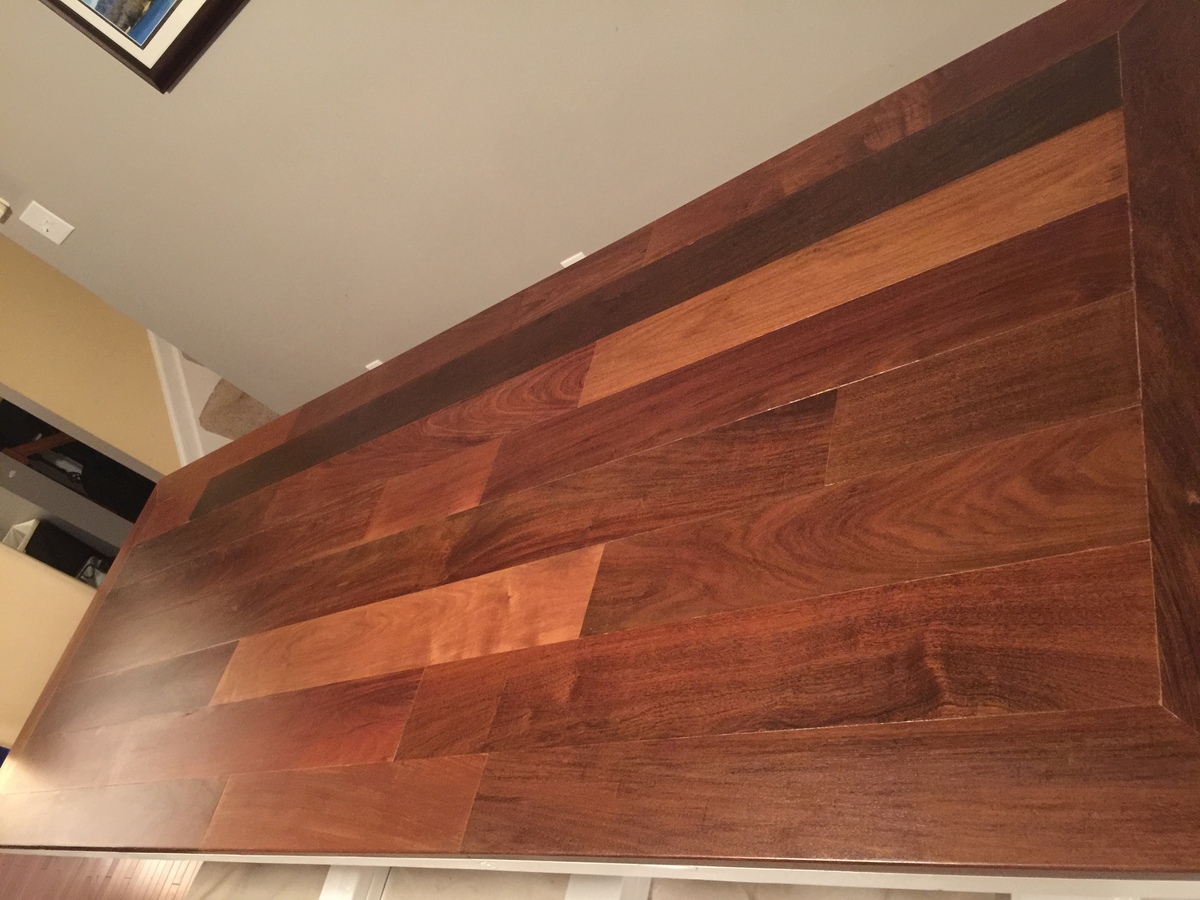
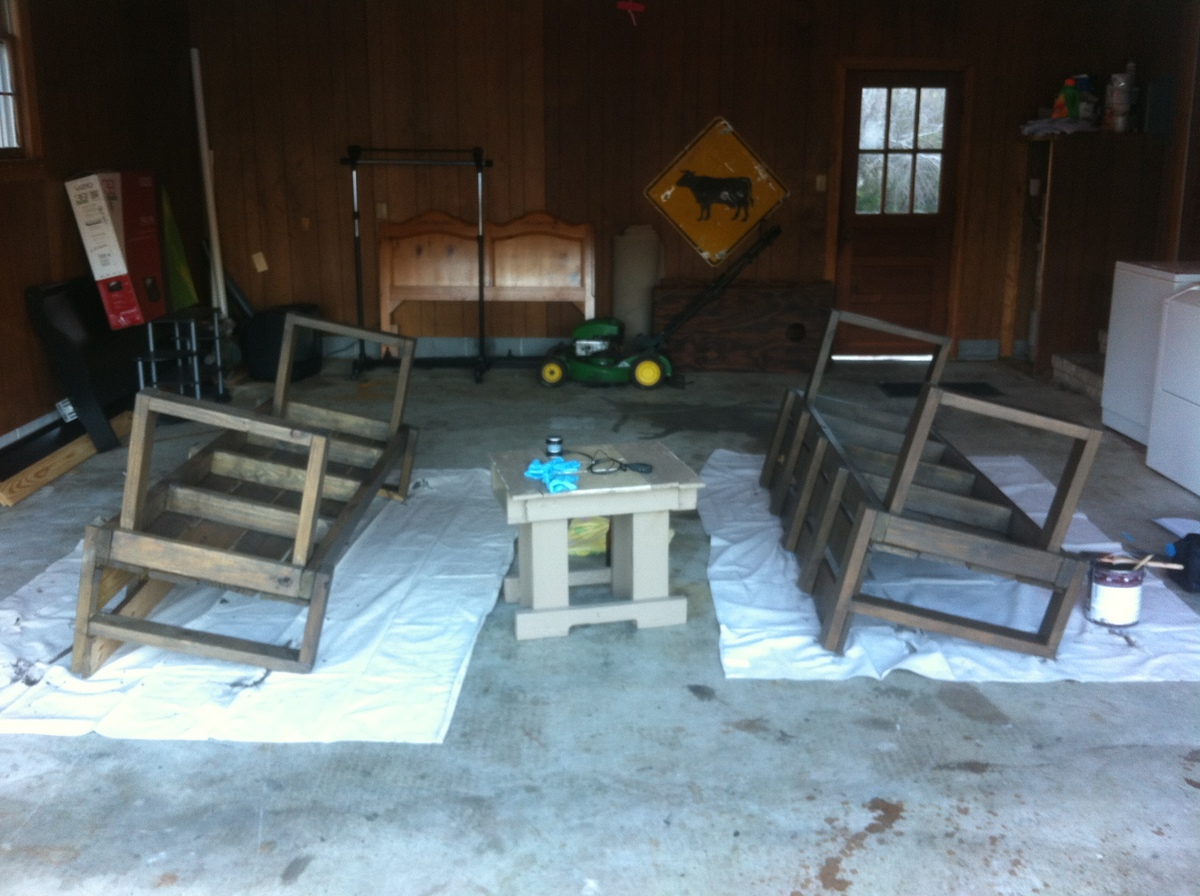
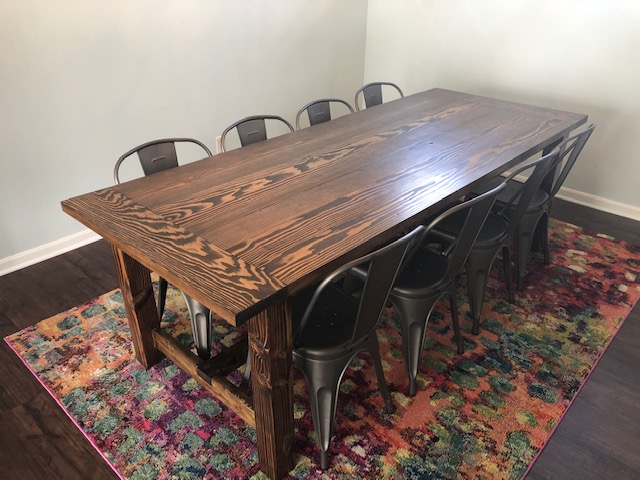
When I first saw this project I thought it might make a great looking table for our dining room - however after seemingly endless frustration with the 2x10s (and also 2x4s I tried after giving up on the 2x10s) badly warping I eventually gave up and bought a couple of pre-glued pine board panels to use as the table top. I had my heart set on a nice flat dining table and the construction boards just weren't working for that. The base was still made from basic pine 2x4s as per the original plan however.
I shortened the table by about 2 feet so it would actually fit in our dining room, removed the inner angled boards because getting the angles right after shortening the table was being a pain, and added a couple of support boards that run lengthwise under the table top since it's thinner than originally planned.
This project seriously took me about 2 years to make, between all of the re-starts and so on.
Tools used include circular saw, belt sander, orbital sander, router, power drill with pocket hole jig.
Not counting wasted materials, this project probably cost me about $120 between the lumber, the hardware,the stain, the finish, etc.
After all that work and hair-pulling though, in the end my wife says she loves it, so I guess that's all that matters :)


Comments
Brad Wills
Thu, 12/19/2013 - 19:21
Height
Do you happen to remember the height of the back section?
Brad Wills
Thu, 12/19/2013 - 19:21
Height
Do you happen to remember the height of the back section?
jackiemacrae
Tue, 12/31/2013 - 09:53
Height
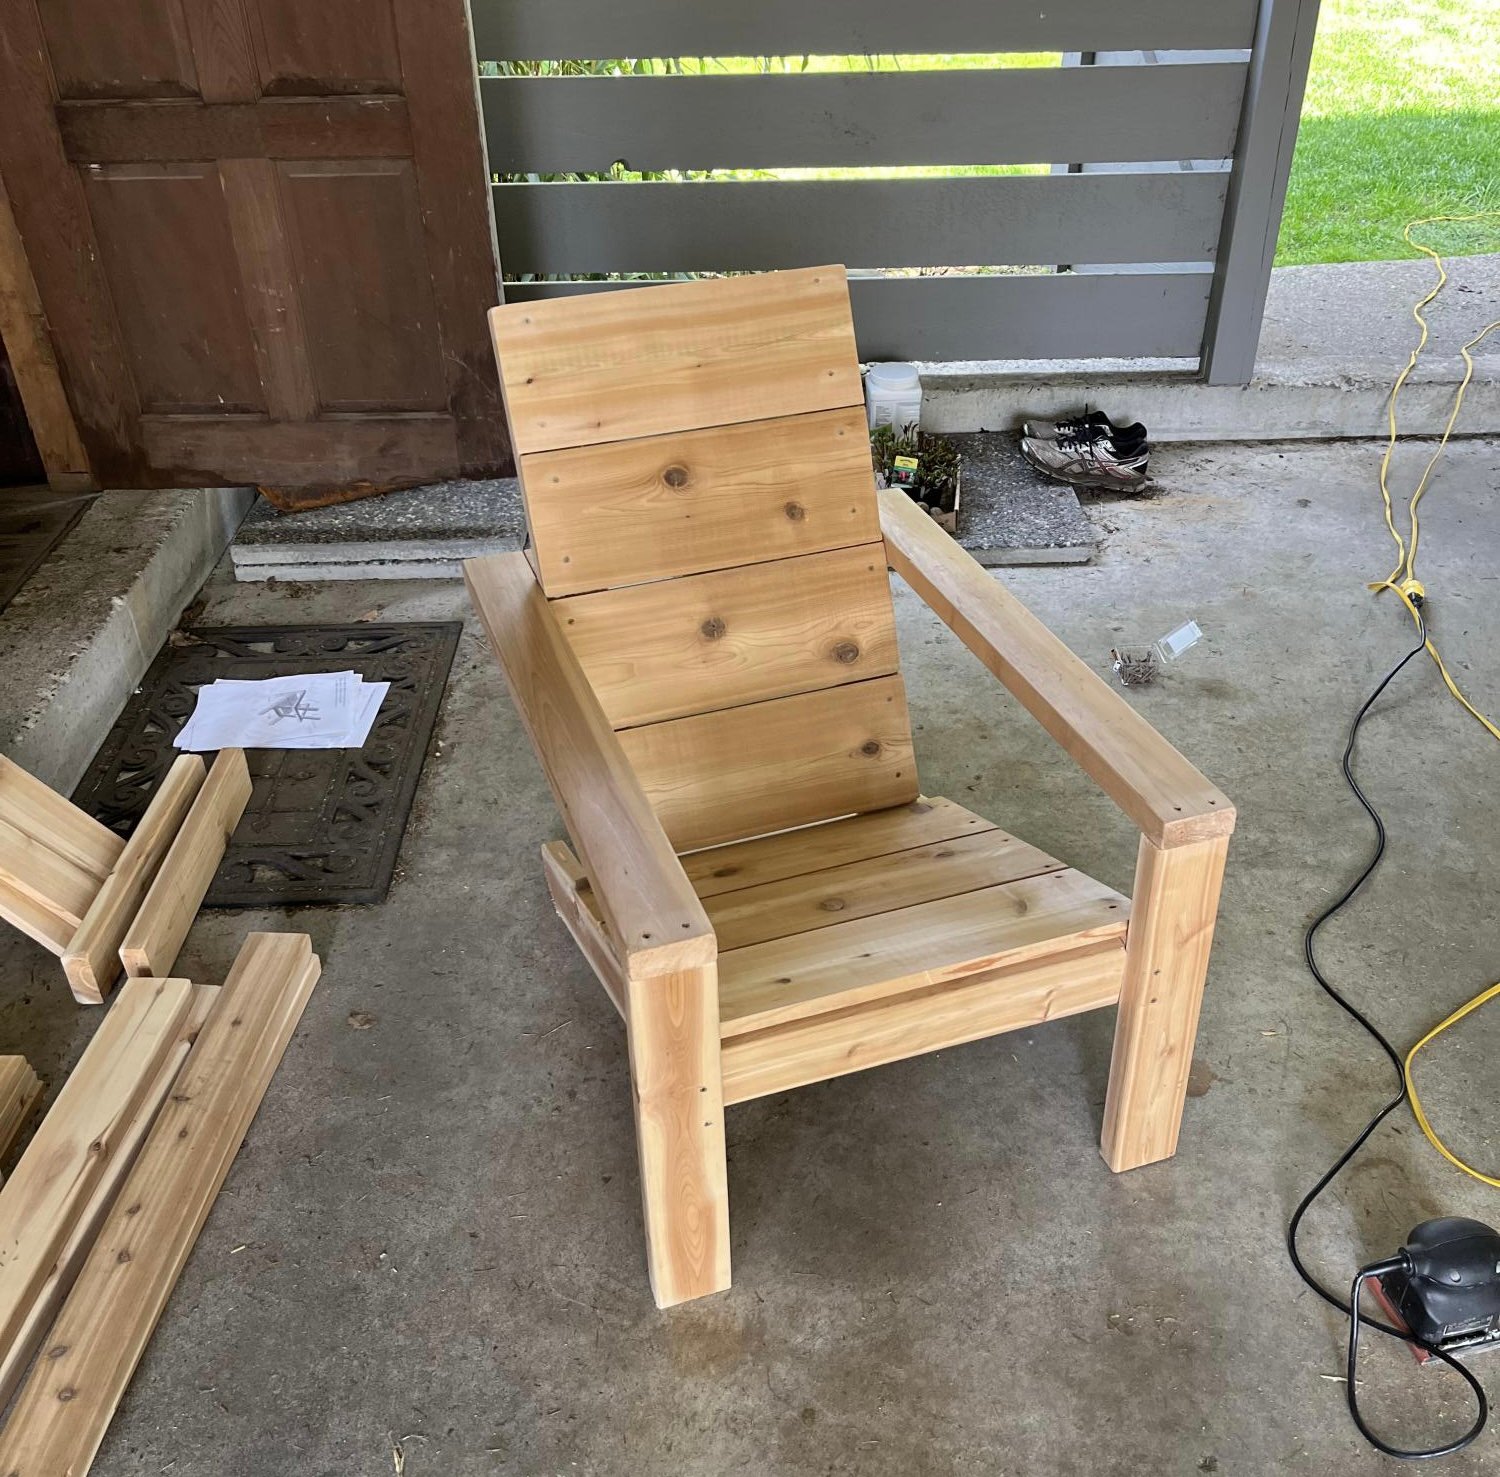
Hi Brad- so sorry for not getting back to you sooner. I saw that you'd left a message, and I haven't had a chance to get back into the shed to check- The seat is only about 5 inches off the ground, and the backrest is about 17 inches.
I hope that helps!