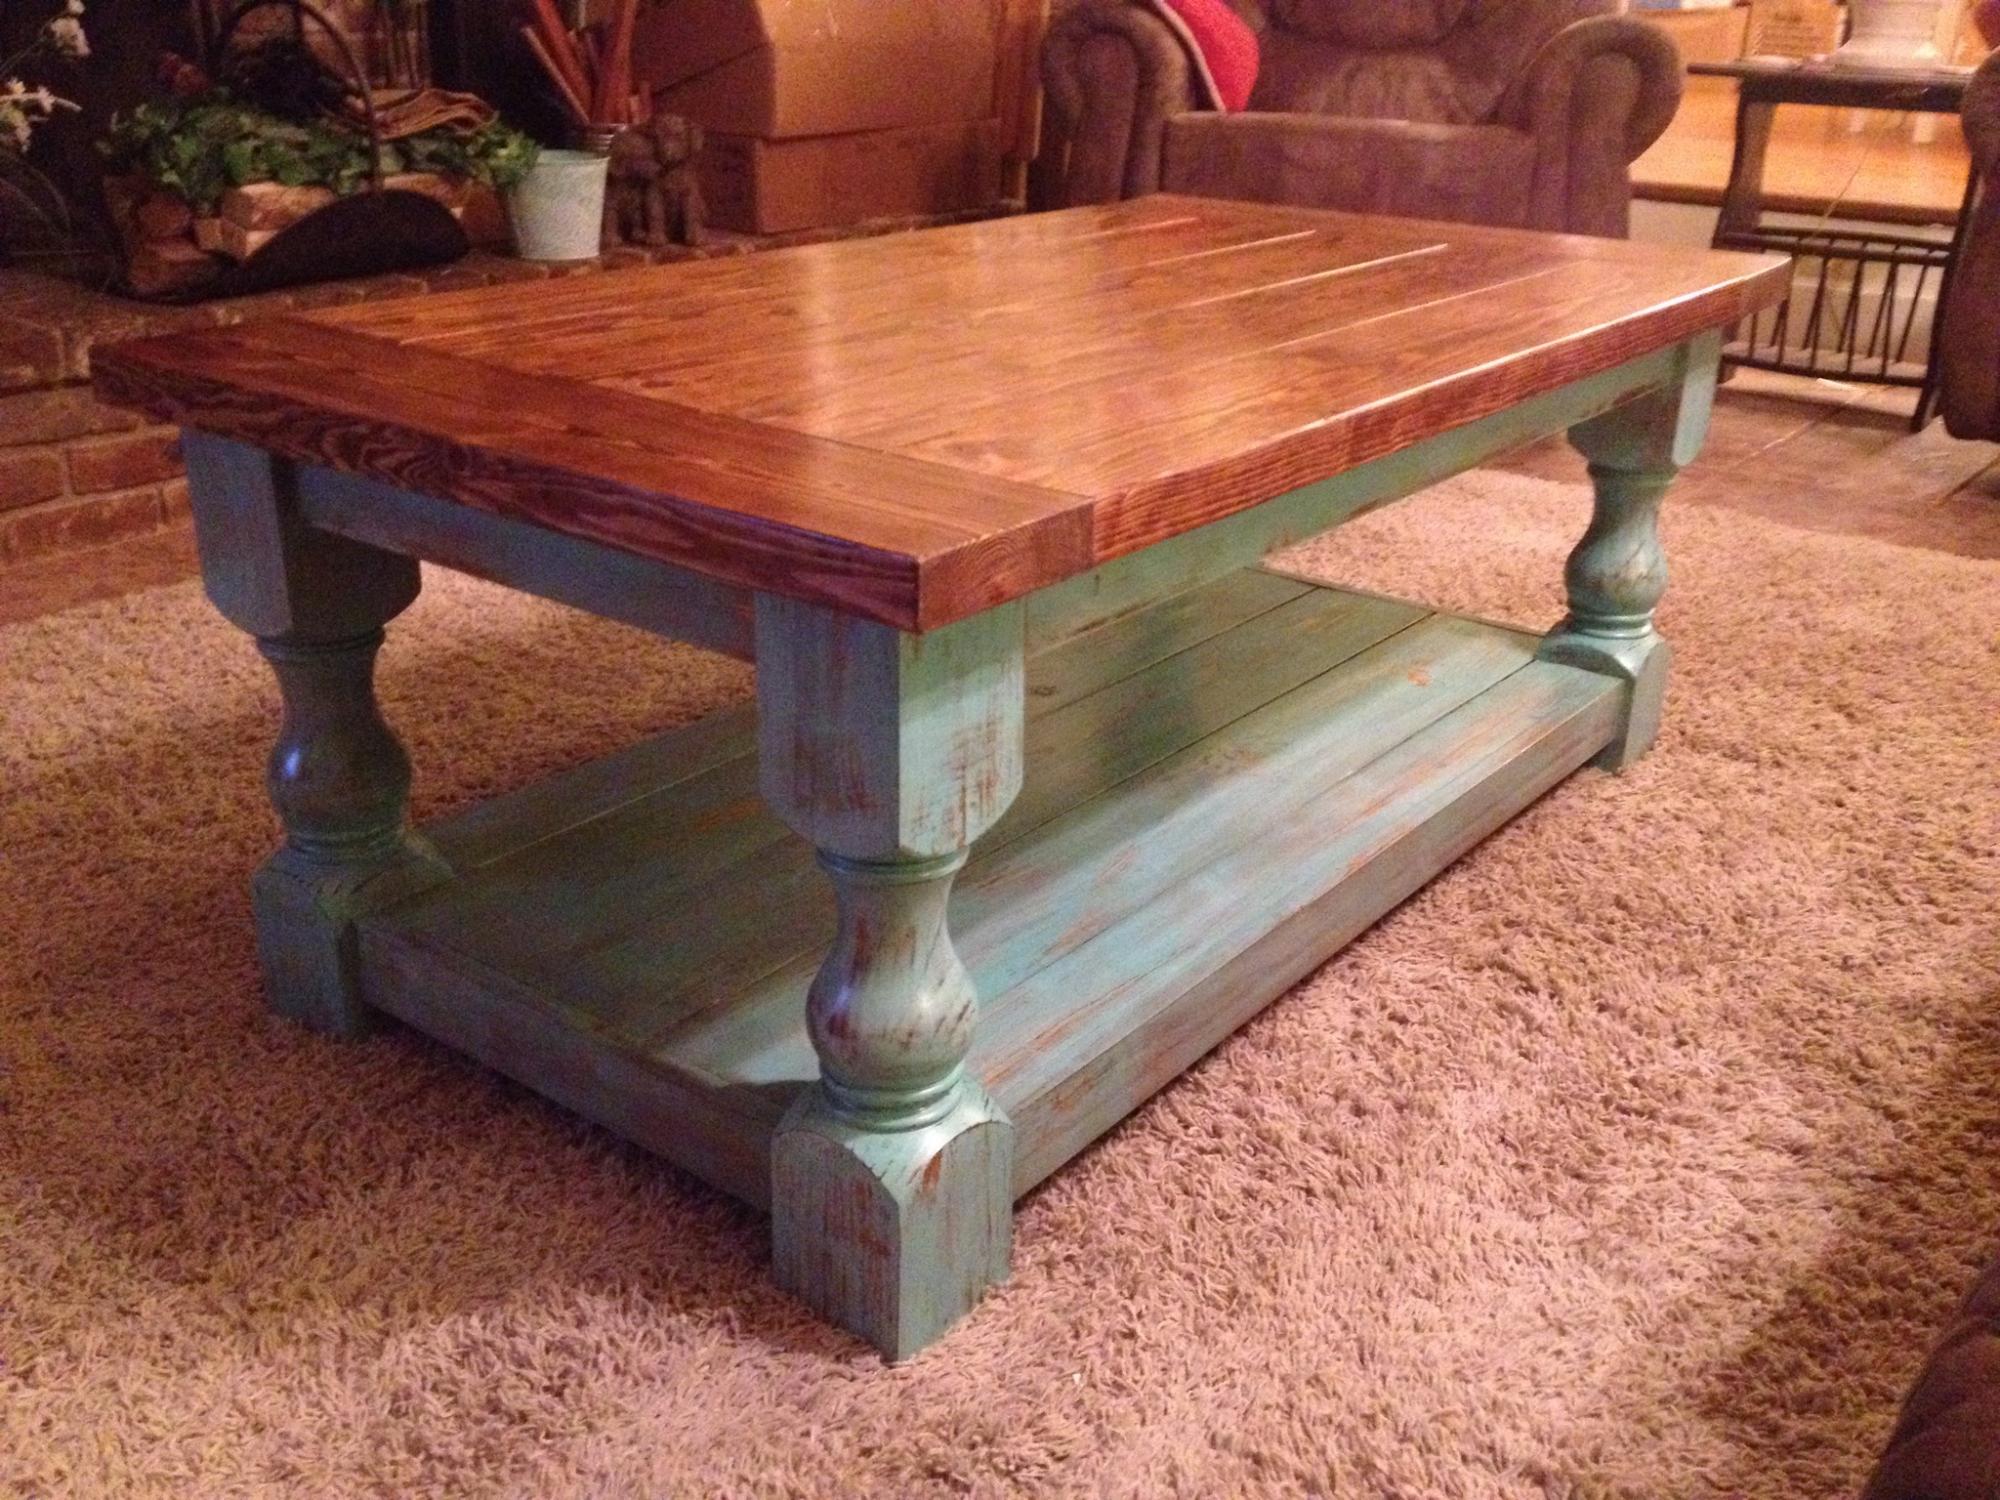
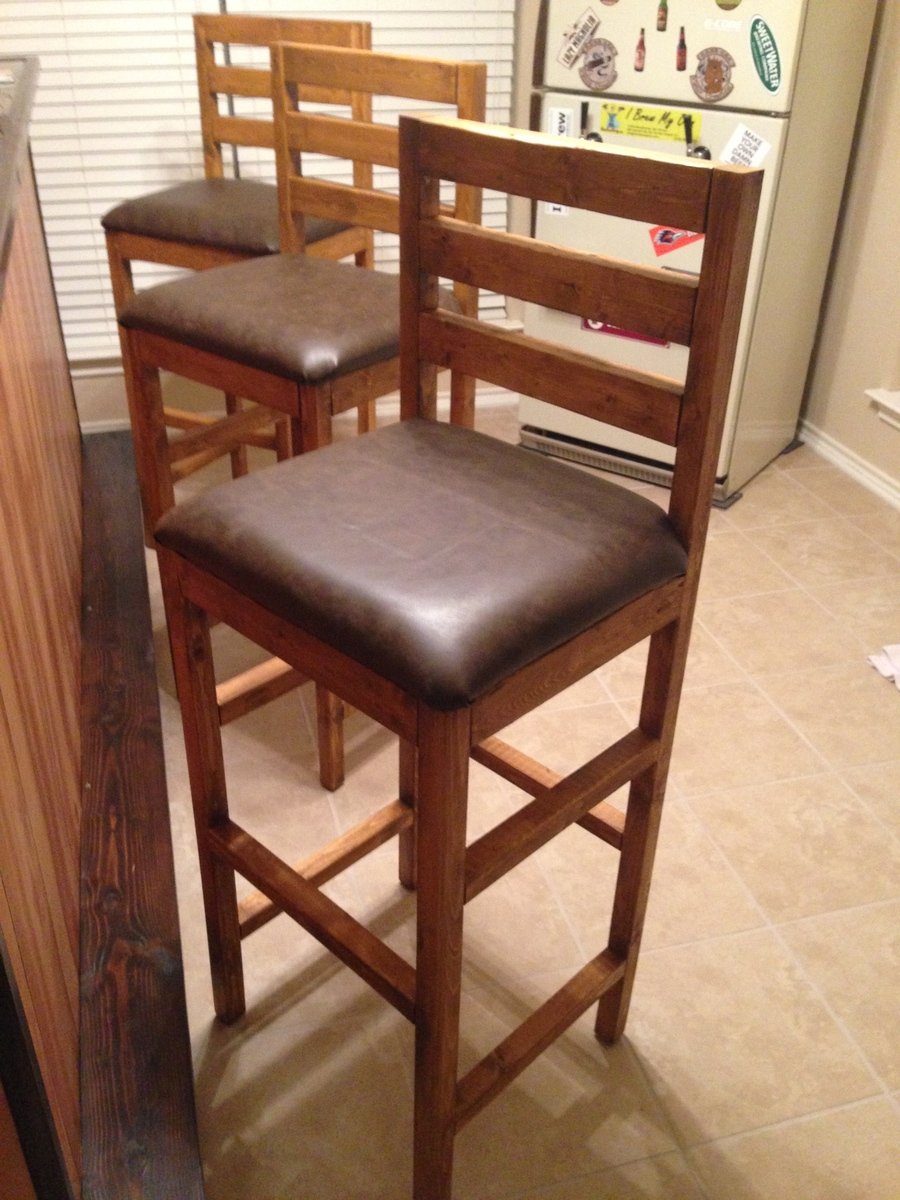
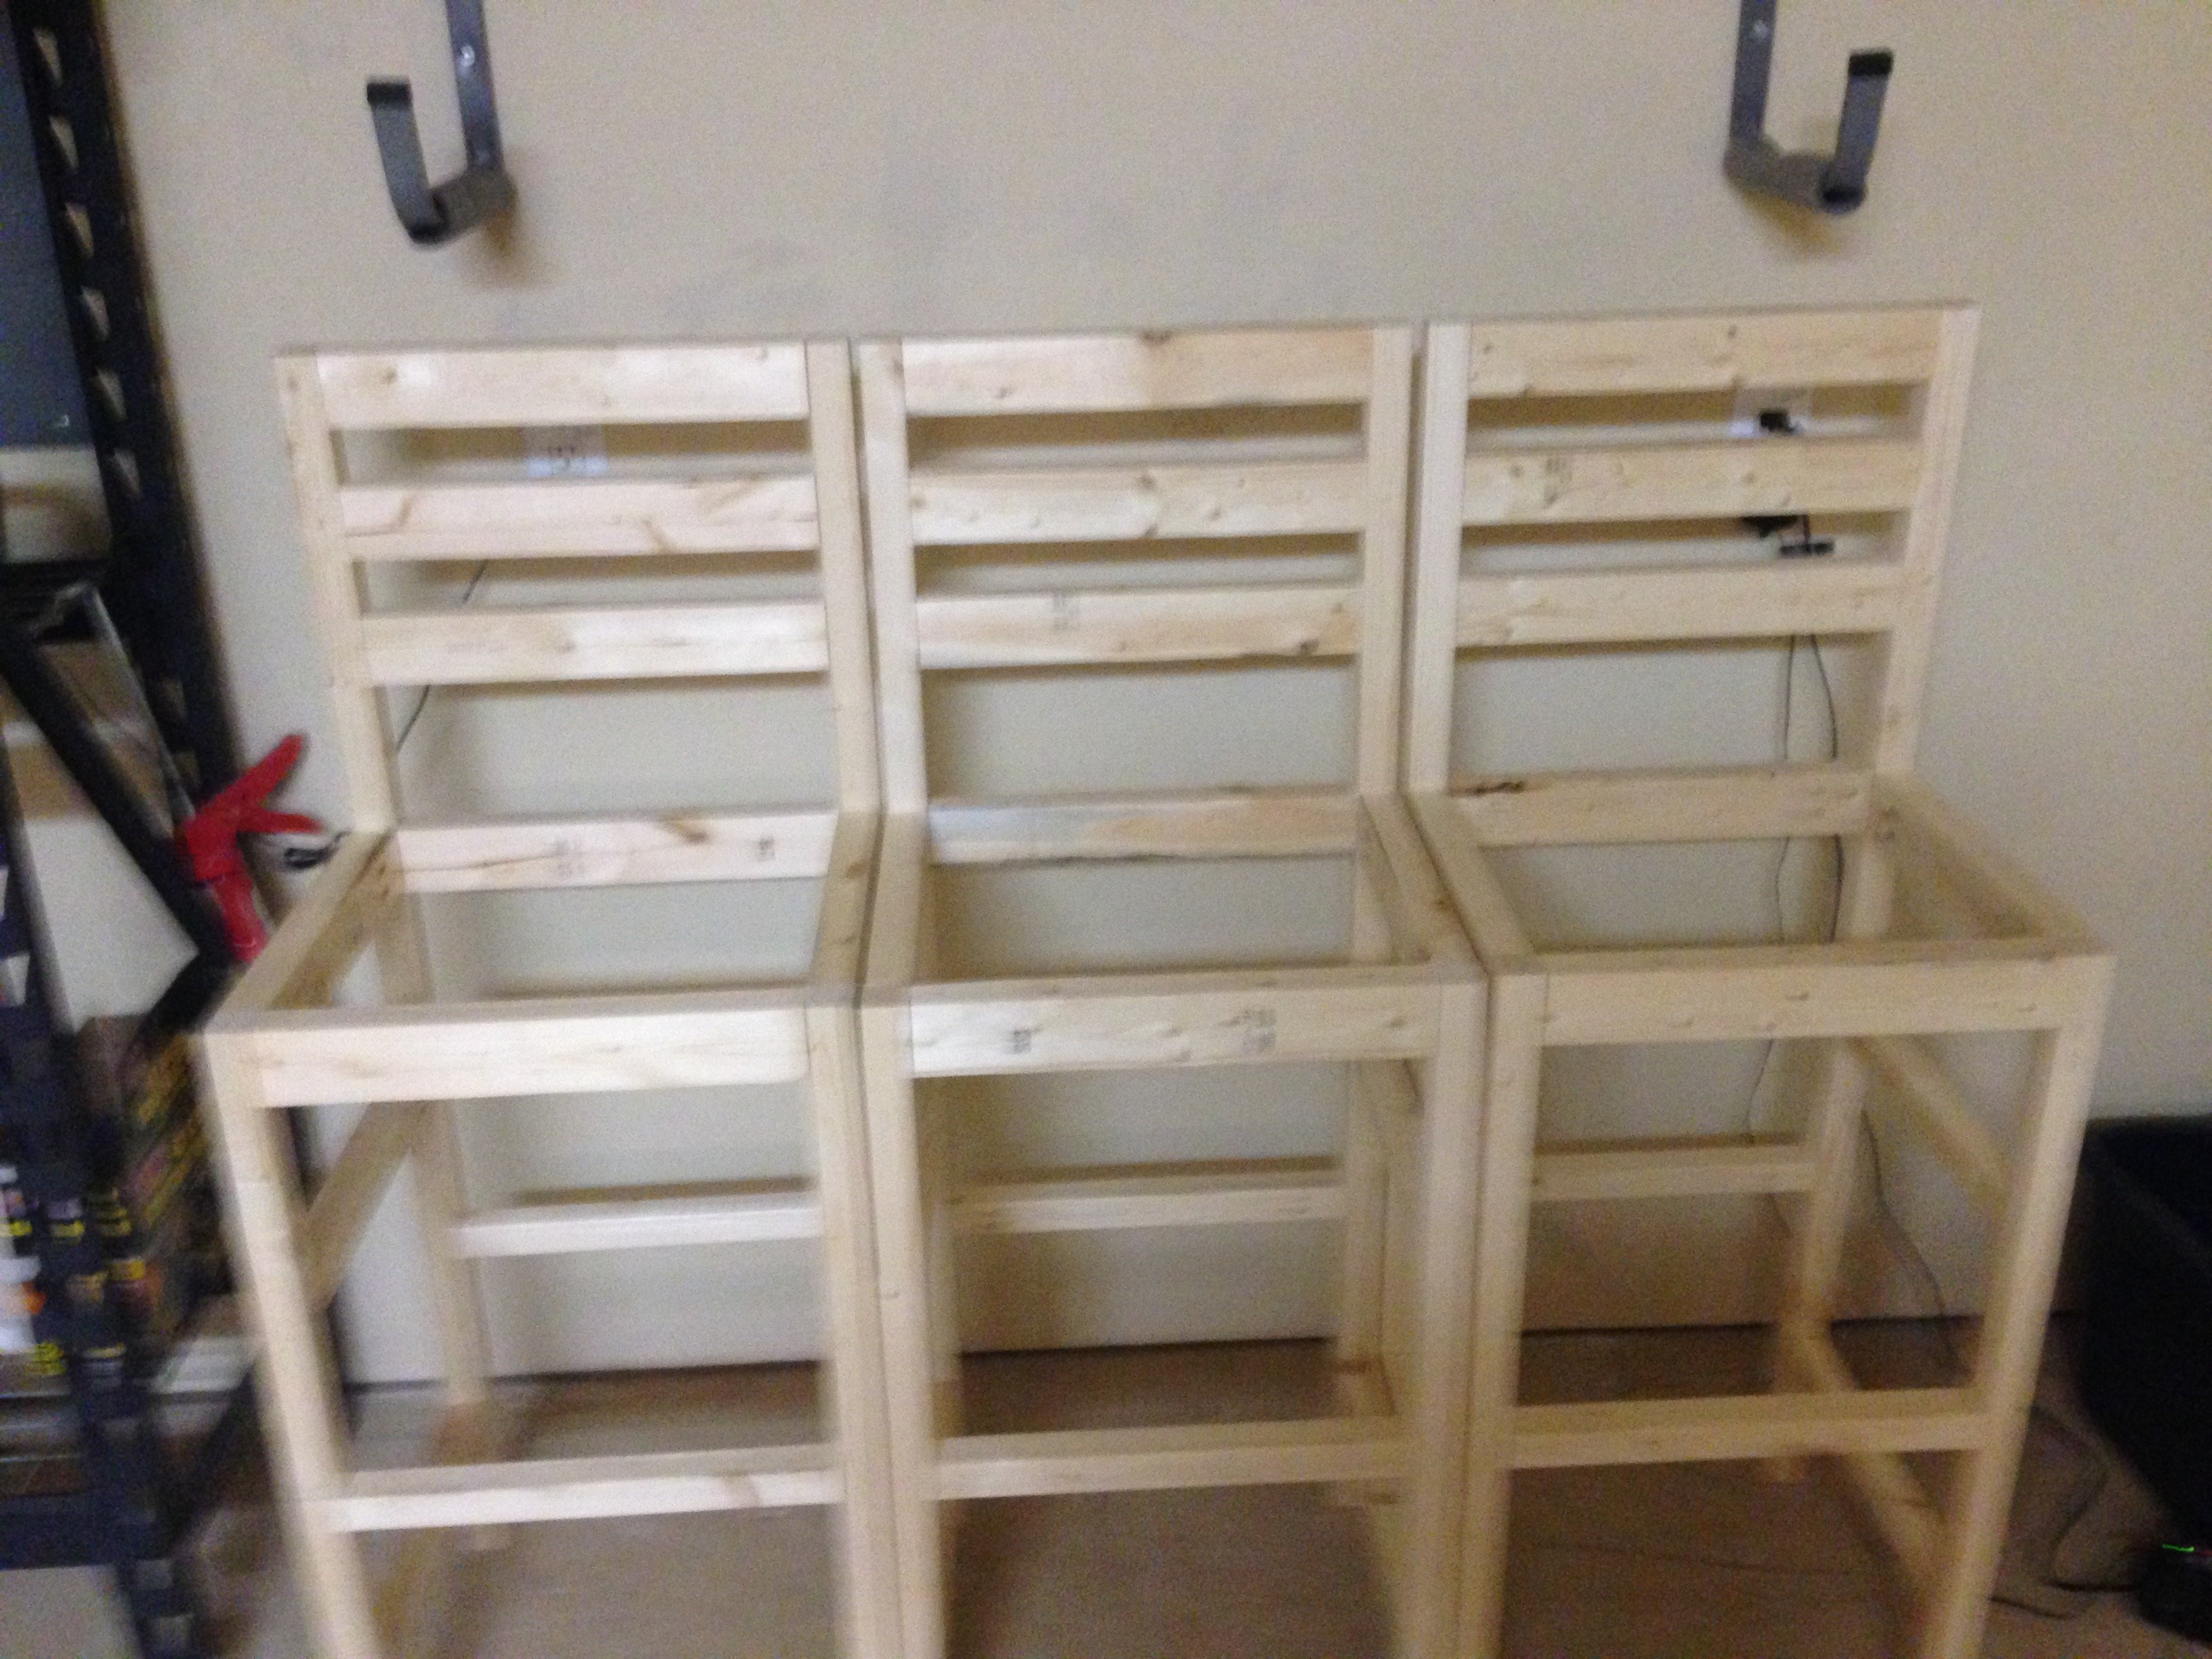
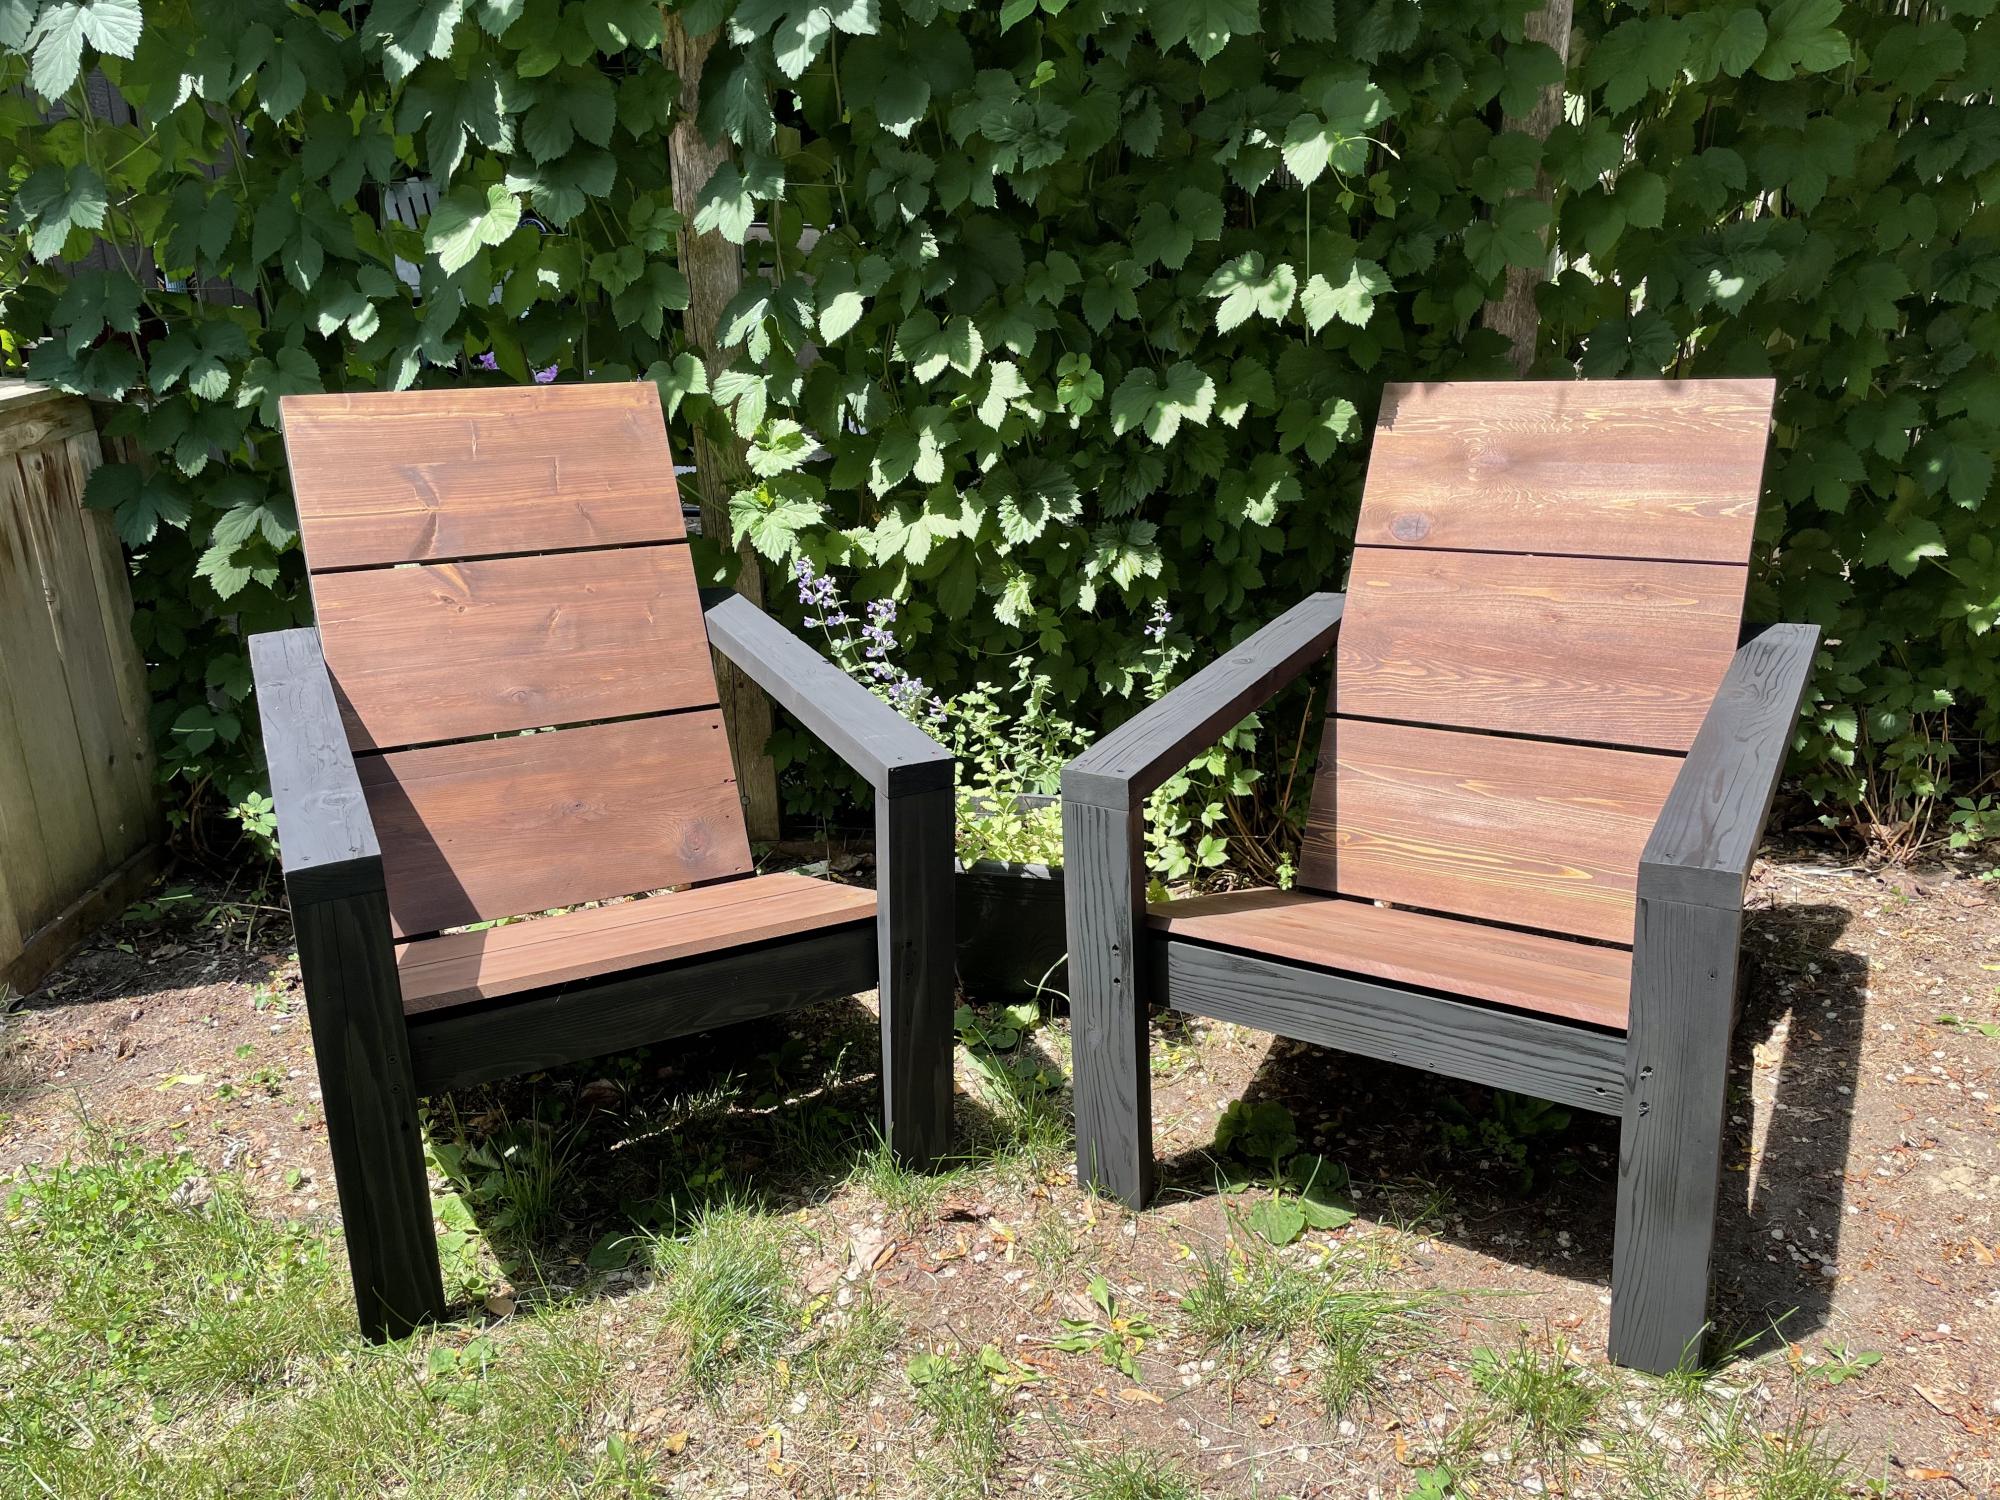
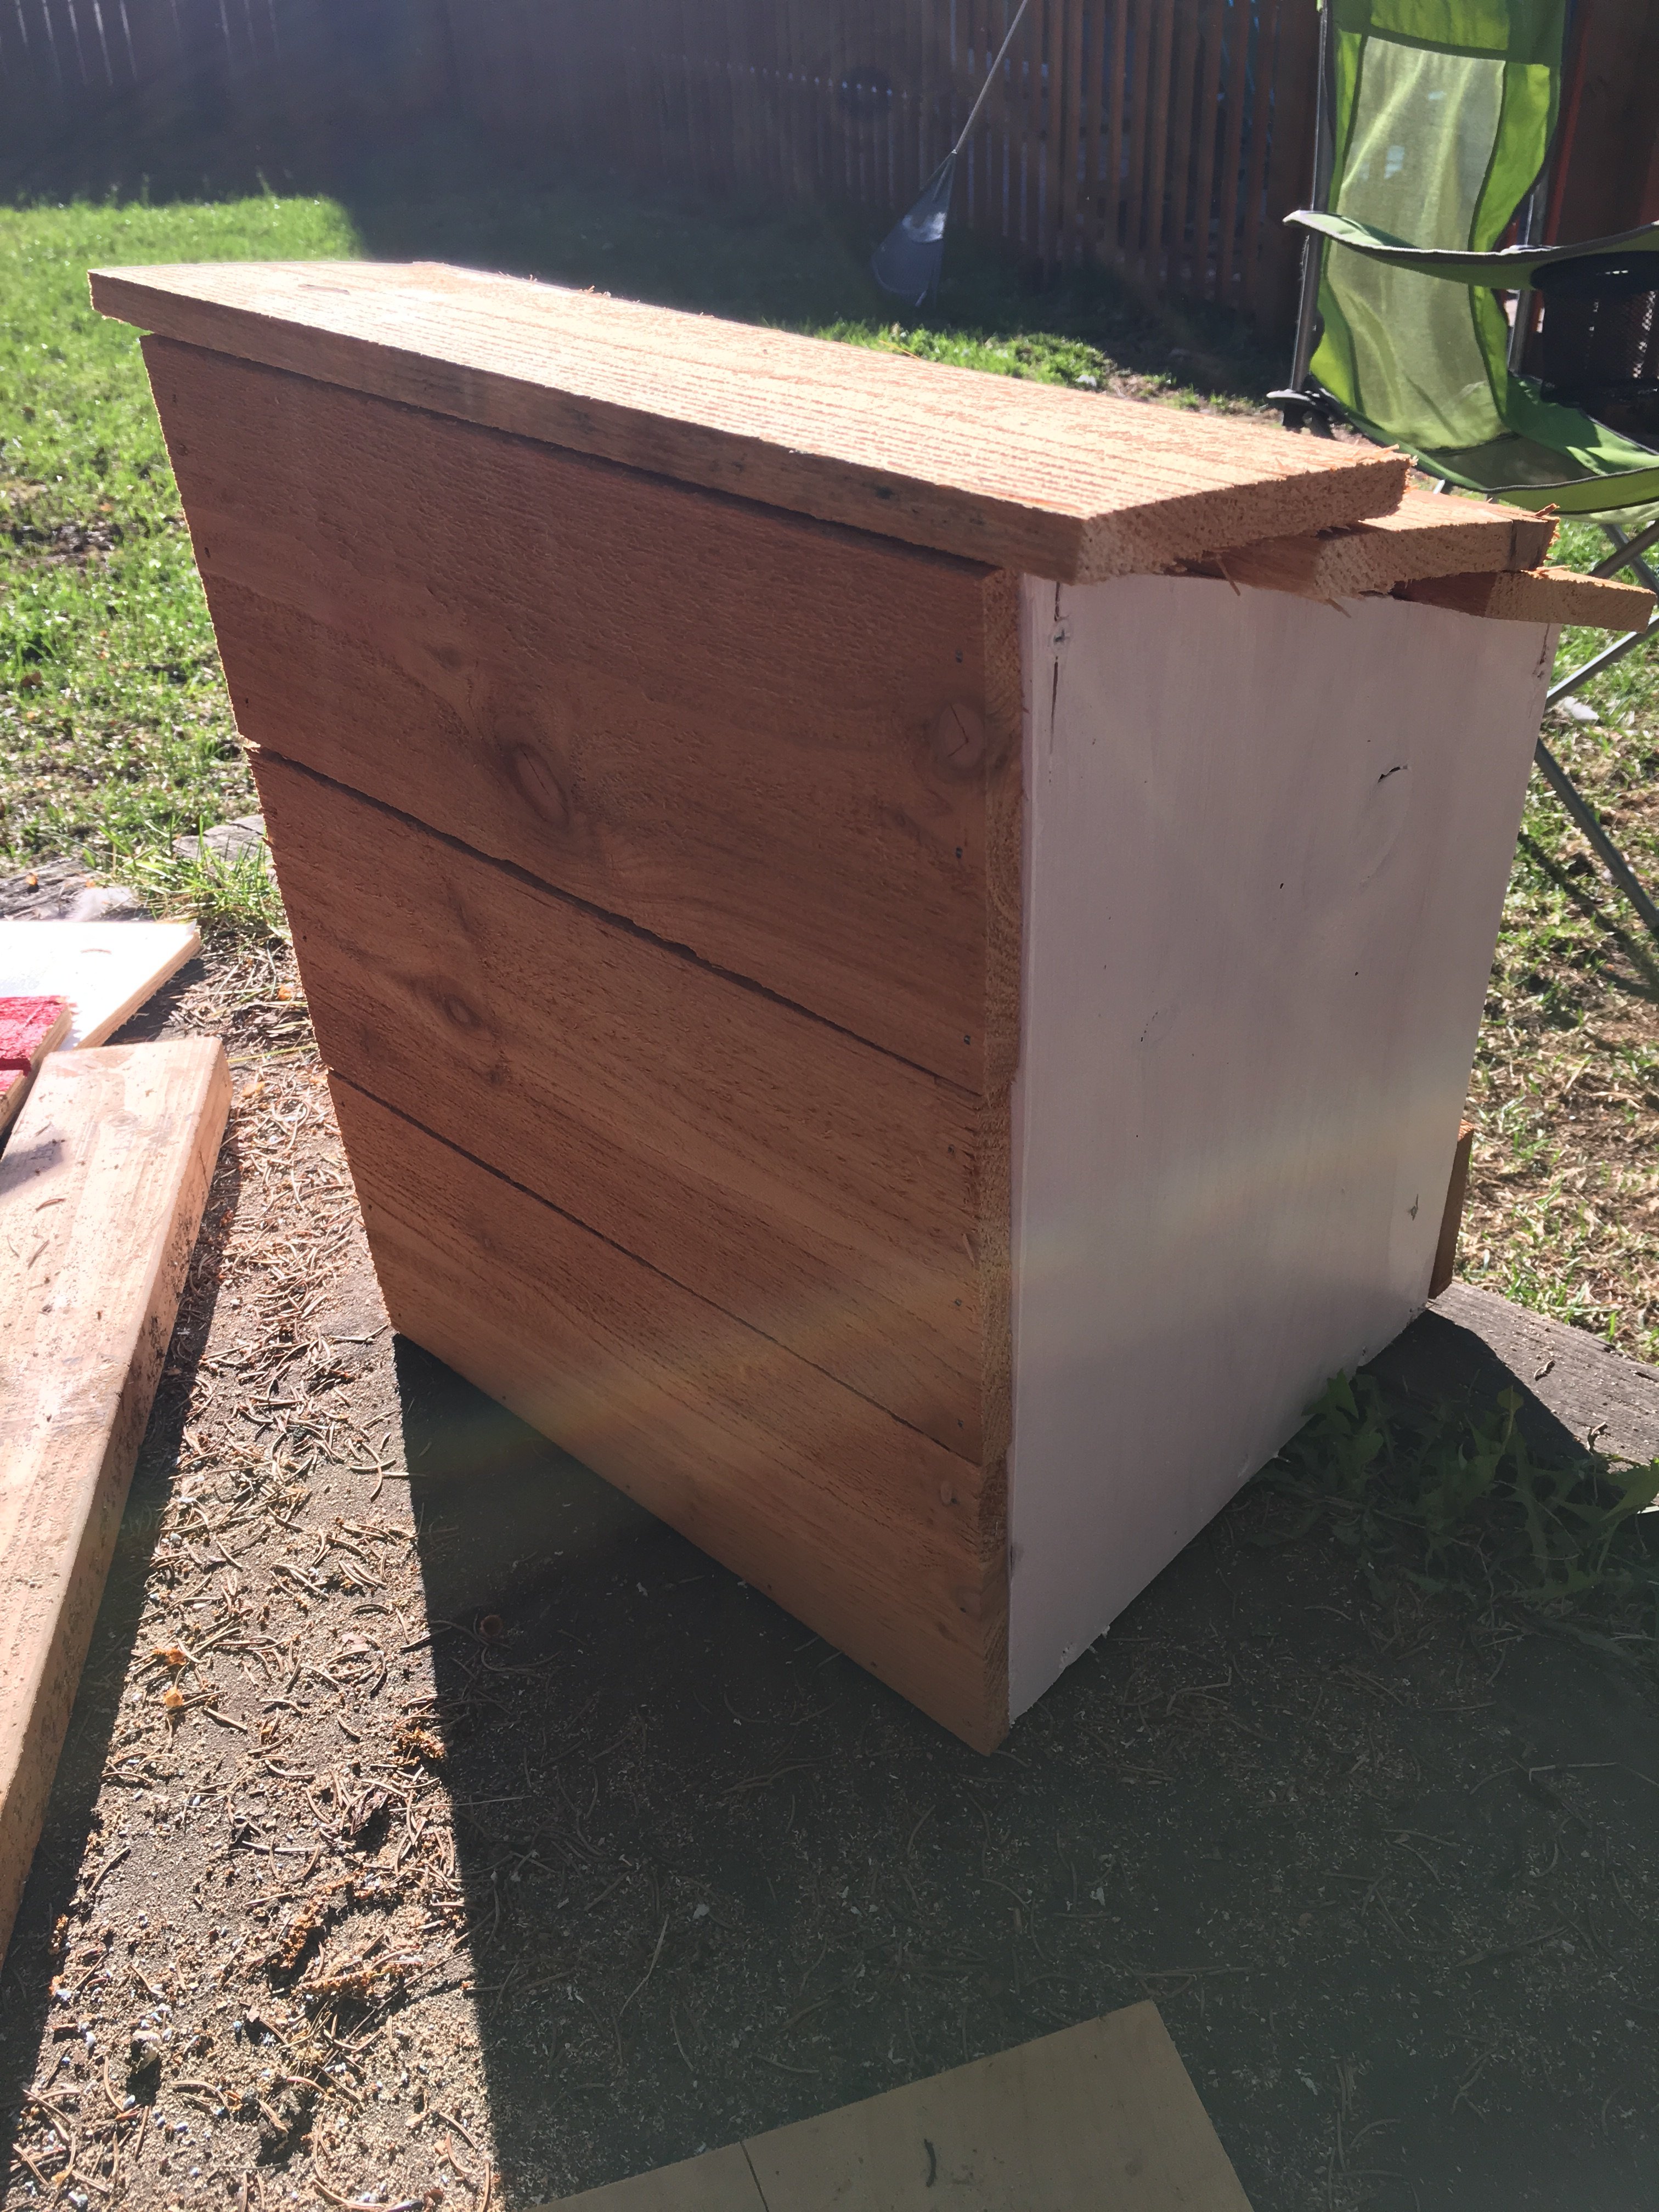
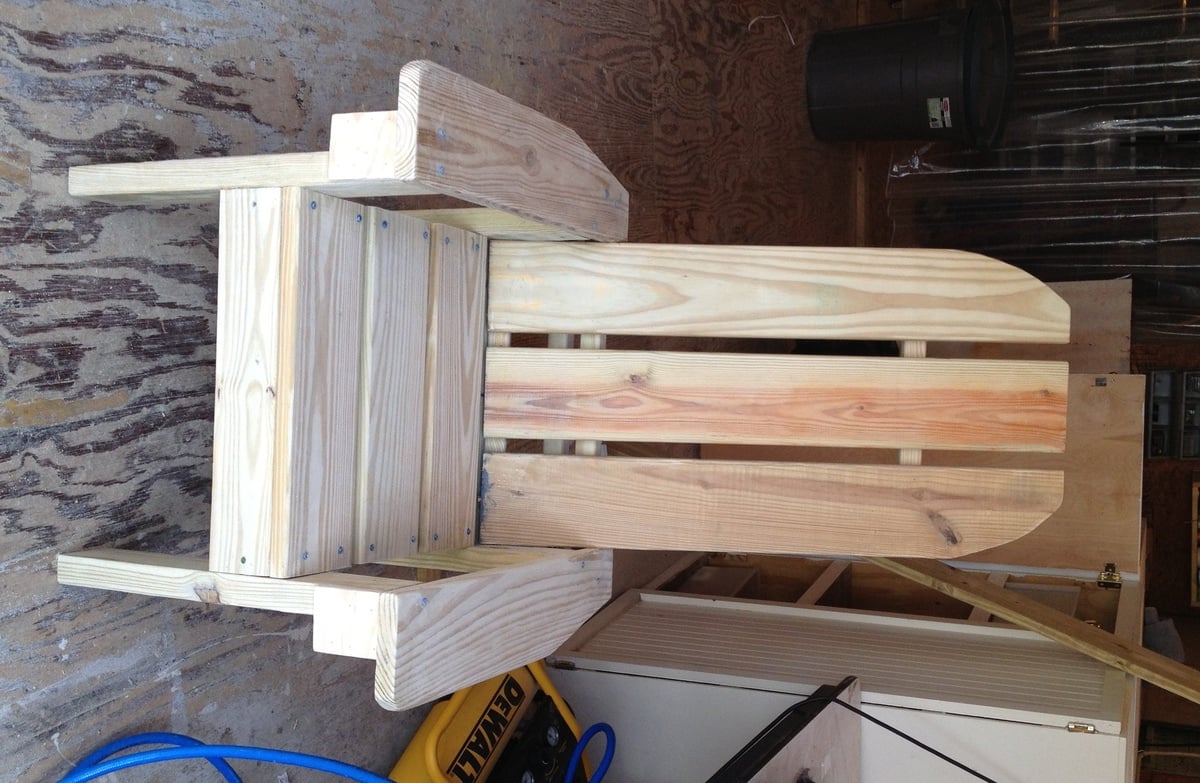
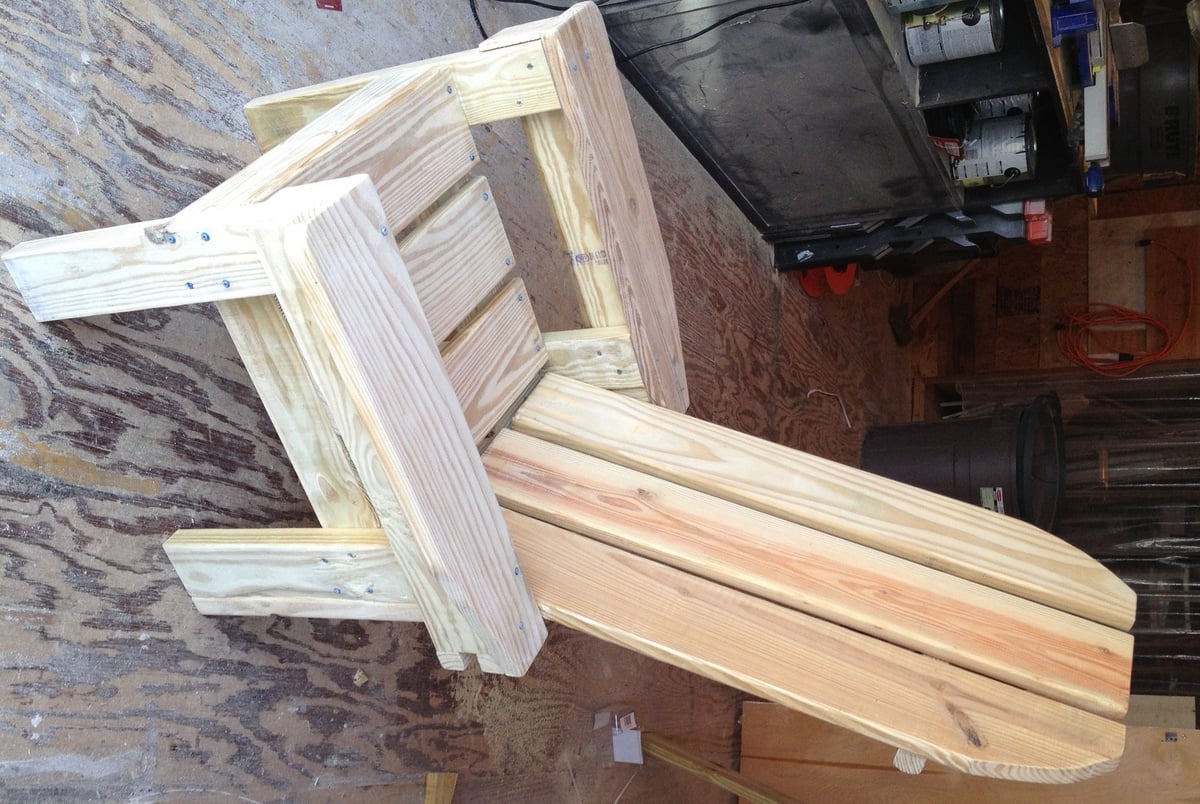
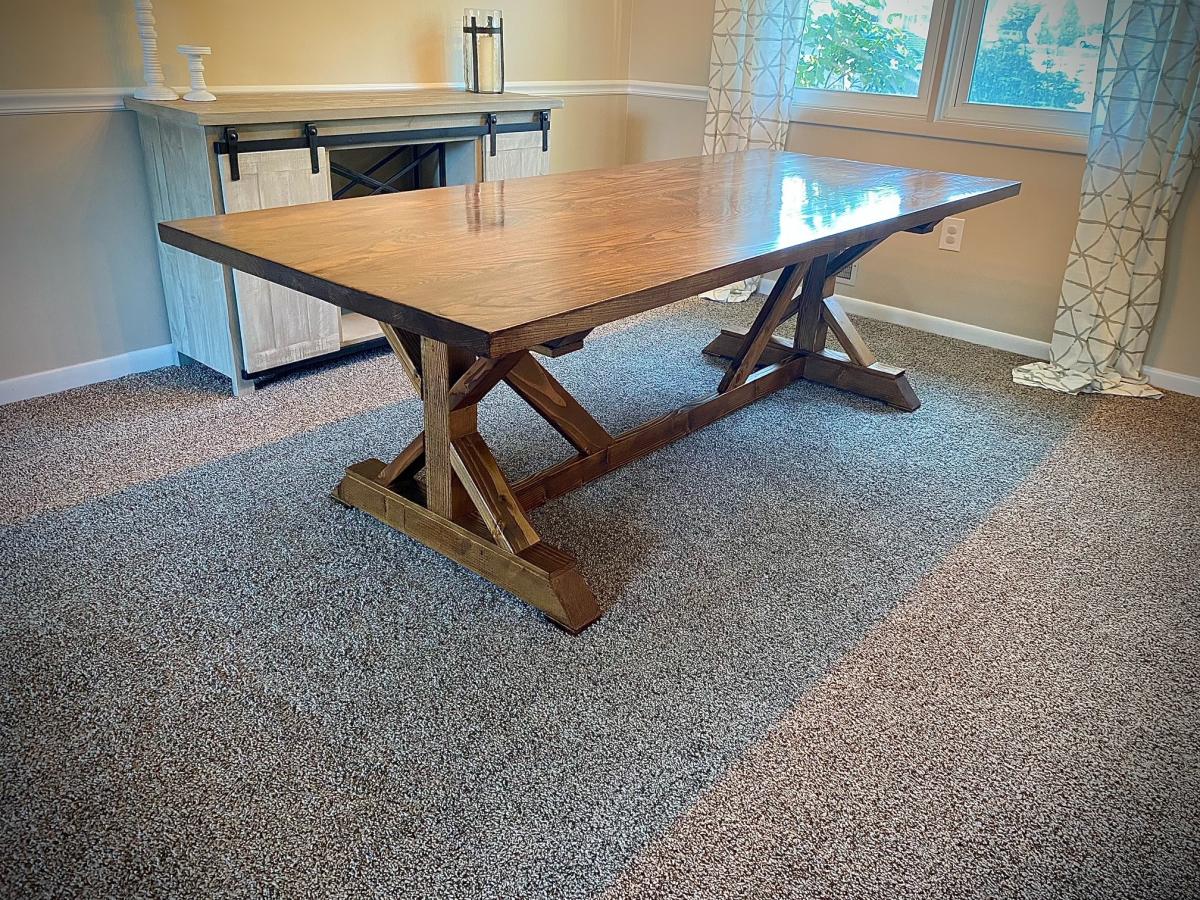
First AW project - very easy to follow with the plans, comments, and some basic problem solving. We like others did substitute some 4x4s for her stacked 2x4s.
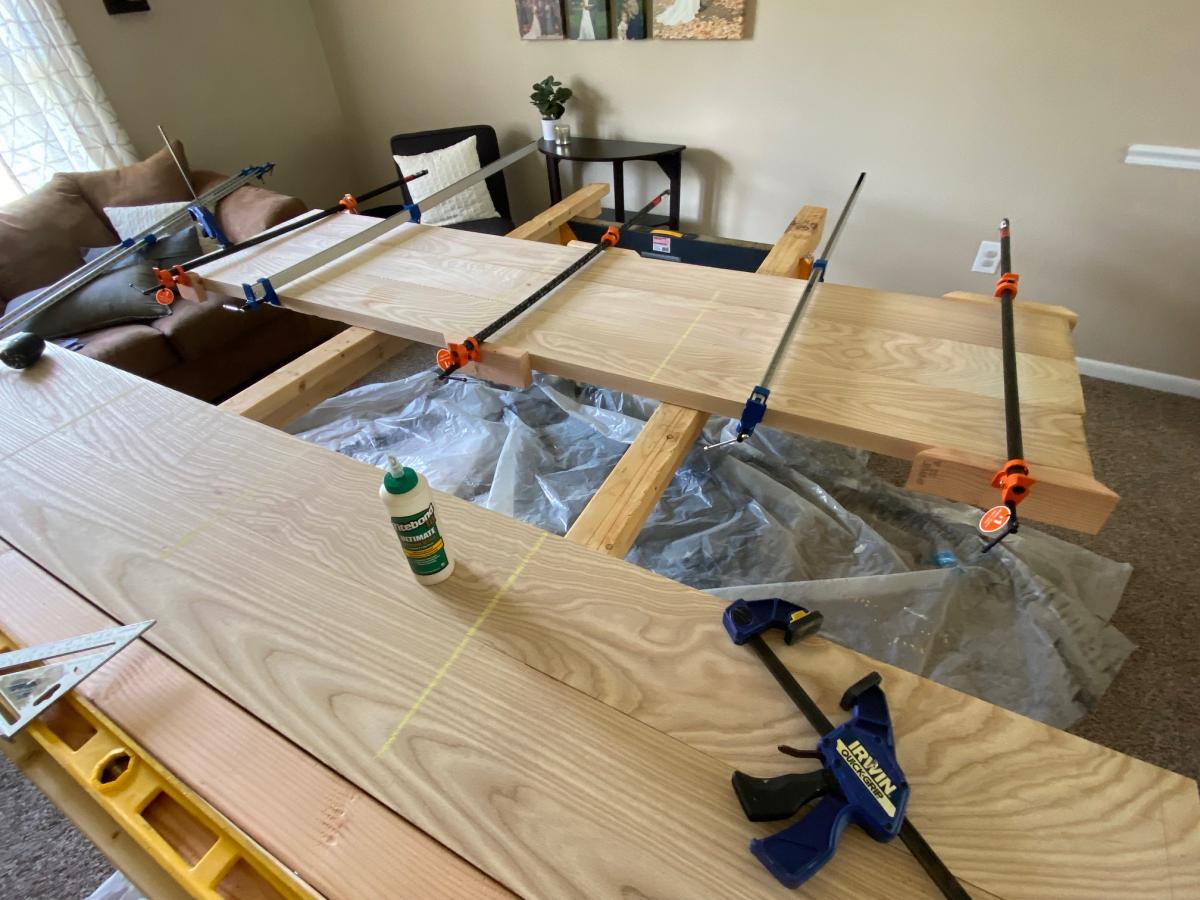
We used 2x8 Ash boards for the top, rough milled down at a local hardwood depot. ($600...Ouch). The lumber was glued up with Titebond iii and clamped with pipe clamps. Then used a combination of electric planer and belt sander to make sure it was completely flat and even after the glue up. Finish sanding was done with a 6" orbital, and the ends were cut flush with a circ saw.
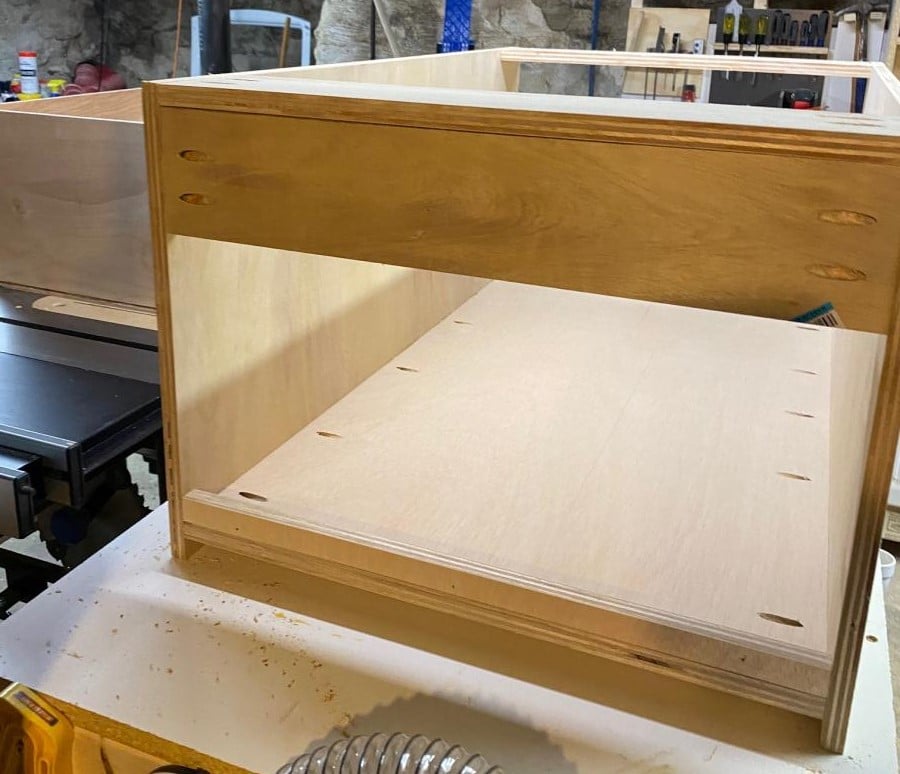
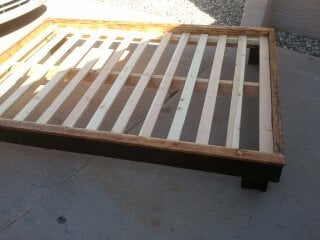
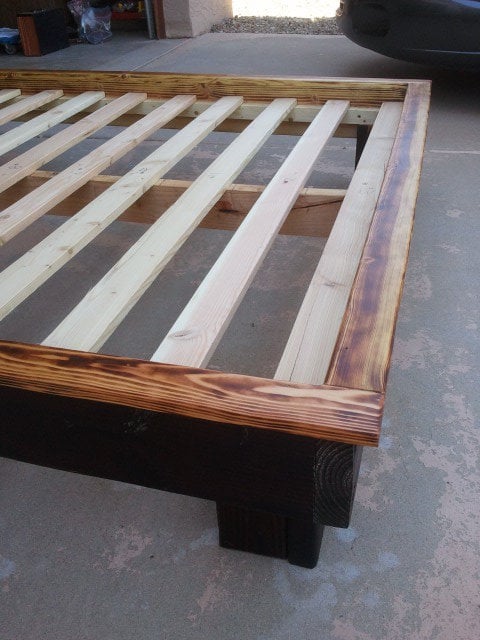
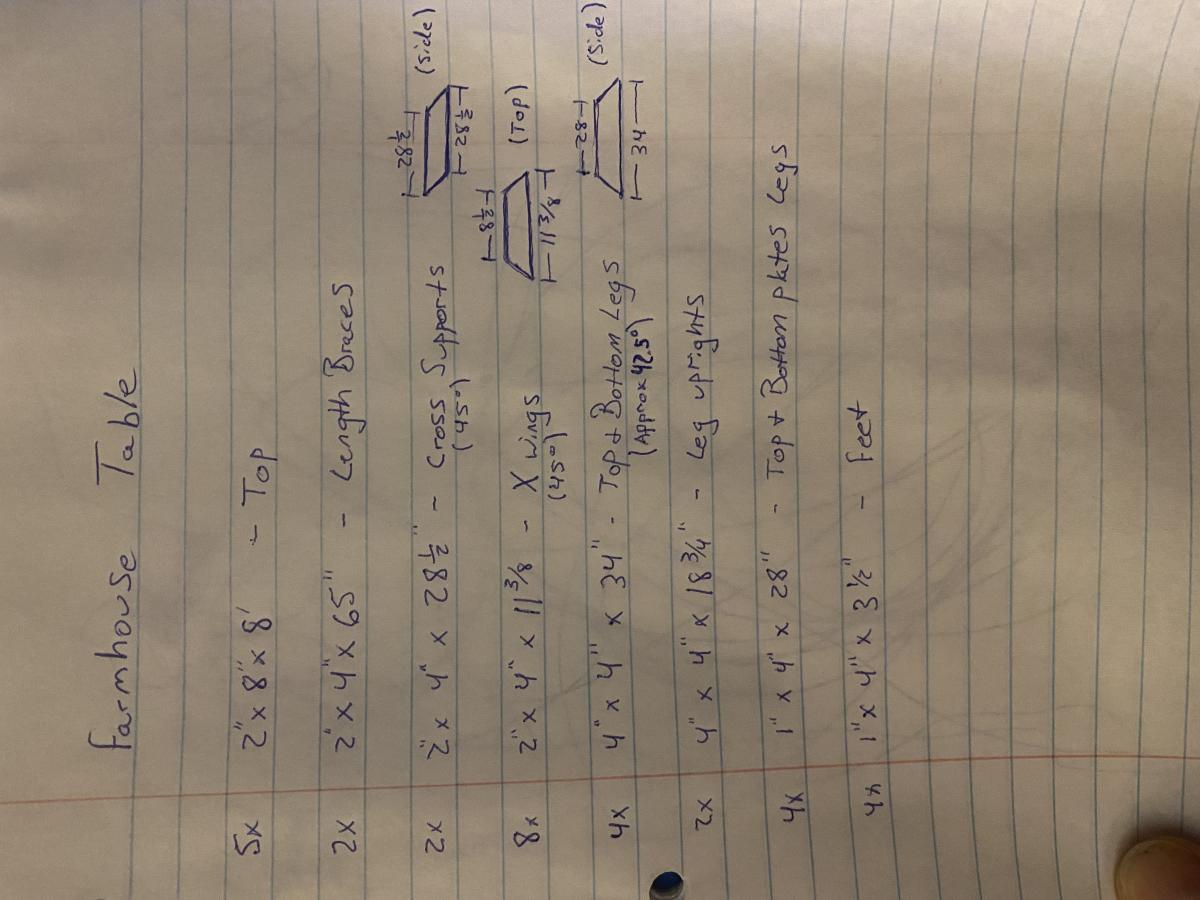
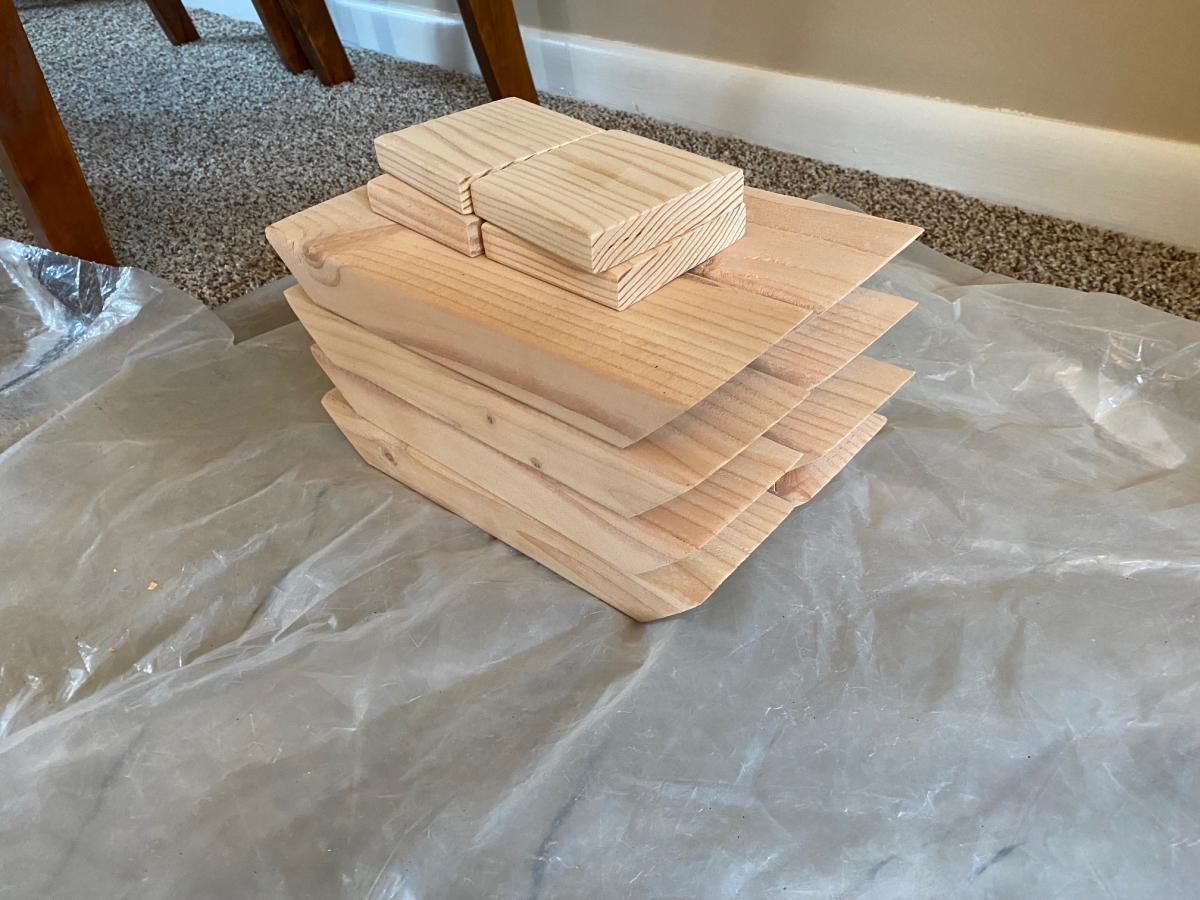
The base of the table was the easiest (and cheapest). It is made of kiln dried Doug Fir from the blue big box store. A photo of the cut list we used is attached. Used a chop saw for everything. This video helped visualize everything even though ours were not exactly the same. We used similar screw selection as this video as well:
https://www.youtube.com/watch?v=qg_hwoekV80
We used a kreg bit to predrill/counter sink our screws. Then purchased Douglas fir wood plugs from this etsy user. Didnt feel like cutting our own. This user has a lot of other species as well.
https://www.etsy.com/listing/991000659/douglas-fir-clear-tapered-wood-p…
A lot of people had questions about how to connect the top to the base. We routed a groove on the top of the base on each side and connected the two with Z clips. We used this method:
https://www.youtube.com/watch?v=J7Z69COtzzw
And these clips:
https://www.amazon.com/Table-Fasteners-Connectors-Screws-Brackets14/dp/…
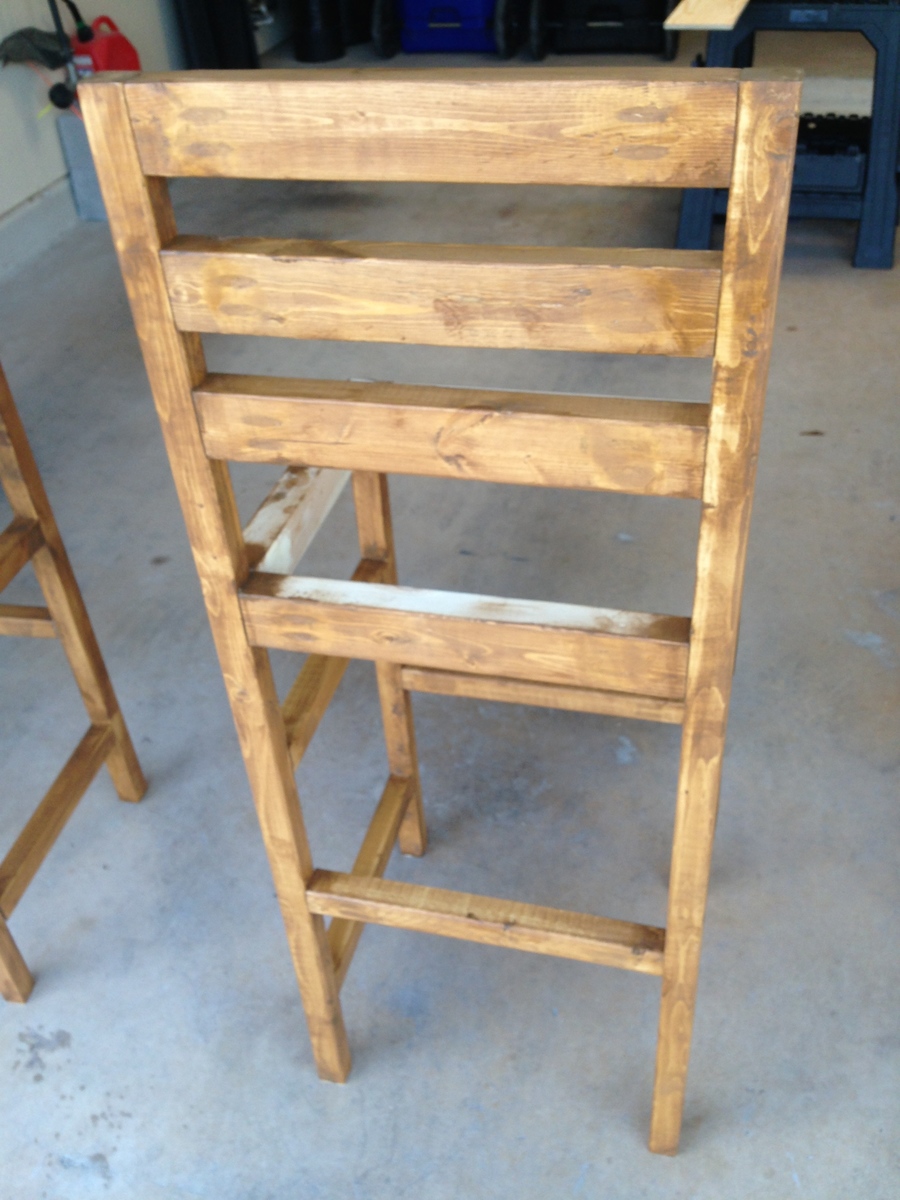
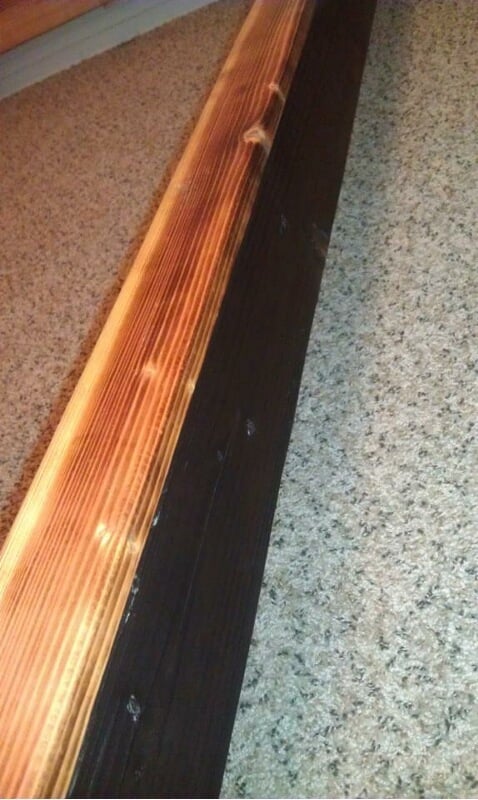
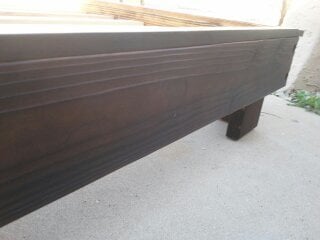
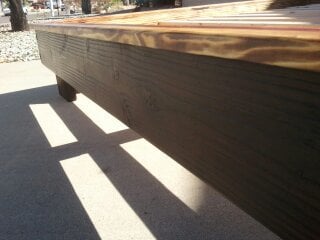
Finishing was the most stressful part. Our first staining attempt was very blotchy despite being sanded very well and using a preconditioner. Since we spent so much money on the top and wanted this to be a perfect heirloom piece, we ended up re-planing and sanding the whole top (Kill me). We then used this method to precondition the wood by The Wood Whisperer - which worked great:
https://youtu.be/rjPX1byriM8
The table final coat was finished using these methods by PMK Woodworking. 3:2:1 ratio of
Mineral Spirits: Oil Based Poly: Boiled Linseed Oil:
https://www.youtube.com/watch?v=MxP5YuTHyic
https://www.youtube.com/watch?v=J_6g4oGEJ5s
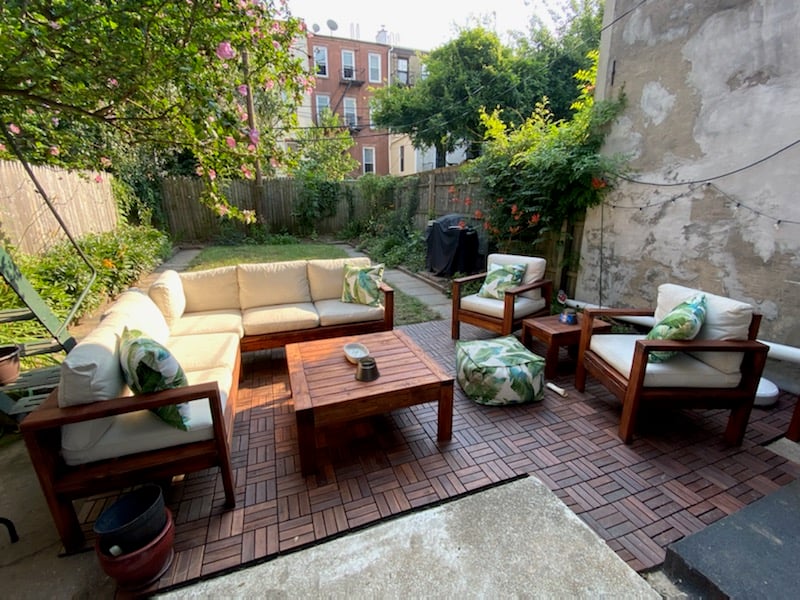
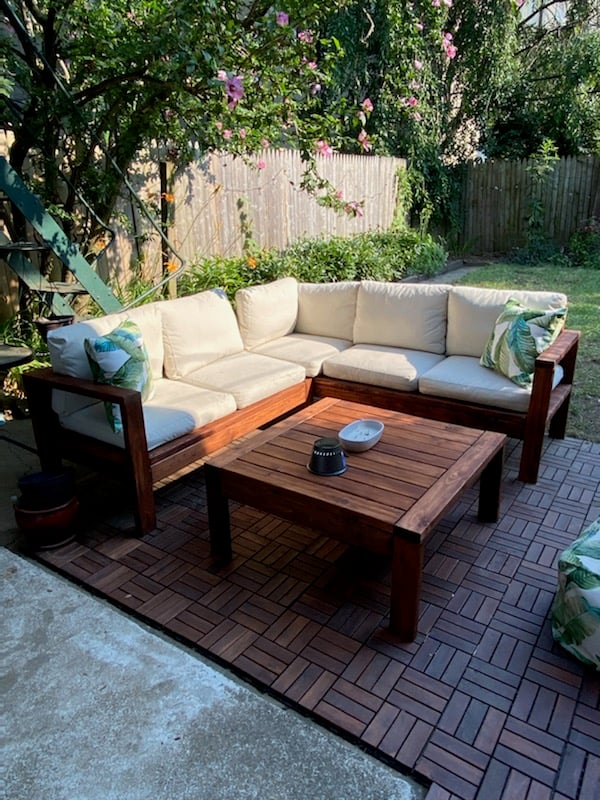
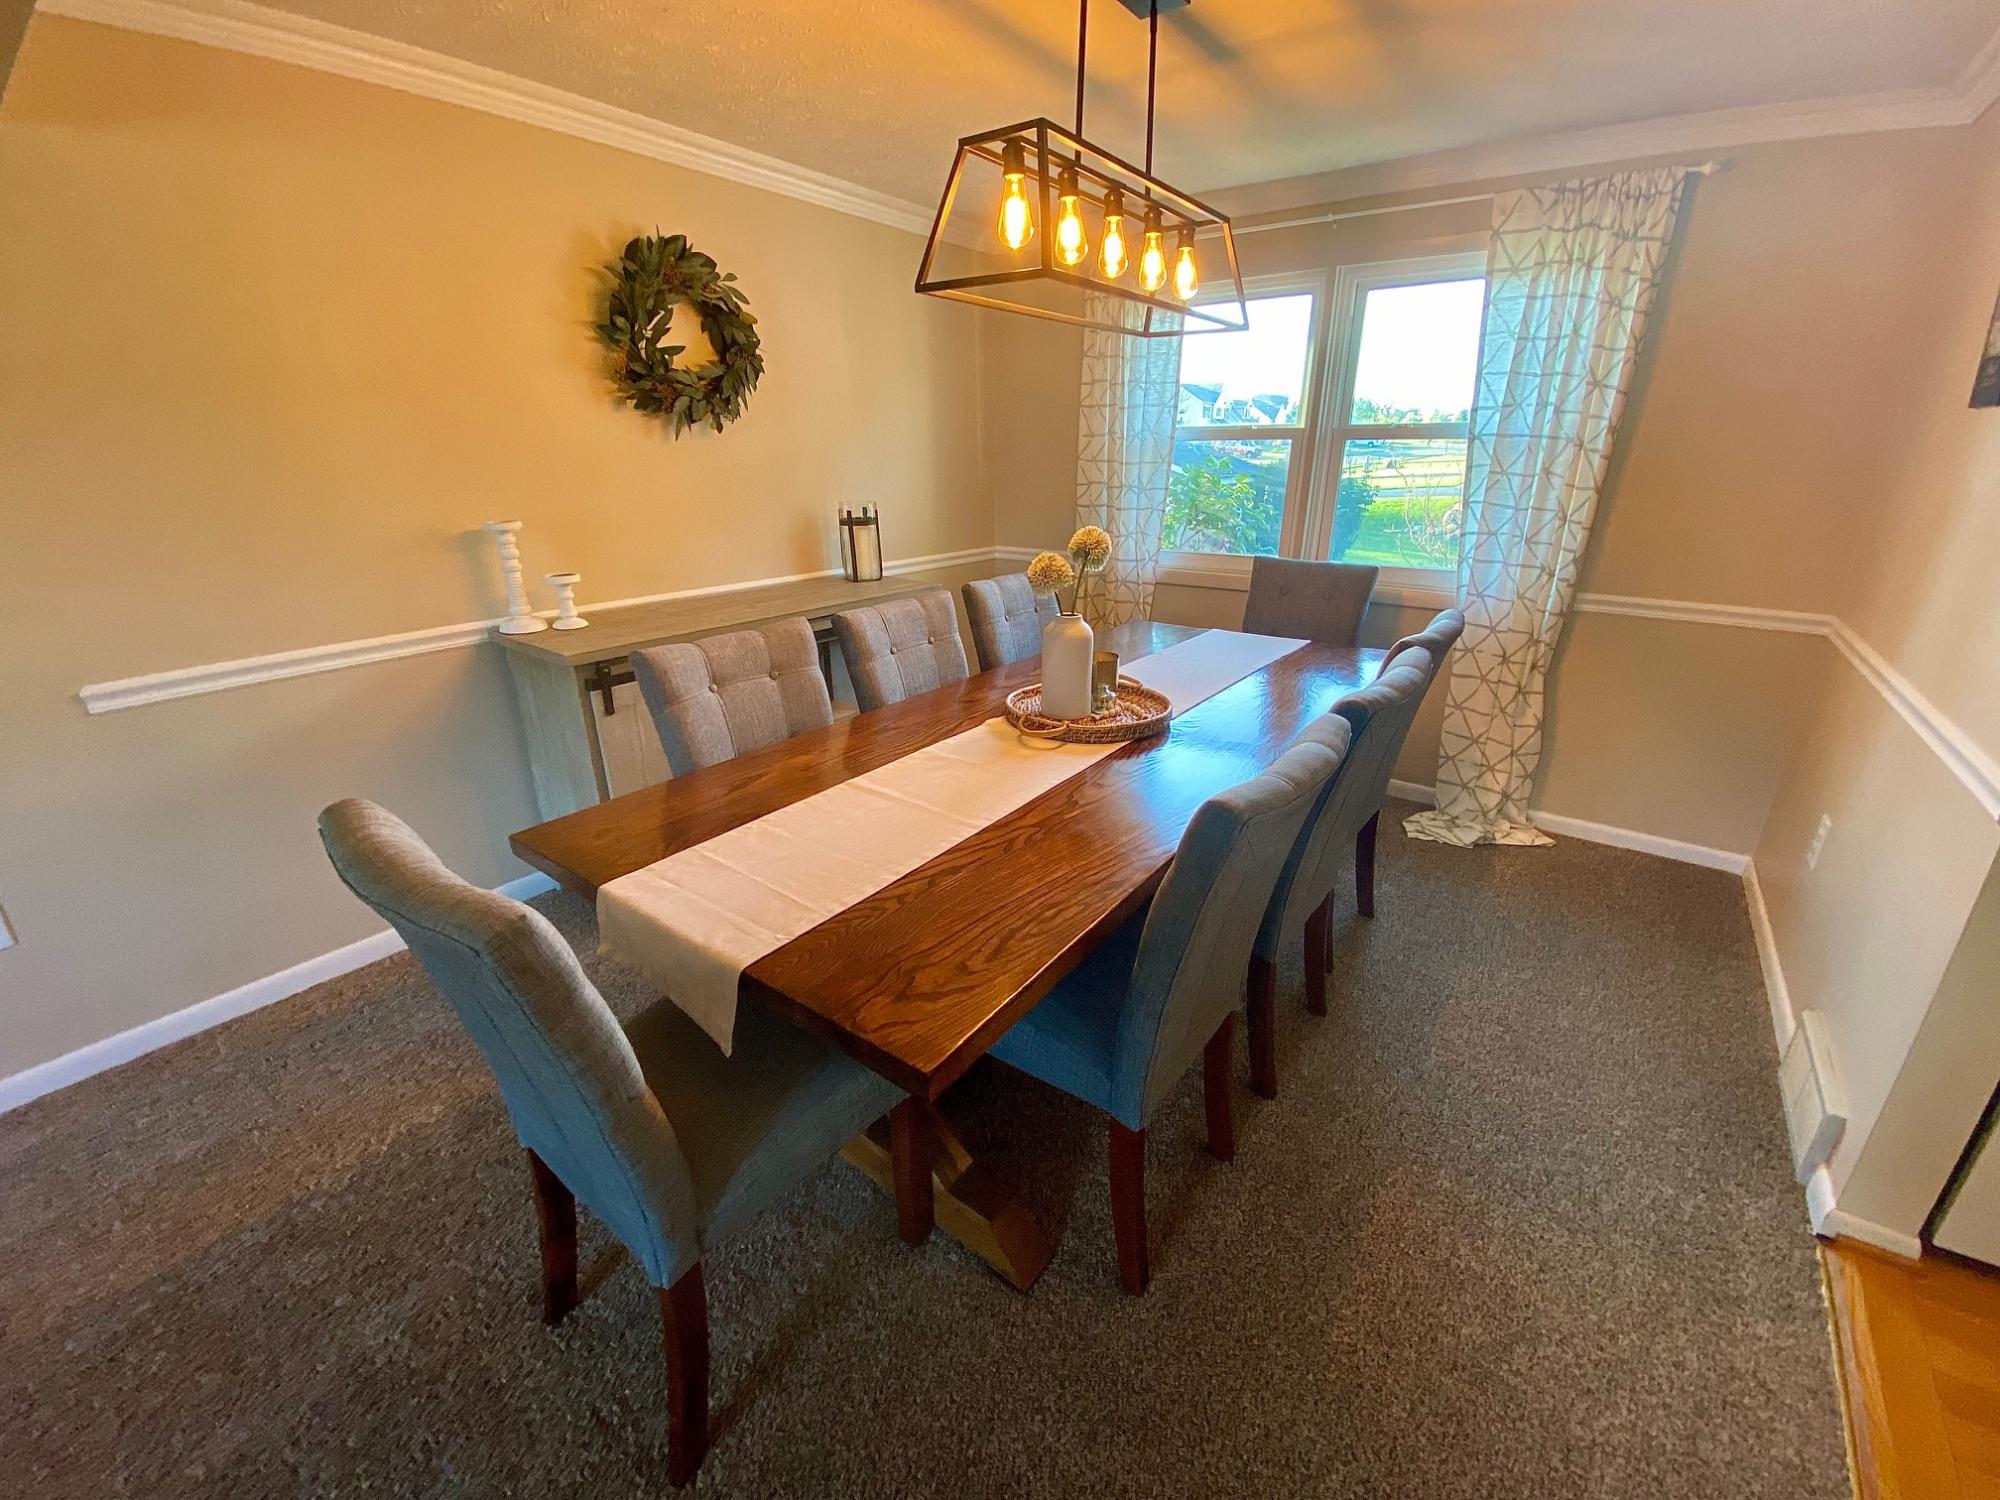
Overall very happy. Took way longer and cost way more than expected. But hopefully will be our forever table that our kids will fight over one day. If you wanted to do this cheap and have it look rustic with imperfections, that would also be great and very doable.
Thanks to Ana, all the links above, and all your comments!
Good luck


Comments
Ana White
Thu, 12/04/2014 - 22:37
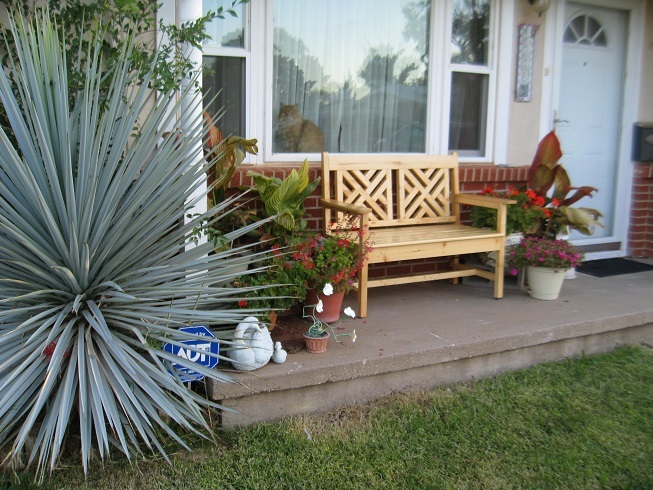
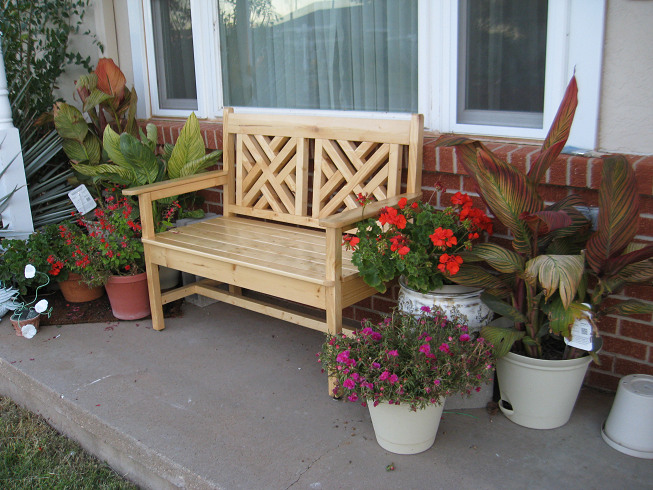
This is really nice! I love
This is really nice! I love the yard too!
earthbybike
Sat, 12/06/2014 - 12:27
Thanks!
I built this at the local college woodshop and I am very happy with how it turned out. Our comminity is so very lucky to have a community college that has a wood shop and a huge spray booth. (Wood Shop 1 & 2 as well as Cabinet Building 1 & 2)