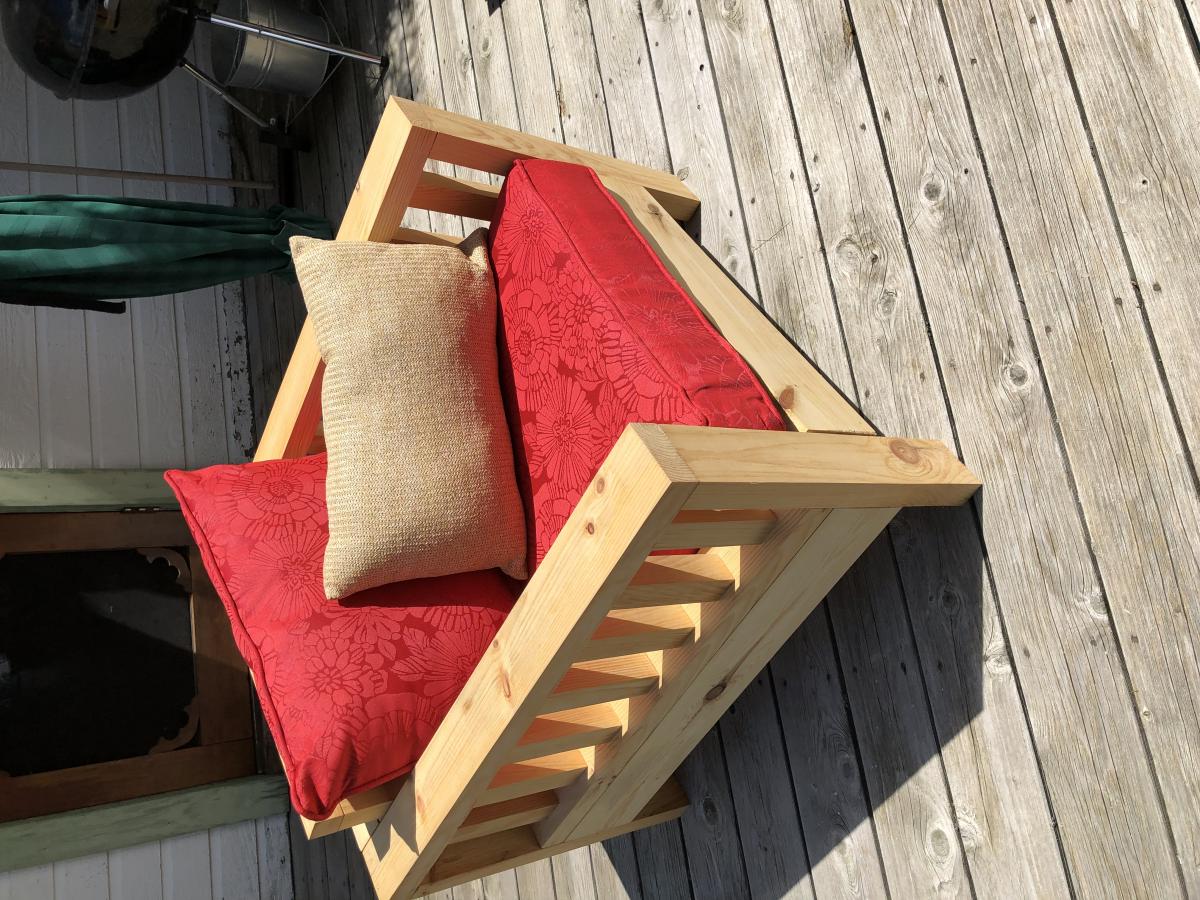
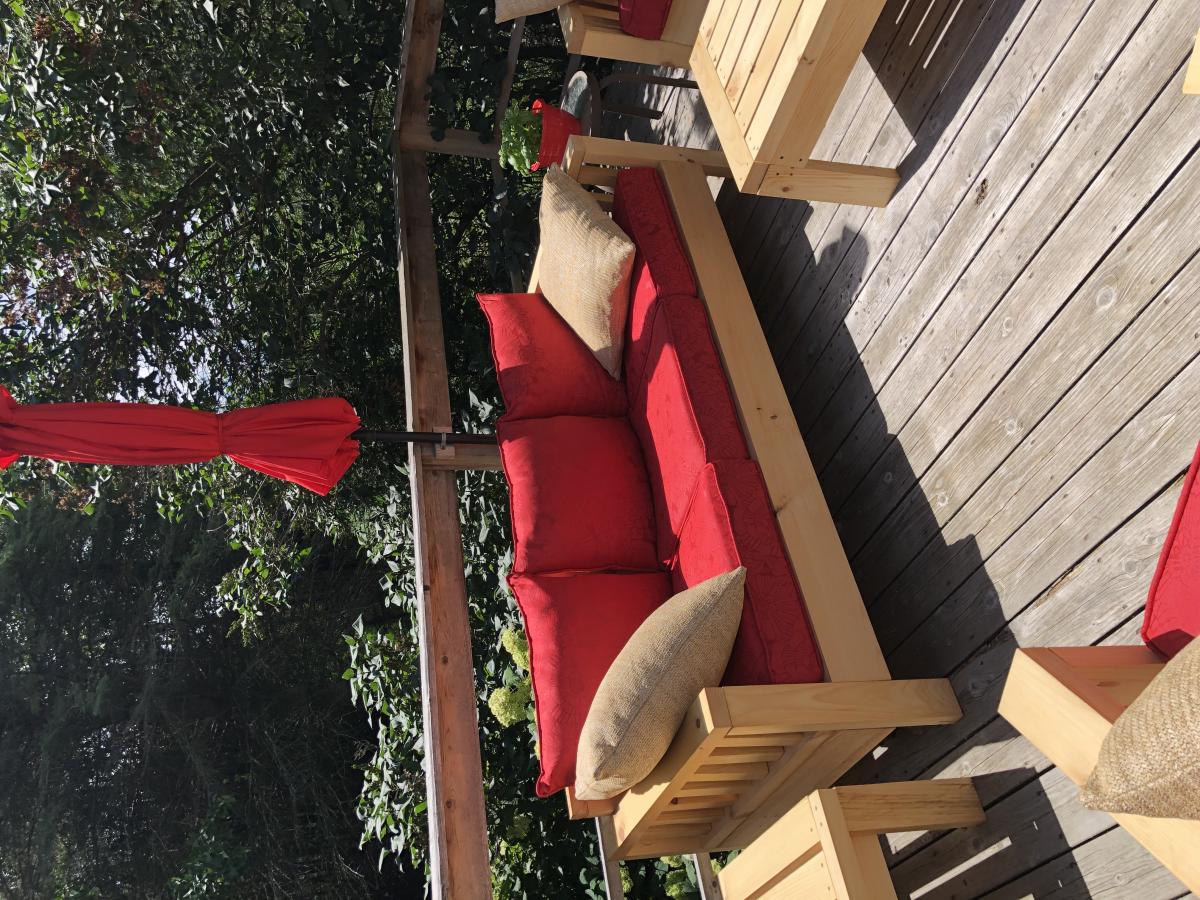
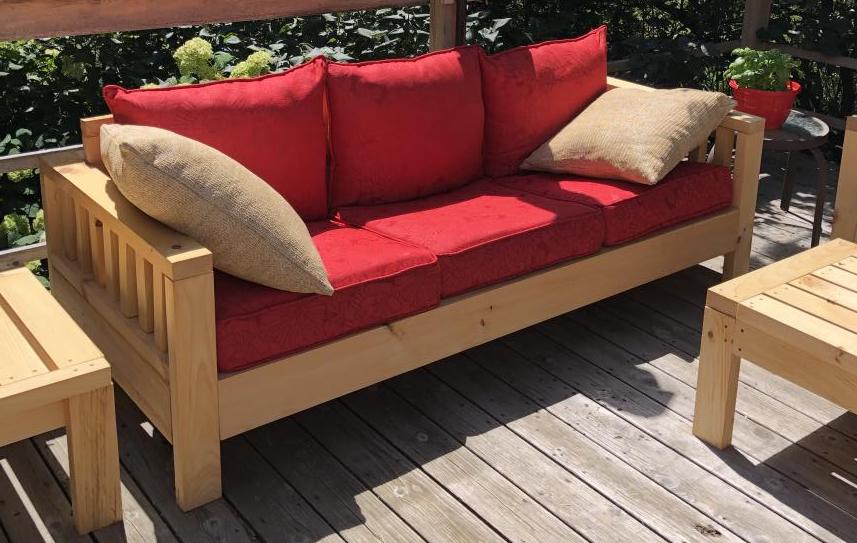
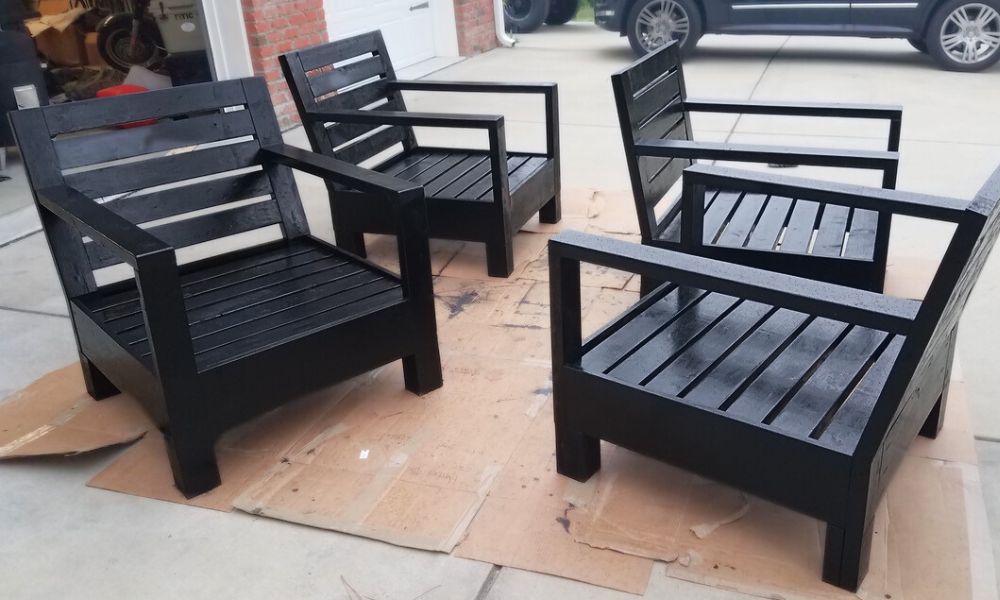
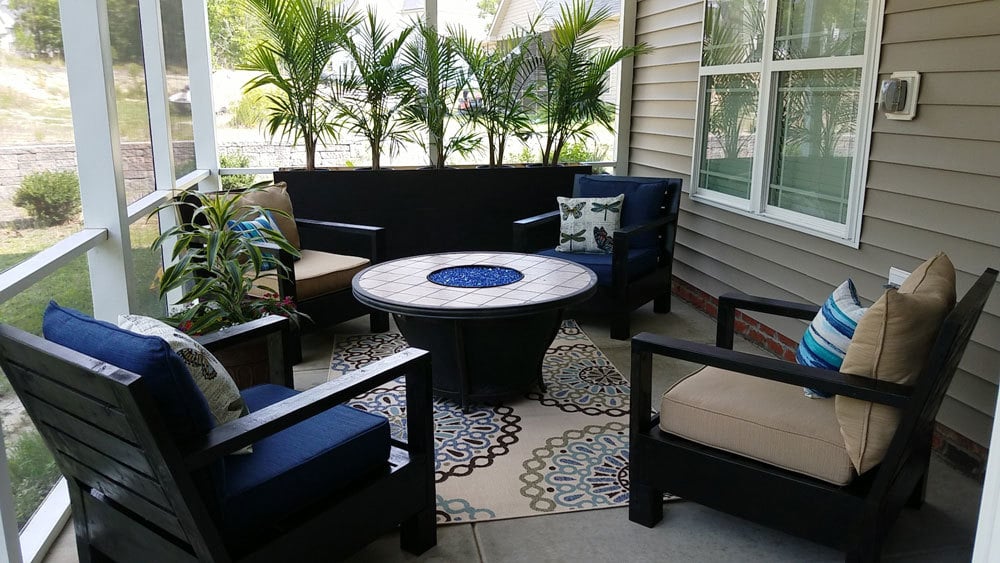
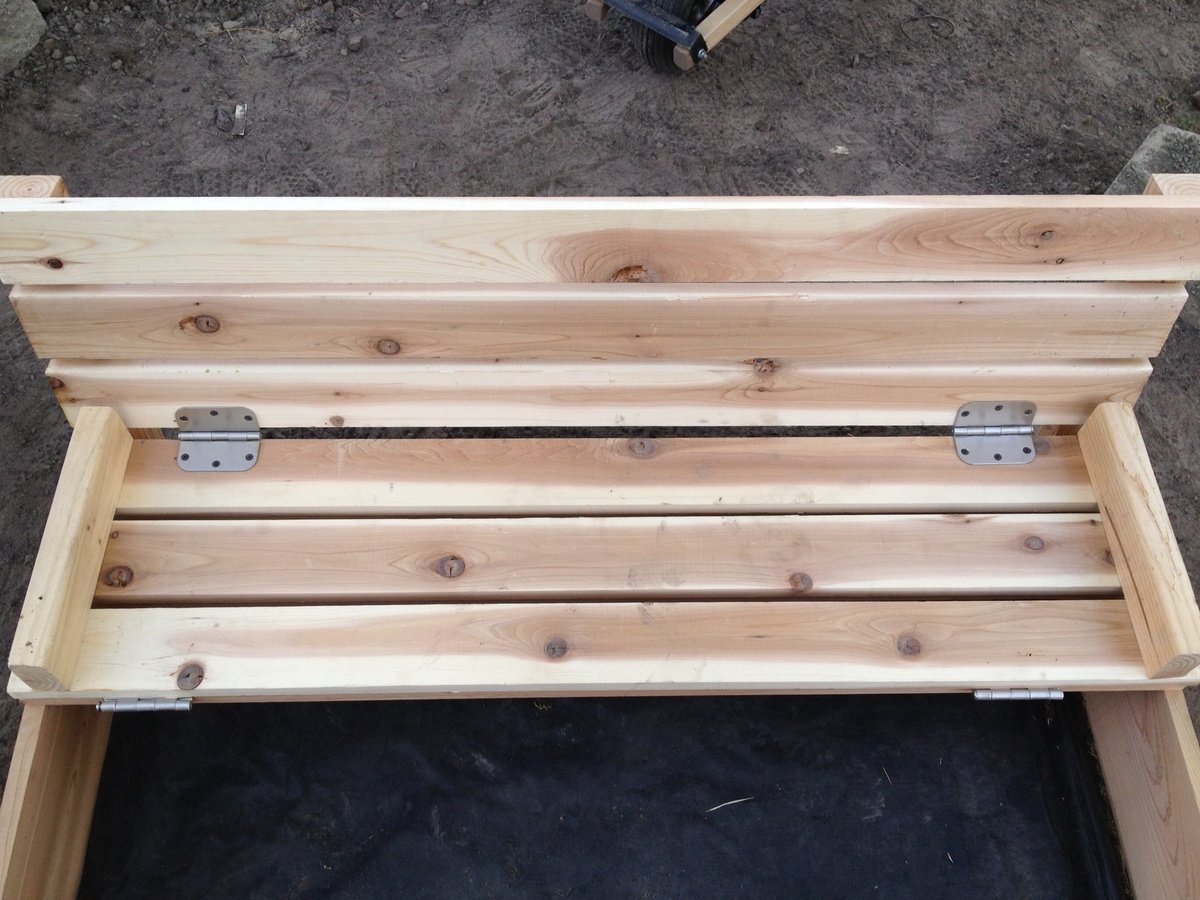
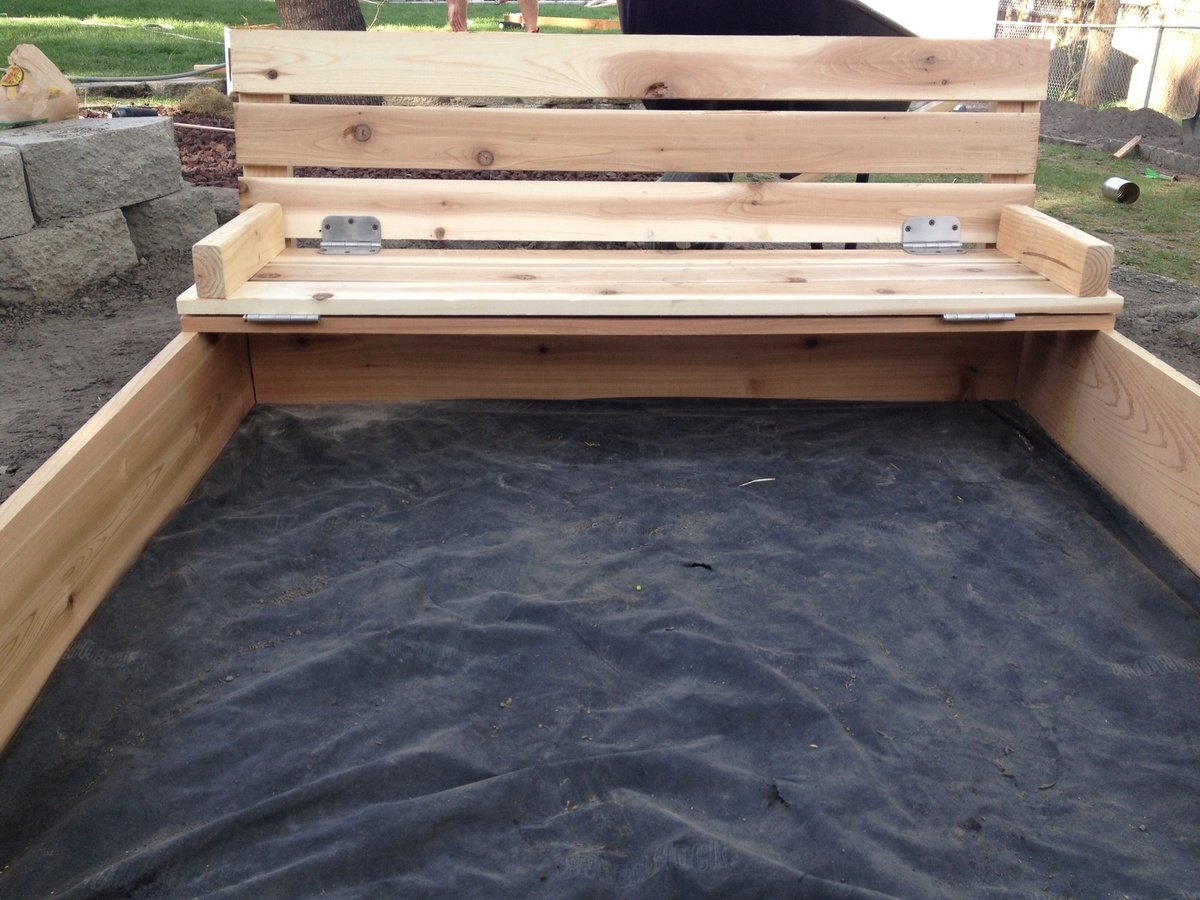
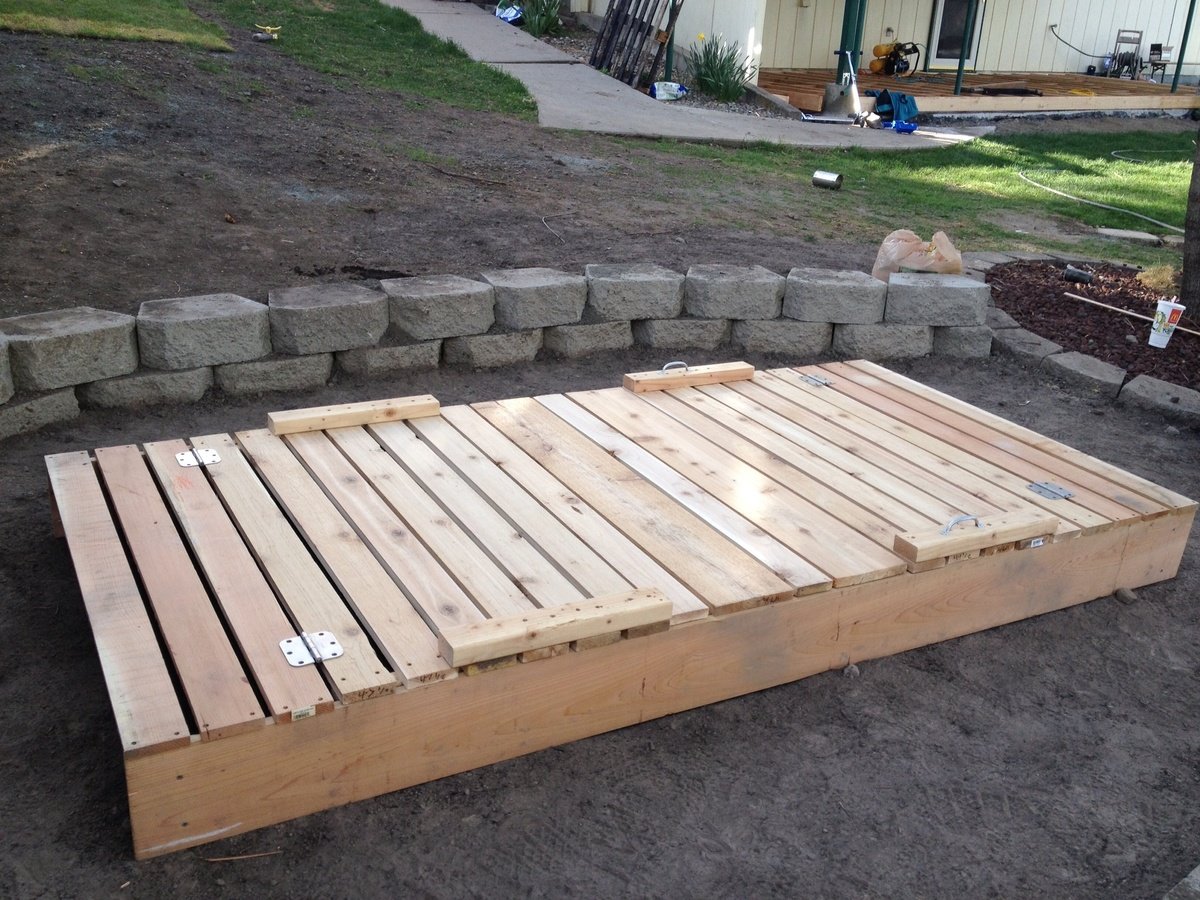
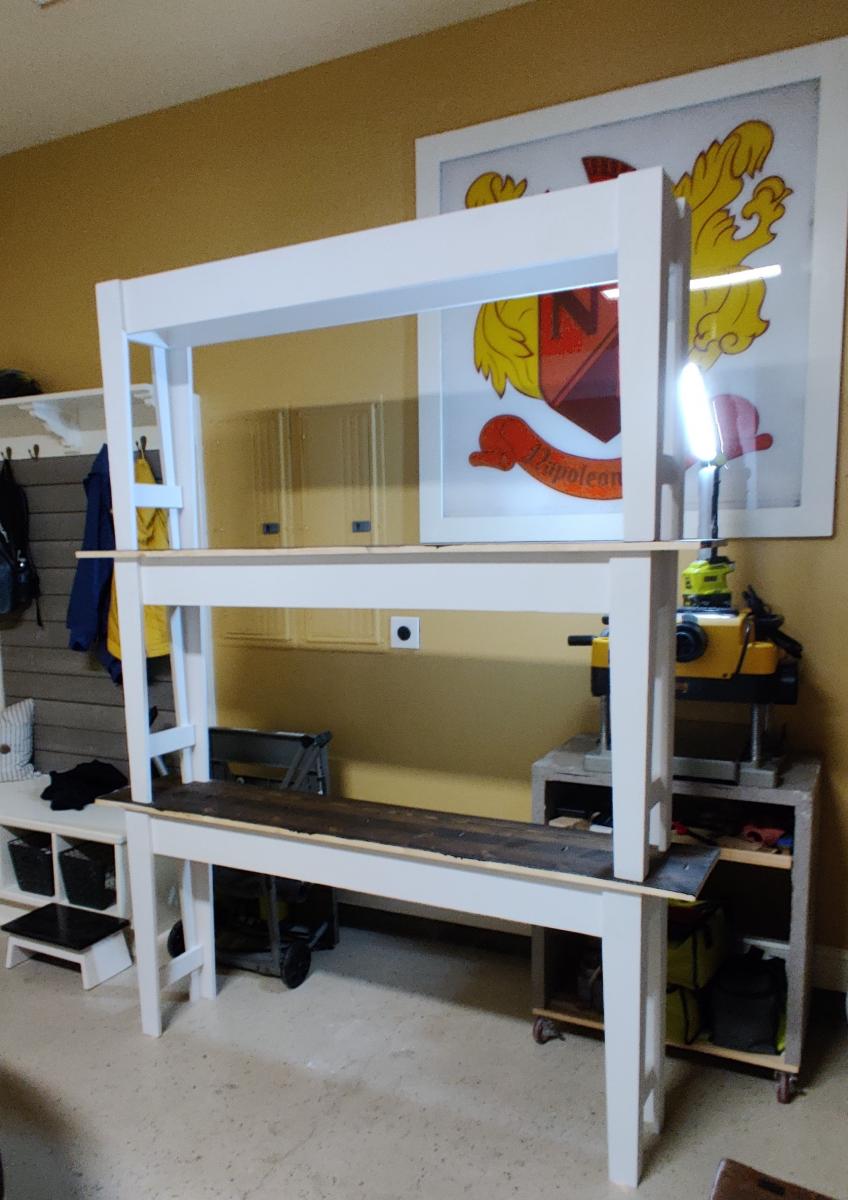
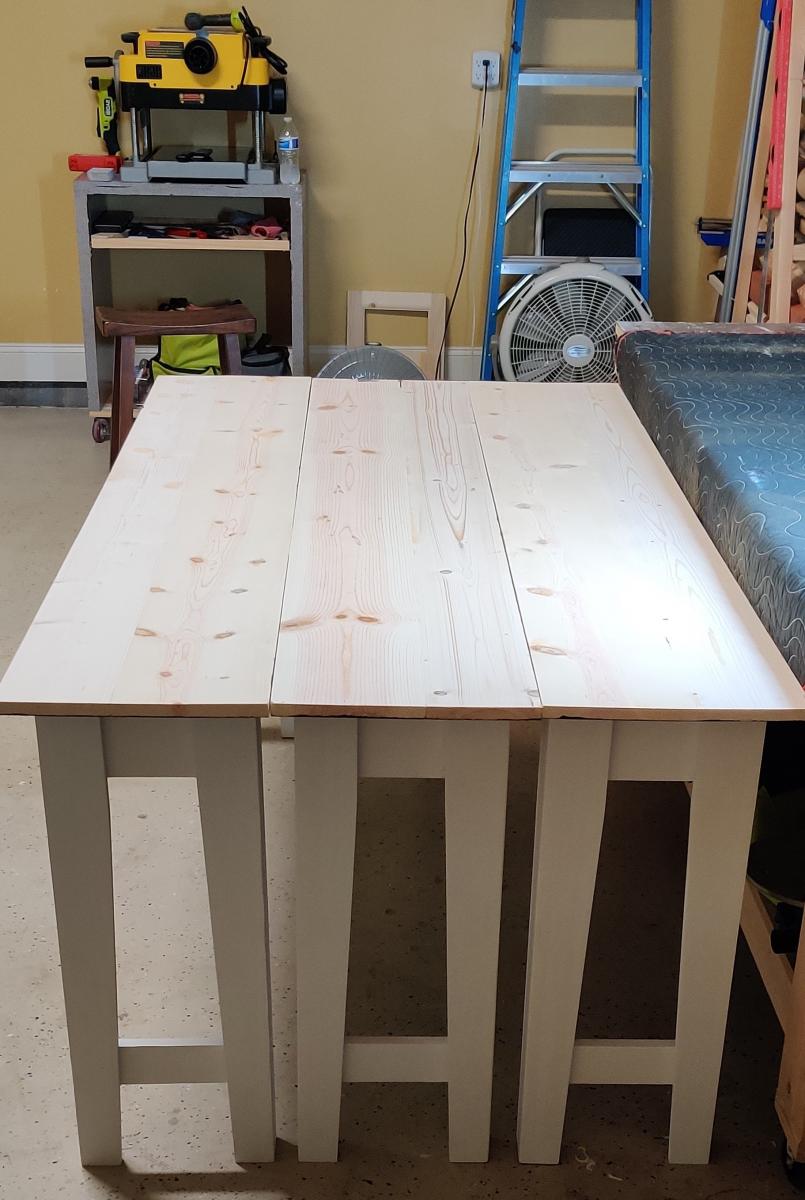
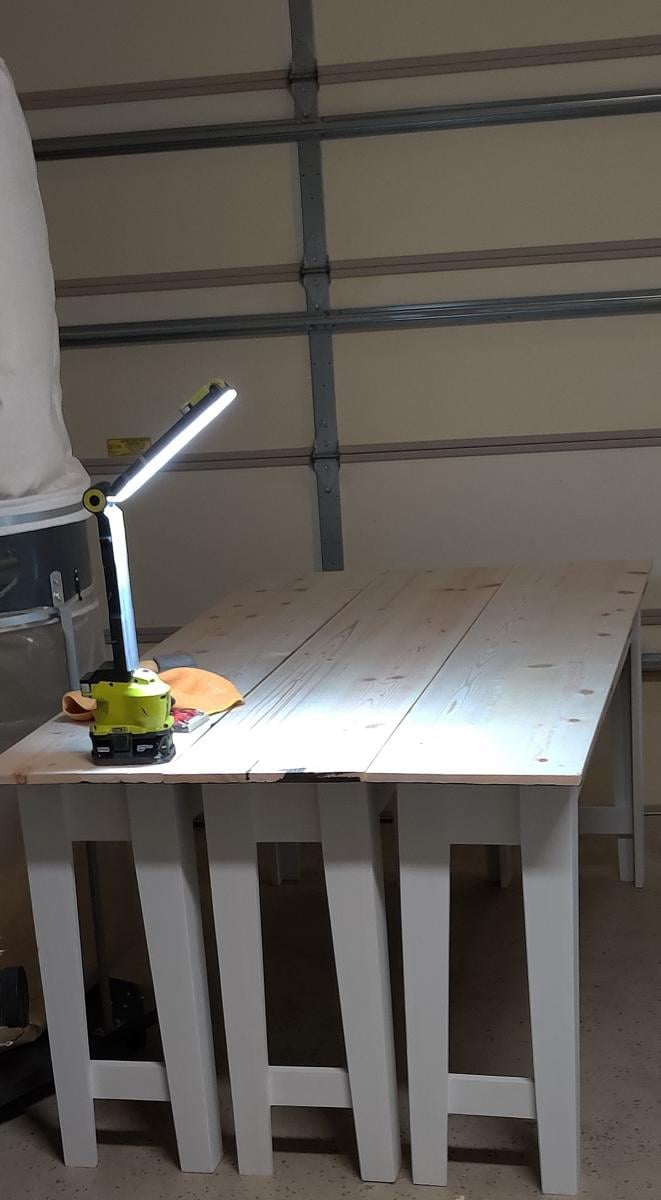
Community Brag Posts

Outdoor Modern Sofa

Submitted by kazy on Sat, 07/31/2021 - 11:11

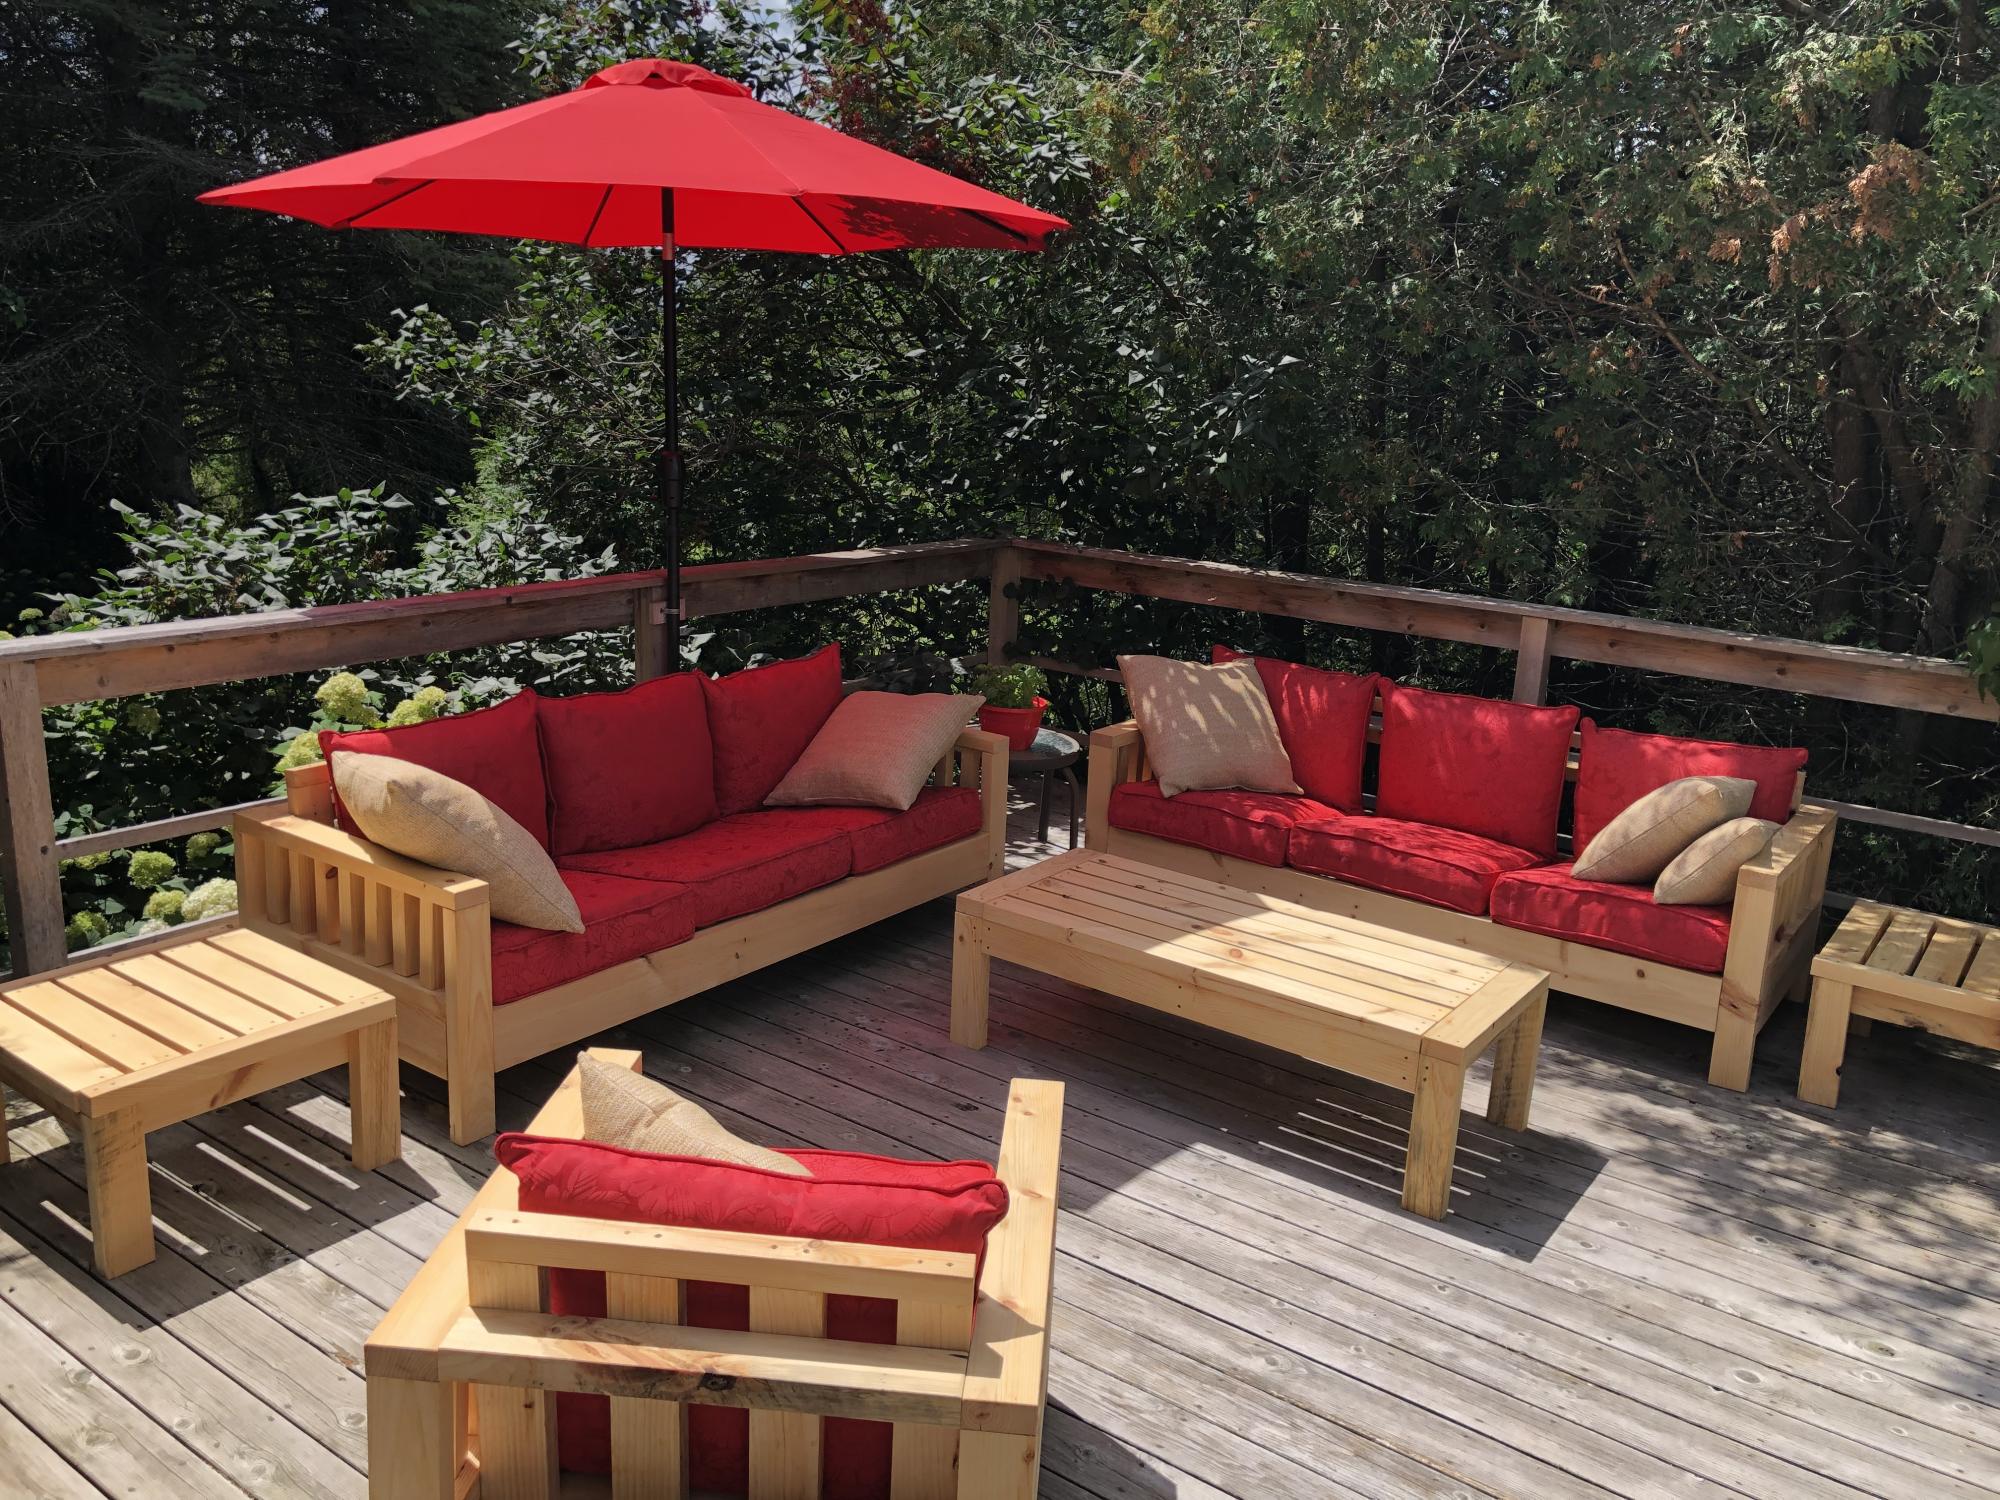
This was my first woodworking project. Ana made it look doable and I didn’t like any of the outdoor furniture offerings I could afford so I thought “why not”? I couldn’t find wood at any of the big box stores due to a severe wood shortage. Good timing on my part. As a result of the shortage the cost of the wood was higher (around $550 Canadian) but I did save around $200 by ordering from a local producer. And the wood I got was spectacular! I don’t think I’ll ever go big box again as there is no comparison. I ordered freshly milled pine which was air dried, from local Scierie Carson (Carson sawmill). I further air dried the planks in our barn, oiled them with boiled linseed oil and cut. I modified the plan slightly to add some posts in the arms and to lower the seat backs as the cushions I found were not as tall as Ana’s. I managed to find them on sale at Christmas time at a local Reno Depot (Quebec’s version of Rona, Lowe’s or Home Depot). The cushions cost $500 Canadian for 10 sets and believe me that was a deal. Over all it was not hard to do and I’m thrilled with the results. I have a gorgeous patio set that will adorn our farm deck for many years to come.

Estimated Cost
$1,000
Estimated Time Investment
Week Long Project (20 Hours or More)
Finish Used
Boiled linseed oil - easy to apply with rags. Repels water beautifully. Natural so not incredibly harmful to the environment. Brings out yellow tones in wood. Brings out fresh wood smell.
Recommended Skill Level
Beginner

Comments

Ana White Admin

Sun, 08/01/2021 - 11:20

Impressive to say the least, well done! Love your can do attitude and I know you are enjoying the fruits of your labor with this amazing set up!

Rustic Table Completed...just needs to be finished! So proud!

Submitted by Octlibre1 on Sun, 04/21/2013 - 16:51

Rustic table plans with slight modification of the width and the legs were mounted differently for a little added flair. So many finishes to choose from....

Built from Plan(s)
Estimated Cost
$115 for poplar wood and $100 for legs made by local artist from poplar
Estimated Time Investment
Afternoon Project (3-6 Hours)
Finish Used
None yet!
Recommended Skill Level
Beginner

Console with sliding doors

Submitted by skinnwork on Sat, 03/14/2015 - 01:05

I followed the Emersen Console plans, but with a few changes. The biggest in that I went with sliding doors because I didn't want the doors to open into the living room. This meant having the doors run between the face trim and a guide I tacked into the inside. I also adjusted all of the measurements to fit what I was planning on stuffing into it. I drilled a 3 inch hole in the bottom for all of the cords to run to the power bar and left a gap between the shelves and the back. I kept the wood light to contrast with my floor and painted the doors blue for a mid-century modern-ish feel.

Finish Used
Varathane Diamond finish and Behr paint (applied with a foam brush).
Recommended Skill Level
Intermediate

Comments

Karli

Thu, 07/23/2015 - 08:30

Hi , I've been looking a console with sliding doors , how did you install the guide? did you do it with a router?do the doors run in one same guide or there are 2 guides and one door runs behind the other? Thanks !

Brian and Stef

Submitted by Anonymous (not verified) on Sun, 06/11/2017 - 16:22

We used 2x4 to make the chair more sturdy. We also kept with the original plans and did not alter them to fit the cushions. We felt changing the dimensions altered the look of the chairs. And the cushions look perfect in the chairs.  We were also building the chairs to sit around our fire pit, so we added 6" 4x4 legs to keep the bulky look. We used Ebony stain. We also made an 8'x3' planter box (see pic). We are beginners with no wood working experience at all and we nailed it! So, don't be intimidated by the plans. After the first chair, they all went together smoothly.

Built from Plan(s)
Estimated Cost
$50 per chair plus cushion cost. We got ours at Lowes for $65 each.
Estimated Time Investment
Weekend Project (10-20 Hours)
Recommended Skill Level
Beginner
Seasonal And Holiday

DIY Closet shelving

Submitted by Ruiz1323 on Sat, 08/07/2021 - 10:22

Closet

Built from Plan(s)
Estimated Cost
180
Estimated Time Investment
Day Project (6-9 Hours)
Finish Used
Spray paint
Recommended Skill Level
Beginner

Comments

Cal-King Storage Bed

Submitted by Chris 1975 on Thu, 04/25/2013 - 12:03

I loved the bed by plan, and now love it more that I have built it.

Estimated Time Investment
Weekend Project (10-20 Hours)
Recommended Skill Level
Beginner

Counter-Height Dining Table

Submitted by eralben on Mon, 03/16/2015 - 09:38

This was my first DIY building project.  I wanted a counter-height table, so I searched websites looking for plans and eventually I found ana-white.com.  I altered the plans a little and I added a farmhouse style table top.  I used 2x8s for the table top which makes the table very heavy.

Built from Plan(s)
Estimated Time Investment
Weekend Project (10-20 Hours)
Recommended Skill Level
Intermediate

Comments

KFJohnson

Tue, 03/17/2015 - 08:10

We want to build a counter height table and include a bench but we were worried about it being balanced enough for kids. How have your kids handled the height of the benches?

eralben

Tue, 03/17/2015 - 09:53

The benches are solid and we haven't had any issues with them being wobbly or unstable. The height hasn't really been an issue for my kids either (they got used to it very quickly). I did build two stools with backs in case one of the kids had a problem, but they prefer to sit on the benches.

Perfect Garden Bench

Submitted by Anonymous (not verified) on Tue, 06/13/2017 - 14:45

Love these plans. Perfect weekend project. This bench is a nice size. 

Estimated Time Investment
Weekend Project (10-20 Hours)
Recommended Skill Level
Intermediate

Modified Doll Bed w/"Trundle"

Submitted by keupa on Sun, 08/22/2021 - 17:45

My son wanted a bed for his doll, Bobby John. We chose some plans for a bed to make and he helped me through the process. Instead of making this a trundle bed, we made the trundle more of a drawer. He can store clothing and some of the doll toys underneath instead of on the floor. ;) I modified the original plans by using drawer slides instead of the ball bearing casters, keeping is a single unit so that when it is moved around, it's only one piece. This also keeps it from banging around against the frame when pulling out or pushing in. Also added a few decorative elements like the ball post-tops and also used the Kreg Jig to hide the main fastening screws.

My wife made the mattress, bedding, and pillow and one of my daughters made a small, stuffed panda for Bobby to "snuggle". Turned out fairly well.

Estimated Cost
$20
Estimated Time Investment
Afternoon Project (3-6 Hours)
Finish Used
Varathane No Odor Polyurethane - Satin
Recommended Skill Level
Beginner

Comments

Sandbox with lid

This was my first EVER wood working project.

With that being said, it took me more than just an afternoon.
I used cedar, and all the materials on the cut list had to be sanded , since I didn't like the roughness of the cedar.
I also made the box 4x8. I didn't take into account that that would require a minimum of 48 inches for the top planks. So, some of my top planks are shorter.

I also wished I had a little more instruction from which side to screw the screws in. May sound a little needy for some of you, but I never did anything with wood before. The instructions simply read attach top planks to arm rests (or something int that manner) and I wish it would have told me from which side to screw in (or give me a picture). Looking at some of the brag posts helped a lot.

Because its larger size, I decided to make the seats 3 top planks wide (and also the back rest) and made another middle cover piece to bridge the additional gap when both seats are folded down.

Also, the cedar was VERY expensive, and all the screws, hinges, and handles almost cost me as much as the wood.

The sand to fill the box ran us another $80 (for good plays and), but that was because we made it so big.

All in all, a rather pricey sandbox, but worth it because of the large custom sizes, and the cute little seats.

Pictures show the sandbox without sand, and with some of the handles still missing. I also still need to fill the holes.

Will add a picture of finished box filled with sand when it is available.

Built from Plan(s)
Estimated Cost
$250
Estimated Time Investment
Weekend Project (10-20 Hours)
Finish Used
None
Recommended Skill Level
Beginner

Grandy sliding door console

Submitted by Anonymous (not verified) on Fri, 06/16/2017 - 18:22

This is my first piece of furniture to build. I love love love it!!! Now I can't wait to build something else! You may have created a monster in me. Thank you for the great plans!! 

Built from Plan(s)
Estimated Time Investment
Week Long Project (20 Hours or More)
Recommended Skill Level
Beginner

Beginner farm table

Absolutely love how this table turned out! I slightly modified the length to accommodate our space. Definitely a beginner friendly project. I used farrow and ball studio green for the base and just poly on the top.

Comments

My First Ana Project (Simple Outdoor Bench)

Submitted by Marcie89 on Mon, 04/29/2013 - 19:38

This bench is the first project I have built from Ana White's plans, and I love how it turned out! The cutting list and instructions were very easy to follow. The most difficult thing about this project was the staining and painting, which I admit I have never been great at. I built this bench because my fiance and I needed additional outside seating on our patio for a party we threw, and I literally built it the day before! A week after the party I gave it to my fiance's daughter who wanted it as an indoor hall bench for her house. At first I was sad to give it up, but I figure I can easily make another! Thank you so much, Ana, for the fabulous plans you provide!!

Estimated Cost
$100.
Estimated Time Investment
Day Project (6-9 Hours)
Finish Used
Olympic wood sealer/toner in Canyon Brown
Helmsman Clear Wood Sealer
Black Latex Paint
Recommended Skill Level
Beginner

jardinière

Submitted by Anonymous (not verified) on Tue, 06/20/2017 - 18:07

jardiniere  16x36x32h 

built whit cedar 

Estimated Time Investment
An Hour or Two (0-2 Hours)
Recommended Skill Level
Beginner

Kitchen Bar with Drawers

Submitted by Anonymous (not verified) on Sun, 09/12/2021 - 16:30

I decided to demo our old pantry and build a counter height bar in its place. I used Ana’s mudroom bench plans and added an additional drawer to the length and 2 more drawers to the height, making a total of 12 drawers. I also used Ana’s video on sizing drawer faces https://youtu.be/AlvlrPxXGUw
—at least for the bottom 4 drawers. I didn’t find that video until I’d completed the first 2 rows of drawers and they definitely require some tweaking still.
I added some moulding to the back and sides with 1/2” plywood ripped into 2.5” strips to complete the shaker look. Then I had a quartz top fabricated and installed.

Built from Plan(s)

Comments

Fancy Farmhouse Double Pedestal Table

Submitted by carrmatt02 on Wed, 05/01/2013 - 20:02

This is a combination and a scaled down version of a couple different farmhouse table plans. It is 60"x43" to fit our dining room. I integrated an inlay looking piece into the top with a 1x2 and mitered the corners of the outer two layers. The thickness at the edge of the table was accomplished with 1x4's with the middle layer inset by 1/2"... chairs to match are in the process of being built.

Estimated Cost
$175
Estimated Time Investment
Week Long Project (20 Hours or More)
Finish Used
Minwax Dark Walnut and Ebony for the inlay with six coats of Minwax Wipe-on Poly.
Recommended Skill Level
Intermediate

Comments

A star for the bar!

Submitted by Ashley_C on Sun, 03/22/2015 - 12:06

This plan worked great to add a finishing touch to the front of our rustic barn themed bar project. Love it!

Built from Plan(s)
Estimated Cost
$5
Estimated Time Investment
An Hour or Two (0-2 Hours)
Finish Used
MinWax stain in Provincial
Recommended Skill Level
Beginner

Comments

Kitchen Island Trolley

Submitted by naomi on Fri, 06/23/2017 - 08:26

Kitchen Island Trolley.

Base was made from recycled timber and the top was made with new pine.

The rails were made from curtain rails. 

One end has wheels for easy moving.

Estimated Cost
$20
Estimated Time Investment
Day Project (6-9 Hours)
Finish Used
Chalk Paint and Wipe on Poly
Recommended Skill Level
Intermediate

Comments

Narrow Farmhouse table - Triples!

Submitted by Bigherd on Tue, 09/28/2021 - 04:15

I built a couple of farmhouse tables per the plans. However, I had person who wanted three narrow, 15", display table for her craft store. I followed the plans but just changed the width to 15".

These are my triples!

Comments