Community Brag Posts

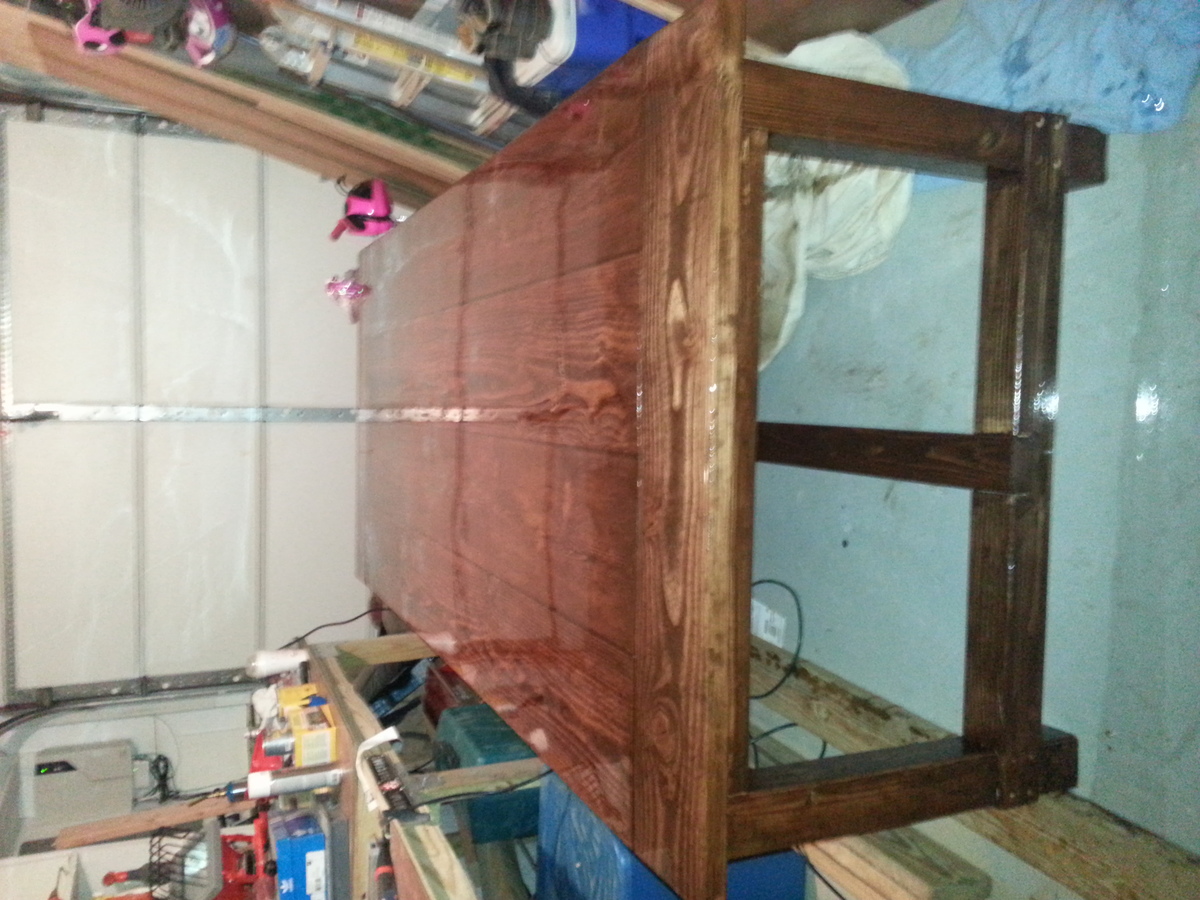
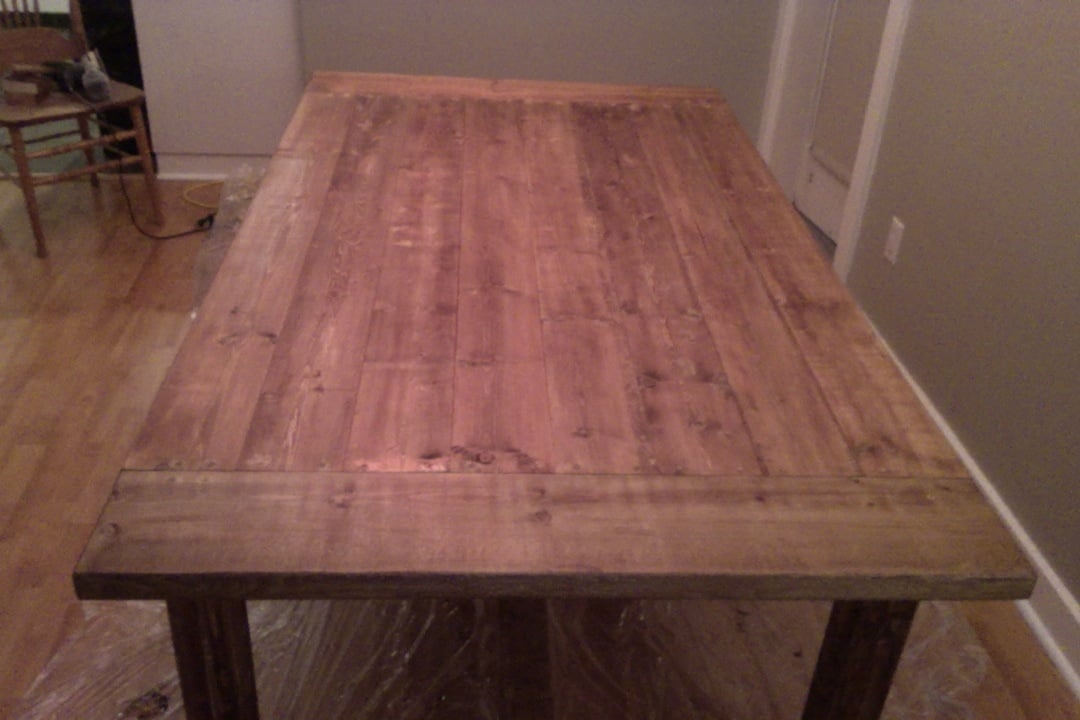
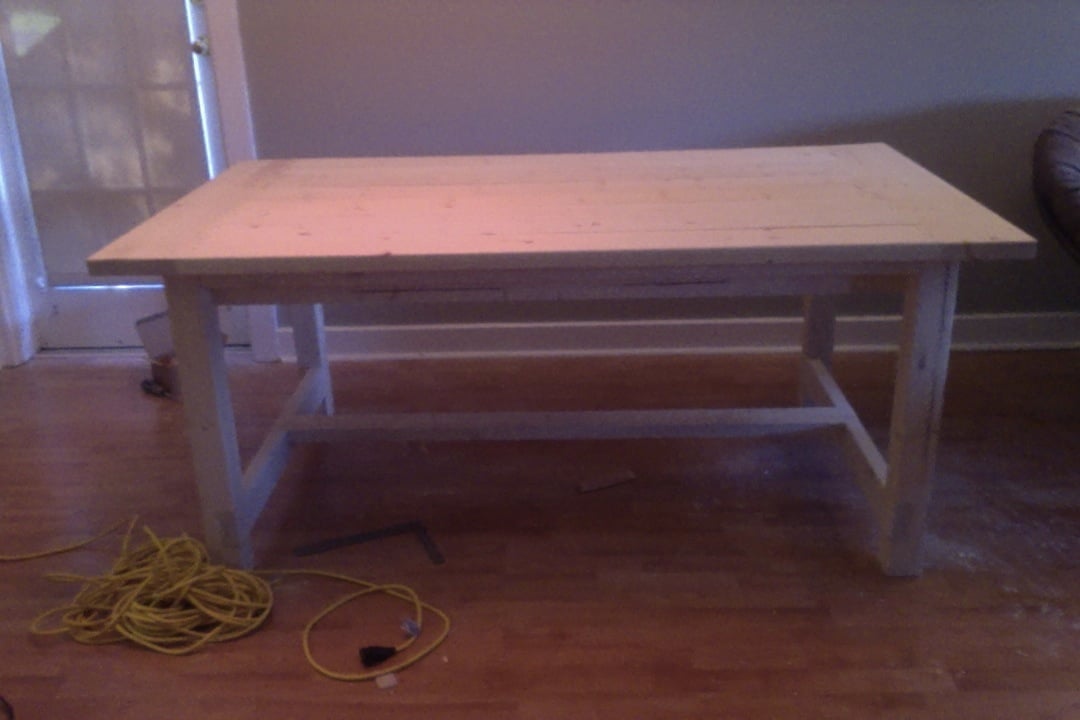
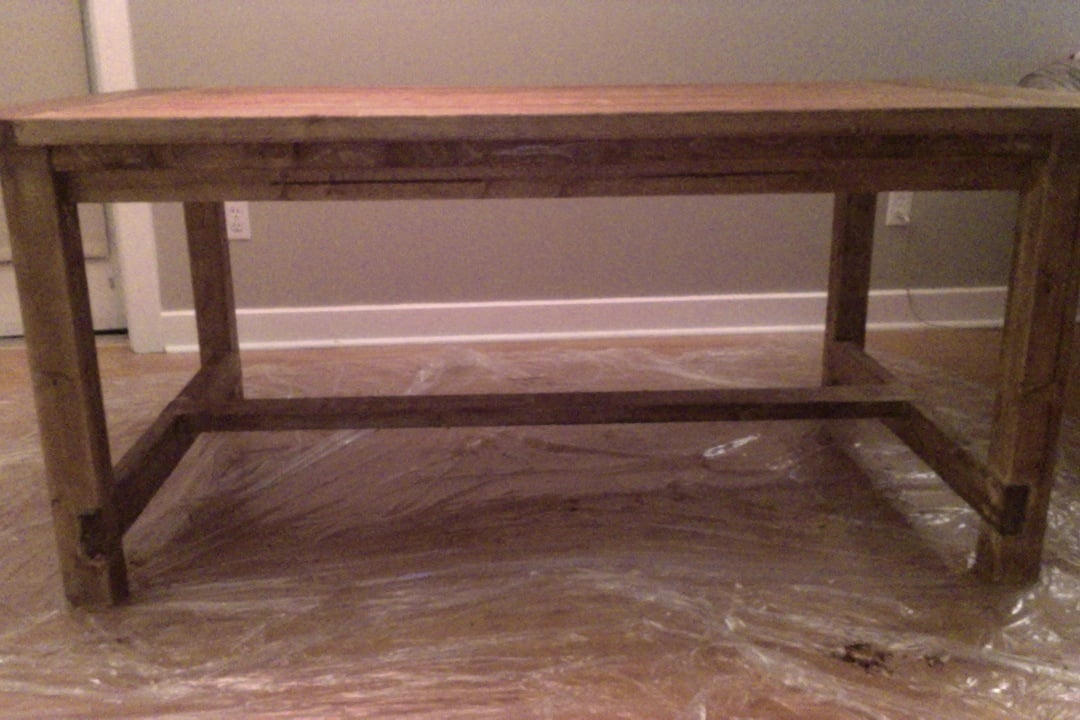
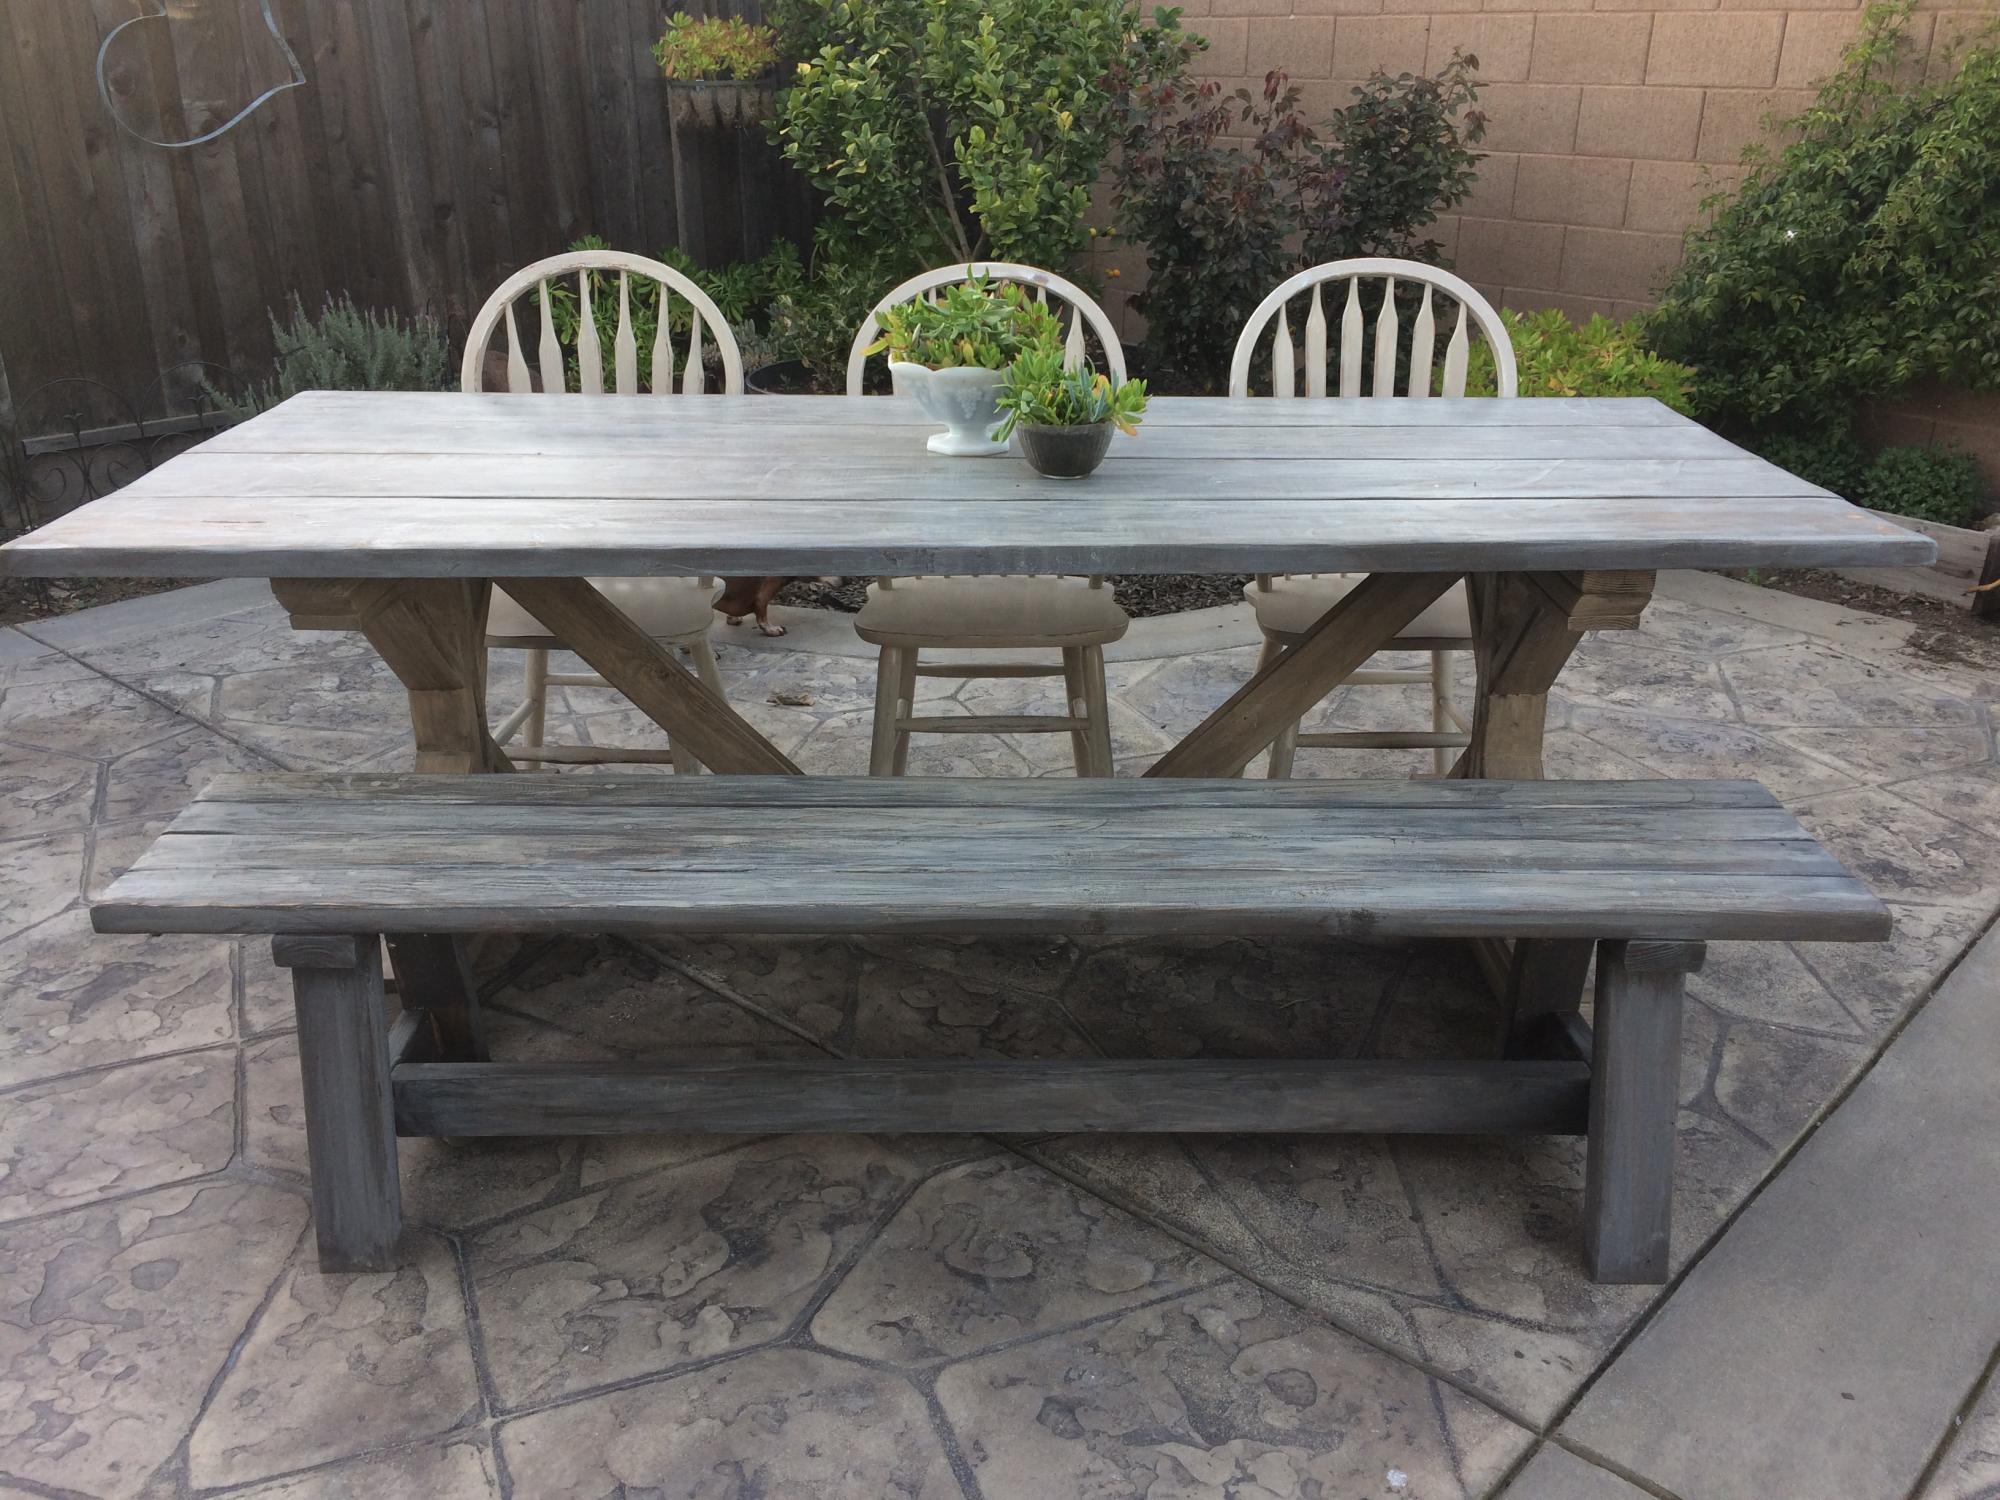
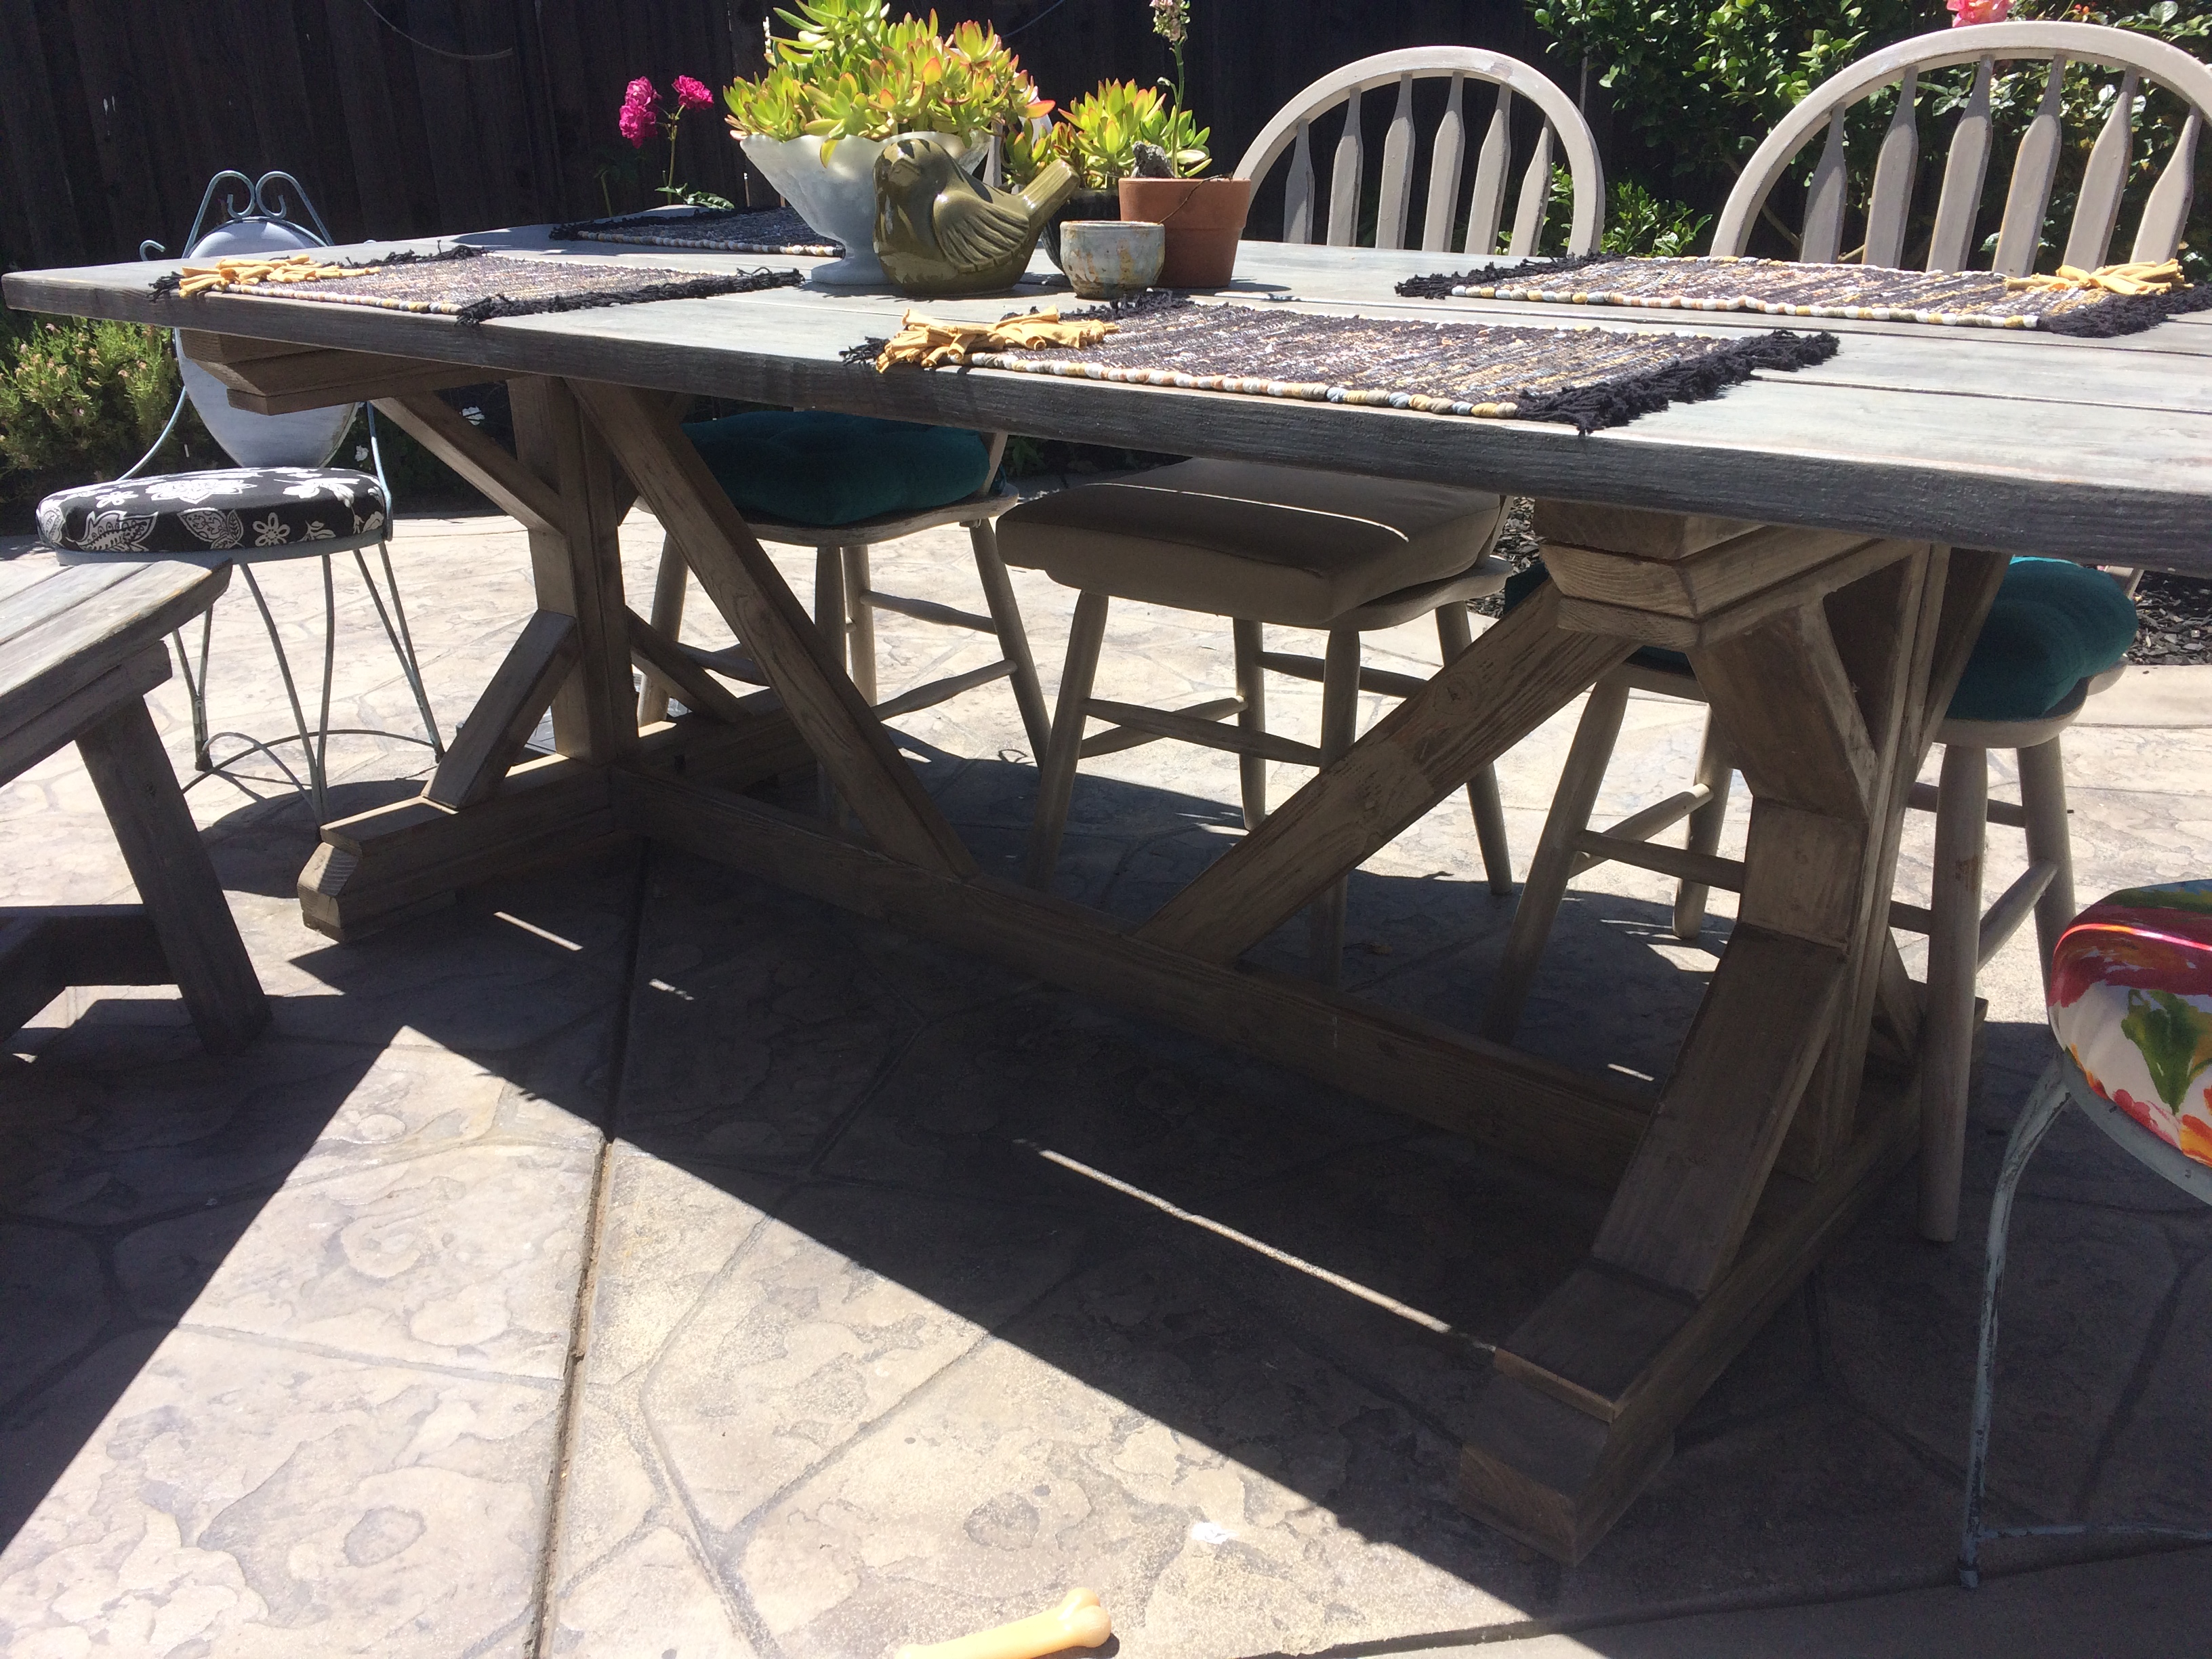
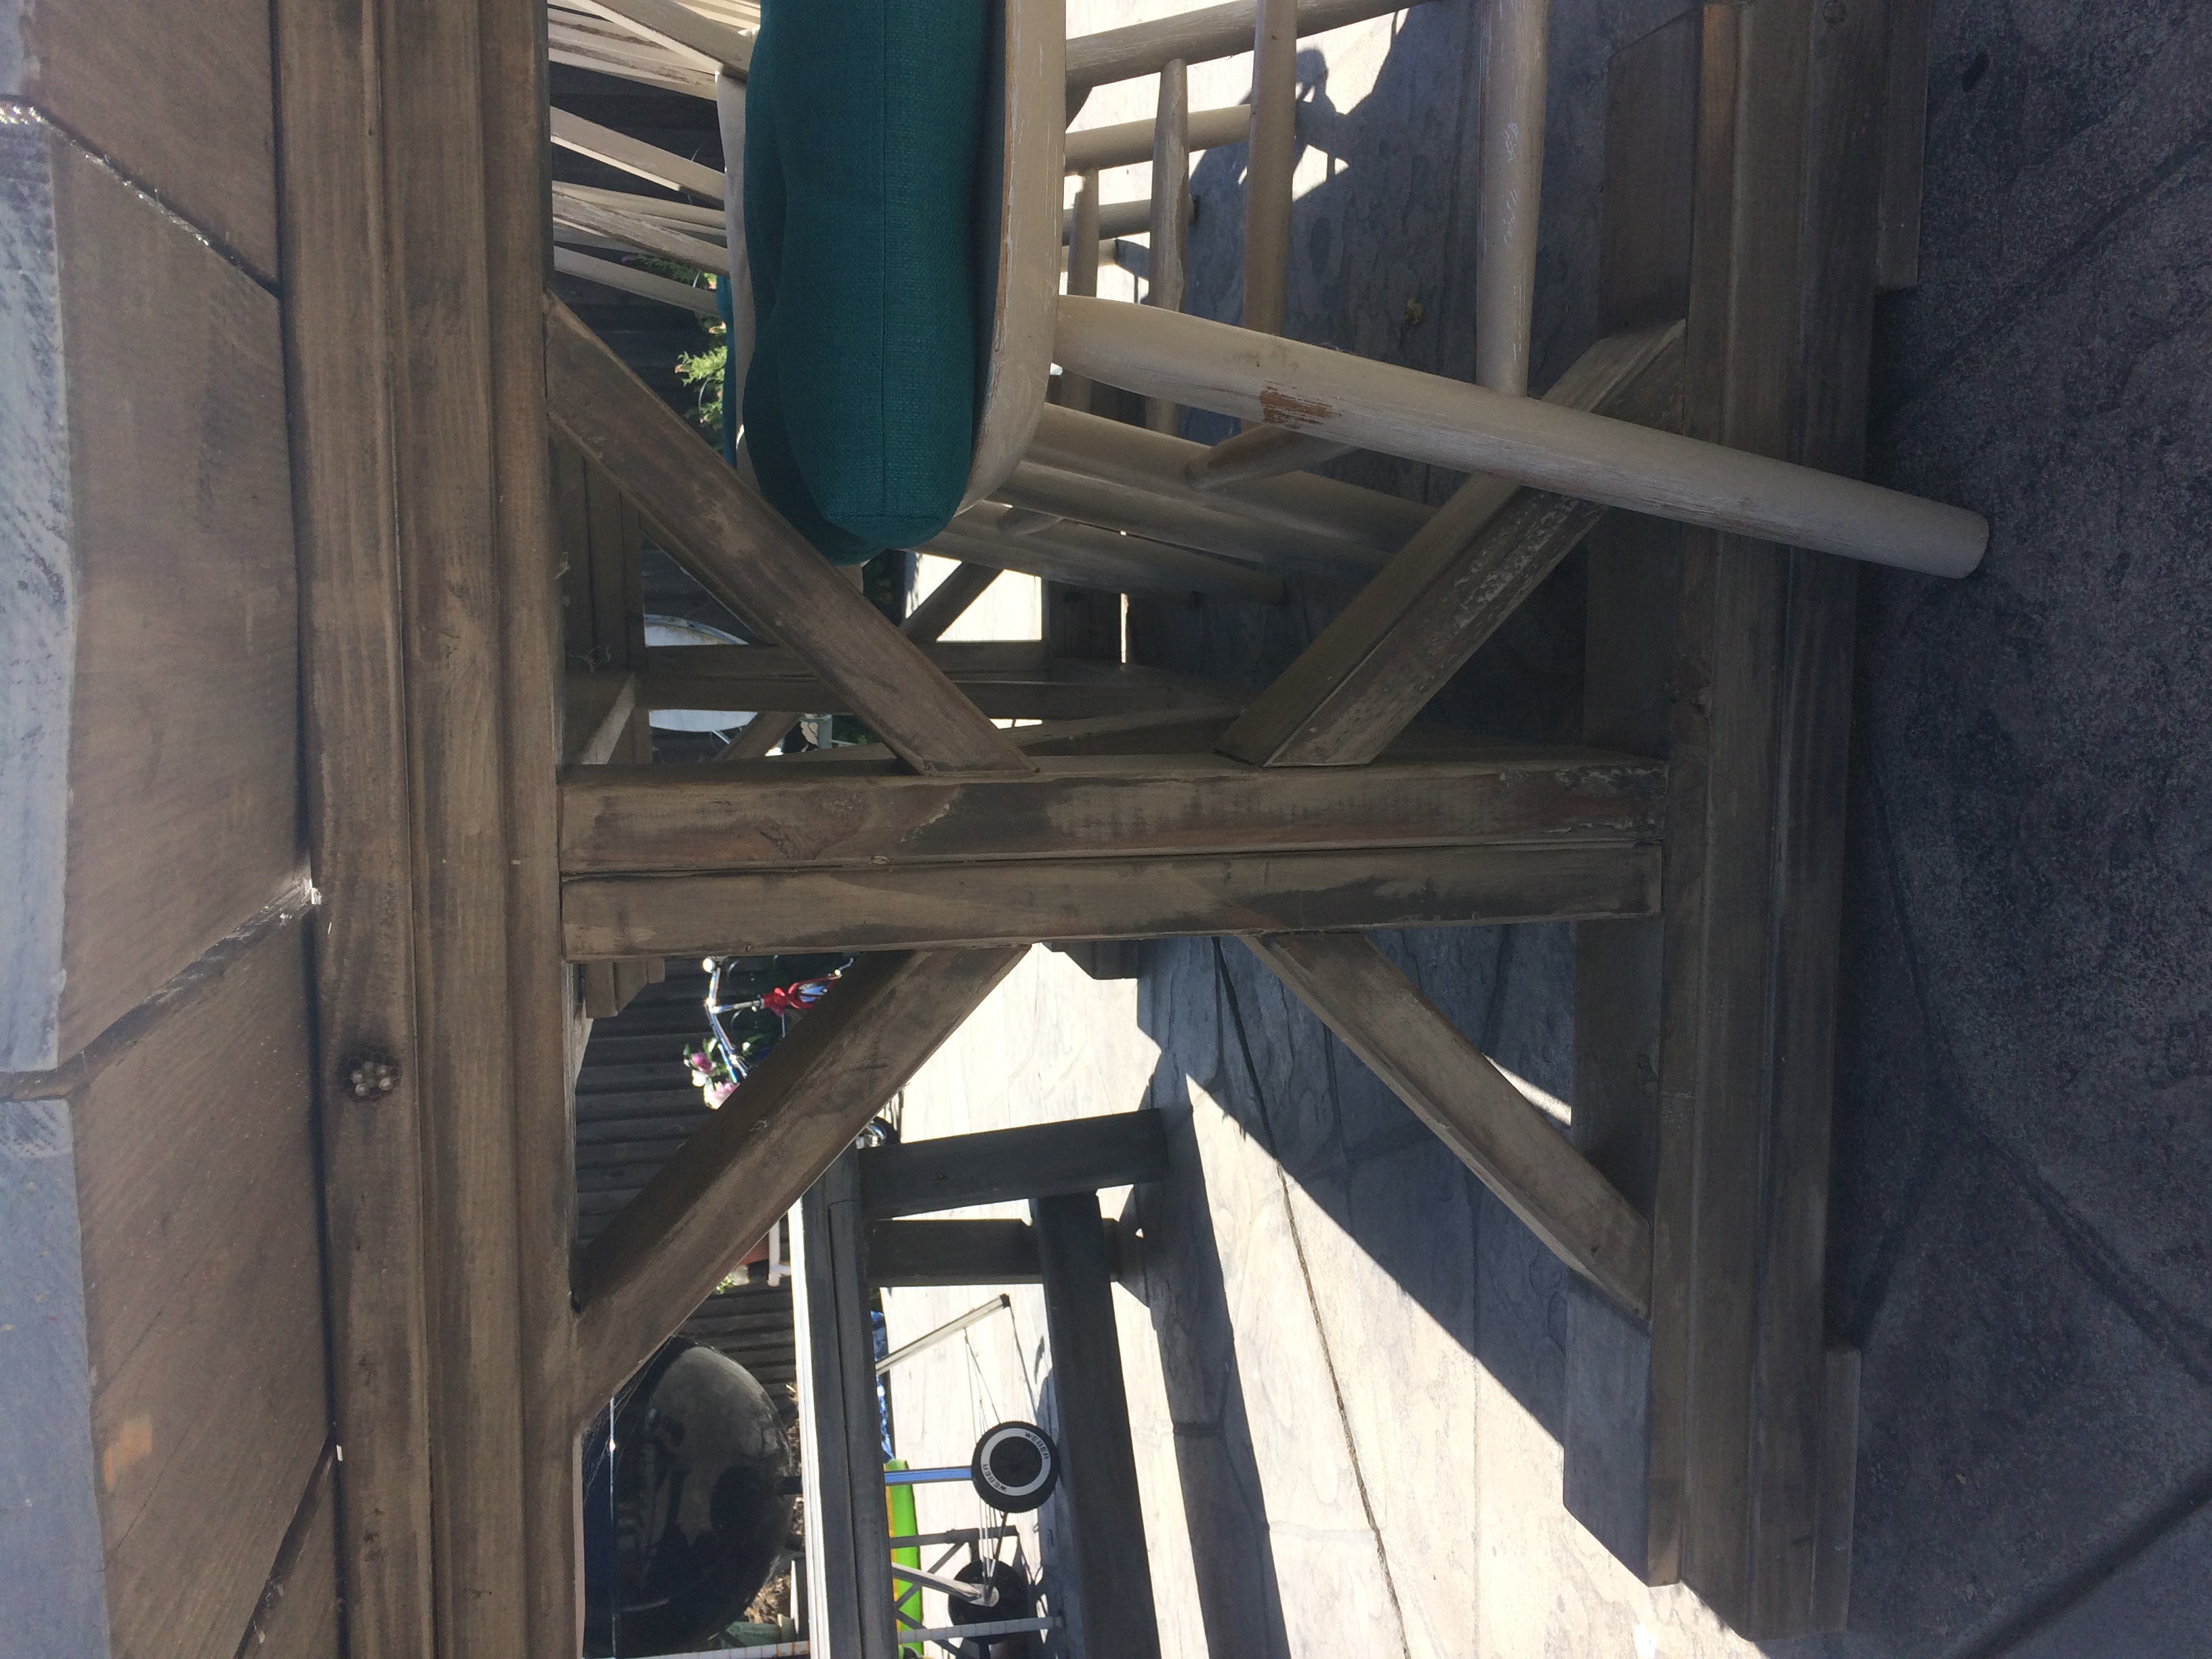
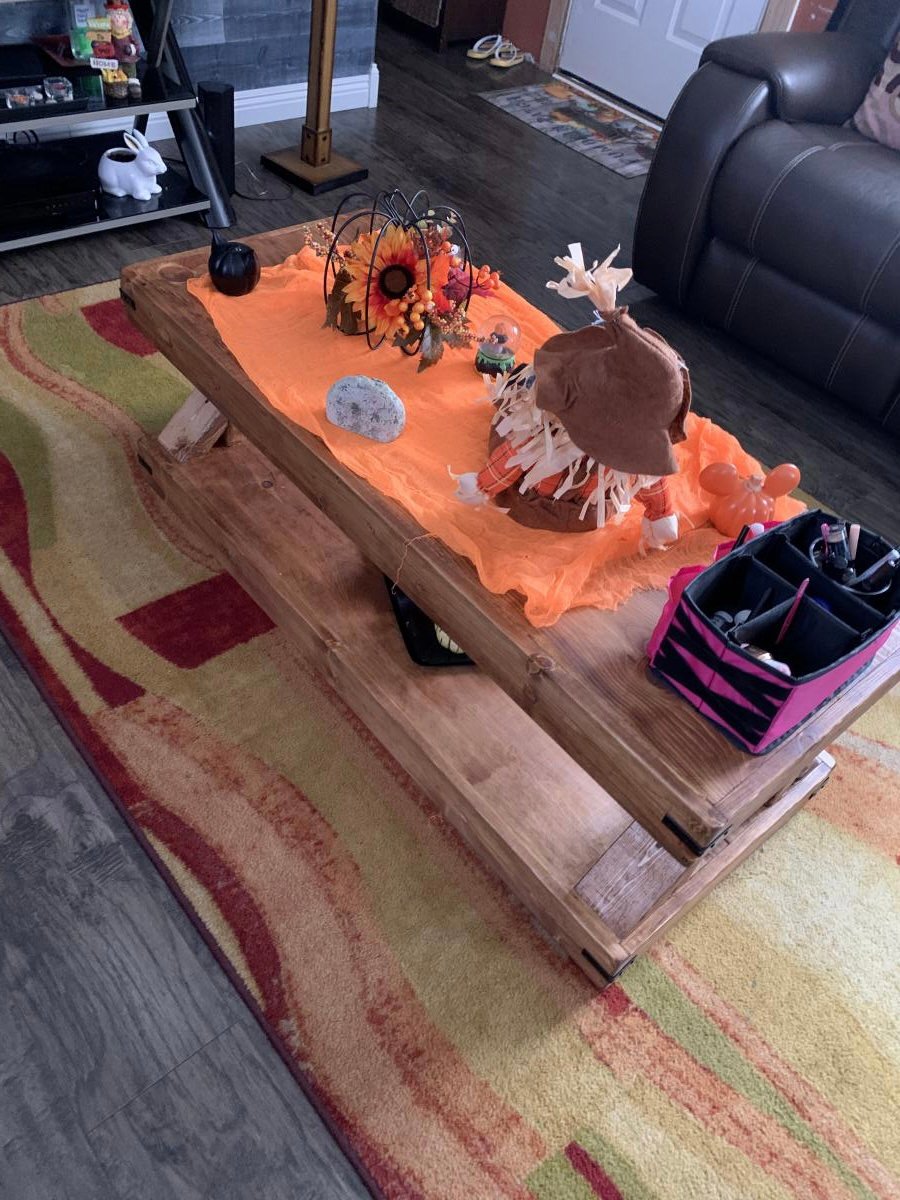
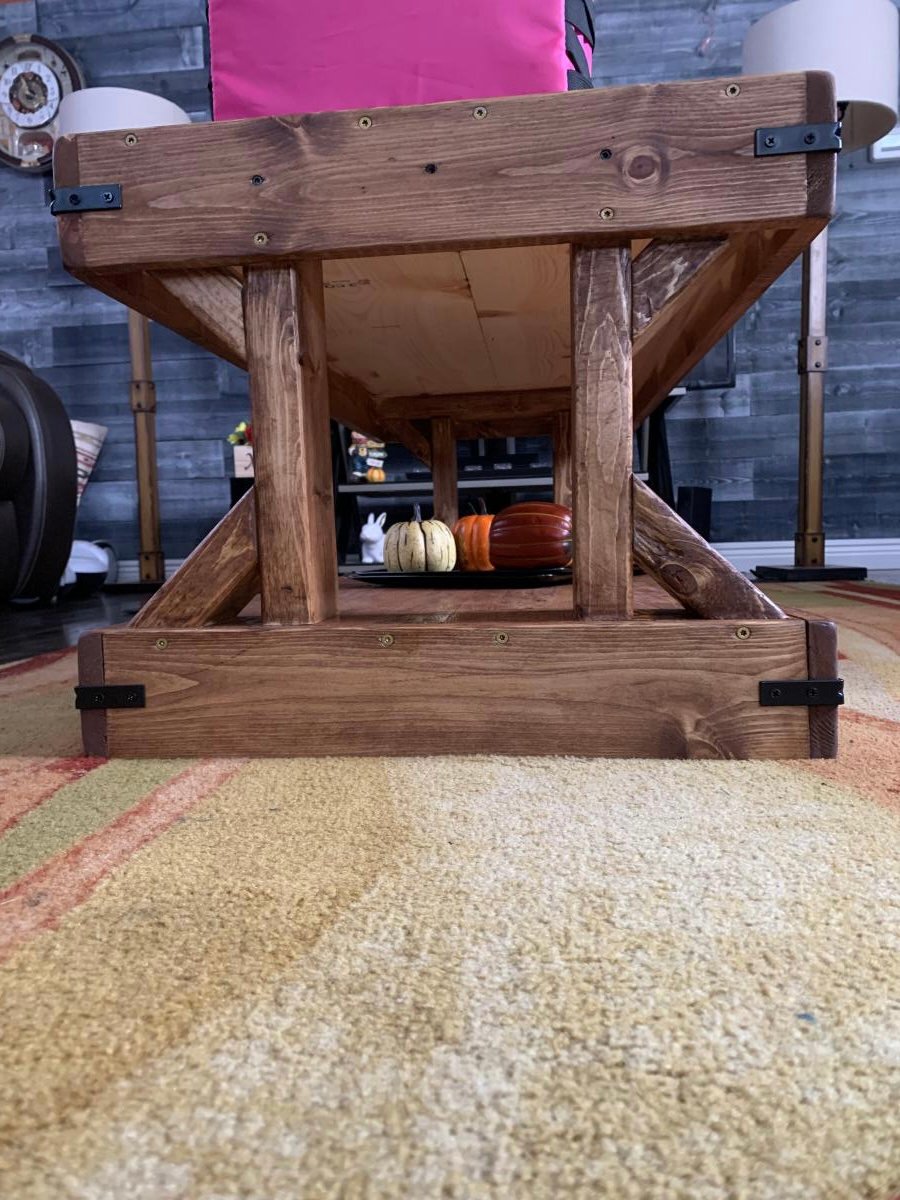
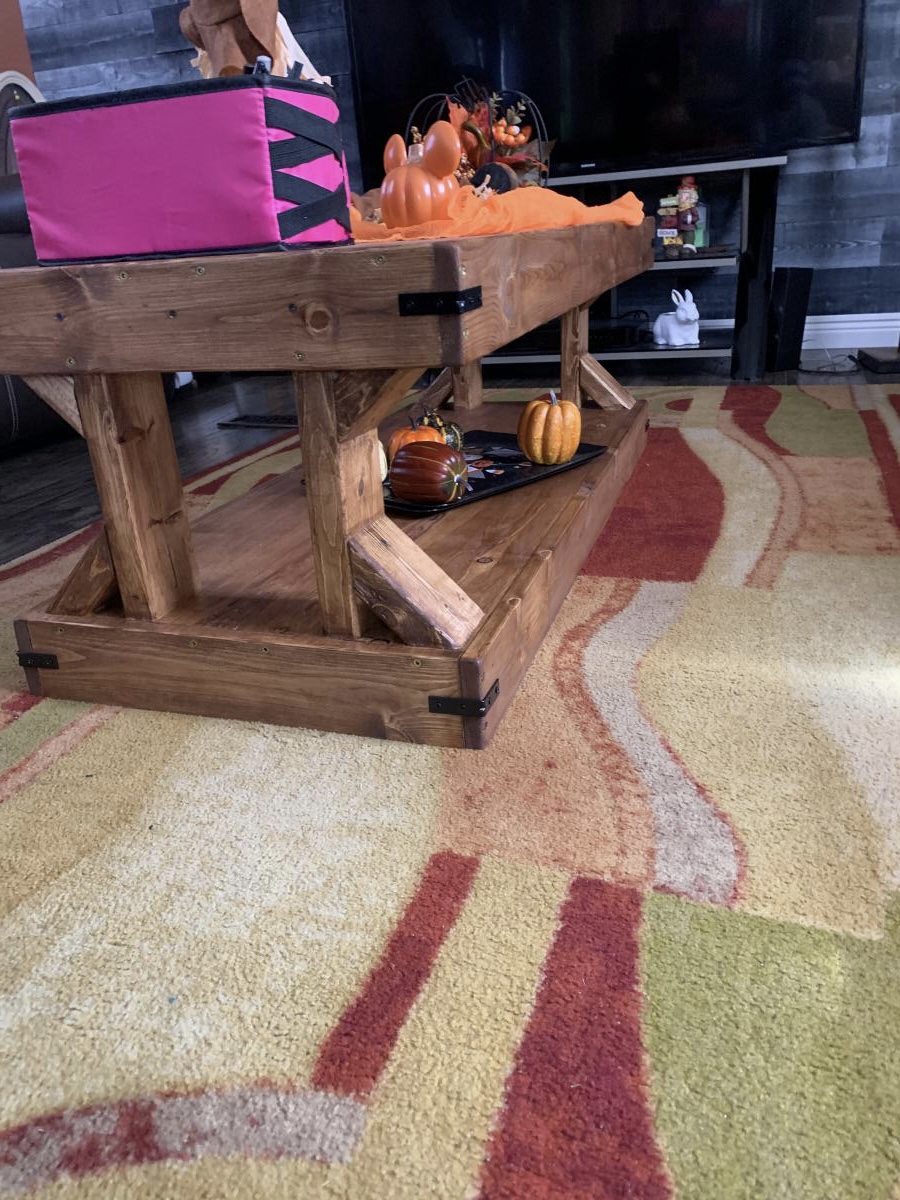
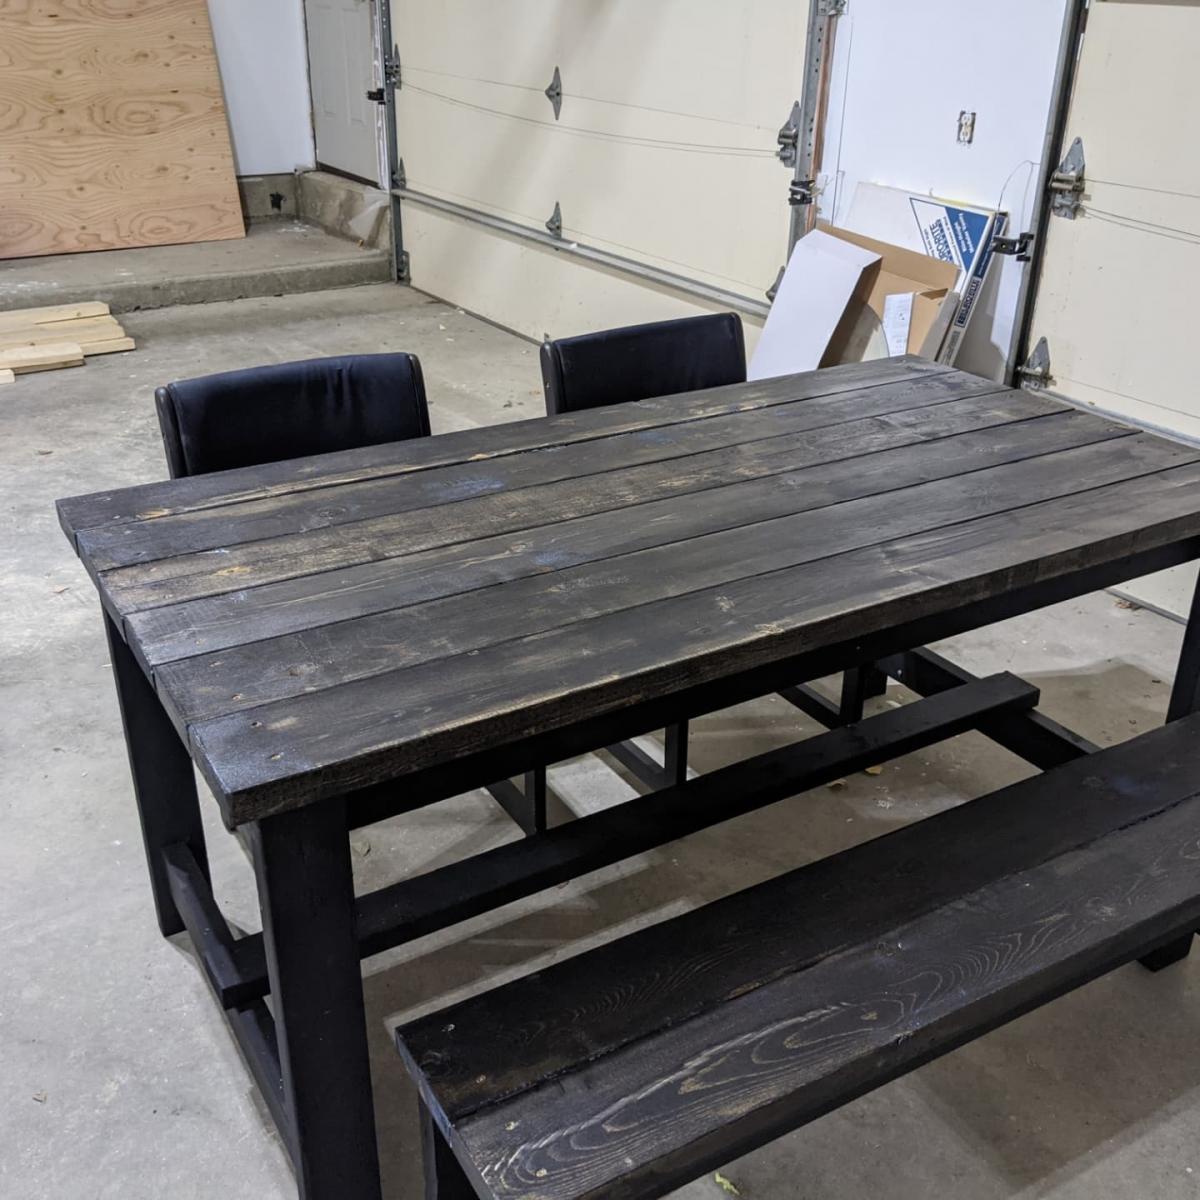
Farmhouse table with epoxy finish

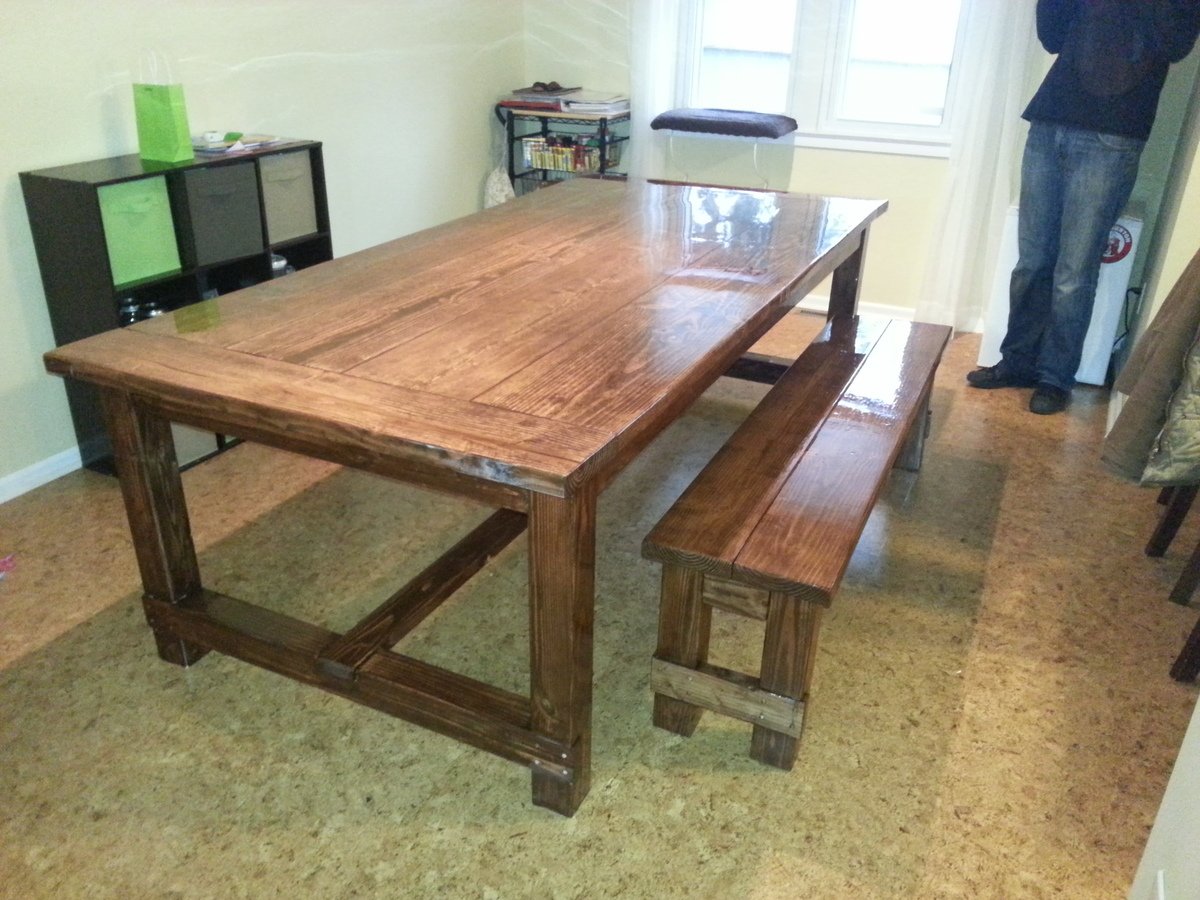
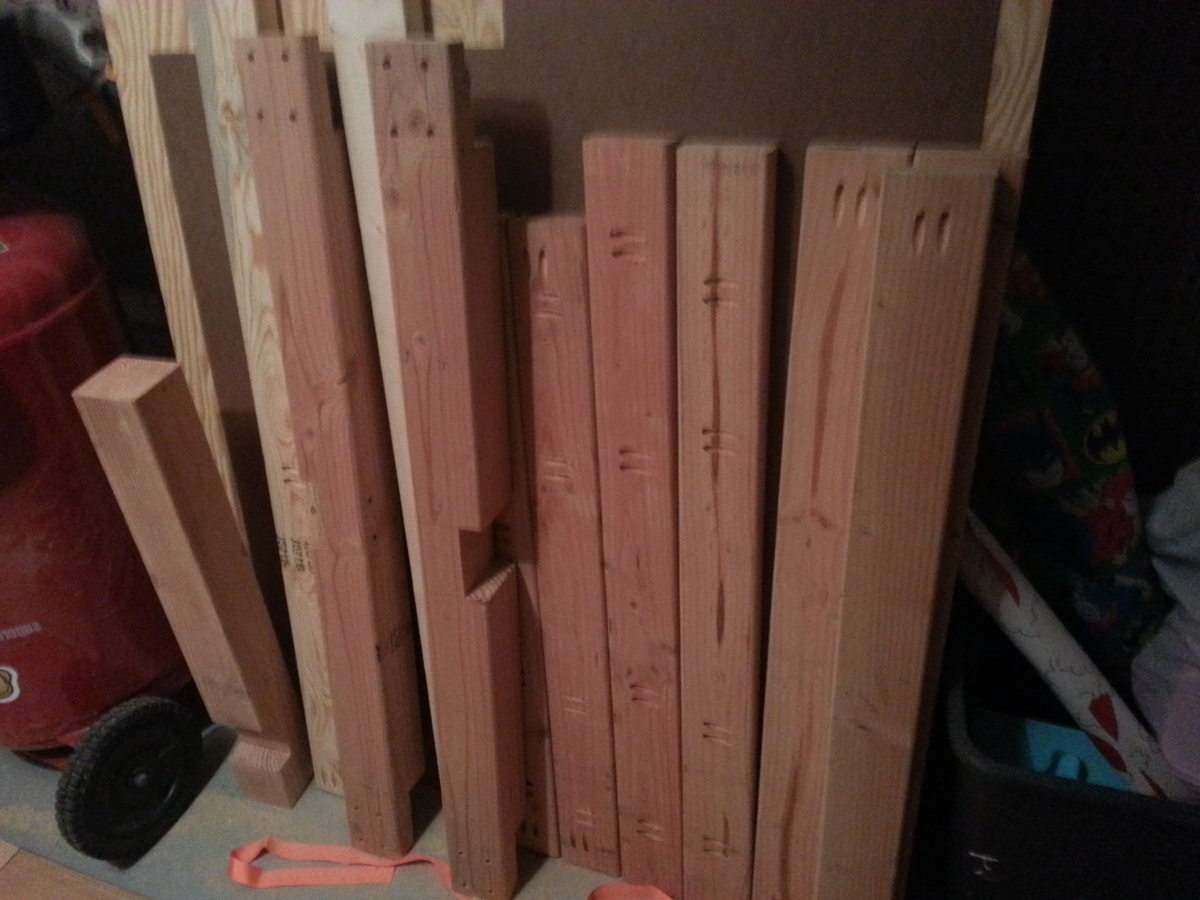
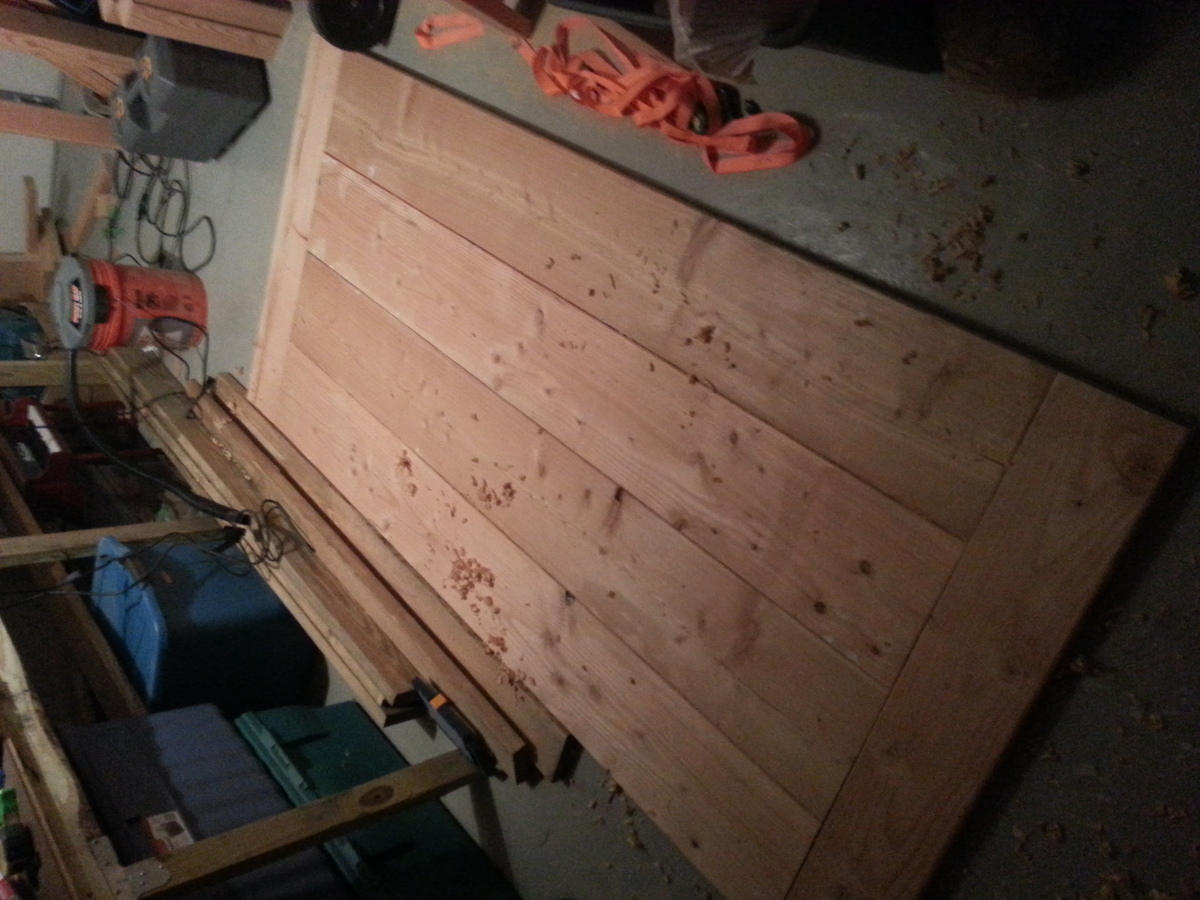
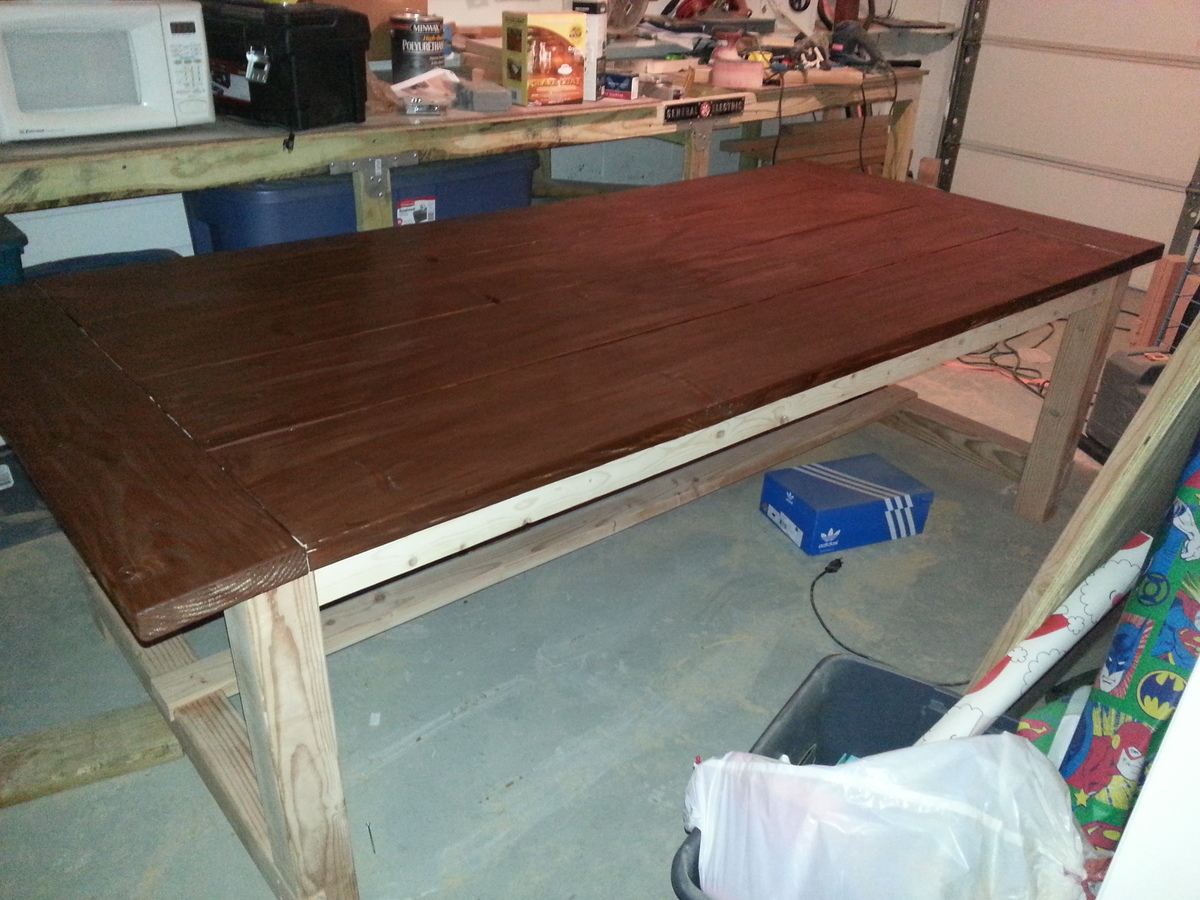
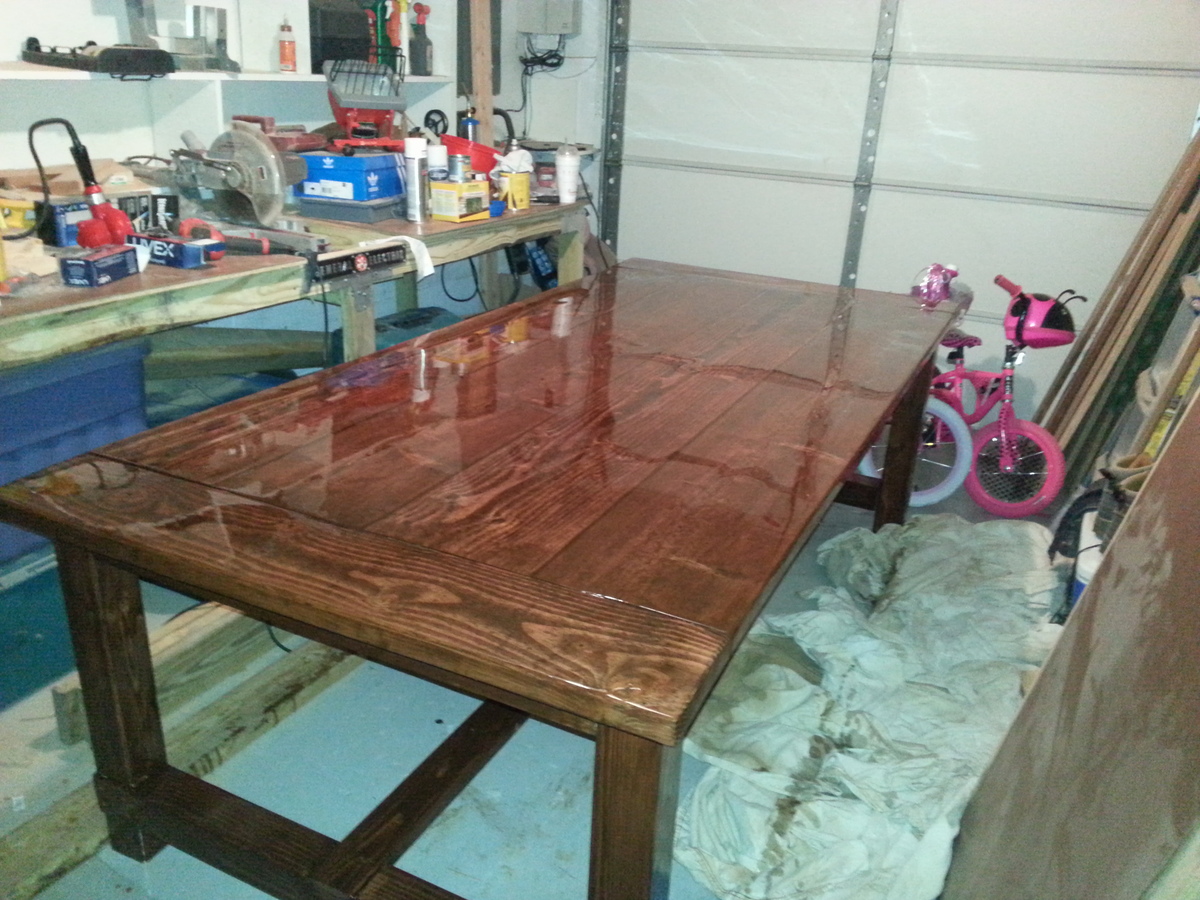
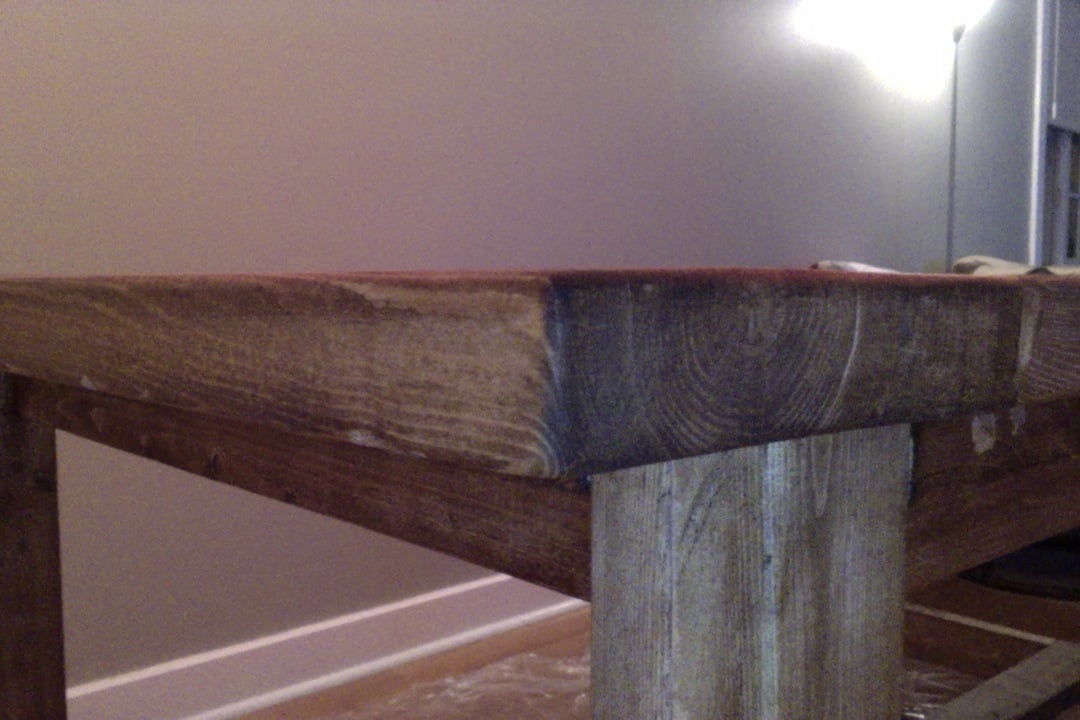
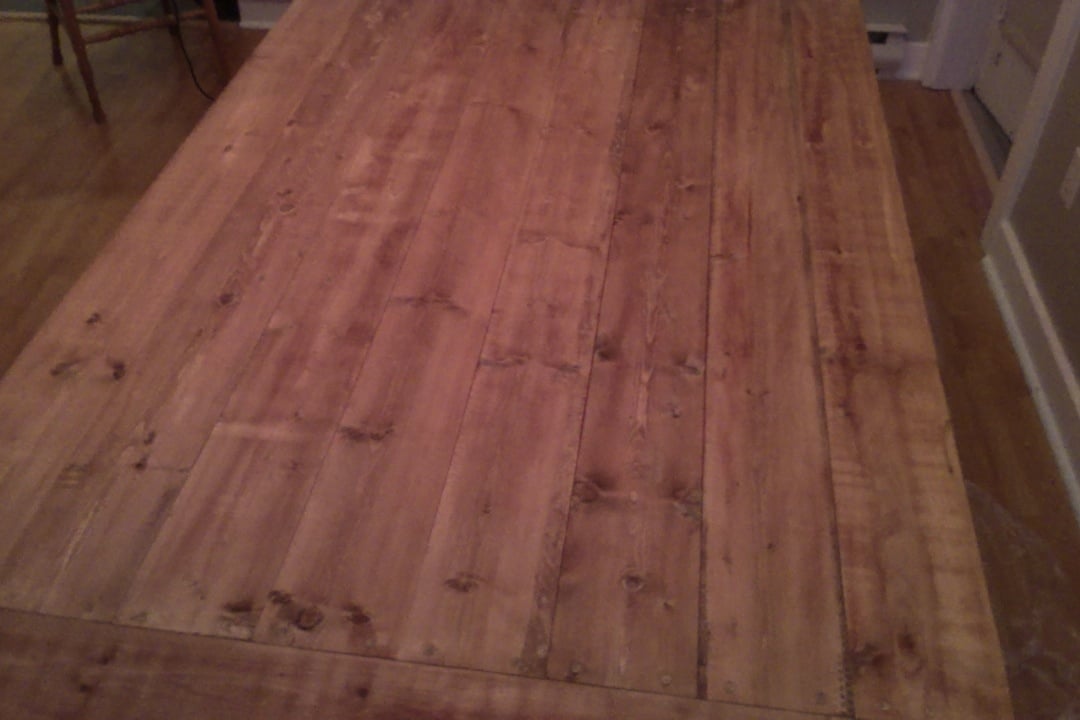
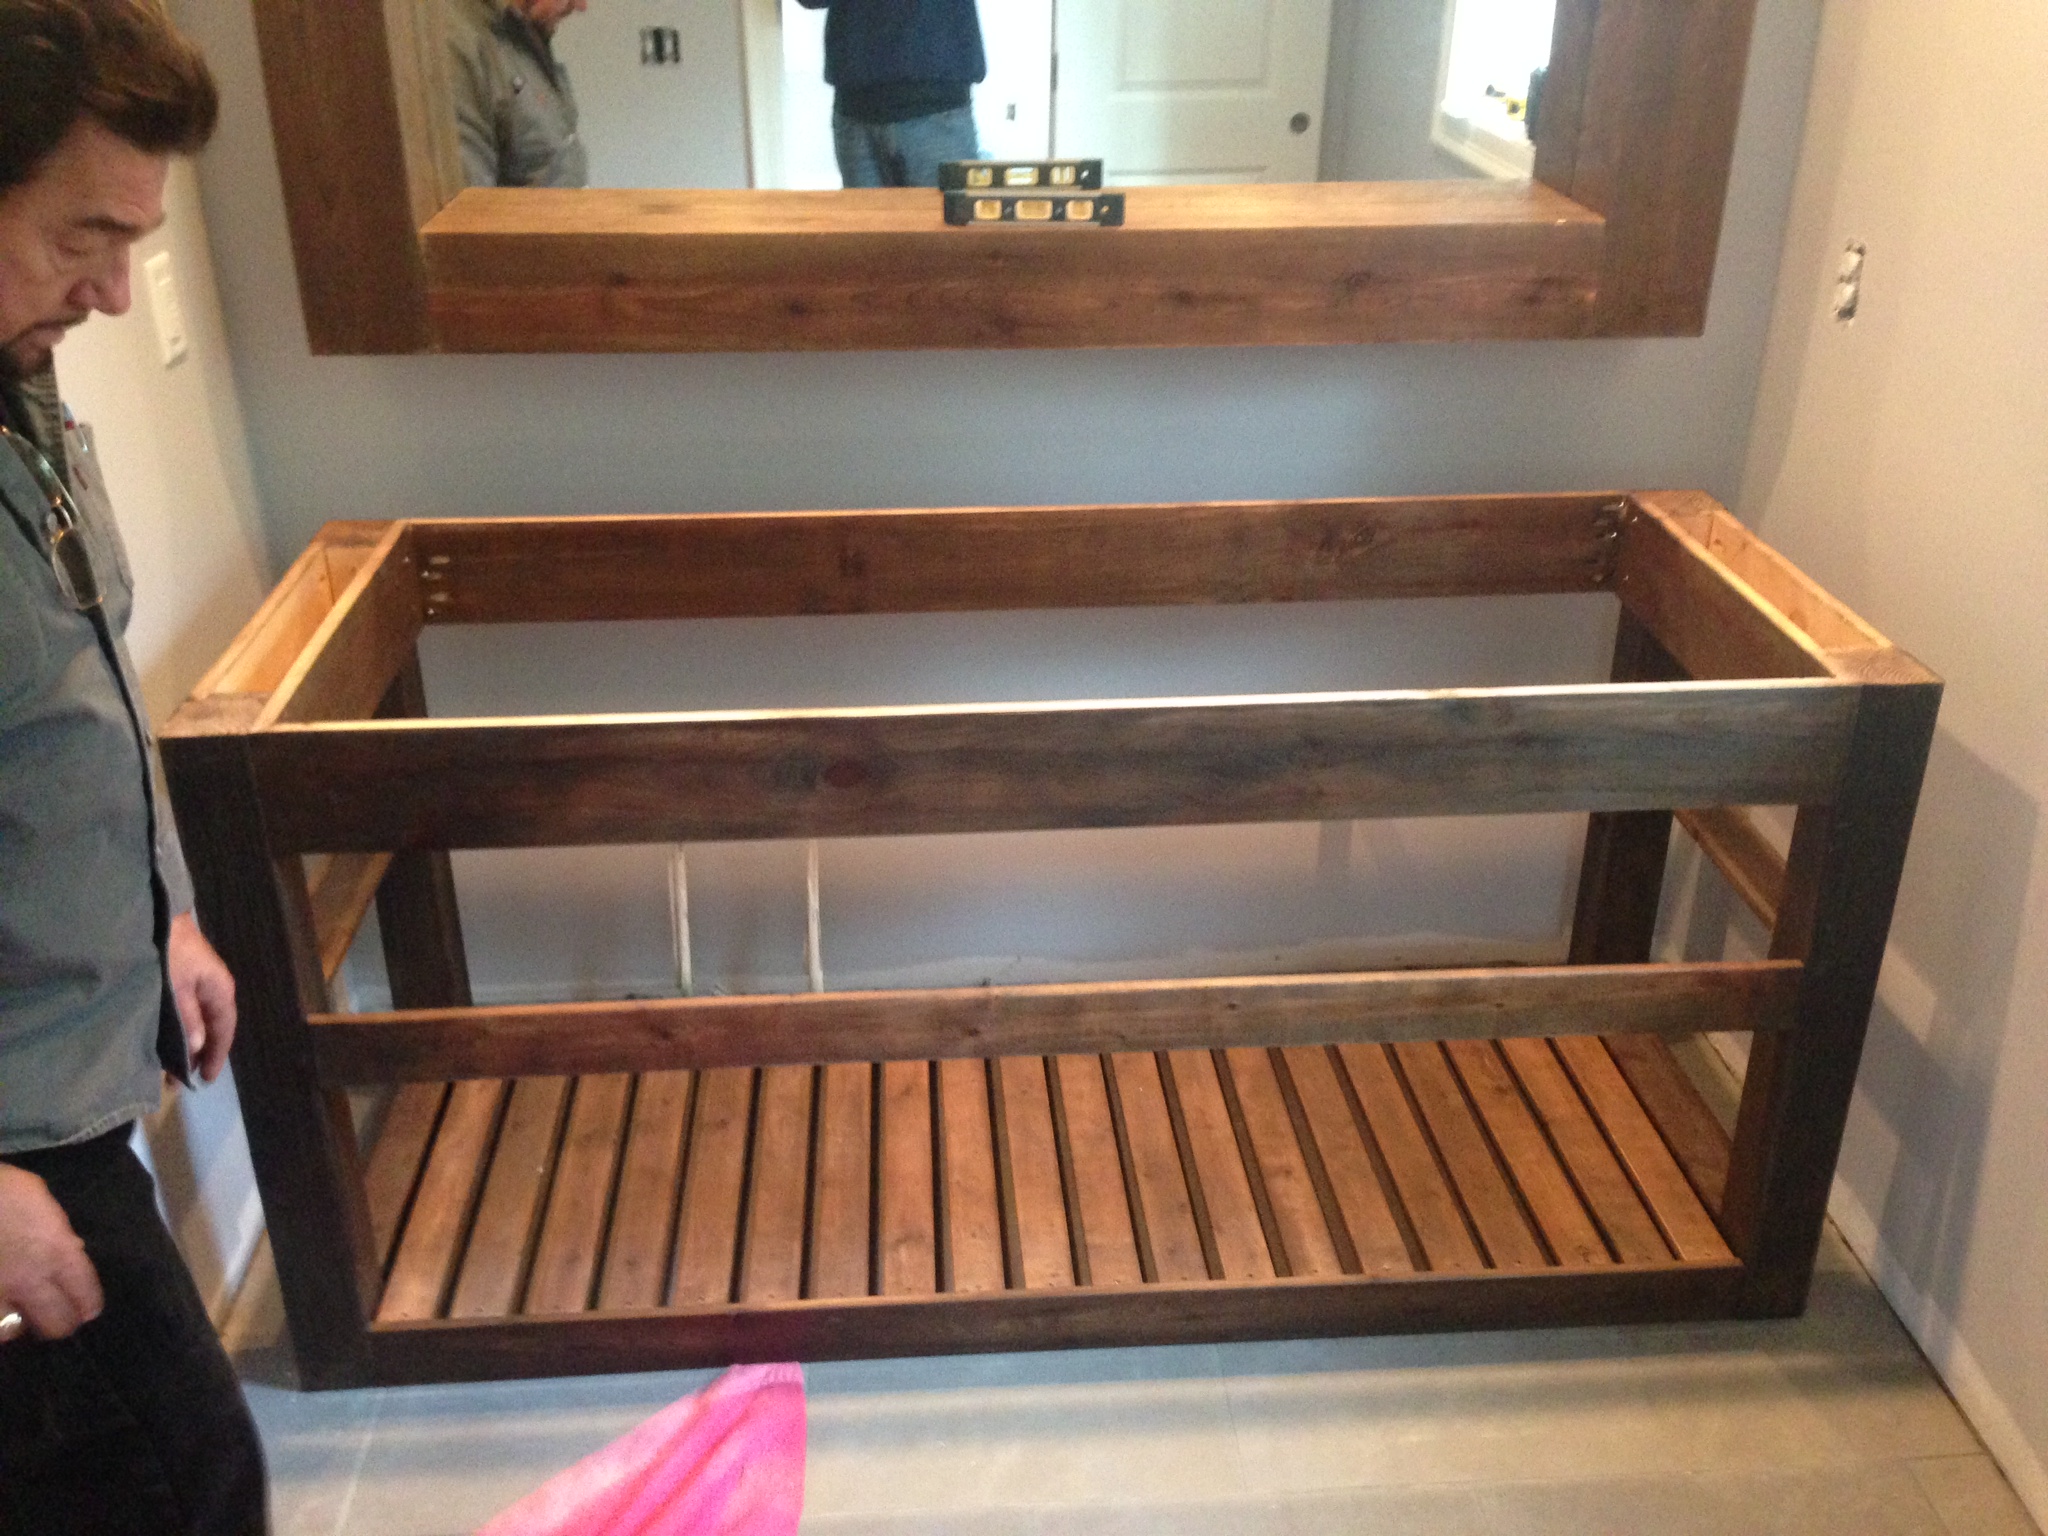
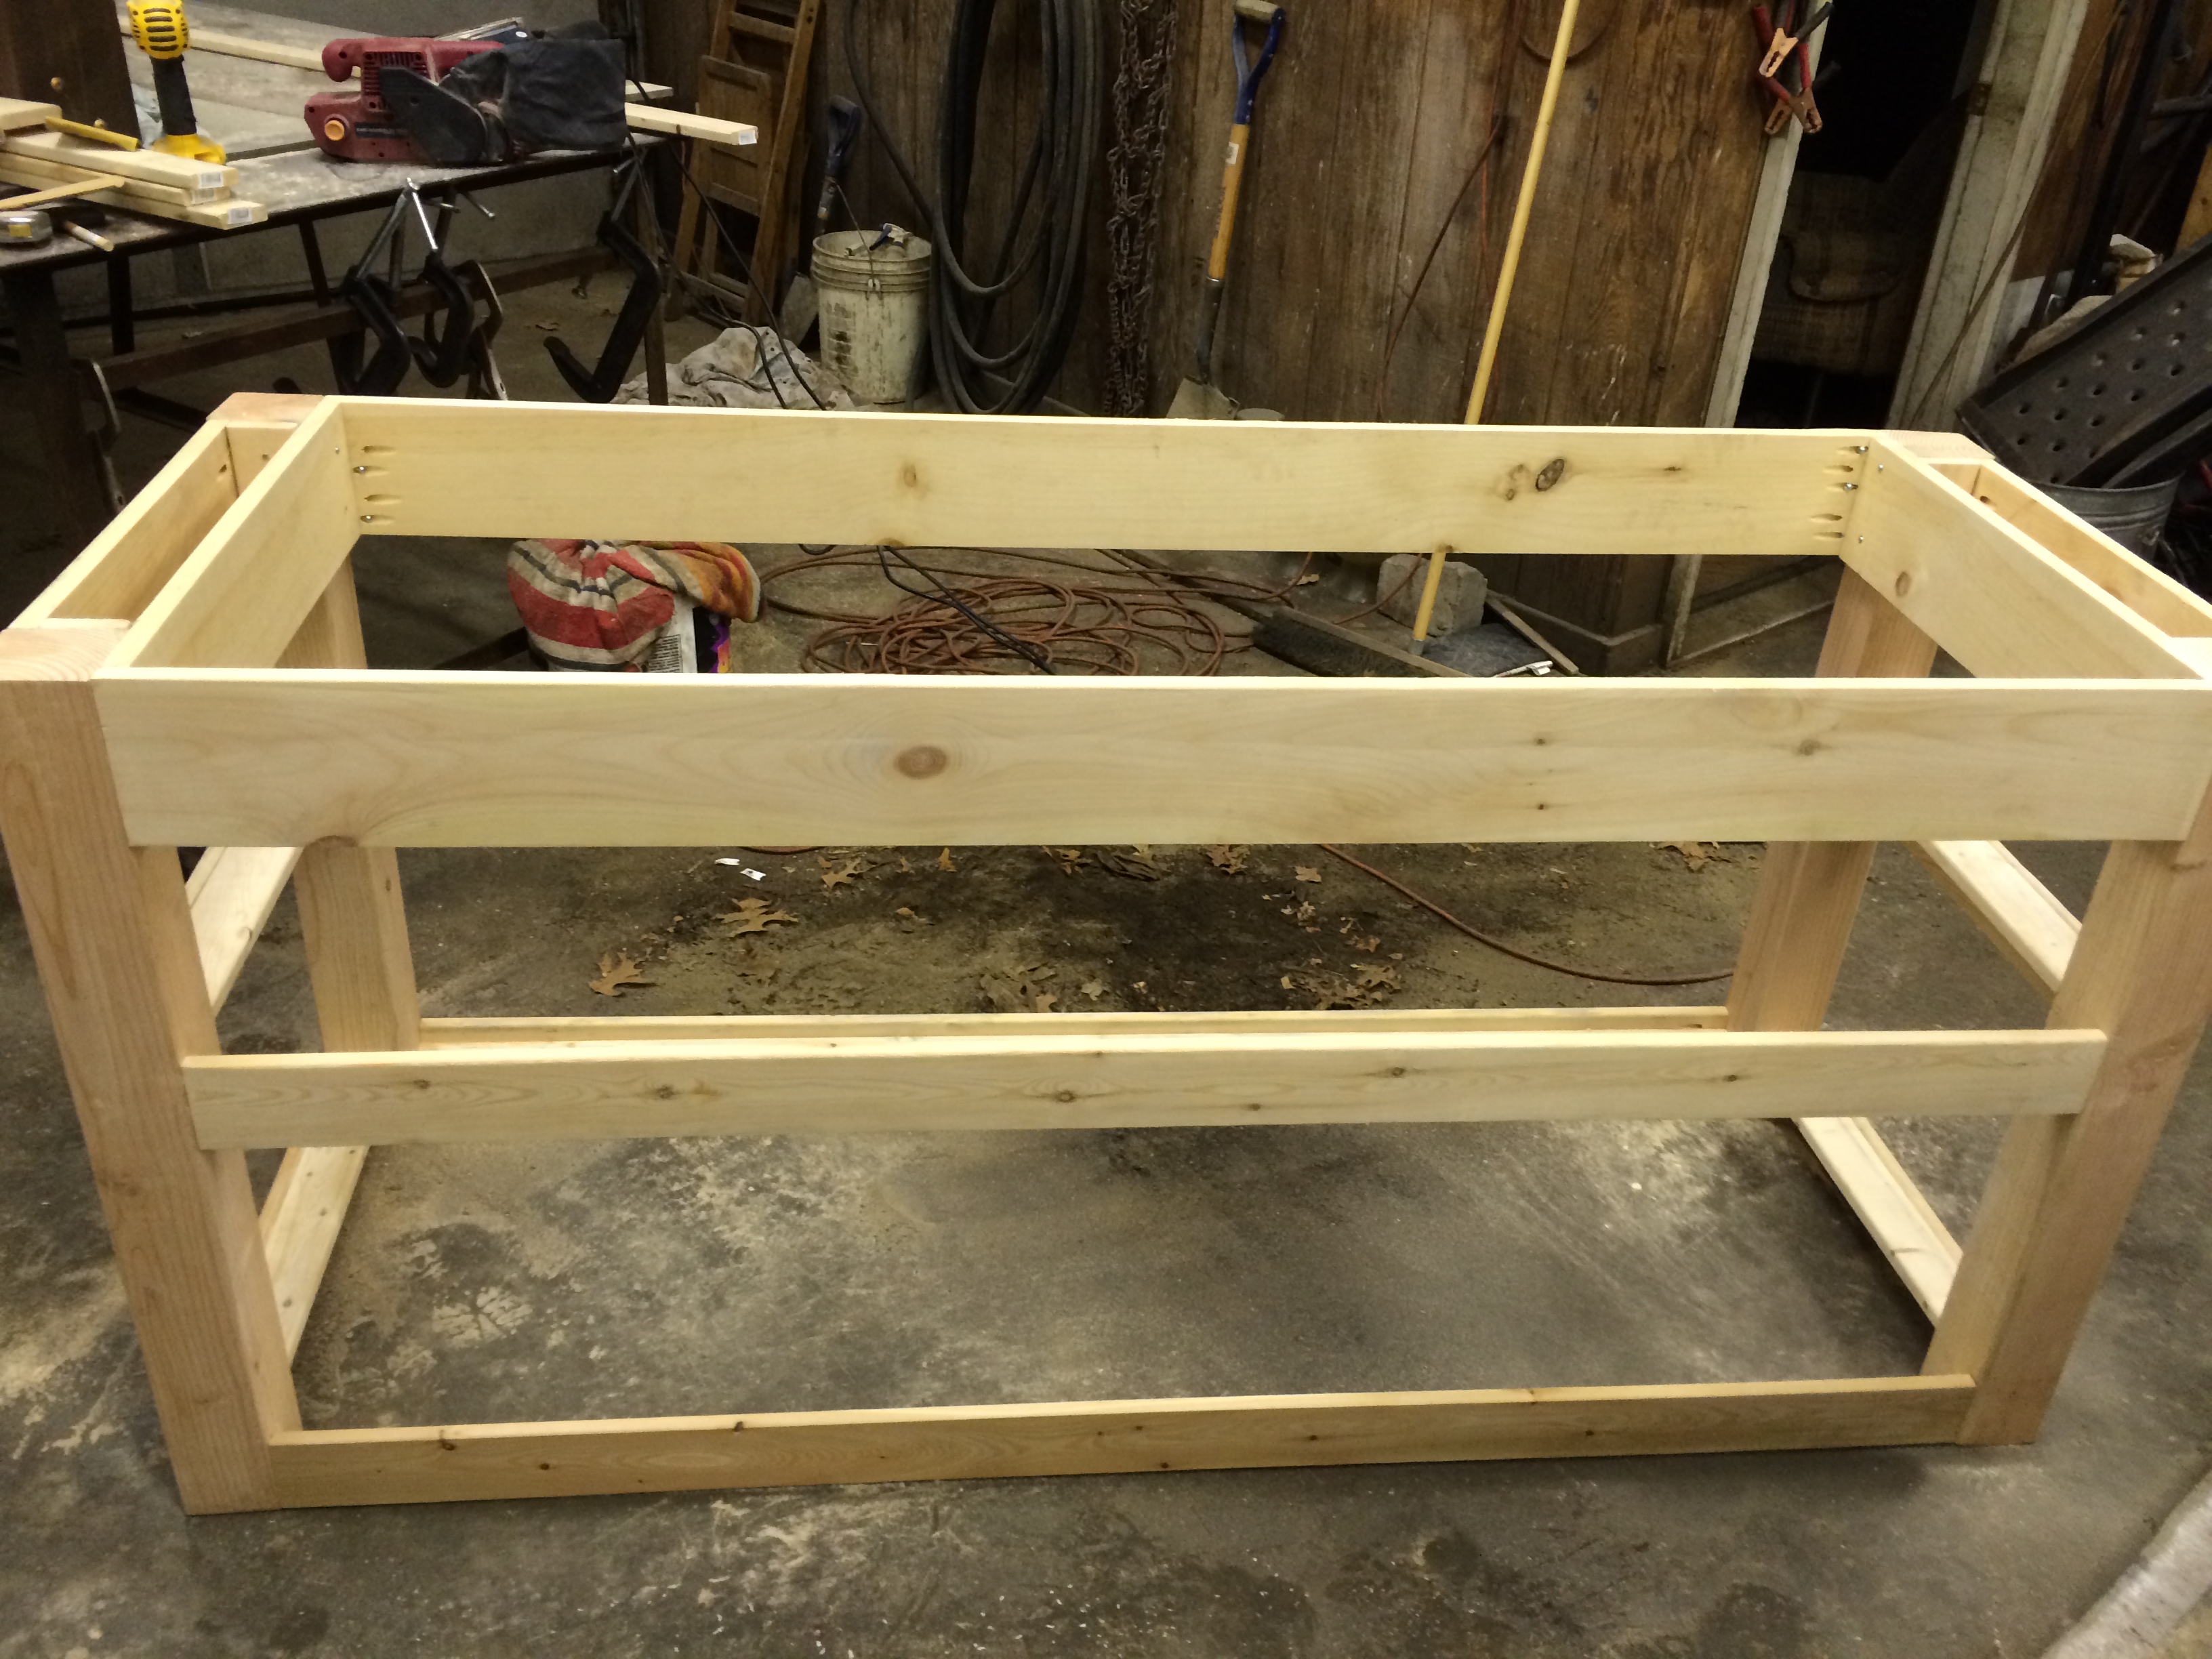
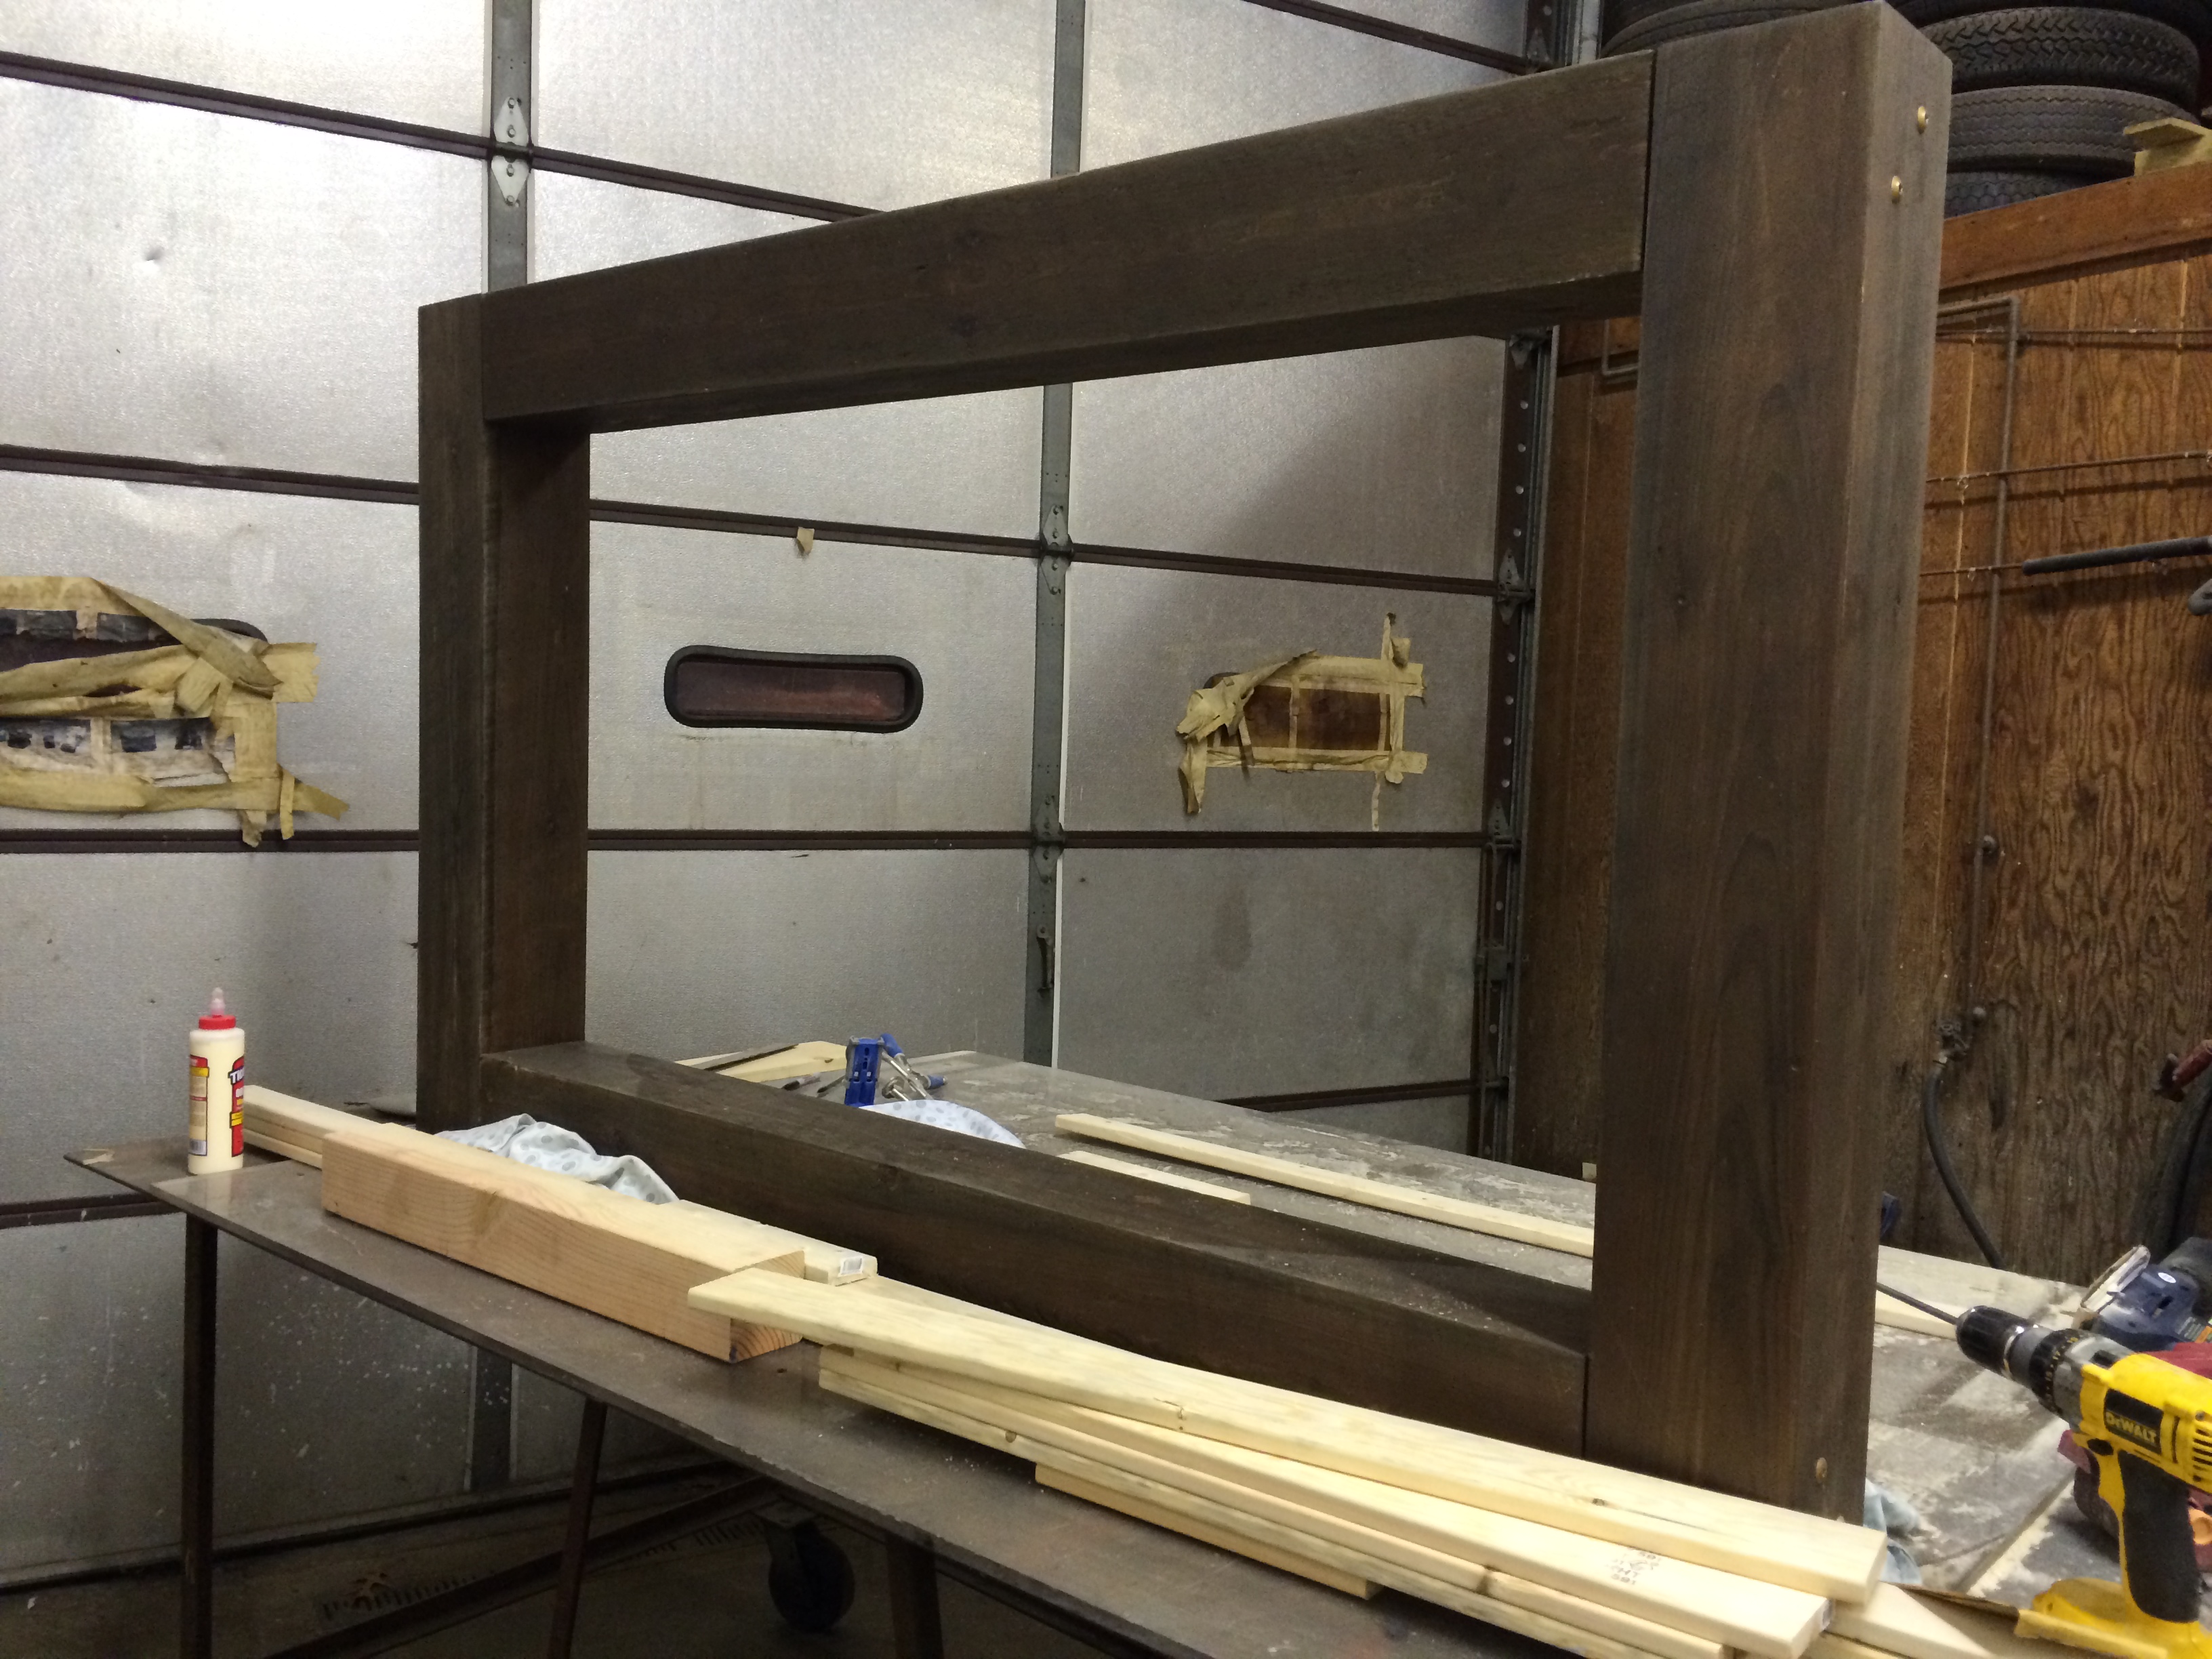
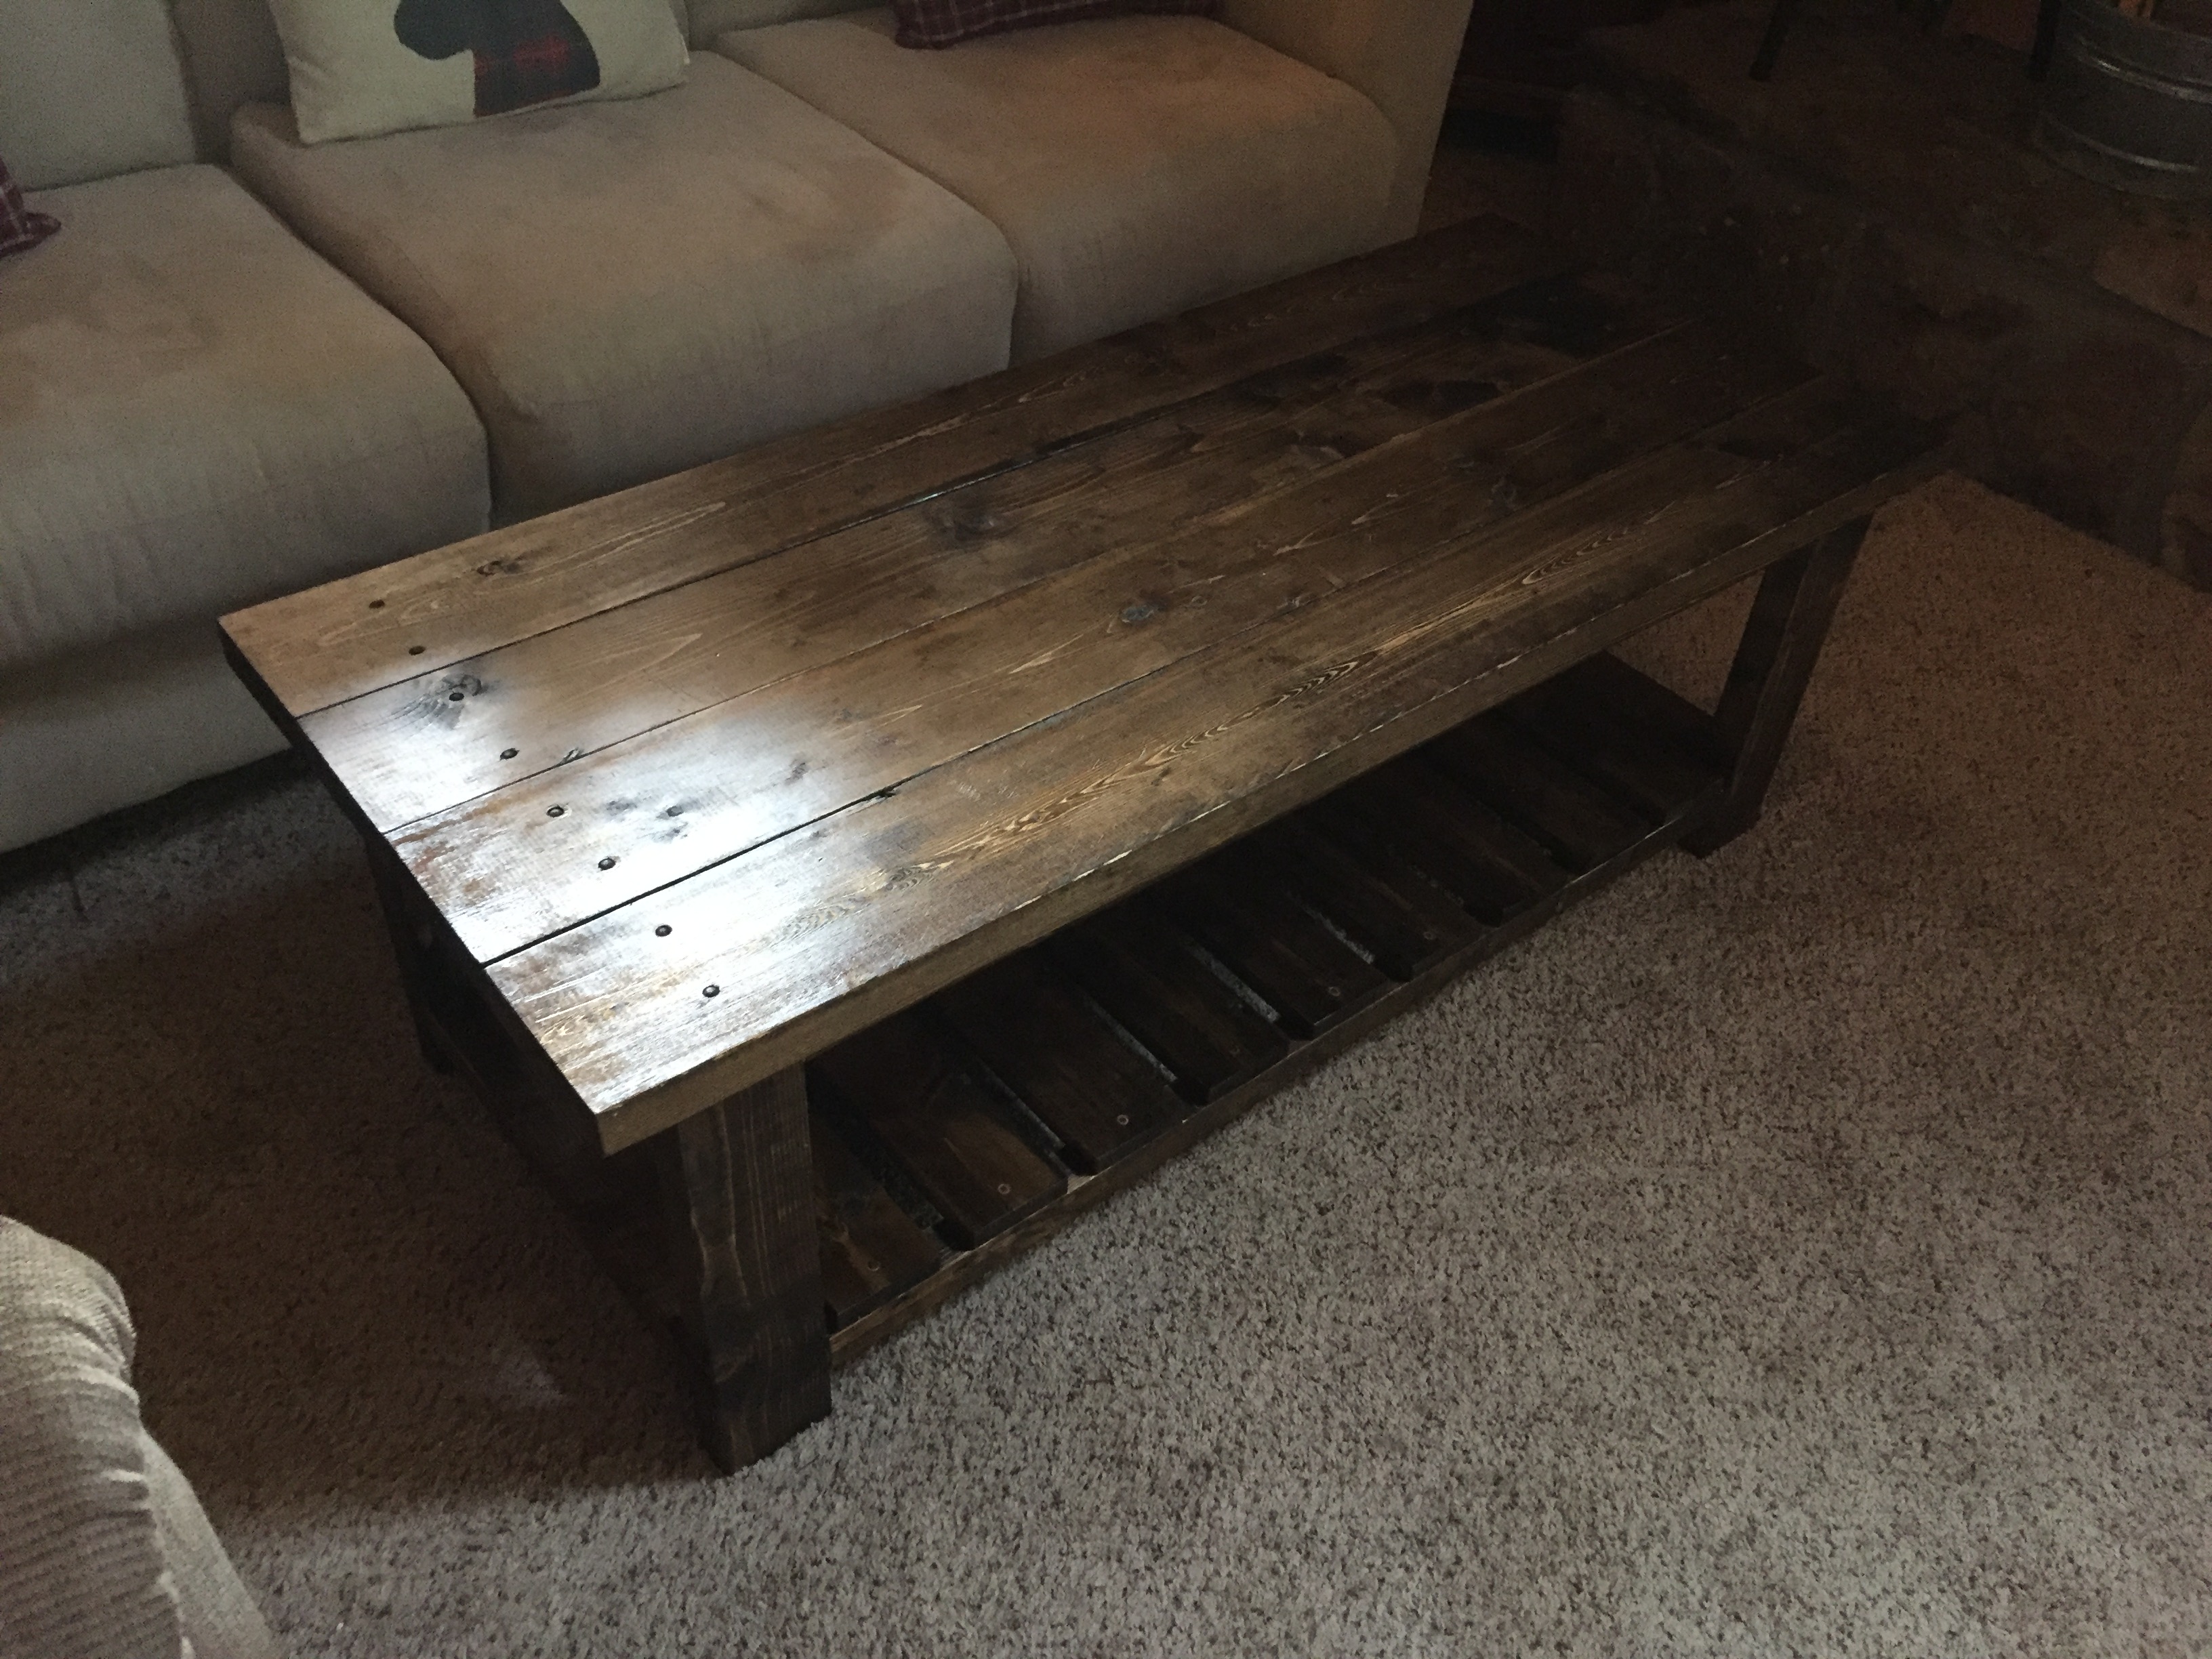
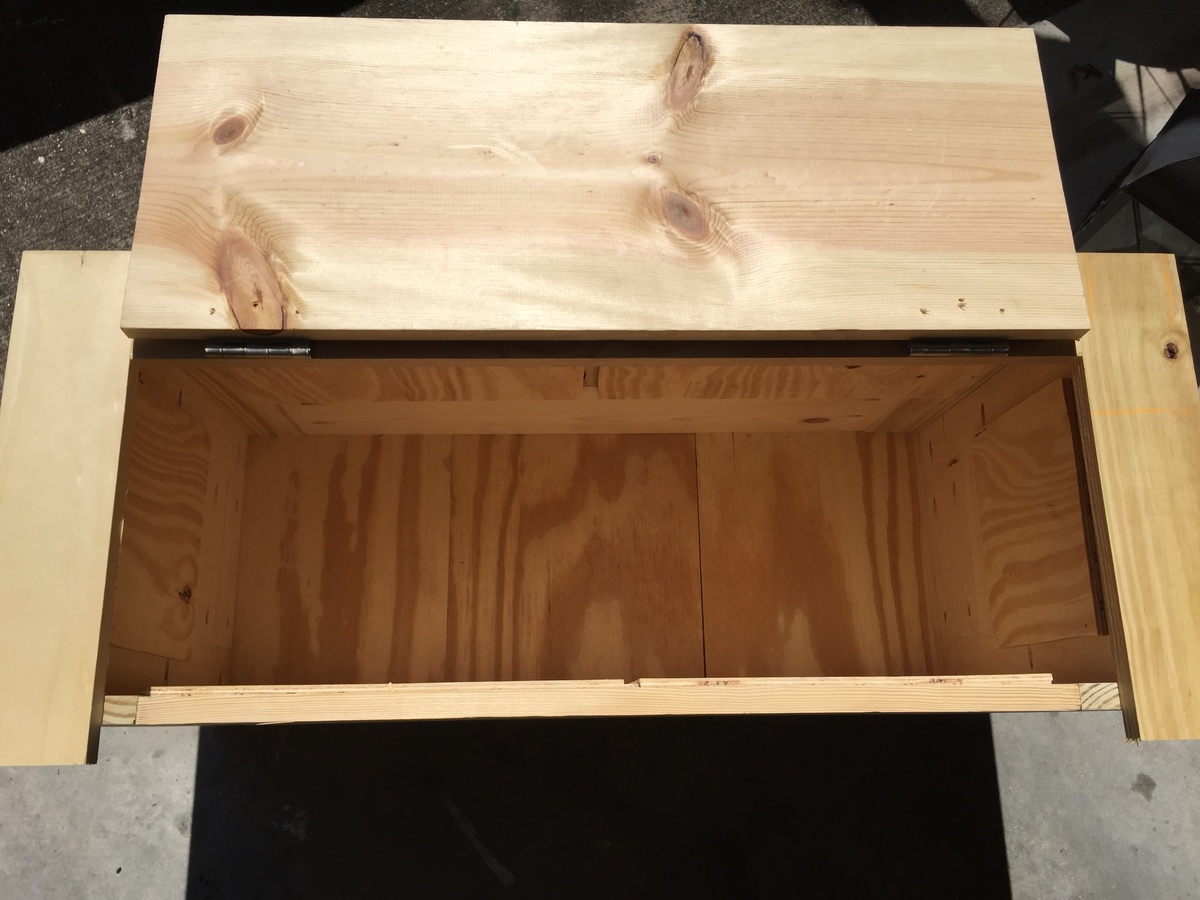
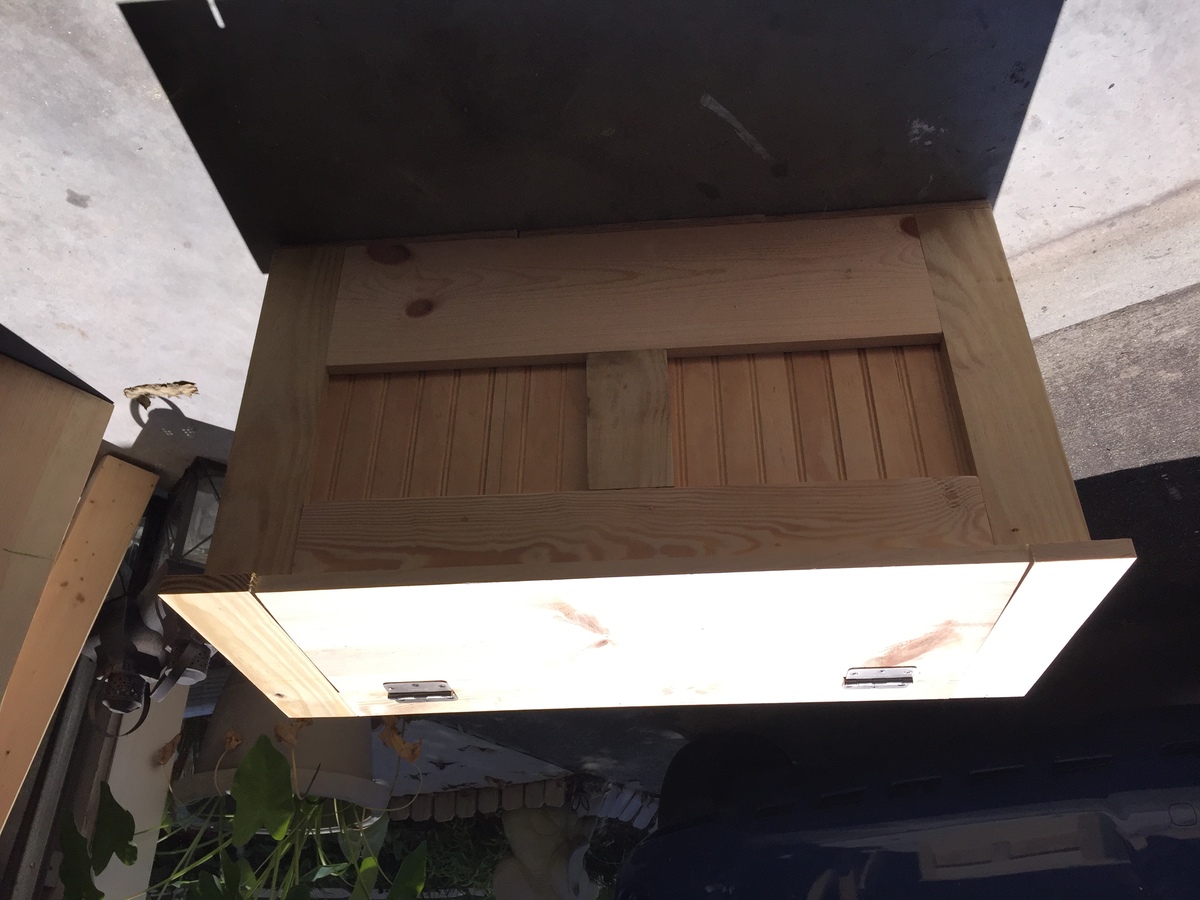
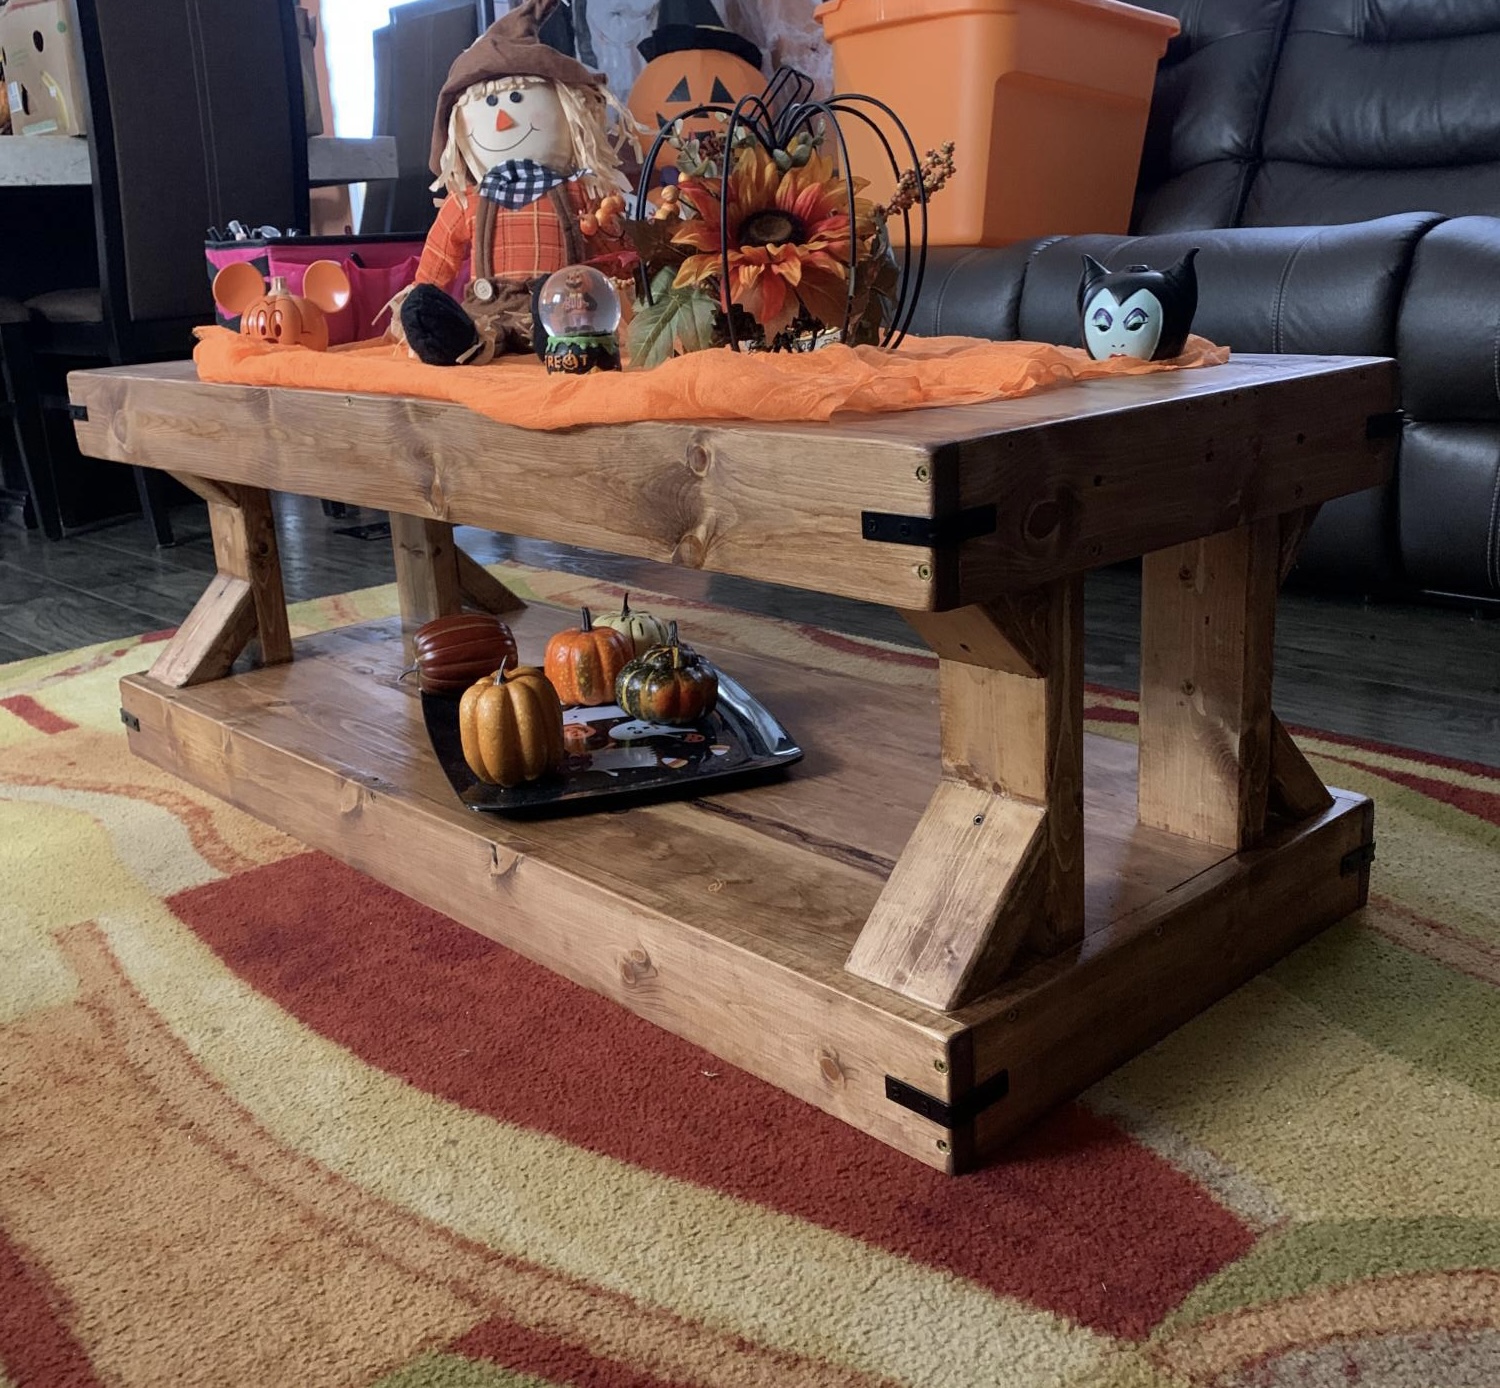
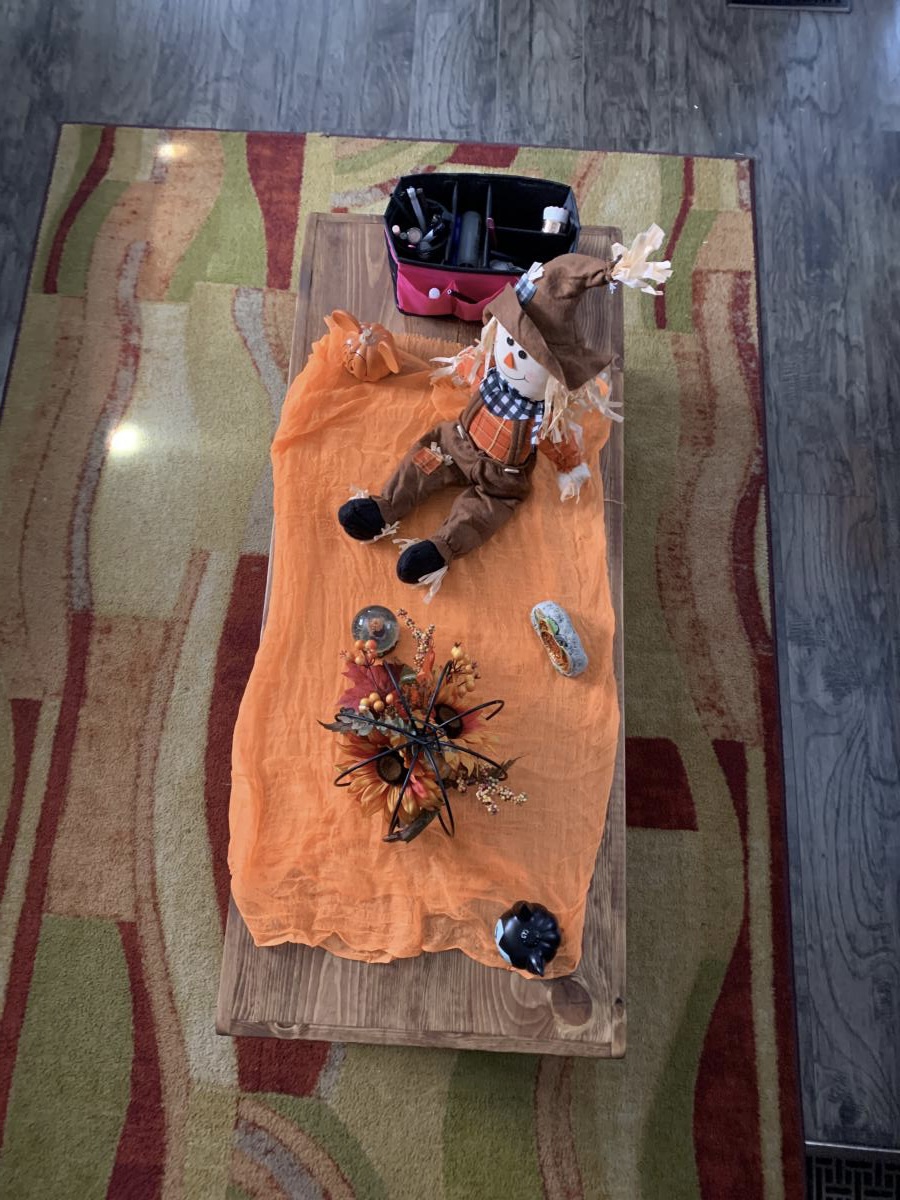
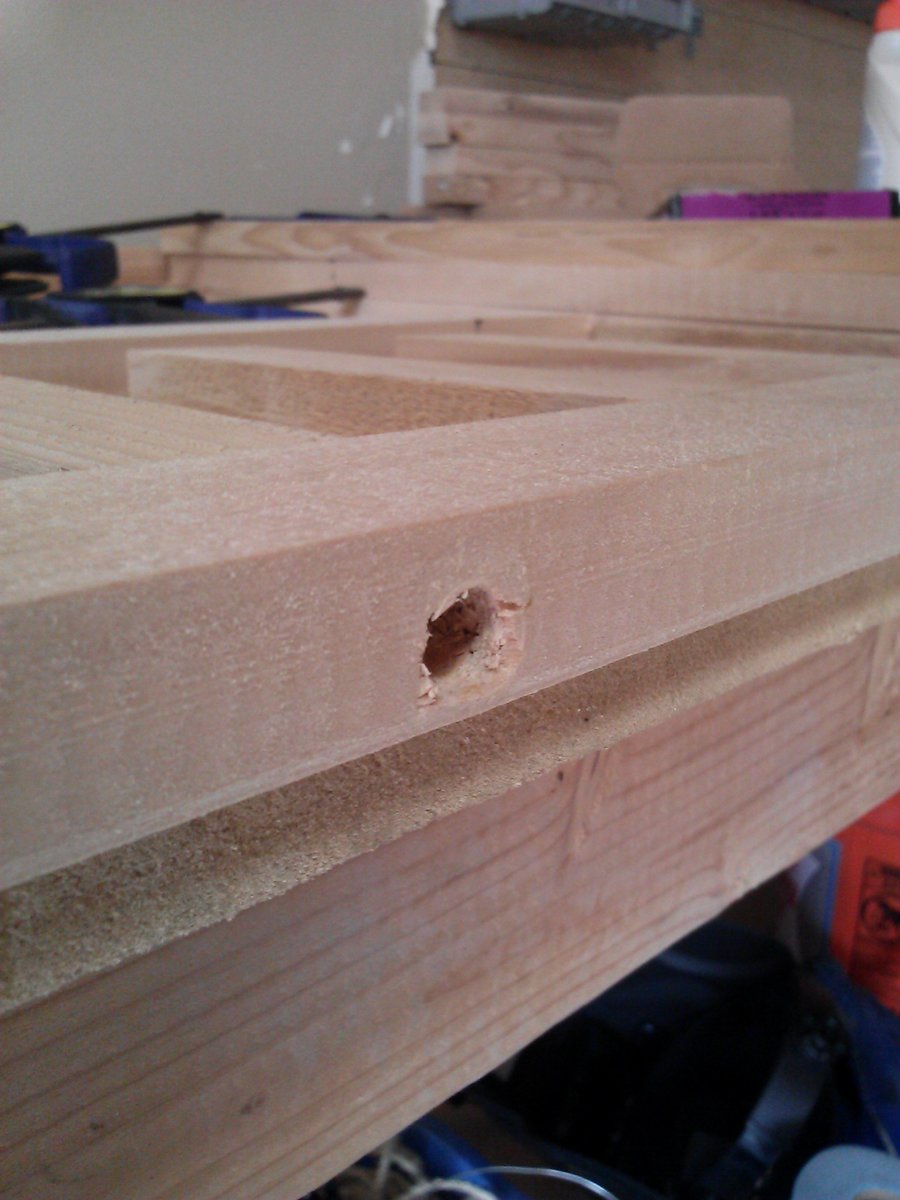
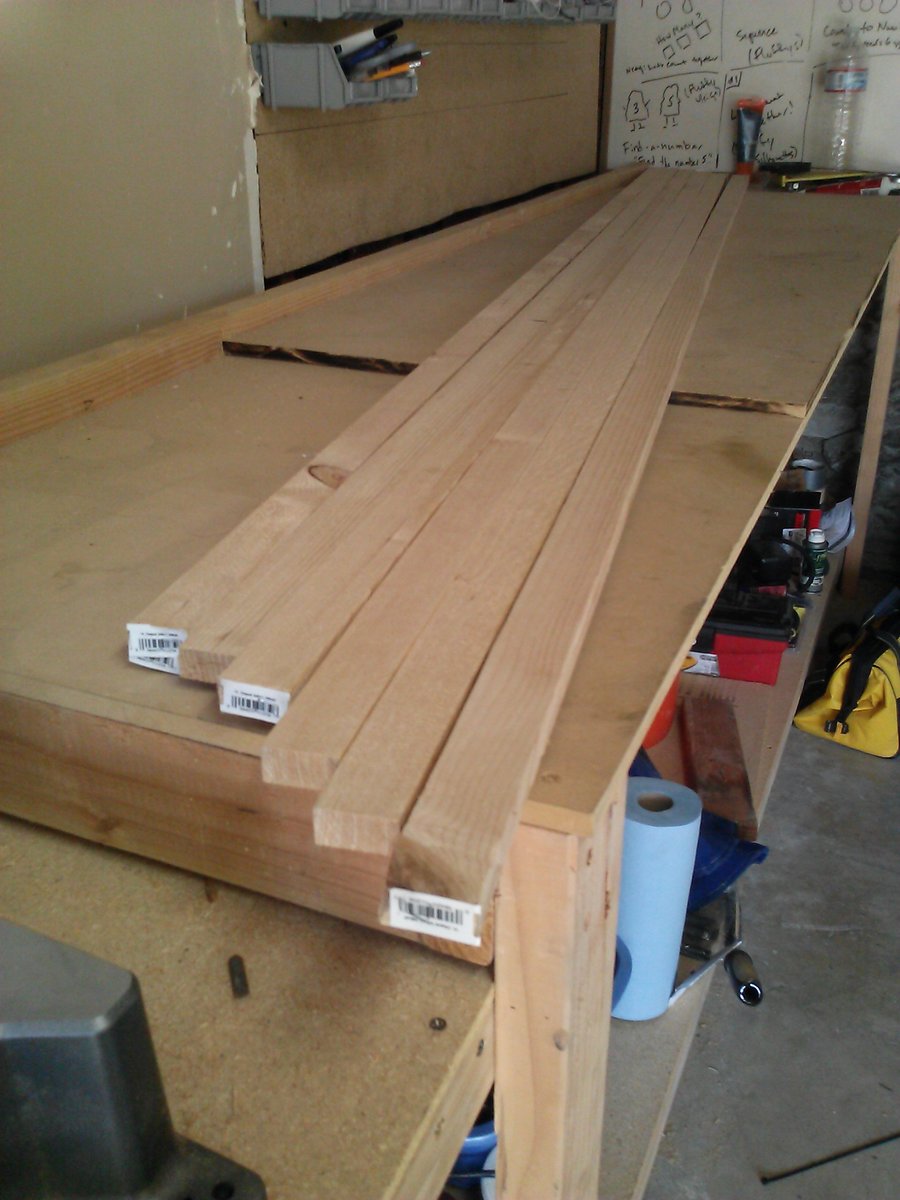
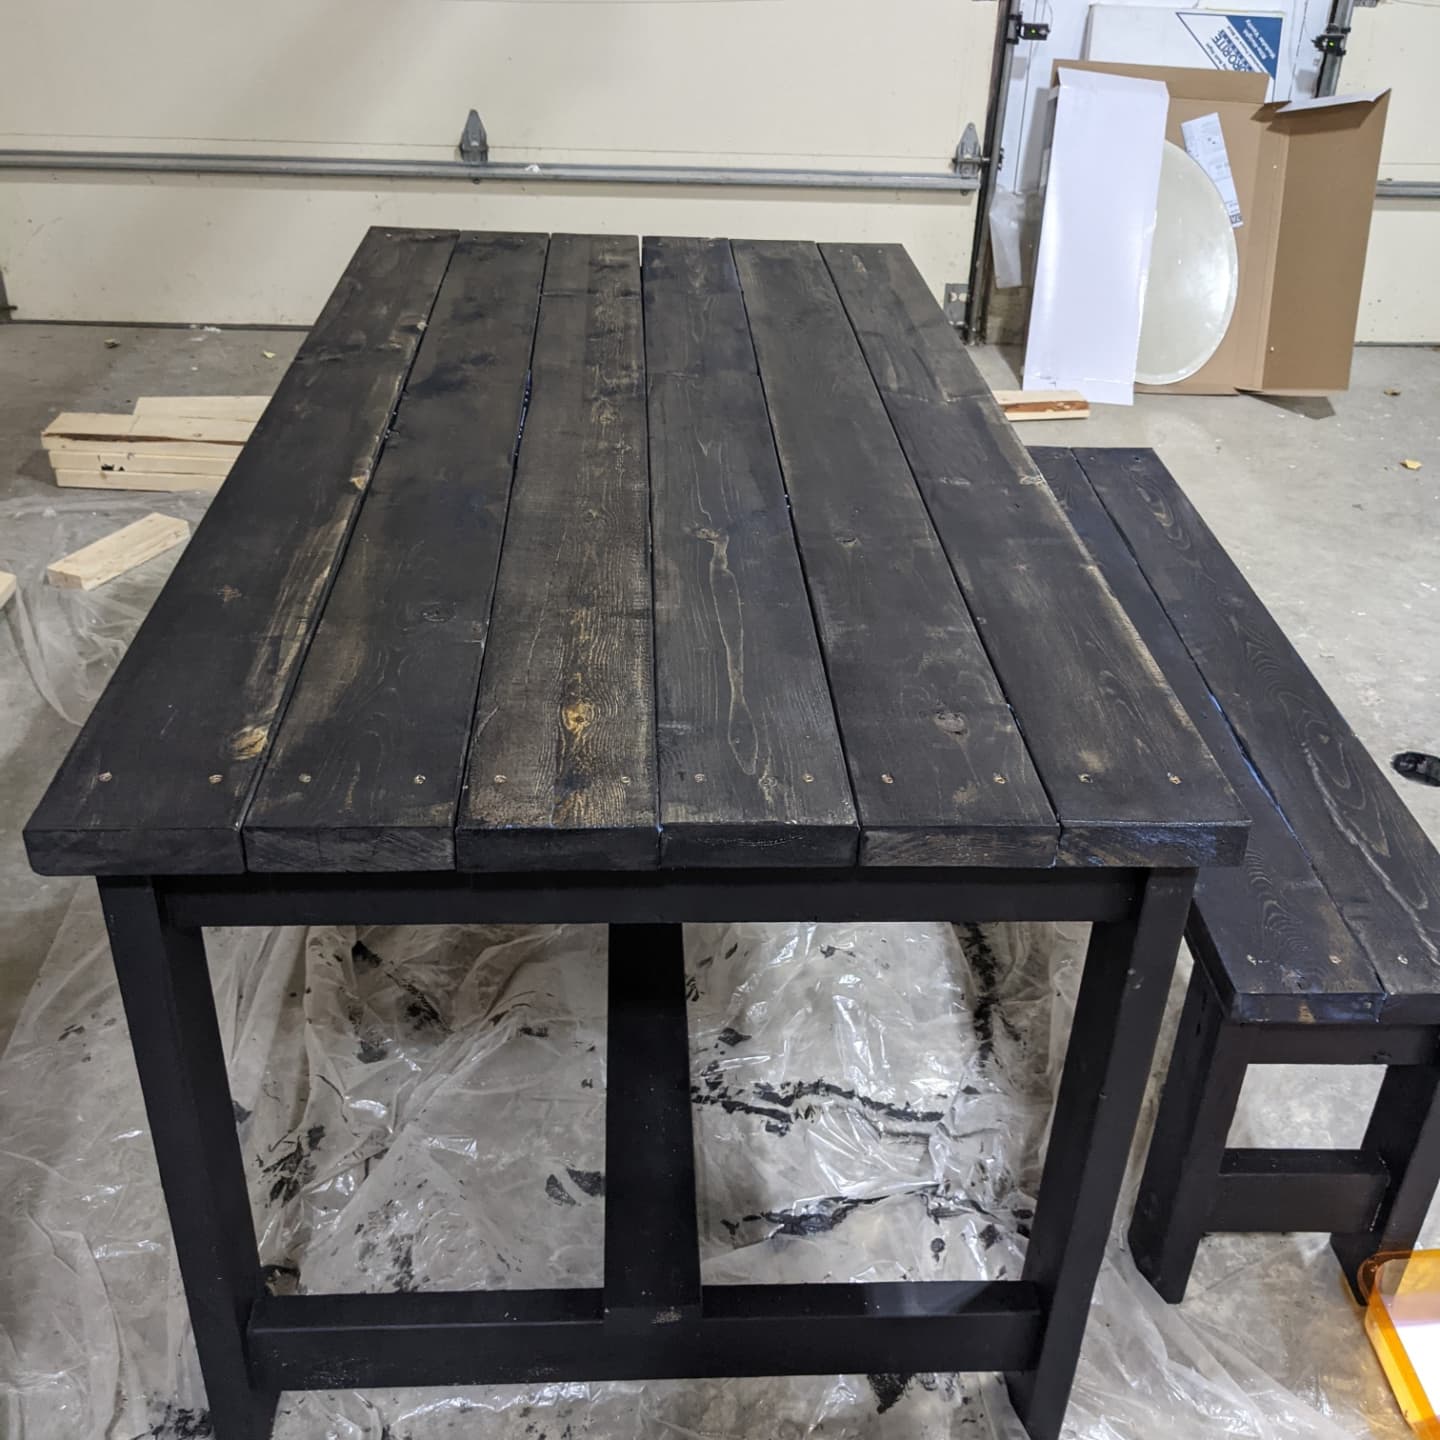
This is my first big woodworking project. That being said, there were a lot of mistakes that were made. In the pictures you can see the beginning stages when I was making the base cuts and assembling the table top. The picture with the dark top and natural legs was the beginning of one mistake. I bought gel stain because it was the color I liked but I had no idea how to use it correctly. Because of this I left the stain on and it was waaayyyyy too dark. I had to sand down the entire top and redo it. After fixing that I correctly stained the base, extensions, and bench. The extensions I made are not in the photos because I forgot to make the cuts to slide them in. I'm supposed to do that this weekend... After staining I polyurethaned the base, bench, and extensions to give them a nice shine. The table top I finished with Liquid Glass two part epoxy. That gave the top a super hard surface that shines and makes the normally soft pine top, rock hard. I figured this way when my daughters do homework on it they wouldn't leave their writing indented in my nice, new table. I hope you guys like it and I plan to do many more projects and post my results here. Thanks for taking the time to check this out.

Estimated Cost
$300-$325
Finish Used
Minwax hickory gel stain, polyurethane, and 2 part epoxy acrylic finish. The gel stain must be applied and then immediately wiped off. The polyurethane may need multiple coats in order to achieve an even finish. The epoxy must be poured on and spread evenly. Remember that if it drops on something and it is allowed to dry that it will usually rip up whatever material it is on our you will have to sand it off. USE DROP CLOTHS.
Recommended Skill Level
Starter Project

Farmhouse Table

Submitted by rangers_31 on Wed, 03/27/2013 - 21:18

This is my first ever wood project. I helped my dad frame his basement a couple years ago and figured that a hand built table would be a nice piece of furniture to have as my wife and I begin to start a family. I've been gathering tools for a few months to begin making furniture and I chose to start with this piece.

I had read that a few people found that the 2x6's on the table top caught crumbs so I picked up a cheap, used table saw and squared off the edges so that the table top would be more consistently flat.

For the legs, I wanted to use 4x4 untreated posts but could not find them so I used the table saw to cut down the 2x4's so that, when screwed together, they formed 3x3 legs. I then used a 0.25 inch round router bit to sound off all the edges on both the legs and all exposed edges around the outside of the table.

I finished with two coats of early american stain and in between applied a distressing technique I picked up from one other blog post.

I am 95% happy with how the table has turned out. Structurally is it very sound. If I was to do it over I would have screwed the entire tabletop in with pocket hole screws to eliminate holes on the surface.

Estimated Time Investment
Week Long Project (20 Hours or More)
Finish Used
Early American (2 coats)
Vintage Photo Distressing Ink - rubbed on between coats to accentuate the grain
Recommended Skill Level
Beginner

Comments

Slatted double vanity - FINALLY finished!

I was a bit over my head with this one but I am so far very happy with the project. It is not quite finished. The marble was installed last week and we are awating the plumber to come back to hook up the sinks. I will install the second slatted shelf once the plumbing is in. Will post finished pictures soon. The mirror is made from 6x6 posts from the lumber yard. We had a friend cut them to size using a band saw. We made the mirror frame based on a picture I found on Houzz.com. The mirror glass was something I picked up off of craigslist for next to nothing and removed from the original frame. It is HEAVY (~200lbs) and attached to the wall with metal brackets. We purchased the sinks/faucets on ebay. 


Estimated Cost
For the vanity alone: $200-250
Estimated Time Investment
Weekend Project (10-20 Hours)
Finish Used
I used Hilary's vinegar/steel wool solution to age the wood, then sanded and finished with the vermont natural coatings polywhey in satin.
Recommended Skill Level
Intermediate

Comments

Tailgate Bench

Submitted by Anonymous (not verified) on Wed, 05/17/2017 - 18:02

I used the plans for the outdoor sofa and just changed the measurements to fit the tailgate back. 

Estimated Time Investment
Weekend Project (10-20 Hours)
Finish Used
Miniwax Espresso
Recommended Skill Level
Beginner

Jeep Bed

Submitted by papamike on Mon, 07/05/2021 - 17:15

I hope this is OK to add here. It's not an Ana White plan, so moderator please delete if it is not allowed. I made this bed for my grandson. I bought a plan online and modified it from a twin to a full size bed. The dome light and running lights work as night lights. A motion sensor light activates if he crosses the door to illuminate the ladder. Front tire is made as a step so his parents can climb in and read to him. The whole thing is on EZ Sliders so they can move it away from the wall to make the bed.

Estimated Cost
$150.00
Estimated Time Investment
Weekend Project (10-20 Hours)
Finish Used
Latex paint.
Recommended Skill Level
Beginner

Comments

Bathroom Wall Storage

Here's the second project I tackled from The Handbuilt Home, the Bathroom Wall Storage unit. The first photo is according to the plan specs. I liked this project so much that I built a second one for the smaller bathroom using 1x6's instead of 1x10's, so it's not as deep. Drilling the shelf pin holes without a jig took forever on the first shelf! I bought a Kreg Shelf Pin Jig to try out on the second one, and had it done in minutes! It's so nice to have pretty storage in the bathrooms!

Built from Plan(s)
Estimated Cost
$45.00
Estimated Time Investment
Day Project (6-9 Hours)
Finish Used
Two coats of primer followed by two coats of CIL Smart 3 Trim and Door paint.
Recommended Skill Level
Beginner

Comments

Produce Stand

I really enjoyed this project!  It was very easy and inexpensive.  I used Weathered Oak stain to make the pine look aged.  I also countersunk all of the screws and used oak button dowels to give it a finished look.  I learned how to create the wording and images through YouTube.  Search: how to transfer an inkjet photo to wood.  Cool trick.

Estimated Cost
$35
Estimated Time Investment
Afternoon Project (3-6 Hours)
Finish Used
Weathered Oak
Recommended Skill Level
Beginner

Comments

Debbie742

Tue, 12/01/2015 - 04:50

My sister in law would like one of these and I'm wondering what angle cut you used for your support boards?  I like the idea of going corner to corner vs trying to get each one centered and not making a mistake. I'm also wondering about spacing and if you kept the measurements the same as "Over The Big Moon" ?  Thanks so much!!!


Debora Cadene

Fancy X

Submitted by Anonymous (not verified) on Tue, 06/13/2017 - 21:19

First large build I did by myself. Took a long time because I pre-drilled for every screw. Gave this table and bench to my brother. Made new table in hours- no need to predrill except for the 1x4 on the bottom.

Built from Plan(s)
Estimated Cost
$100 because I bought a small Kreg jig
Estimated Time Investment
Weekend Project (10-20 Hours)
Finish Used
So many many layers of various stains, deck paints, paint, poly, etc p
Recommended Skill Level
Starter Project

Farmhouse x coffe table without the x

Submitted by Anonymous (not verified) on Sat, 06/17/2017 - 07:18

We loved the look of the farmhouse x table but my wife liked the slatted look of pallet furniture, so I replaced the 1x12 boards on the bottom with 1x4 cross pieces. I also changed the dimensions somewhat to fit in the space intended for the table so I got rid of the x frames on the ends because their angles changed with the dimensions of he table. Now our cabin looks even more rustic!

Built from Plan(s)
Estimated Cost
$65
Estimated Time Investment
Weekend Project (10-20 Hours)
Finish Used
Minwax dark walnut with tung oil finish
Recommended Skill Level
Intermediate

Lee and Beth's Simple Nightstands

Submitted by community-cont… on Fri, 02/25/2011 - 10:39

we’re back with another furniture project. This time we built the Simplest Nightstand. Actually, we had enough lumber that we were able to build two of them! It was a little more difficult than the coffee table and side table, but still wasn’t bad once Lee figured it out. The hardest part was getting the drawer to fit right. The first one Lee built, he didn’t get the drawer bottom square, but the second time around went much smoother. The first time, he cut all of the pieces out at once, but the second time, he cut and fit each piece separately. This proved to be very helpful. For the side pieces, we used plybead instead of plywood, and nailed trim pieces underneath the table top. Also, instead of using two separate pieces on the table top, we used the top off of an old tv tray that we weren’t using anymore. It was the perfect fit, and looks really good! Both tables cost us 50 dollars and took about 6 hours to build both of them. The first table took 4 hours to build, but the second one only took 2! We absolutely love your easy to use plans, and can’t wait to try another one! There’s so many great plans to choose from, we’re not sure what to try next!!

We love our new tables, thanks again for another great plan! We’ll be back!

Read more about Lee and Beth's Projects.

Built from Plan(s)
Estimated Cost
$25 Per Nightstand
Estimated Time Investment
Afternoon Project (3-6 Hours)
Recommended Skill Level
Intermediate

Green House

Submitted by Anonymous (not verified) on Thu, 07/13/2017 - 08:31

I built this amazing green house following your plans!  My wife and I moved our family from the city to an amazing 5 acre homestead out in the country here in Wisconsin. We are super happy that we will be able to keep our new garden going longer!  Thanks so much for the plans!

Built from Plan(s)
Estimated Cost
We spent about $800 for the frame and plastic panels. Then we spent another $250 for the reclaimed barnwood siding. We found the door at a reclamation site for $25.
Estimated Time Investment
Week Long Project (20 Hours or More)
Finish Used
I followed Ana's plan pretty closely. This was the first building I ever built from scratch. It was a little difficult to get the foundation level. But I figured it out. I used pressure treated 6x6s on top of gravel. I was able to screw the actual walls down to the 6x6s.

I'm actually building a second building from these plans to use as a chicken coop. Once it's done I will post photos.
Recommended Skill Level
Intermediate

Comments

Seasonal And Holiday

Simple Outhouse

I built this outhouse to go with a dry cabin I'm working on, and also as an emergency backup for my house. I used treated lumber on the base/deck and splurged on T-111 for the siding. I wanted to use greenhouse polycarbonate for the roof, but found a piece of metal roofing in my shed that was exactly the right size so I used that instead. I thought about doing a fancy cutout on the door but ended up going with a half moon because it was easy. I'm thinking about cutting out stars of different sizes all over the rest of the door to let in more light. I'll trim and stain it next summer.

Built from Plan(s)
Estimated Cost
$450 - I used T-111 which is $40/sheet here in Alaska. I also used treated lumber where recommended and stainless steel screws.
Estimated Time Investment
Weekend Project (10-20 Hours)
Recommended Skill Level
Beginner

Comments

CH

Mon, 01/13/2020 - 15:25

WHAT HAPPENS TO THE 'STUFF' THAT YOU DEPOSIT IN THE TOILET?  I DIDN'T READ ANYTHING ABOUT DIGGING A PIT/TREATMENTS, ETC.  PLEASE LET ME KNOW.  THANK YOU!  CH.

French Cleat Sanding Station

Estimated Cost
Free! I used scraps to make this.
Estimated Time Investment
Weekend Project (10-20 Hours)
Recommended Skill Level
Intermediate

Dollhouse Bookcase

Submitted by donnas on Wed, 03/16/2011 - 09:24

I built this doll house bookcase for my little girl for her Birthday. And she loves it!
I used white pine. I did not want to use paint. I did 5 coats of clear stain. I like the look of the natural wood and the knots to show.

Built from Plan(s)
Estimated Cost
$50
Estimated Time Investment
Week Long Project (20 Hours or More)
Finish Used
clear stain (5 coats)
Recommended Skill Level
Intermediate

Mimi Storage Bench Plans

I've been wanting a storage bench for my bedroom to store bed pillows and blankets while we sleep so that the dogs don't take them over during the night on the floor. This is perfect. Just need to finish painting or staining. I did add a plywood bottom. I may add trim to the bottom as well. My first larger project without my husband's help! 

Built from Plan(s)
Estimated Time Investment
Day Project (6-9 Hours)
Recommended Skill Level
Beginner

Coffee table

Thank u so much Ana for making this possible

Comments

Smaller Crate

I loved the look of the crate, but my dog is a small Lhasa Apso - Poodle mix, so I had to cut down the size of it. To figure out the approximate sixe that I wanted to make the crate, I measured his current (ugly) wire crate. I forgot to take into account that a 1x2 is acutally .75x1.5 ish so my measurements were slightly off but the only thing it mattered for was the door. I used 1x2s for everything. I did not have a jig, so I predrilled holes and did it a little differently. I would have prefered to have the jig, but Home Depot doesn't cary the mini in their stores and I would have had to wait a few days for it. I built this on my own (I am a 22 year old girl) while my boyfriend is out of town as a surprise for when he gets home, and I am more then pleased with how it came out! Here are my measurements: 21 inches high (the walls are 20 inches high, and the top gives it about an extra inch) 26.75 inches long (24.5 inches excluding the overhang of the top) 18.5 inches wide (17 inches excluding the overhang of the top) I needed: 6 - 8' 1x2 1 - 20 inch wide pine board, 5 feet tall (for the top) Corner brackets to connect the walls Hinges Latch Screws Tools I used: Table Saw Drill Hope that this helps anyone who wants to build one for their little dog!

Built from Plan(s)
Estimated Time Investment
Day Project (6-9 Hours)
Recommended Skill Level
Intermediate

Comments

spiceylg

Tue, 06/04/2013 - 05:43

Congratulations on the great build! I'm sure your boyfriend will love it and be very proud!

miki0225

Tue, 06/04/2013 - 08:14

This looks great!! Thanks for the measurements. I was working on the size for ours because we have a chihuahua and the large one was way to big. The only thing I am doing different is having a retractable door. I found the hardware and will have to add a little to the width to accommodate for it.

(Pre-teen) Man Crate

My first woodworking project.  The plans were fantastic and easy to follow. Thanks!

Built from Plan(s)
Recommended Skill Level
Starter Project

Comments

Dirkmonster

Mon, 05/04/2015 - 08:07

And thanks to JoanneS for the excel calculator that allowed me to convert my cut list to my larger dimensions!

JoanneS

Mon, 05/04/2015 - 14:53

Dirkmonster,
You did an awesome job! Congrats on a great first project! Thank you for the shout-out! Love the addition of the hinges, handles and lock. Looks like a happy young man there! :)
JoanneS

Farm table

Submitted by Anonymous (not verified) on Mon, 10/11/2021 - 15:33

First attempt ever at building anything! Probably took me a lot longer than it should have, but I'm very proud of the result

Comments

Front Porch Bench

Submitted by Smokeydog on Wed, 05/06/2015 - 19:33

I made this porch bench for my daughter-in-law 's birthday. She purchased bench cushions from Pottery Barn and asked if I would build the corresponding bench. Using the dimensions of the cushions and examining online photos I was able to build the framework and tried my best to duplicate the
Chatham series bench. Not quite ready to tackle the curved bench rest and arms but after watching YouTube on how to make curved woodworking items I might just take a shot at it next time.

She really loves the bench and I am pleased with how it turned out.

Estimated Cost
$275.00
Estimated Time Investment
Weekend Project (10-20 Hours)
Finish Used
Rustoleum Spray Paint
Recommended Skill Level
Intermediate

Comments